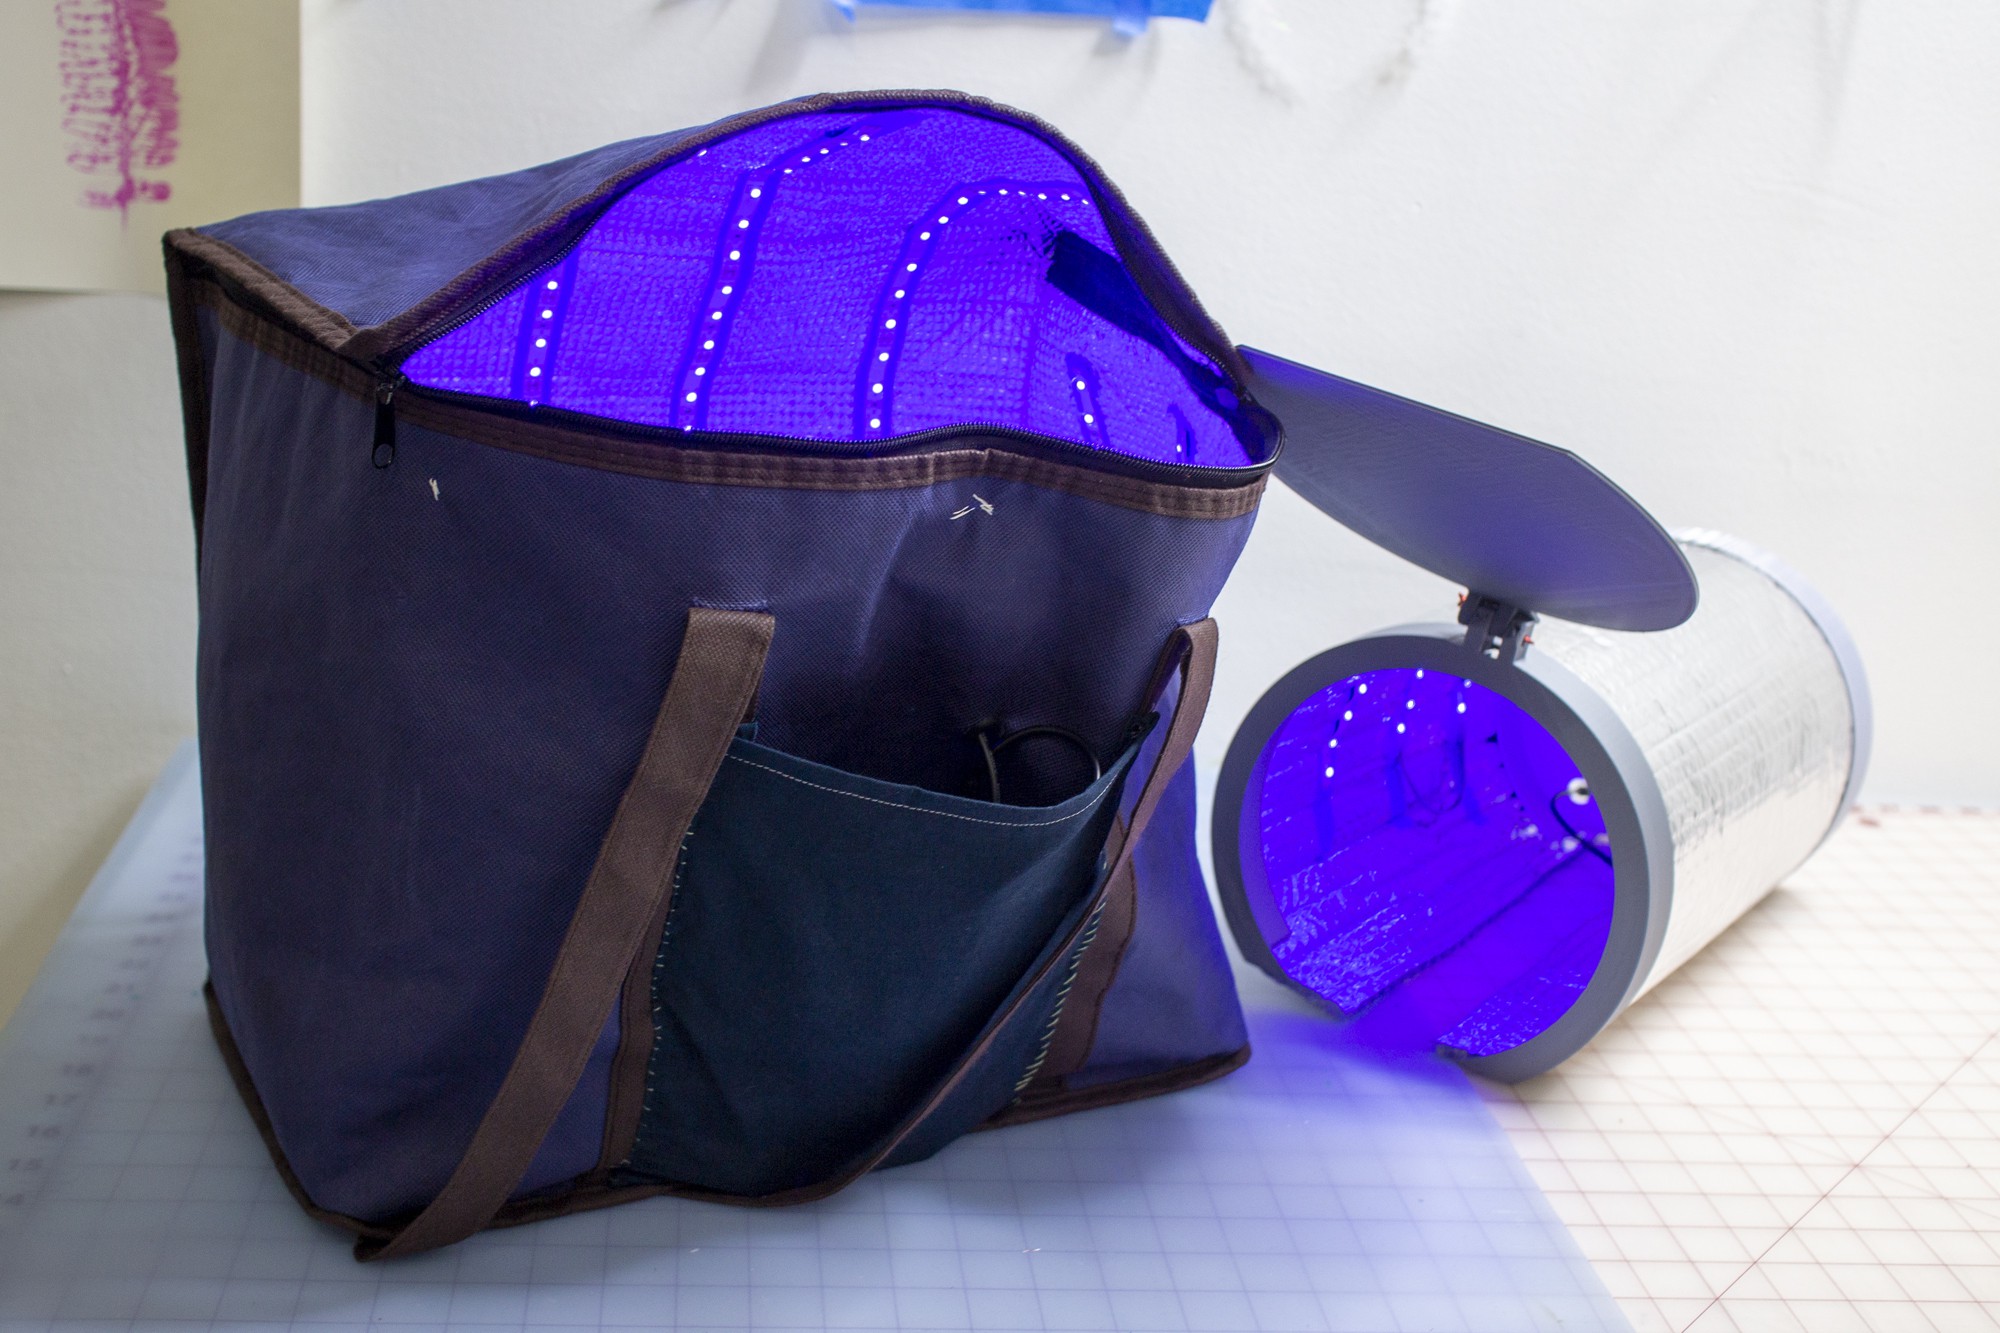
Design goals
- portable
- compact
- versatility
- accessibility of parts
- ease of construction
Each of the lamps created in this material research process is also completely portable with the help of easy to find 12v and 5v batteries that have been coupled with quick connecting parts.
All of the forms explored across this project have been propelled by seeking out mylar covered surfaces to use as as light reflectors in tandem with UV LEDs. Anchoring these properties to each iteration offered scalability of the lamp to various sizes, while also allowing the lamp to remain stow-able - key for working in small or remote spaces.
While the prompt for the Field Ready challenge specifically calls for the design of a wand, each of the resin curing lamps created for this project allowed for hands free exposure, and greater UV safety than other traditional UV curing wands.
The construction techniques demonstrated in this build would be accessible at any onramp for any maker - skills used in these projects ranged from hand-sewing to 3D-modeling. Also, since the project relies heavily on easy to find prefabricated parts, it feels more like assembling a kit than molding a product from scratch.
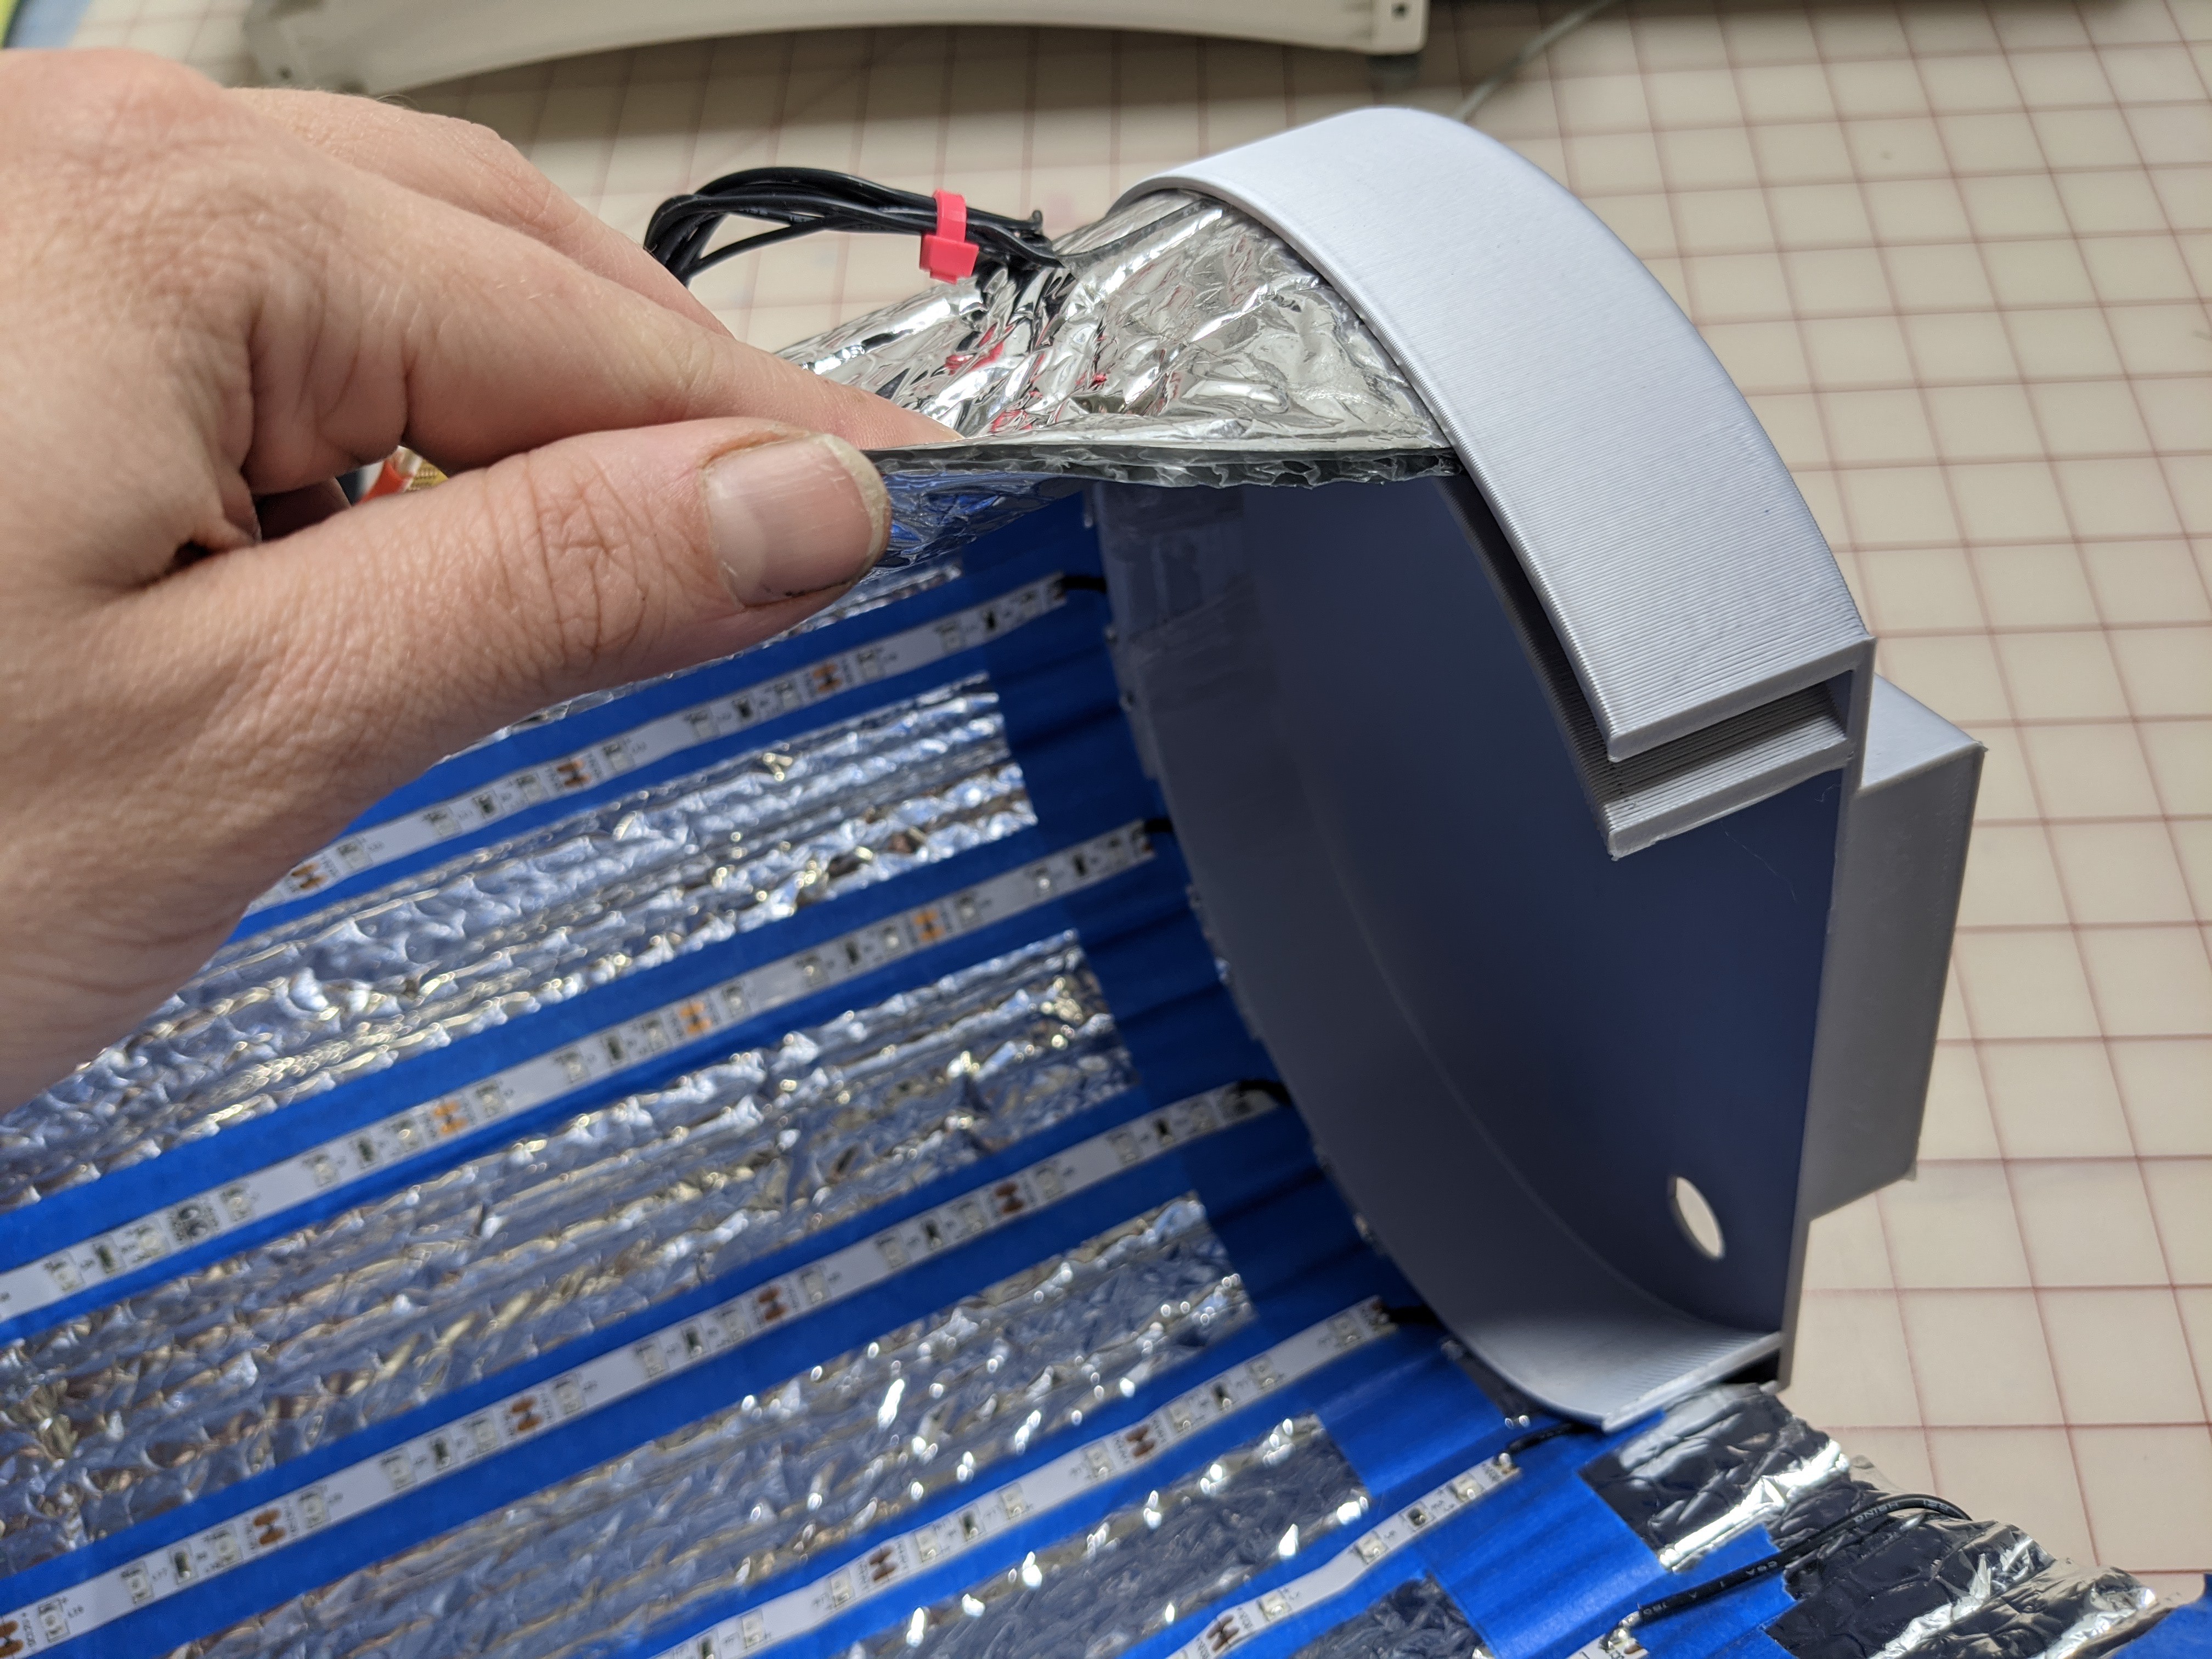
On obsessive material research...
The fun part of doing material research is finding out how the same materials get used across industries, so once you find a material with the desired properties - like a how this project relied on reflective mylar - one is able to conduct searches across applications to open up a world of ideas.
This project could keep iterating and be customized to the needs of any fabricator, while scaling to size and budget needs. I think there are more possibilities with this combo of materials - mylar being so wonderfully reflective it gets applied to so many different kinds of insulating materials and bags - there's a big shiny sandbox of easy to find materials to play with to use as light reflectors. I even had the idea of using spray adhesive to bond a sheet of mylar to a scrap of tyvek to see how that would create an even more thin flexible material - some day!
( I also can’t stress enough how important it is to talk to folks outside of your field about what you’re working on - I’ve gotten some of my best design solutions that way!)
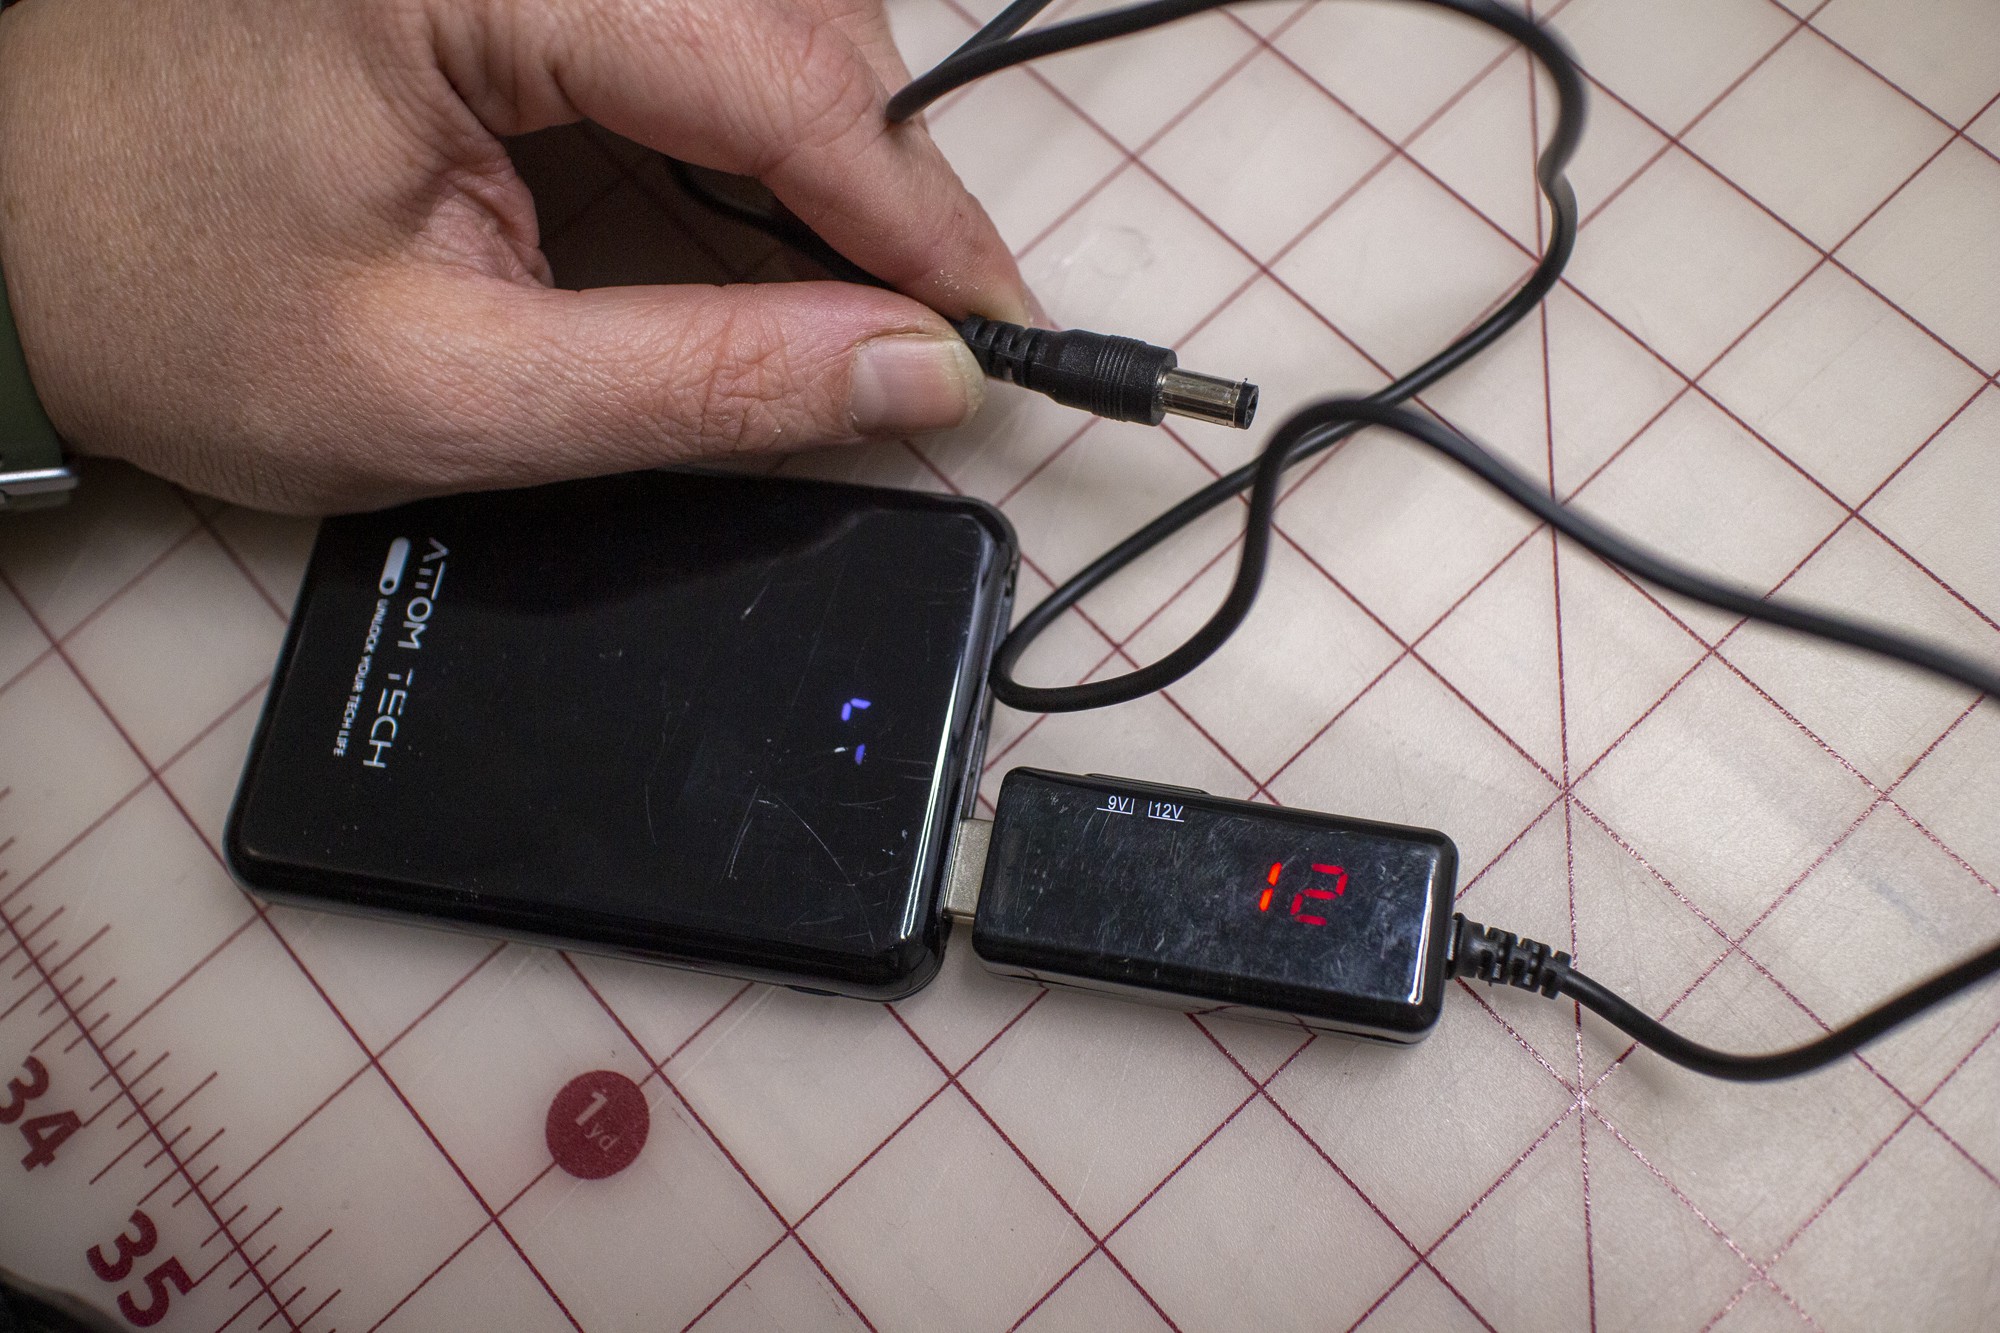
Thinking about Power
Batteries are awesome! I'm grateful for them every time I'm scrolling Twitter waiting in line for something. The problem with batteries is that as they get used up, you start to get inconsistent voltage which could mean extended curing times - so if possible, if you're envisioning more than 2-3 hours of exposure time with your DIY resin oven, you'll need to buy a big battery that will deliver constant output, or use a wall DC adapter rated for the amount of LEDs you're using.
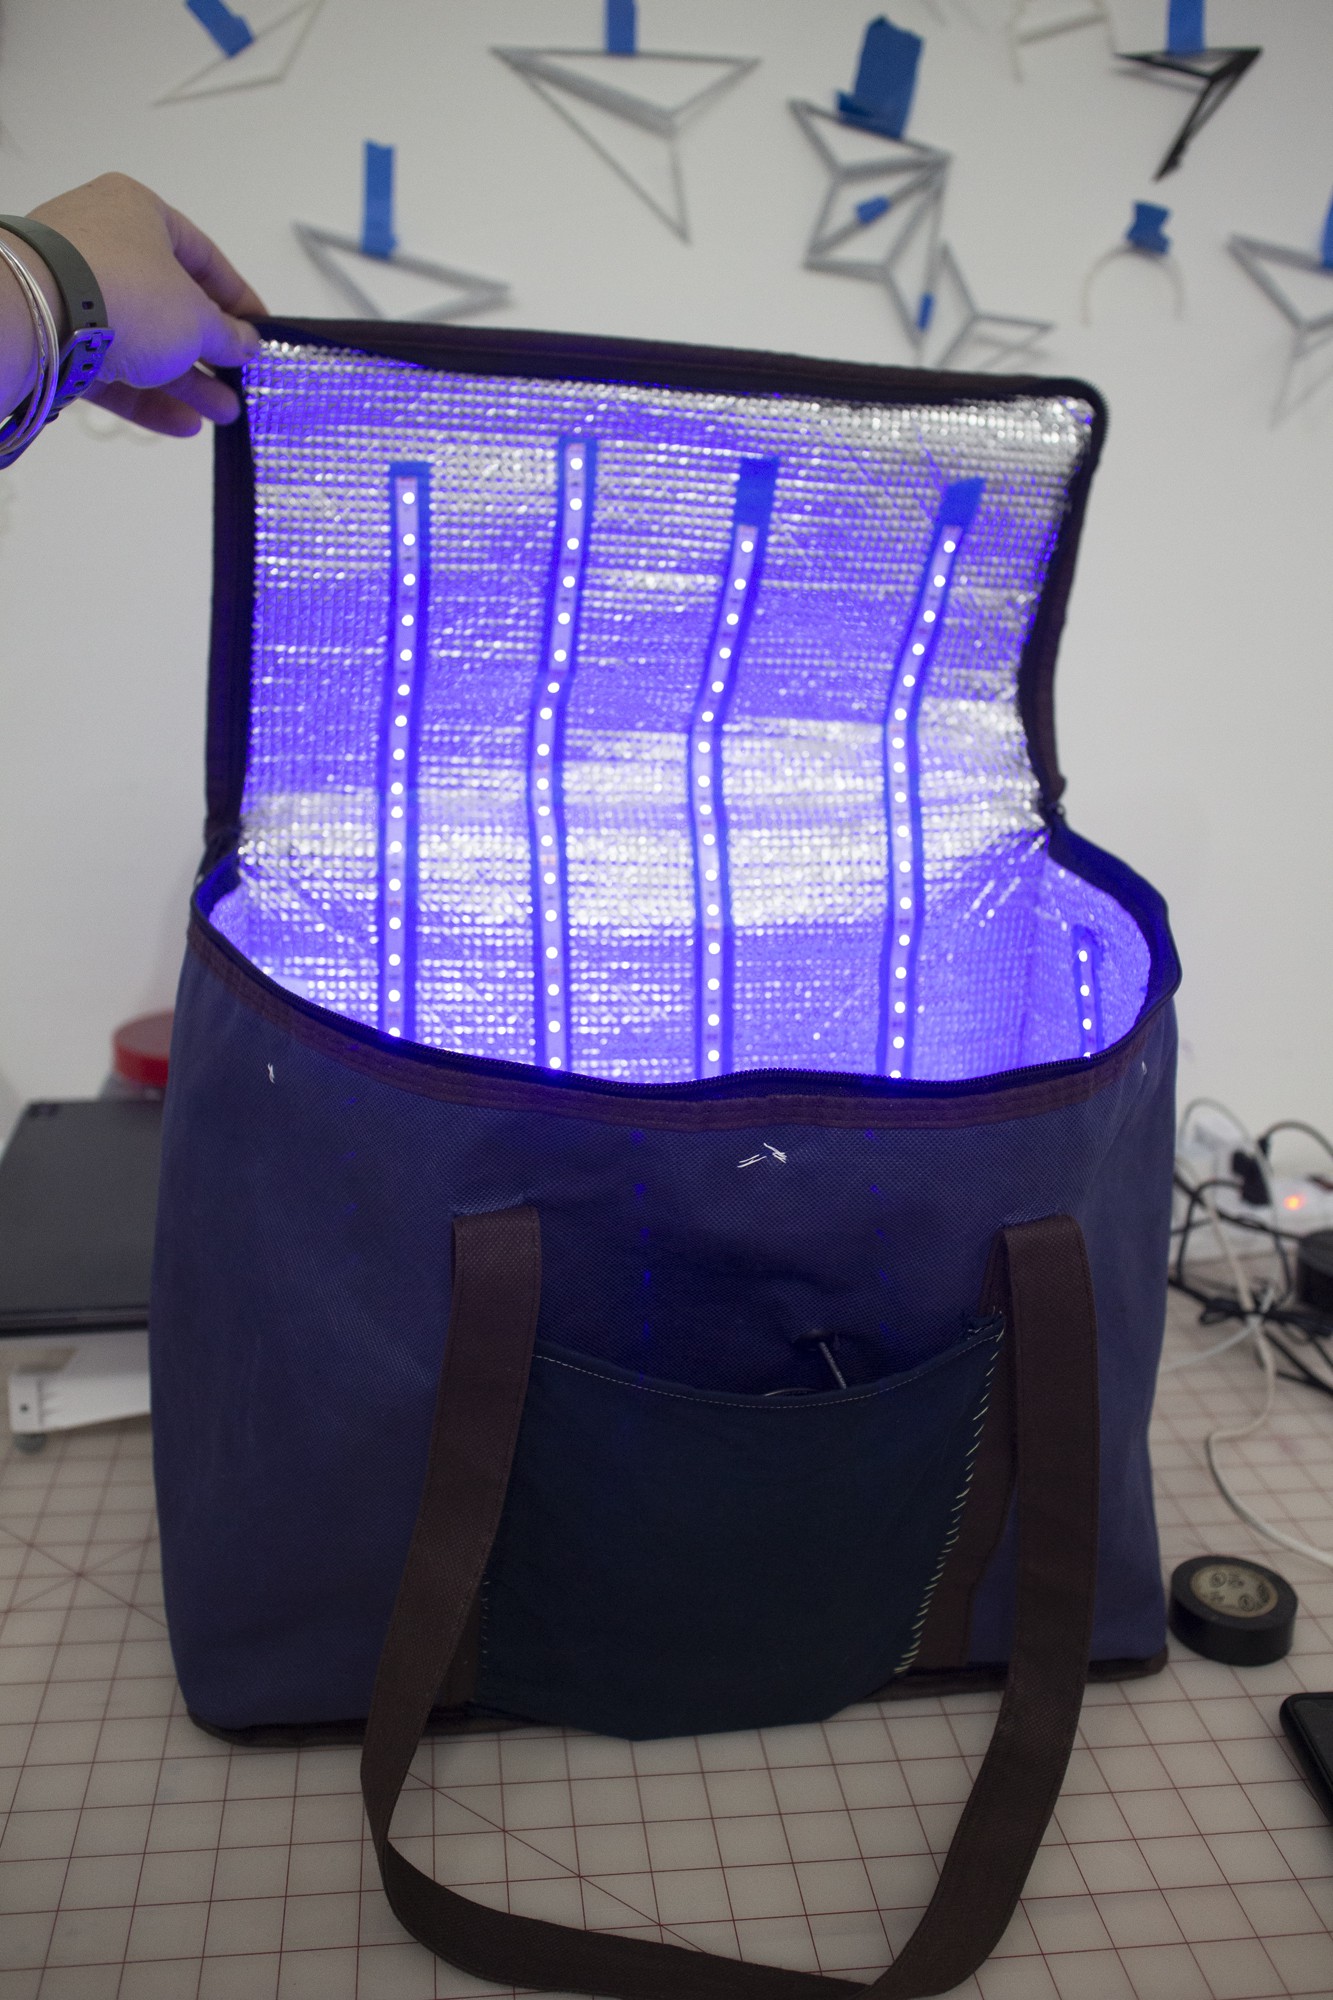
Final thoughts on repurposed grocery bag version:
- Likely needs greater light density than what I fabricated for faster and more consistent cure times
- Can fit some really large objects in there - probably perfect for curing parts coming right off of an SLA printer
- It's made with really easy to find parts with simple to accomplish fabrication techniques
- It stows away so small - smaller than the original design and smaller than the 3D printed version of the UV lamp. Mega points here.
- Total Cost - ~$66
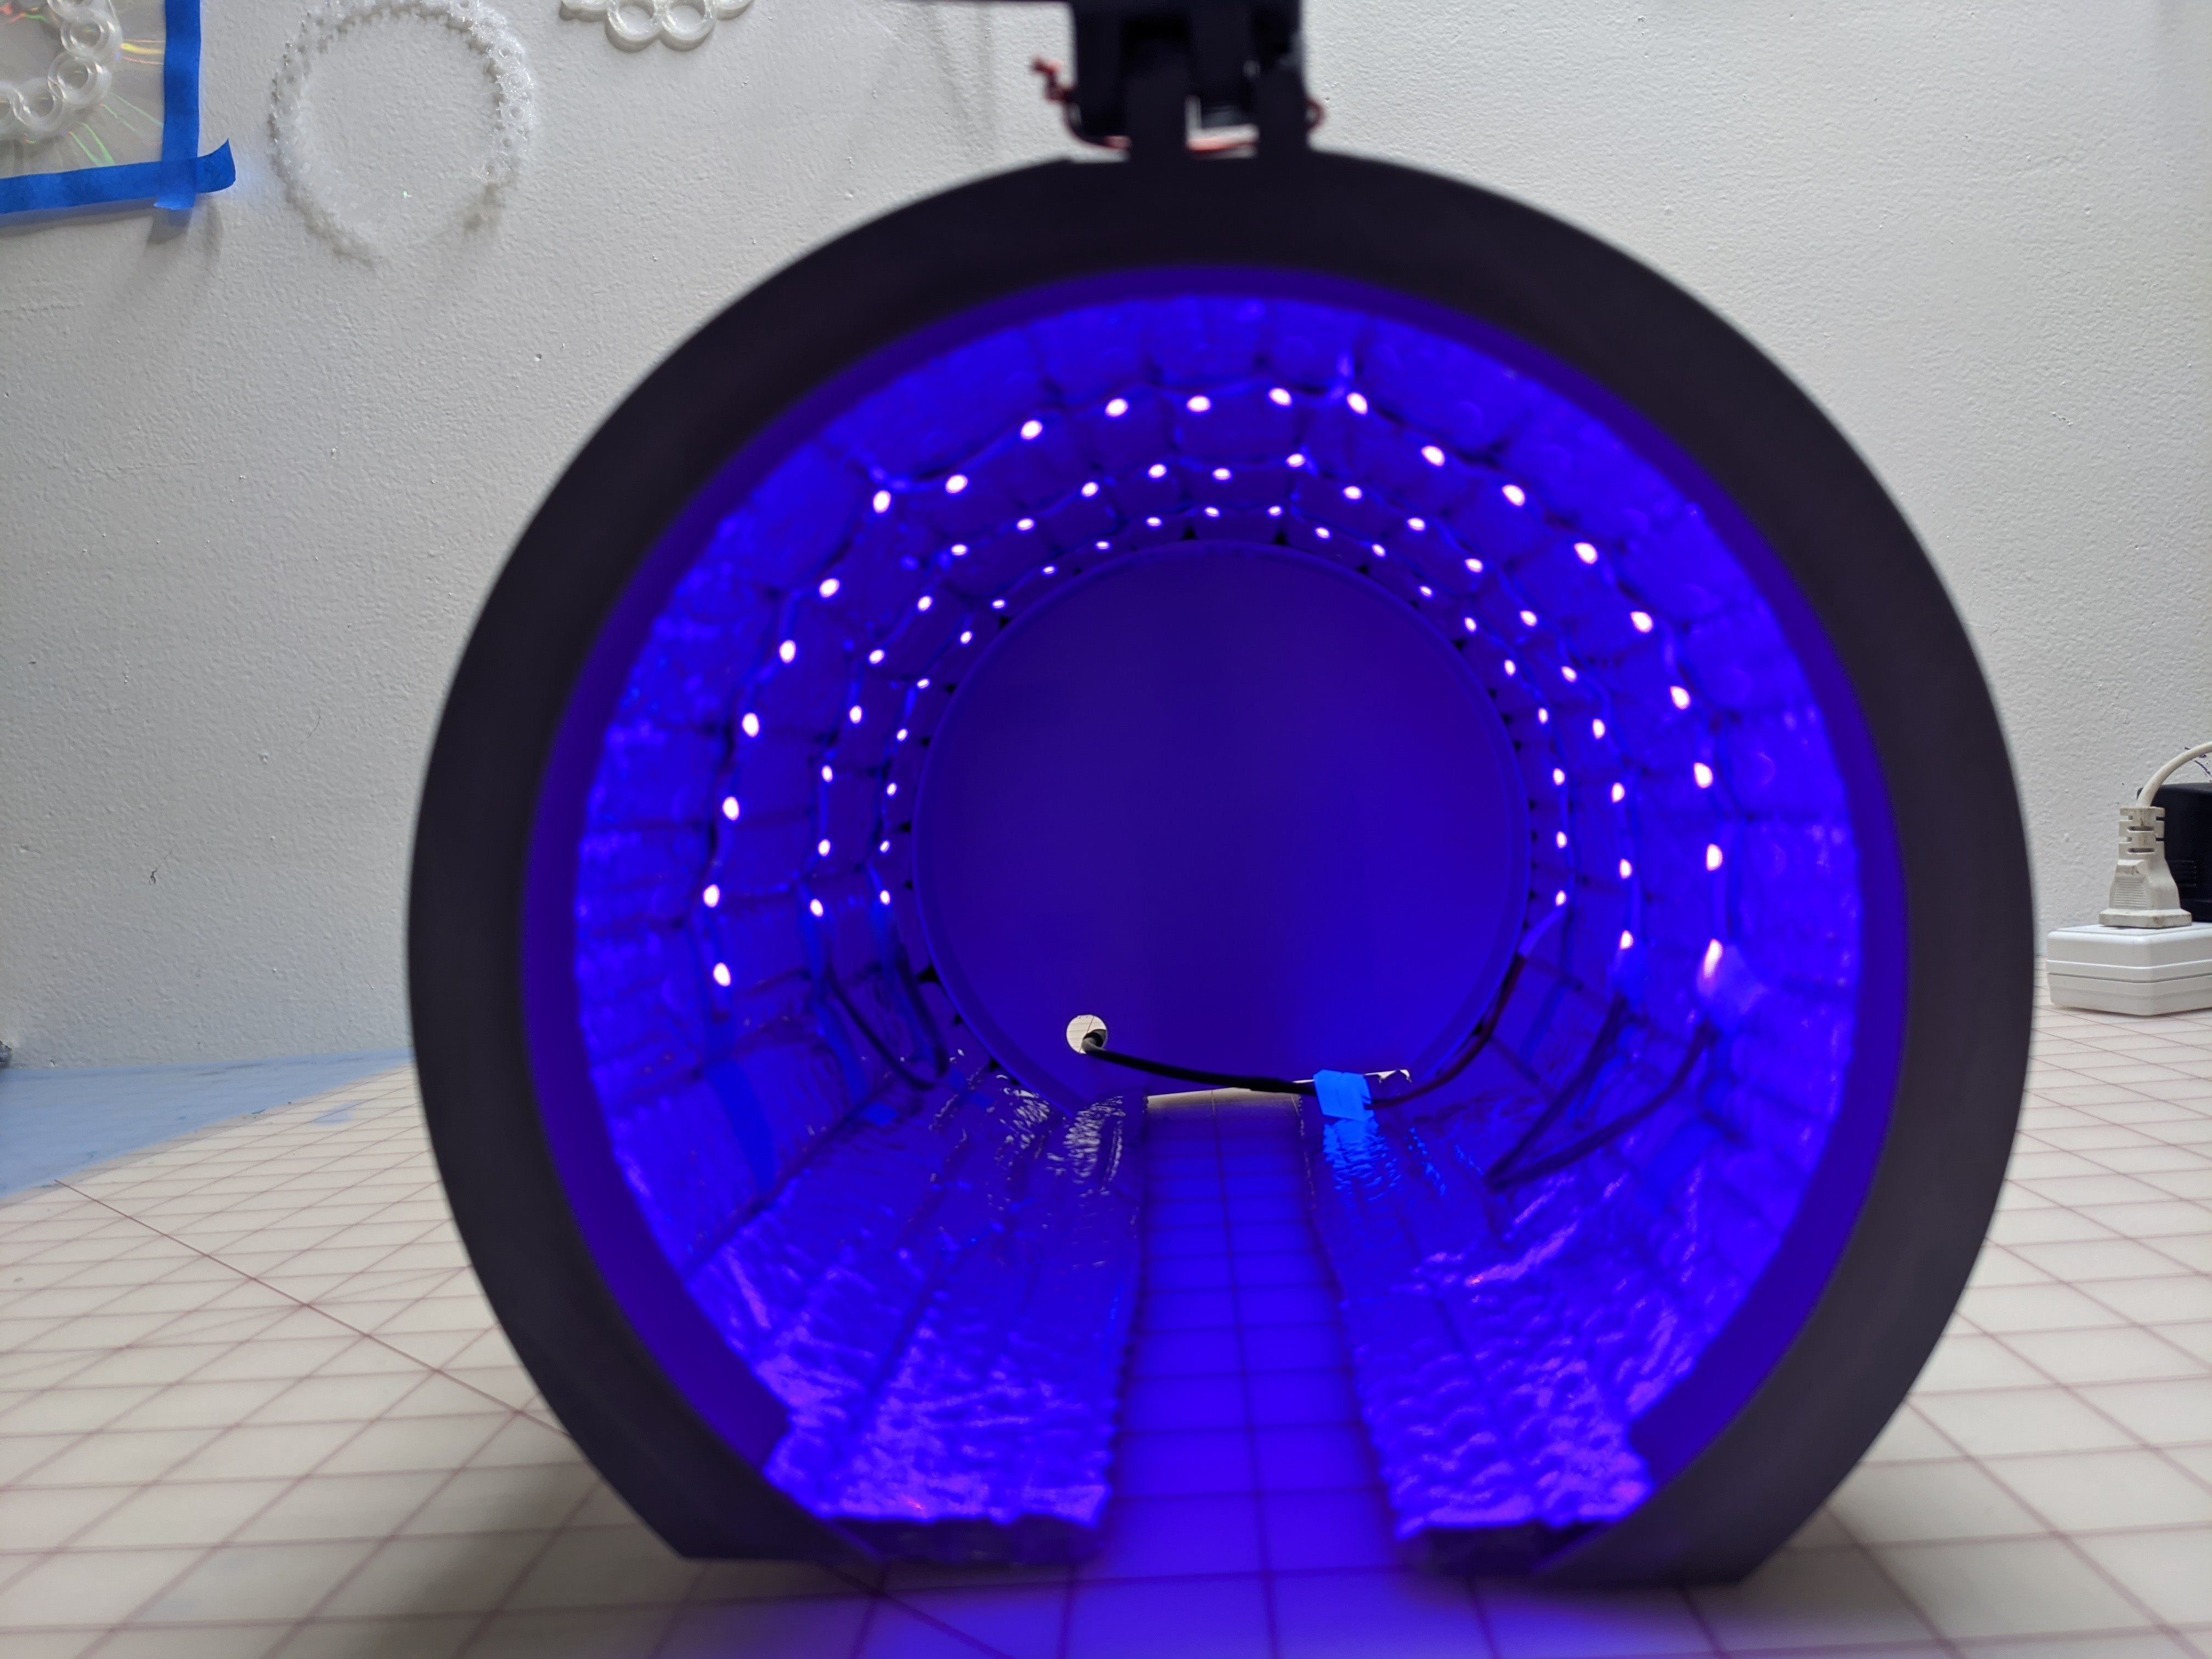
Final thoughts on 3D printed version:
- Greater light density and more suited for smaller parts.
- v2 needs a light gasket - similar to the way a sheet film triple box or dark room entrance works.
- Really good for small jewelry projects (see below - made by curing the resin on diffraction grating)
- Total Cost - ~$46 (not including tools 😬)
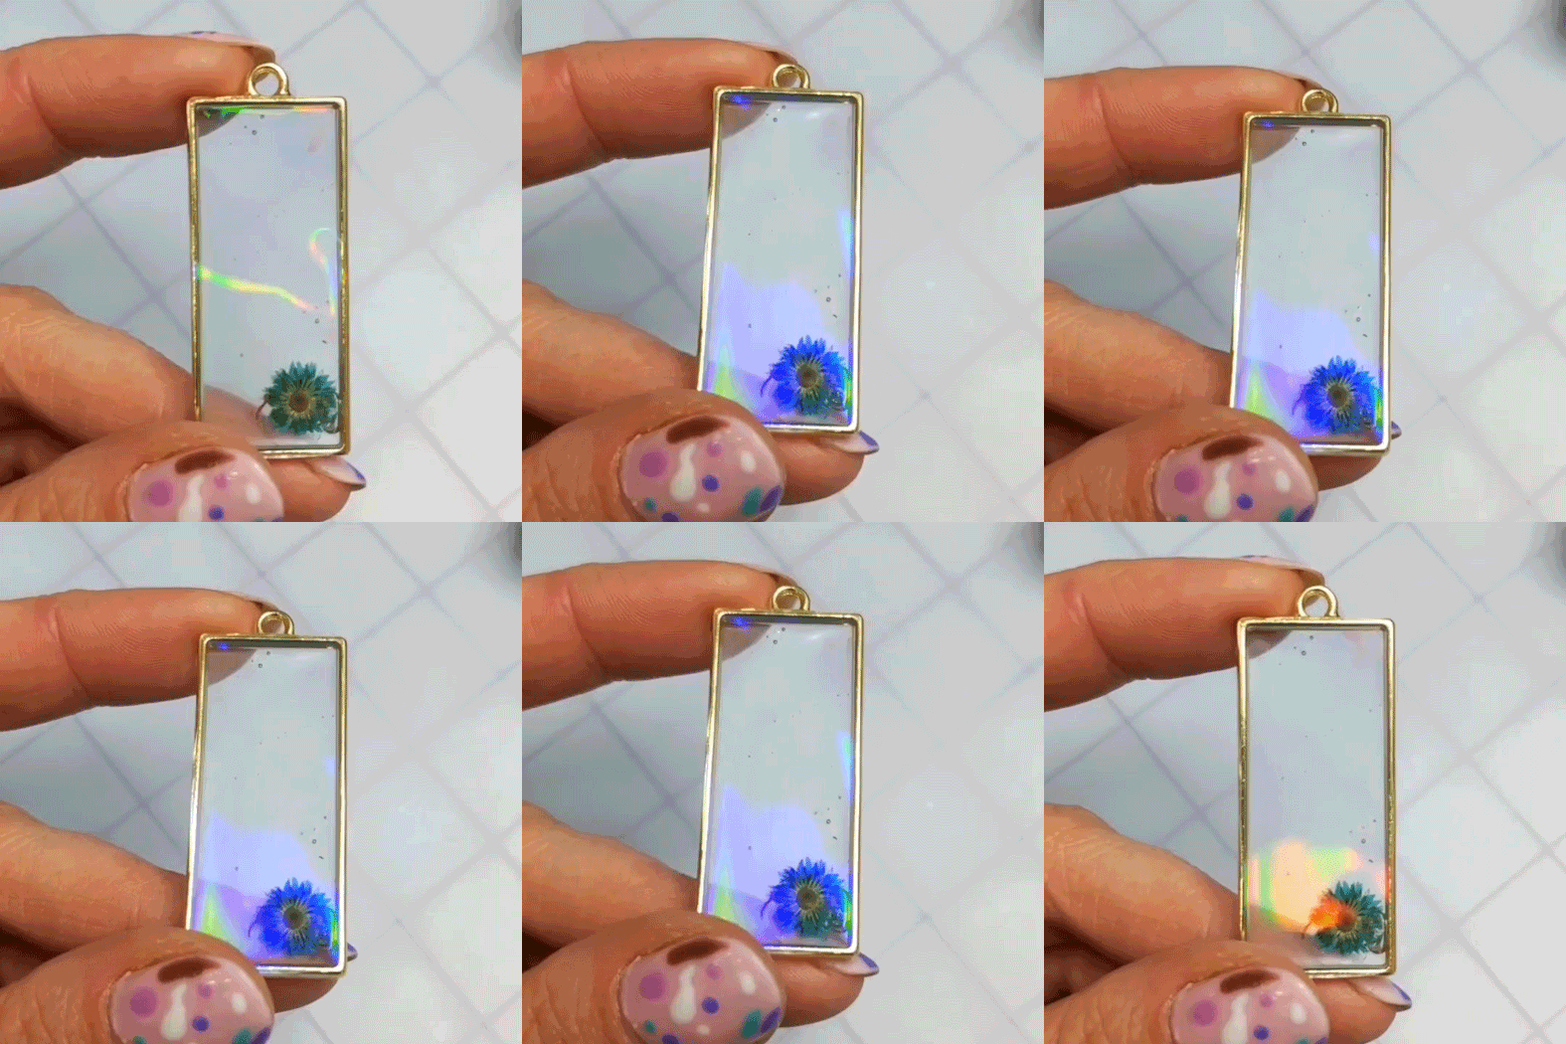
Parts research around making this collapsible UV lamp supercharged:
- The distributor LEDlightsworld.com has a collection of UV LED strips of varying powers and light frequencies that could be implemented to work with specific resin compounds, or higher wattages for quicker exposure times/curing greater volumes of resin - they are a lot more expensive than the $15 UV led strip I worked with in my iterating, but are also much more customizable to your specific application if you’re working in a lab setting.
- I mentioned it above, but I think taking thin pieces of mylar and bonding it to heavy duty fabrics has a lot of potential, couple this with tailored LED strips that are designed with the frequency for your specific resin, the size and shape of this UV lamp is boundless.
Thanks again for the finalist selection Hackaday! It was so fun to build this research out and I can't wait to see how other fabricators interpret this for their own use cases in the future!
 audreyobscura
Discussions
Become a Hackaday.io Member
Create an account to leave a comment. Already have an account? Log In.