Firstly, using Ubuntu, imagemagick software was installed and, using the command line, we go to the relevant folder eg:
$ cd /media/tegwyn/C999-F05F/images/Wasp_images_03
.... Then we use an imagemagick command to resixe all the images in one hit to 640 by 640:
$ mogrify -resize 640x640! *.jpg
.... Next, remane the image set sequentially to something more useful eg:
$ rename 's/.+/our $i; sprintf("B%05d.jpg", 1+$i++)/e' *

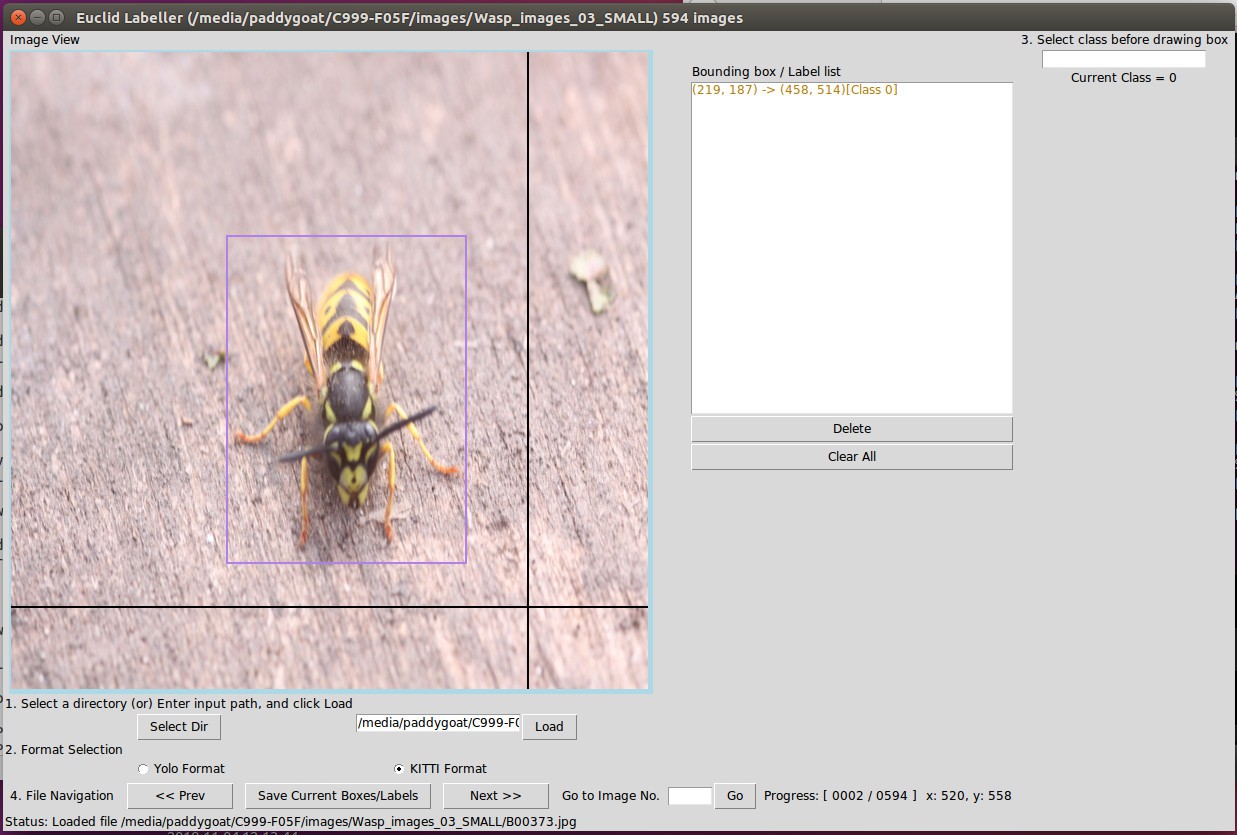
Now to draw the bounding boxes and export the coordinates in kitti format:
...... Install Pillow using:
$ pip install Pillow
Download euclidaug python script from: https://github.com/prabindh/euclid
Using command line, cd to the euclidaug folder eg:
$ cd /home/tegwyn/euclidaug/euclid-master/
...... Then run the script:
$ python euclid.py

.... Set the class number eg 2 for all the wasp photos and draw the bounding boxes such that the body of the insect is in the centre. Taking the photos is fun and this is the only boring part of the process. It takes about 5 seconds per image, 720 images per hour. It's a good idea to split the images up into batches of 500 or so and use a different capital letter prefix for each batch of images and labels to ensure successful sanity check later on.
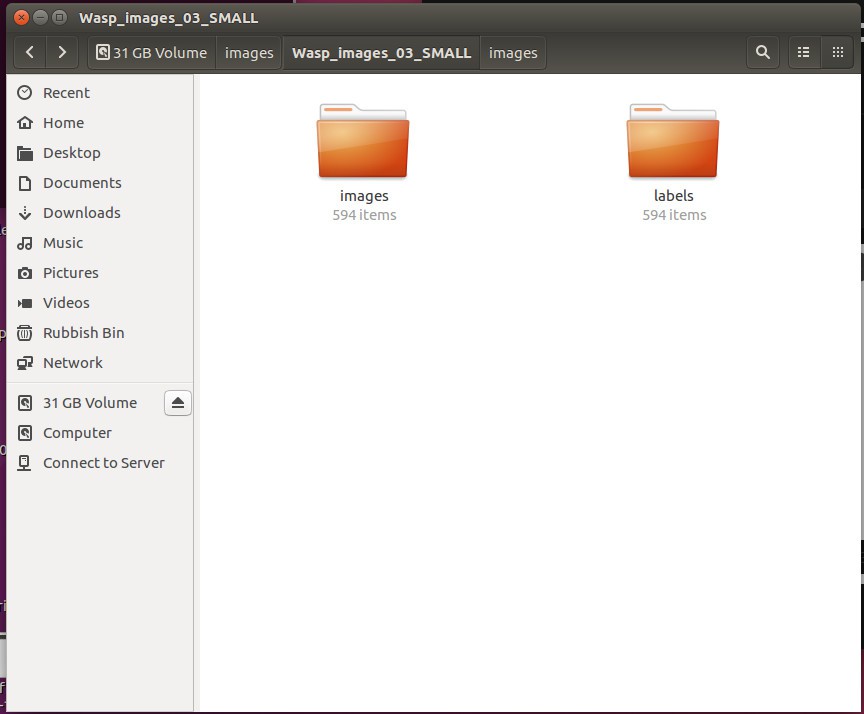
IMPORTANT: Check that there's the same number of images and text files in each batch !!!!!!

 Capt. Flatus O'Flaherty ☠
Discussions
Become a Hackaday.io Member
Create an account to leave a comment. Already have an account? Log In.
Instead of manually labelling each image, have you tried using euclidaug to automate the labelling process ? You need the objects and the backgrounds separated, and euclidaug can autogenerate the combined images of different classes.
python euclidaug.py C:\xxx\euclid\euclidaug\sample-objects C:\xxx\euclid\euclidaug\sample-background C:\xxx\euclid\euclidaug\train-sample.txt
Are you sure? yes | no