-
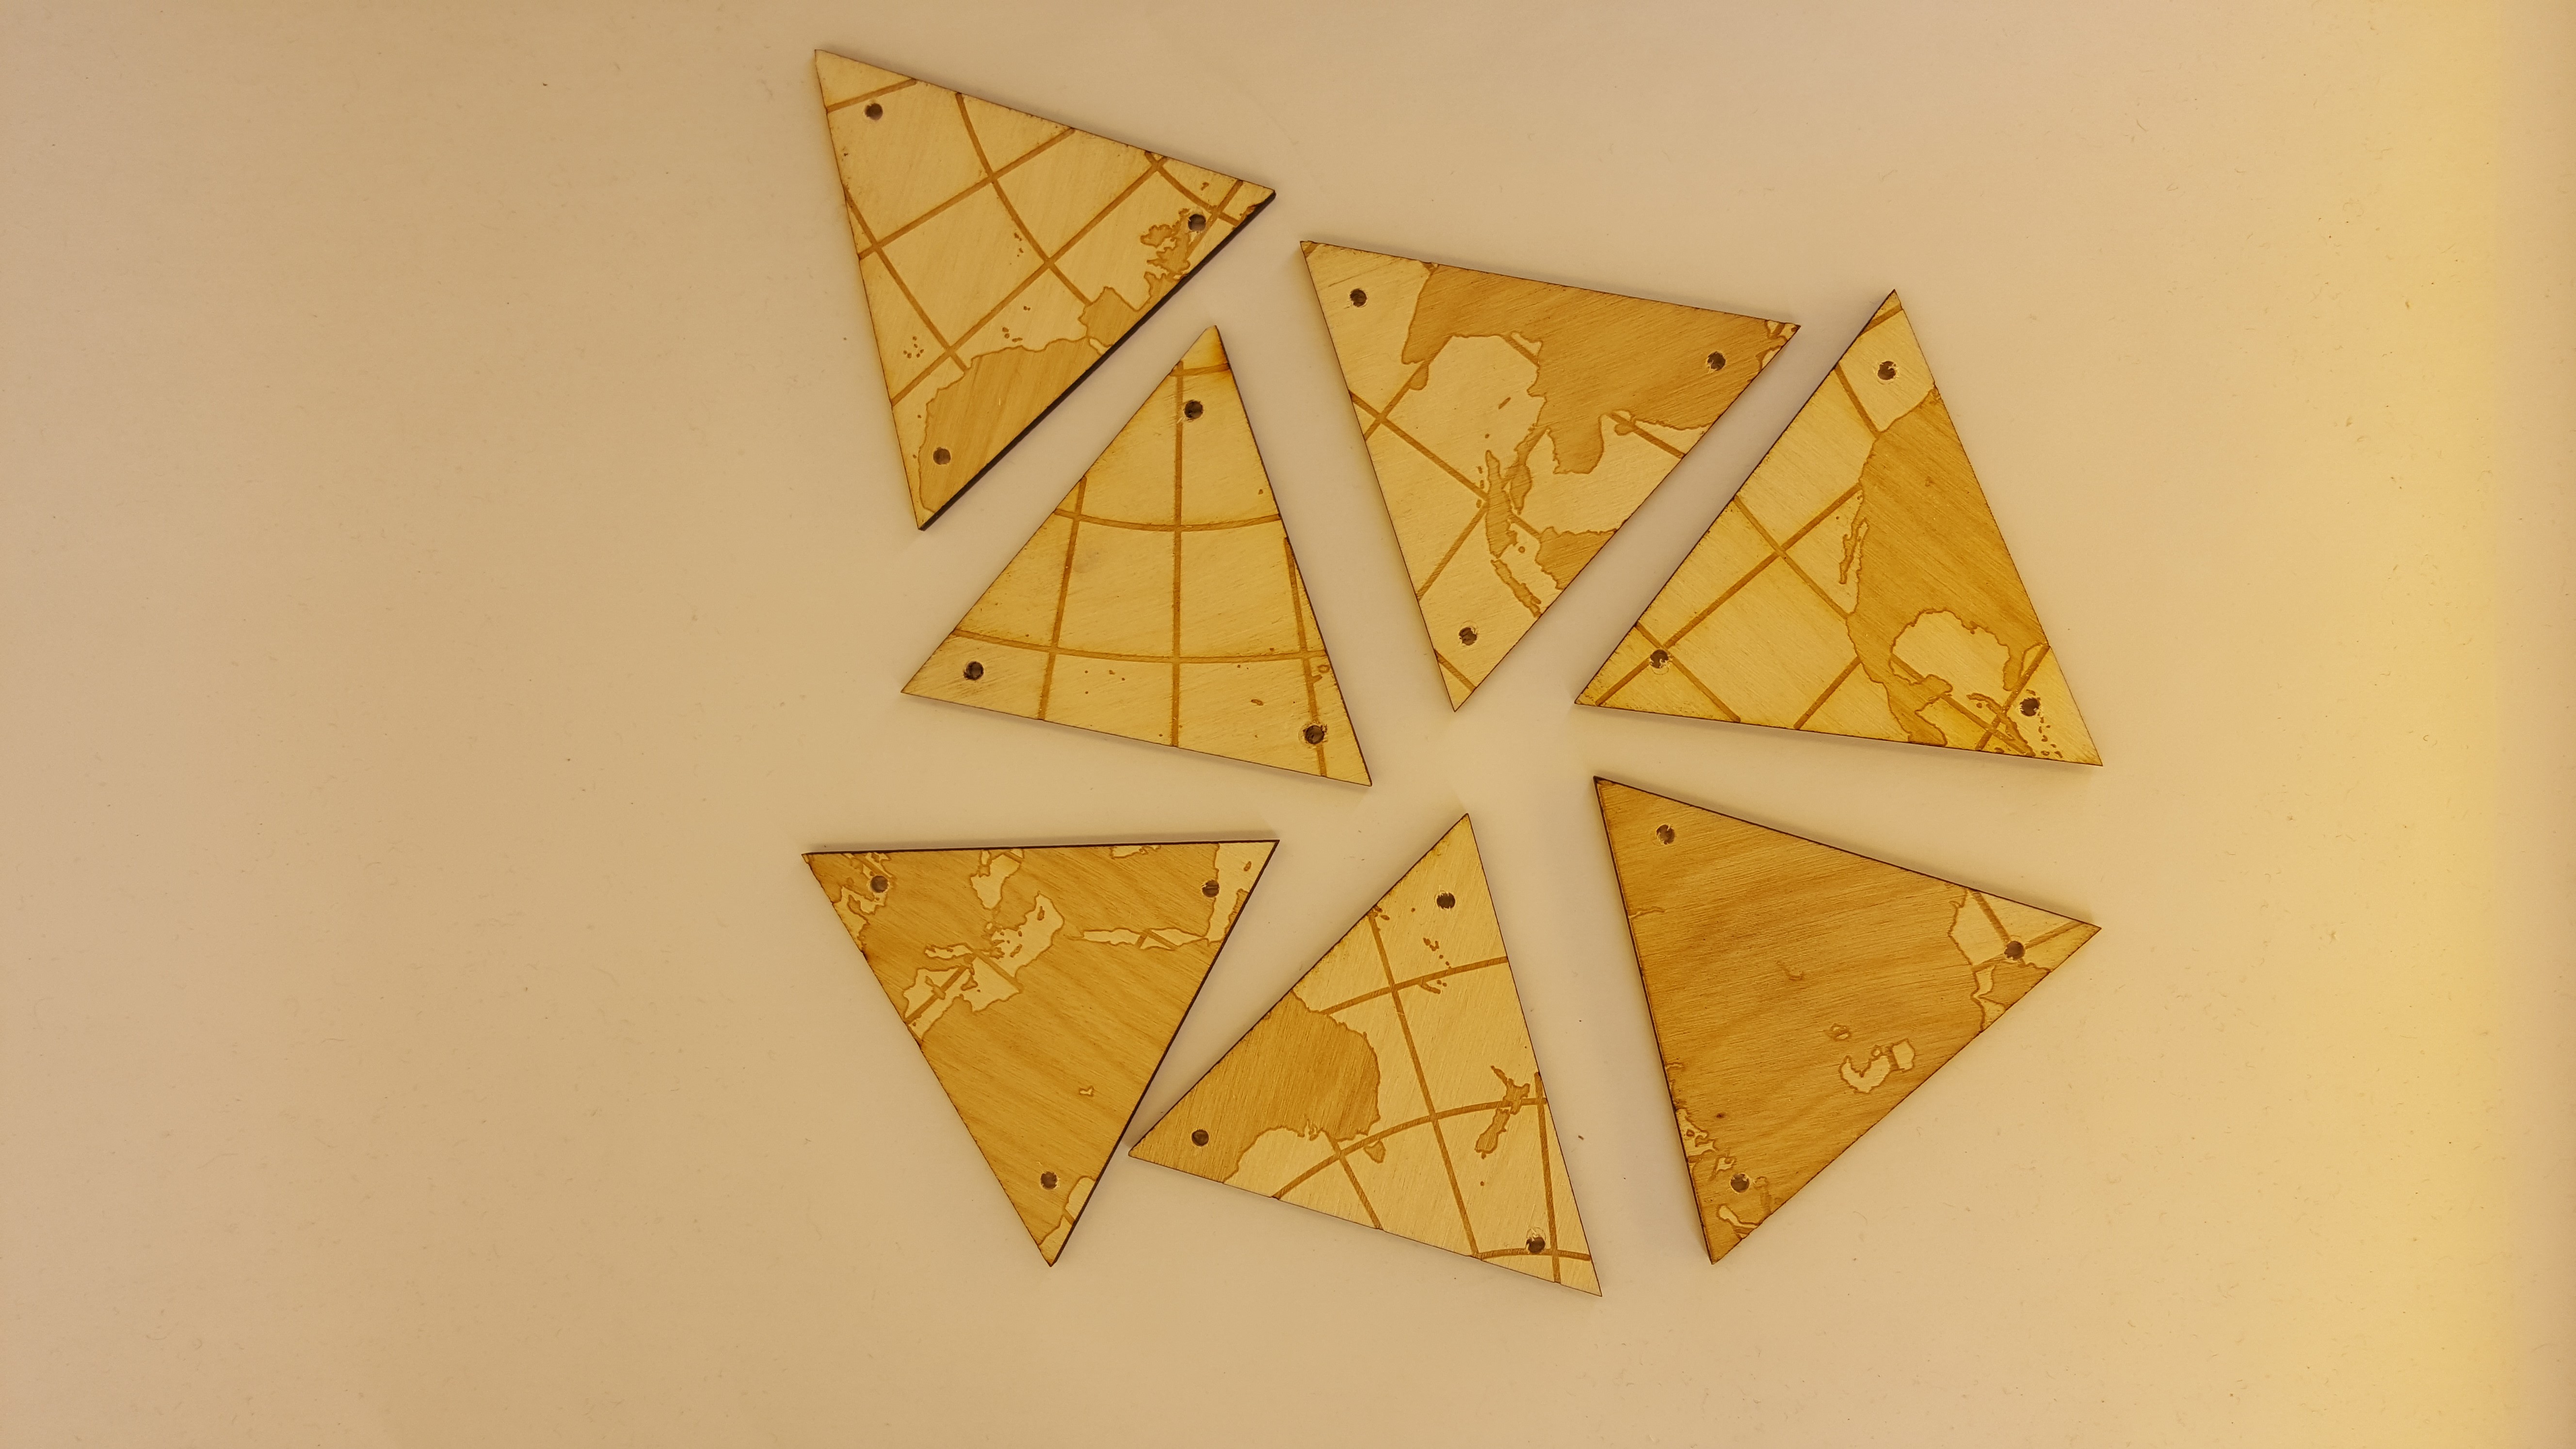
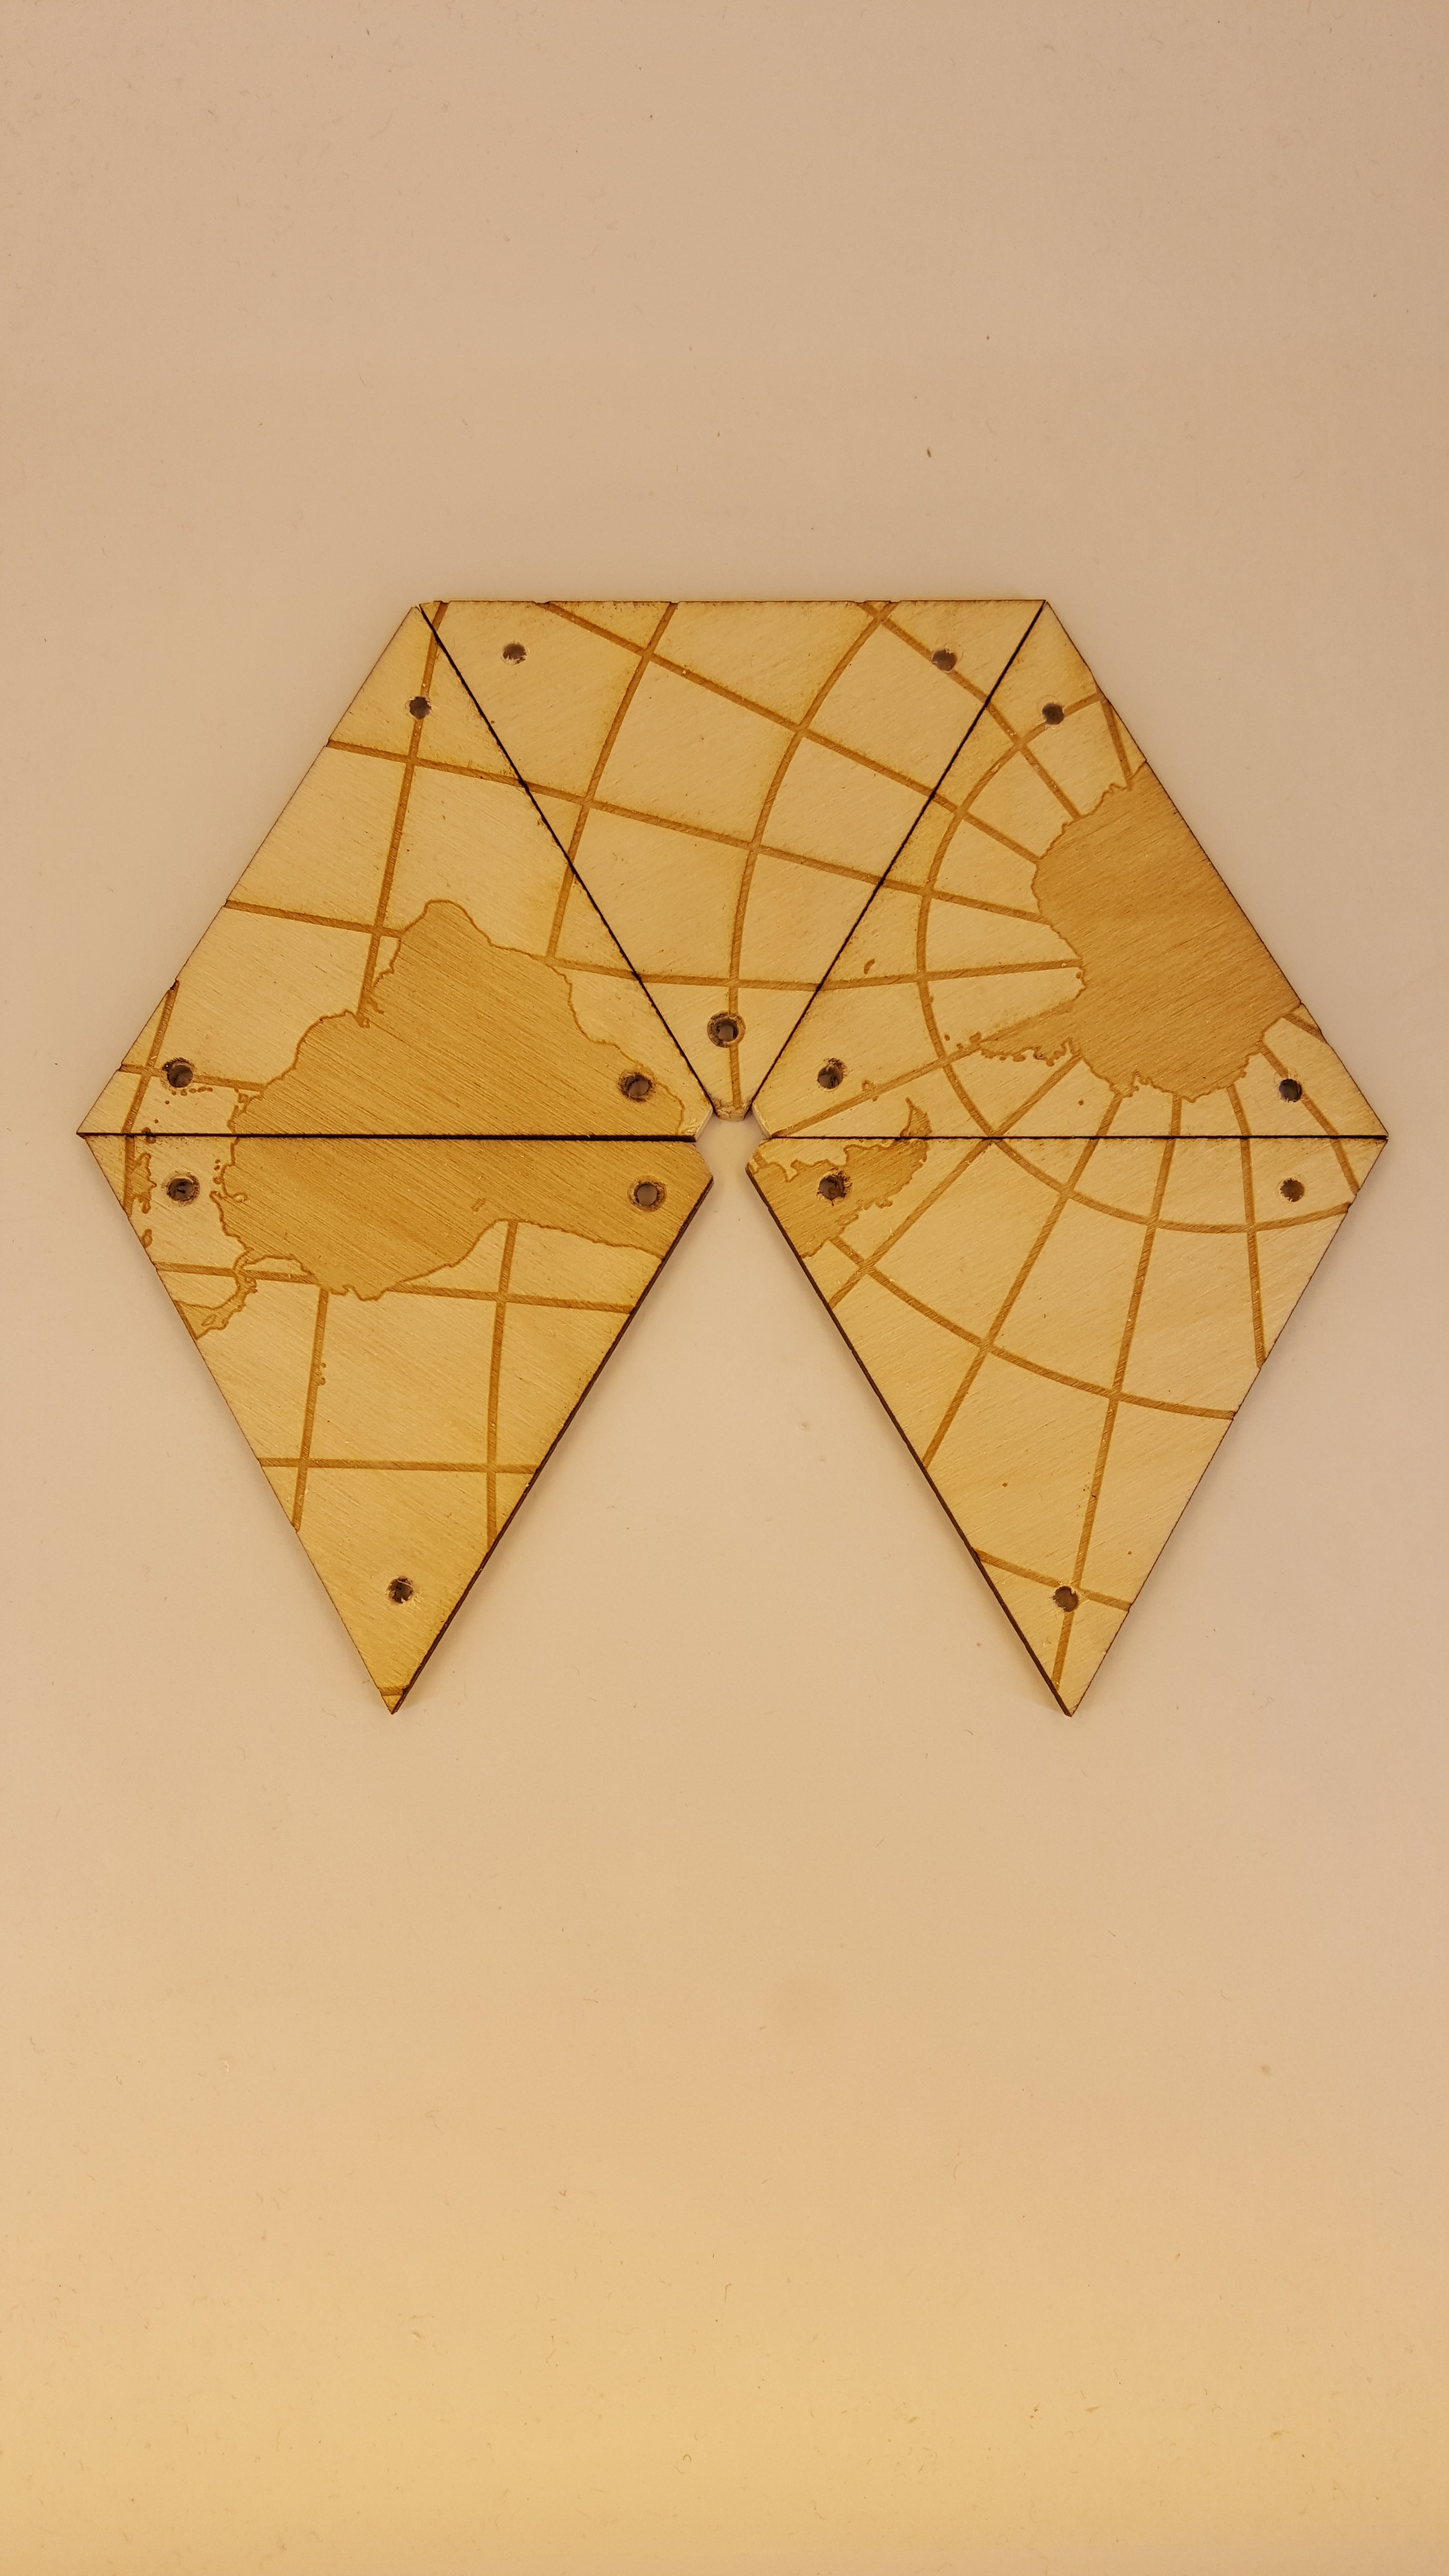
1Laser cut triangle and base panels
I cut these with epilog laser cutters (mini/EXT models). The distance from the triangle tip to the center of the hole cutouts is 0.50". Note that if you change this, make sure to modify the 3D printed vertices so that the holes line up for the screws! The map files here have the continents etched in; to remove the etch, simply get rid of the grey infill in the file. CorelDraw (.cdr) and PDF files are located in the files area.
![]()
-
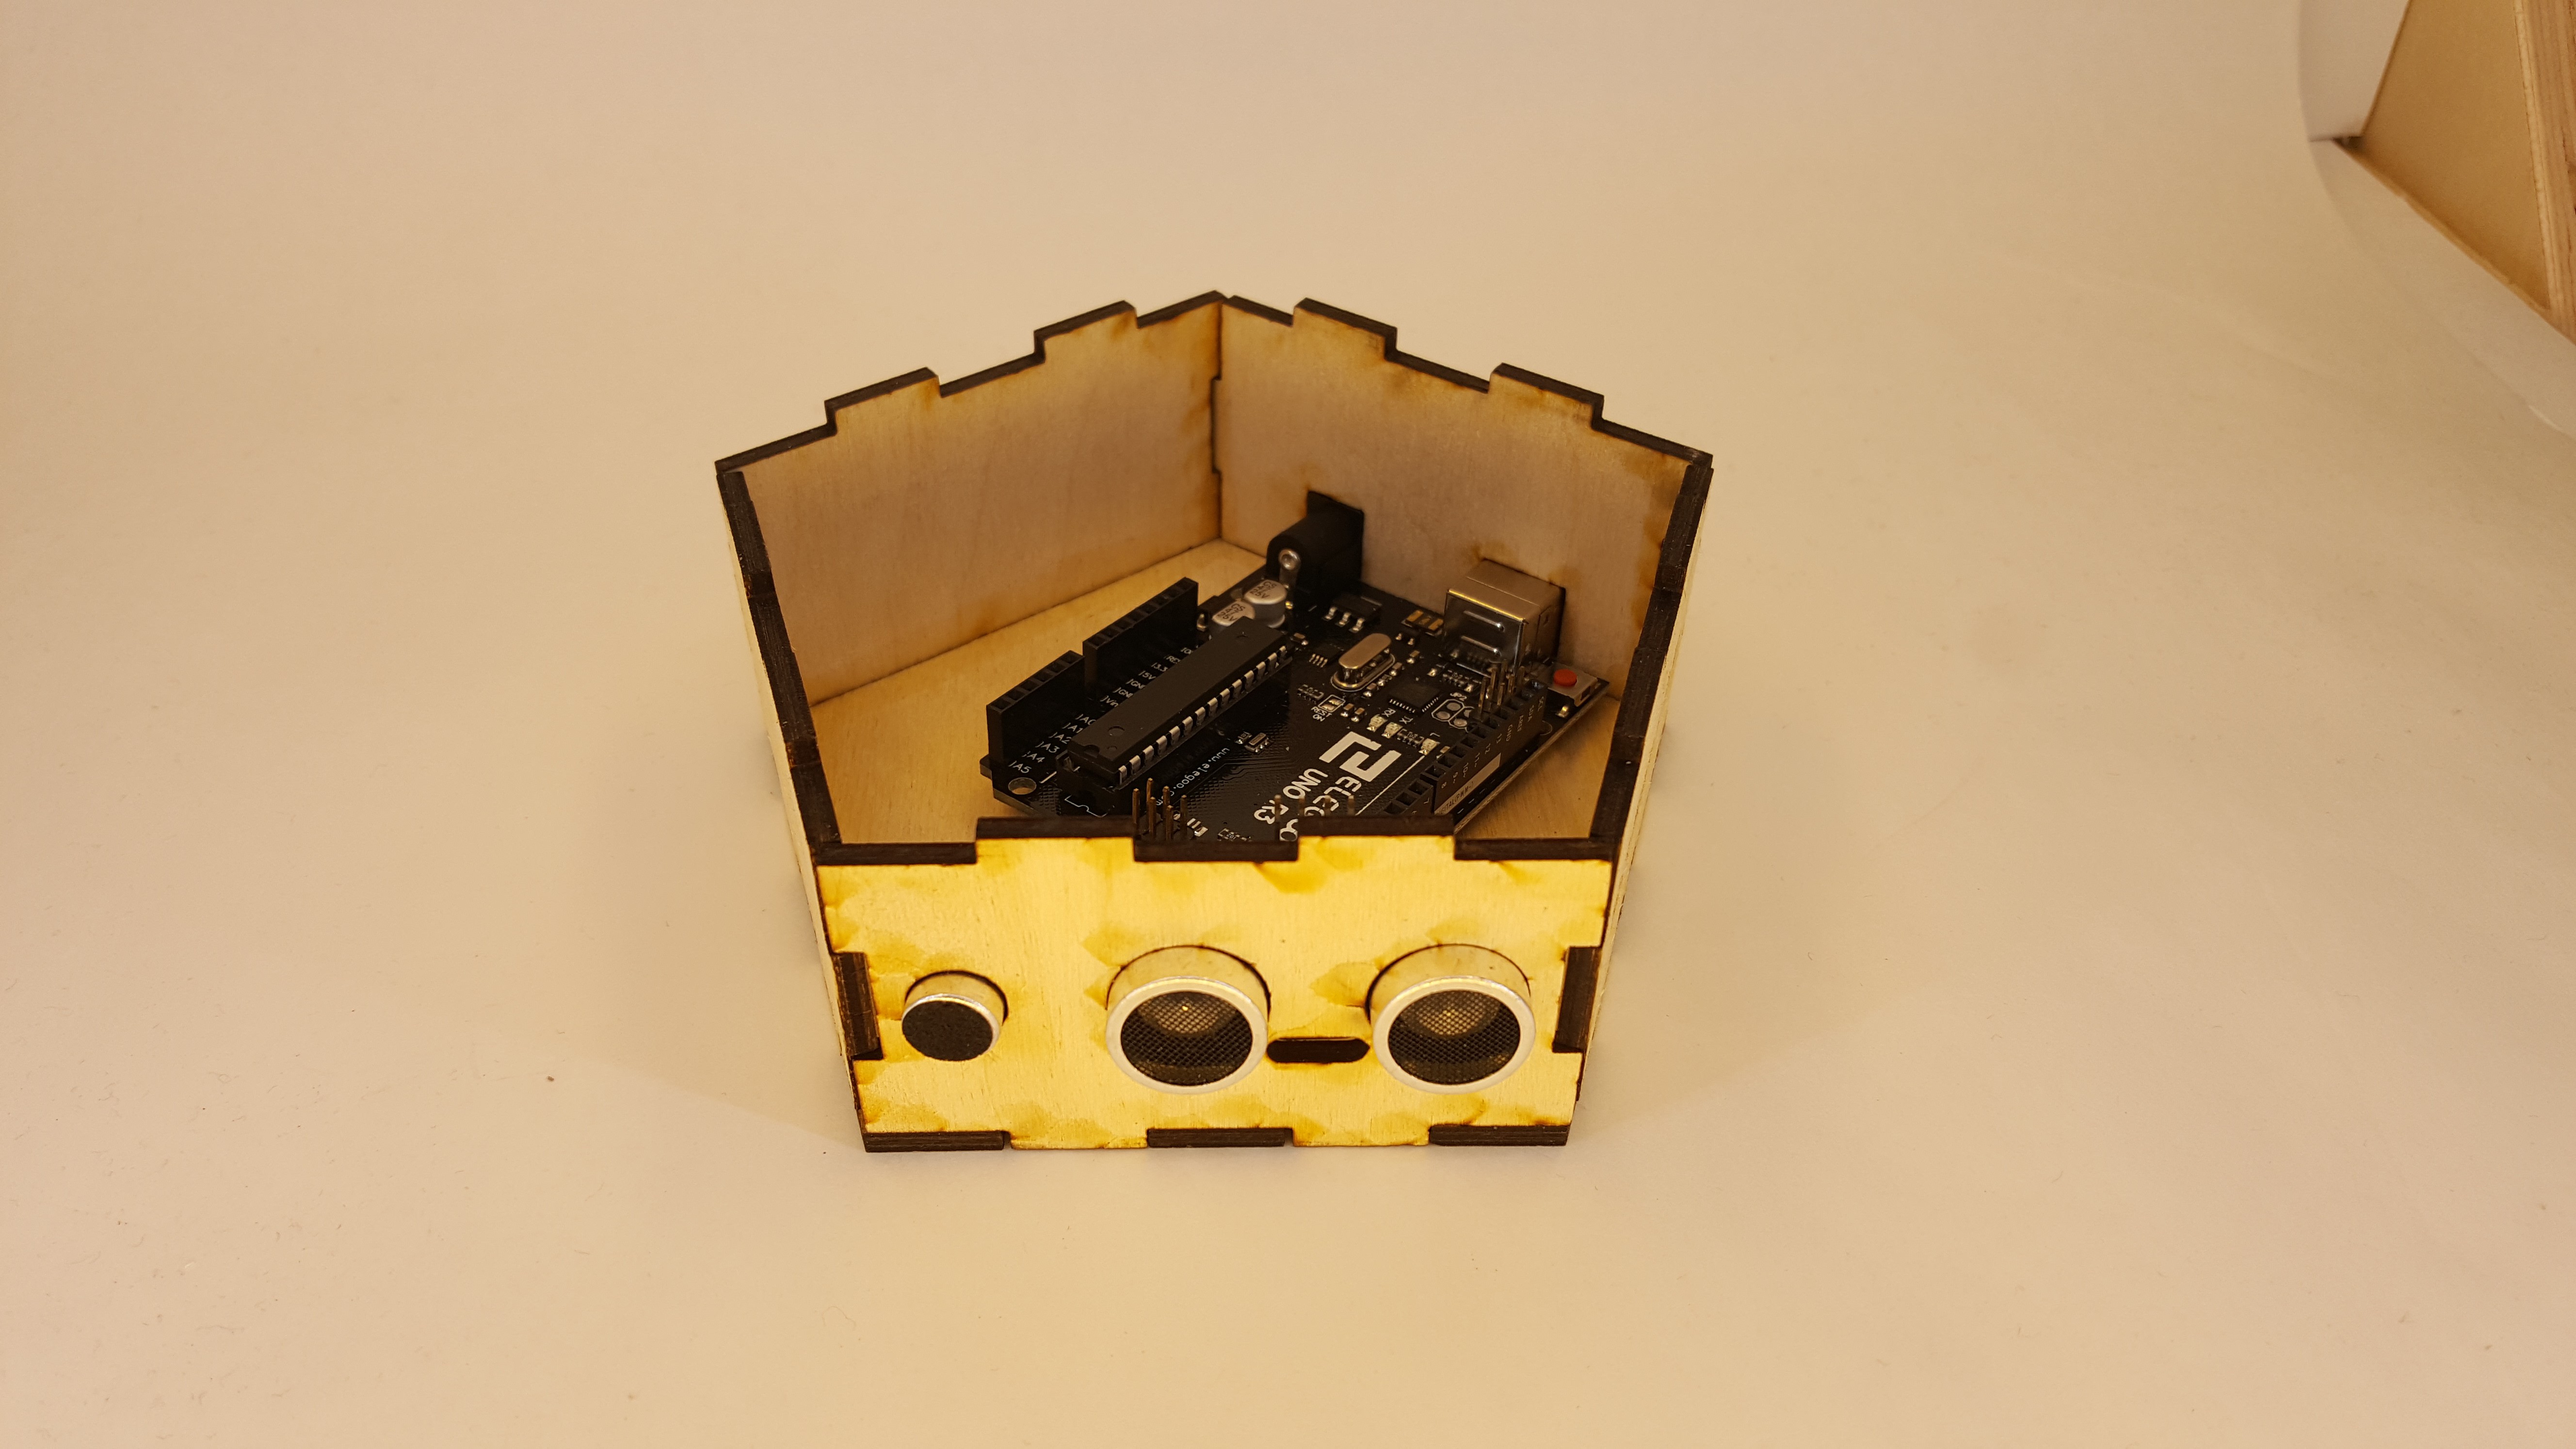
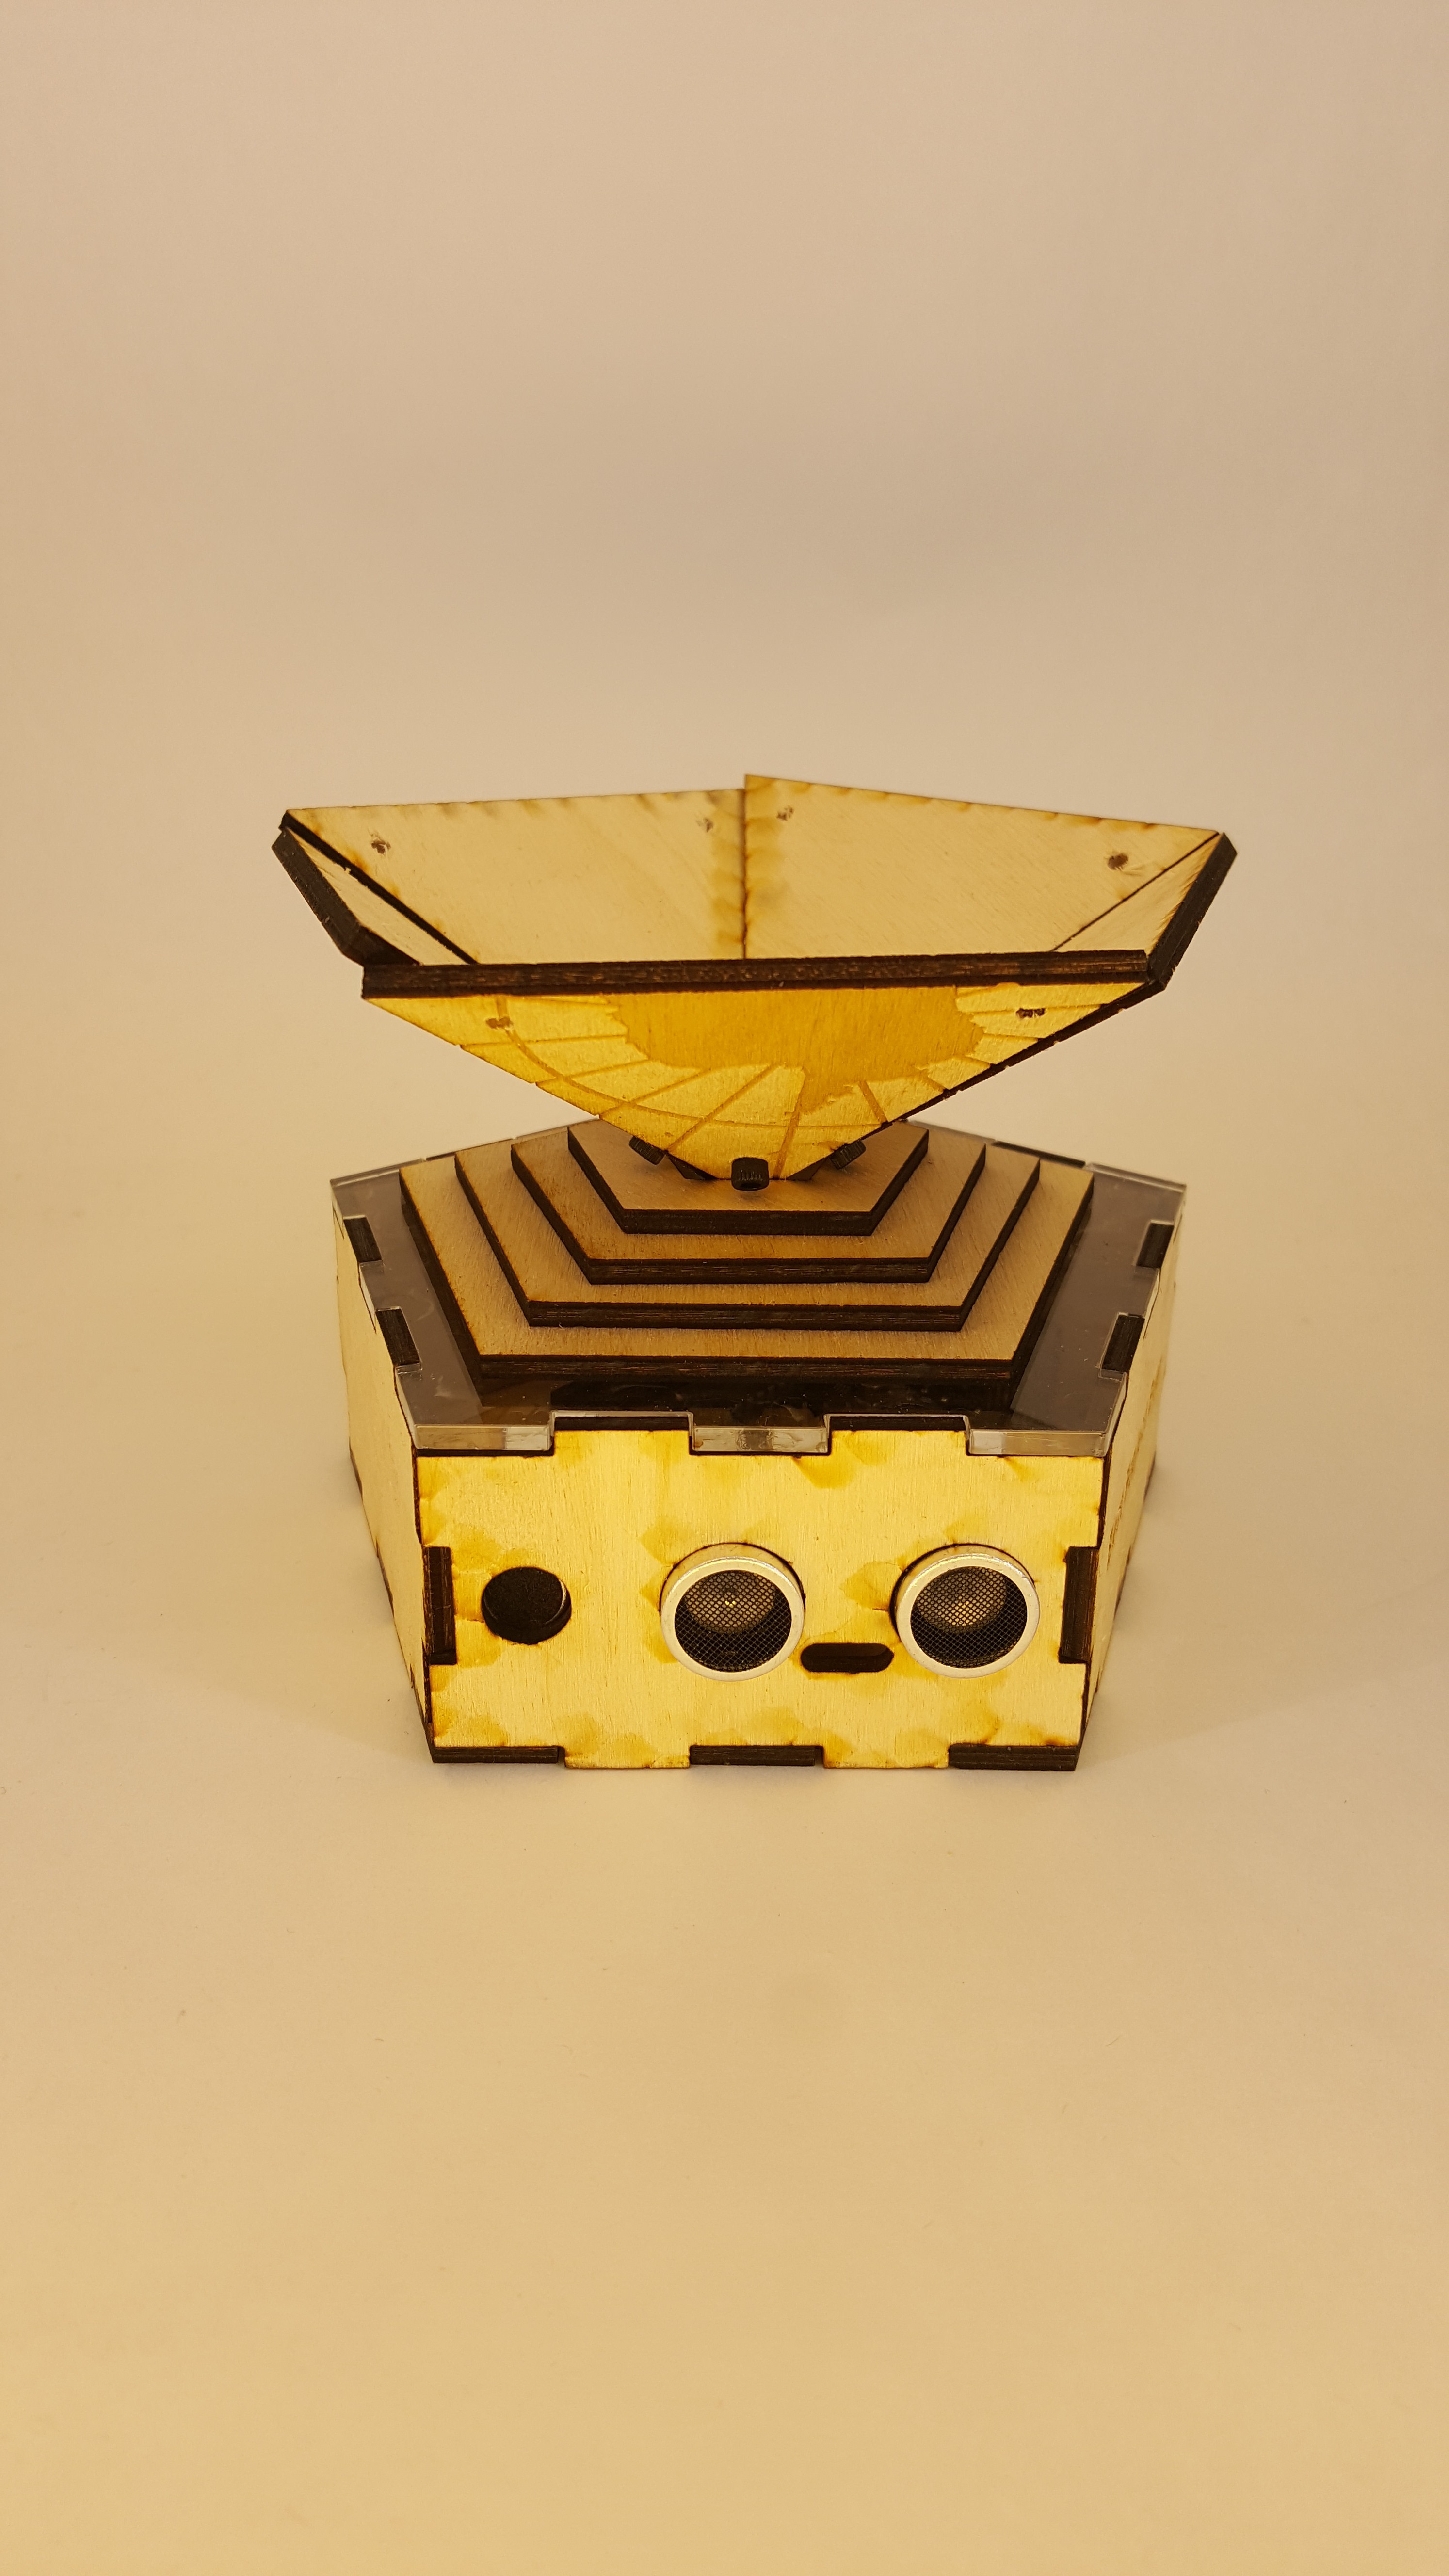
2Glue base panels
Assemble the base panels using wood glue to hold everything together. I arranged mine so that the cutouts for the sensors and arduino ports are opposite of each other.
![]()
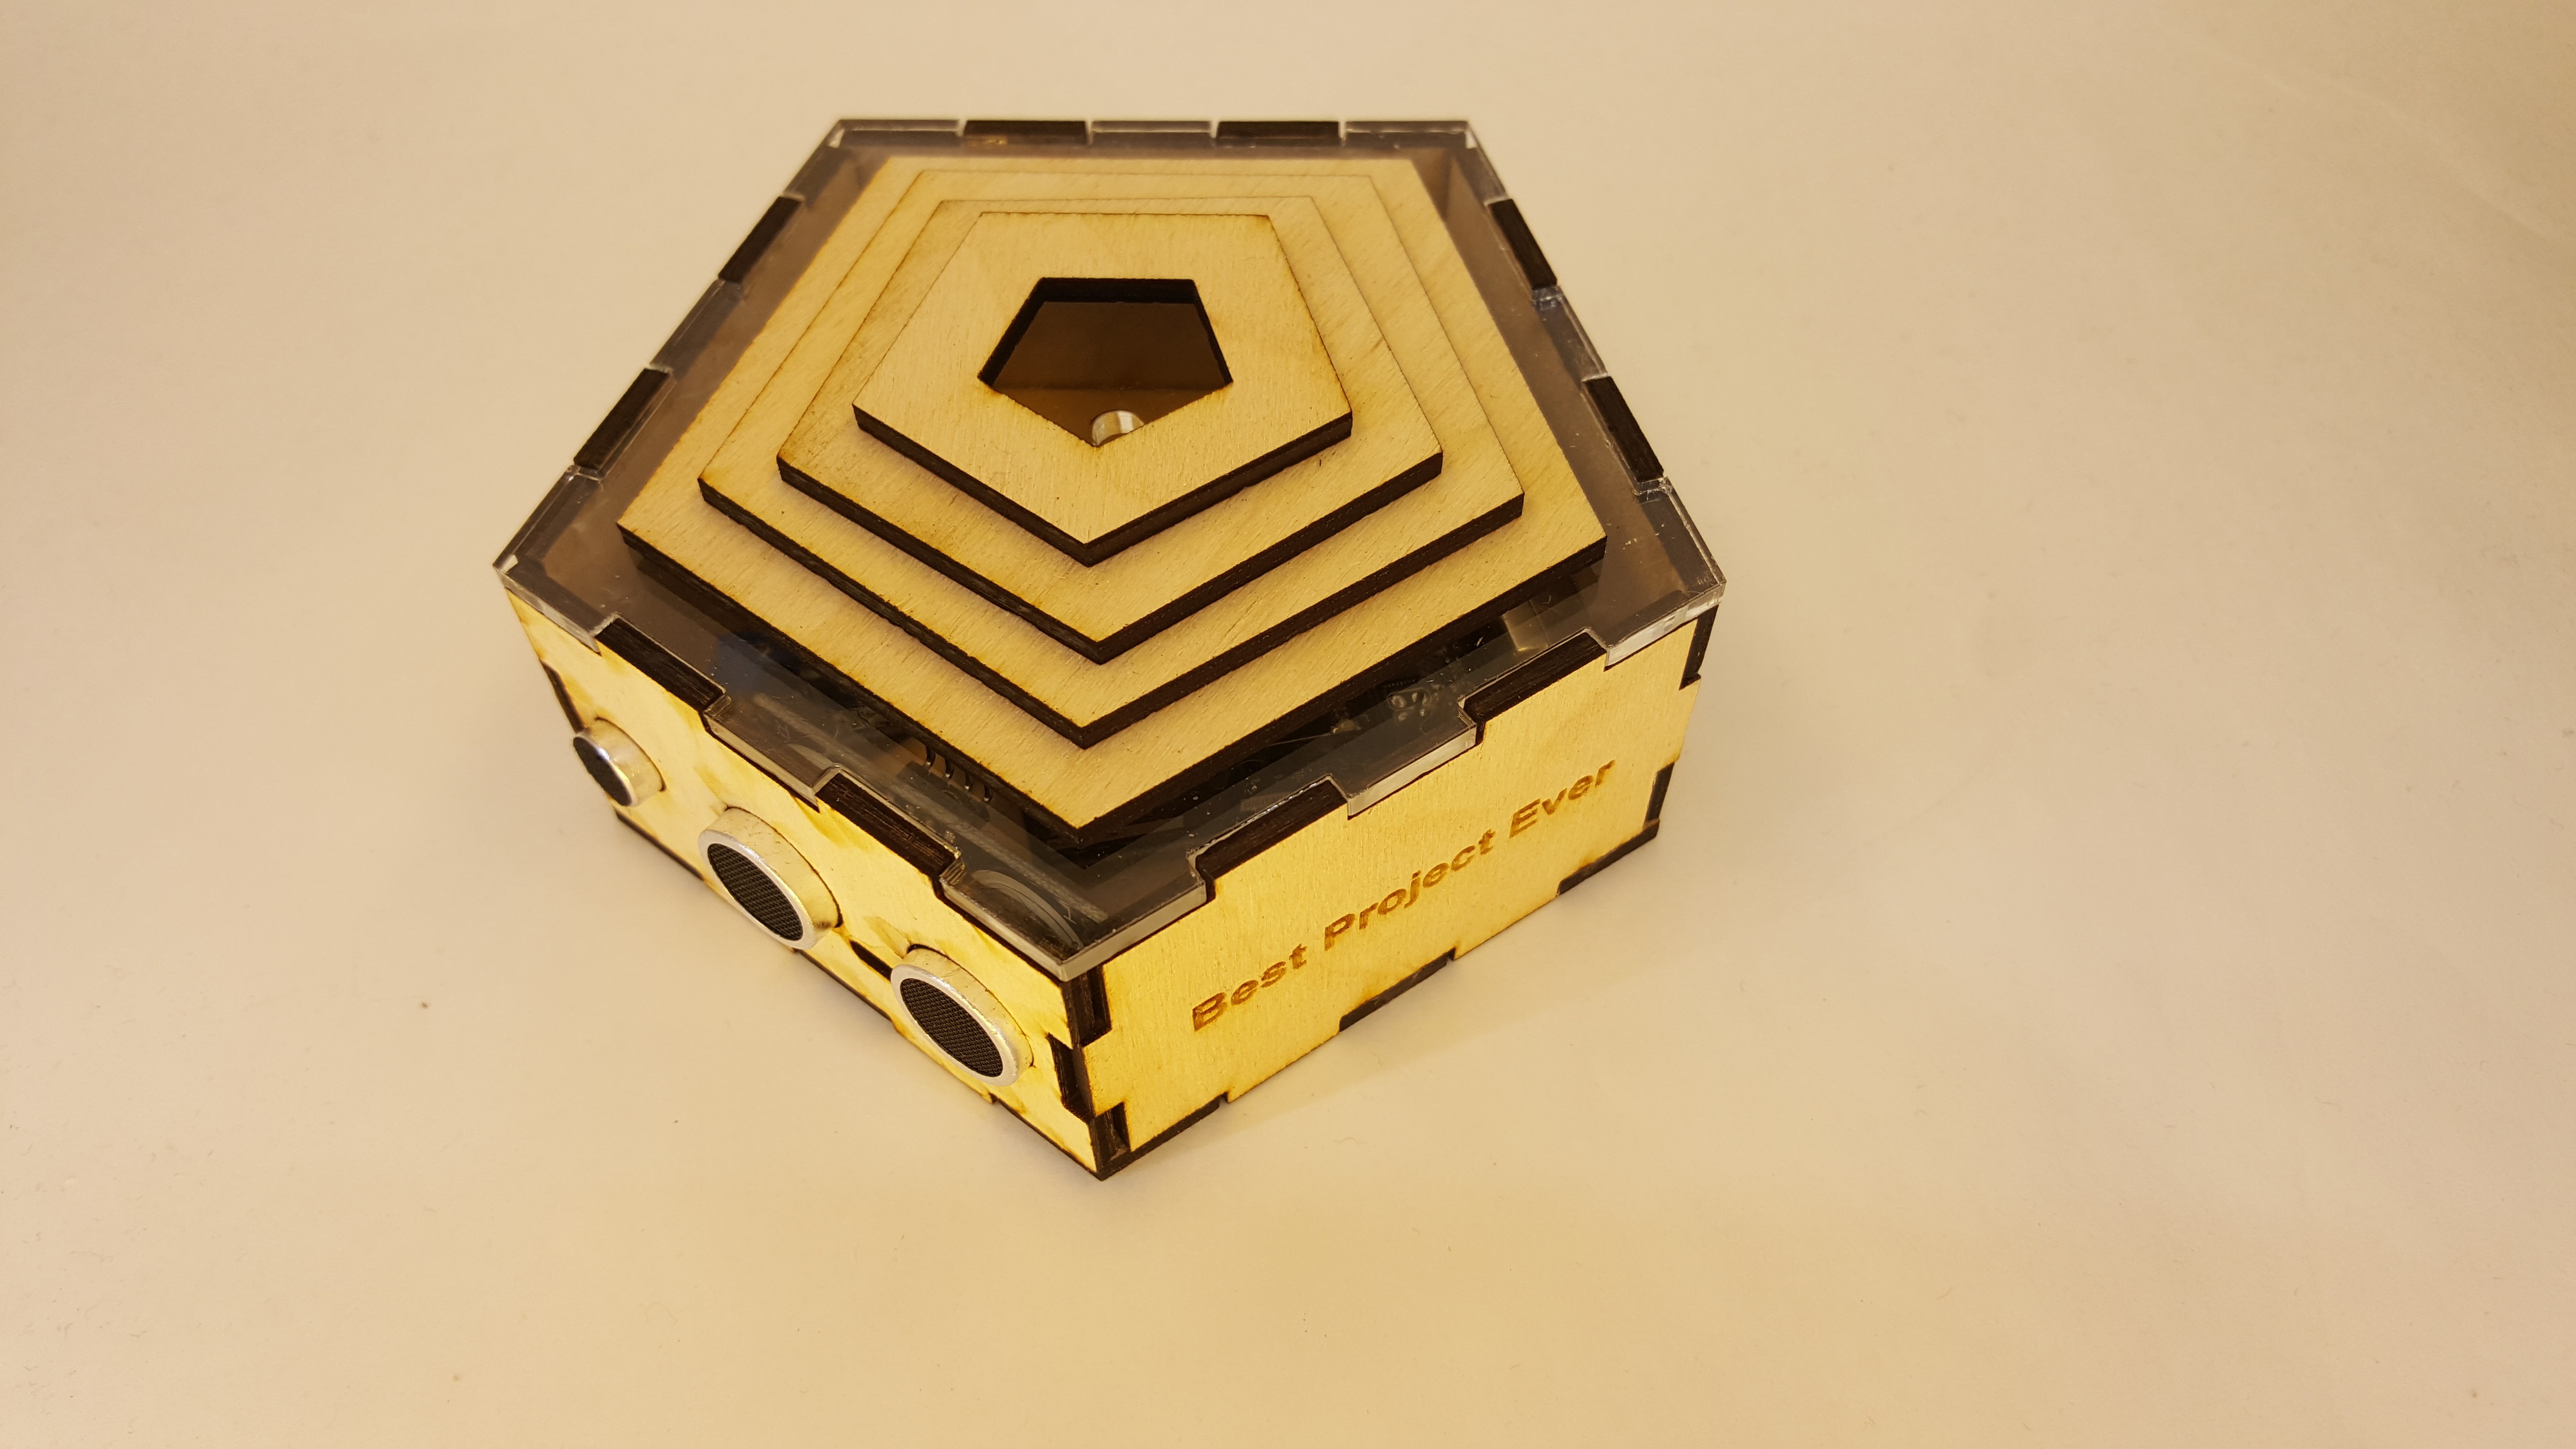
Glue the rest of the pieces for the stand onto the top of the lid for the base. Don't glue the lid to the rest of the base so you can remove/modify the electronics!
![]()
-
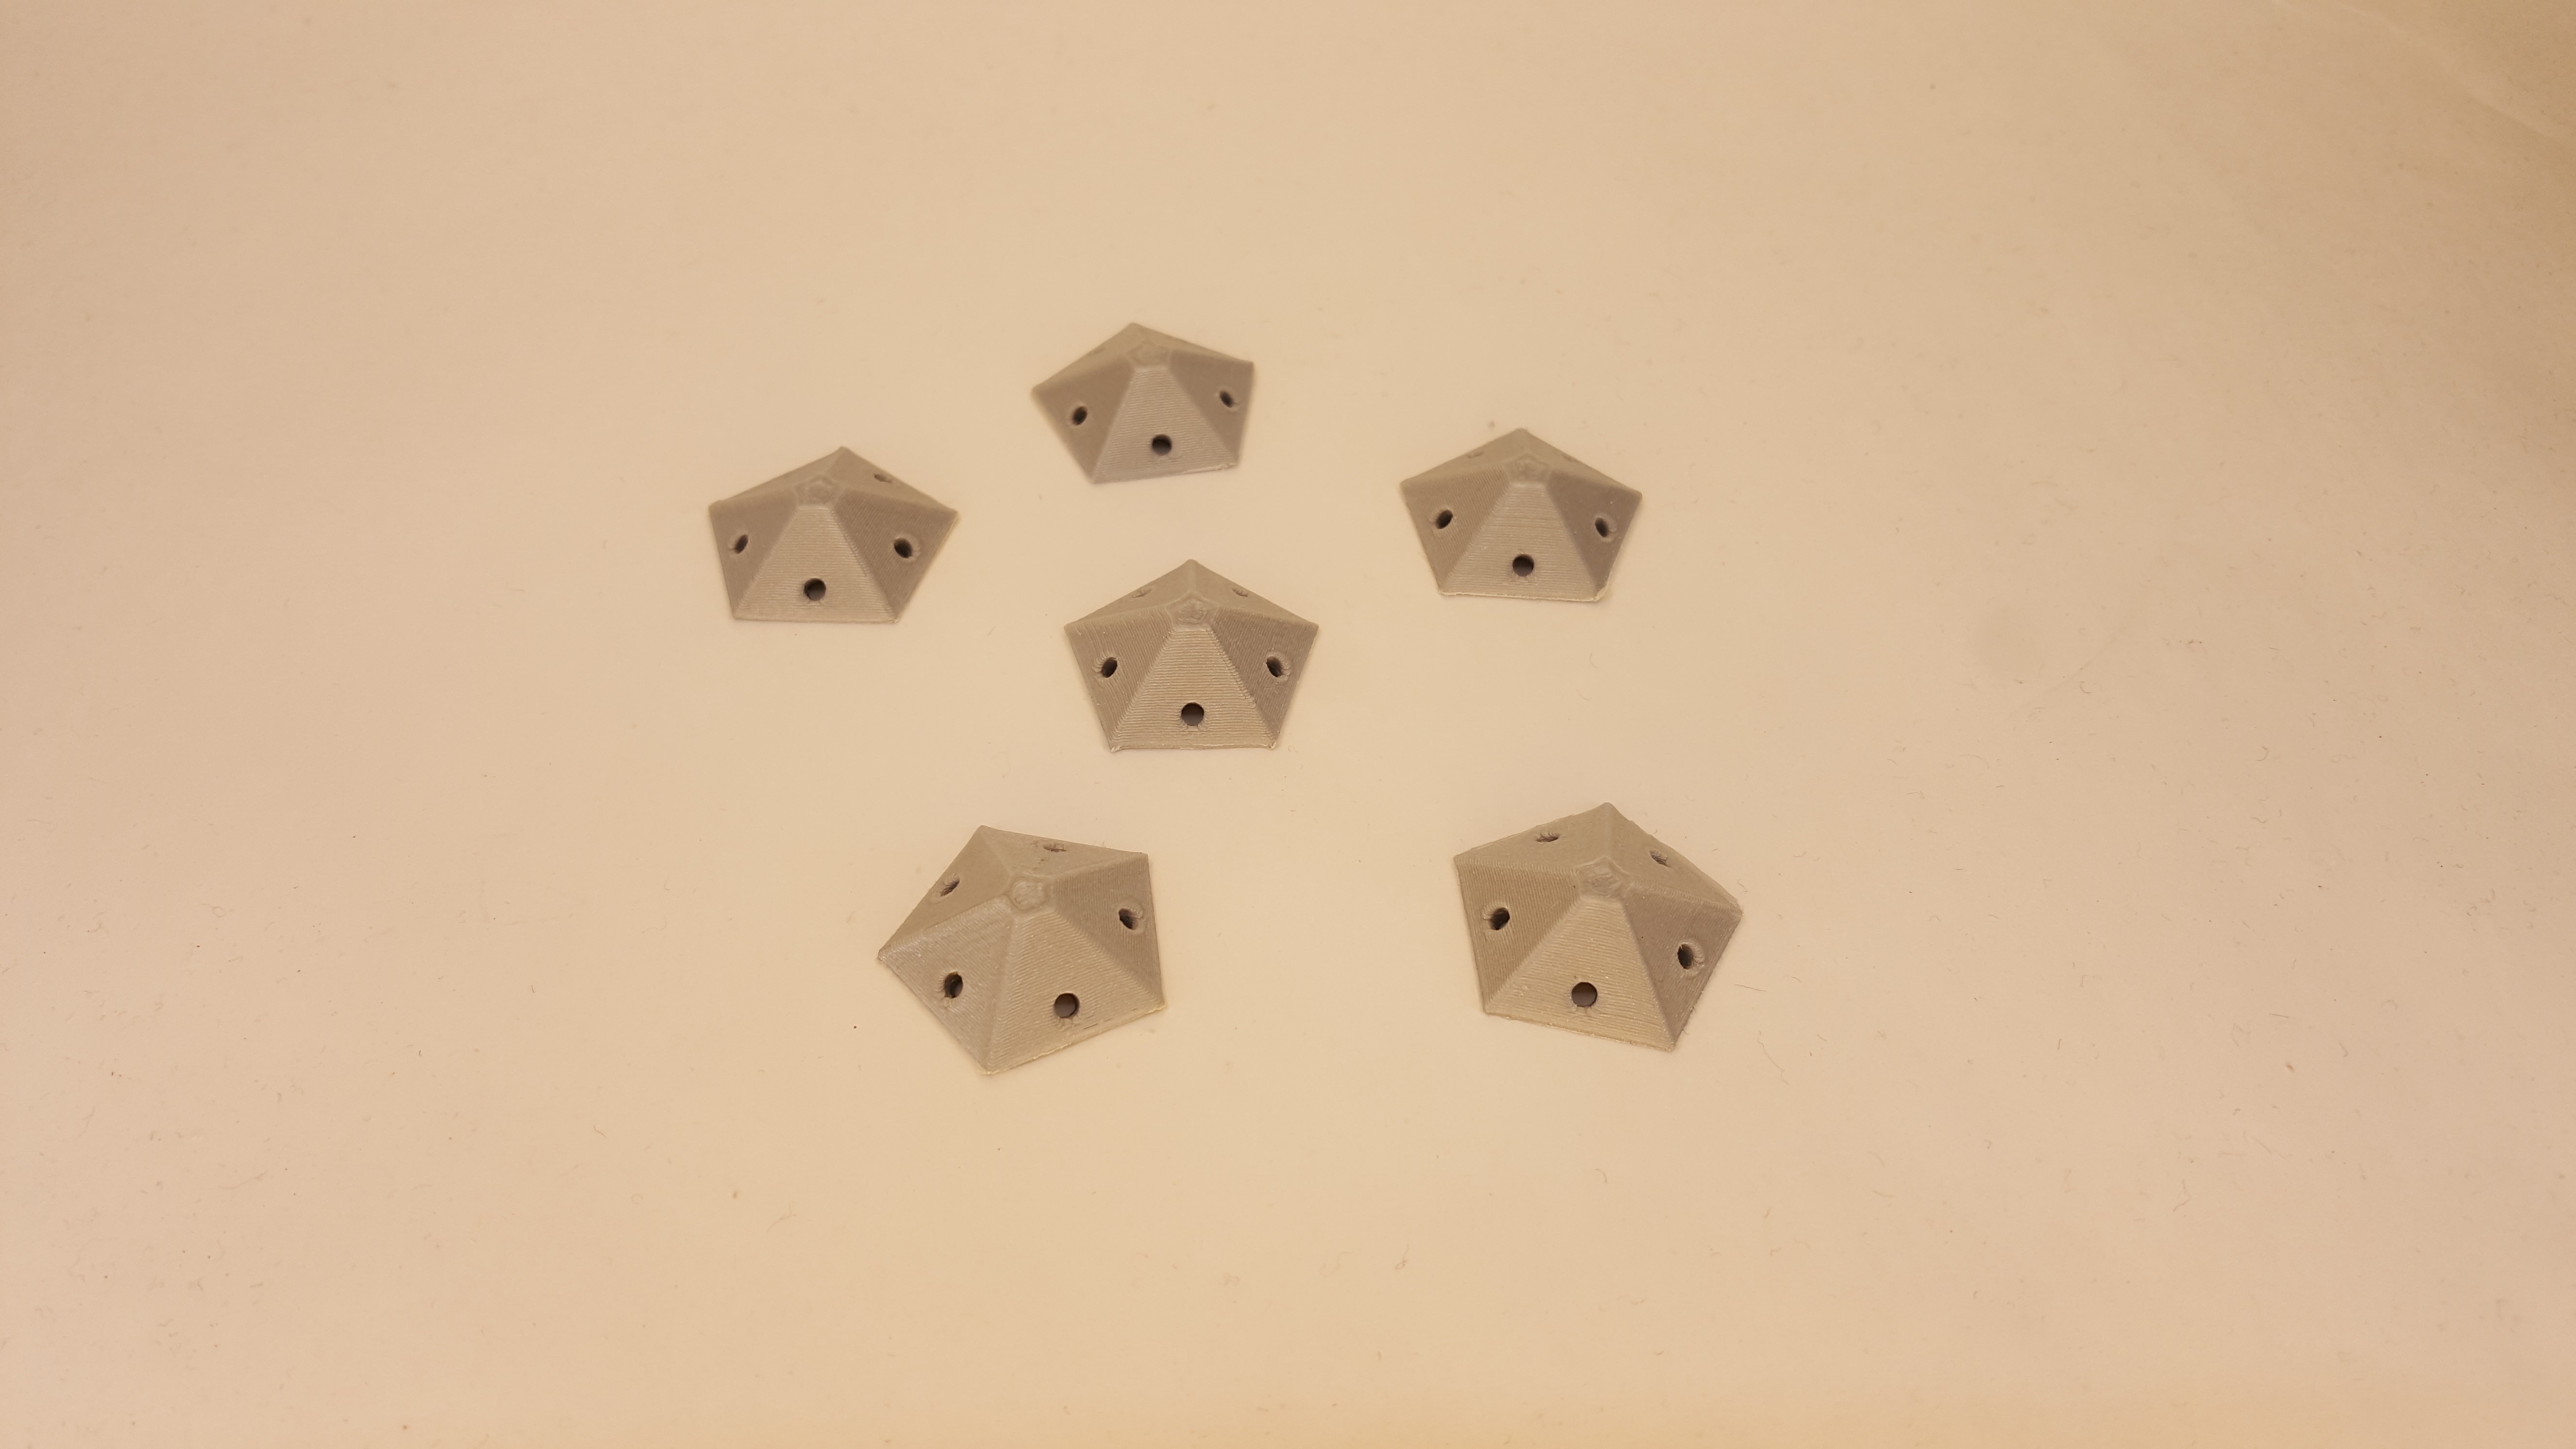
33D print icosahedron inserts
These are fairly simple pieces and printed on the Ultimaker 3 Extended with PLA no problem. The holes here, like the triangles, were sized to fit 4-40 screws. Again, make sure that the hole location on these pieces and the laser cut triangles match up! A total of 12 inserts need to be printed for the globe assembly.
![]()
I forgot to account for the hole at the bottom of the globe to wire the LEDs through, so I ended up manually drilling a hole through the center of one of the inserts. If you don't want to add any lights etc. in the globe, no need to worry about this.
![]()
-
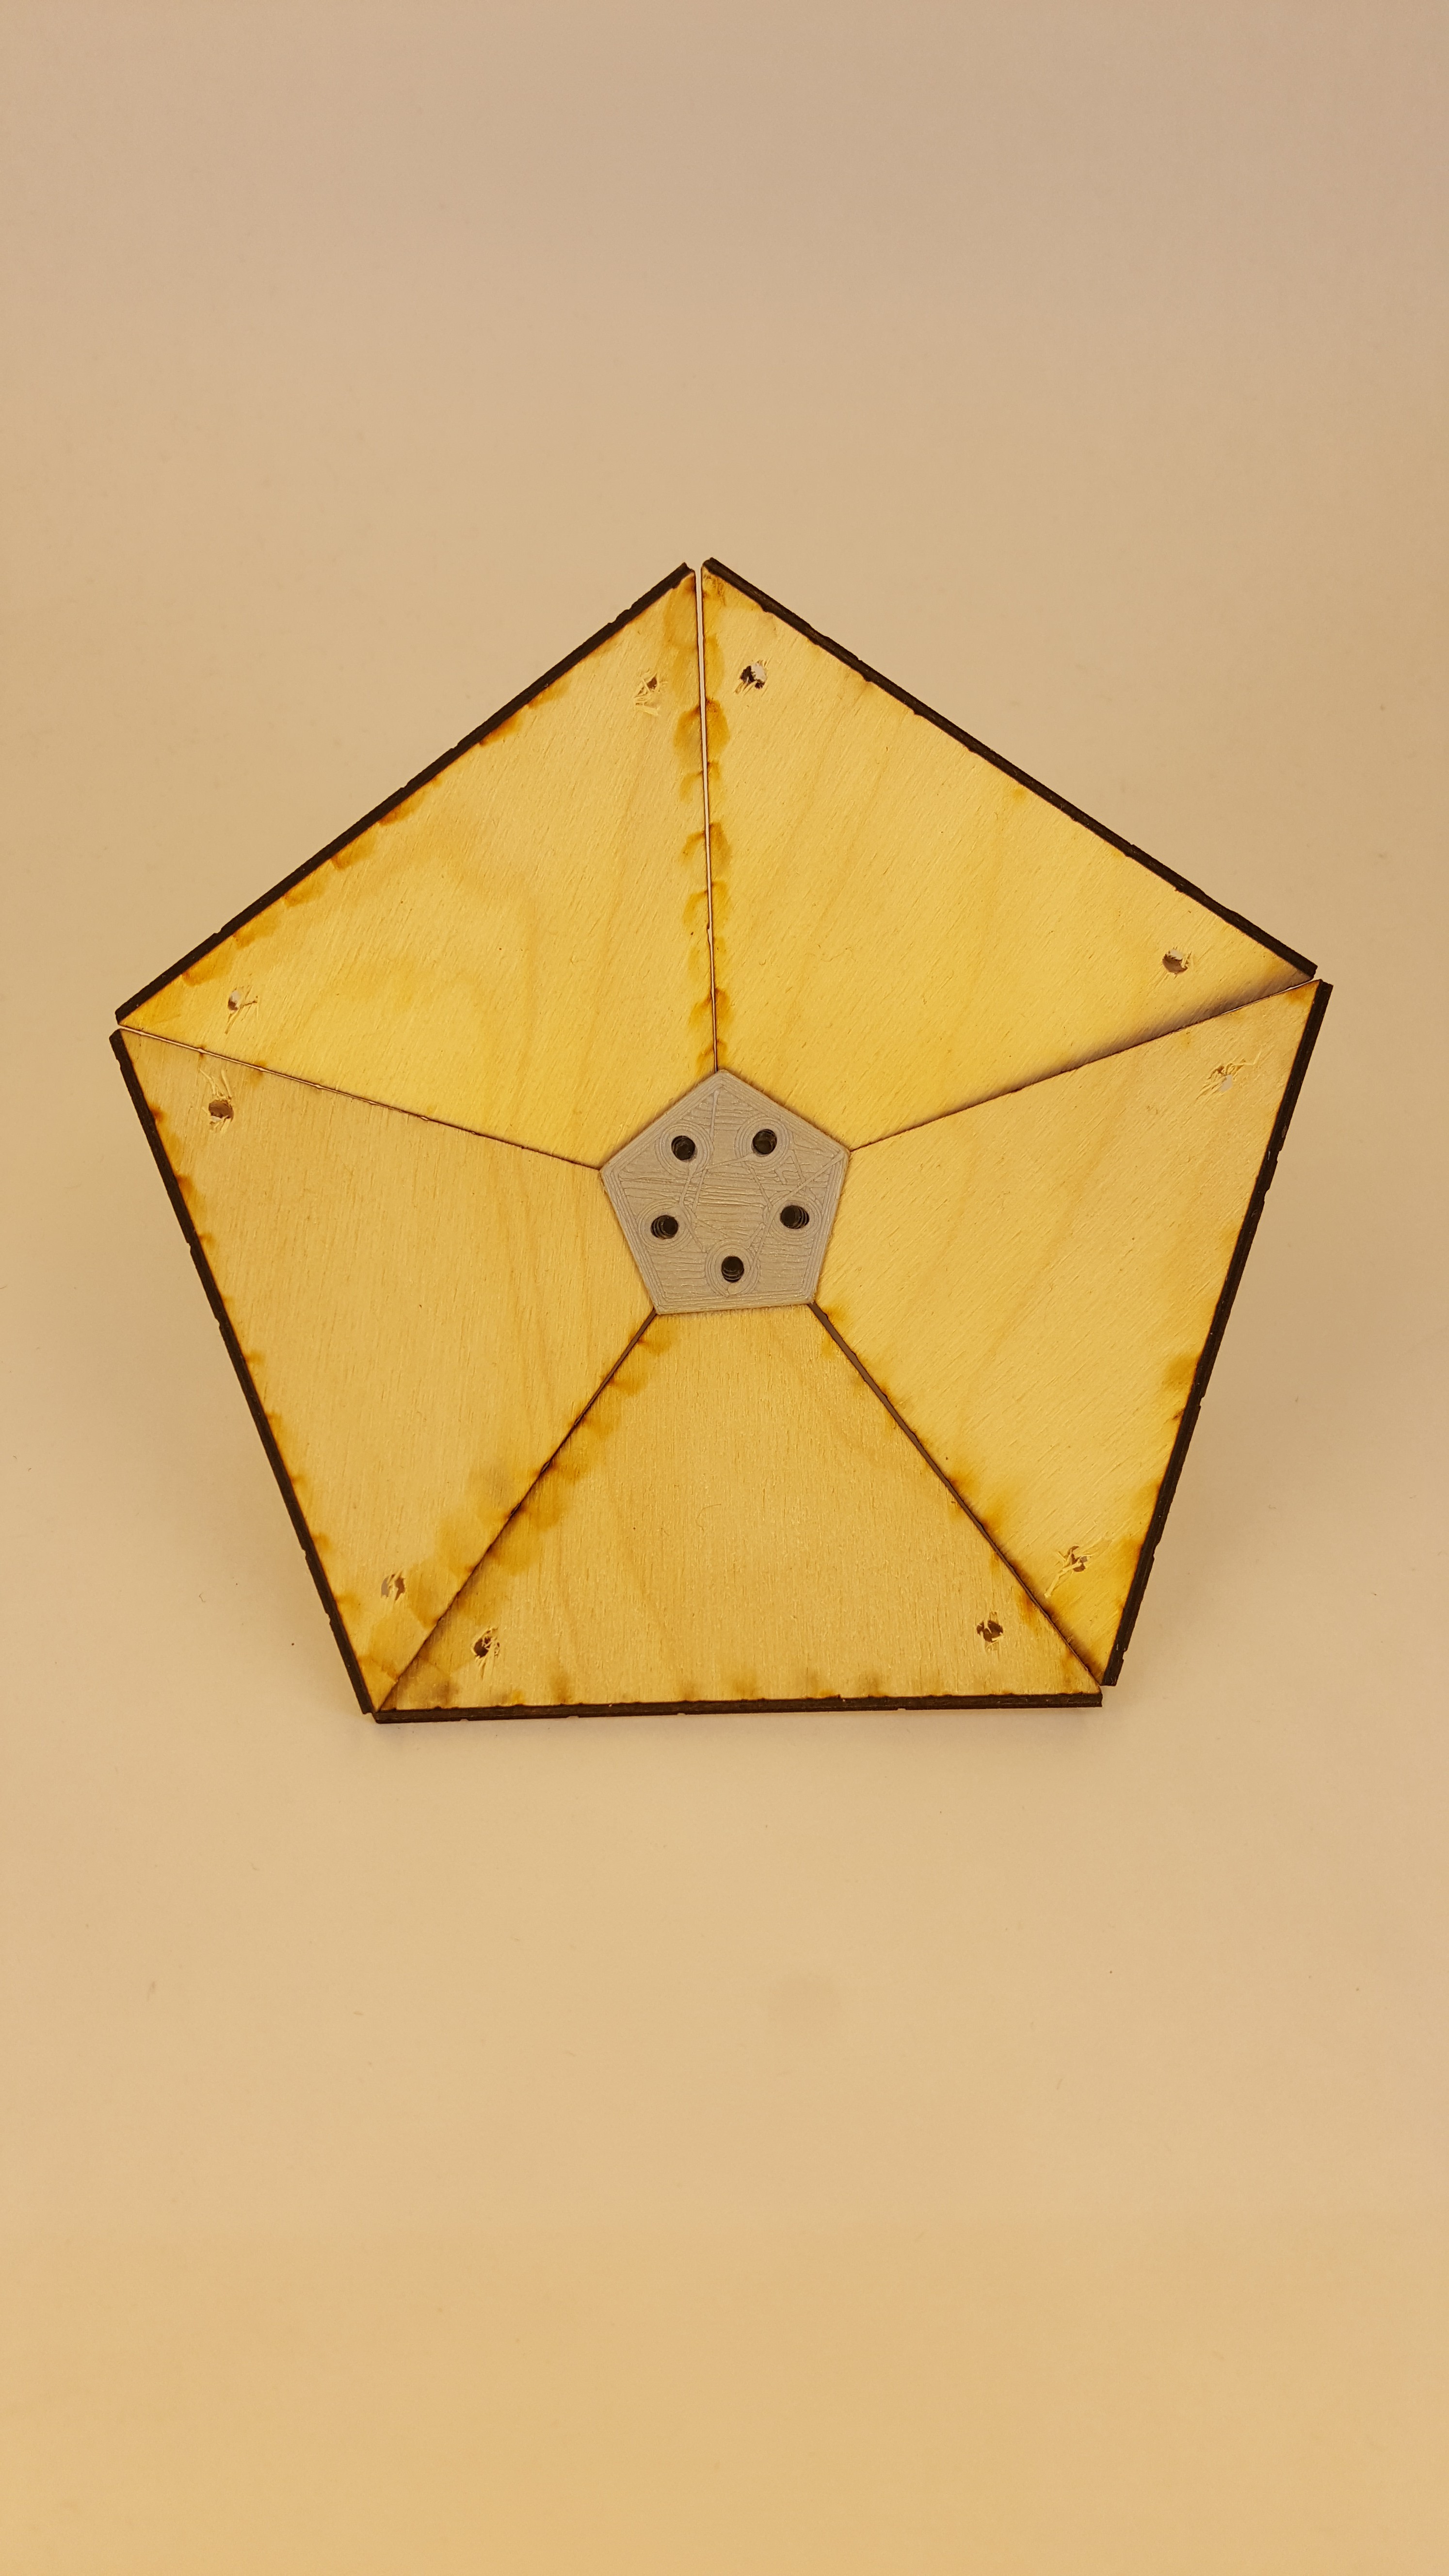
4Secure 5 bottoms panels
Find the 5 panels you want to be situated towards the bottom, and secure them to a single insert with screws. Forgot to account for threading the LED wires through the panels as well, so I sanded the tips of the panels down here.
![]()
![]()
![]()
![]()
-
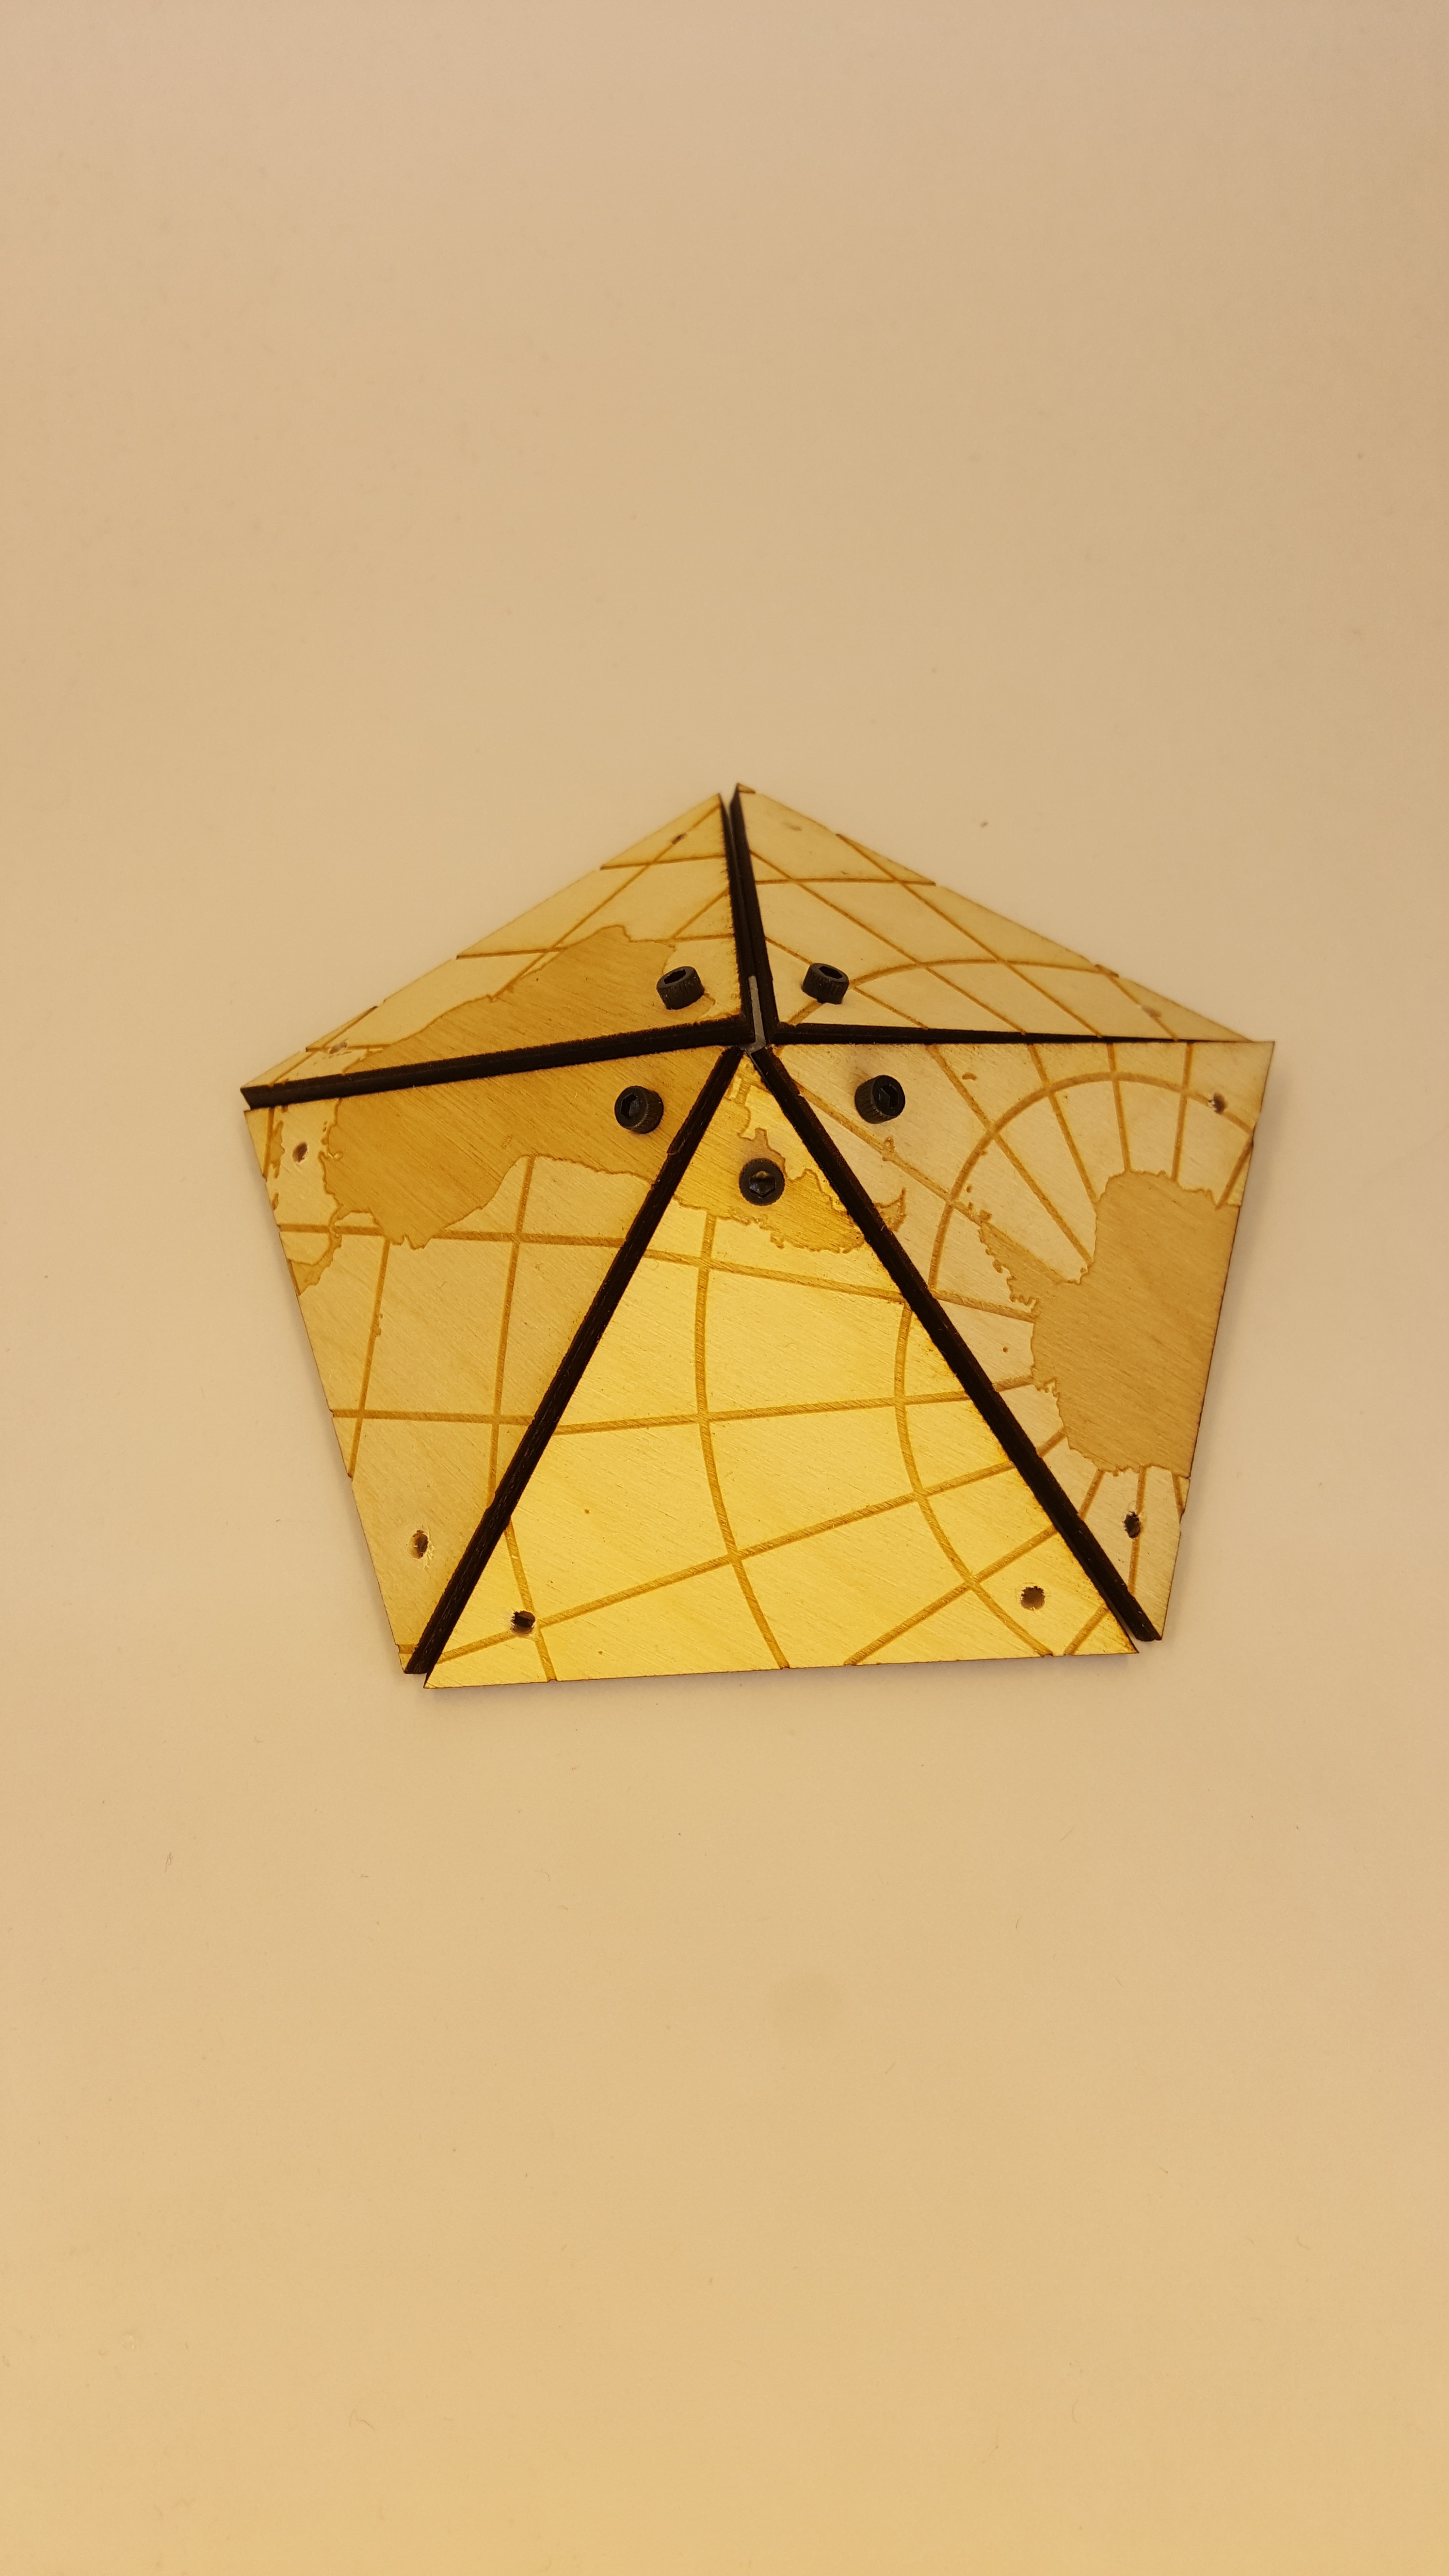
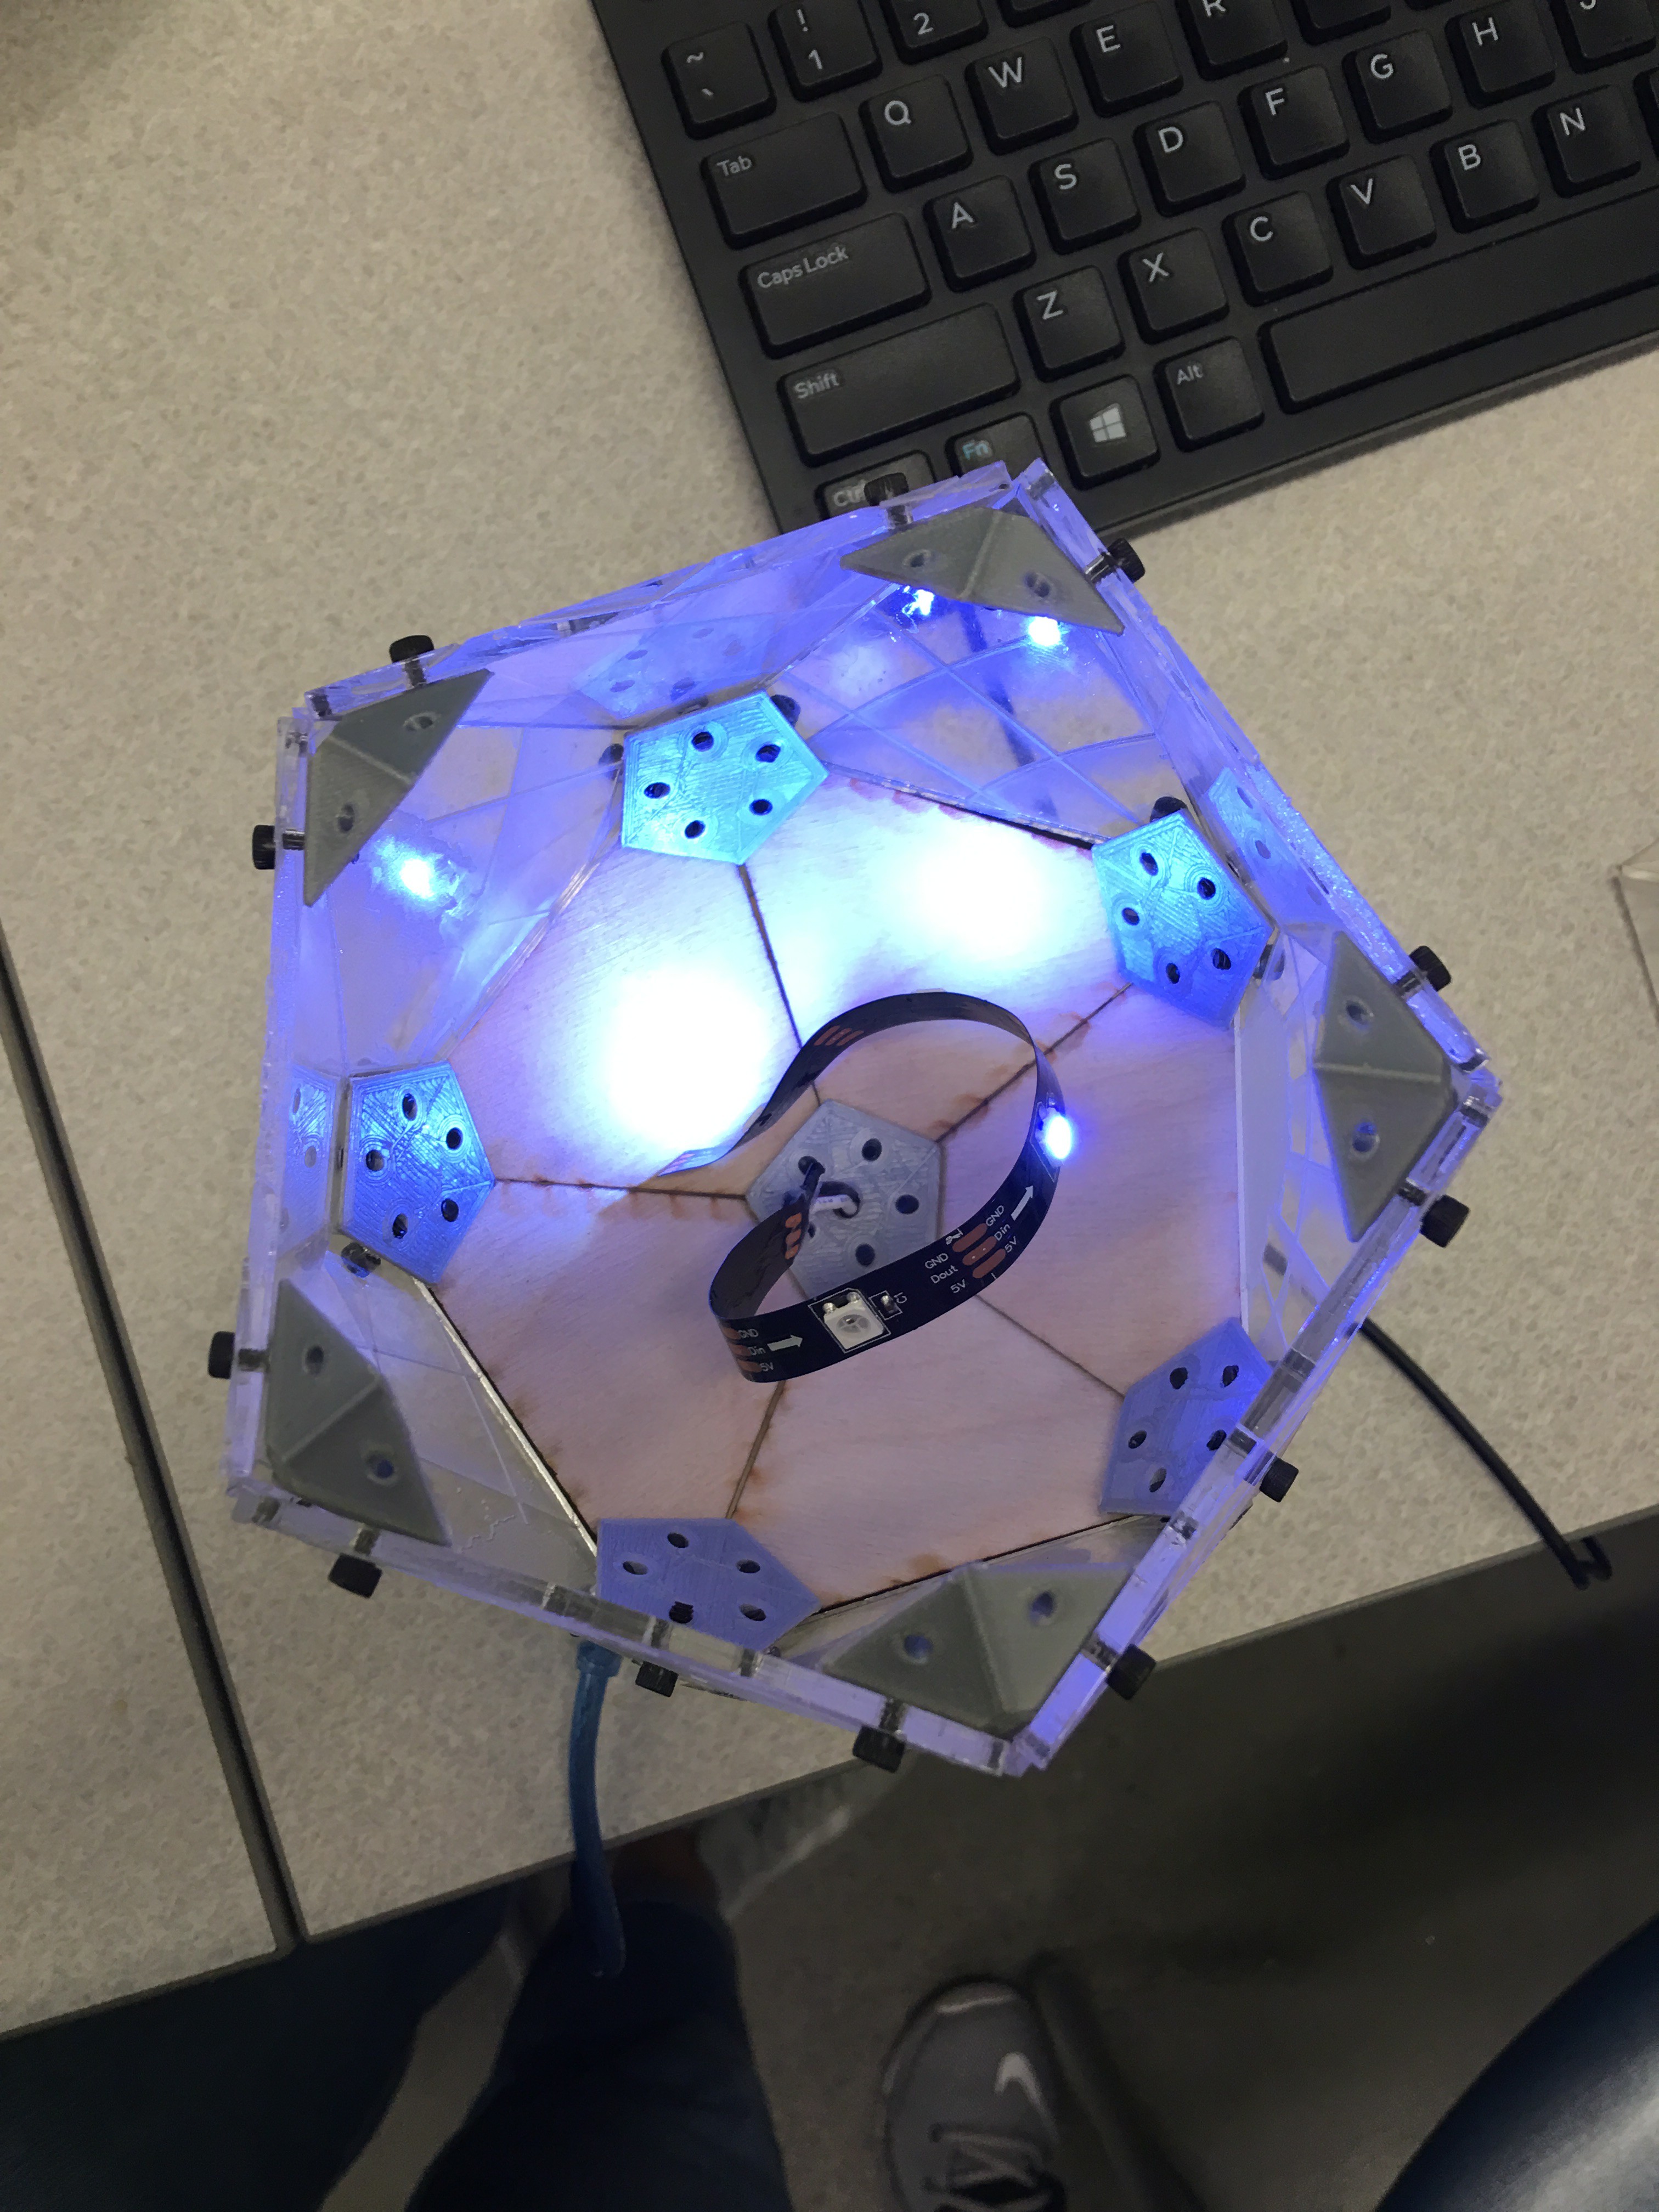
5Assemble rest of panels
Screw together the 10 middle triangle panels. Leave the remaining top 5 panels off until the LED strips are in place and working correctly.
![]()
![]()
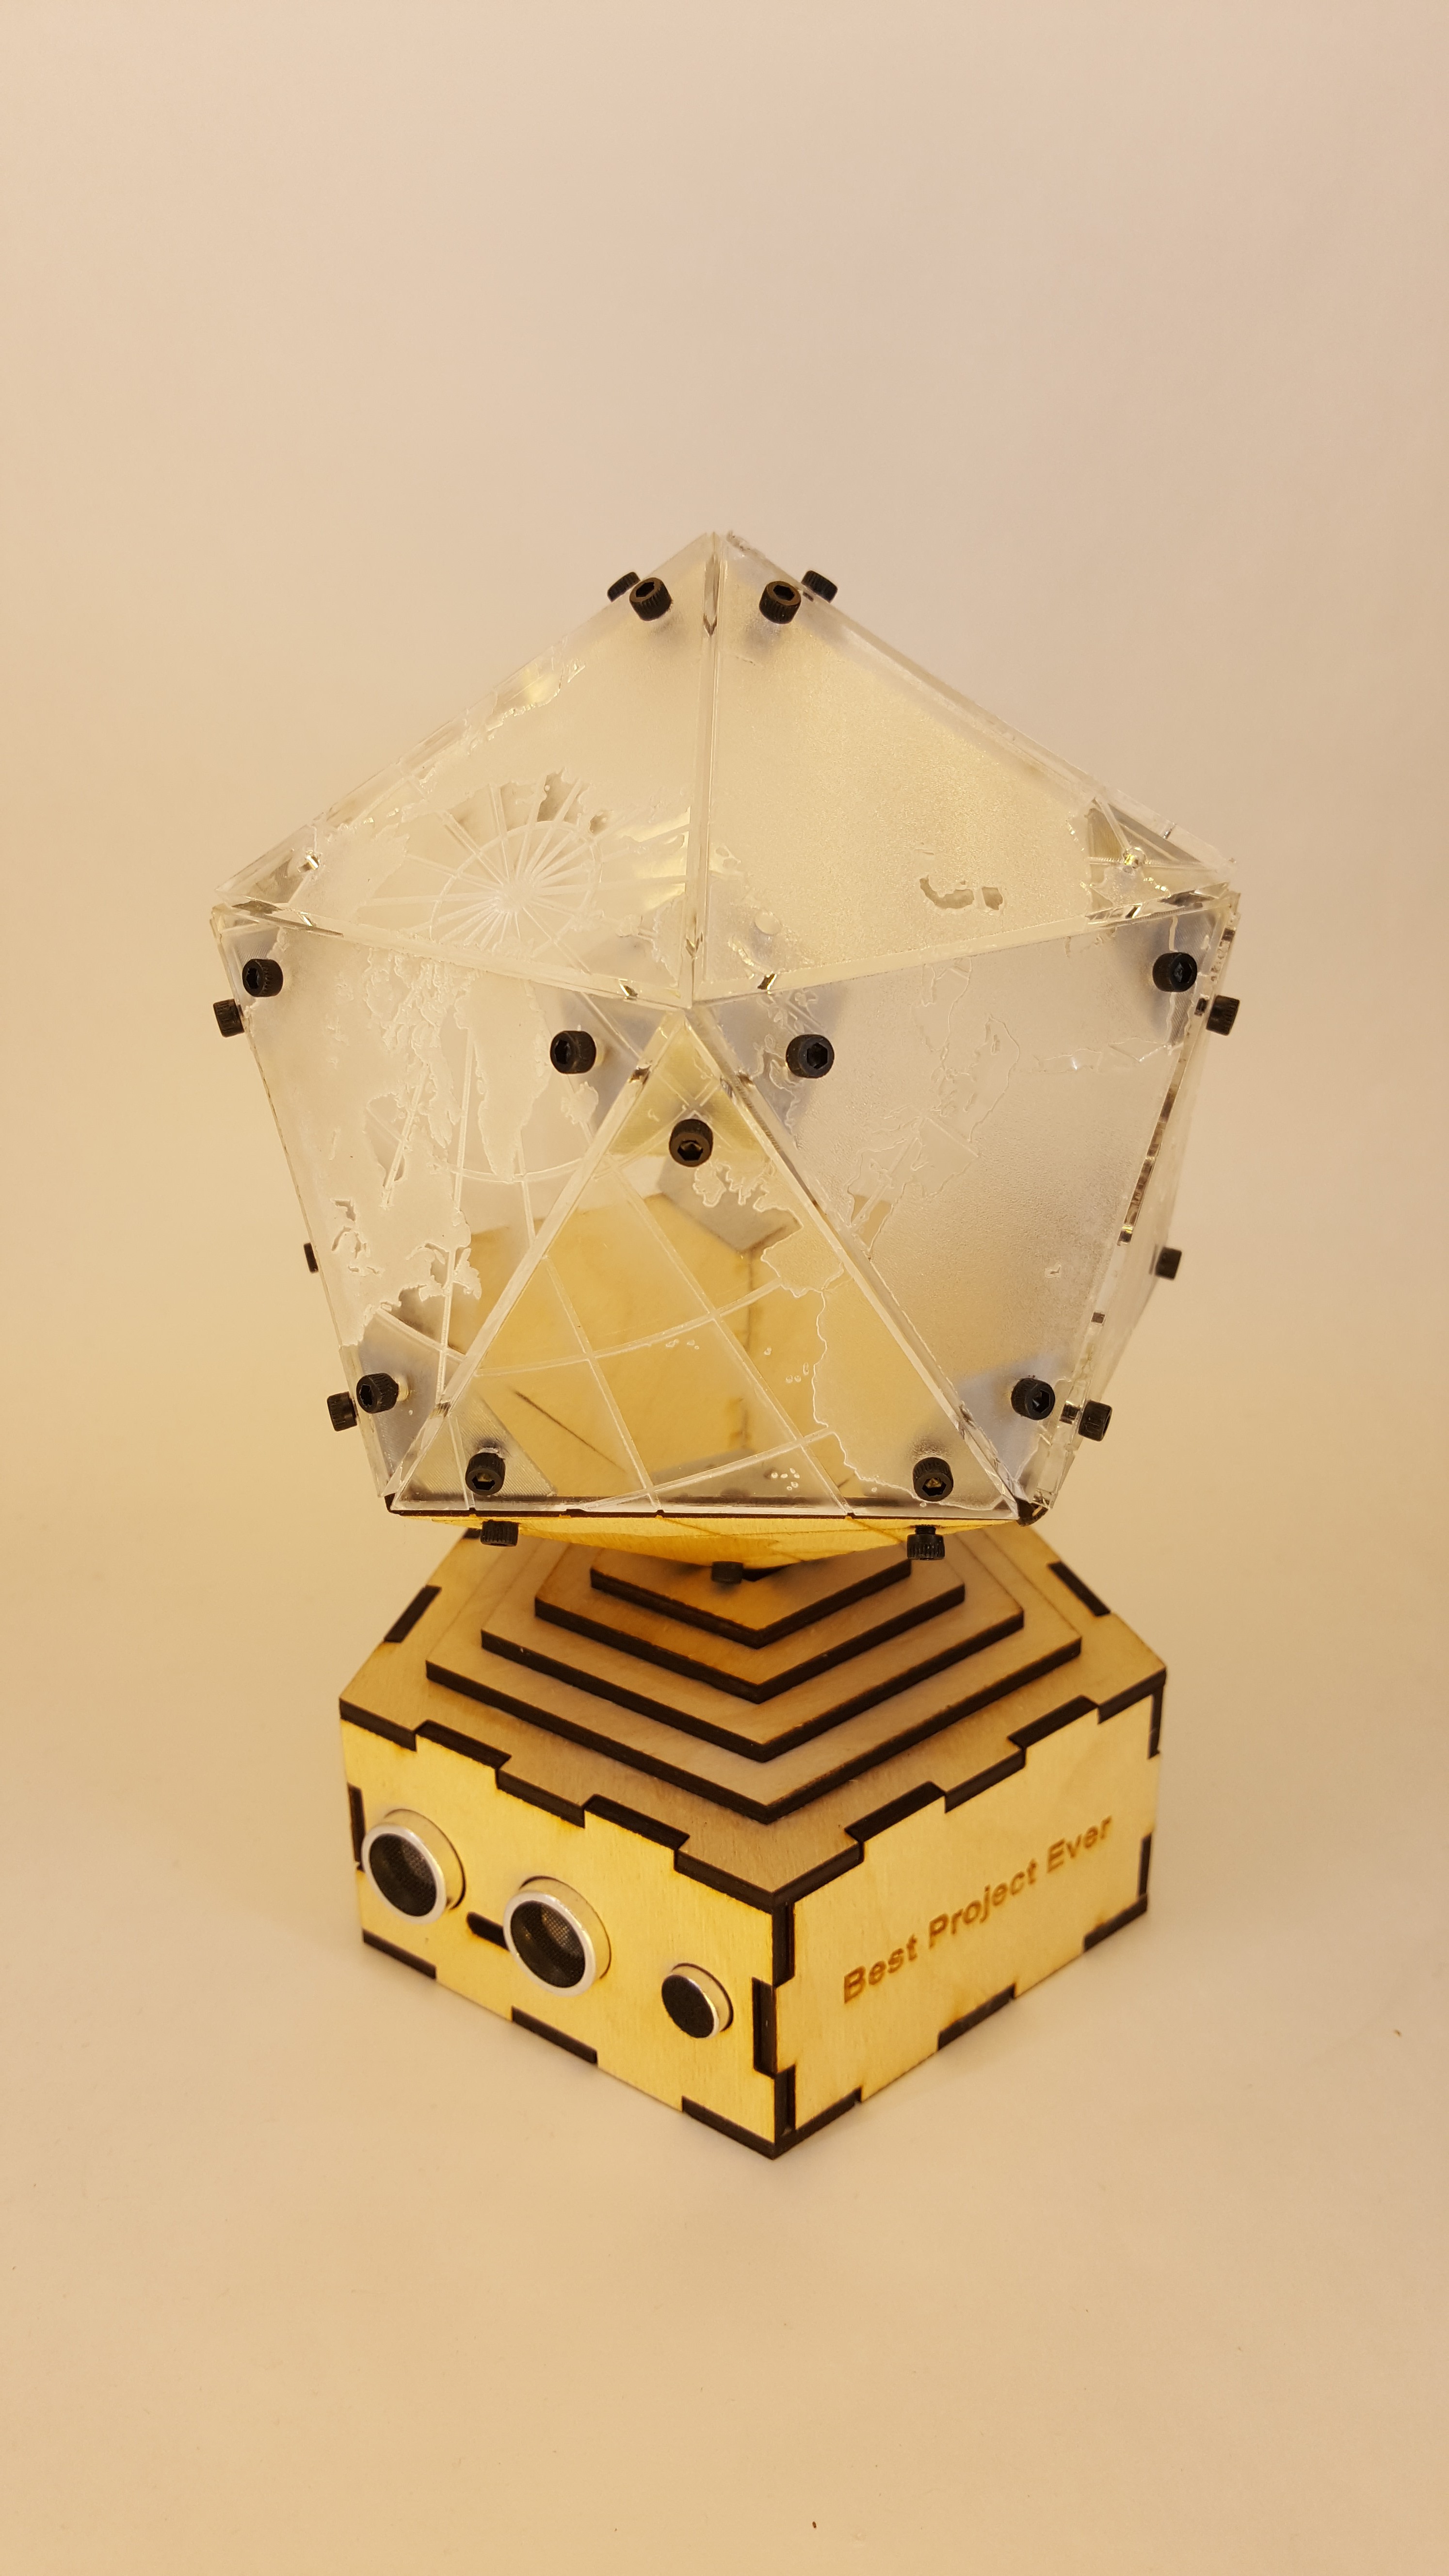
Dymaxion globe lamp
3D globe of Buckminster Fuller’s “Dymaxion” Projection laser cut on acrylic and plywood

Discussions
Become a Hackaday.io Member
Create an account to leave a comment. Already have an account? Log In.