Close
0%
0%

Private Communication for Activists

Build your own self-updating mini server for securely and privately sharing files, chat, video conferencing, and VPN.

Similar projects worth following
Don't let the Googles of the world monitor who you associate with on behalf of governments, and never trust them with your sensitive data. This project will let you cheaply and easily create private collaboration server for you and your team mates that you can run directly from your home or office and access from anywhere in the world. All of your data and communications are automatically encrypted, to safeguard against surveillance, theft or seizure. You can manage everything easily through a web browser, and 100% of the code is public for complete transparency.

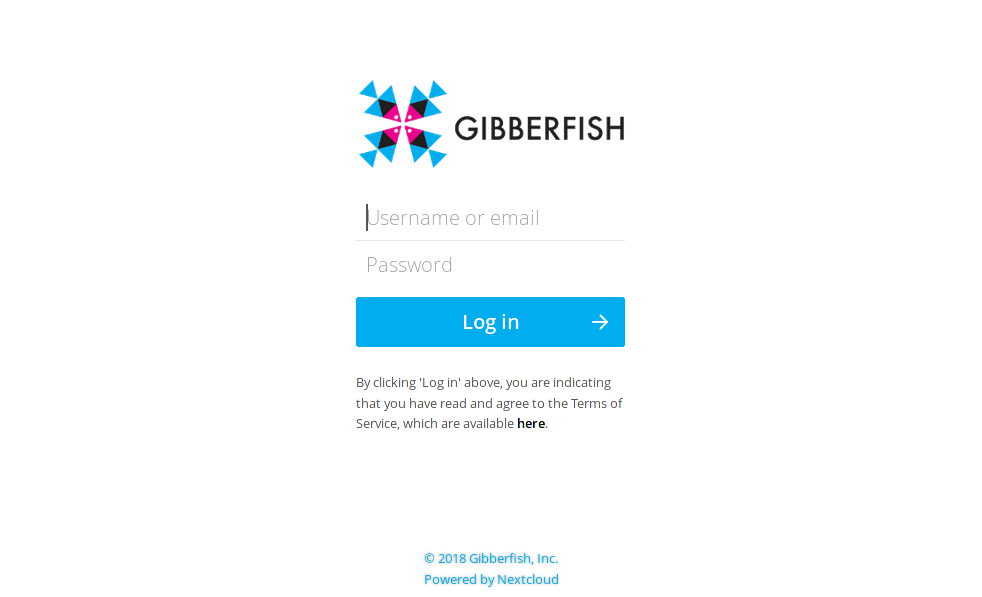
@Gibberfish has created an integrated private could platform based on Nextcloud, designed with activists, organizers, and human rights advocates in mind. This project will walk you through setting up your own server and installing the software to automatically deploy the cloud platform. When completed, the following features will be ready to use, right out of the box:

  • File sharing and synchronization
  • Automatic upload of mobile photos and videos
  • Multi-user text and video chat
  • Calendaring, contacts and task management
  • Real-time collaborative document editing
  • Anti-virus protection
  • Virtual Private Networking (VPN)

All of your connections are protected by a 4096-bit TLS certificate from Let's Encrypt, and all of your data is stored using AES-256 industry standard encryption.

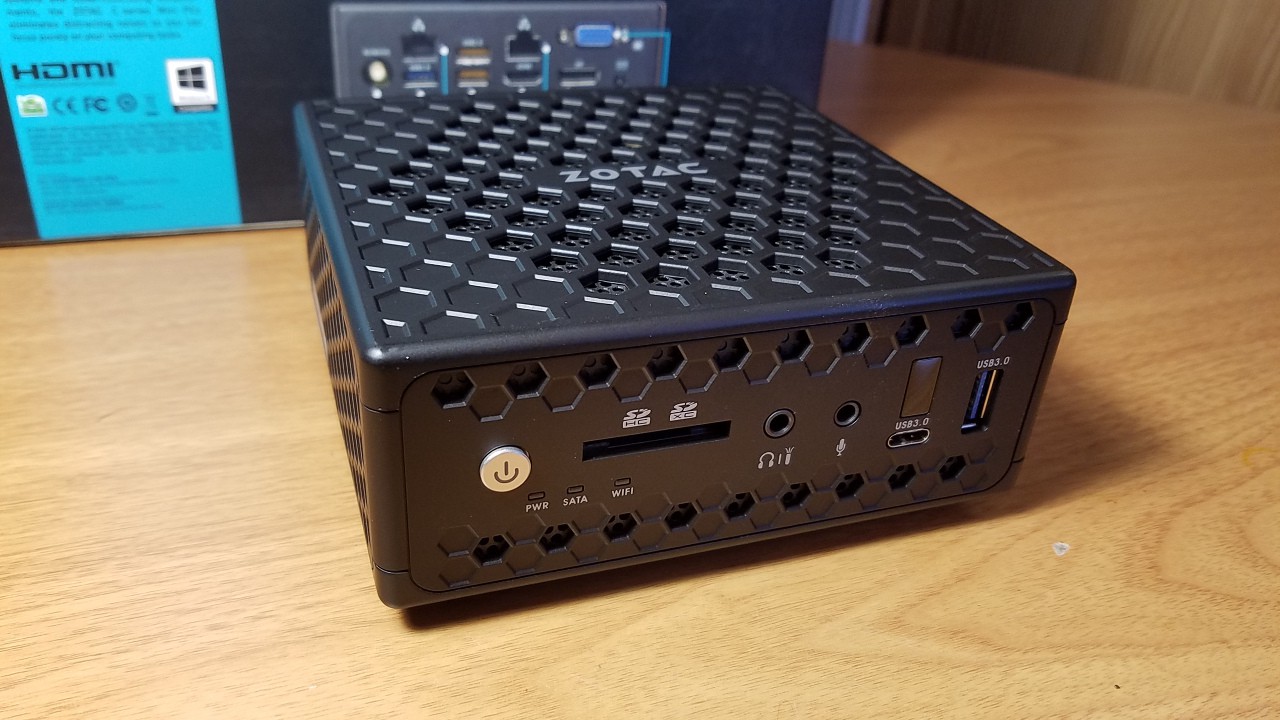
In our tutorial, we have selected some simple, inexpensive and readily obtainable hardware that should cost around $200. However, any multi-core x86_64 based PC with 4GB or more of RAM and enough disk space to suit your file storage needs will work equally well -- even a laptop.

For a more technical, hands-on approach you can follow the manual installation instructions on our GitLab wiki page.

In addition to the hardware required, you will also need to register a domain name (e.g. example.com) with the ability to add DNS records. We use Gandi.net, which offers domain registration privacy at no additional cost. However, you should do your own research and choose a registrar that you feel comfortable with.

VERY IMPORTANT NOTE: The software used in this tutorial is intended for a dedicated single-purpose server. Do not install it on your personal computer, or any system that you intend to use for any other purpose. You will probably break it and lose all of your existing data. You have been warned!

Gibberfish Quickstart (español).pdf

Adobe Portable Document Format - 221.66 kB - 10/09/2018 at 18:38

Preview

Gibberfish Quickstart (العربية).pdf

Adobe Portable Document Format - 226.88 kB - 10/09/2018 at 18:38

Preview

Gibberfish Quickstart (français).pdf

Adobe Portable Document Format - 223.11 kB - 10/09/2018 at 18:38

Preview

Gibberfish Quickstart (简体中文).pdf

Adobe Portable Document Format - 445.59 kB - 10/09/2018 at 18:38

Preview

Gibberfish Quickstart (português).pdf

Adobe Portable Document Format - 227.20 kB - 10/09/2018 at 18:38

Preview

View all 6 files

View all 6 components

  • 1
    Set up DNS records

    Before you start the build, you must have several DNS records in place. If you have registered a domain name, most registrars (Gandi, Namecheap, GoDaddy, etc)  will allow you to set up custom DNS entries for your domain. The installation process will generate encryption certificates for your server from LetsEncrypt, and if these records are not in place it will fail.

    In this example, we'll pretend the hostname for your server will be cloud.example.com. Please substitute your actual domain name in the following instructions.

    You will need one A record ¹ for cloud.example.com which points to the public IP address of your server. If you are setting this up on your home connection, you can find the IP address by visiting https://ipv4.nsupdate.gibberfish.org/myip. You will also need to set CNAME records for office.cloud.example.com and conference.cloud.example.com which point to cloud.example.com.

    Please see your DNS provider's documentation for the correct way to do this.

    (¹ If you use a dynamic DNS service, you may alternately create a CNAME record for cloud.example.com which points to your ddns hostname, instead of an A record)

    Once these records are in place, you may proceed to the next step.

  • 2
    Assemble the hardware
    If you're using our hardware build, you can follow the instructions below. If you're using pre-assembled hardware or doing your own build, skip to the next section.

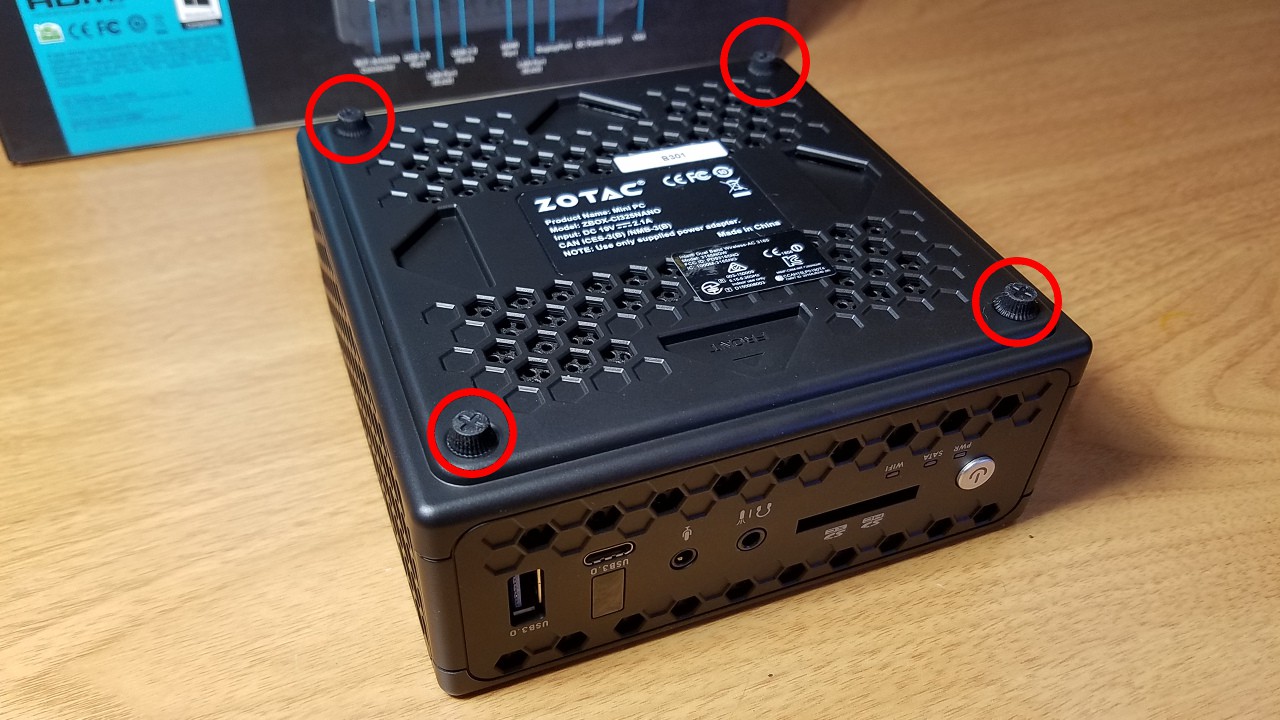
    Flip the ZBOX over and unscrew the four rubberized feet (by hand) to remove the bottom panel.

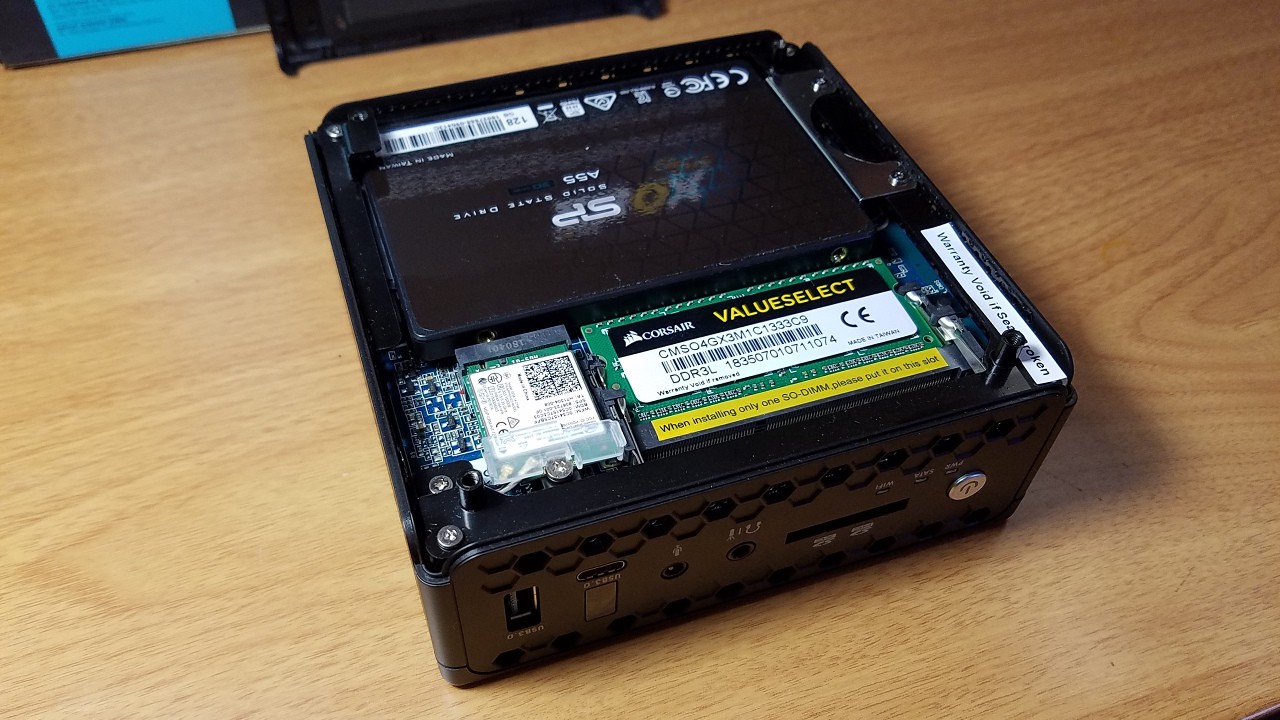
    Install the RAM and hard drive in the slots shown below. Refer to the instructions included with the ZBOX for more details. When complete, it should look something like this. Replace the cover and re-attach the rubber feet.

    Voilà!

  • 3
    Attach network cables and peripherals

    For the initial setup, you will need to connect a monitor, keyboard, and (optionally) a mouse. Once the software has been installed these will no longer be necessary.

    You will also need to connect the box to the internet. There are two main scenarios:

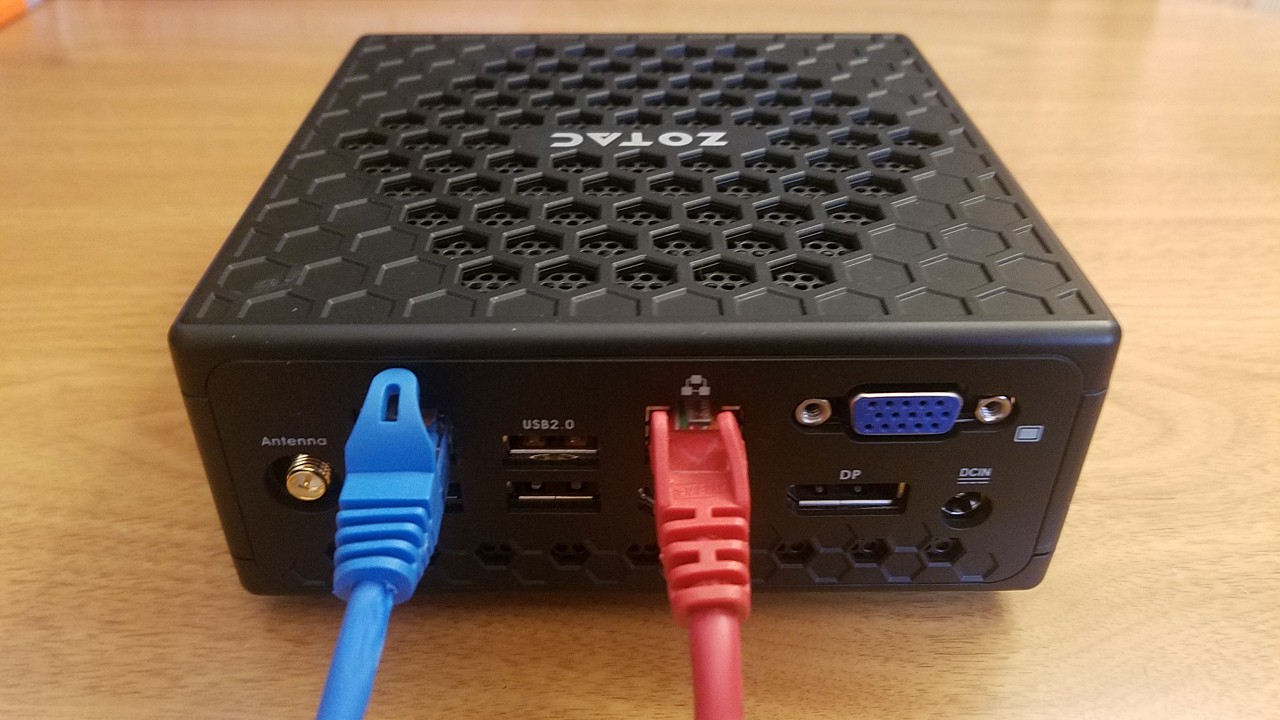
    1. If you are using the ZBOX in our build or a similar system with multiple network ports, the easiest way to connect to the network is by attaching it directly to your modem with a network cable, then plugging your existing wired or wireless router into the second network port. No further configuration is required.

    [ISP device]----------[ZBOX]----------[router/access point]

    2. If you only have a single network port, you can plug your server into your internet router, but you must configure the router to forward the following ports to the server:

    • 80/tcp
    • 443/tcp
    • 5222/tcp
    • 5269/tcp
    • 5349/tcp
    • 1194/udp

    Consult your router's manual.

View all 10 instructions

Enjoy this project?

Share

Discussions

Similar Projects

Does this project spark your interest?

Become a member to follow this project and never miss any updates