-
1Set up DNS records
Before you start the build, you must have several DNS records in place. If you have registered a domain name, most registrars (Gandi, Namecheap, GoDaddy, etc) will allow you to set up custom DNS entries for your domain. The installation process will generate encryption certificates for your server from LetsEncrypt, and if these records are not in place it will fail.
In this example, we'll pretend the hostname for your server will be cloud.example.com. Please substitute your actual domain name in the following instructions.
You will need one A record ¹ for cloud.example.com which points to the public IP address of your server. If you are setting this up on your home connection, you can find the IP address by visiting https://ipv4.nsupdate.gibberfish.org/myip. You will also need to set CNAME records for office.cloud.example.com and conference.cloud.example.com which point to cloud.example.com.
Please see your DNS provider's documentation for the correct way to do this.
(¹ If you use a dynamic DNS service, you may alternately create a CNAME record for cloud.example.com which points to your ddns hostname, instead of an A record)
Once these records are in place, you may proceed to the next step.
-
2Assemble the hardware
If you're using our hardware build, you can follow the instructions below. If you're using pre-assembled hardware or doing your own build, skip to the next section.
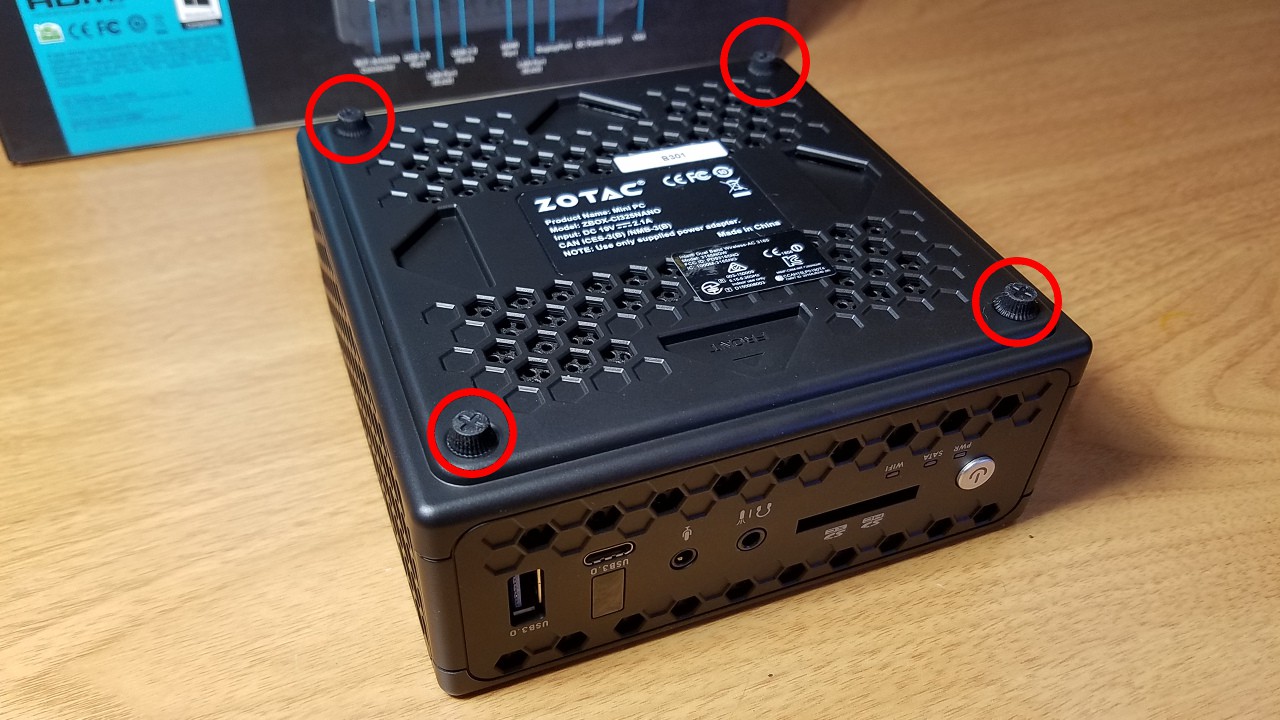
Flip the ZBOX over and unscrew the four rubberized feet (by hand) to remove the bottom panel.
![]()
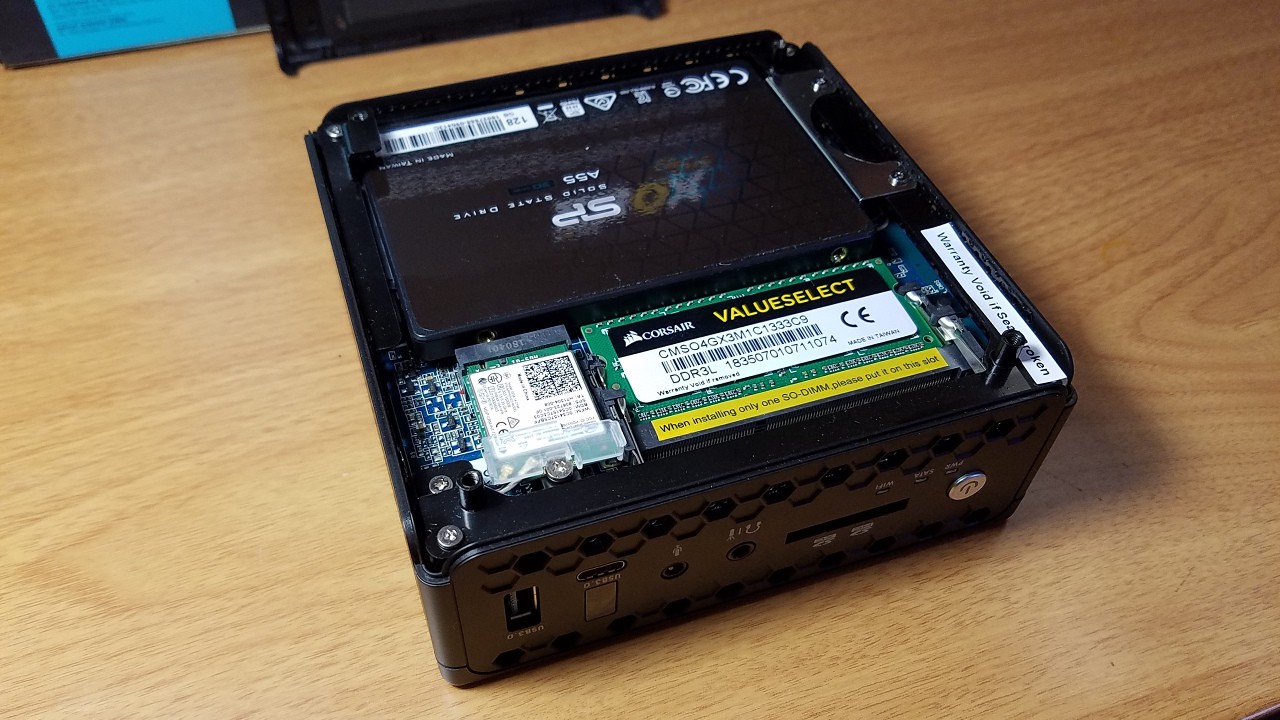
Install the RAM and hard drive in the slots shown below. Refer to the instructions included with the ZBOX for more details. When complete, it should look something like this. Replace the cover and re-attach the rubber feet.
![]()
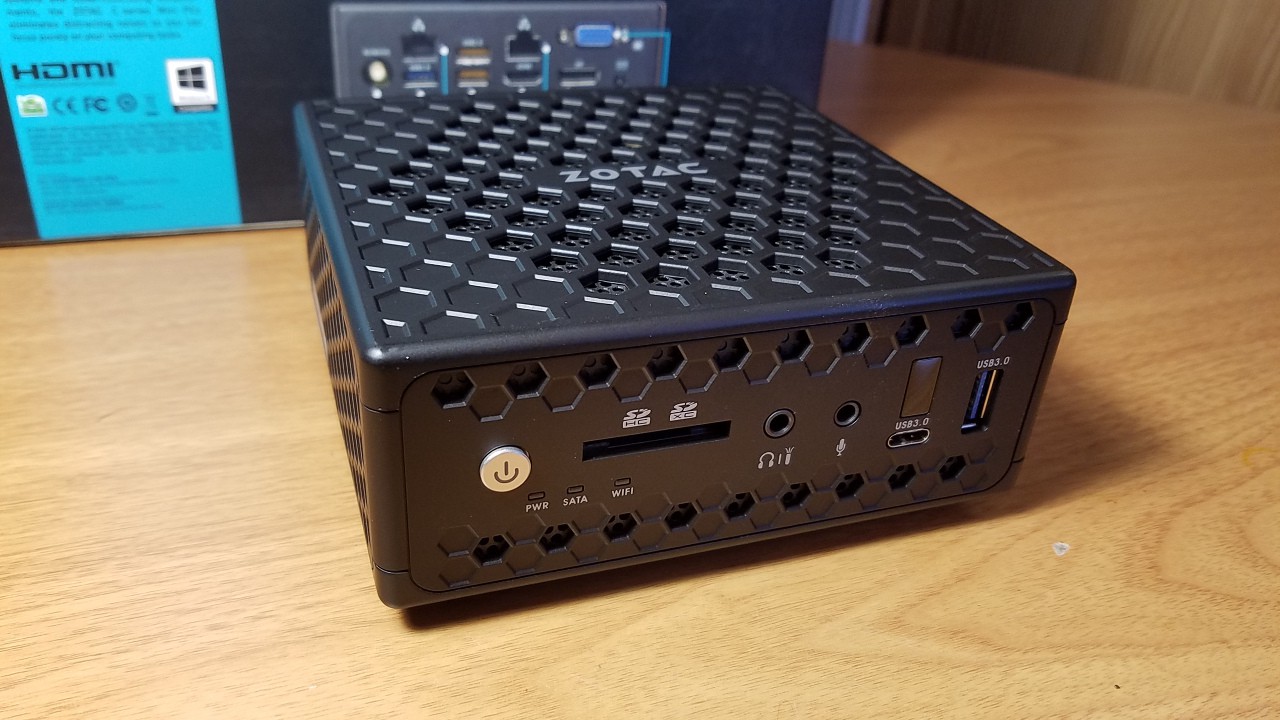
Voilà!
![]()
-
3Attach network cables and peripherals
For the initial setup, you will need to connect a monitor, keyboard, and (optionally) a mouse. Once the software has been installed these will no longer be necessary.
You will also need to connect the box to the internet. There are two main scenarios:
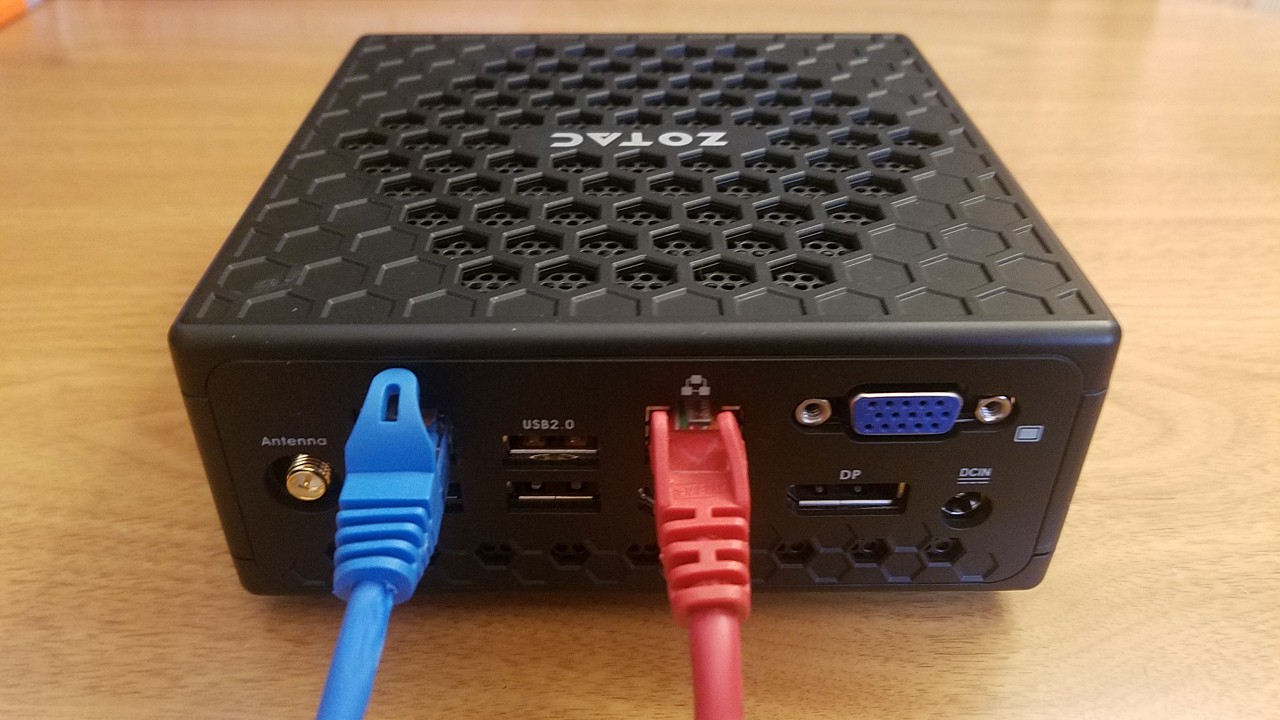
1. If you are using the ZBOX in our build or a similar system with multiple network ports, the easiest way to connect to the network is by attaching it directly to your modem with a network cable, then plugging your existing wired or wireless router into the second network port. No further configuration is required.
[ISP device]----------[ZBOX]----------[router/access point]
![]()
2. If you only have a single network port, you can plug your server into your internet router, but you must configure the router to forward the following ports to the server:
- 80/tcp
- 443/tcp
- 5222/tcp
- 5269/tcp
- 5349/tcp
- 1194/udp
Consult your router's manual.
-
4Configure the system BIOS
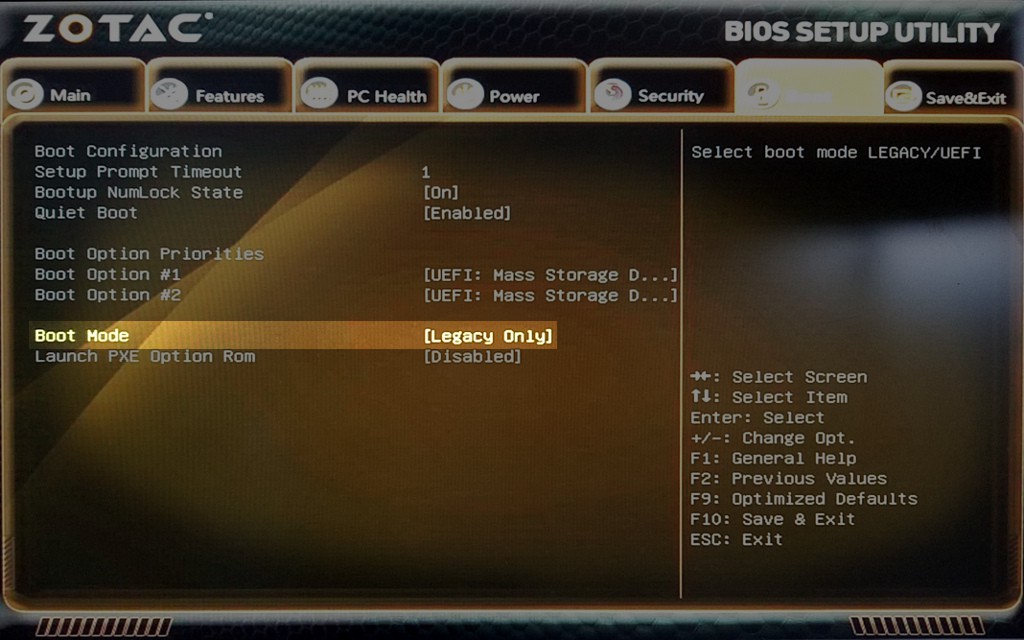
Power on the system and press 'Delete' when prompted to enter the BIOS Setup Utility. On the 'Boot' tab, change Boot Mode to "[Legacy Only]". You may also wish to configure the system to automatically power on after power loss on the Power tab. Press F10 to save the settings and exit the utility.
![]()
-
5Install Debian 9 (Experts)
If you feel comfortable installing Debian Linux on your own, this is the preferred option. Otherwise, skip to the next step to install a pre-configured disk image that we have created.
Create a bootable USB drive from a 64-bit Debian 9 installer image and follow the normal installation procedure. When prompted to configure the disk partitioning, choose Manual partitioning.
Create two logical partitions on the disk. The first partition should be 20GB and mounted as the root filesystem. The second partition should fill the remainder of the disk and be left unformatted -- it will be encrypted and formatted for you automatically later on. Ignore any warnings about a swap partition.
Once the system has rebooted, log in as root and grant your user account sudo privileges
apt update && apt install sudo
gpasswd -a <username> sudo
Log out and log back in as your user account. Download the Management Portal software, which will deploy your cloud server.
wget https://gitlab.com/gibberfish/daygate/-/archive/master/daygate-master.tar.gz tar xvpf daygate-master.tar.gz -
6Install pre-configured disk image
If you have completed the previous step, you may skip to the next one.
First, you must create a "live" USB drive that you can boot the server from. There are many methods to doing this that can be found online. If you're a Windows user you might want to check out the Linux Live USB Creator. Ubuntu provides step-by-step guides for Windows, Macintosh, and linux users. It doesn't matter which linux distribution you install on your USB stick. If in doubt, choose Ubuntu.
After you have set up your USB drive, plug it into your server and power it on. On the boot-up screen, look for an indication of which key to press to enter the Boot Options menu. Most systems use the F12 key. On the ZBOX it is F8. From the Boot Options menu, select your USB drive (it may be called something like "Mass Storage Device").
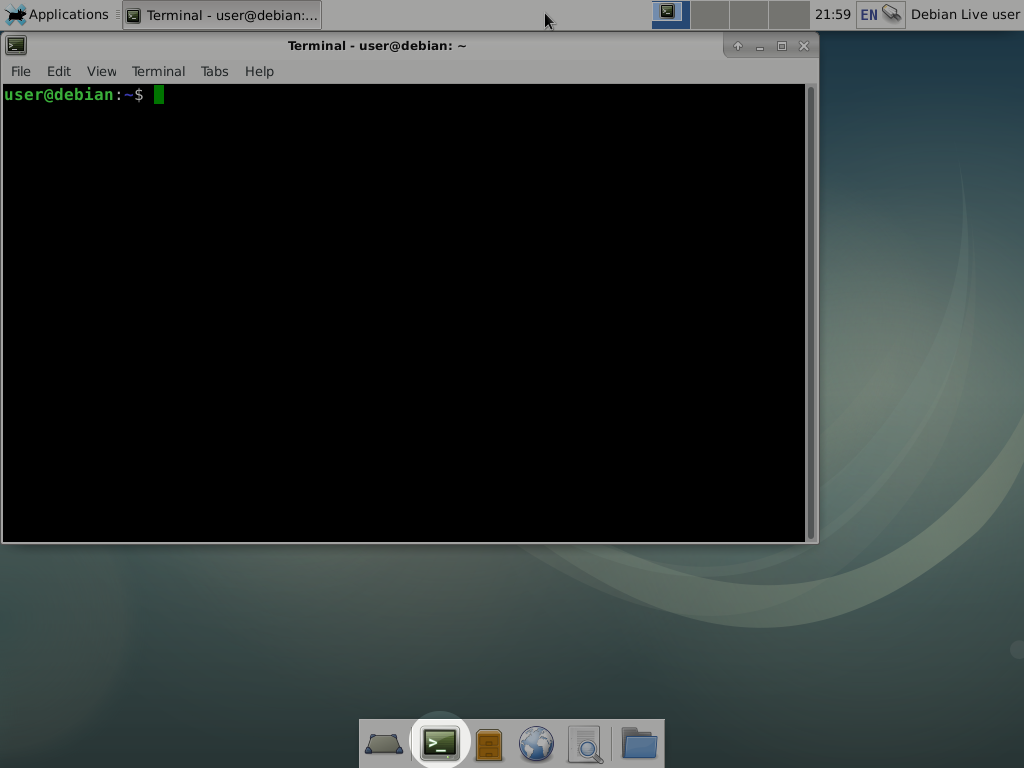
When the desktop loads, open the Terminal program to enter the following commands. The icon typically resembles a black computer screen. Here is what it looks like on the Debian xfce live desktop:
![]()
The install script will download the disk image from our server and install it on your hard drive.
wget -qO - https://download.gibberfish.org/fishtank/installer | sudo bashOnce complete, remove the USB drive and reboot
sudo reboot
Extra credit: If you are booted from a USB drive that includes the Tor utilities, you can download the disk image from a Tor hidden service instead of using the open internet. Substitute the command above with this:
torsocks wget -qO - http://mpk27iqfaijesfw4.onion/fishtank/installer | sudo bash -
7Change your password!
If everything worked correctly, you should see this displayed on the screen:
Debian GNU/Linux 9 fishtank tty1

fishtank login: _
Log in with the username and password you set up in the Debian installer. If you used our disk image, enter the following credentials:
username: gibberfish
password: gibberfishOnce you're logged in, CHANGE YOUR PASSWORD! Do not skip this step! It is extremely important to use a strong passphrase. We recommend the use of the Diceware method.
-
8Install the Gibberfish Management Portal
Your home directory should contain a directory called daygate-master which contains the installer for our web Management Portal. Enter the following command:
cd daygate-master
sudo scripts/install.sh
When the install script finishes, it will output something like the following:
###########################################
 Web URL:
 Tor URL: http://ac64giq2lnf4vxhf.onion
 Mgt URL: http://uubbhi67u8f9cjqw.onion
###########################################
Note the "Mgt URL", which is a special address accessible the Tor network. At this stage, you may disconnect the monitor and peripherals from the server. All further steps will be performed remotely from your regular computer.
-
9Deploy your cloud!
To access the Management Portal, you must install the Tor Browser on your workstation. It allows you to browse the internet anonymously and access "hidden" sites that are not available from the normal internet.
Download it here: https://www.torproject.org/projects/torbrowser.html.en
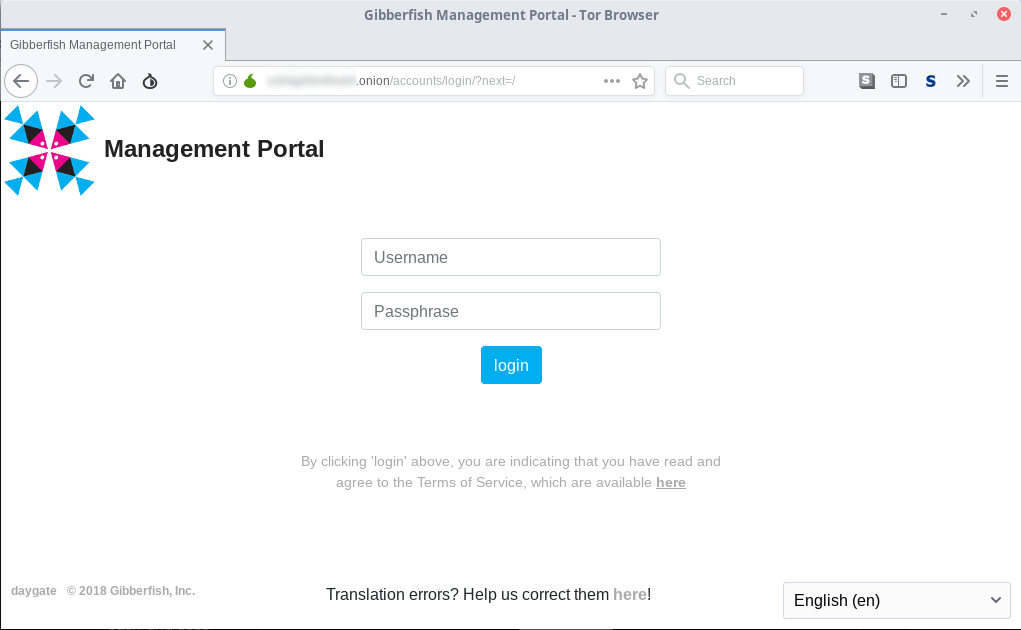
Open the Tor Browser and enter the .onion address (listed as the "Mgt URL" from the previous step) in the address bar.
![]()
Log in with the following credentials. You will be prompted to change your passphrase. Please choose something secure and record it somewhere safe, such as a password vault.
username: portal_admin
password: gibberfishAfter changing your password, you will be asked to enter an email address to serve as the admin contact, as well as to enter to DNS records from Step 1. Once you have completed these initial setup steps, you will be redirected to the Deploy tab.
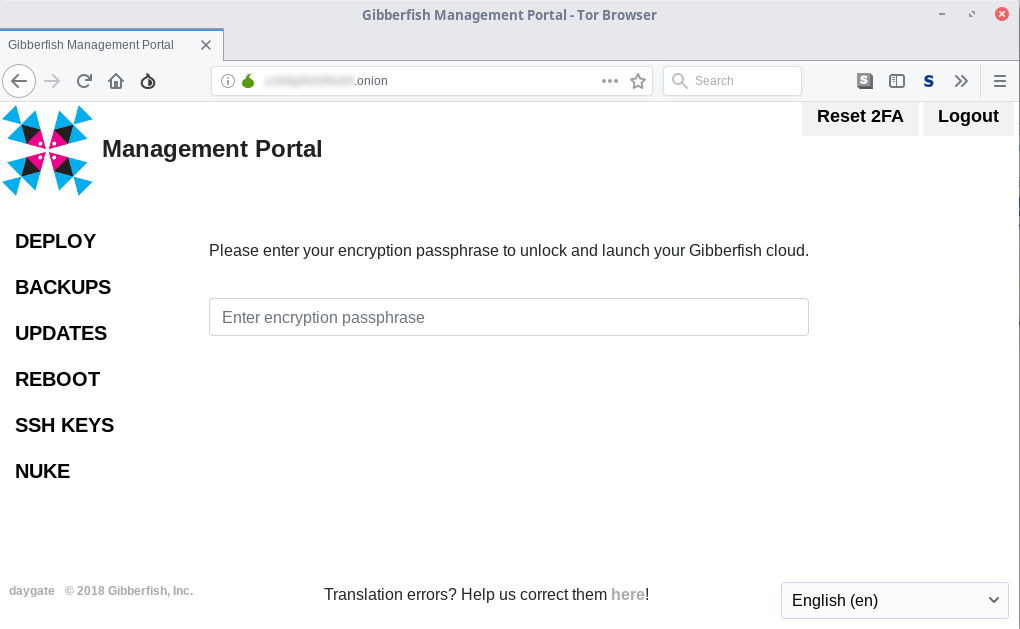
On the next screen, enter an encryption passphrase for your cloud server. This passphrase will be used to encrypt the storage for all of your data, and you will be required to enter it to unlock your data any time your server is rebooted. Take some time to generate a secure passphrase. Do not re-use a passphrase you have used anywhere else, and do not lose it. If you lose this passphrase, you will probably need to enlist the help of the NSA to get your data back 😉
After entering your passphrase, your cloud will begin to deploy. This process usually takes about 30 minutes, which is a good opportunity to read the Gibberfish Quickstart Guide if you haven't already. It will help you get started using your new cloud server.
![]()
Take note of the username and password displayed on the screen when the process completes. It will not be shown again.
The Management Portal can be used to deploy your cloud, configure automatic updates, reboot your server remotely, and even securely destroy all of your data. We recommend that you set up two-factor authentication (2FA). Not only will it make your login much more secure, it is also required for some of the more powerful features of the Management Portal to be used.
Your server can automatically look for and apply updates on a daily basis, but you must opt-in to this feature from the UPDATES menu. We strongly recommend you do this to make sure your server stays current with the latest software and security fixes.
-
10Log in to your cloud!
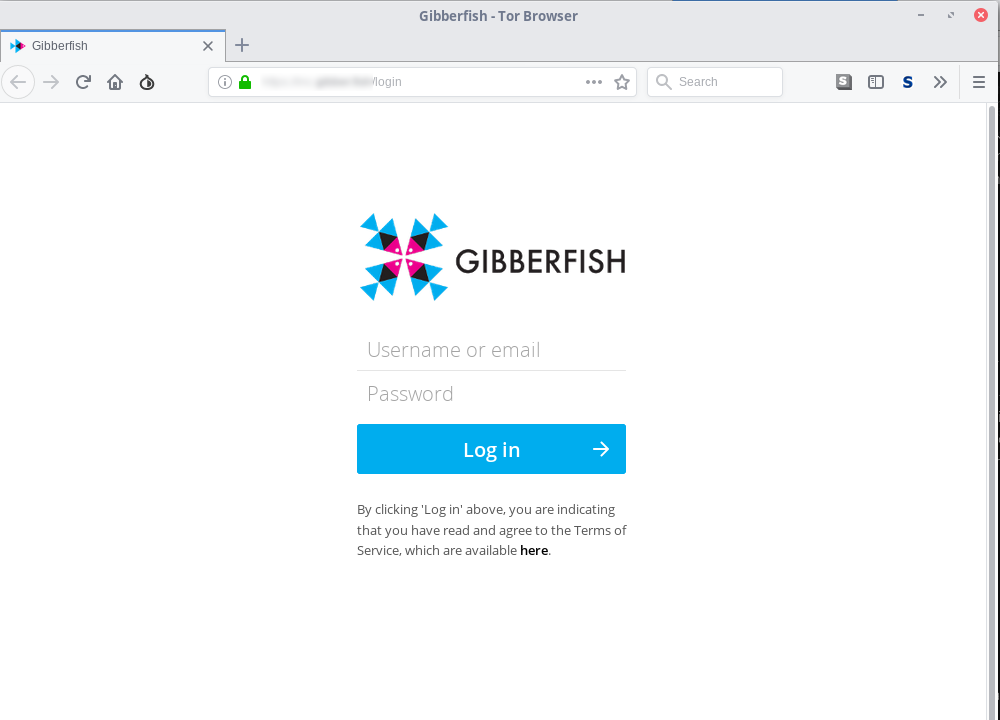
Open your regular browser and enter your server address (e.g. cloud.example.com). You should see the following screen:
![]()
Log in using the credentials supplied to you by the Management Portal. You should change the password once you are logged in, and also create a non-admin user account for yourself for day-to-day use. You will find several PDFs in the User Guides folder on your home screen which will help you get started.
If you have any questions, feel free to contact us.
Private Communication for Activists
Build your own self-updating mini server for securely and privately sharing files, chat, video conferencing, and VPN.
 Gibberfish
Discussions
Become a Hackaday.io Member
Create an account to leave a comment. Already have an account? Log In.