-
1Preparation
To assemble keyboard, you need to disassemble it first. Just use screwdriver, gentle force and a bit of patience.
Eventually you may clean all the parts using soft brush, isopropyl alcohol and water with soft detergent when needed.
All of you, retr0bright fans, need to add another step.
When all is done, do double check if none of the parts is missing.
![]()
Disassembled keyboard (numbers are for reference in the next steps) Now you can start to assemble the keyboard.
-
2Front rubber feet
Put the long rubber part (1) into the bottom of the housing (3). Push it in until it stops.
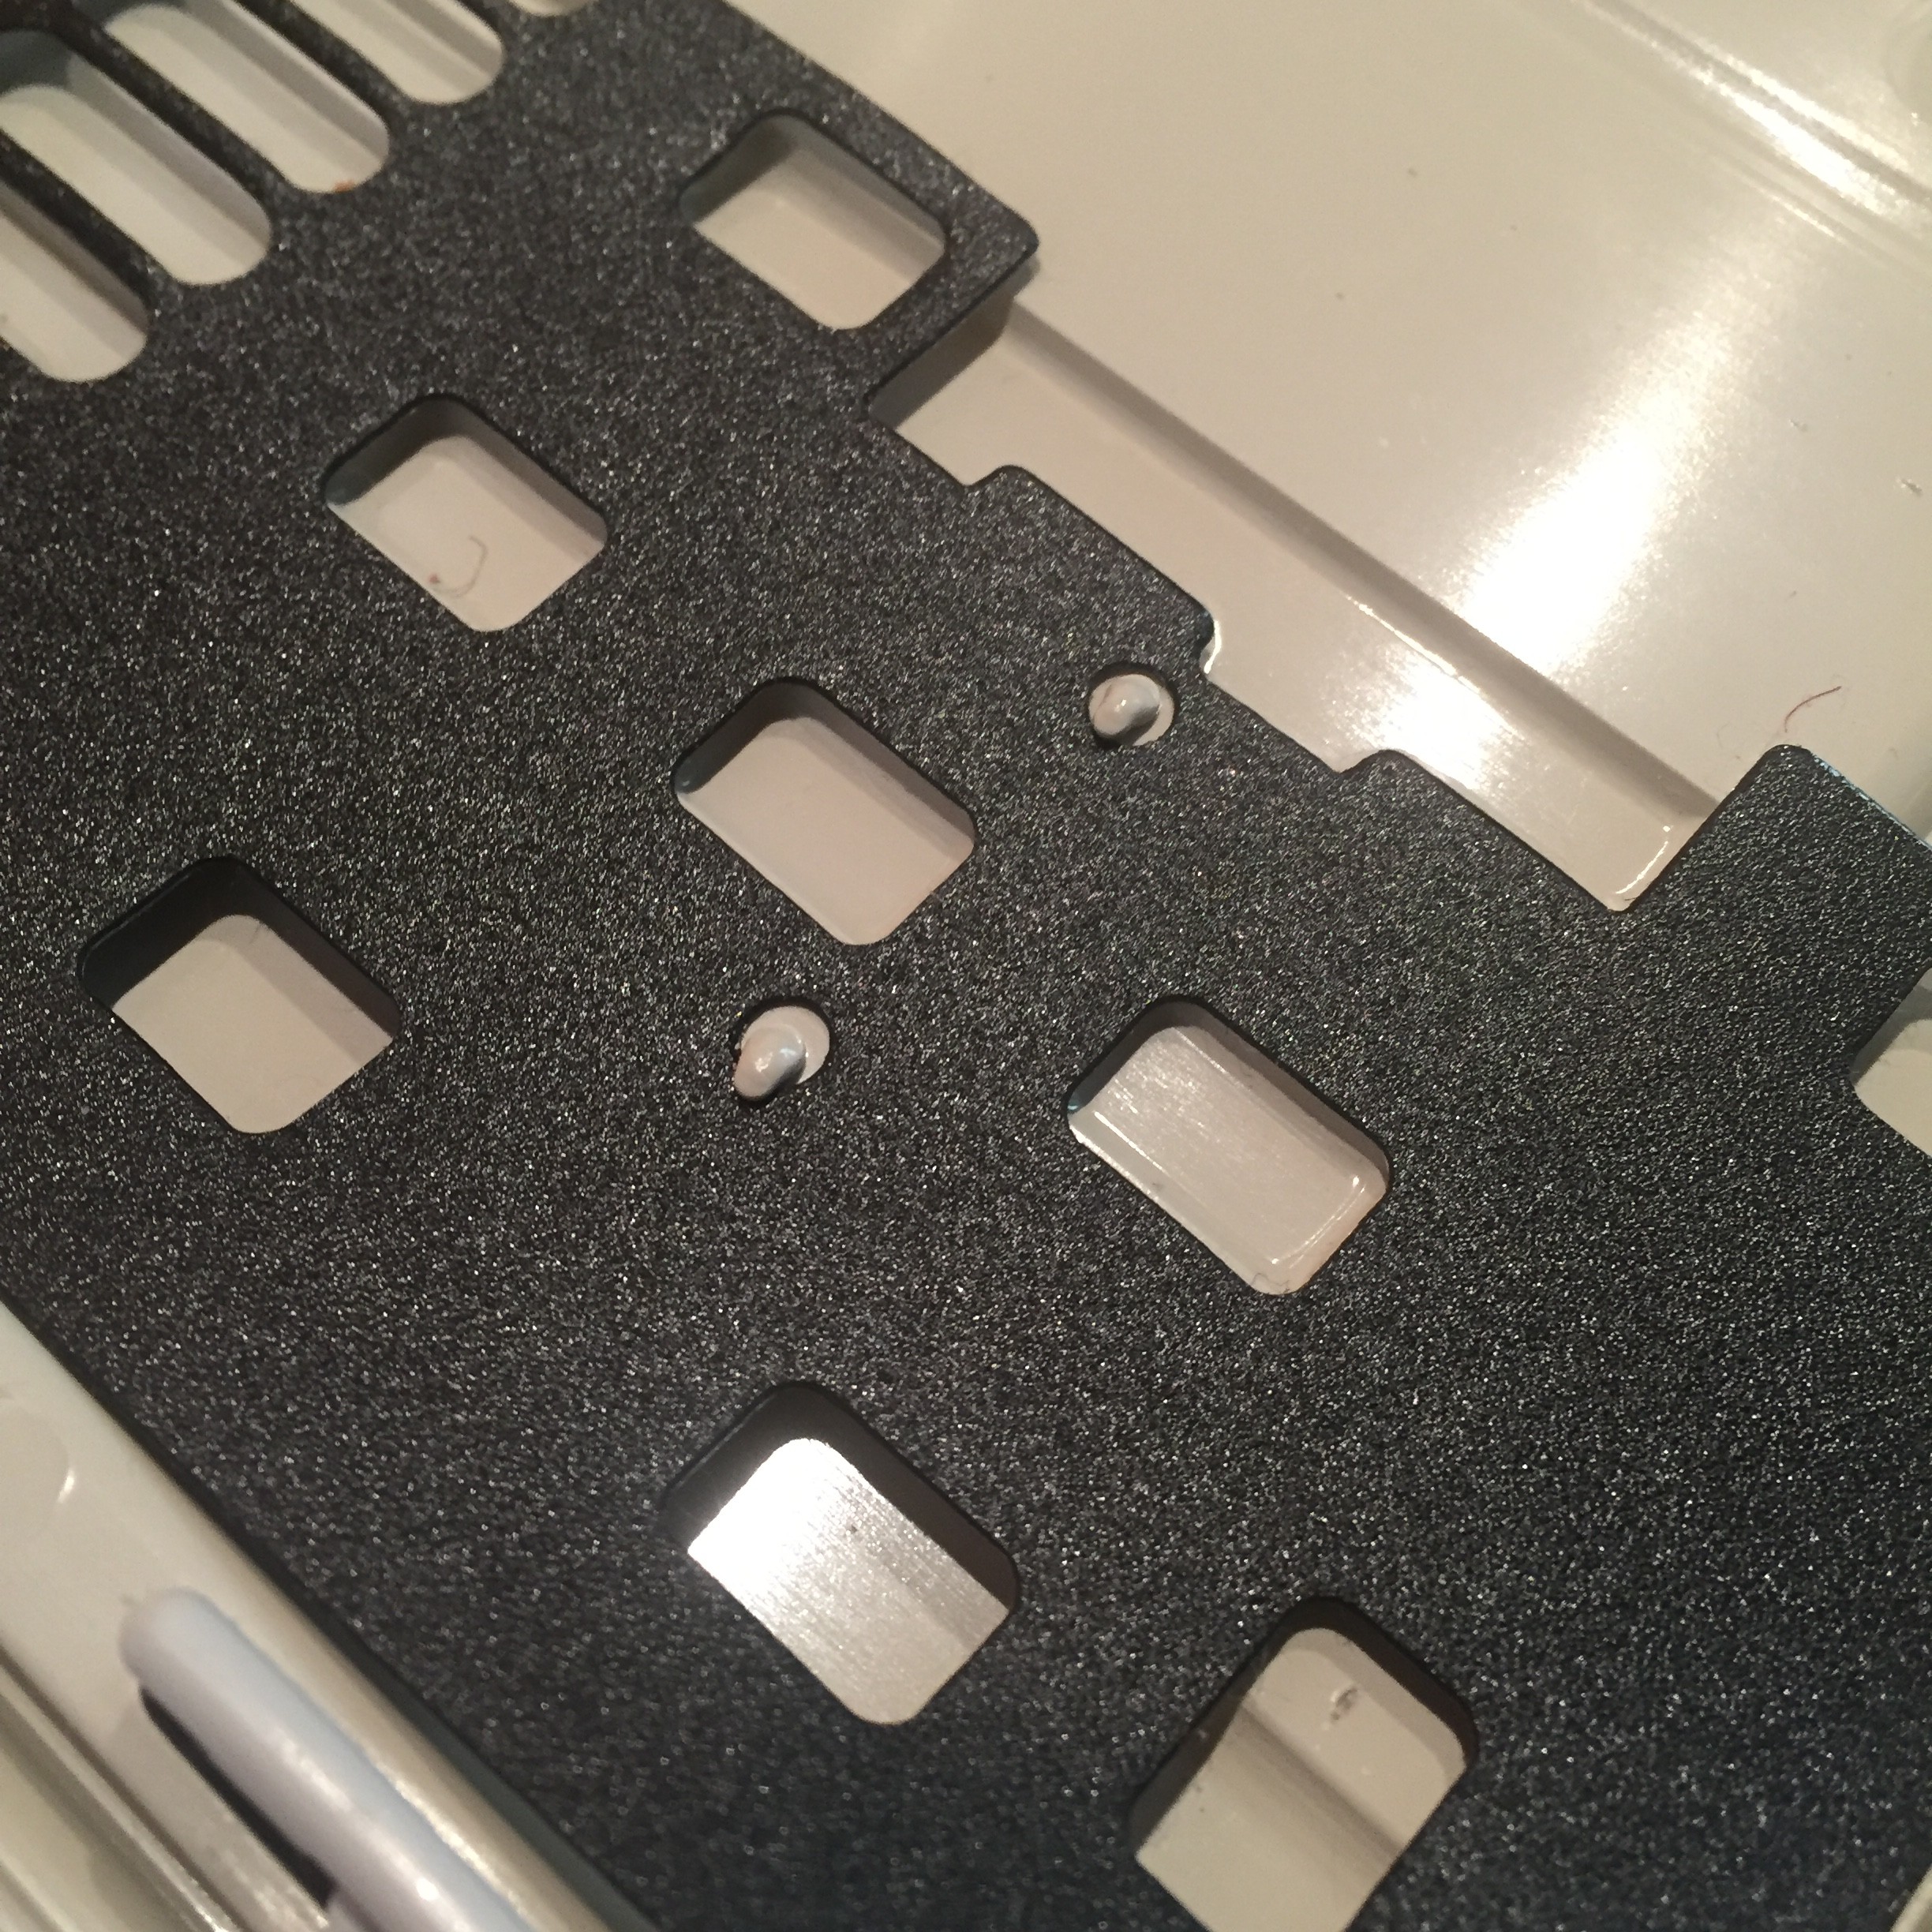
Five tabs serves as fasteners for a plate with keys (8).
-
3Black pad
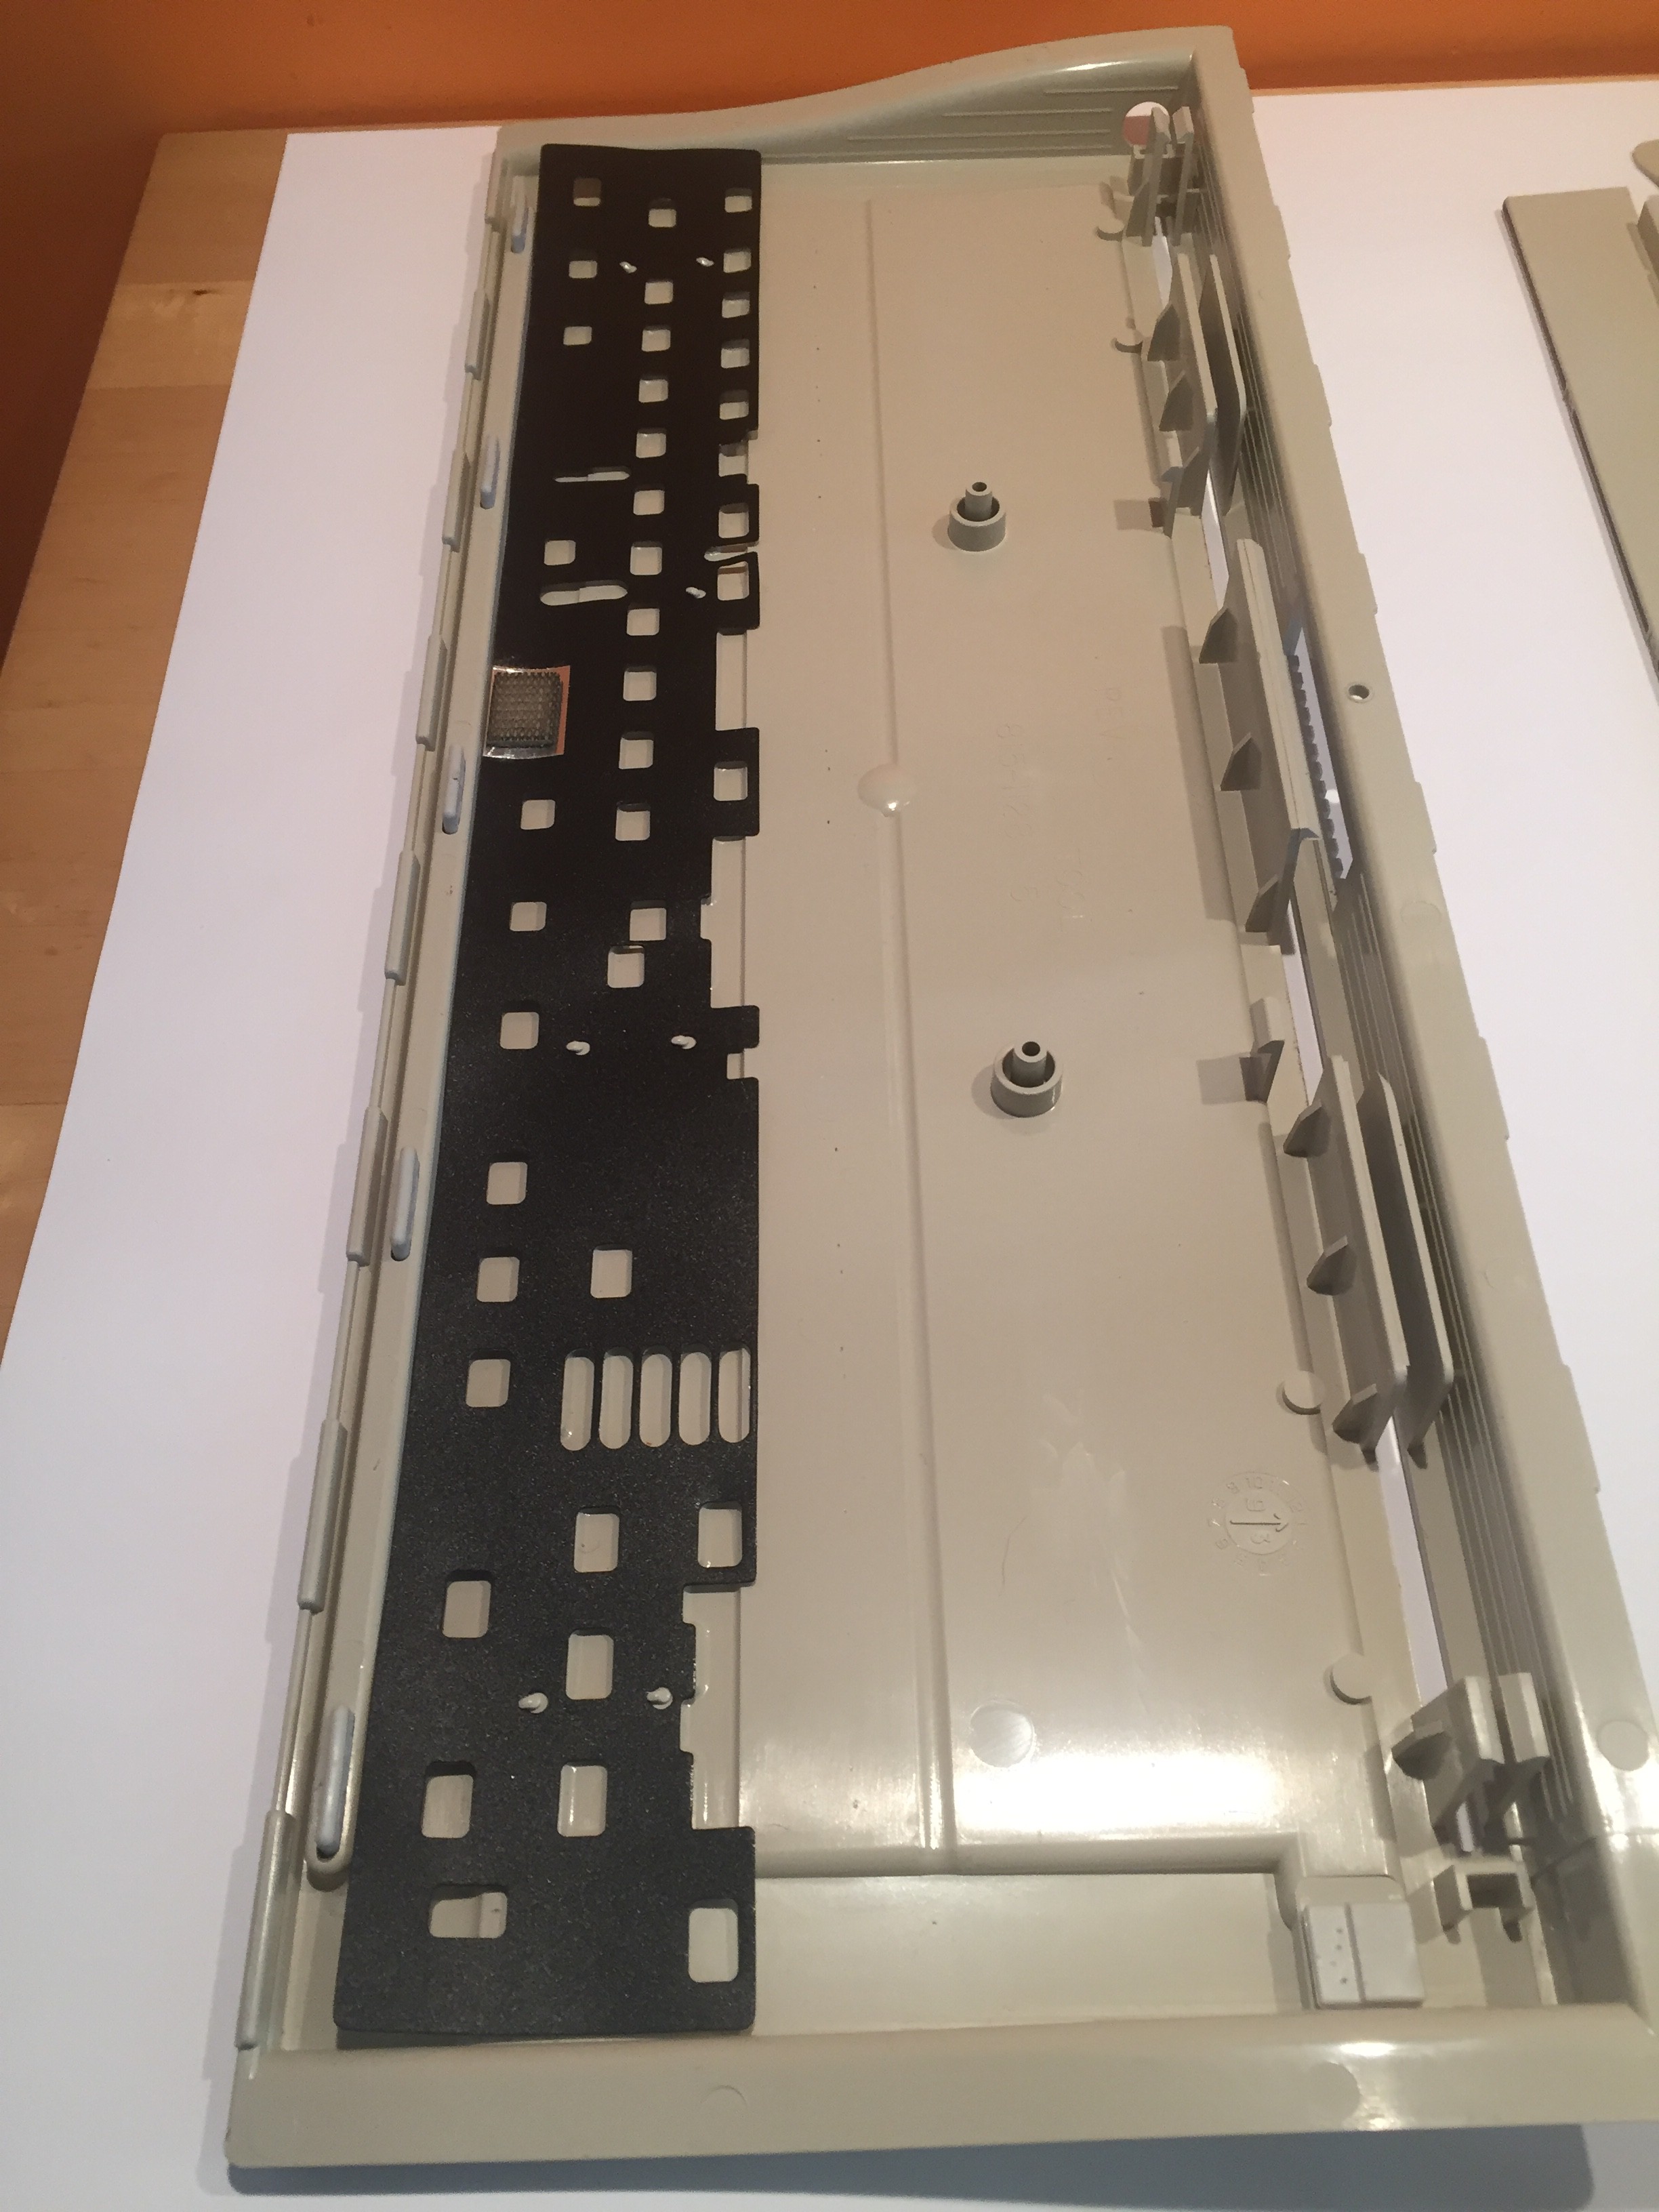
Place the black pad (2) in the bottom of the housing (3). Be careful not to bend it unnecessarily, because this part can be deformed easily.
The plastic hooks protruding from the casing are used to keep the pad in place.
-
4Rear foot preparation
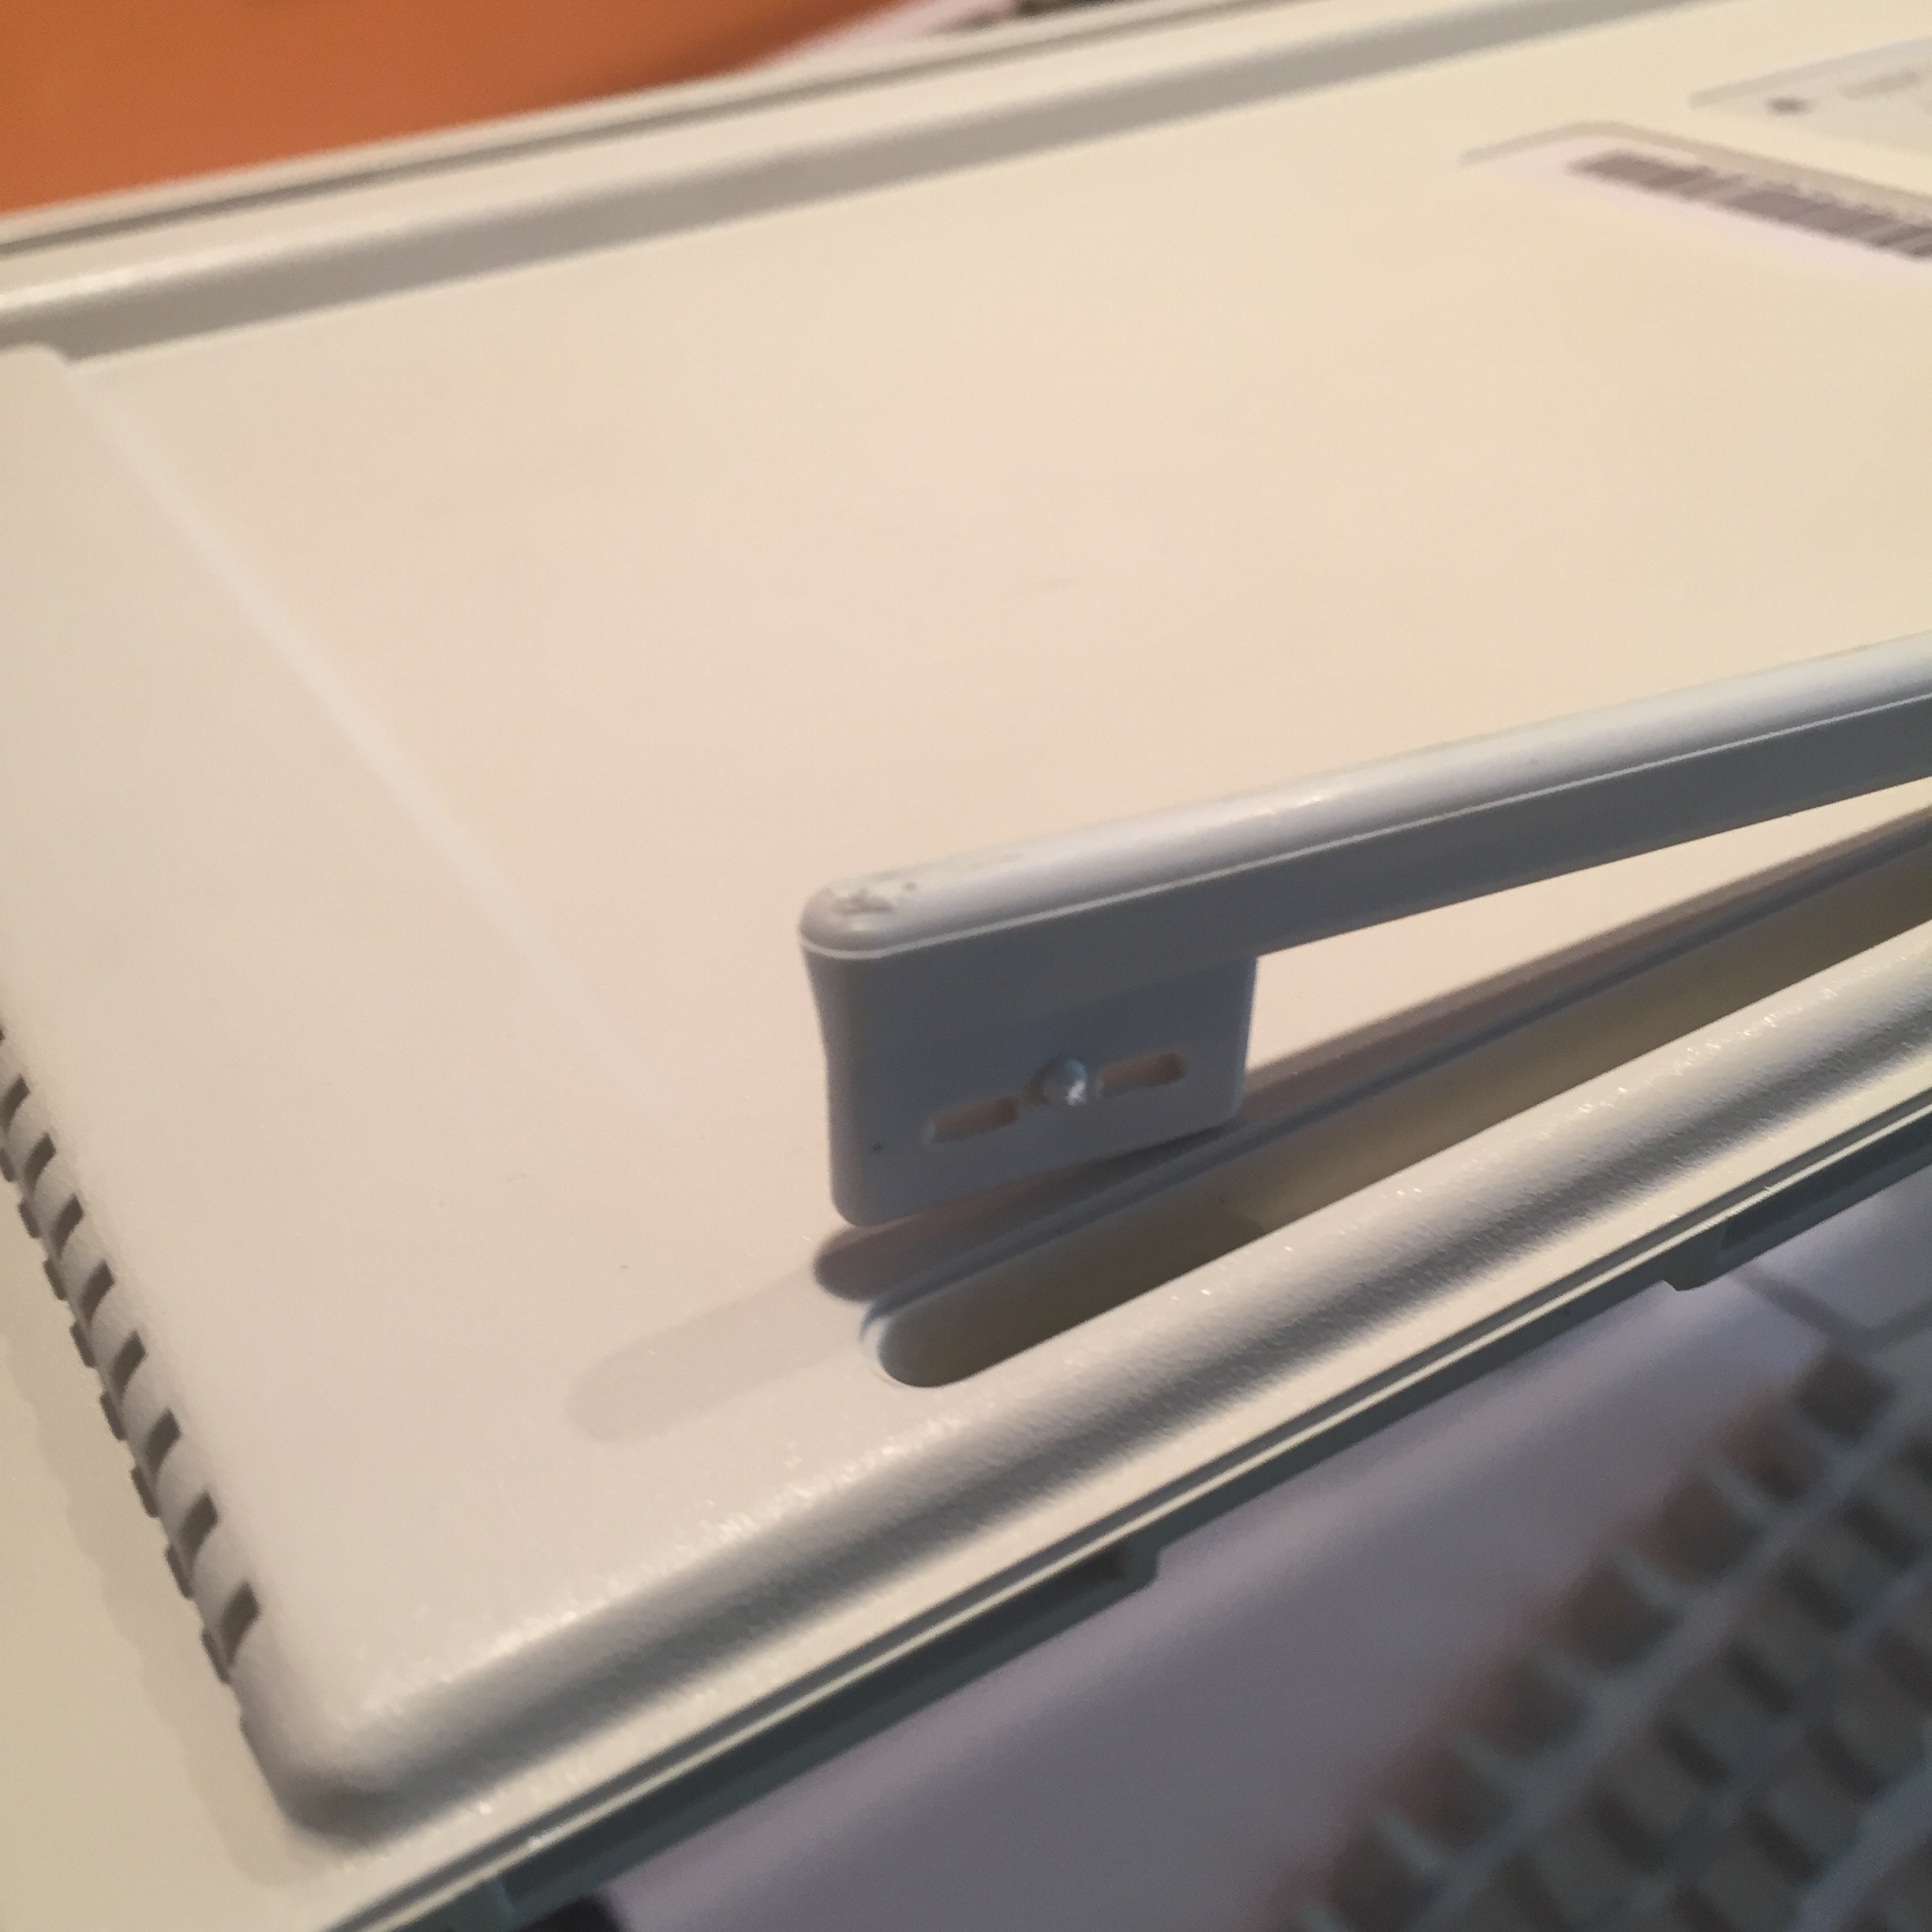
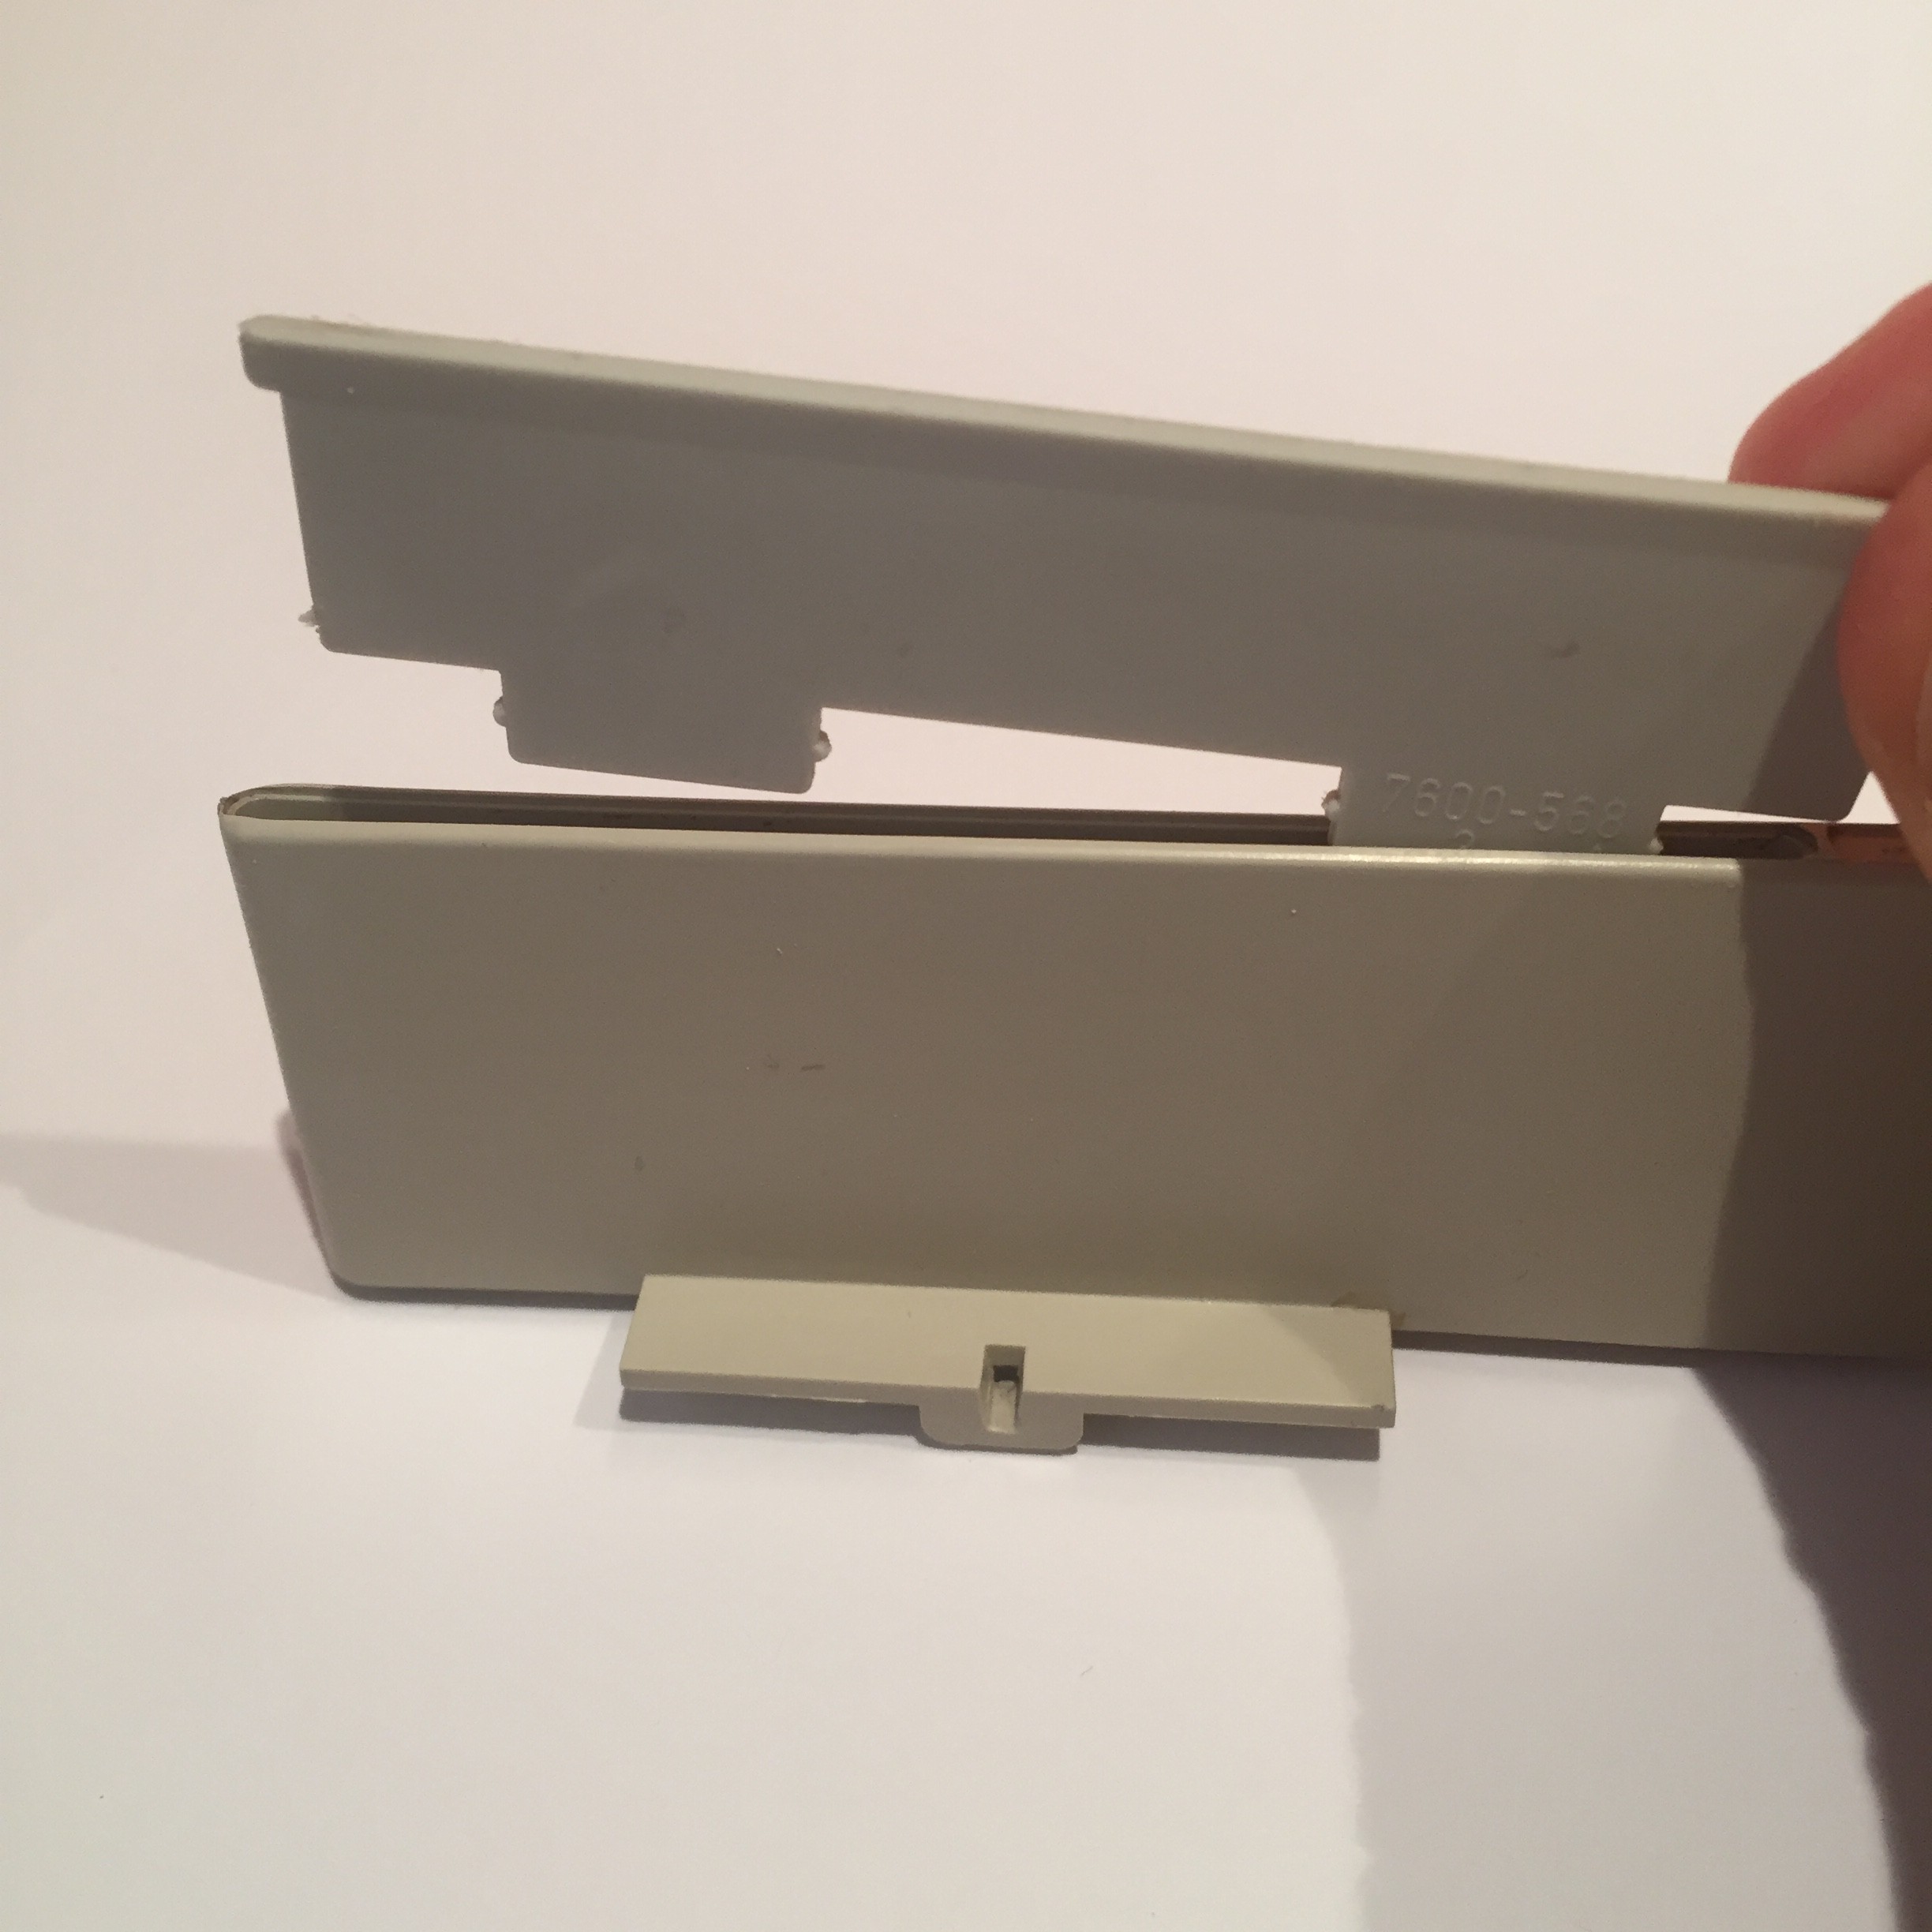
Take one rubber part (4)
![]()
Insert it into the plastic foot (5) on the left (or right) side. The orientation of the rubber part along the Y axis is not important. Push until you feel the click.
Repeat with the second rubber part (4) on the other side of plastic foot.
-
5Rear foot installation
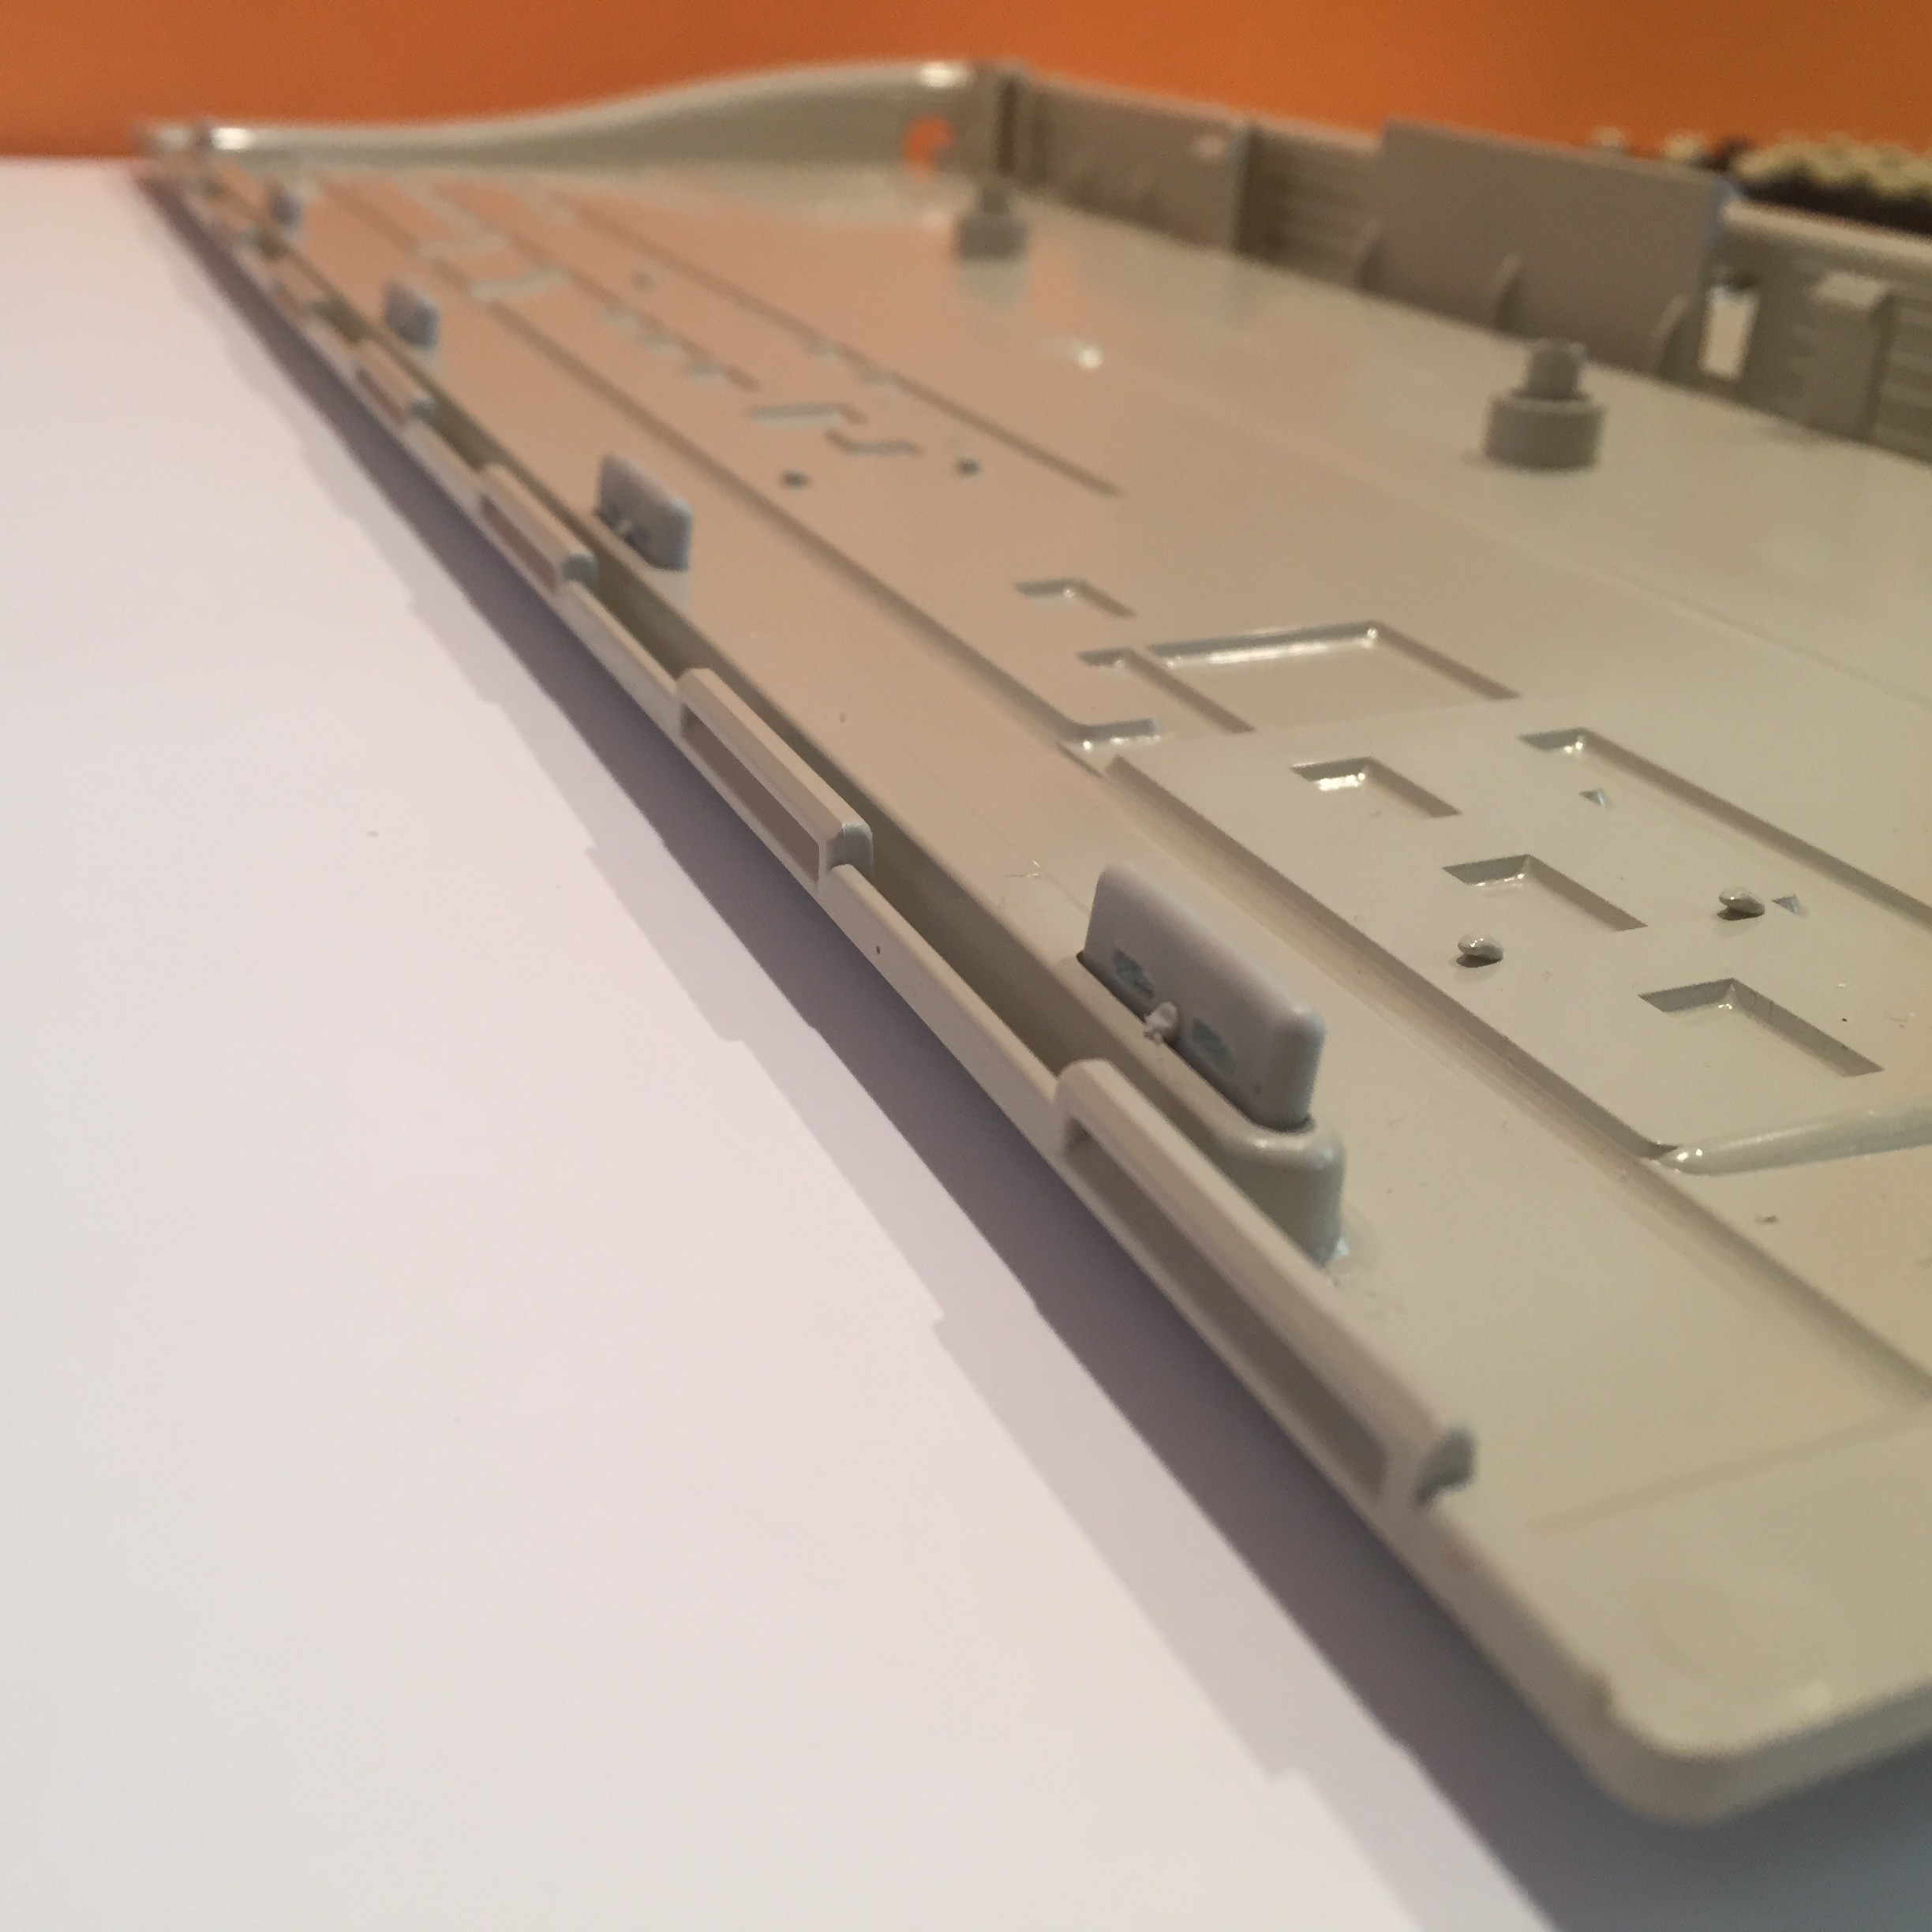
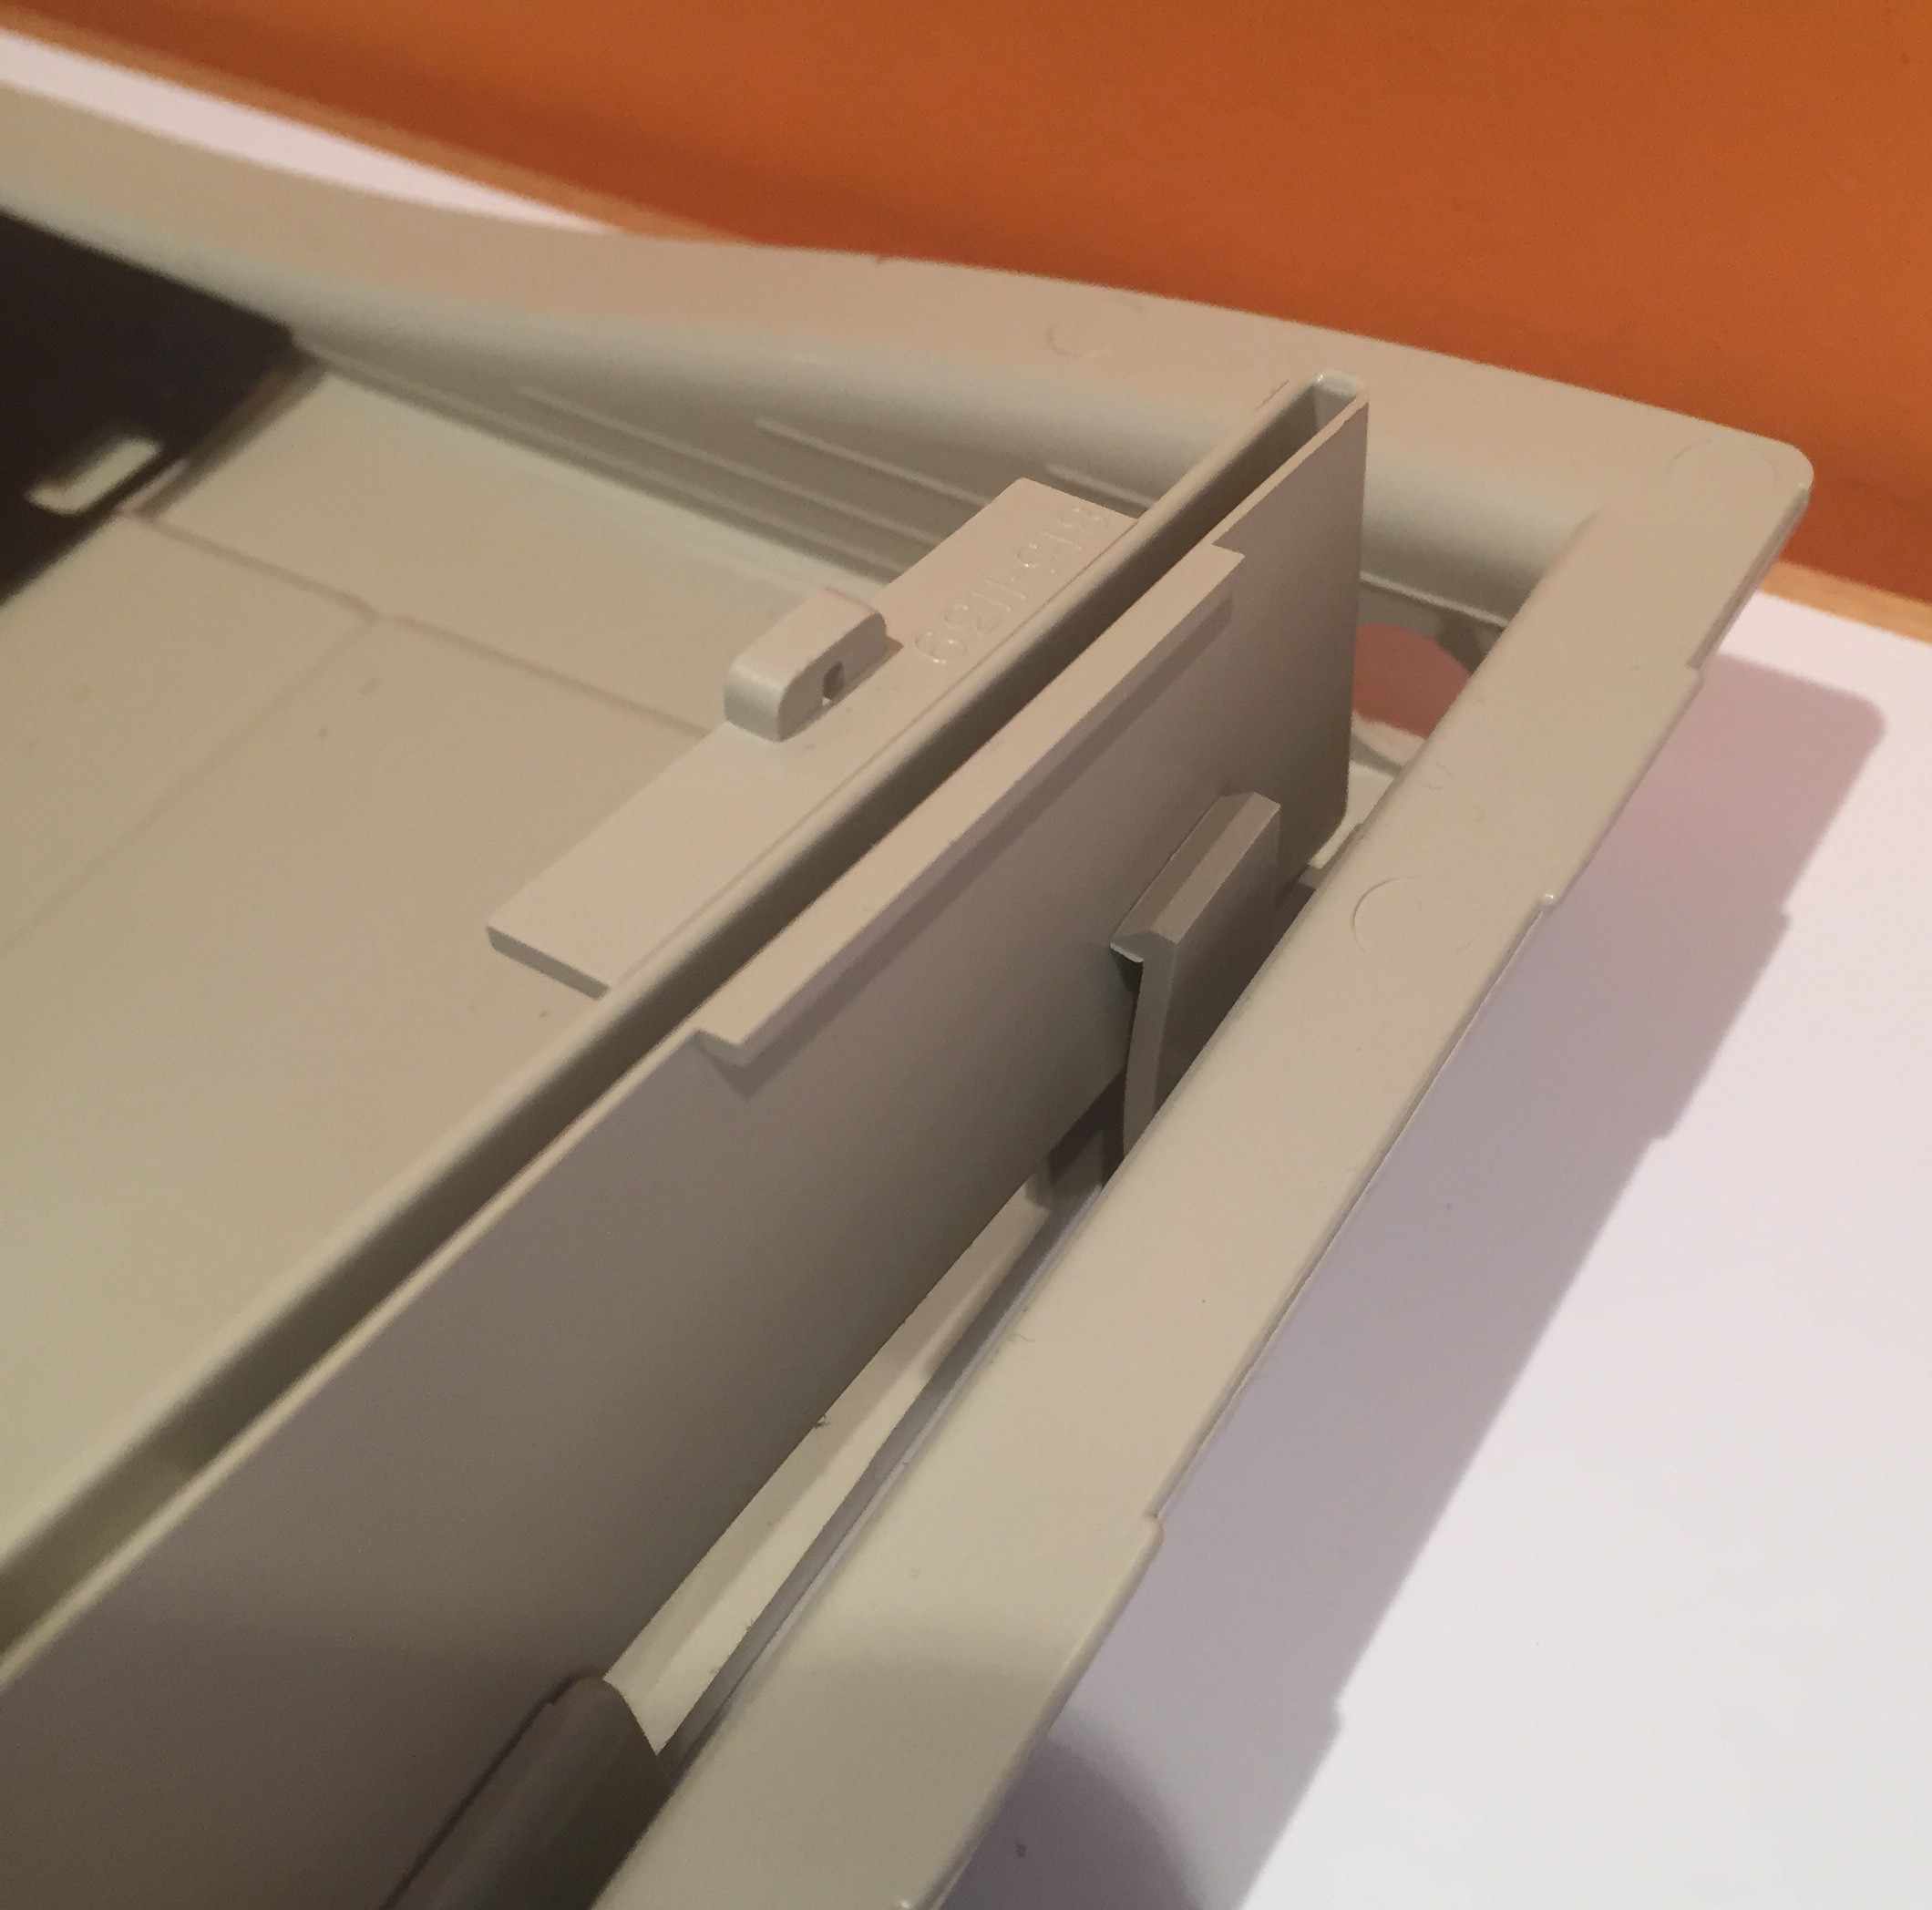
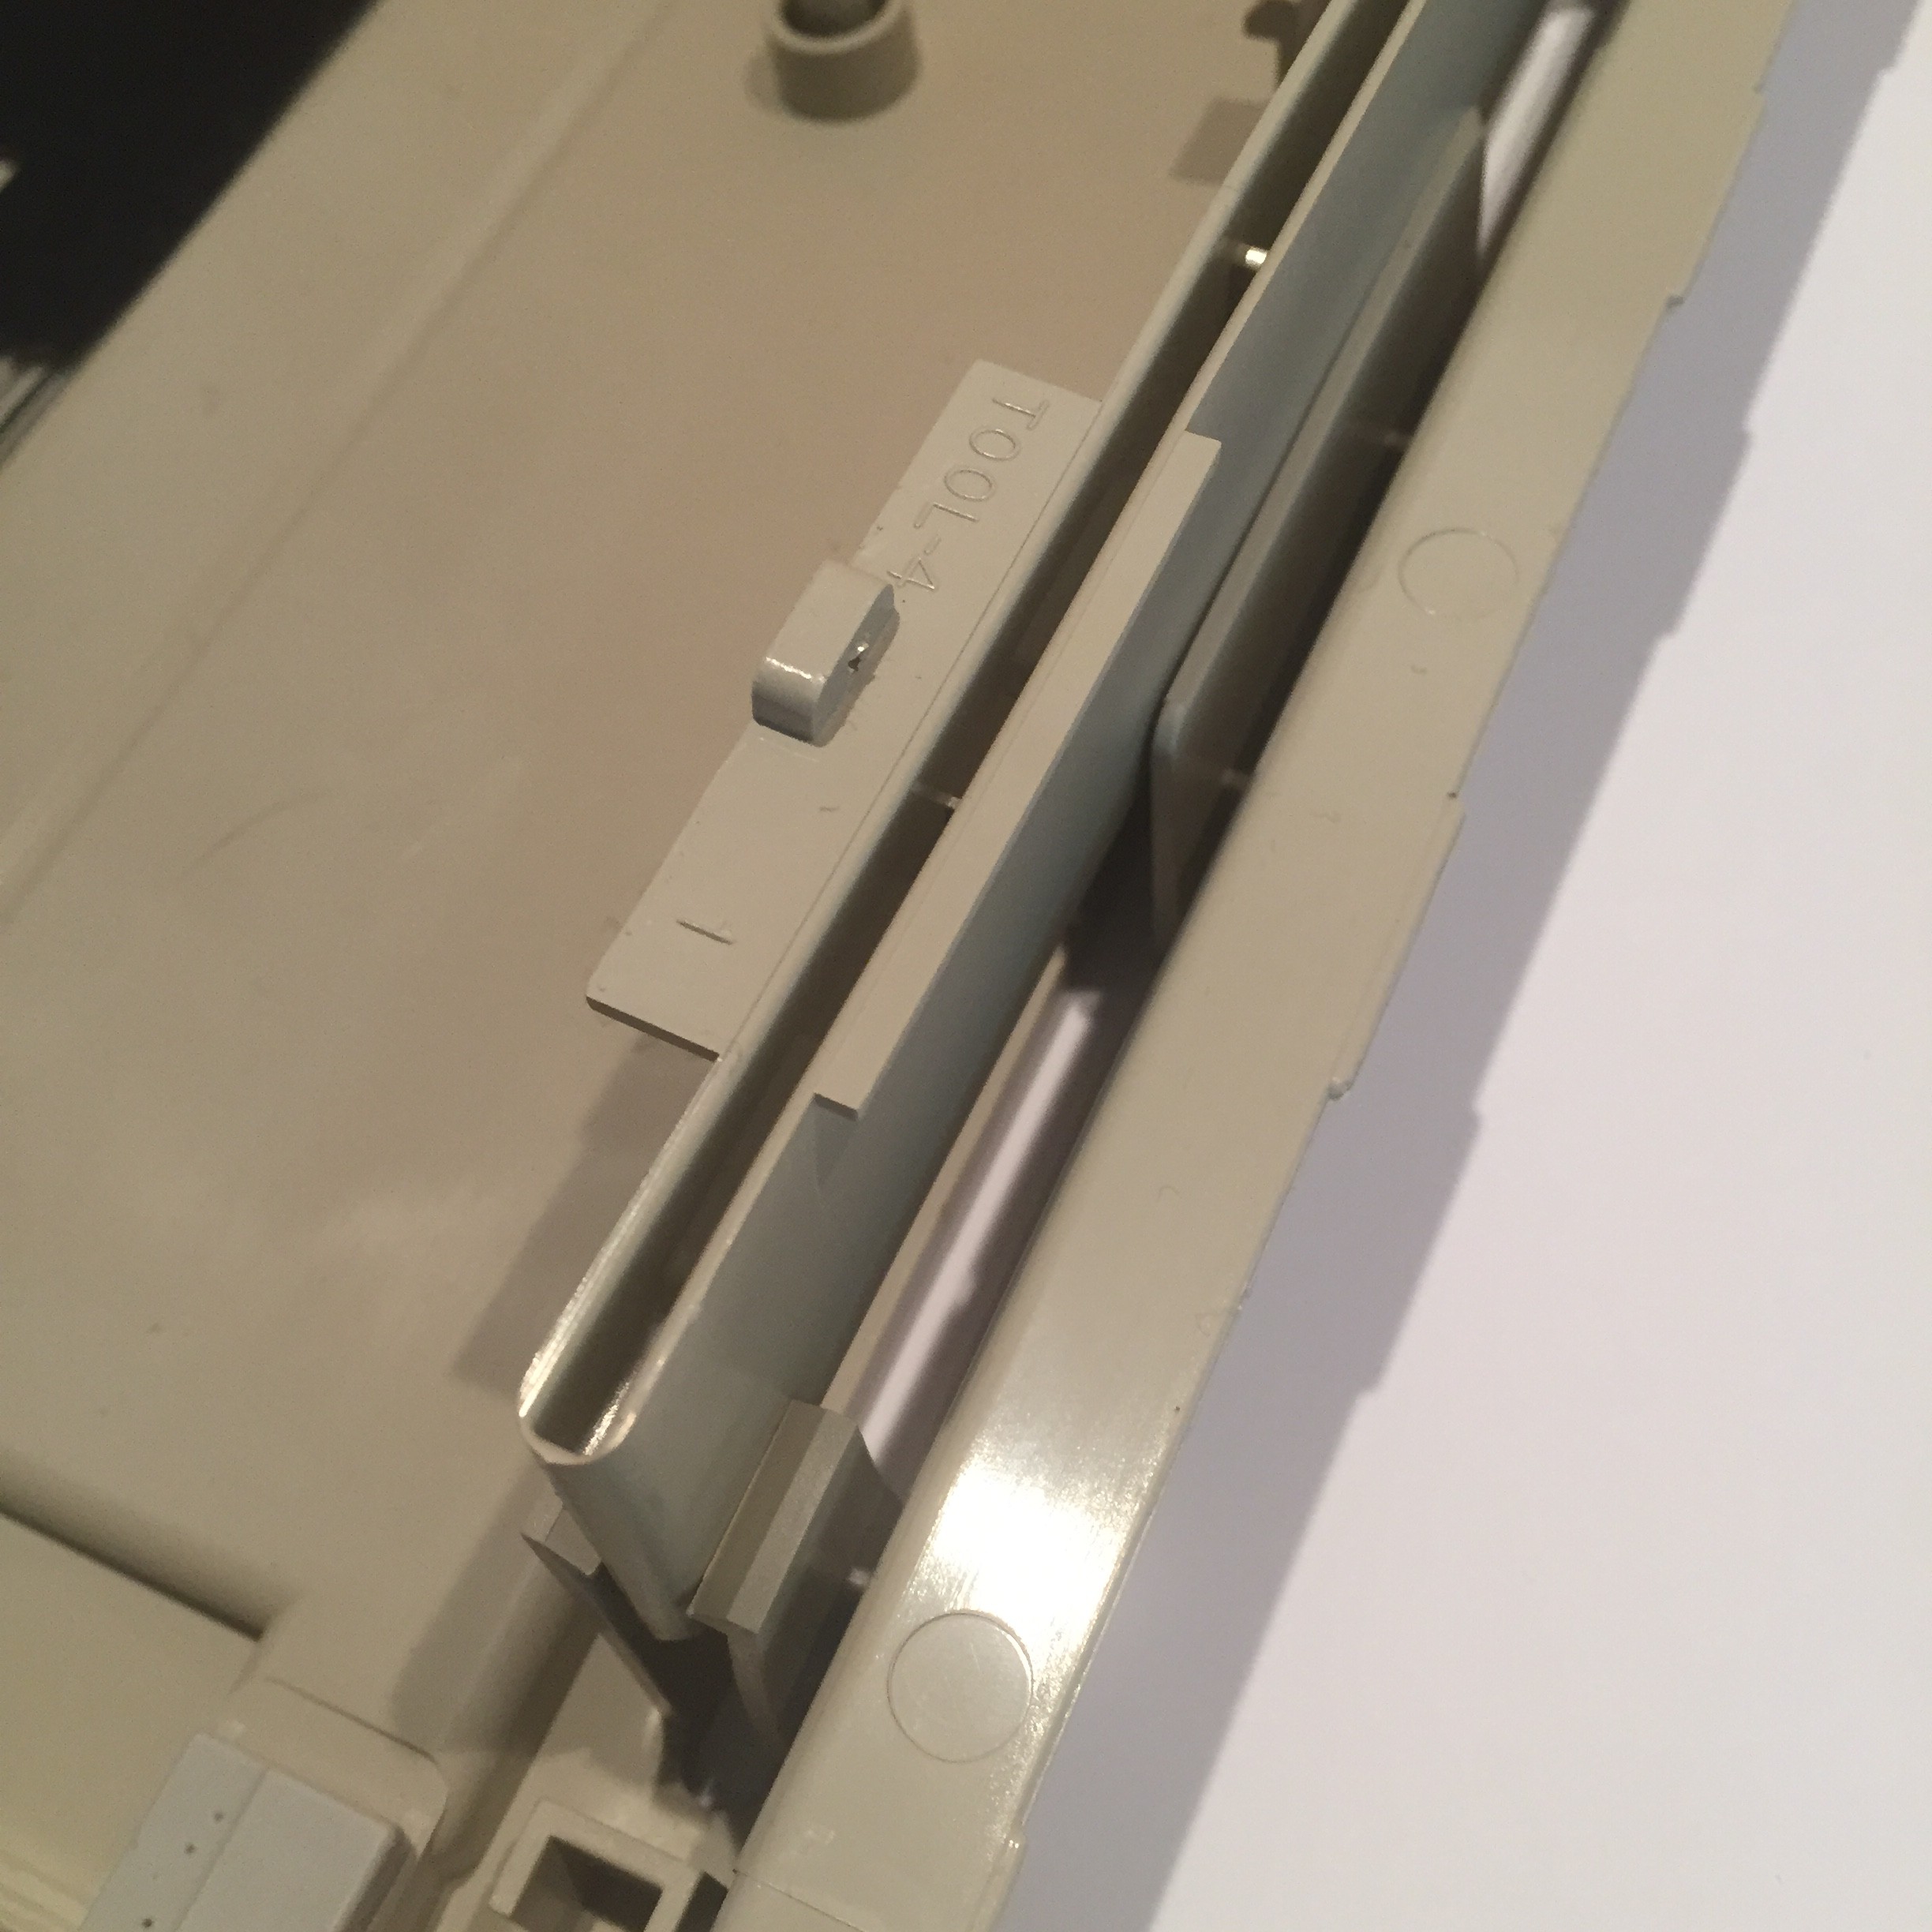
Take the prepared rear foot and insert it into the bottom of the housing (3) starting from the one side. Apply force gently, because the plastic latches can be broken easily. Stop when the latch is in the middle of the inserted element.
![]()
Then start inserting on the second side, taking care that the element does not jump out of the latch on the other side.
Finally push uniformly on the both sides until all three latches (left, right and middle) will snap into place.
Assembling Apple Extended Keyboard II
Step by step instruction how to assemble Apple Extended Keyboard II
 Tawez
Tawez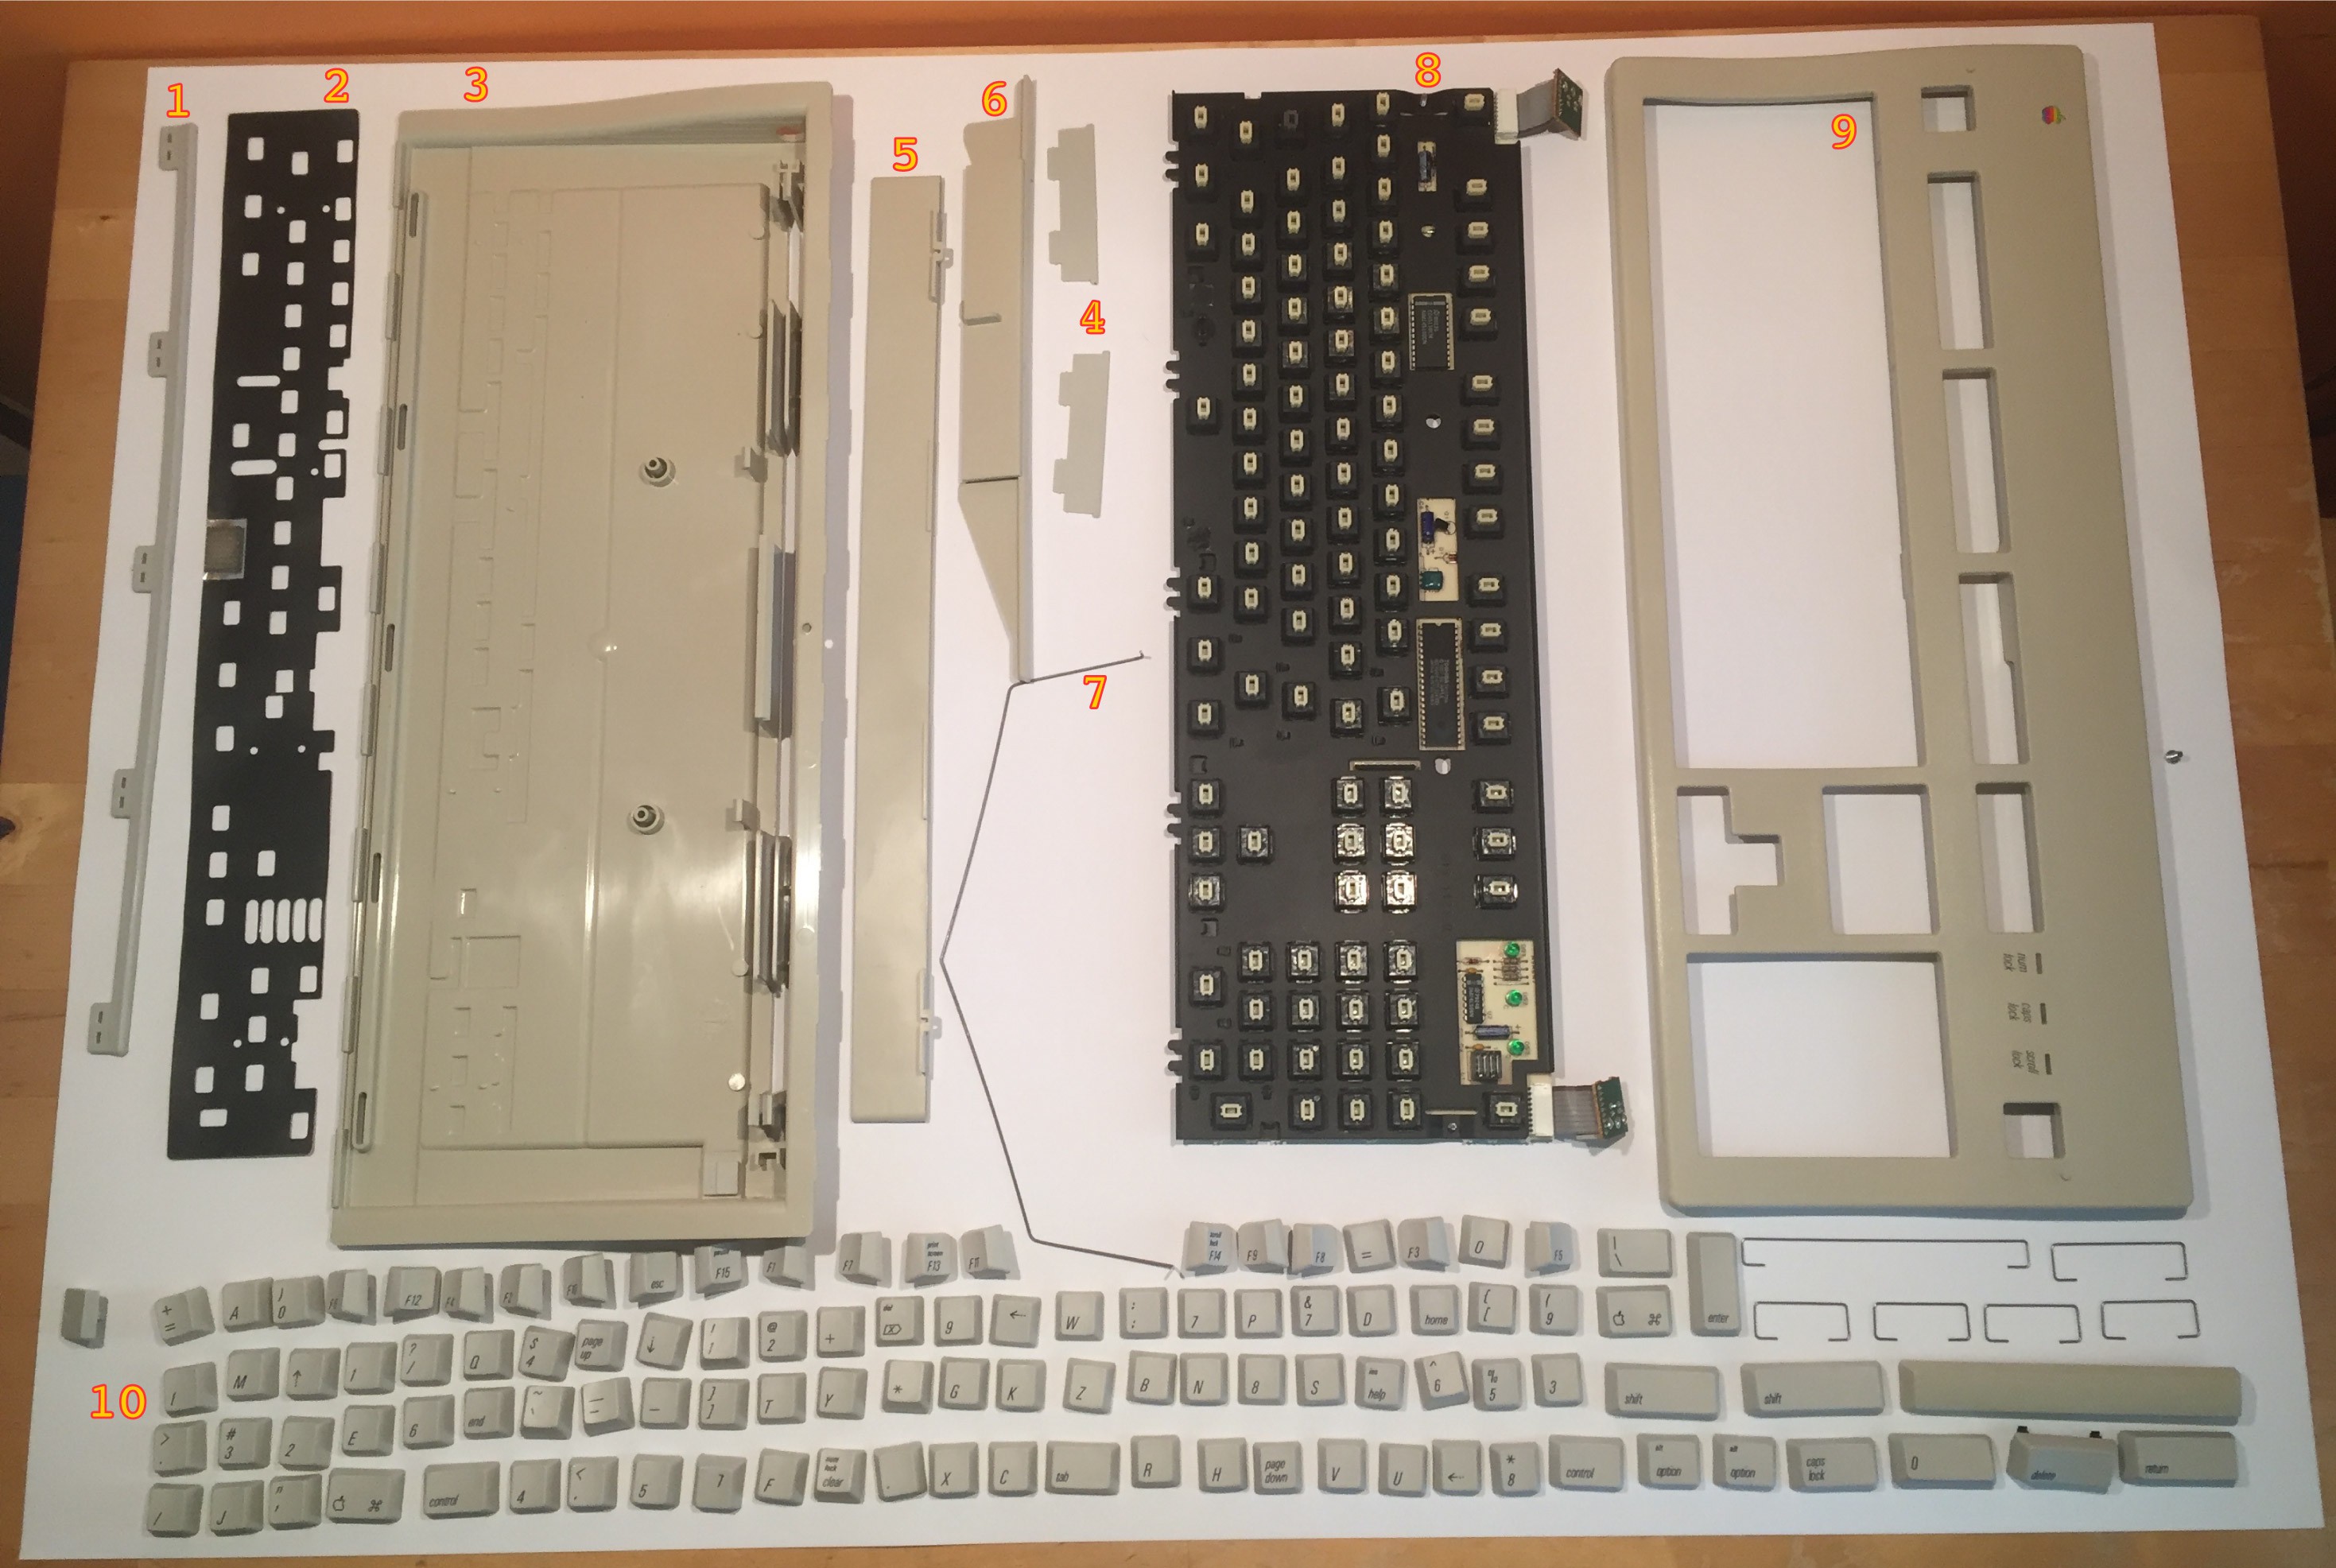


Discussions
Become a Hackaday.io Member
Create an account to leave a comment. Already have an account? Log In.