PLA is a great material to print with! The quality can be as good as you want, the supports are reasonably easy to remove, the layers adhere to each other extremely well, and when it cracks, it usually brakes similar to real plastic. Cheap plastic but at least like real cheap plastic.
So after three years of driving around with my original design with several software changes and updates, the hardware was still pretty much completely unchanged.
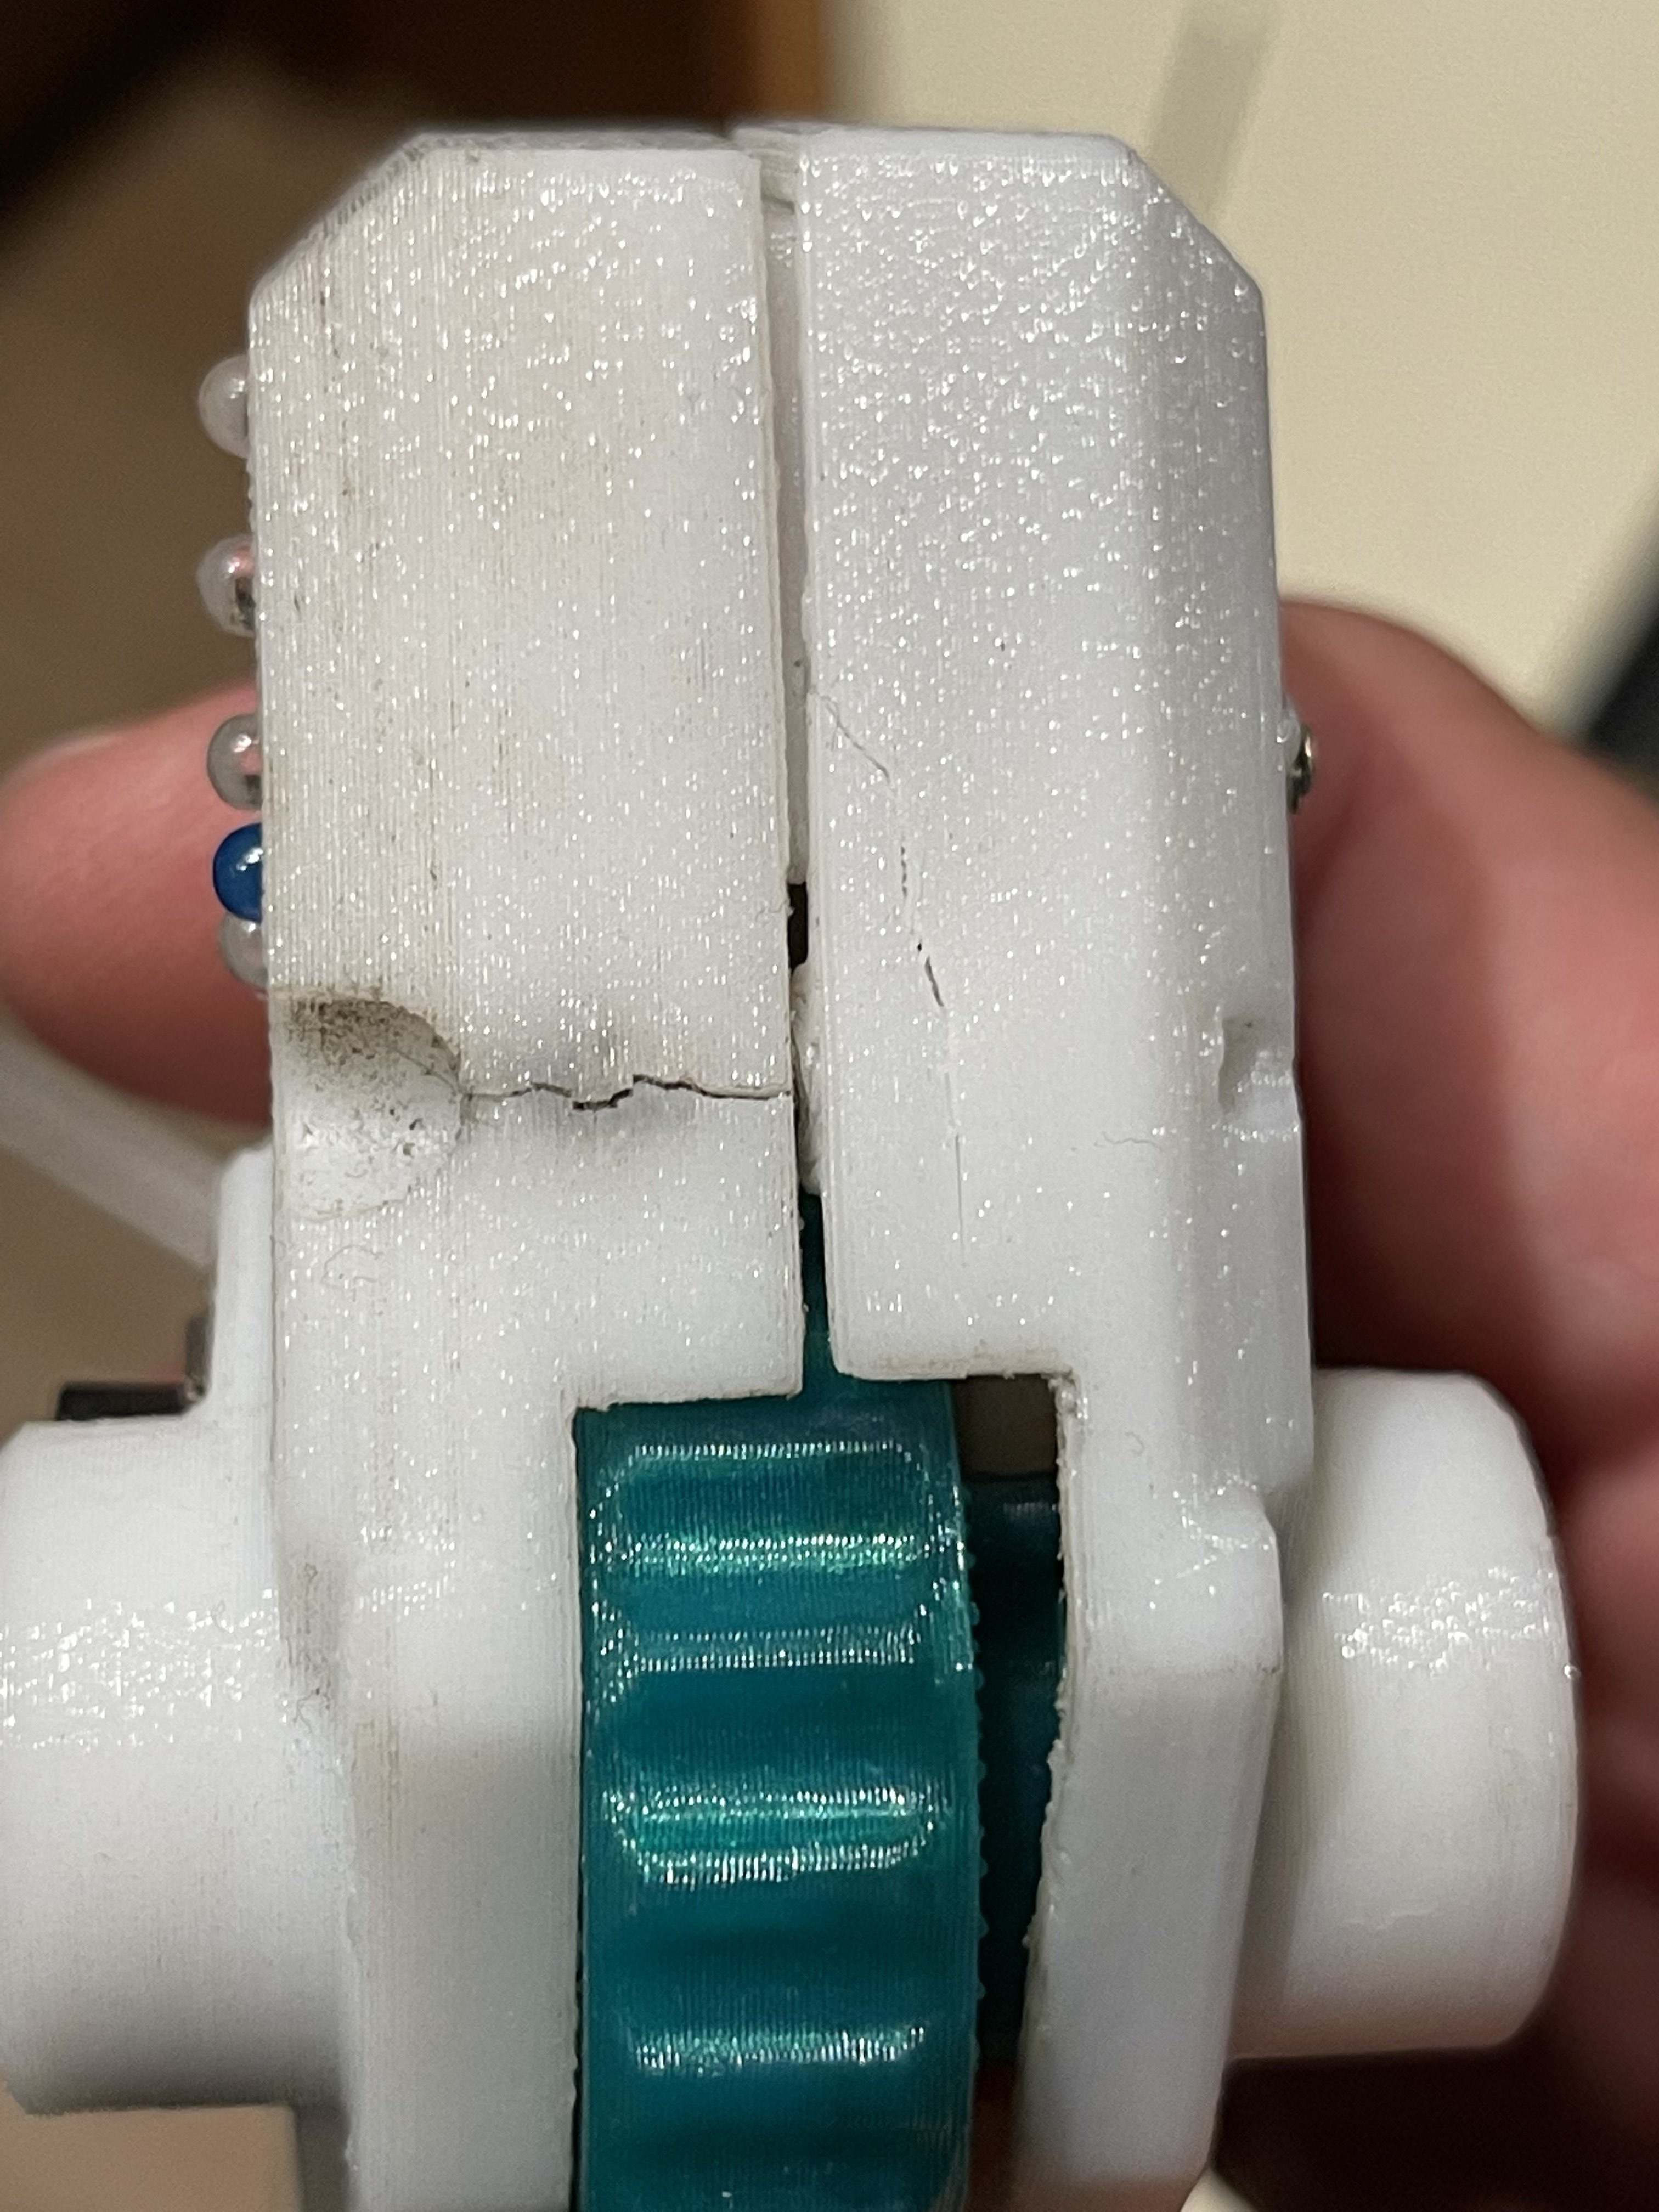
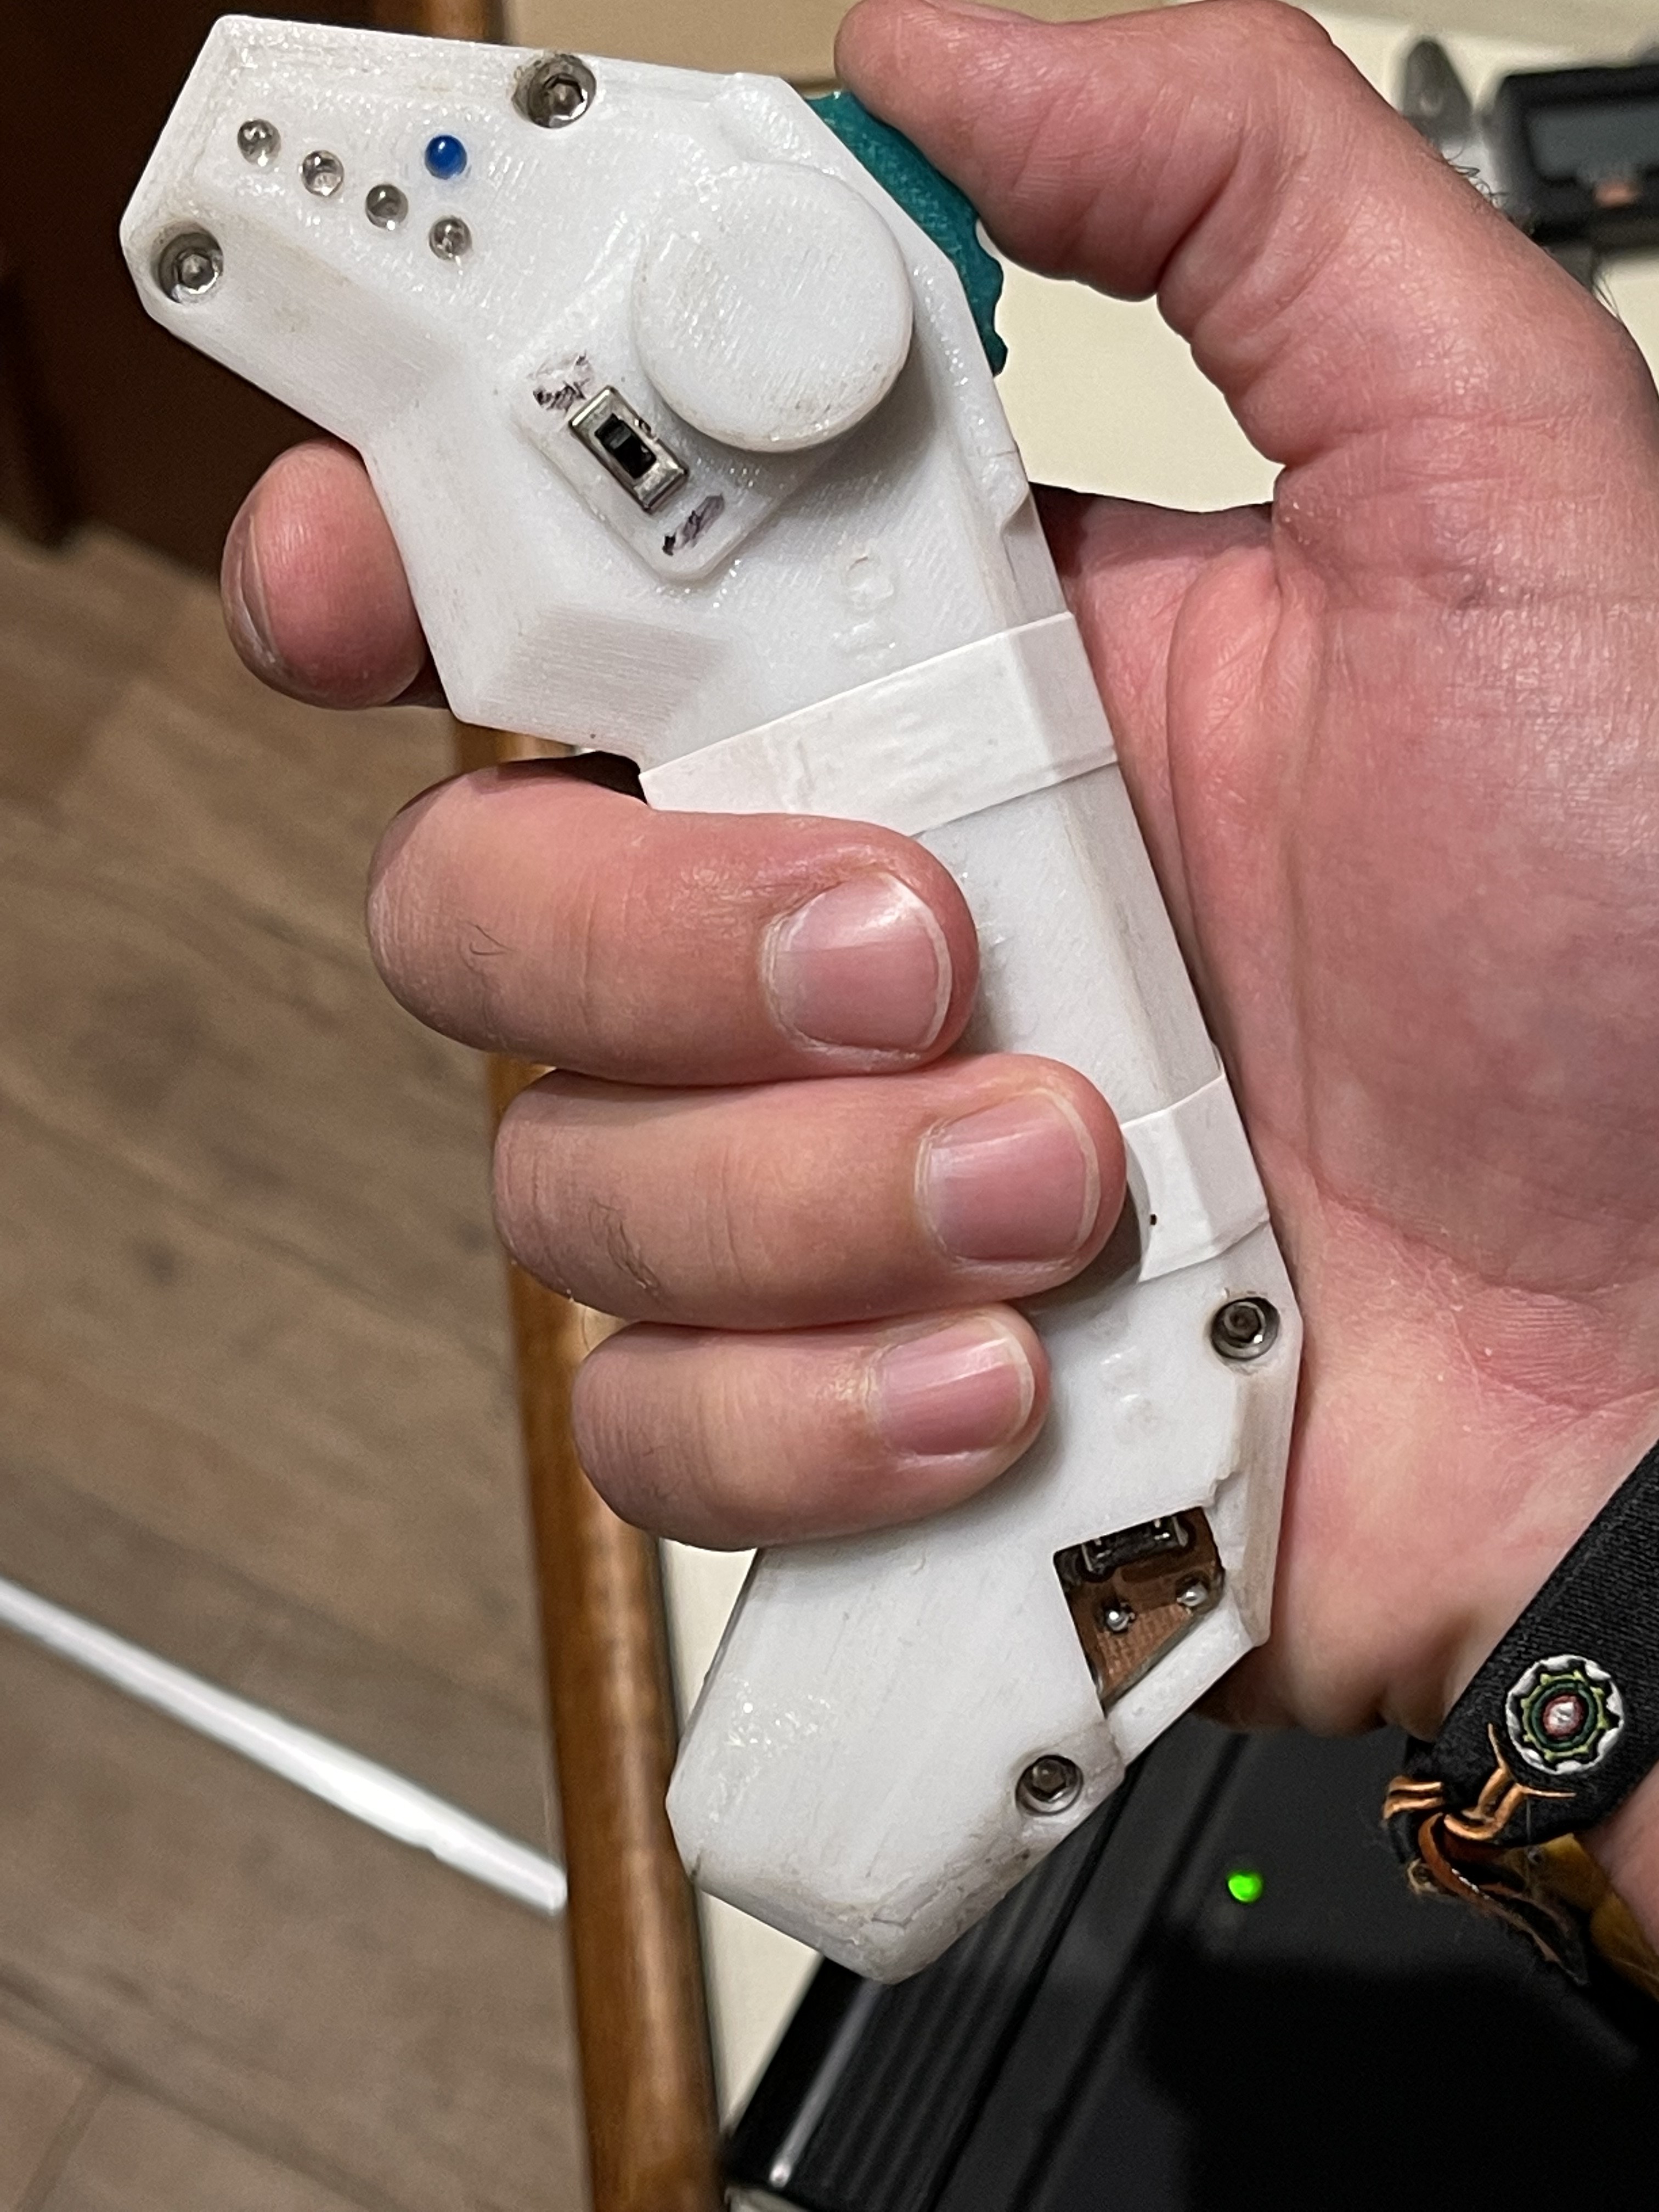 However, I had a pretty big crash in 2018 and the remote took a pretty brutal hit with my entire body weight being smashed into the remote. To my big surprise, it took the hit well and even complained that it wasn't connected to the board anymore when I was able to perceive my surroundings again.
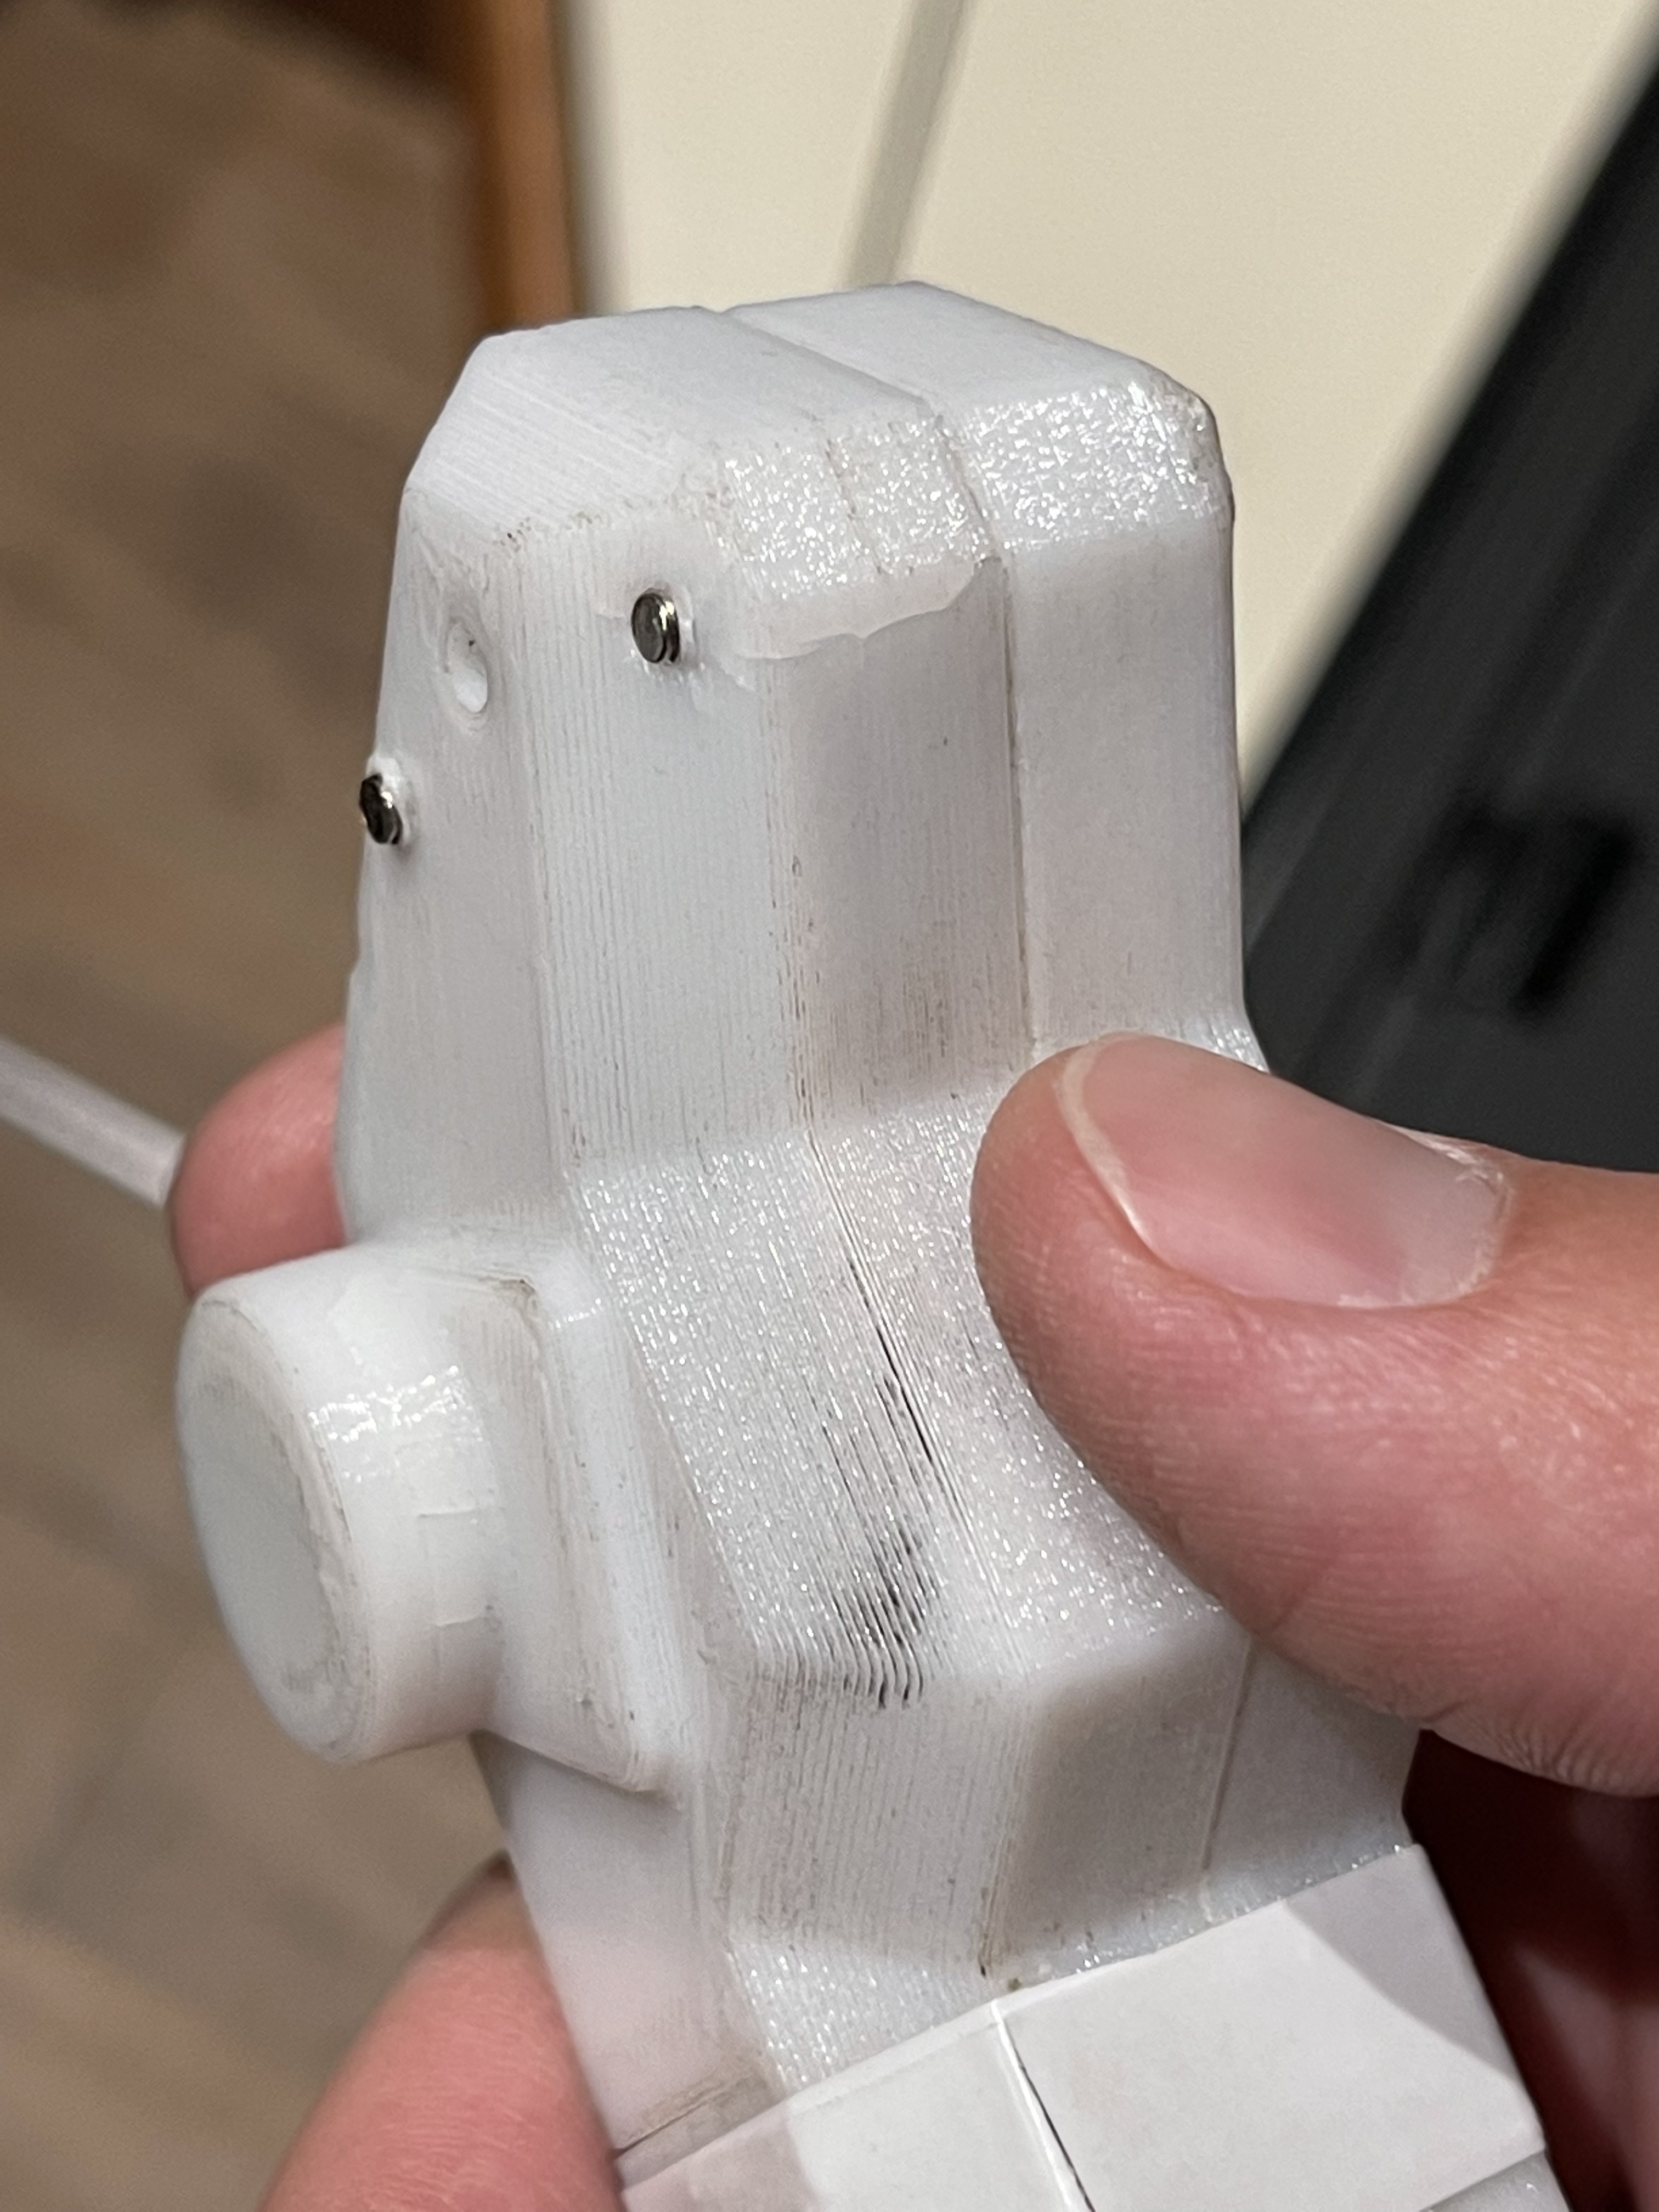
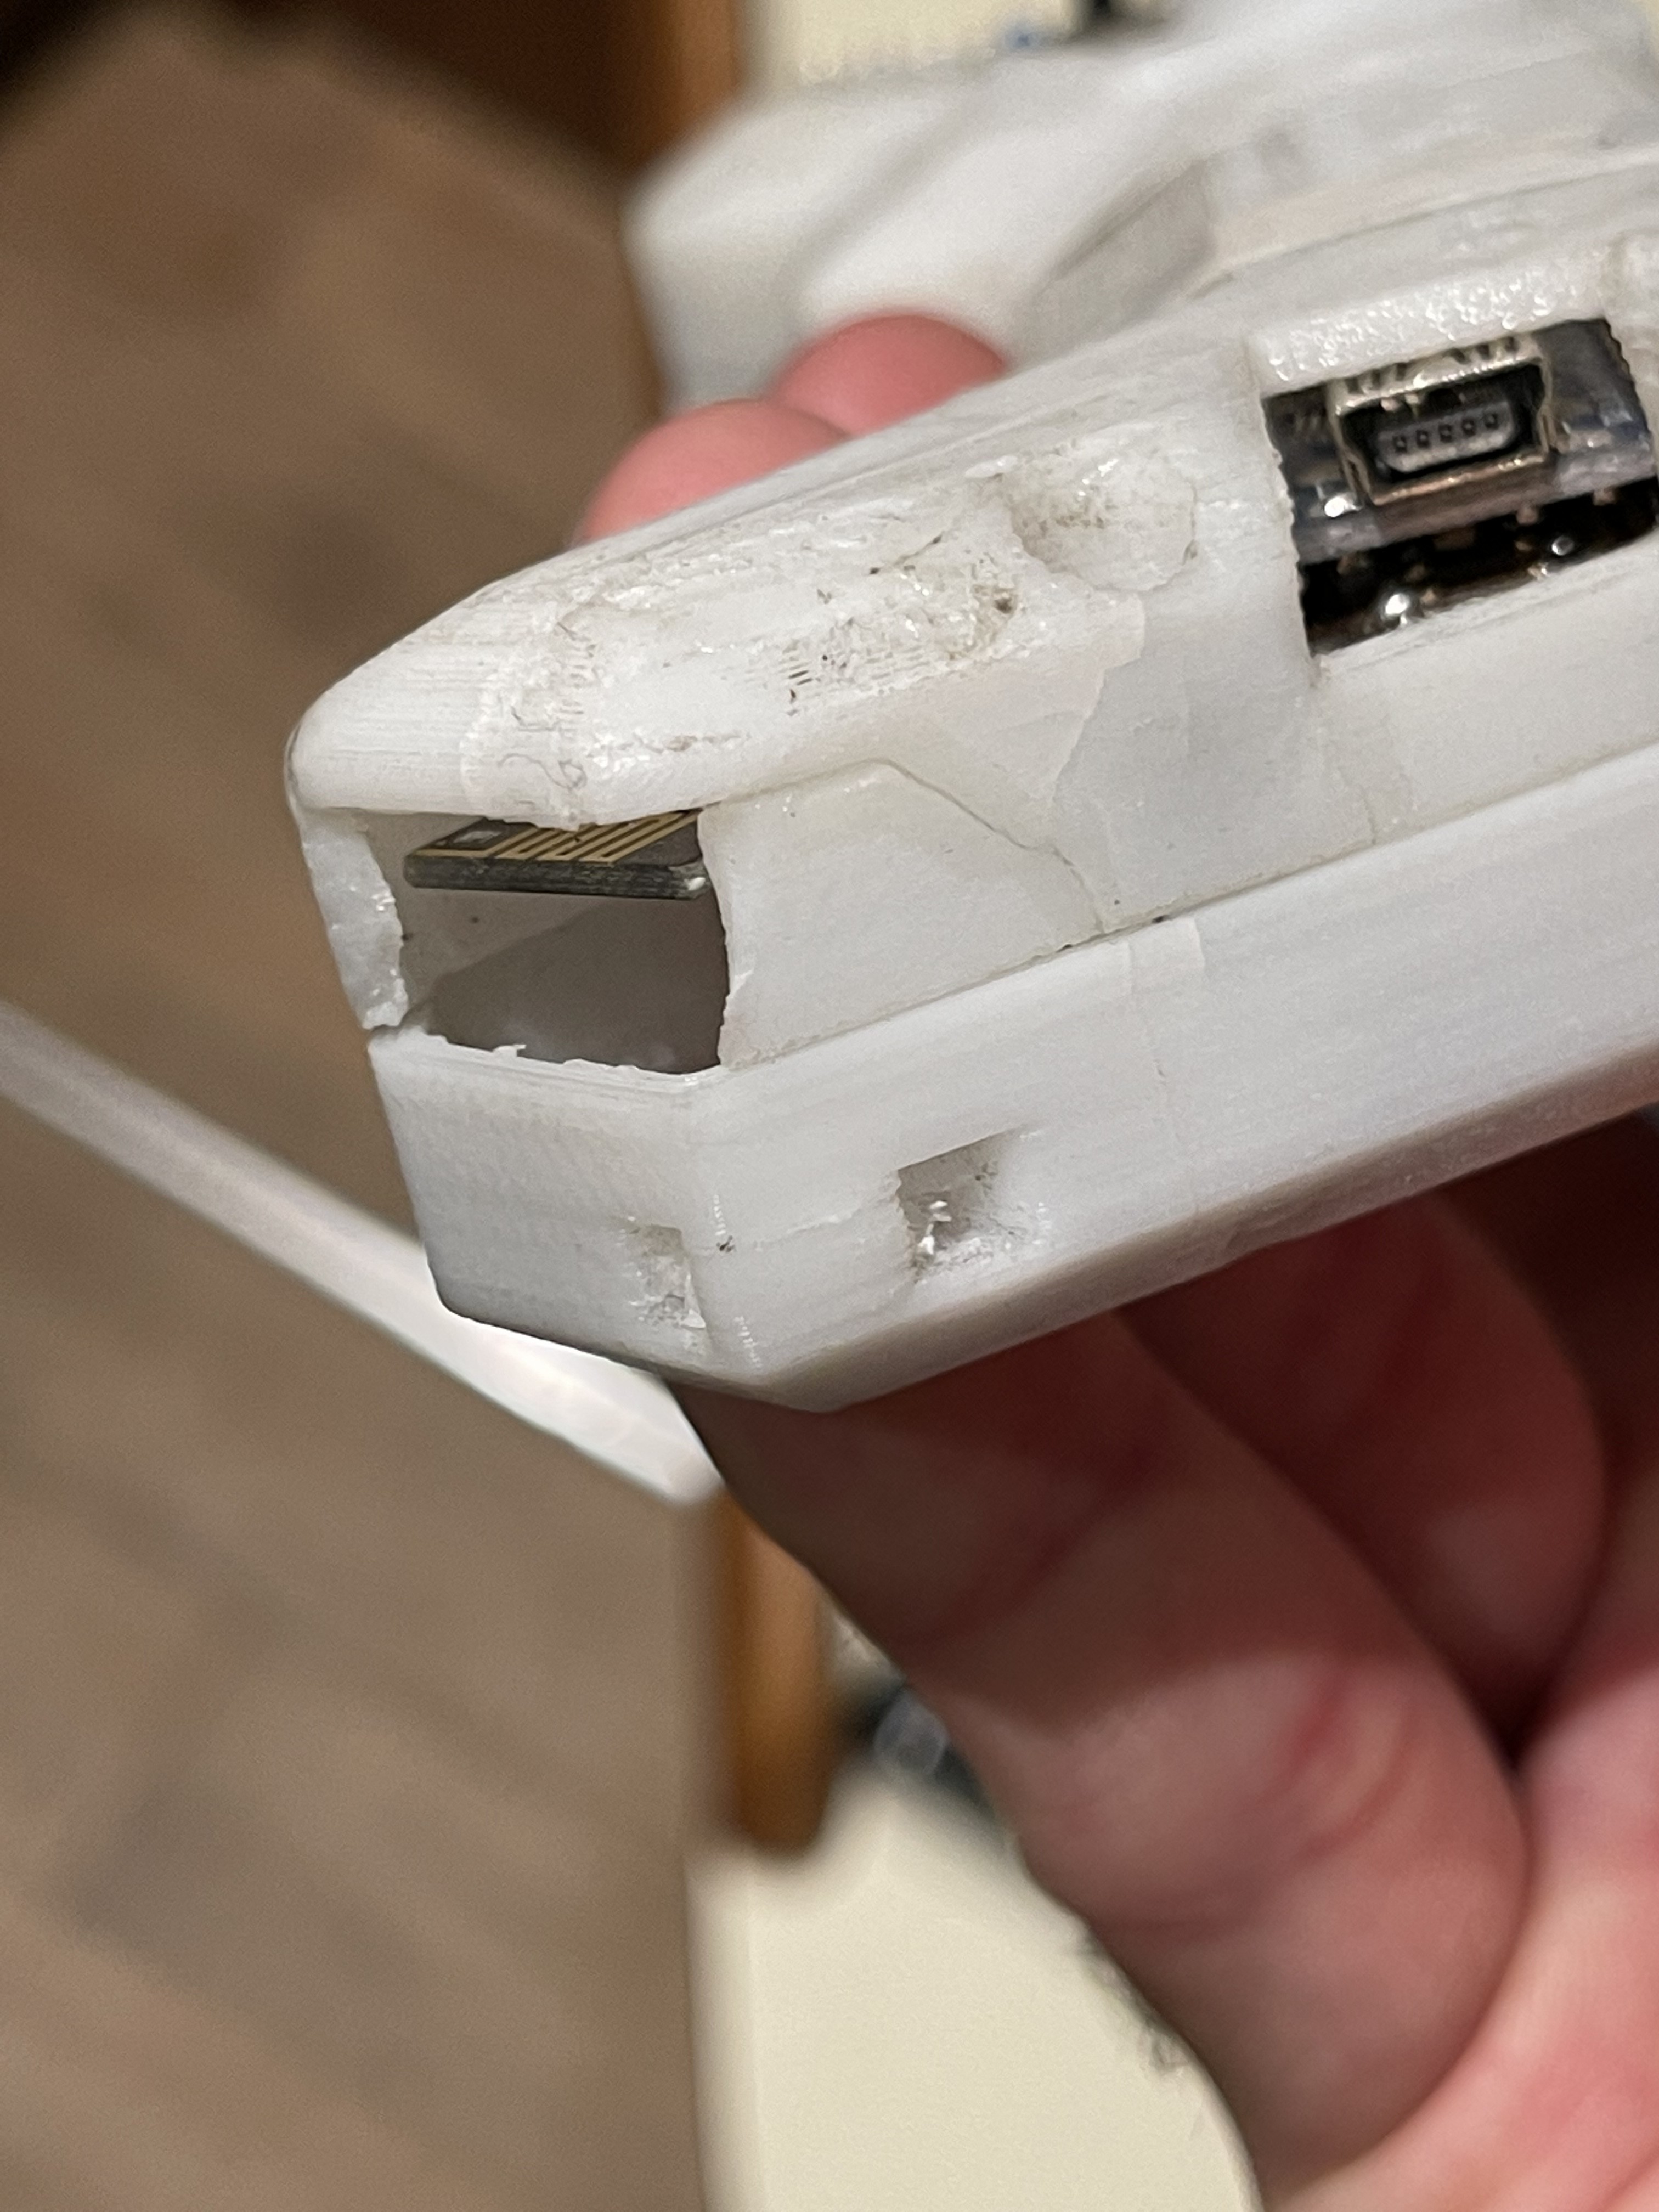
At that point, it was pretty much cracked everywhere, but specifically at the bottom. At first, a few drops of CA glue solved the issue for me and I continued to drive this thing. However, when I left it outside baking in the sun for an entire day, pretty much everything cracked and warped and deformed. It was time for a revision!
 I decided to add some minor updates to the PCB and change a few wires around but nothing major changed. All pin assignments are still the same as I wanted to maintain compatibility to my previous version.
However, what I did want to change, though, was the PCB itself. Even though my two home made boards worked really well for their entire life, I felt like testing JLCPCB for the first time. So I exported my GERBER production files and got a quote.
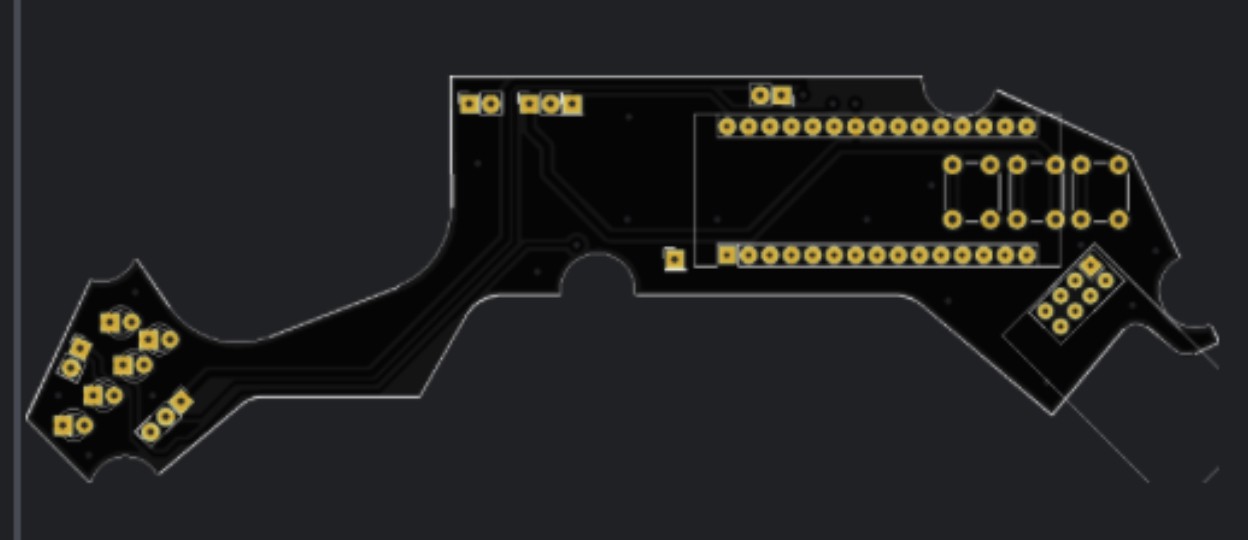
I could not believe my eyes when I saw that 5 boards at JLC would cost me $9.85 SHIPPED! What on earth. I didn't even care about the 18 days until the boards would arrive, I just wanted to see if these boards are any good.
In the meantime I tried printing my enclosure on my Anycubic Photon which I dramatically underutilized since I bought it a few years ago. A shame really. The prints have some issues with warping and it definitely requires some finesse to get prints to stick to the build plate, to come out reasonably un-warped, and also the walls are thicker. So I needed to make modifications to my design files to accommodate for that. Unfortunately, the slicer is not as smart as Cura or KISSlicer to thin-out walls (inset) automatically based on some printer specific calibration values.
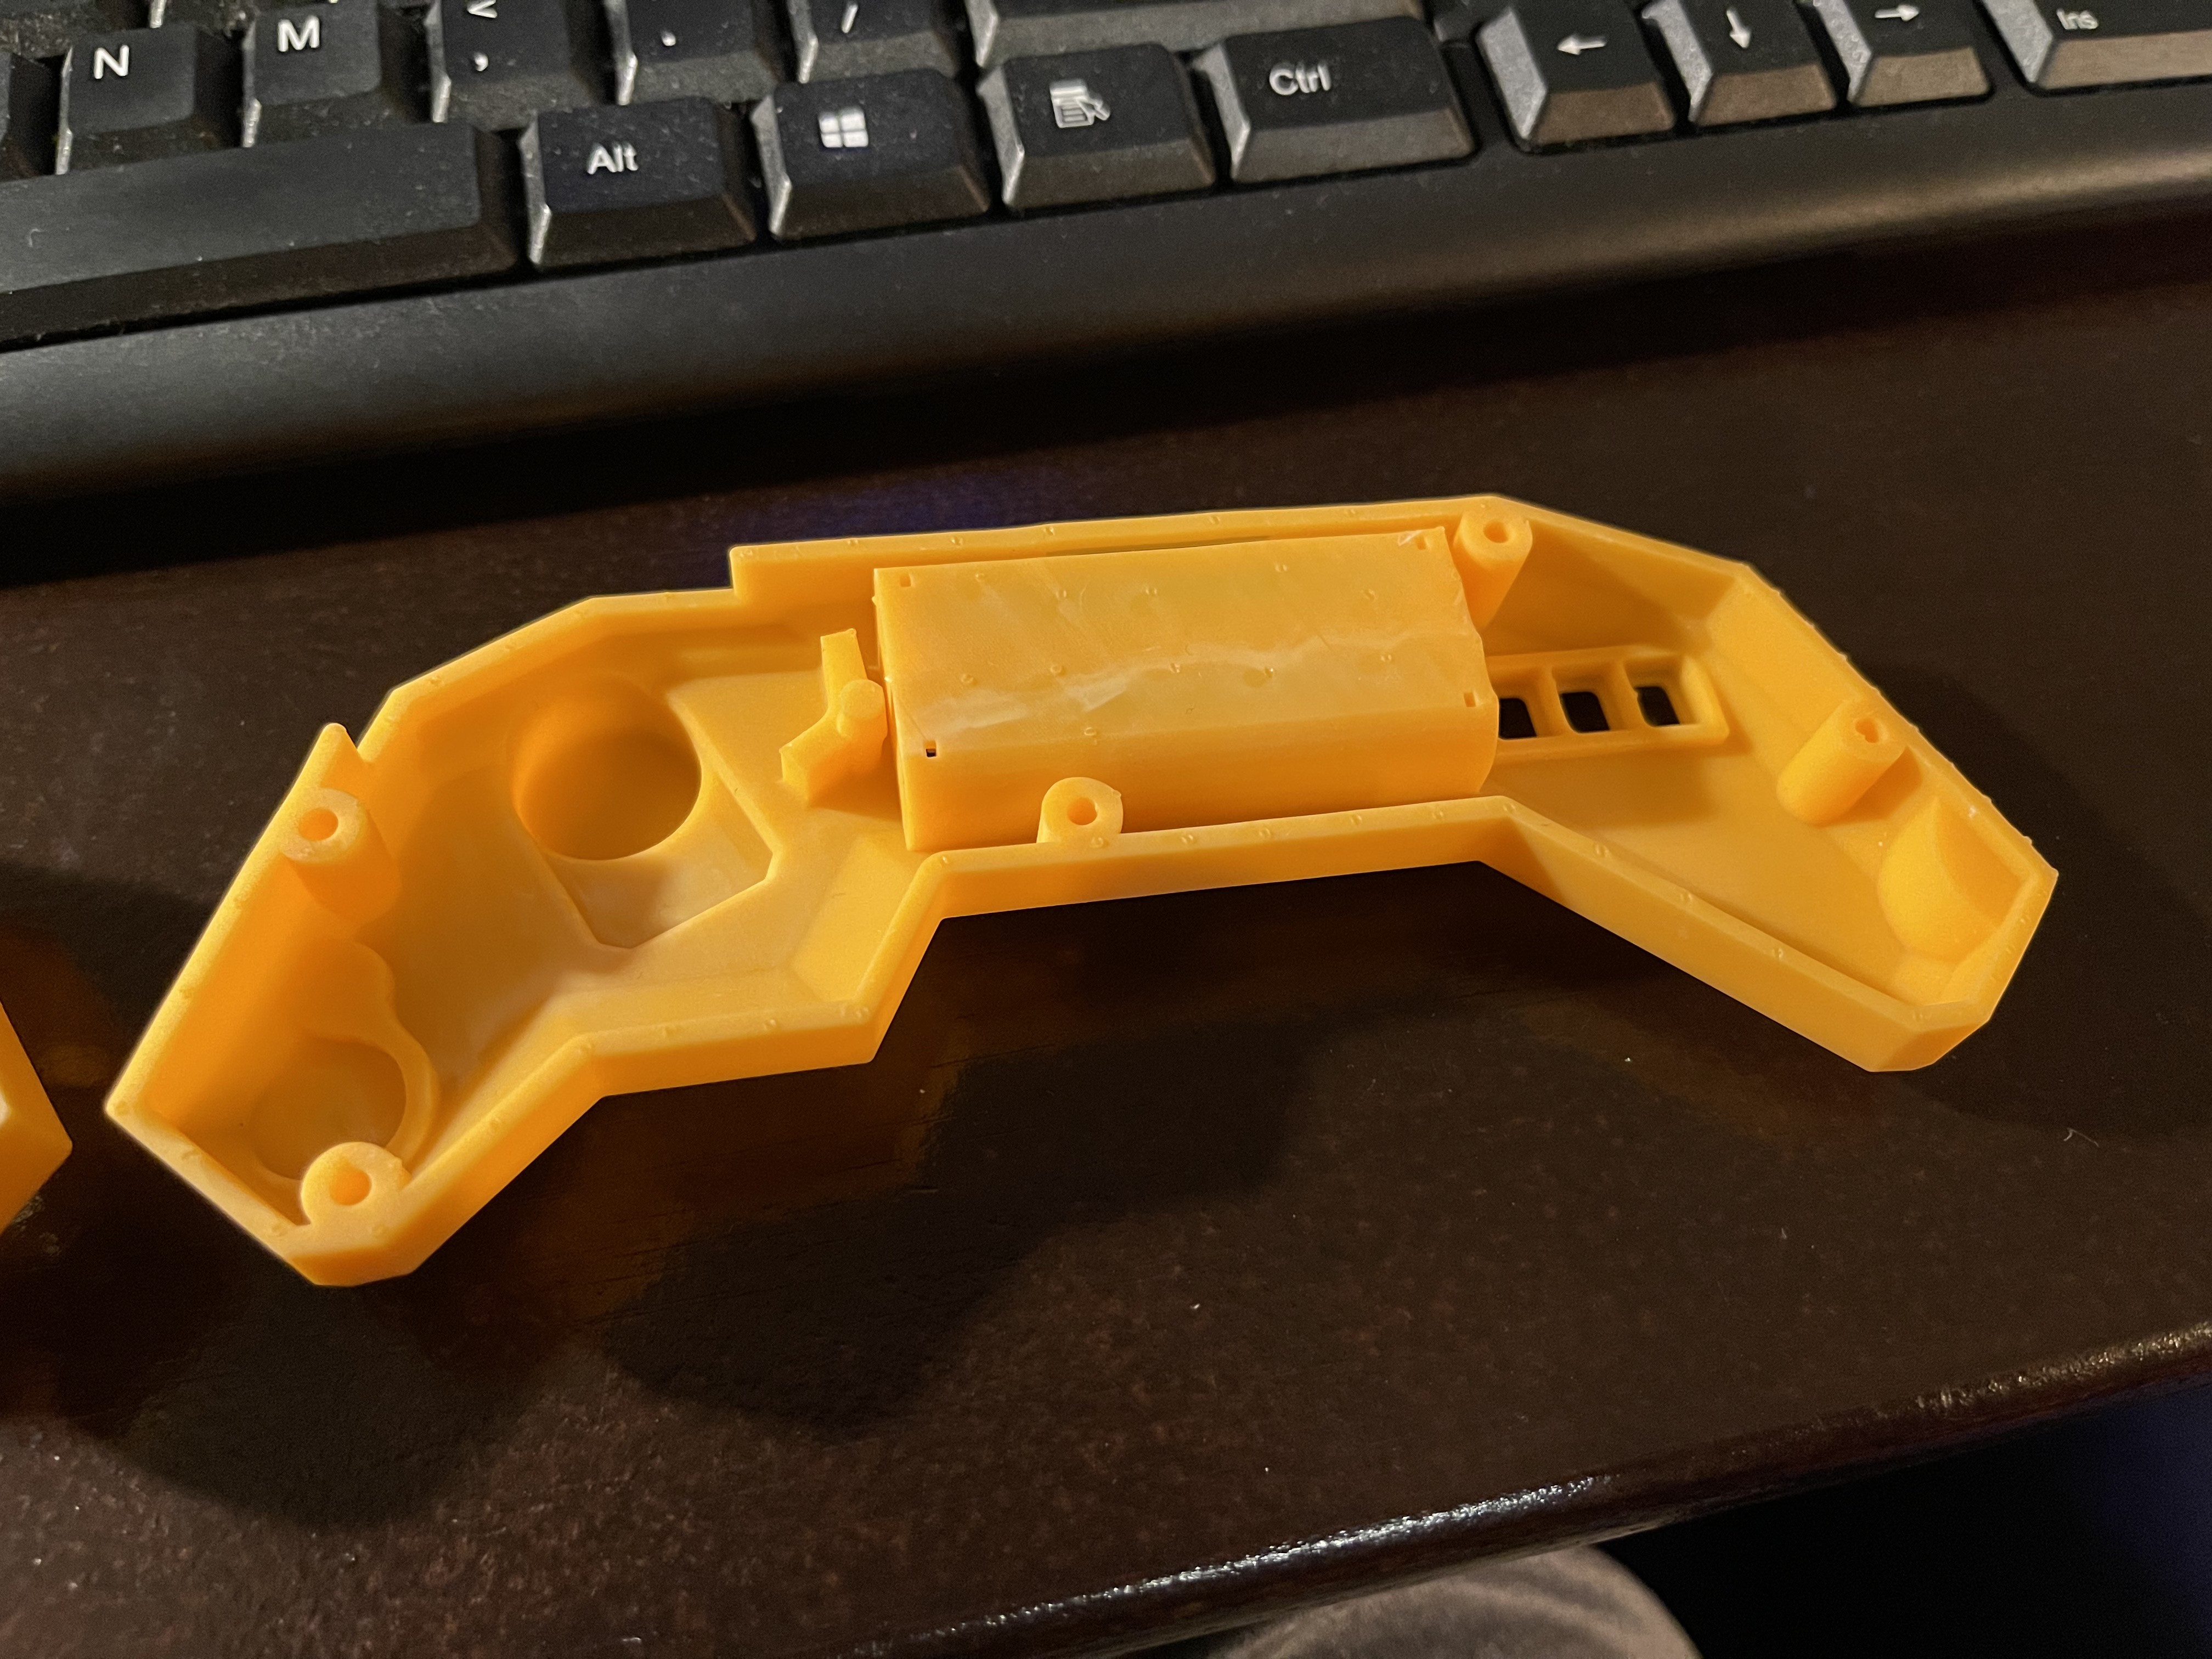
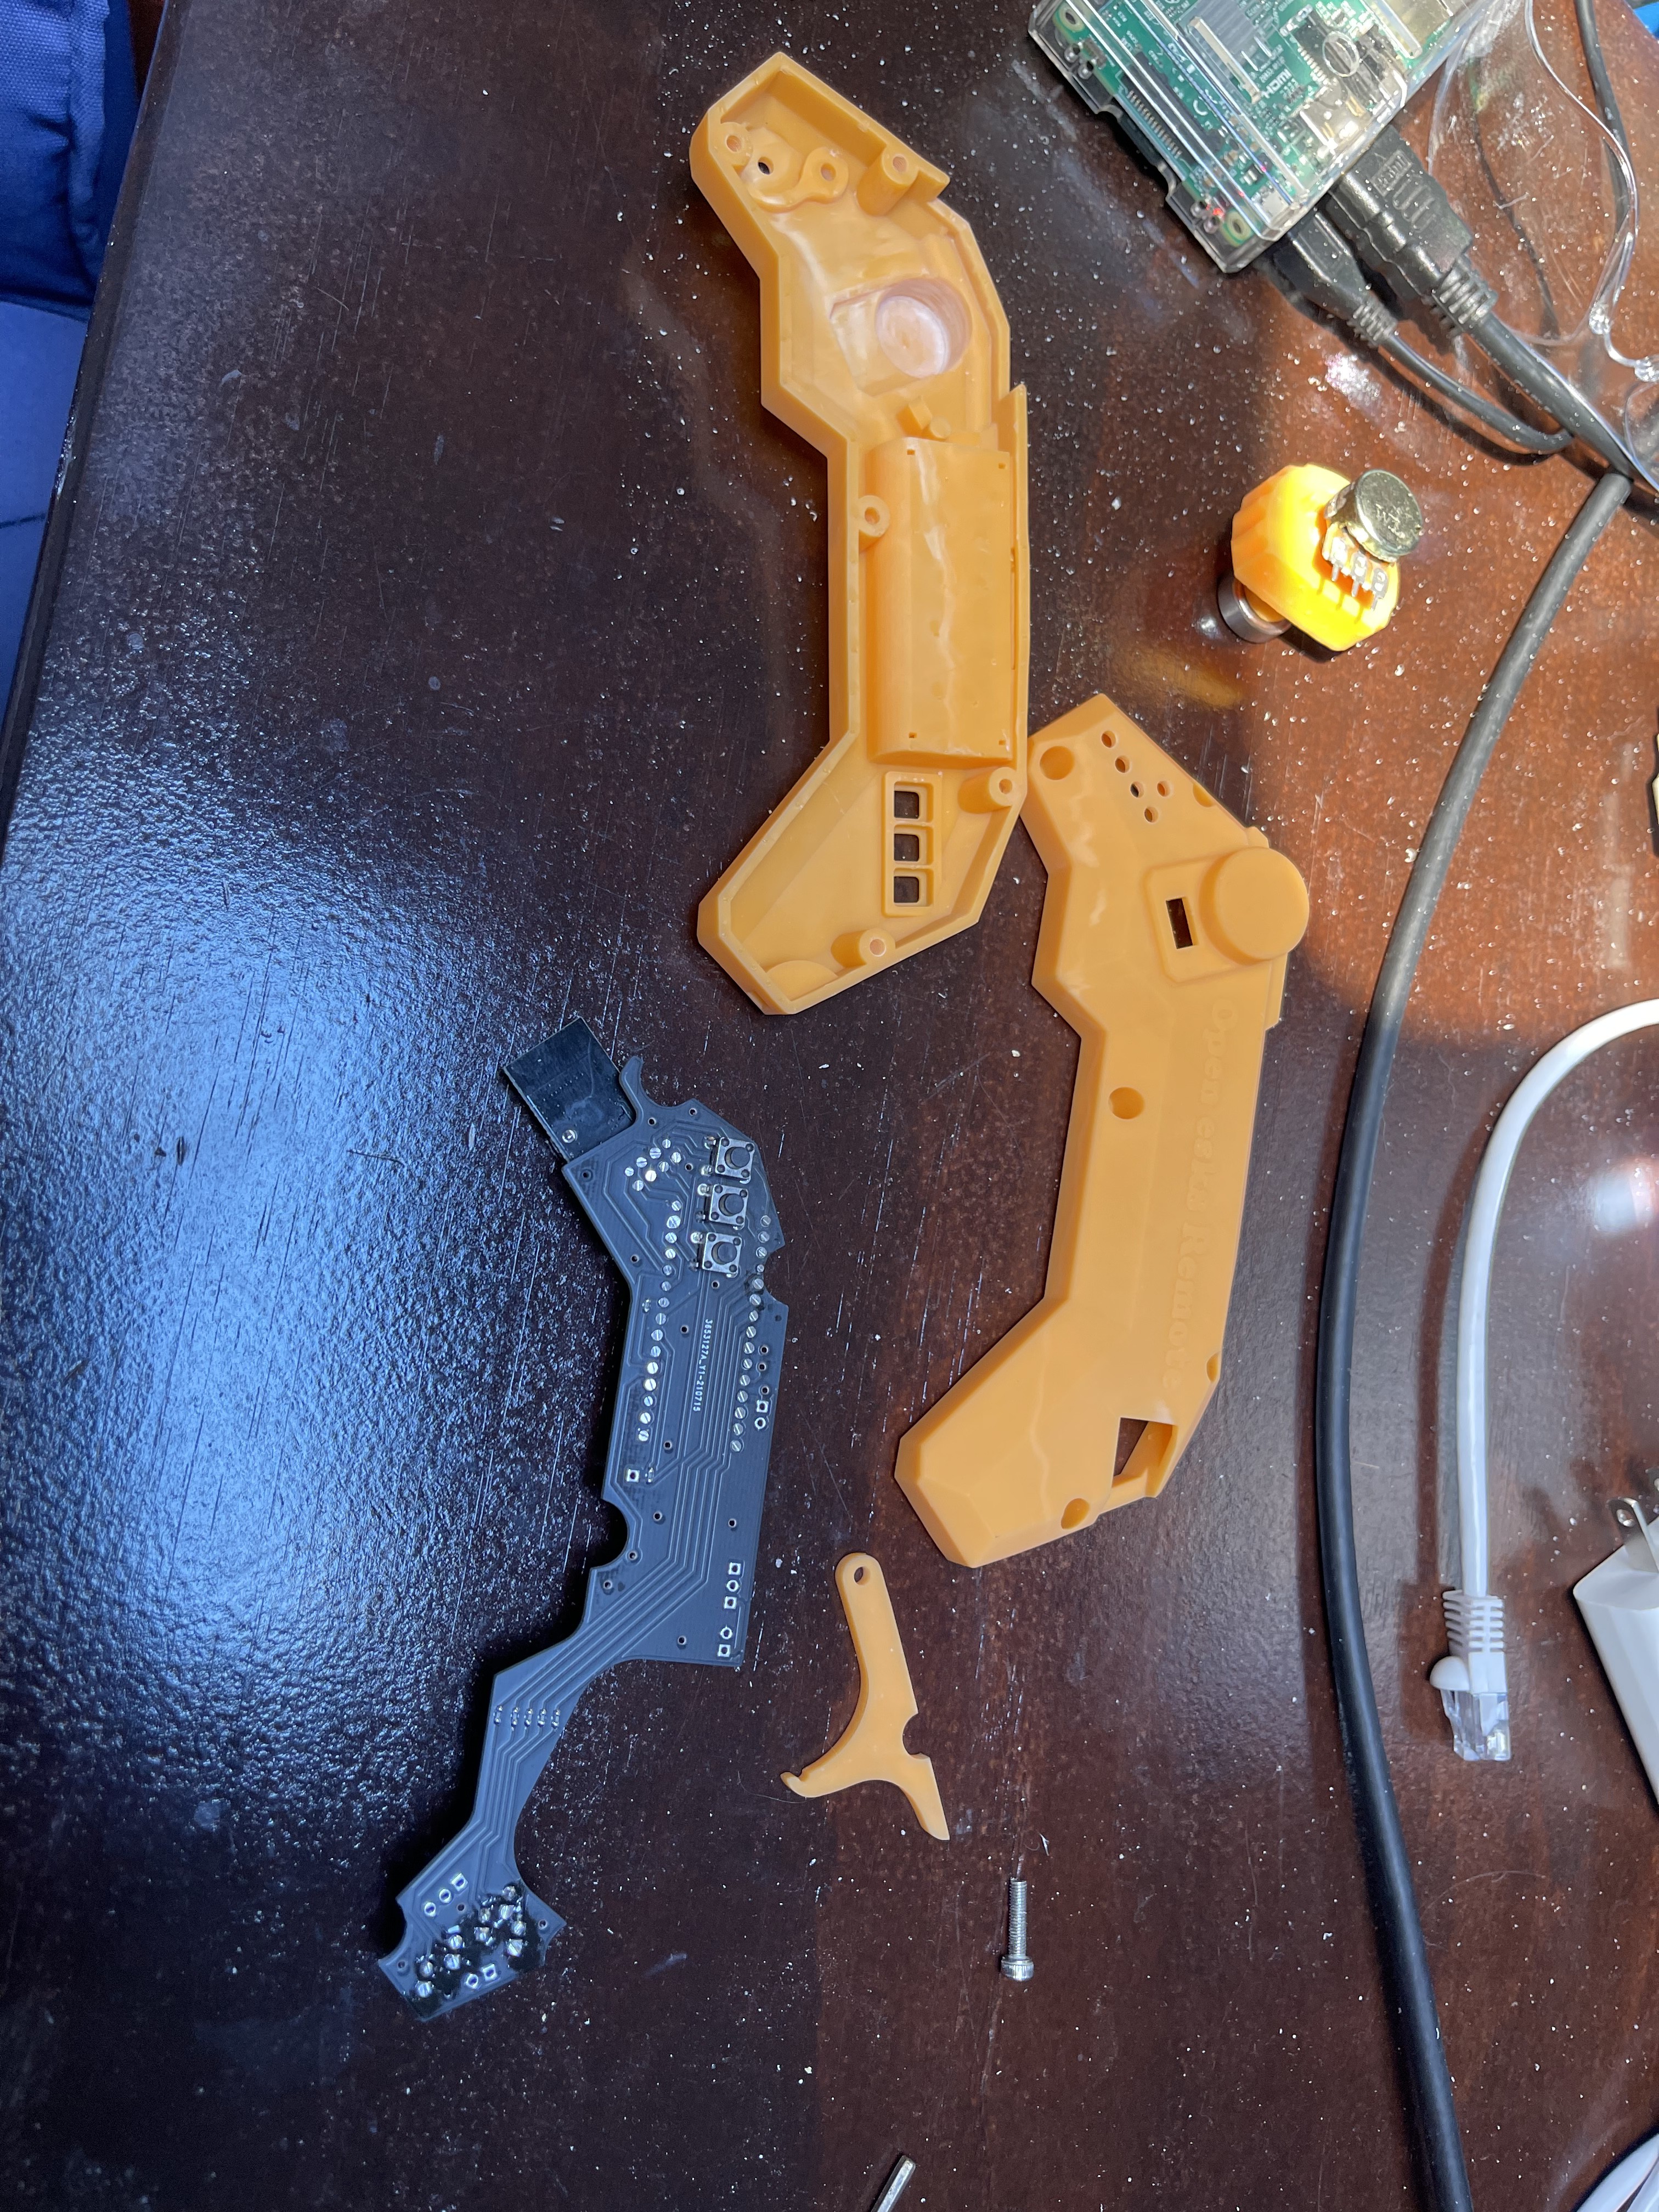
The prints took about 24h each since these pieces are really tall and barely fit into the printer at all. Also, the orange, in stark contrast to the translucent green the printer came with, needs a lot longer exposure times, a heated chamber, and lots of massaging to come out right. In the end, I tried to squeeze my development board into this and.... it was a bit tight. Very tight. But nothing a bit of sanding the PCB couldn't fix so I decided to stick with these:
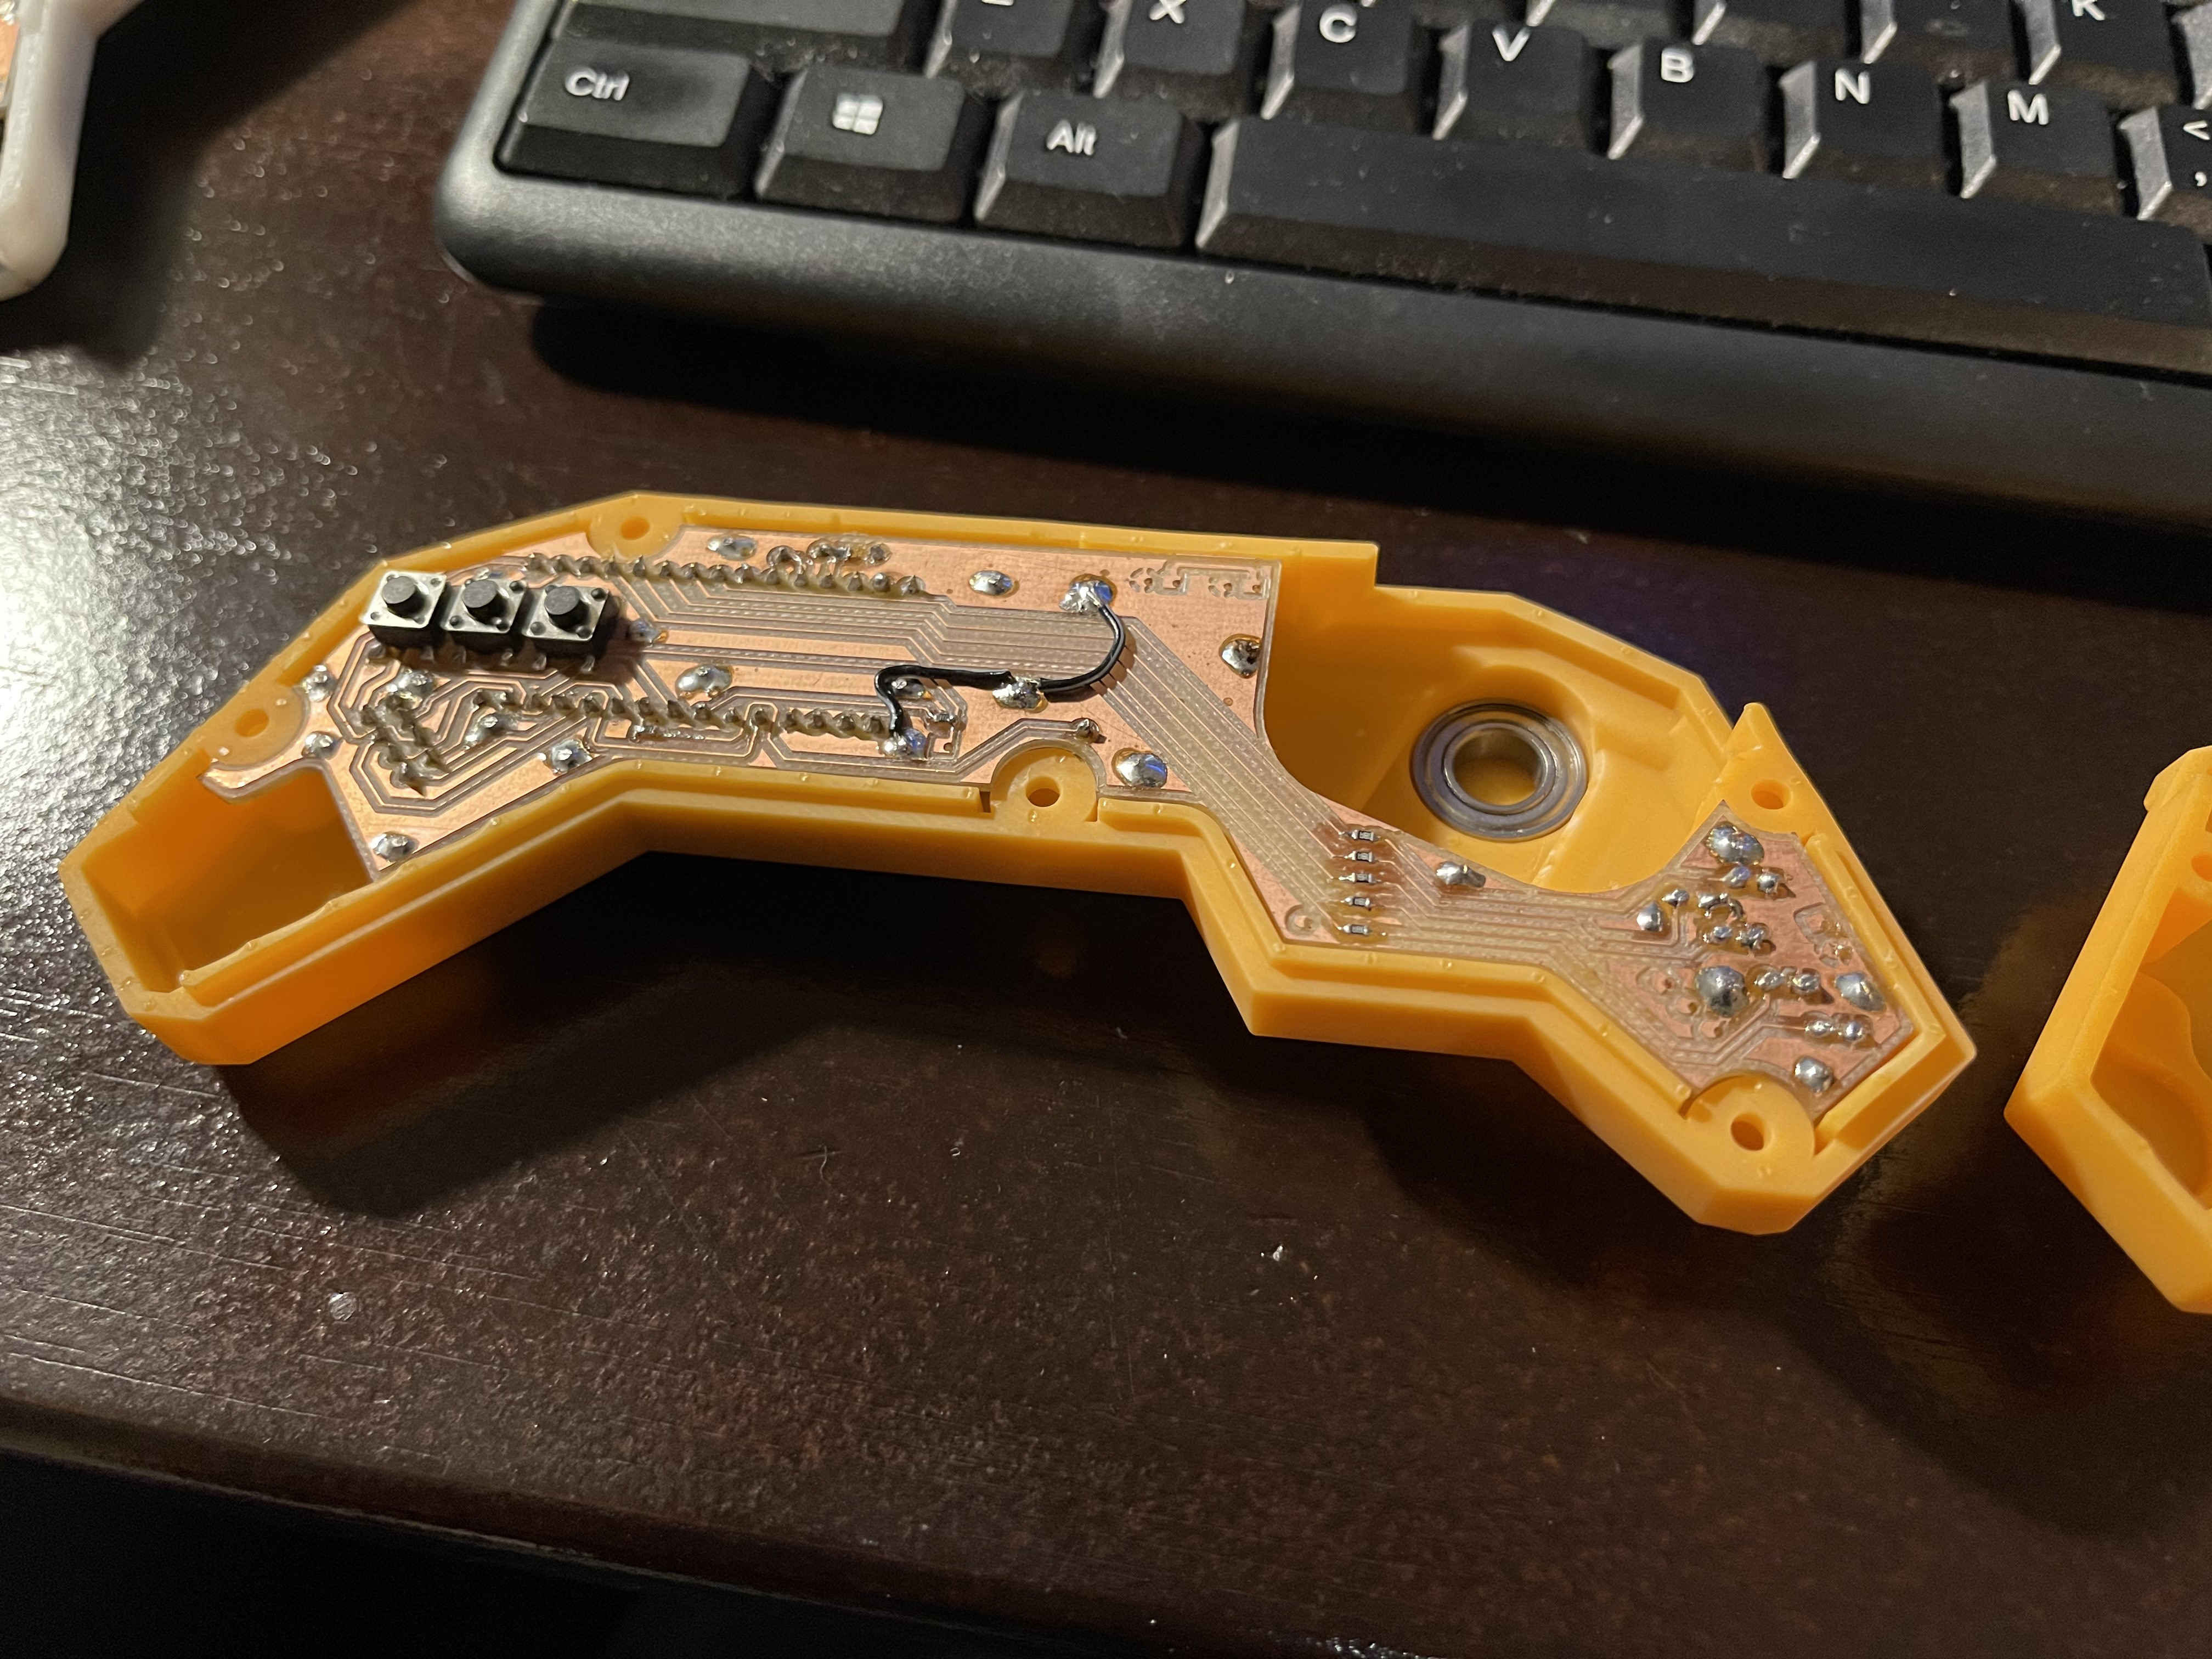
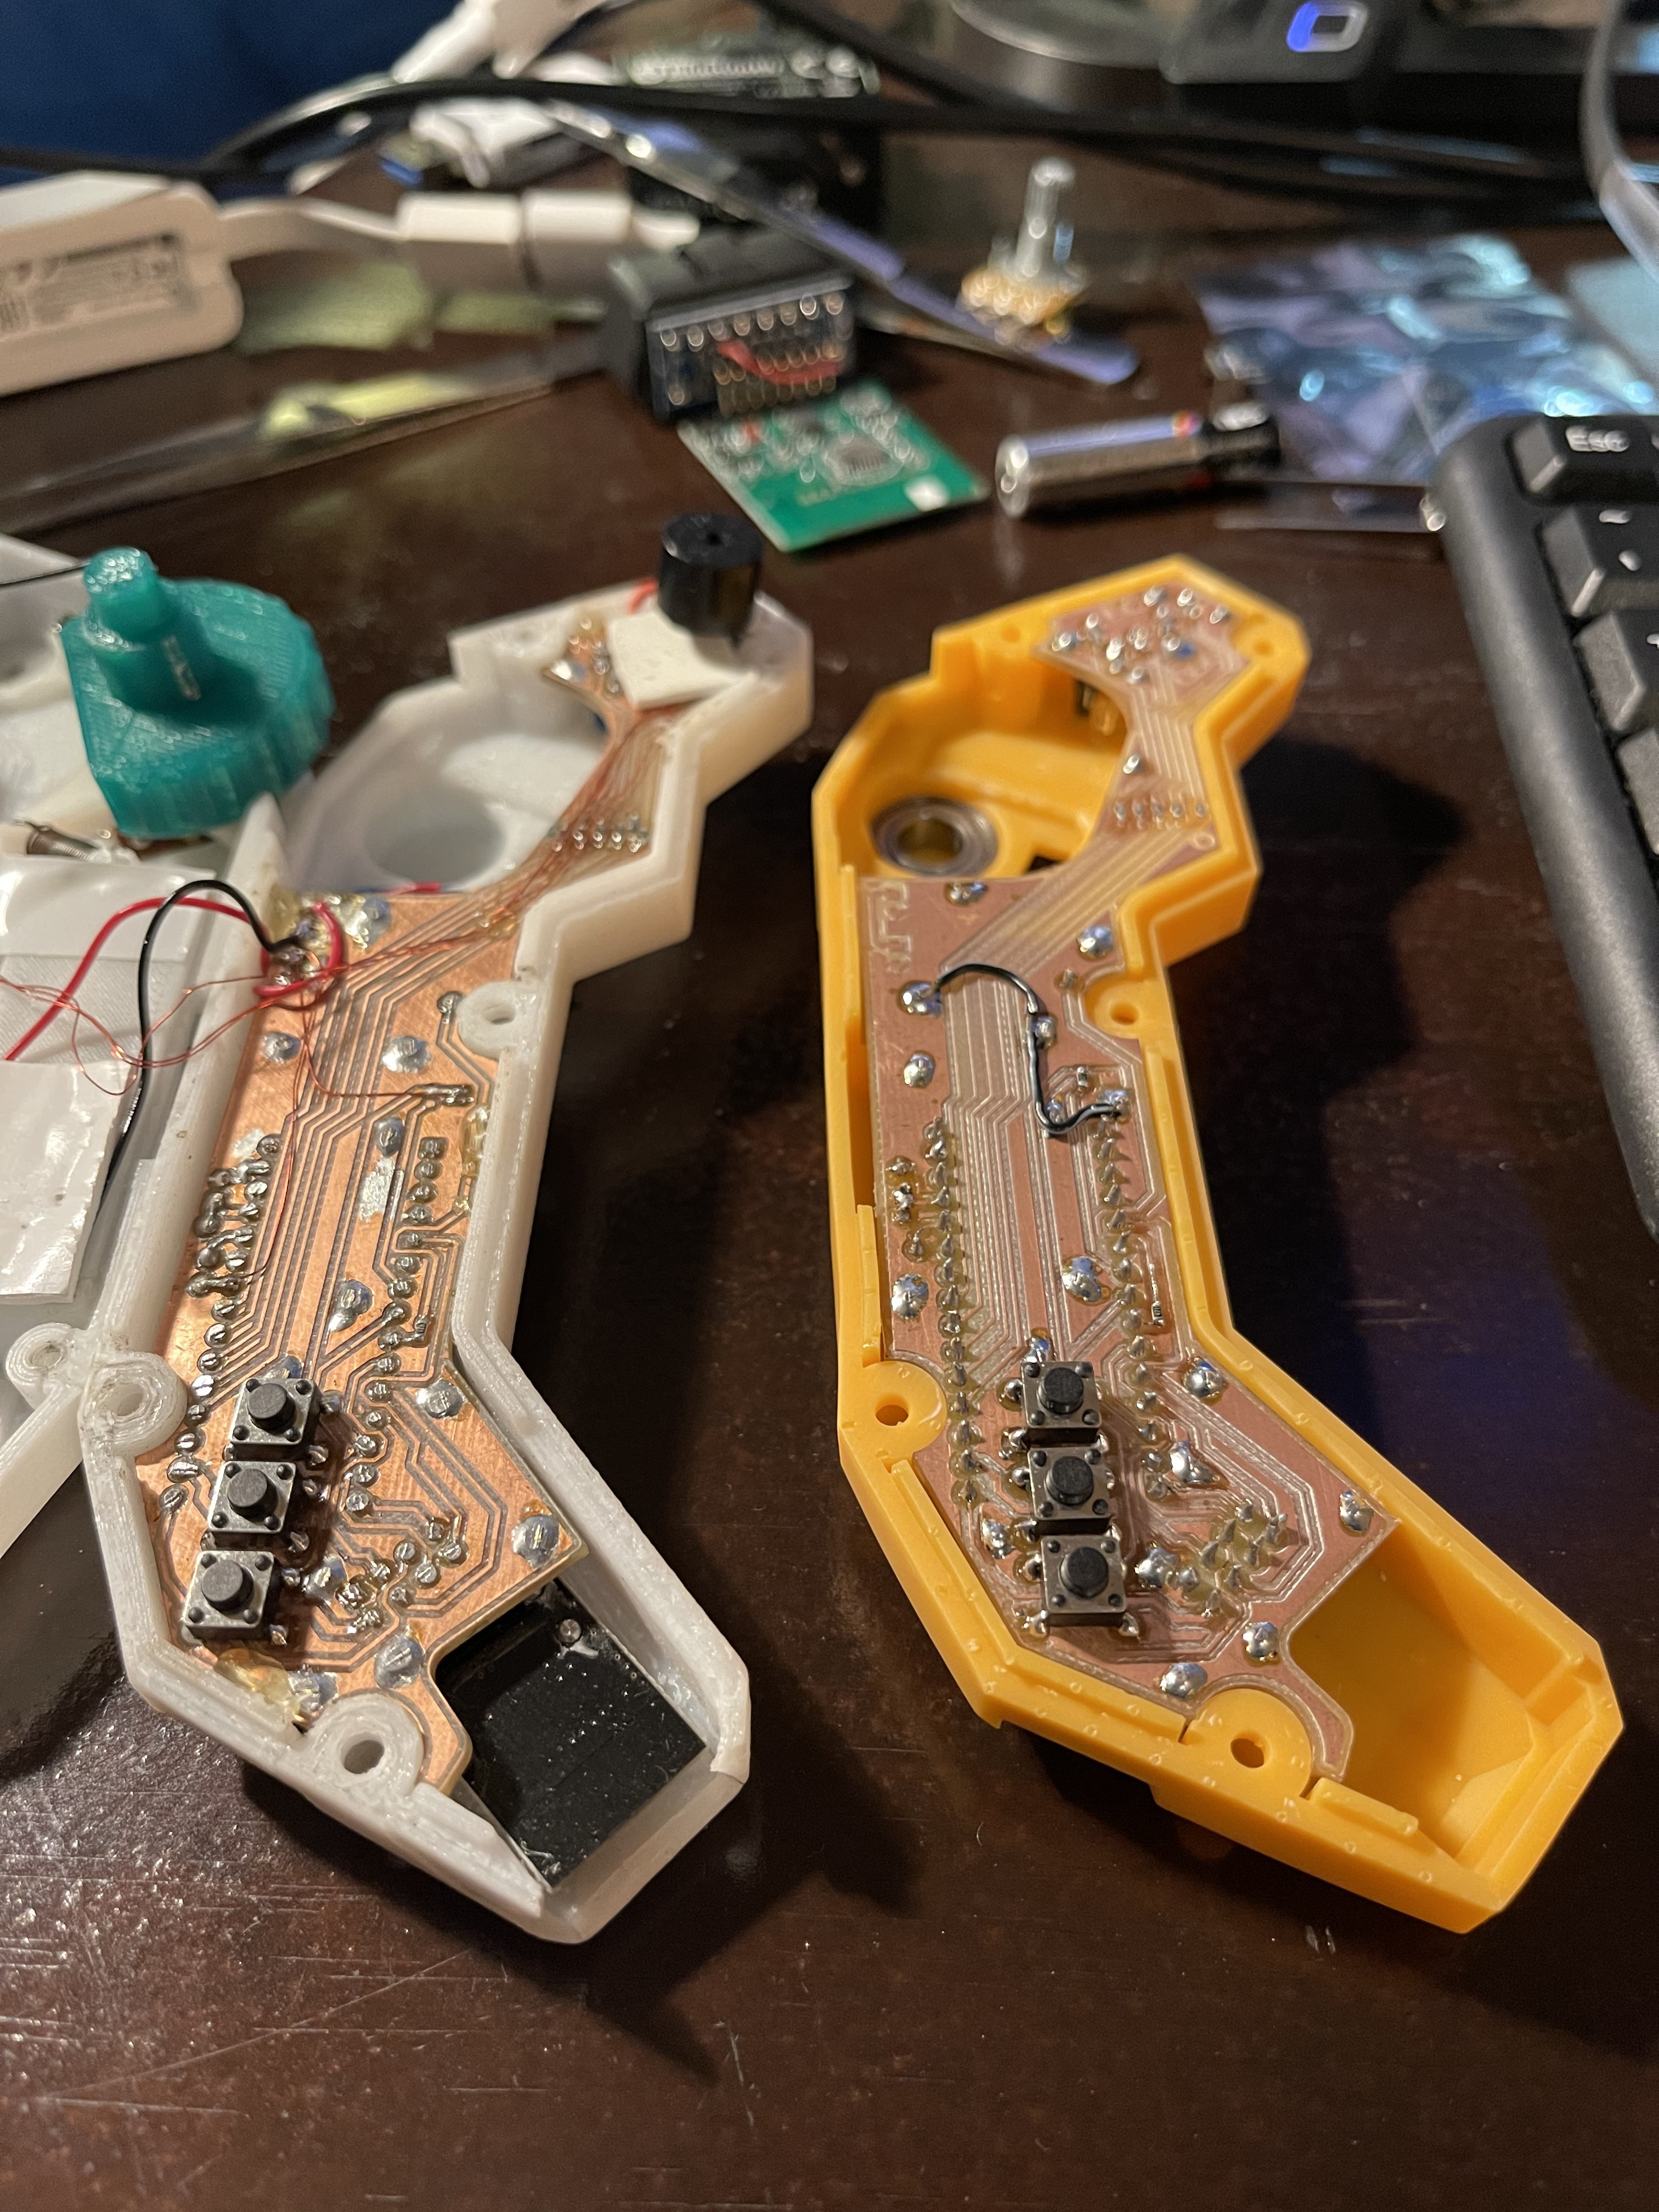
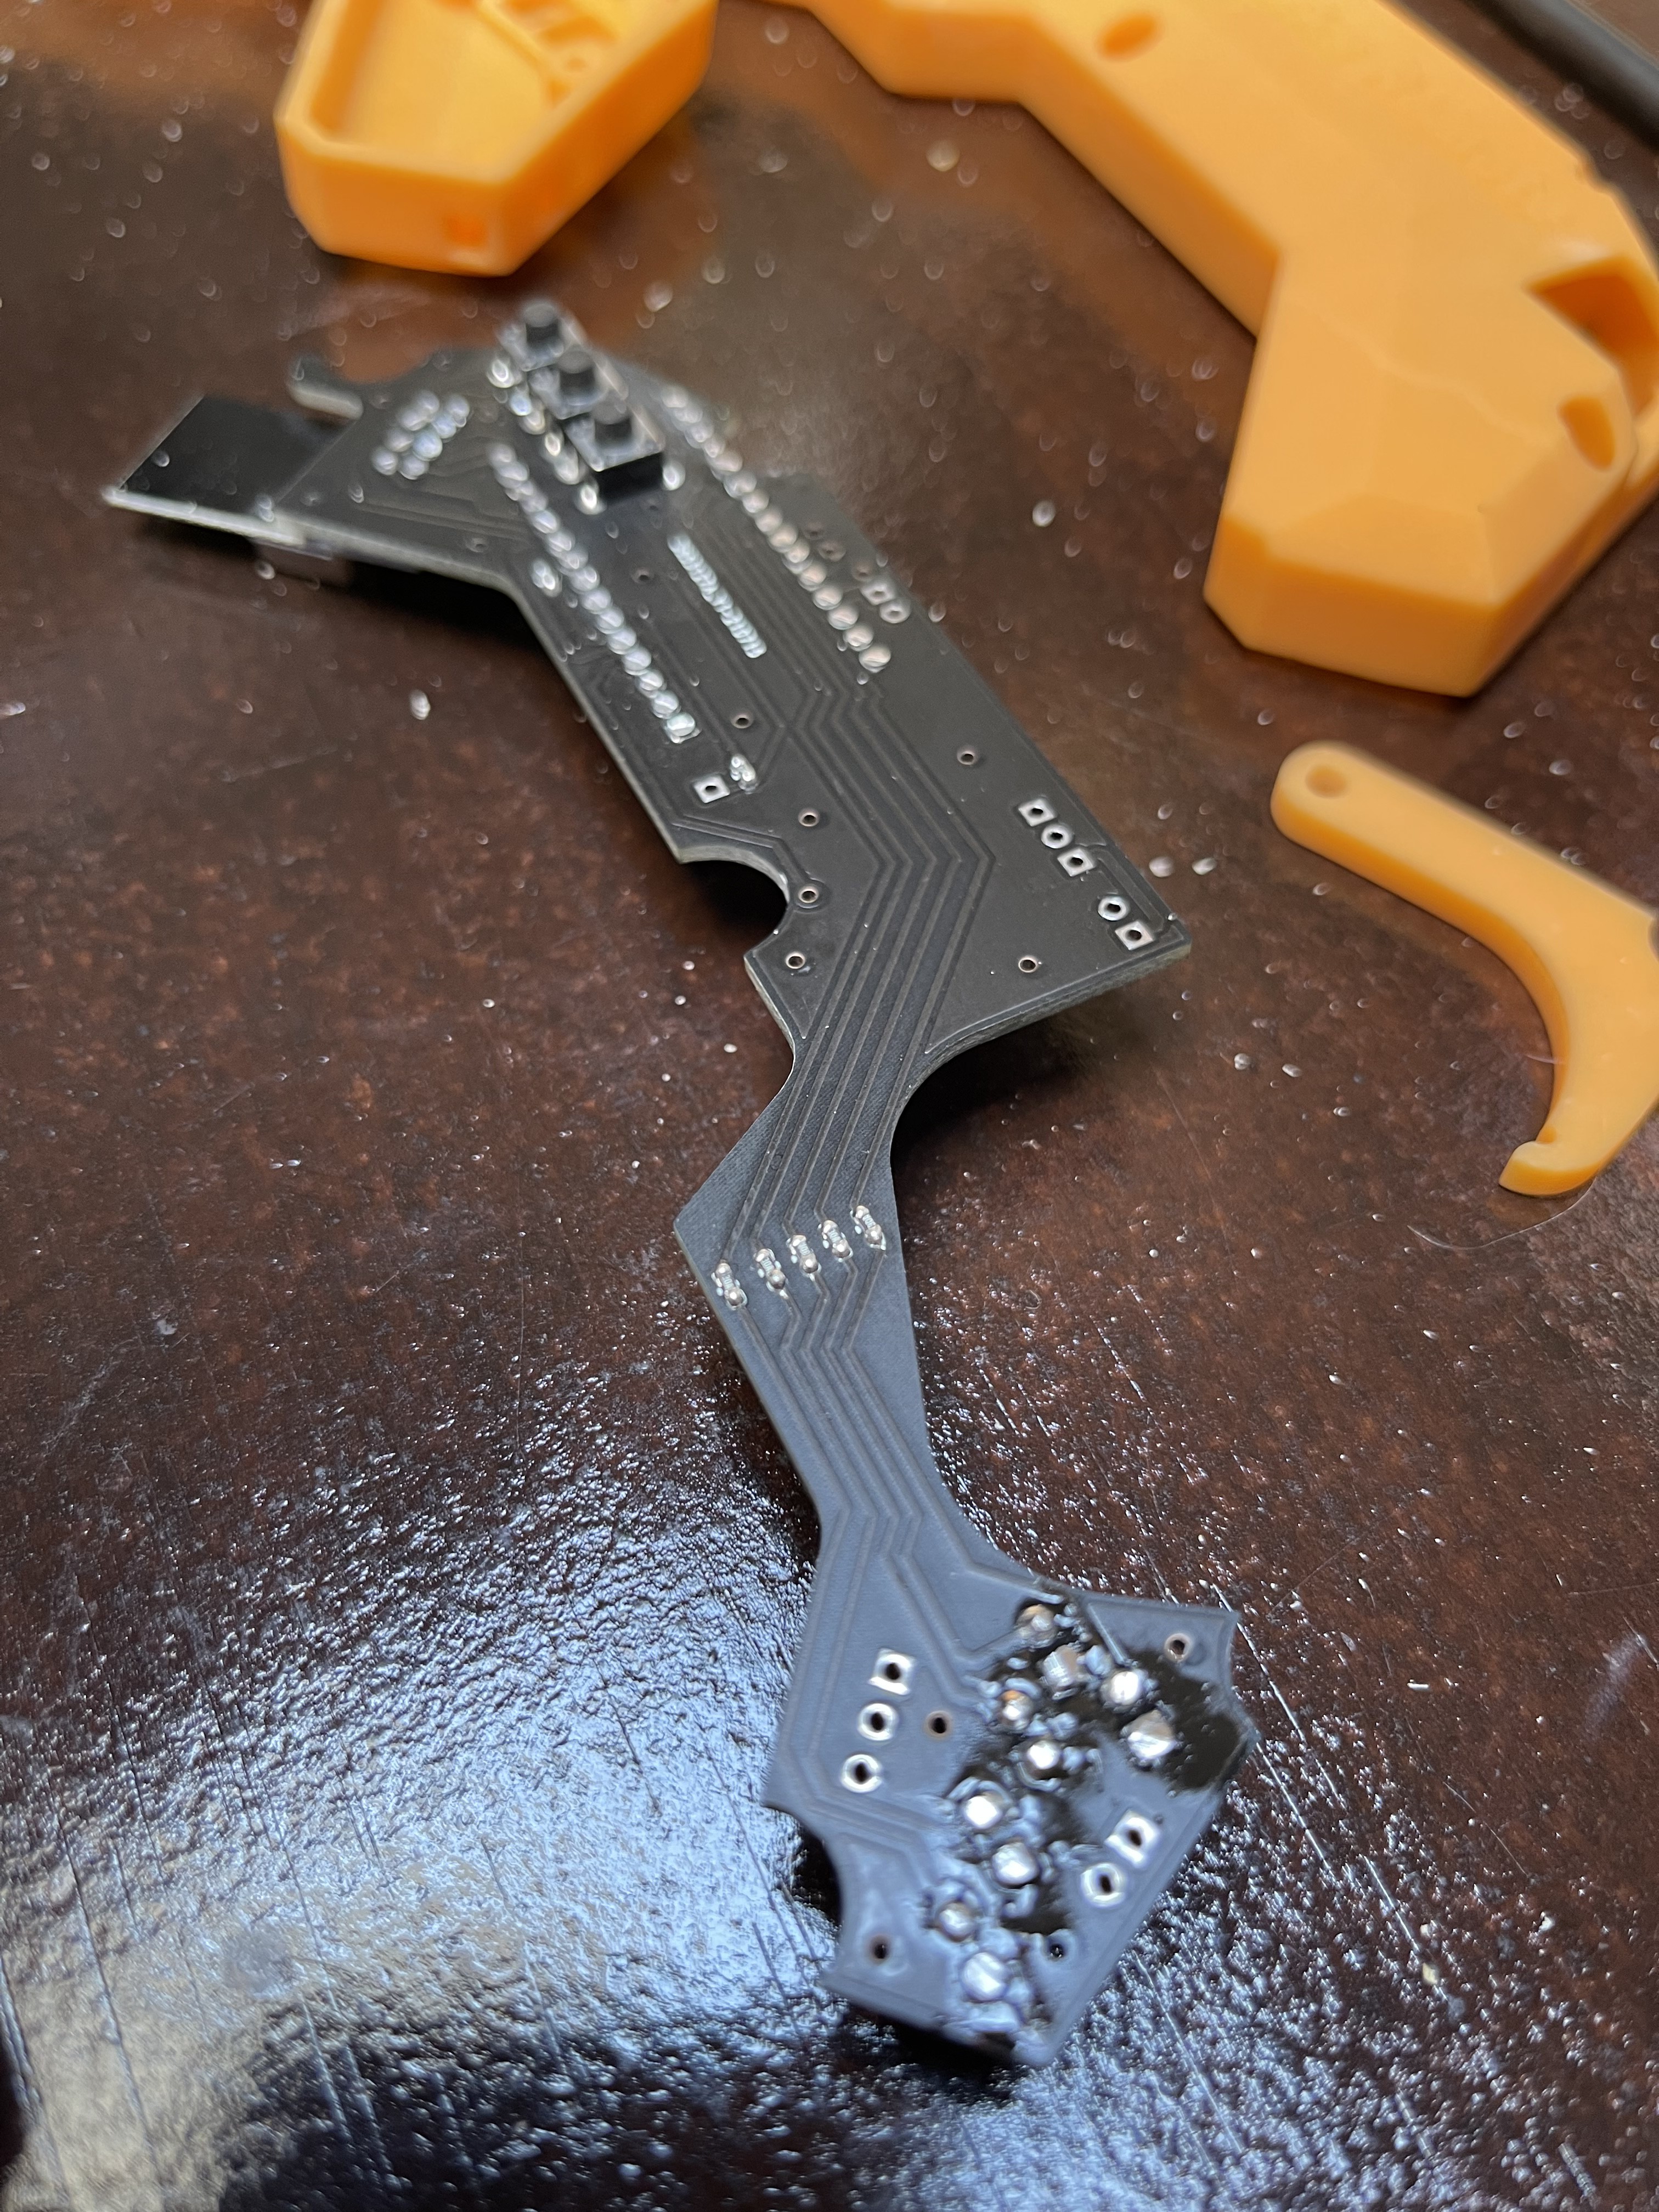
About 17 days later, I received a nicely packaged set of boards from China and boy did they look great!
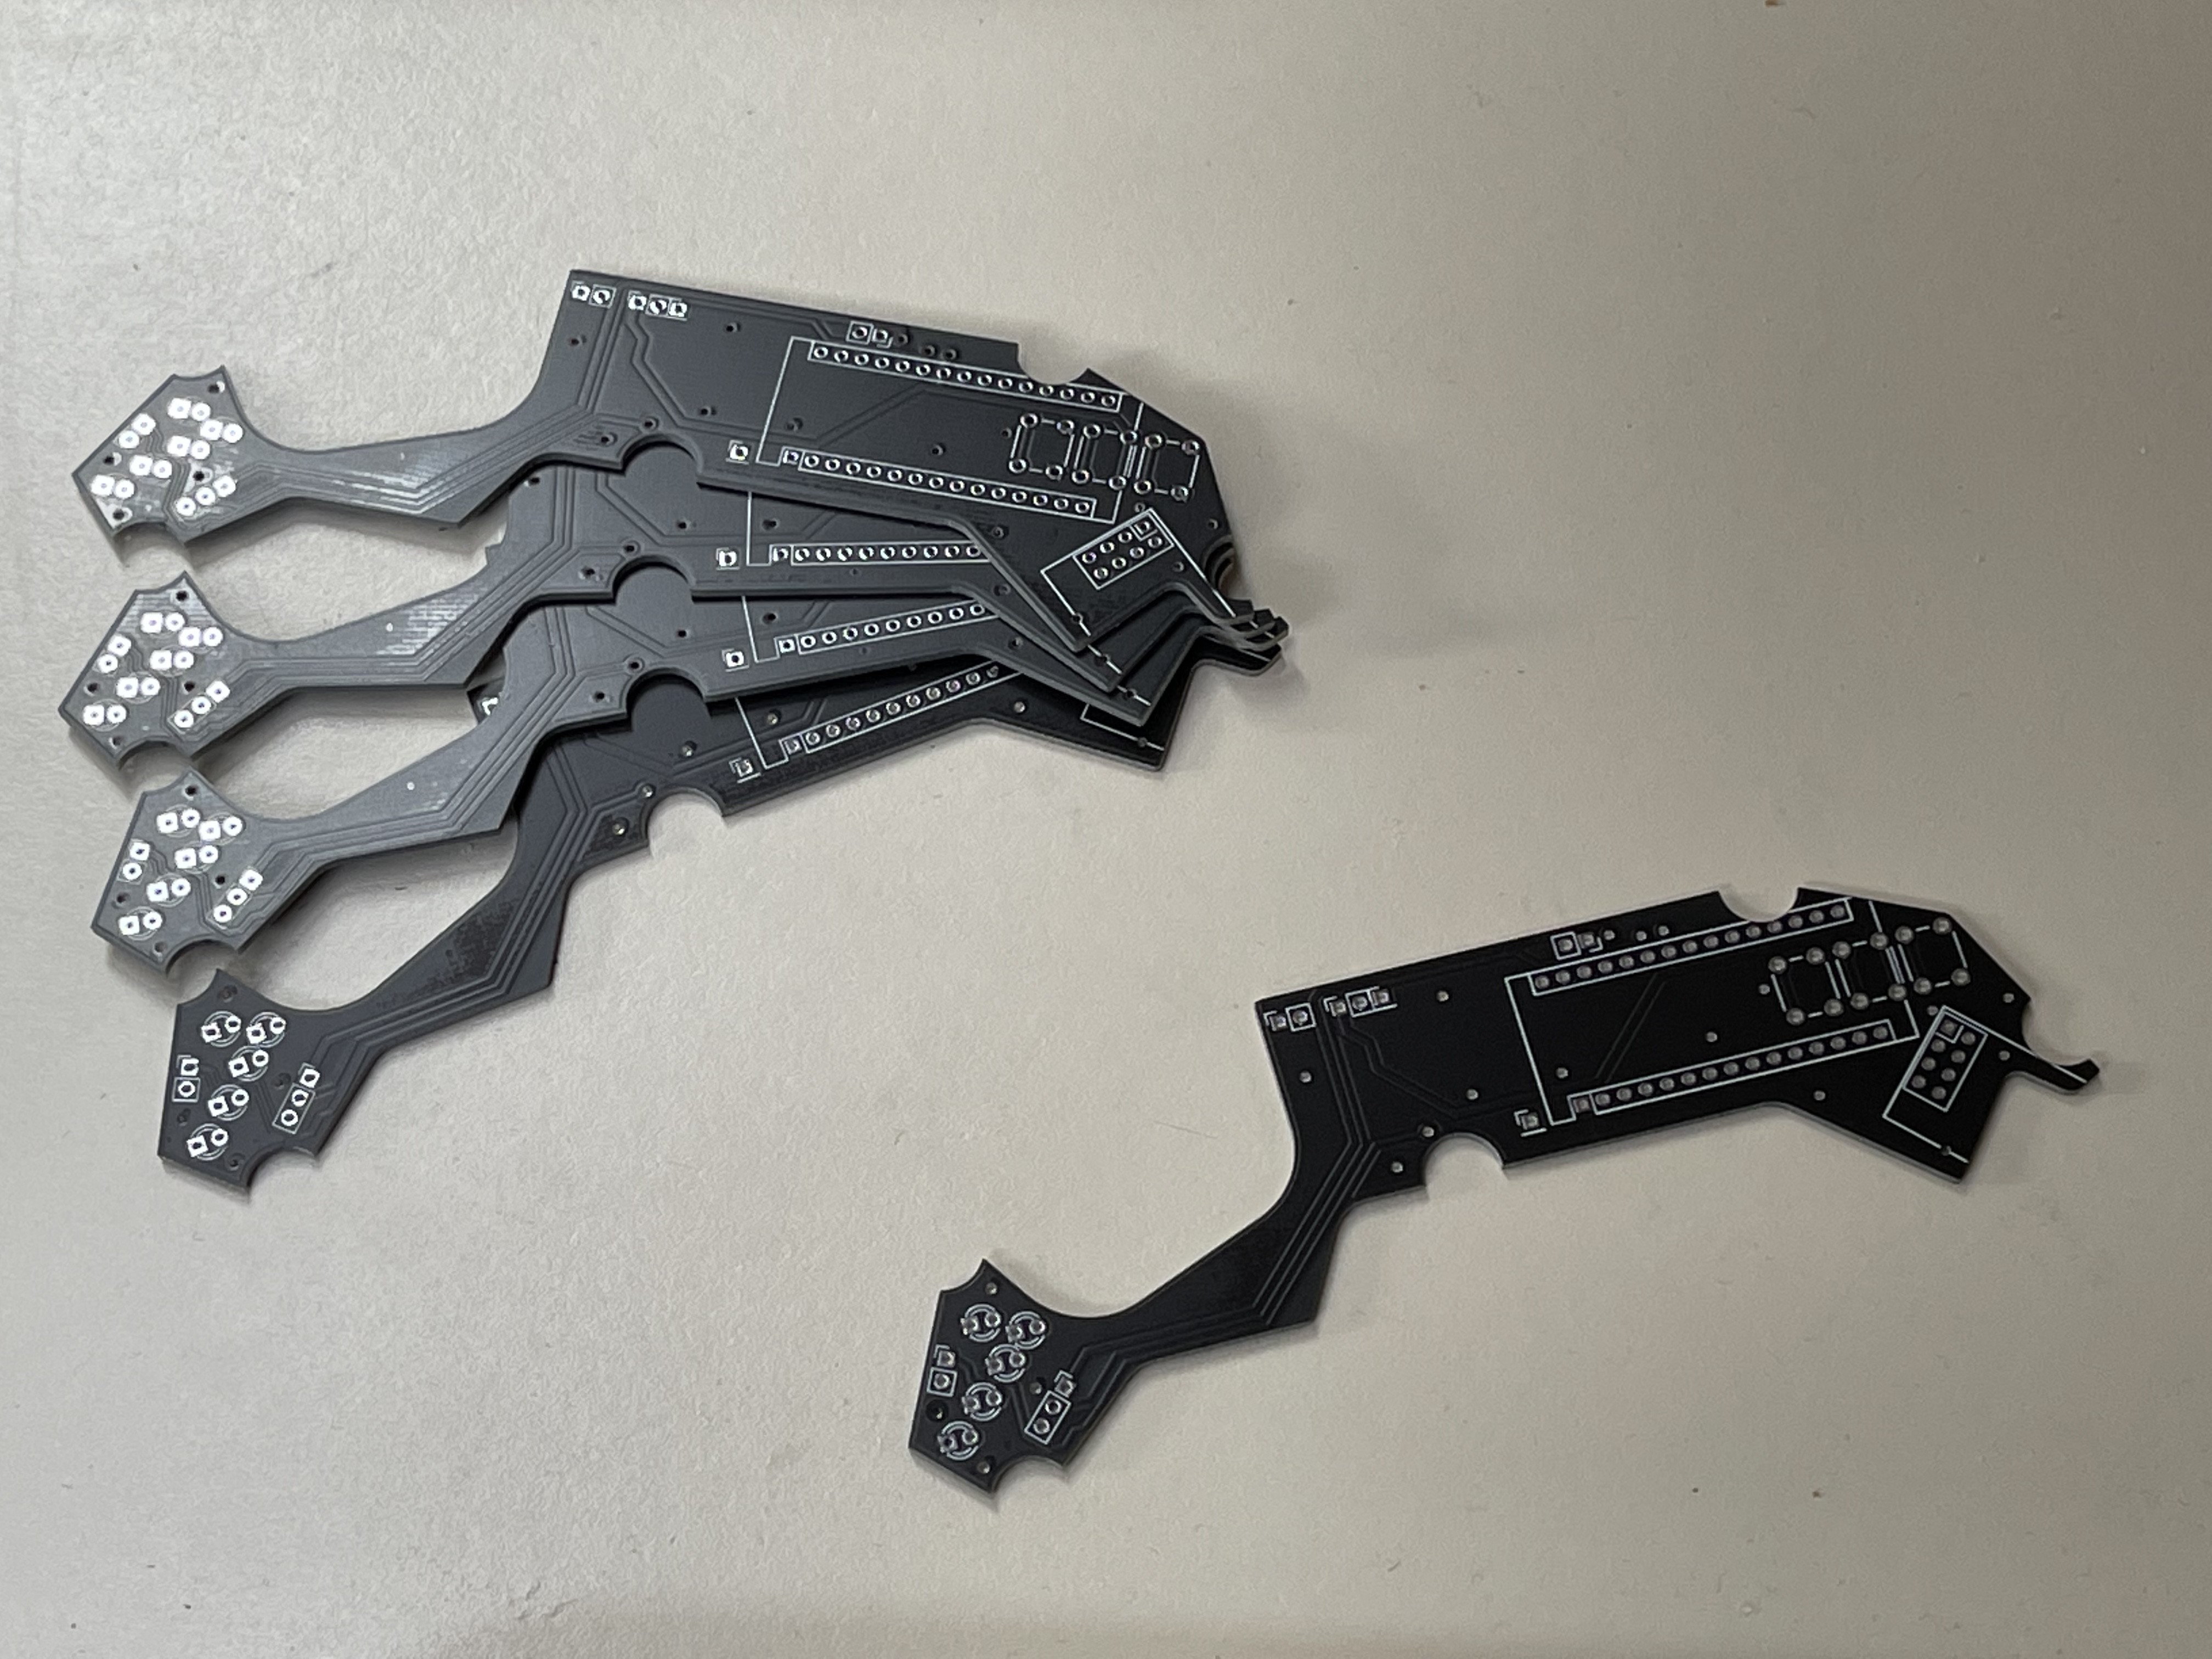 Have you ever seen something this pretty in your life? Well okey, I show myself out....
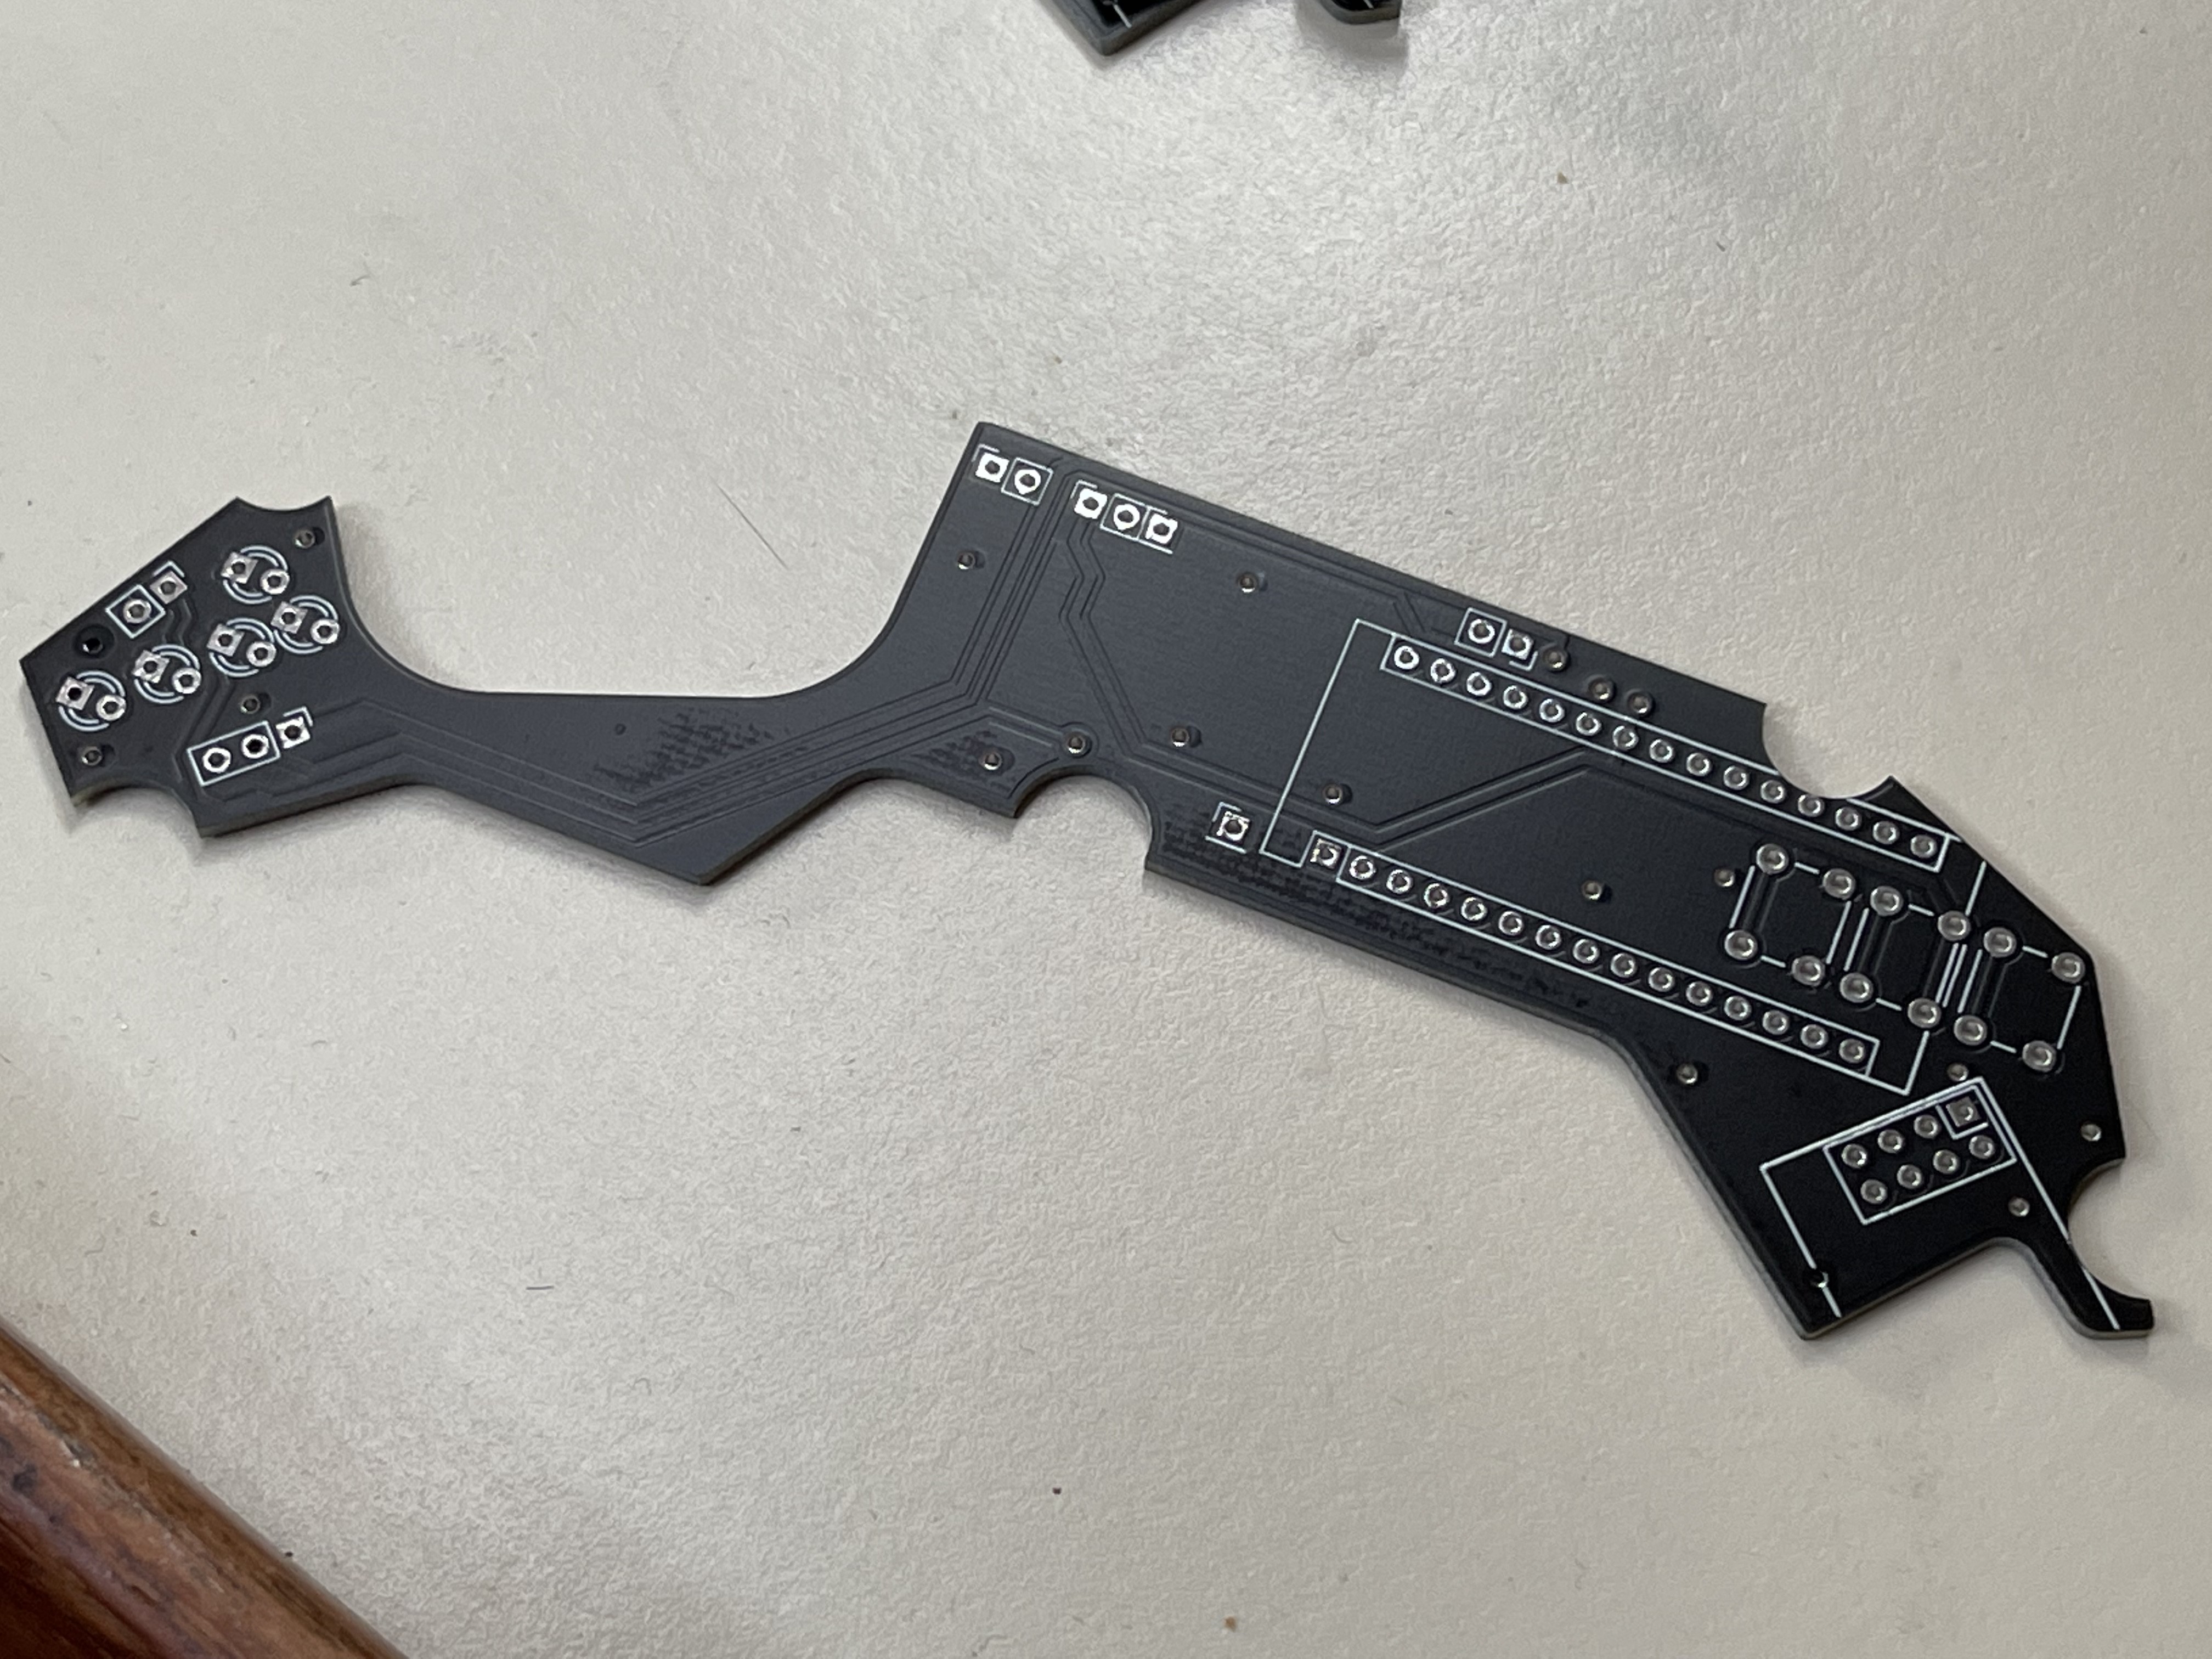
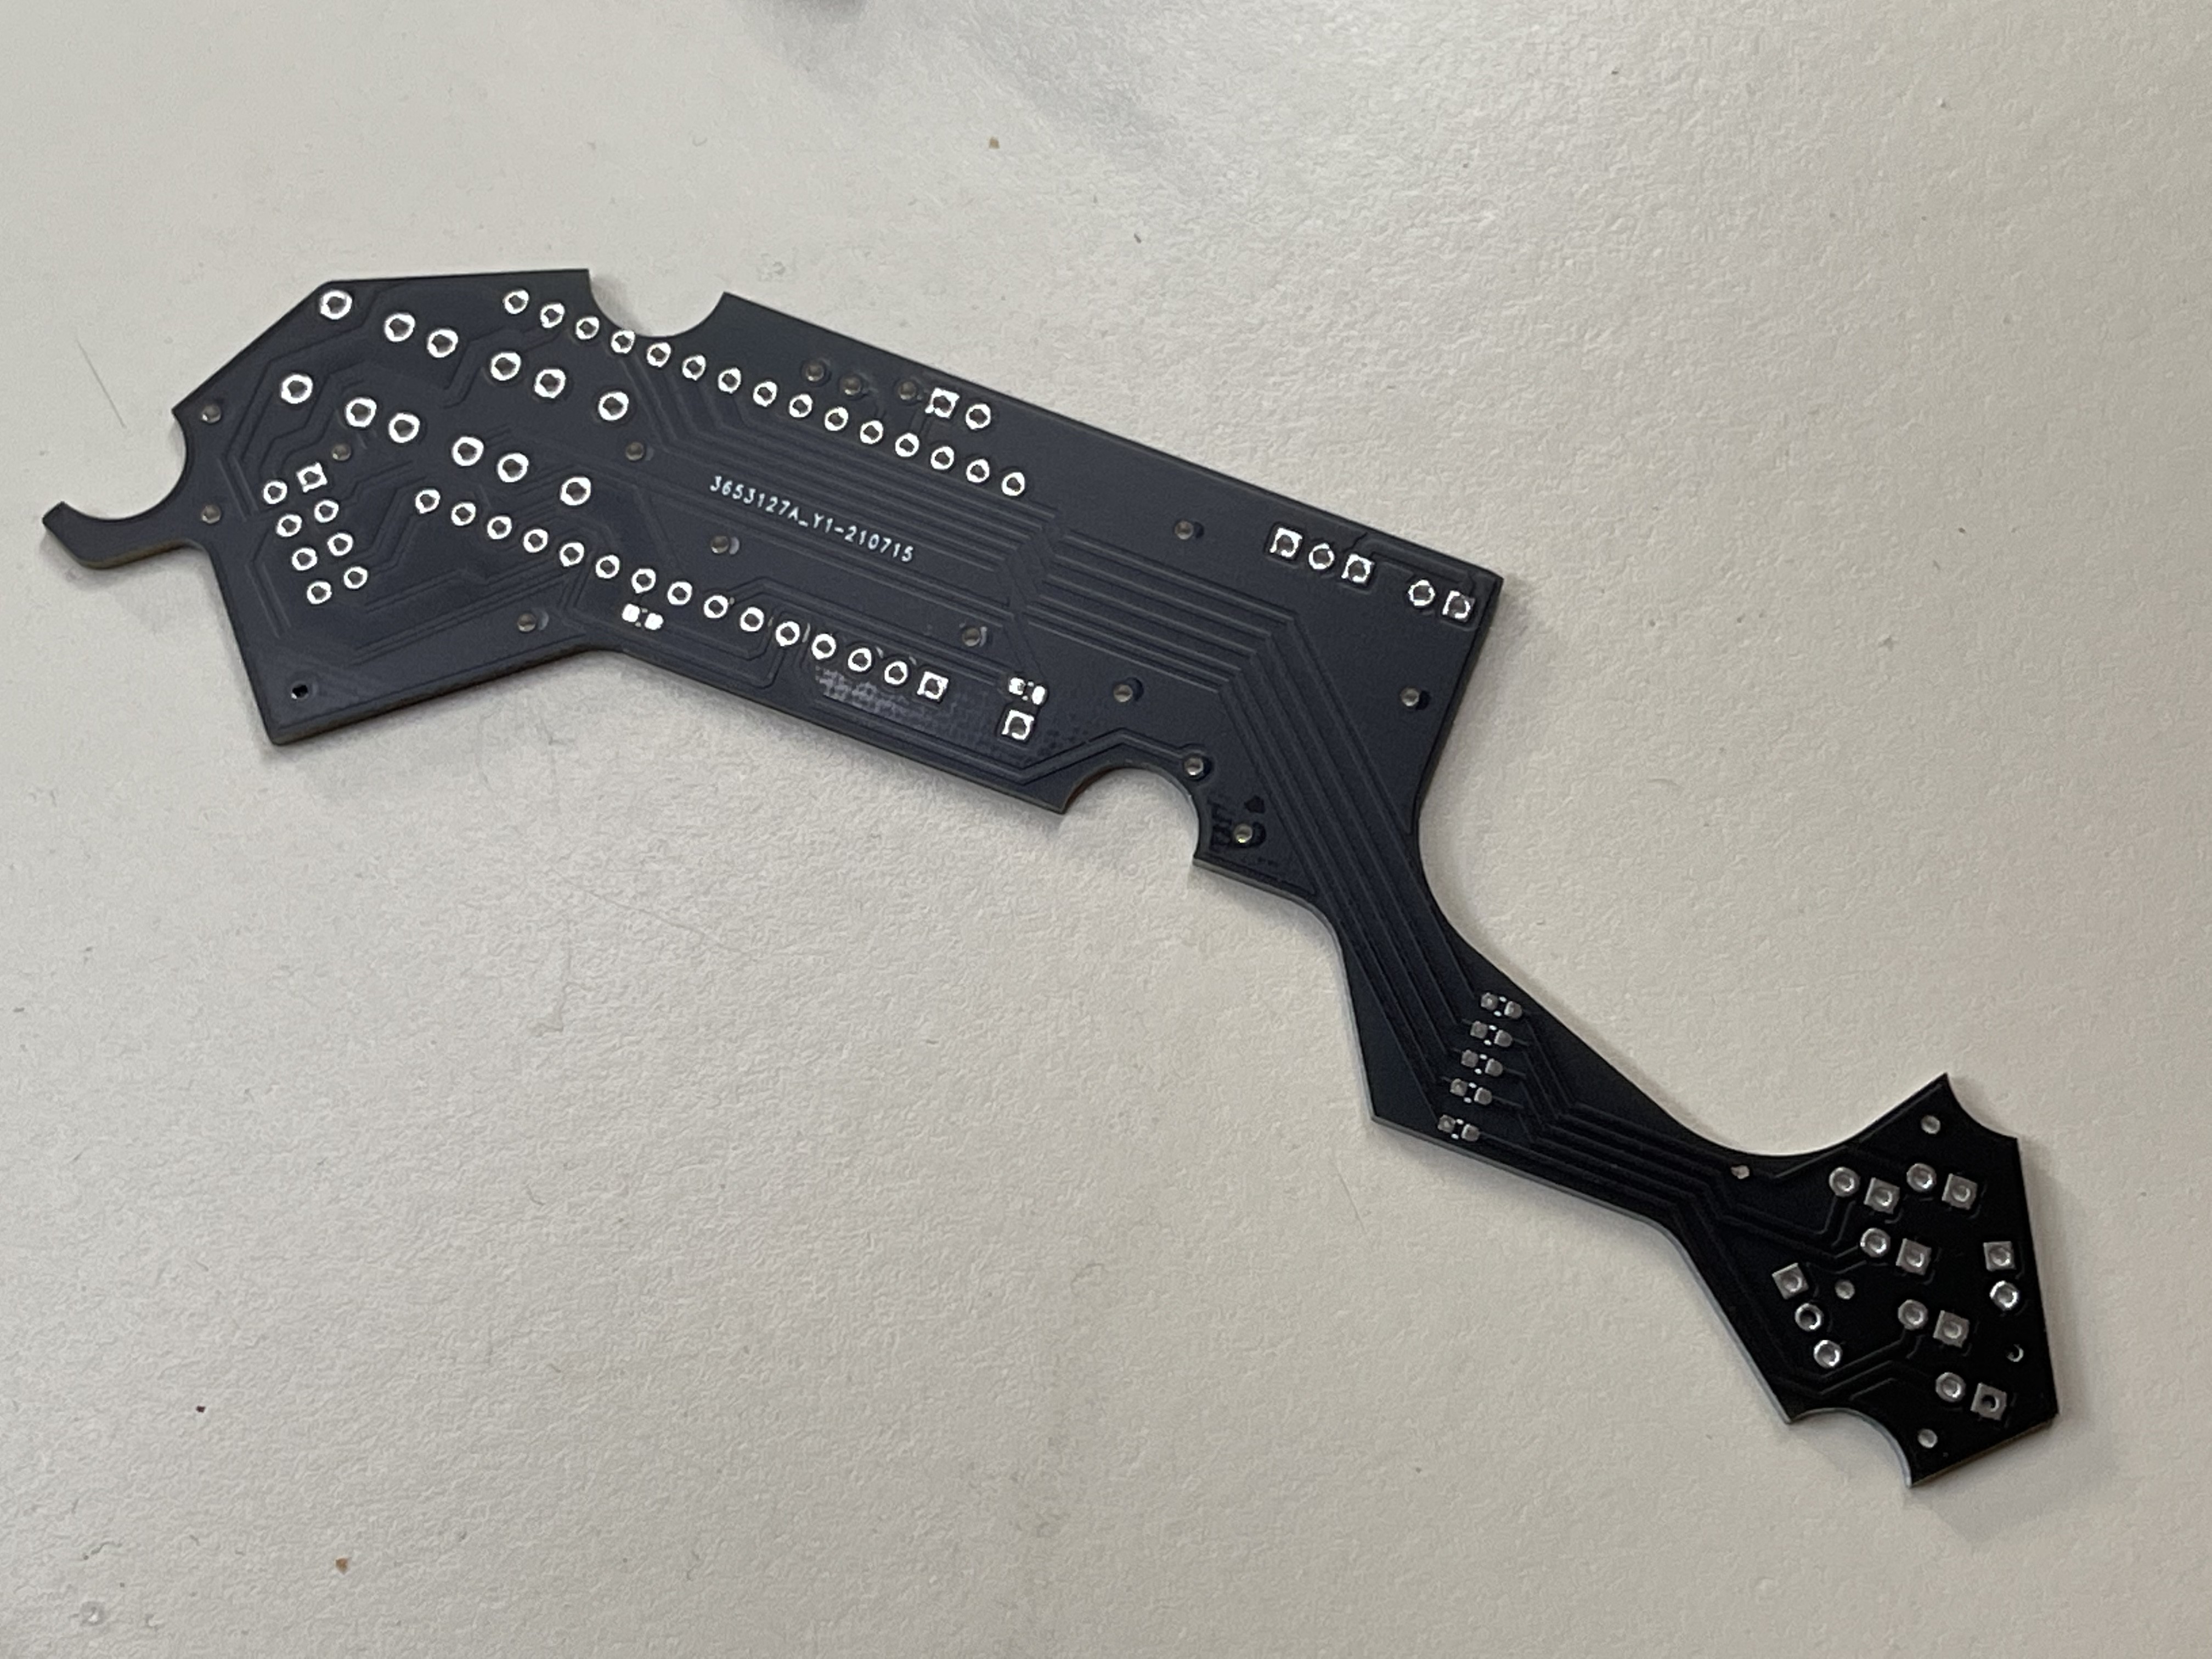
Regardless, after some sanding, the board fit and I was extremely happy with the result!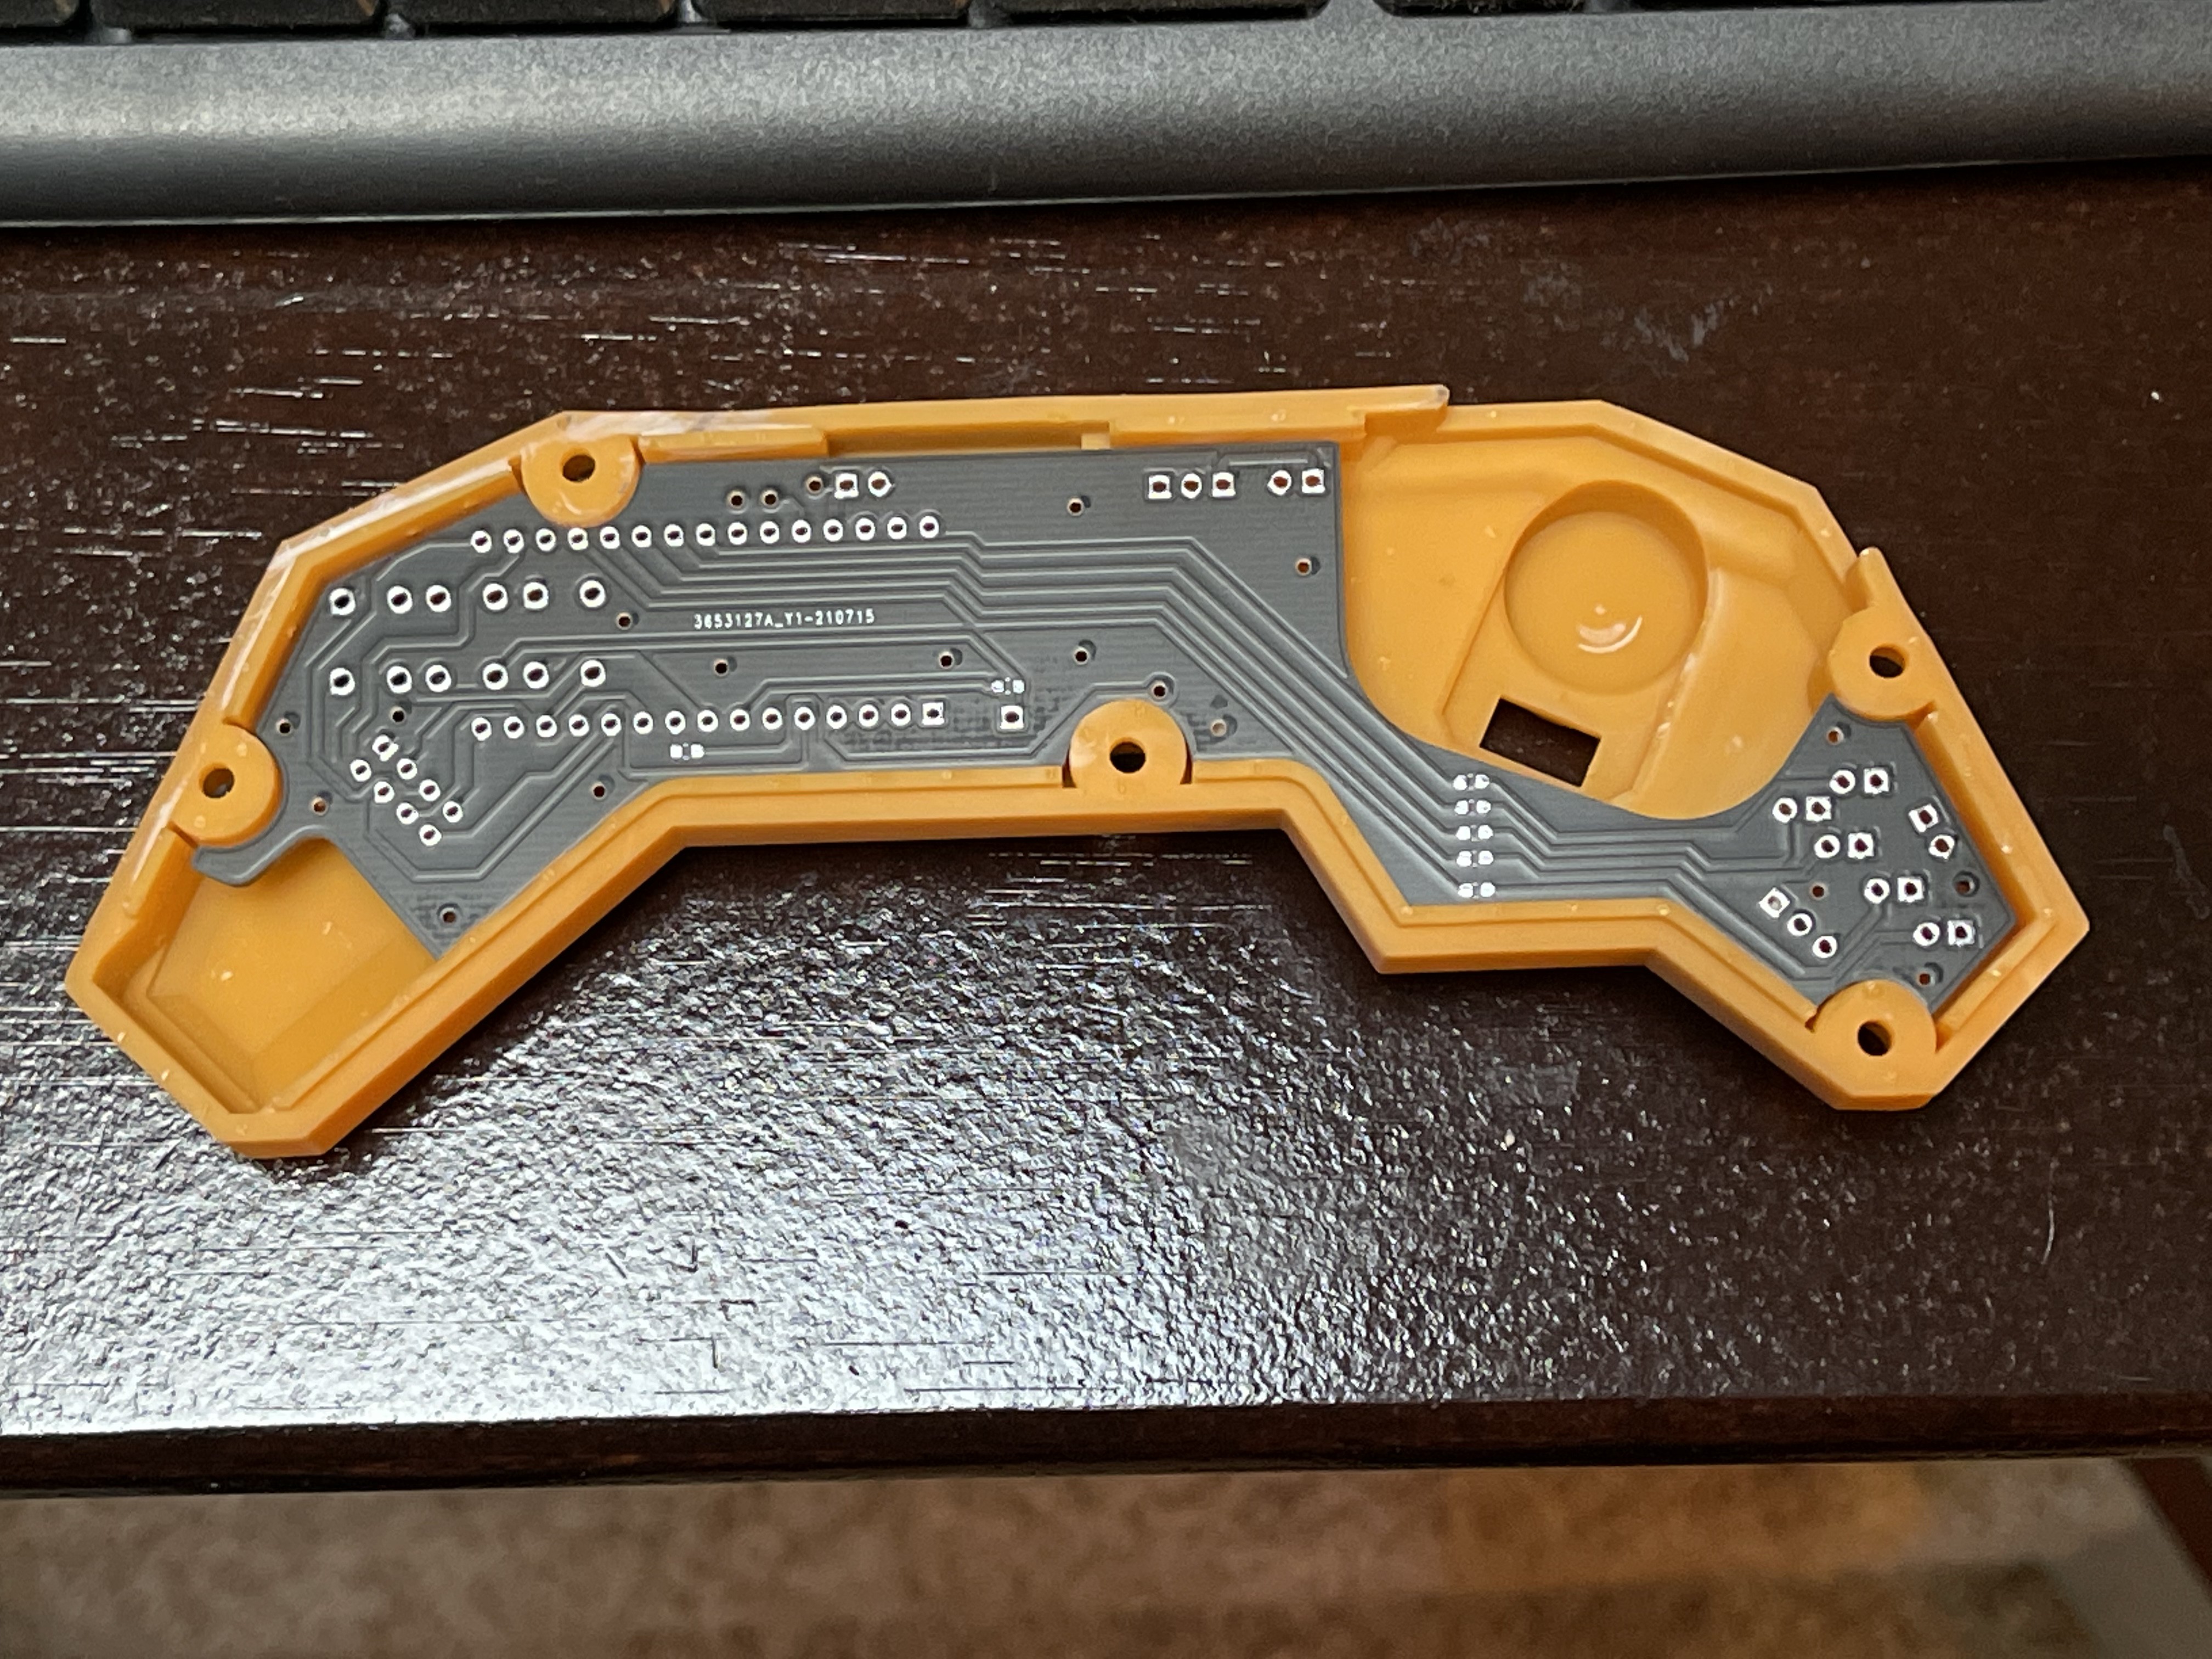 Some more sanding and the throttle potentiometer also fit into its seat.
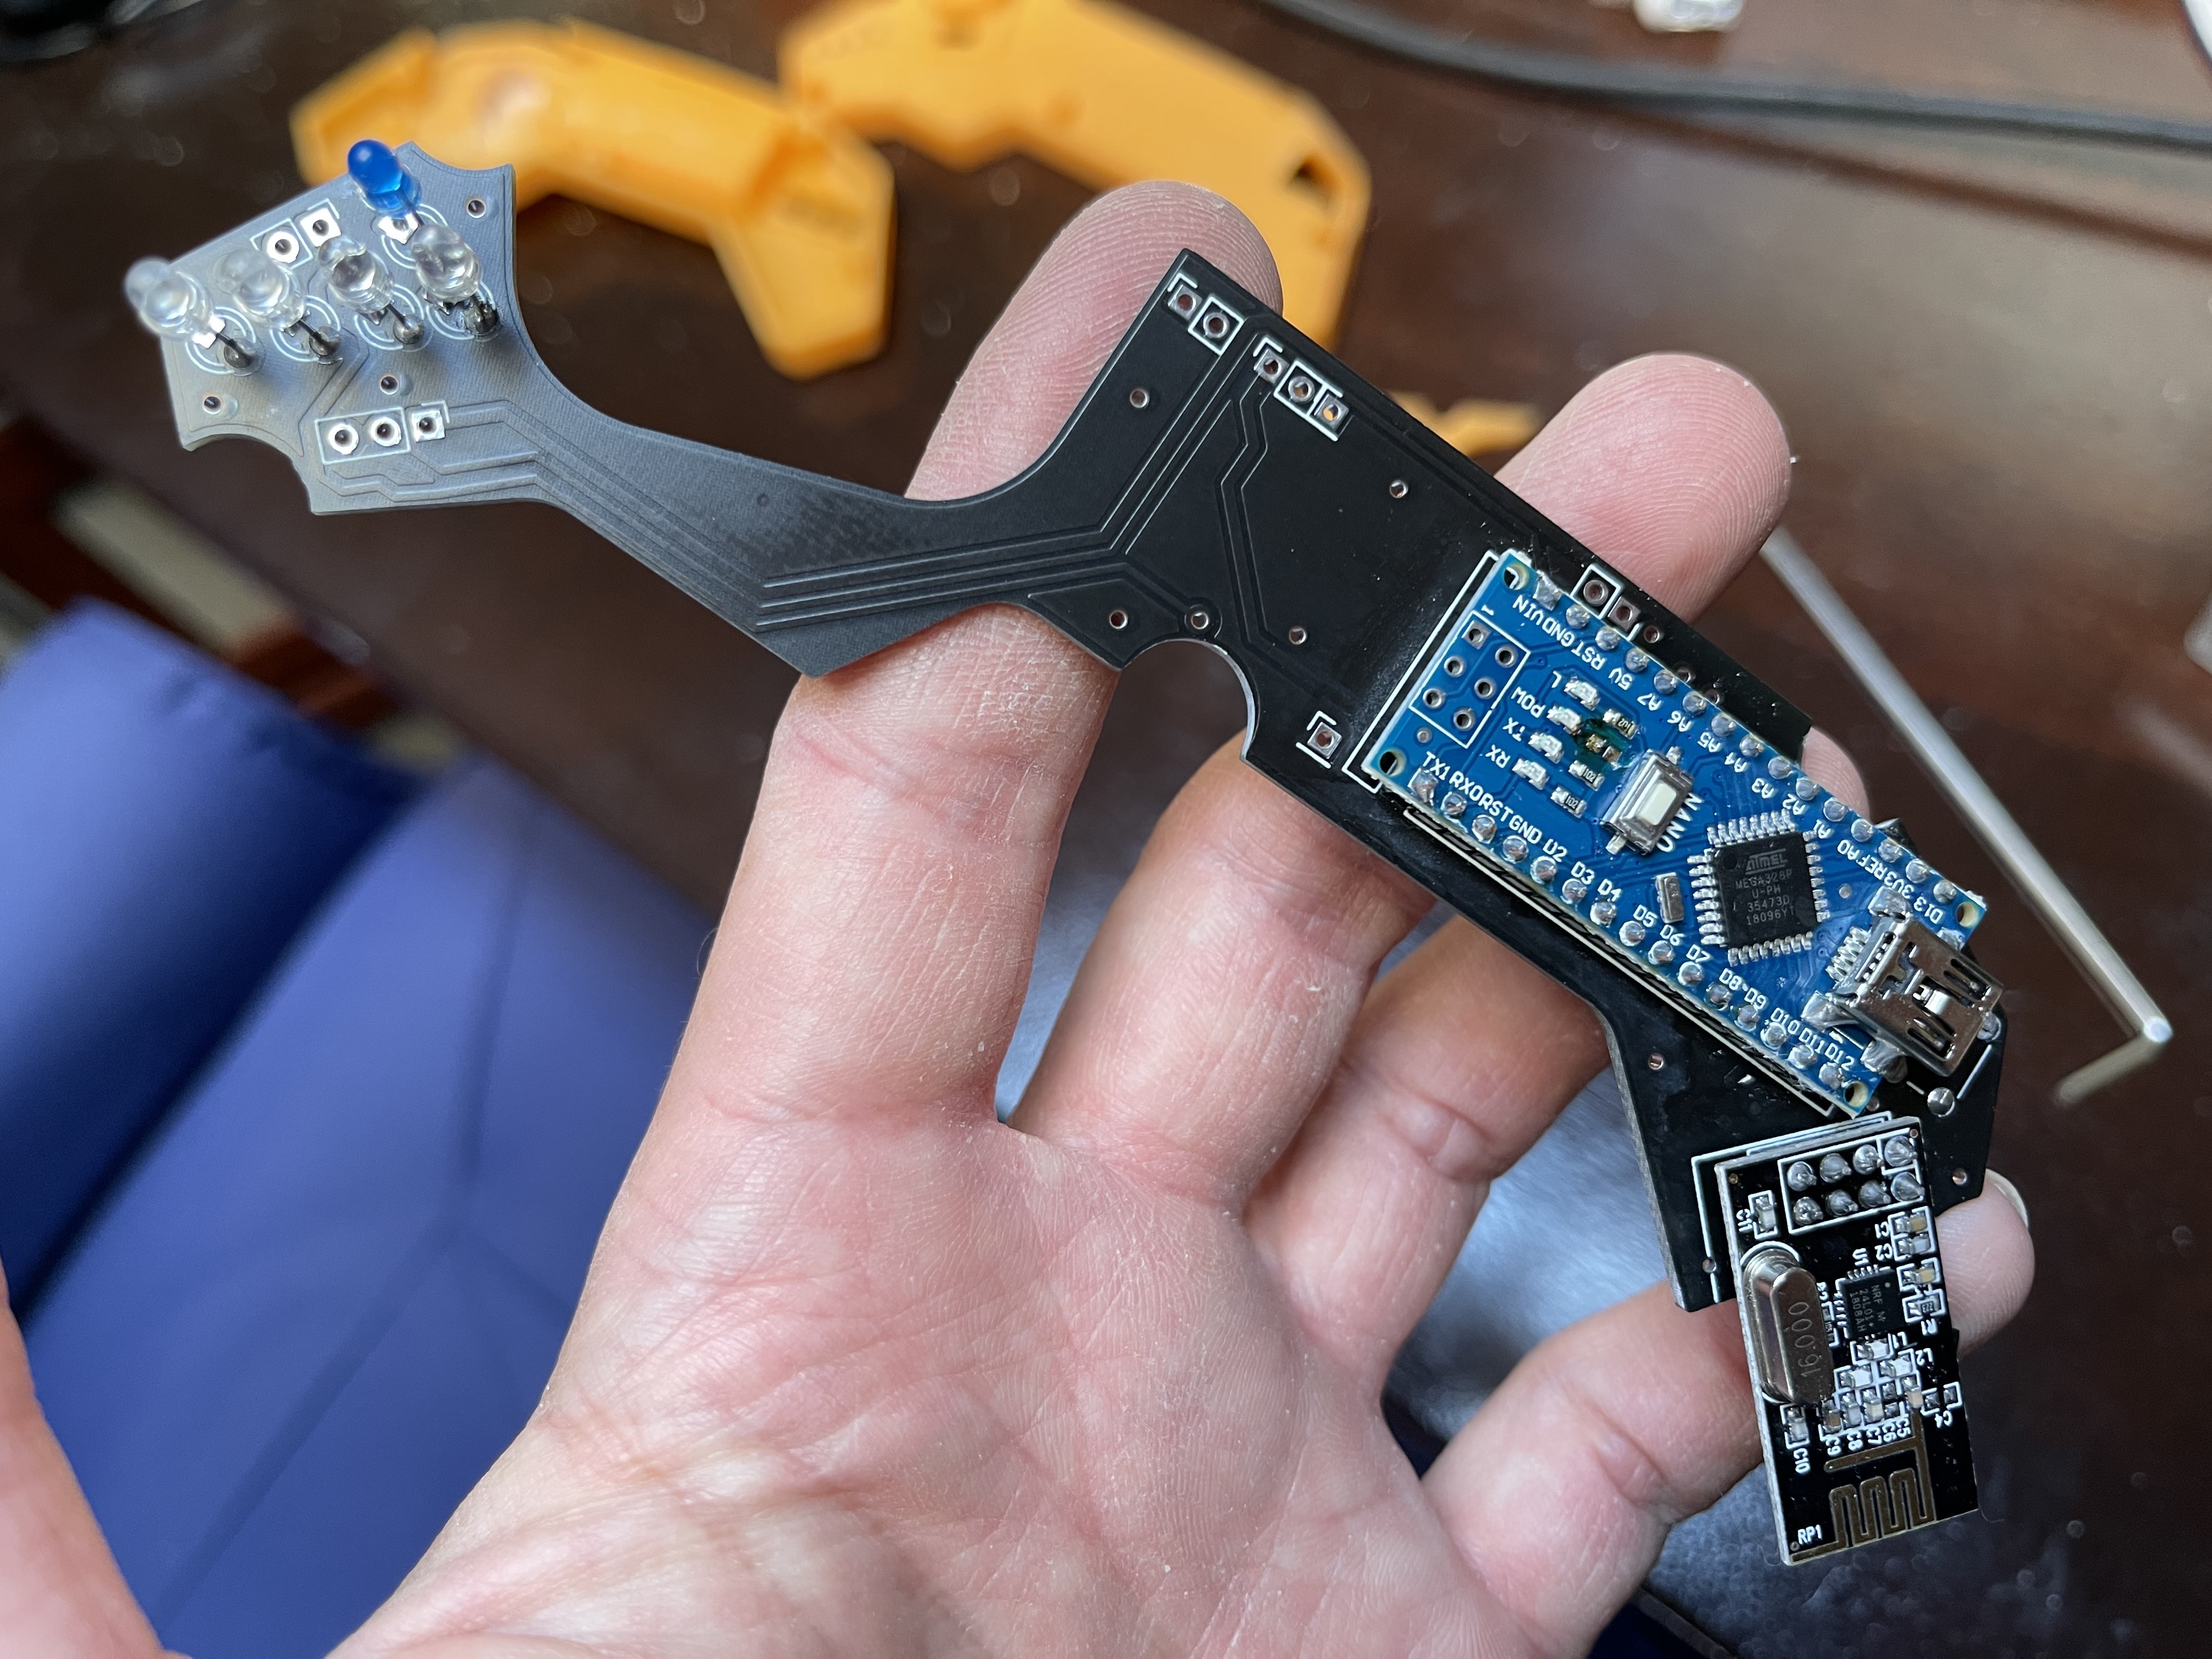
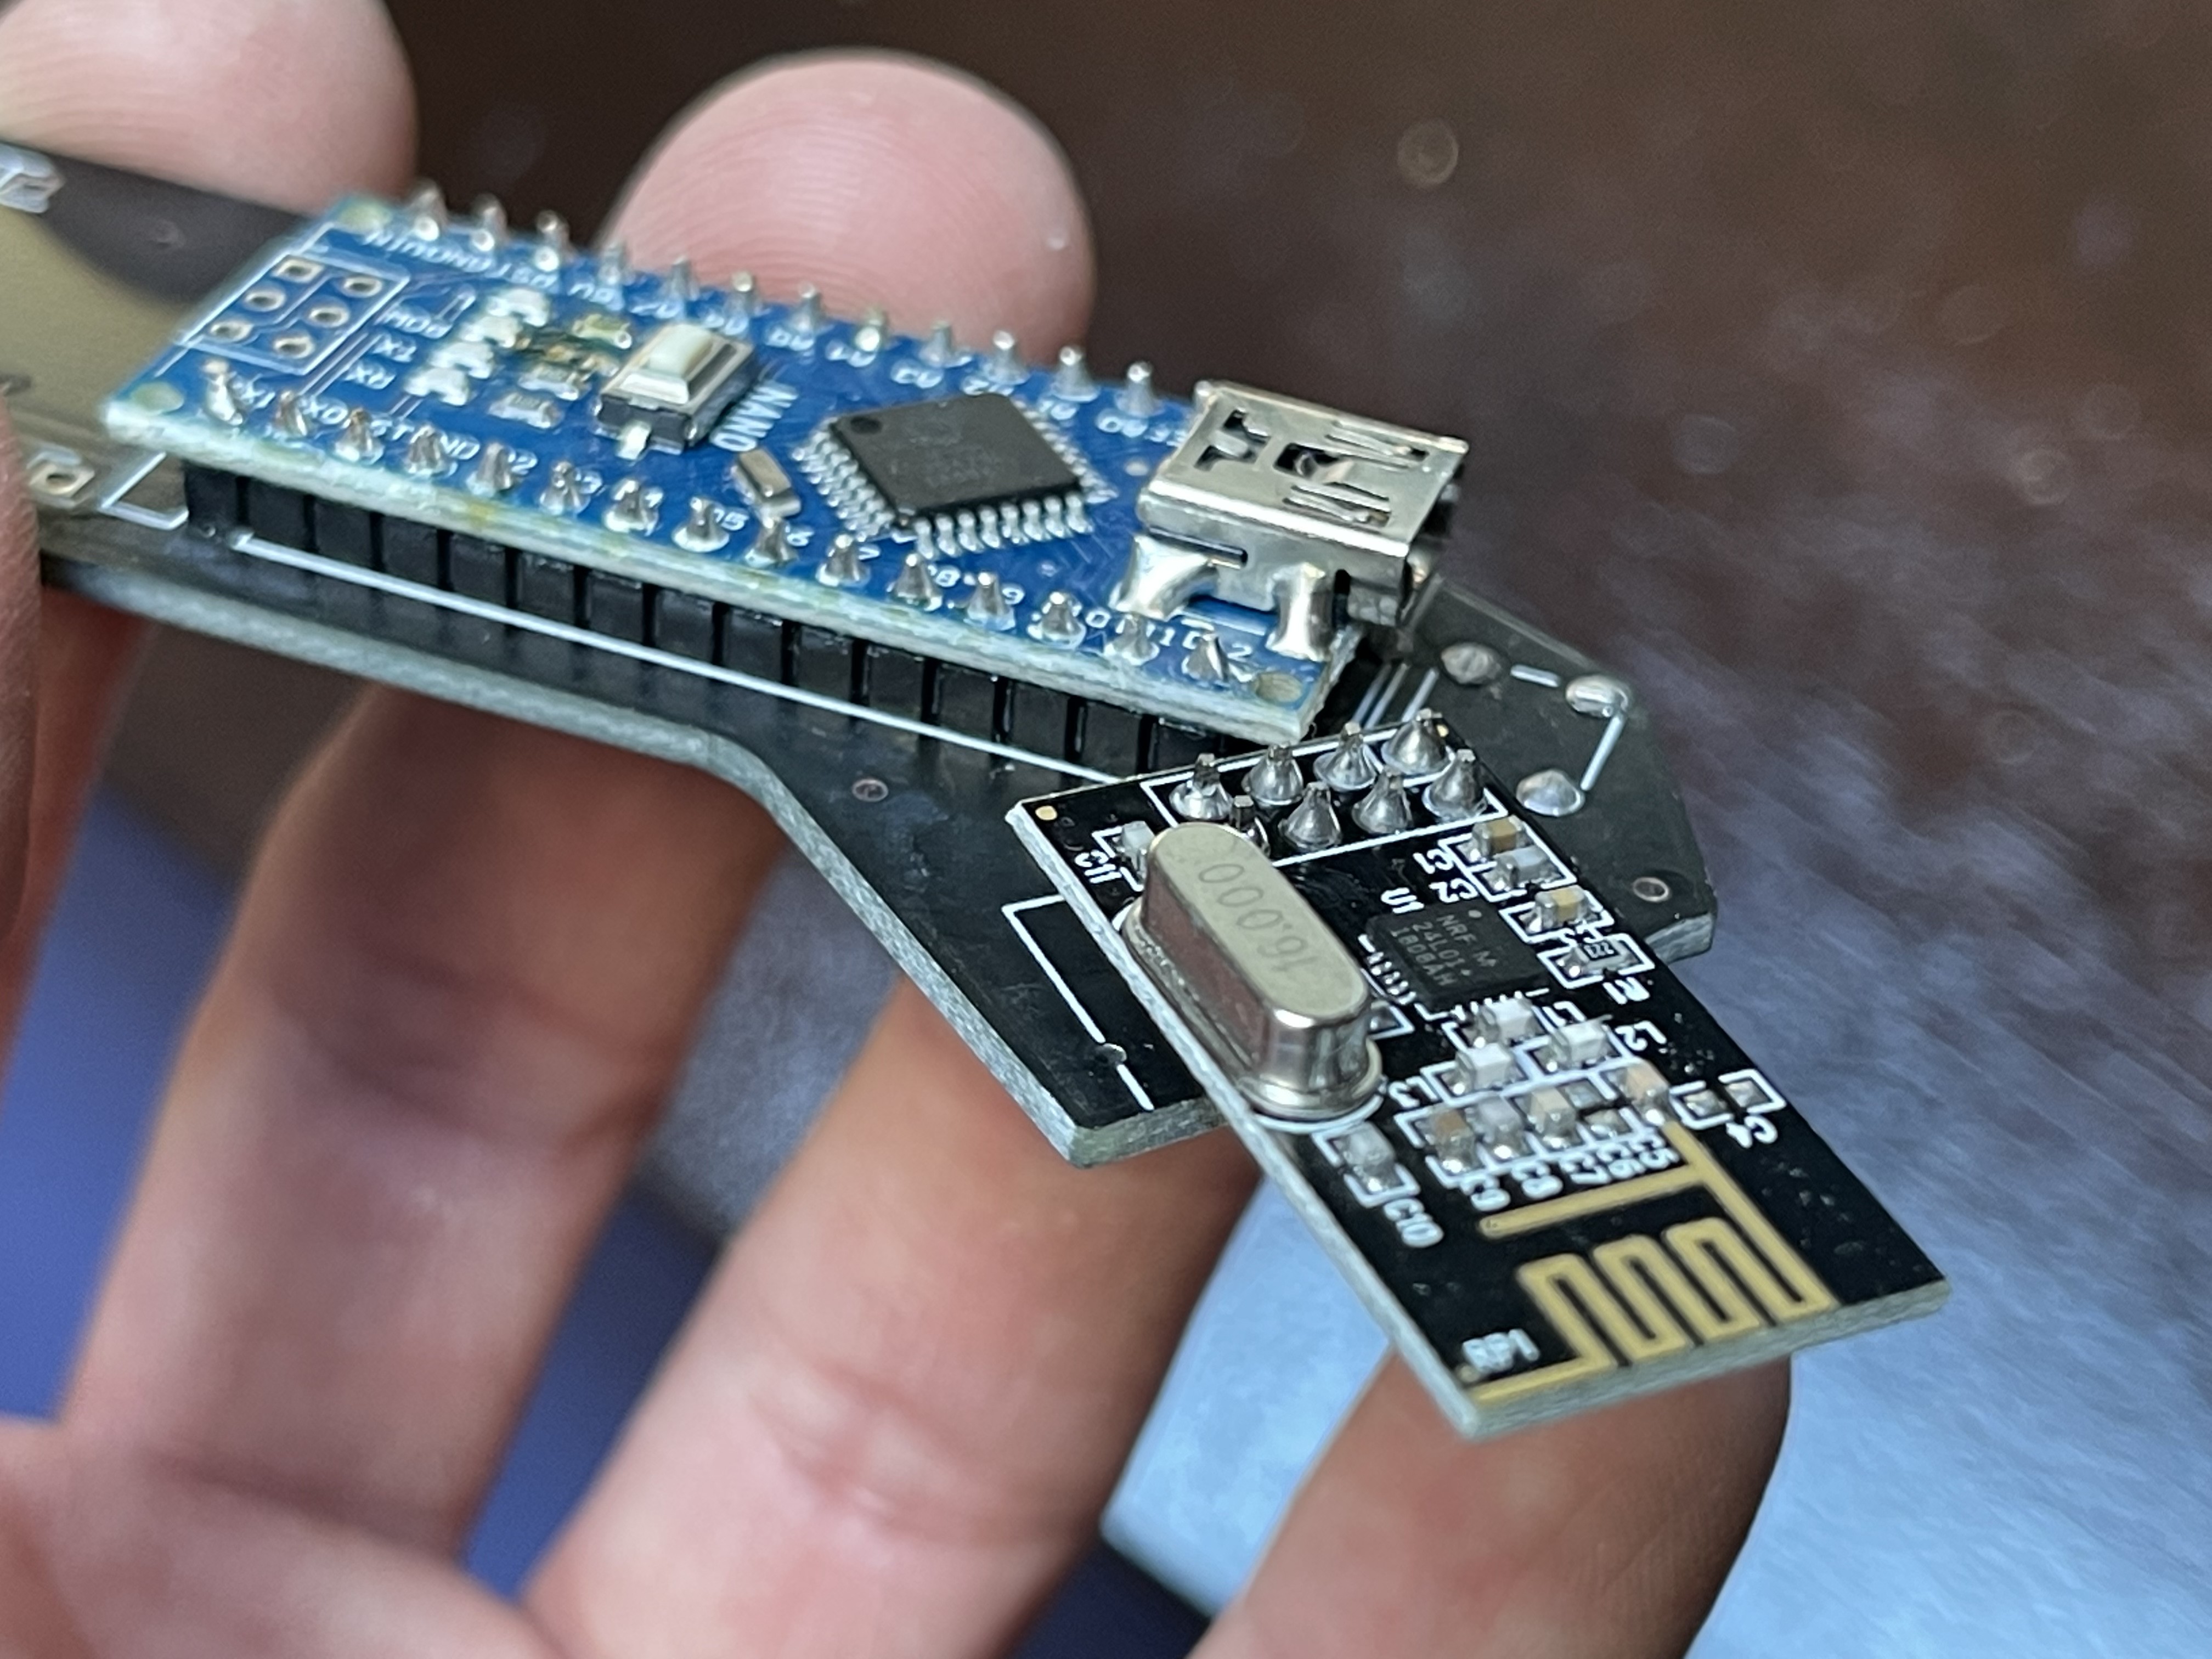
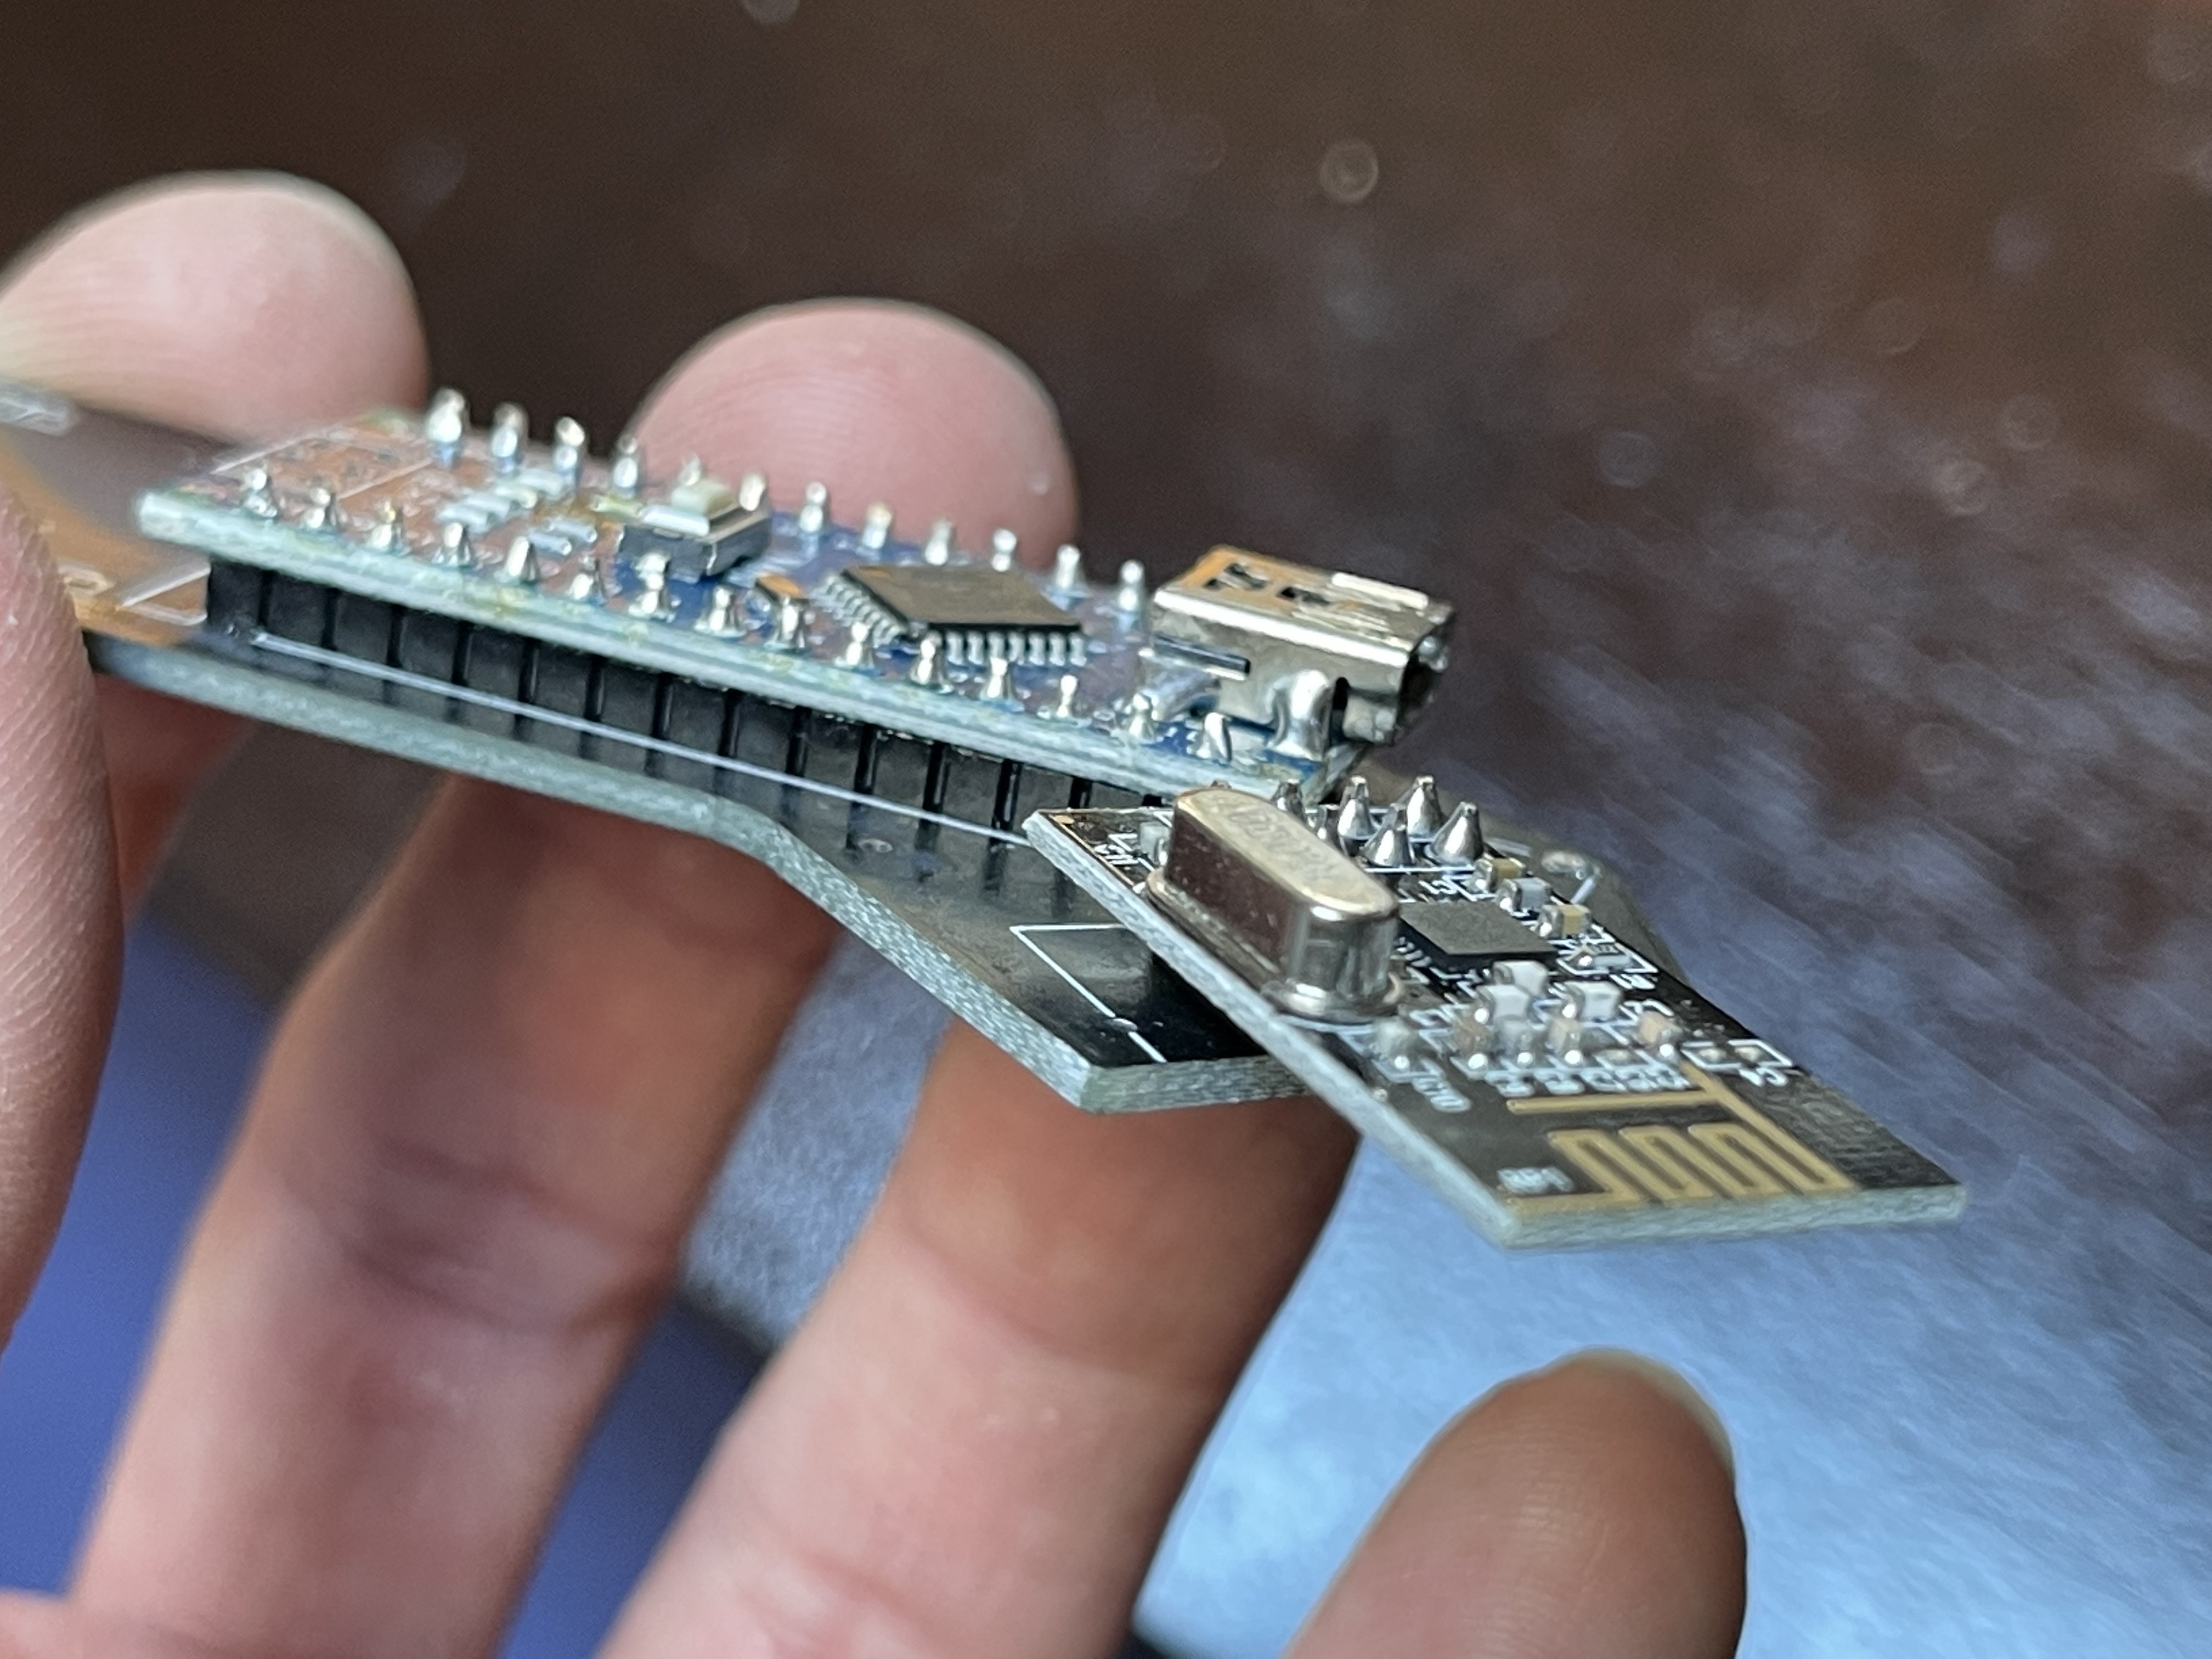
 The board itself was quickly assembled now that I had the convenience of solder masks.
 For the throttle return assembly, I bought some springs off of Amazon. A random kit of cheap springs.
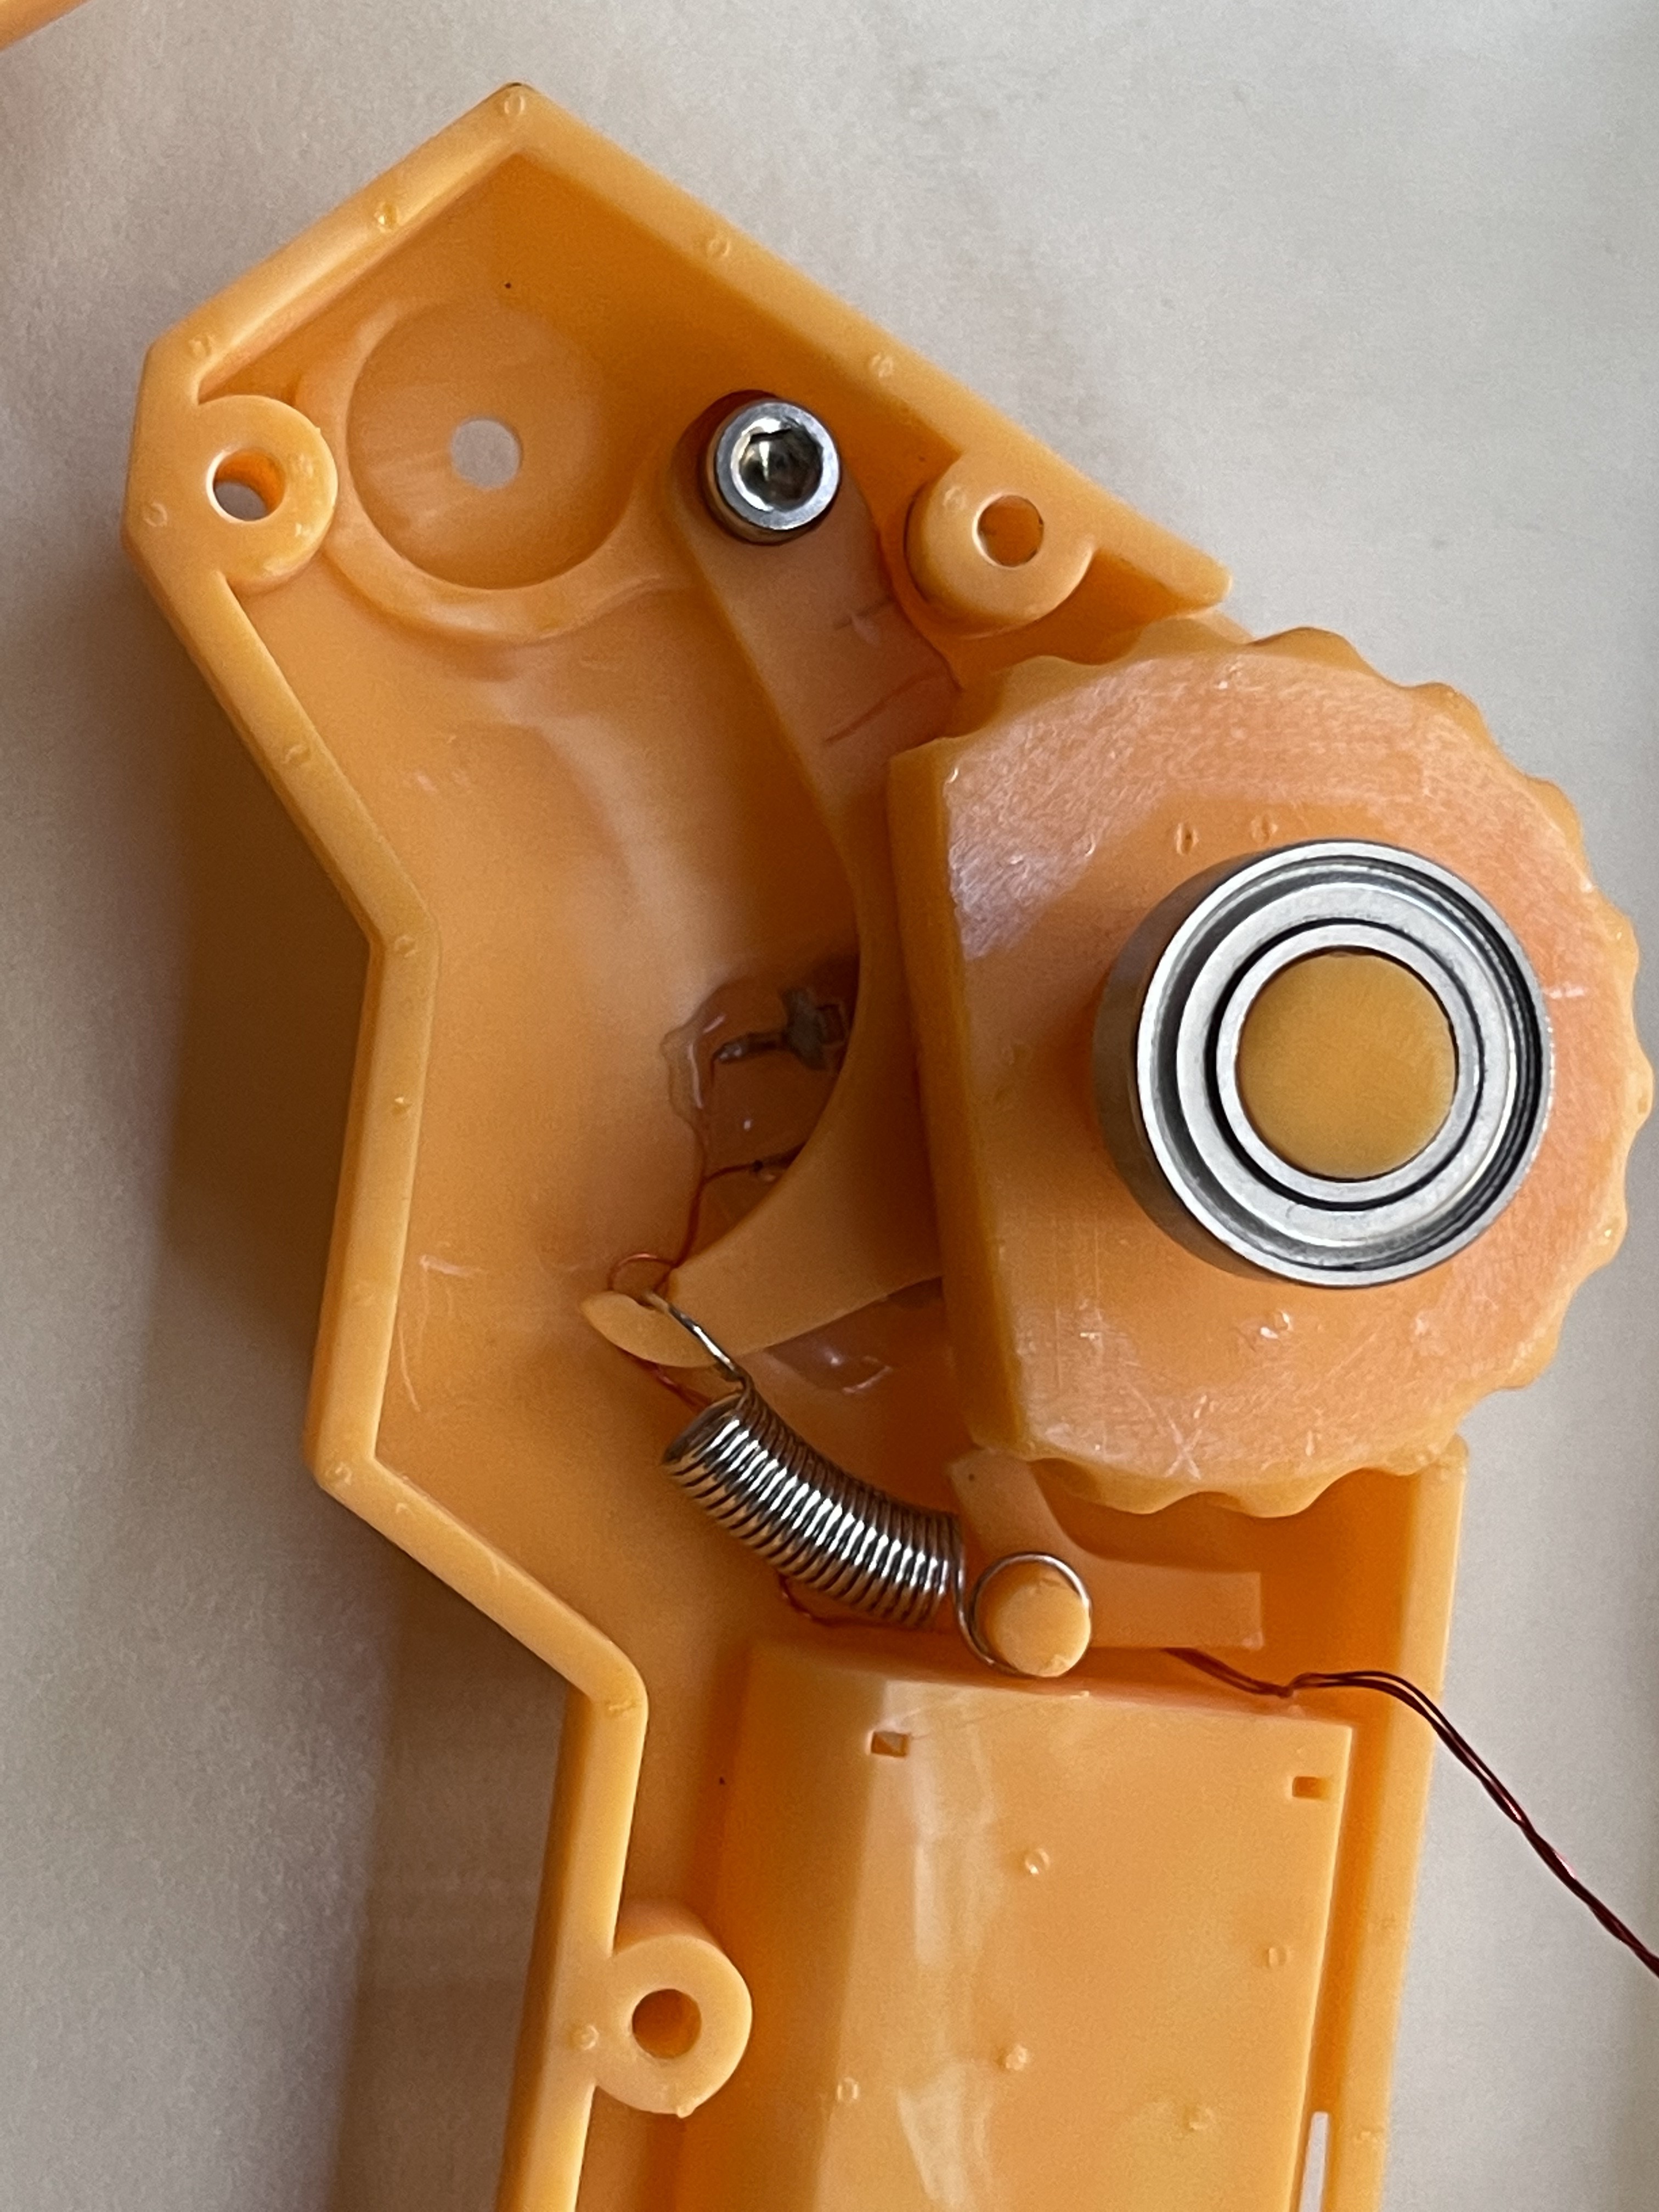
Exactly what I was looking for for various reasons. One is that they are indeed cheap. But what makes them cheap is actually a feature for me: I can solder them and therefore I was able to use these springs also to make my battery compartment springs.
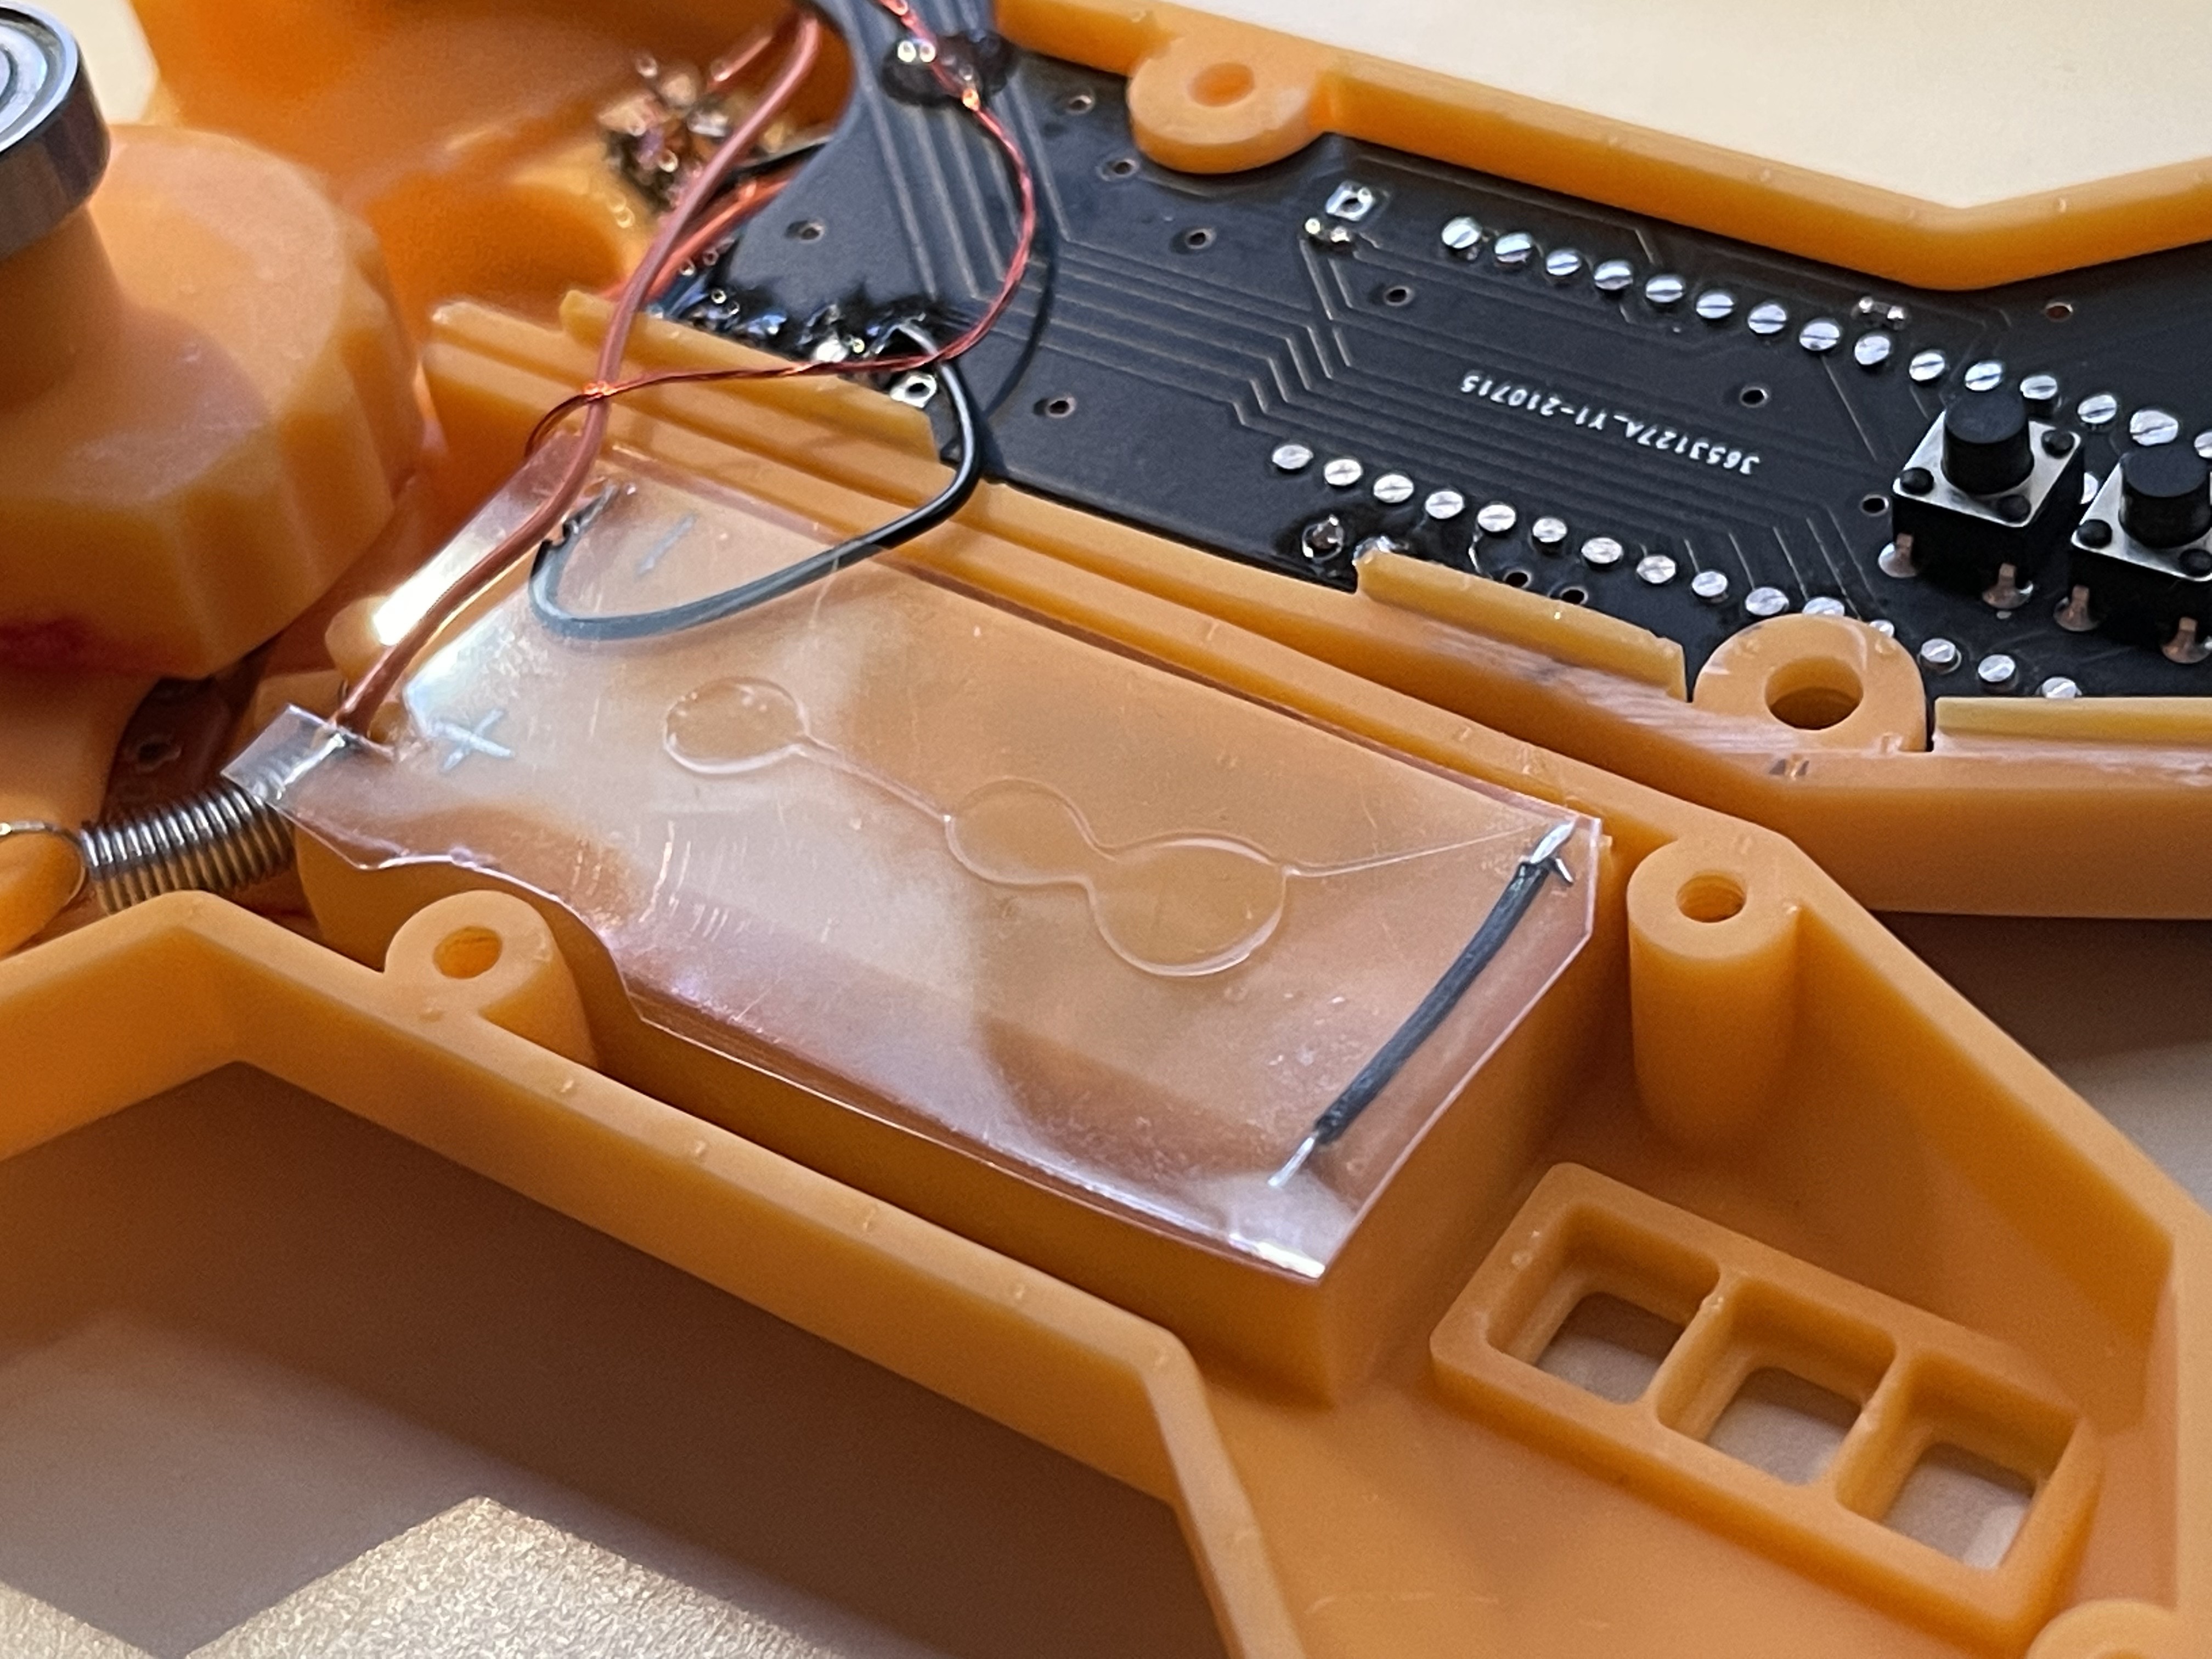
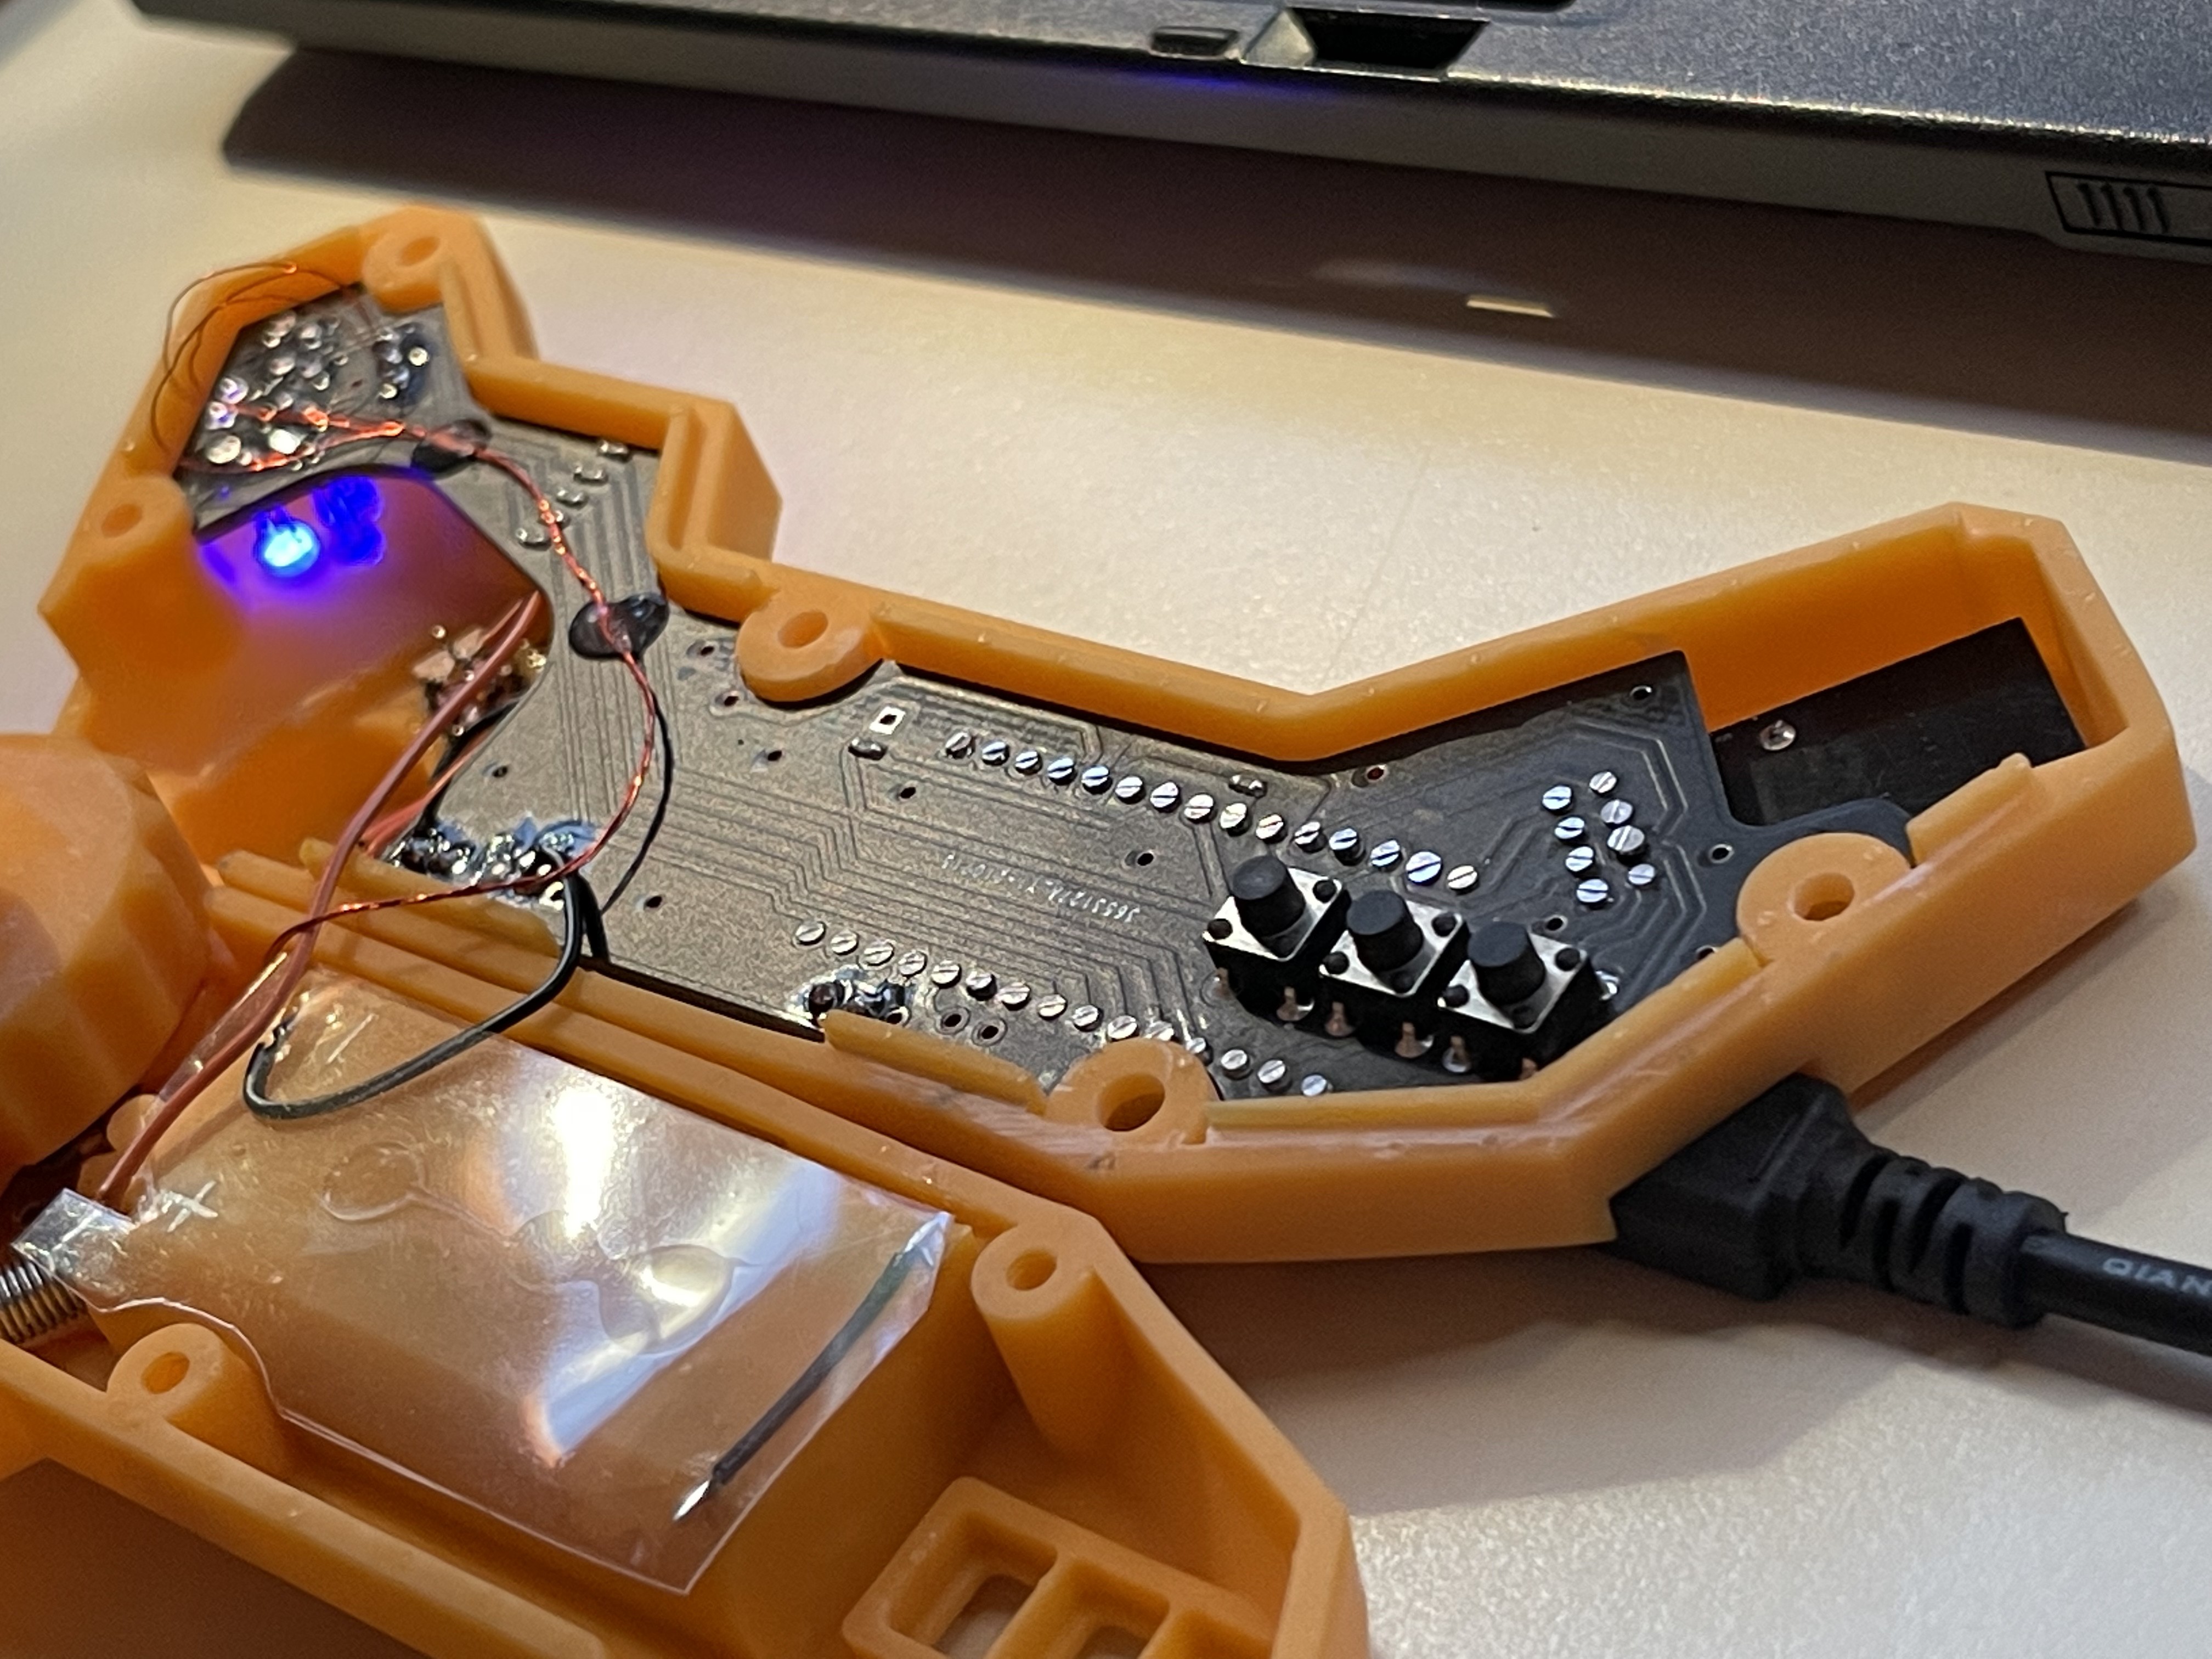
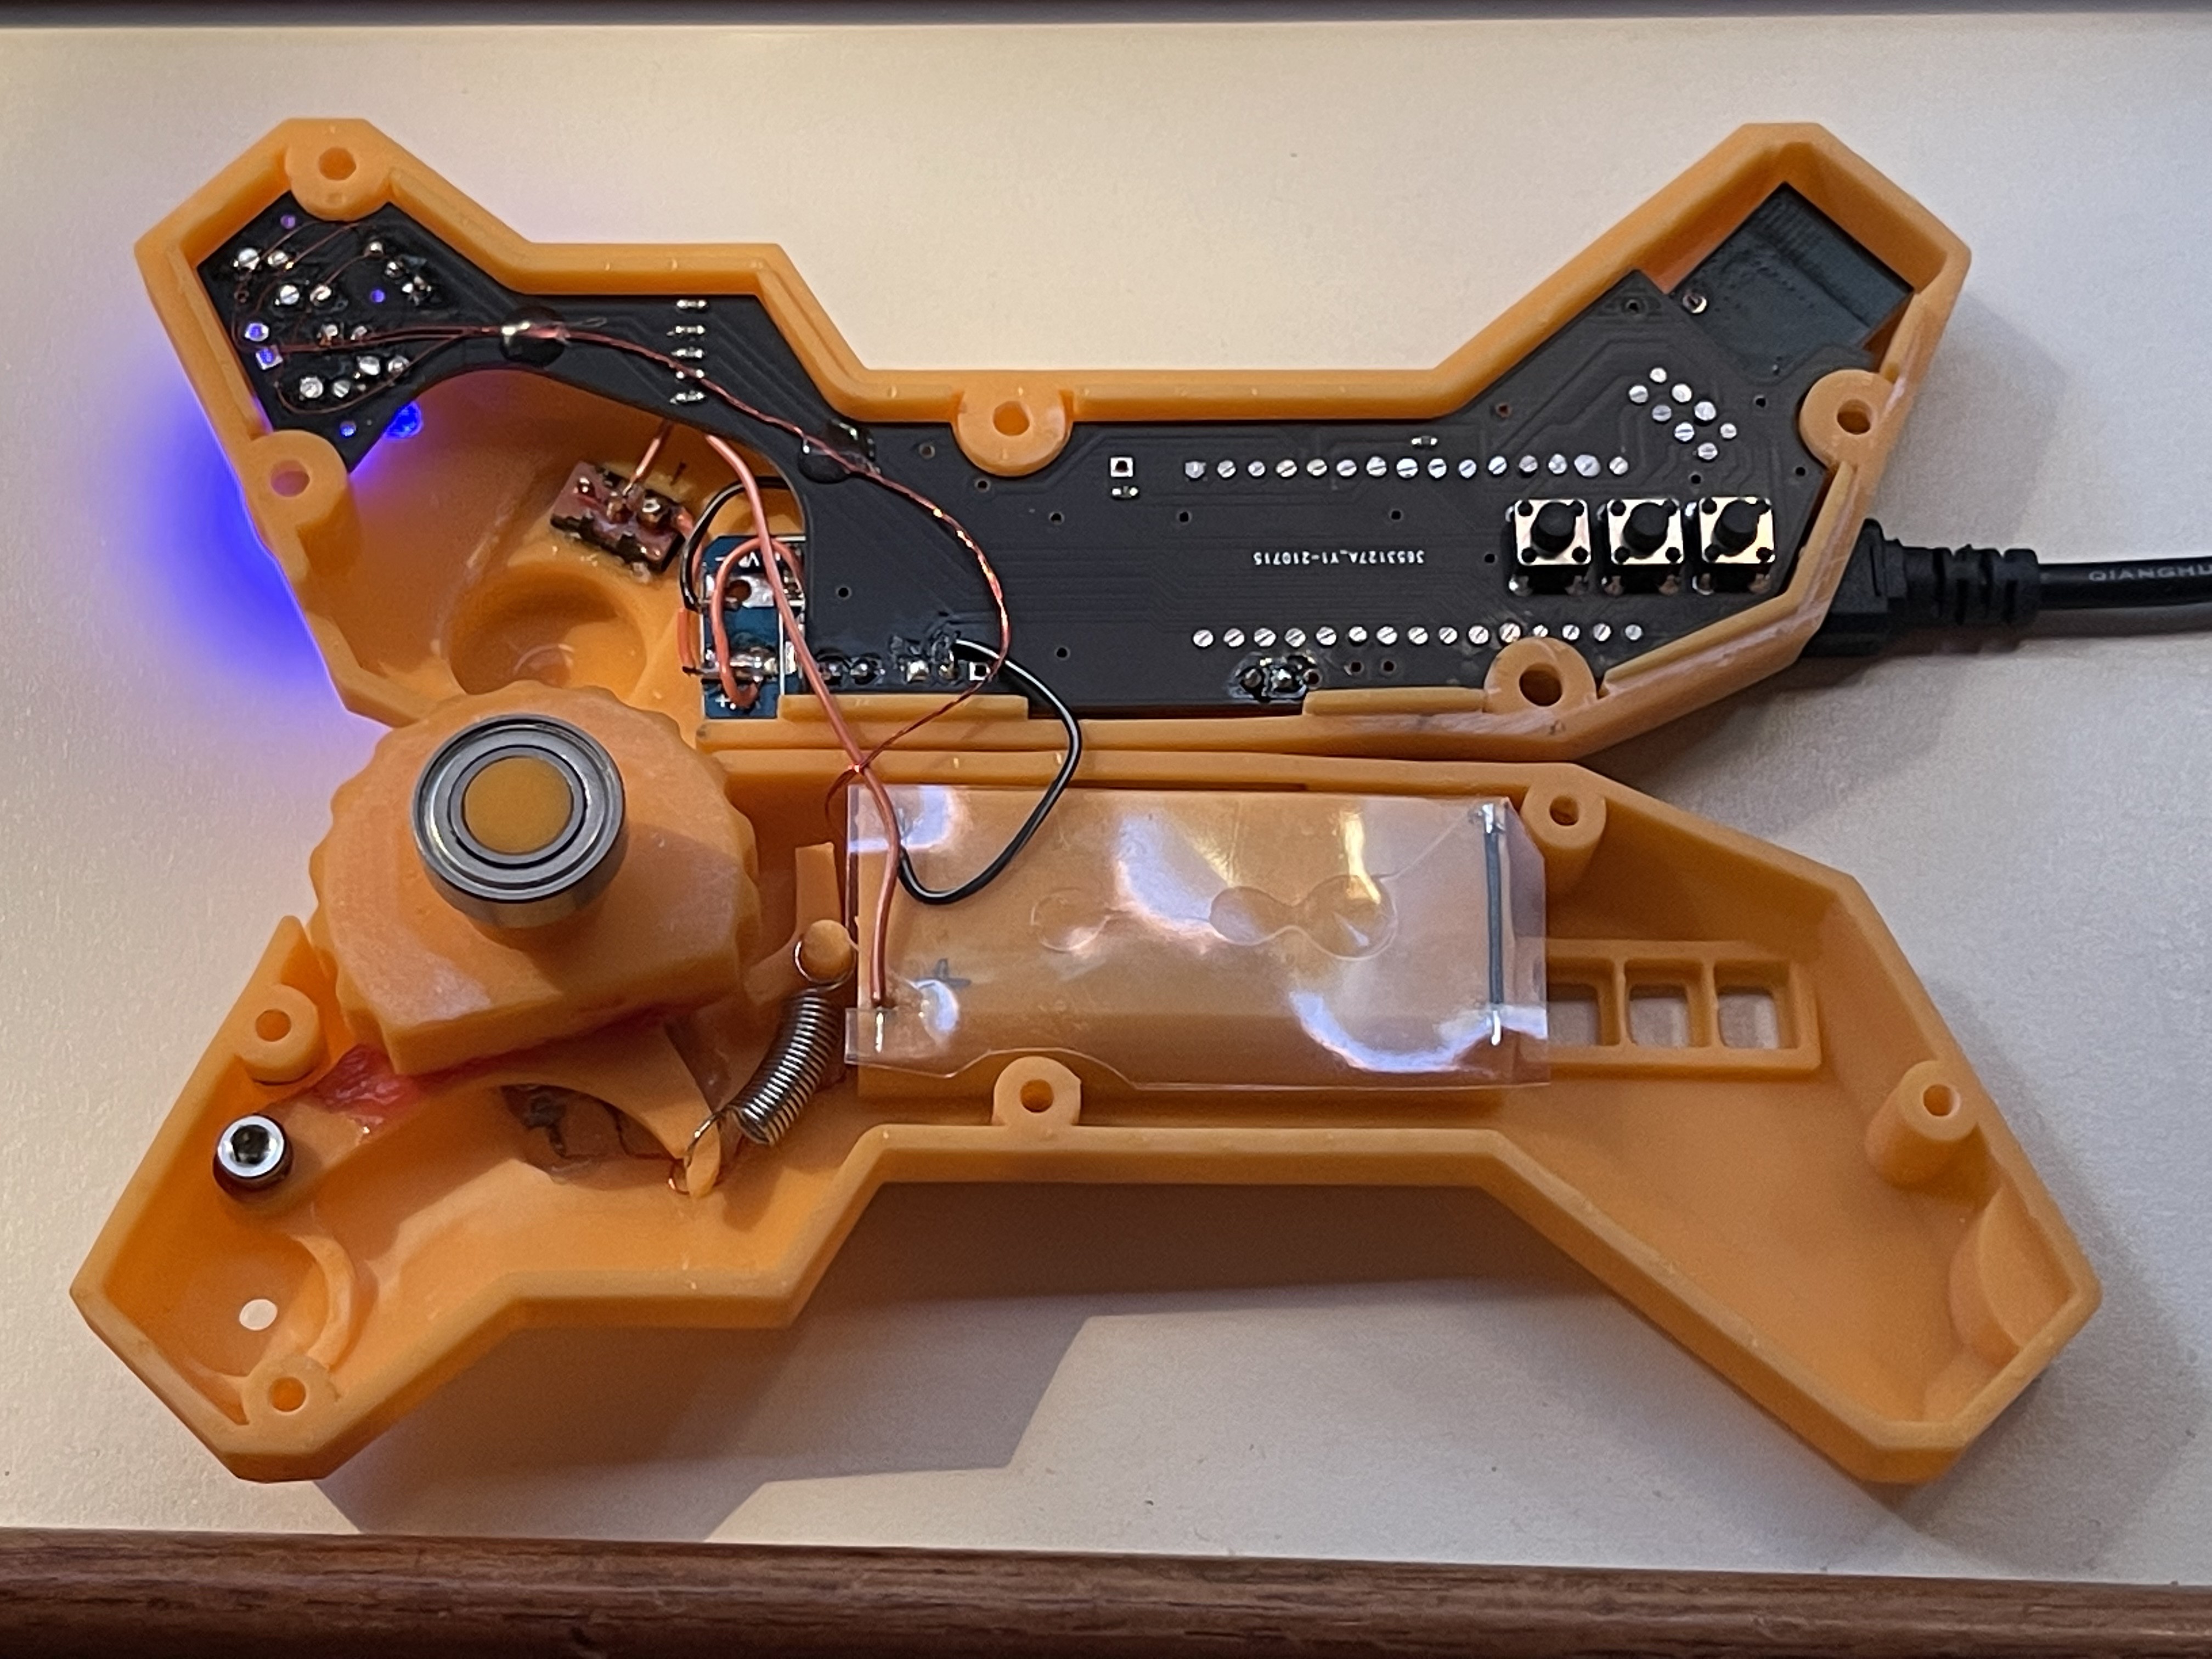
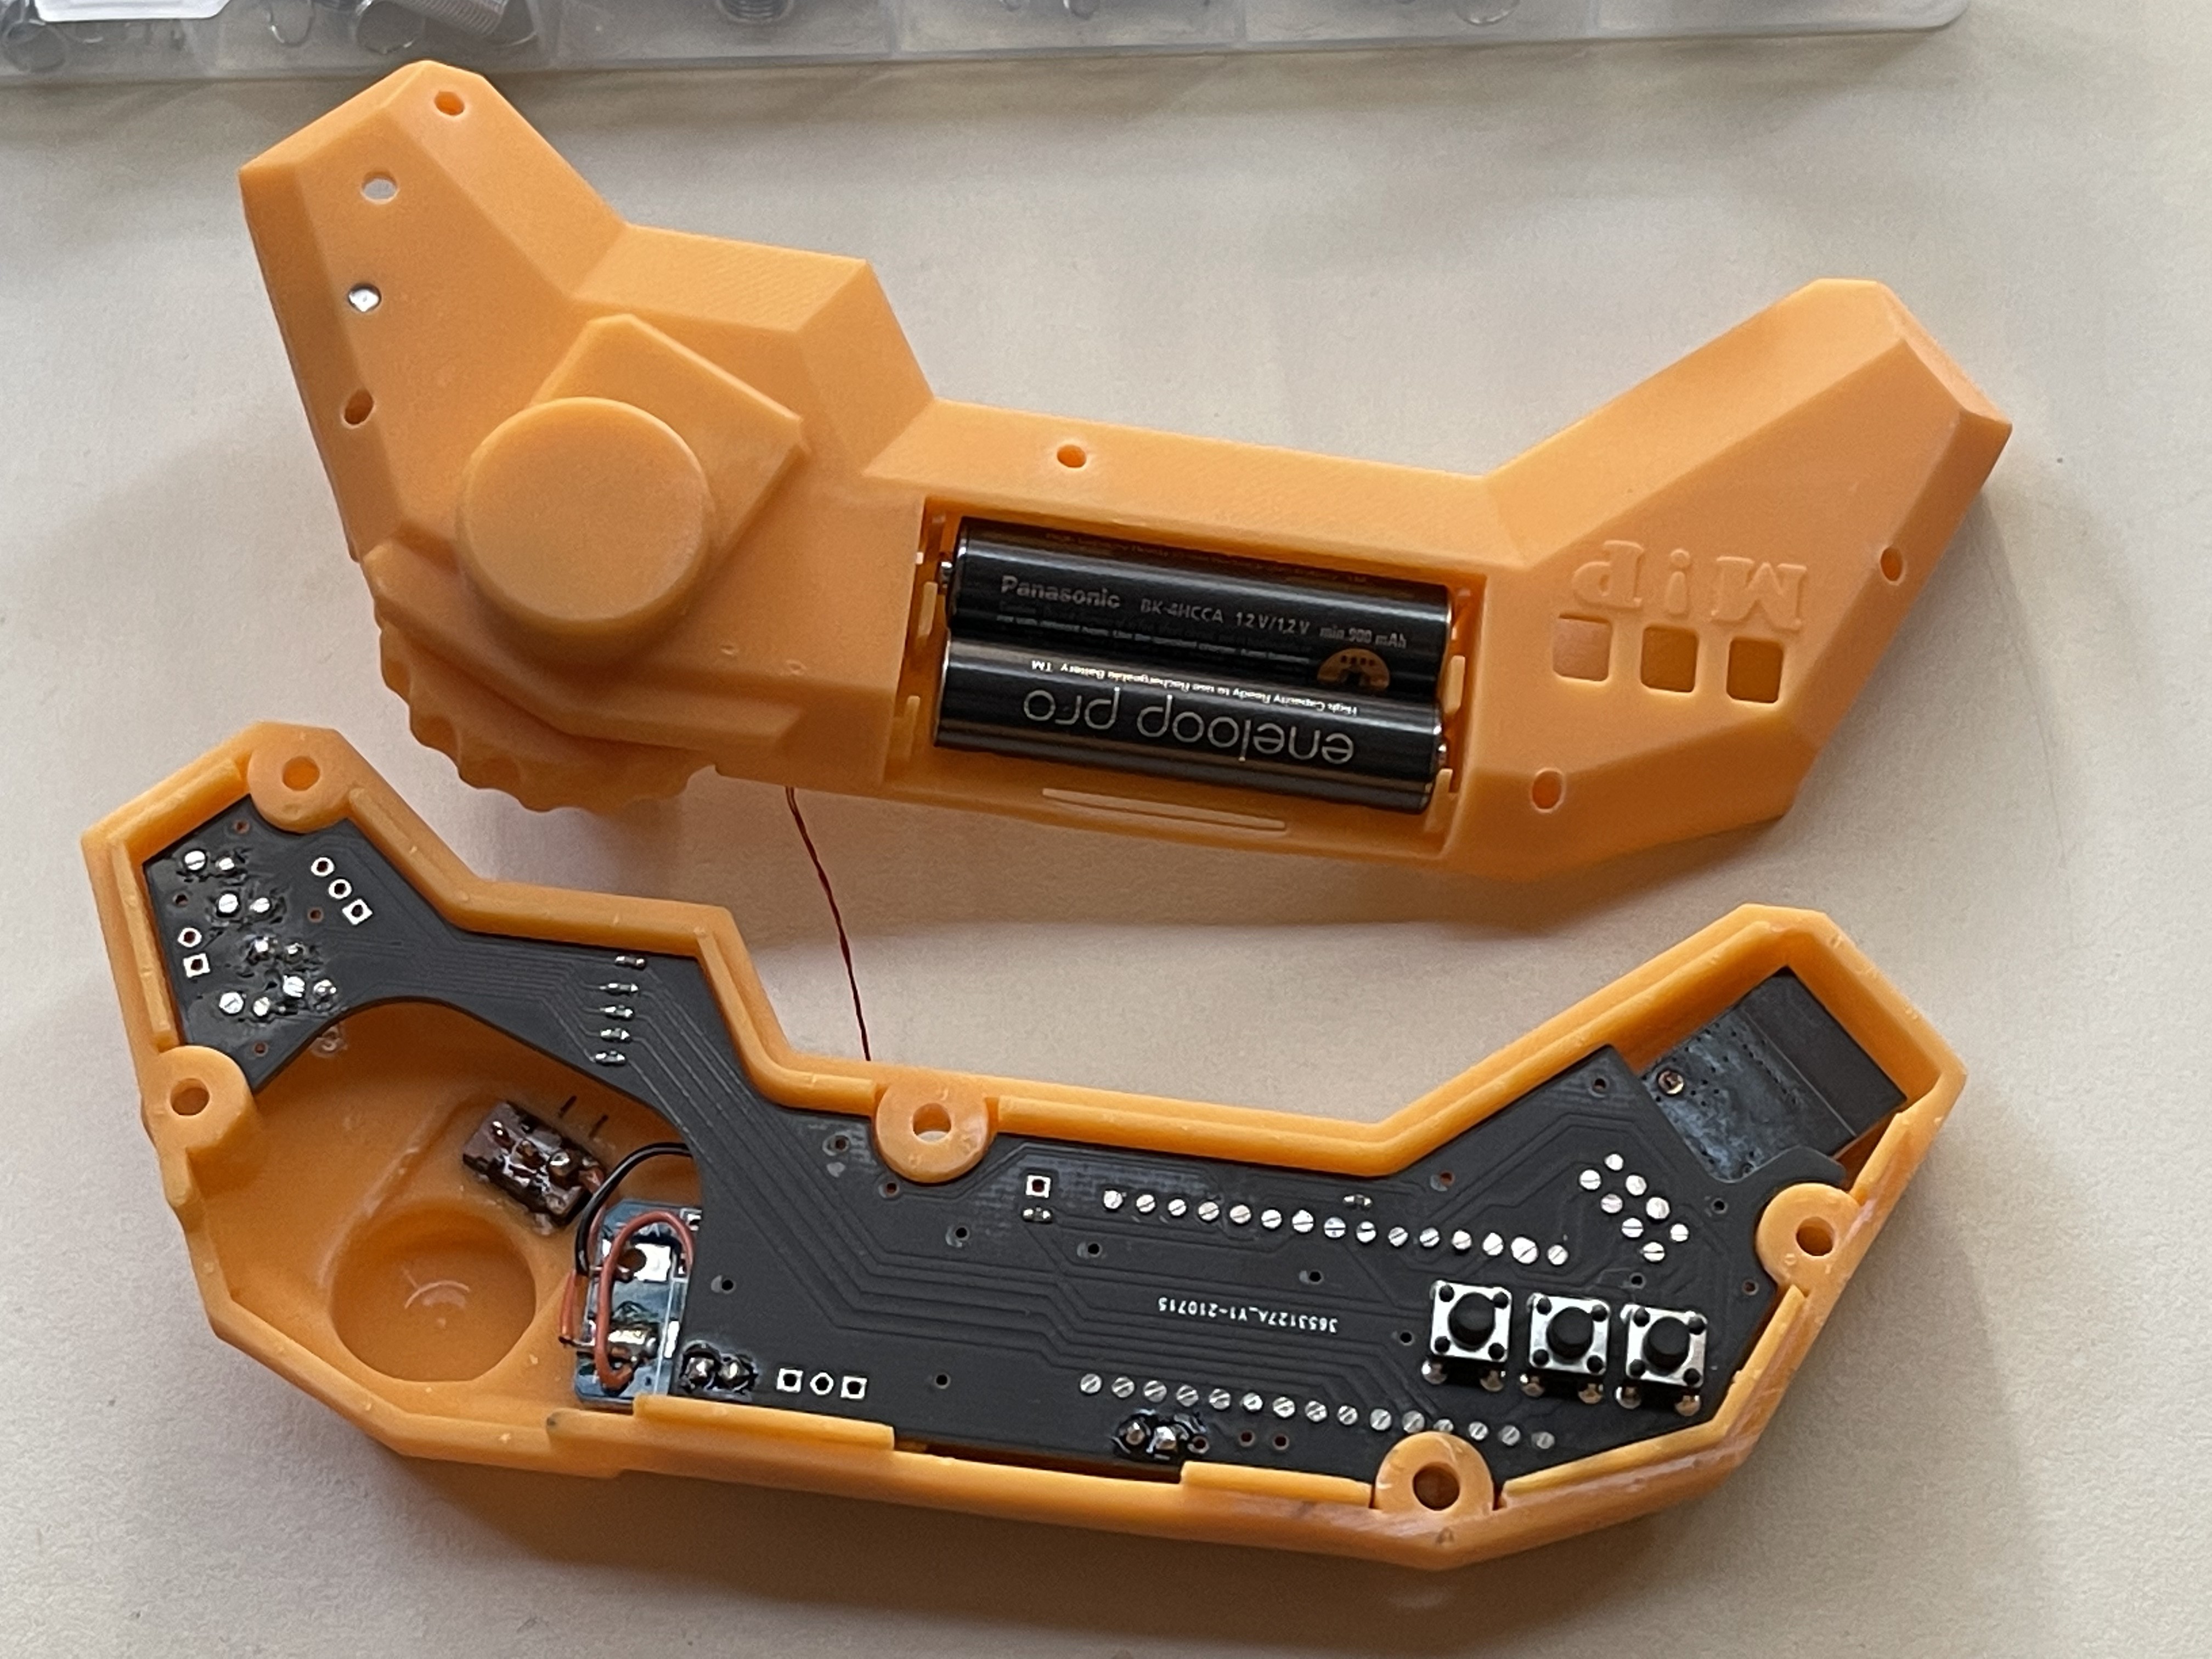
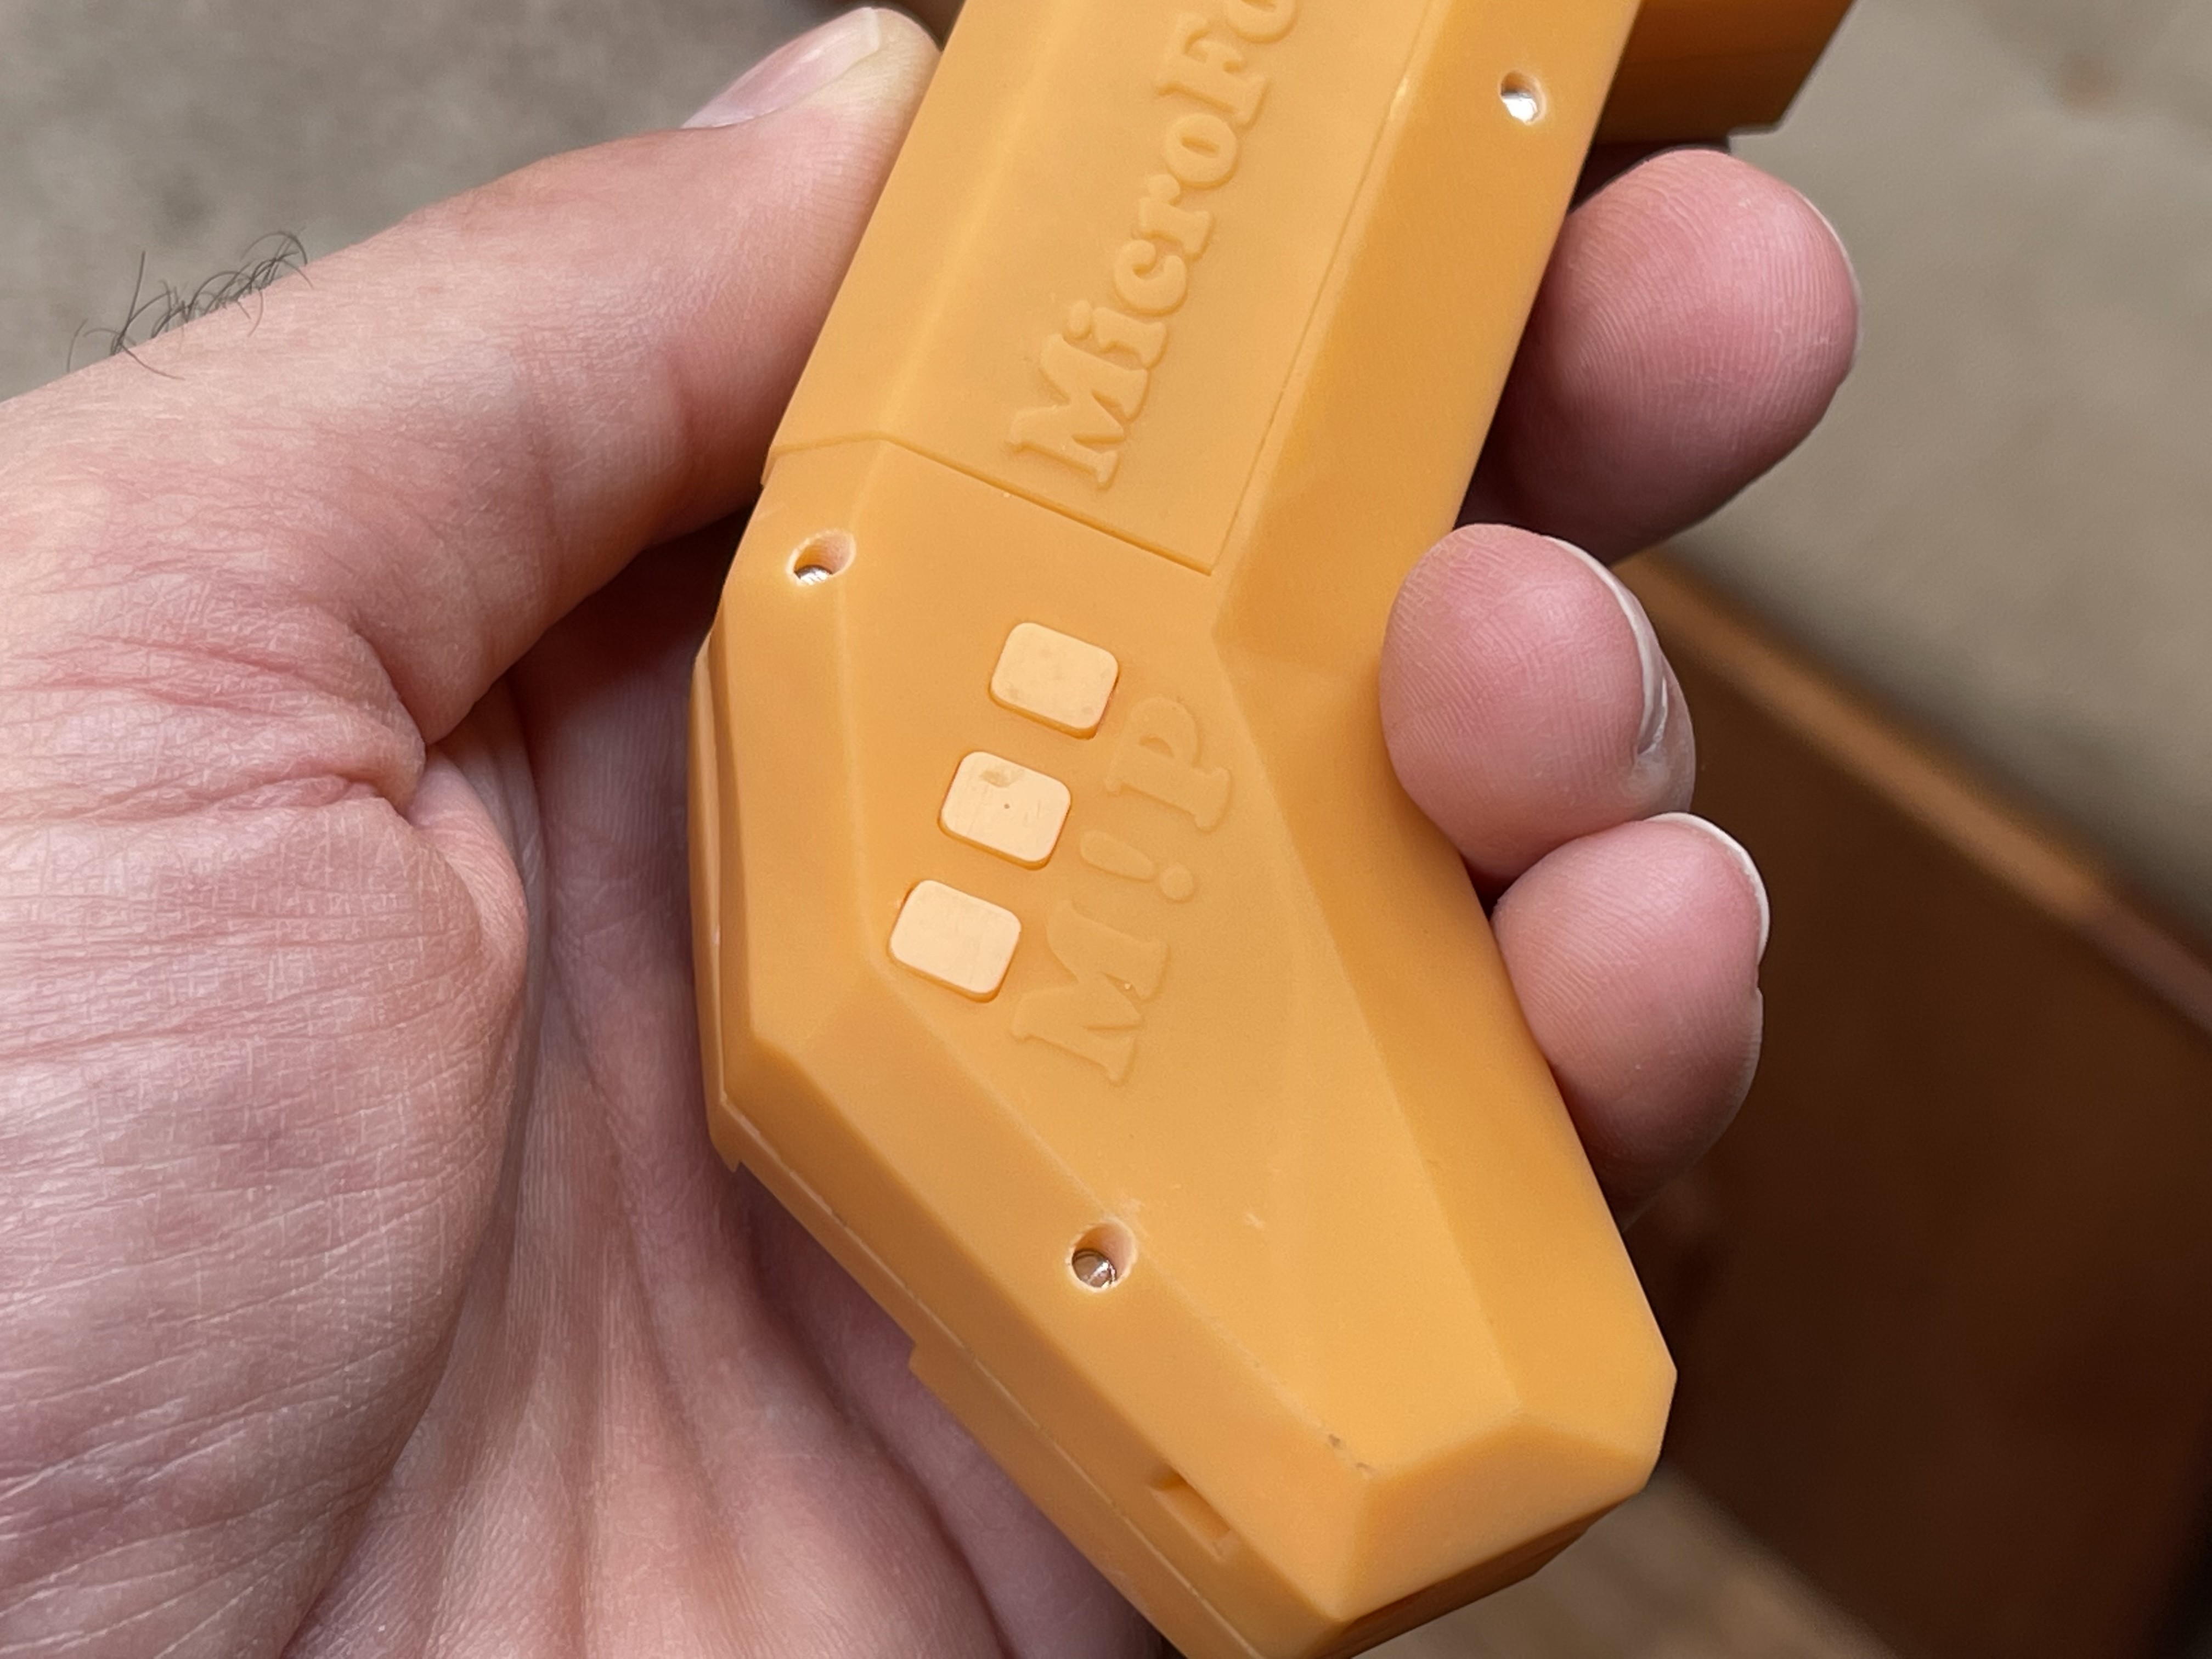
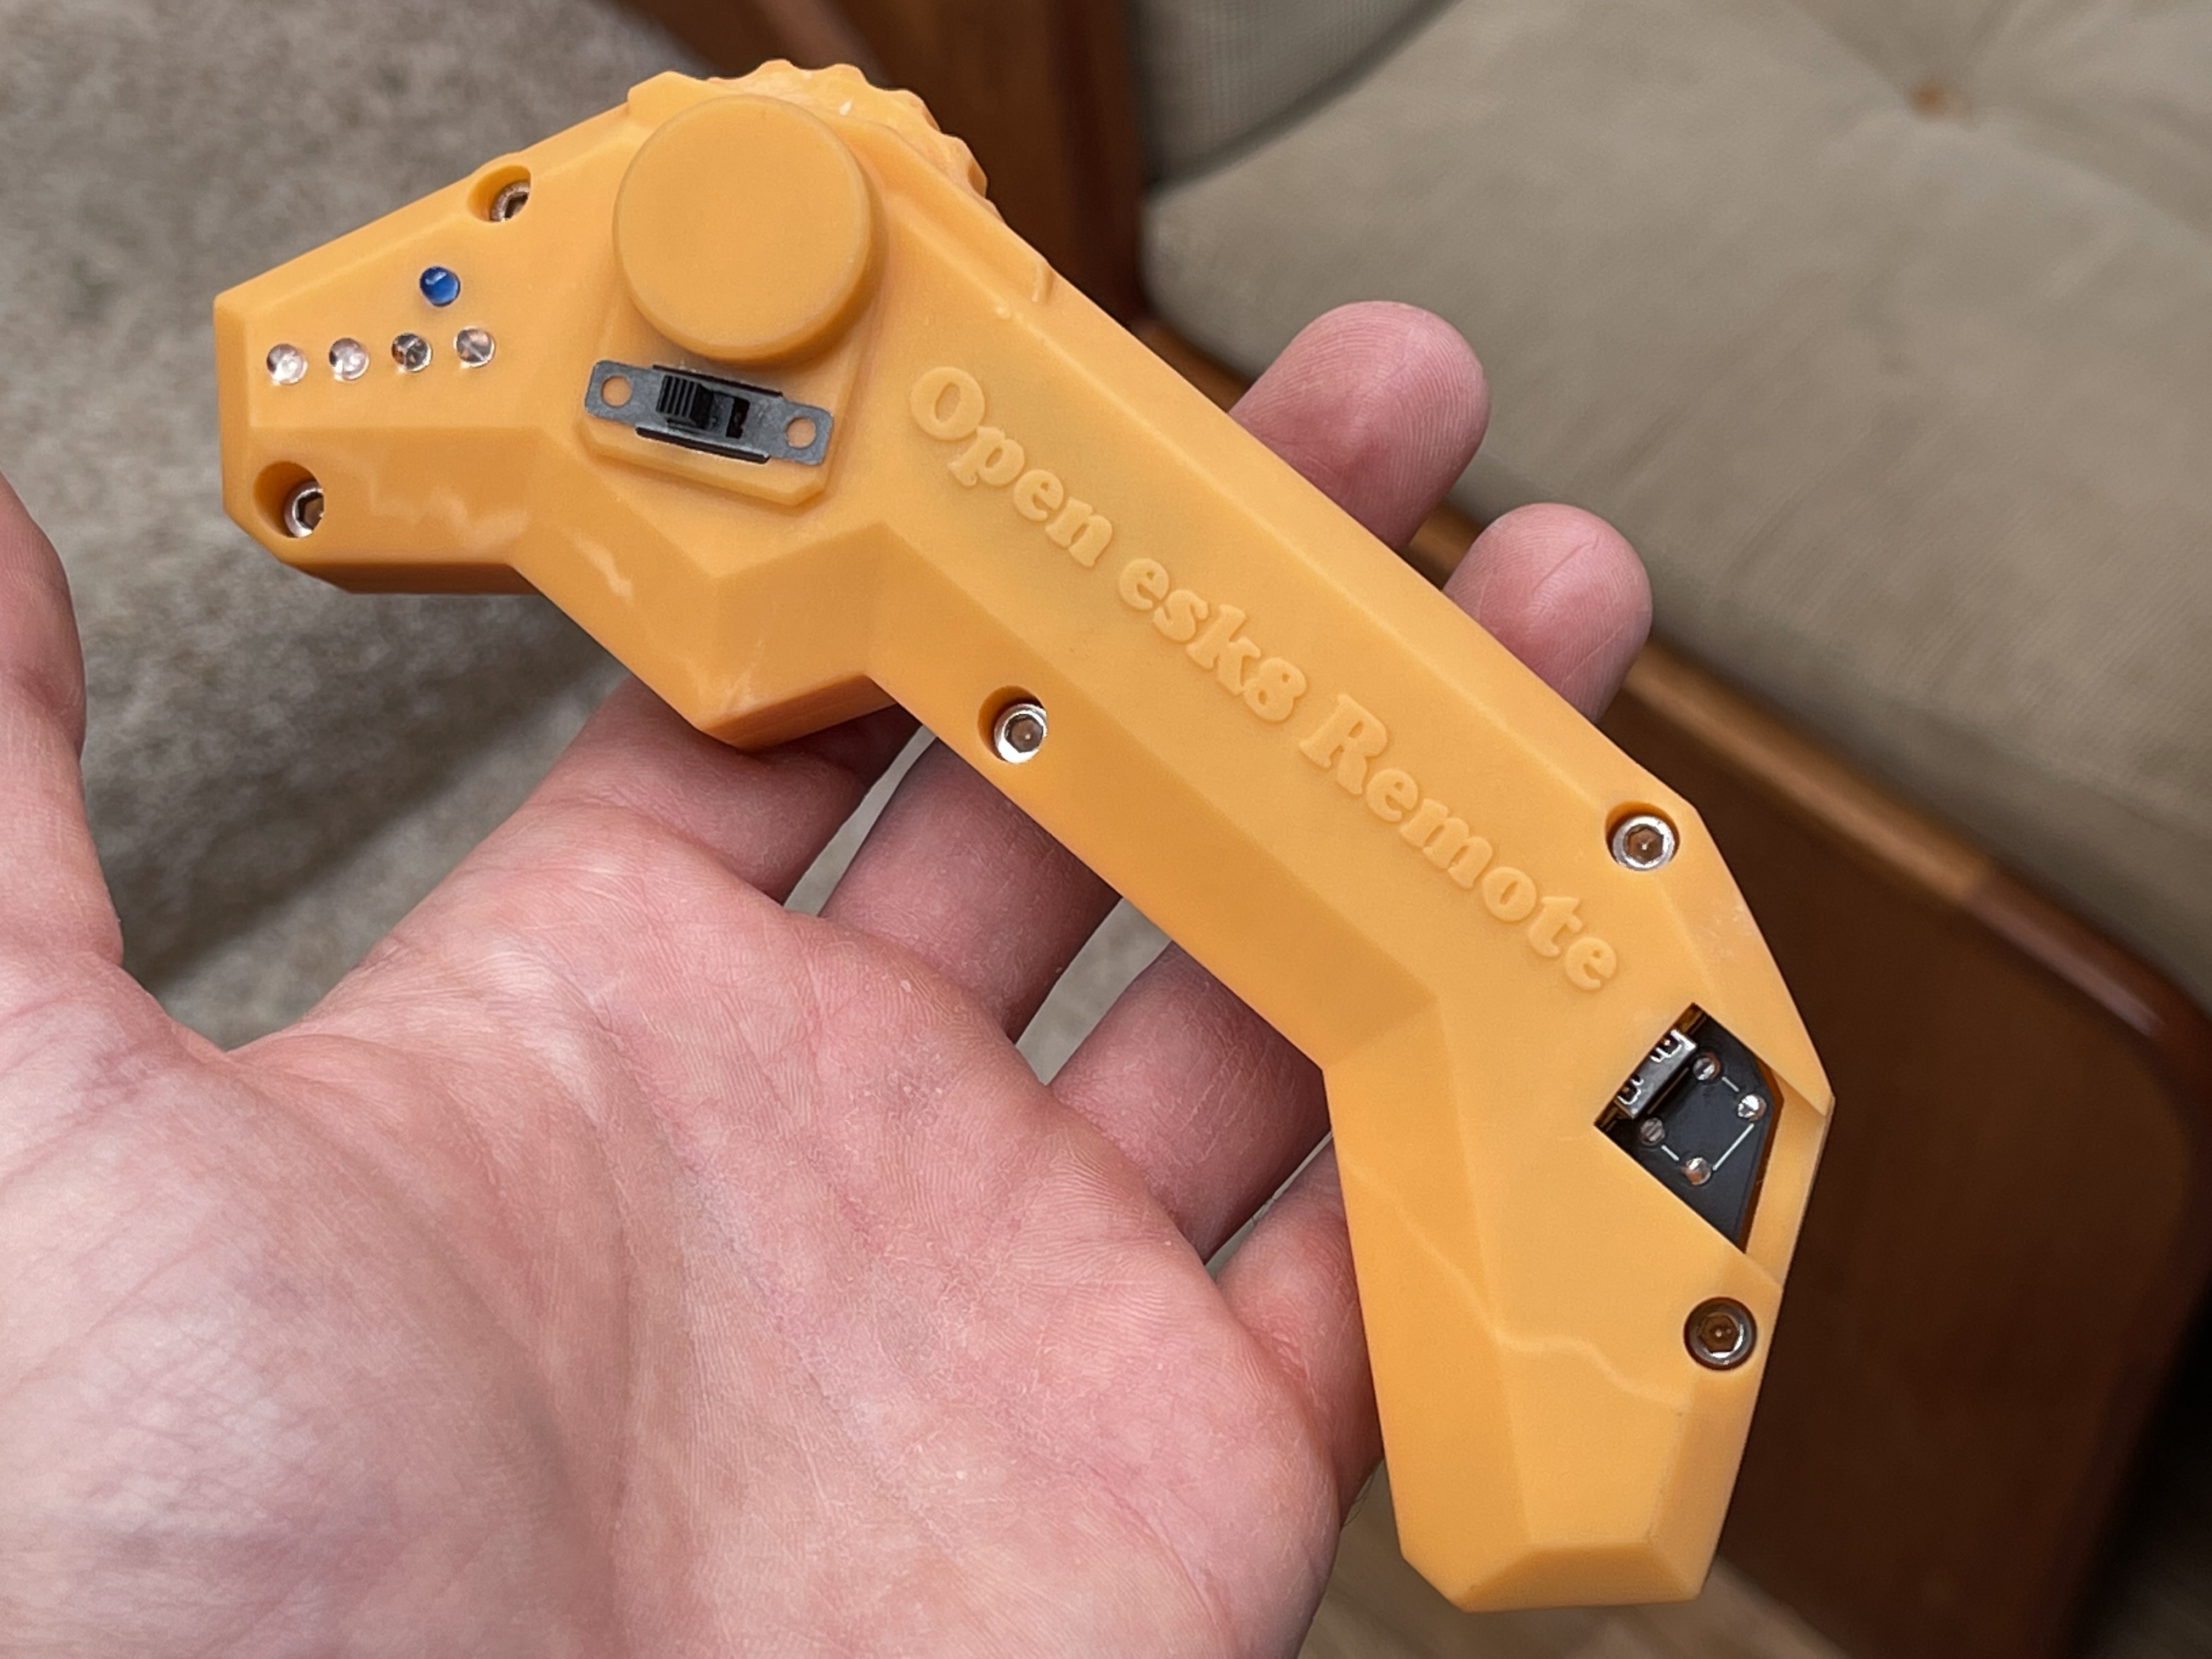
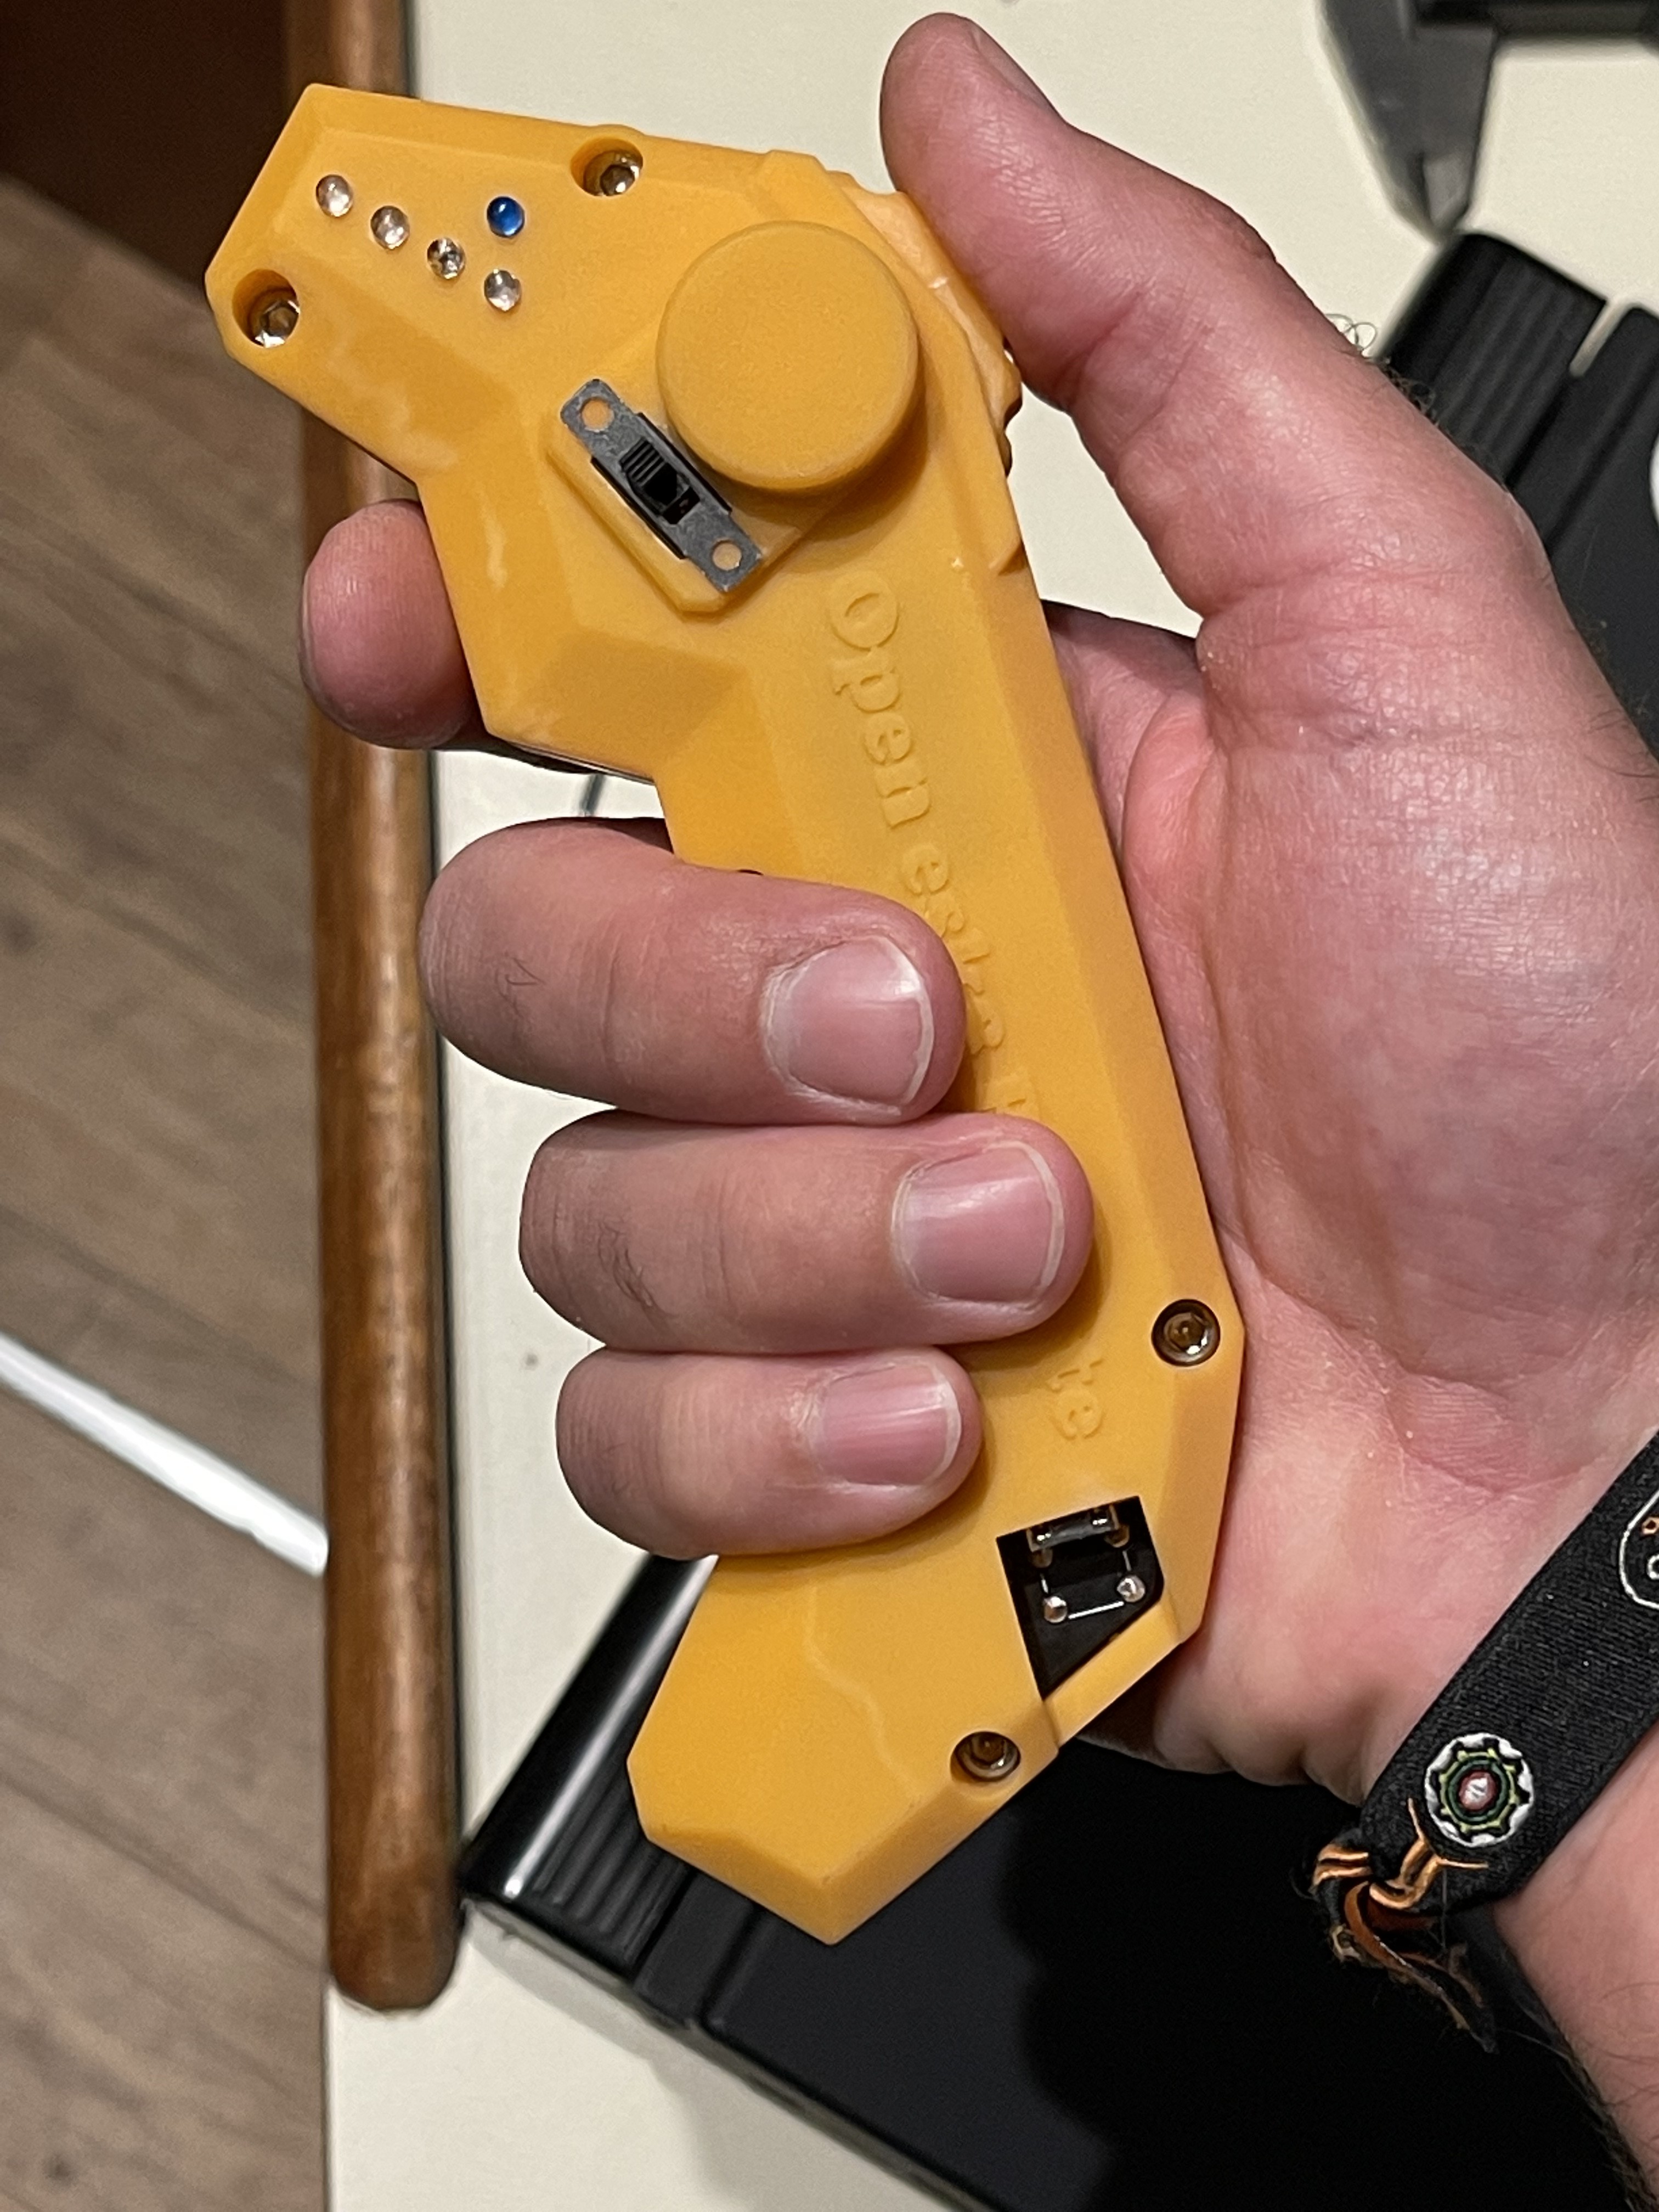
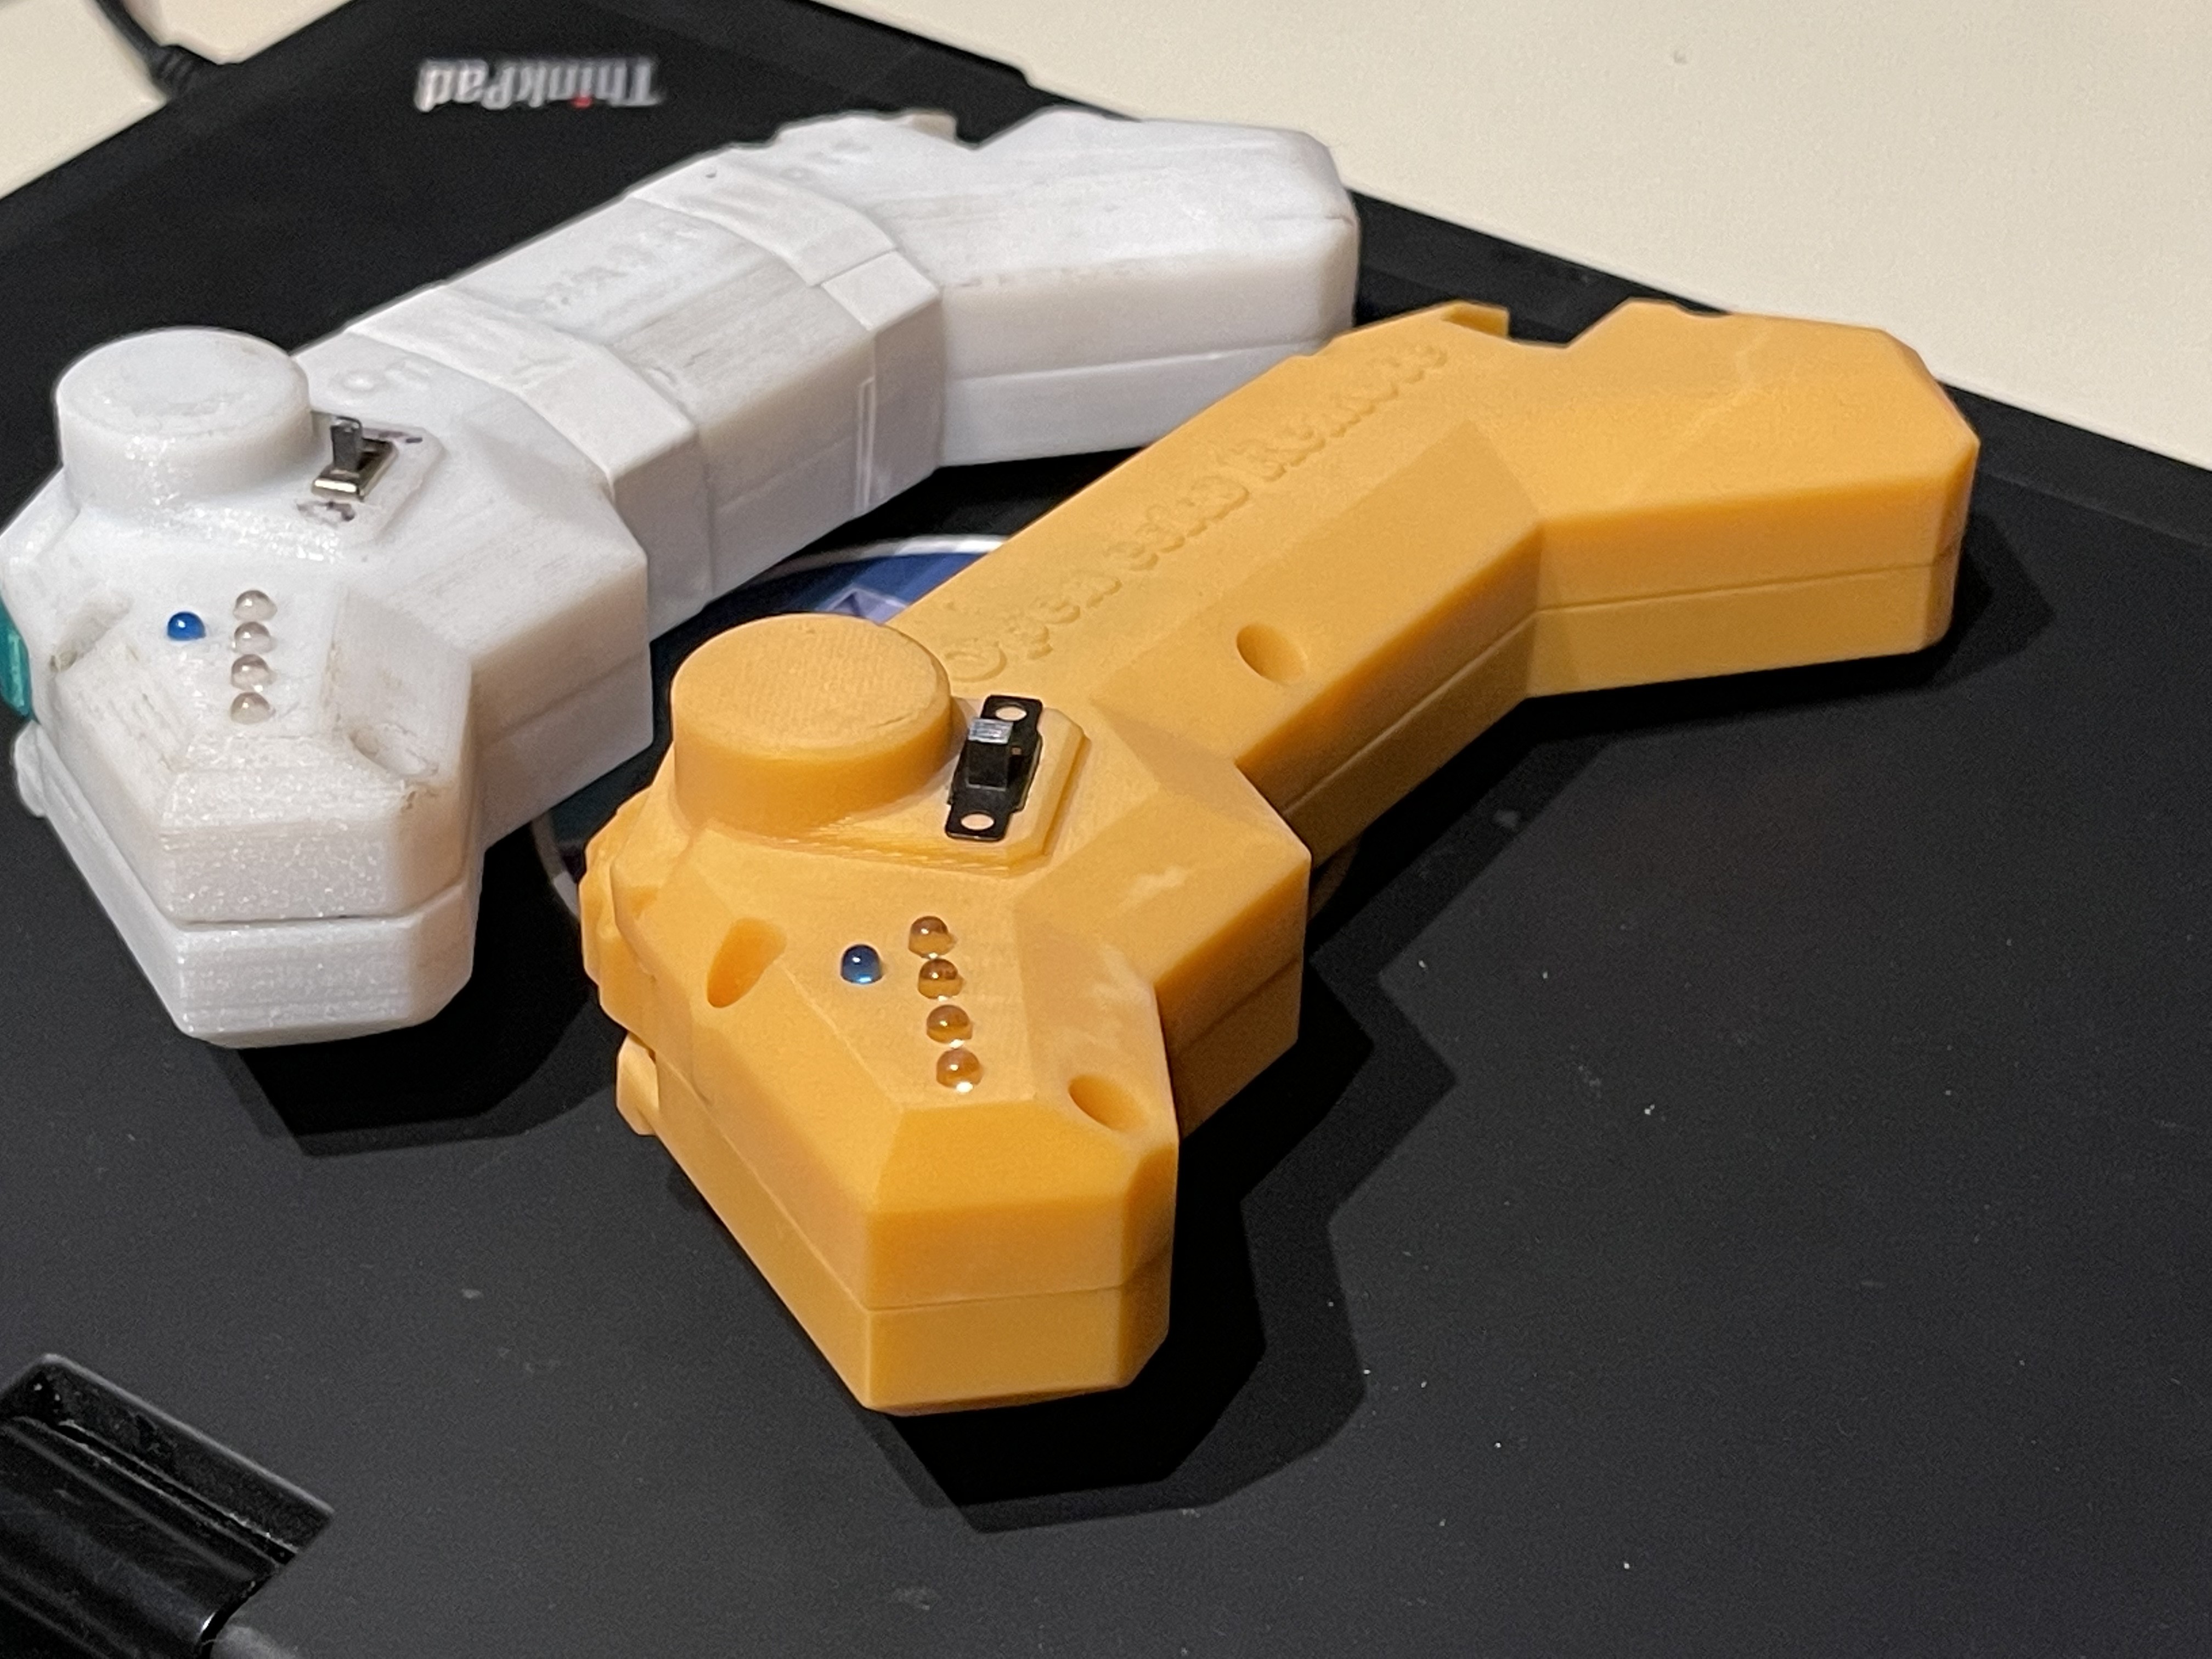
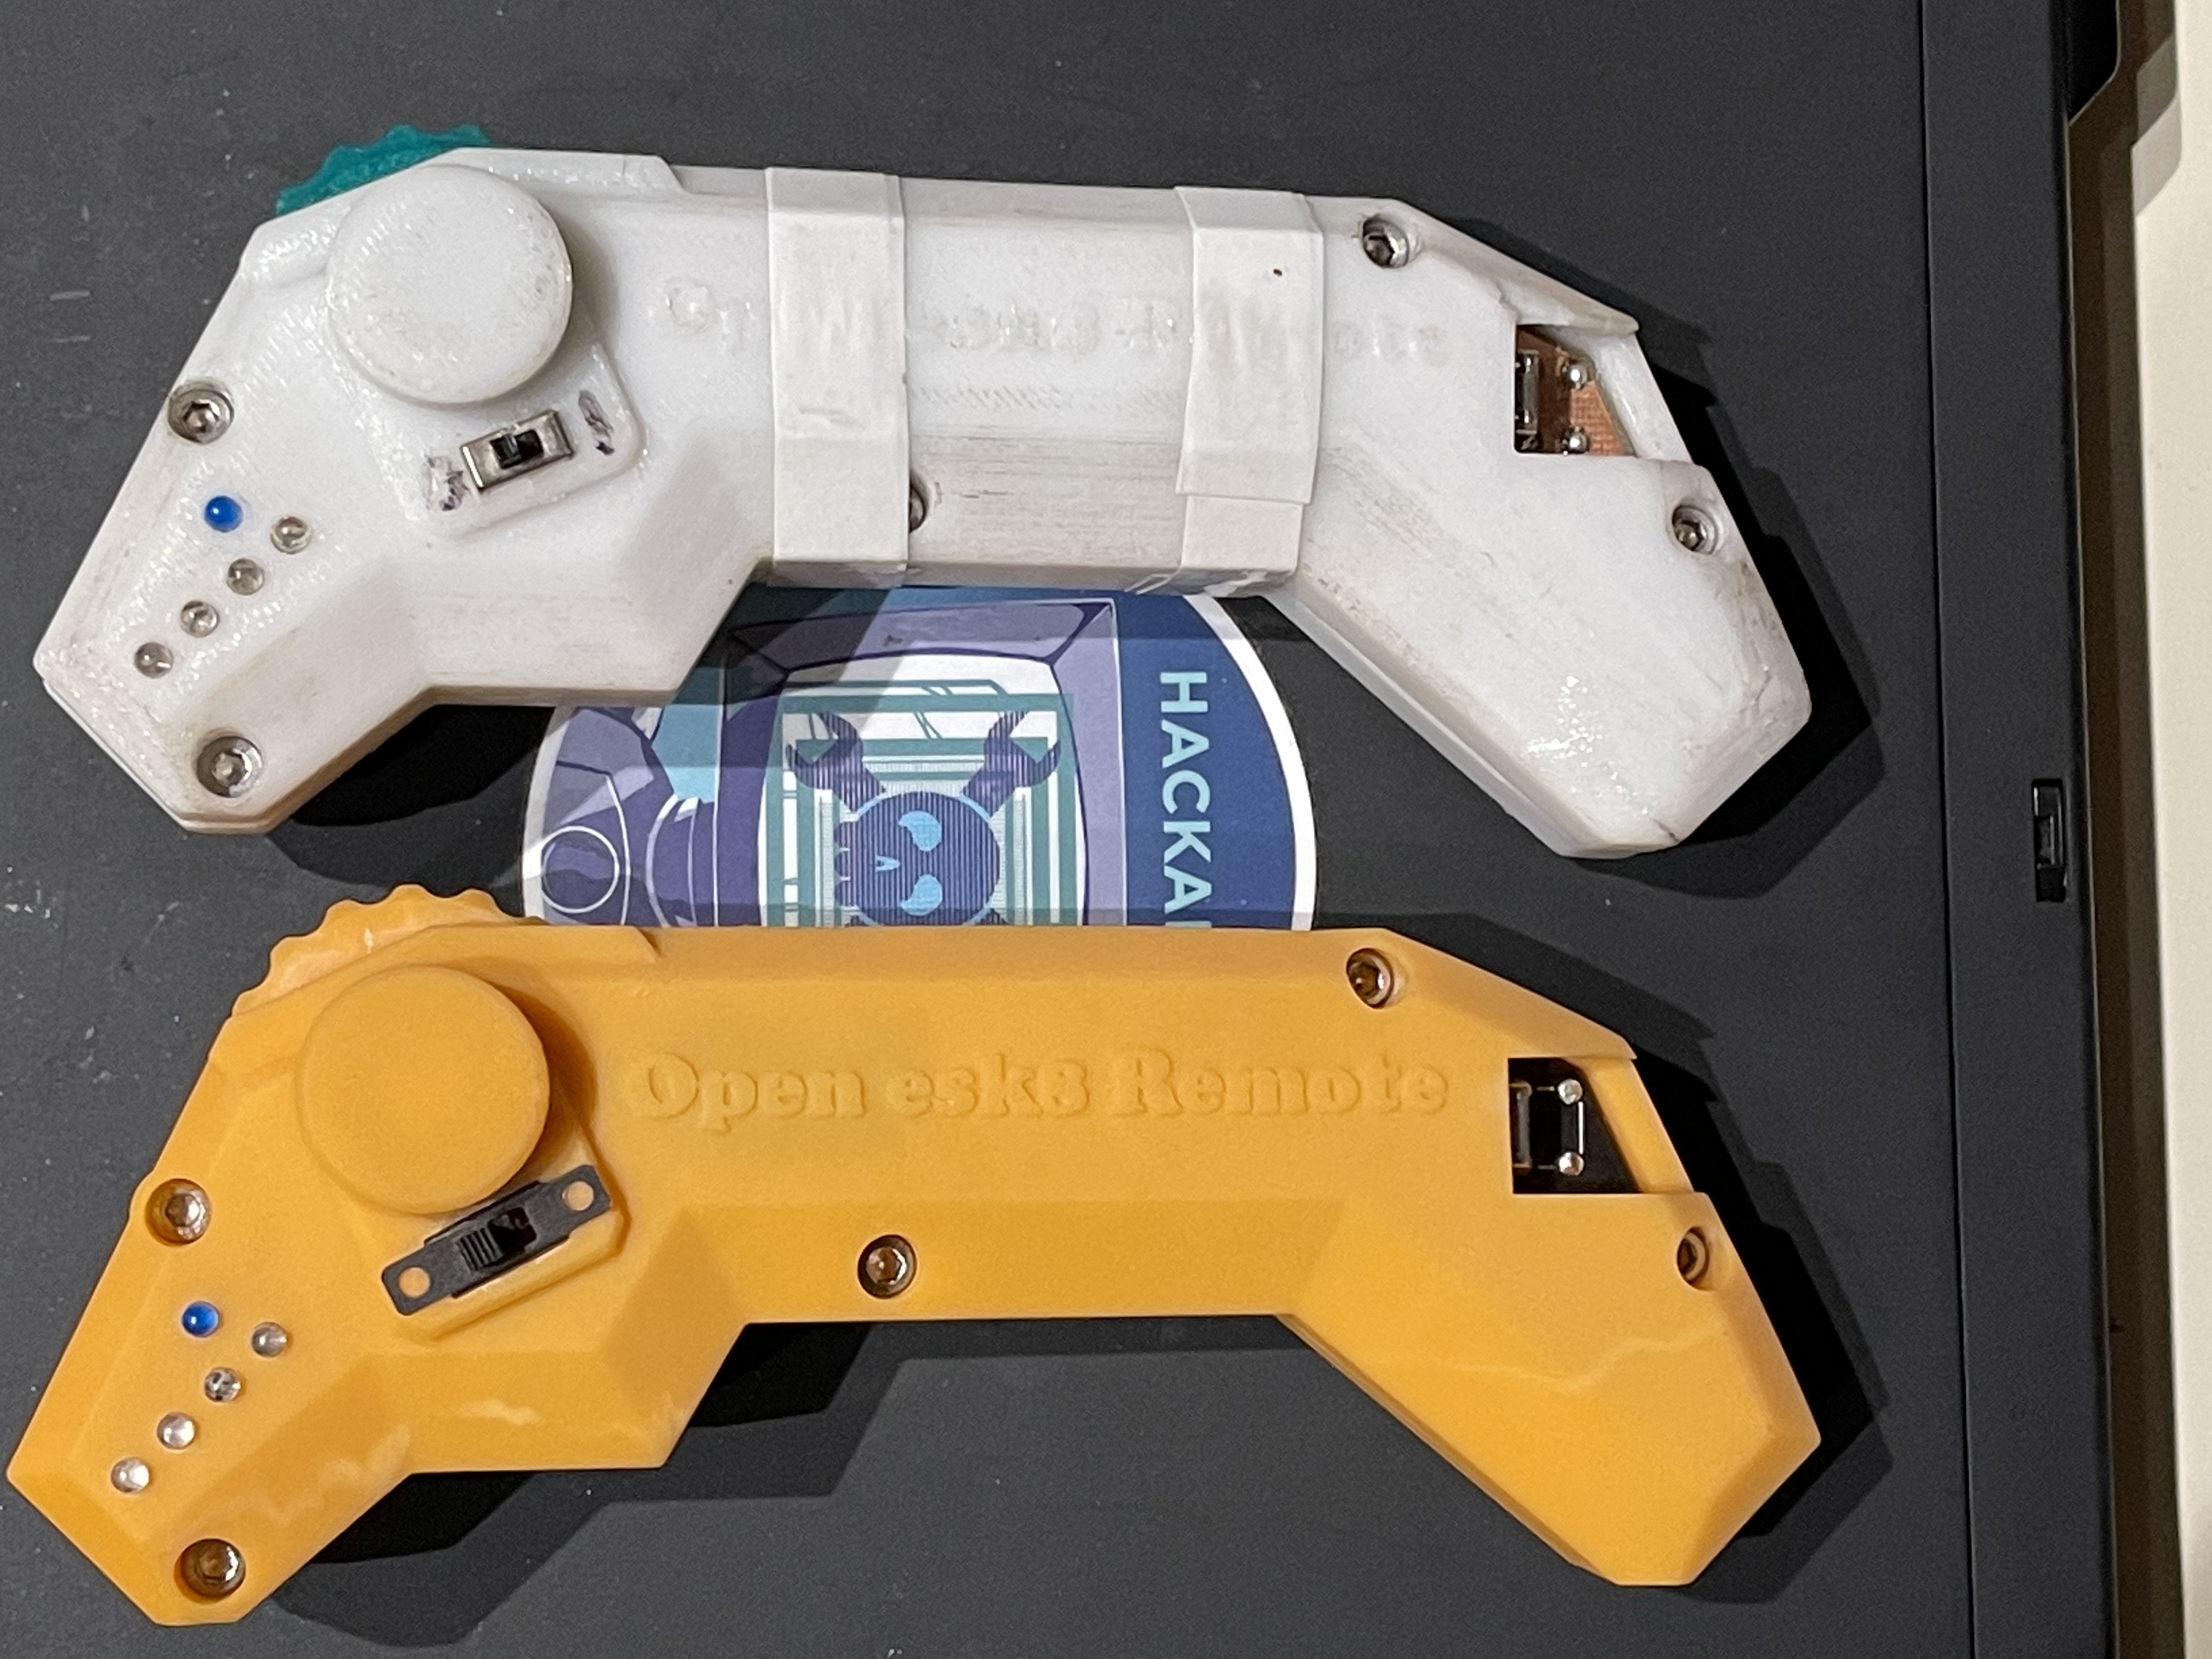
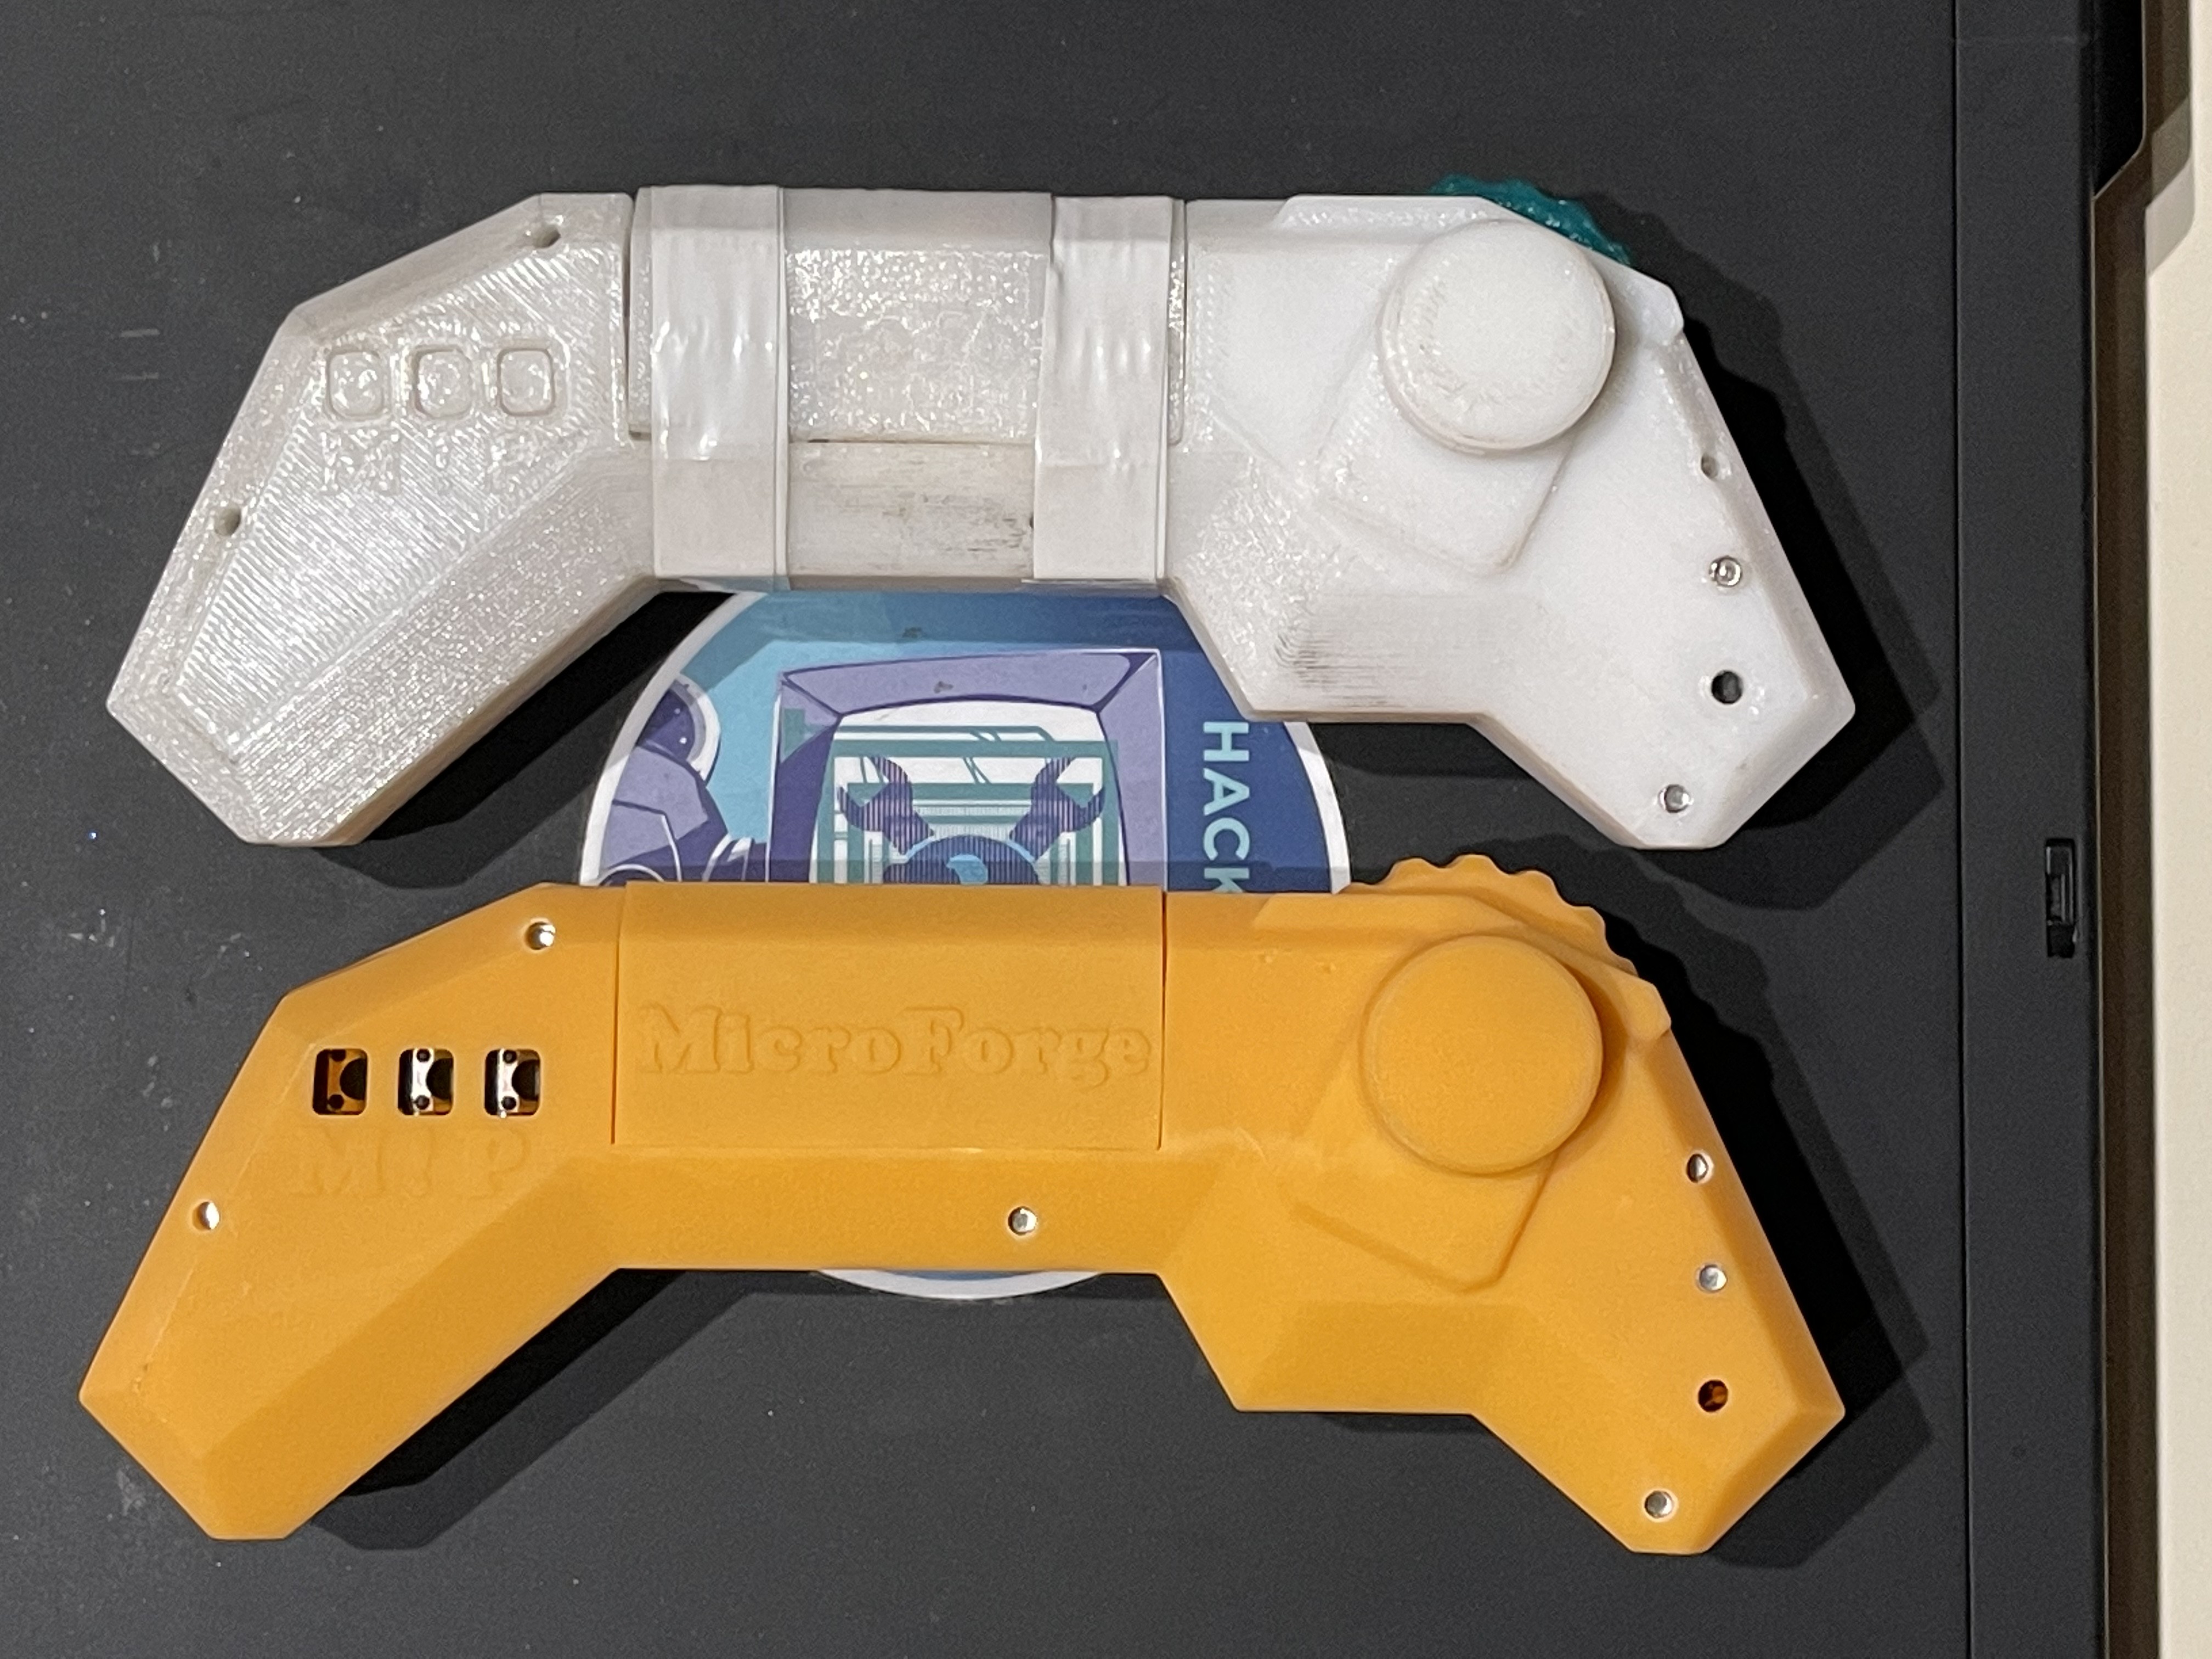
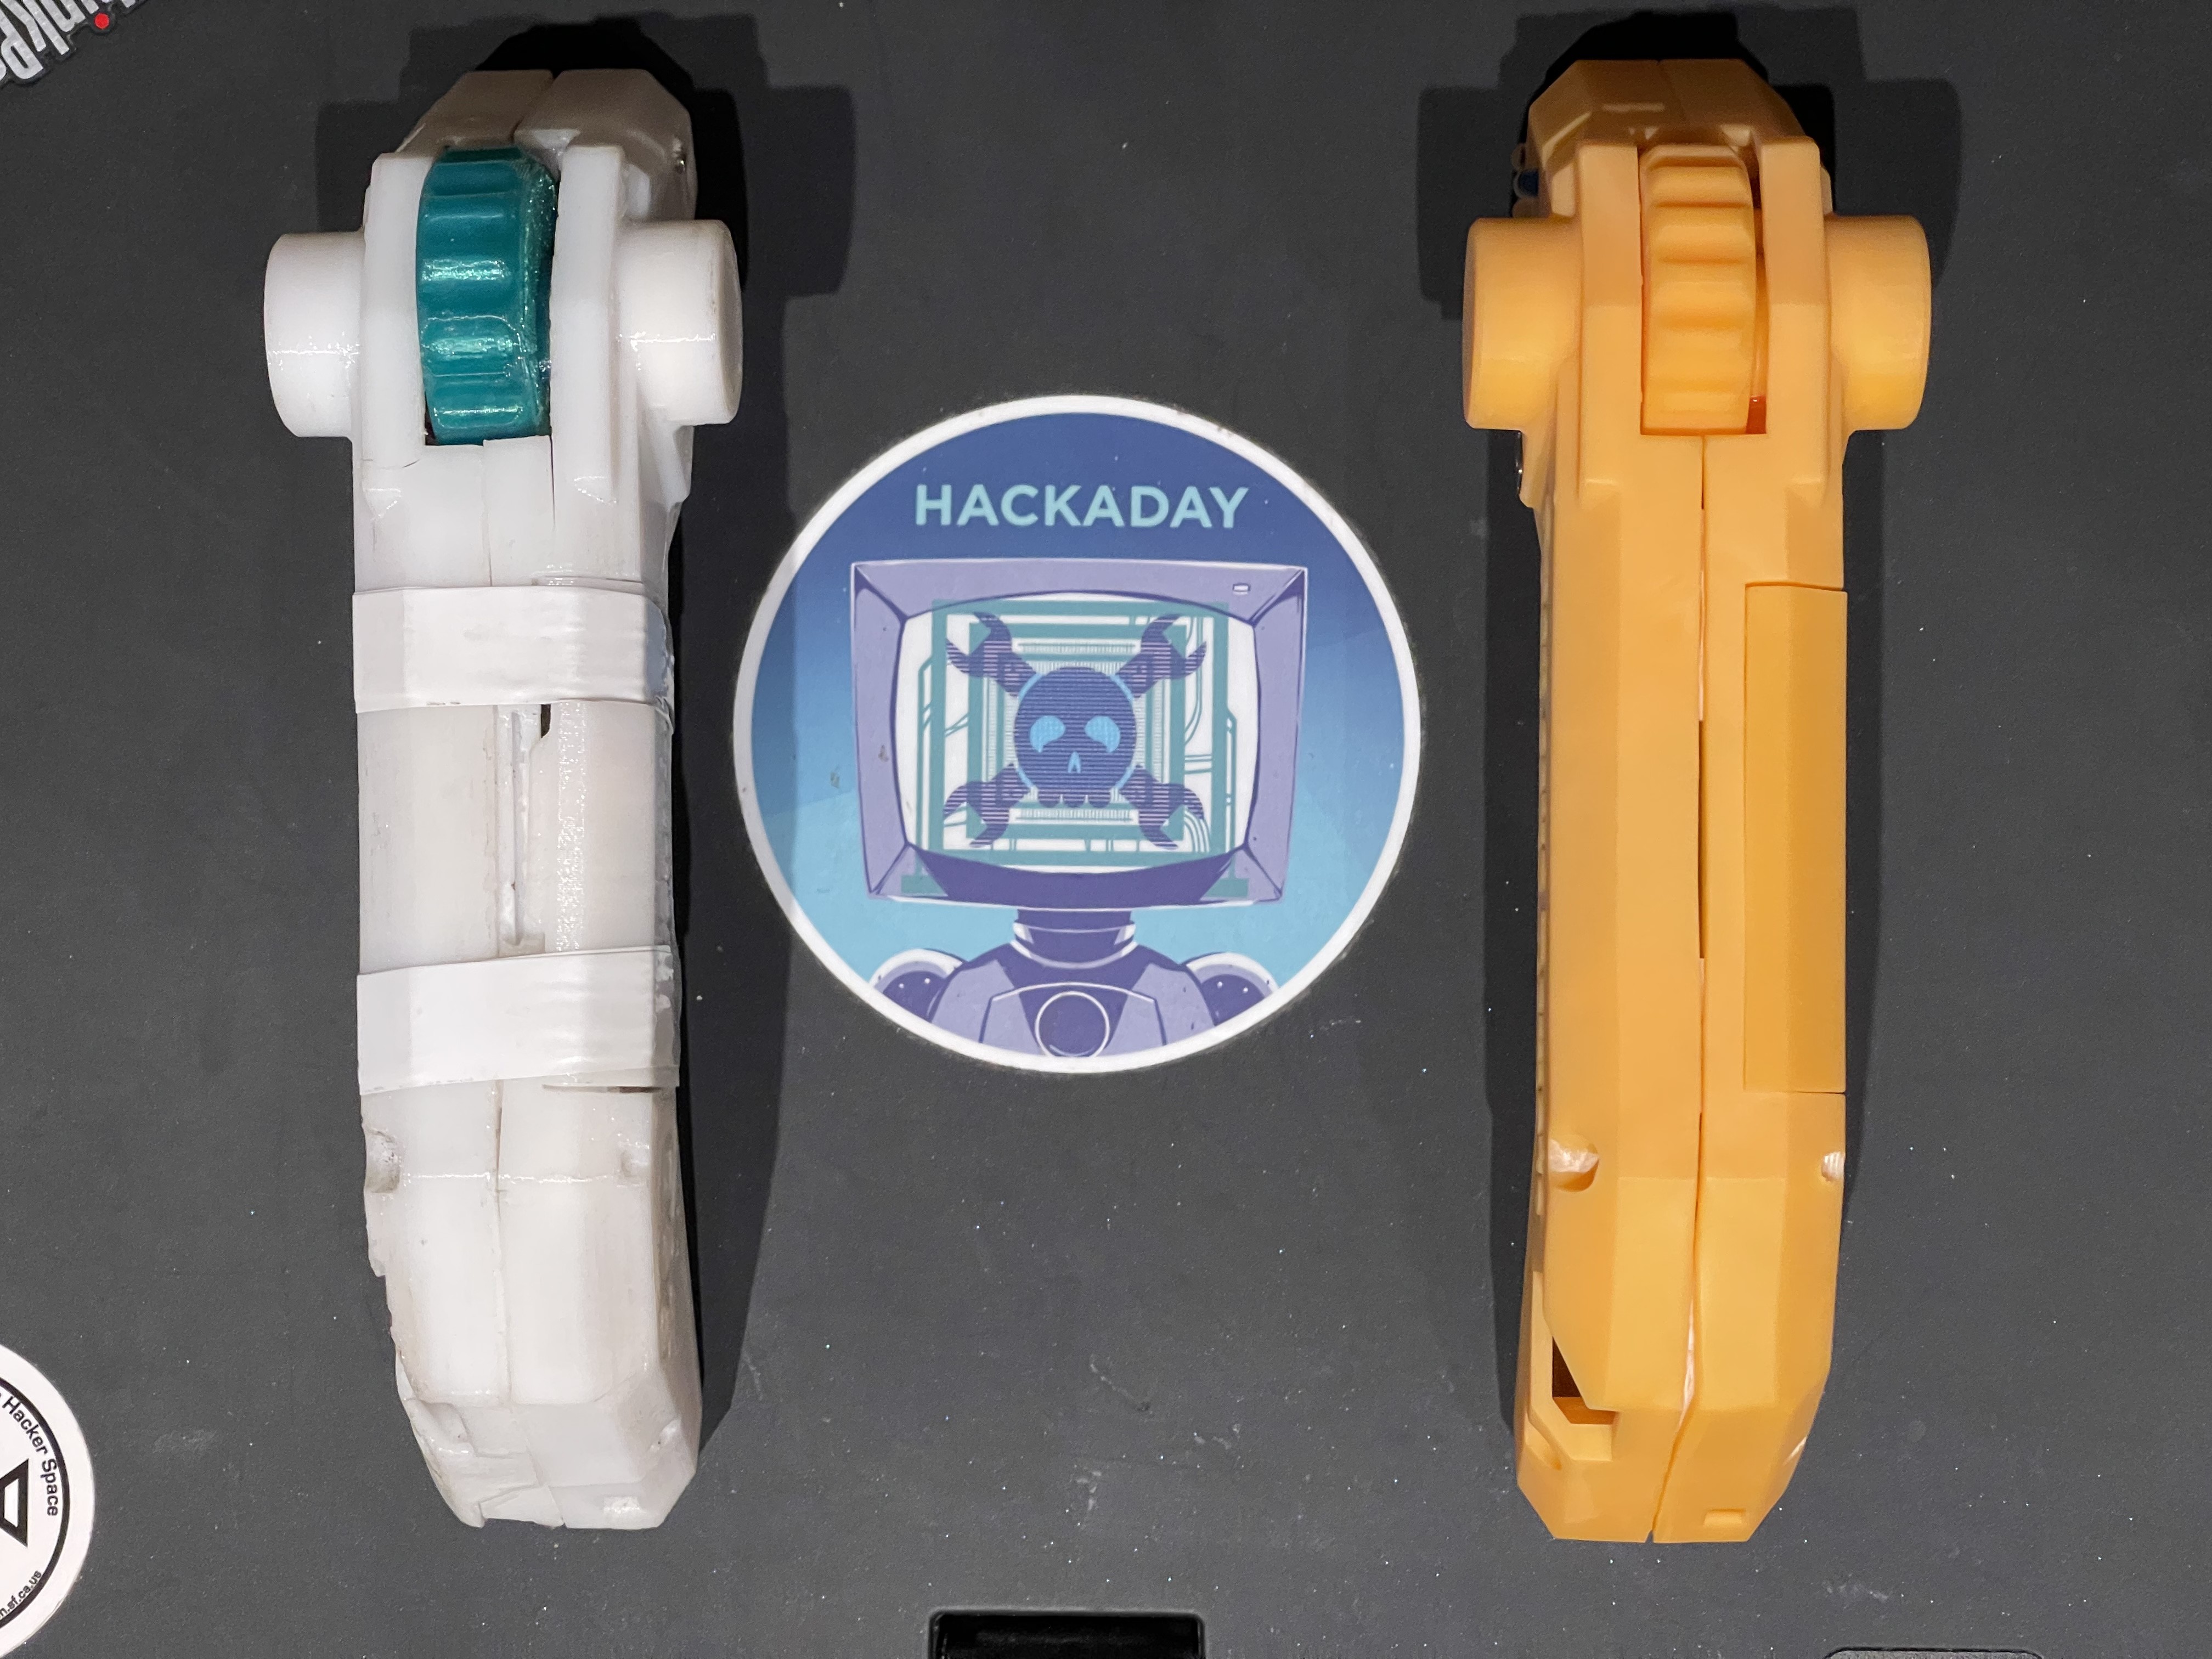 In the end, with all the sanding and soldering, and destruction of an already glued in throttle potentiometer, it took quite an entire weekend to properly put this together. It certainly doesn't look like that in the pictures but it's the little things that take the most time. Even just getting the throttle to roll smoothly was an event.
However, this is my most finished home production, yet. I'm extremely happy with this and love how the resin printed parts feel in my hand. It's just so smooth and perfect. After a few weeks of using this remote, the orange turns more and more into skin color. Kind of odd but doesn't bother me much right now. I'm just happy to have an actual new revision of this remote in my hands and enjoy how well it works.
 Timo Birnschein
Discussions
Become a Hackaday.io Member
Create an account to leave a comment. Already have an account? Log In.