Alex Klimaj
-
Status Update
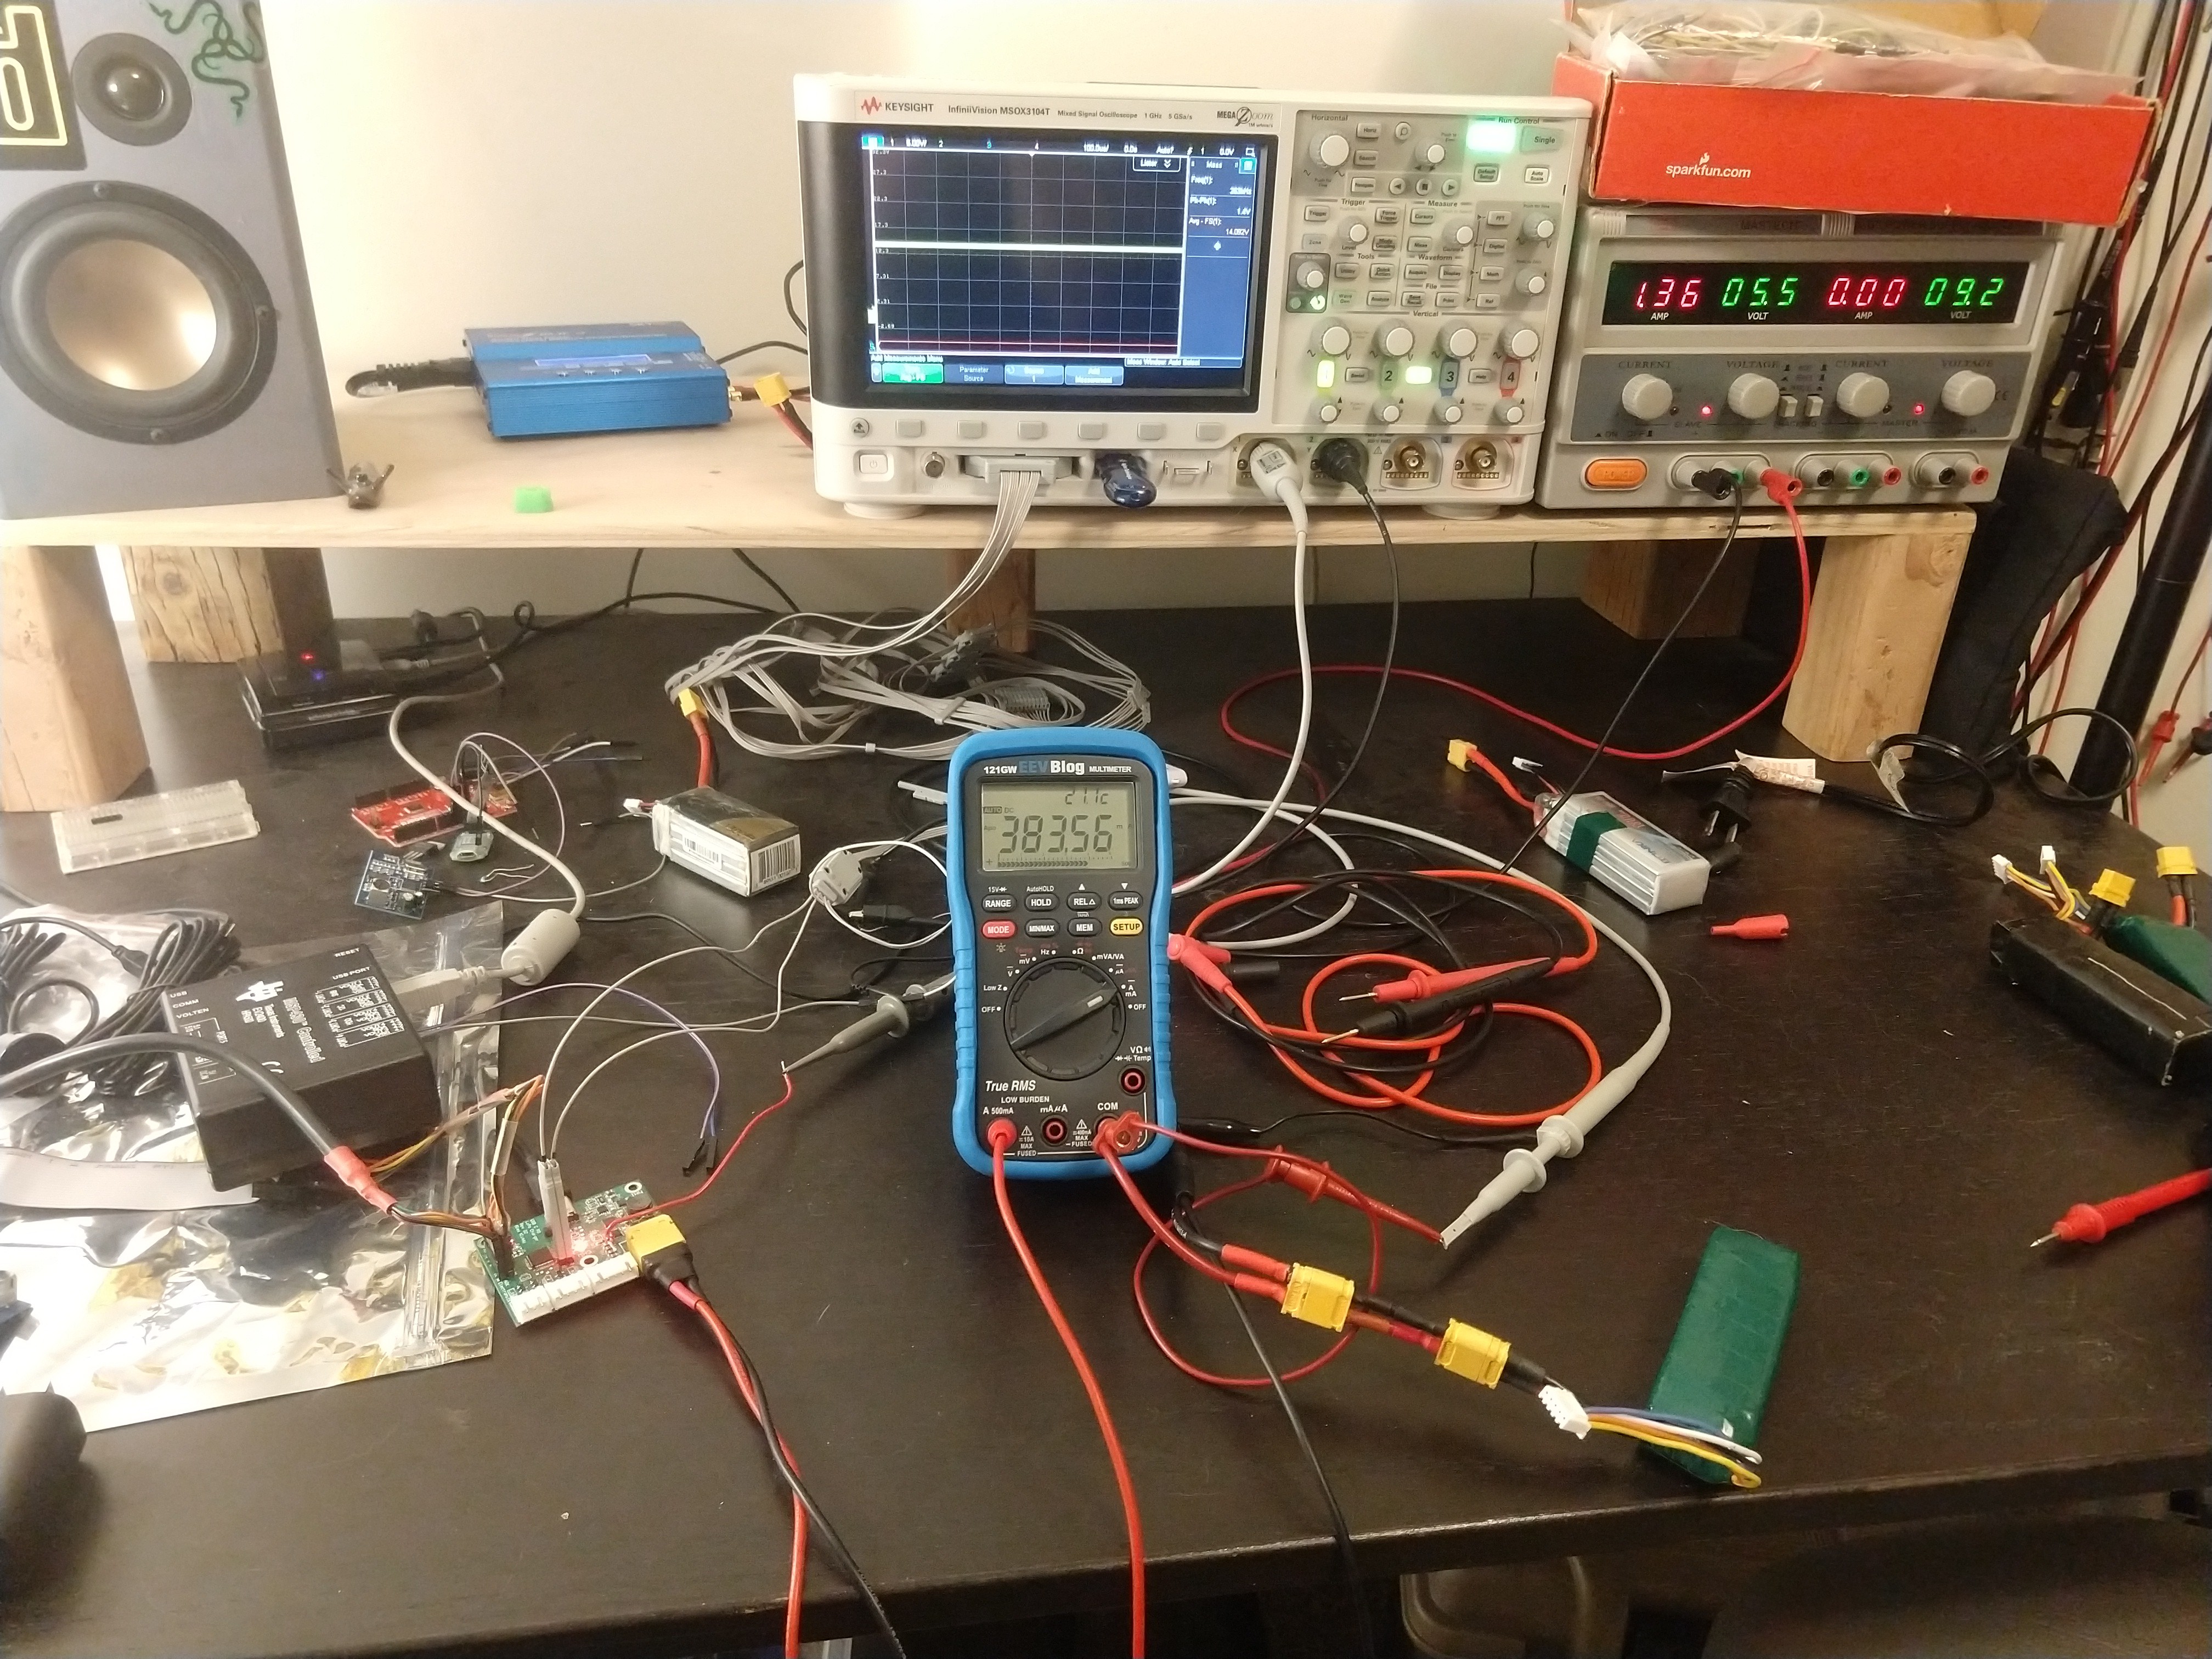
02/25/2019 at 06:03 • 0 commentsIt's been a while since I've posted an update for this project but I have been making progress on the firmware. Everything except for the USB PD code and a master state machine is finished. I successfully got it charging 4S batteries this last week. My plan is to try and get this to a state where I would be comfortable sending people beta units in the next couple of week.
https://github.com/AlexKlimaj/LiPow-Firmware![]()
-
Command Line Interface Up and Running
02/02/2019 at 02:08 • 0 commentsI have the FreeRTOS Command Line Interface up and running on the STM32G0 over the UART
I plan on the stats command showing the entire state of the system. As well as an interface to modify the charging parameters on the fly.
I only have the scaling done for the Battery and Cell One ADCs.
Here is the current state of the CLI.
Starting LiPow.
Type Help to view a list of registered commands.

>help

help:
 Lists all the registered commands


stats:
 Displays a table showing the system stats


[Press ENTER to execute the previous command again]
>stats
Variable                Value
************************************************
Battery Voltage (V)     15.310484
Cell One Voltage (V)    3.795976
Cell Two Voltage (V)    0.000000
Cell Three Voltage (V)  0.000000
Cell Four Voltage (V)   0.000000
MCU Temperature (C)     0.000000

[Press ENTER to execute the previous command again]
>
-
ADC Up and Running!
01/29/2019 at 06:58 • 0 commentsThe ADC is up and running on the STM32G0 using DMA! All raw values are being read. So far I have only taken measurements for the Battery Voltage calculation.
Here is where I am collecting the data for the ADC input calculations.
-
Blinky - FreeRTOS Up and Running!
01/09/2019 at 01:38 • 0 comments -
PCBs Have Arrived!
01/04/2019 at 22:27 • 0 commentsPCBs arrived from China last week. I spent lastnight building up one complete board. Powered it up with 5V from a bench supply and everything is looking good. No smoke and it appears the STM32G0 is happy. Next step will be to flash some firmware and blink the LED. I'm still not sure that state of the USB PD library from ST for the G0 series. I will need to do some research.
-
Rev 2.0 Posted!
12/17/2018 at 05:18 • 0 commentsI ended up never ordering Rev 1.0 of this project. ST just released the new STM32G0 series of microcontrollers that have a USB PD phy built in. I replaced the STM32F0 with a STM32G0 and removed the discrete phy IC. Overall this should save on the BOM cost.
I will be ordering PCB's for this version and hand building a few units for initial bring up and firmware development before ordering a larger quantity fully assembled.
-
Layout finished! Sending out for Prototypes
12/02/2018 at 02:12 • 0 commentsI have finished the layout for the charger. I initially started the layout realizing that I needed to change the placement of the programmable regulator. Overall, I am happy with the overall placement and layout. The high power path is very short and clean from the USB C connector, through the fuse, to the regulator, then from the regulator to the output FET and XT60 connector.
The overall size ended up being 59mm x 47mm. Eventually I will need to design and 3d print a case.
I have sent the outputs to a few different places for prototypes. Next step will be ordering PCBAs and writing firmware. I purchased a couple of STM32F0 dev boards to get going before the boards show up.
-
V1.0 Schematic Uploaded
11/09/2018 at 05:52 • 0 commentsI have uploaded a "finalized" V1.0 of the schematic and done most of the placement. It is looking like it will fit in 60mm x 55mm of board. Possibly smaller.
I decided to remove the 1s connector and replaced it with a right angle XT60 connector to support higher current charging. Not charging through the balance ports allowed me to get rid of the circuitry that automatically routed the power to the top cell.I discovered that I had overlooked the high Vgs on the mosfets of the balance circuit. The original part I specced had a max Vgs of +-8V. Well below the 16.8V max that it will see with the open drain driver to ground and a pullup to the cell voltage. I have swapped the mosfet for one with a +-30V max Vgs rating.
I've also added a cover sheet with a block diagram of the system.
-
Schematic Almost Done
11/04/2018 at 04:52 • 0 commentsI have uploaded V0.2 of the schematic. Here is everything that has changed from V0.1.
- Added ESD diodes on USB C CC nets.
- Added single use fuse on VBUS. I wanted to use a re-settable fuse, but finding one that works up to 20V 5A that is small and cheap is tough. So I went with a one time fuse.
- Added balancing circuity.
- Switched to a slightly larger version of the STM32 to support all the IO needed. I initially underestimated the amount of GPIO's needed for the project.
- Added voltage divider networks for the ADC inputs to the STM32 for reading individual cell voltages.
- Added RGB LED for debugging and user feedback.
- Added UART from the STM32 for debugging. I may still add a UART to USB bridge for programming through the USB C port.
- Added 3.3V linear regulator. Needed to support up to 20V from Vbus and be a low drop out when VBUS is 5V.
- Added circuit to automatically steer the output of the adjustable regulator depending on what type of battery is connected (1s-4s).
I still need to add the supporting components around the adjustable regulator.
-
Very early schematic uploaded
10/25/2018 at 04:19 • 0 commentsI have uploaded a very early schematic. All the major building blocks are there but a lot of little things still need to be added.
I have gone with JST XH connectors for the Lipo Balance connections. I will need to decide how the output of the regulator gets used for charging the highest cell in each balance connection. If I assume users will never try and plug in more than one battery at a time, everything should be okay. Some protection mechanism might be worth designing.
I will also need to add a some mosfets and resistors to use for discharging and balancing the cells.
LiPow - The USB C LiPo Battery Charger
USB Power Delivery Based Lithium Polymer Battery Charger