 Nathan Brown
-
1Top Construction
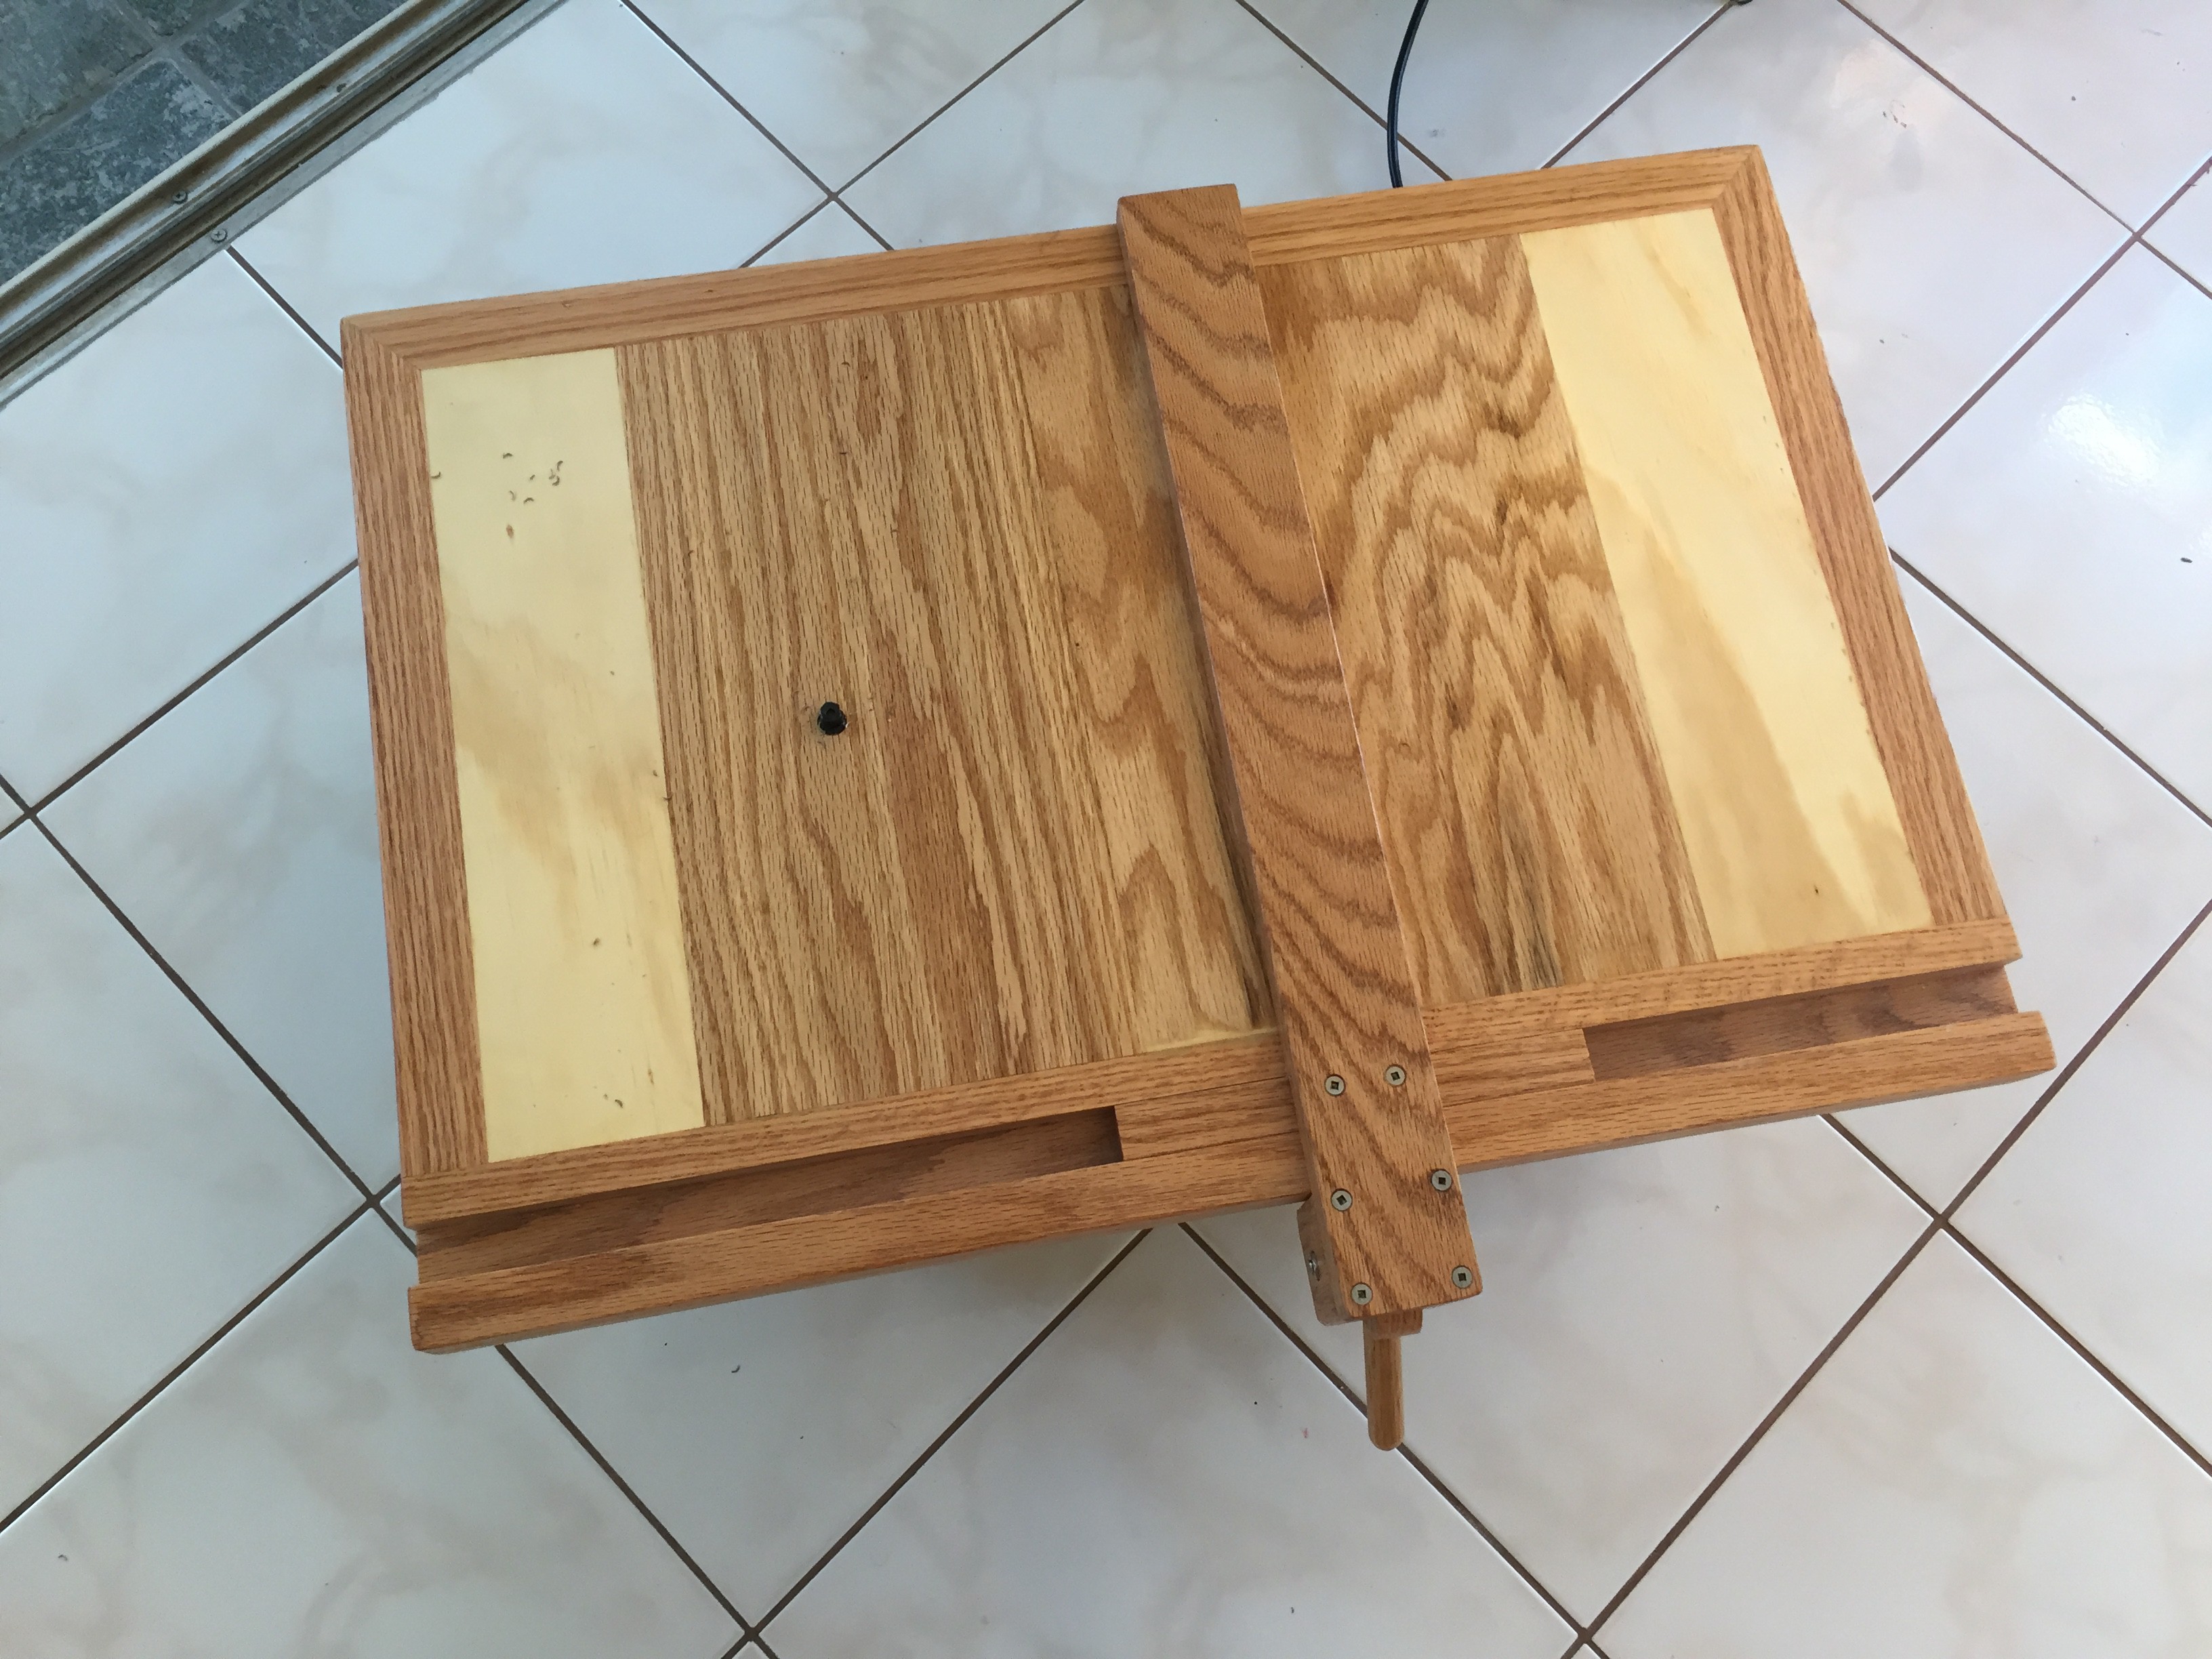
I built my top from various pieces of scrap plywood that I had around.
![]()
I used a solid section of oak where the nibbler is attached, but the rest is just scrap pieces of plywood. I really really.... REALLY love it when I can make a project that uses small pieces of scrap wood like this.
I used biscuits to join the pieces together and trimmed the perimeter with mitered oak strips on three sides that are attached with biscuits again and glue. The fourth side will have the fence.
Fully built (including fence) my top is 27" x 14". I chose not to include a miter slot in this top only because I didn't really think the kids would use it. If I ever use this I will likely freehand it anyway.
I built and trimmed the top first, then ran the whole thing through the table saw to true up the edge where the fence would be attached.
I built the fence separately then attached it with biscuits and pocket screws to the top.
I used three pieces of wood because it made it easier to build with the wood I had available.

By building the fence this way I could use the standard 3/4 stock for all pieces and none of the screws would show (picture is turned sideways).
![]()
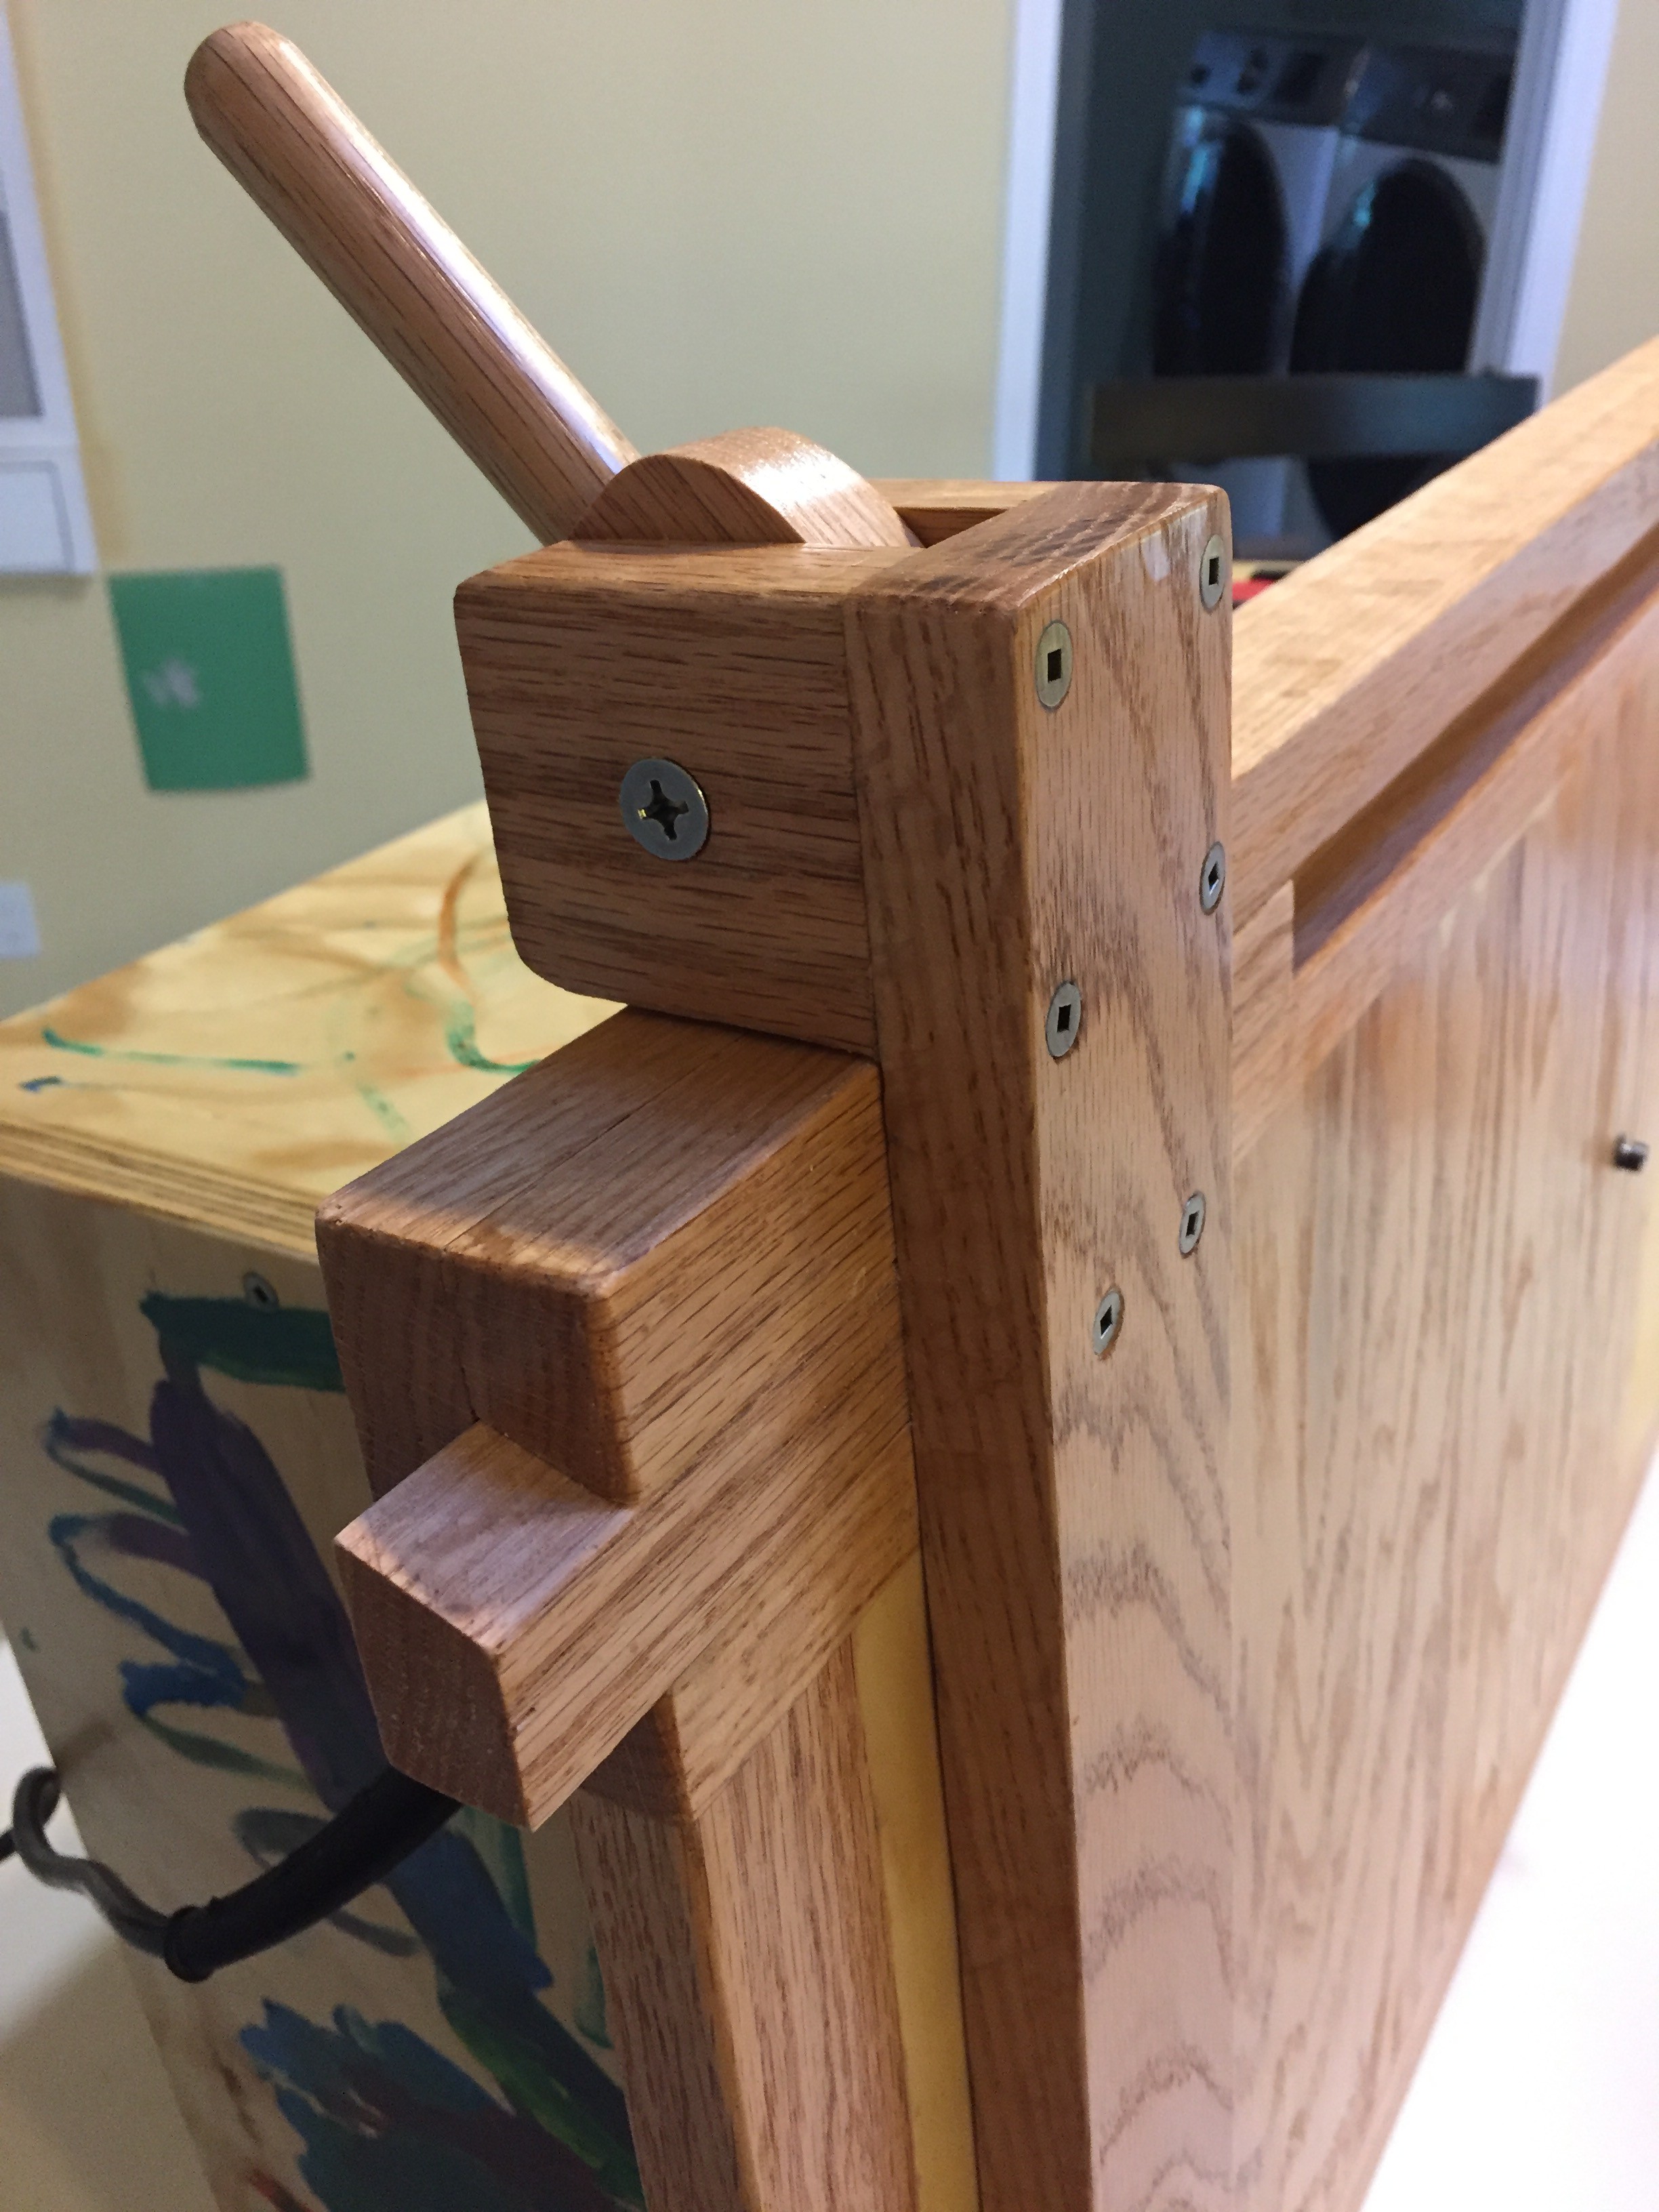
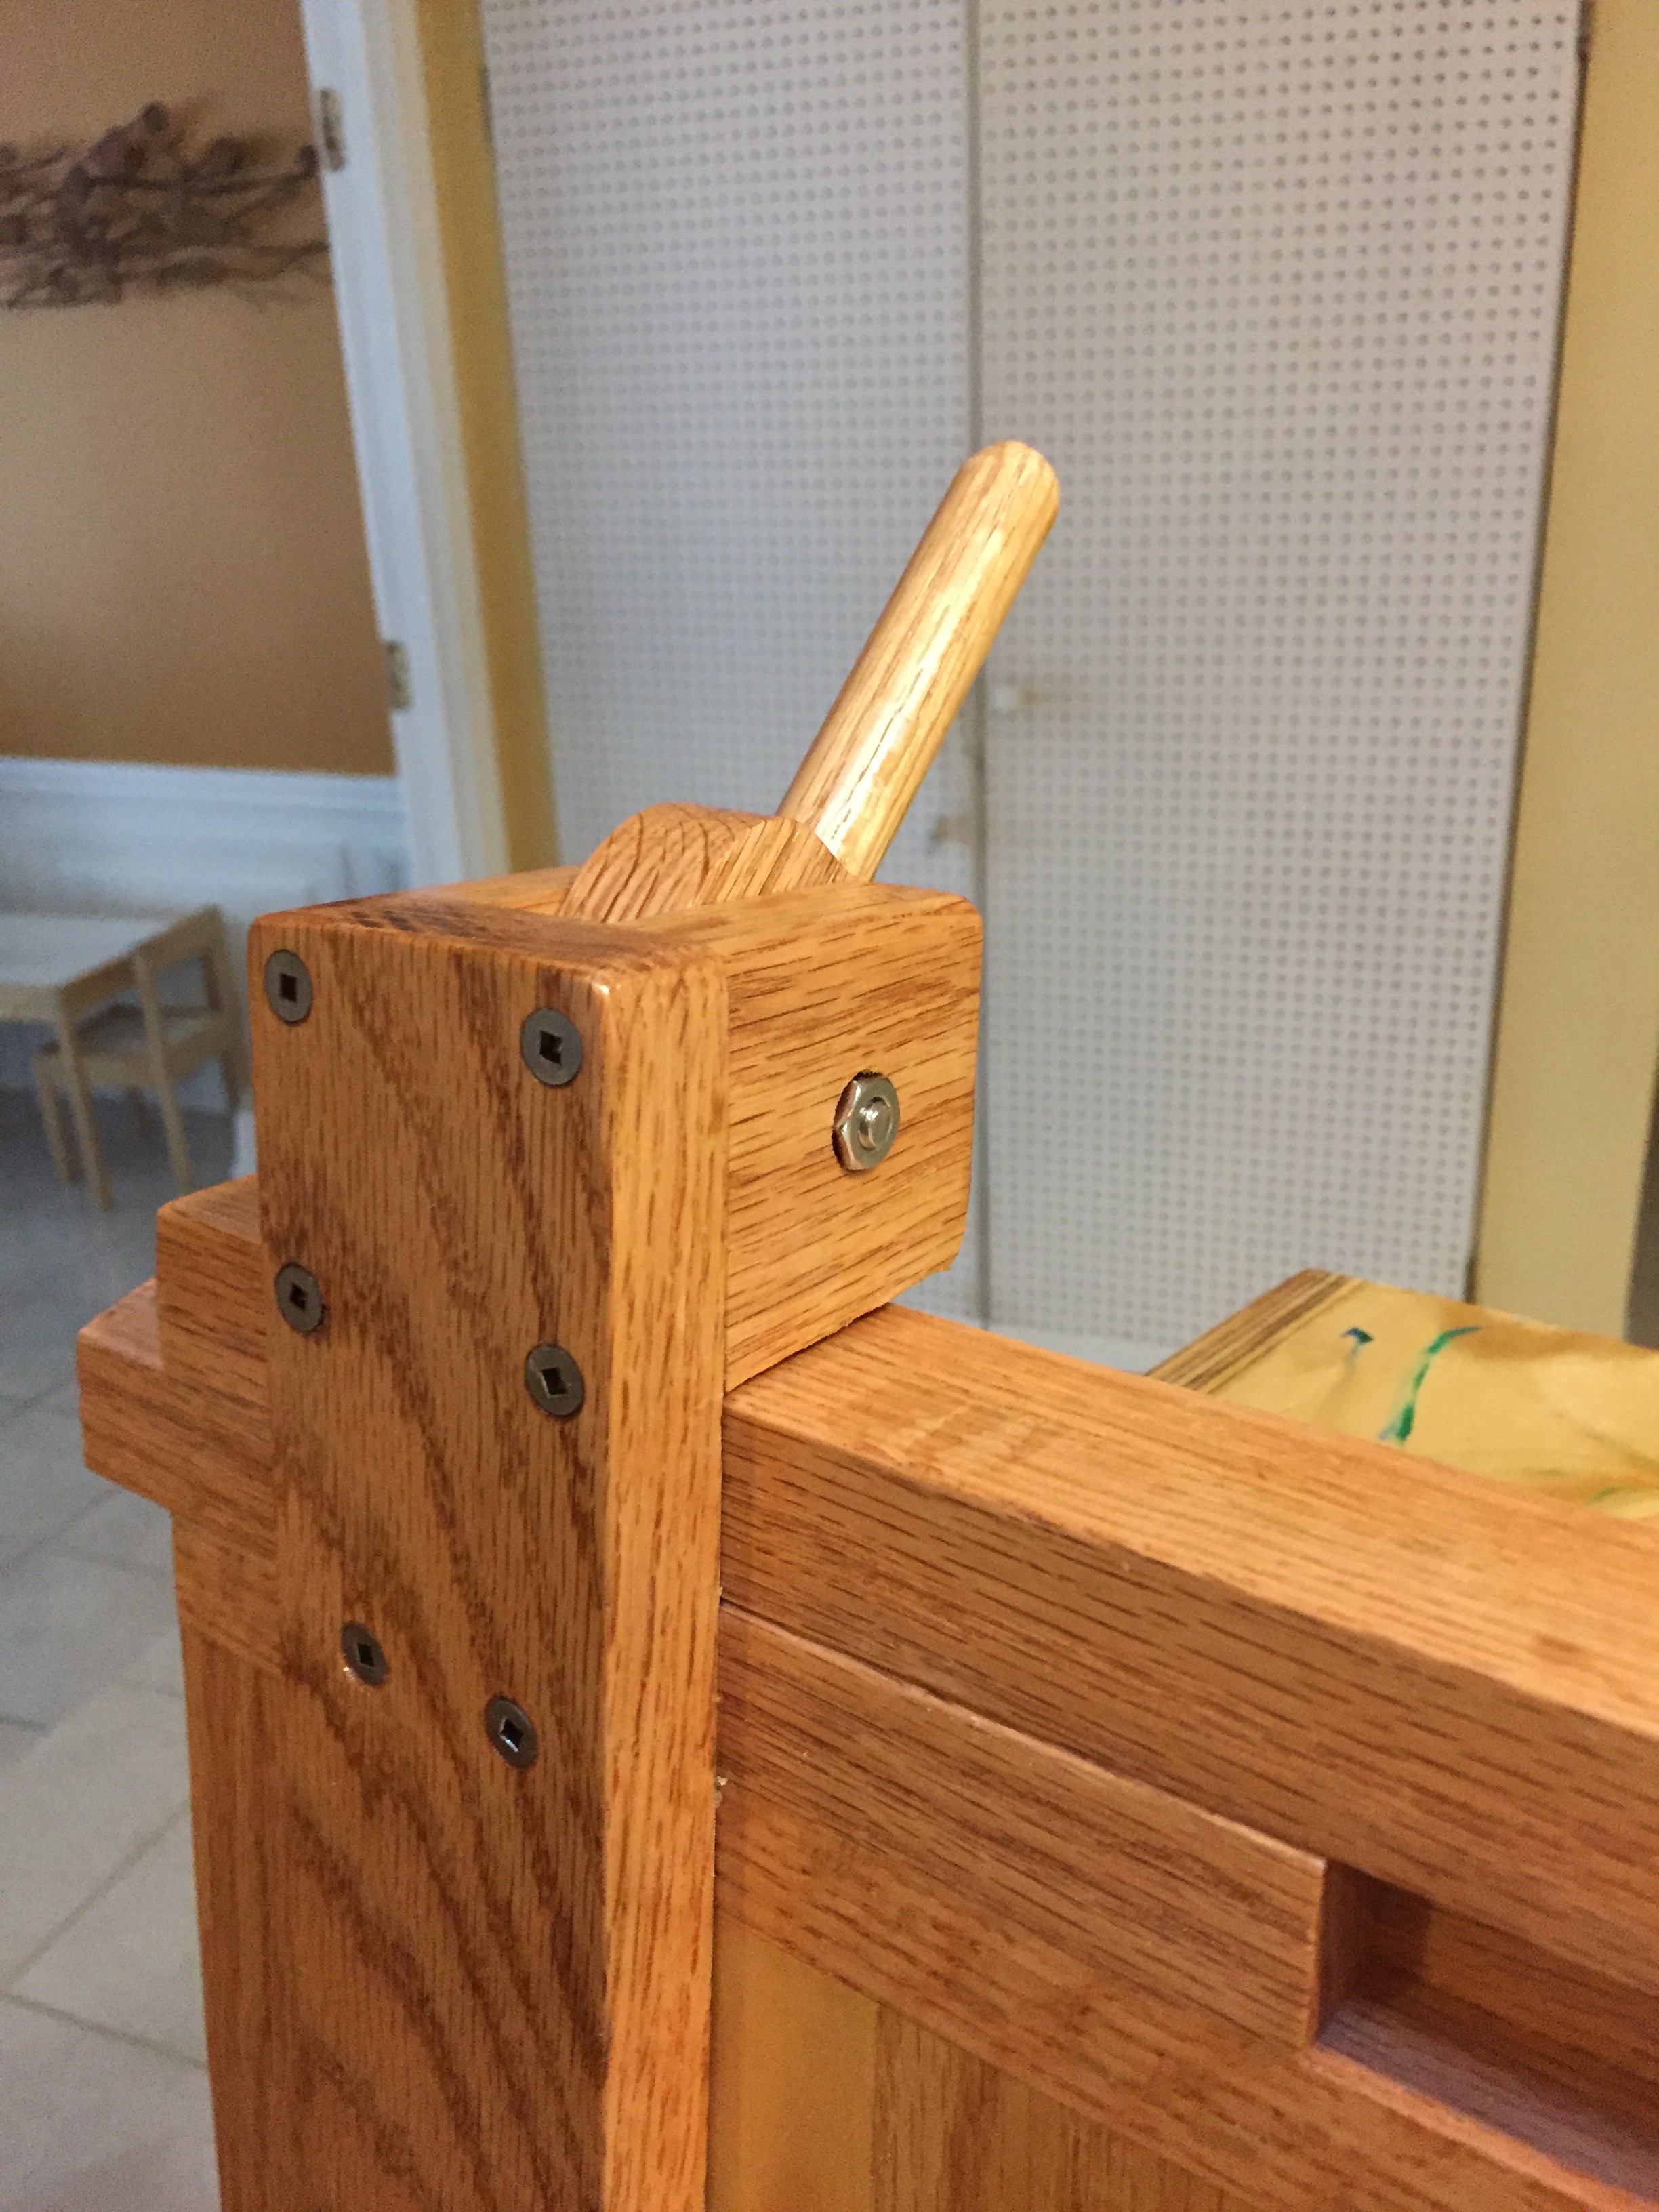
Here is the whole fence system. The fence itself it just one piece of stock. Since the cutting height of the nibbler is only a couple of millimeters I didn't think it was necessary to make the fence any taller.
![]()
The locking arm for the fence is just a partially rounded piece of stock with a dowel. I made this by starting with a square piece and just sanded it round until it fit and worked well. I press fit a nut on one side and a countersunk screw on the other. I used one drop of thread-lock just to keep it from moving, but that was probably not necessary.
-
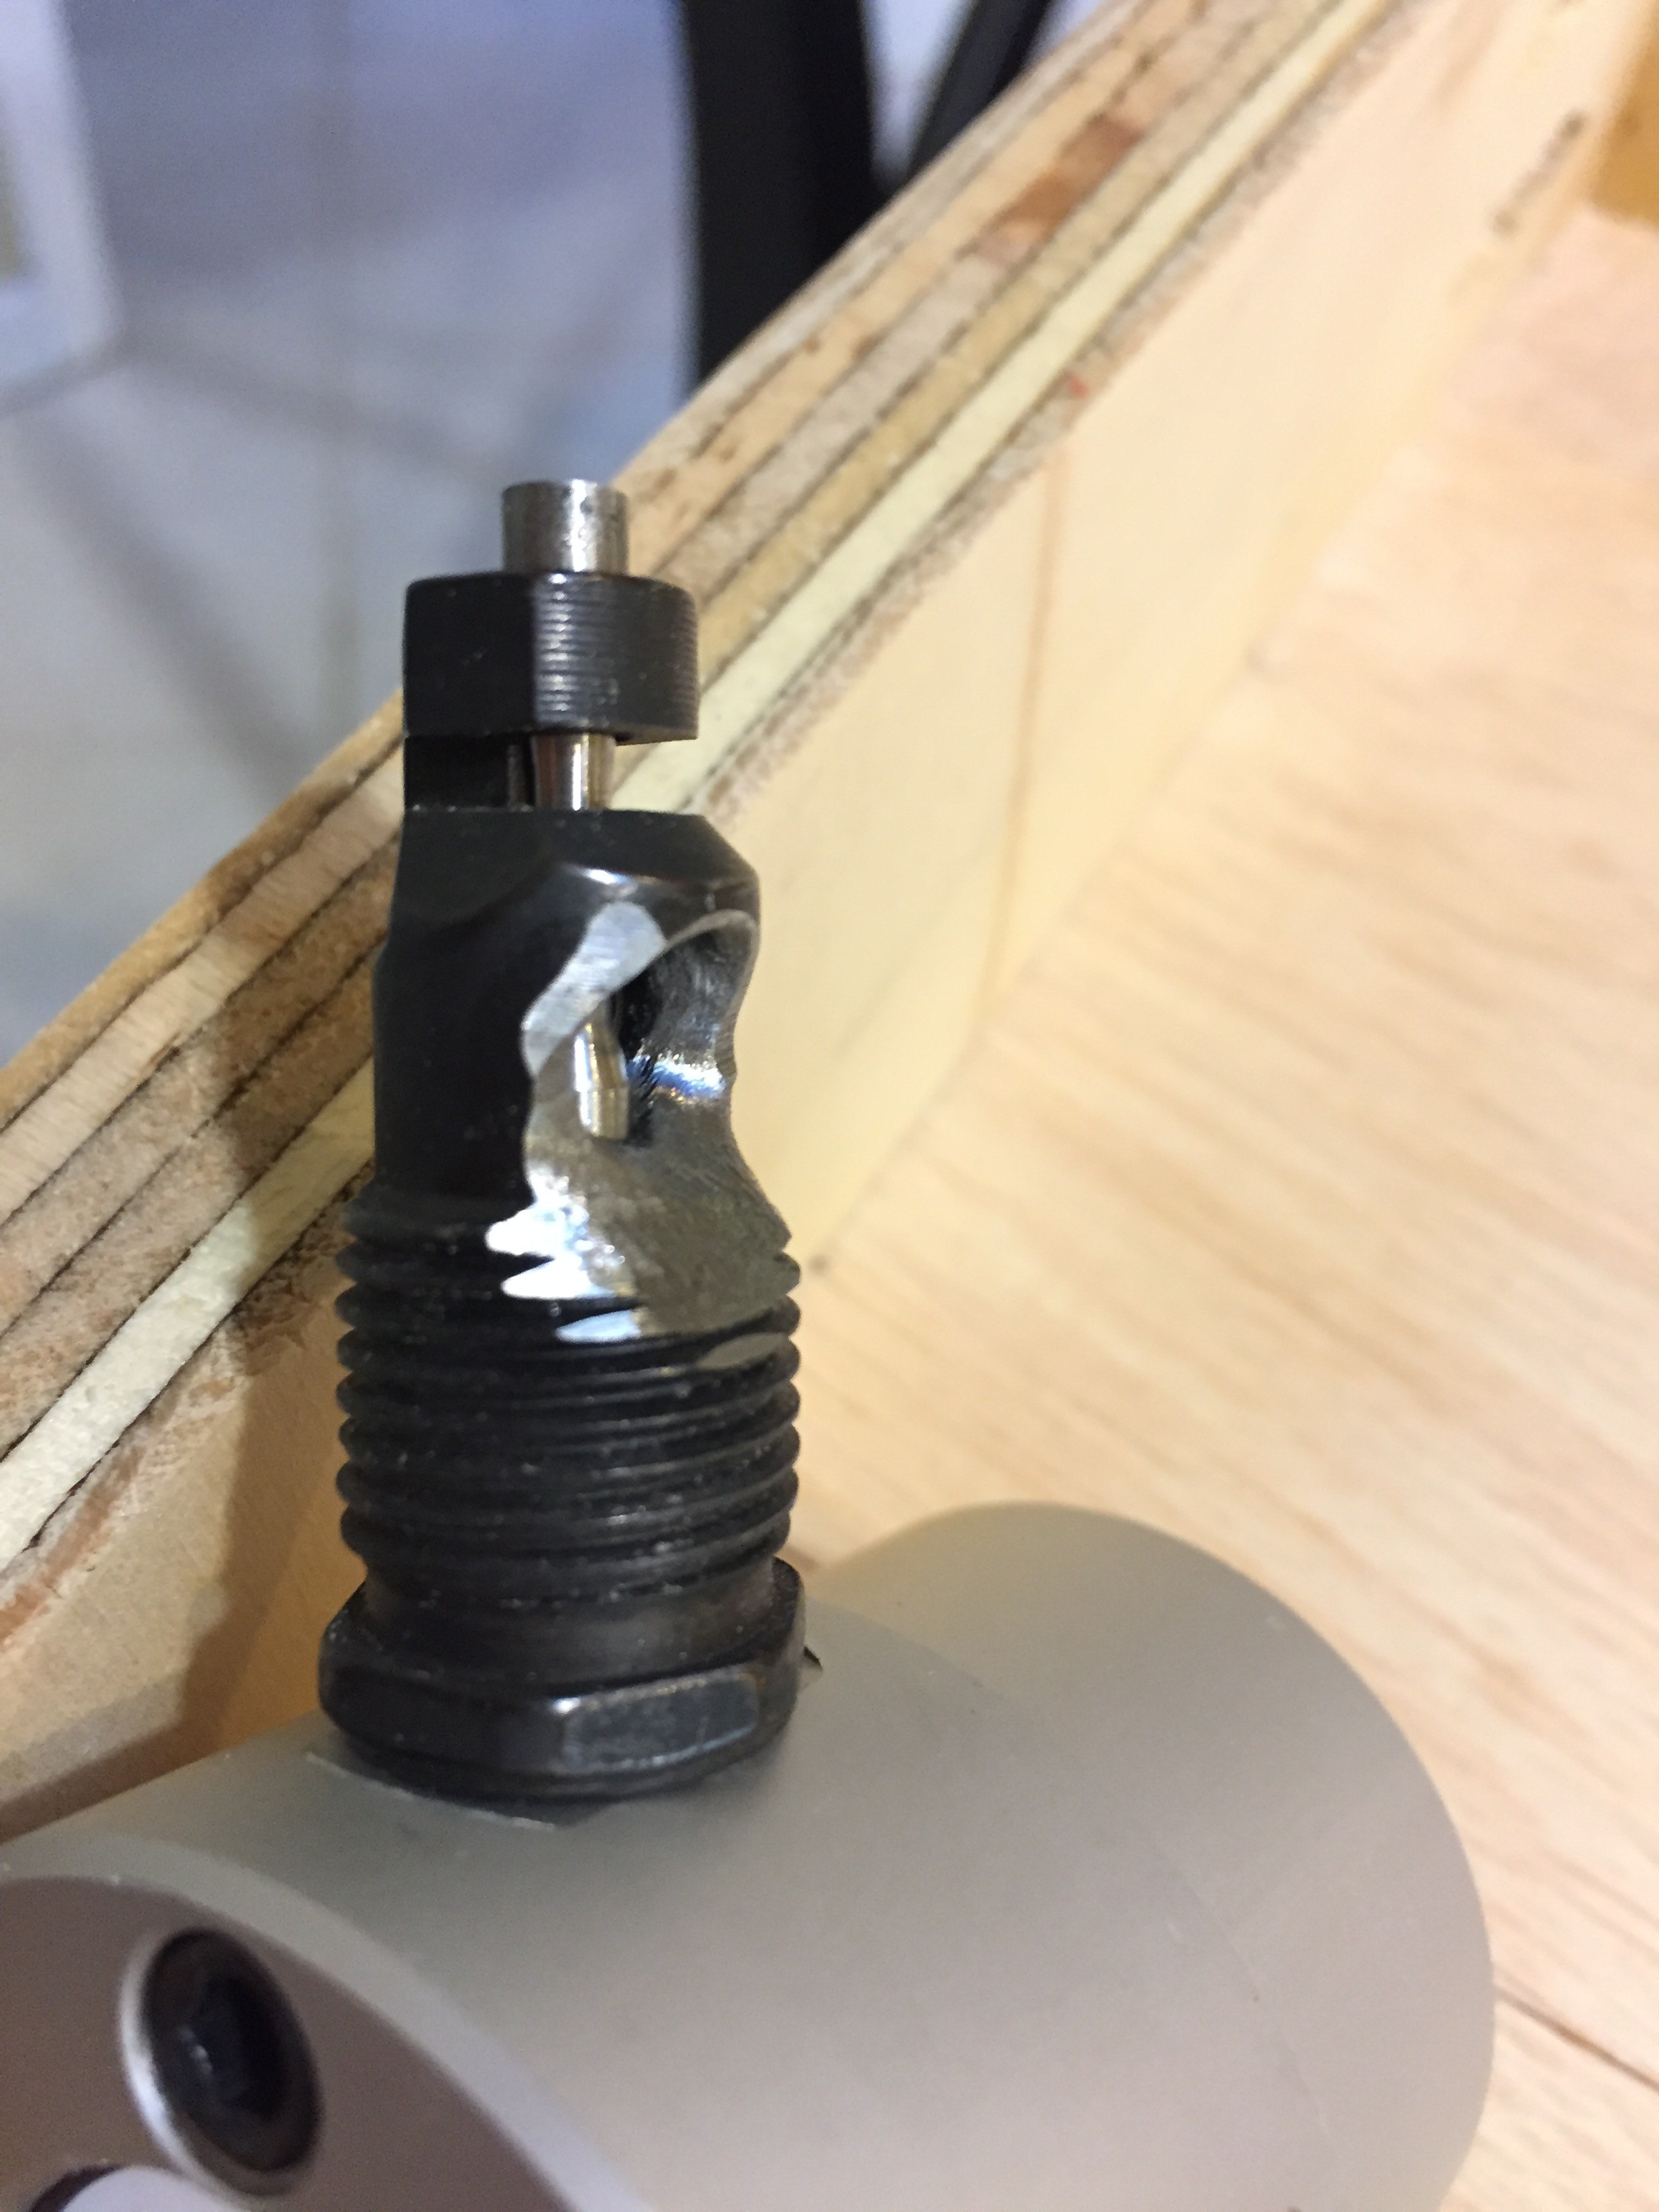
2Grind the Nibbler Discharge Port
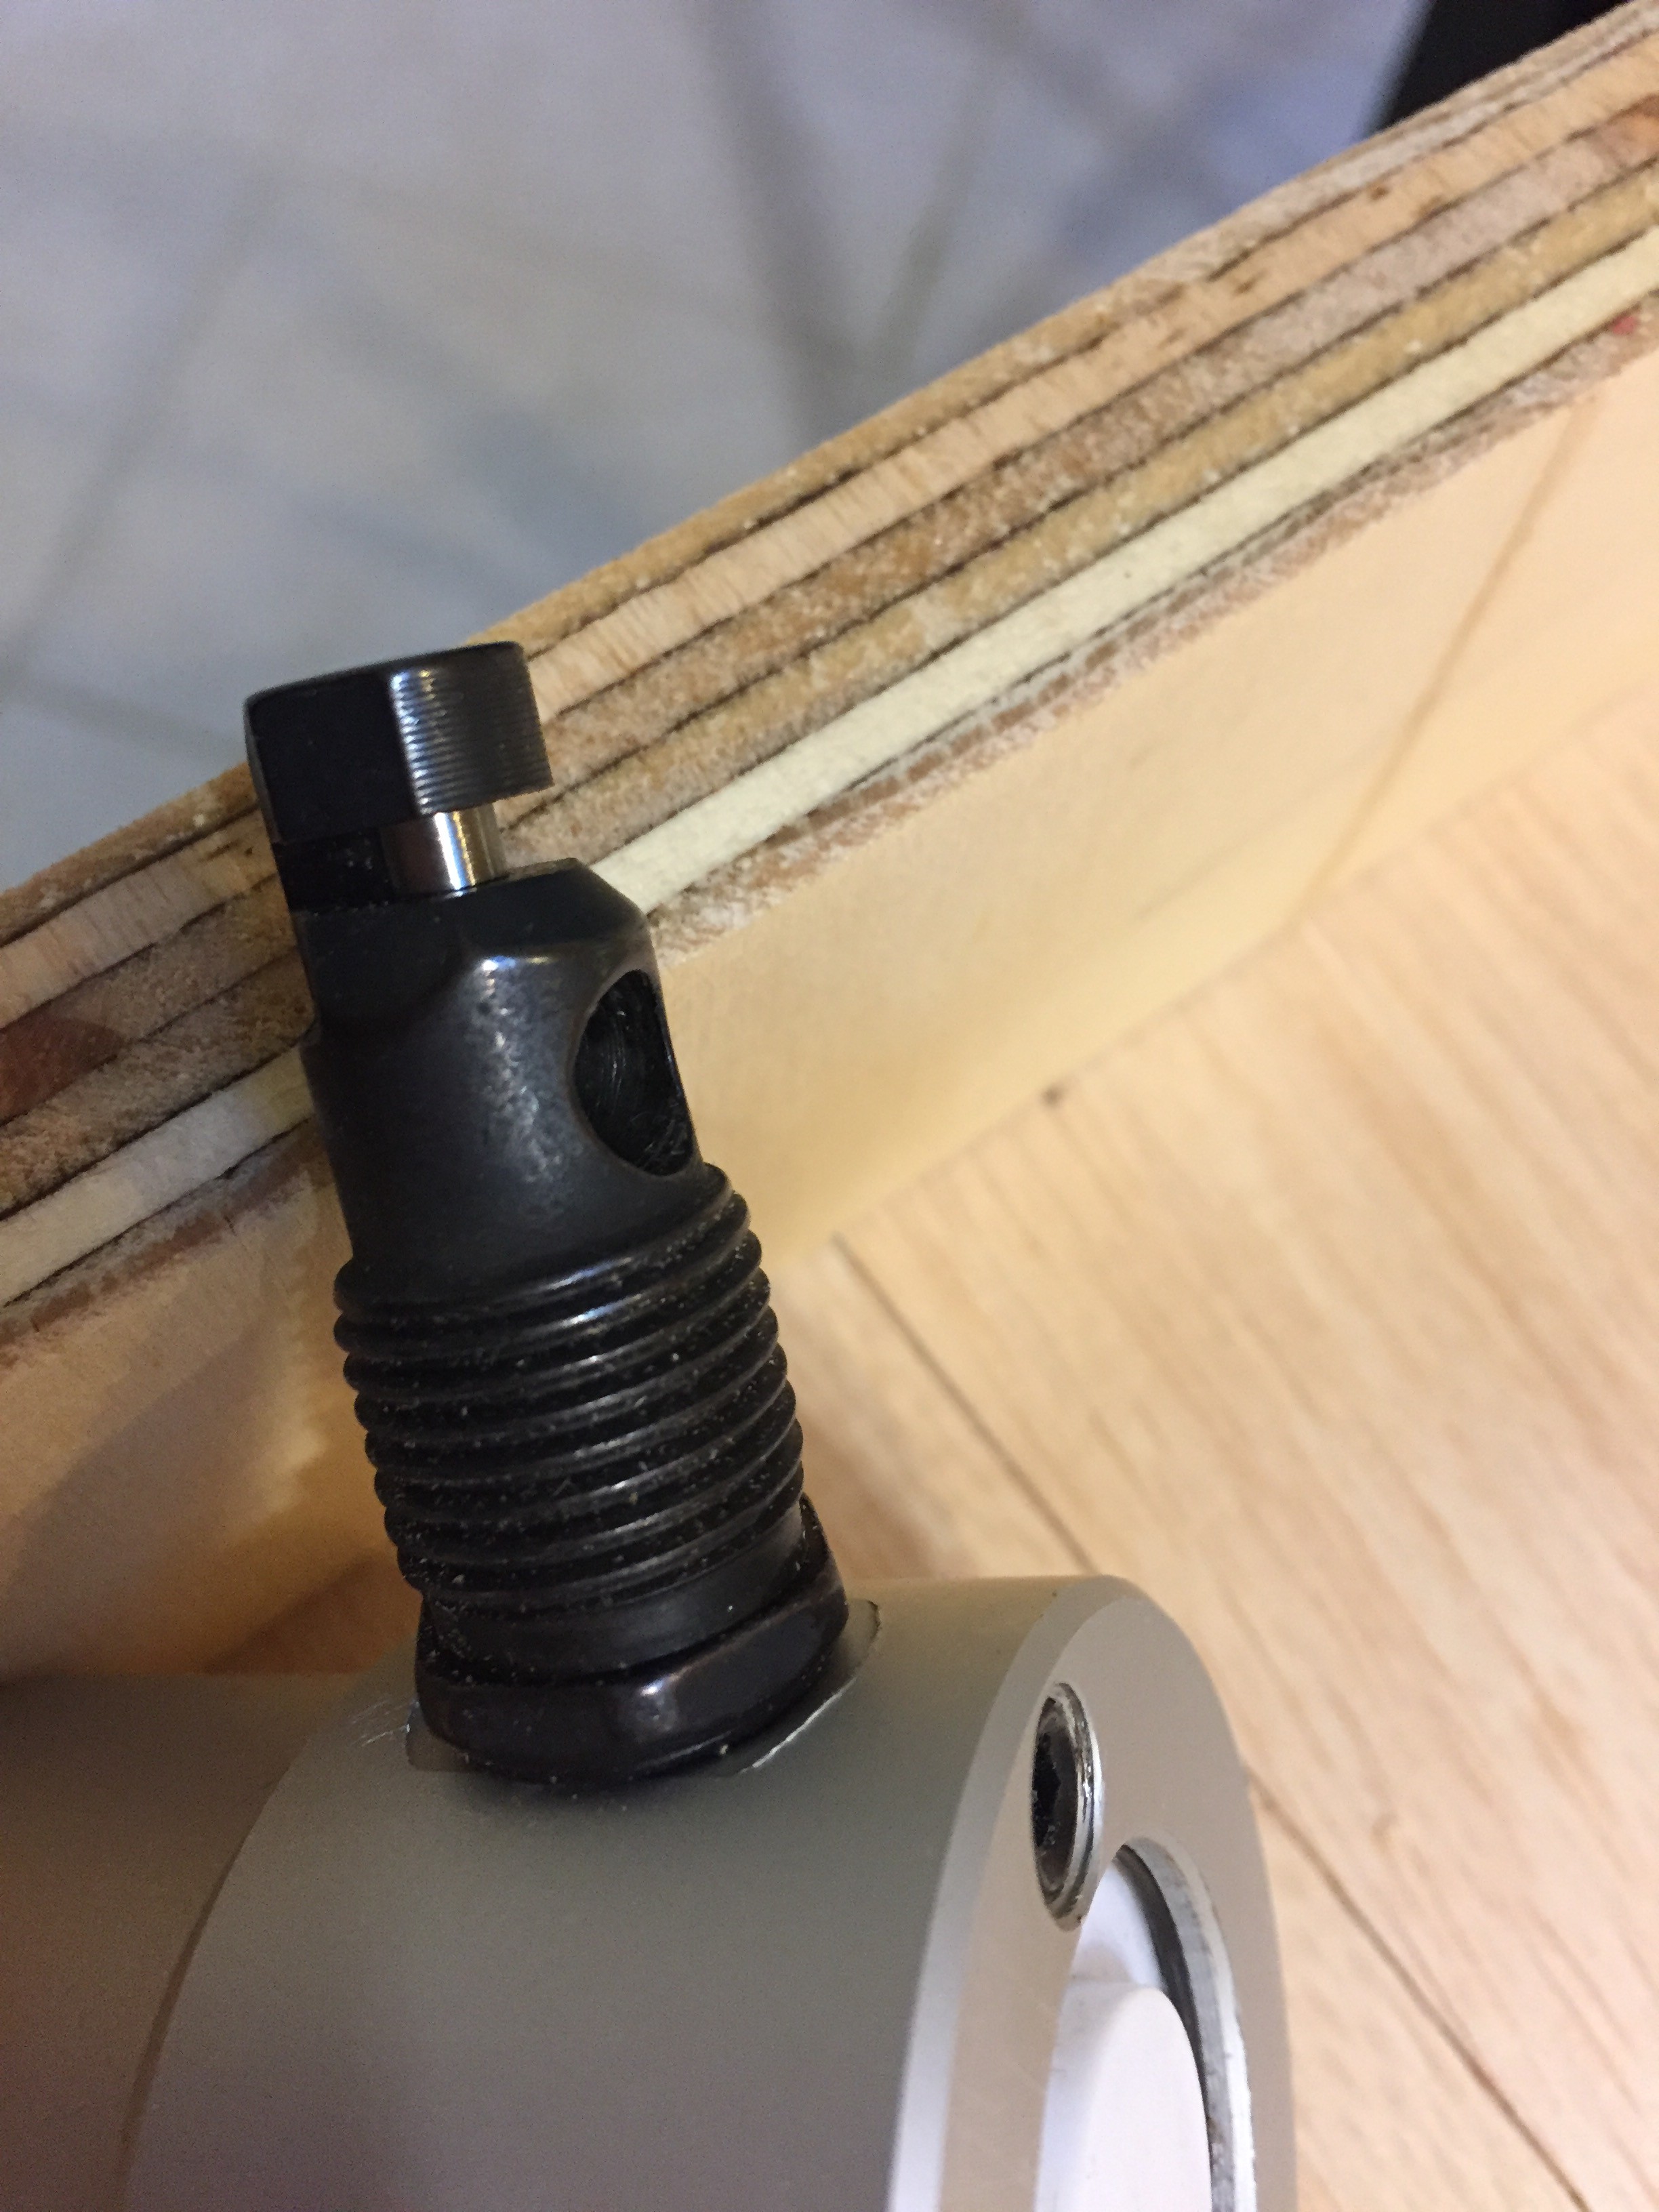
When I first tried using this nibbler with cardboard, the discharge port became clogged (and was very hard to clean). Since I was not going to be using this with sheetmetal I felt it was safe to grind away the opening to make the discharge area large and more friendly to the cardboard and other fibrous materials.
I REALLY think you should do this. But, BE SURE to remove the black piece from nibbler (which is very easy) before grinding. DO NOT GRID WHEN THE CUTTING PIN IN PLACE! Also keep the metal cool when grinding to keep the metal nice and strong. Take it slow and use some water or coolant to prevent warping.
Before:
![]()
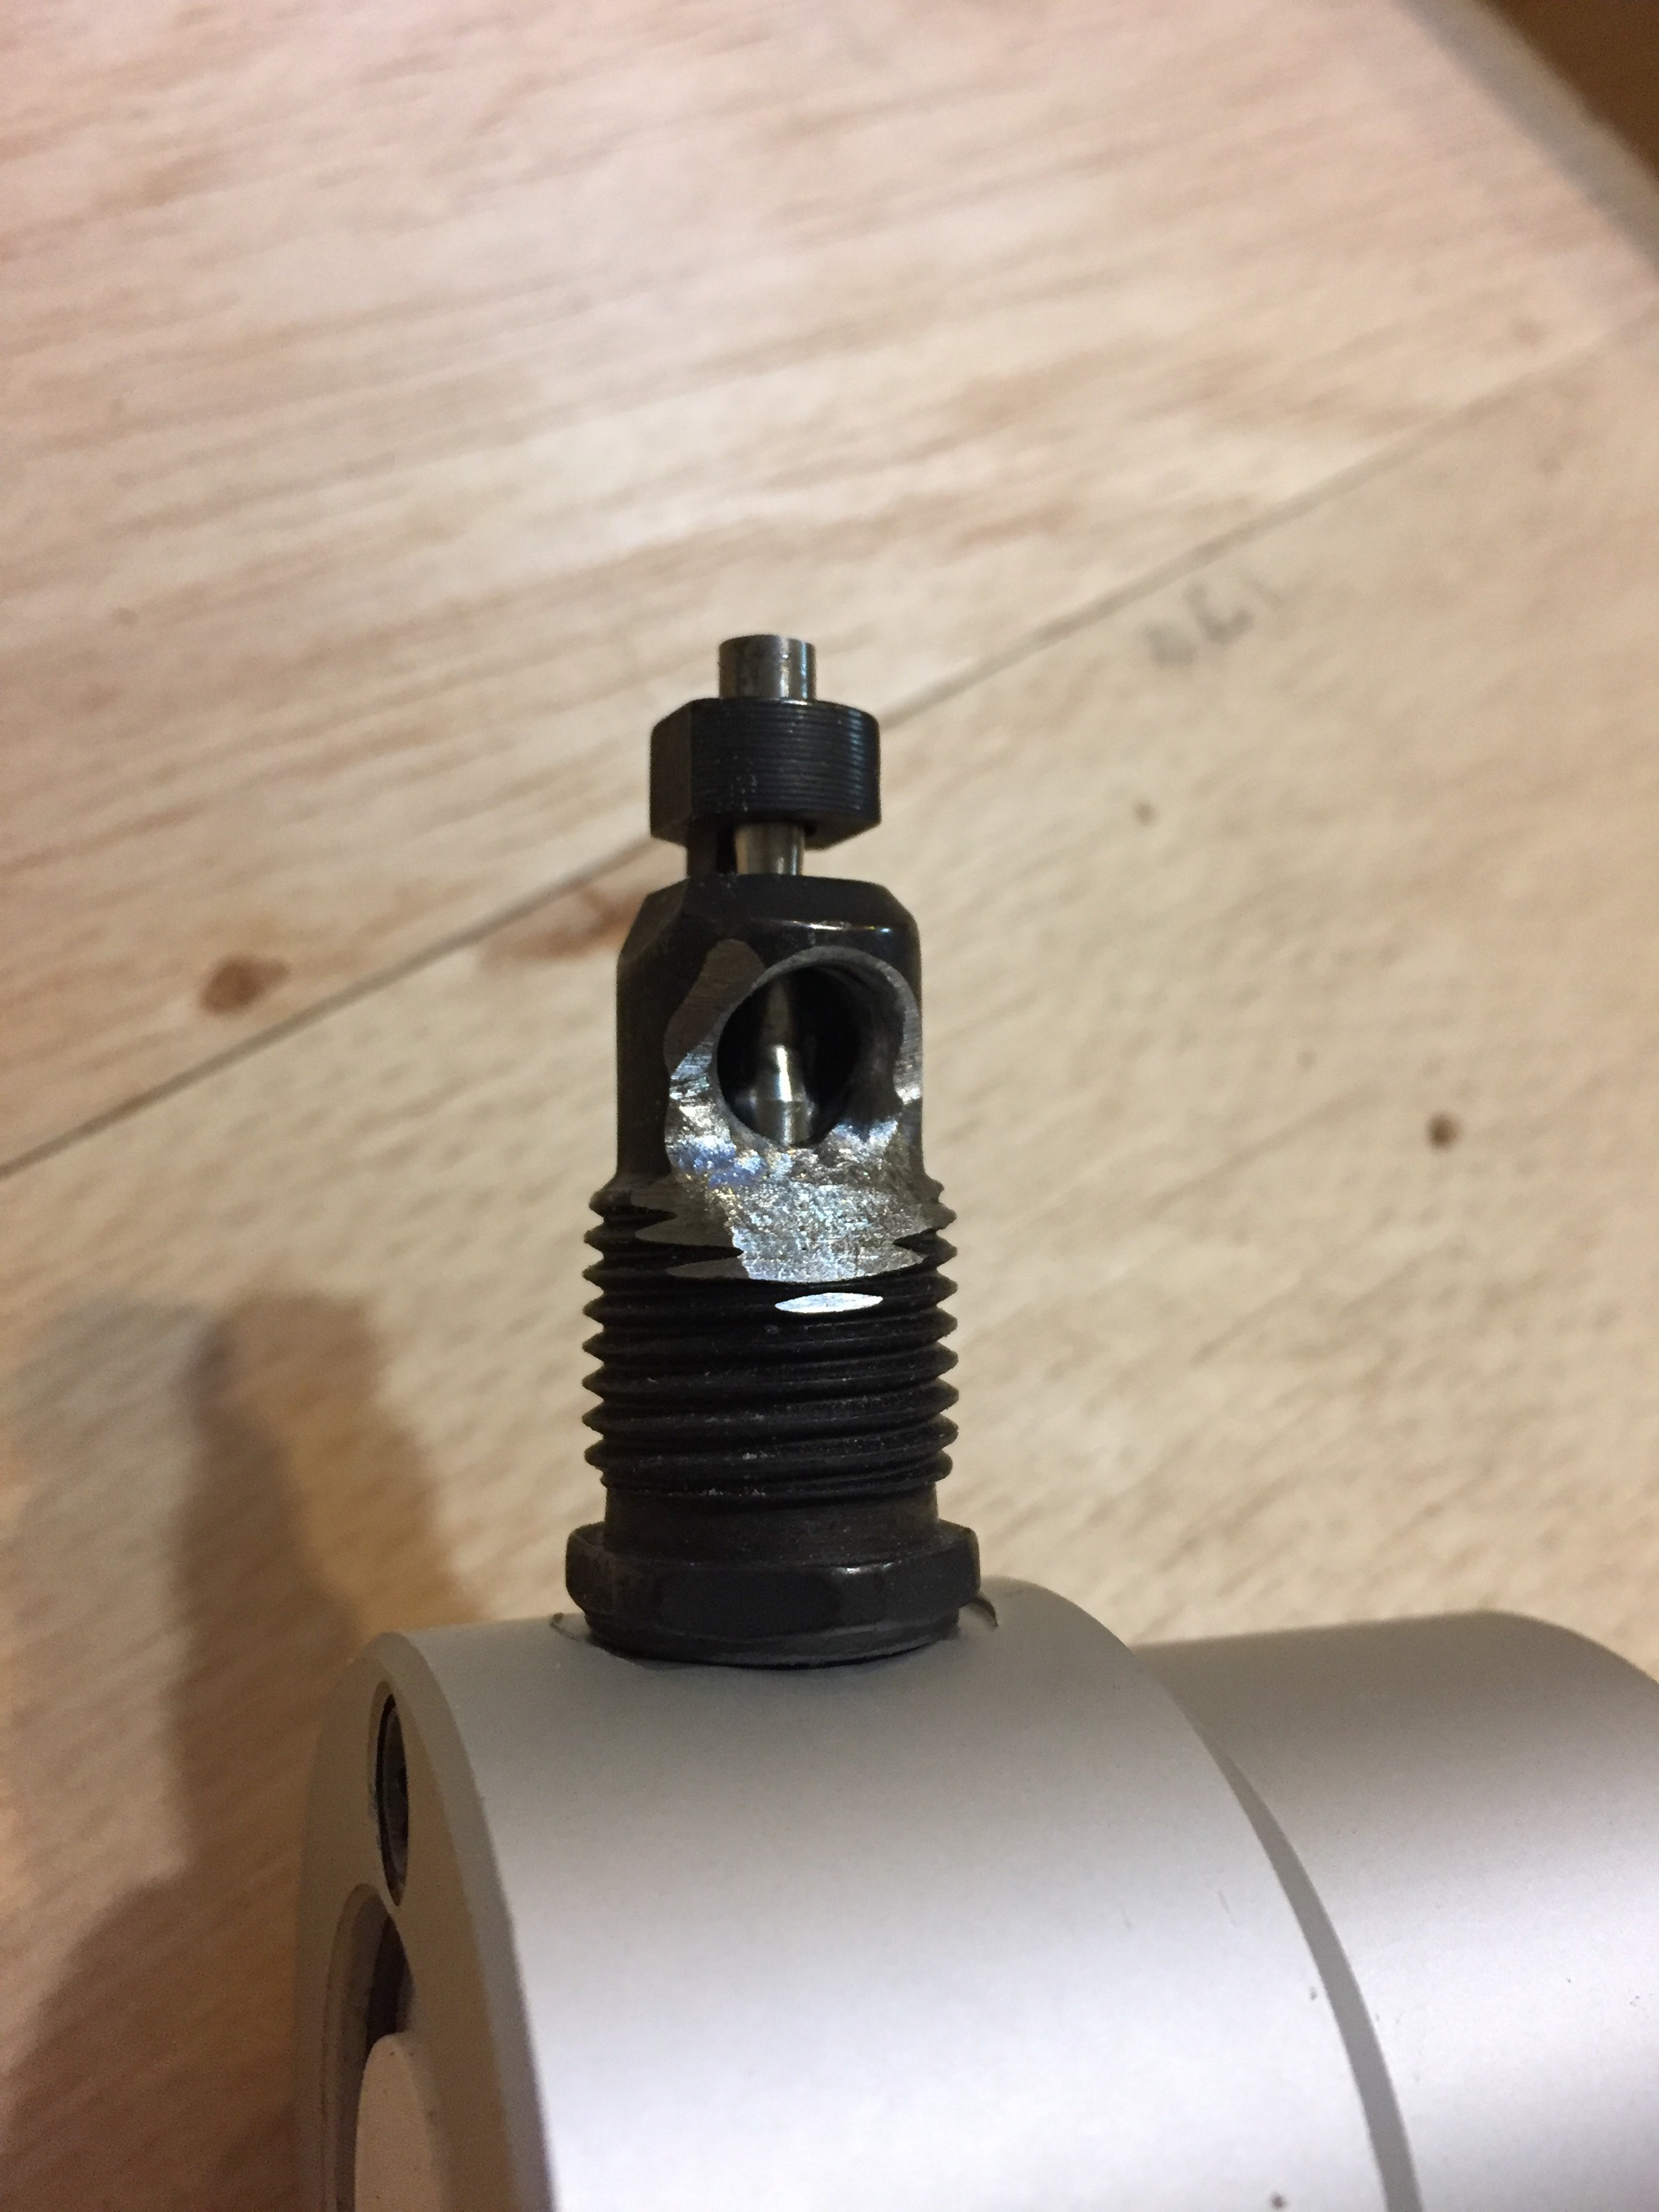
After:
![]()
![]()
If I really want to use this for sheetmetal in the future, this nibbler has two ends so I can open this up and flip to the other side.
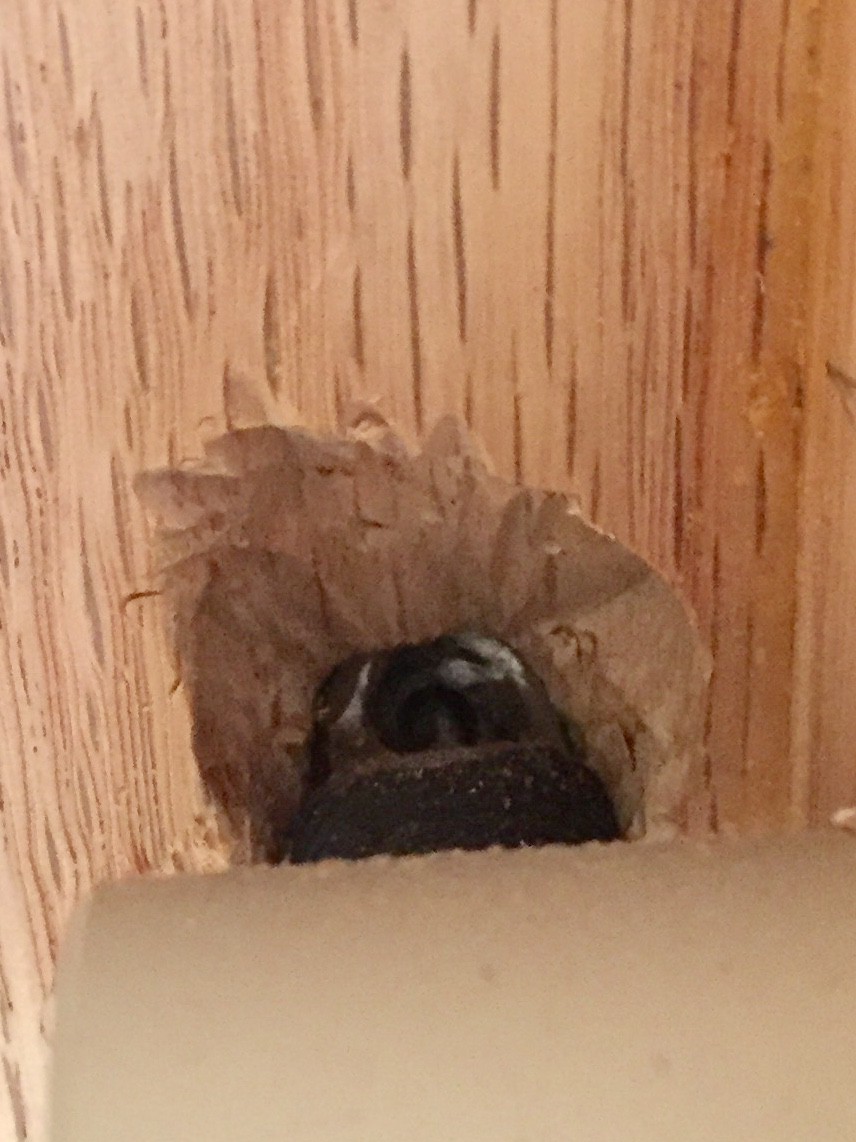
Also make sure to drill out space in your top for the discharge.
![]()
-
3Variable Speed Drill
I specifically chose a variable speed drill.
https://www.amazon.com/gp/product/B00ZFJ069G/ref=oh_aui_detailpage_o01_s00?ie=UTF8&psc=1
This was not necessarily the best choice as it is way overpowered of this kind of project, but... I am impulsive and pressed buy a little too quickly.
What I do like about this drill is that it has a collar for a handle (which was included). I feel that THIS IS REQUIRED to mount the drill properly underneath the top. These type of collars are reenforced in the body of the drill and meant for some abuse. They are also nice and round and (usually) concentric to the shaft of the drill.
Second this drill was variable speed on the trigger so I could make the saw variable speed too. I am familiar with the trigger that is used on this drill and it is a "good enough" quality that I am reasonably certain that the trigger won't die (ie. turn into non-variable speed).
This project DOES NOT require a 7 AMP DRILL!! I should have looked for something with less overall power.
It should be noted that I did cut this drill to make it all fit the way I wanted. I feel slightly bad about this, but it made this feel more like an actual finished project and not just a drill attachment.
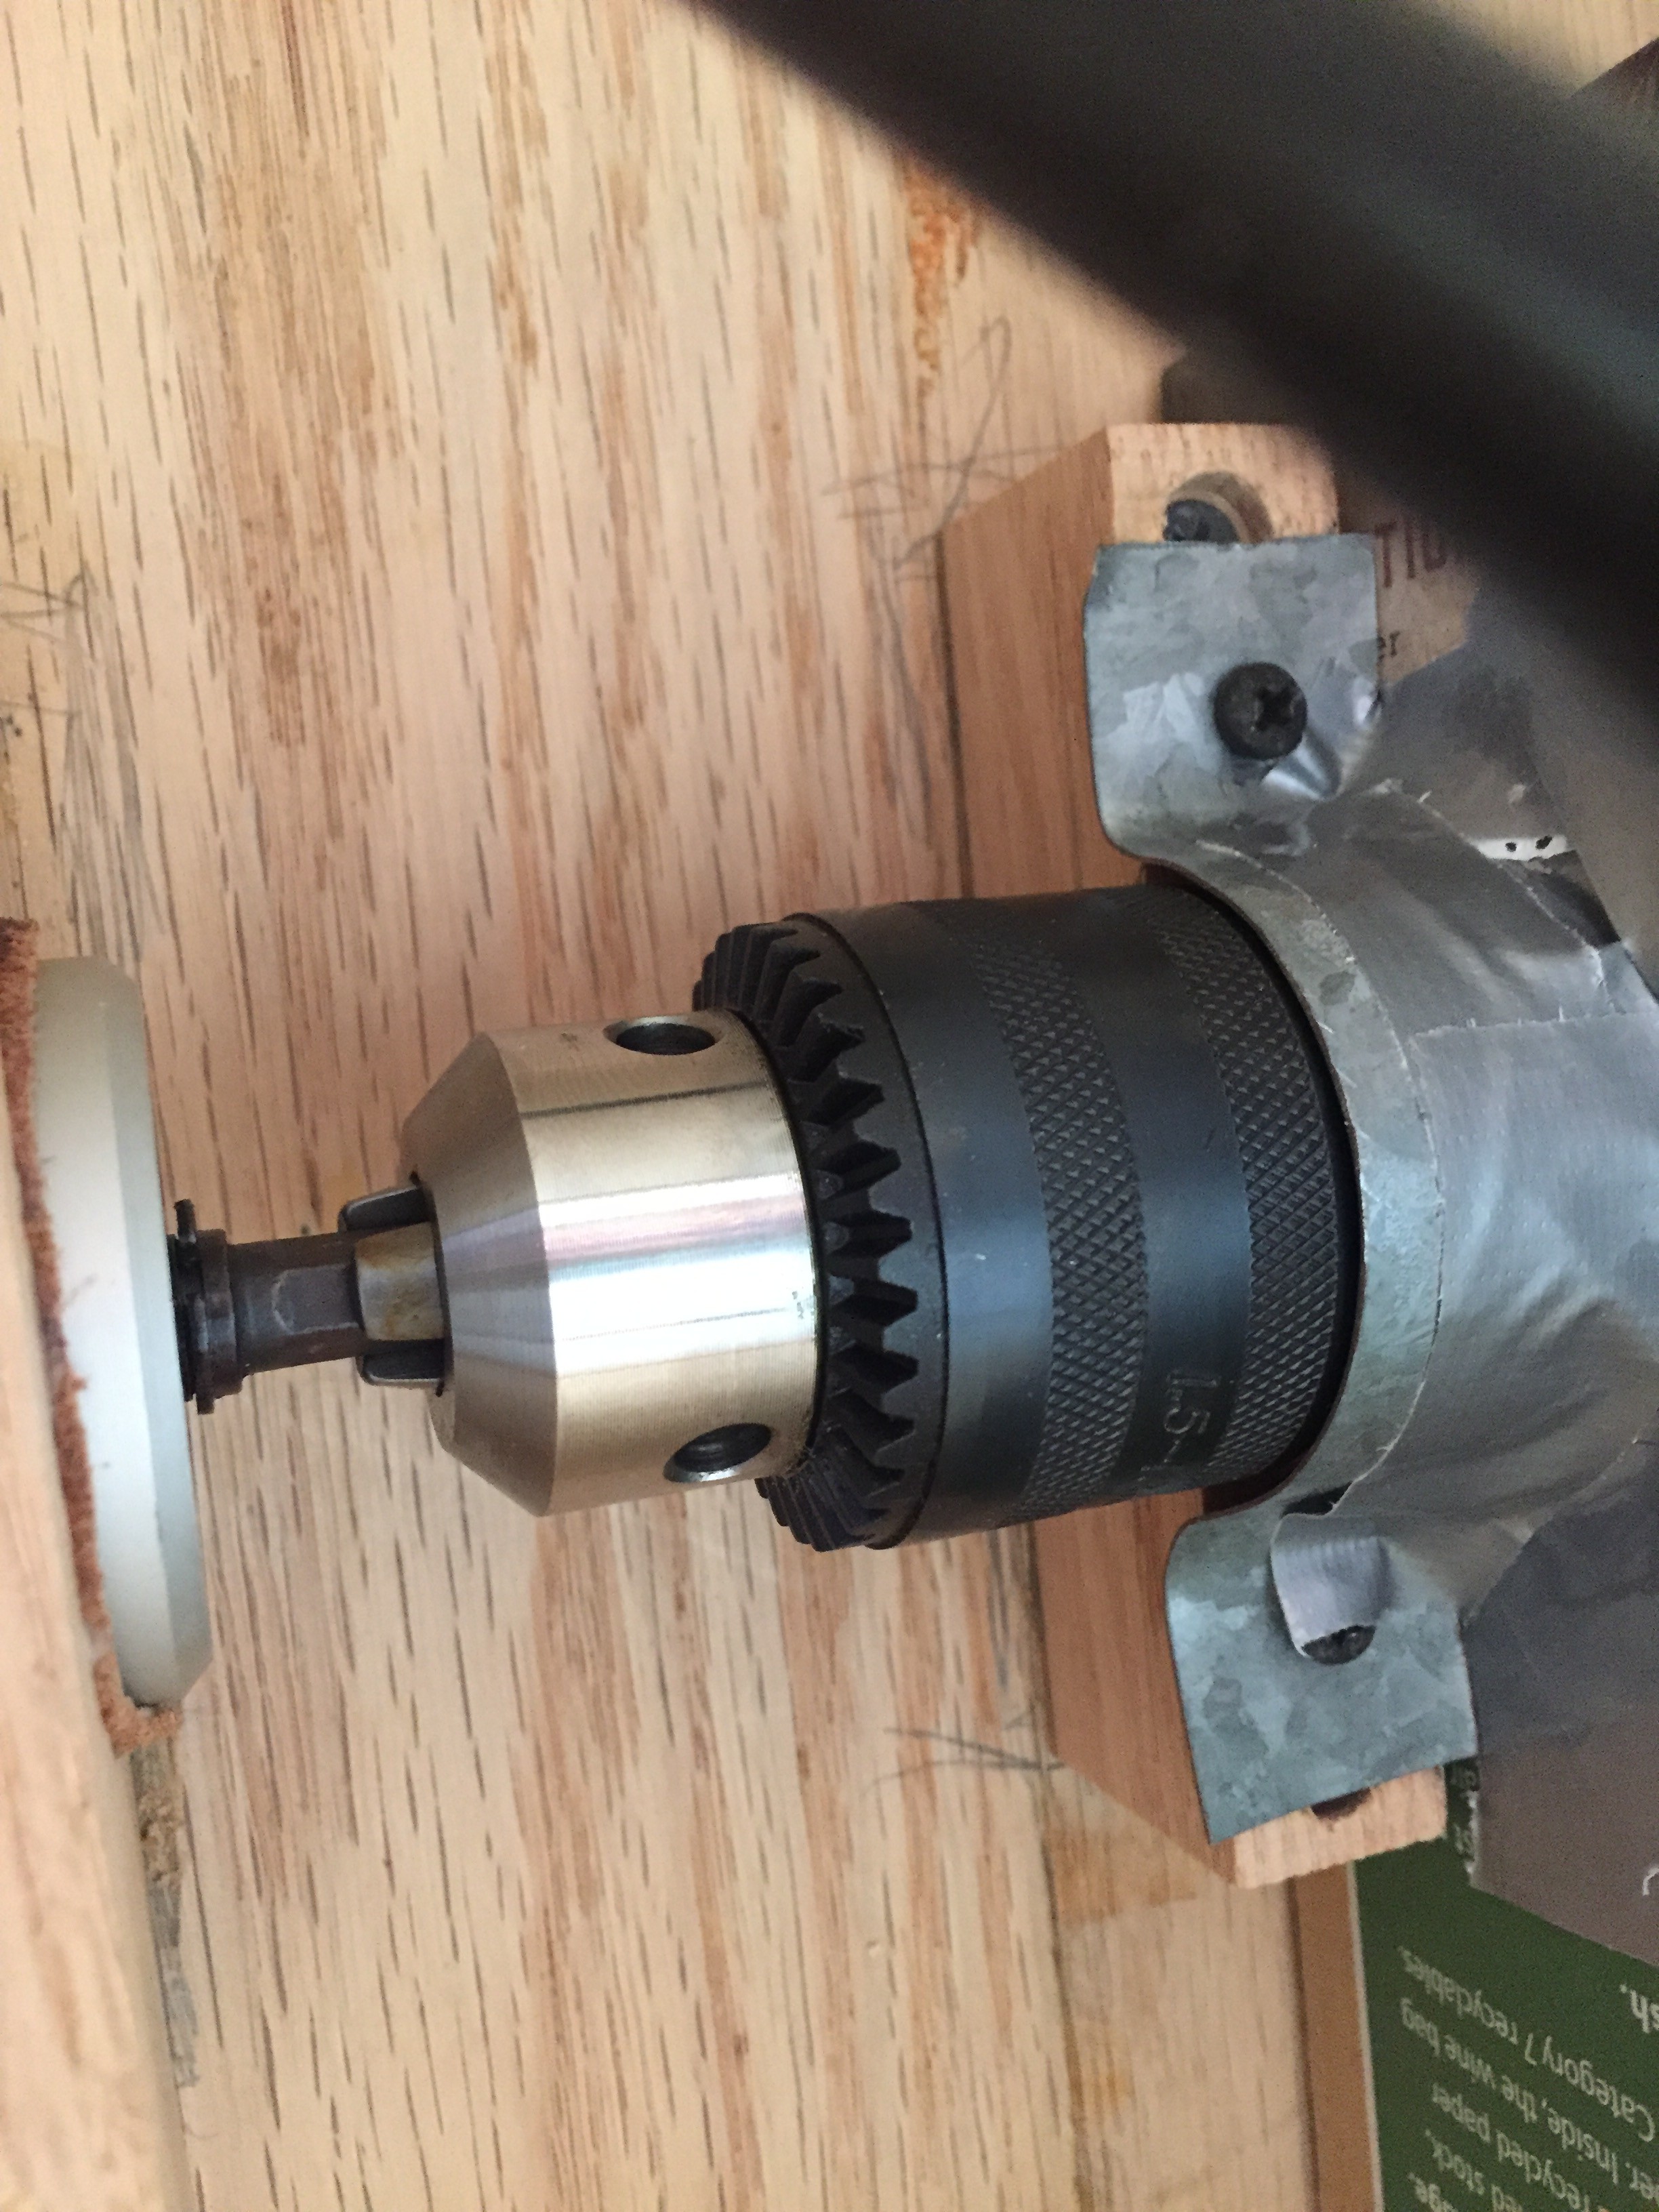
I mounted the drill using blocks of wood attached to the top then a metal strap screwed down to the mounting blocks.
![]()
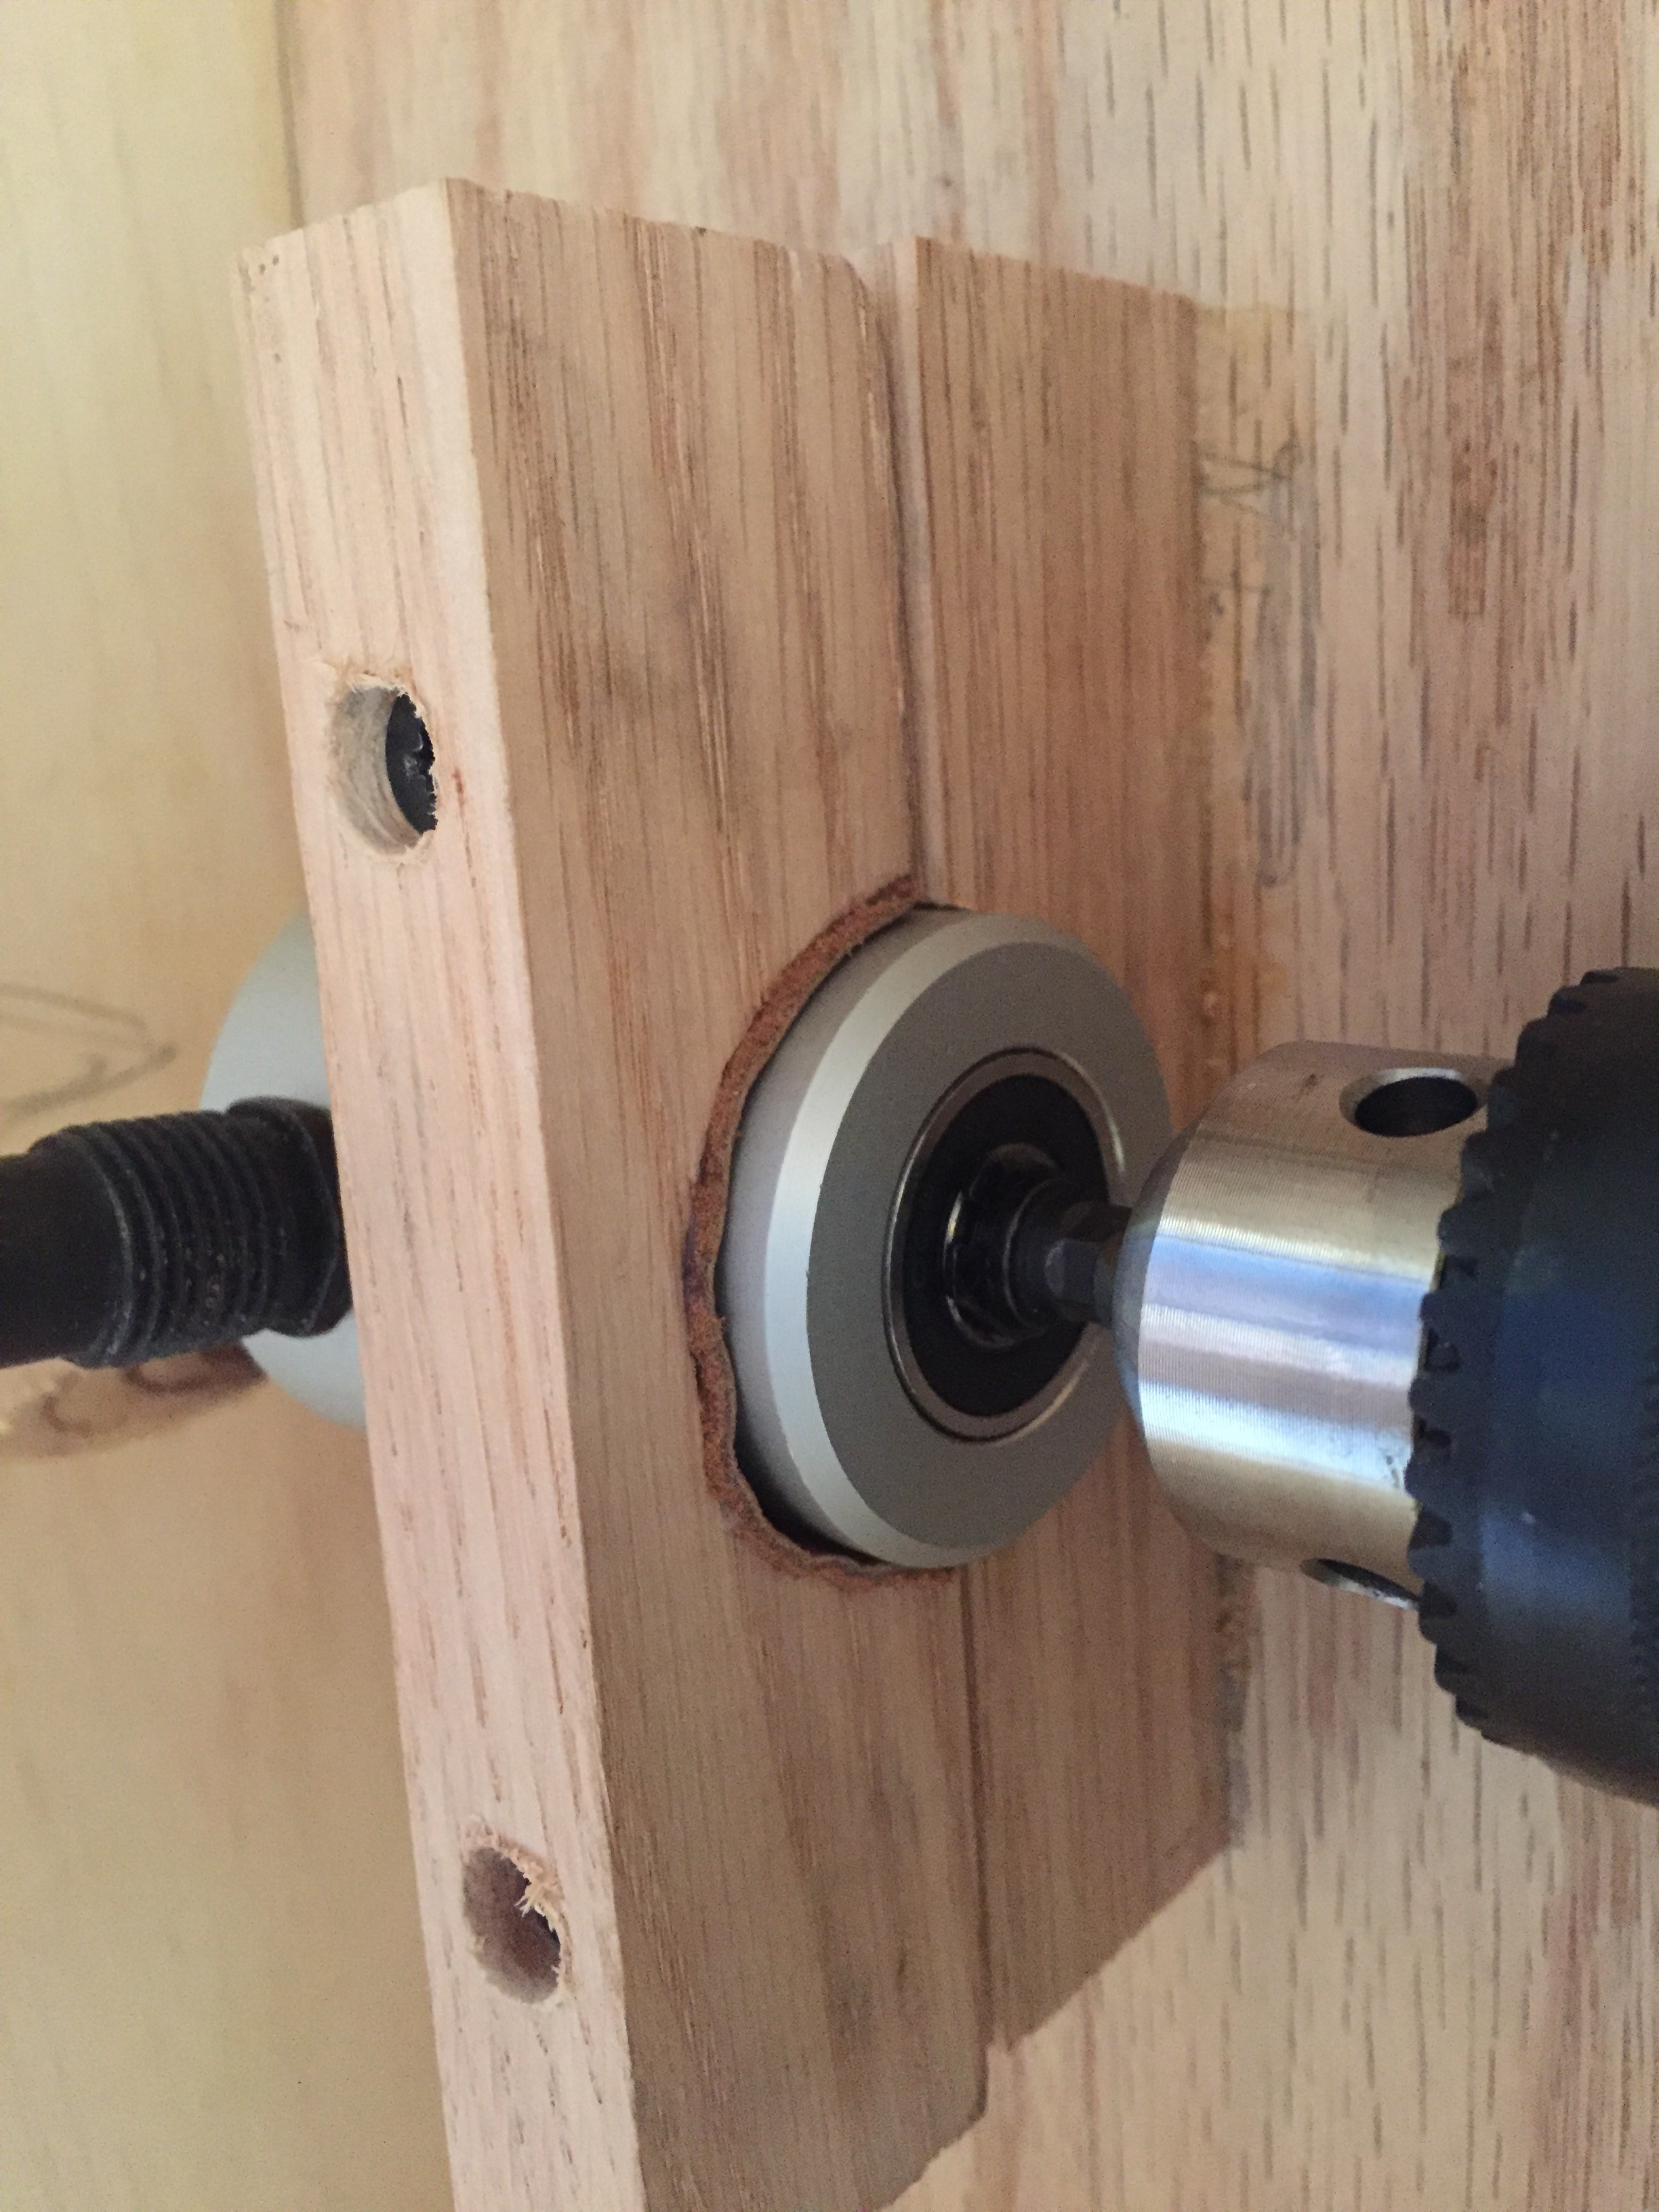
I mounted the nibbler the same way. I used a small strip of leather to make the clamp a little vibration resistant.
![]()
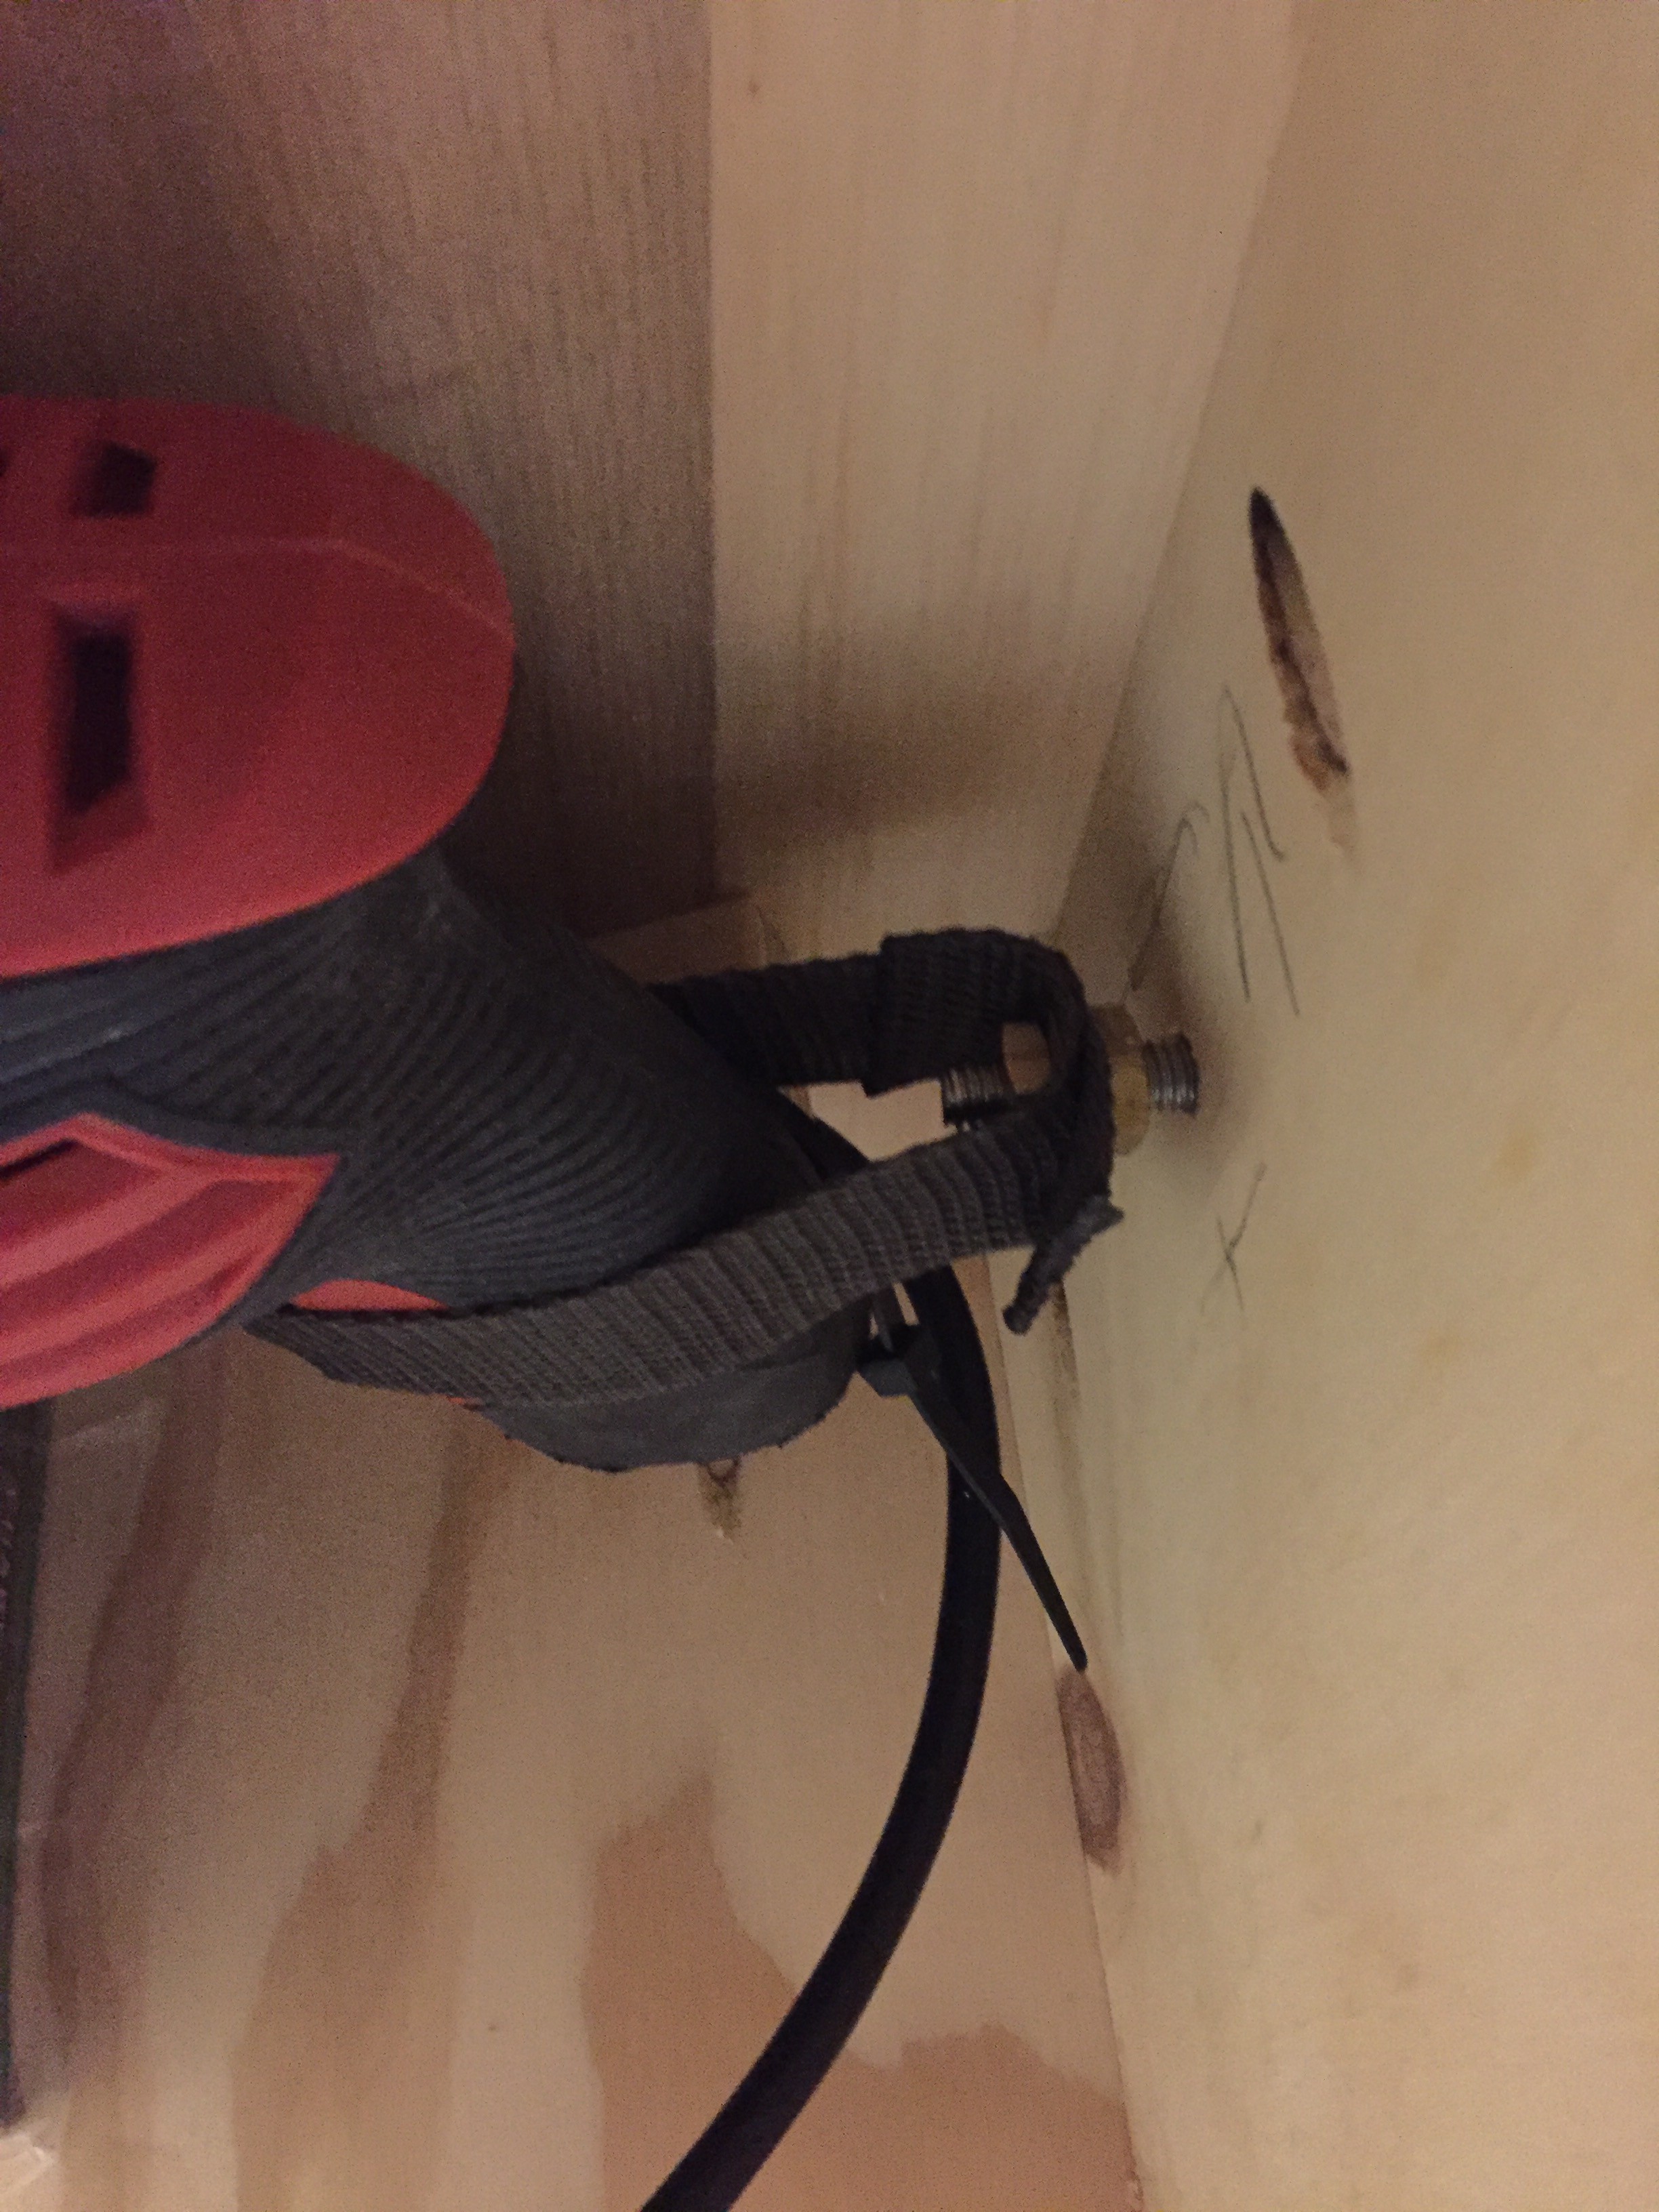
To build the variable speed I just used a piece of strapping, secured with some nuts, then a knob on the outside.
![]()
The strap is around the trigger. I melted a holt through the center of the two ends and secured the strap with two nuts on the end of a bolt. I am not doing anything on the inside to prevent the bolt from turning. This makes for a simple design and since there is not much friction here I didn't think it was necessary.
![]()
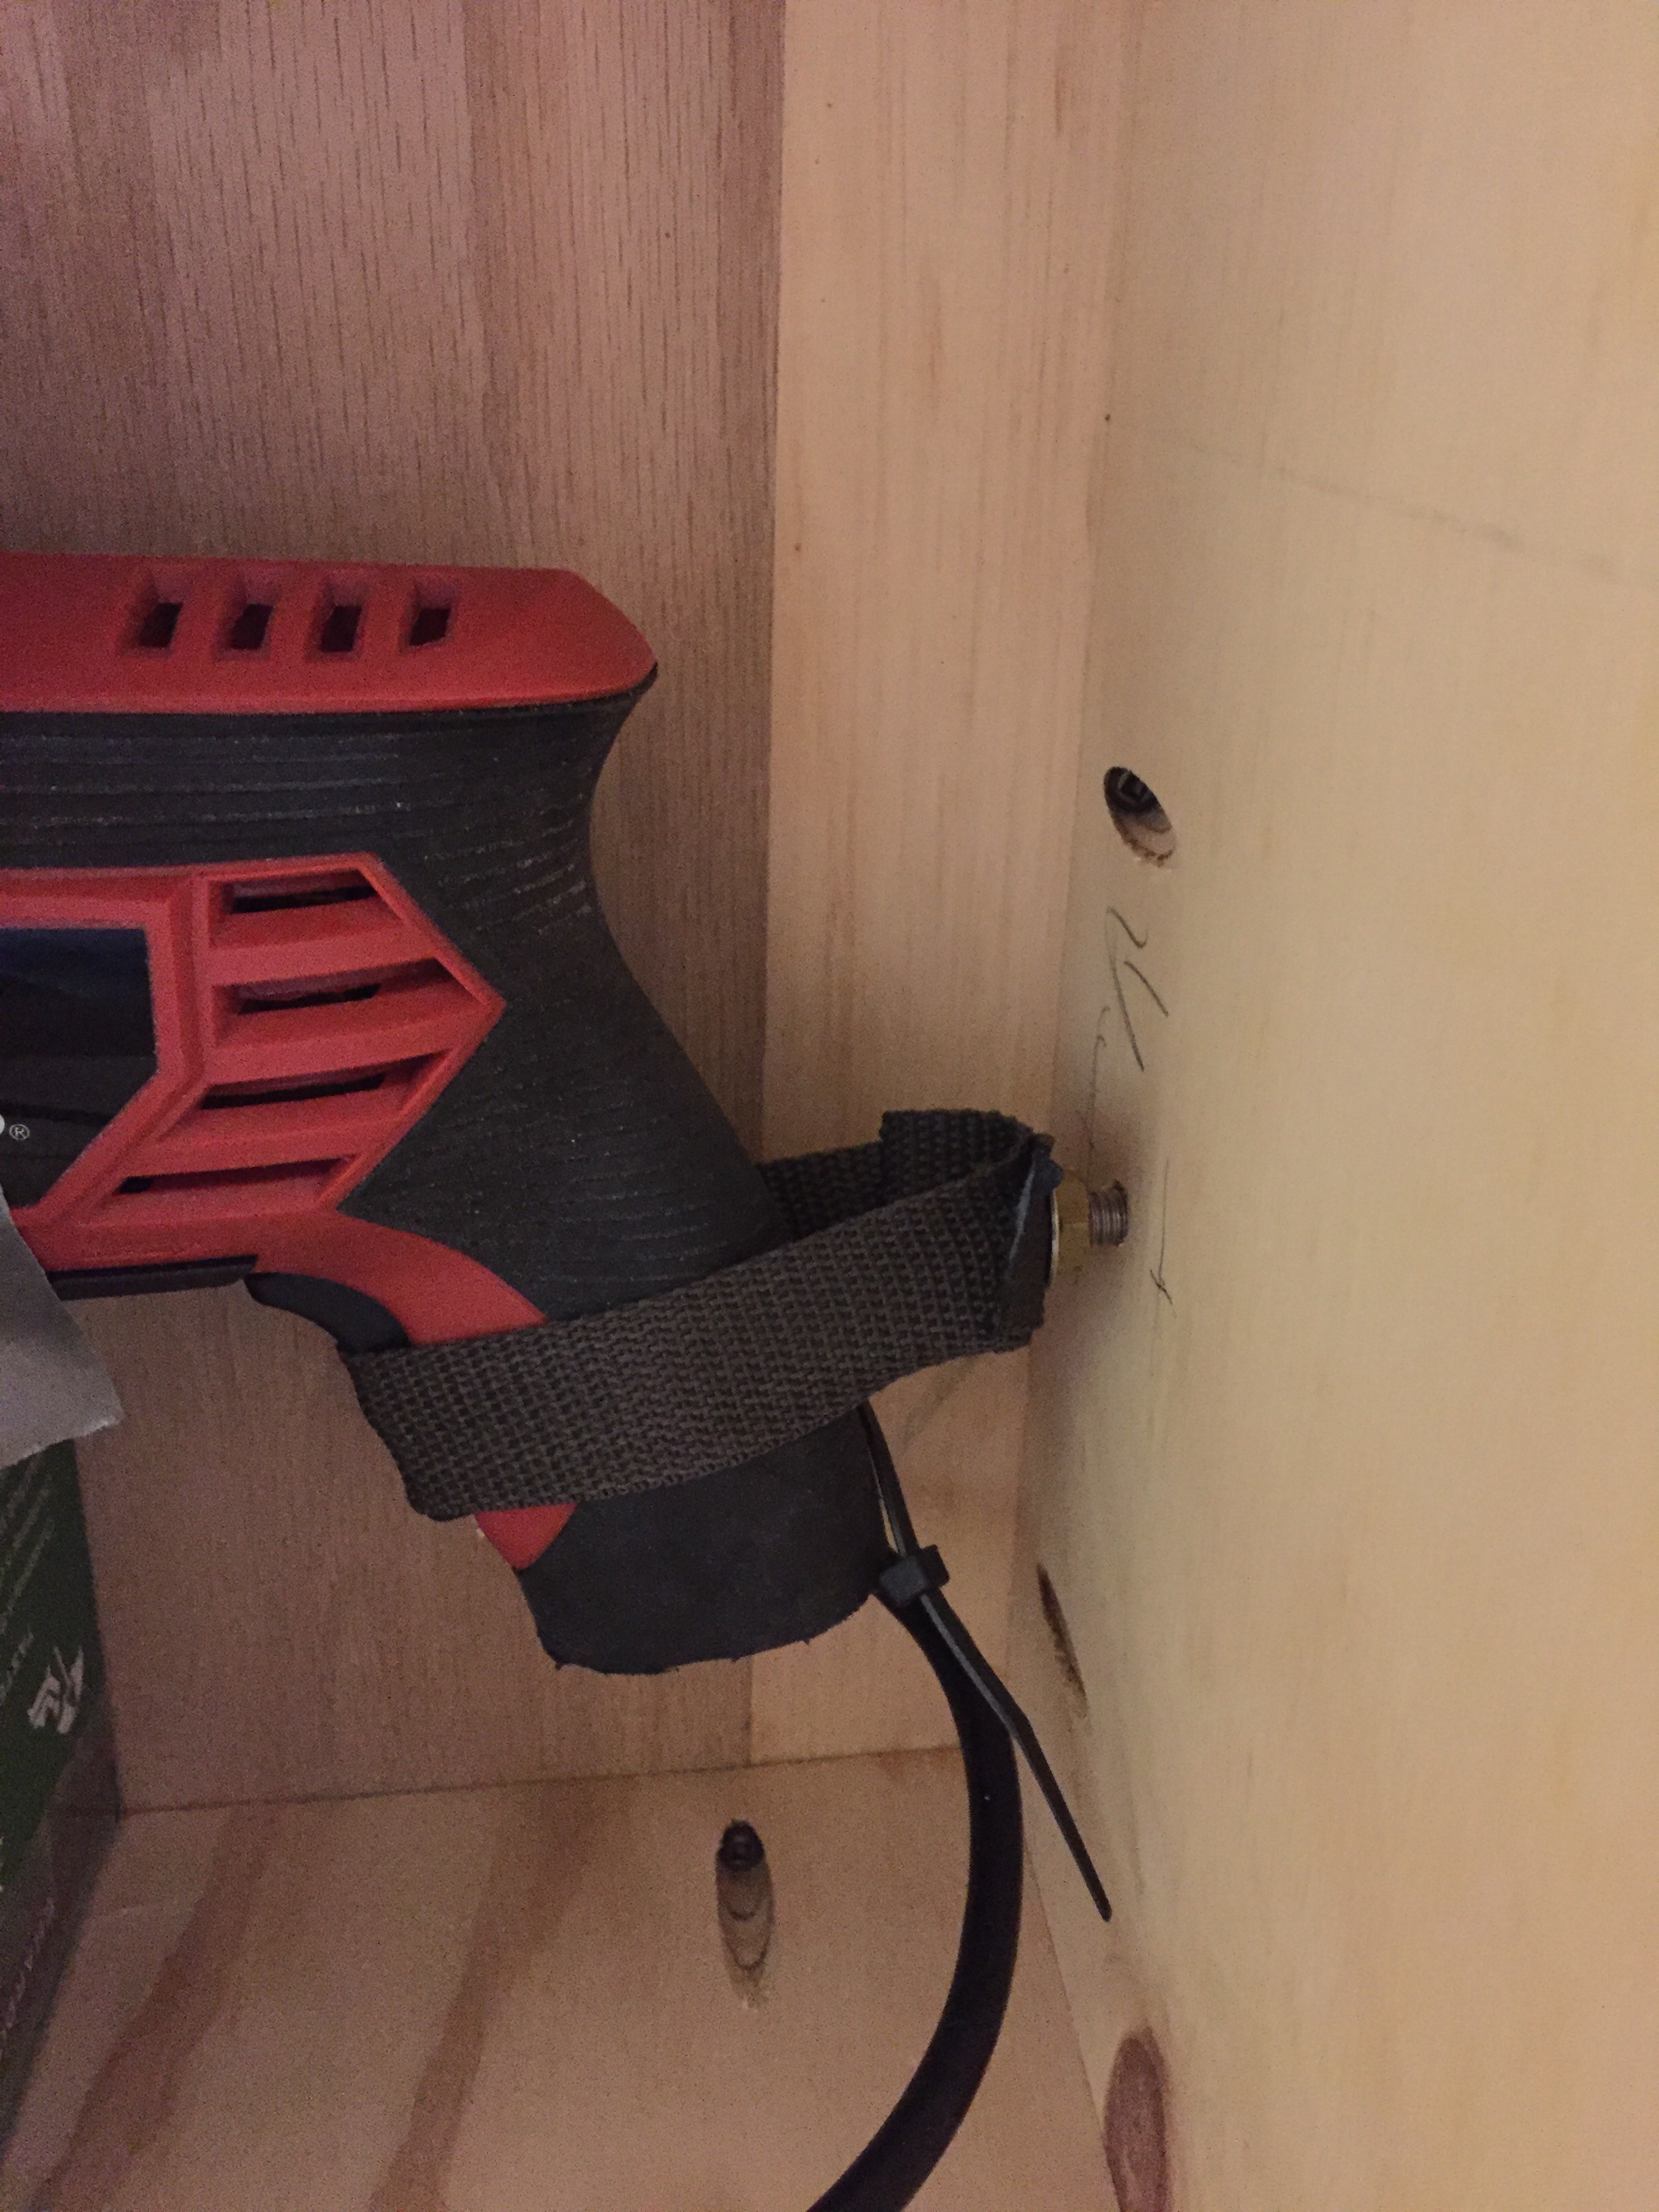
Here is a side view where you can see it pulling on the trigger. I was sure to place this in a position where it would always be pulling slightly up on the trigger so it wouldn't slip off.
![]()
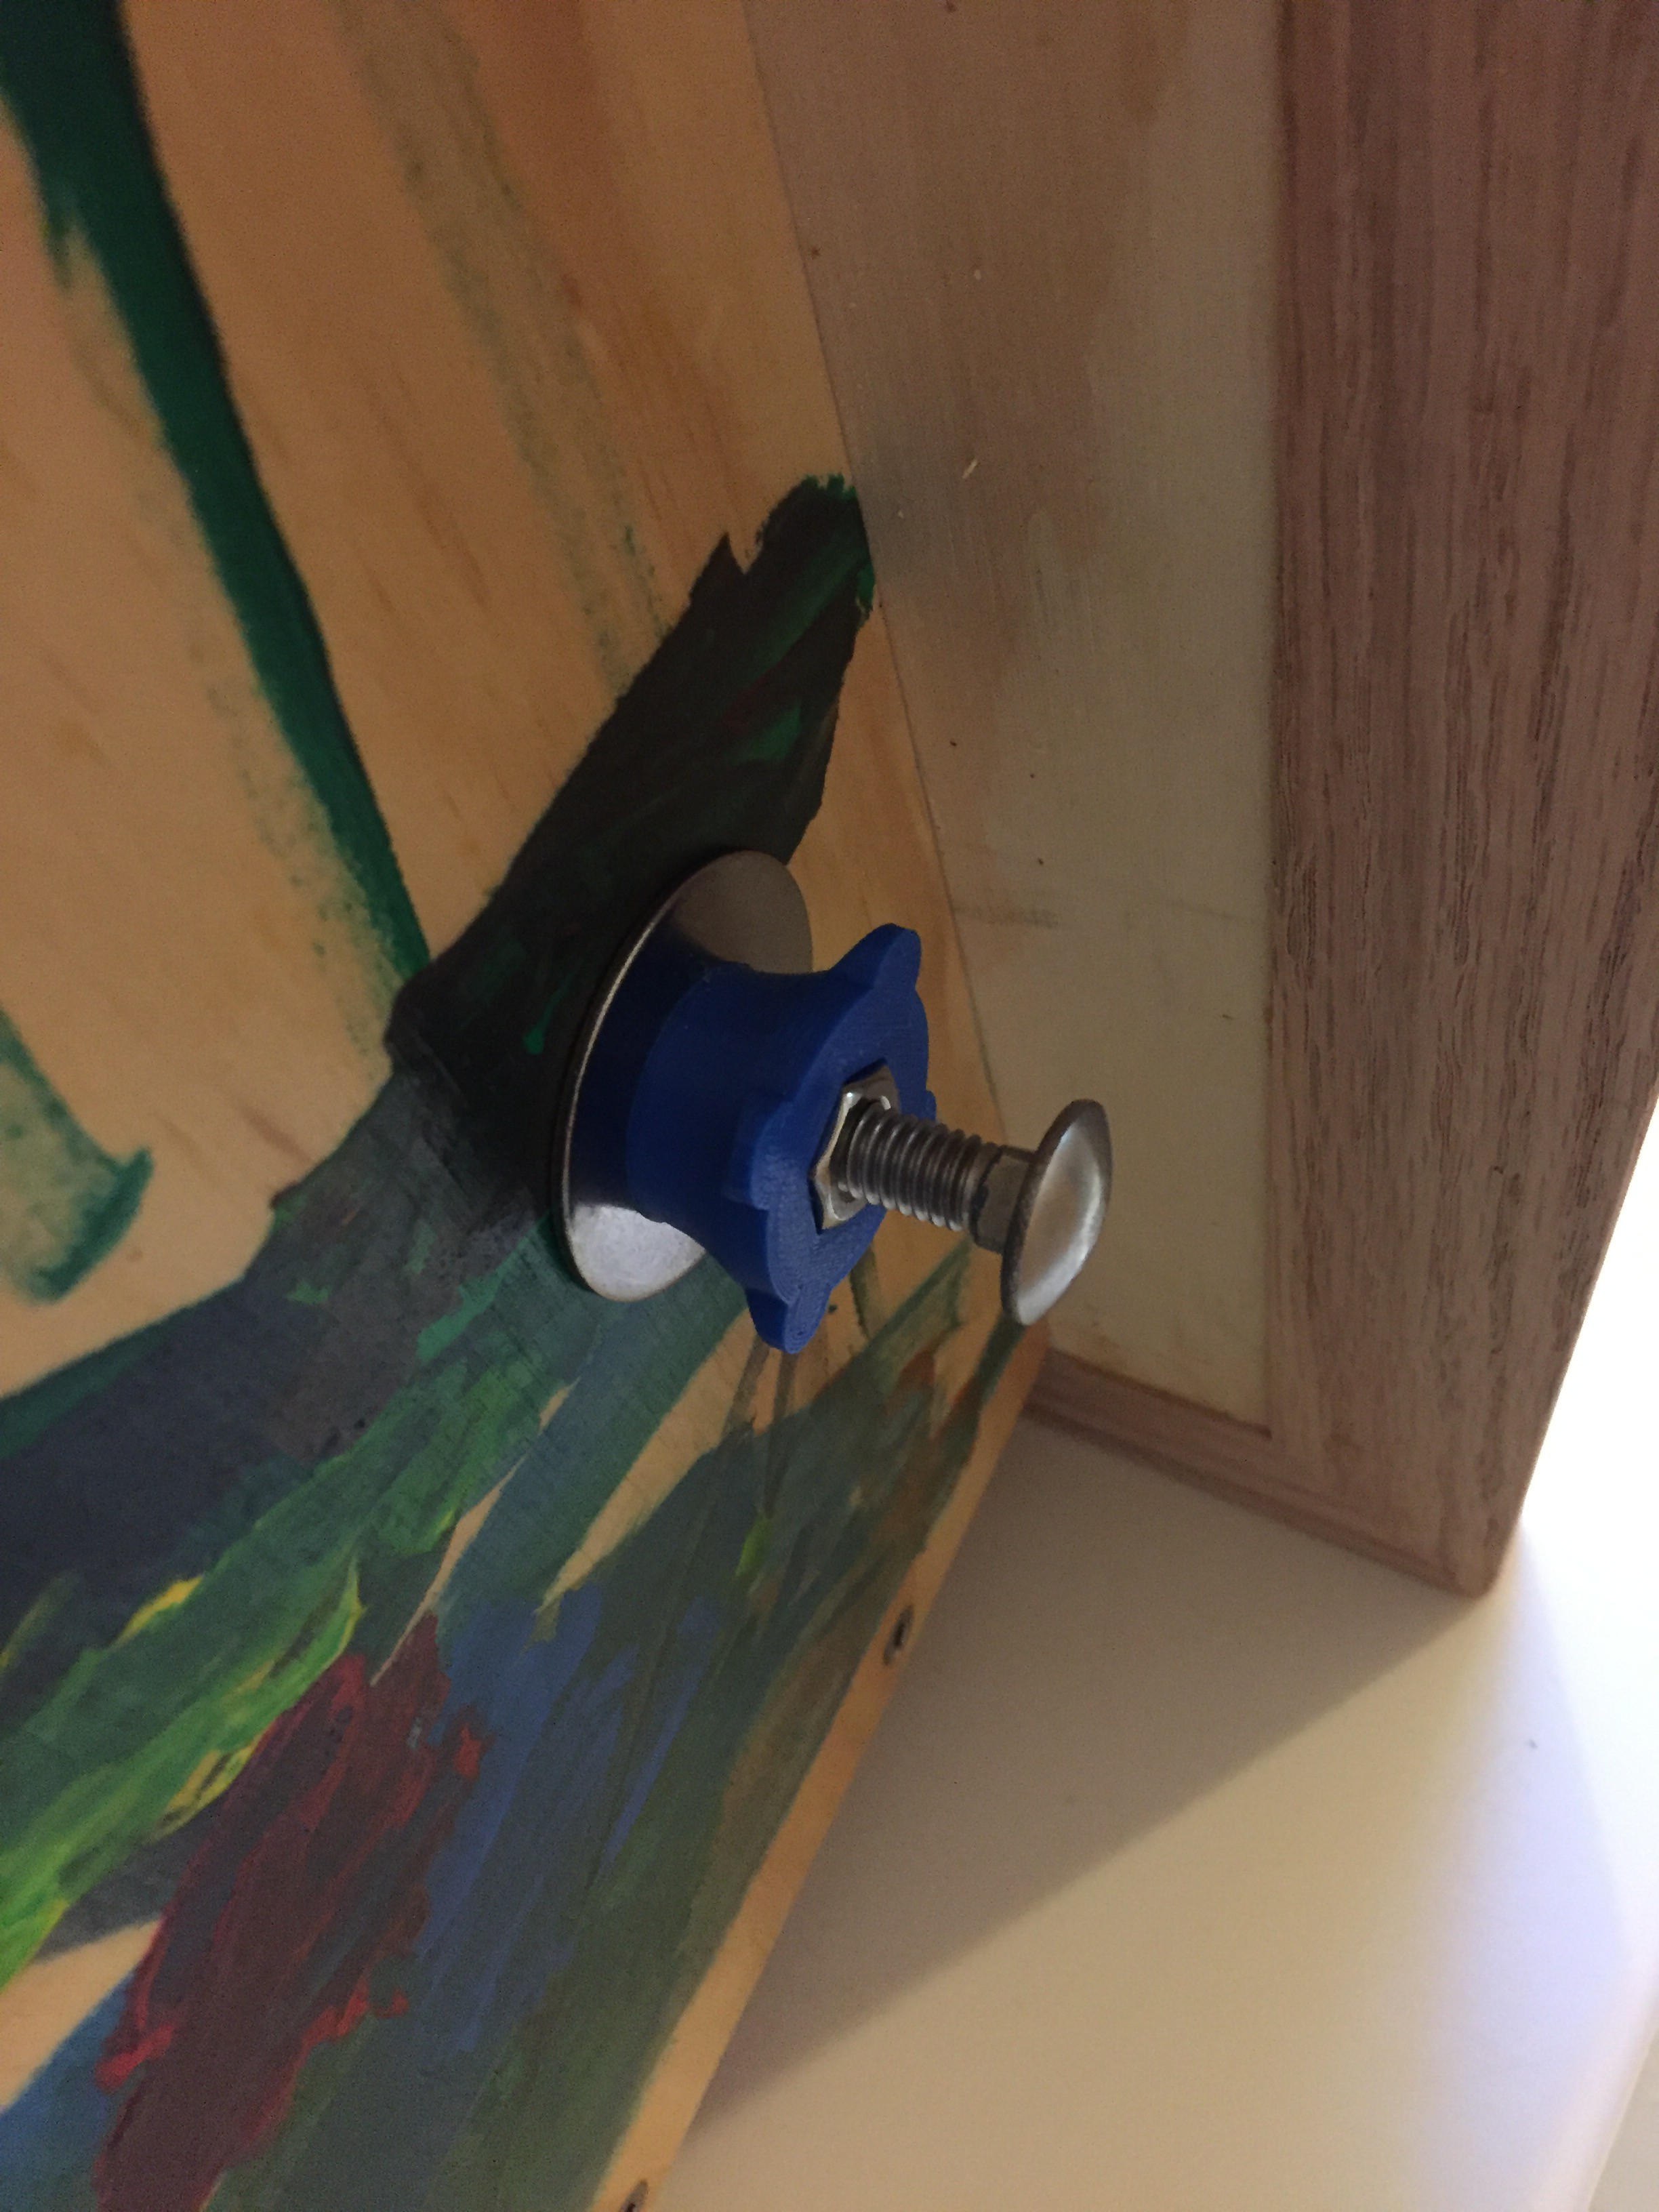
Here is the exterior. First is a washer to reduce friction, then I 3D printed a knob (in attachments) that I customized from https://www.thingiverse.com/thing:713300. (BTW, since I have started to learn OpenSCAD I do all of these customizations in OpenSCAD and not in the Thingiverse customizer. It is faster and you end of learning something new in the process!).
Note, I expose the carriage bolt end on the OUTSIDE. I did this so I didn't have to build anything on the inside to prevent it from turning, I could just hold it. There isn't enough friction anyway but it is just so much simpler to basically have just a strap and a knob.
Here is the variable speed in action:
-
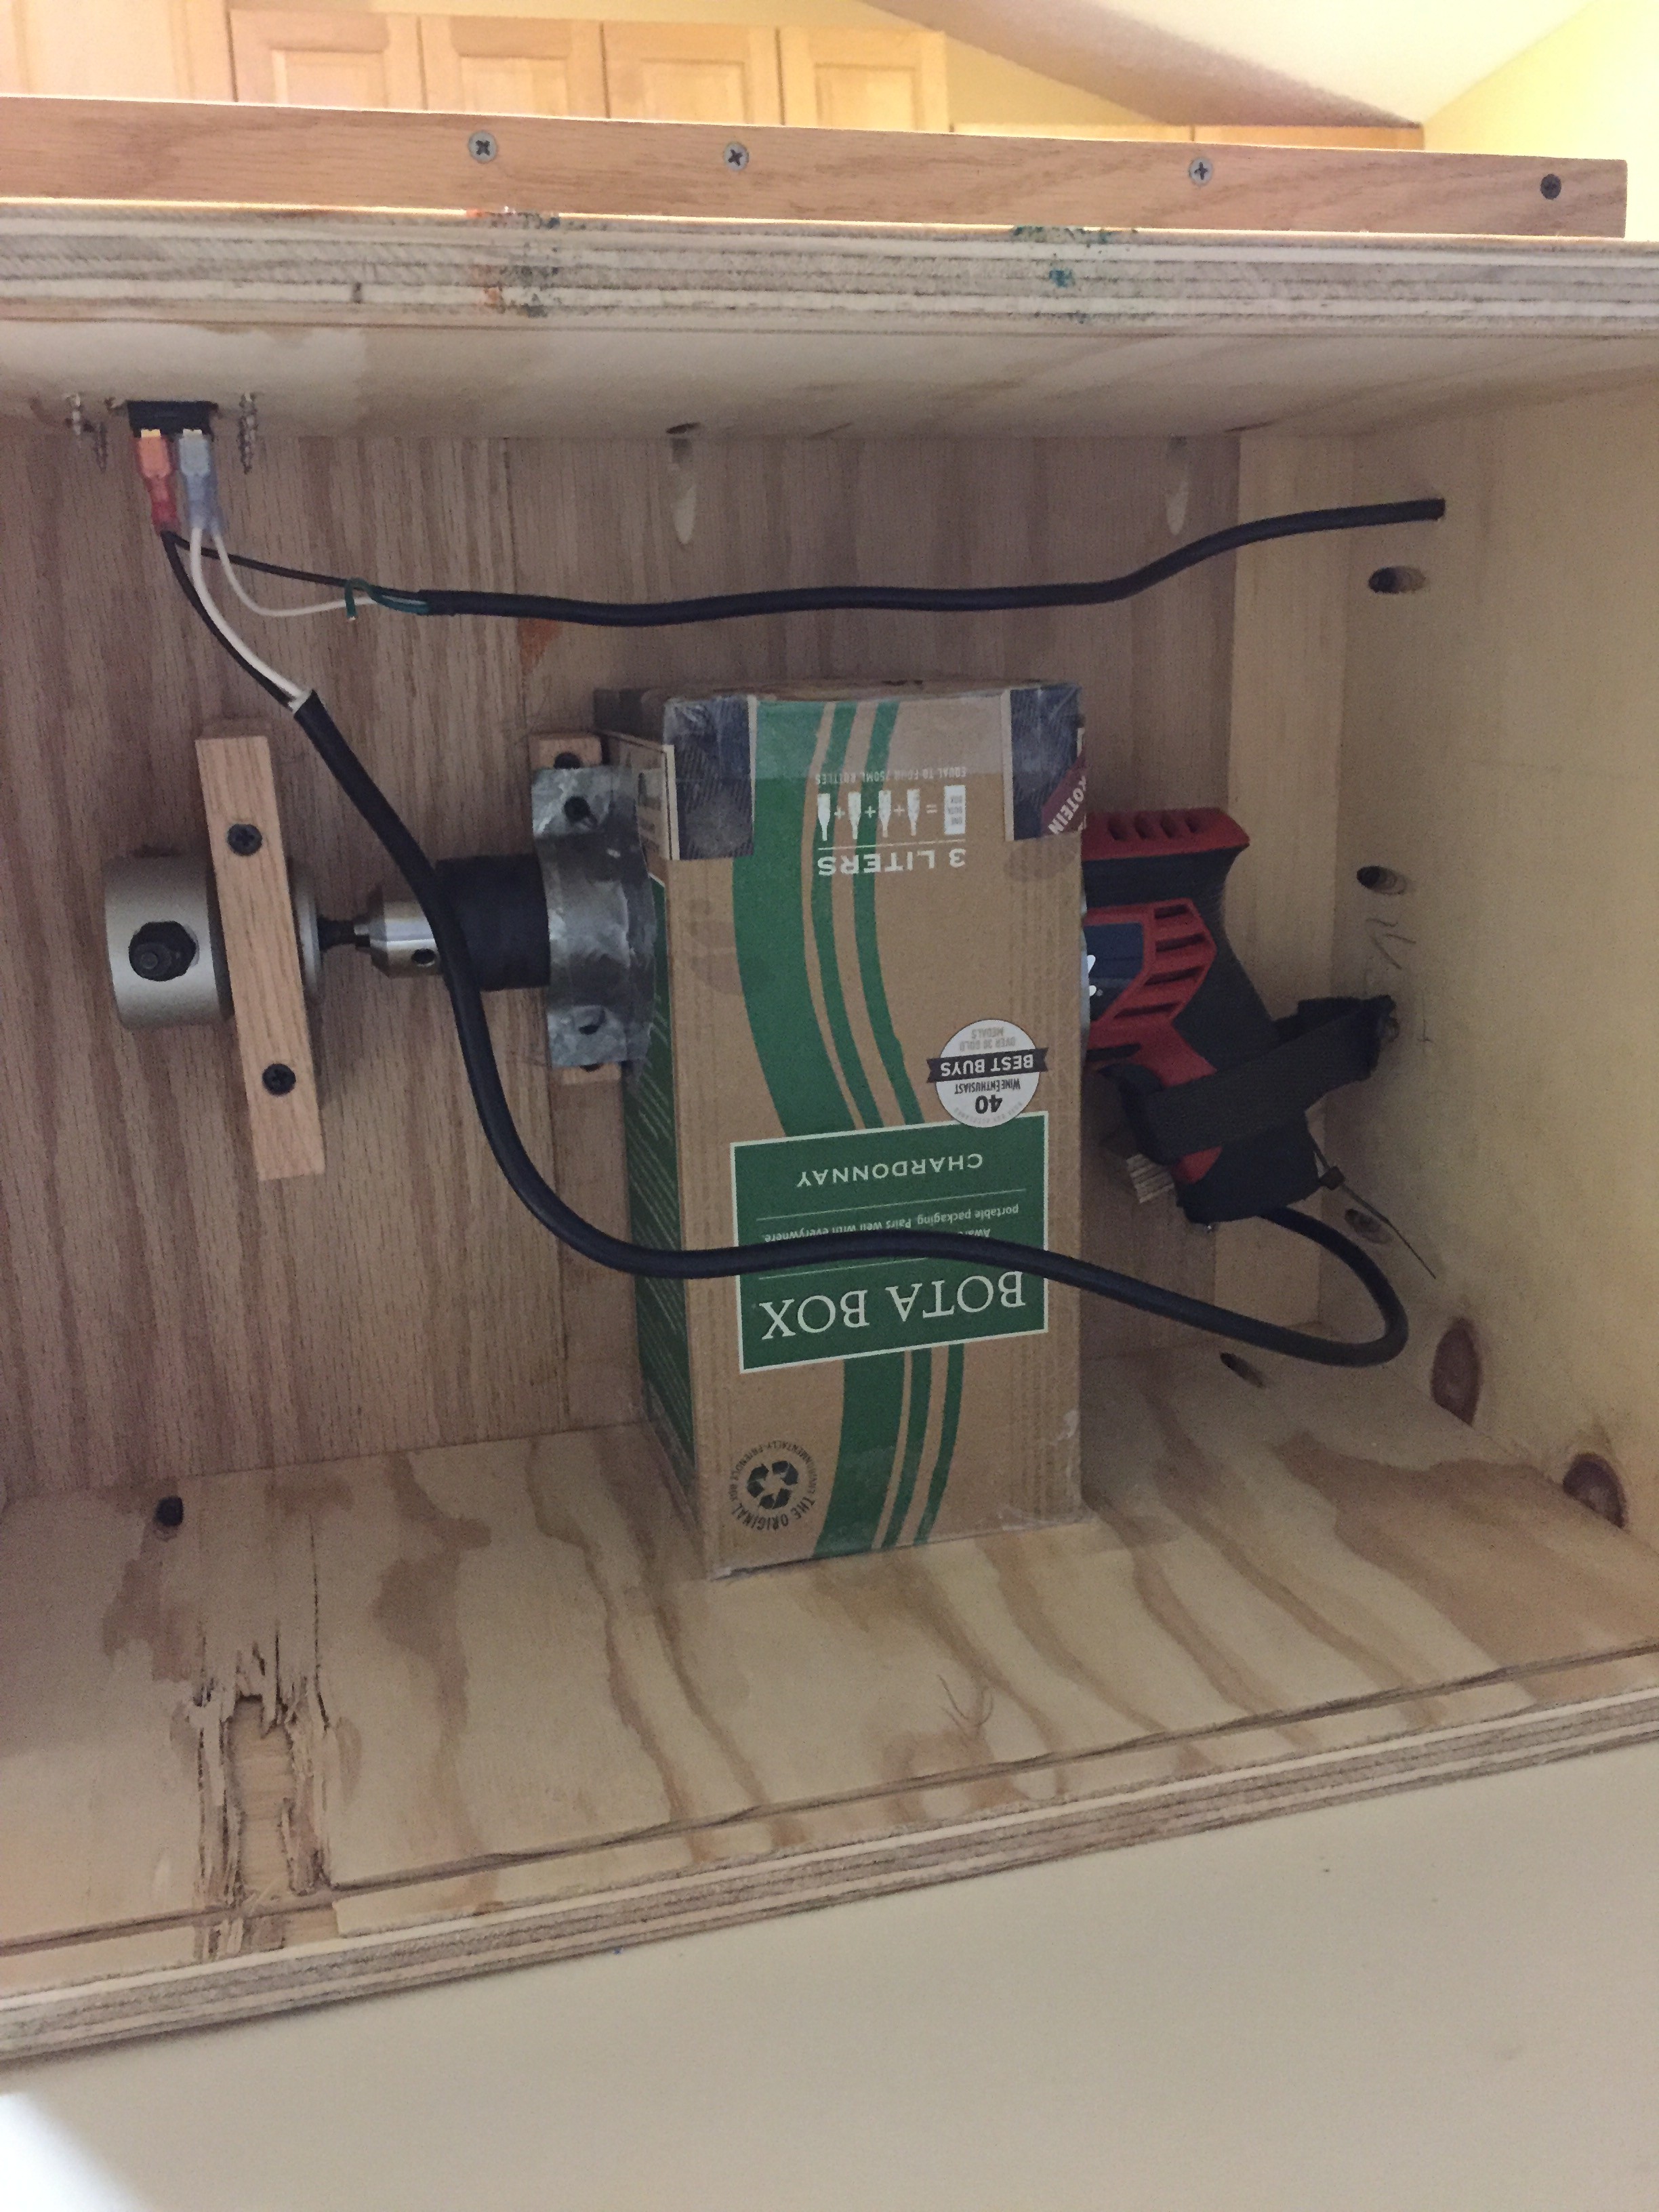
4Hot Air Exhaust
The simplest of changes was to add a hot air exhaust port and duct.
![]()
I chose Chardonnay because its oaky tones complemented the oak in the top. You can choose a nice red, just NOT MERLOT!
This may look large, but I wanted to make plenty of room as not to cause any pressure of strange airflow inside. A little duct tape to seal the edges and just a hole on the outside. (I will 3d print a vent grill at some point)
![]()
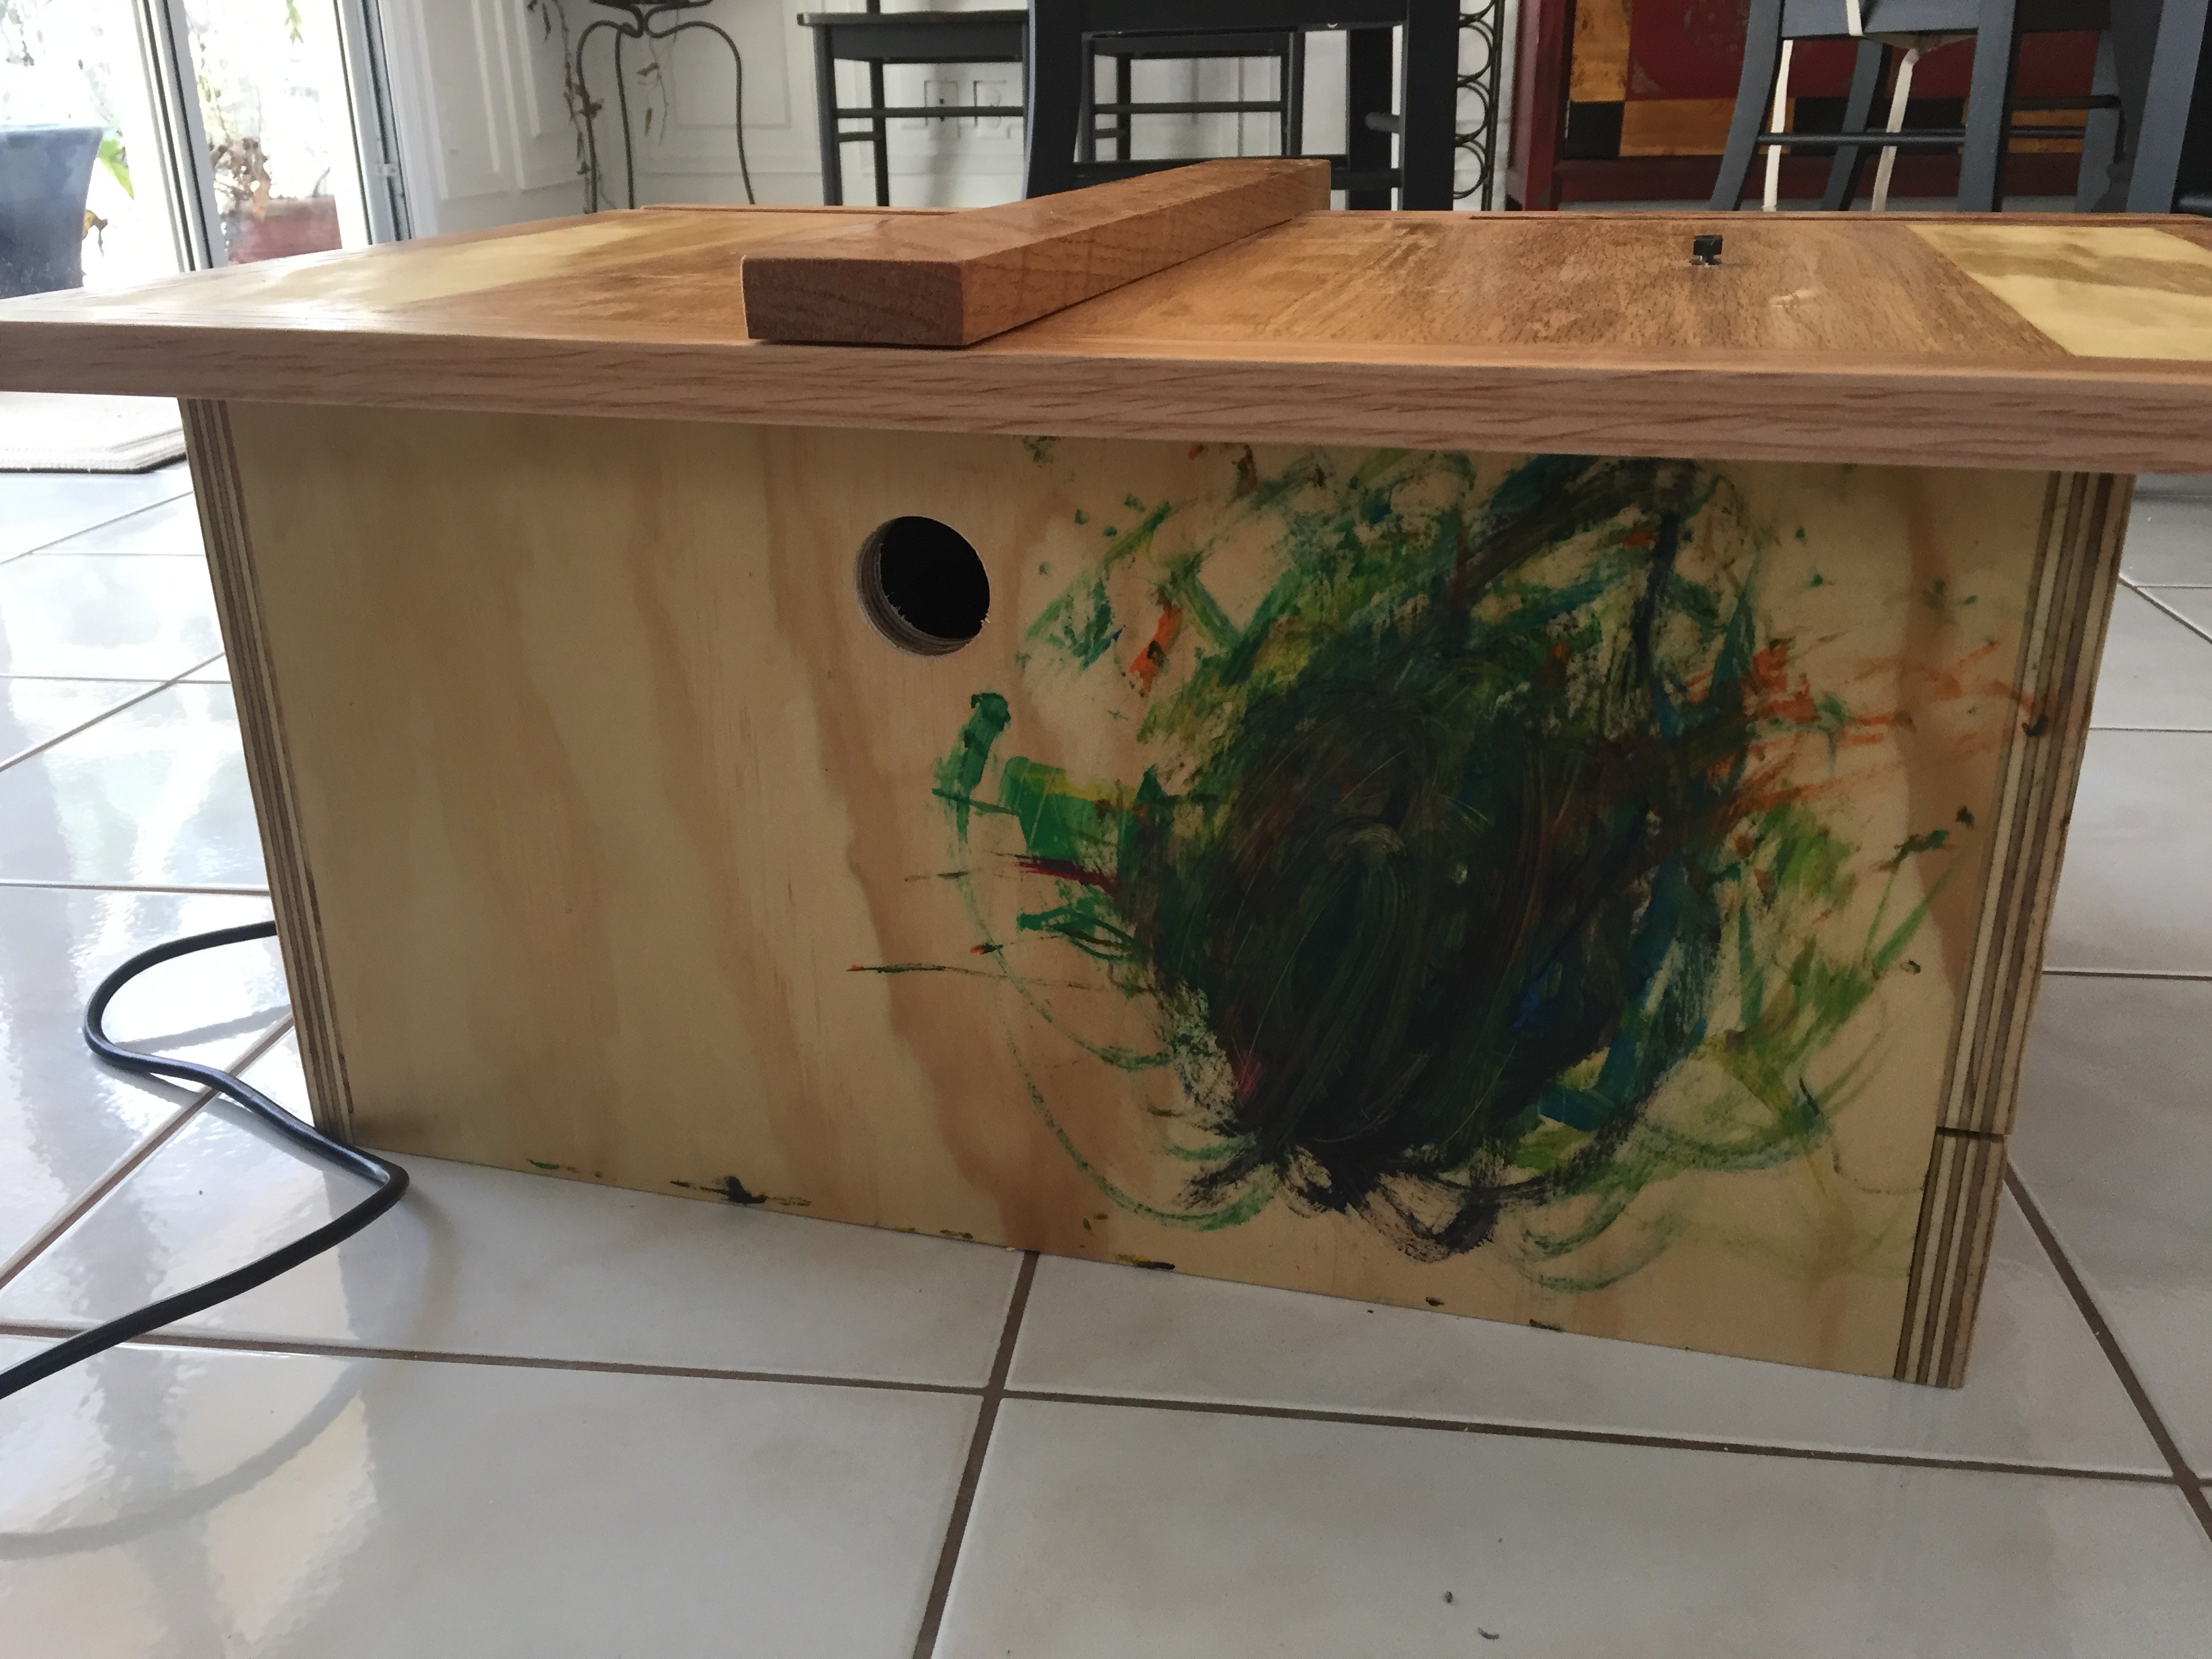
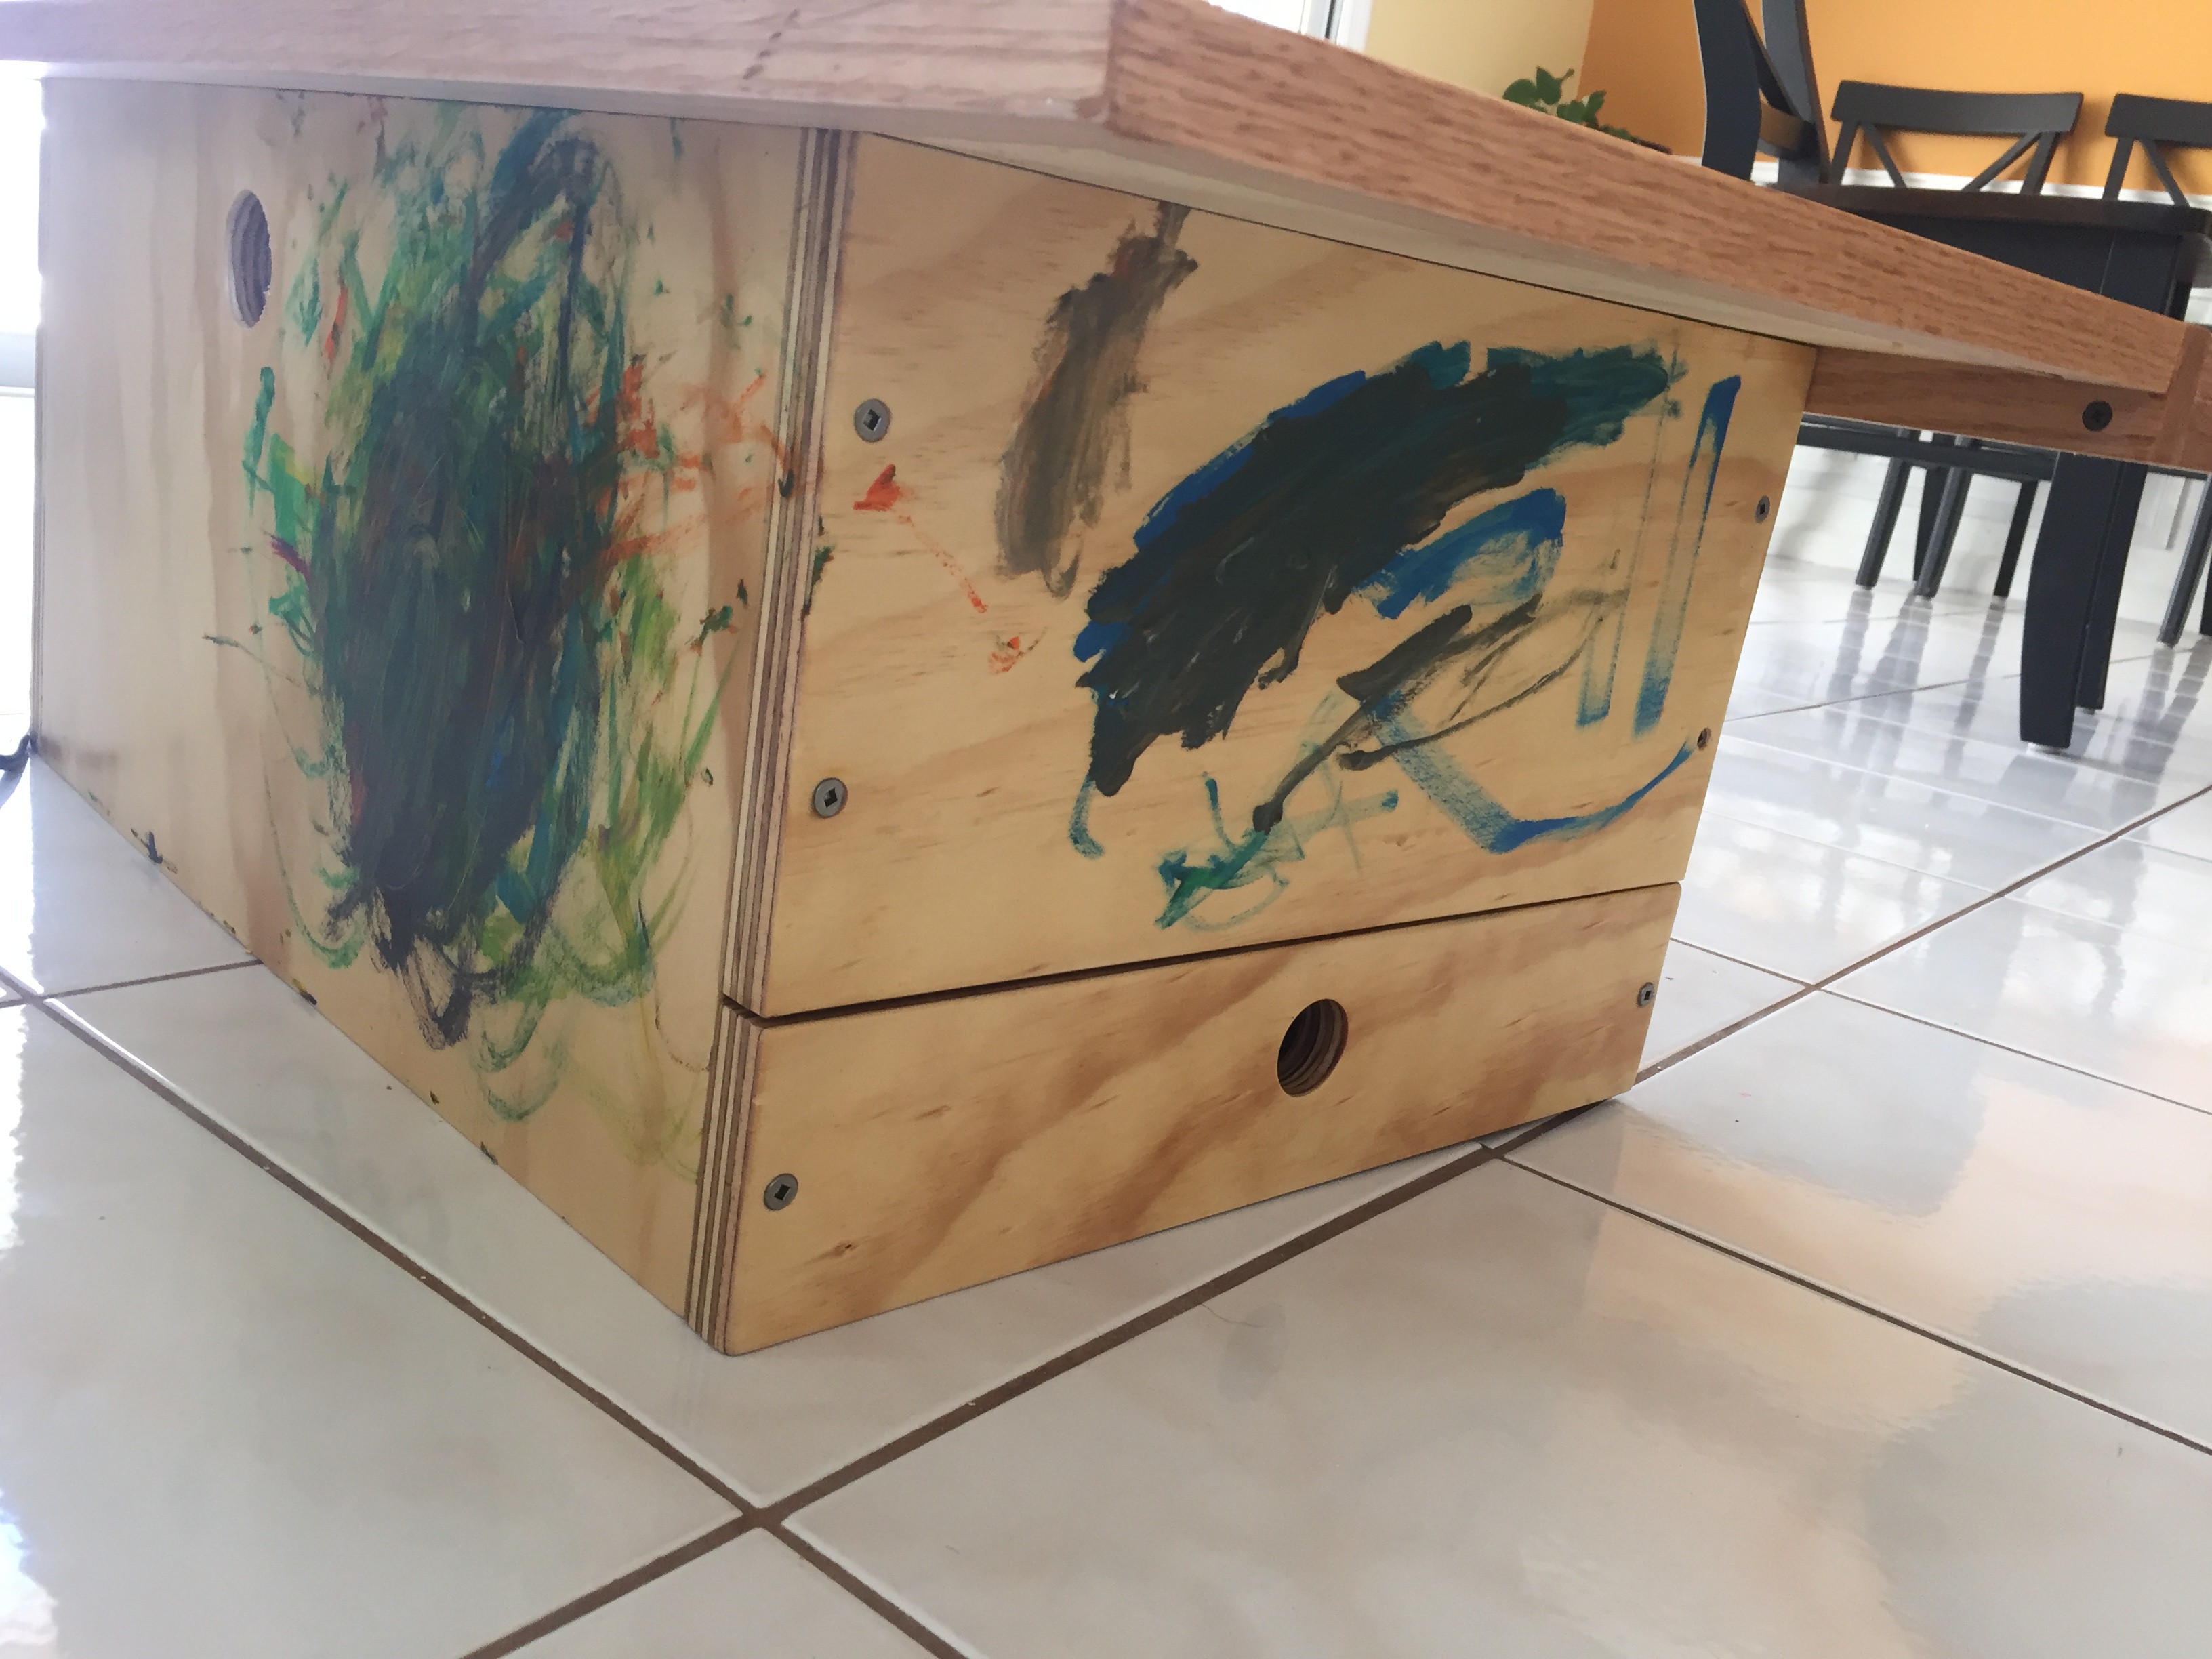
The air outlet hole could have been a tiny bit bigger (this is 1.5"), but works ok. The air intake is the hole in the drawer.
![]()
I also recommend letting your kids decorate! A coat of poly over the top will ensure that their masterpiece will be preserved for all time!

Discussions
Become a Hackaday.io Member
Create an account to leave a comment. Already have an account? Log In.