Close
0%
0%

Himnull - A Raspberry Pi E-Reader

Making an open source e-reader for less than $75.

Similar projects worth following
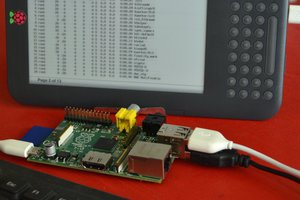
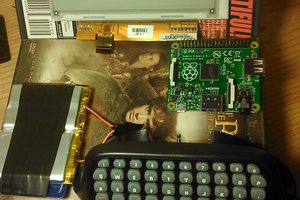
The end target of this project will be to make a simple e-reader with the powerful and open-source Raspberry Pi Zero as it's heart. For the foreseeable future it will be stuck to a breadboard though.

Still seems kind of crazy to me that the display alone costs more than three times as much as the processor.

I'll be using the 6 inch ED060SC4 e-paper display (EPD)(electrophoretic display), a.k.a. the kindle replacement screen, because there is a lot of information on it. I'd prefer an 8 inch screen so that is definitely a stretch target. In the first revision I plan to drive the EPD directly with Raspberry Pi's GPIO pins. Once that is working I'll have enough knowledge of the display to make an fpga driver for it that is SPI addressable. With an FPGA driver I plan to implement 1,2,3 and 4 bit colour depth.

The software will probably be written in processing.py due to support for the raspberry pi and the ease of creating a GUI. Secondary choice would be processing in Java mode.

I plan to use a 10000mAh battery so that it won't need to be charged very often.

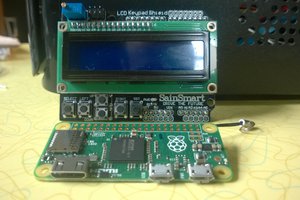
The raspberry pi for this project will be the zero (RPZ) due to low power consumption and suitable form factor. Also, the USB-OTG port will allow me to make the pi read as flash drive which will make transferring files a lot easier.

  • Slow progress

    repkid11/02/2016 at 16:46 0 comments

    The progress has been rather slow this past week due to exams. Anyway, after some research I came to the conclusion that: the RPZ can't toggle its IO pins from within Processing fast enough to drive the EPD, writing an entire E-book software package is a tad ambitious and an ARM controller makes a decent alpha prototype driver for the EPD.

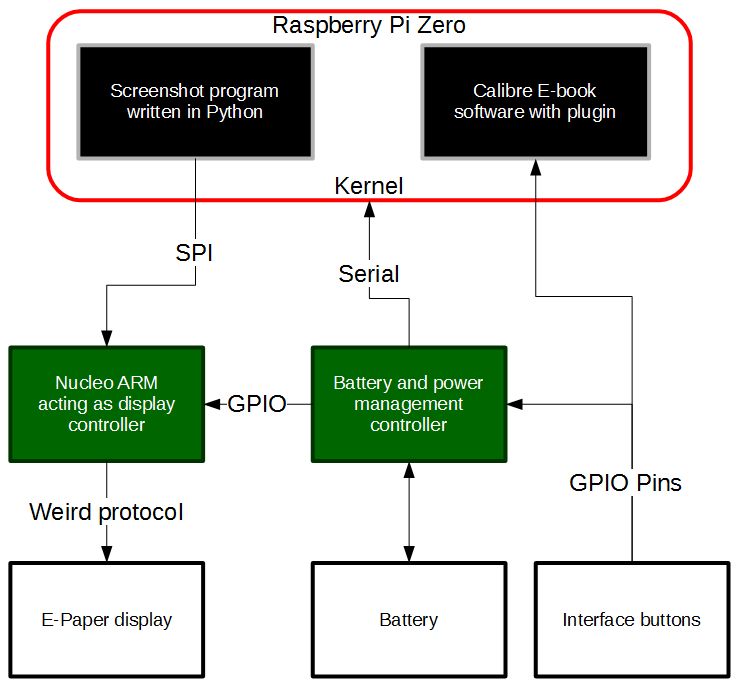
    To present this visually this is now the new plan:

    Let's break this down shall we?

    The screenshot program on the RPZ basically takes a screenshot with python-webkit2png, then it reads the .png, applies a filter to convert to black and white (for now) and then sends this over SPI to the display controller.

    The display controller shall be programmed in C because this is a language I am good with and basically pushes the incoming SPI data to the screen in the WP (weird protocol). The GPIO connection from the power management controller is basically a shutdown/low power mode command.

    The power management controller keeps an eye on battery levels and sends a shutdown command over serial to the RPZ when the user turns the device of or the battery levels are low. This will be using an Arduino for now but the final product will use a more low power microcontroller. After all, it doesn't need to be powerful.

    The interface buttons consist of a power switch, forward and backward switches and menu navigation switches. Nothing exciting.

    The star of the show is Calibre, an all-in e-book package, we'll just be using the e-book viewer. Because the interface isn't what I want (too many colours and buttons that rely on a mouse/touchscreen input) I am going to write a plugin (also Python) that accepts GPIO inputs and simplifies the display. In case I can't get Calibre to accept GPIO inputs I will write another program to run on the RPZ that converts GPIO inputs to key presses, and Calibre will simply respond to these "hotkeys".

    All of the programs on the RPZ will be started with a daemon so that restarting the device automatically opens them.

  • PCB now fab house ready

    repkid10/15/2016 at 11:34 0 comments

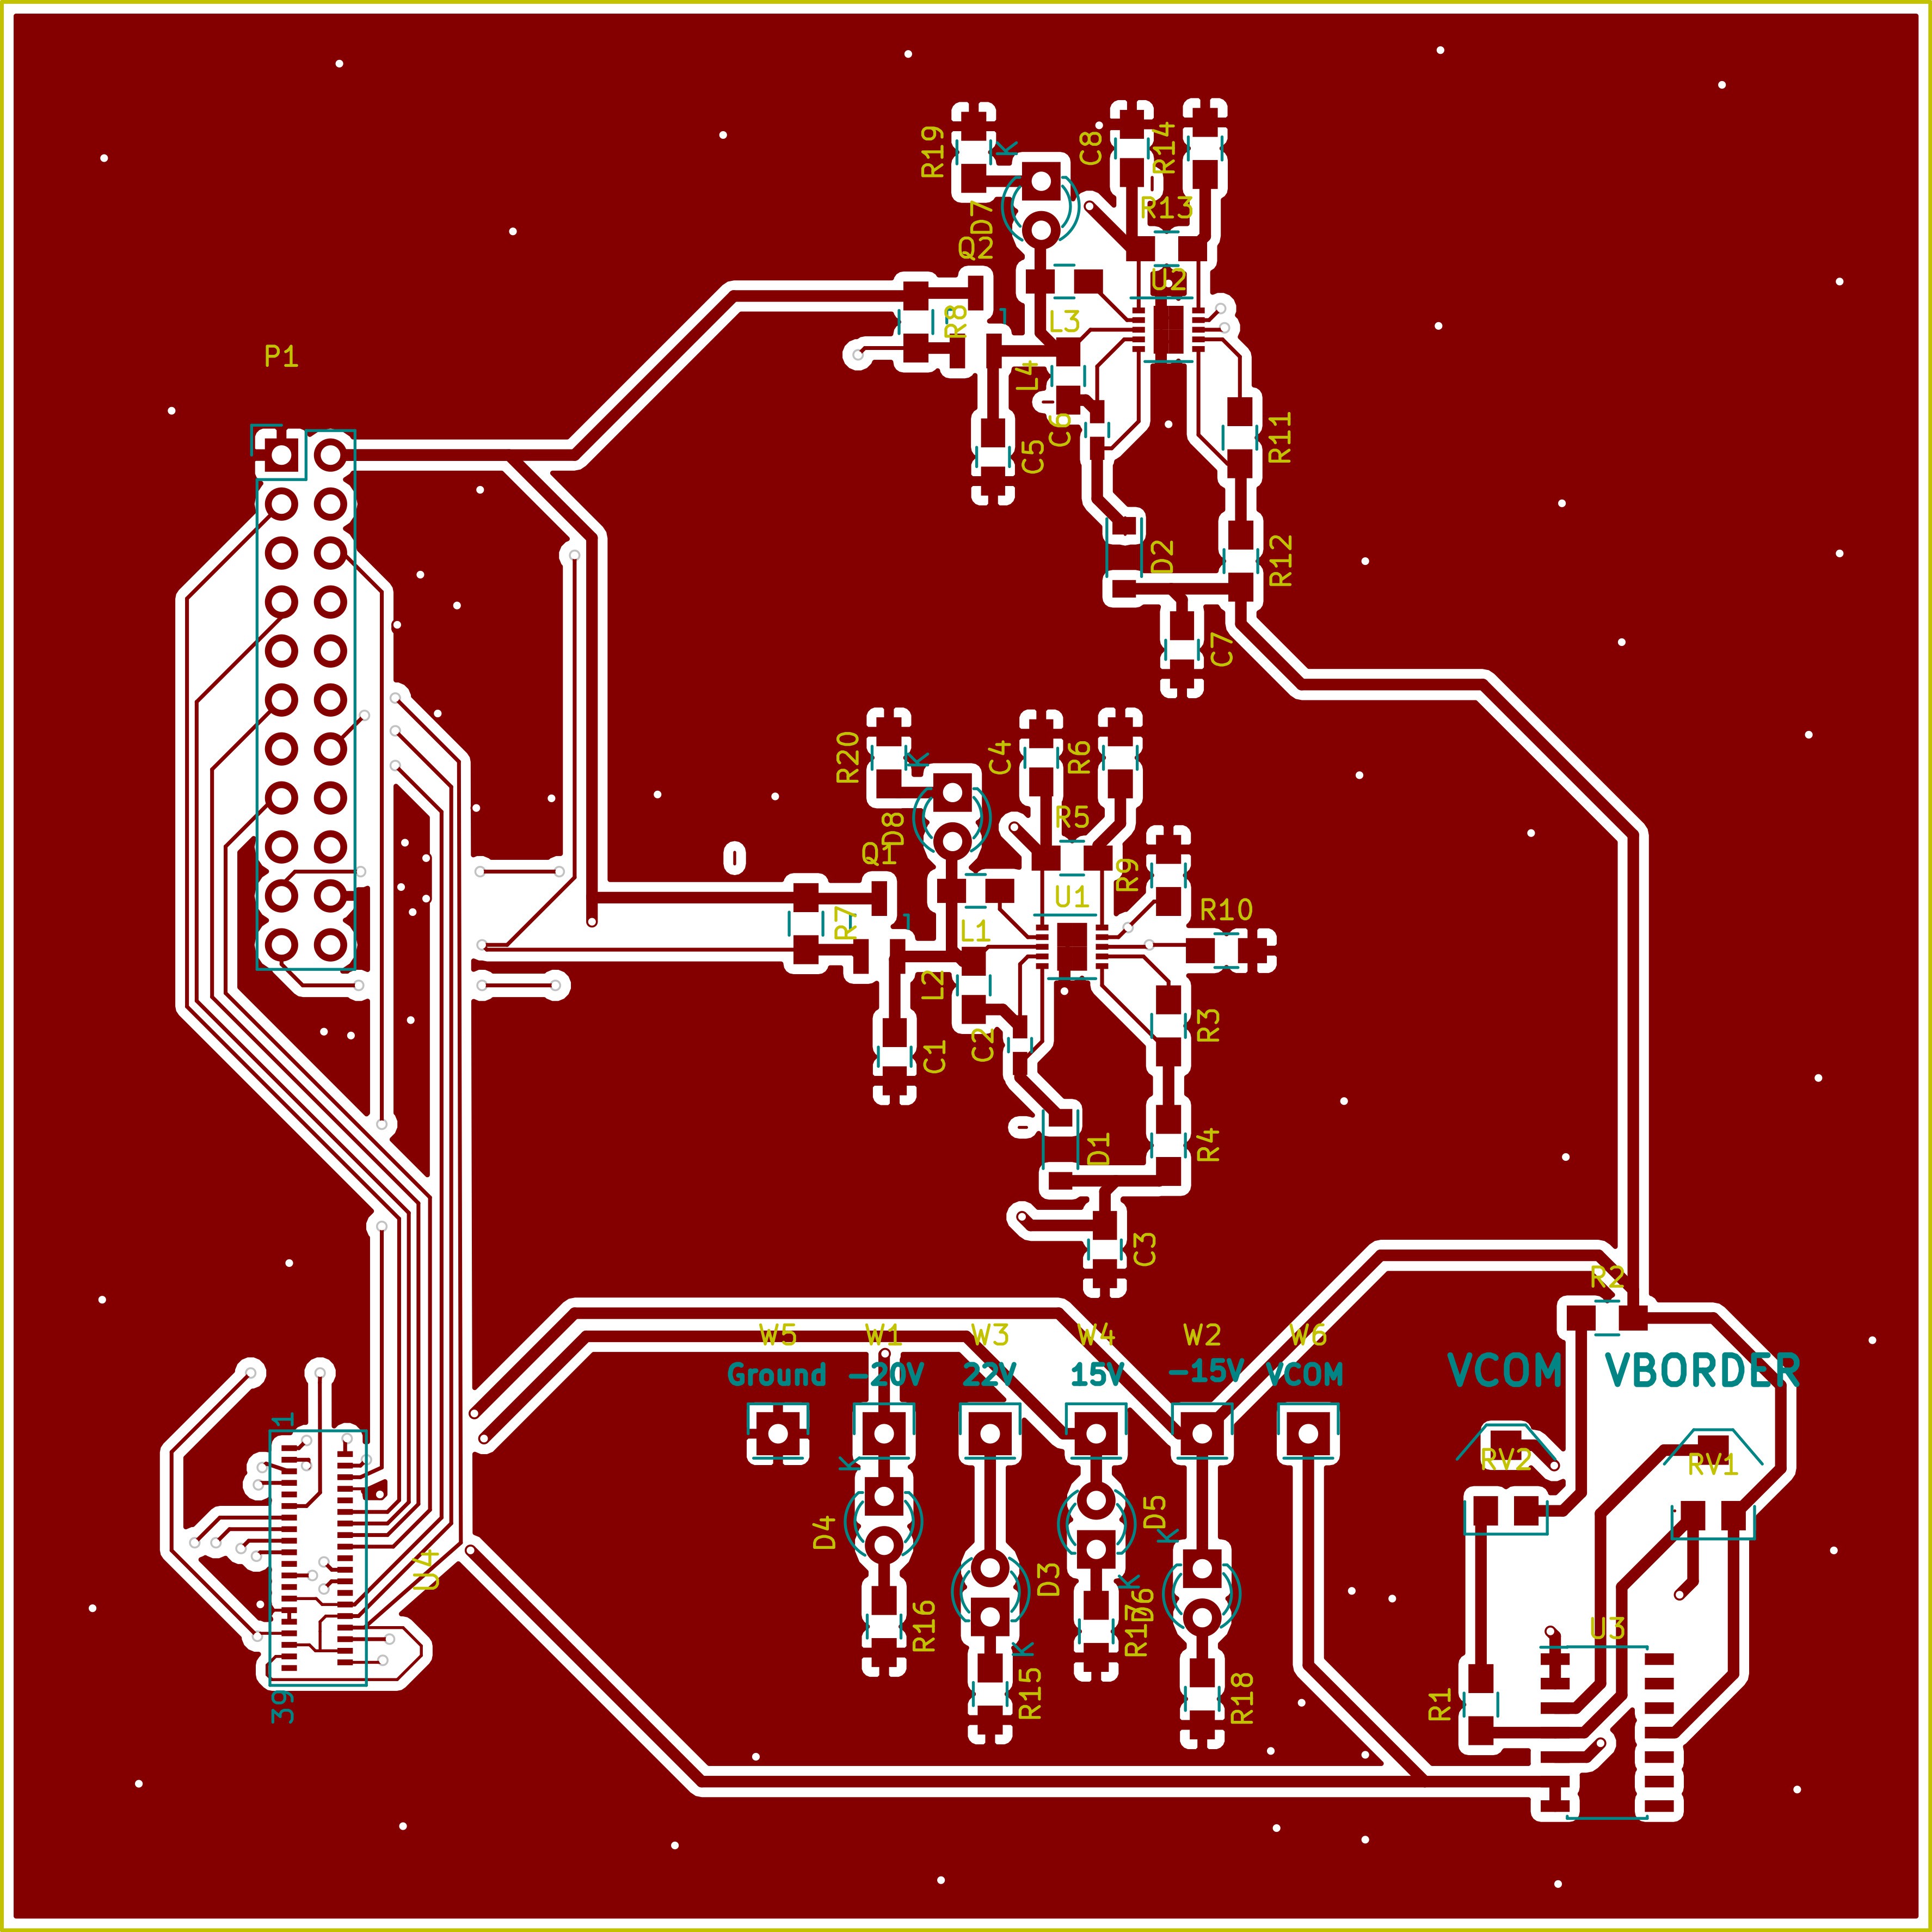
    Thicker traces are generally better, also a design stays less cluttered if you start of with a distributed ground plane. I've also added indicator leds because they generally make life easier by a wide margin.

    Front:

    Back:

  • PCBs first draft

    repkid10/13/2016 at 00:01 0 comments

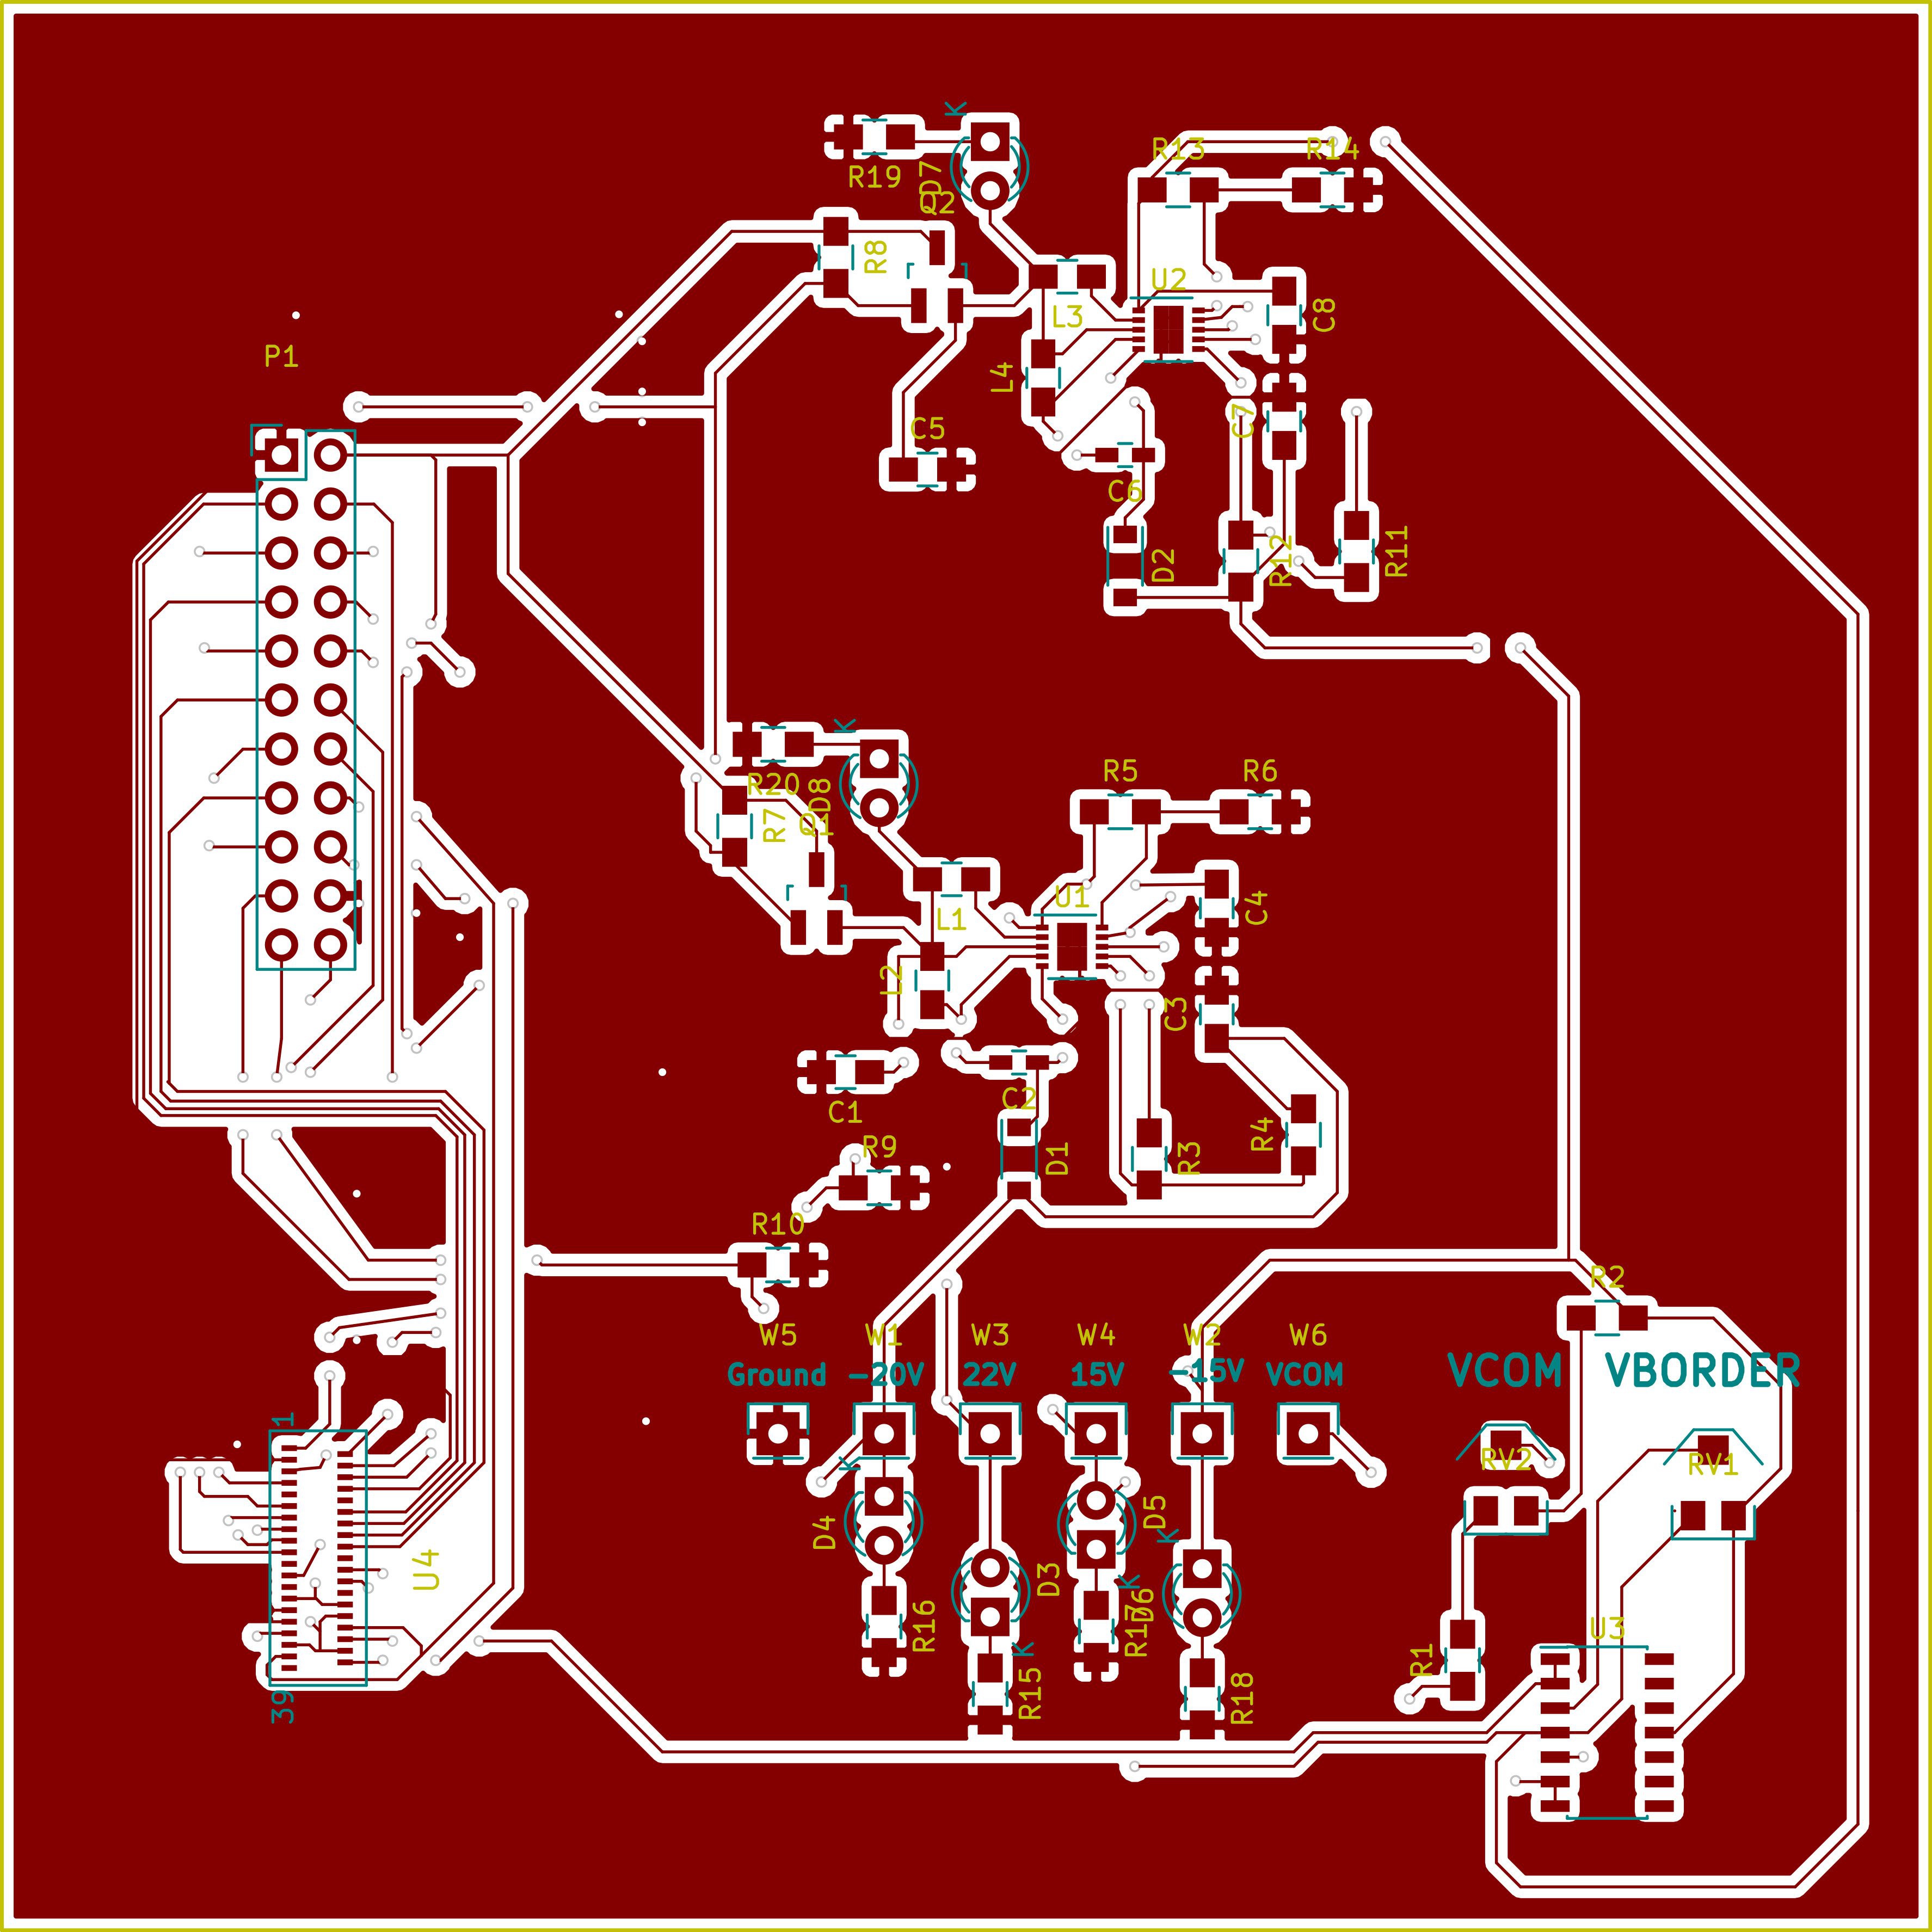
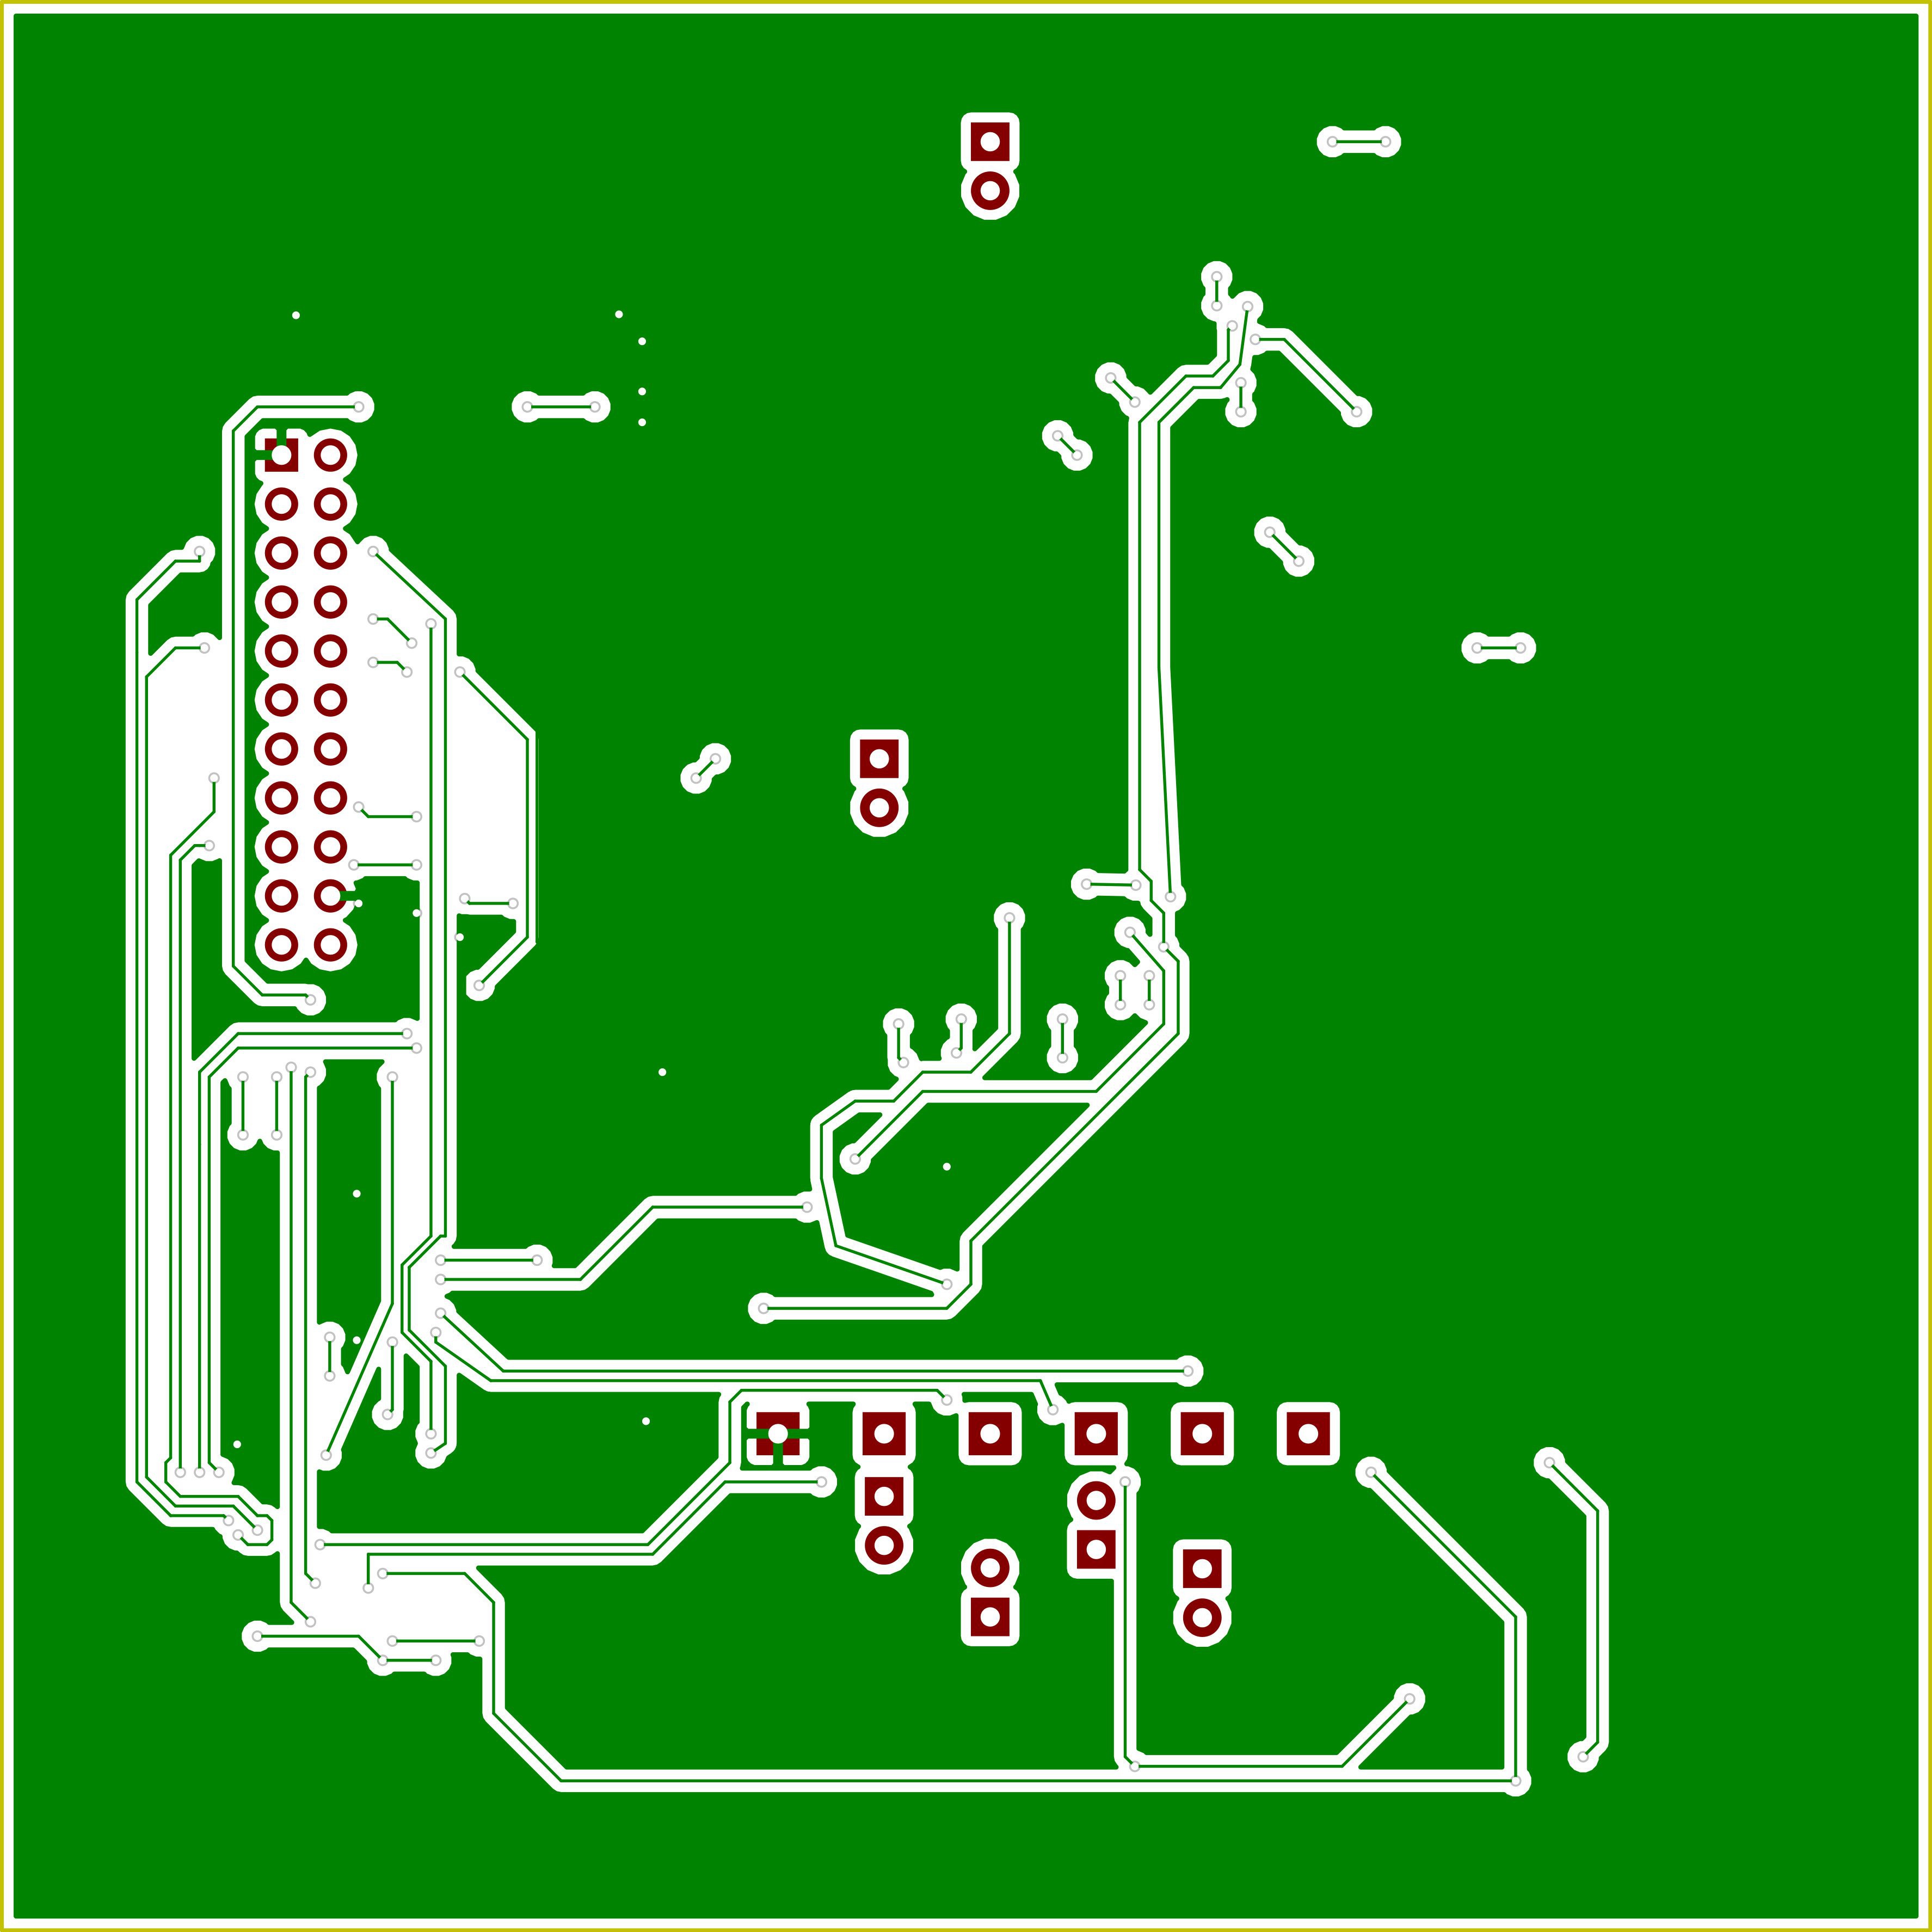
    I know these look pretty terrible and space optimisation could be better. But, this could work I think. I will still need to do a version 2, this draft was more to get knowledgeable with Pcbnew than it was to create something to send to a fab house.

    Front:

    Back:

  • Finished the schematic

    repkid10/11/2016 at 13:06 0 comments

    The title's pretty self-explanatory. Turns out KiCad is pretty intuitive to use. This is the schematic for the board that will act as the interface between the RPZ and the EPD. Next I'm going to create the PCB design. Should be up in one or two days. And the source files for this magnificent schematic will be uploaded once I clean things up a bit.

  • A new day, a new software: KiCad

    repkid10/10/2016 at 21:39 0 comments

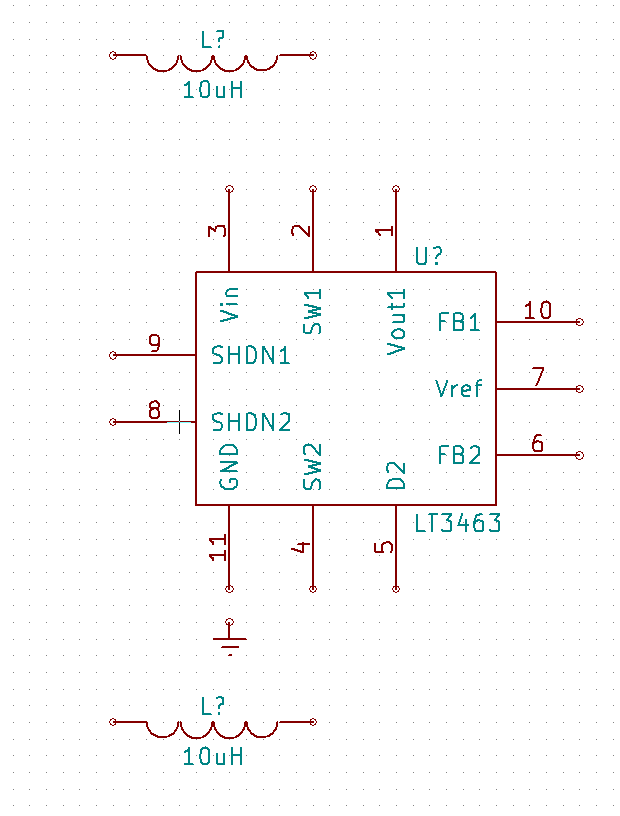
    I plan to provide the positive and negative voltages needed for the EPD with two LT3463 chips. But KiCad doesn't have it in its libraries. It does have the LT3472 which has the same package meaning only the pinout needs to be edited.

View all 5 project logs

Enjoy this project?

Share

Discussions

Rahoon GOAWAY wrote 03/10/2020 at 15:26 point

Well this a long time since the last update but I might as well ask:

How do you breakout the pins on the display's ribbon cable and connect them to the nucleo ARM chip?

Also why have you chosen to take screenshots and send those through SPI instead of sending the text directly to the display controller?

I have been contemplating a project like this and want to figure out some of this kind of thing before i begin ordering parts.

  Are you sure? yes | no

Similar Projects

Does this project spark your interest?

Become a member to follow this project and never miss any updates