Craig Hissett
-
MkII Underway
12/18/2020 at 21:16 • 0 commentsSo, the next version is being built :-)
The first one was great, but my setup would suit more buttons and inputs than the first allowed.
The new plan is to use a Pisound soundcard on a Pi4 4gb, and to create a midi controller separately in a modular build in a small pedalboard.
So far the Pisound has been acquired, as has some Arduino midi bits and bobs to try some plans out.
My IO needs need to be thought out fully, but so far I know I need:
Minimum 5 footswitches - for controlling 5 effects.
2-3 encoders per footswitch - to assign parameters to.
2 footswitches for cycling up and down patches.
I2c display for information (I'm feeling a Nextion display)
Two tea jack sockets for expression pedal inputs.
The Pisound has MIDI ports on it so I could use either a midi shield on a normal Arduino, or use a Due/Leonardo/Pro Micro w/expander for a native USB MIDI input.
Enclosure plans are still up in the air; I have a standalone case for the Pi and Pisound, and I'm split between going for a large enclosure to house them all, a medium enclosure for just the MIDI controller, or a few small stompox pedal boxes daisychained together to look like an old school pedalboard.
Either way, this is going to be fun!
-
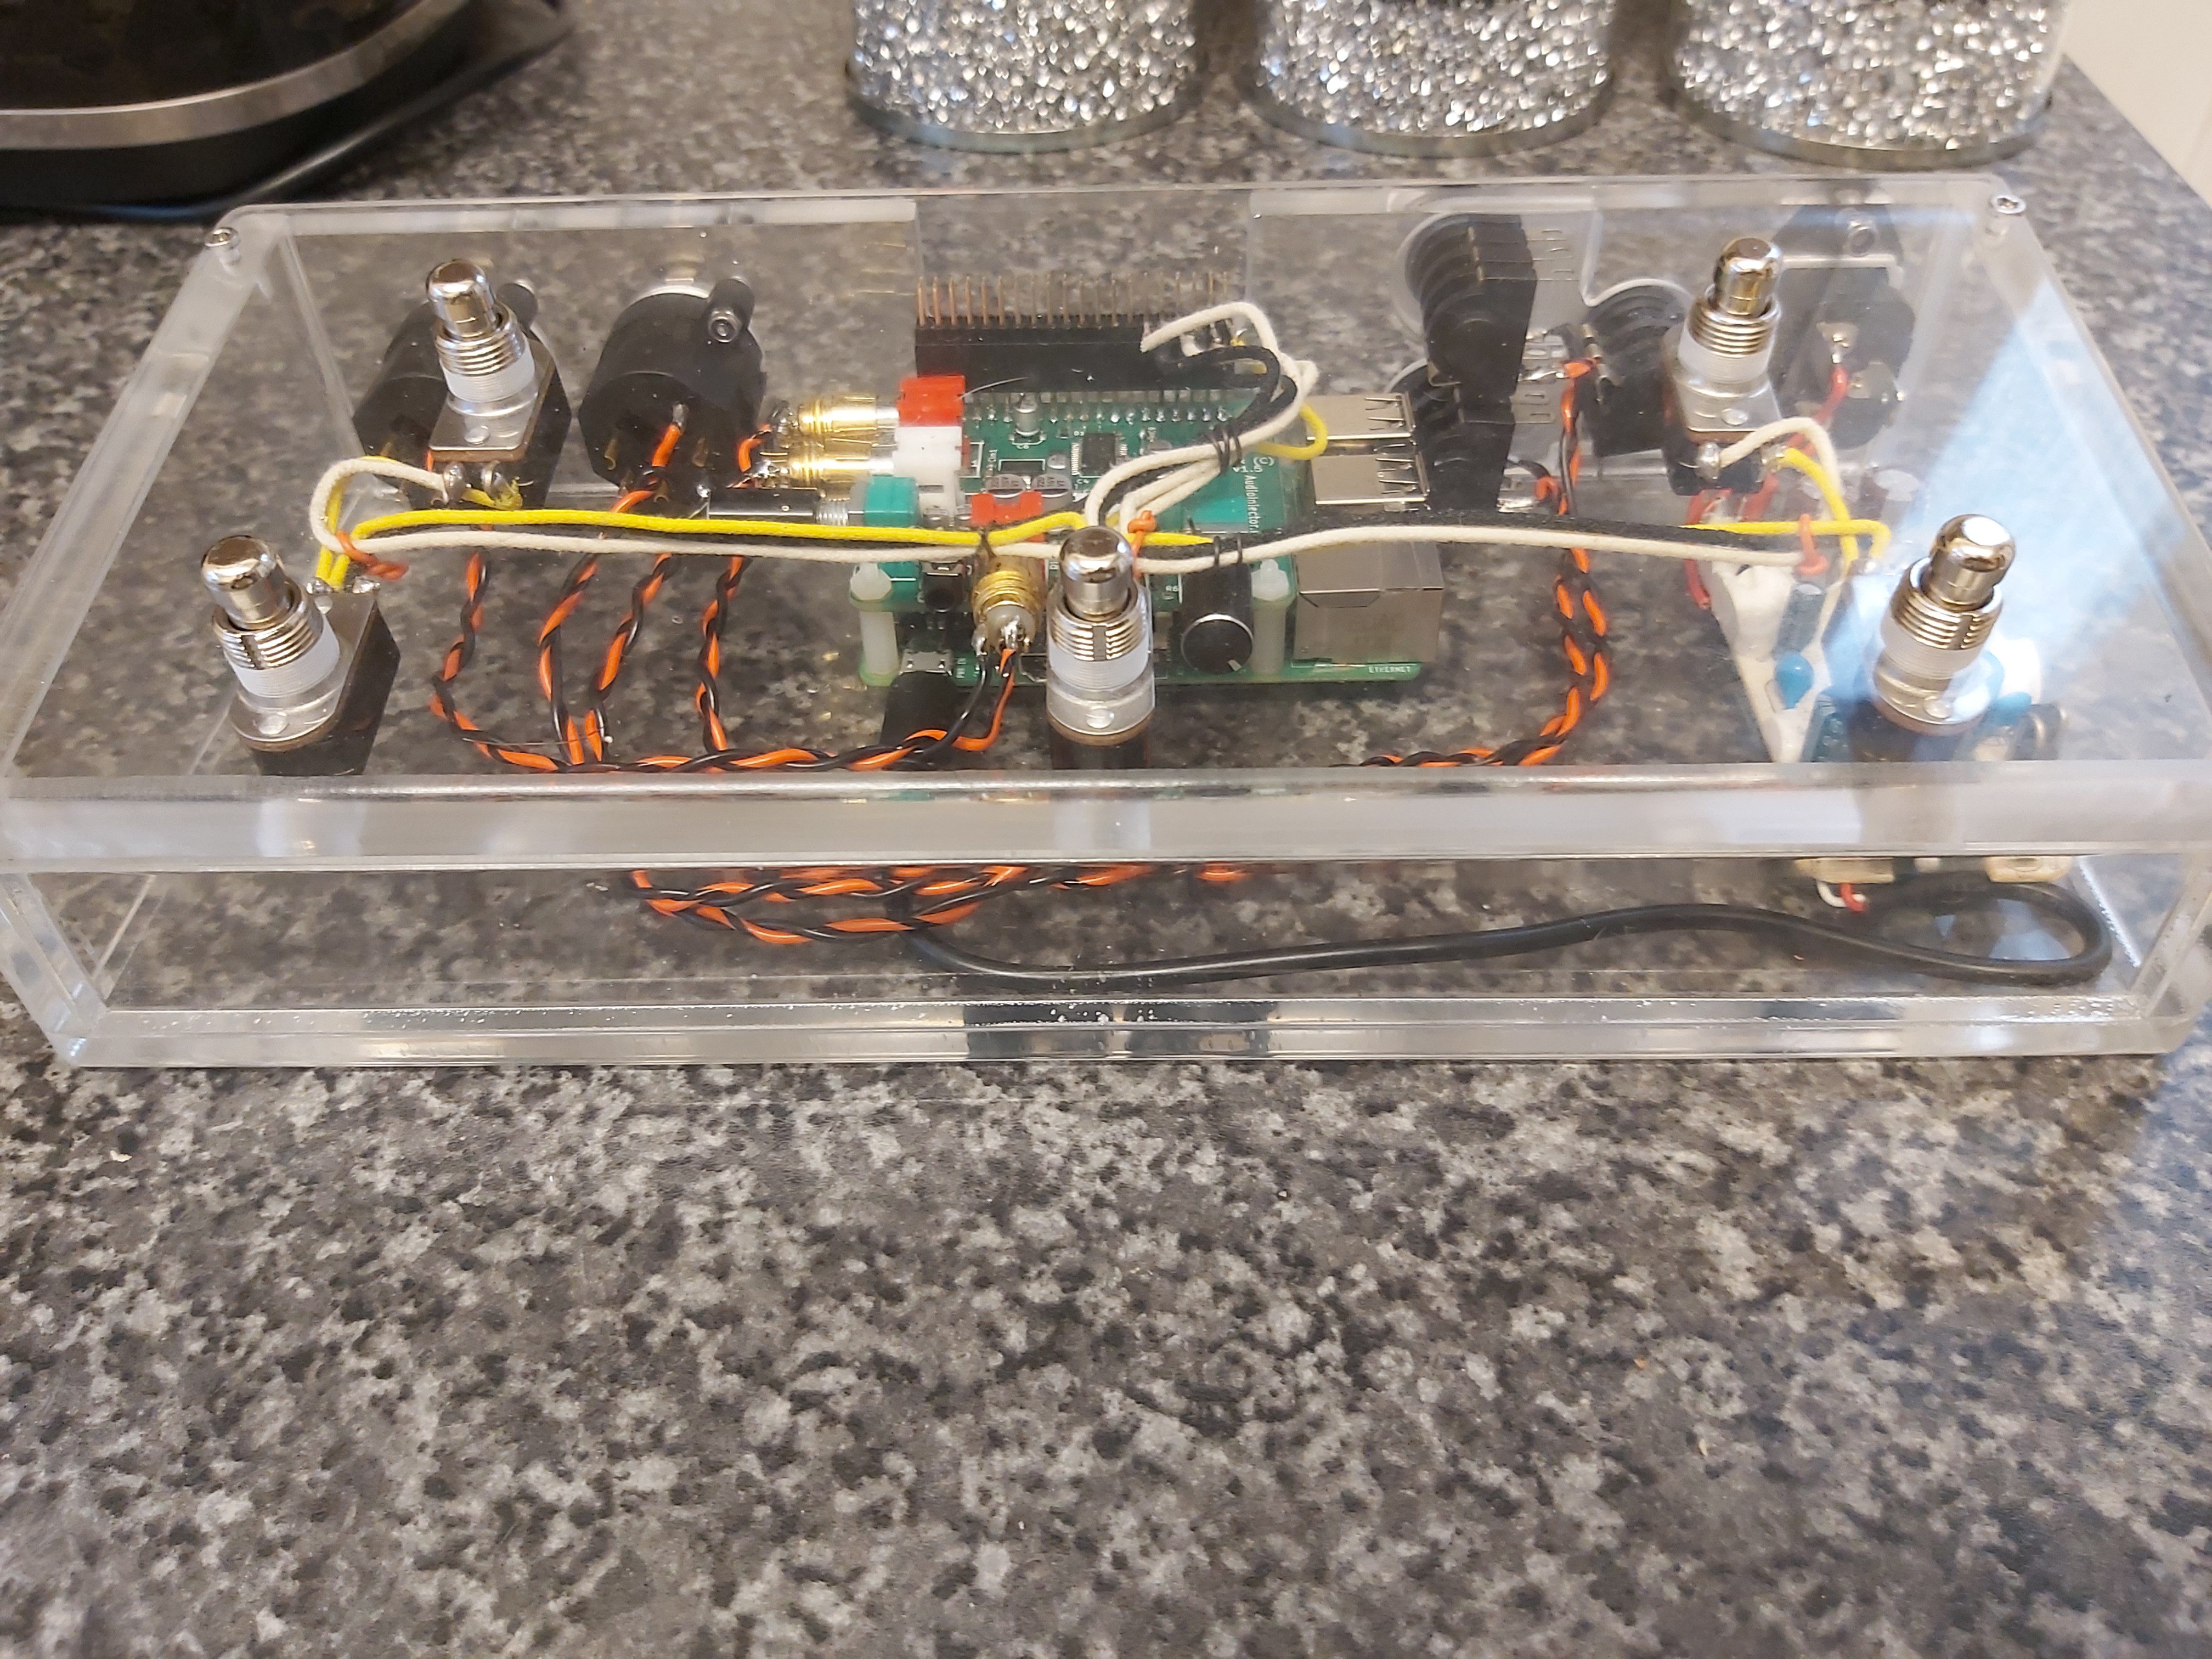
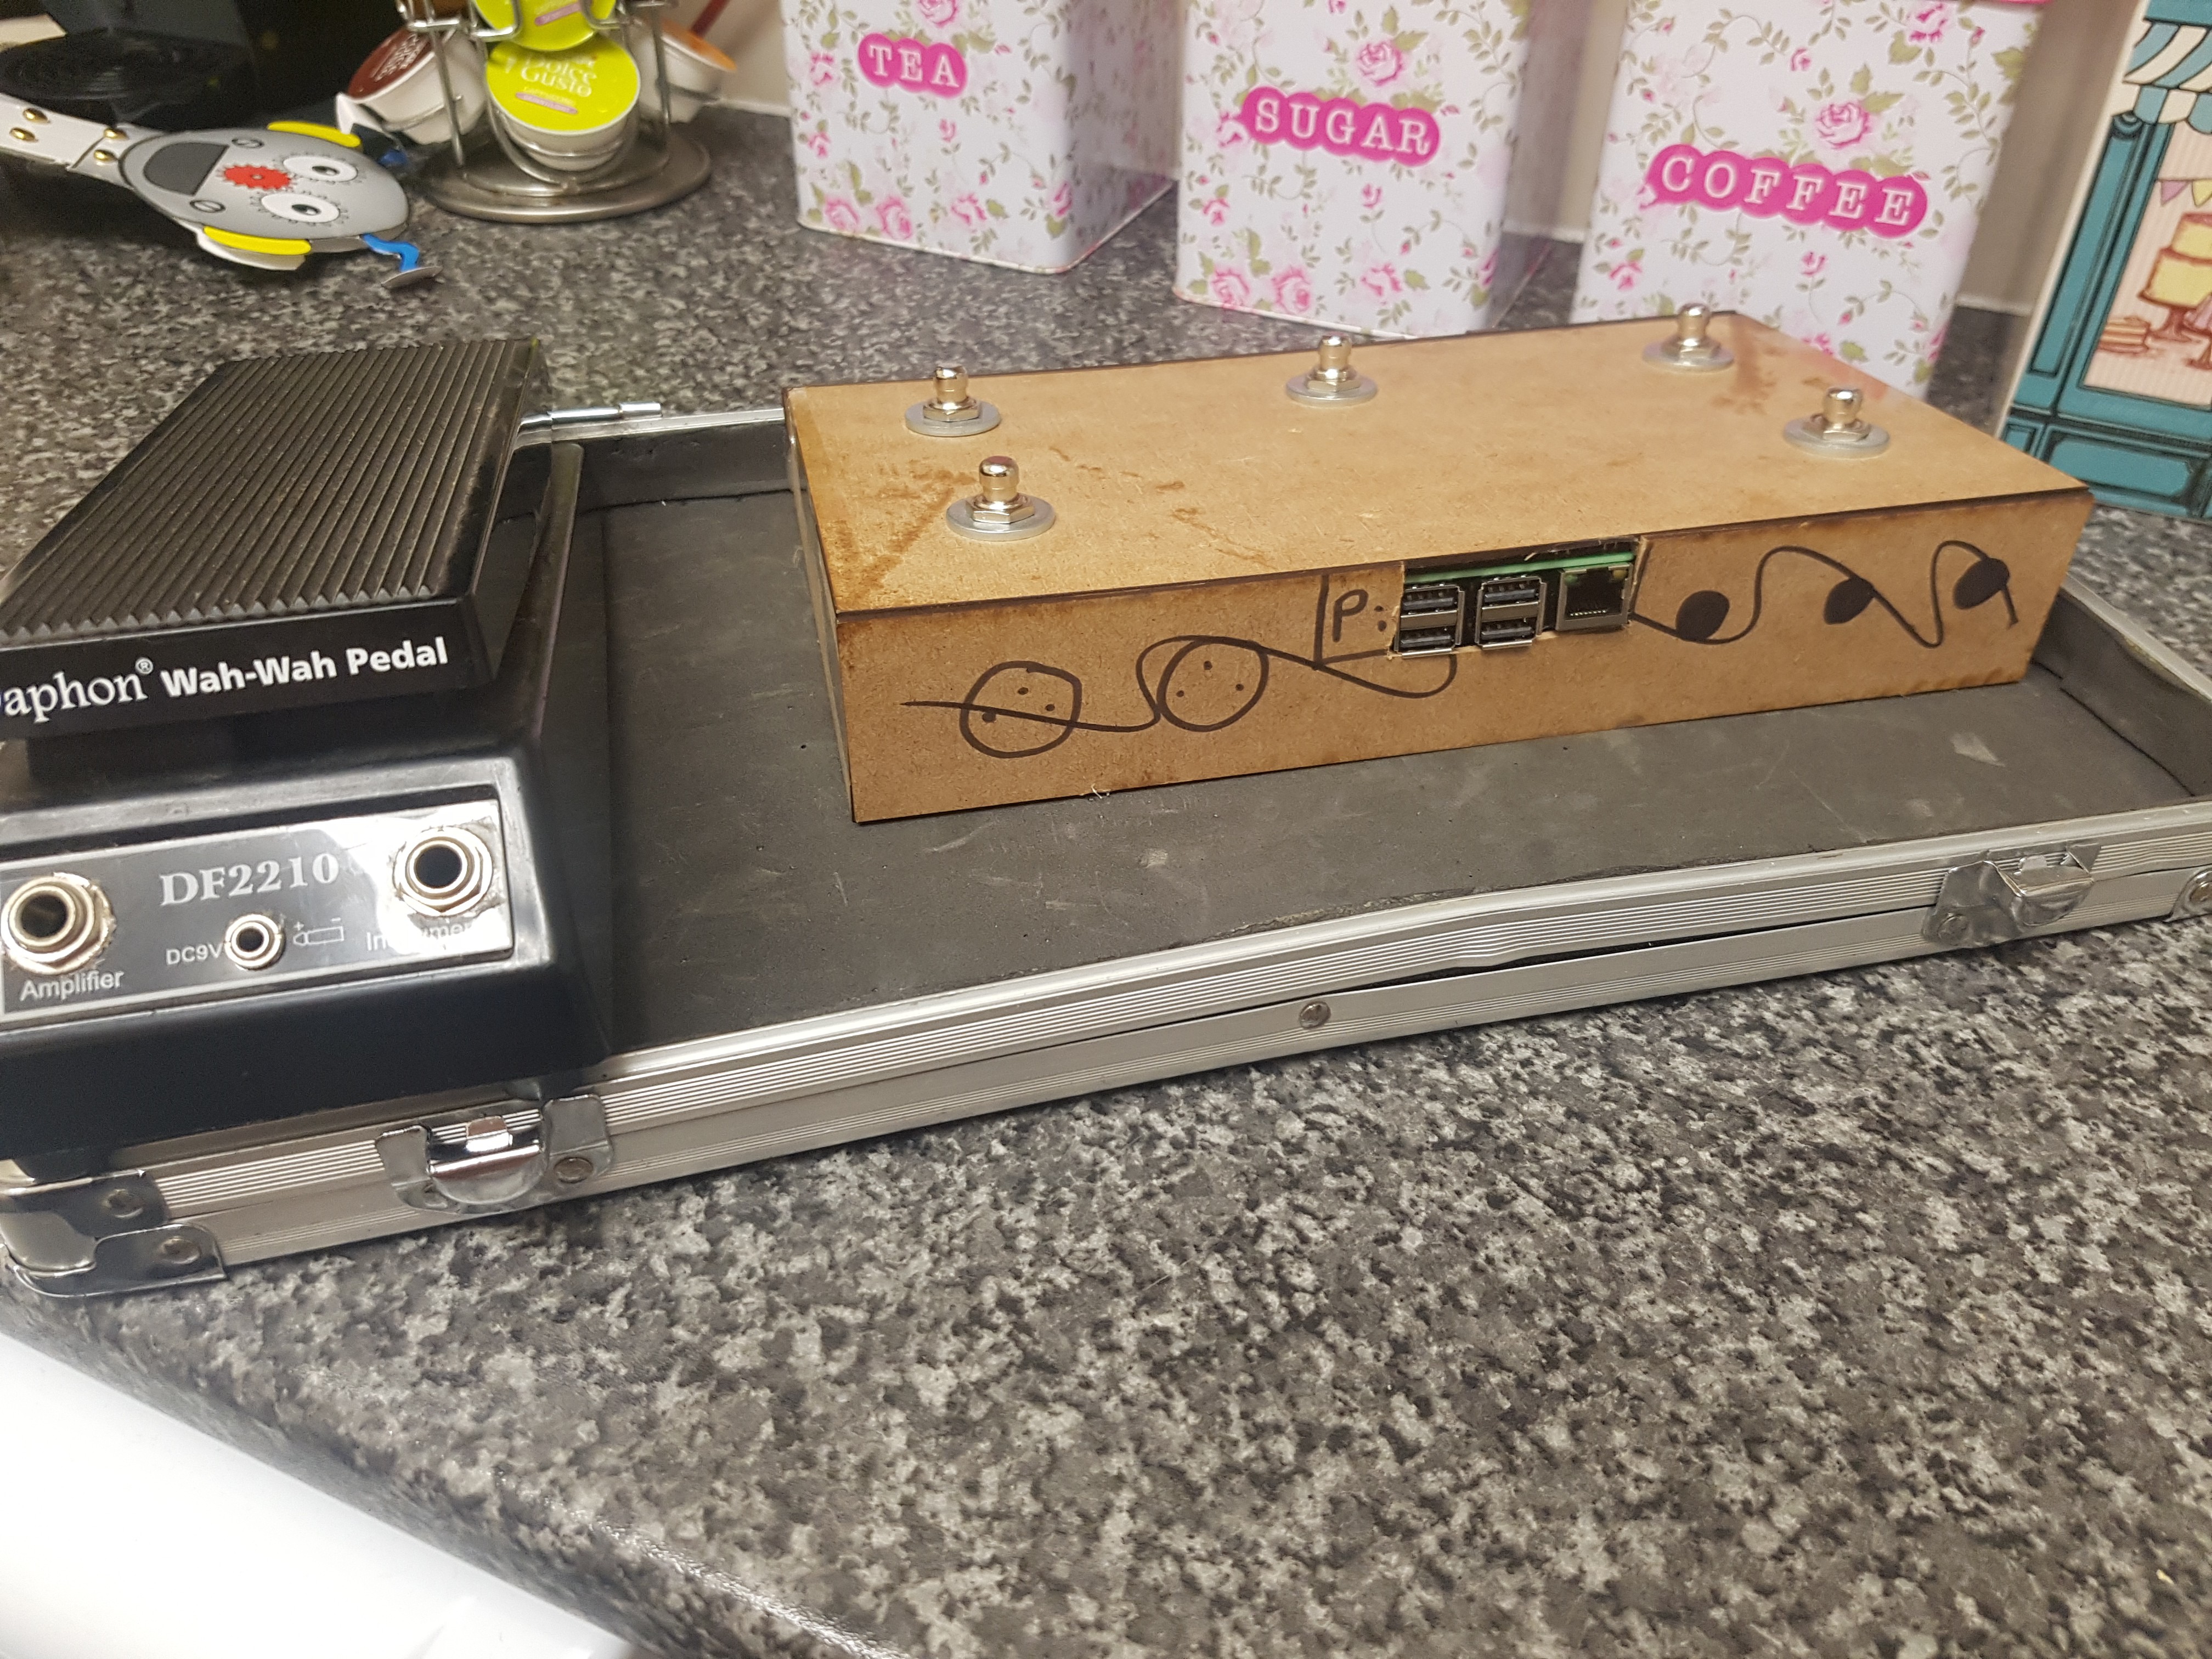
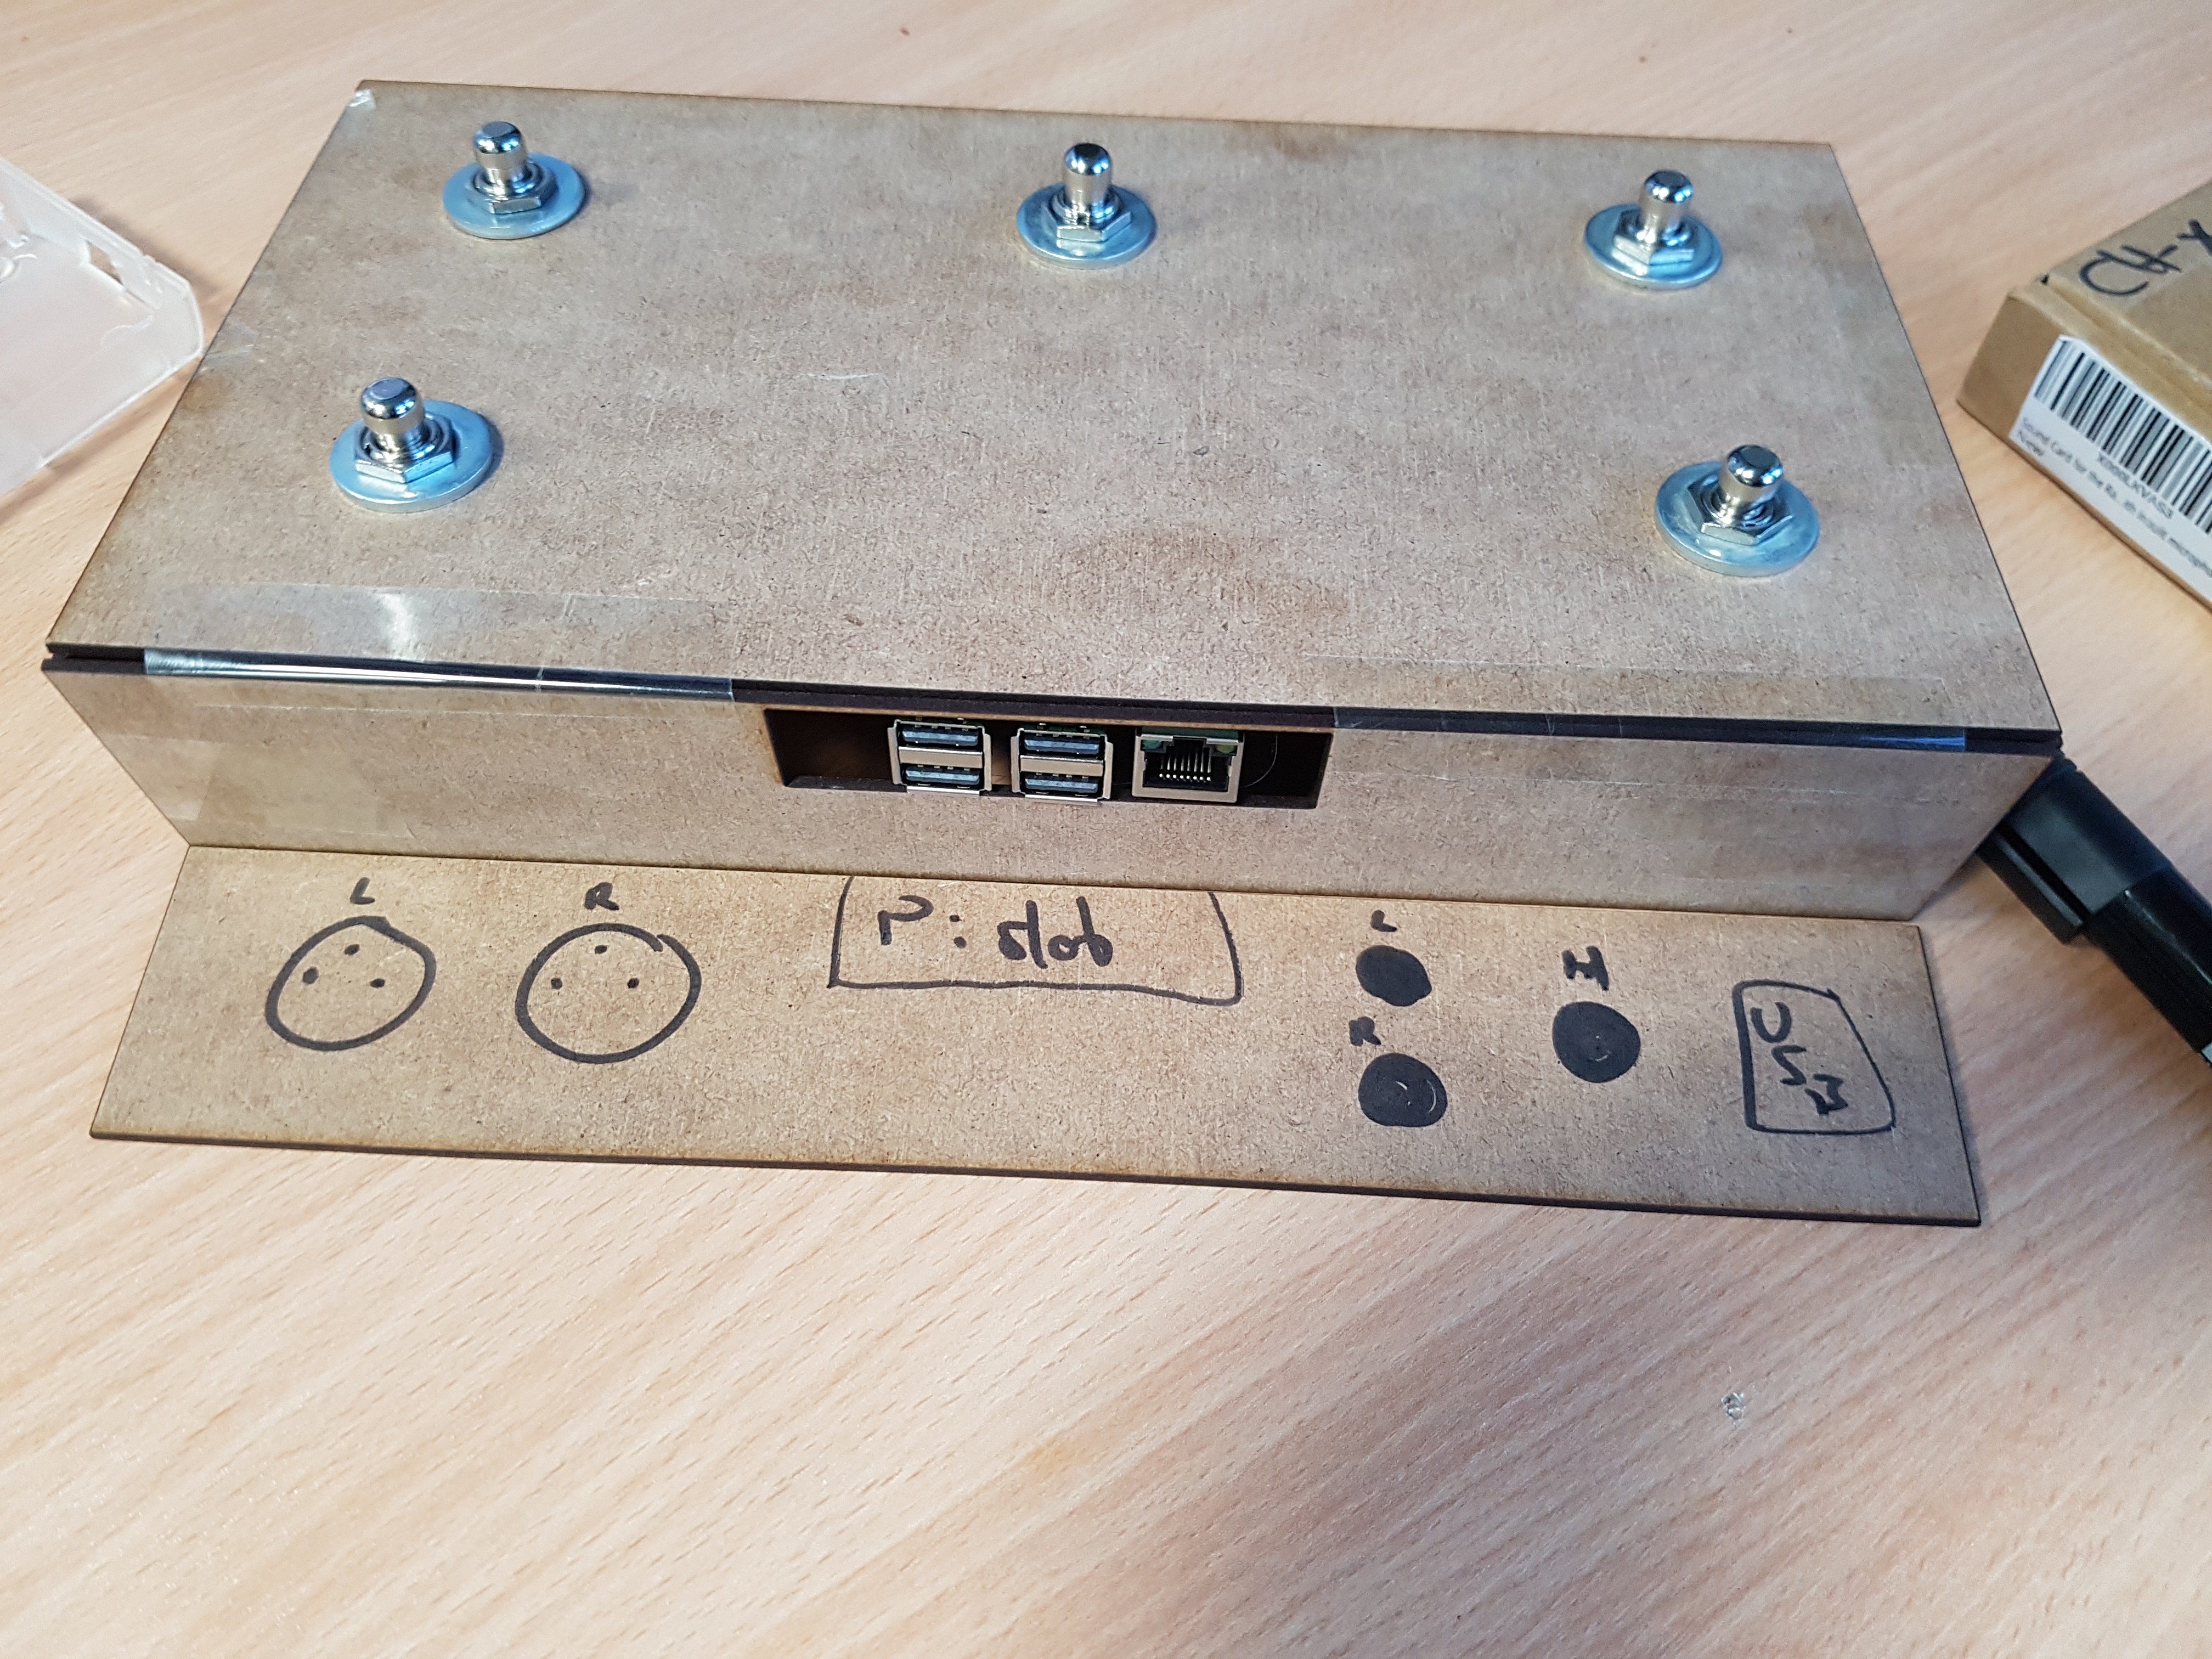
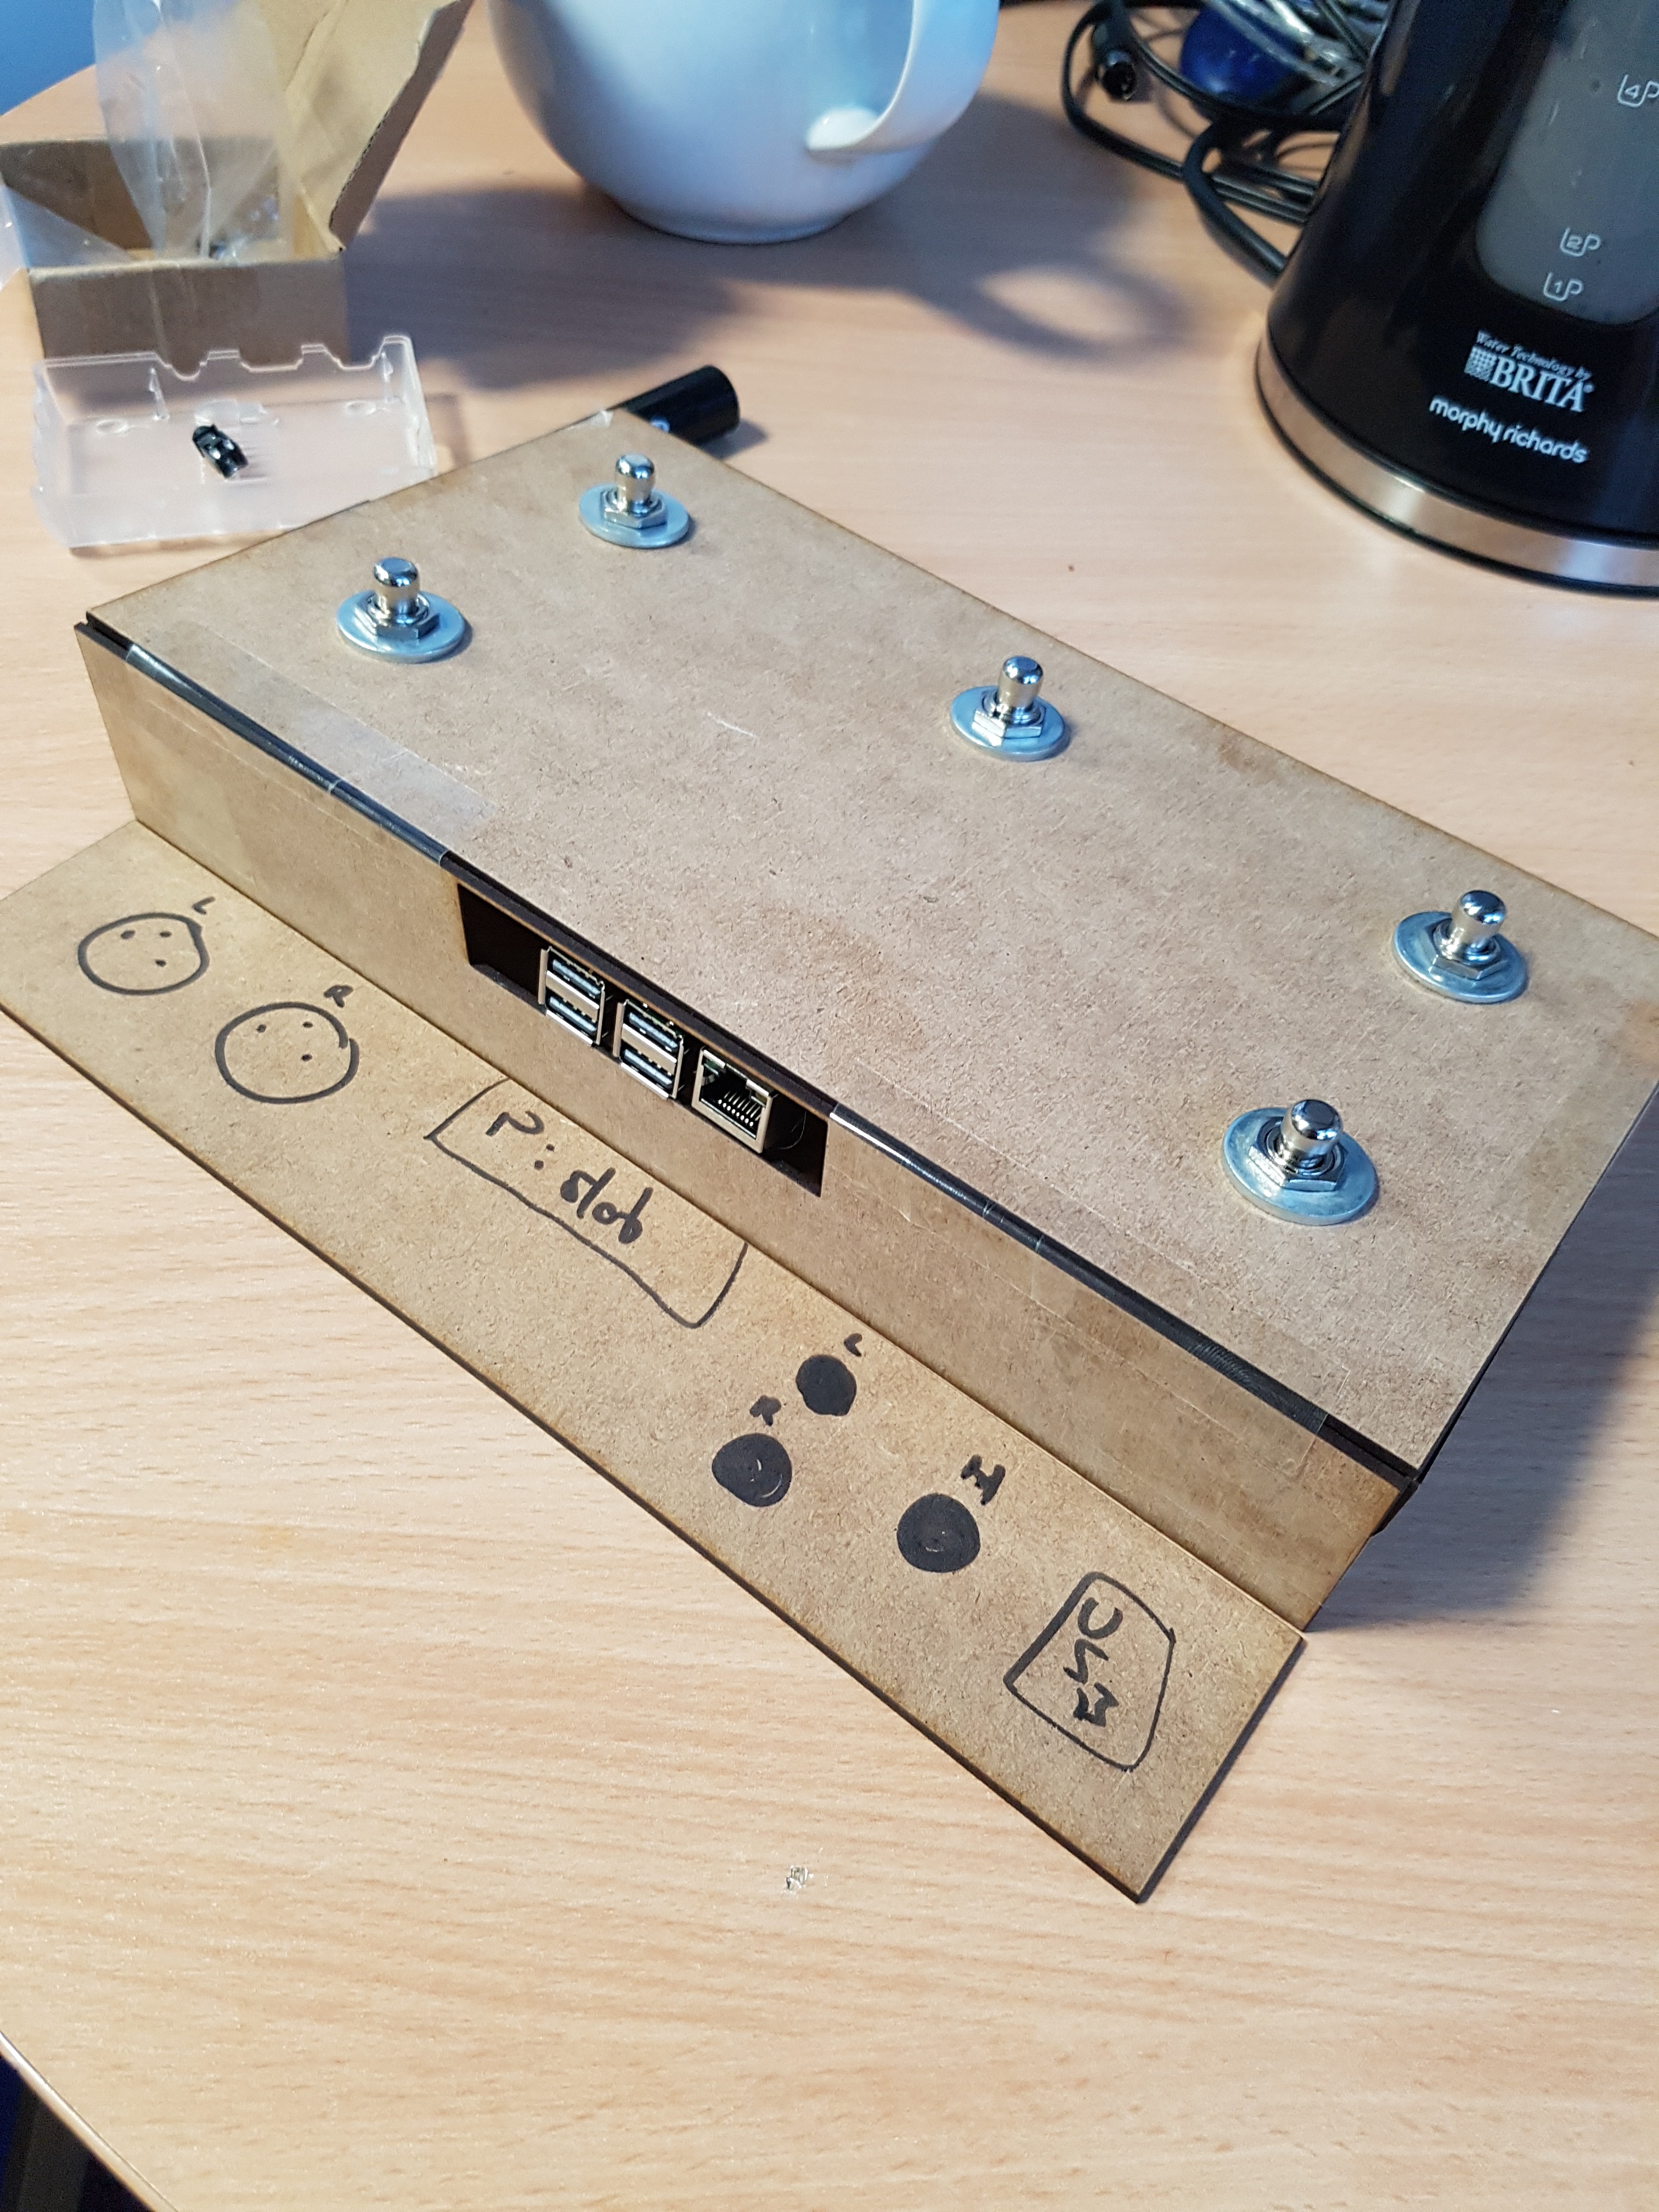
Boom! Wired up and ready to test!
09/16/2020 at 20:45 • 0 comments![]()
![]()
It's taken a lot longer than I thought, but it's is now ready to test.
There has been some issues to address in the assembly:
Power supply - the power supply I had for this simply didn't fit one the buttons were in place. A 5V 3A phone charger was shelled and used instead.
Pi orientation - the aim was to have the usb ports poking out the back of the case, with the board munted upside down, but the dimensions of the hat made this undoable. The usb ports aren't needed, so it's not a huge loss.
Lastly I'd imagine some shielding will be needed to reduce interference, so on the lookout for some pretty shielding suggestions ha ha!
-
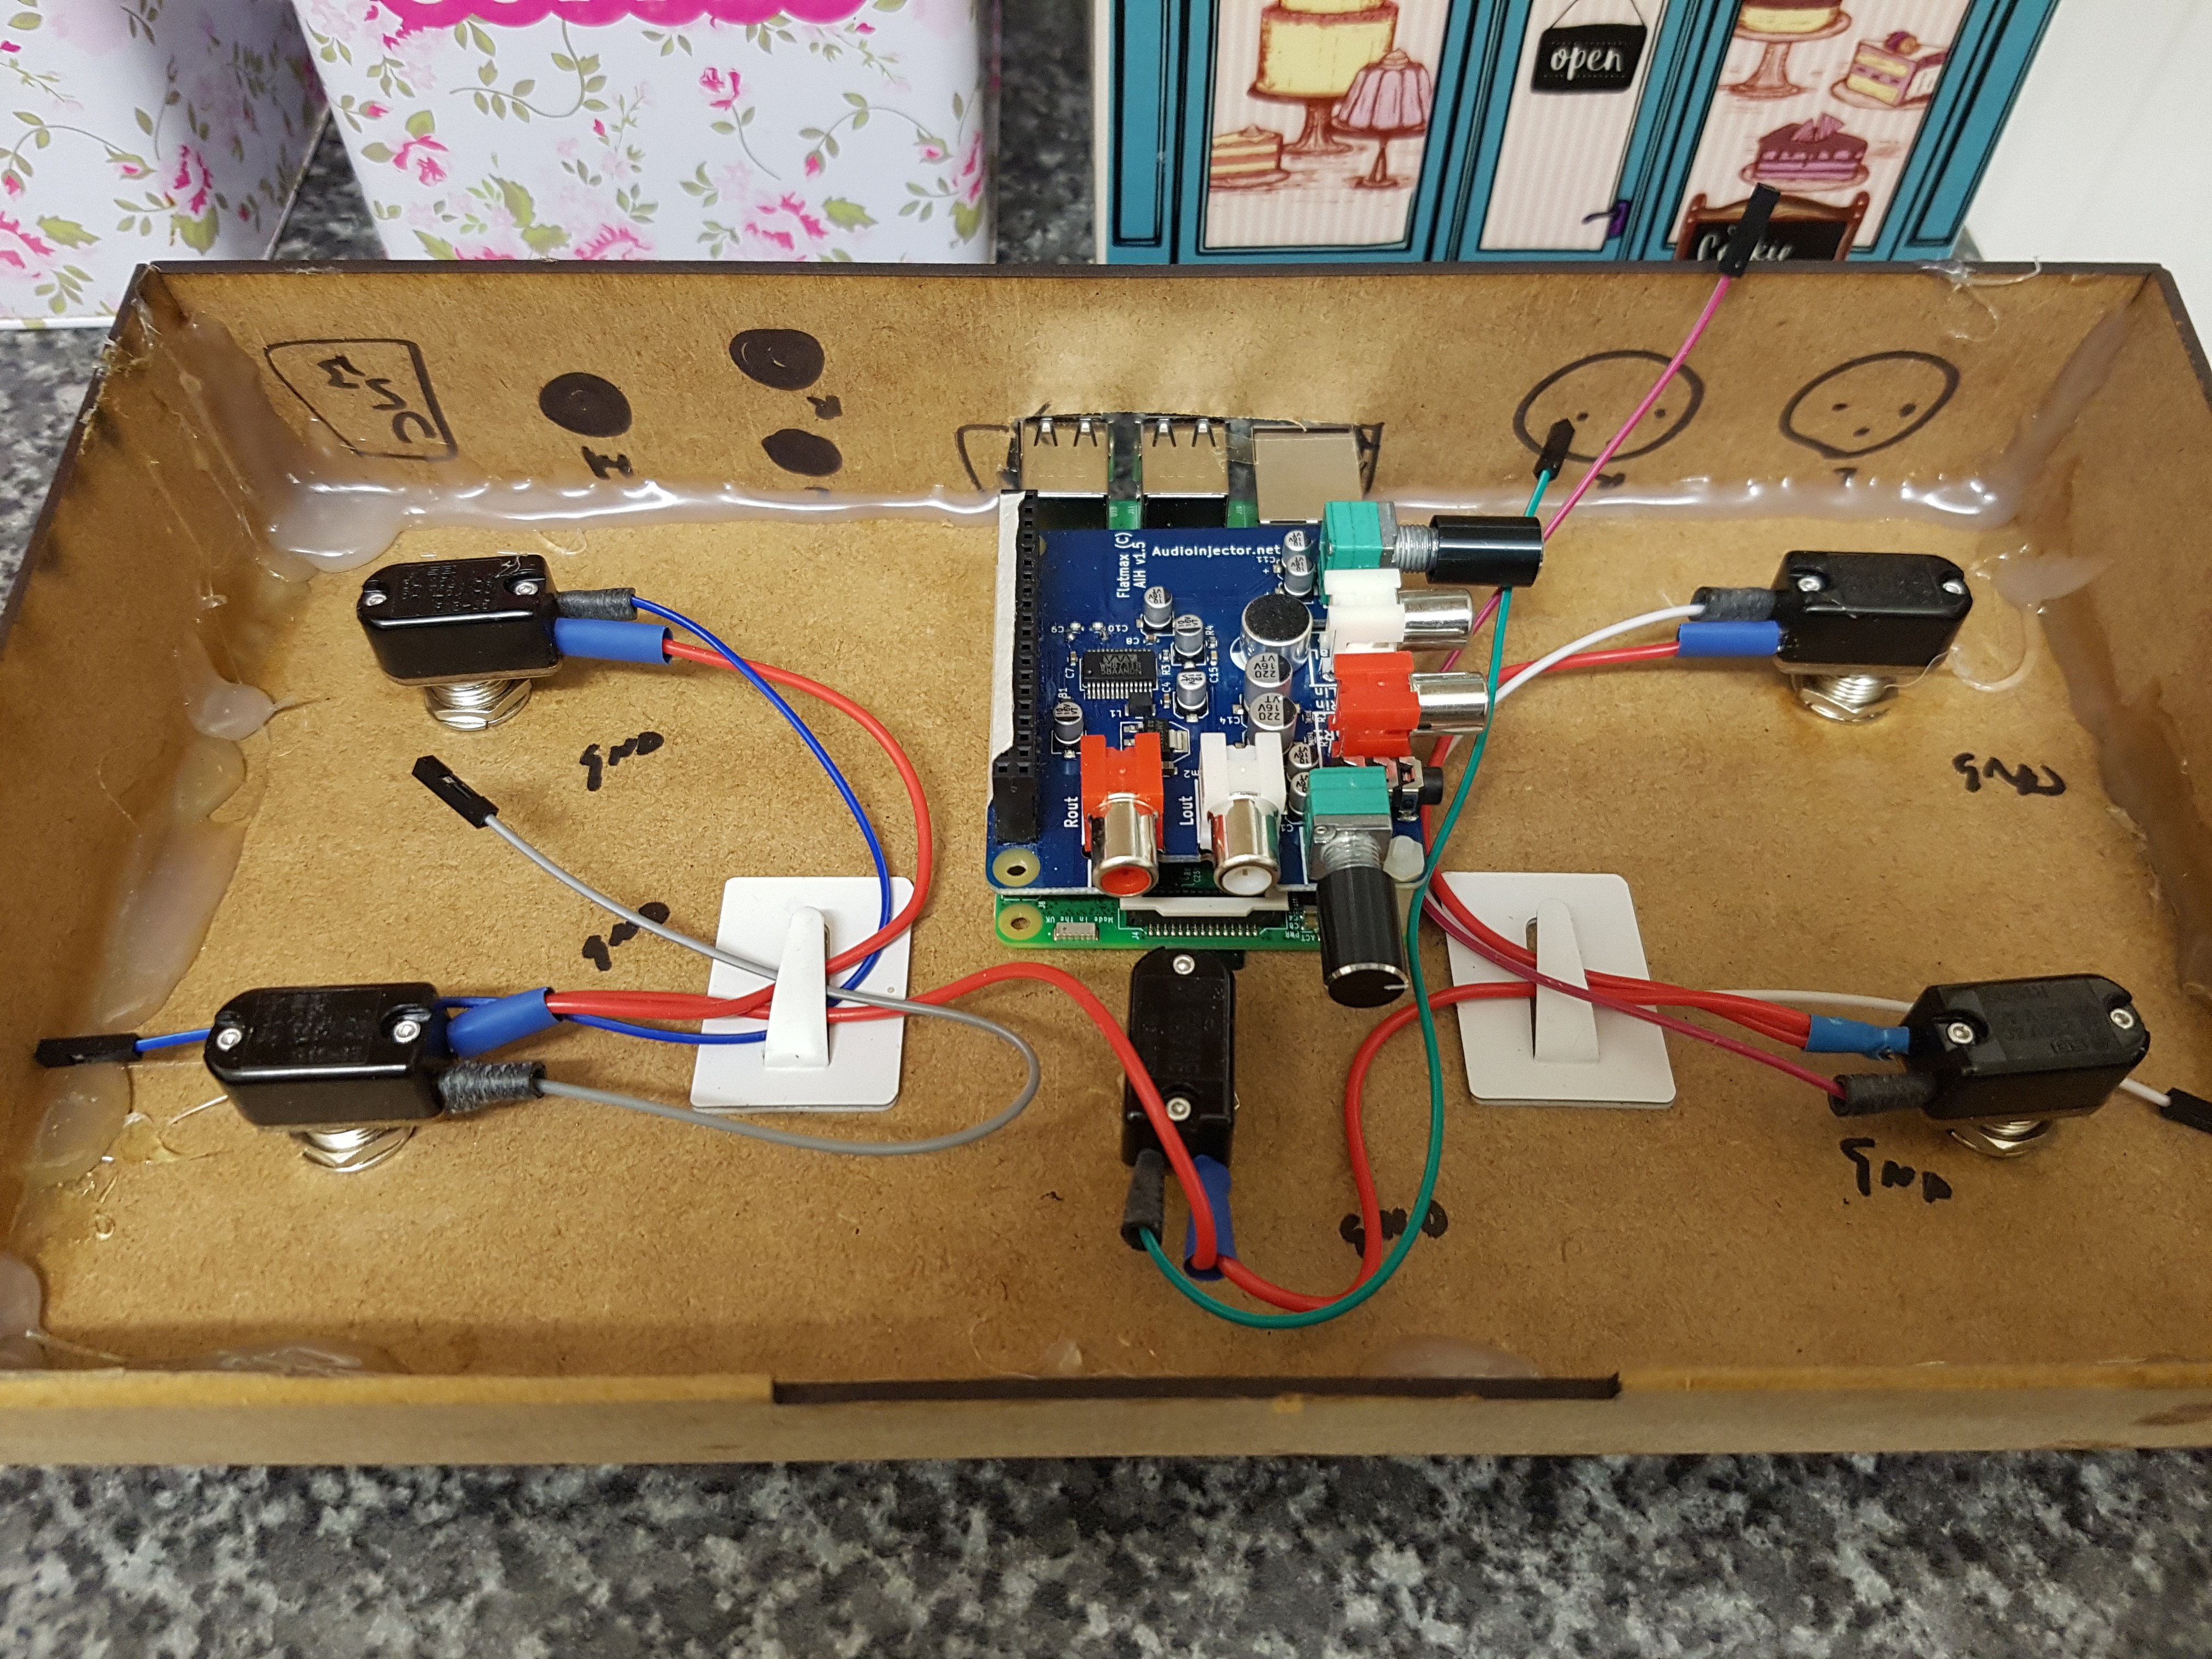
Wiring is underway
02/17/2020 at 17:11 • 0 commentsFinally! The beast is being wired up!
-
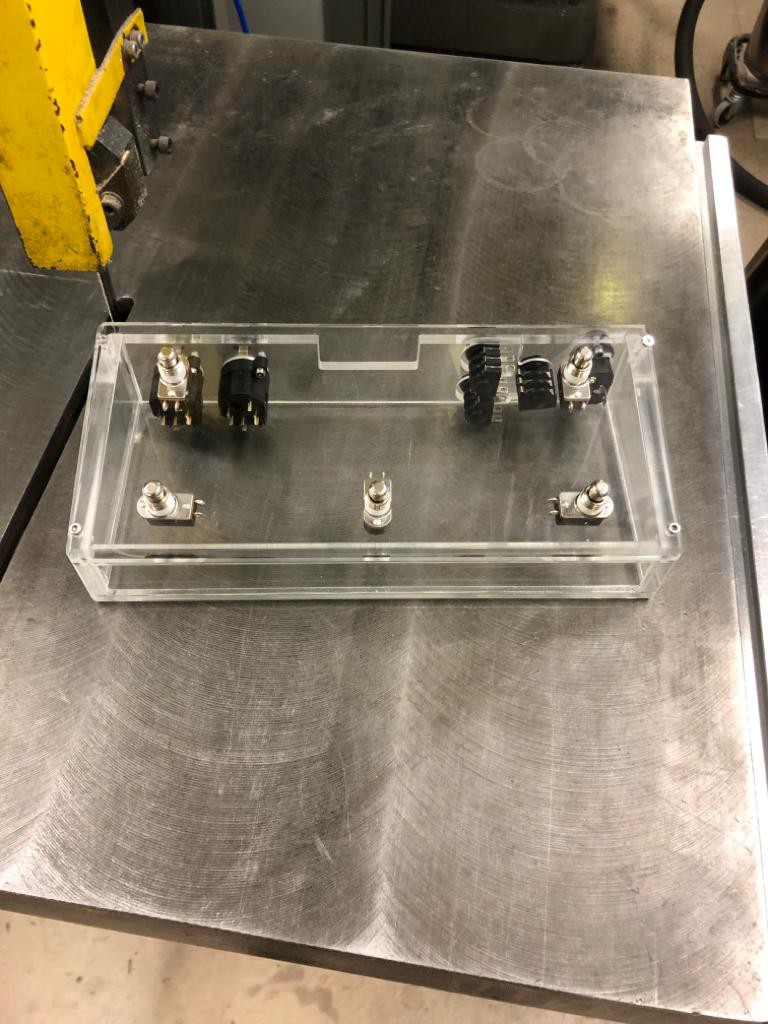
Enclosure Update
10/10/2019 at 20:14 • 0 commentsCase assembled, sockets in place.
Next step is to mount the 50w power supply, add the Pi on standoffs and then wire this little beauty up.
![]()
-
Another piece of the acrylic puzzle
10/03/2019 at 21:36 • 0 commentsThe top panel has now been machined 😎
![]()
-
Enclosure
06/23/2019 at 06:49 • 0 comments![]()
-
Progress update
06/10/2019 at 16:31 • 0 commentsApologies for the lack of updates on this bad boy - progress is still slowly ticking away in the background!
I'm currently fixing some issues in the software at present; upgrading everything to allow the use of the AudioInjector card has broken my WiFi, unfortunately. I've slowly getting to the the bottom of it, but it has been a time consuming and frustrating affair.
I have also been doing some work on the Wah/Expression Pedal input; rather than sticking an arduino in and plugging it in I am tempted to experiment with an ESP8266 to send data wirelessly.
I already have a python script translating GPIO pin button presses into MIDI, so adding some further code in there to translate incoming data is entirely plausible.
-
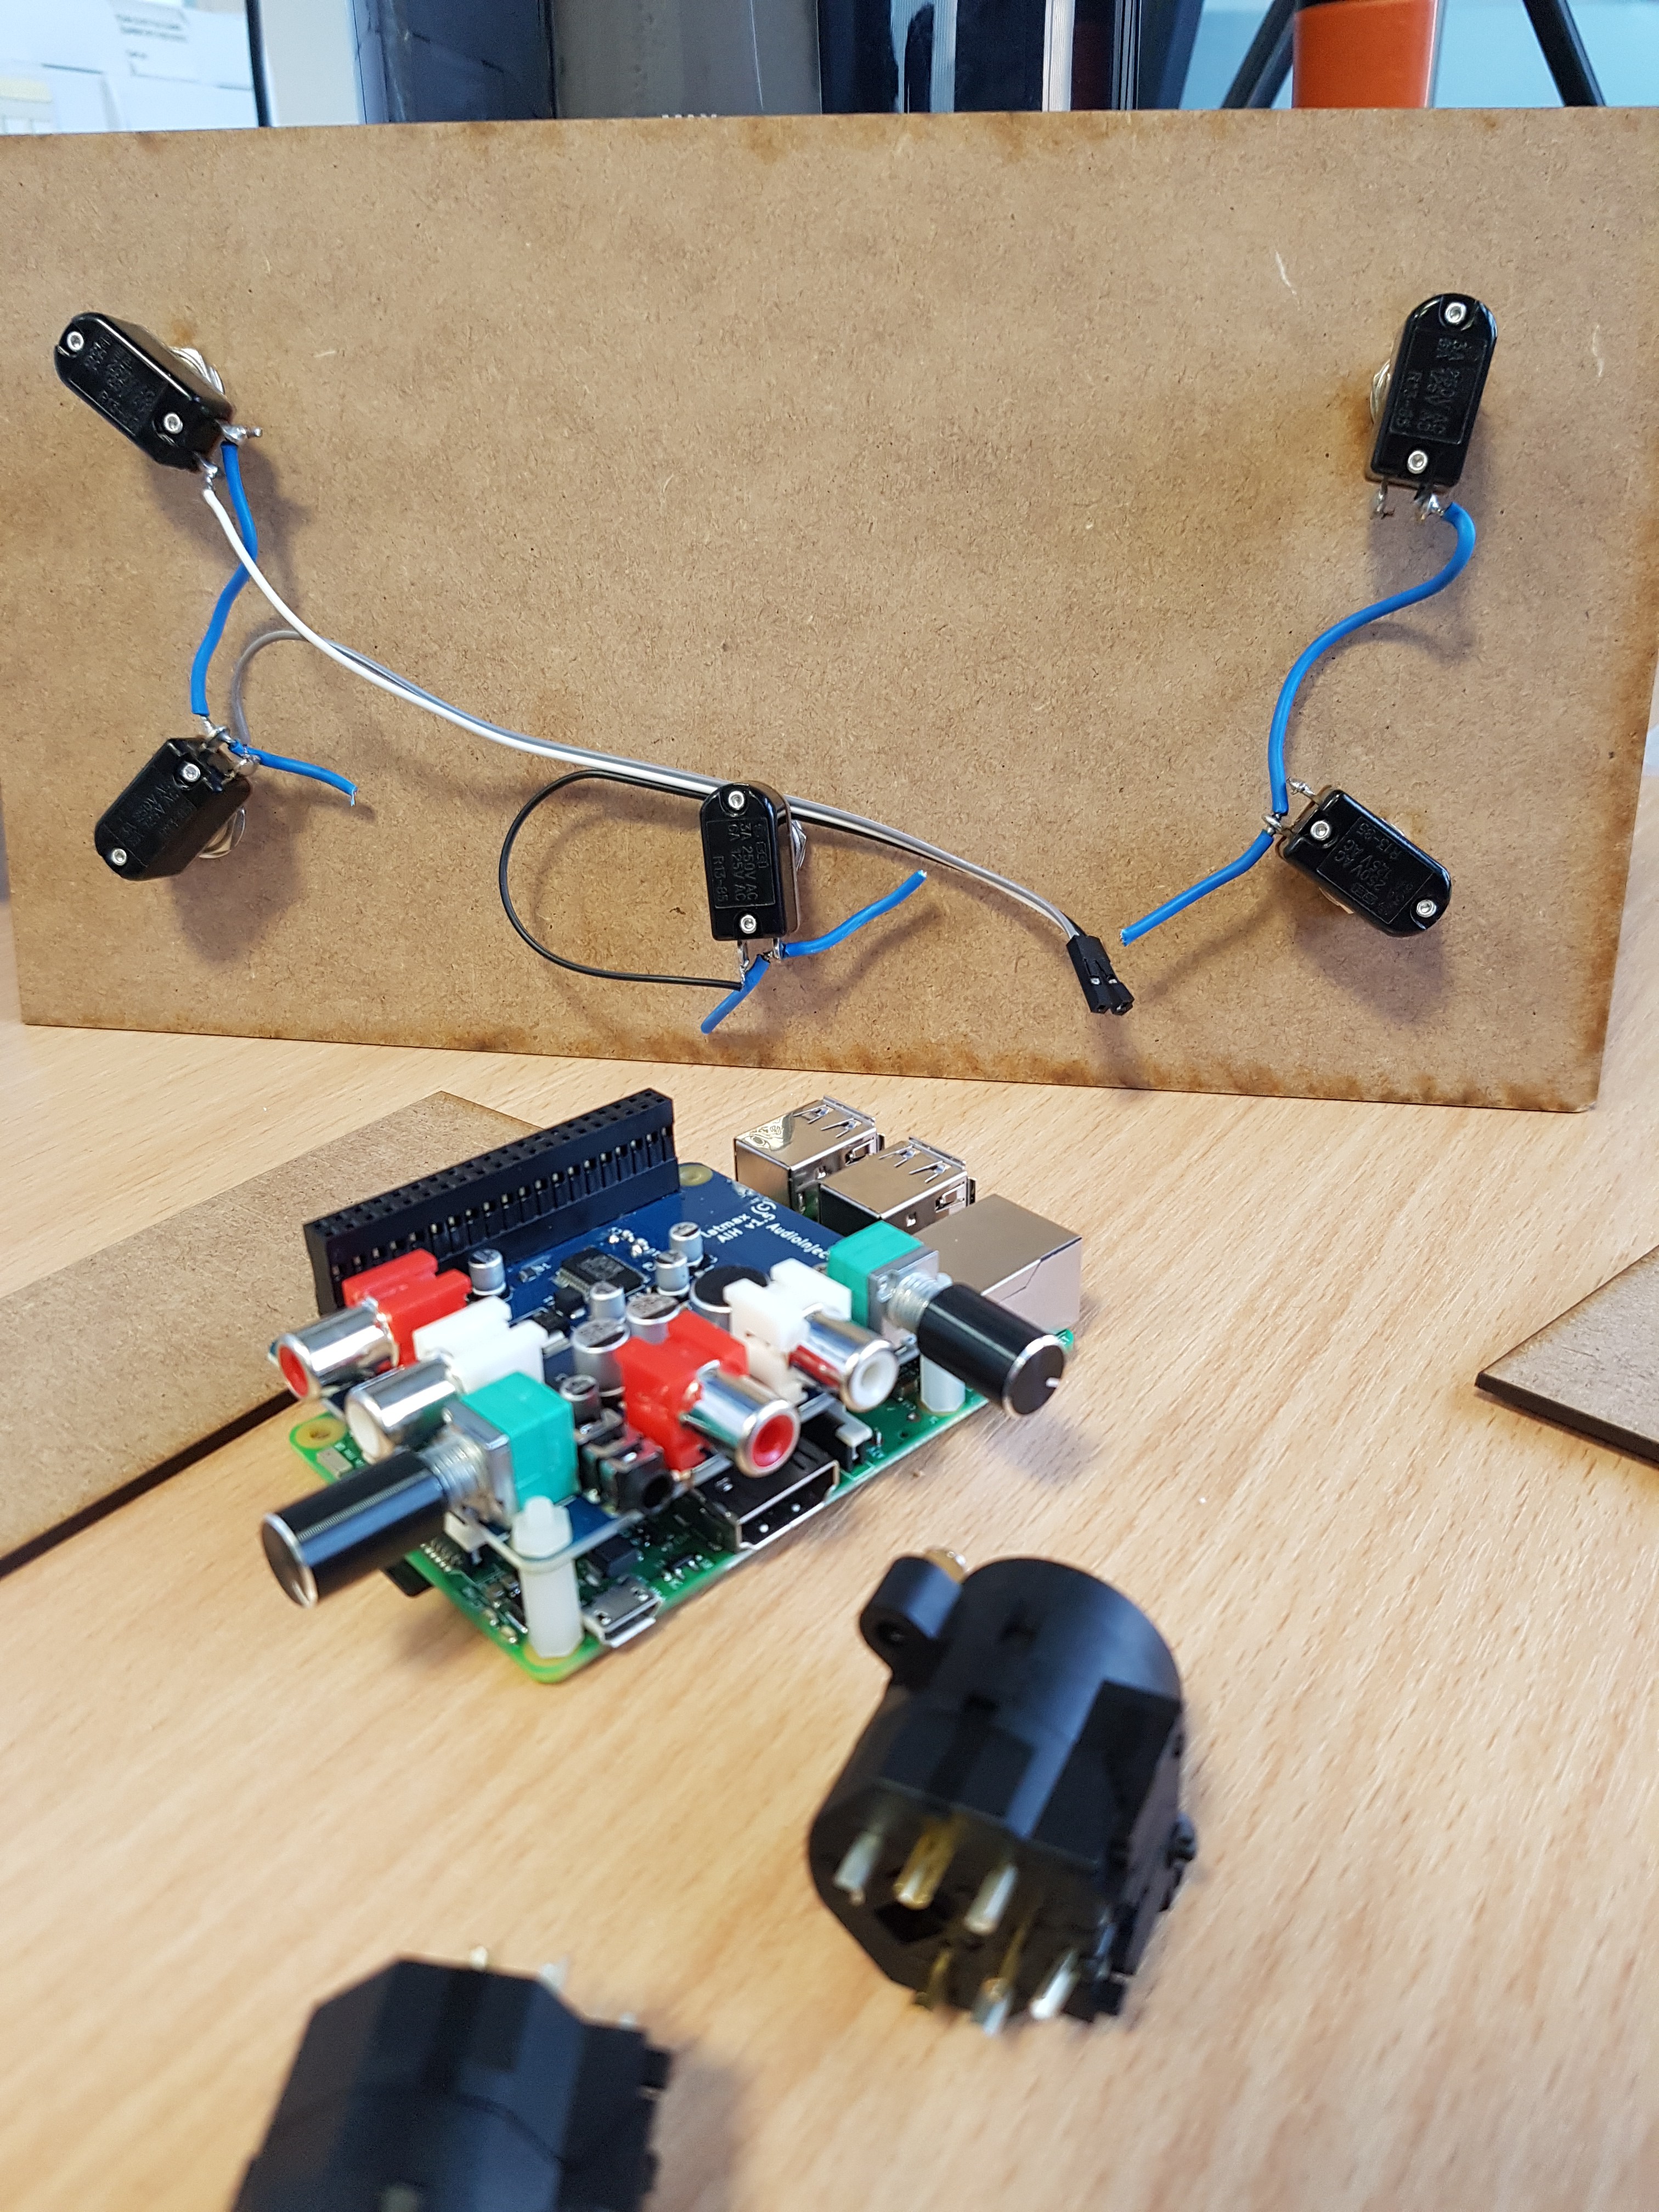
Audioinjector working
03/31/2019 at 00:45 • 0 commentsMy test build is almost ready to rock!
I've updated the software to use the new audio interface, and it works brilliantly. There's scope to really improve then latency and overall performance once finished.
All i need to do is still out back panel holes, wire up my ins and outs, then test it.
If it all fits nicely I'll be building a proper case for it :)
![]()
![]()
![]()
-
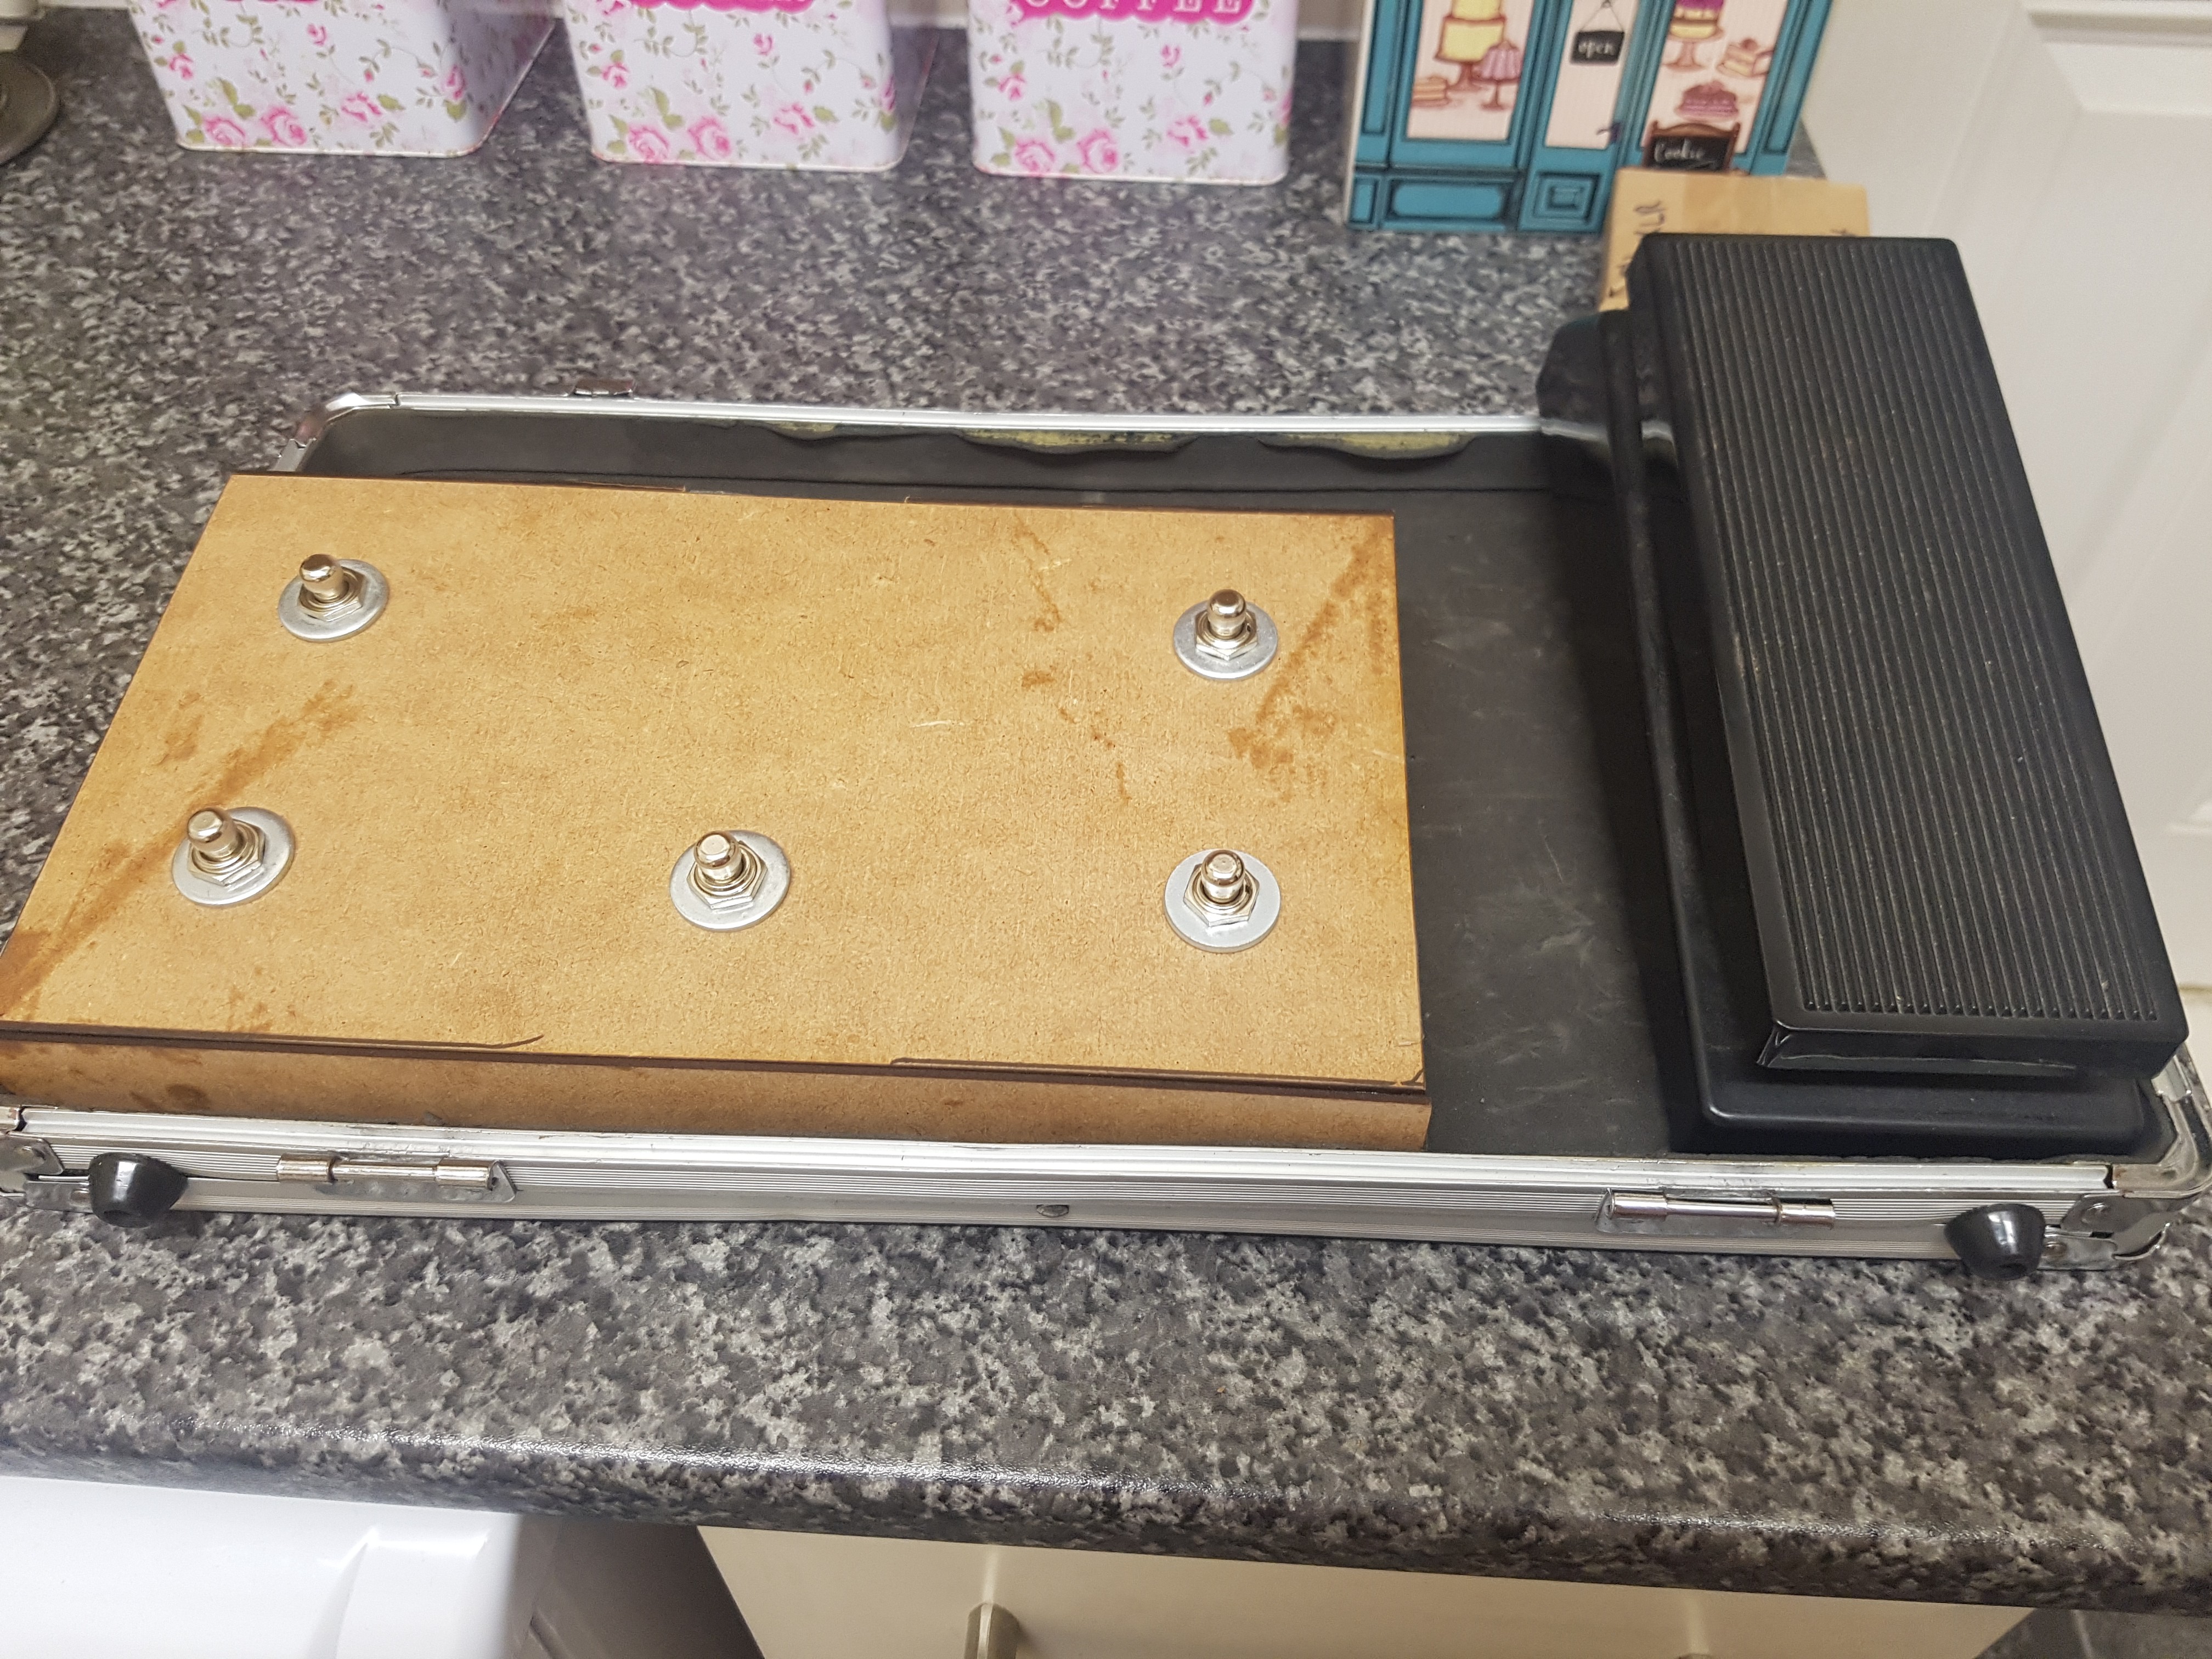
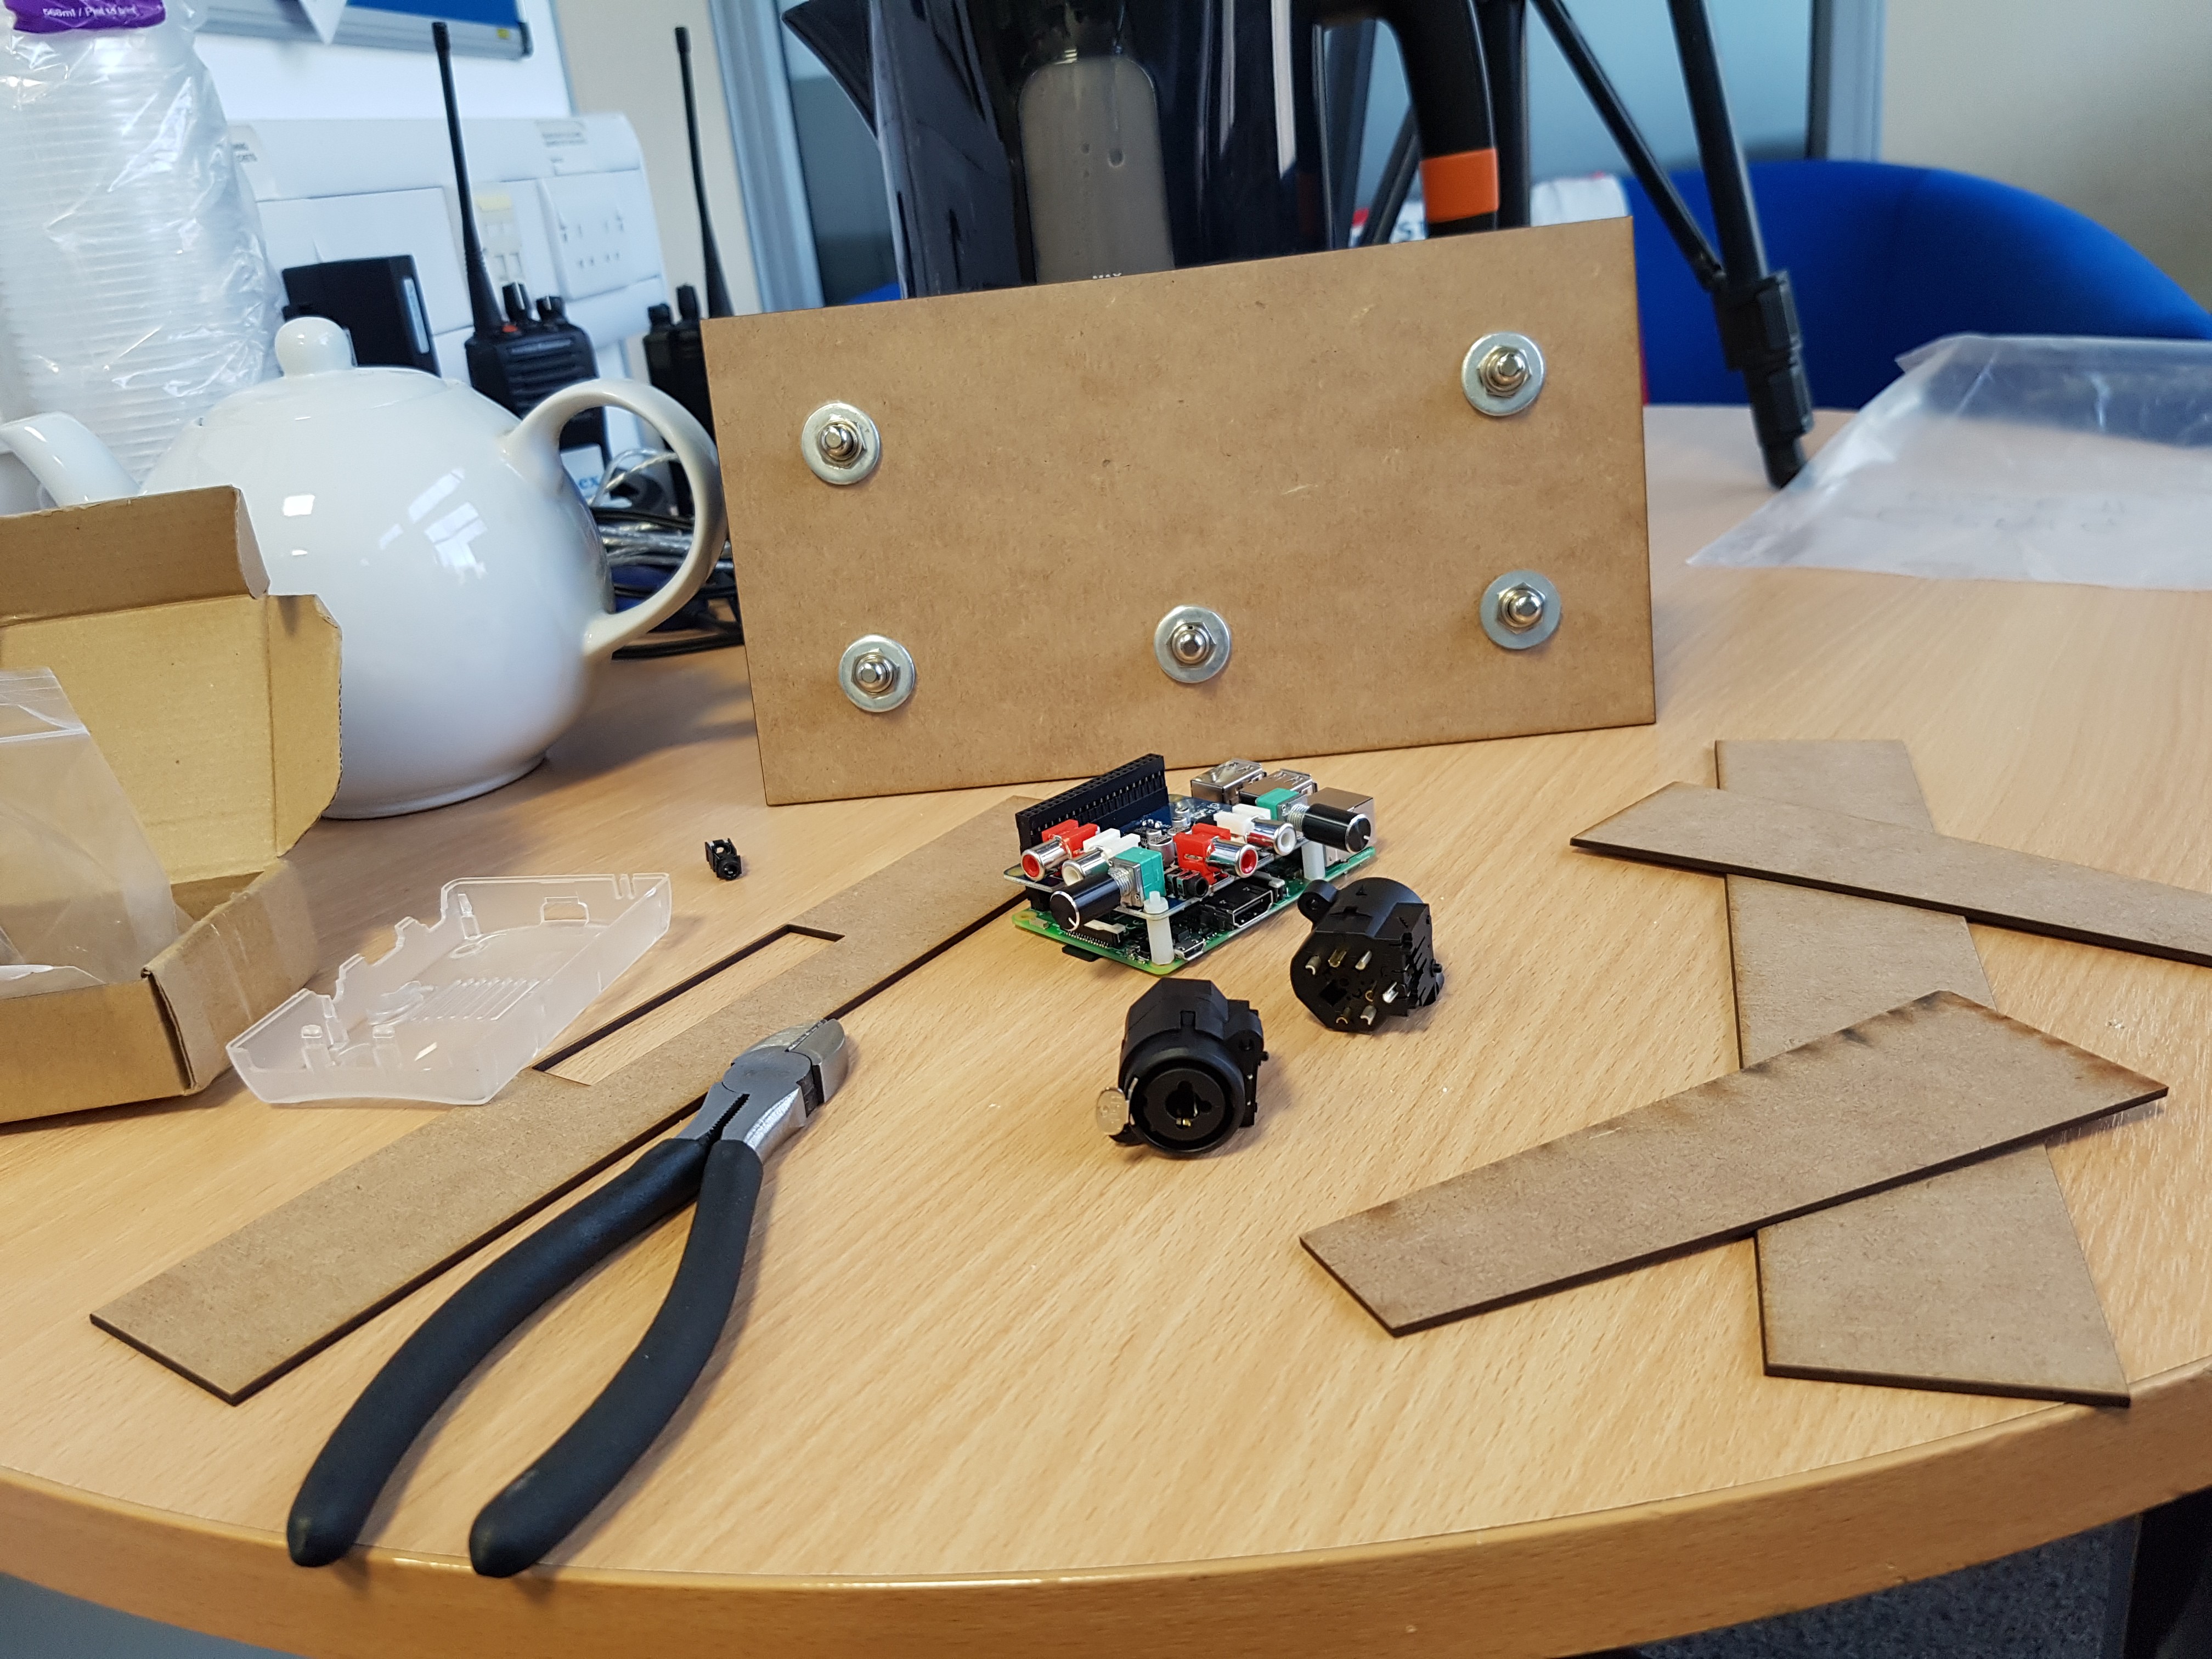
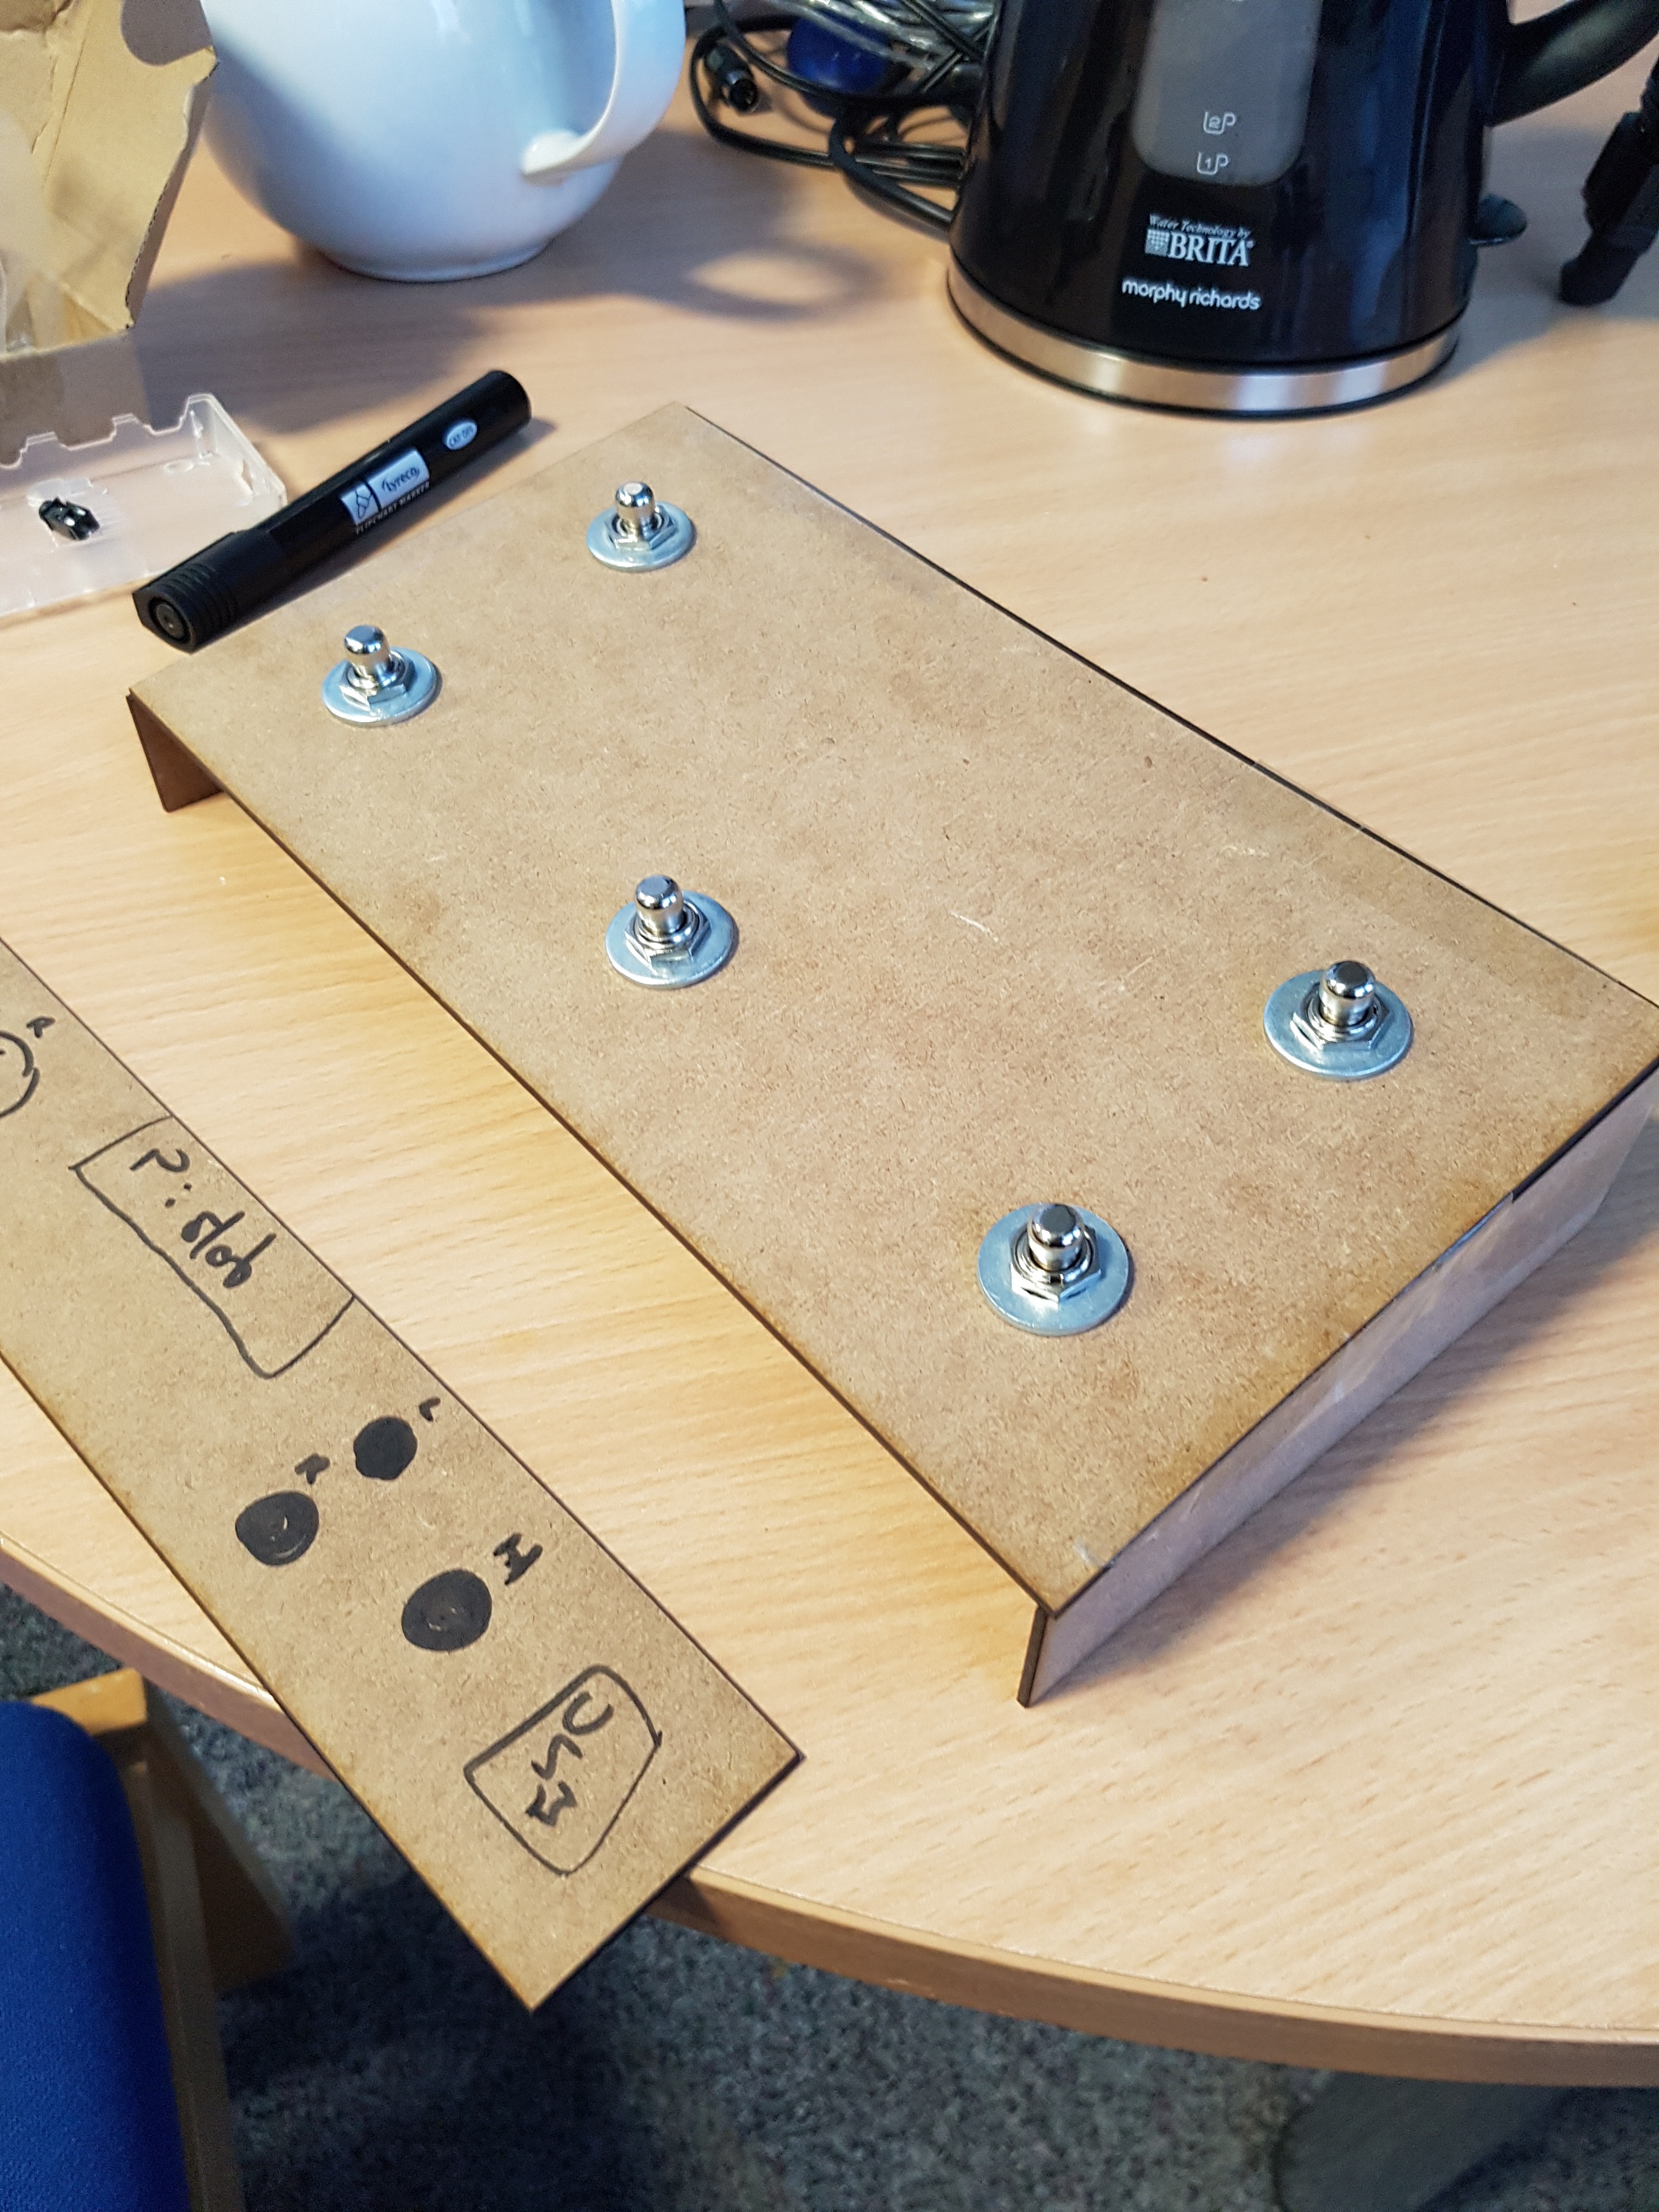
Building | Test casing
03/20/2019 at 01:02 • 0 commentsPutting together a test enclosure to see how my estimates work out. It Is looking though a 5cm height at the back and 3cm at the front will in fact leave enough space inside for the Pi and hat. I may add 1cm to each height for comfort.
Just need to rewire my switches, adjust my code for the new audio interface and it should be ready to test. Once testing is complete it'll be rehomed in a much better case.
![]()
![]()
![]()
![]()
![]()
![]()
-
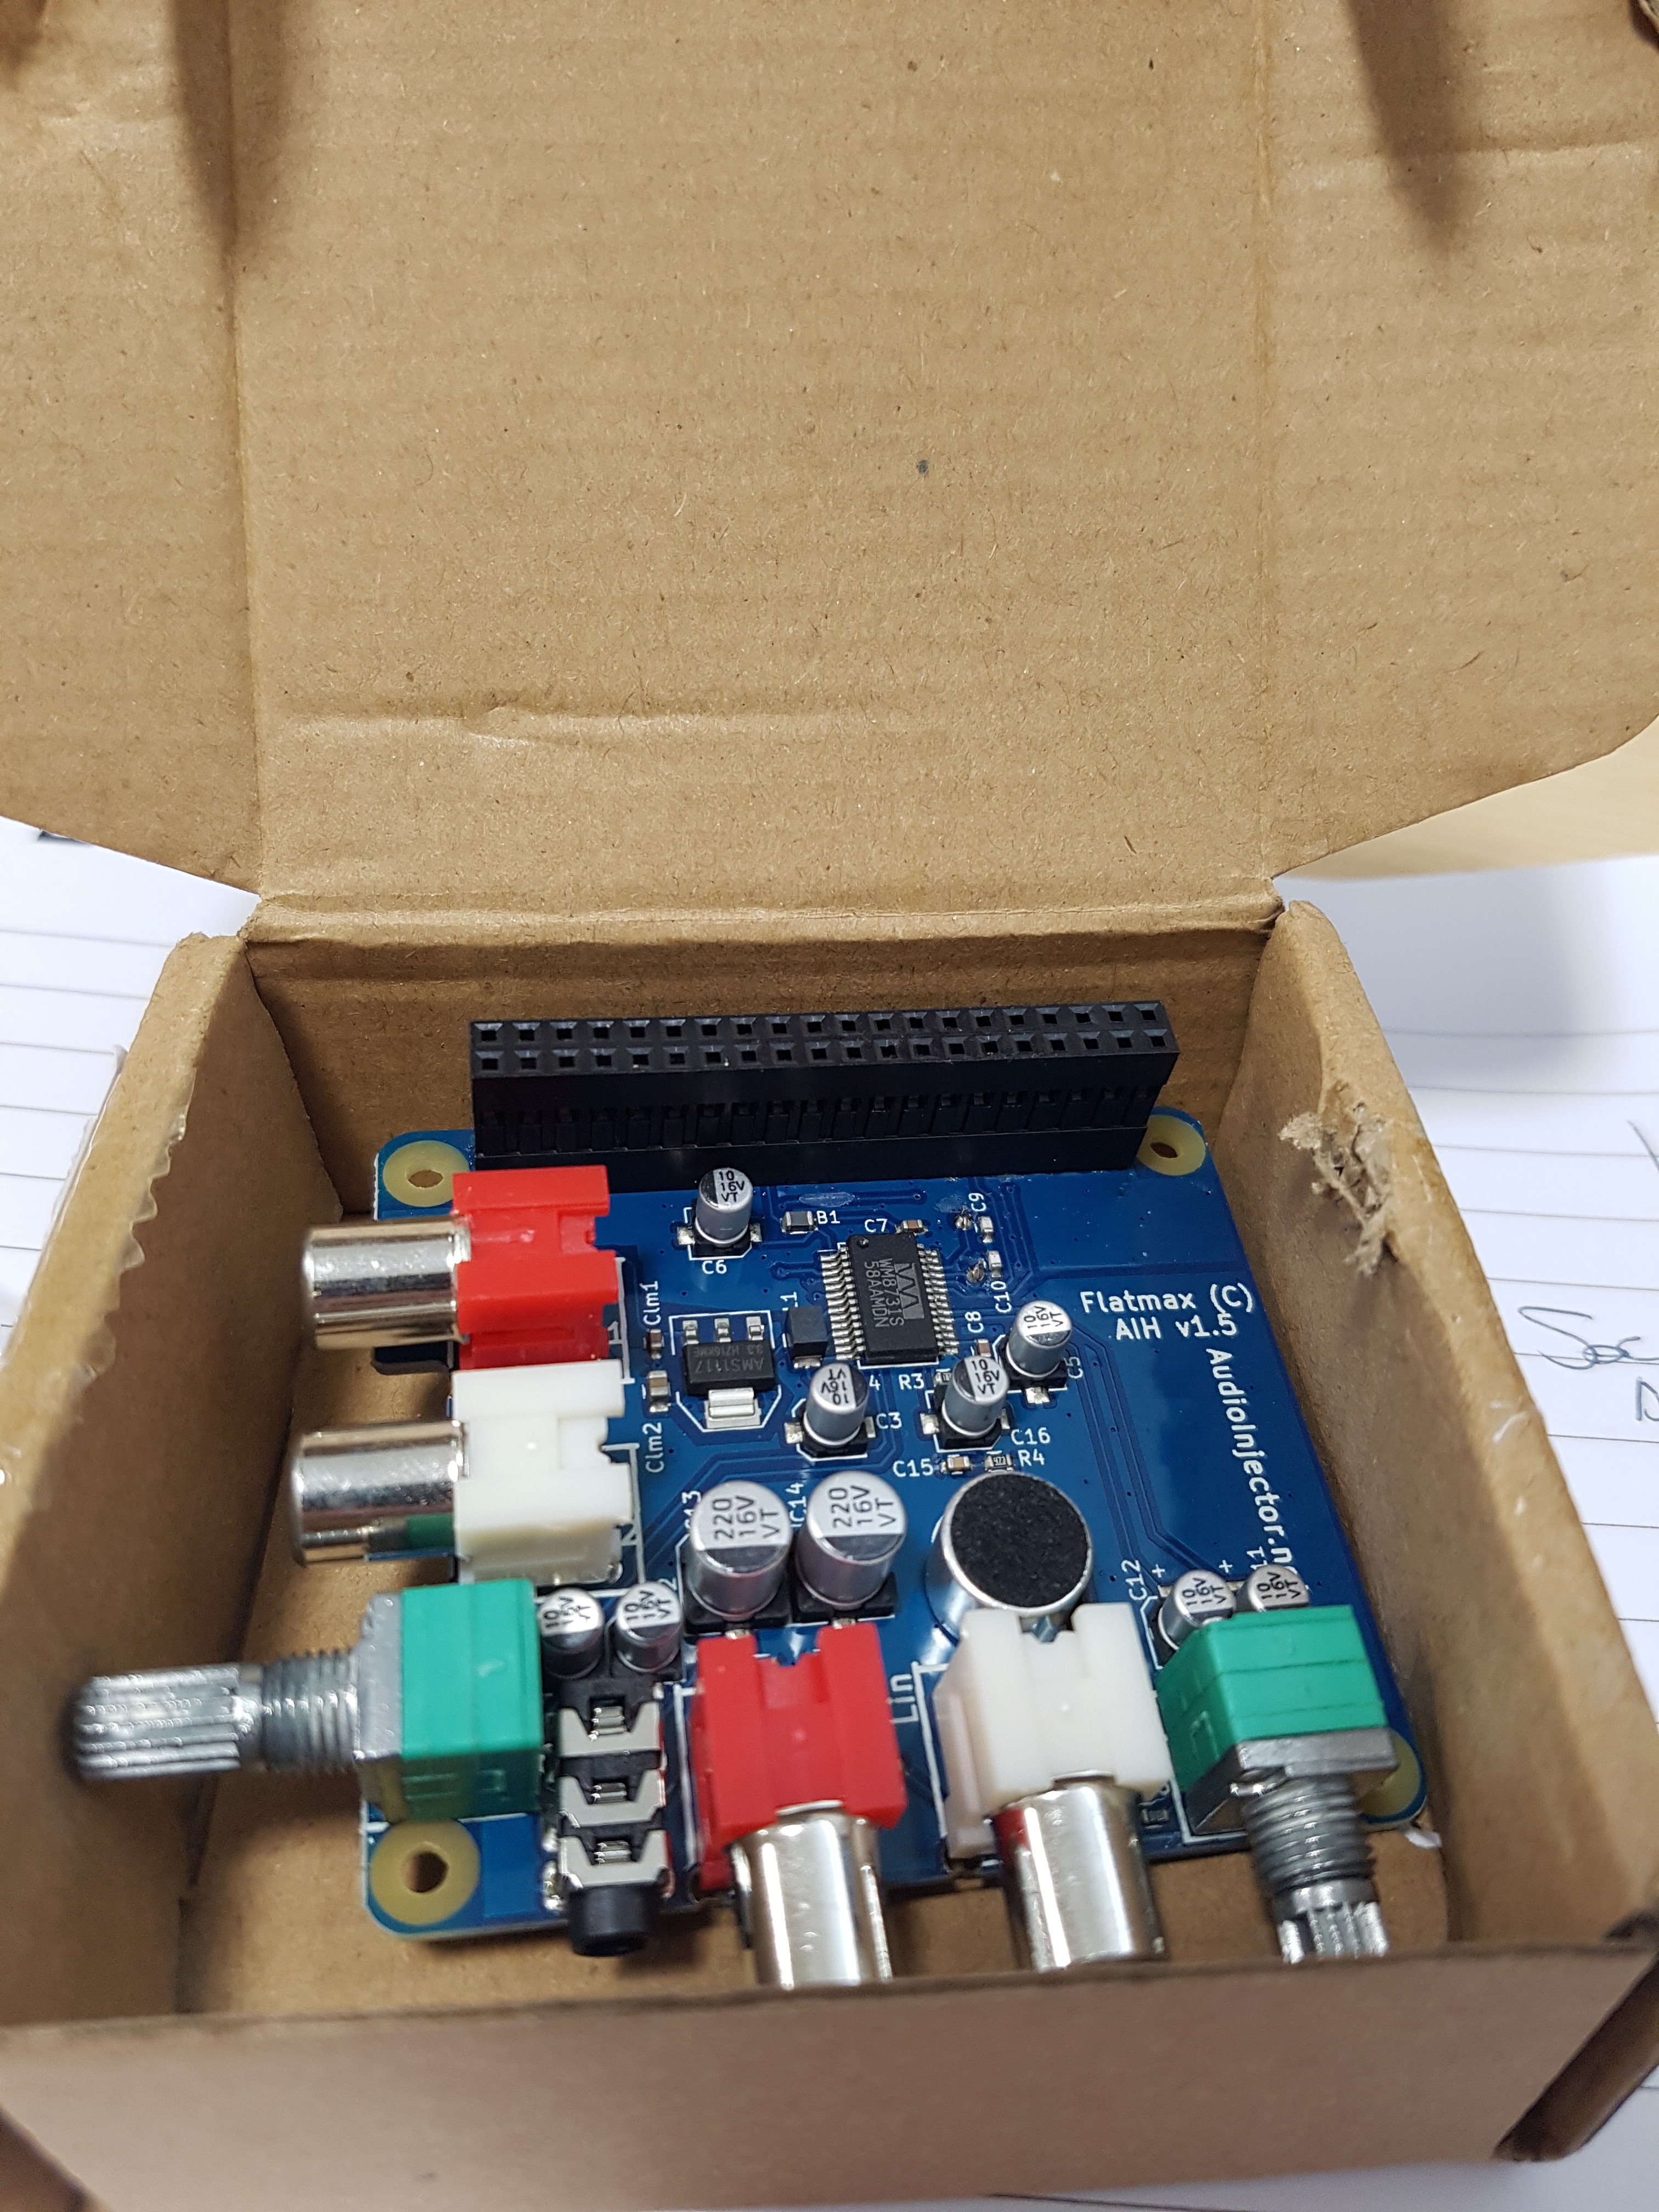
New Arrival | Audioinjector HAT
03/19/2019 at 12:09 • 0 commentsAh, isn't it beautiful?!
Now, to crack on with assembling the test case.
![]()
Multi fx Stomp Box
I am looking to build a modular 'pedalboard in a box'. It's so crazy it just might work...