-
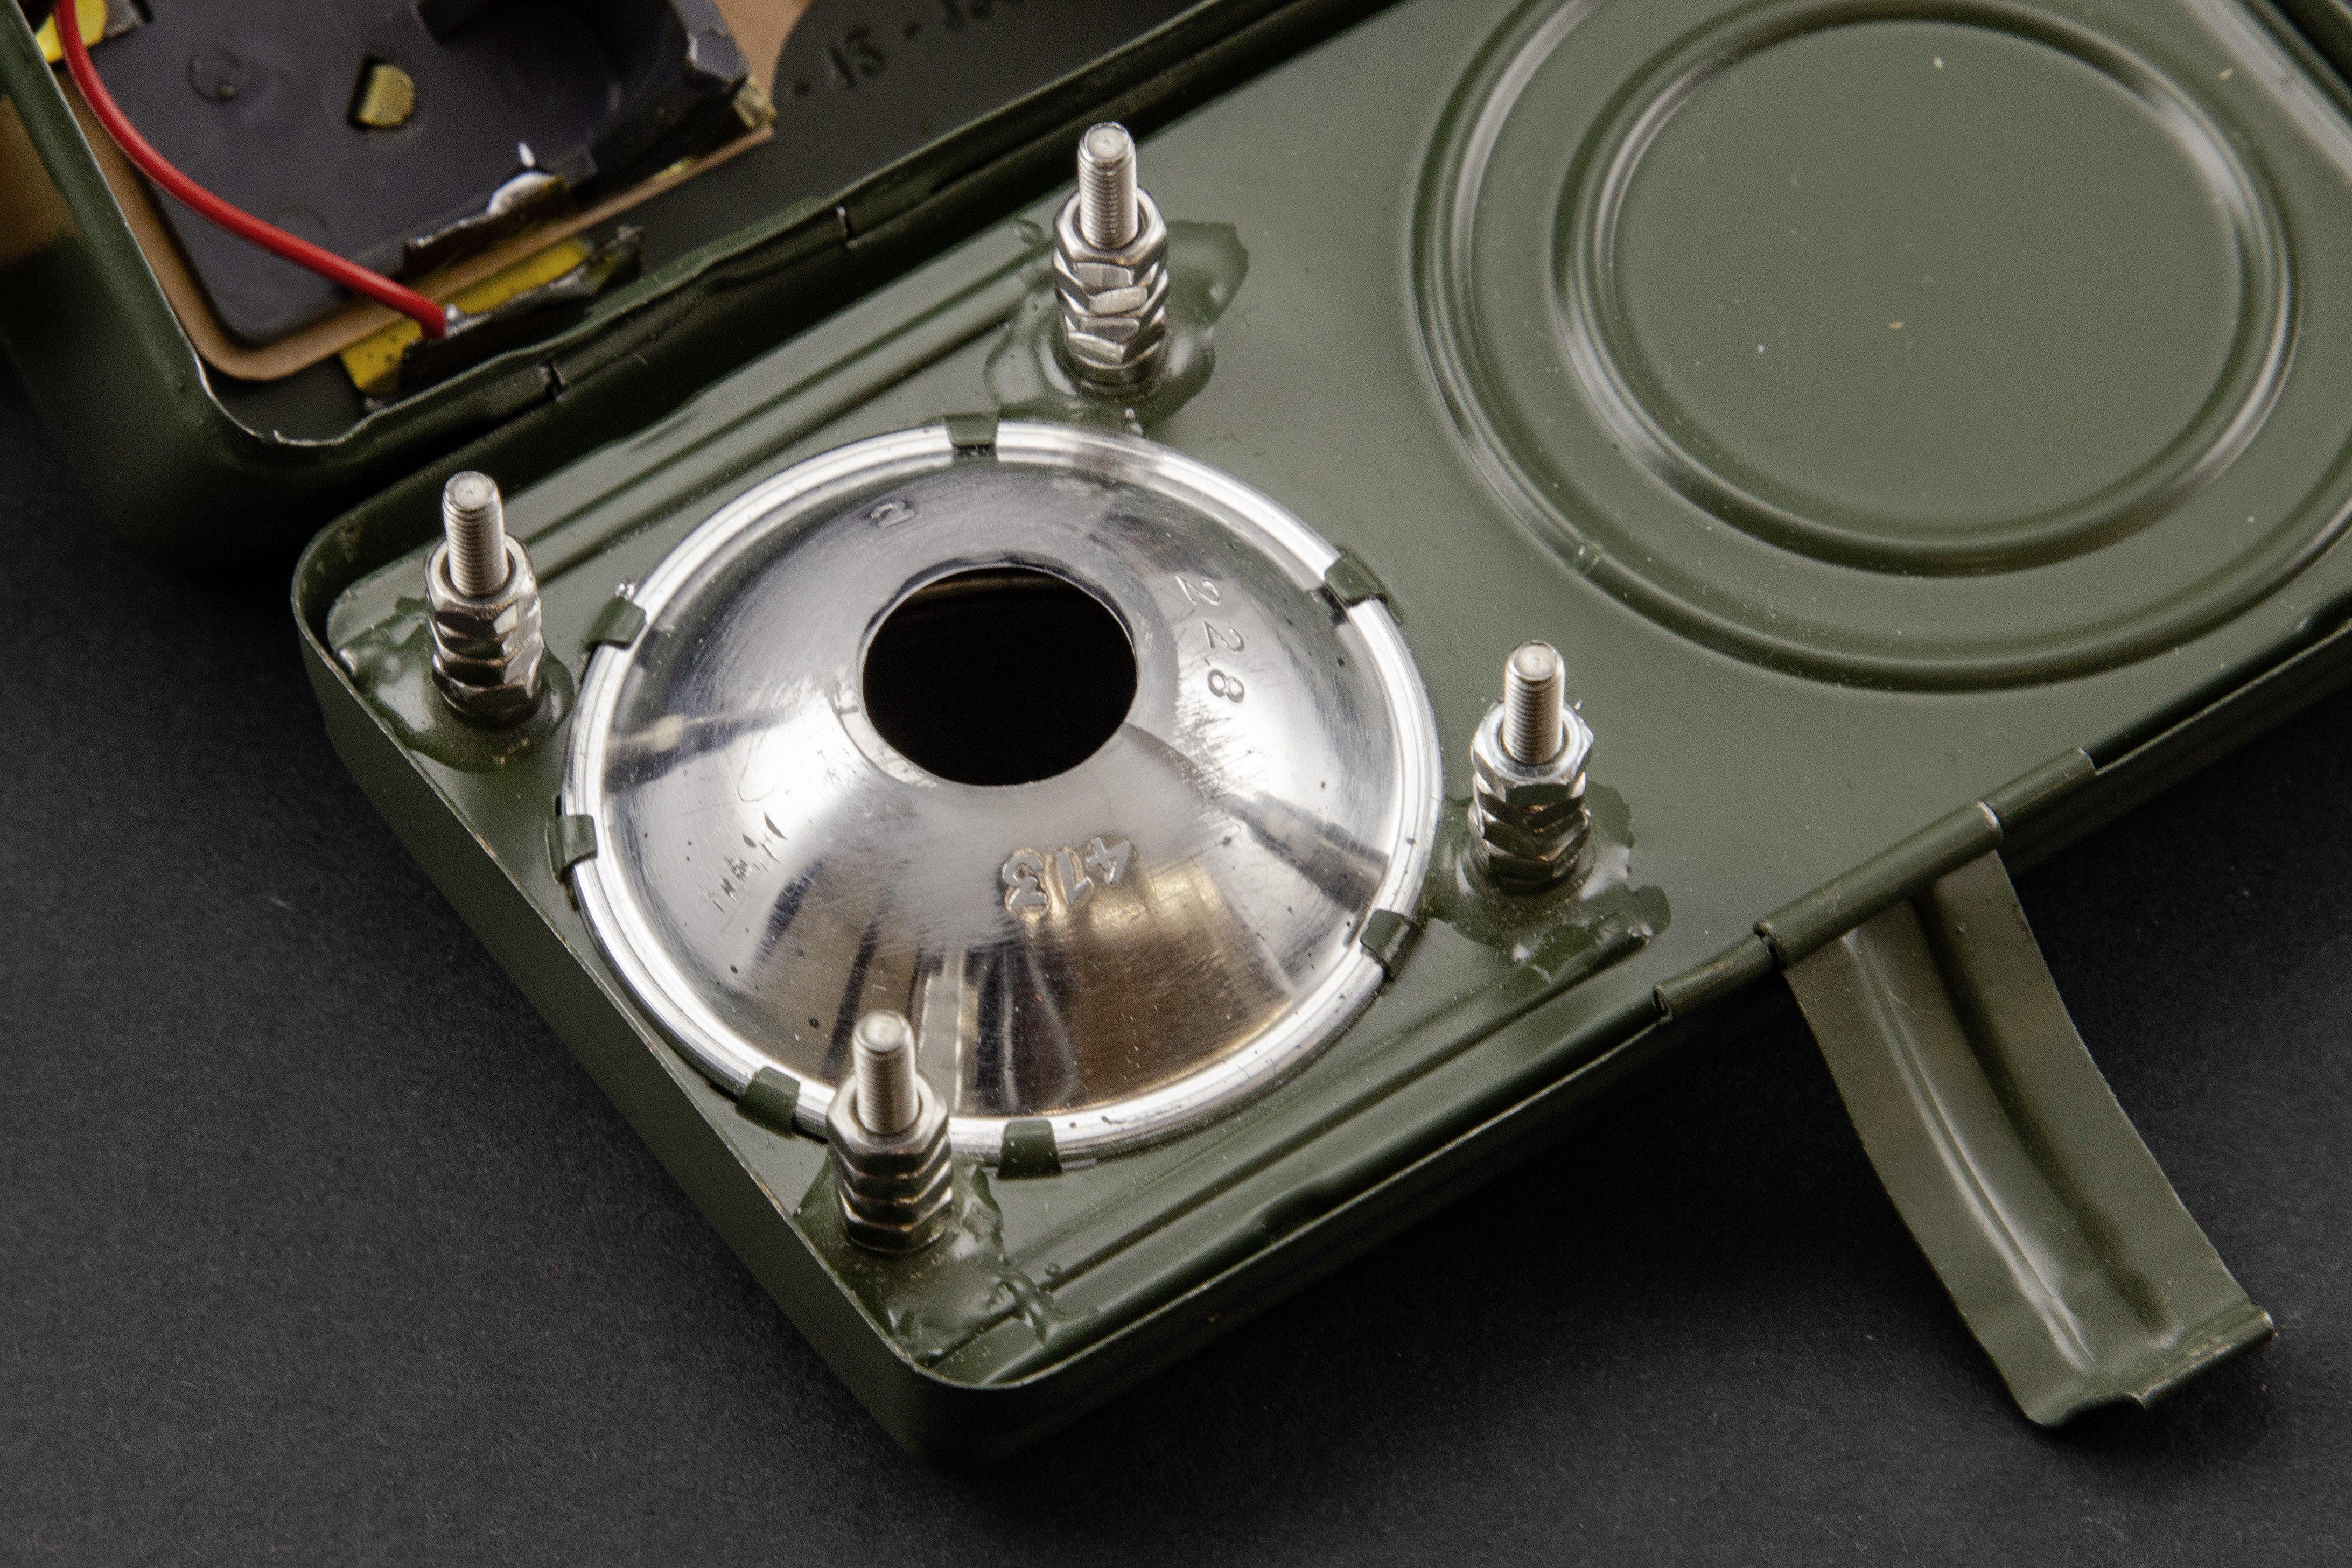
1Add PCB mounts to the flashlight
![]()
I glued four M3x18 screws to the chassis using cheap epoxy. The unpopulated pcb served as a template. I carefully adjusted the position of the screws until the footprint of the LED was placed exactly above the hole in the reflector. I also carefully removed some of the reflective coating on the reflector that faced the inside of the lamp using fine sandpaper. It seemed to be conductive, so it is just a safety measure against shorting out the leads of the LED. -
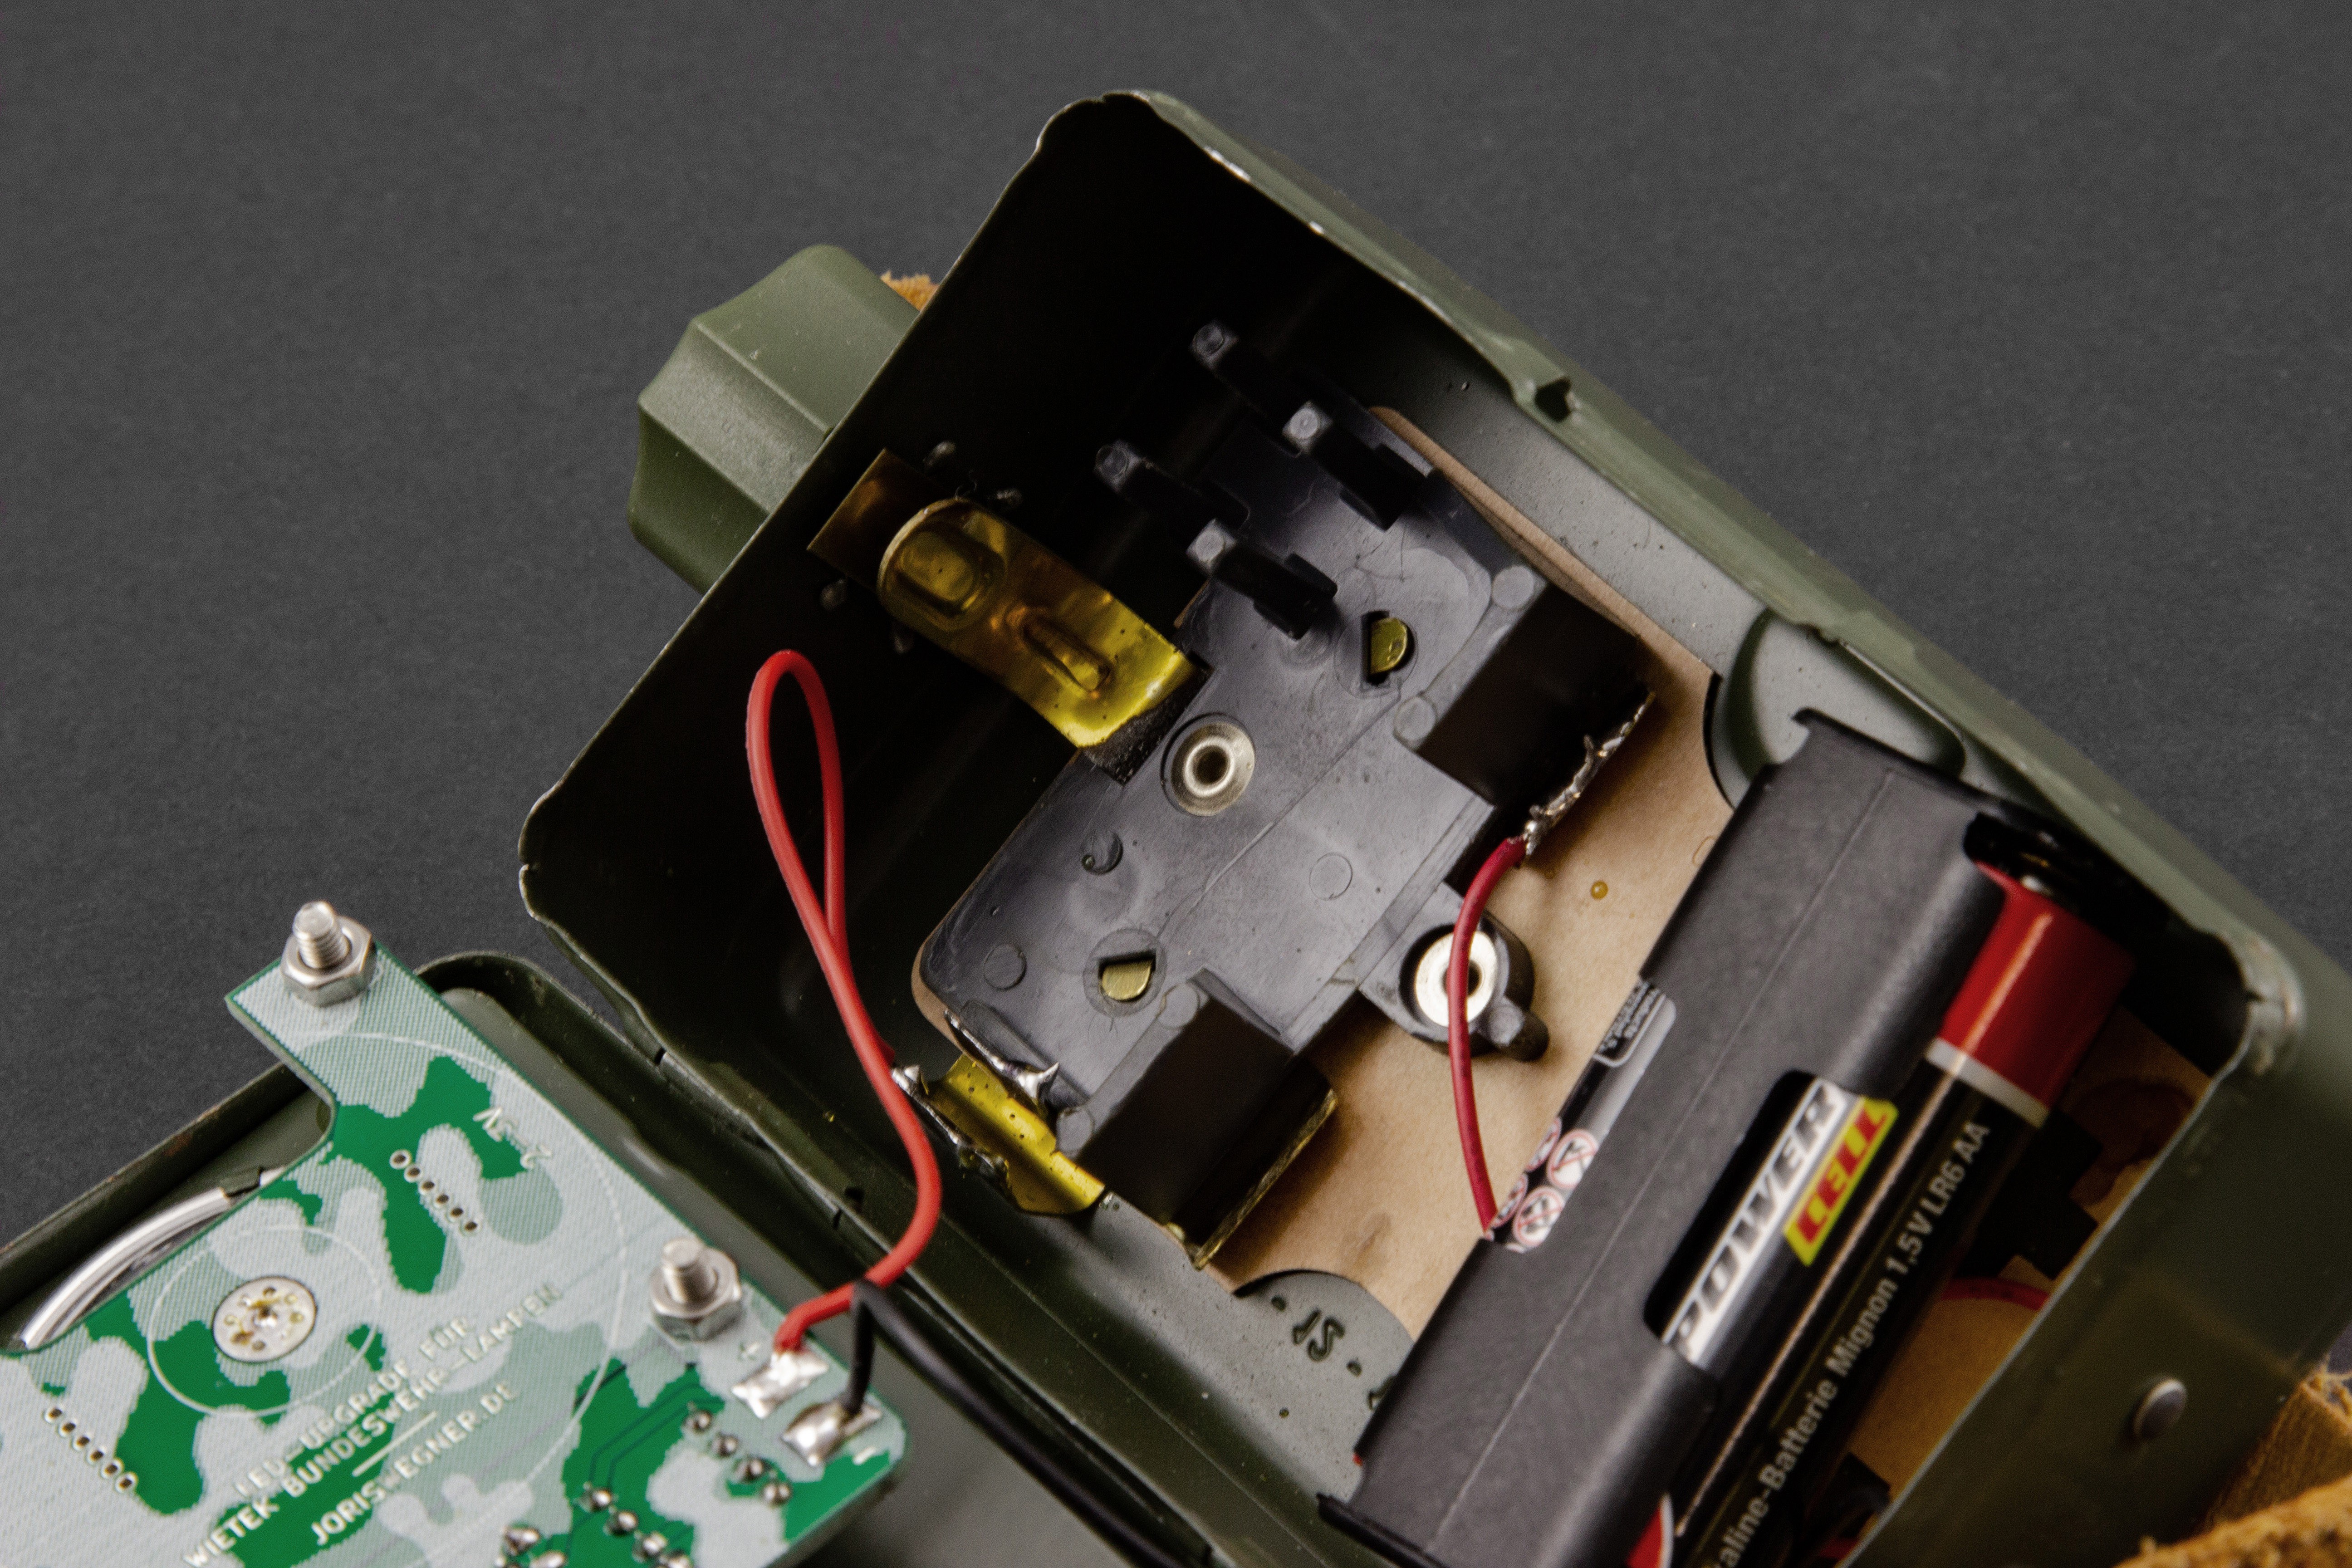
2Modding the original internals
![]()
I wanted to continue using the original switch of the lamp. Therefore I soldered the wires from the battery pack and the PCB to the former battery and lamp holders. I had to shorten them quite a bit using a dremel to have enough space for the PCB.
(All the components are already in place because I took the photos after completion, sorry for that) -
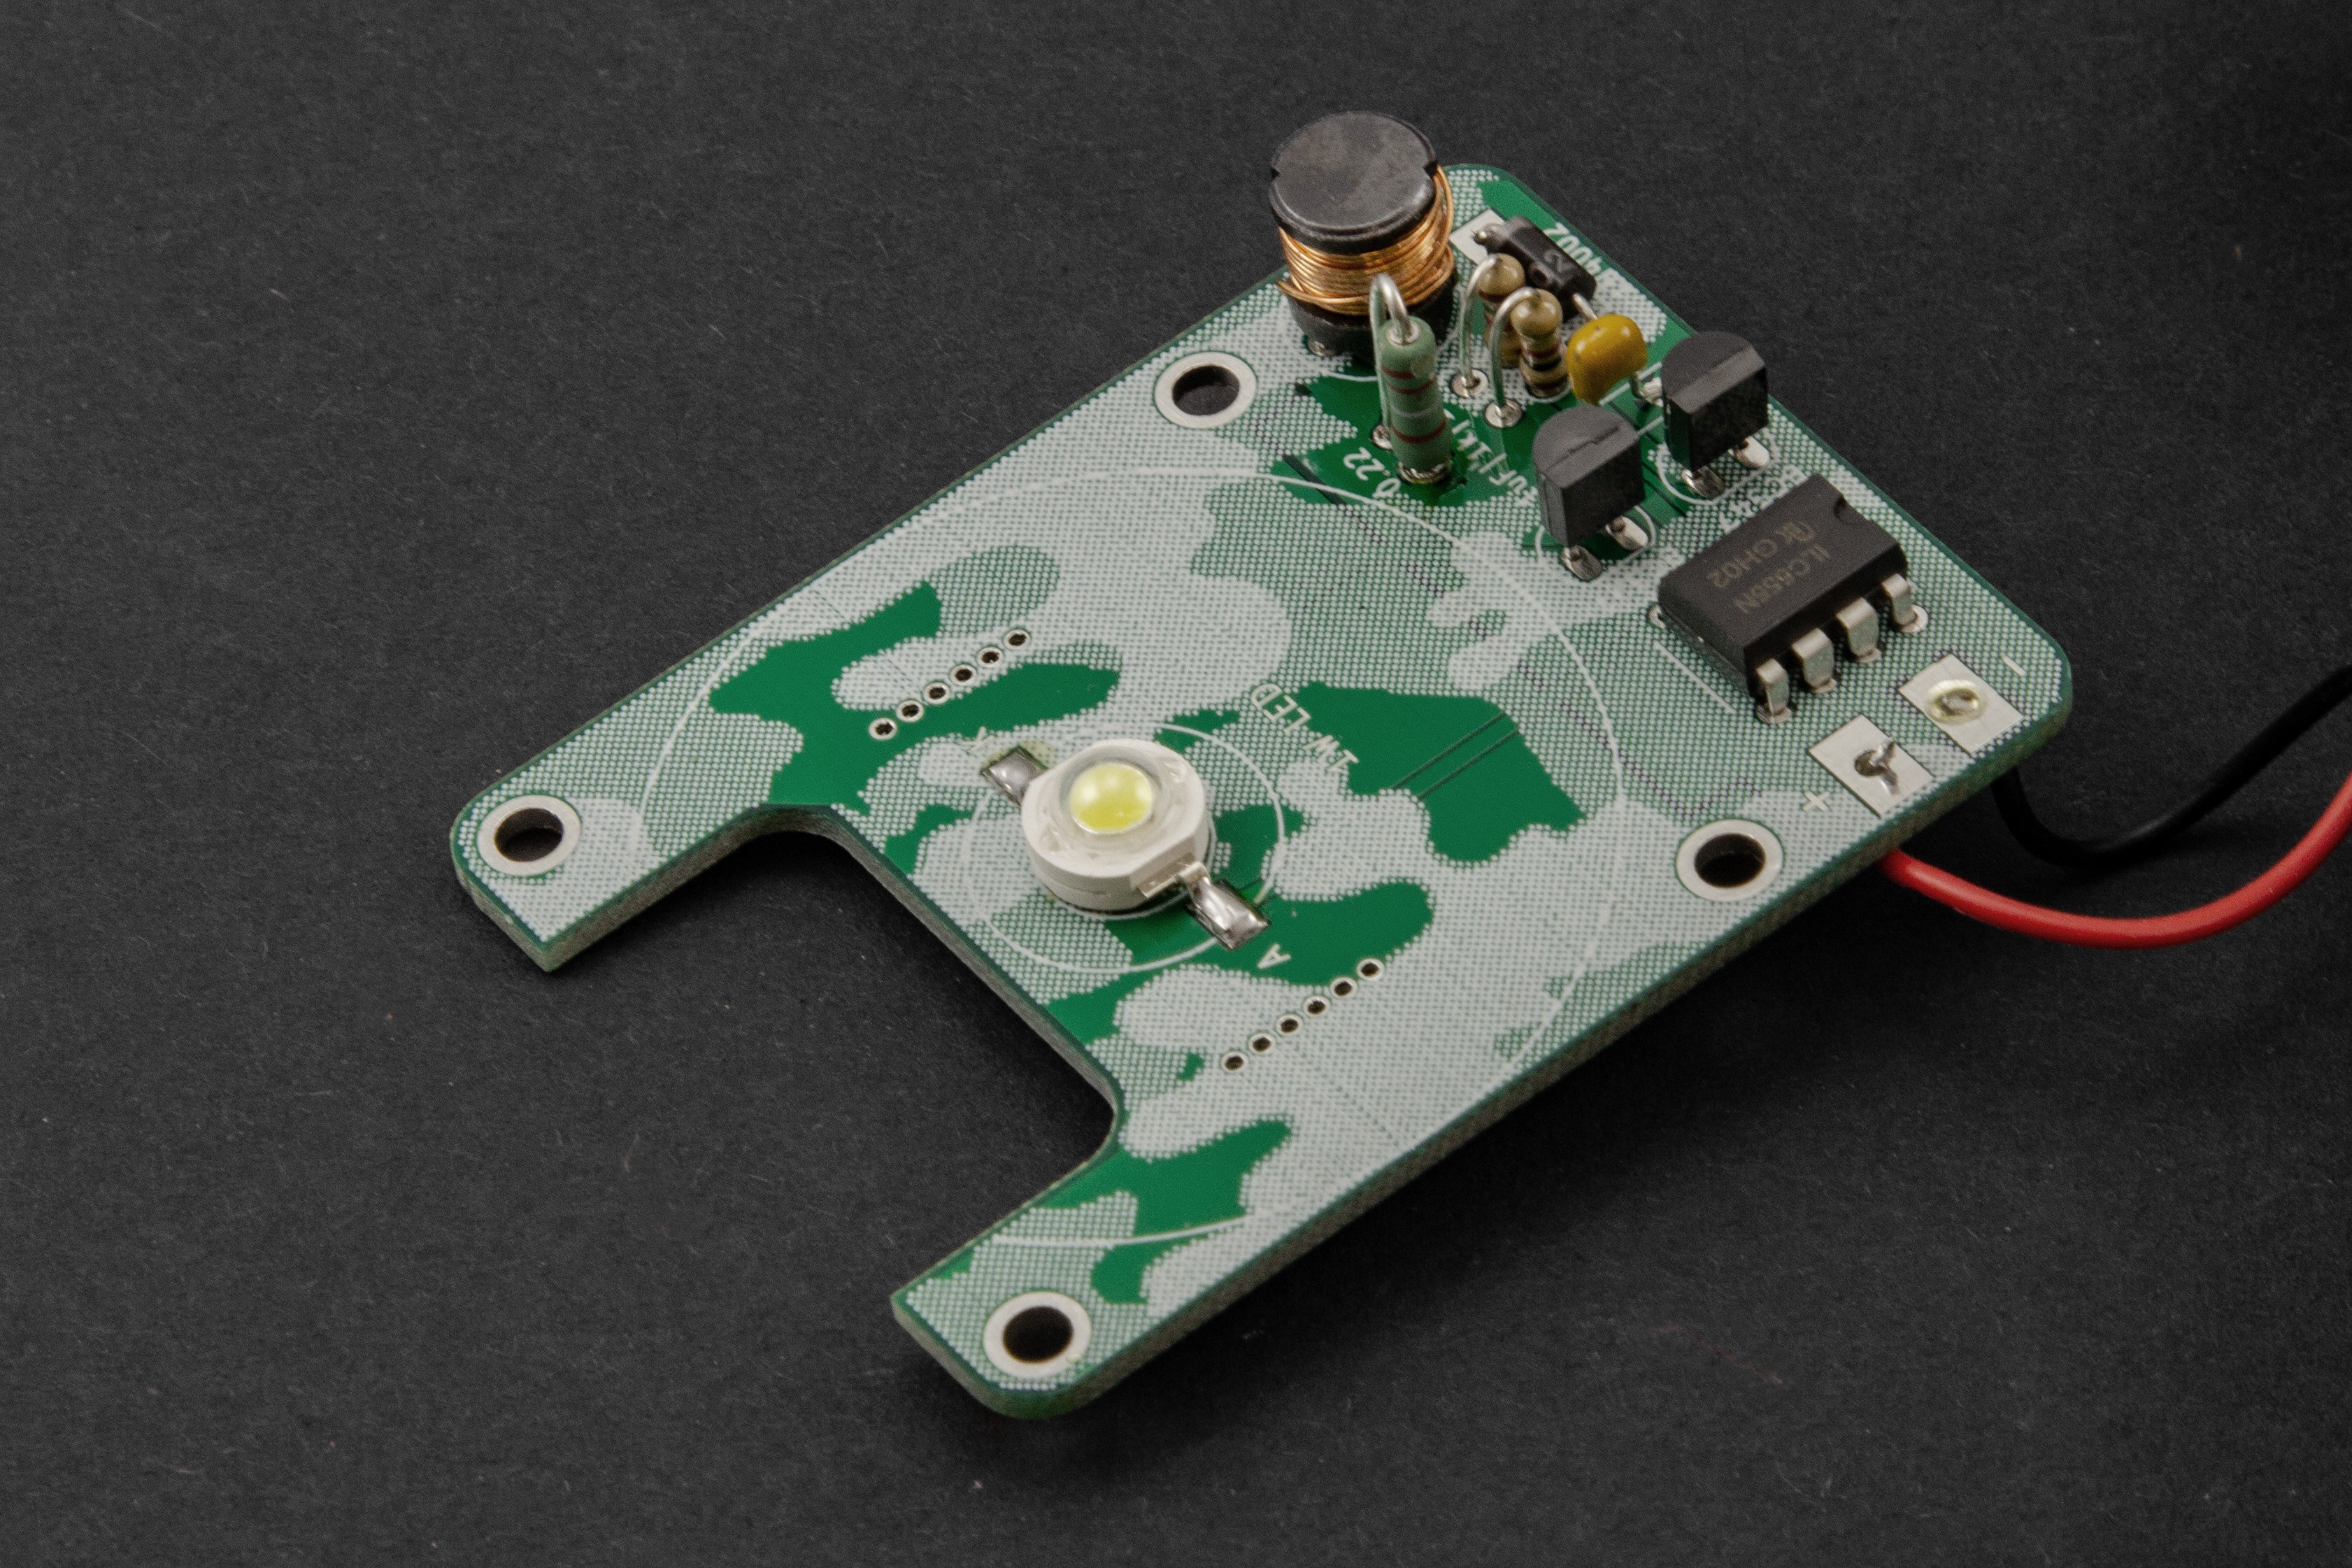
3Solder components to the PCB
![]()
-
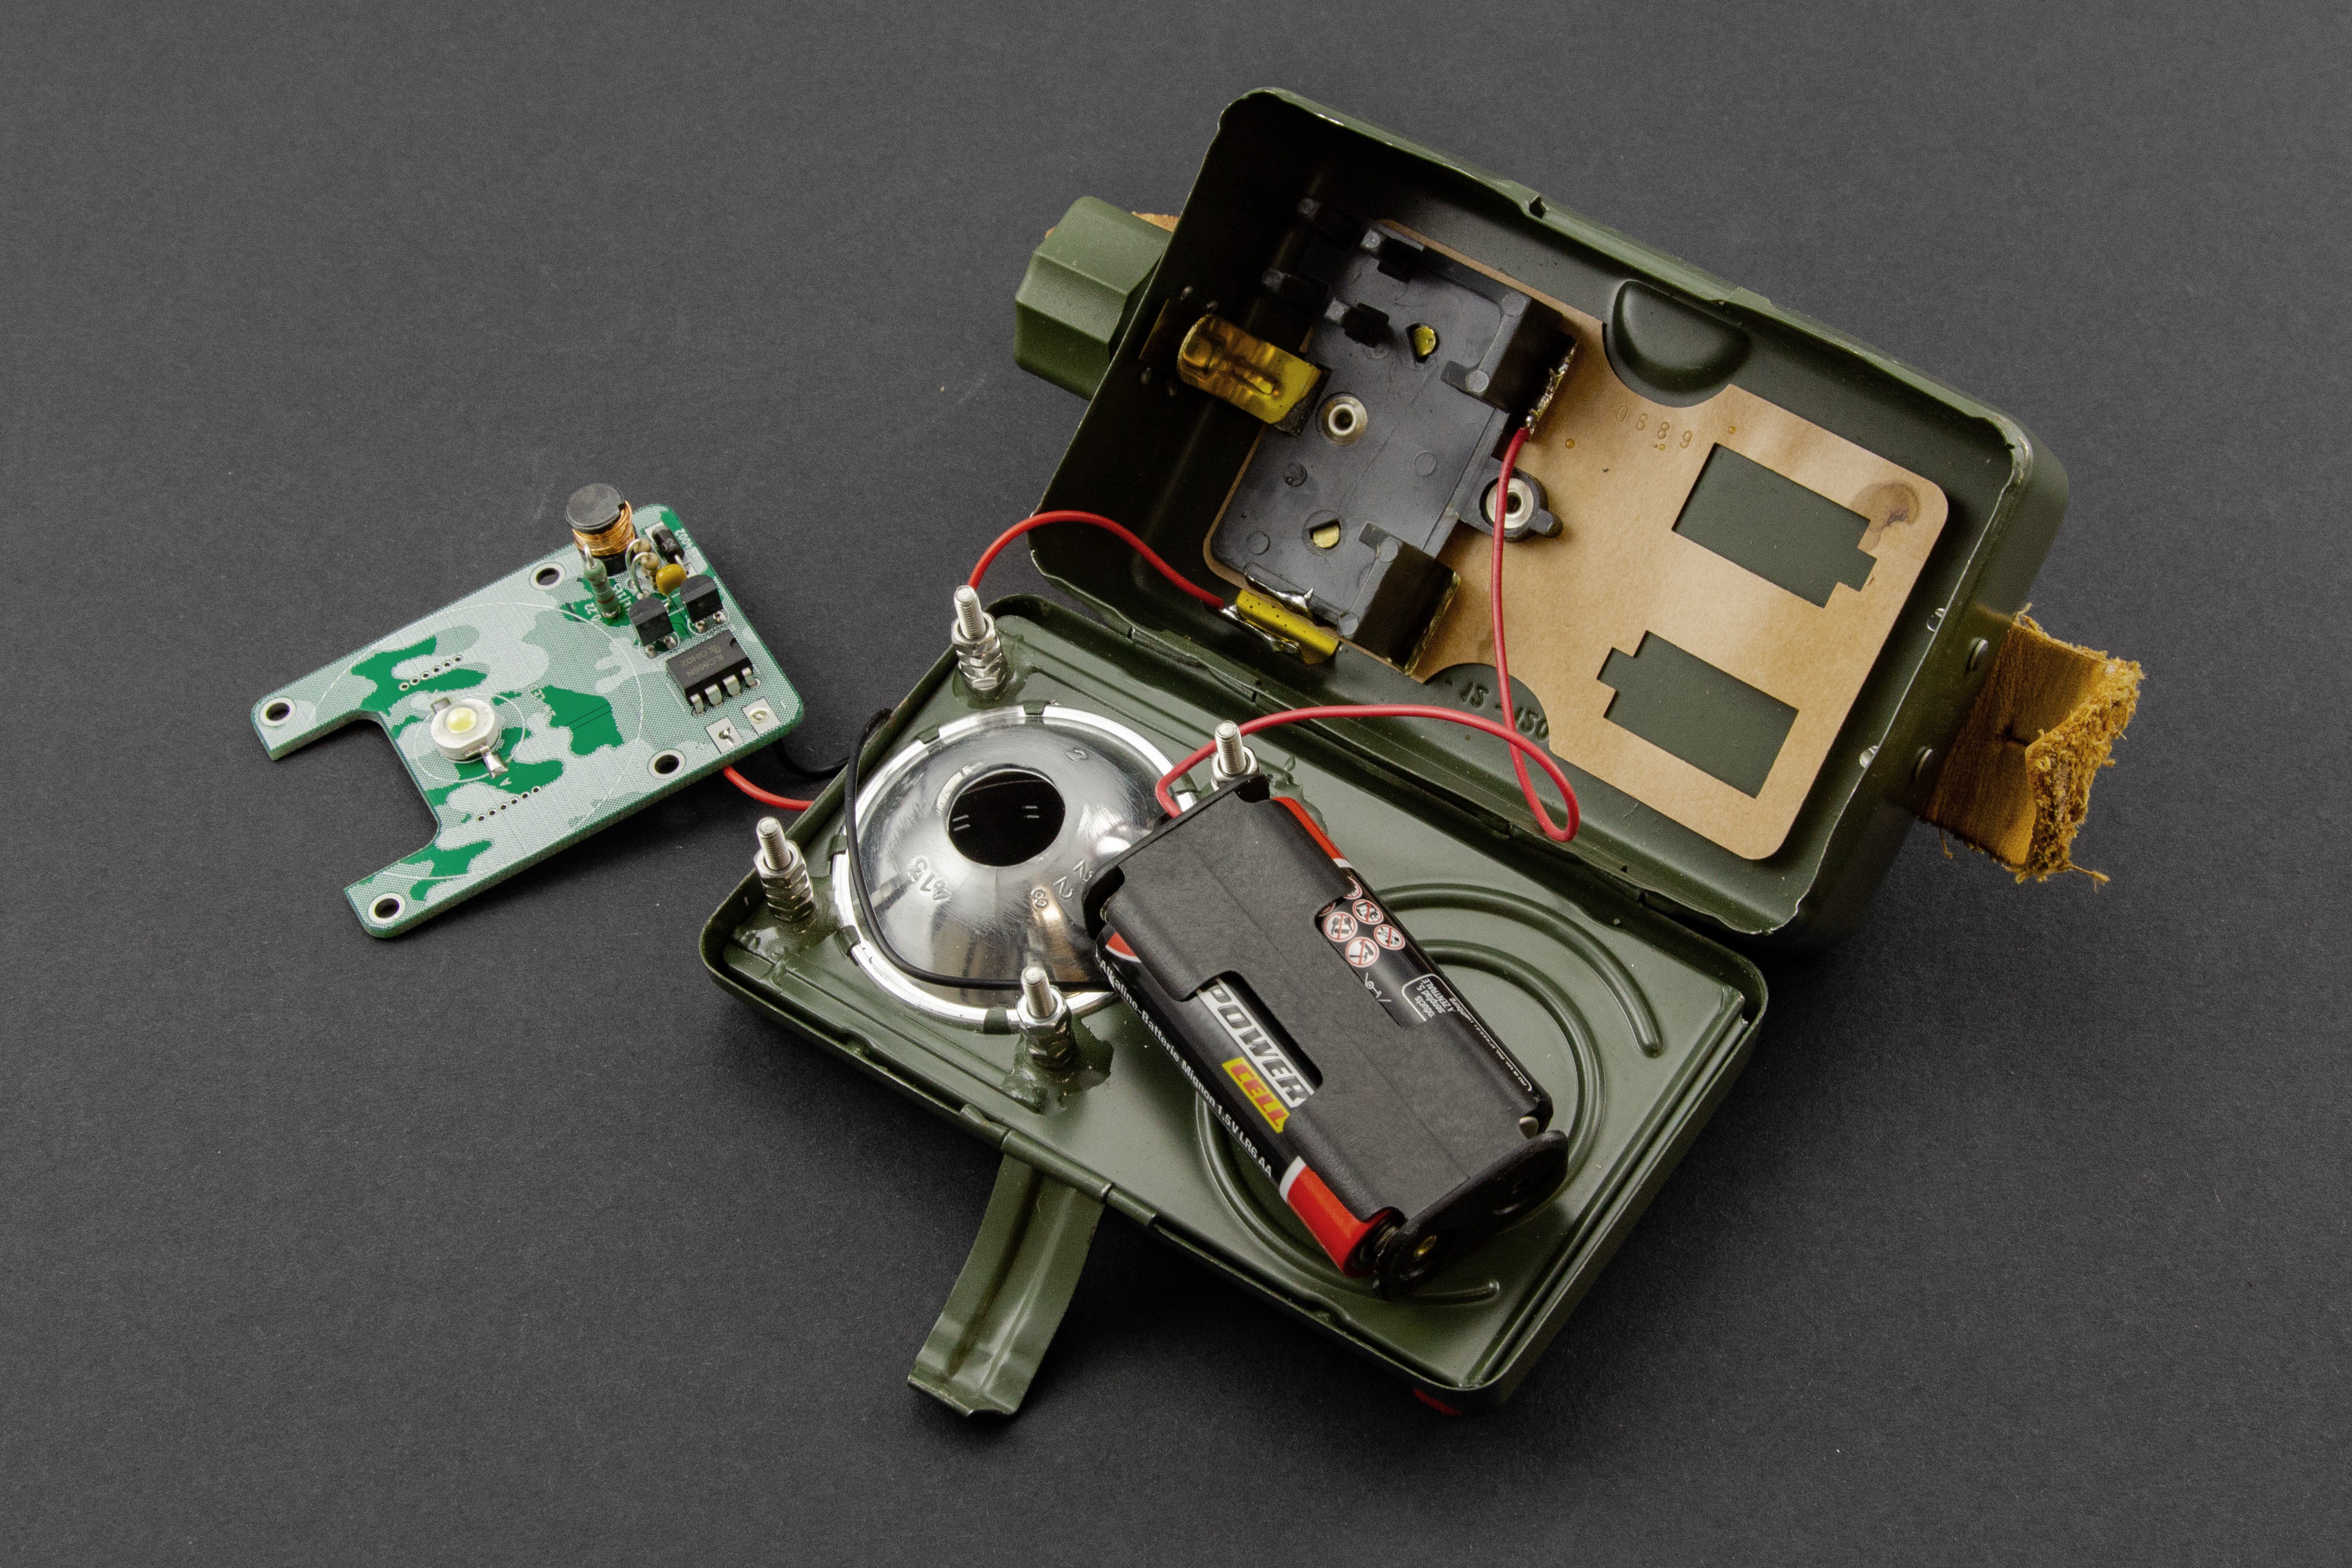
4Connect everything
![]()
Now it is time to connect everything. It would also be a good idea to use some velcro for affixing the battery pack to the back of the lamp.
LED upgrade for Wietek military flashlights
Custom PCB with 3W LED and boost converter to replace the internals of a vintage flashlight
 Joris Wegner


Discussions
Become a Hackaday.io Member
Create an account to leave a comment. Already have an account? Log In.
The LED upgrade for Wietek military flashlights is a significant improvement that enhances the functionality and reliability of these essential tools. By replacing traditional bulbs with LED technology, these flashlights now offer increased brightness, longer battery life, and improved durability, making them even more suitable for military operations. In the broader context of military challenges, the article http://www.military-today.com/life/top_5_problems_in_the_army_in_todays_world.htm sheds light on the issues faced by armed forces in the modern era. While it does not specifically address LED upgrades for military flashlights, it provides valuable info about the complex challenges military personnel encounter.
Are you sure? yes | no