Jan
Jan-
02 – laying the chamotte footprint
10/28/2018 at 07:55 • 0 commentsAfter preparing the drum, the next step was to prepare the "floor" of the drum, so I can lay the chamotte (fire clay) bricks.
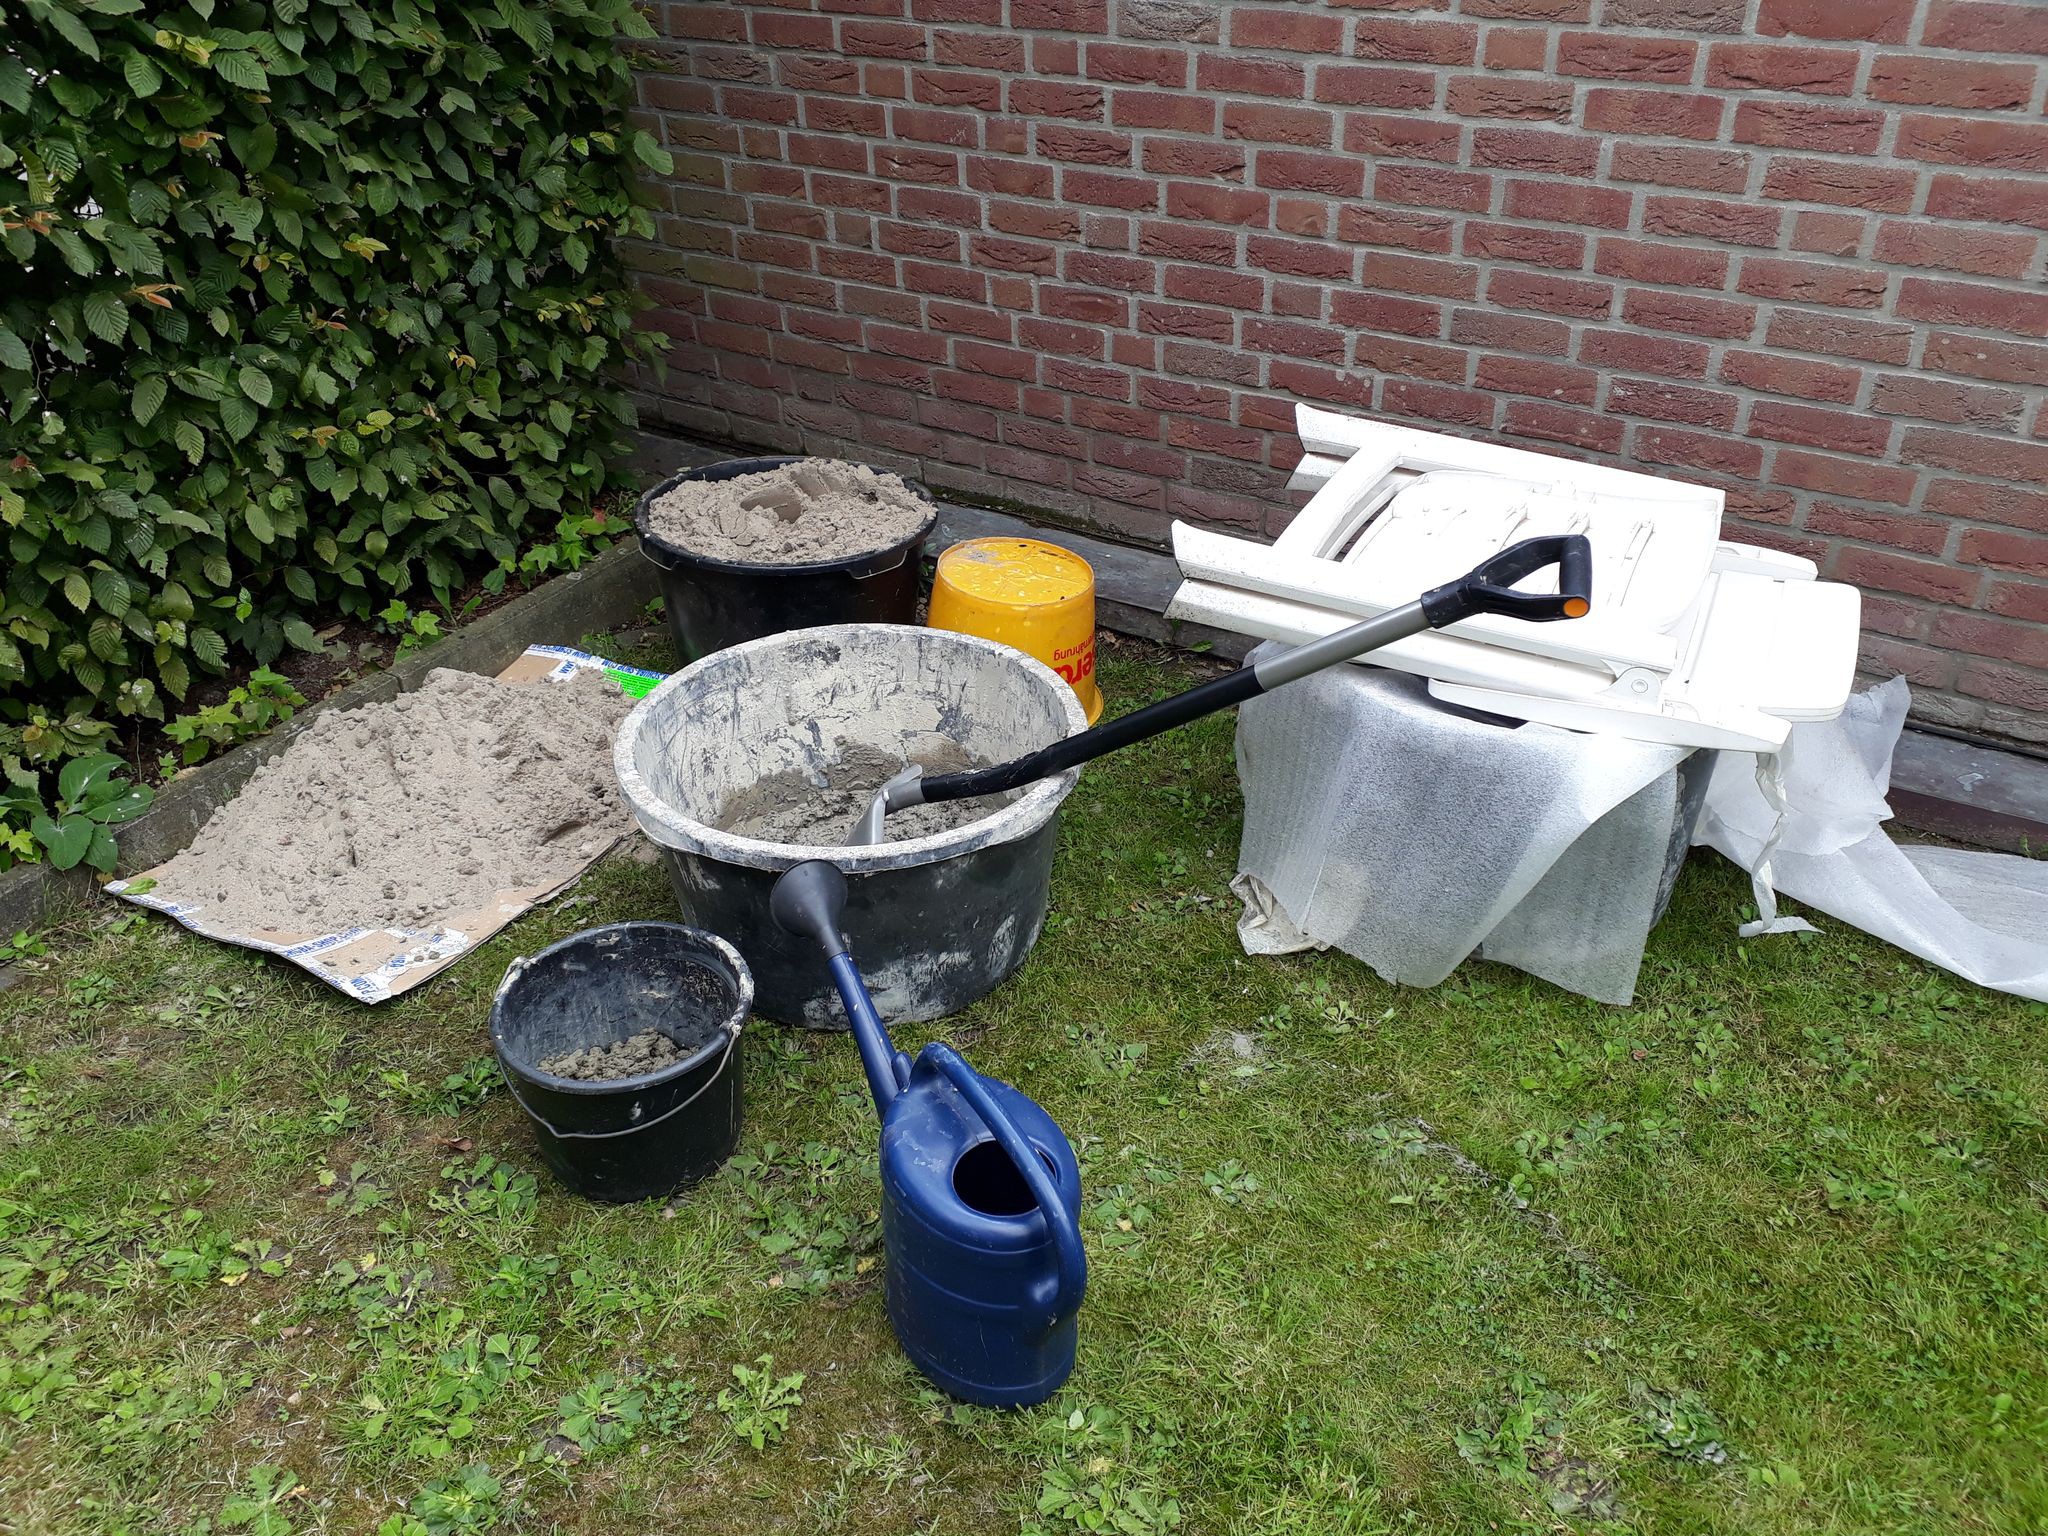
The preparation for everything looked like this:
![]()
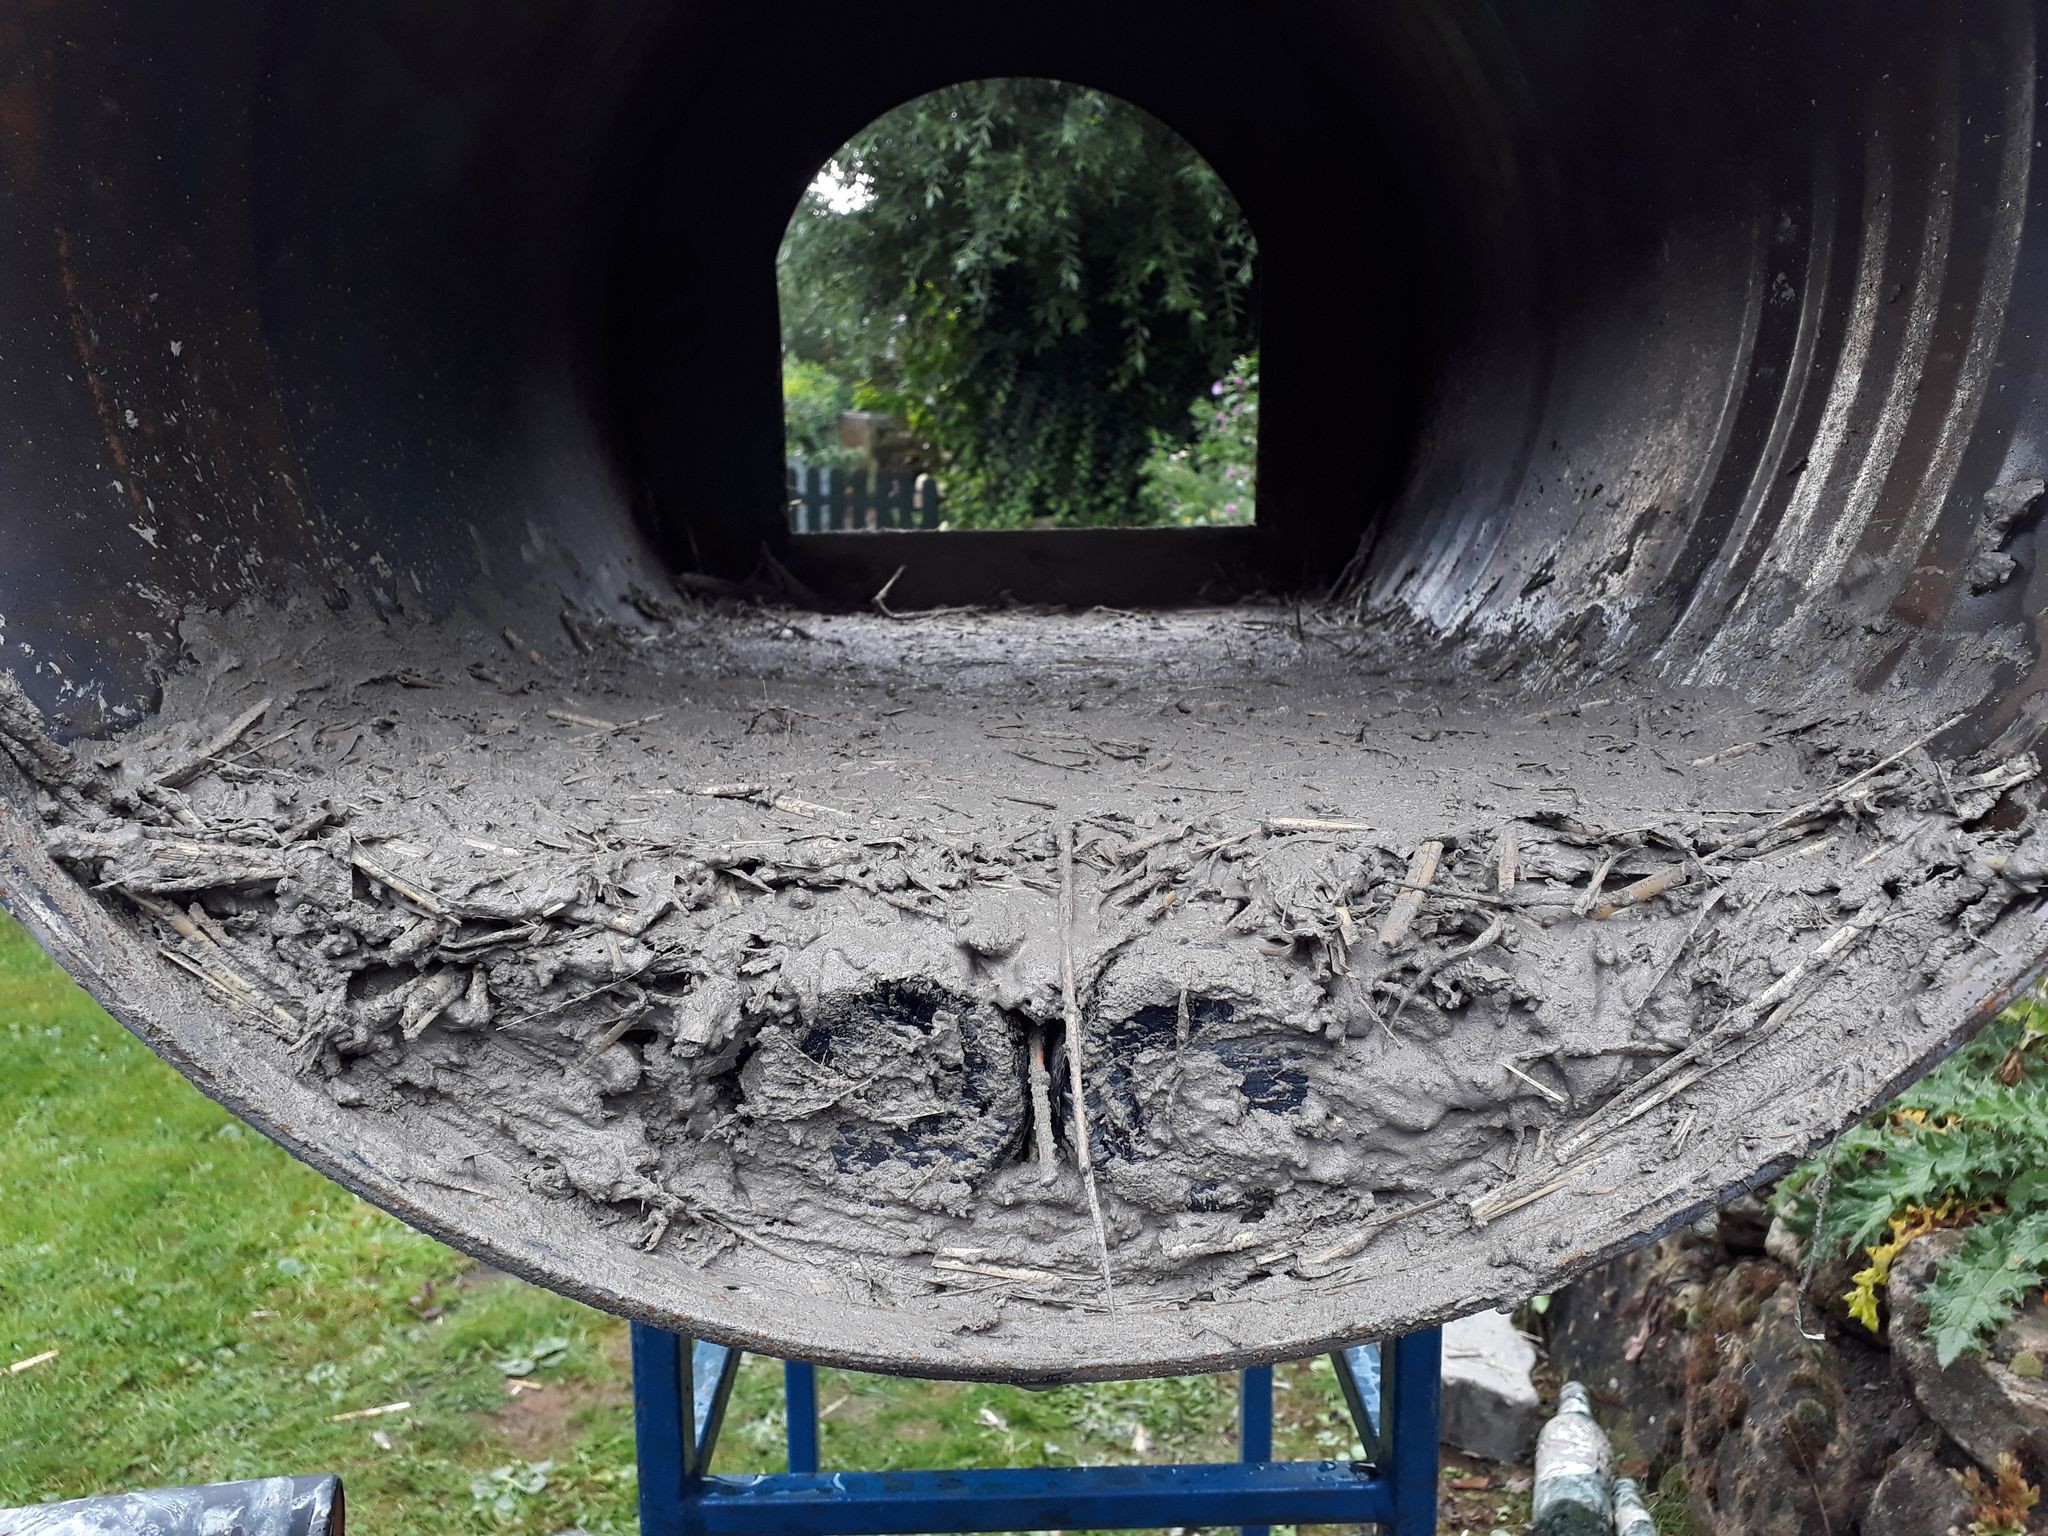
We needed to mix (local) clay, sand, wheat straw to get the properties we wanted: sticky, not shrinking too much and a bit insulating.
![]()
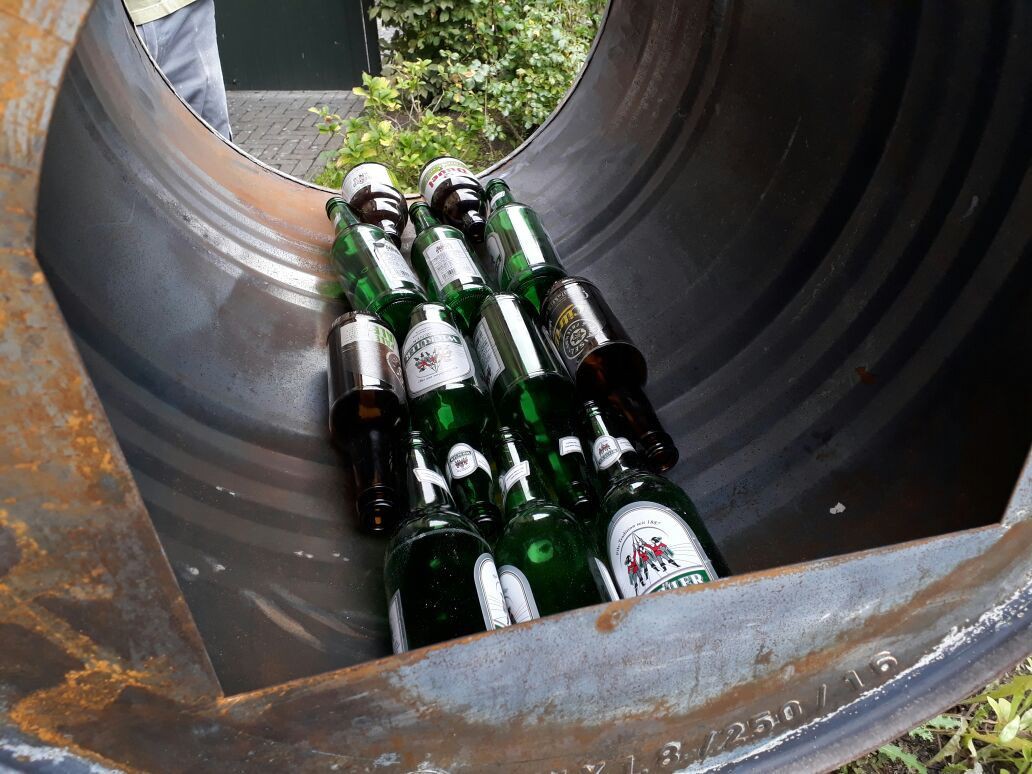
beer bottles as insulation ![]()
We put a few bottles into the drum first, which serve as a good insulation. After all we want to conserve the heat in the drum!
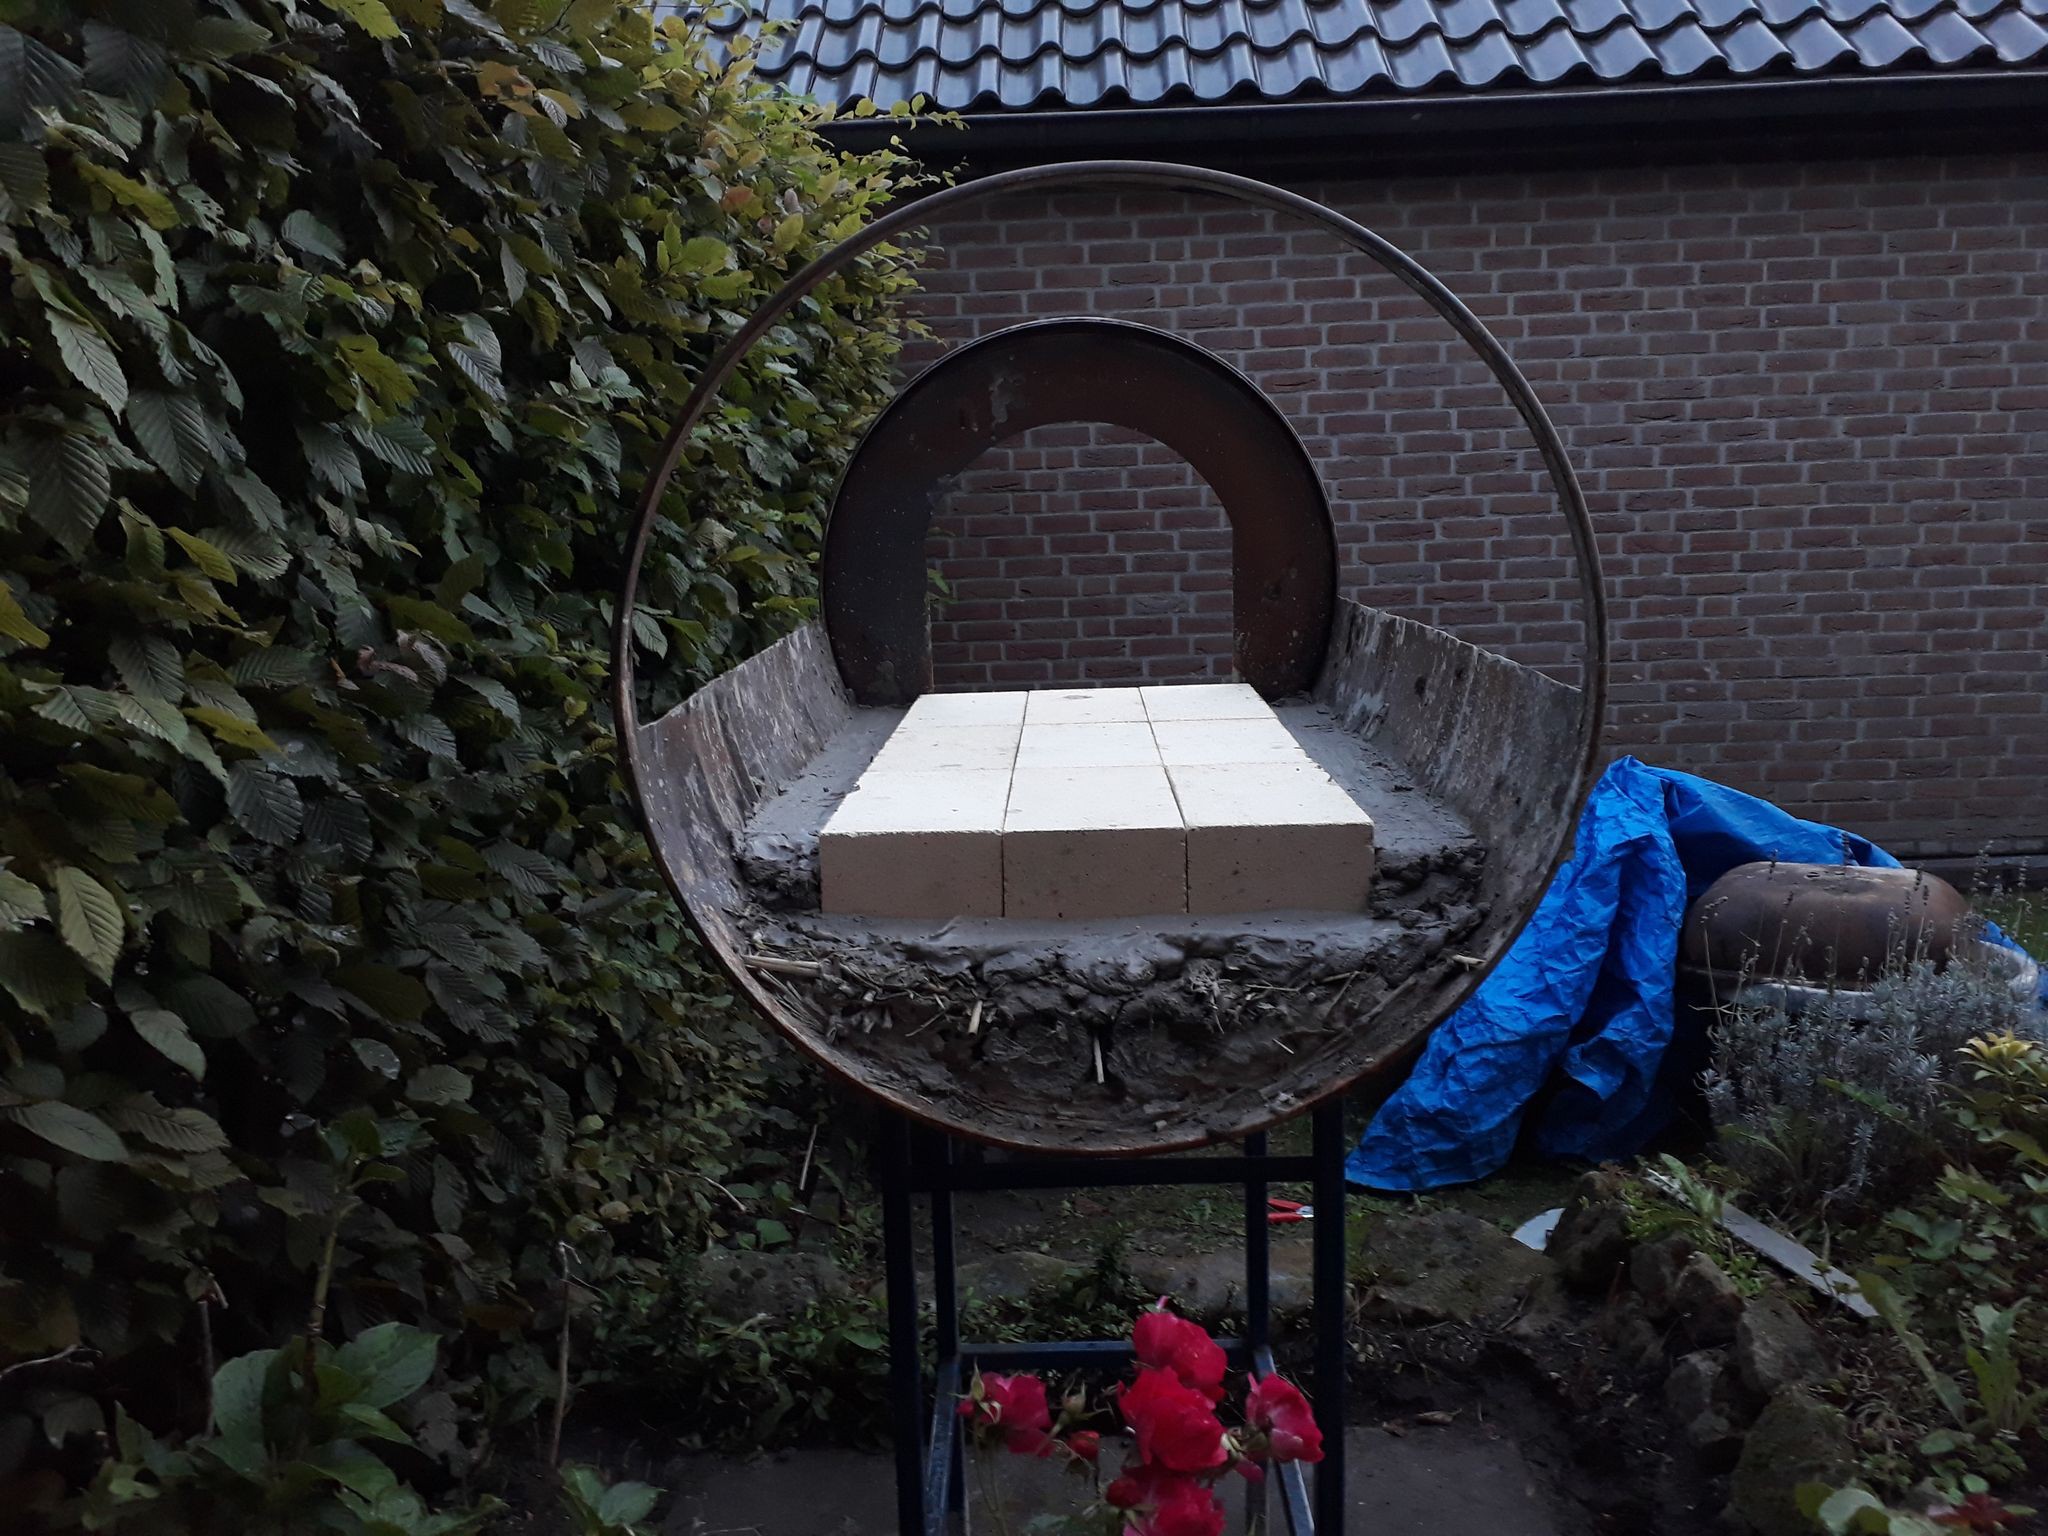
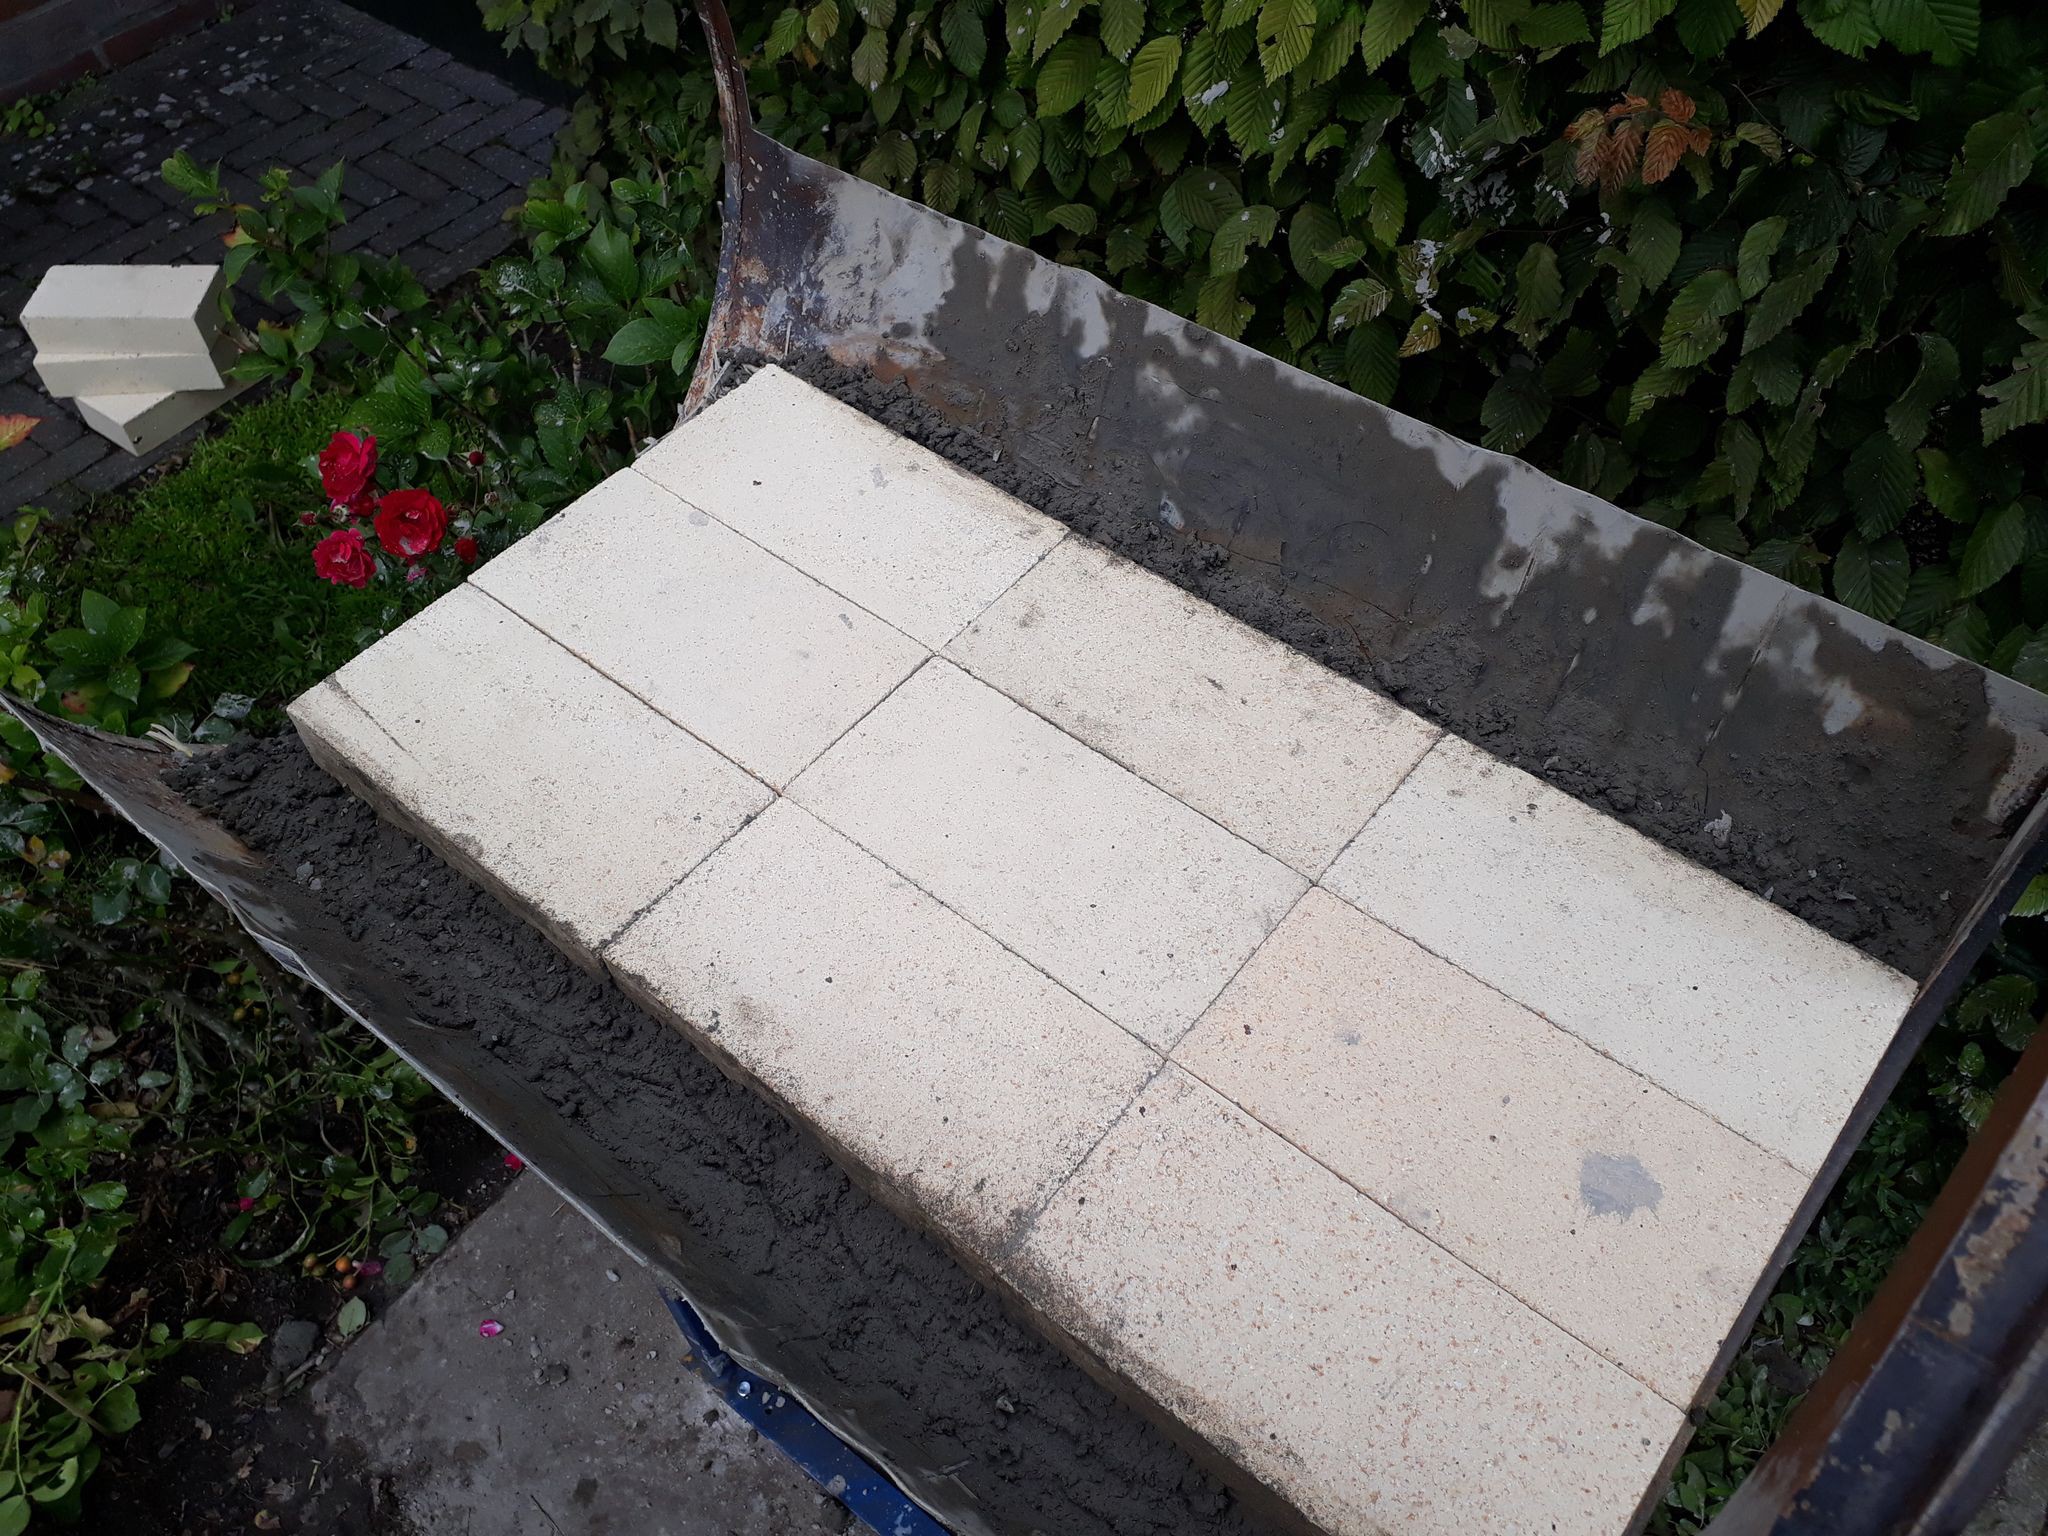
After that we let it dry for a few days and then put in the fire clay bricks:
![]()
At this point I decided to cut the drum even more because we couldn't manage to create the dome without having access from all sides.
![]()
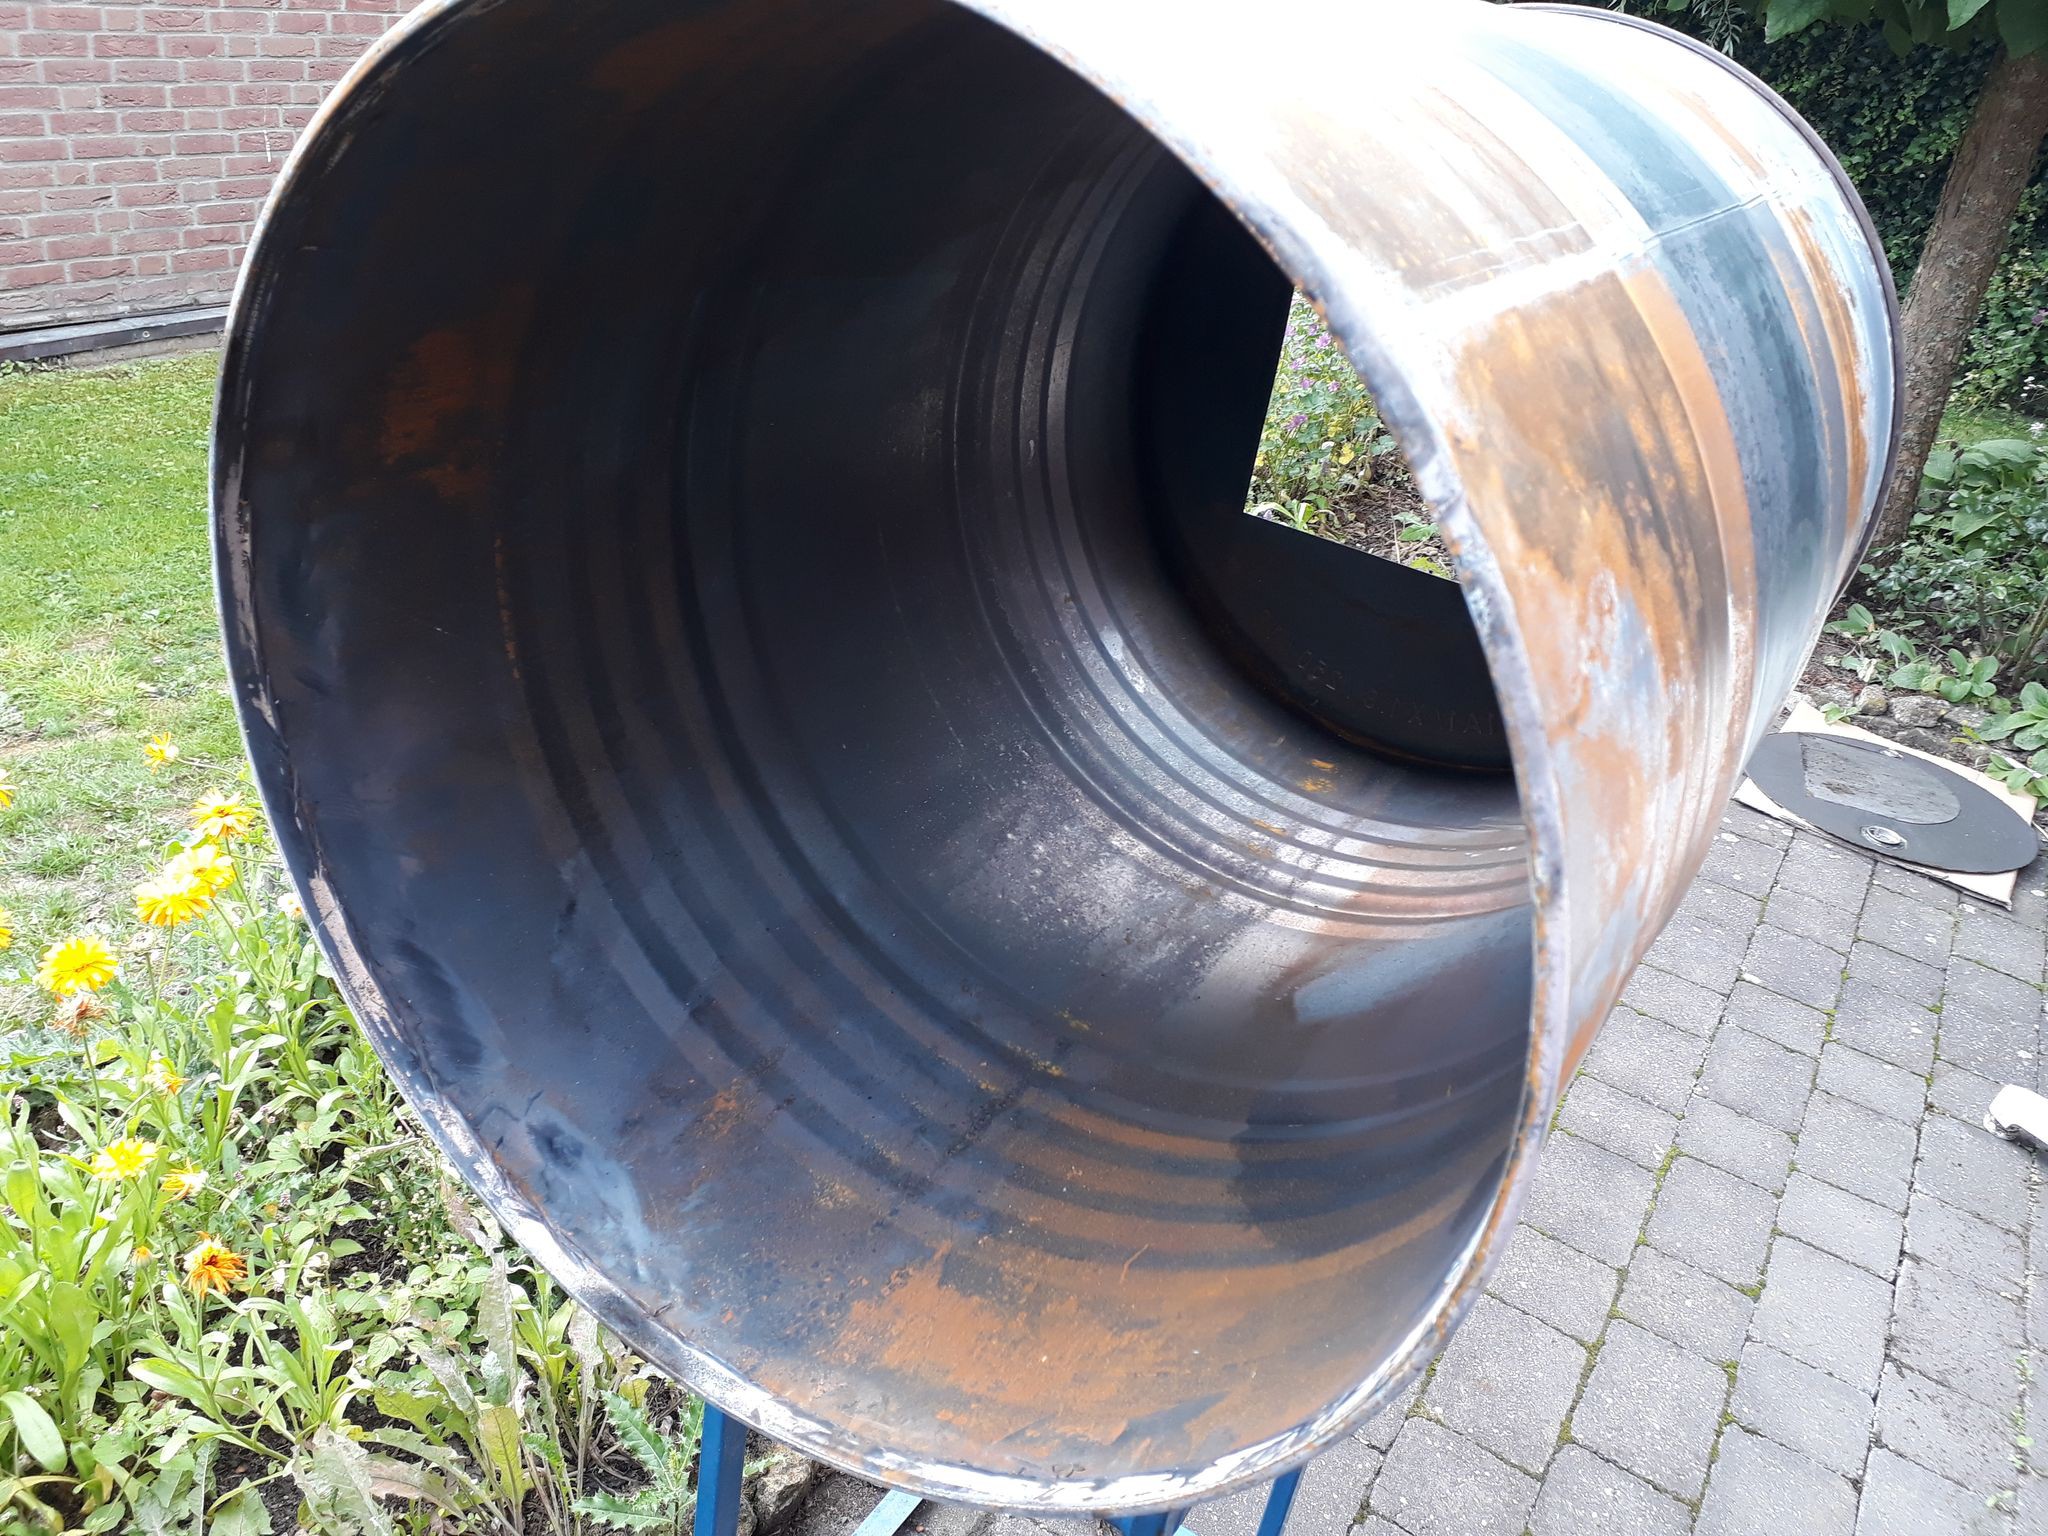
This is the final form of the drum and baking surface. Only the front and the bottom half of the drum are left.
-
01 – the sound of the drum
10/28/2018 at 07:34 • 0 commentsWhen the idea of my own oven in my garden began to form I knew my available space to build the oven was very limited. About 1.5x1.5m.
I worked at a special engineering company at the time so I had access to metal drums. A quick drawing later showed: perfect for my needs.
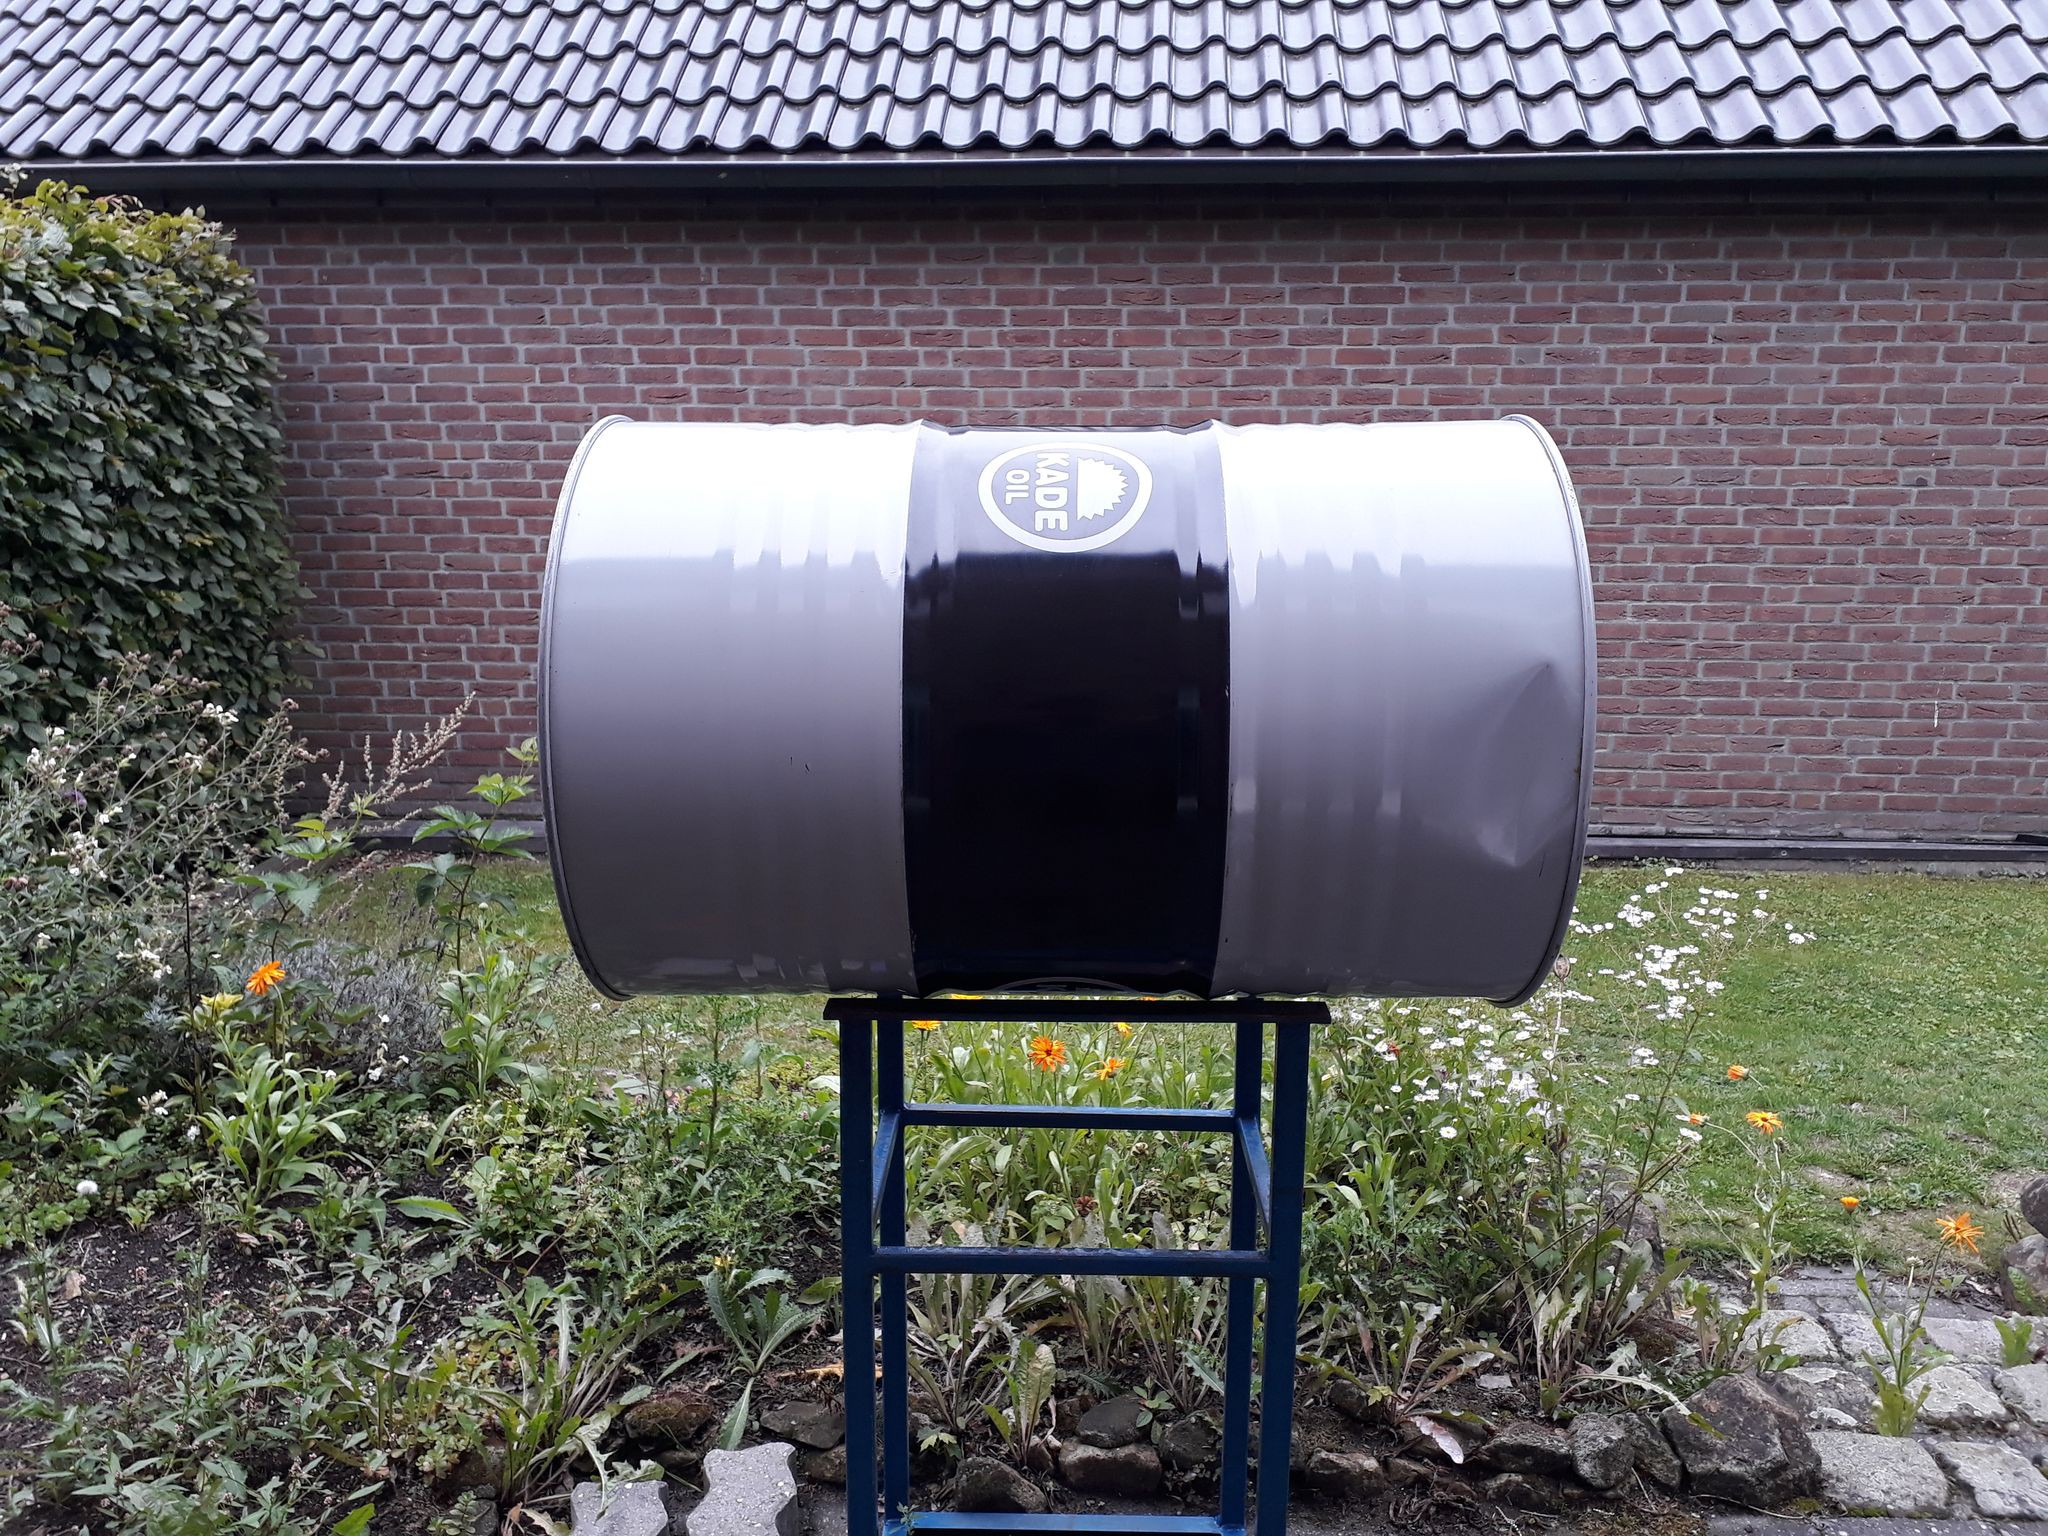
What I also found in the metal dumpster was a nice already painted pedestal:
![]()
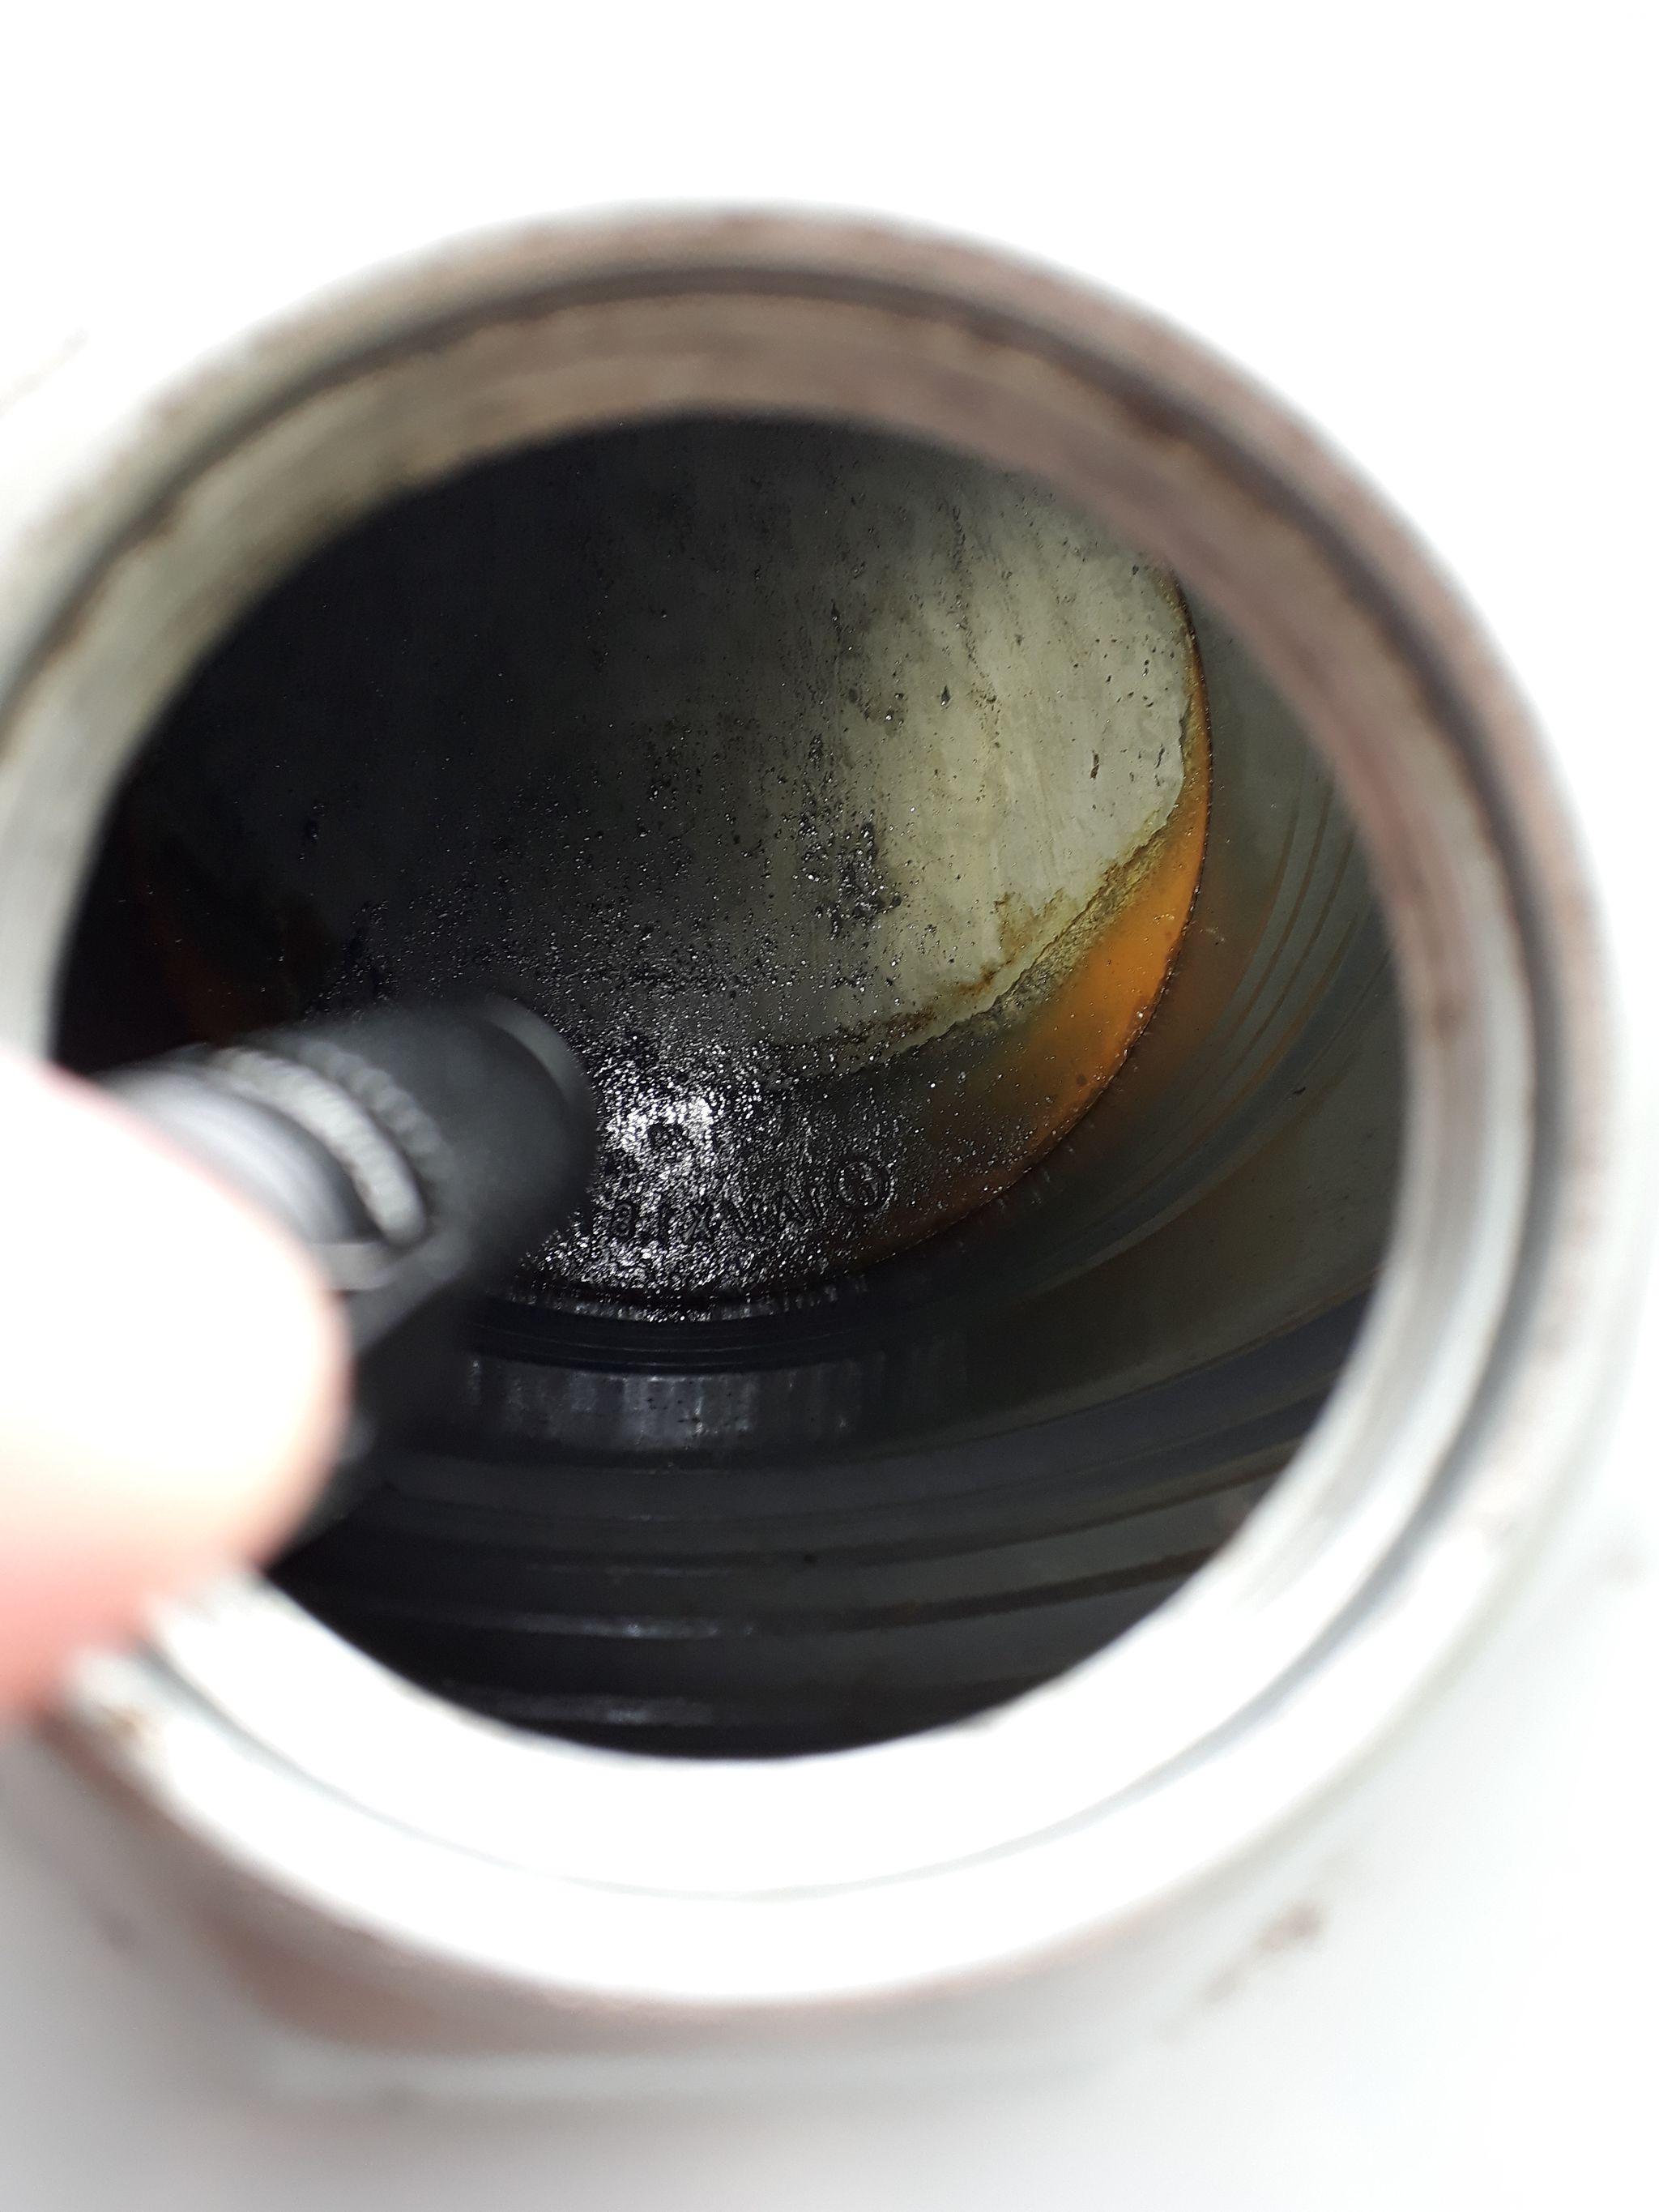
We had a special "station" at the company to empty drums as much as possible, so there was only little residue:
![]()
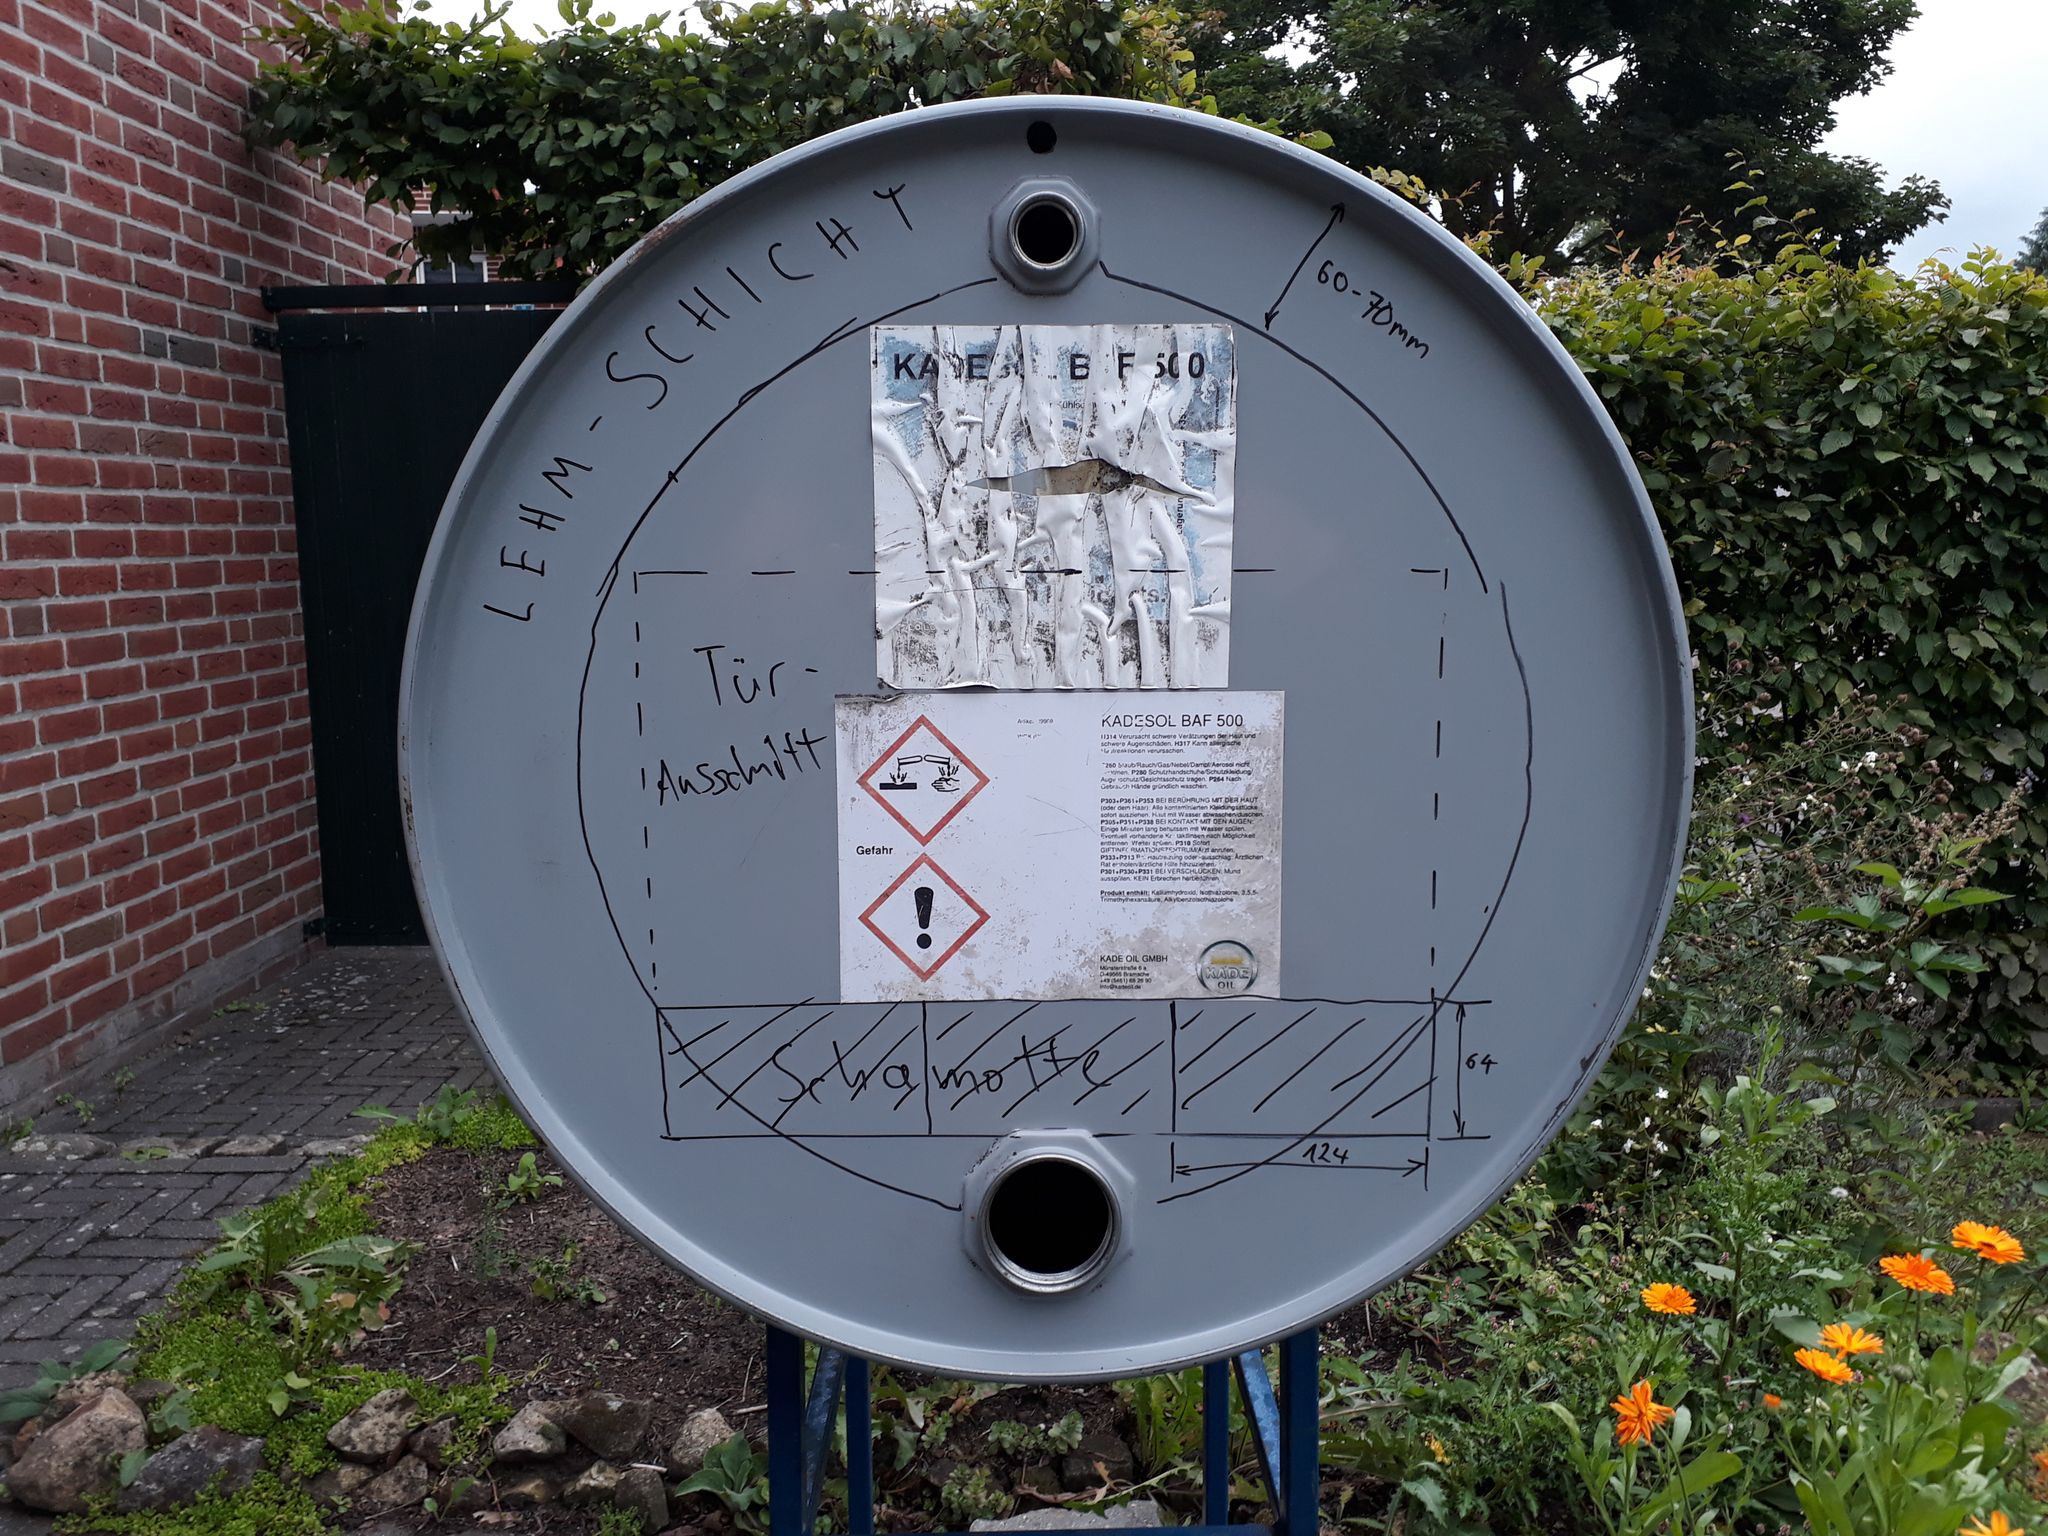
A quick drawing on the lid showed it will fit perfectly:
![]()
For the non-Germans: From the top "LEHM-SCHICHT" = clay/loam, "Tür-Ausschnitt" = opening for oven door, "Schamotte" = chamotte brick layer.
Next step was to cut out the lid and burn the drum out. This was the only environmentally not too friendly operation of the whole process...
![]()
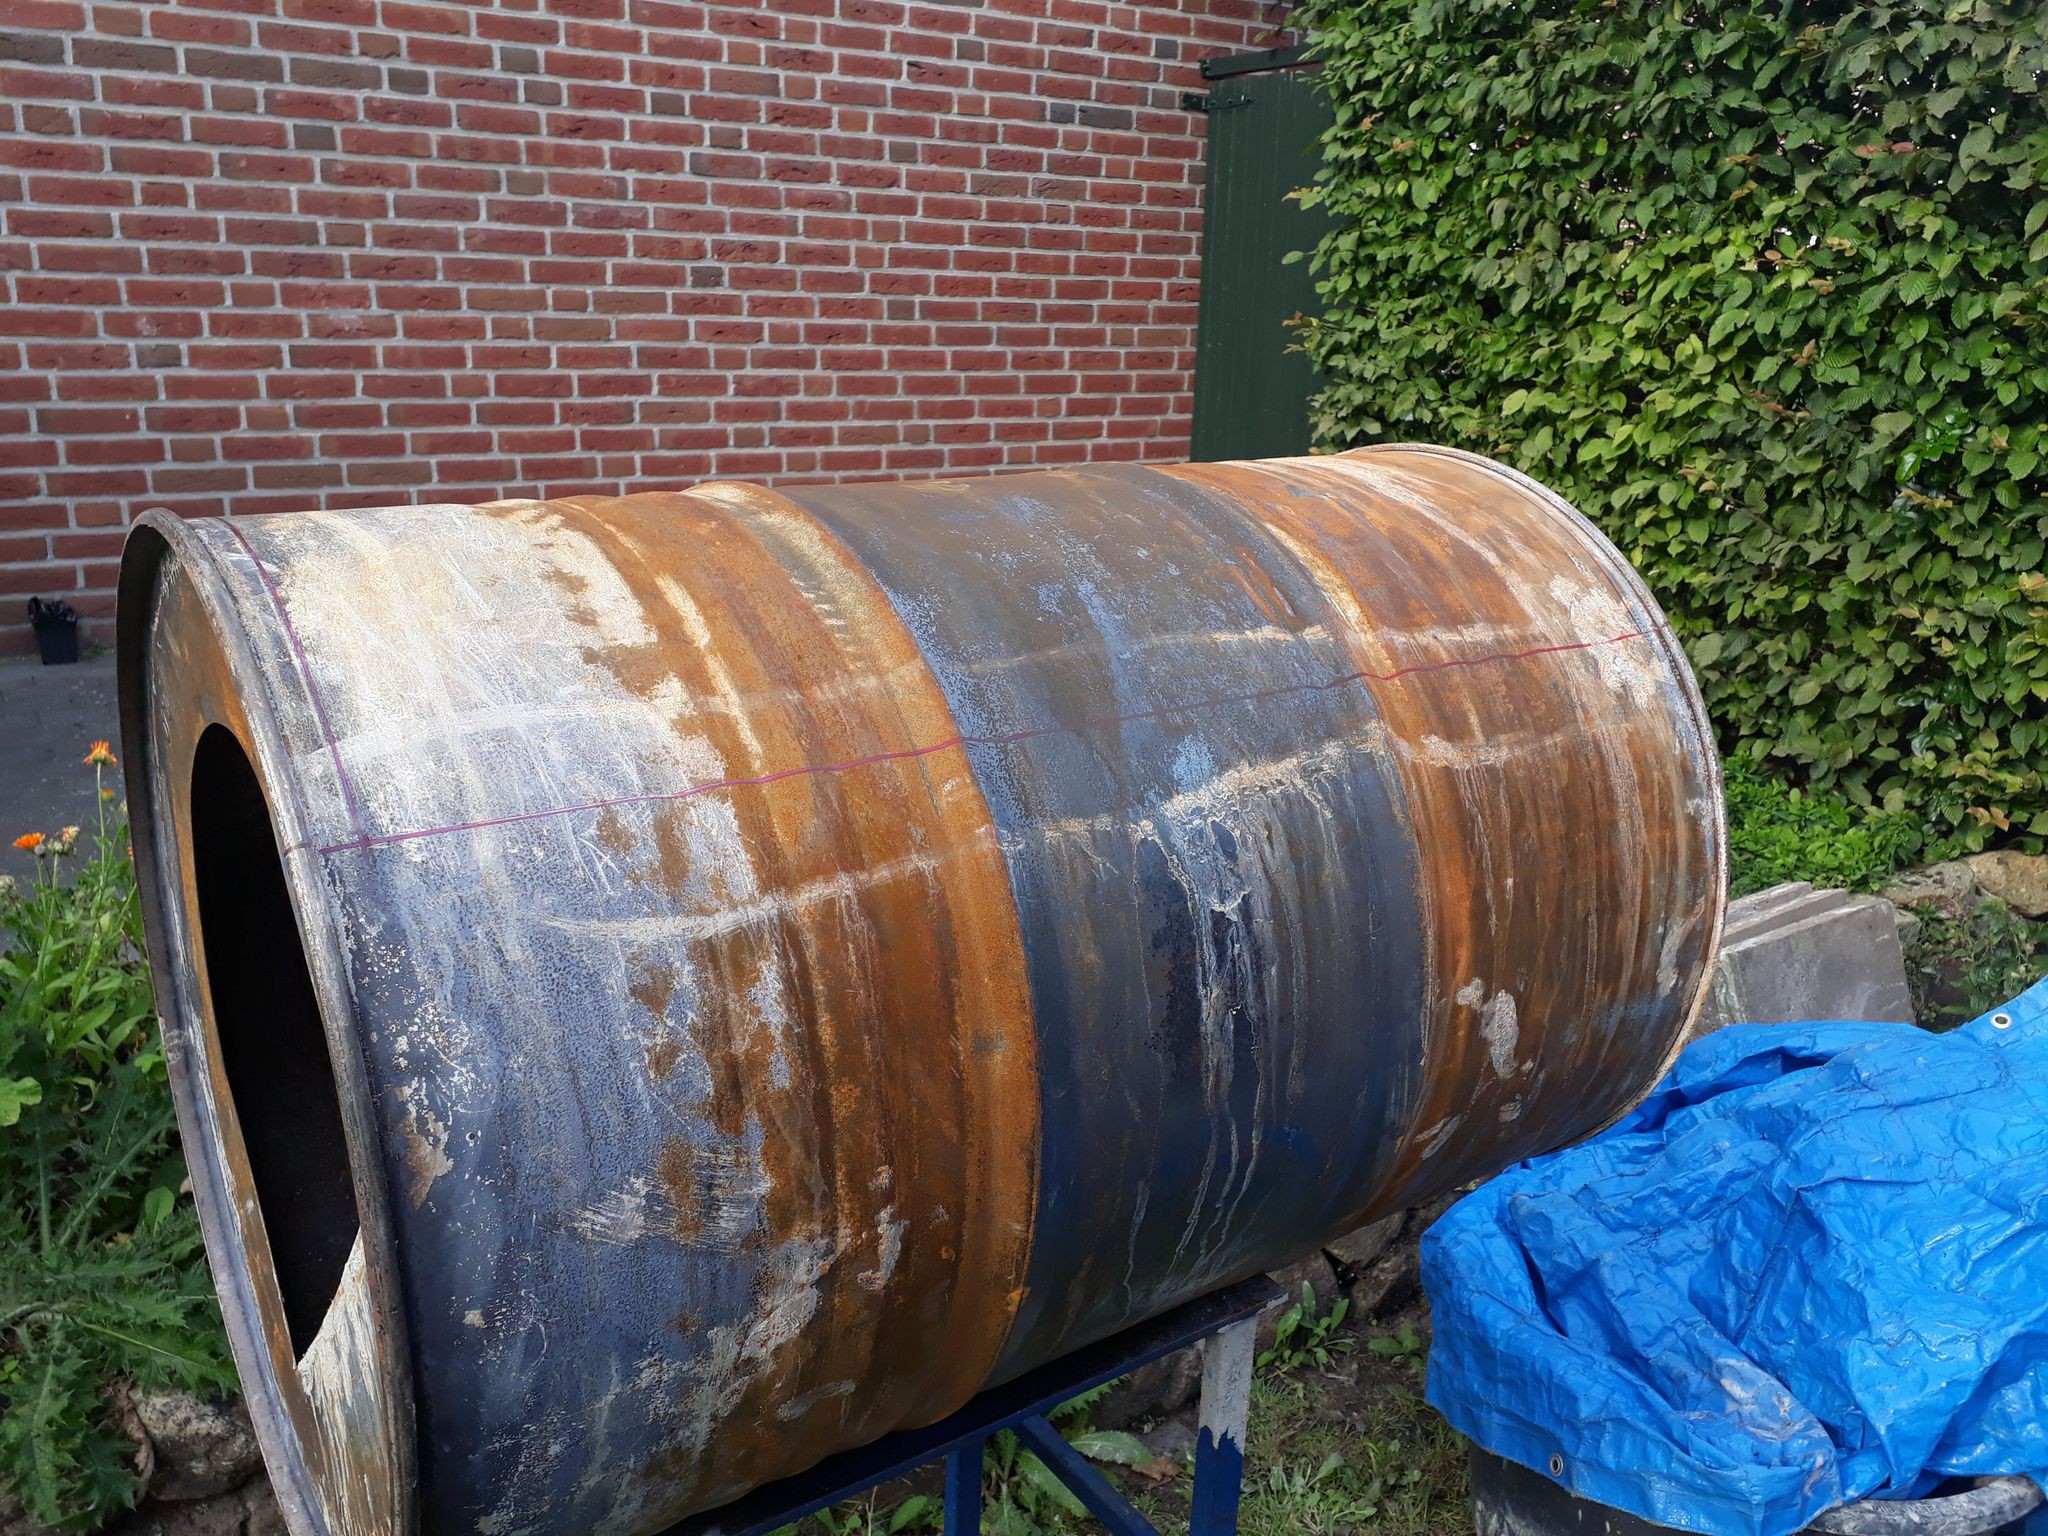
You see, I cut the lid with the threaded studs out completely while cutting the door opening into the drums bottom.
![]()
Part 1 is done with these few steps!
Wood fired clay oven – build log
Follow me building an wood fired pizza and bread oven. I use mostly stuff I got for free, with some exceptions. No Arduino added, promise!