-
1Twinkie's 2018 Holiday Ornament Assembly Instructions
First let me say that if you're looking to assemble your own from a kit that this is NOT a kit for beginners. This kit uses LEDs in an unconventional way and soldering them is not particularly easy and ruining the LEDs is. Purchase a kit and assemble at your own risk! I have soldered literally thousands of LEDs this way so at this point I make it look easy.
What's in the kit.
- 1x Ornament Board
- 1x Power Switch
- 1x AAA Battery Holder
- 20x Slow Flashing 0807 RGB LEDs & 5x Spares
![]()
-
2Quick Instructions
Below you'll find detailed step by step instructions but before we get to that here is a quick break down of what we're going to do.
- Prep the LED & Power Switch pads.
- Solder 1 Side of the LEDs & Power Switch.
- Solder the other side of the LEDs and clean up the first.
- Put AAA Batteries into the Battery Holder and put it through the pin holes then slide the switch up to power on.
- Verify that all of the LEDs light up and are changing color. If an LED stays red or seems to be entirely out of sync with the rest it is likely burned up and needs to be desoldered and replaced.
- If left on long enough all of the LEDs will be go out of sync so being out of sync only applies to the first couple of seconds.
- Verify that all of the LEDs are working correctly.
- Remove protective film from the white pad then place the battery holder back into place.
- Solder the battery leads to the board
- Power on the ornament again and verify that it still works.
- After verifying it still works snip the excess leads.
- Place on tree and enjoy!
***Important Note:***
These LEDs are Slow Random Flashing RGBs, generally they tend to change colors in sync for the first few seconds but not always. As long as the LED is changing colors it is still considered a good LED, if it's not changing colors at all then it is a bad LED.
-
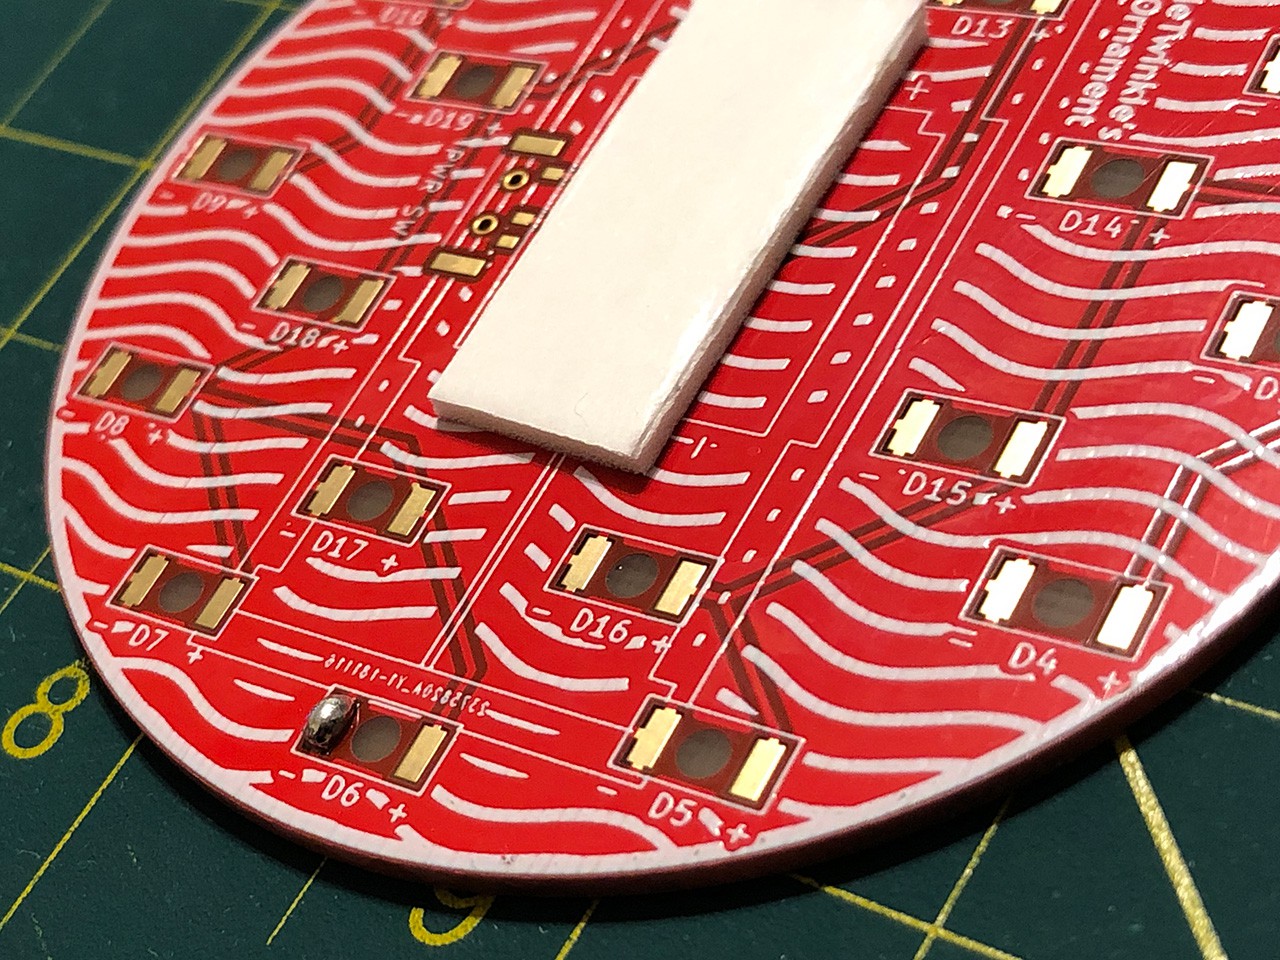
3Prep The Pads
Start by prepping whichever side of the LED foot print you prefer. I'm left handed so I prep the left side. You want to be a fairly sizable glob of solder on the pad, you'll need it to bridge the gap between the pad and LED.
![]()
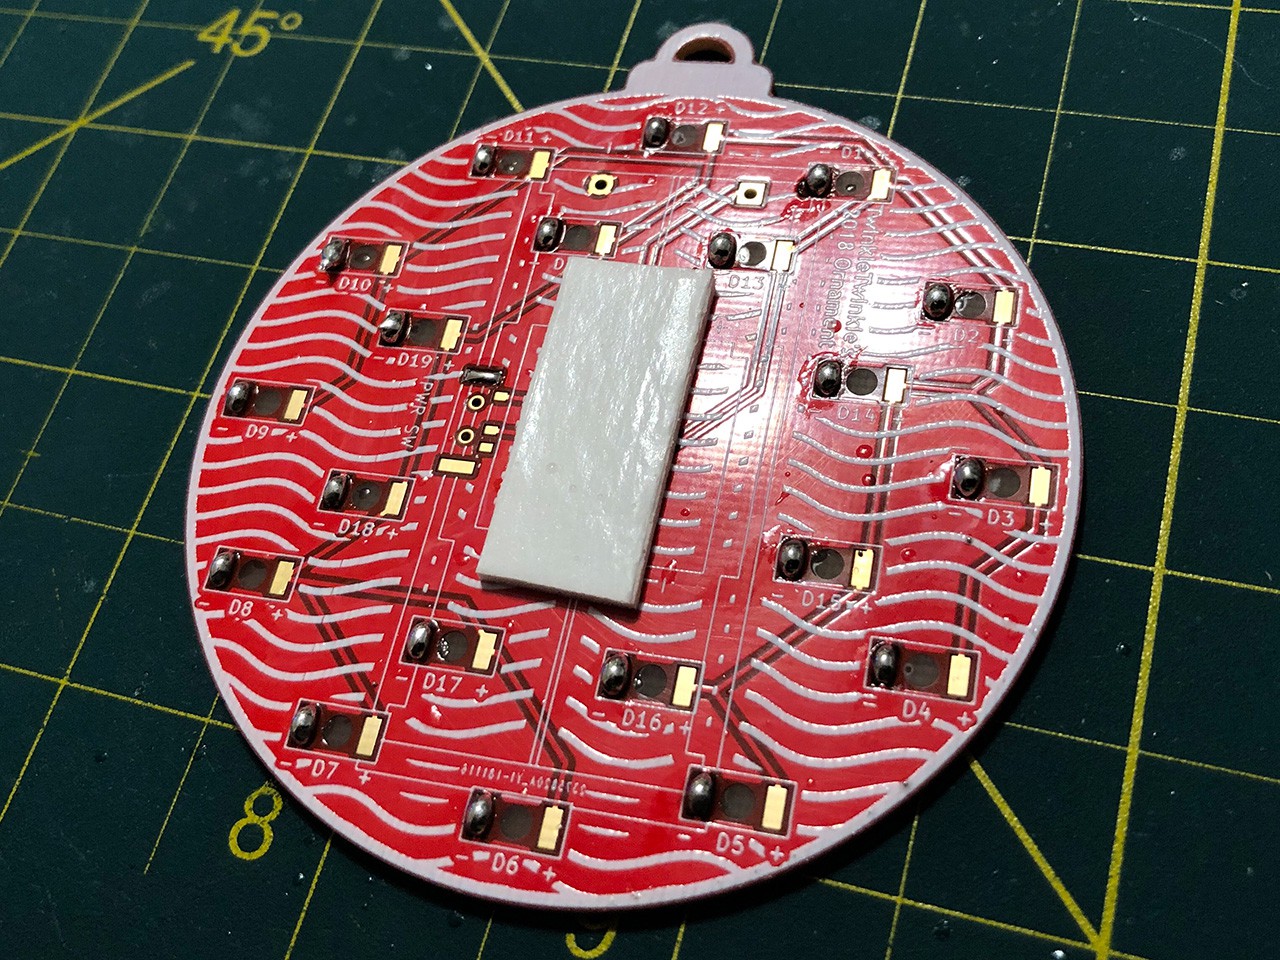
This is what it should look like.
![]()
And this is what it should look like with all of the pads prepped. Don't forget to prep the power switch pad but do it the normal way. The power switch has posts that help position it into place so putting too much solder on the pad will make it difficult to place.
-
4Solder the first side of the LED & Power Switch
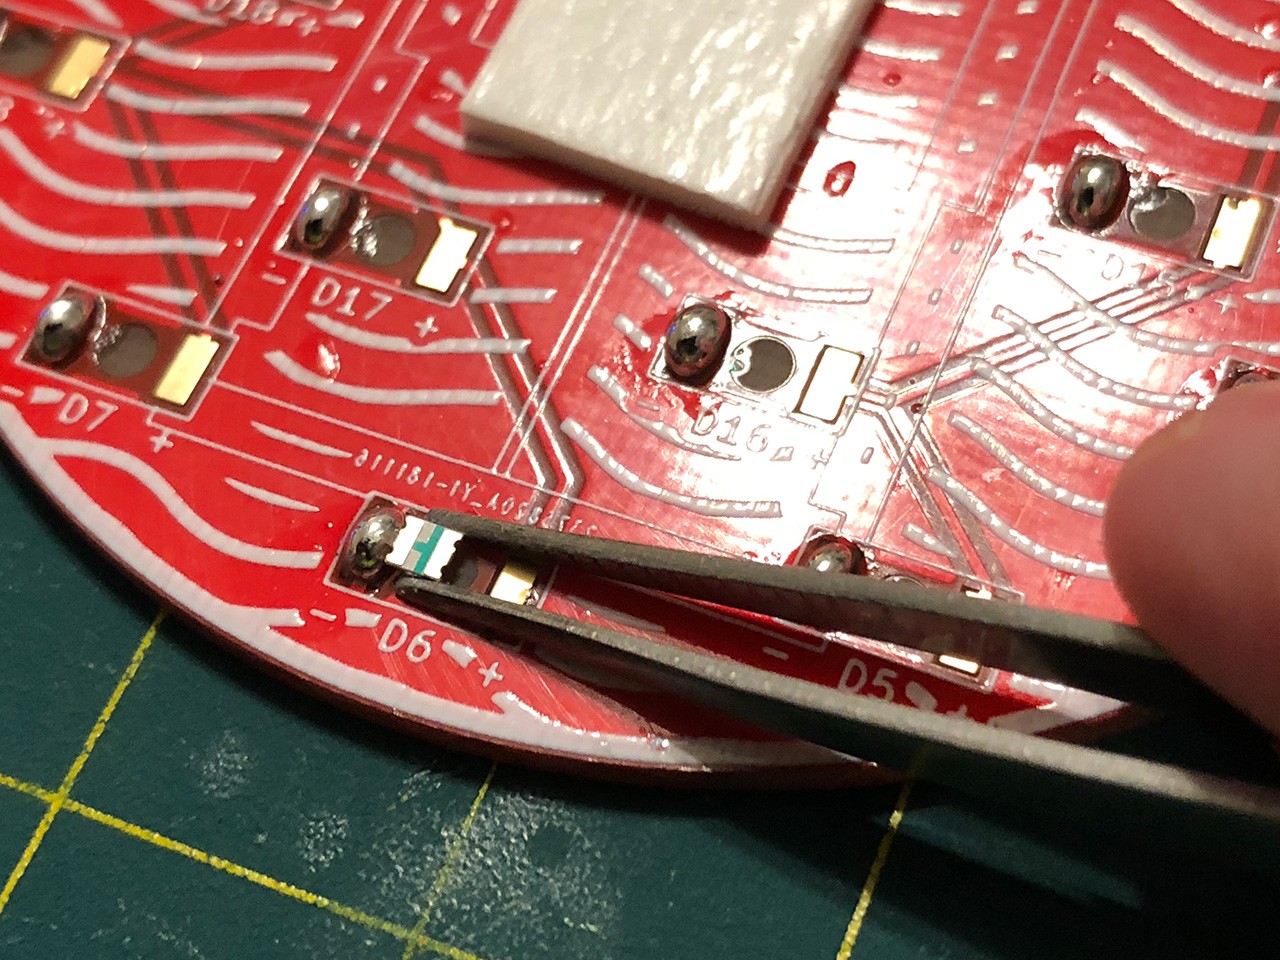
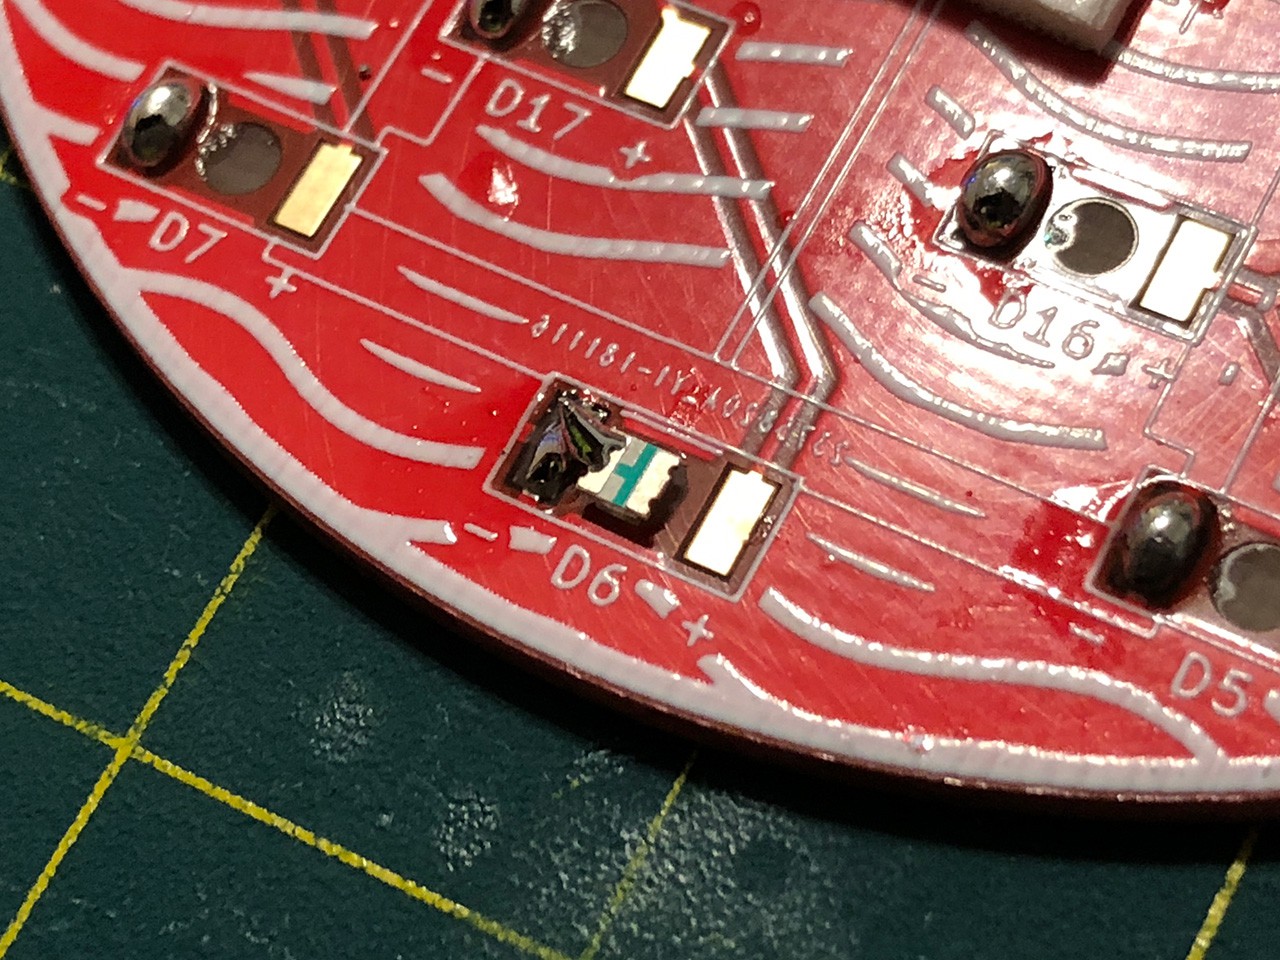
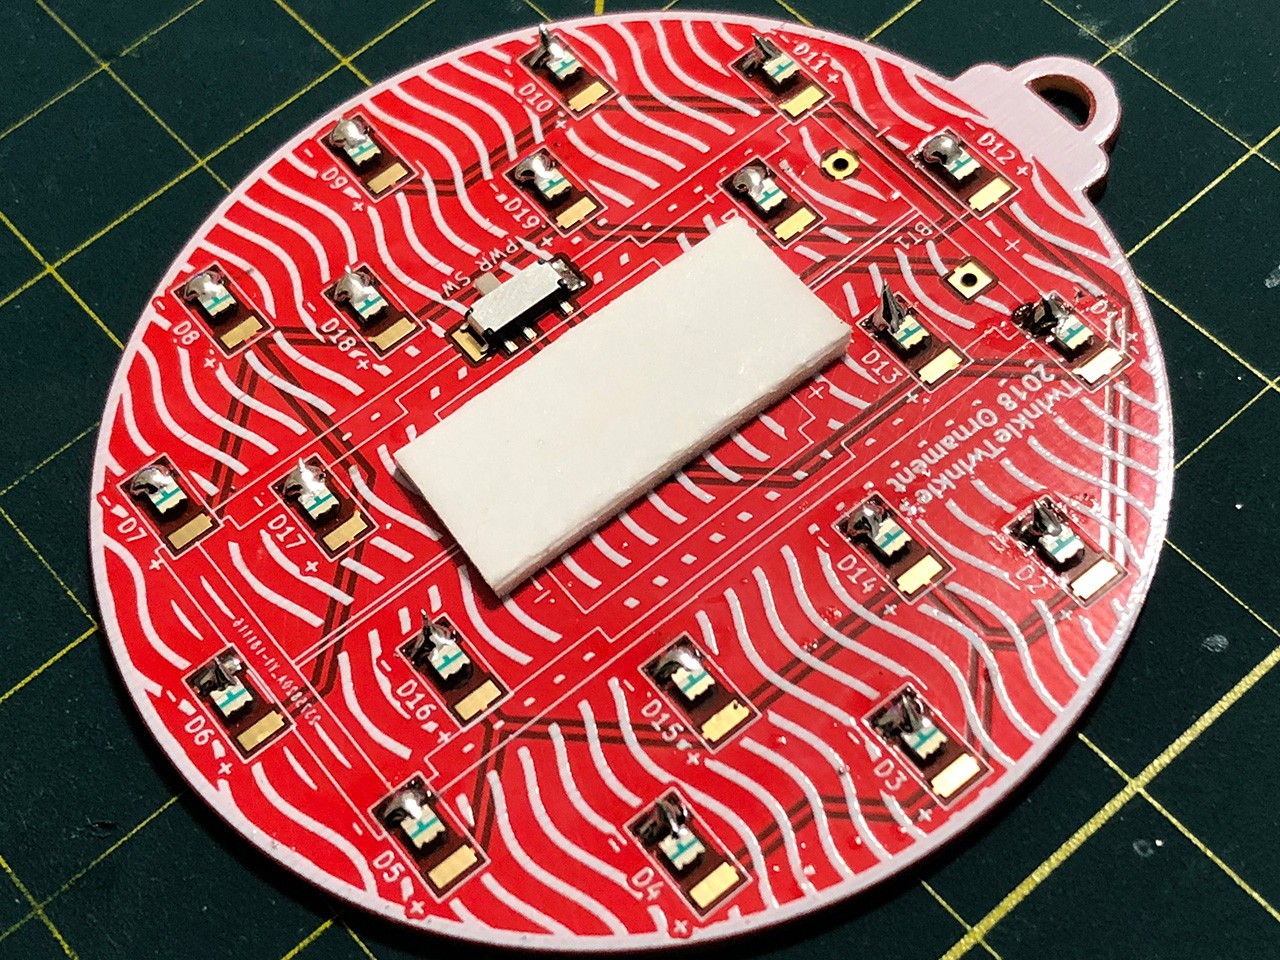
Using a pair of tweezers to hold the LED in the center of the foot print use the tip of your soldering iron to heat up the solder and slide it onto the LED lead. Be sure to hold the LED in the correct position. All of the foot prints are in the same orientation so the led "-|" should match the orientation of the picture [- -| +].
![]()
![]()
Once you have the first LED in place move on to the next and repeat 19 more times. Then put the Power Switch into position and using your tweezers to push down on the switch heat up the solder on the pad and it should easily lay flat.
![]()
-
5Solder the other side of the LEDs and clean up the first.
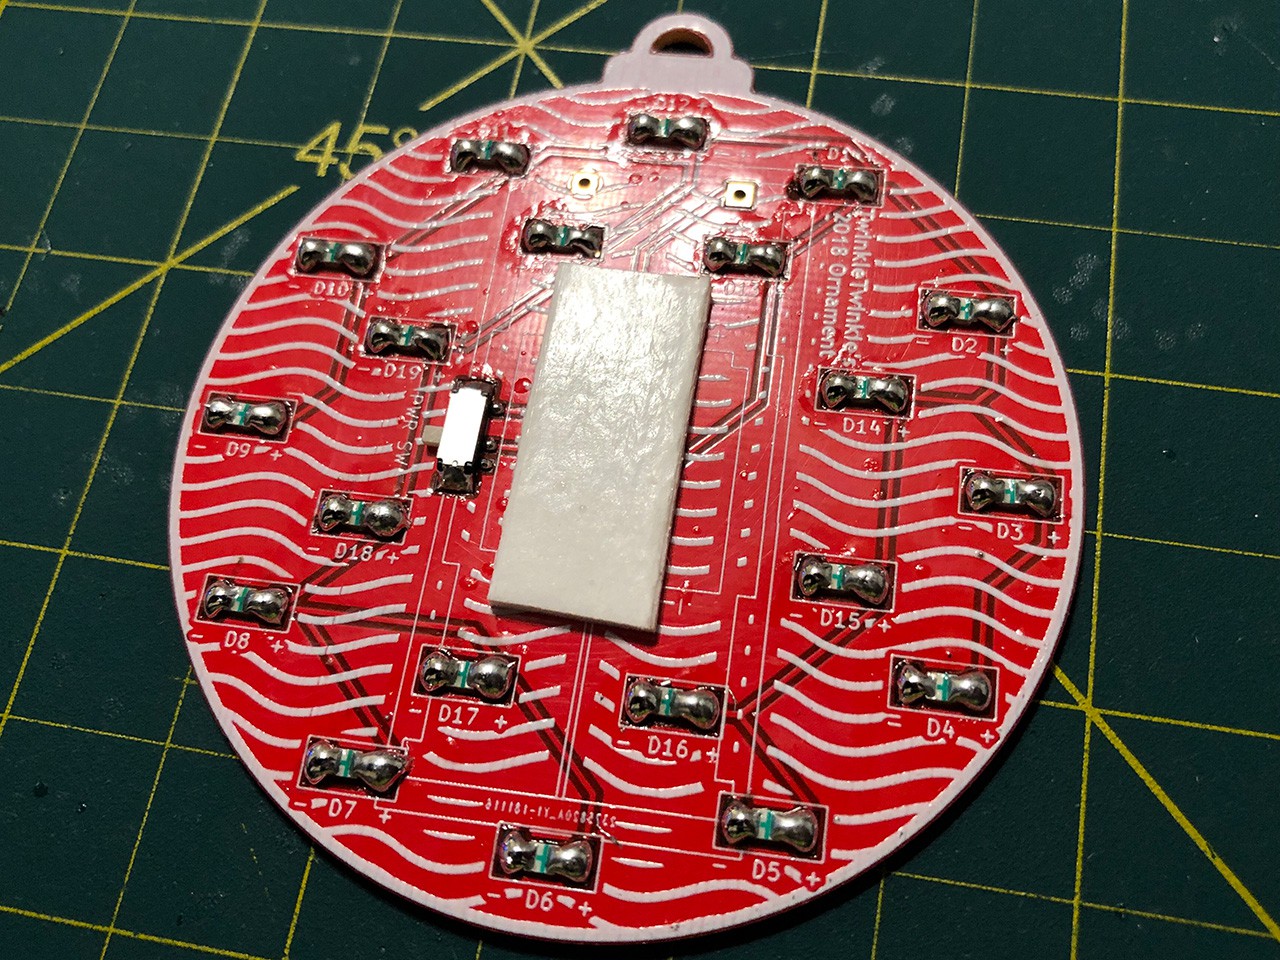
Now that you have the first side soldered into place now you can solder the other pads. With the LEDs what I recommend doing is angling the tip of your soldering iron so that the tip is on the pad and is lightly leaning against the lead on the LED then apply solder to the pad at the tip of the LED, as you do this it will form a ball and should bridge the gap. You can use the tip of your soldering iron to "push" the hot solder onto the LED as well. Once you do it a couple of times you will get used to the technique.
The composition of your solder greatly affects how easy this is so if you find it difficult to do as I subscribed I'd recommend using some flux. Lead solder is easiest.Once you've soldered all of the pads you can go back to the first pad you soldered on each part and clean it up to be more aesthetically pleasing, or don't, it's your ornament, not mine.
![]()
-
6Soft Test The Ornament
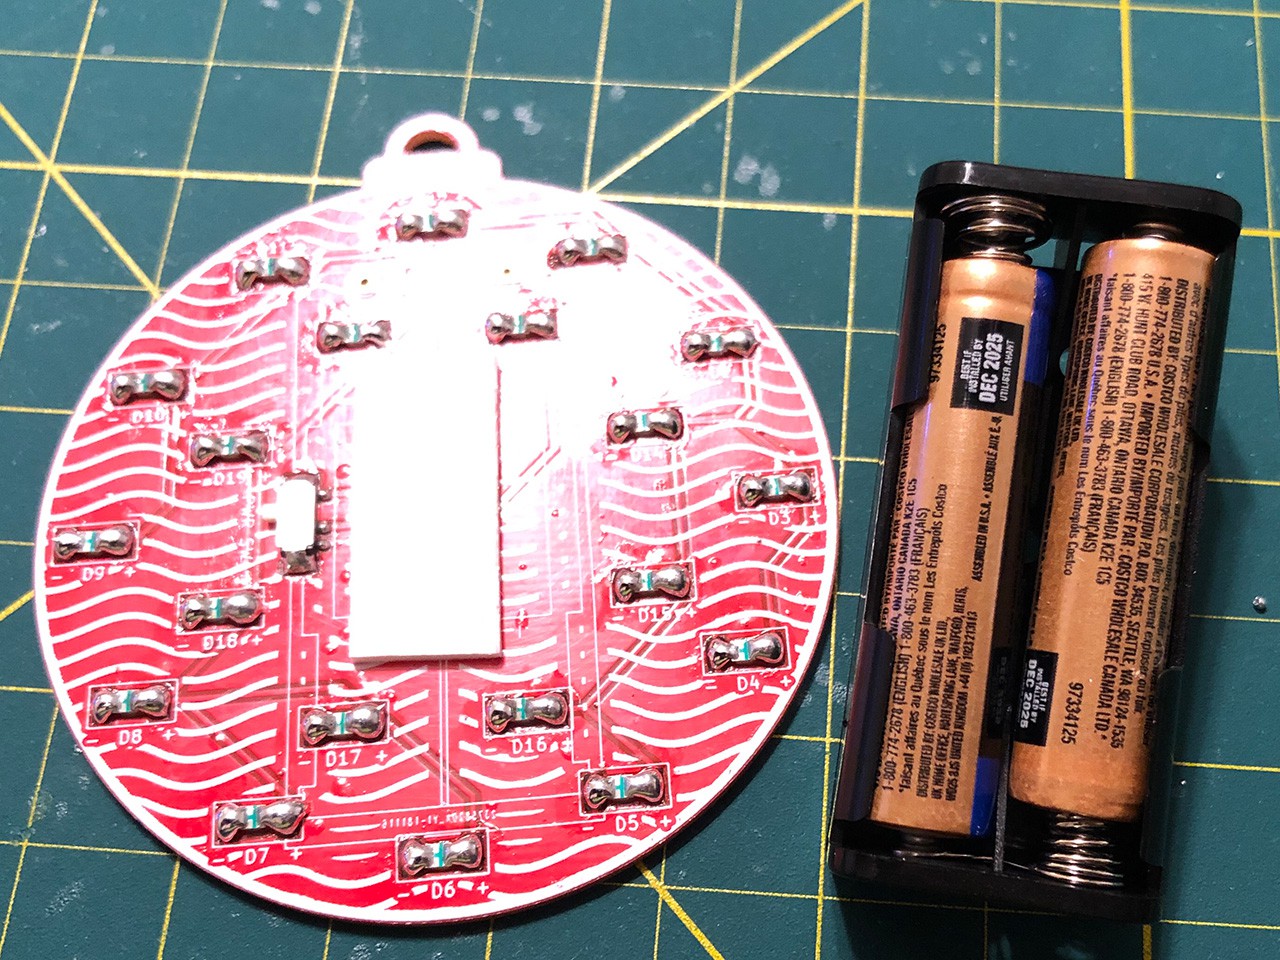
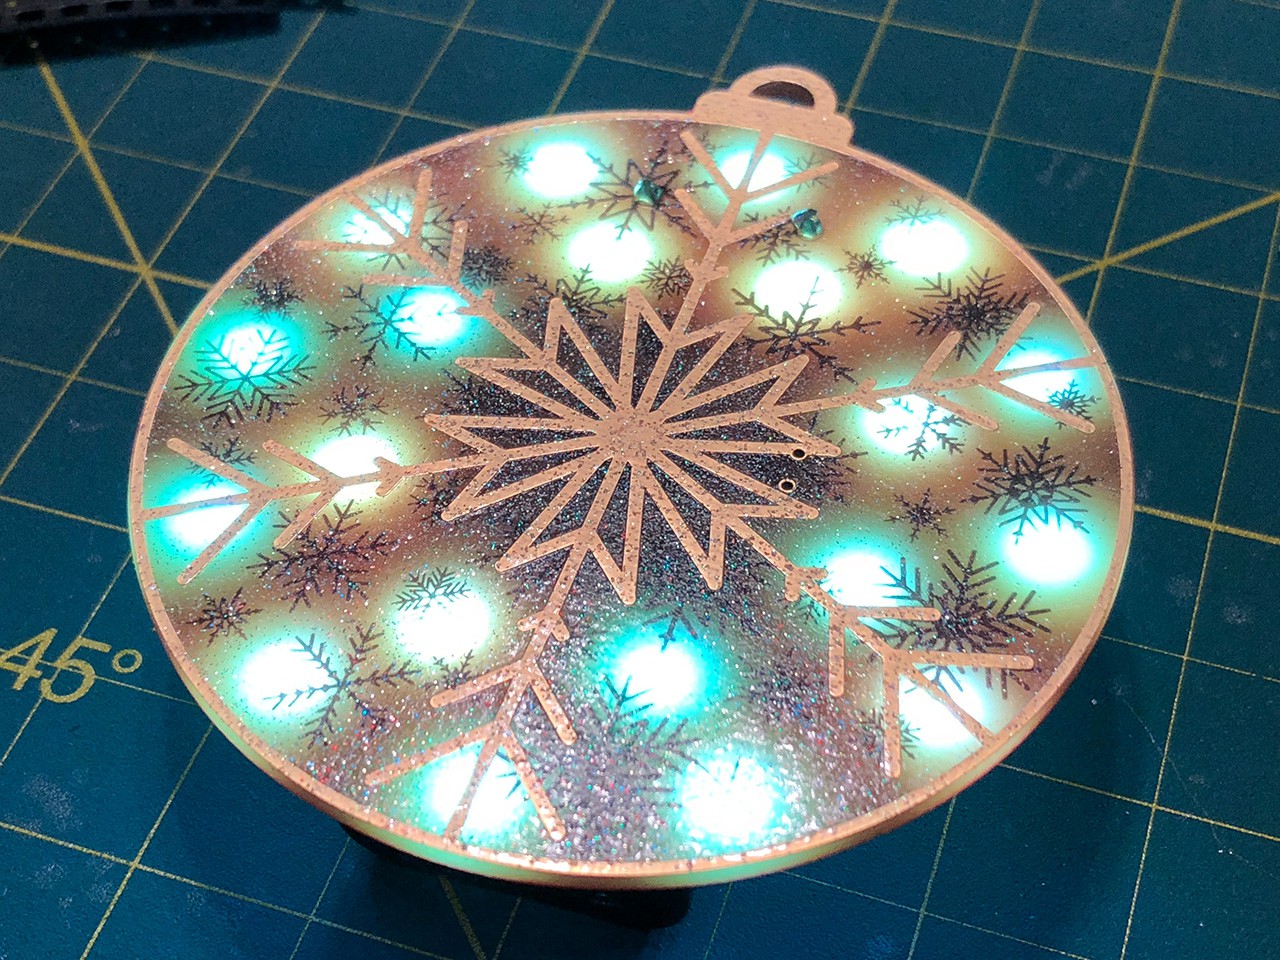
Now that you have all the parts soldered let's test it out. The easiest way to do that is to pop 2x AAA batteries into the battery holder then put the it into place. Then slide the power switch into the "Up" position to turn it on. All of the LEDs should start at red and will slowly transition to different colors. For the first color change or so they will stay in sync and will gradually go out of sync.
If you notice an LED not powering on or is only showing 1 color and turning on/off but not actually changing color then it's likely burned out. Verify that you soldered it on correctly first and if you have then it's a bad LED so desolder and replace it with one of the spares.![]()
![]()
-
7Solder the battery pack to the board.
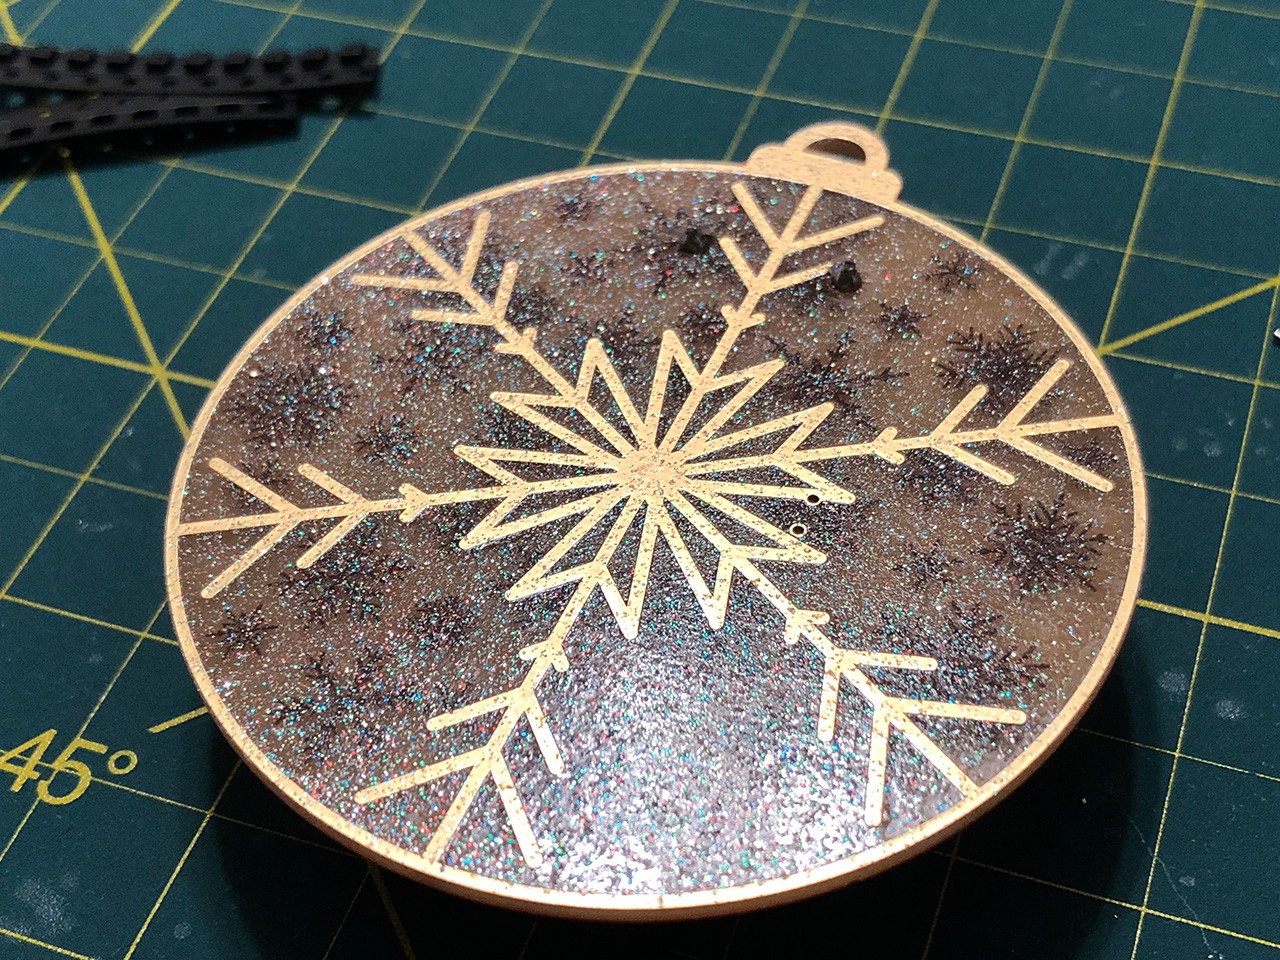
Once you've verified that all of the LEDs and power switch are functioning as they should you can permanently attach the battery pack to the ornament. Remove the battery holder from the ornament, remove the protective film from the double sided foam tape and then put the battery pack back into place then solder and snip the leads.
![]()
![]()
-
8Turn it on and enjoy!
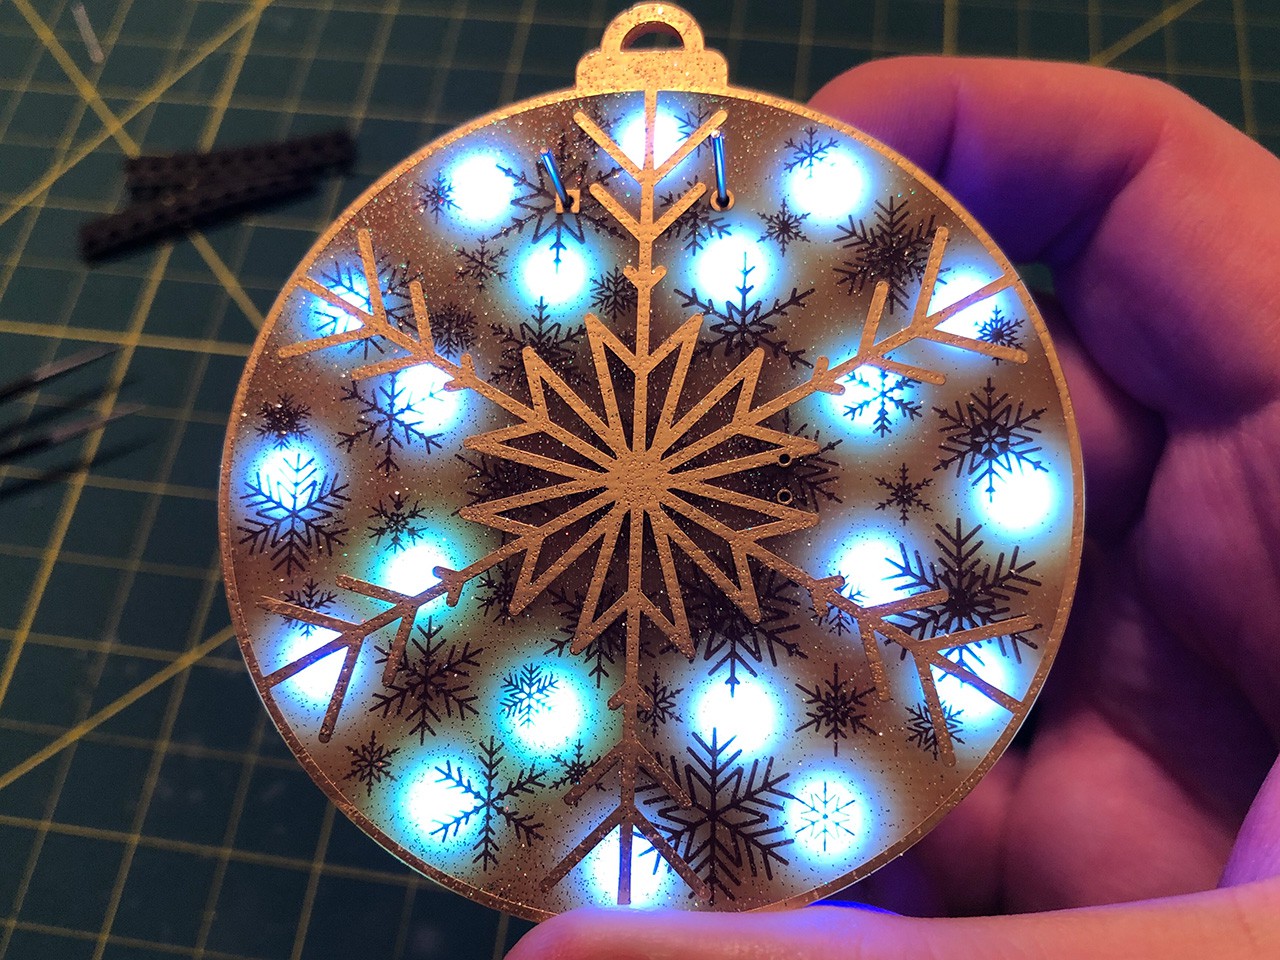
After you've soldered the battery pack to the ornament, place the batteries back in, turn it on and enjoy!
![]()
 TwinkleTwinkie

Discussions
Become a Hackaday.io Member
Create an account to leave a comment. Already have an account? Log In.