-
1Setup Emulators in Windows 10
- Install RetroArch
- Run RetroArch
- Load PCSX ReArmed for PlayStation Emulation
- Install PCSX2
- Install LaunchBox with BigBox (license required)
- Run LaunchBox
- Add Emulators
- Add RetroArch and configure emulator to enable PlayStation
- Add PCSX2
- Enable Auto Login
- Directly run BigBox by modifying registry
-
2Modify Compute Stick
- Open the case and take the m3 PCB out
- Add external push button to the pad of PowerOn switch
- Attach USB Type-A male connector to the USB 3.0 port of the m3 PCB
- Wire +5V/GND to the USB Type-A male connector
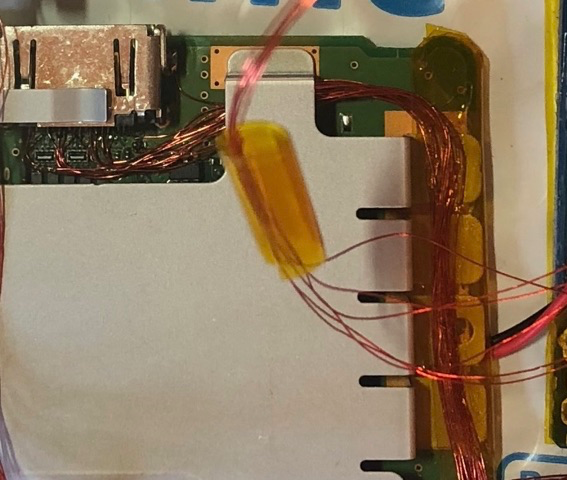
- Remove one of the HDMI connector from 2x ports side of the HDMI switch
- Solder 19x magnetic wires to HDMI connector
- Attach the HDMI female connector to the HDMI connector of the m3 PCB
- Solder other end of 19x wires to the HDMI switch
![]()
-
3Assemble
- Remove the another HDMI connector from 2x ports side of the HDMI switch
- Solder wires to each pin of the HDMI connector on the PlayStation Classic
(You may skip 4x SHLD for TMDS pairs to reduce the wiring)![]()
- Solder other end of HDMI wires to the switch
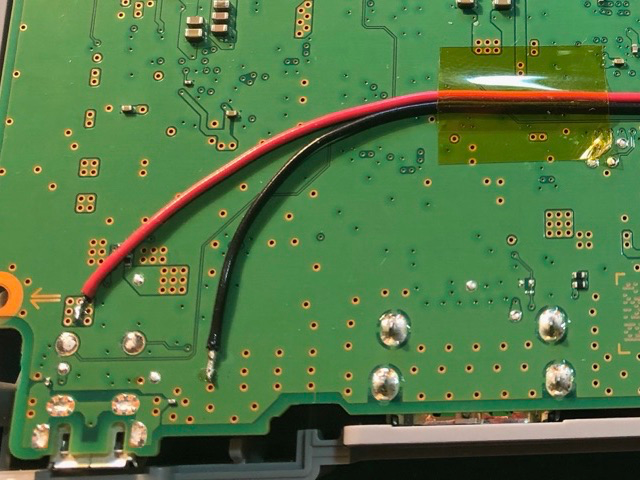
- Solder +5V/GND wires to PlayStation Classic Logic Board
![]()
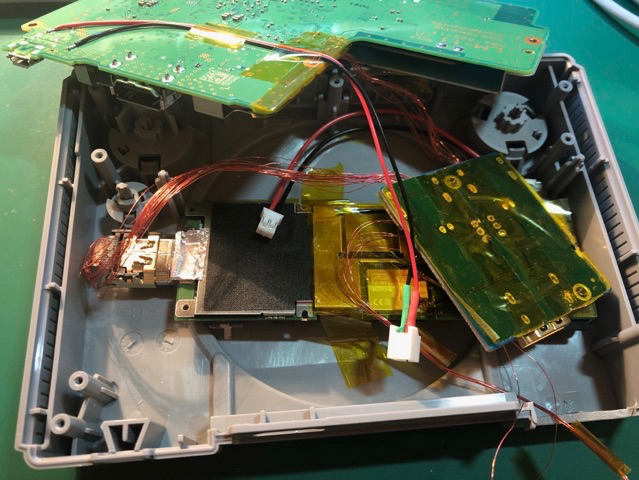
- Pack everything in the PlayStation Classic Case
![]()
 satri360


Discussions
Become a Hackaday.io Member
Create an account to leave a comment. Already have an account? Log In.