Close
0%
0%

Plotter art with Mutoh iP-220

Realization of creative needs using ca. 30 year old pen plotter

Public Chat
Similar projects worth following
Some time ago I got into creating computer assisted art using pen plotters (check tag #plottertwitter on Twitter to understand what it's about). I started with home made device called Drawing Robot, which I found on Thingverse (https://www.thingiverse.com/thing:2349232). It's nice overall, but limited to A4 format and somewhat slow. So as a next step I decided to try something from the past.

I was looking for a used pen plotter for a few months. I set a max price point at 50 USD, so I was looking for a flea market kind of device, without any warranty that it will be operating out of the... cellar. I knew about Roland DXY series of plotters (which you can find here as well) and I hoped to find one reasonably priced. Without any luck. I found a few, but they sold around 100 USD, and this was too much for me.

And then I got some luck. I found a Mutoh iP-220 plotter. I haven't heard about this brand before, but as it seems it's well known in the plotter world. Of course seller didn't knew if the device is working or not nor had any documentation. I got in contact with european distributor of Mutoh, but they told me that this device is not supported for about 20 years and they don't have any drivers or manuals available. Well, that's not a surprise, but it was worth checking. But the price was in my budget, so I decided to take the risk.

Steps for the project:

  1. Find the manual.
  2. Get the device working.
  3. Connect plotter to the PC.
  4. Learn how to communicate with the device.
  5. Establish software stack to print creations.

Mutoh_IP_220_Operation_Manual.pdf

Operation manual for Mutoh iP-220 (in German)

Adobe Portable Document Format - 9.41 MB - 09/28/2020 at 08:42

Preview

Stabilo-point-88-holder-v.0.21.stl

3D printed holder for Stabilo point 88 pen

Standard Tesselated Geometry - 480.55 kB - 02/03/2019 at 09:44

Download

Mutoh_IP_220_Desktop_Plotter_Service_Manual.pdf

Service manual for Mutoh iP-220

Adobe Portable Document Format - 965.14 kB - 12/11/2018 at 18:21

Preview

  • Adapter for Stabilo point 88

    Szaja02/03/2019 at 10:05 0 comments

    I learned a lot trying to use adapters from Aliexpress and eventually got them working after some modifications, but up to now I couldn't find any good quality refill pens which I could use with them. So I will go back to that later on.

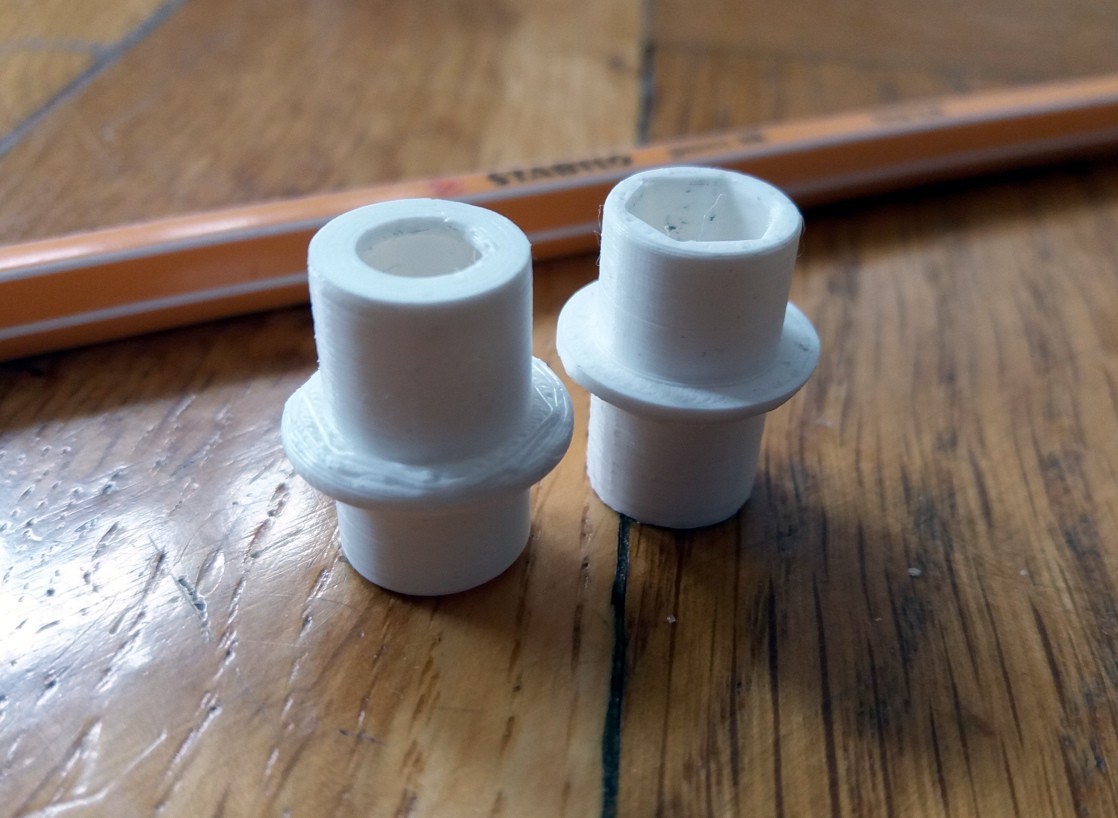
    For most of my works created using self build plotter I used Stabilo point 88 pens, so I wanted to have an adapter for them. Of course the easiest way to do that was to design and 3D print one.

    I'm using a trial and error route to get the dimensions just right for tight pen fit as well as position and diameter of the ring (which are crucial for automatic grip to work). Some work needs to be done to make it work every time, but I'm getting closer.

  • Plotter pens are tricky

    Szaja01/26/2019 at 12:22 0 comments

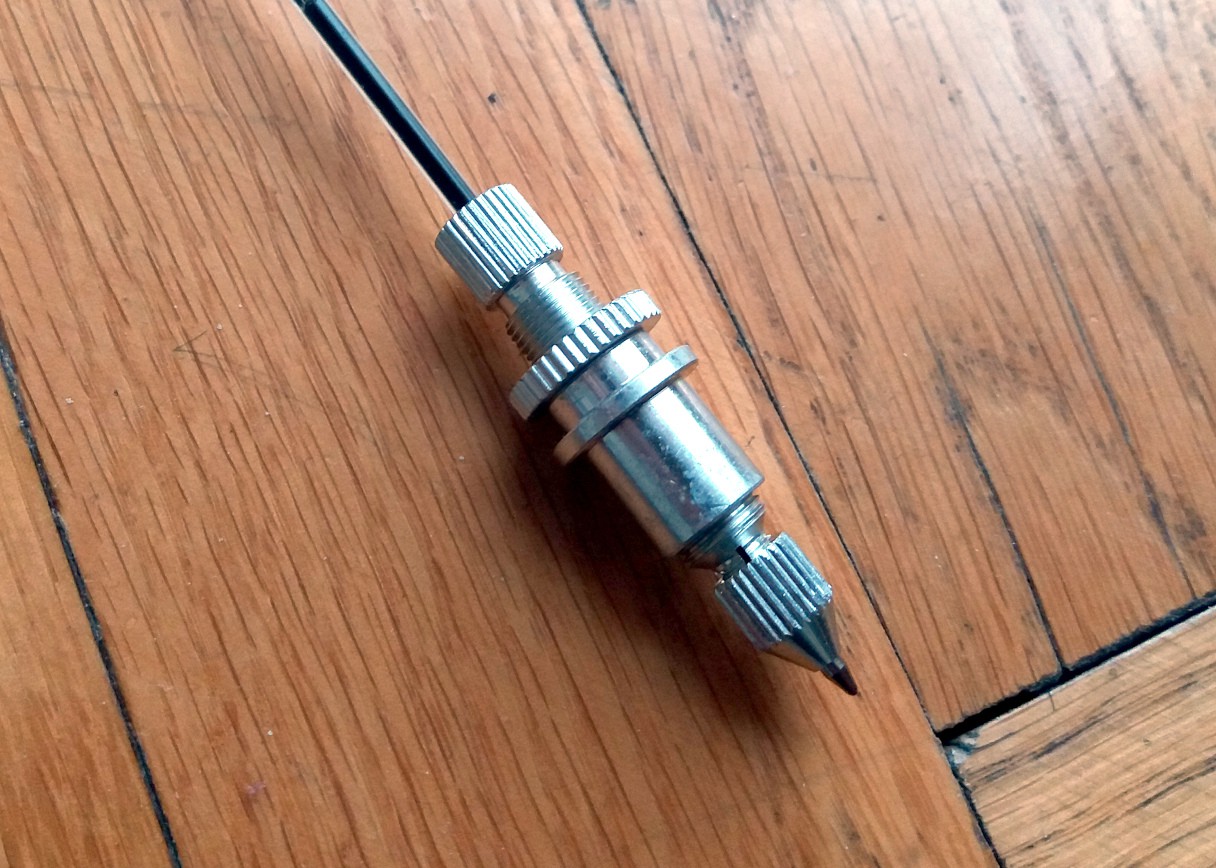
    After usual wait of one month I got pen adapter ordered on Aliexpress:

    I chose this model because one can change tip position by screwing in or out part with cylindrical protrusion. This gives some versatility, but also creates a few challenges. First of all counter screw keeping part with protrusion in place after regulation has a bit to big diameter and does not allow to fit the socket in plotter as it should. But it does not matter that much, because it's presence makes impossible to take out adapter from socket in the first place.

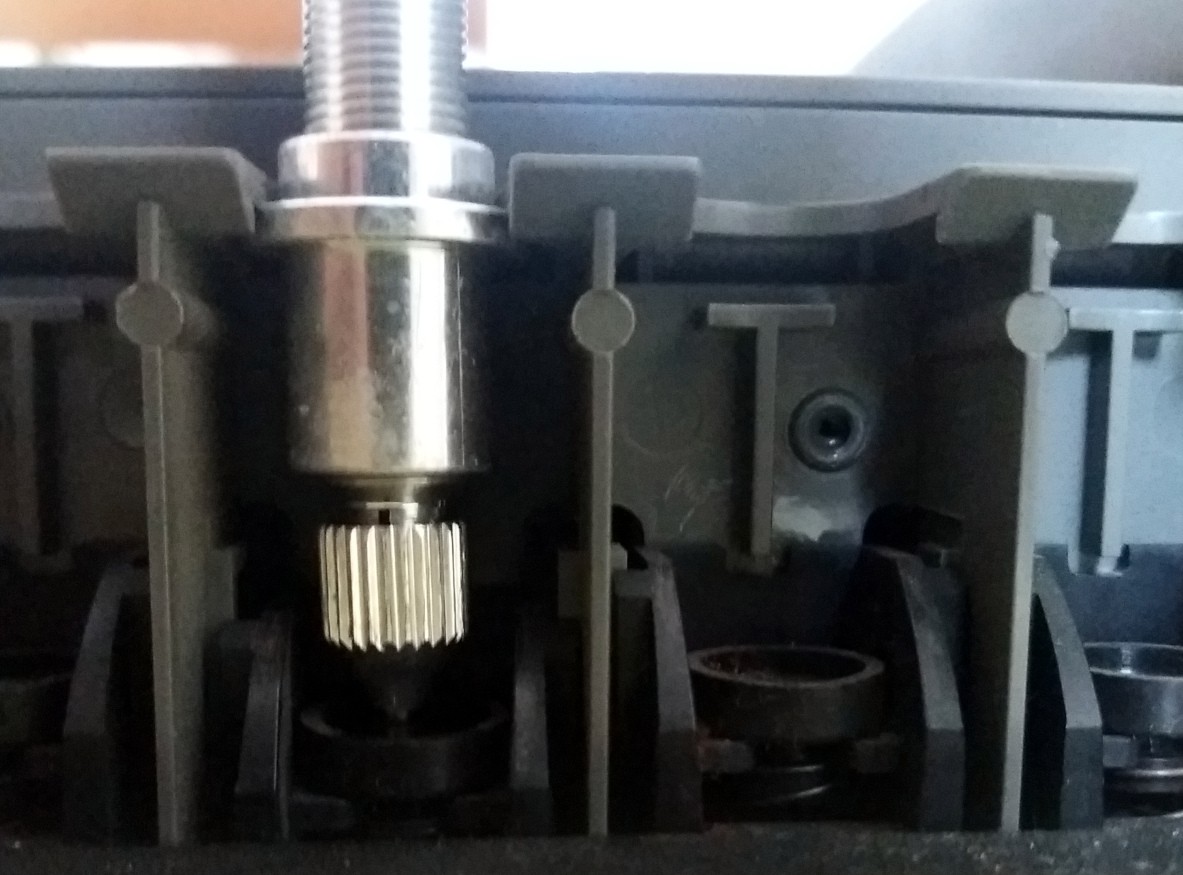
    To take out pen from the socket, plotter head lowers bottom plate (it's mounted on a spring), grabs pen and pulls it down (socket has protrusions keeping pen in place on beneath of a saddle). Counter screw does not allow to lower the pen, thus it's impossible to pull it off from the socket (at least in case of my plotter). But it can be removed, as you can see on the photo above.

    Last challenge to deal with is to find the perfect distance between cylindrical protrusion keeping adapter in the socket and tip of the pen. First few experiments show that it's not that easy as it sounds. As for right now I was able to make plotter head grab the pen (although there is still space for improvements), but putting it down is still problematic. Moreover, absence of counter screw crates some problems as it's not easy to make small adjustments without ruining position by an accident.

    To resume I'm happy with this buy as I will be able to easily experiment with different dimension and then switch to designing my own 3D printed adapters.

  • Back to step 2. What pen should I use?

    Szaja12/20/2018 at 08:30 0 comments

    I had no idea what pen I should use for this plotter. Manual which I found was not a help here, as there is no information about how to use the device, it's focused on how to repair it. After search on Aliexpress I got a real headache, because you can find at least 11 different adapters / holders there (i.e. here).

    I made some measurements of a pen grip on plotter to have a rough idea of what I'm looking for. I got lucky with this 3D model of a plotter pen, which I 3D printed and installed in the device. It was a fit, although grip was not able to pick up pen from tray due to the rough surface of the printed part. Nevertheless now I knew what to look for. I ordered this type of adapter, which should be a good start before designing my own solution.

  • Steps 2 and 3. Make it live and make it listen

    Szaja12/15/2018 at 13:09 0 comments

    I feel almost cheated. The only things I needed to do to get plotter working was plug the power cable and turn it on. That's a rather rare case. But there are still challenges to overcome.

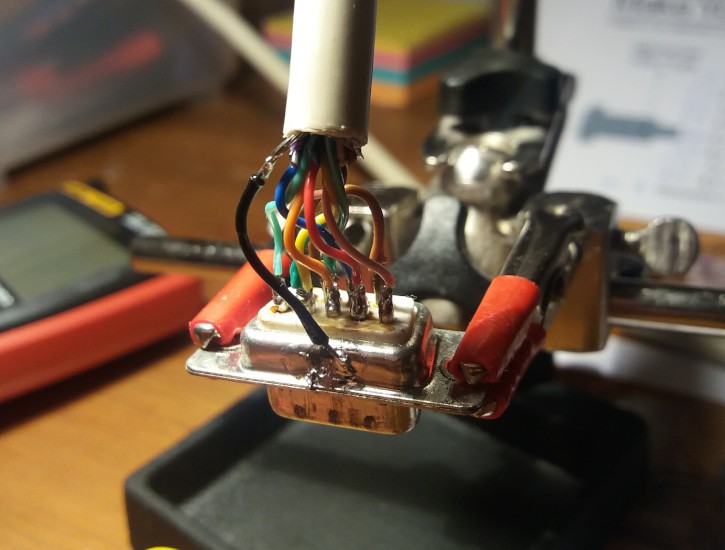
    First of them is communication with PC. Plotter has two connectors: one for serial (25 pin) and one for Centronics. I didn't had any of them at hand, so I needed to look for something in a pile of junk which I luckily have available at work. I wasn't looking for ready cables, expecting that internal connections probably will not be as needed, so I ended up with 25 pin cable with DP25 male connector and a DP9 female connector kit. Perfect!

    Now I just needed to solve puzzle of what cable connect where. I found connection diagram for HP 7475A plotter, which as I believe was an "inspiration" for my device, and compared it with female DB25 connector diagram in manual. It was a match. So I used a multimeter to find out which cables are connected to the communication pins in DB25 female connector on cable. This was a tiny bit tricky, because one need to remember that the pinout on cable connector is mirrored versus to this drawn in manual. I made myself small tags with numbers to remember about that.

    I needed to connect only 9 signal cables (plus shield), so the remaining 16 cables were cut short. Soldering was easier than I was expecting thanks to the third hand and tweezers. The only tricky parts was when one cable needed to be connected to two pins on DB9, but I made a small jumper and it worked. The cable as ready.

    But how to check if it works? After some research I found that this plotter uses HPGL for communication, and Inkscape cane export such format and even drive serial plotters. Success! It worked from the first time. The only bad thing of this situation is that I was not prepared for that and I don't have any pens available. But this part of the project is done.

  • Step 1. Manual

    Szaja12/11/2018 at 19:47 0 comments

    I found it! But this was something. After first search I found very little information about this device online. Some sites tricked me that they have manual available, but they were lying, playing dirty tricks with person in need. And this this site told me, that I can buy the manual for 2.32 USD. No way! I can recognize hoax when I see one.

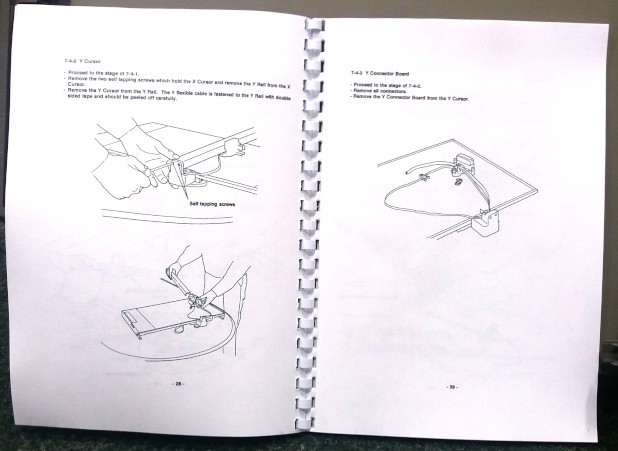
    Unless... I don't have any other option. There was no sign of manual. Maybe I could live without it, but this plotter has two rows of 8 switches to set operating parameters. And of course they are not signed. OK, I can risk loosing 2.32 USD, especially that there was a PayPal payment available, so no risk with sending card number oversees. So I used 10 minutes mail to create an account and made a payment. And you know what? I didn't bought operating manual, I got the maintenance manual. Yes! Now I know how to set these switches and repair what may not work. This is way better than I could expect.

View all 5 project logs

Enjoy this project?

Share

Discussions

Similar Projects

Does this project spark your interest?

Become a member to follow this project and never miss any updates