 Wassim
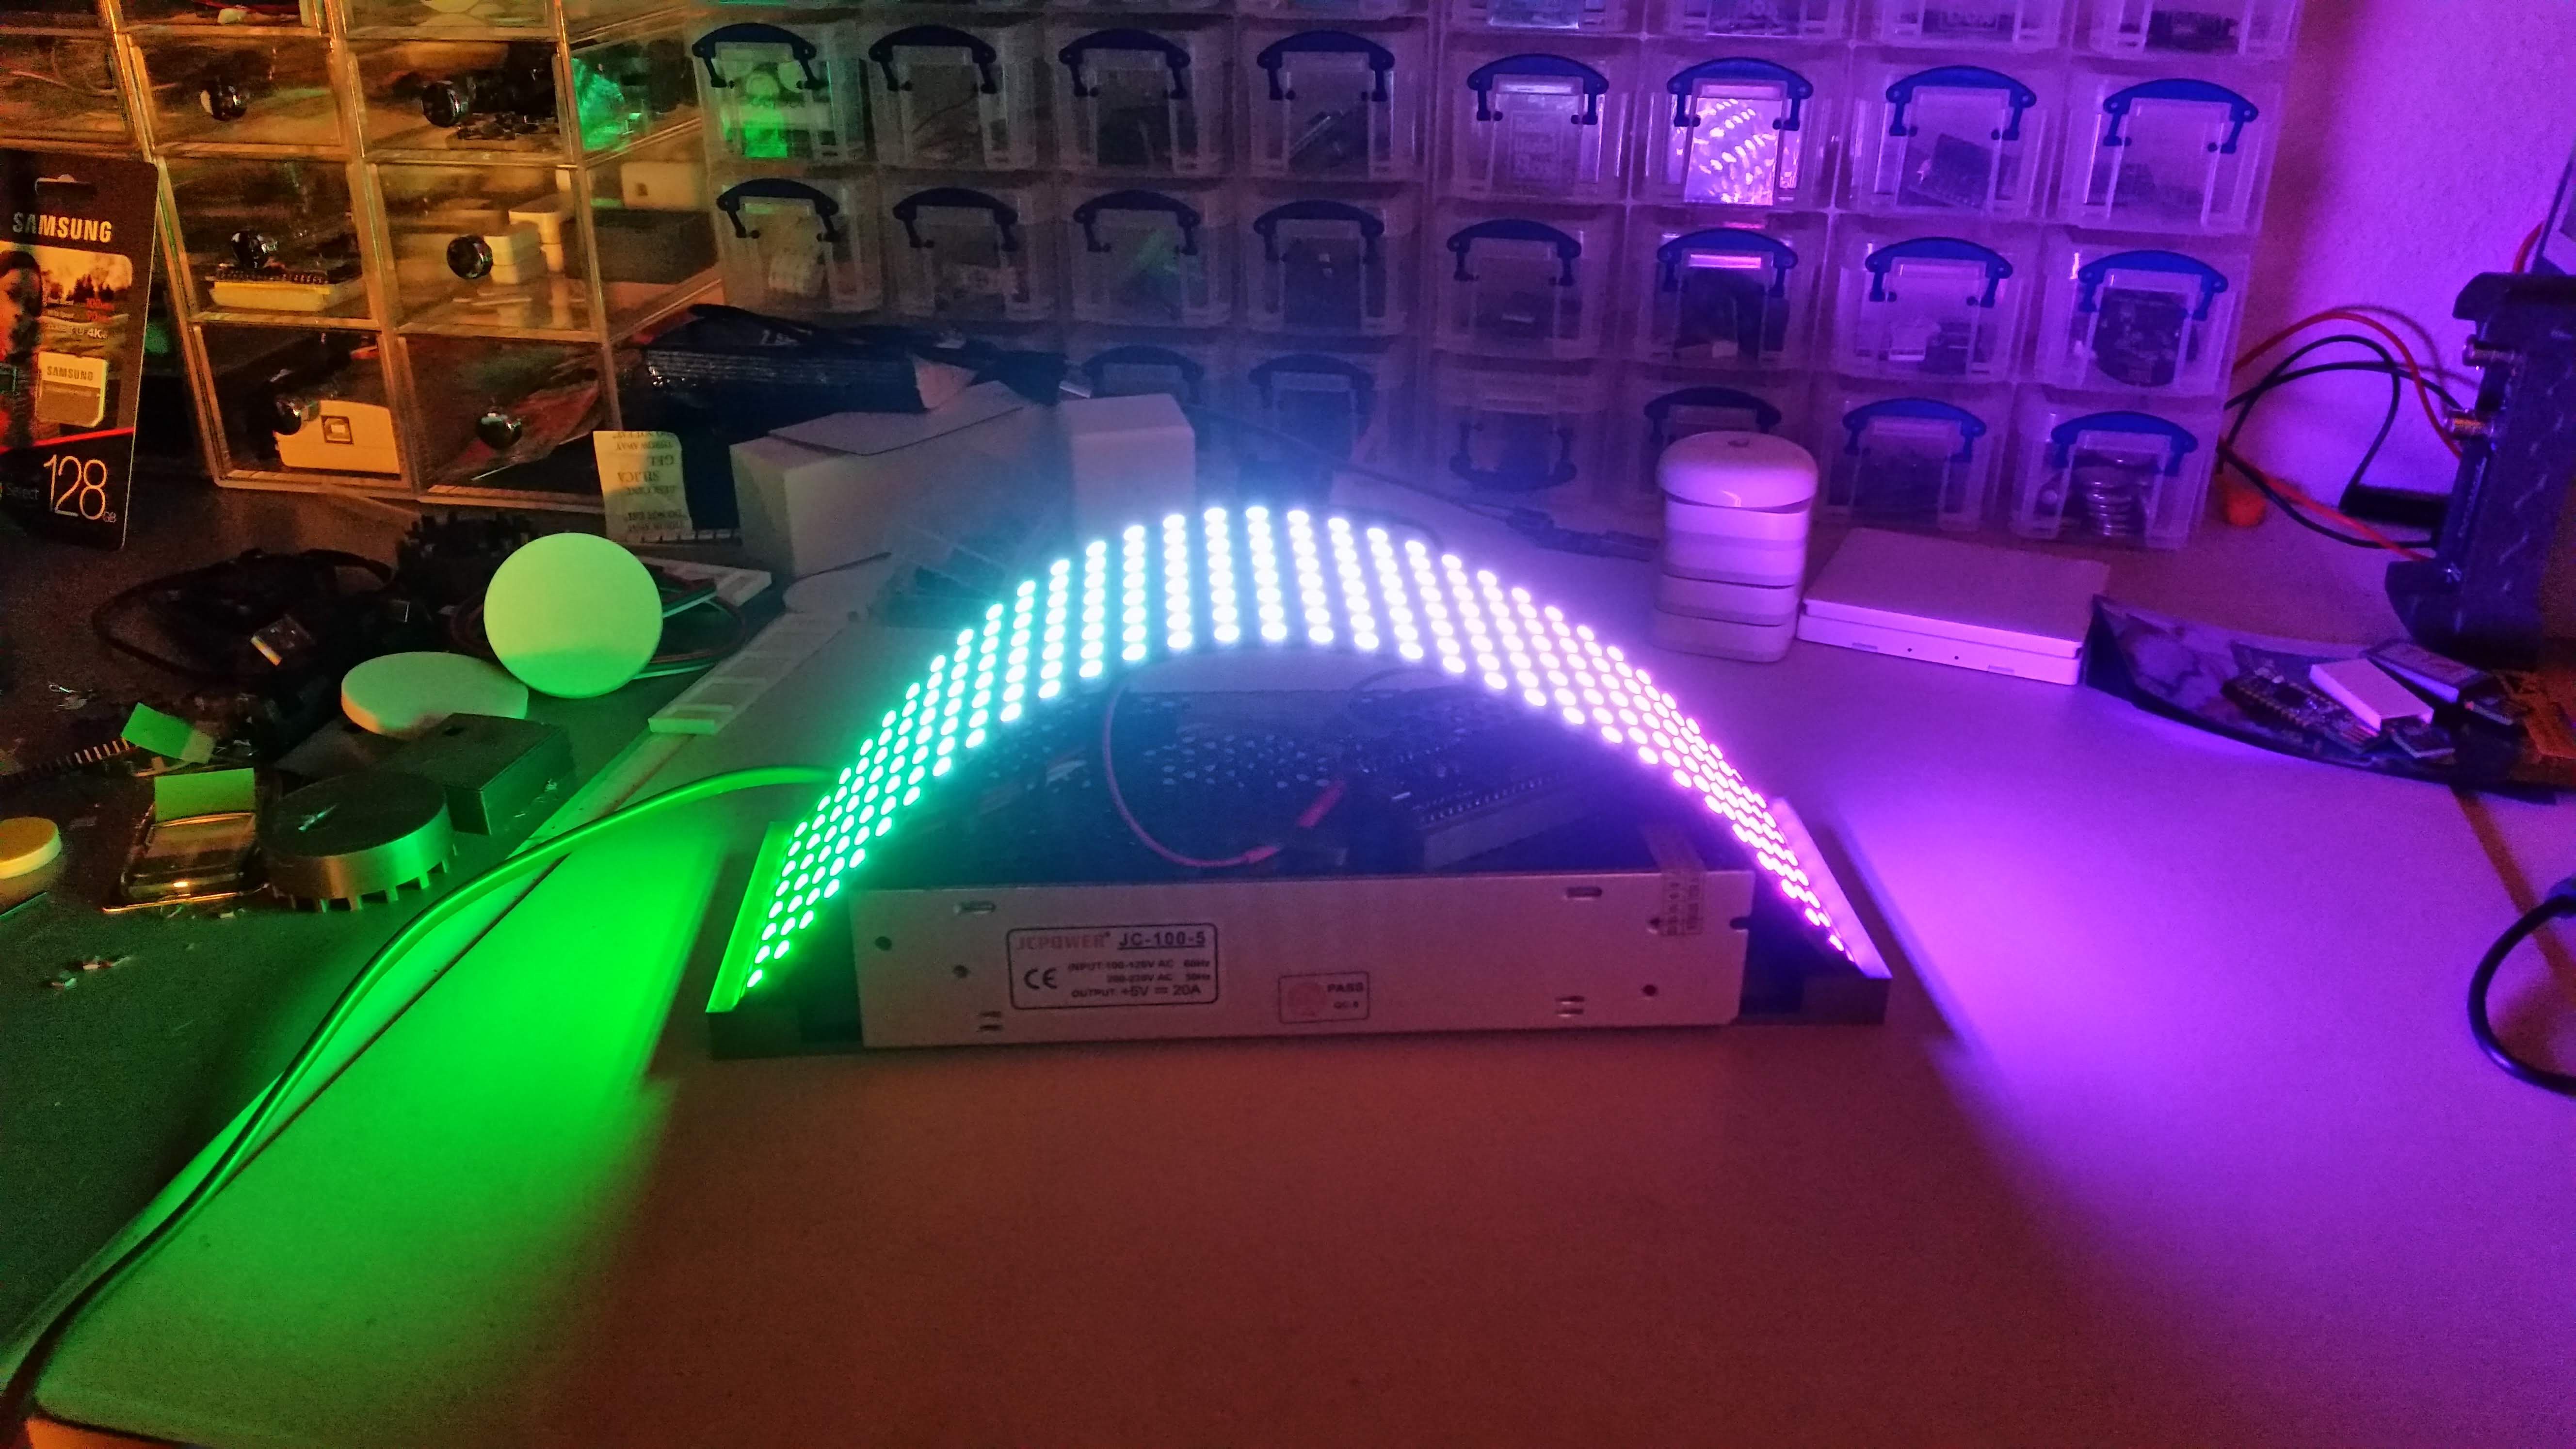
- The webapp (see below) is rocking, click on Ocean and the room turns into a wavy sub-aquatic space.
- Different Wave requests from the webclient can add up together, like real waves.
- ESP32 Firmware source code : https://github.com/HomeSmartMesh/esp32_iot/tree/master/rgb_led
- 3d printed parts CAD on Fusion360 : View and Download link https://a360.co/2LhWfTJ
- Python wrapper script over MQTT commands : https://github.com/nRFMesh/nRF52_Mesh/blob/master/raspi/leds_panel/leds_panel.py
- Webapp : https://github.com/HomeSmartMesh/raspi/tree/master/leds_panel/webapp
Webapp as MQTT client

first draft functional, webapp available on github, note that you need an mqtt broker host.
Gradient color MQTT command
mosquitto_pub -t 'esp/curvy/pixels/grad' -m
    '{
        "led_start":0,
        "nb_leds":256,
        "col_start":{"r":255,"g":0,"b":255},
        "col_stop":{"r":0,"g":255,"b":0}
    }'
Here's where the waves magic happens (Part1 - javascript)
function sendWavesColors(col1,col2){
  var wave1 = {
    action      : "wave",
    duration_ms : 1000 * 3600 * 3 ,// 3 hours
    length      : 16,
    freq        : 0.2,
    r:col1.r, g:col1.g, b:col1.b
  };
  var wave2 = {
    action      : "wave",
    duration_ms : 1000 * 3600 * 3 ,// 3 hours
    length      : 16,
    freq        : -0.3,
    r:col2.r, g:col2.g, b:col2.b
  };
  client.send("esp/curvy/panel",'{"action":"off"}');
  setTimeout(() => client.send("esp/curvy/panel",JSON.stringify(wave1)), 500);
  setTimeout(() => client.send("esp/curvy/panel",JSON.stringify(wave2)), 1000);
}
- Full file and project : https://github.com/HomeSmartMesh/raspi/blob/master/leds_panel/webapp/src/mqtt_app.js
The rest of the wave magic (Part2 - ESP32)
It's actually named wavelet as it's not periodic, only once bounce of light
void WS2812::add_wavelet(pixel_t color, float t, float freq, int length,float brightness);
I think the name of the function is enough, as the code is a bit cryptic, if you'd like to have fun reading it, here it is in the full file and project : https://github.com/HomeSmartMesh/esp32_iot/blob/master/rgb_led/main/WS2812.cpp
Construction
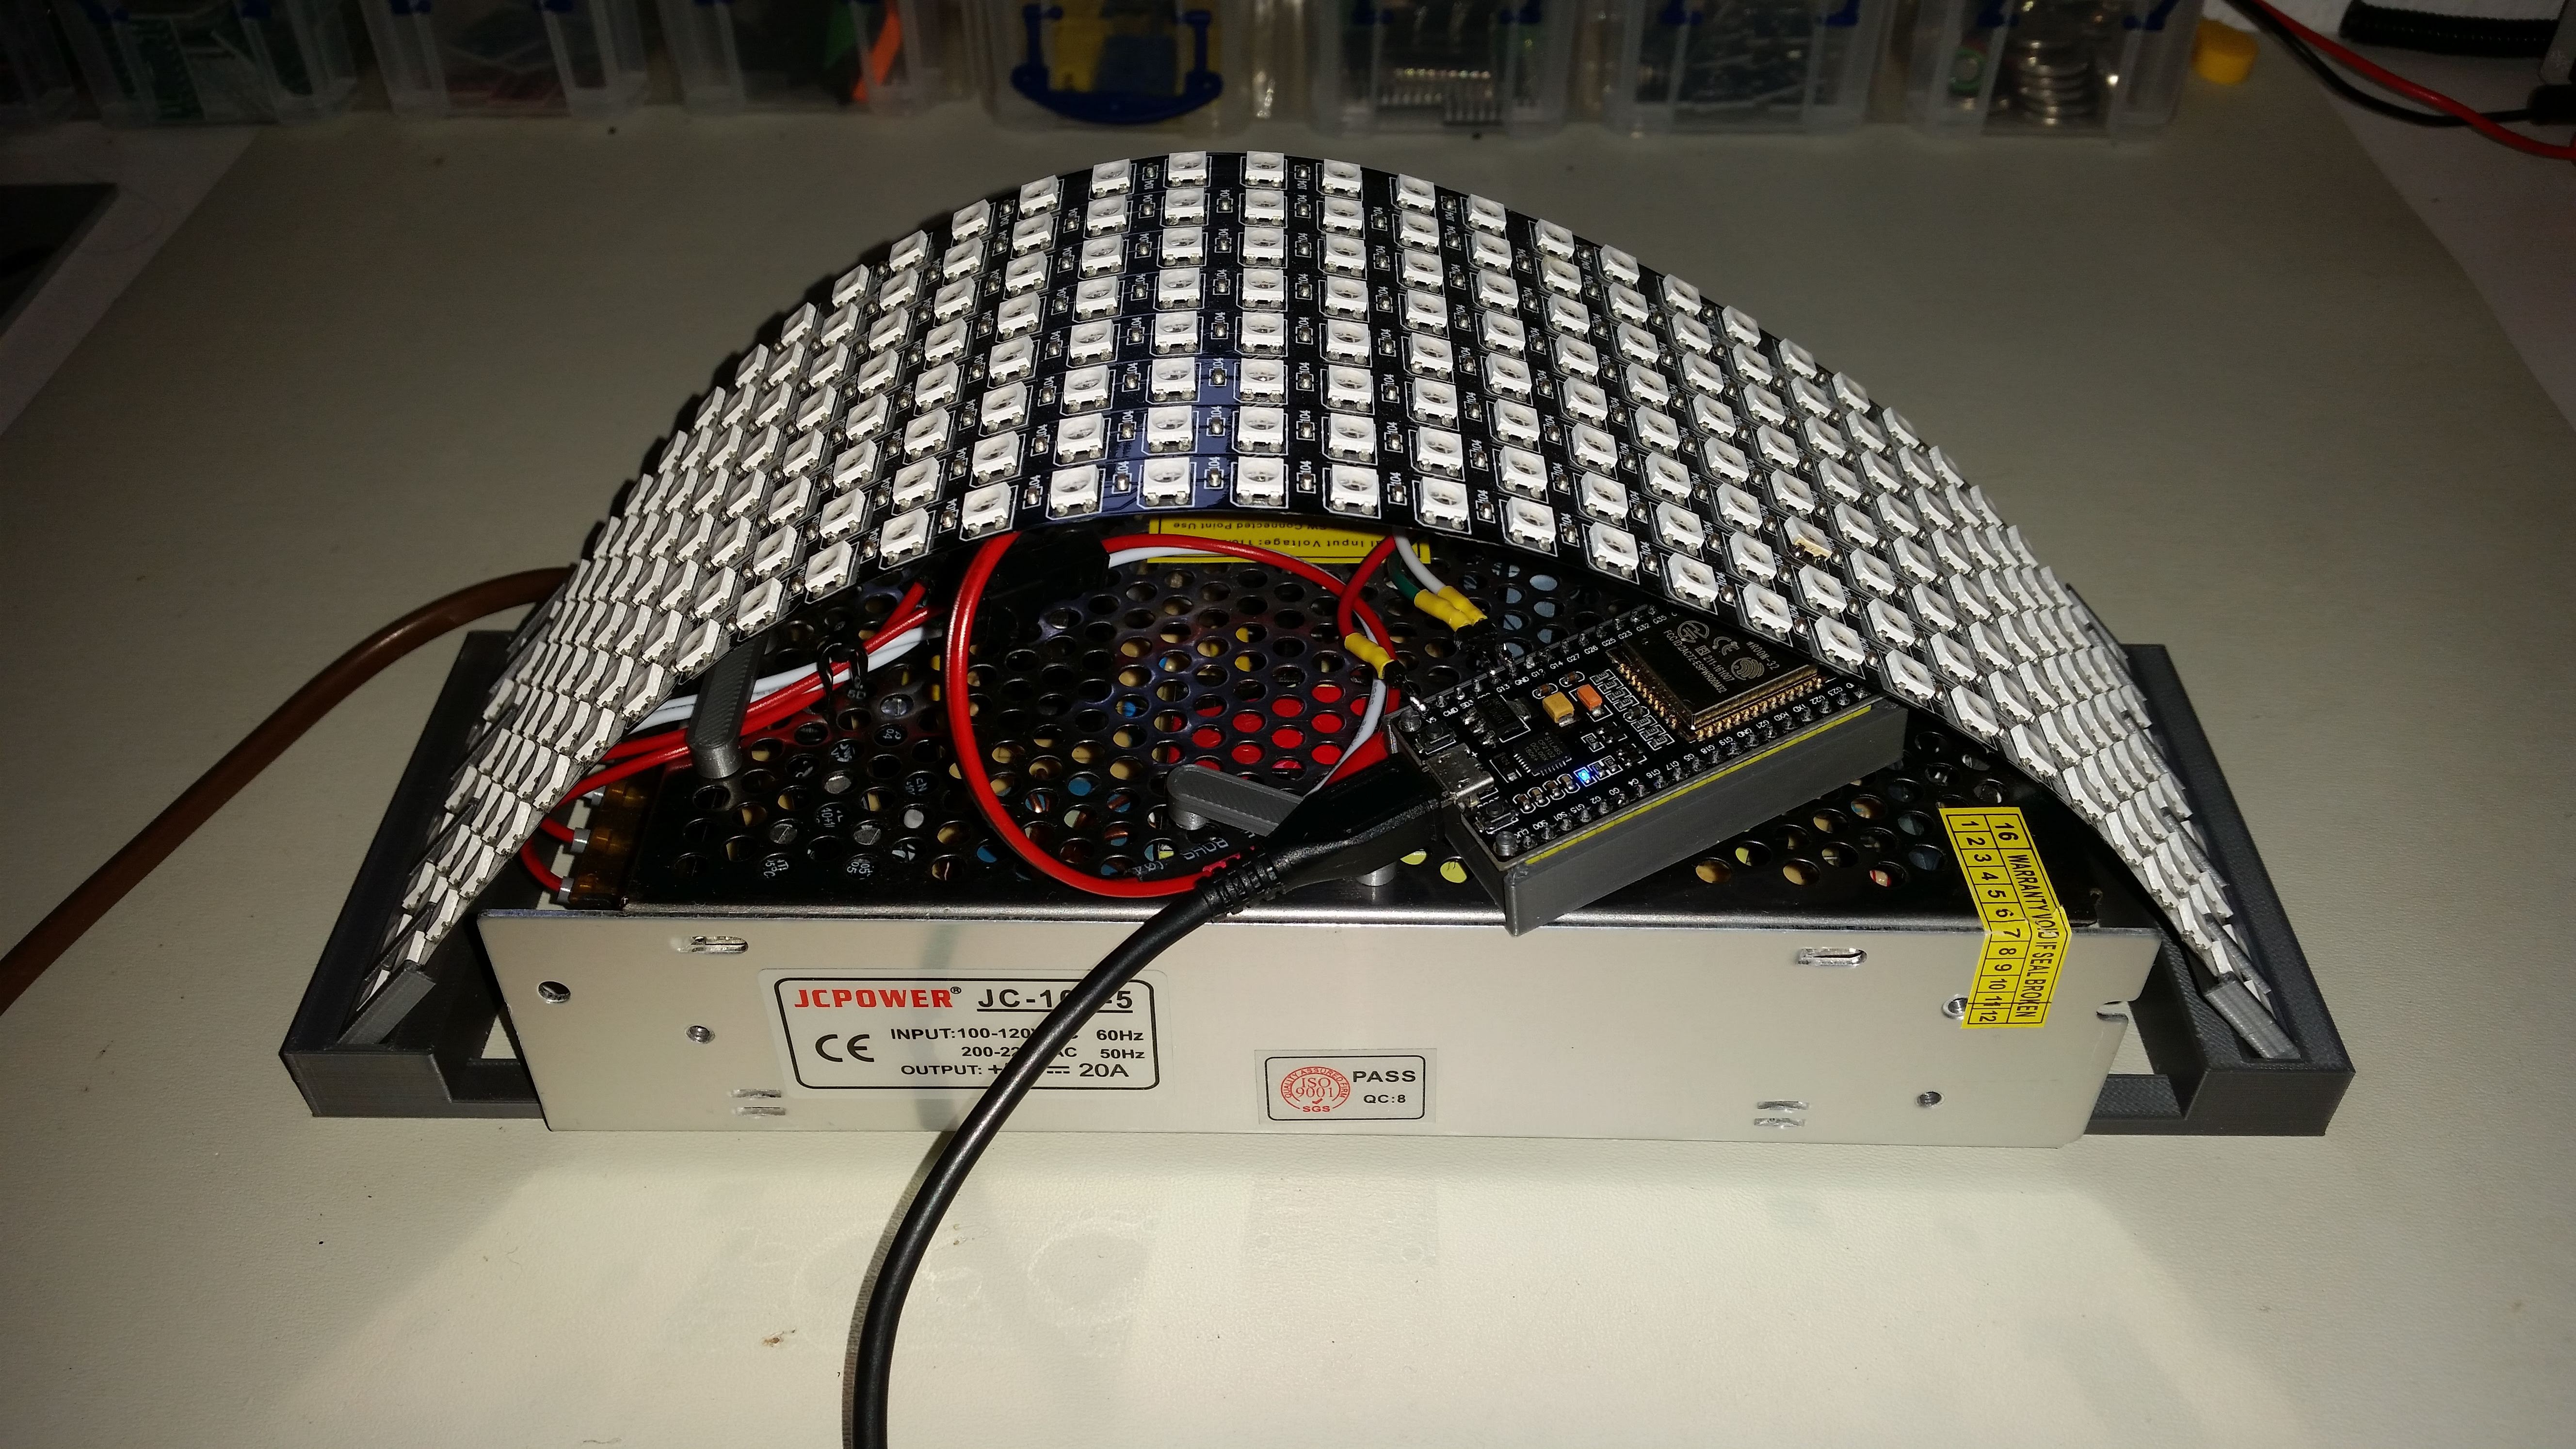
Flexible Panel 8 x 32 WS2812B RGB leds
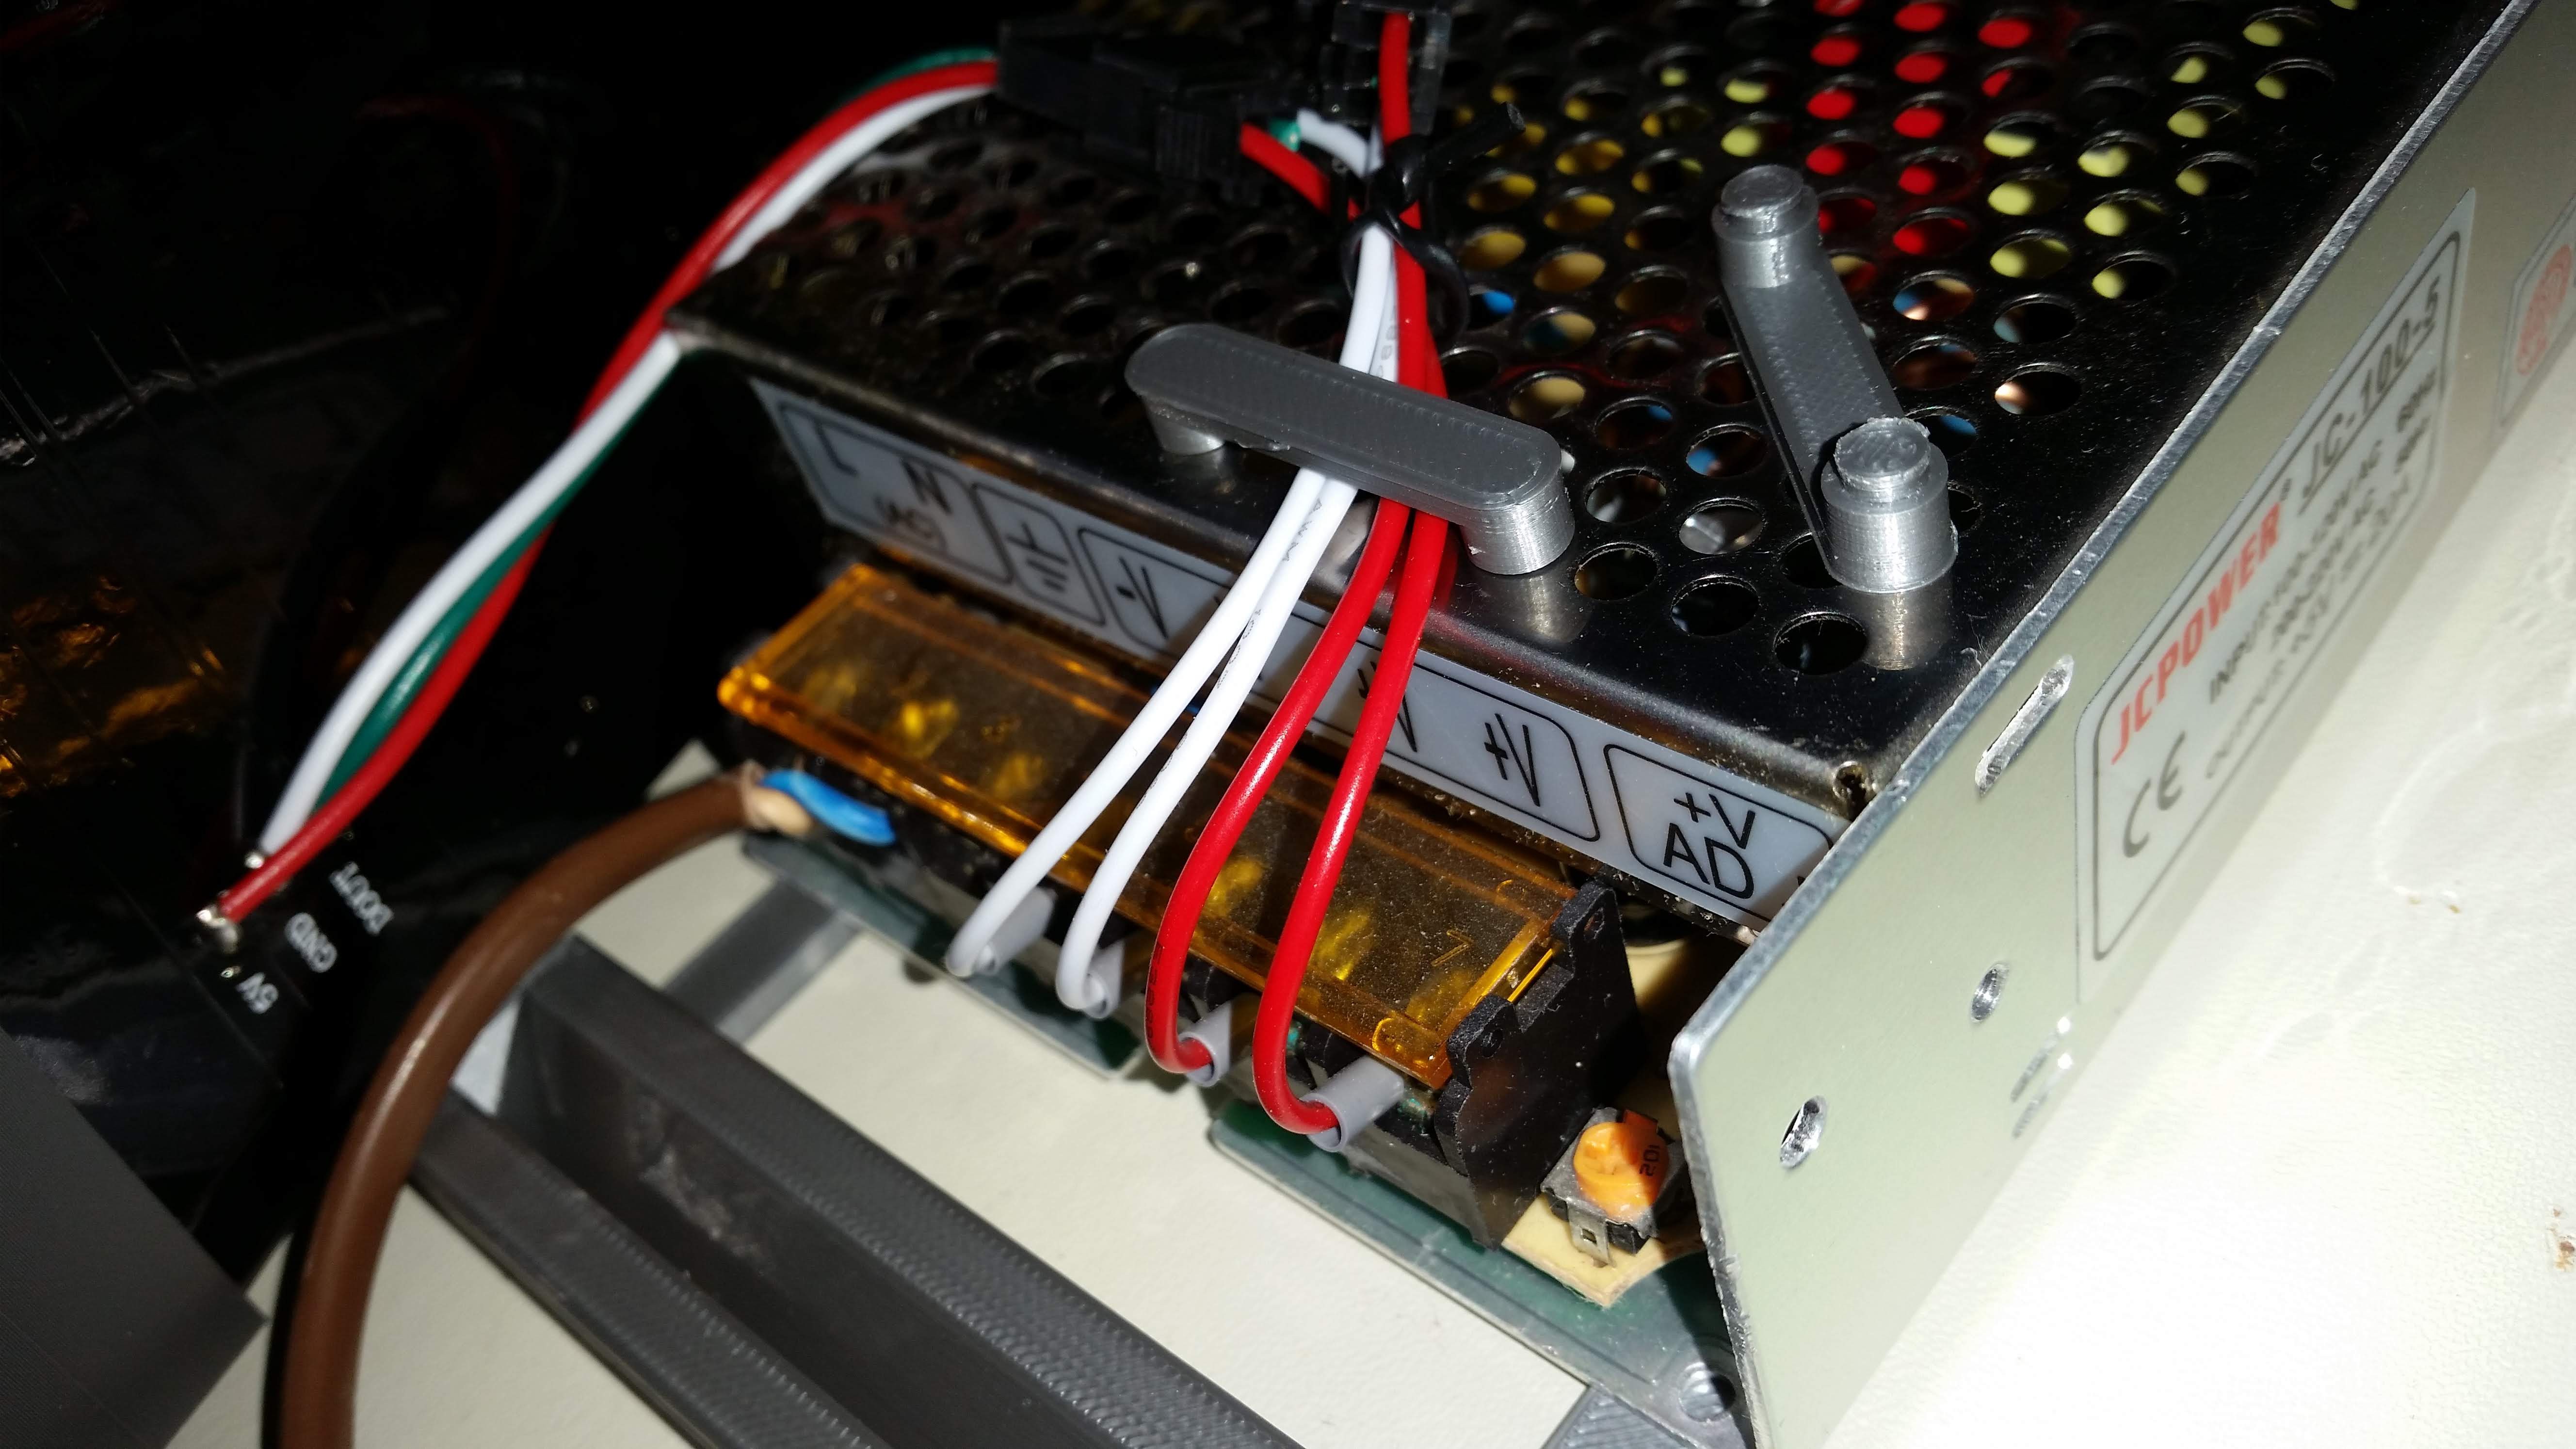
- power supply 5V 20A 100W with double outputs
- 3d printed holders for neat cables fixing
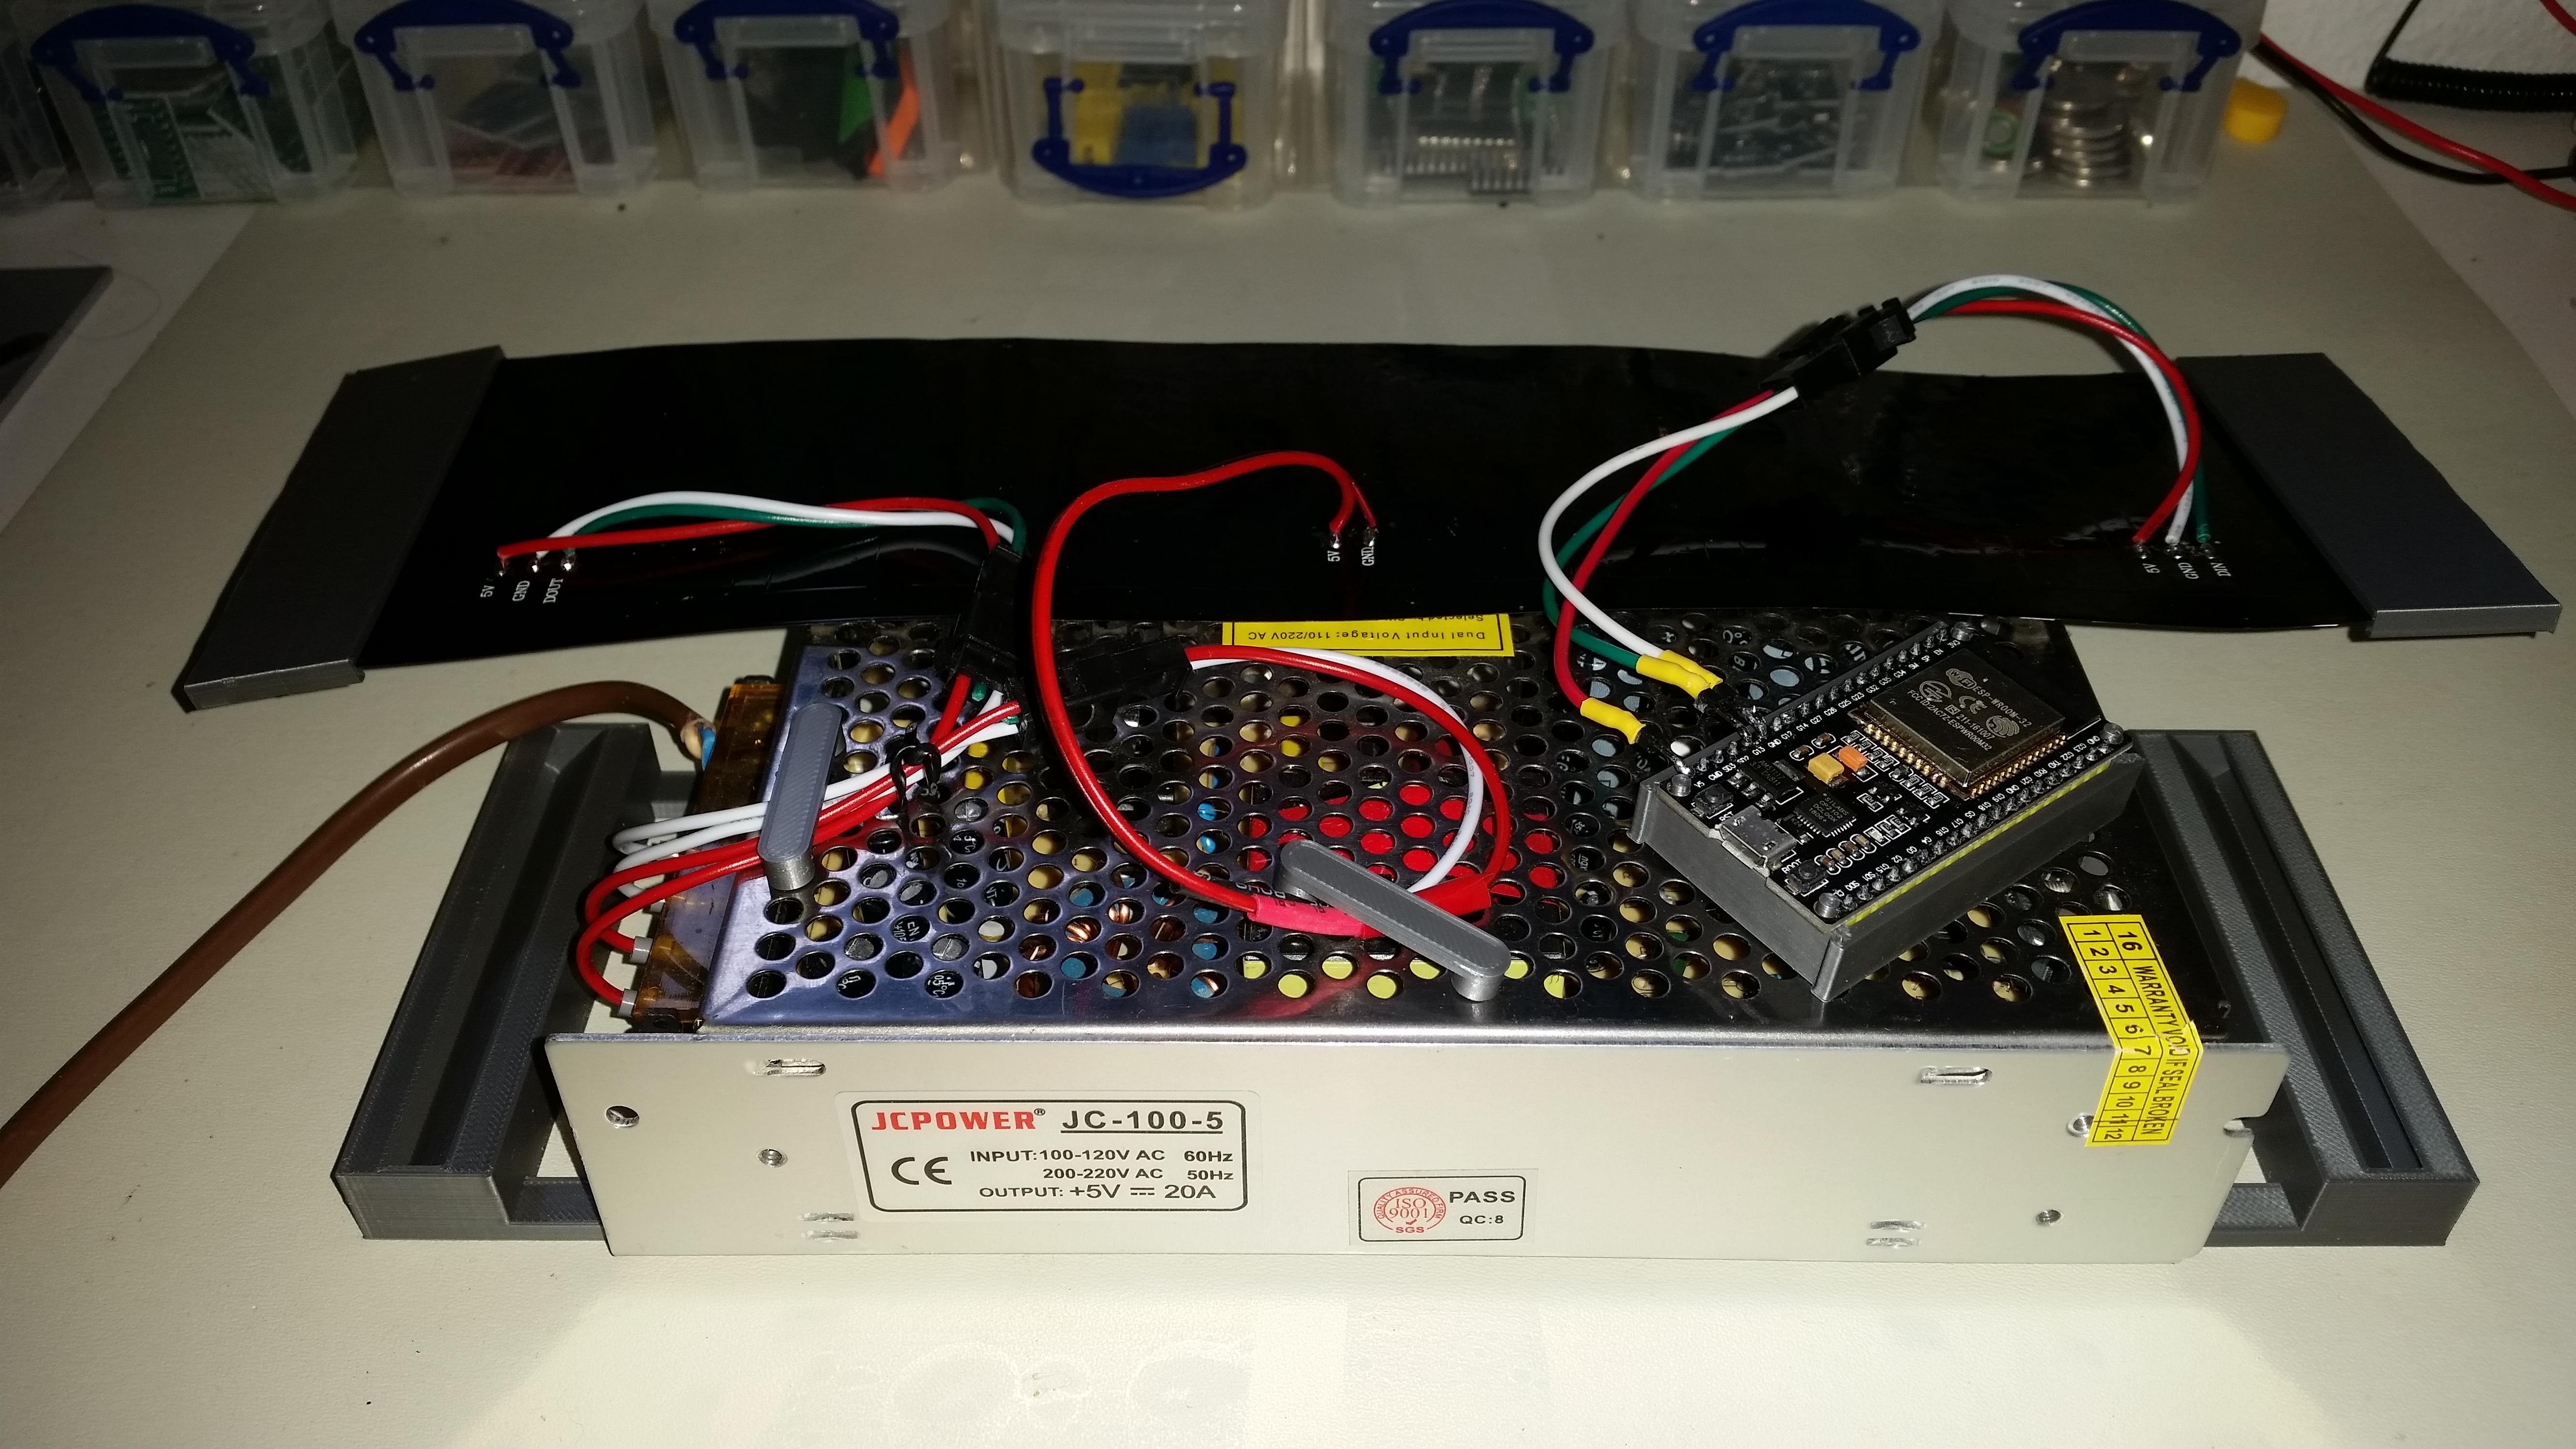
- double powered powered in the input (left) and in the middle, the esp32 is powerd from the end (right)
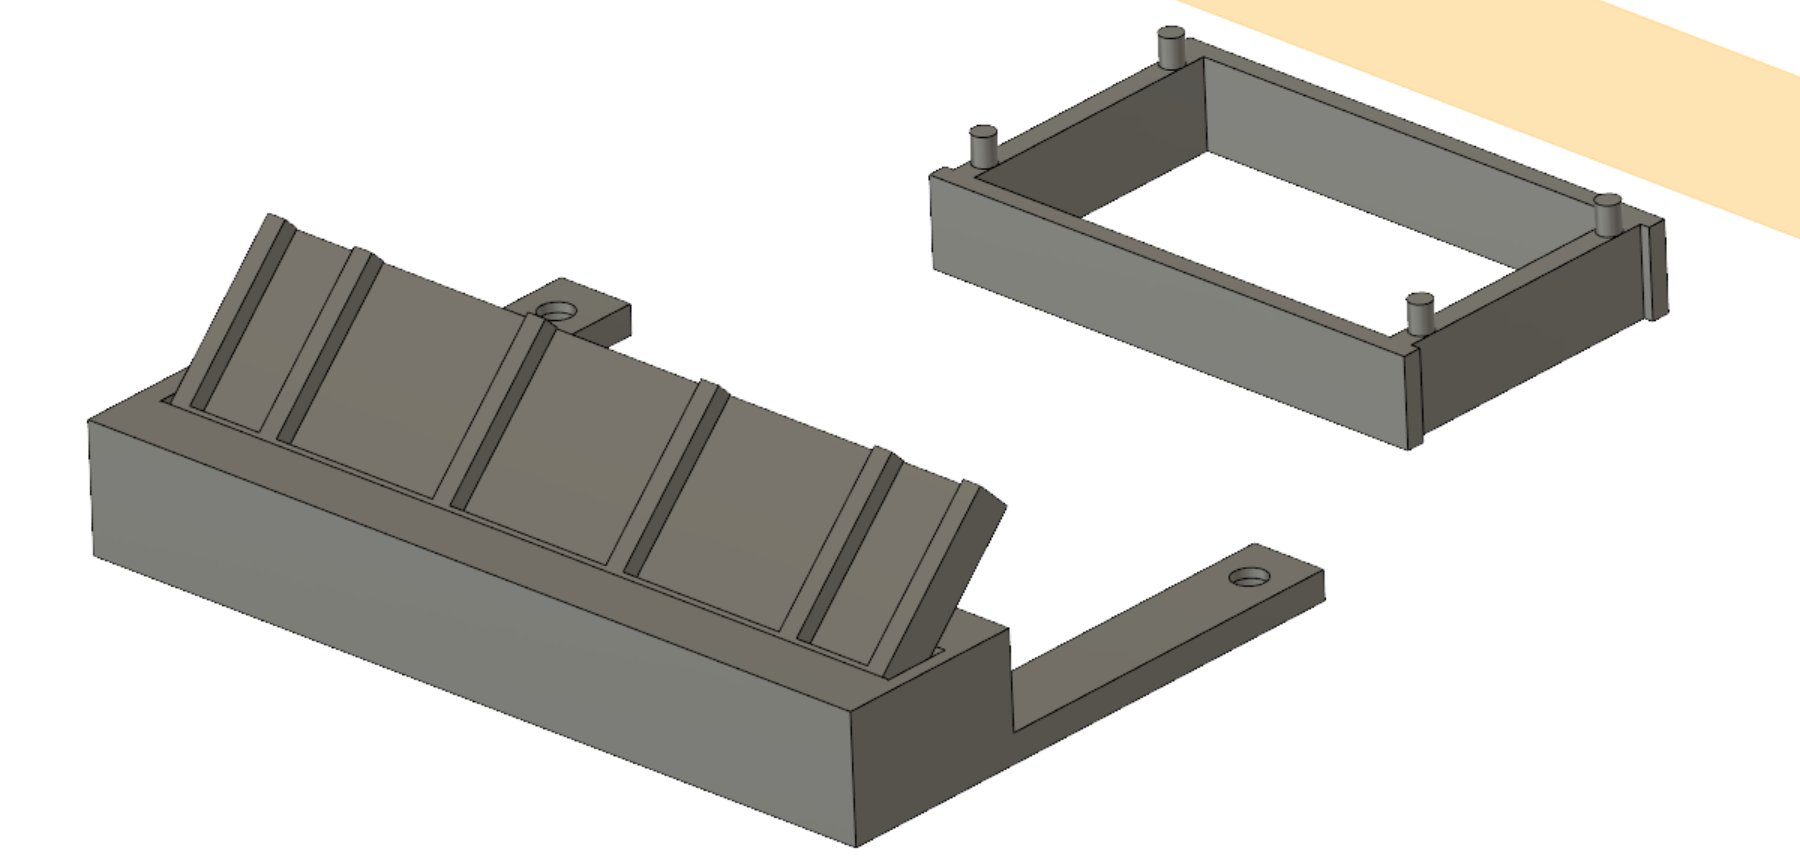
- Fusion360 CAD model : https://a360.co/2LhWfTJ
- Printed on PRUSA MK3
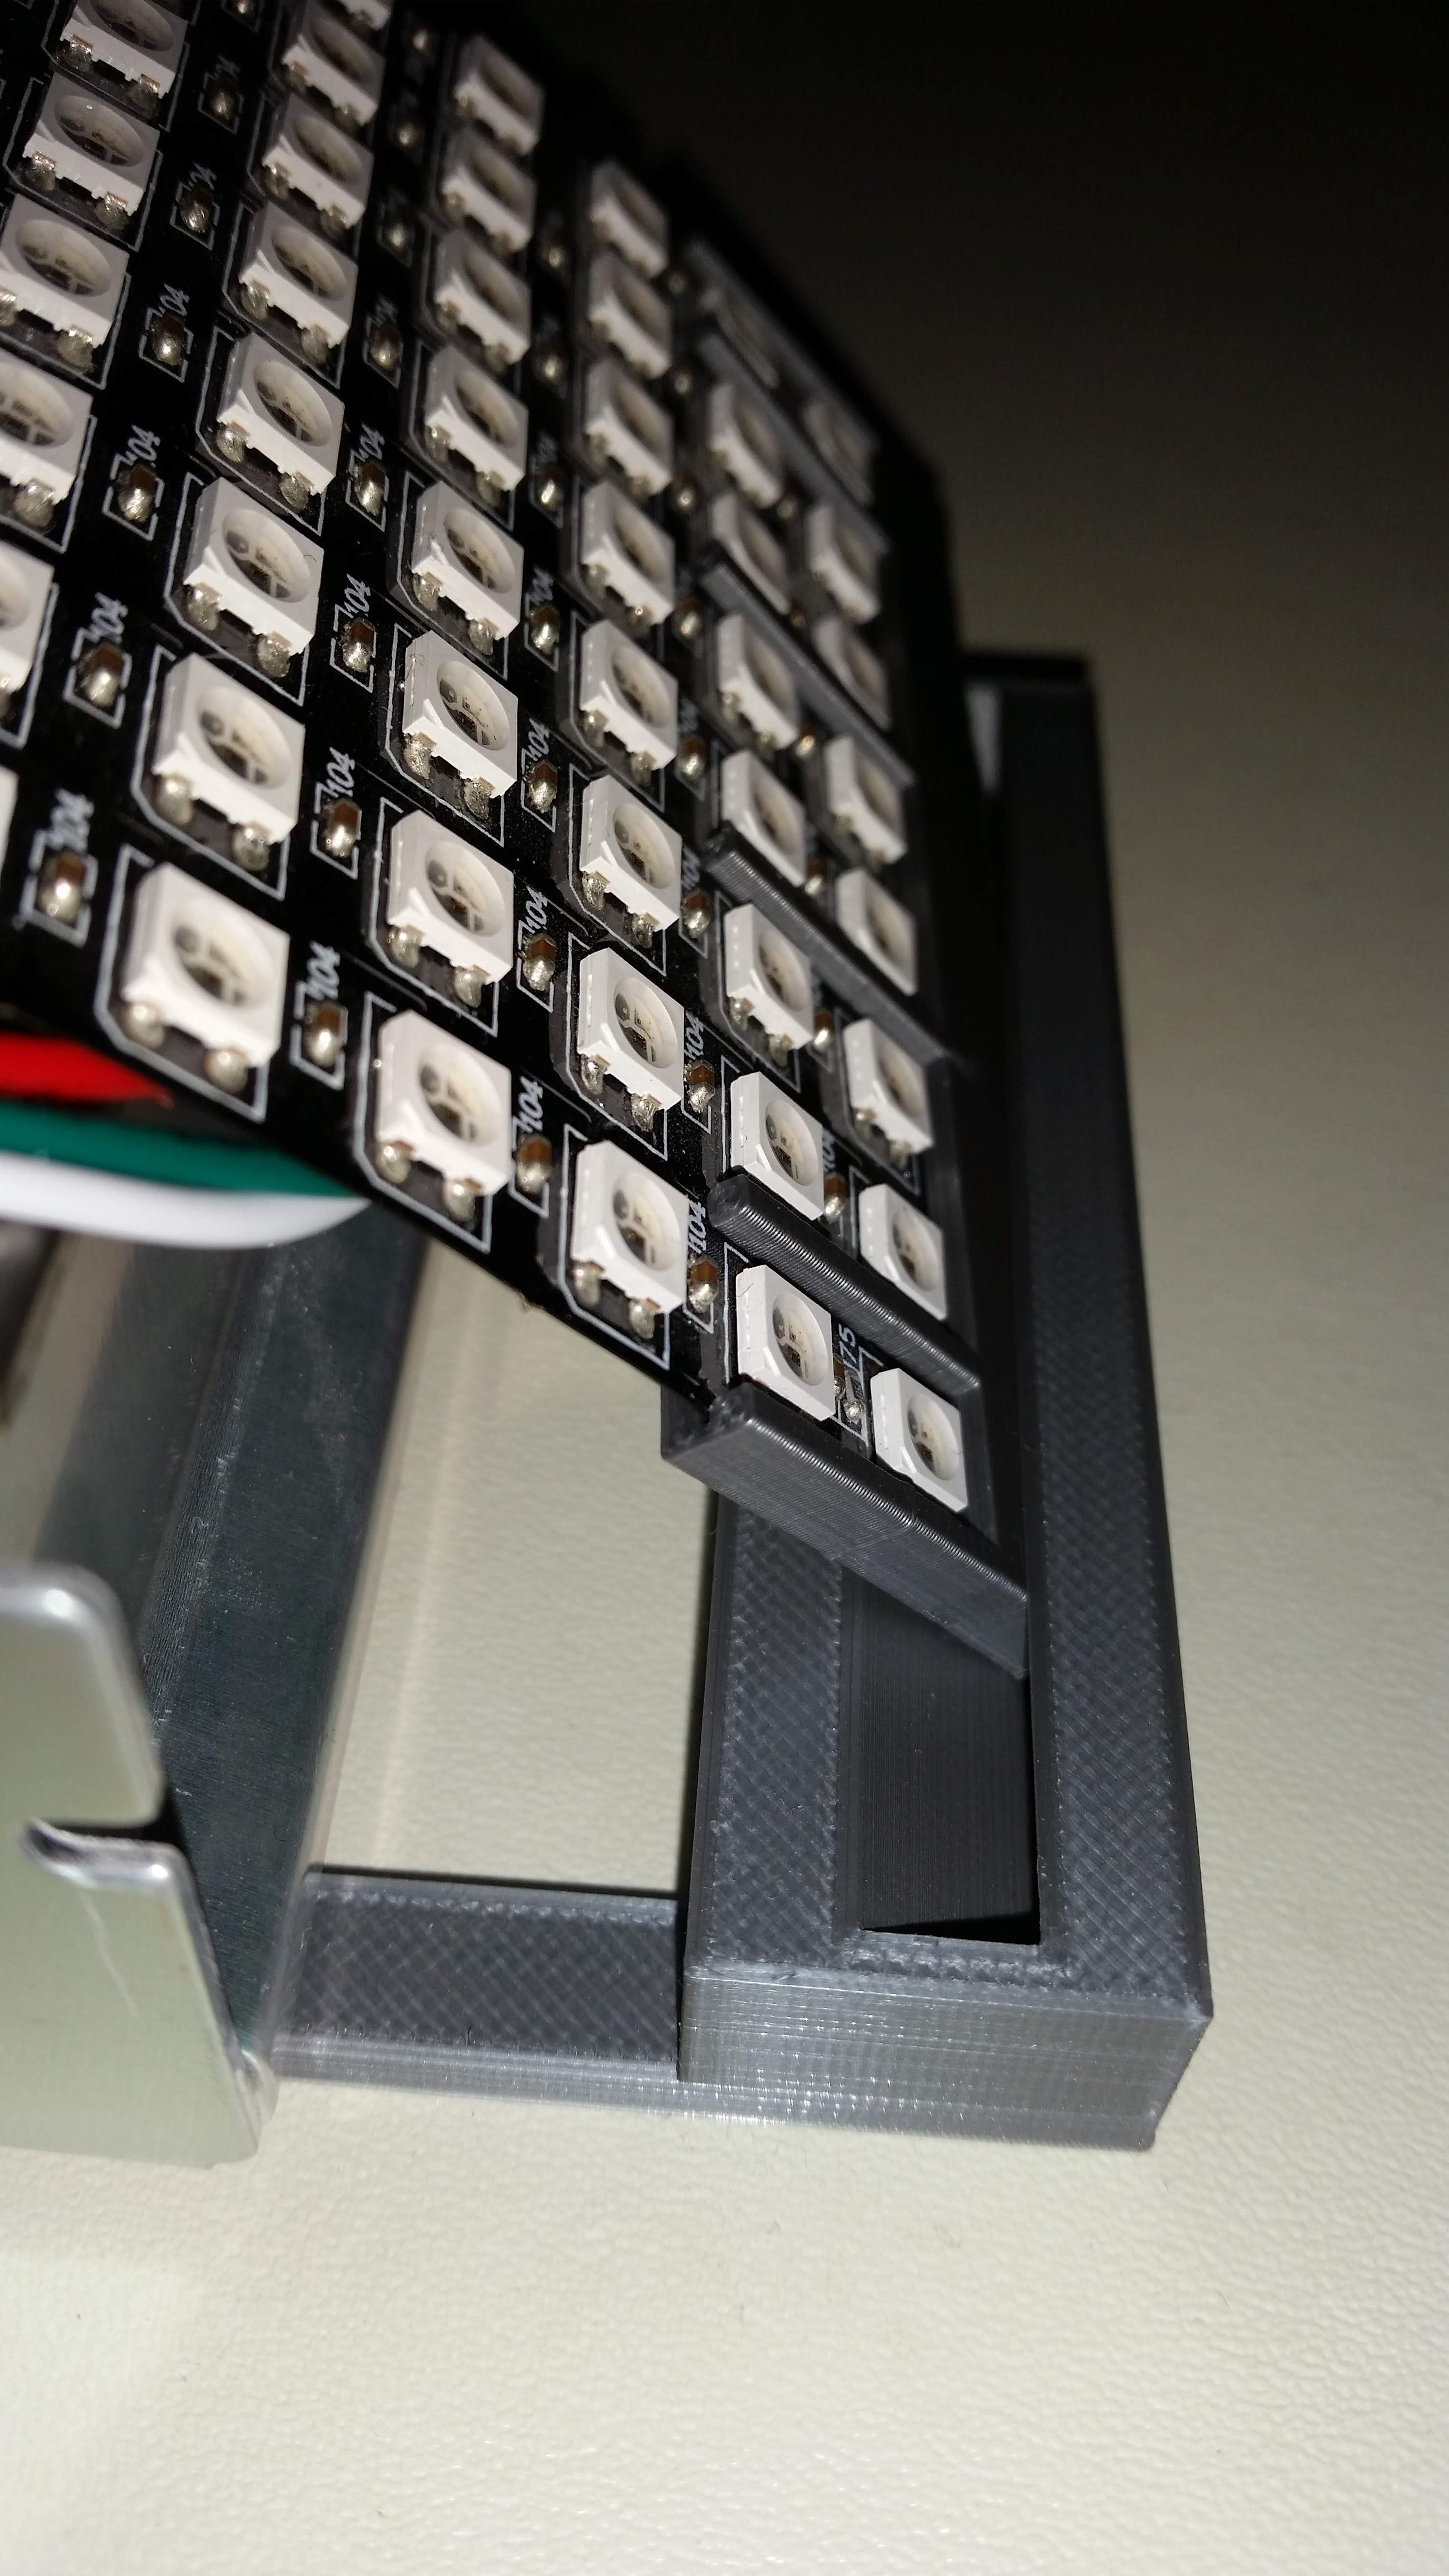
- Panel side holder
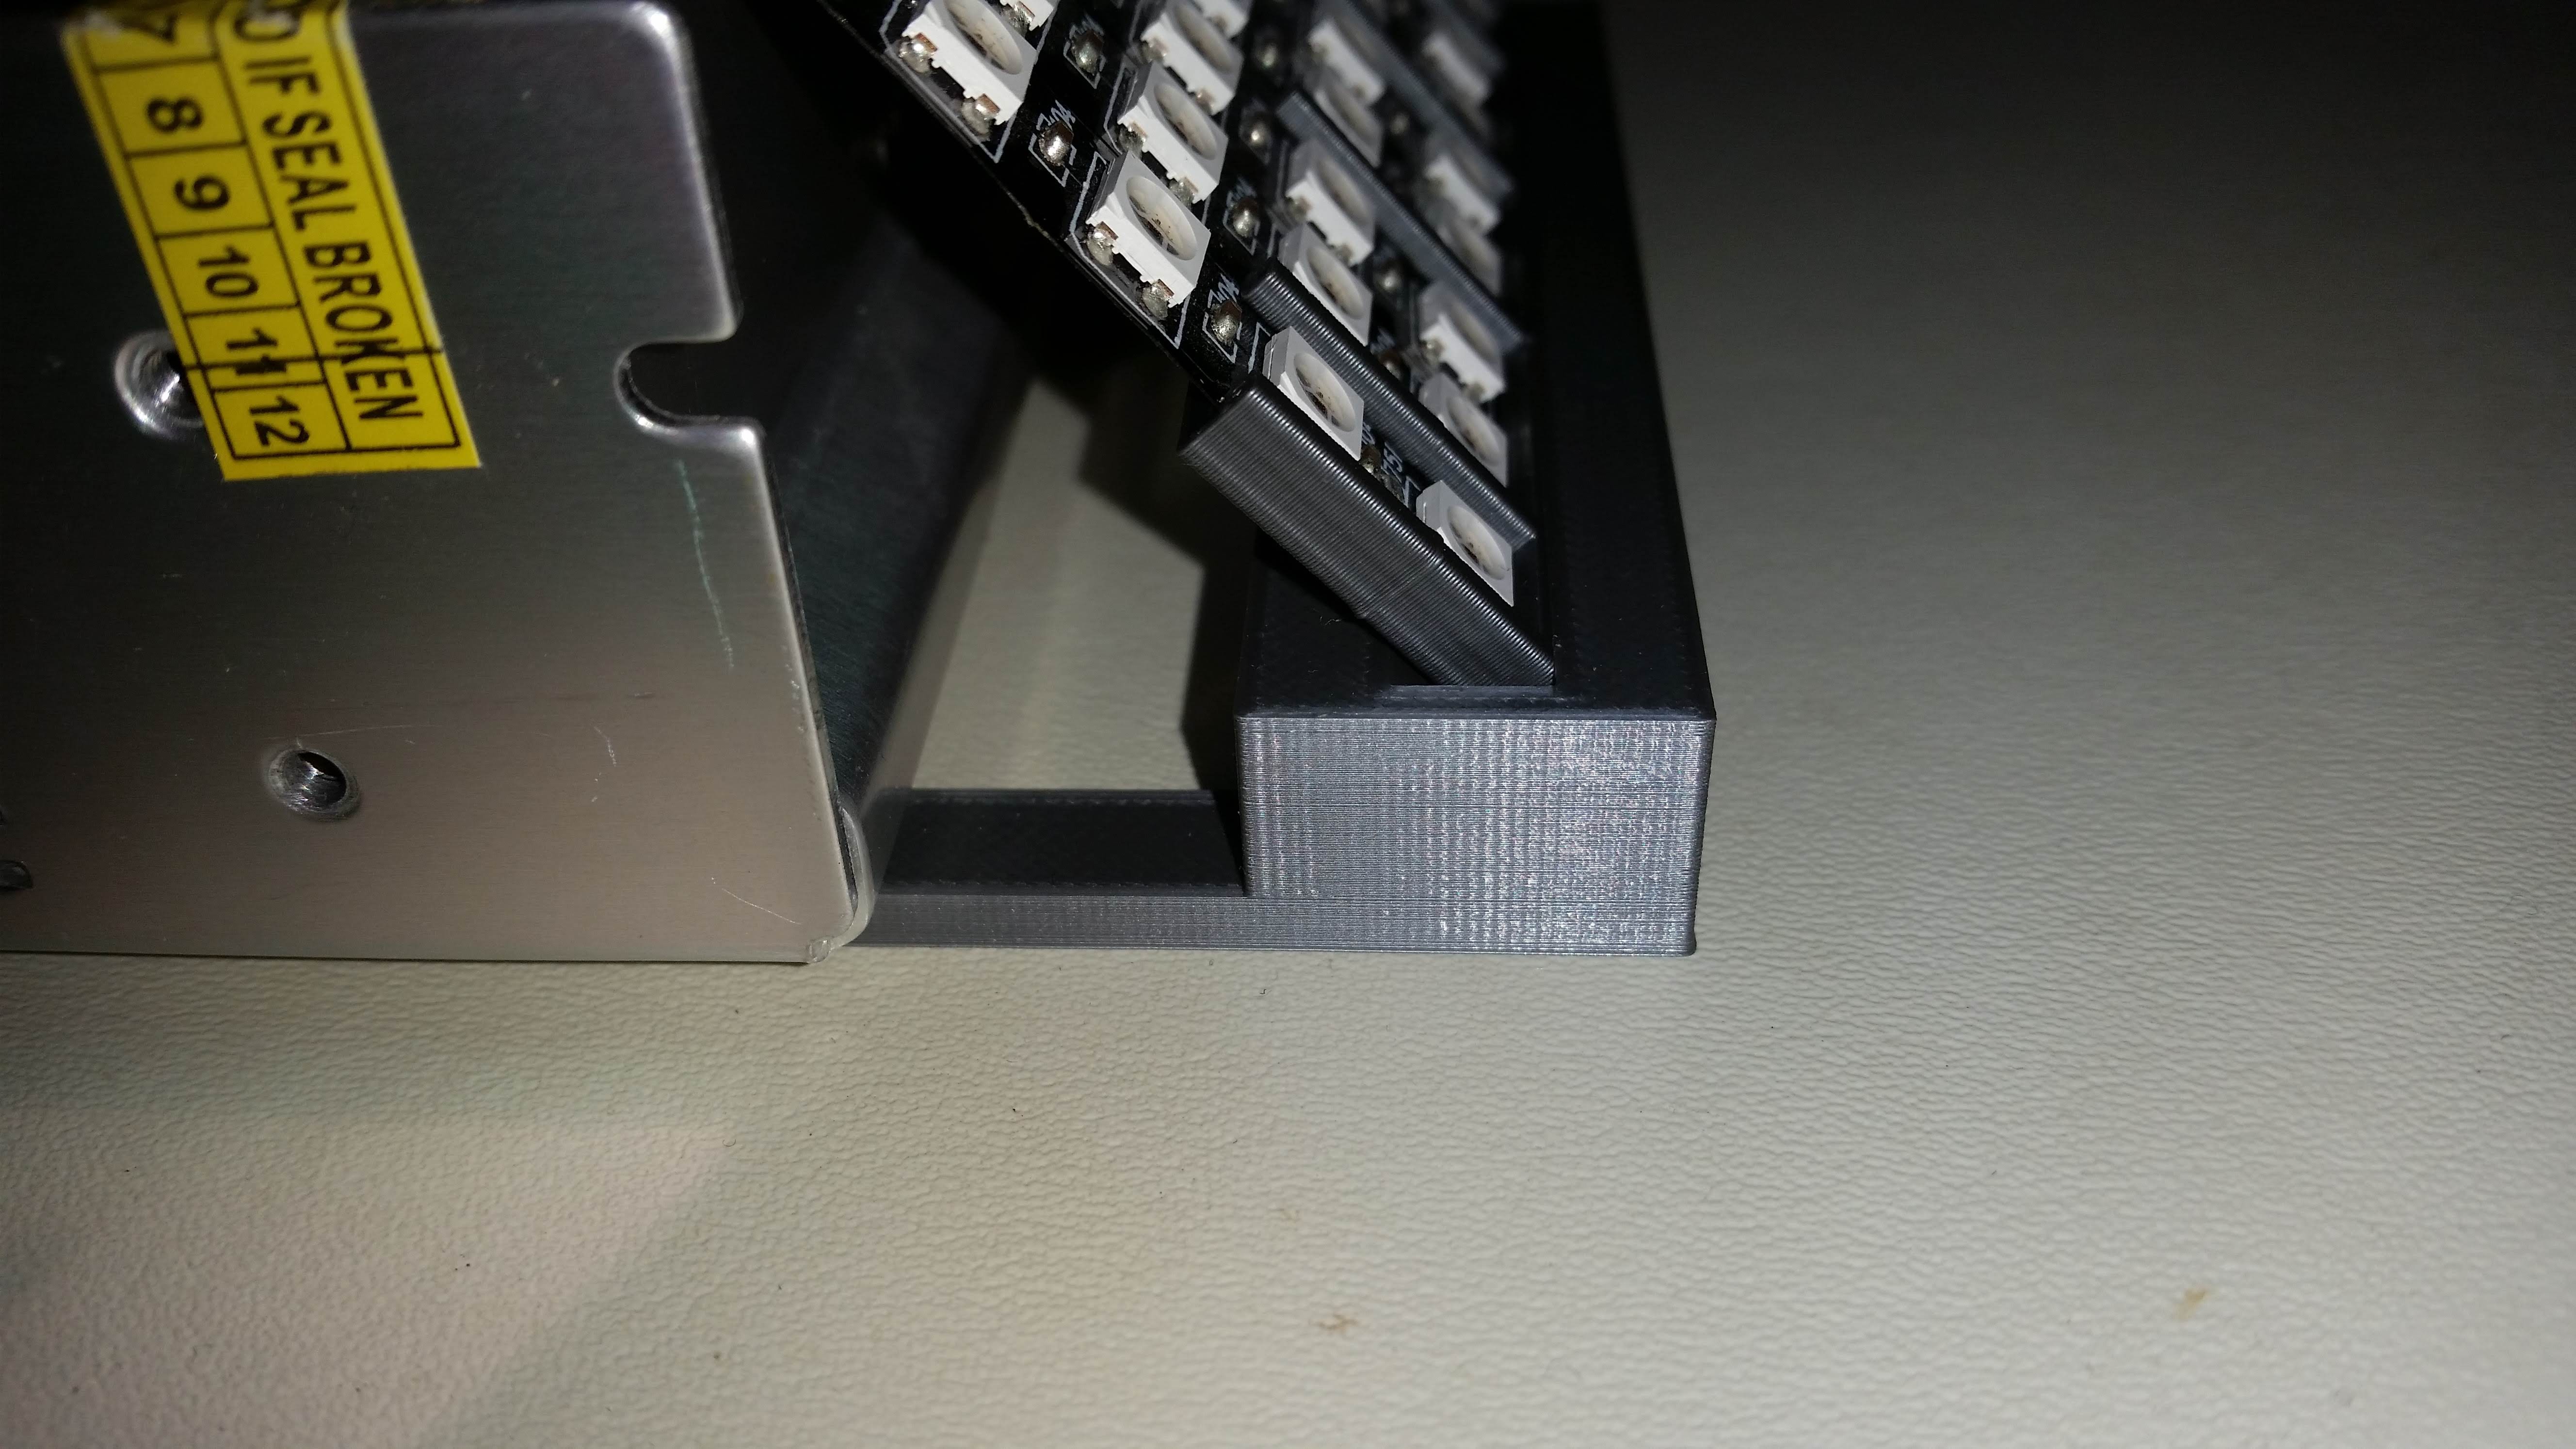
- Fit in place
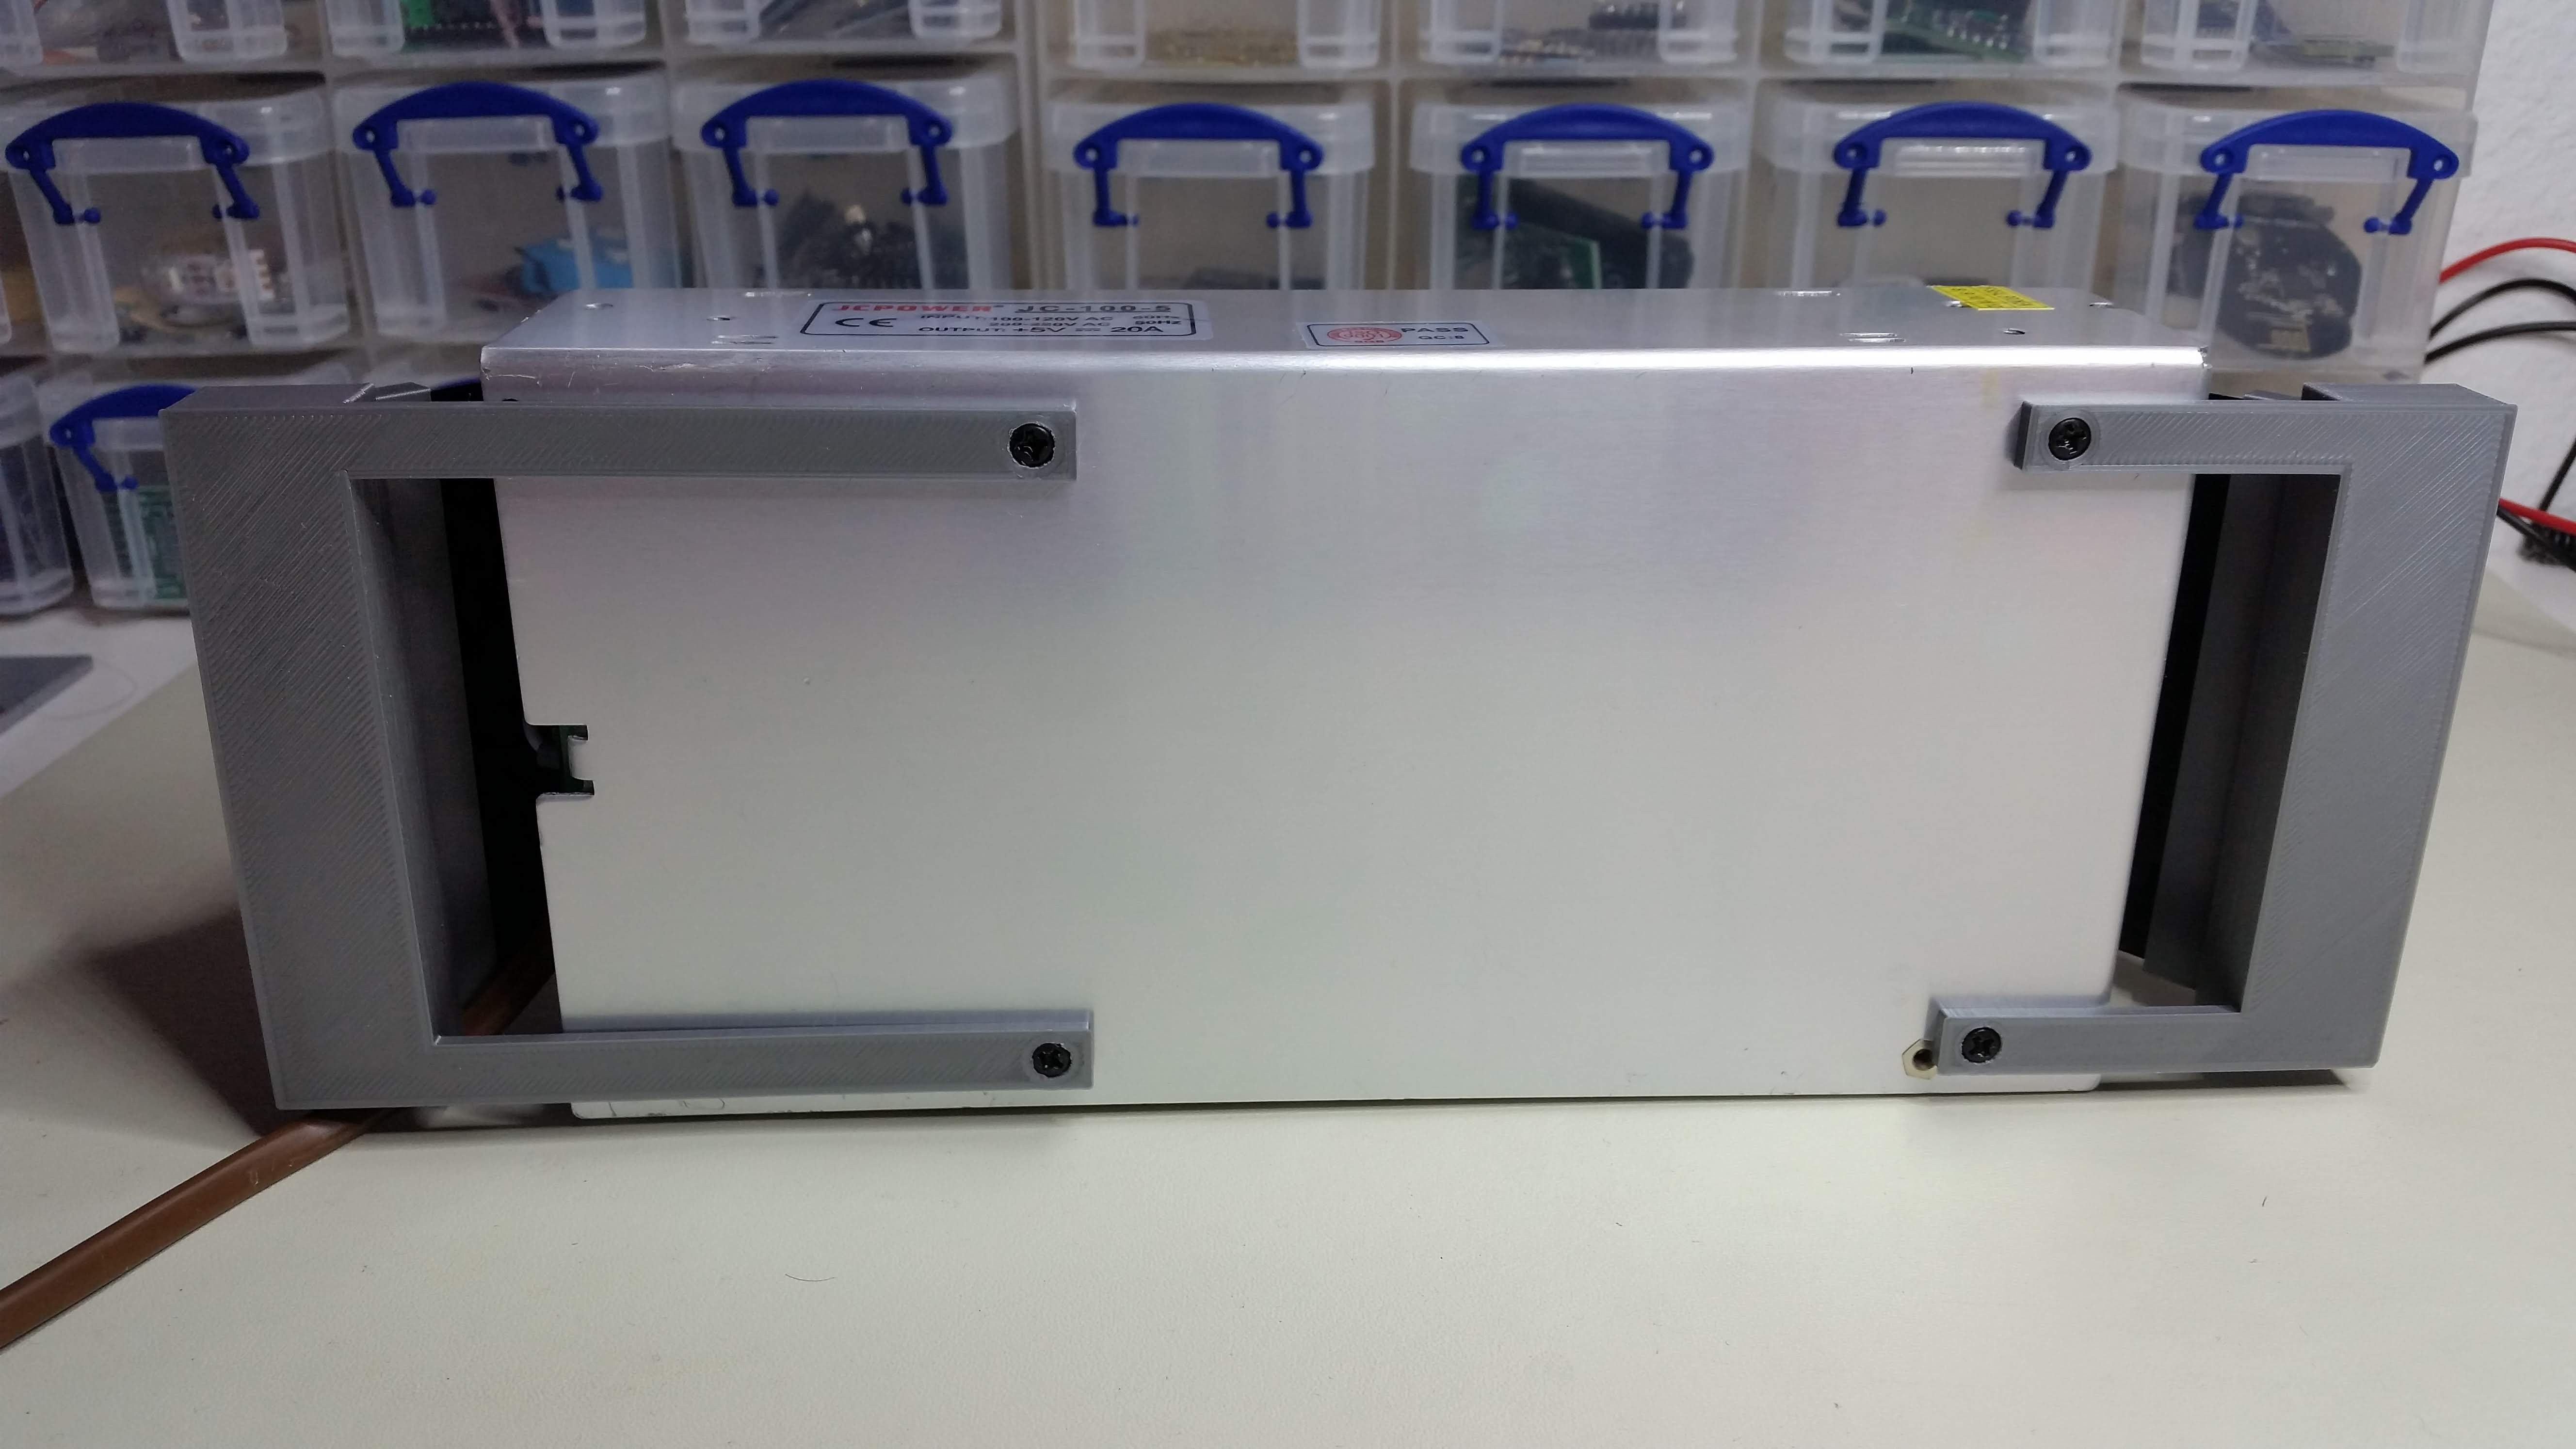
- Screws mounting in the bottom
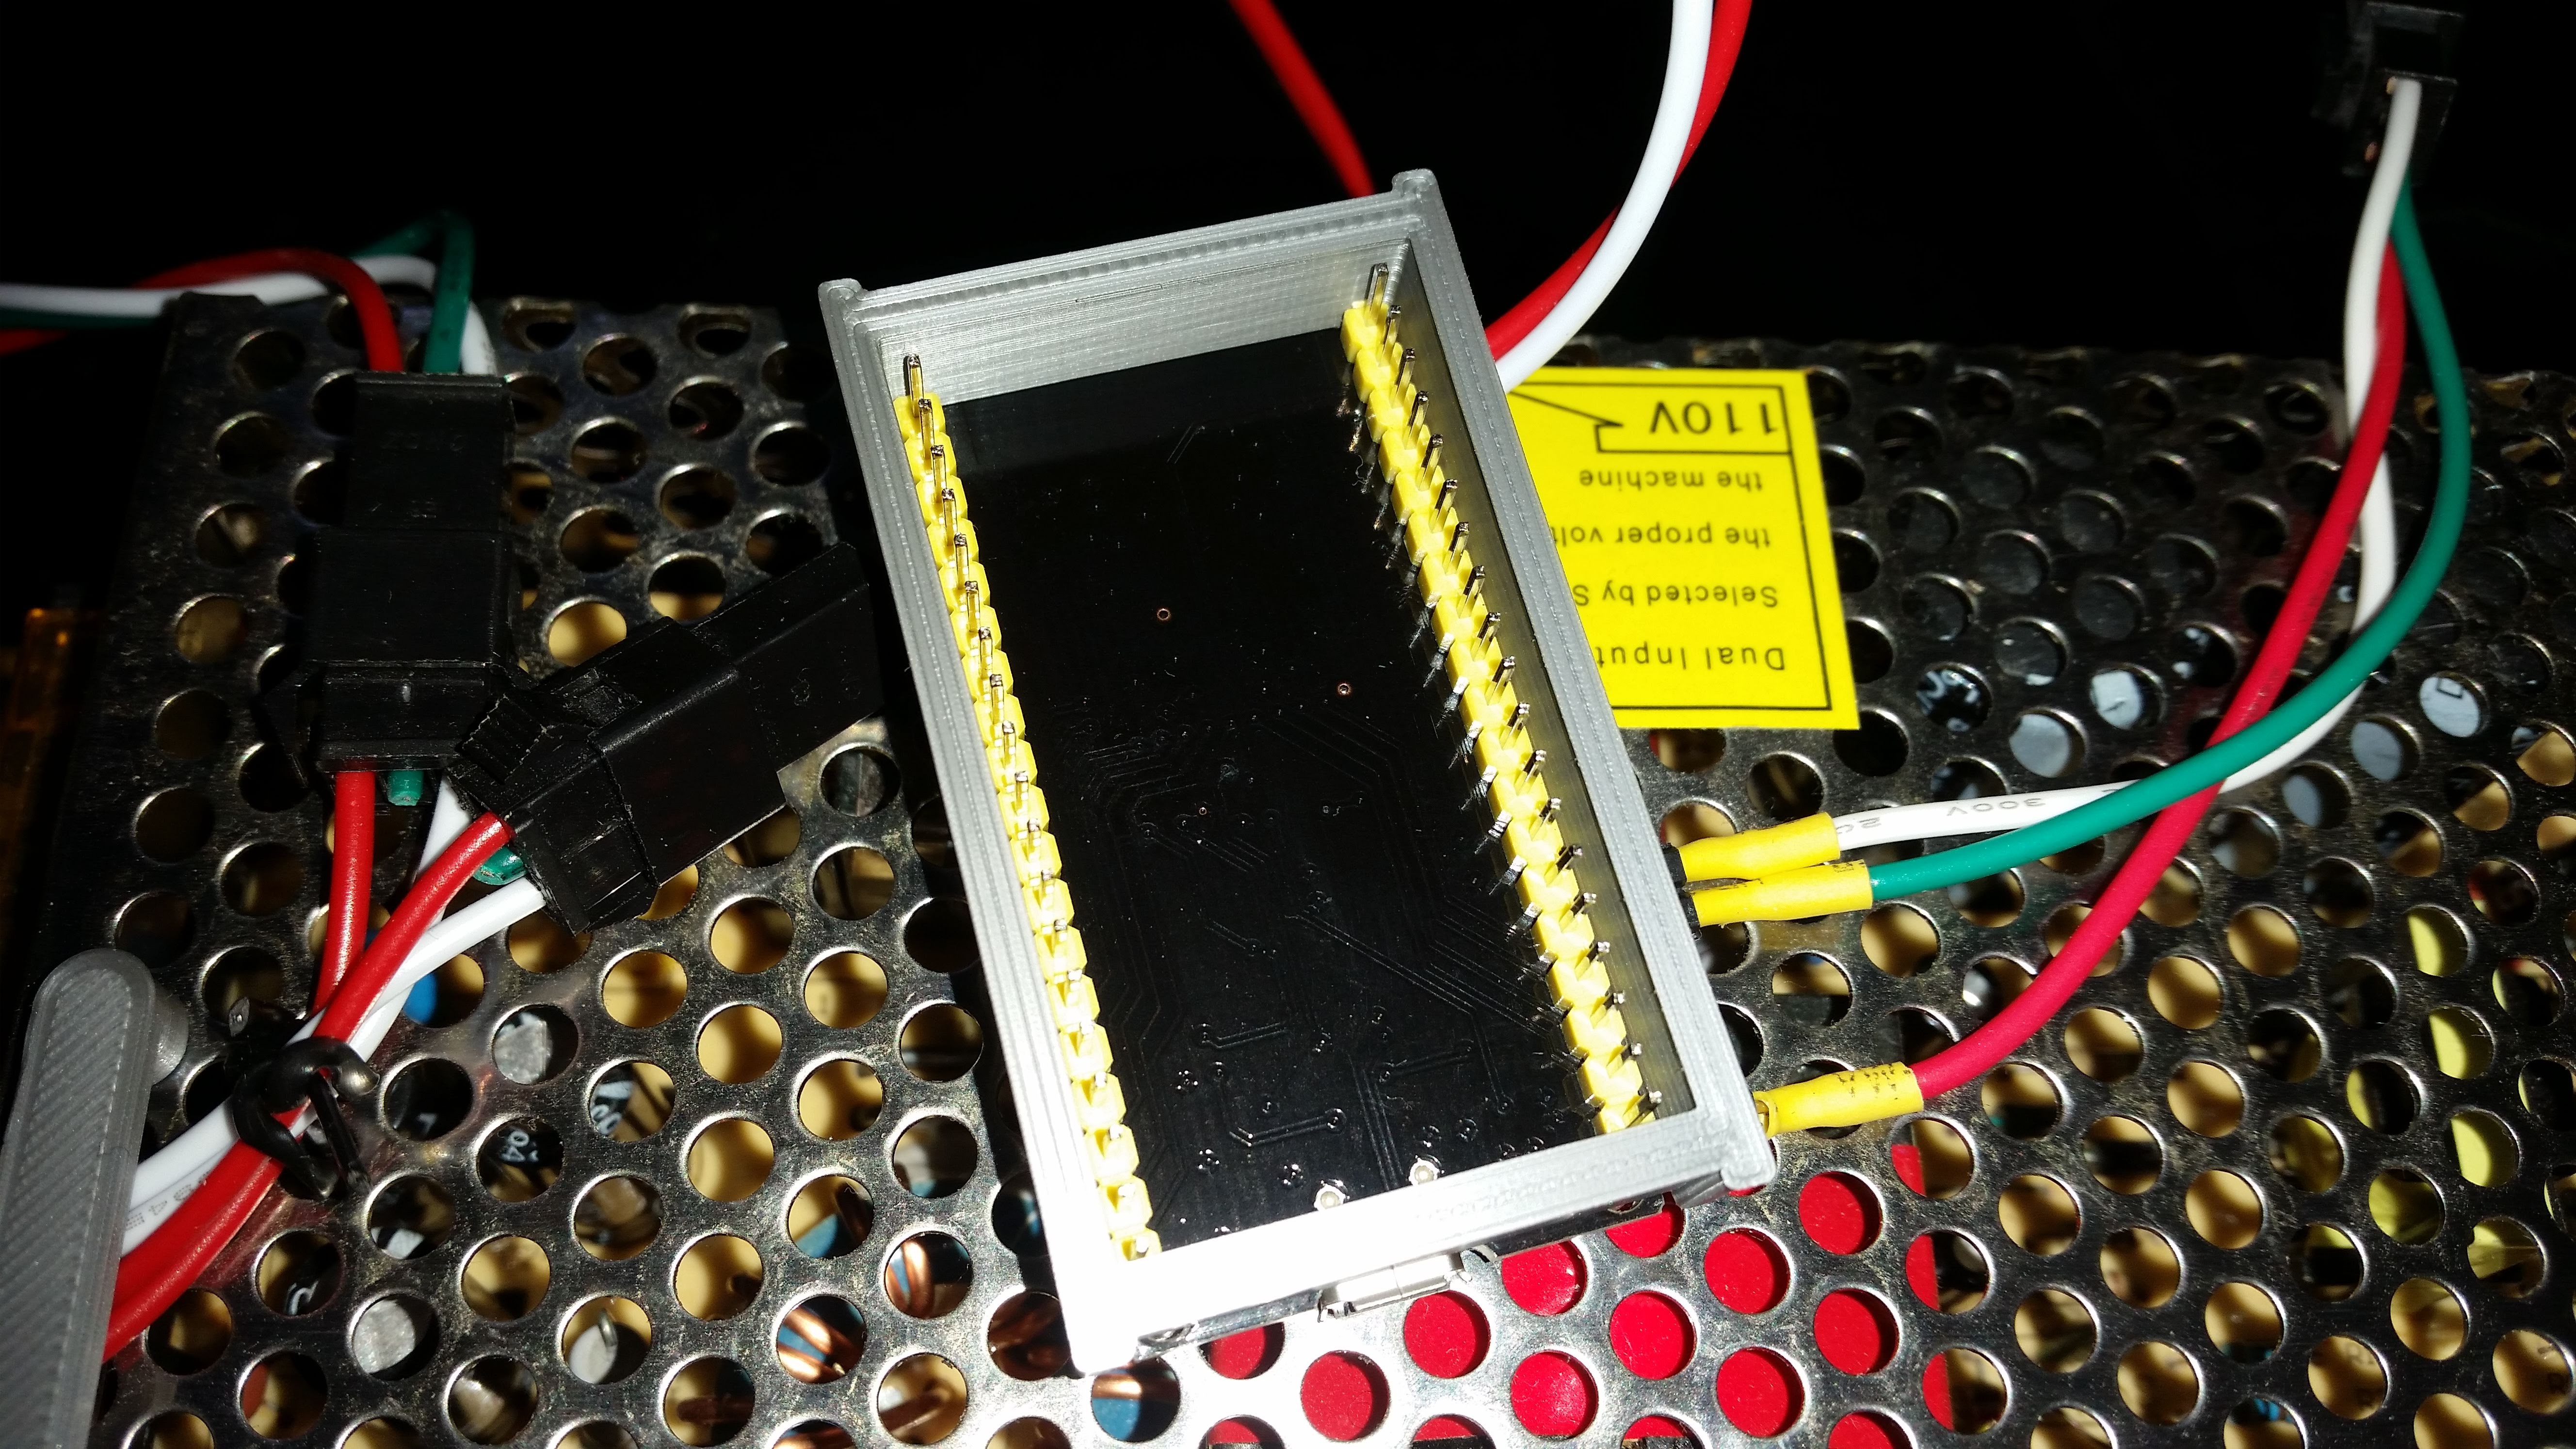
- 3d printed case for the ESP32, as simple as possible just to avoid shortcuts
 kc1r74p
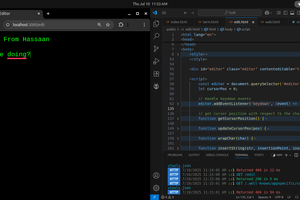
 Hassaan Maqsood
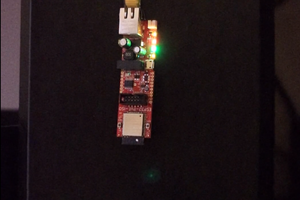
 myembed