Sander van de Bor
-
Version 2 of ATtiny84a development board
05/26/2019 at 05:20 • 3 commentsUnfortunately the first prototypes did not work due to an error in the schematic, but I was still able to use these for some of my projects. I even used the micronucleus bootloader by adding some external resistors. Initially I had no LED on the board to determine if the chip is in bootloader mode or not and I was really missing that indicator light. So for my next set of boards I was going to fix all these issues and add the LED standard on the board.
There were some issues in the "production" as well. I make these boards by hand, and I was able to work around the issues for now, but this was the right time to improve the design for manufacturing as well. The panel did not leave enough room for the USB connectors and these were soldered on after the reflow process. Since most components were 0805, I had to place these on the back to make them all fit. For this next prototype I decided to go down to 0402 and keep all the components on the same side.
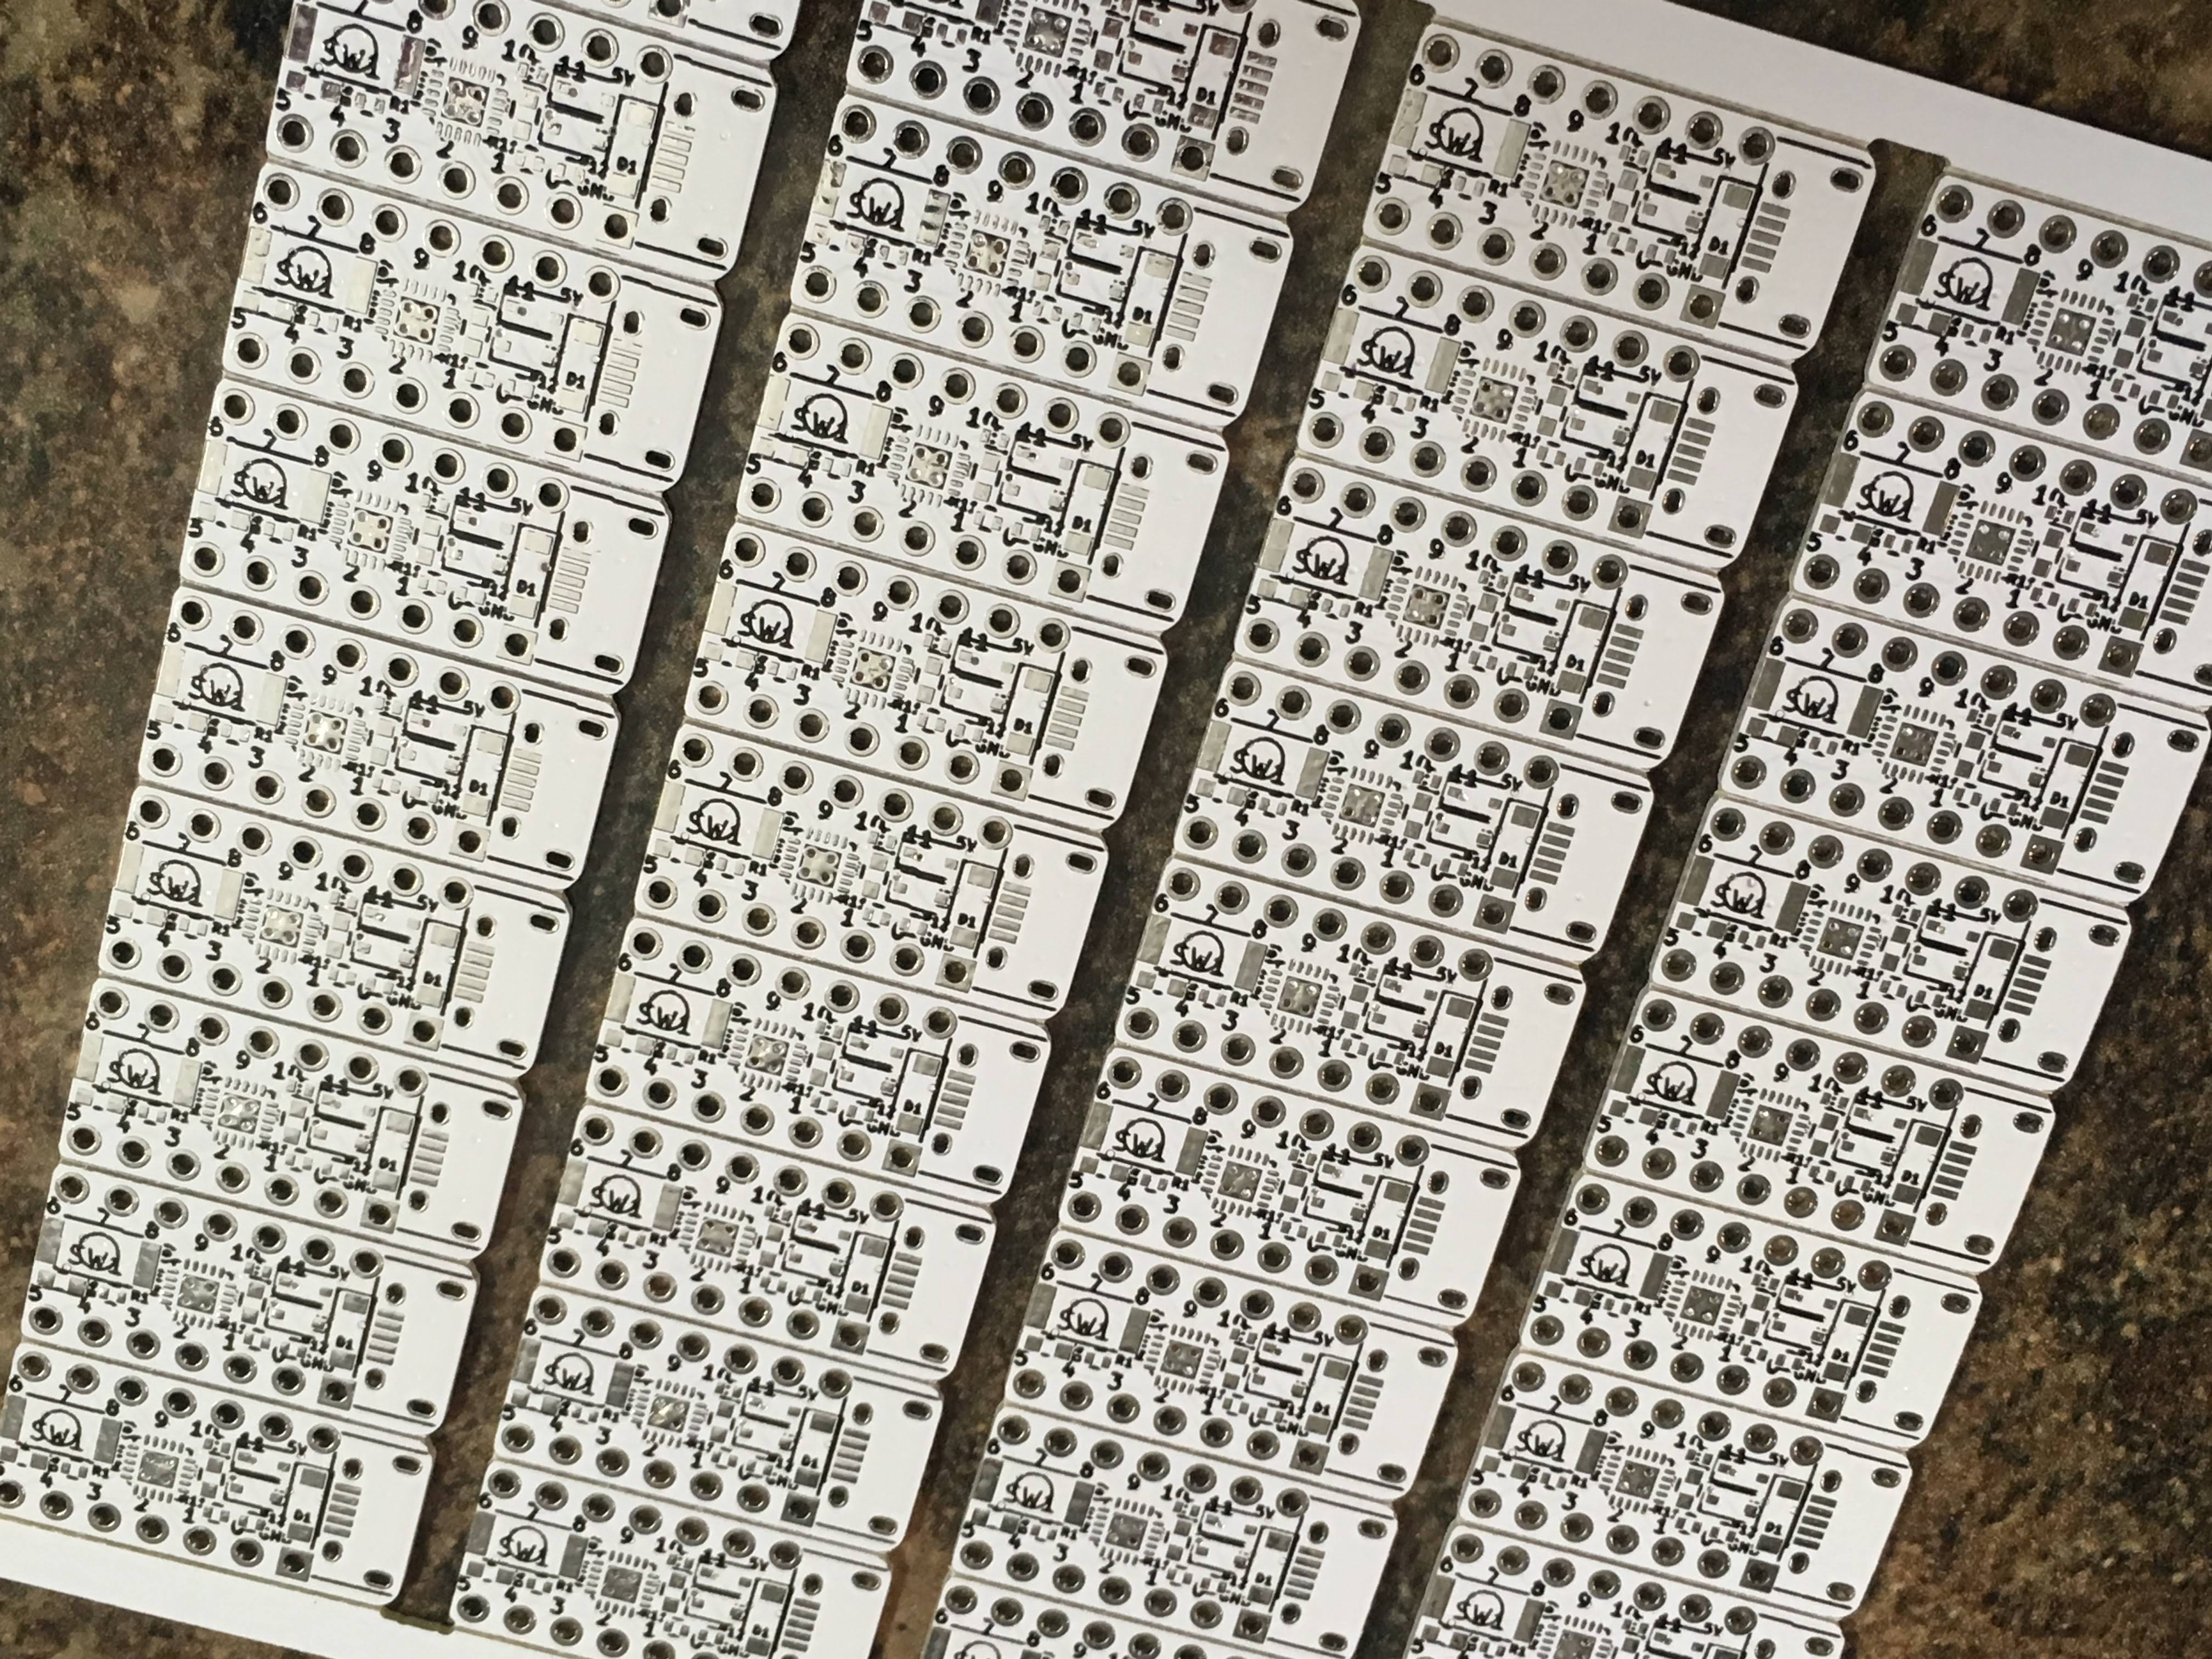
For the first prototype panel I used mouse bites to separate the boards. For this new design I use V-cuts and that is such an improvement!
Here are some pictures of the new panel design with 36 boards per panel:
![]()
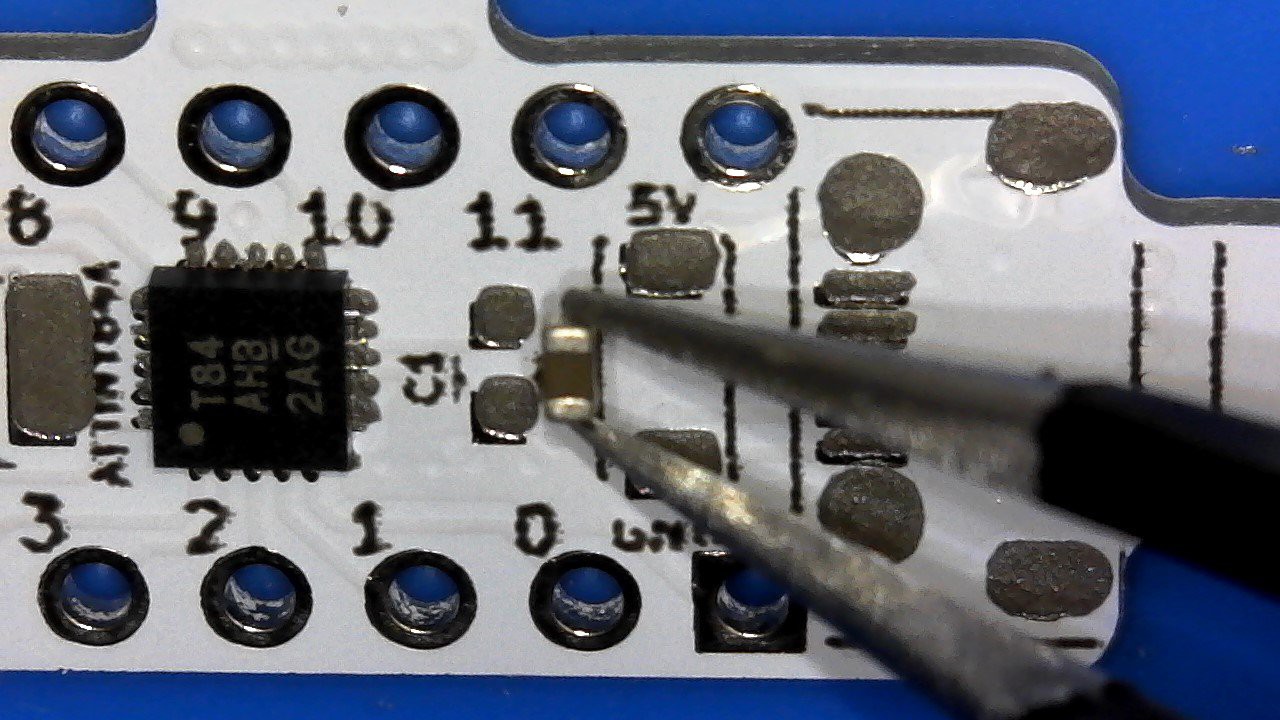
The 0402 are small, but not impossible to place with a pair of tweezers. I tried the vacuum pick-up tool, but it sucked them up inside and they disappeared so that was no longer an option.
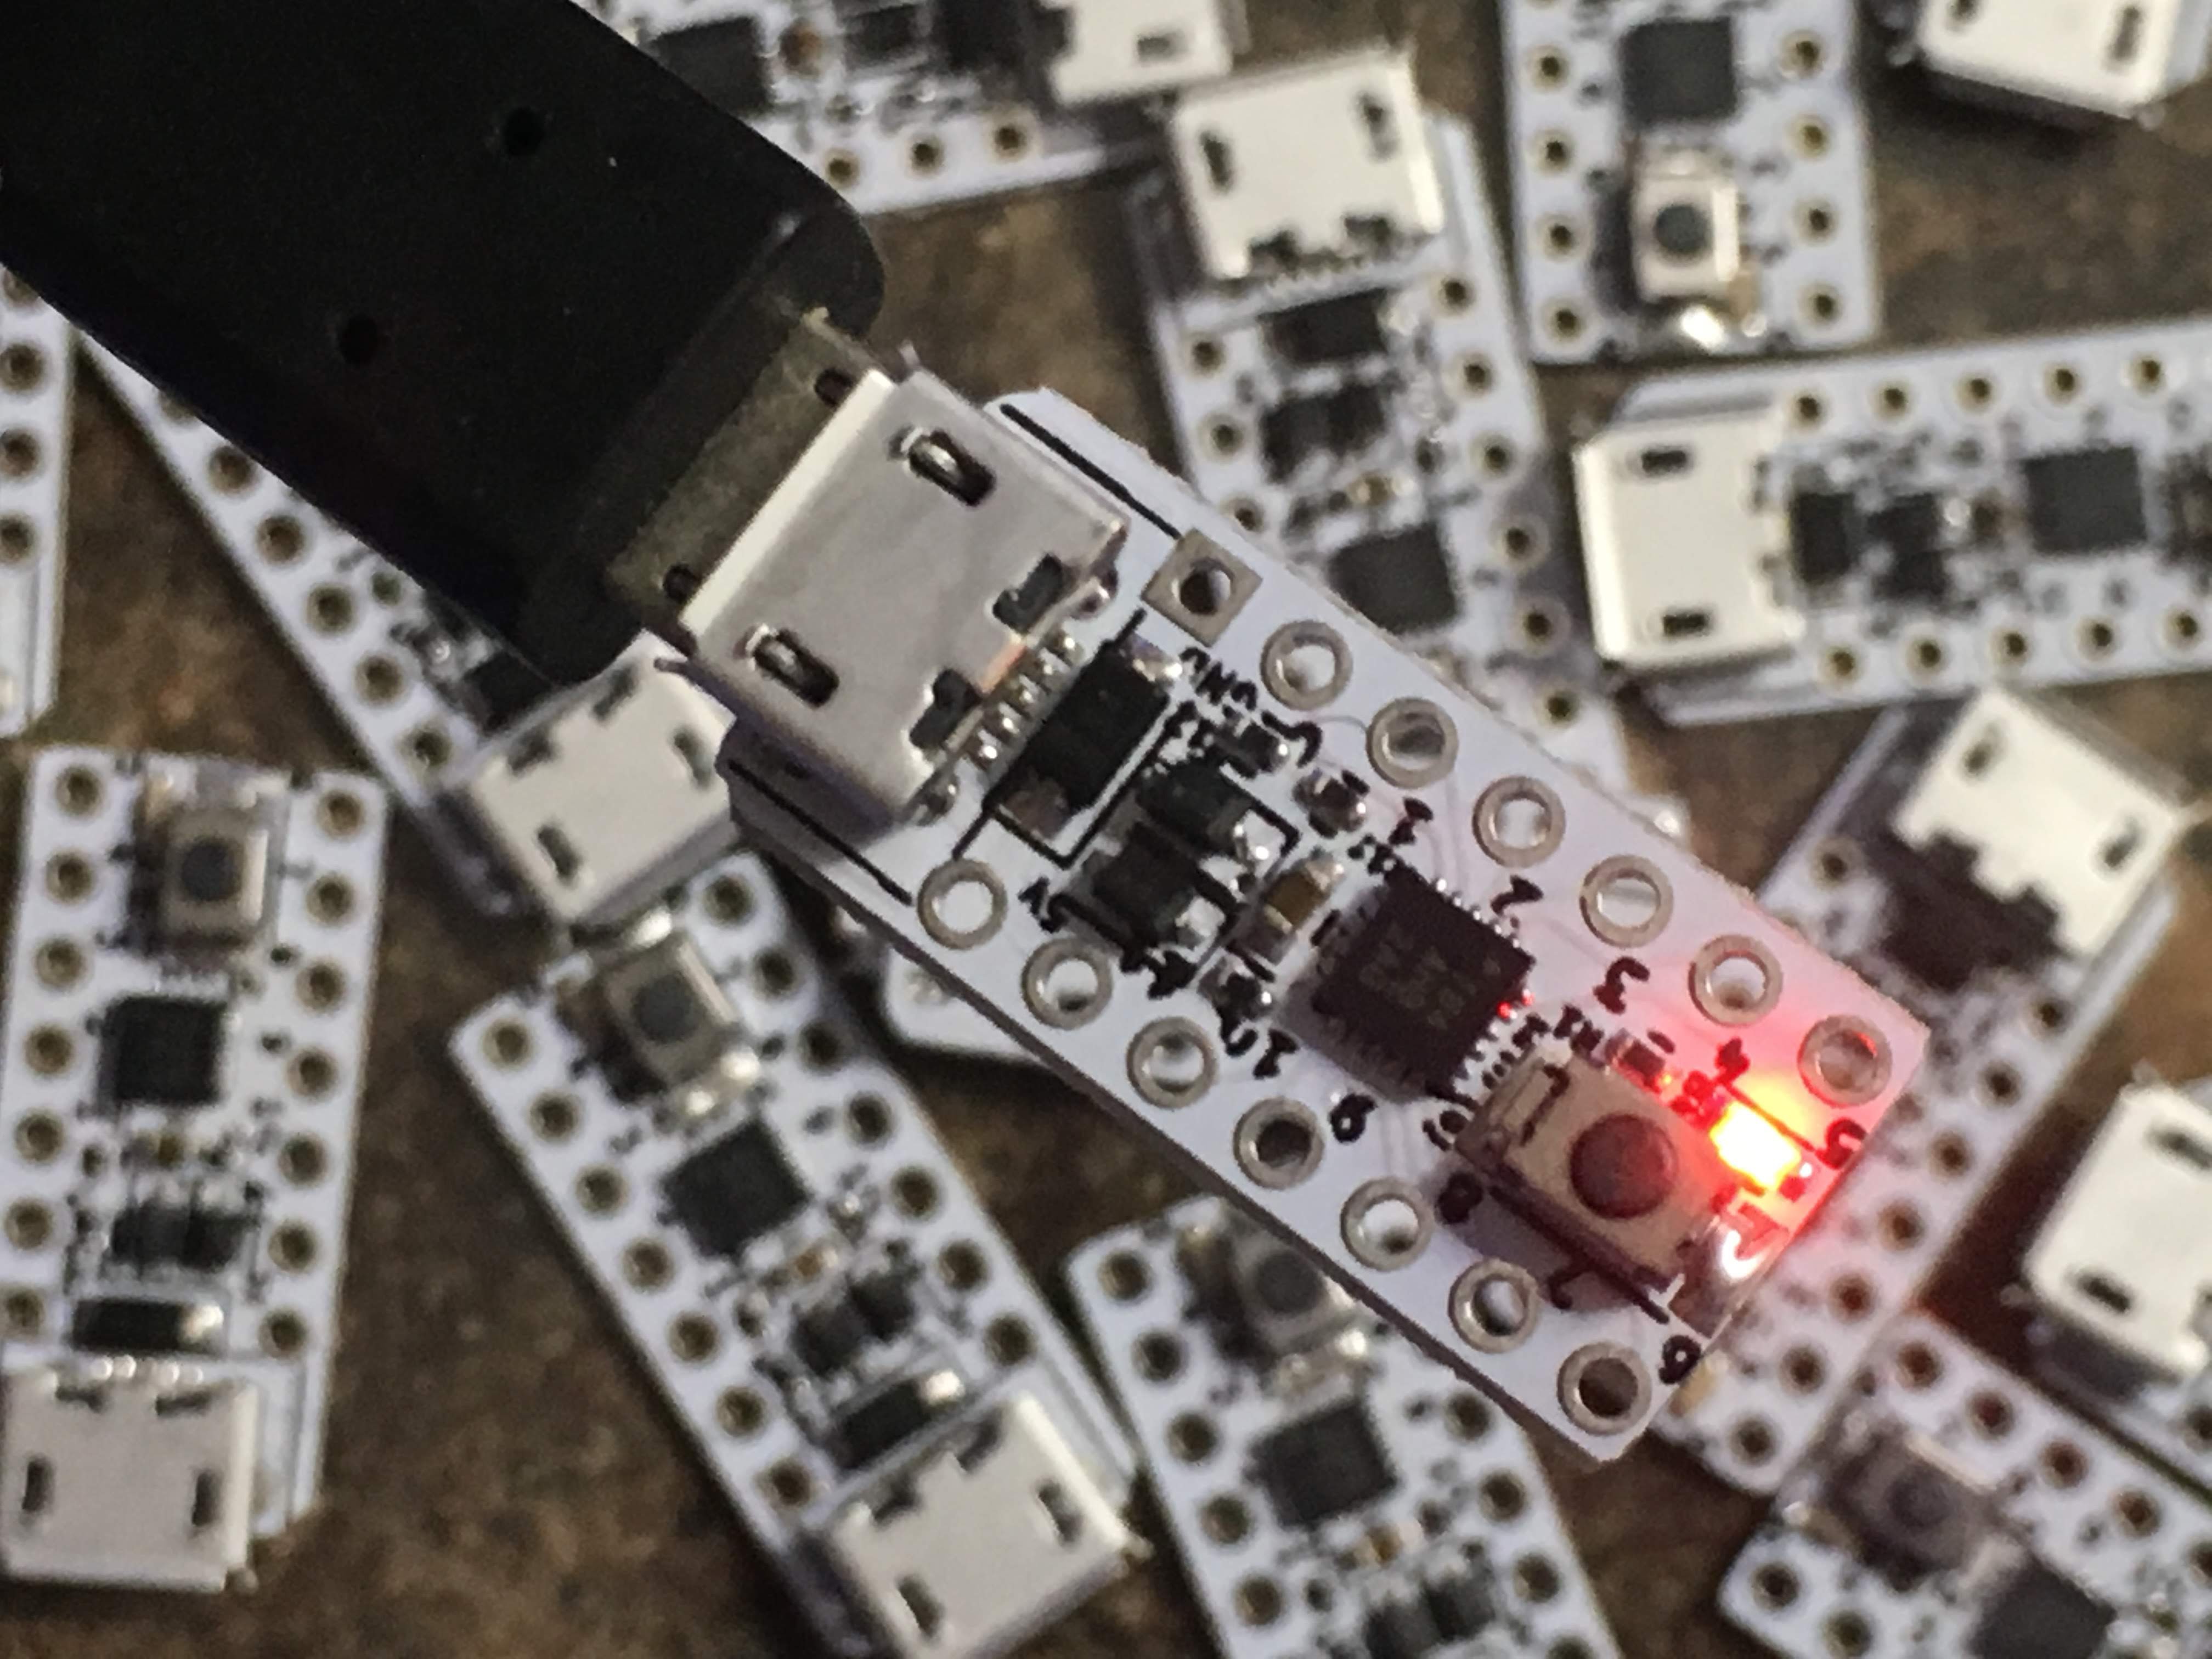
It all seems to work now! The micronucleus bootloader is working over USB and it accepts sketches directly from Arduino. The LED indicator light is a great help to determine the status or the program.
![]()
I will make these available on Tindie as well so that everybody can start using these in their own projects.
-
JSON file for ATtinyCore with micronucleus bootloader and LTO support
02/26/2019 at 03:25 • 3 commentsThe JSON file is finished and can be used to update the Arduino boards manager. Add the following link to the Additional Boards Manager URLs in Preferences of the Arduino IDE:
https://californiasteam.tech/californiasteamarduino/package_californiasteam_index.jsonNext go to the Boards Manager under Tools and search for ATtiny. You should get a result with ATtinyCore boards with
micronucleus by California STEAM. Click on install to install these boards.
It will download the ATtiny Core 1.2.2 from Spence Konde and Micronucleus 2.0a4 from Digistump. After a successful install you will find the new boards under Tools -> Boards.
You can use LTO during compiling to reduce your sketch with about 10% (depending on the sketch). Activate LTO by going to Tools -> LTO -> Enabled.
-
ATTinyCore with Micronucleus
01/16/2019 at 05:00 • 0 commentsI was able to create a custom 3rd party hardware configuration in the Arduino IDE, based on the ATtiny Core from SpenceKonde, more info here. The original uses AVRDUDE to upload the sketches, but I was able to change it to Micronucleus instead. Most common Micronucleus configurations are supported now in this new board manager:
- ATtiny84a, used for my other project, the board for wearables
- ATtiny85, original Digispark
- ATtiny167, Digispark pro
- ATtiny841, Wattuino (even smaller than the ATtiny84a board in this project)
There are some advantages of using the ATtiny Core over the original Digispark hardware configuration in the Arduino IDE (which I used for the initial development) as follows:
- More library support, for example FastLED compiles without issues with the ATtiny core
- Link Time Optimization, makes the sketch smaller, so you will end up with a little bit more space on the ATtiny. I compiled a sketch without LTO and it resulted as follows: Sketch uses 4278 bytes (64%) of program storage space, and after enabling LTO: Sketch uses 3870 bytes (58%) of program storage space. Maximum is 6658 bytes.
I have Digispark pro, a LilyPad ATTINY85 (same as digispark) and the ATtiny84a which I can use to test 3 of the 4 configurations shown above. After it all works well I can complete the board manager, and I will create a JSON file so that everybody can start using this in the board manager as well.
-
Manufacturing and testing of the board
12/25/2018 at 01:37 • 0 commentsI had some space available on another board I am working on, and I decided to add the ATtiny84a prototype board to this empty space. Putting one of these together is pretty easy, there are not too many components to add:
![]()
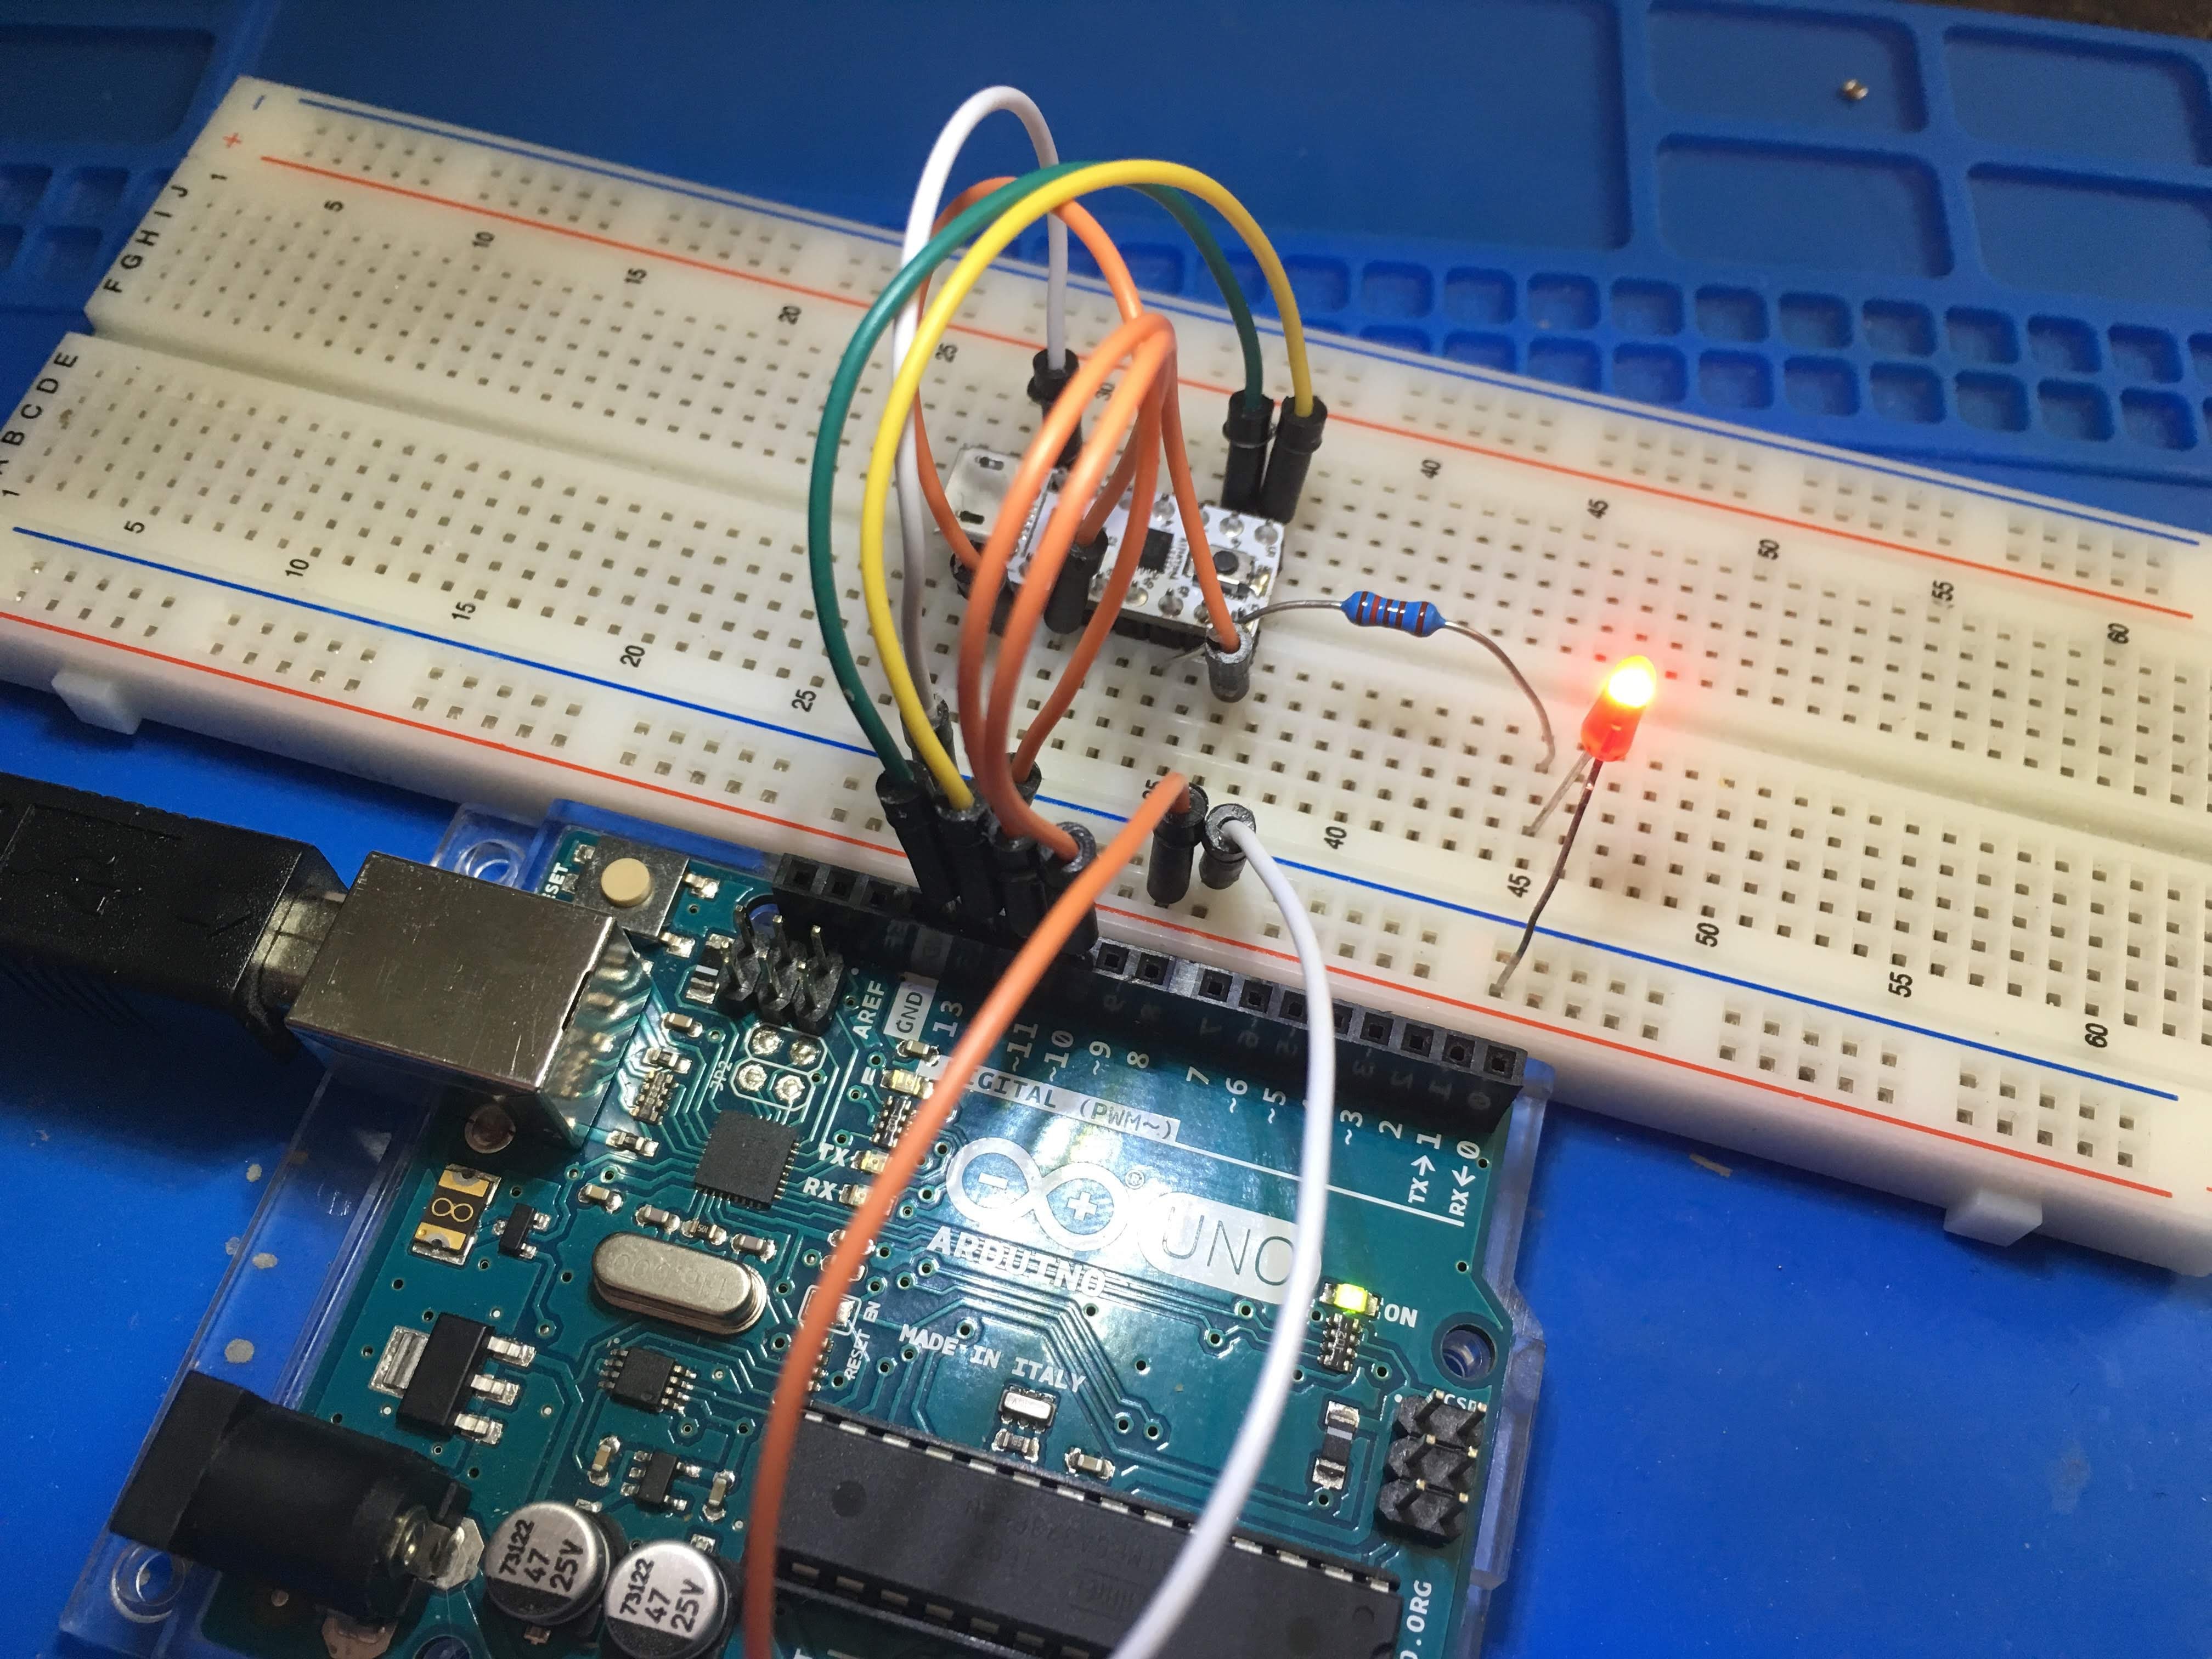
This board is perfect for working on the bread board since it does not take too much space. The Arduino UNO as SPI programmer can be used to upload the Micronucleus bootloader. The LED was added to determine if the board is in bootloader mode:
![]()
Unfortunately the board was not recognized by the computer, and after some troubleshooting I found an issue in the design. I designed this board pretty fast, and made a mistake by doing so. The pull-up resistor was on the D+ line instead of the D- line. I removed the resistor from the board and added and external resistor instead. See below how the sketch is uploaded:
There is still some work to do to the firmware. The current sketch is compiled at 16Mhz, even with the CPU set to 8MHz in the board.txt file, causing the delay to run too slow (example above was 1000ms delay).
-
Why the ATtiny84a
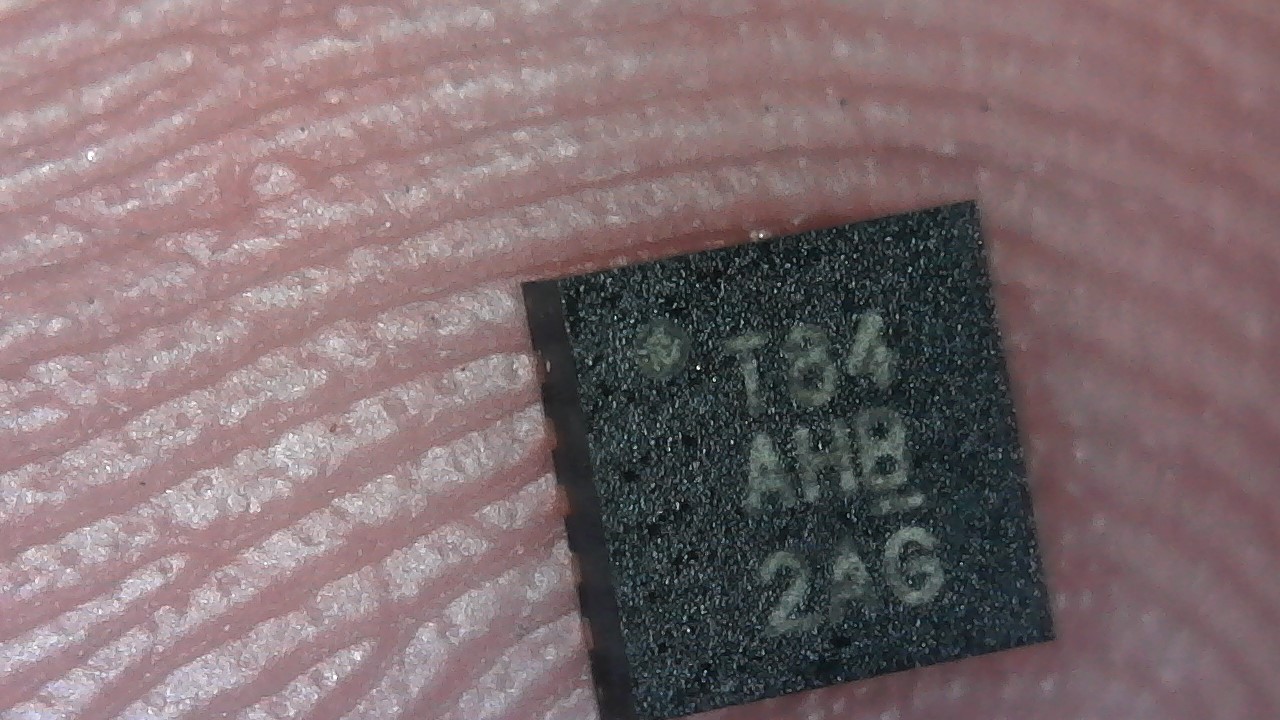
12/18/2018 at 04:17 • 0 commentsA couple of months ago I started designing earrings with LED's, controlled by a micro-controller. I knew I was going to use the ATtiny, but I did not know which device to use. After some research I found an ATtiny with a very small foot print, the ATtiny84a with a 20-VQFN (3x3 mm) foot print.
The ATtiny84a has 12 general I/O pins, 8 can be used for an analog in. It supports an external interrupt to wake up the device from sleep mode. Using it in a project is very simple, it just needs a capacitor next to the Vcc pin, and the Arduino UNO can be used to program the chip as an SPI programmer.
There is just one little issue, this controller is really tiny, and hard to solder by hand. I have been using a stencil and reflow oven, and use a camera to check the connections.
![]()
For upcoming new projects I like to create some concepts on the bread board. Unfortunately there is no development board for the ATtiny84a out there, so I decided to make one myself. It will have just the essentials to upload firmware over USB with Micronucleus, a push button to wake it up from sleep mode, and a capacitor on the input pins.
I really like the sleep mode on this micro-controller for very low power consumption applications, and for that same reason there will be no LED's on this board (finding place for these was difficult anyway).
ATtiny84a tiniest development board
A development board for the ATtiny84a which can be used on a bread board. Just all the basics to run the micronucleus bootloader.