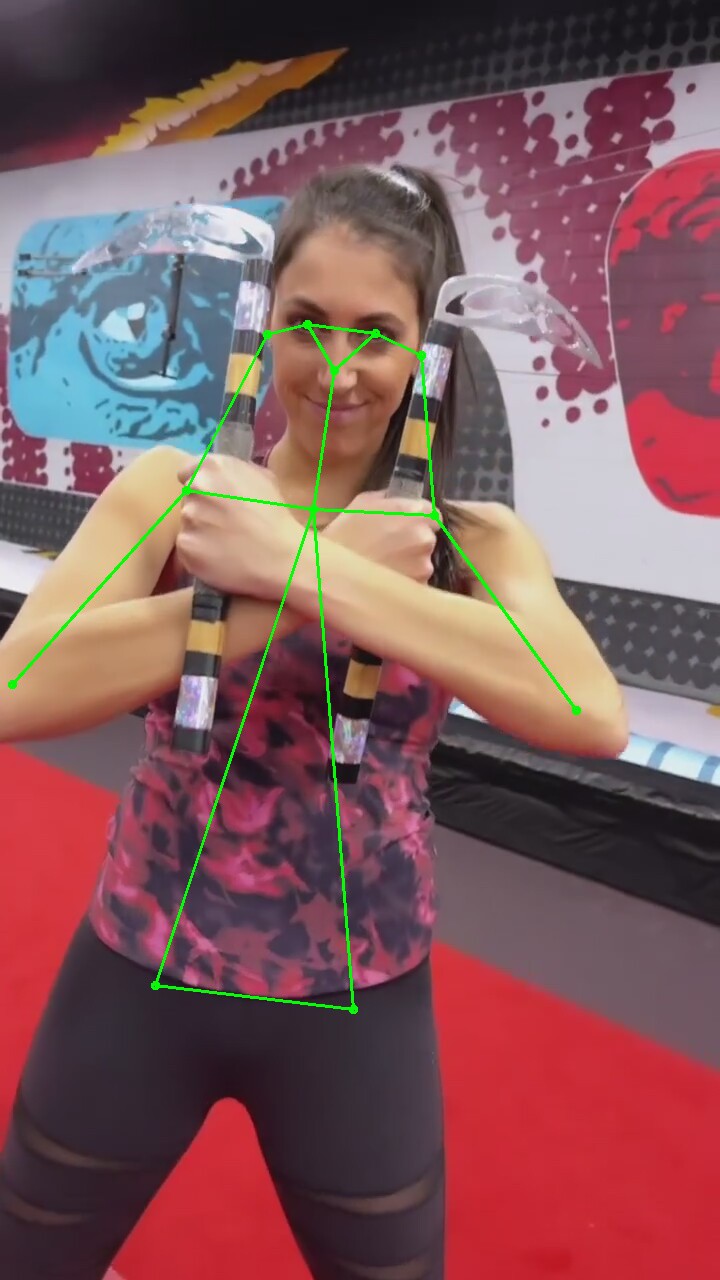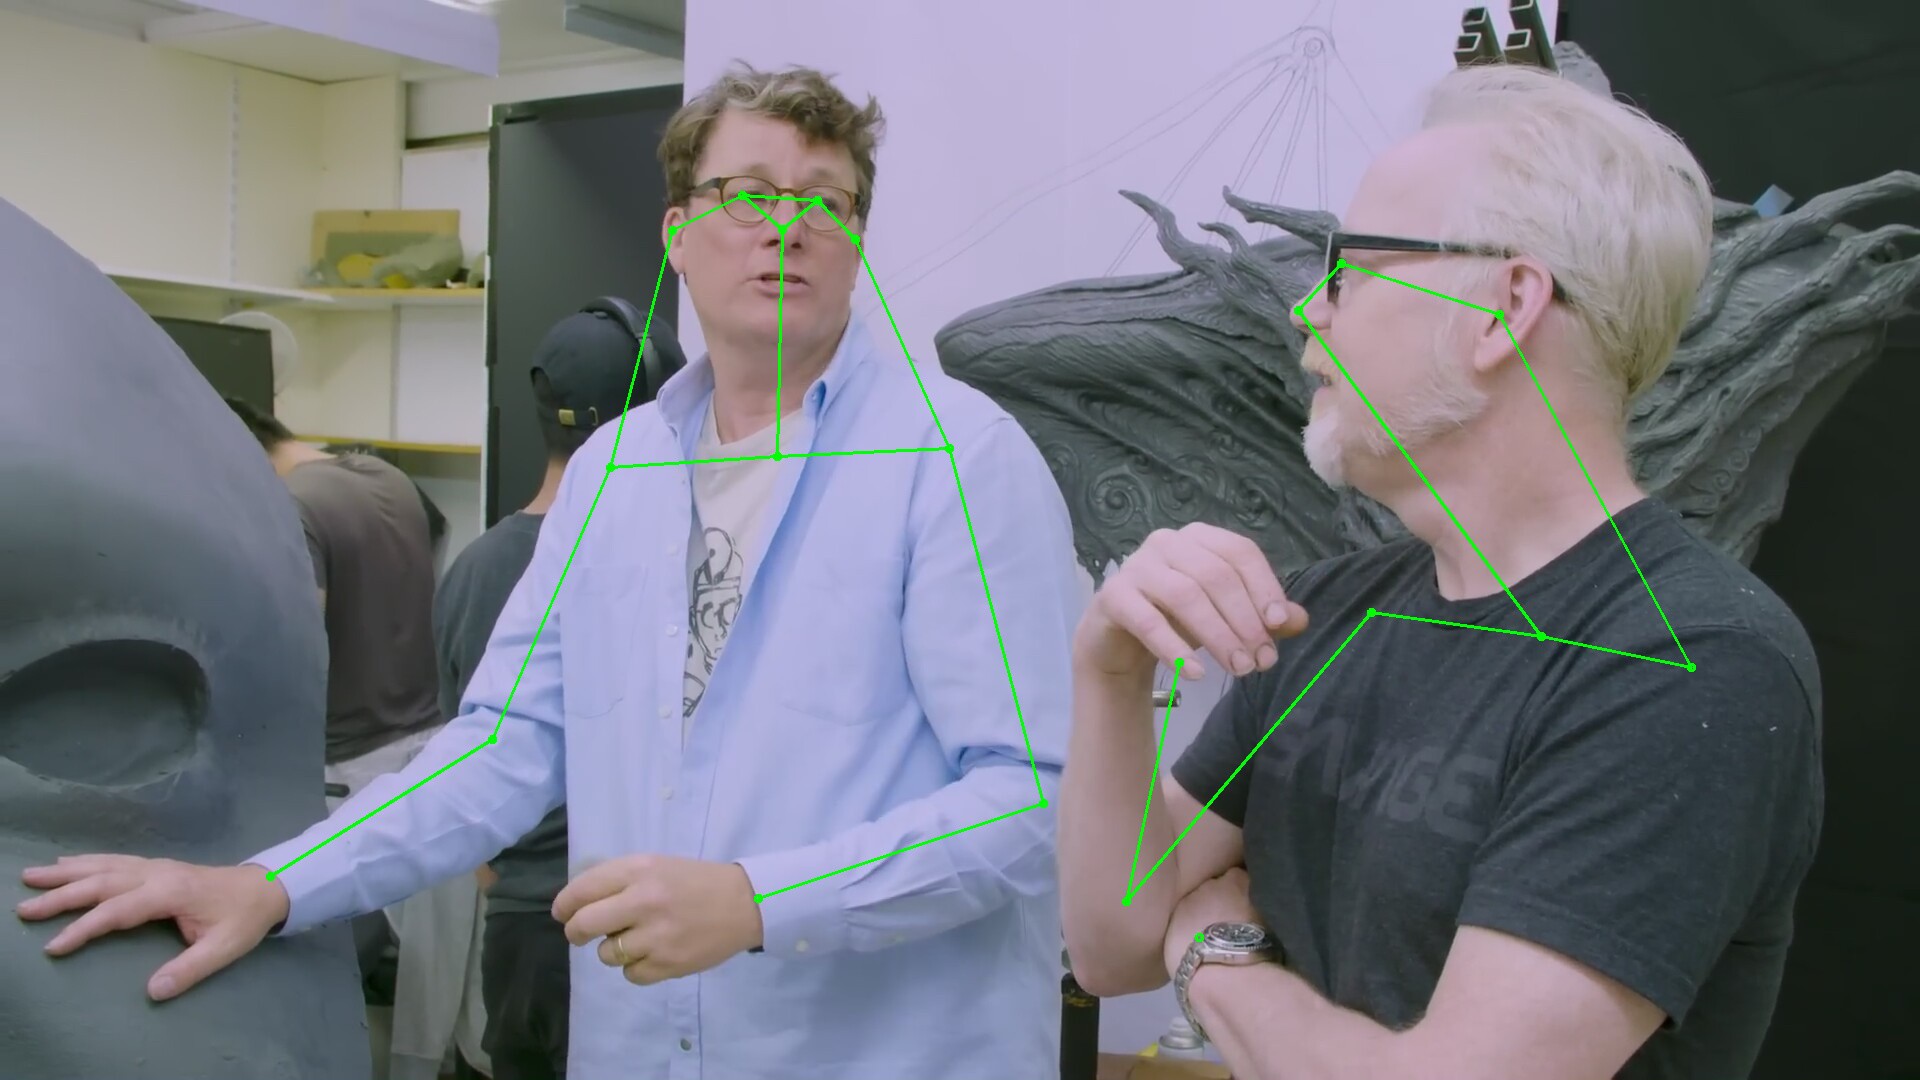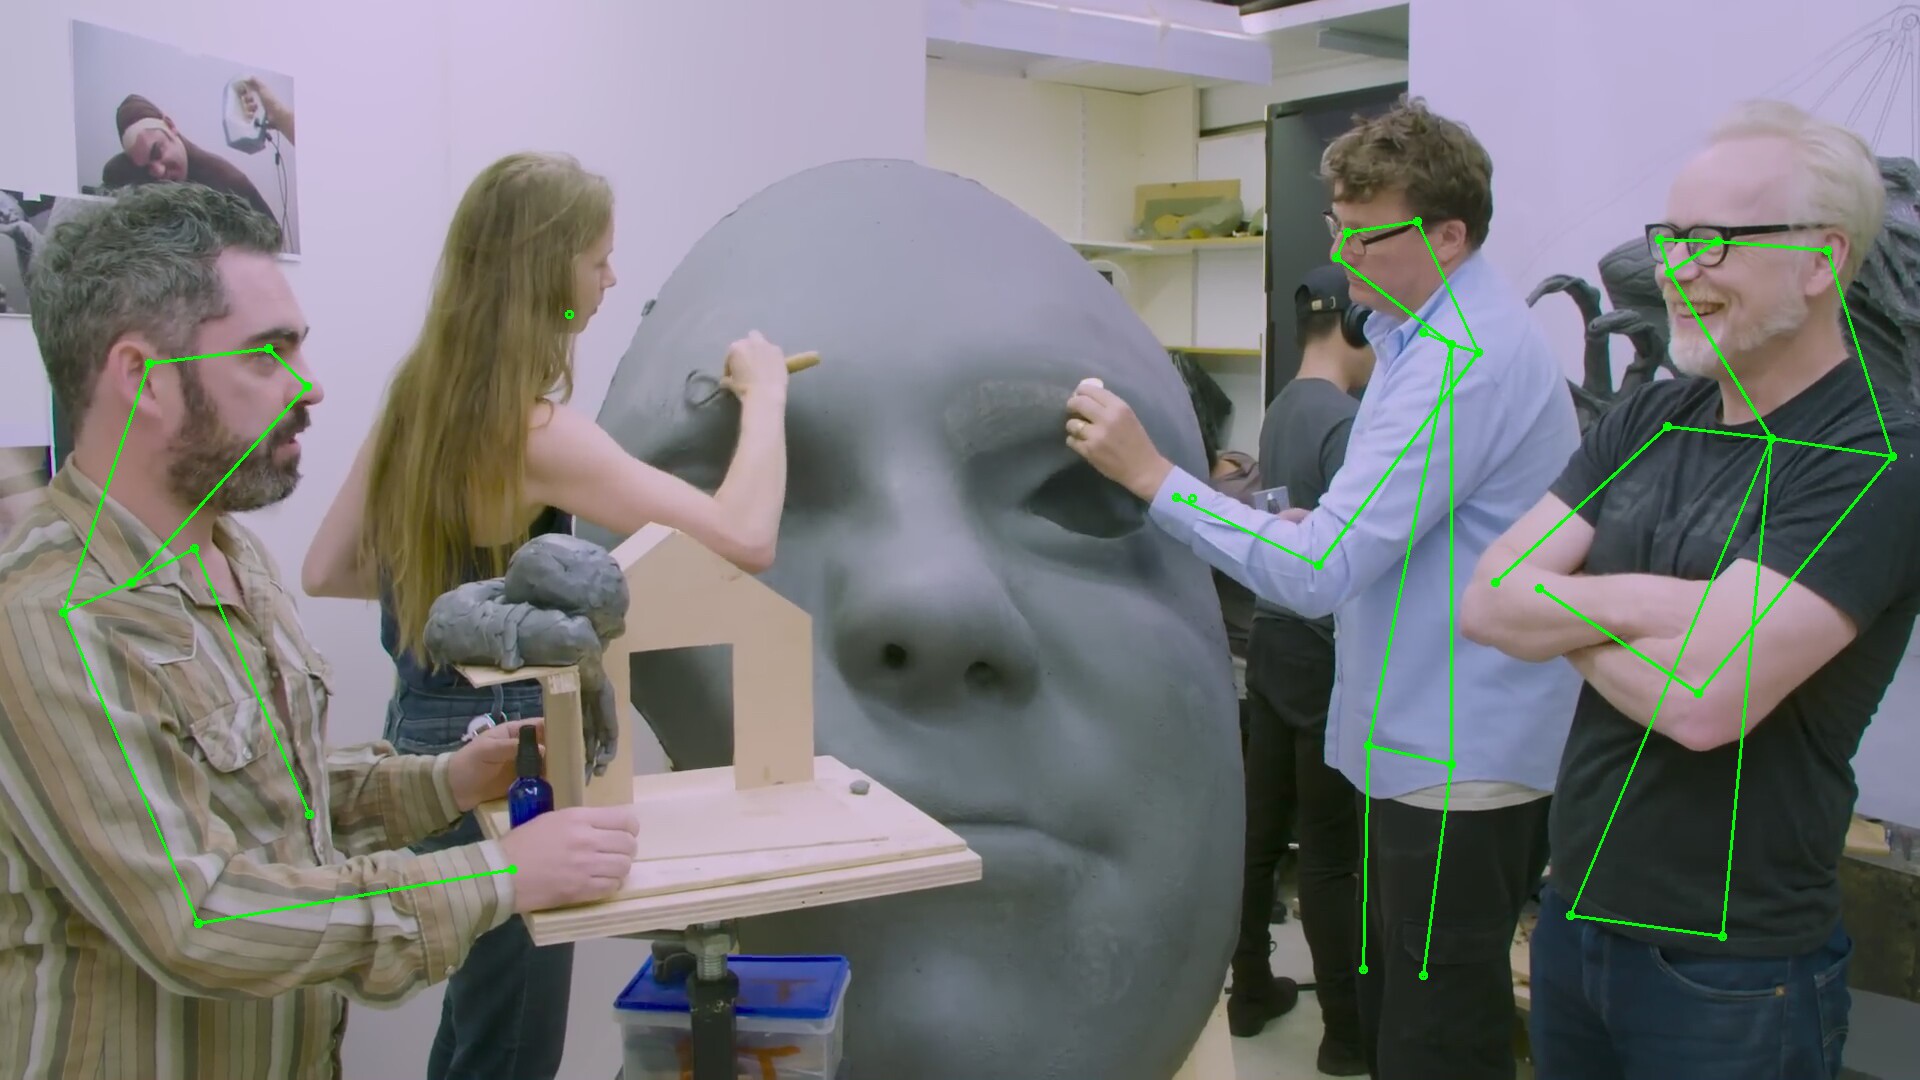


At attempt to use the densenet121 model was equally as bad as resnet18. Meanwhile, the decision was made to keep experimenting with resnet18. A marathon python session got resnet18 displaying results from the webcam without a browser. It was only going at 7fps & sucking all 4GB. With extreme memory constraints, even the small 4MB image buffers seem to be stalled by the swap space. Jetcam also only runs at 1280x960 which slows it way down.
The next step was trying the C front end.
https://github.com/spacewalk01/tensorrt-openpose
It seems to be intended for windows only.
The 1st step is converting the model from pytorch to onnx format.
python3 convert2onnx.py -i ../trt_pose/tasks/human_pose/resnet18_baseline_att_224x224_A_epoch_249.pth -o trt_pose.onnx
The wheels fall off when he continues with converting the onnx model to a TensorRT engine. The conversion to an engine is where the use of 16 bit float starts.
<tensorrt_path>/bin/trtexec.exe --onnx=trt_pose.onnx --explicitBatch --saveEngine=trt_pose_fp16.engine --fp16
It's a bit vague on where to get trtexec.exe for the jetson. Then, trying to compile anything with TensorrtPoseNet.h falls over with too many errors.
Fortunately, there are enough bread crumbs in the tensorrt-openpose code to directly call into tensorrt's C API. The general idea is to convert an ONNX model to a TensorRT "engine", then connect the inputs & outputs, then call IExecutionContext::enqueue to process frames.
The C version ran at 12fps at the same resolution as the python version, used half the memory, but was equally short of the original openpose in robustness. There are ways to convert the openpose caffe model to a pytorch model, to a onnx model, to a TensorRT engine. The trick is converting all the inputs & outputs.
 lion mclionhead
Discussions
Become a Hackaday.io Member
Create an account to leave a comment. Already have an account? Log In.