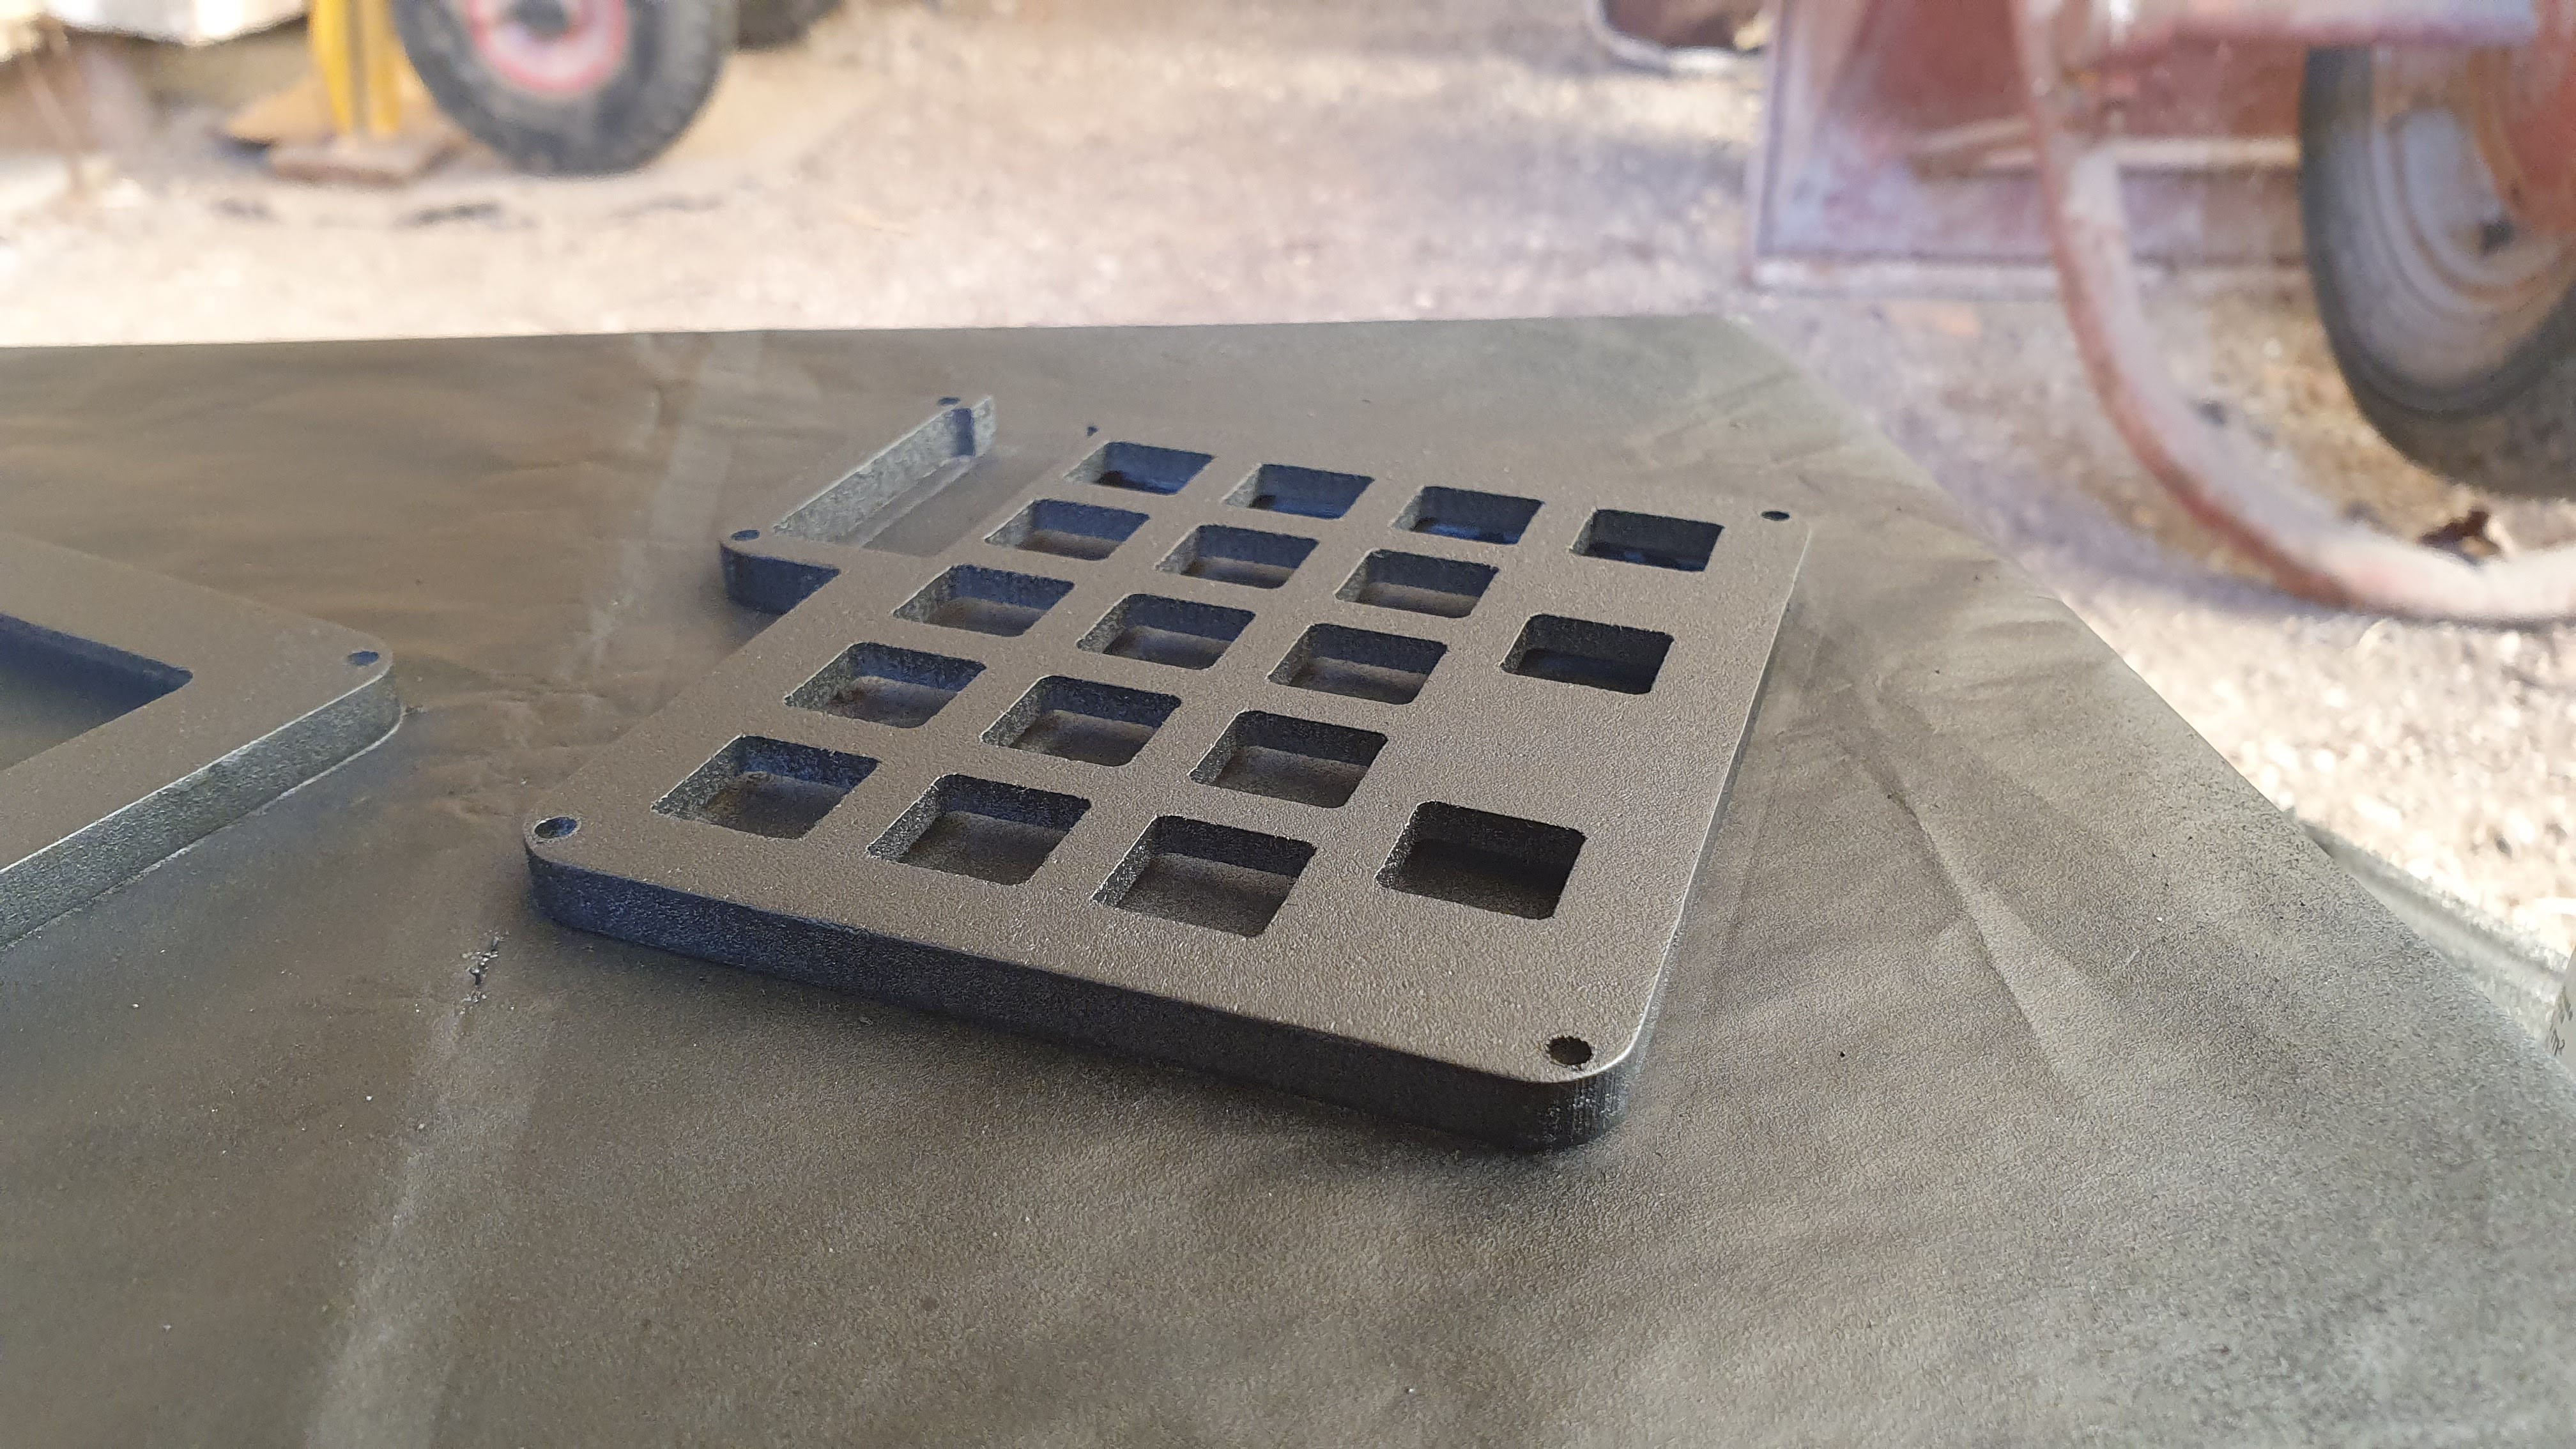
Finally I had enough time to assemble the first prototype...Here are the completed and painted pieces. I added the window in the bottom since I had the acrylic piece left over from the middle layer cut. I thought that it could be a nice addition to the final desing.
And now some glamour shots.
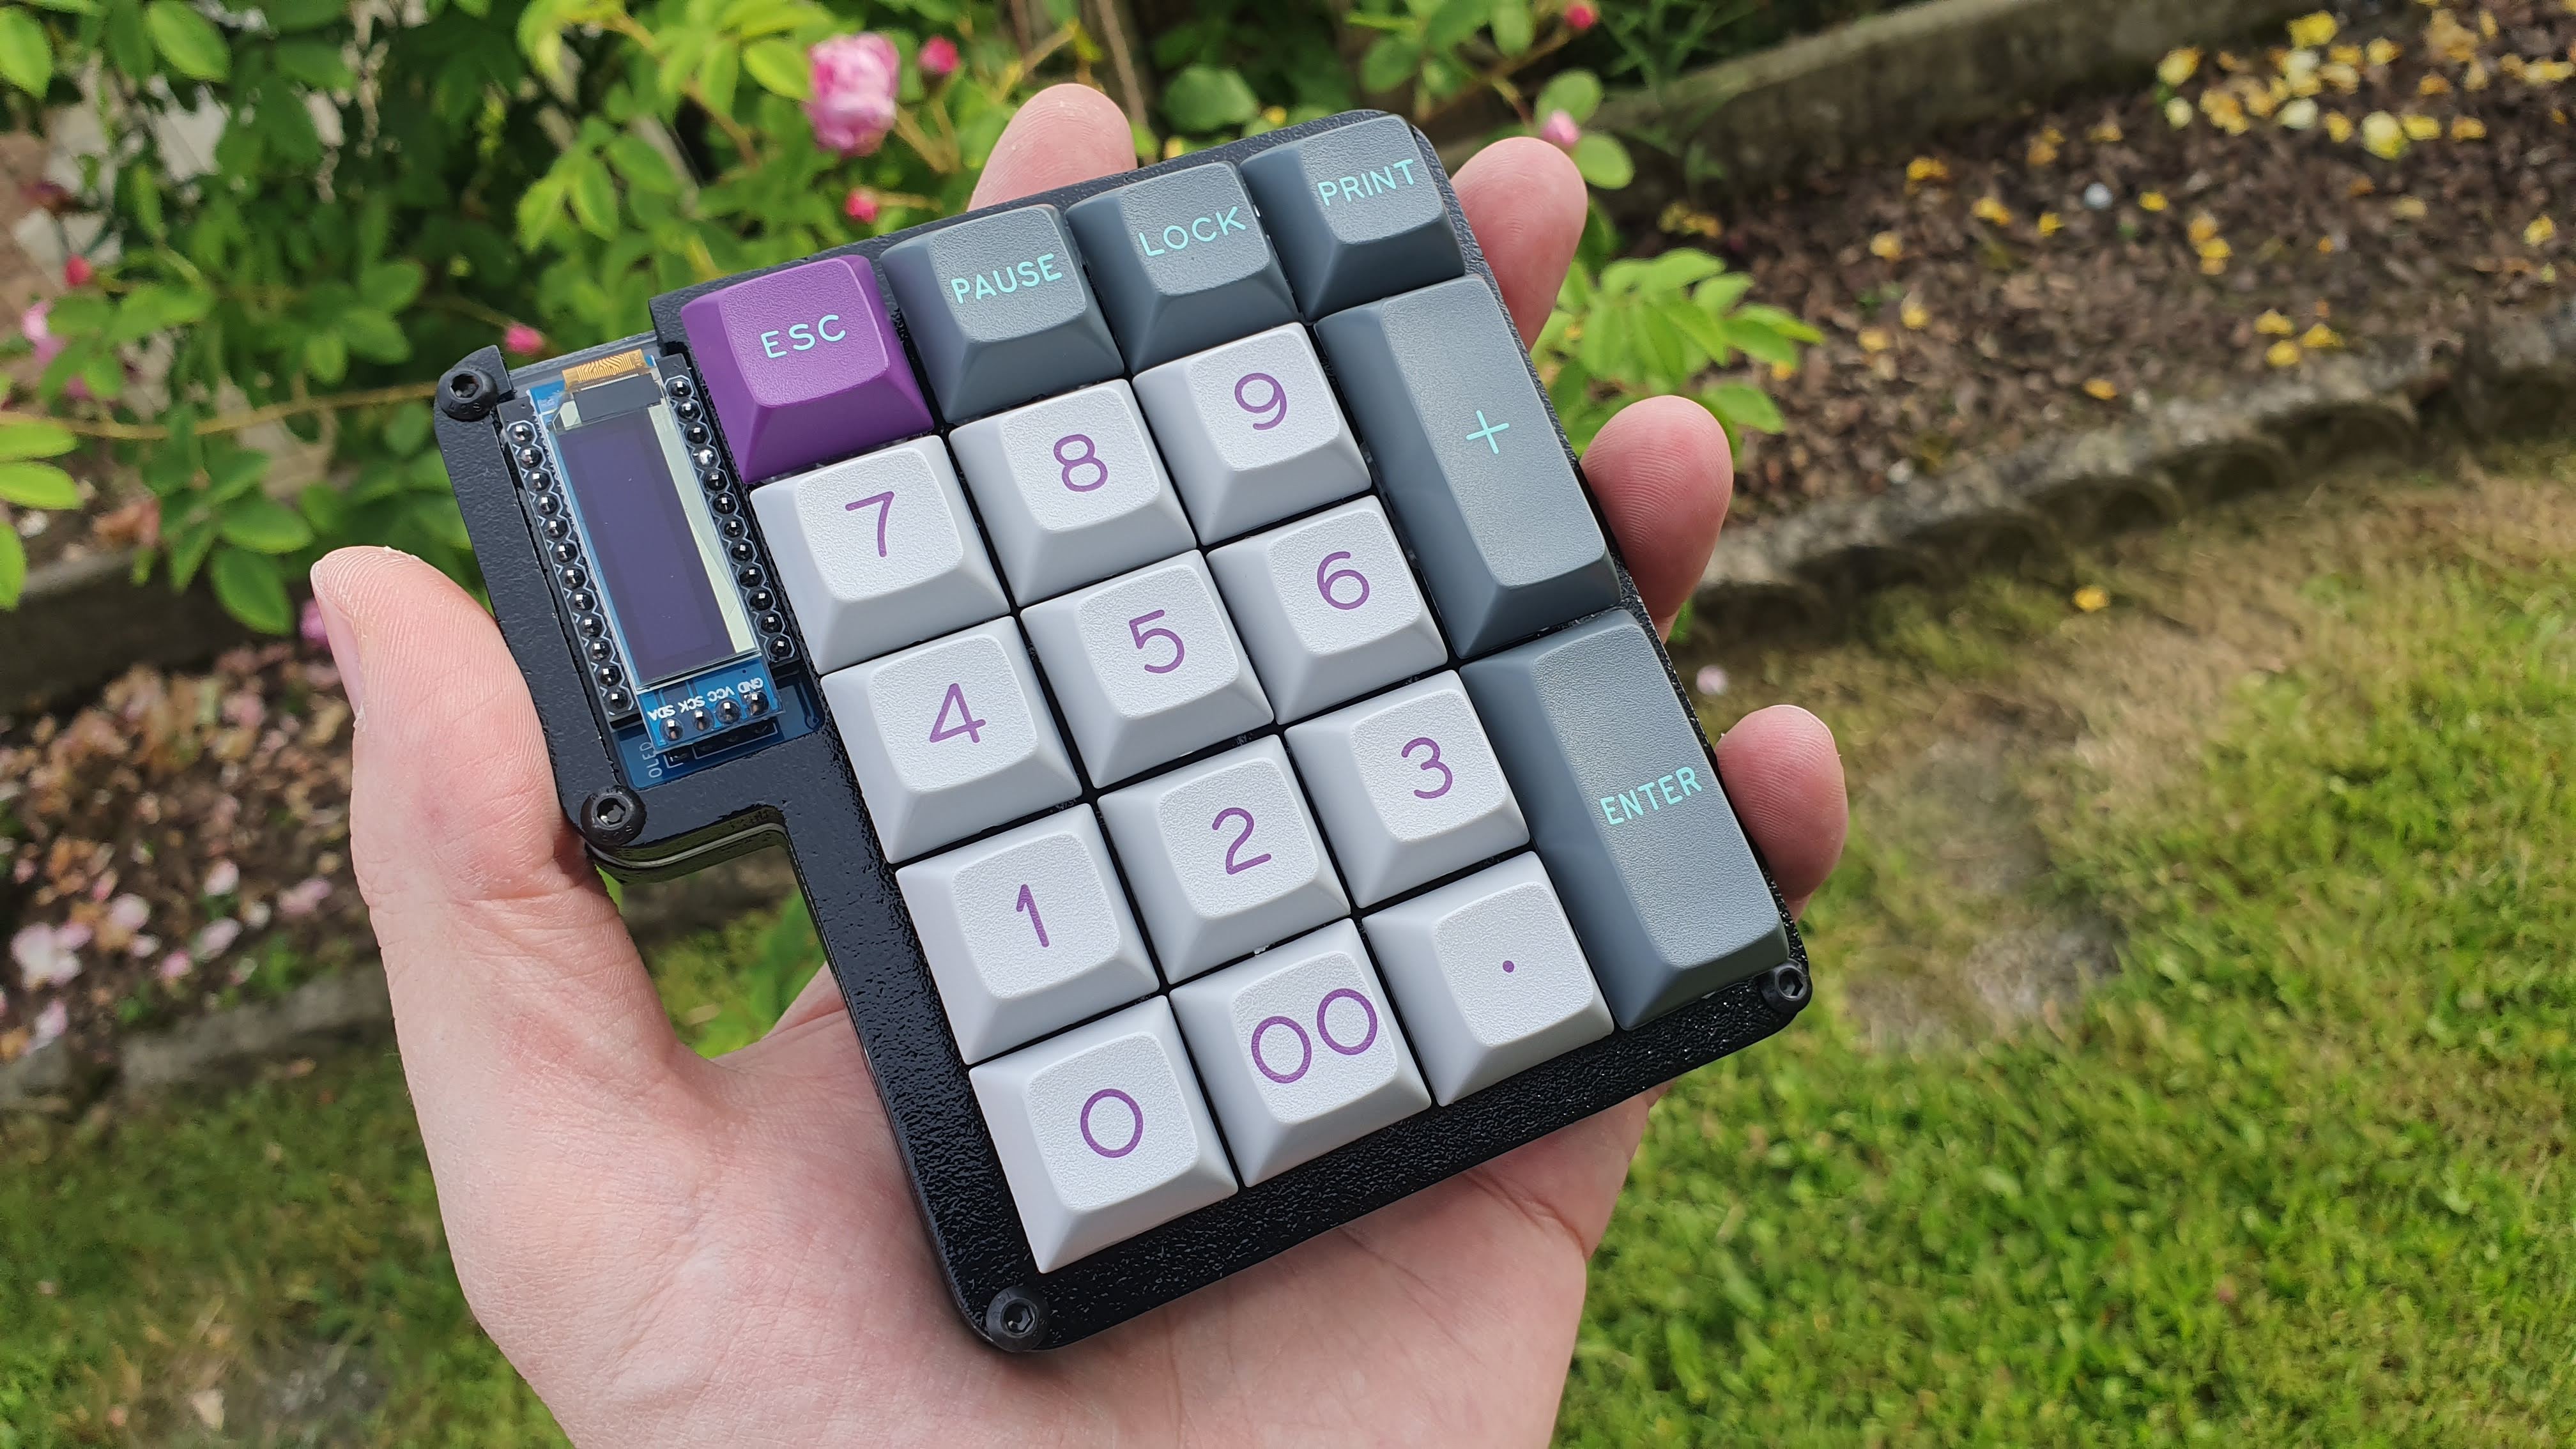
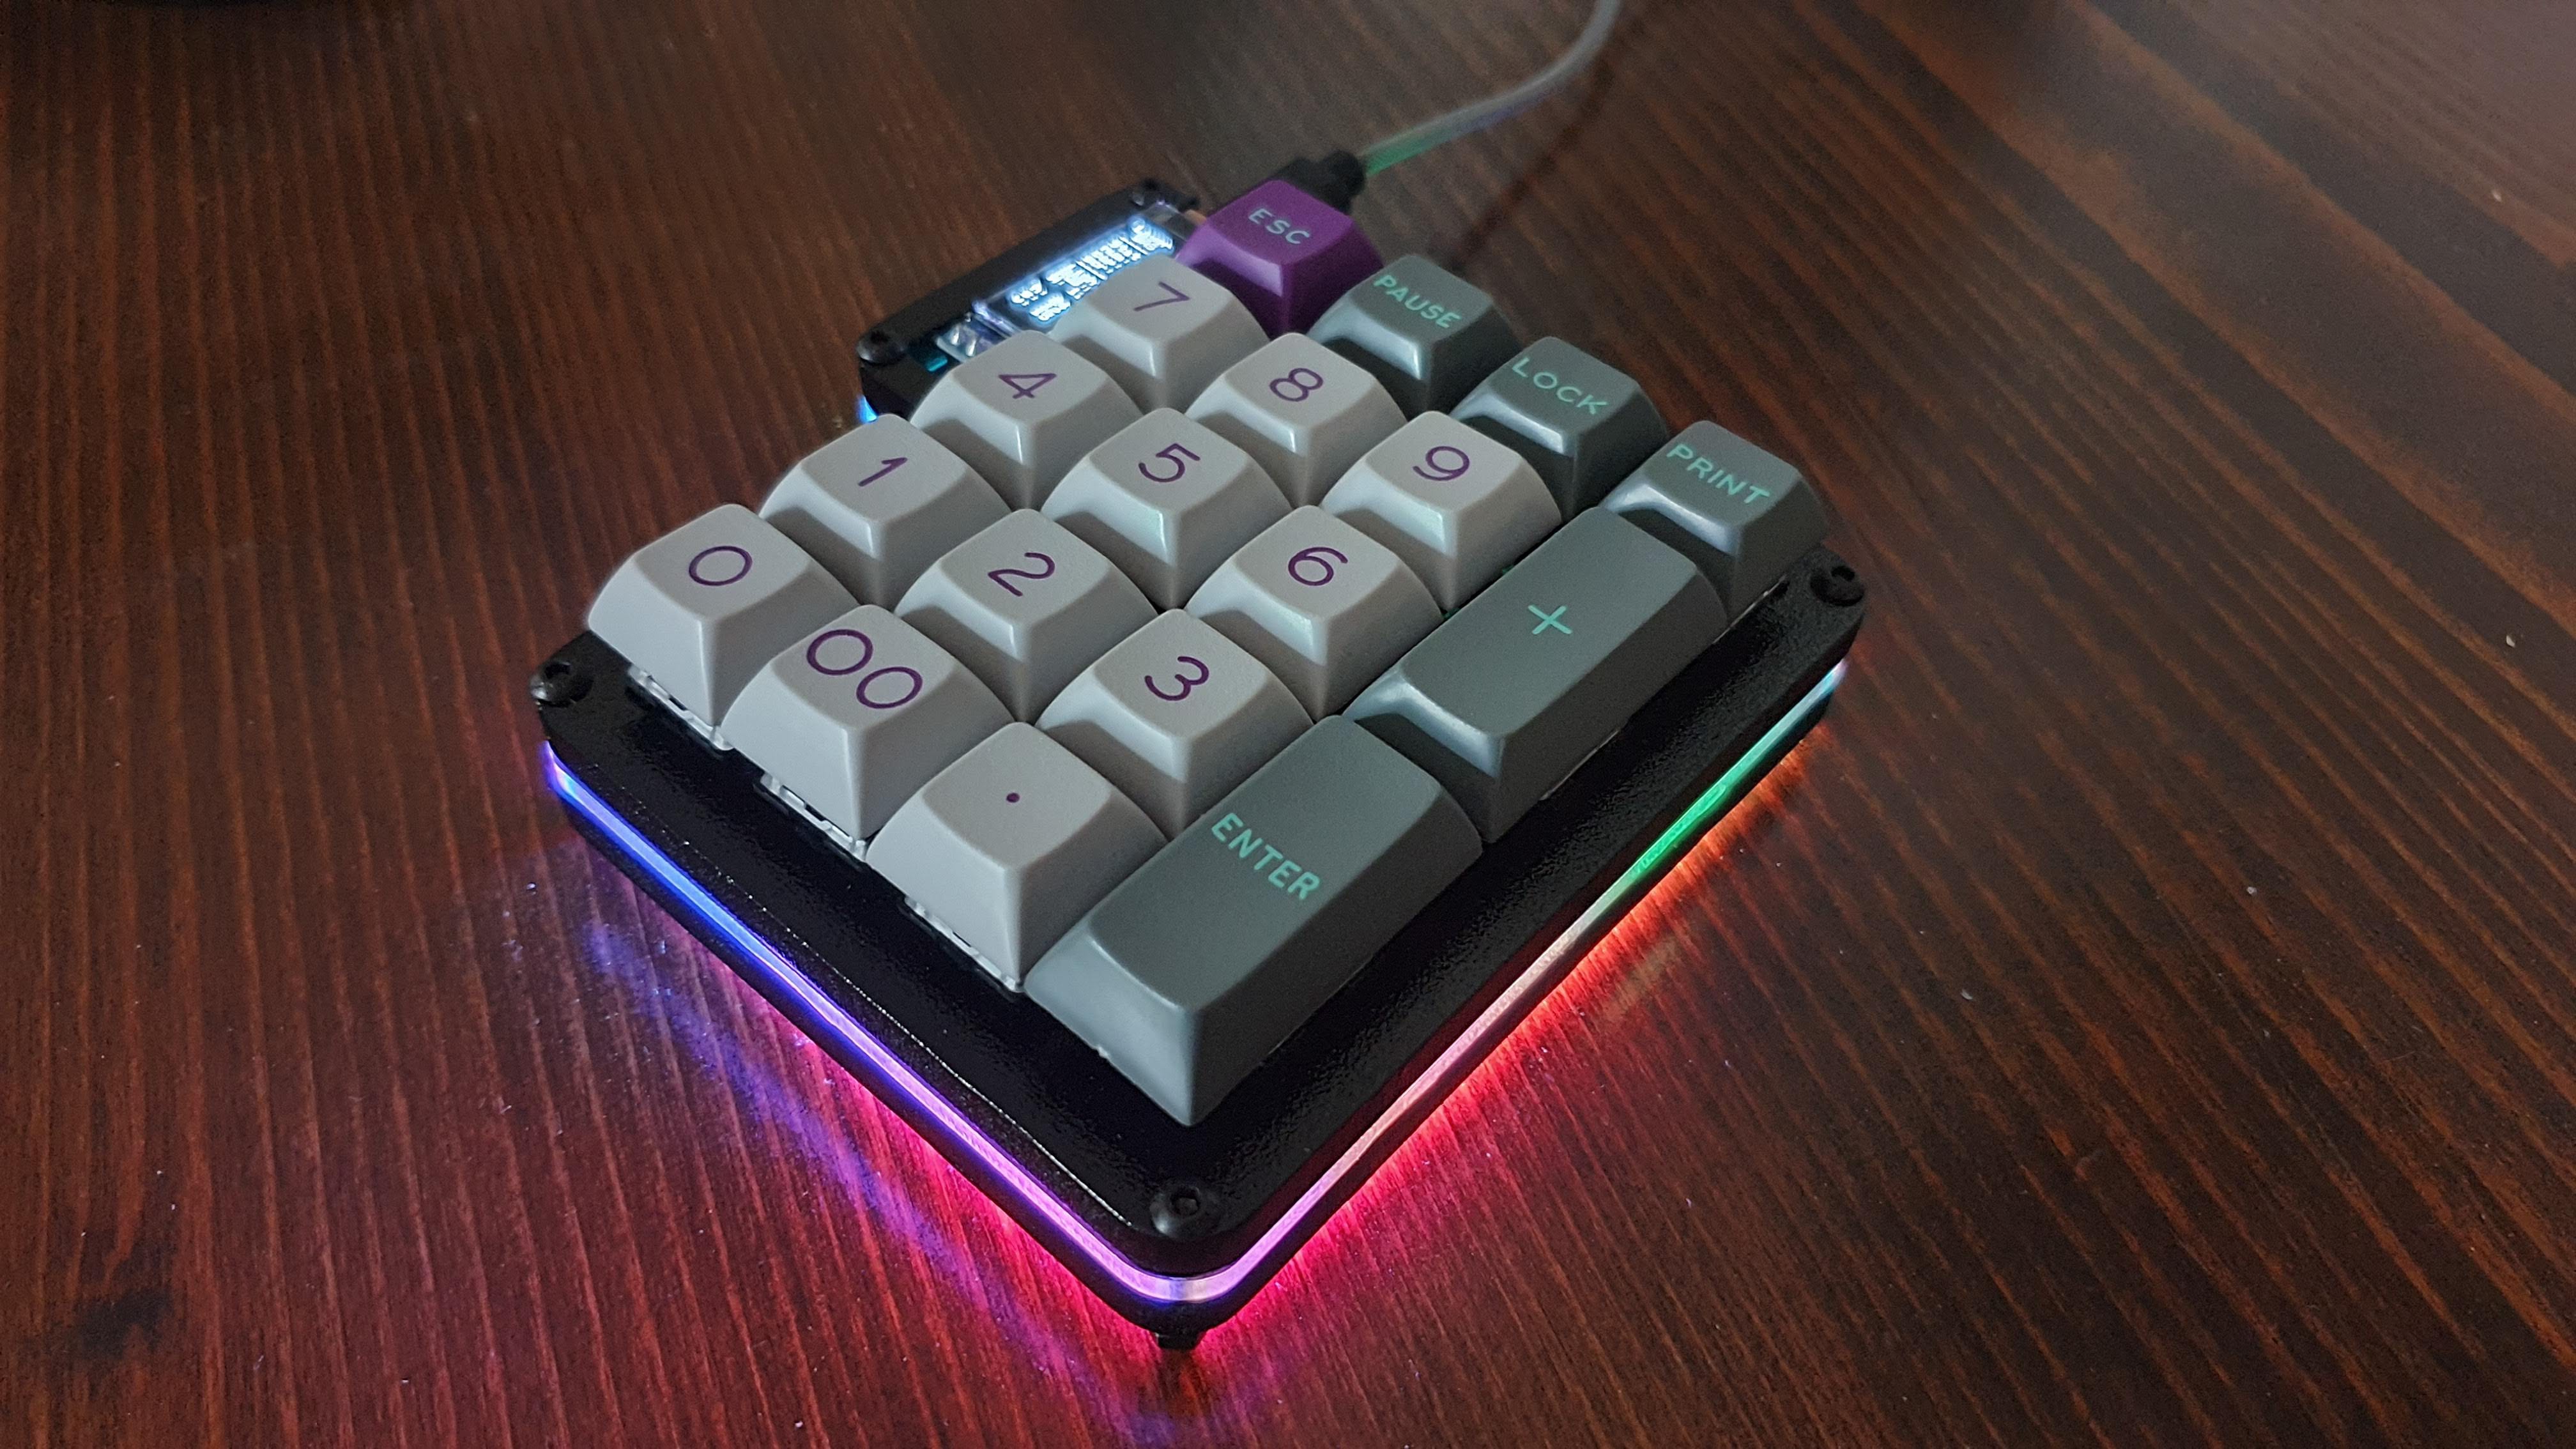
And with keycaps on...
I think I'll design a new version of the case since I'm not entirely happy with how it turned out:
- I forgot to add a hole to access the reset switch of the Arduino Pro Micro (it can be triggered via software though)
- I don't like the finish of the paint
- There's no solid mechanical connection between the PCB and the case
- The assembly screws are not well hidden (I mean, they are not hidden at all...)
- It was hard to mount the switches inside the case because I didn't take into account the paint
All in all it looks nice but I want to make it look better. It will be an excuse to keep improving my CNC skills :D
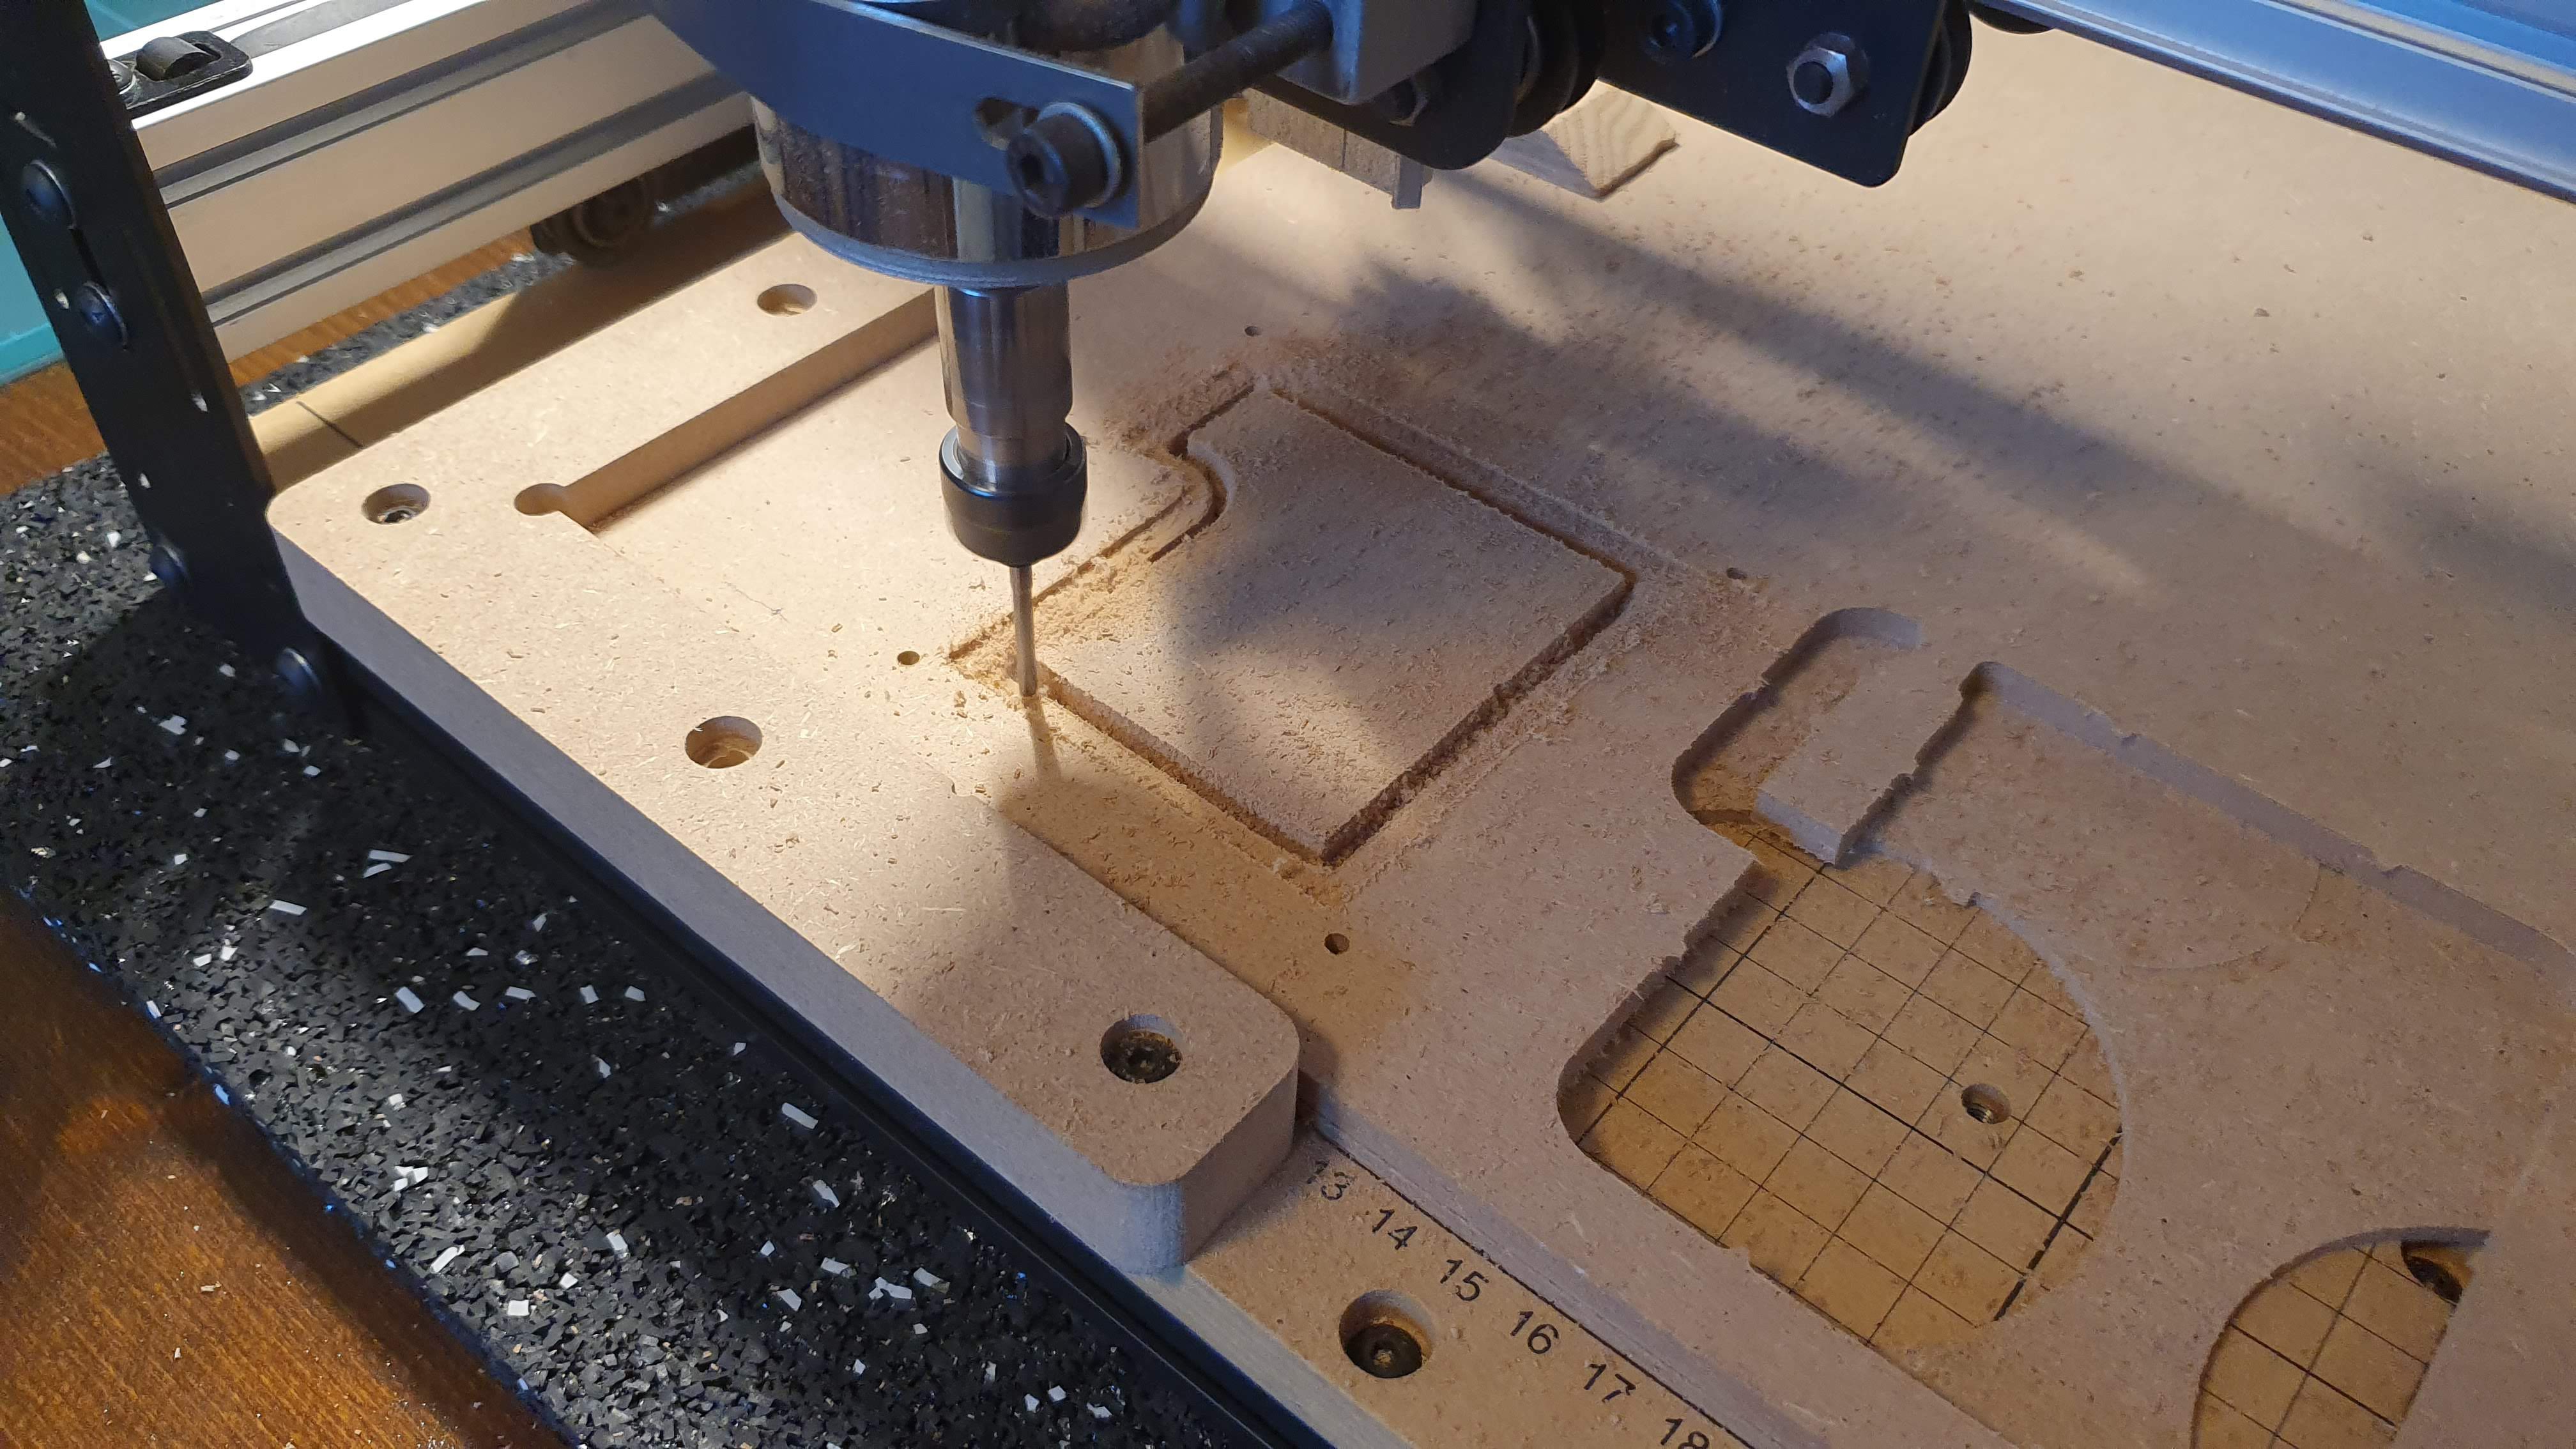
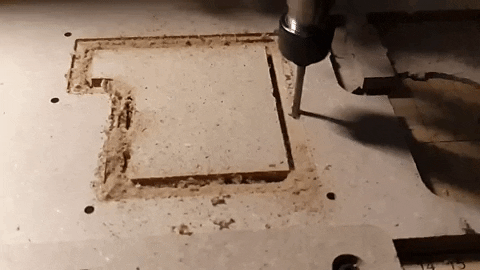
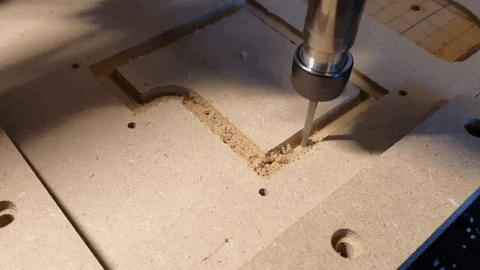
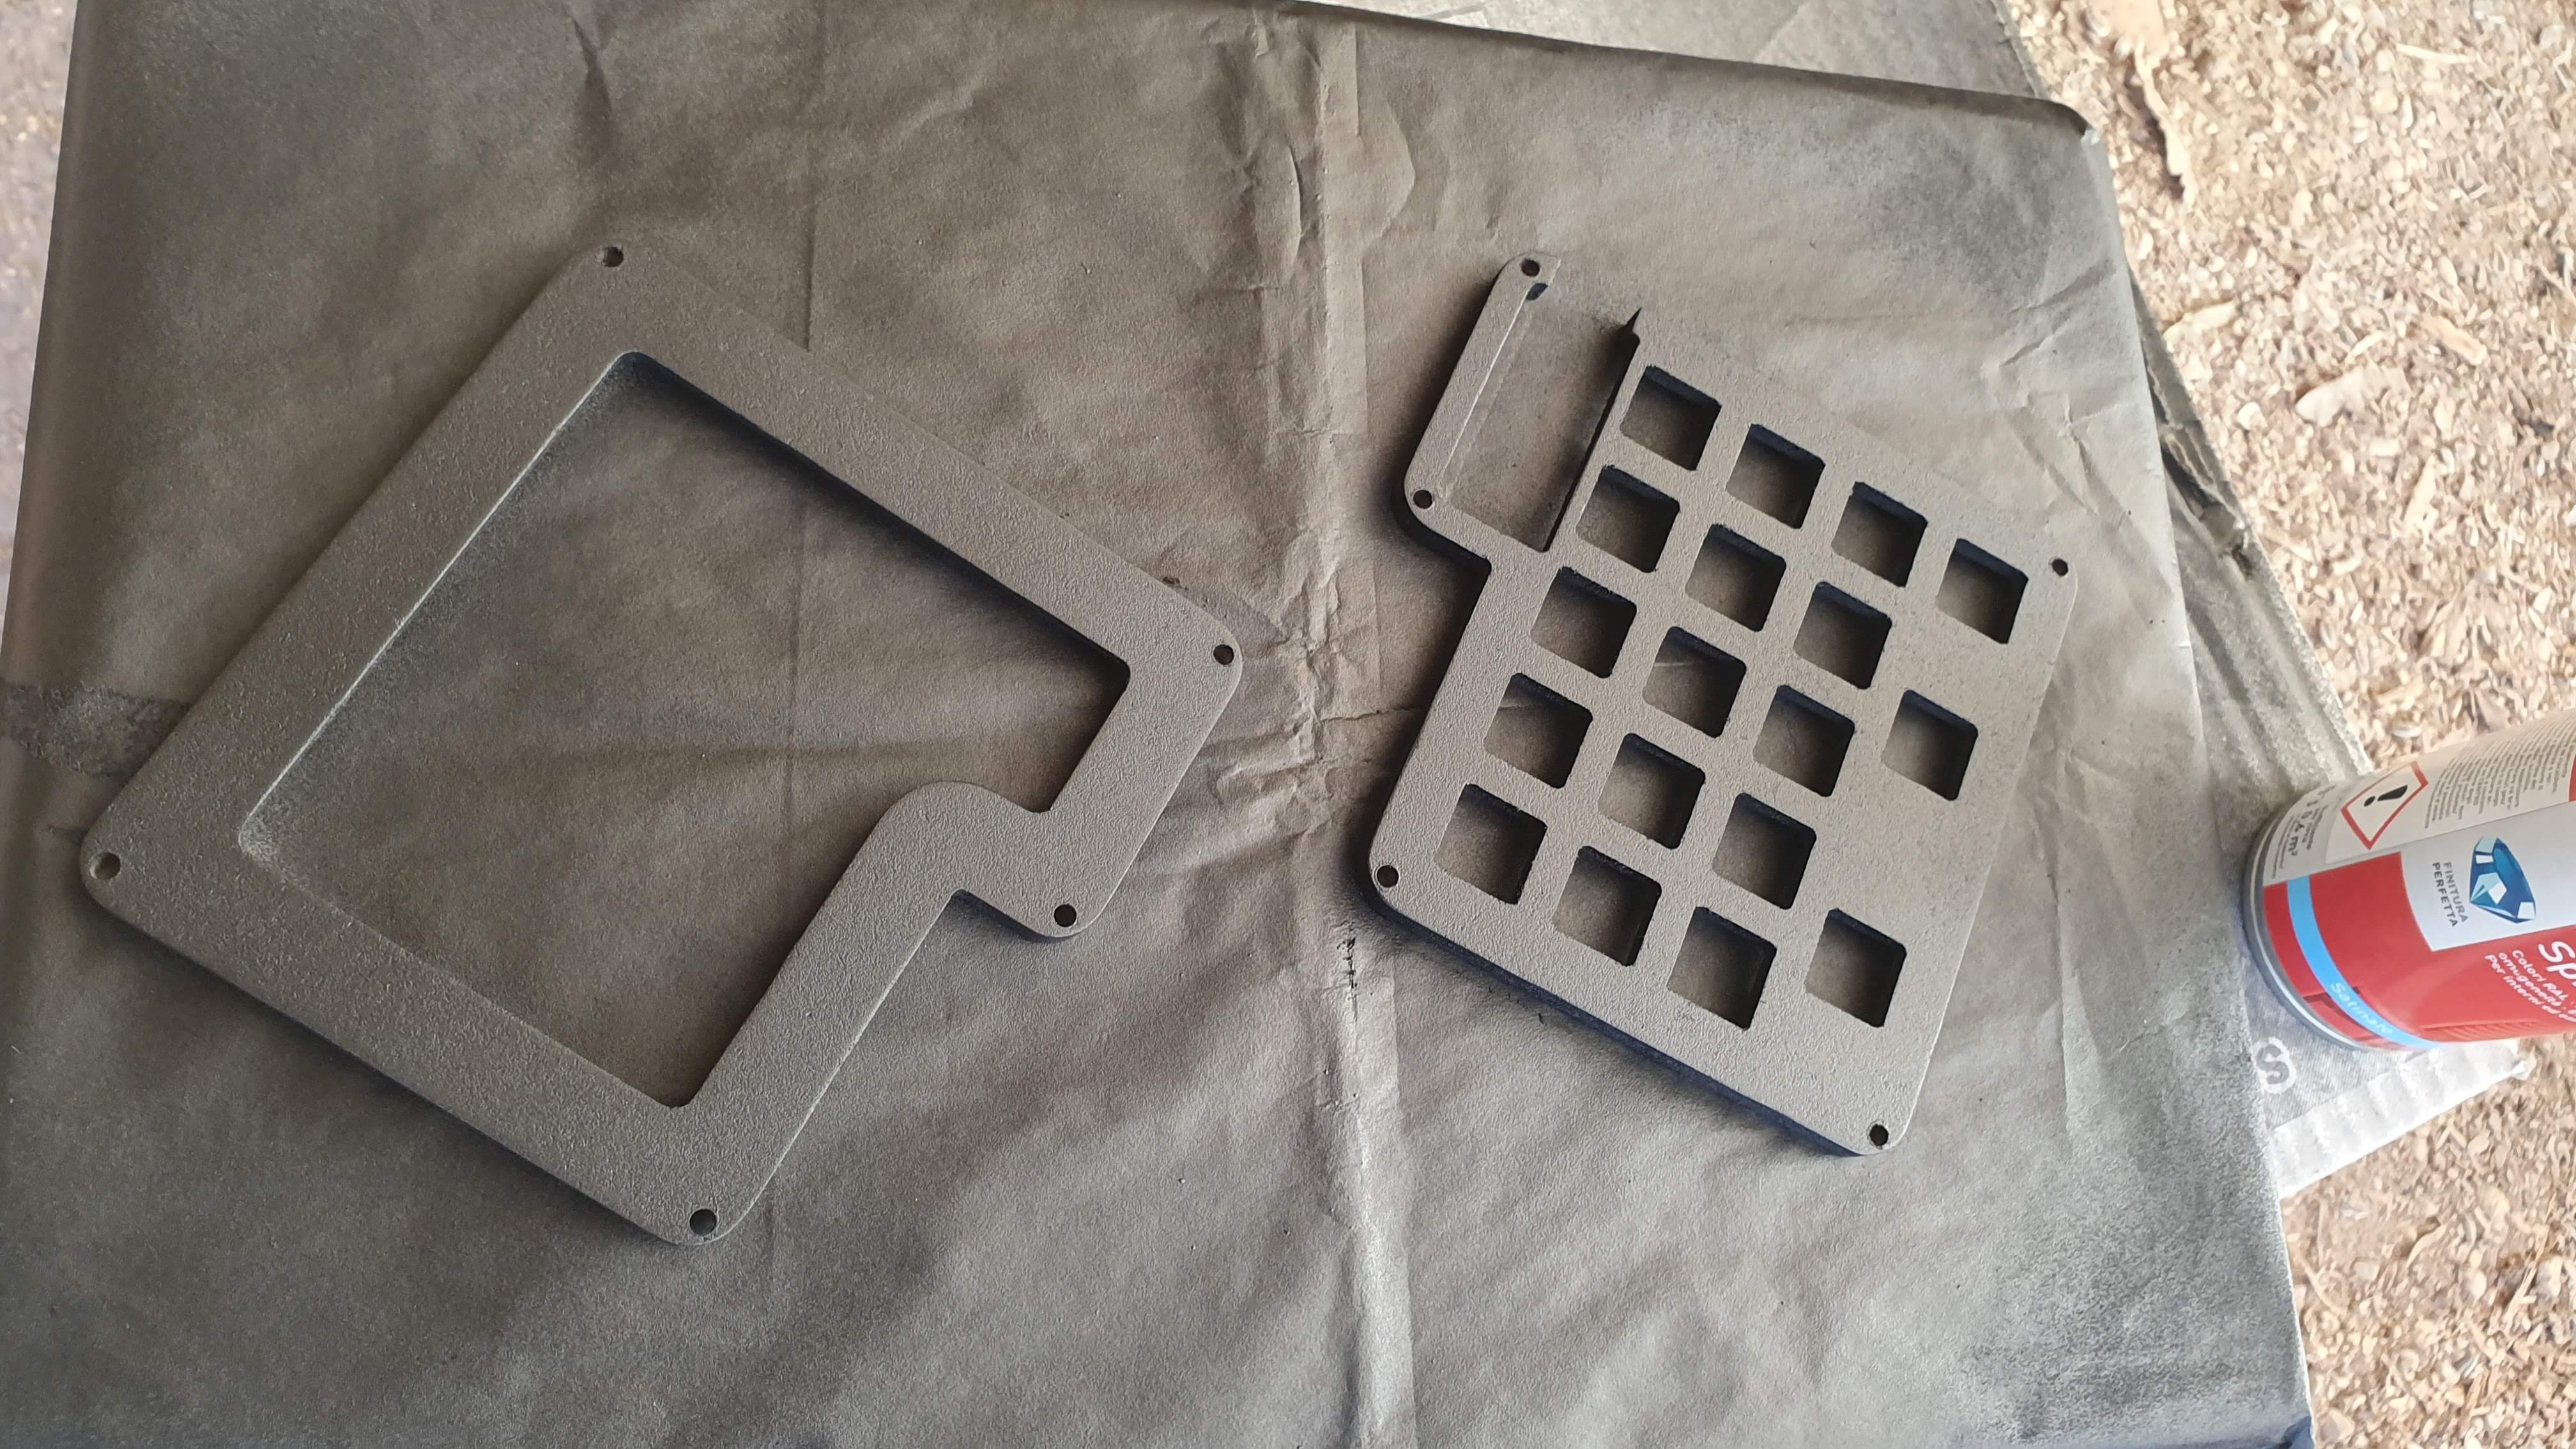
Today I CNC'd some more parts for the YamPAD. I had to fight a little with acrylic but it turned out good in the end.
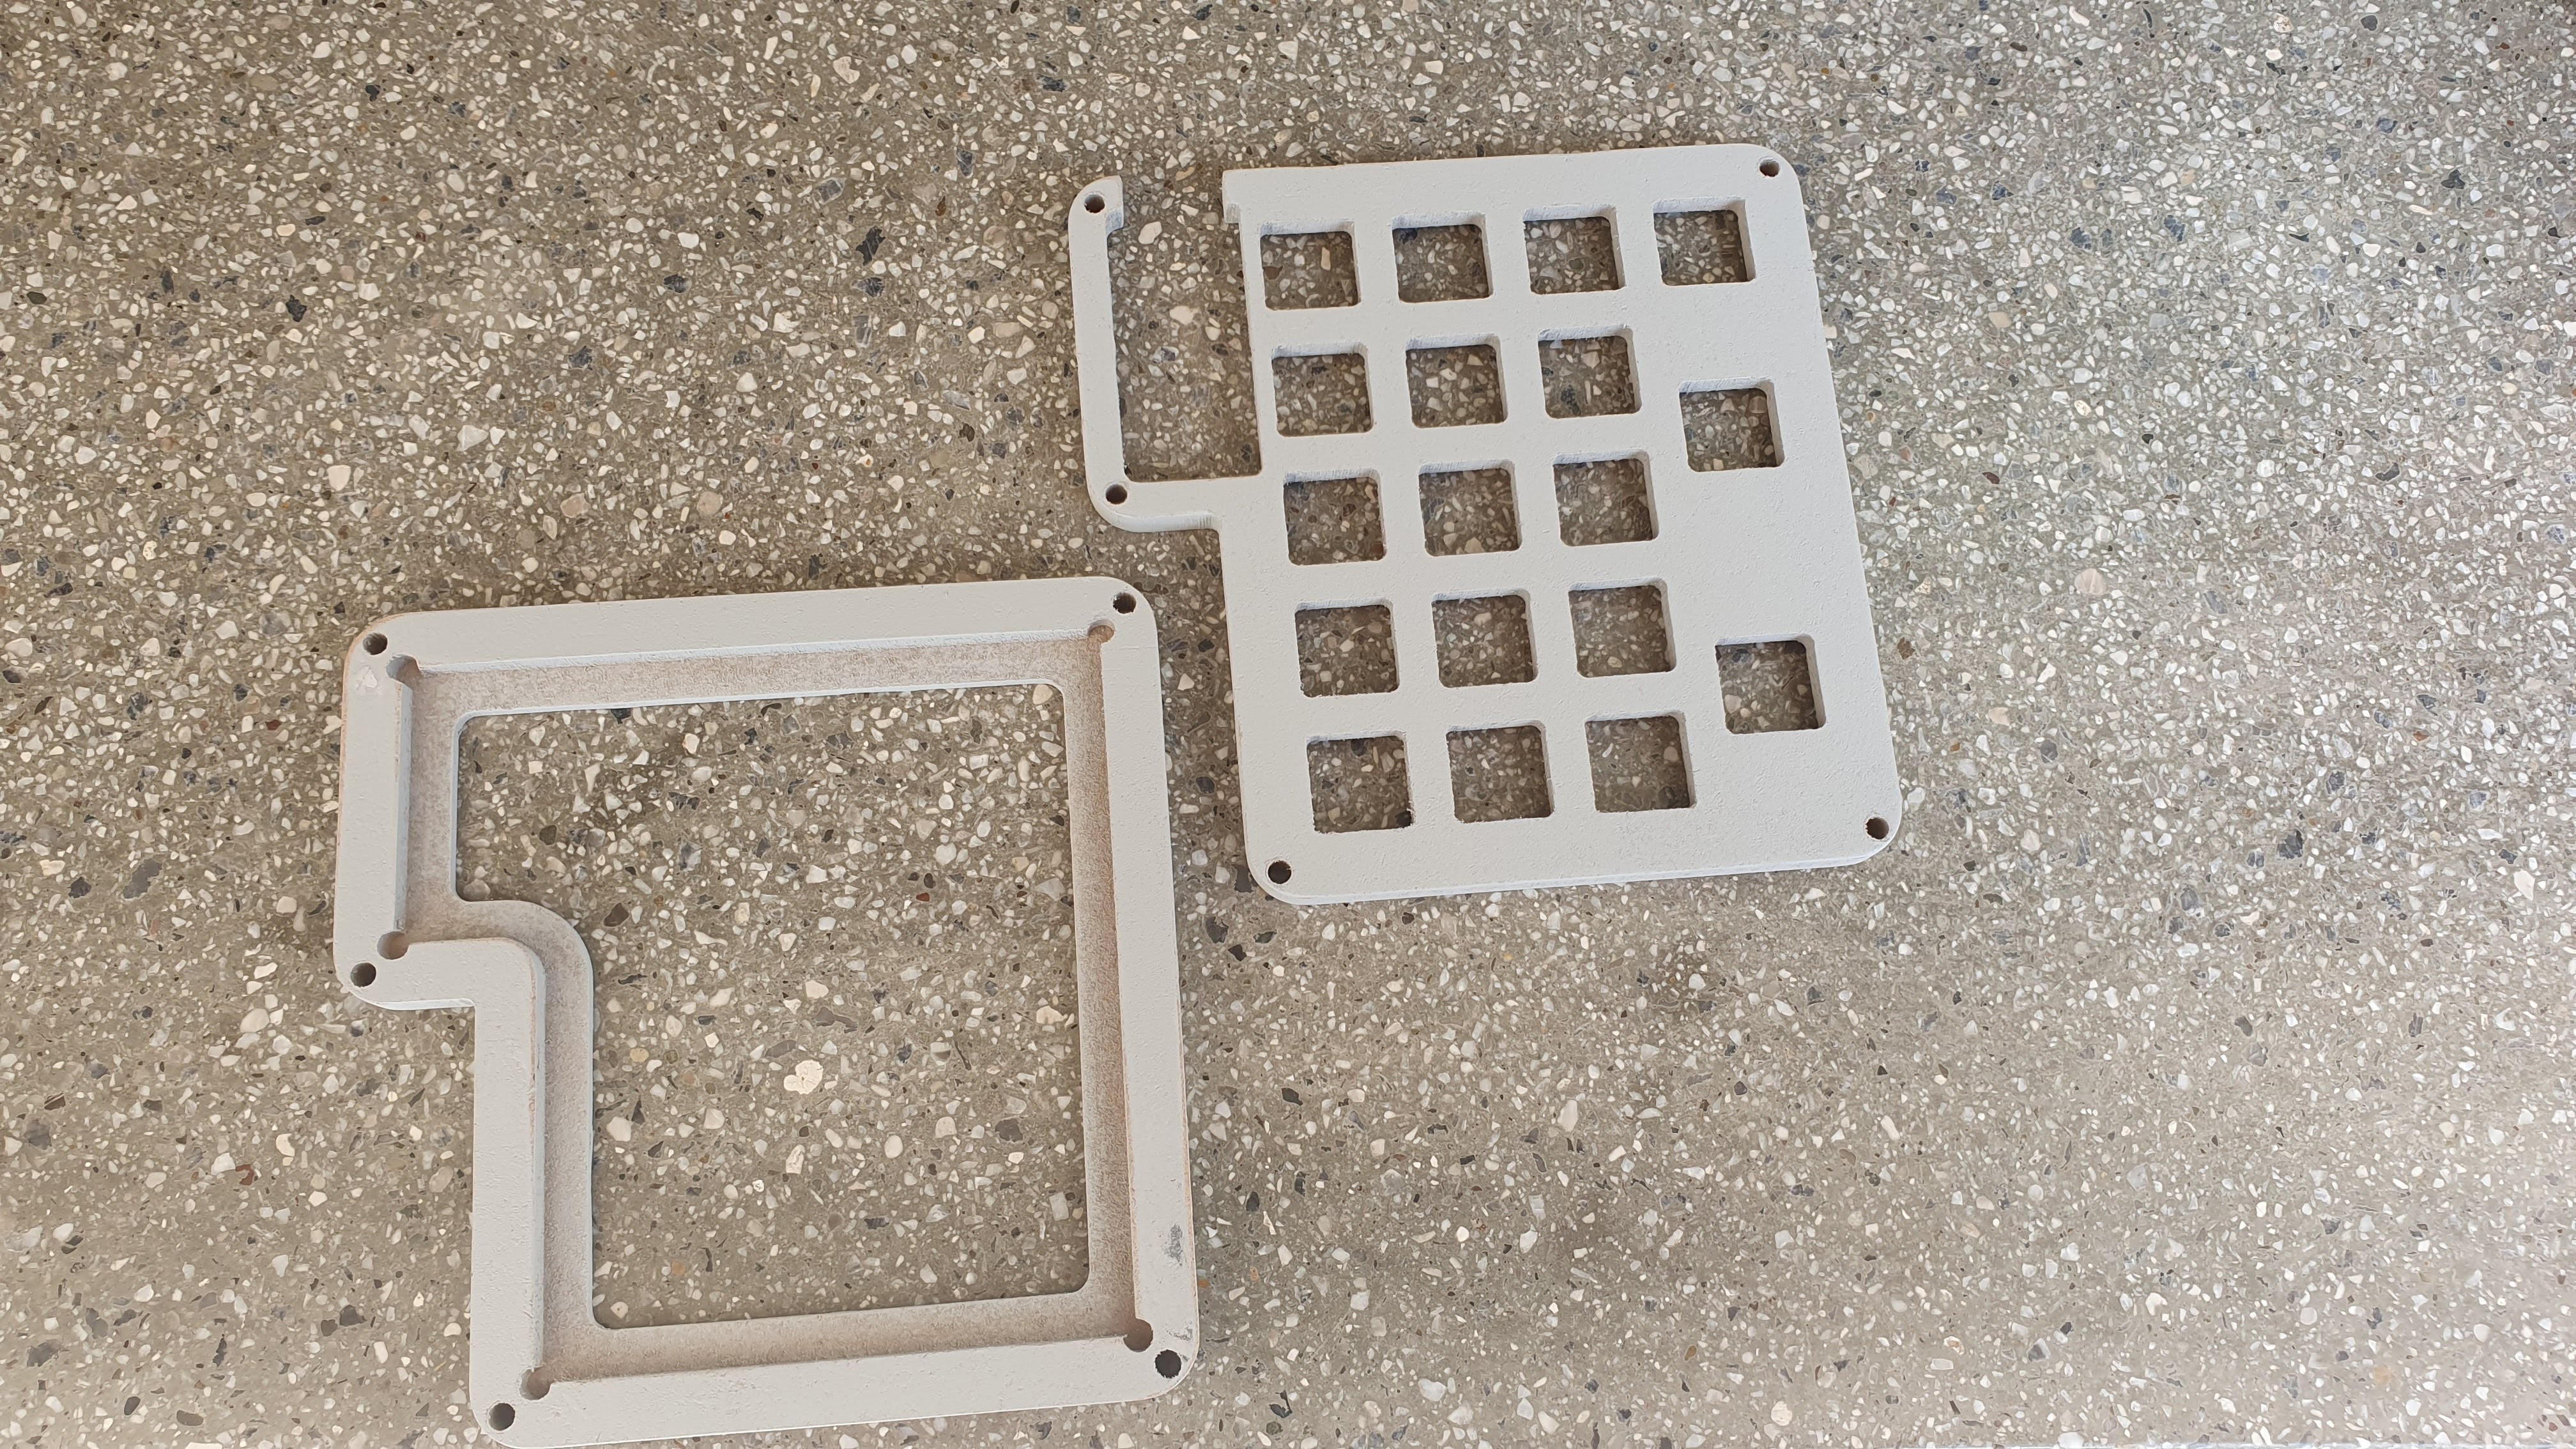
I started with the MDF parts. I choose MDF because I'm still a noob with my CNC and MDF is a forgiving material. It also turn out really good after painting.
Here's some footage of my CNC in action:
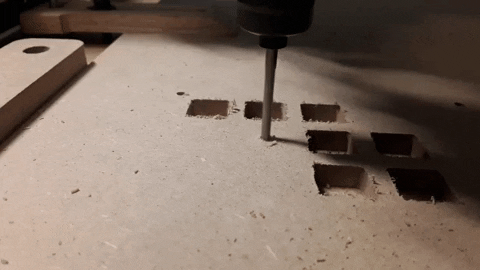
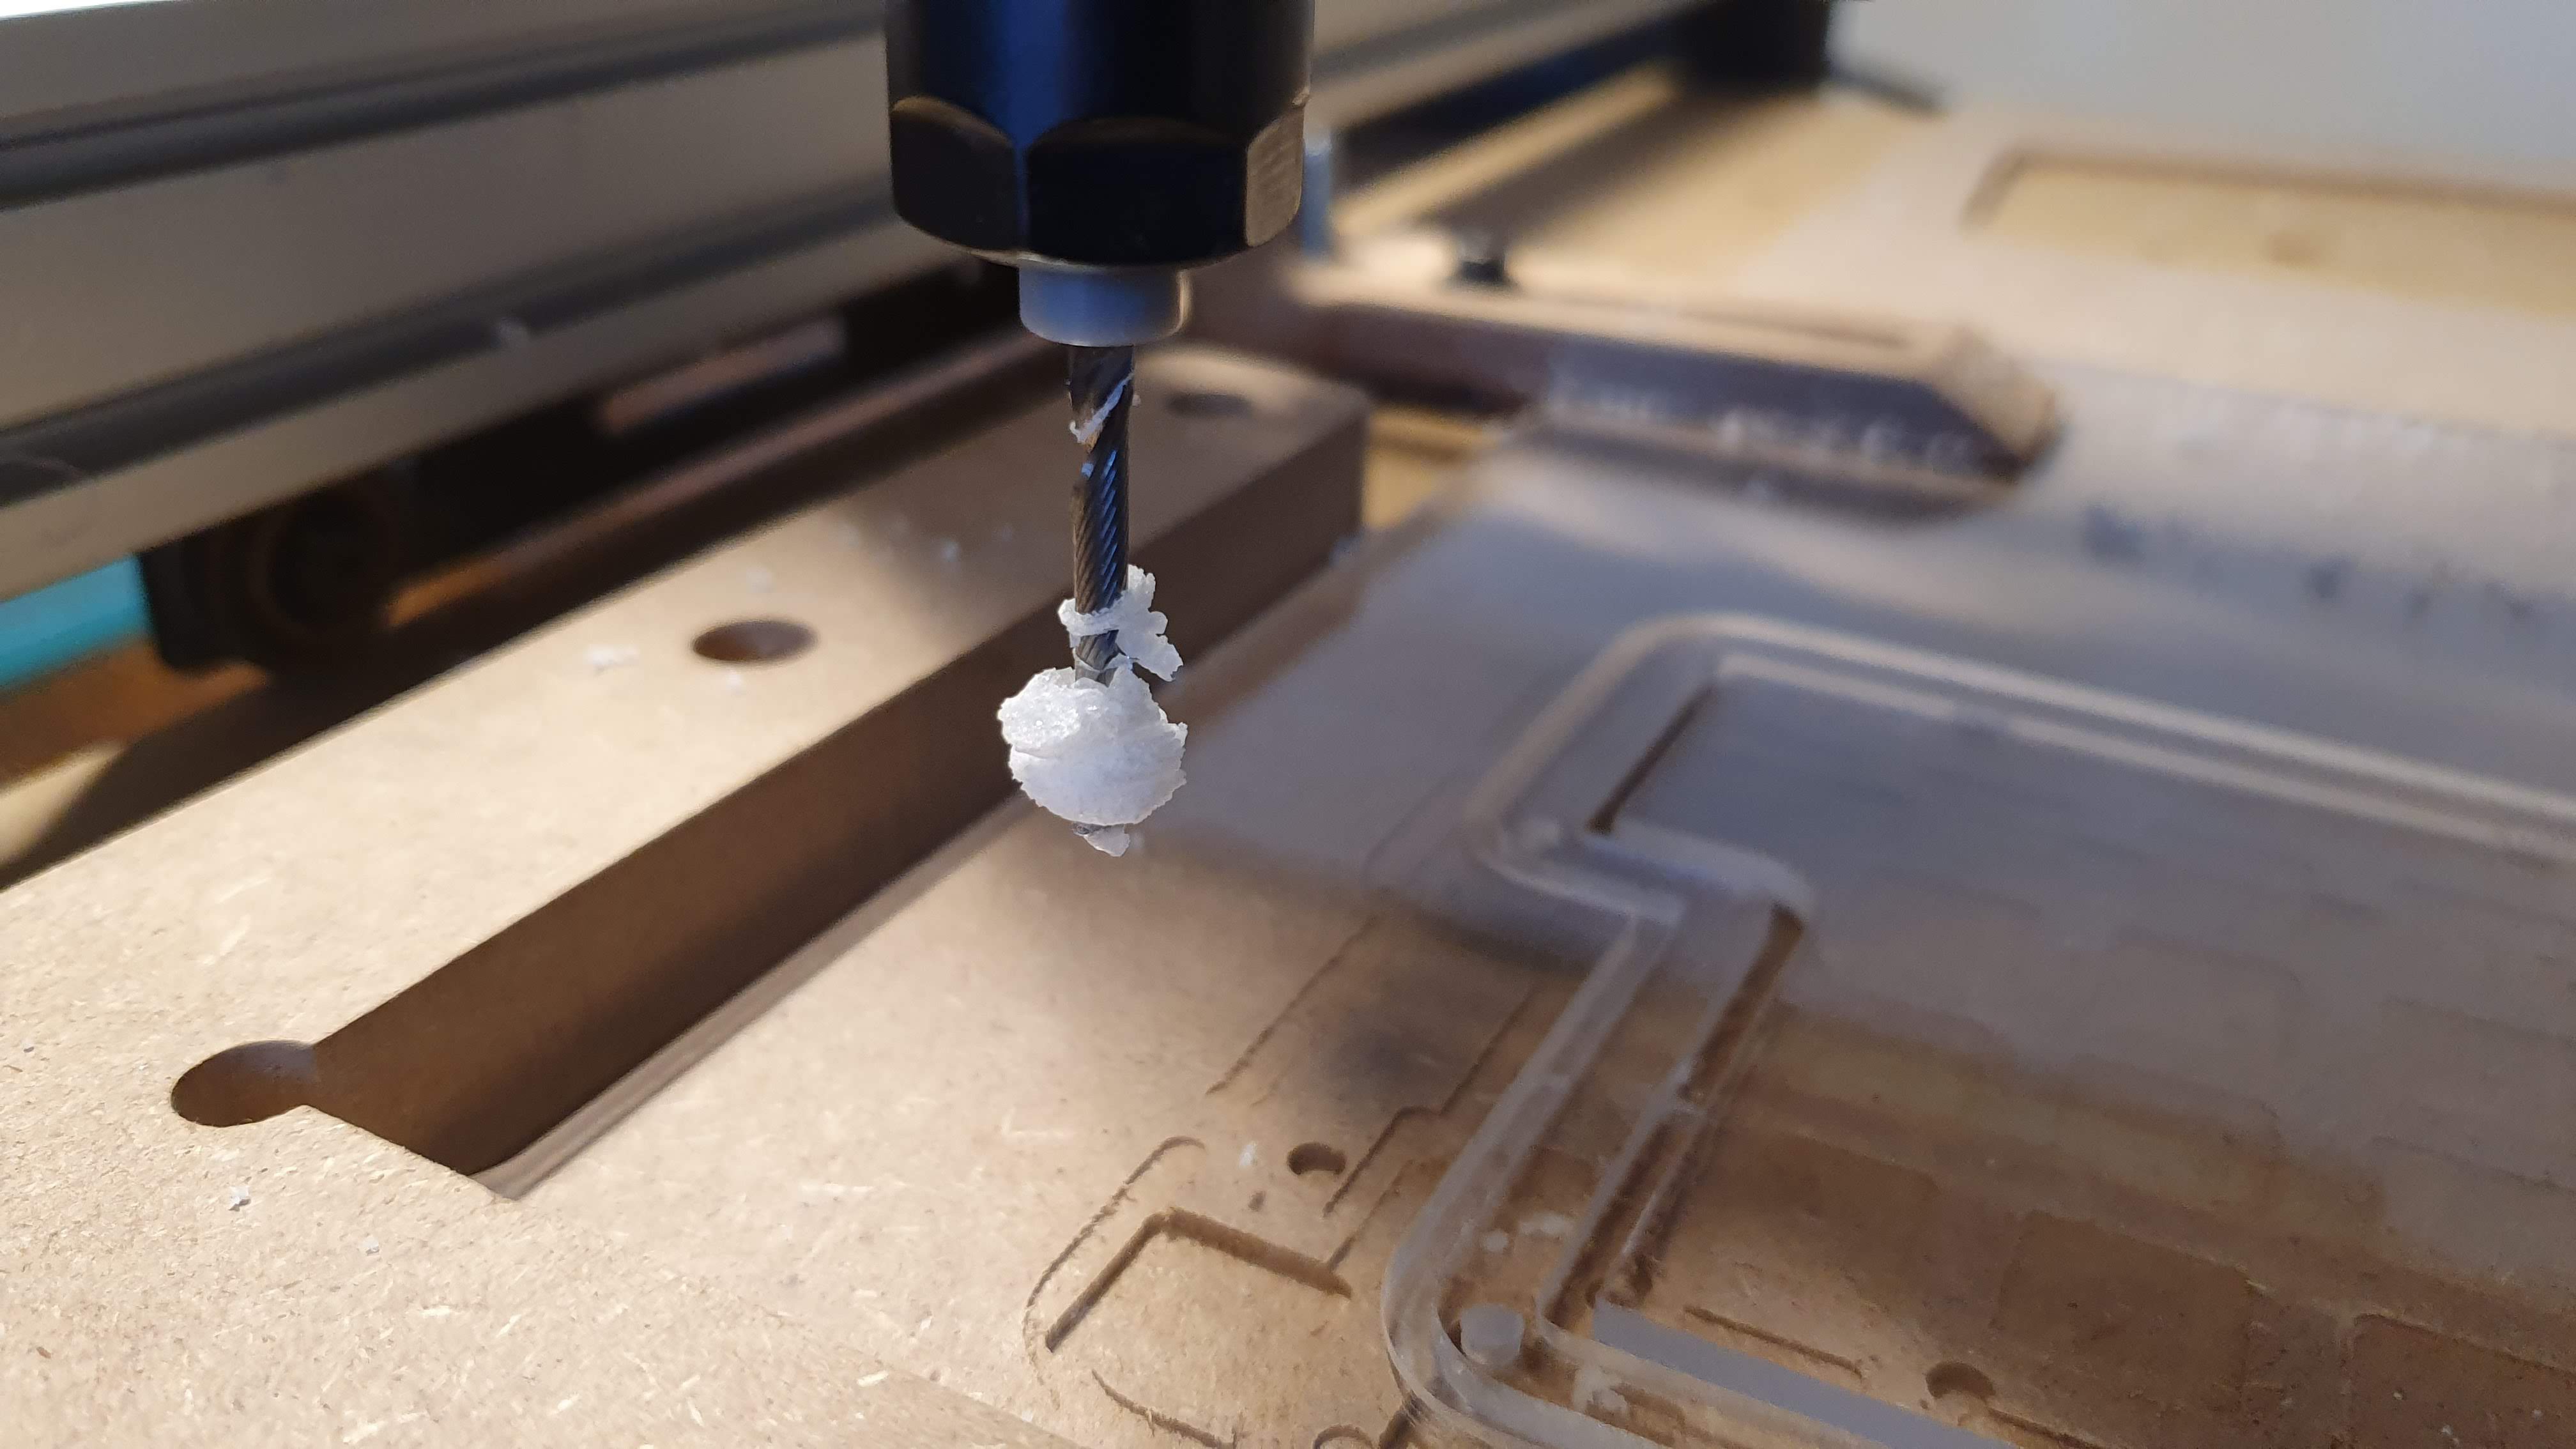
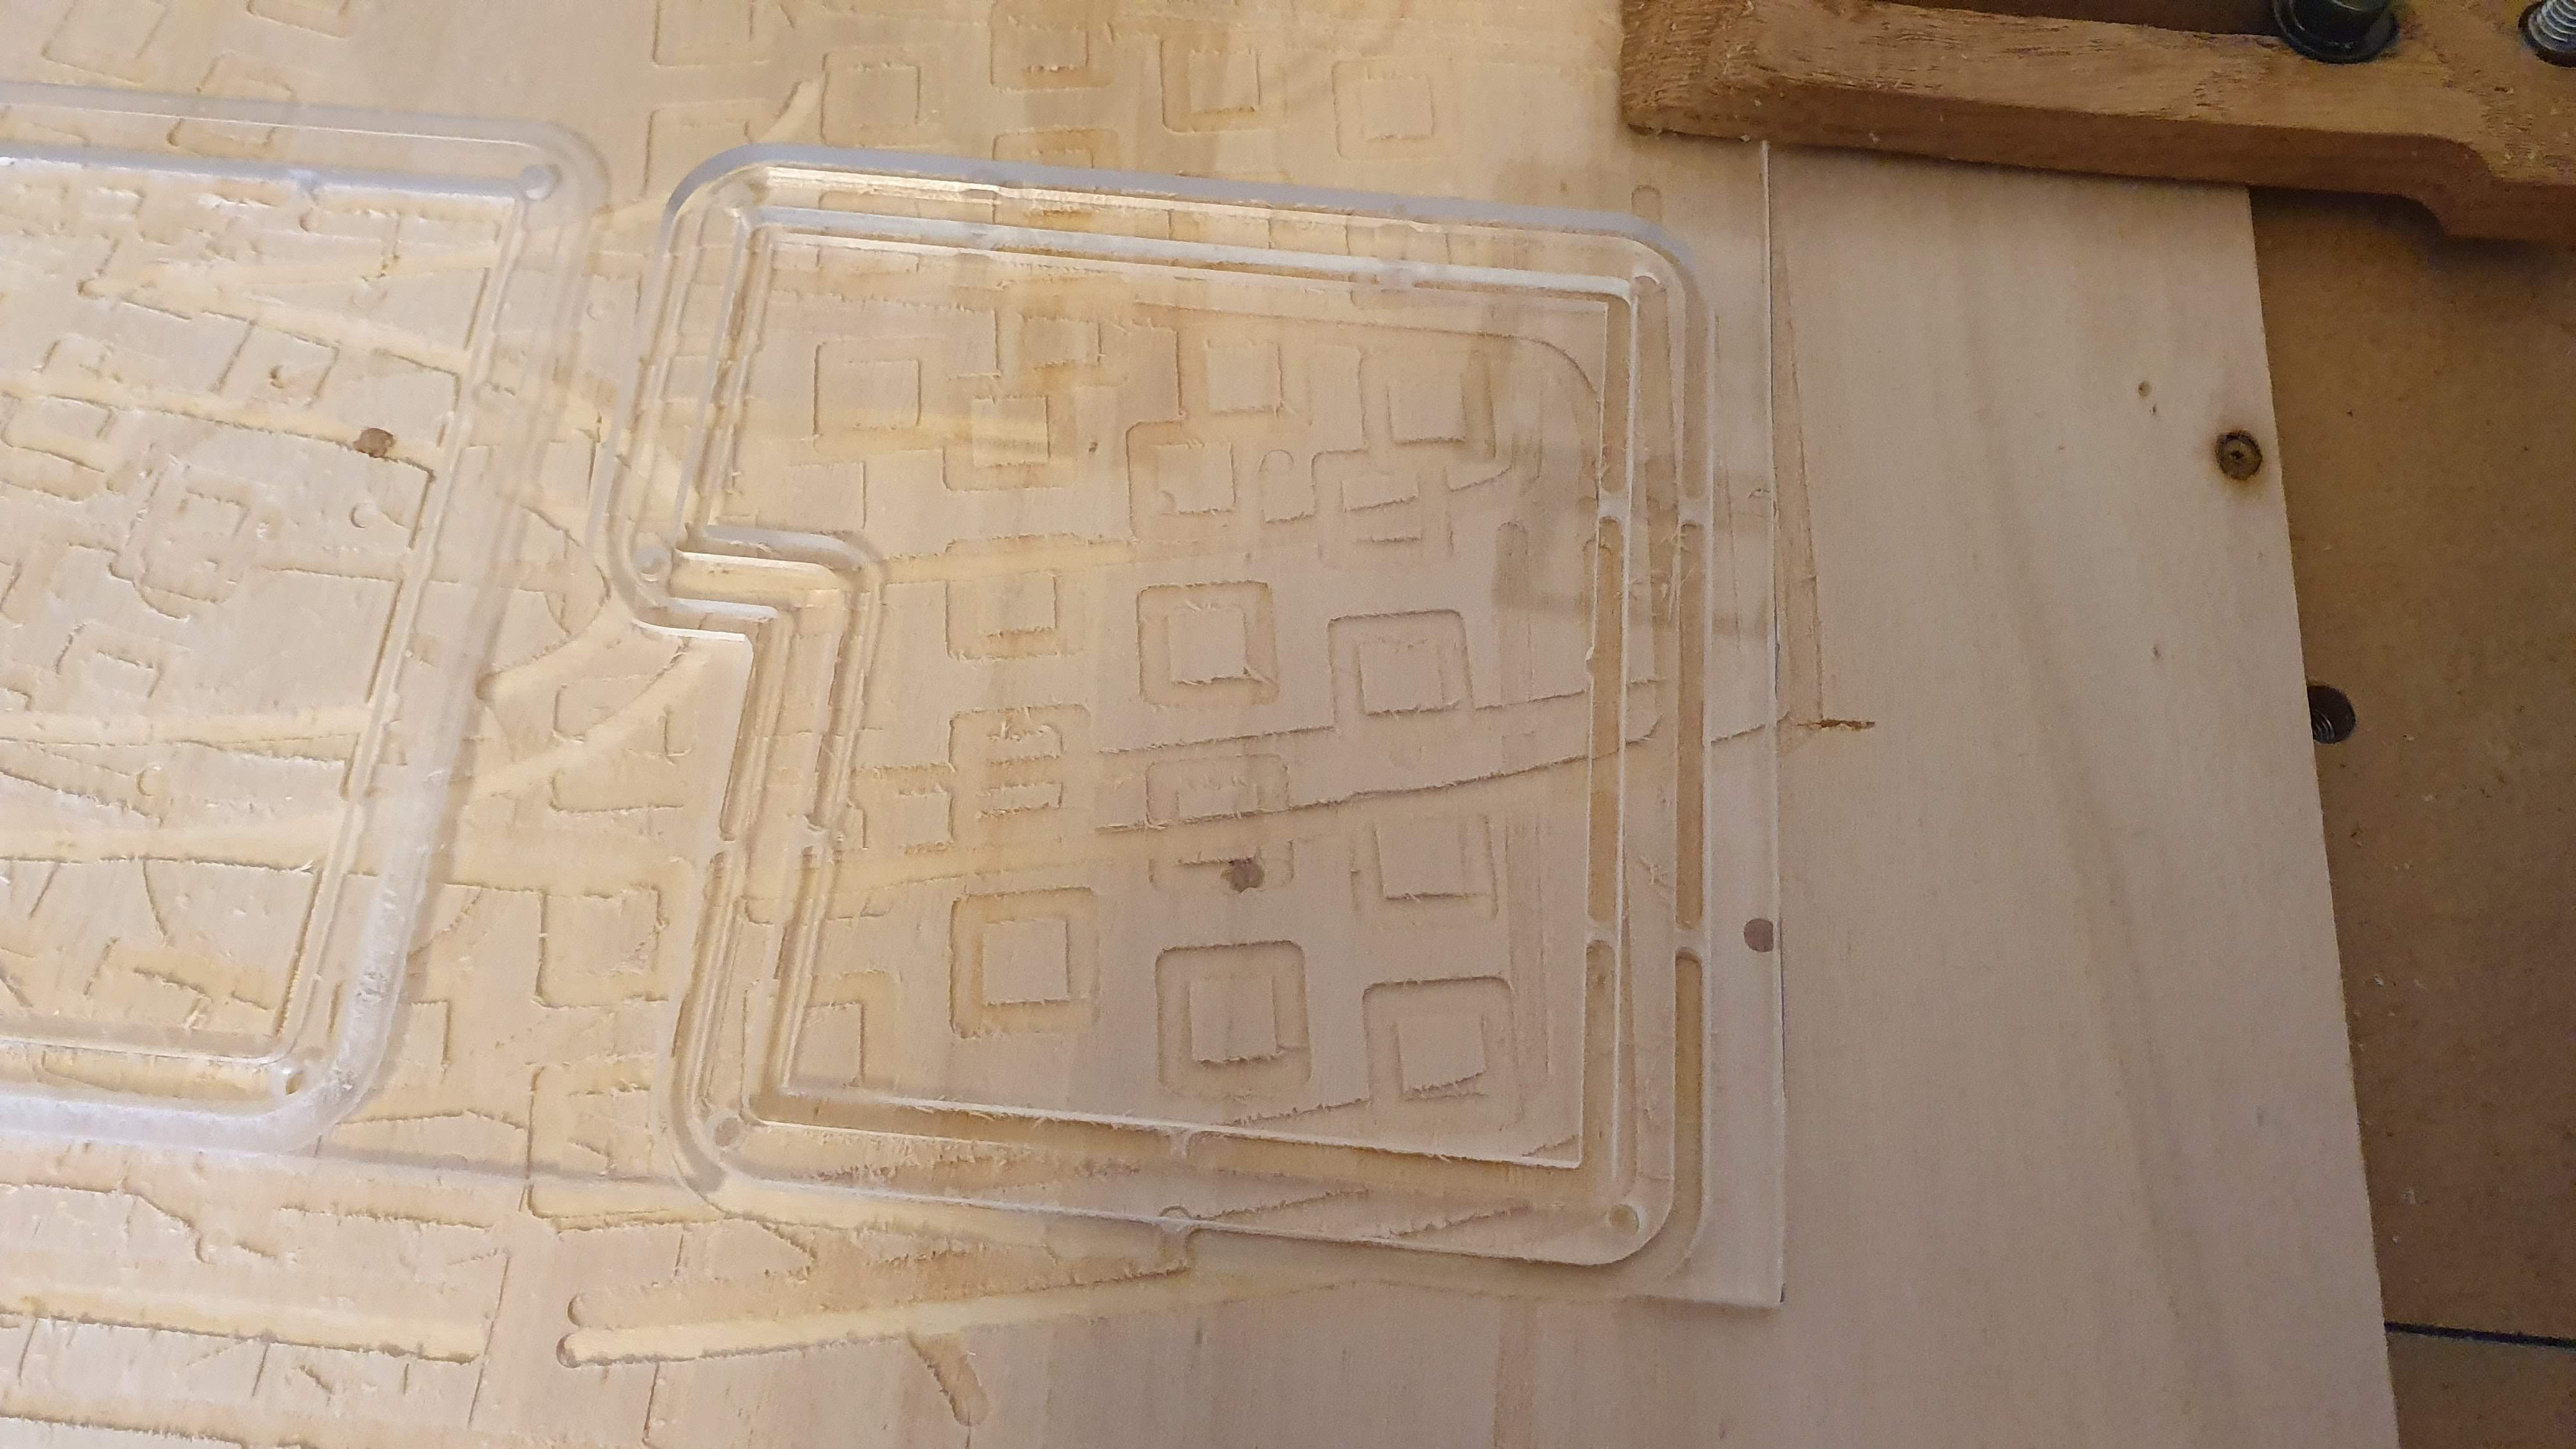
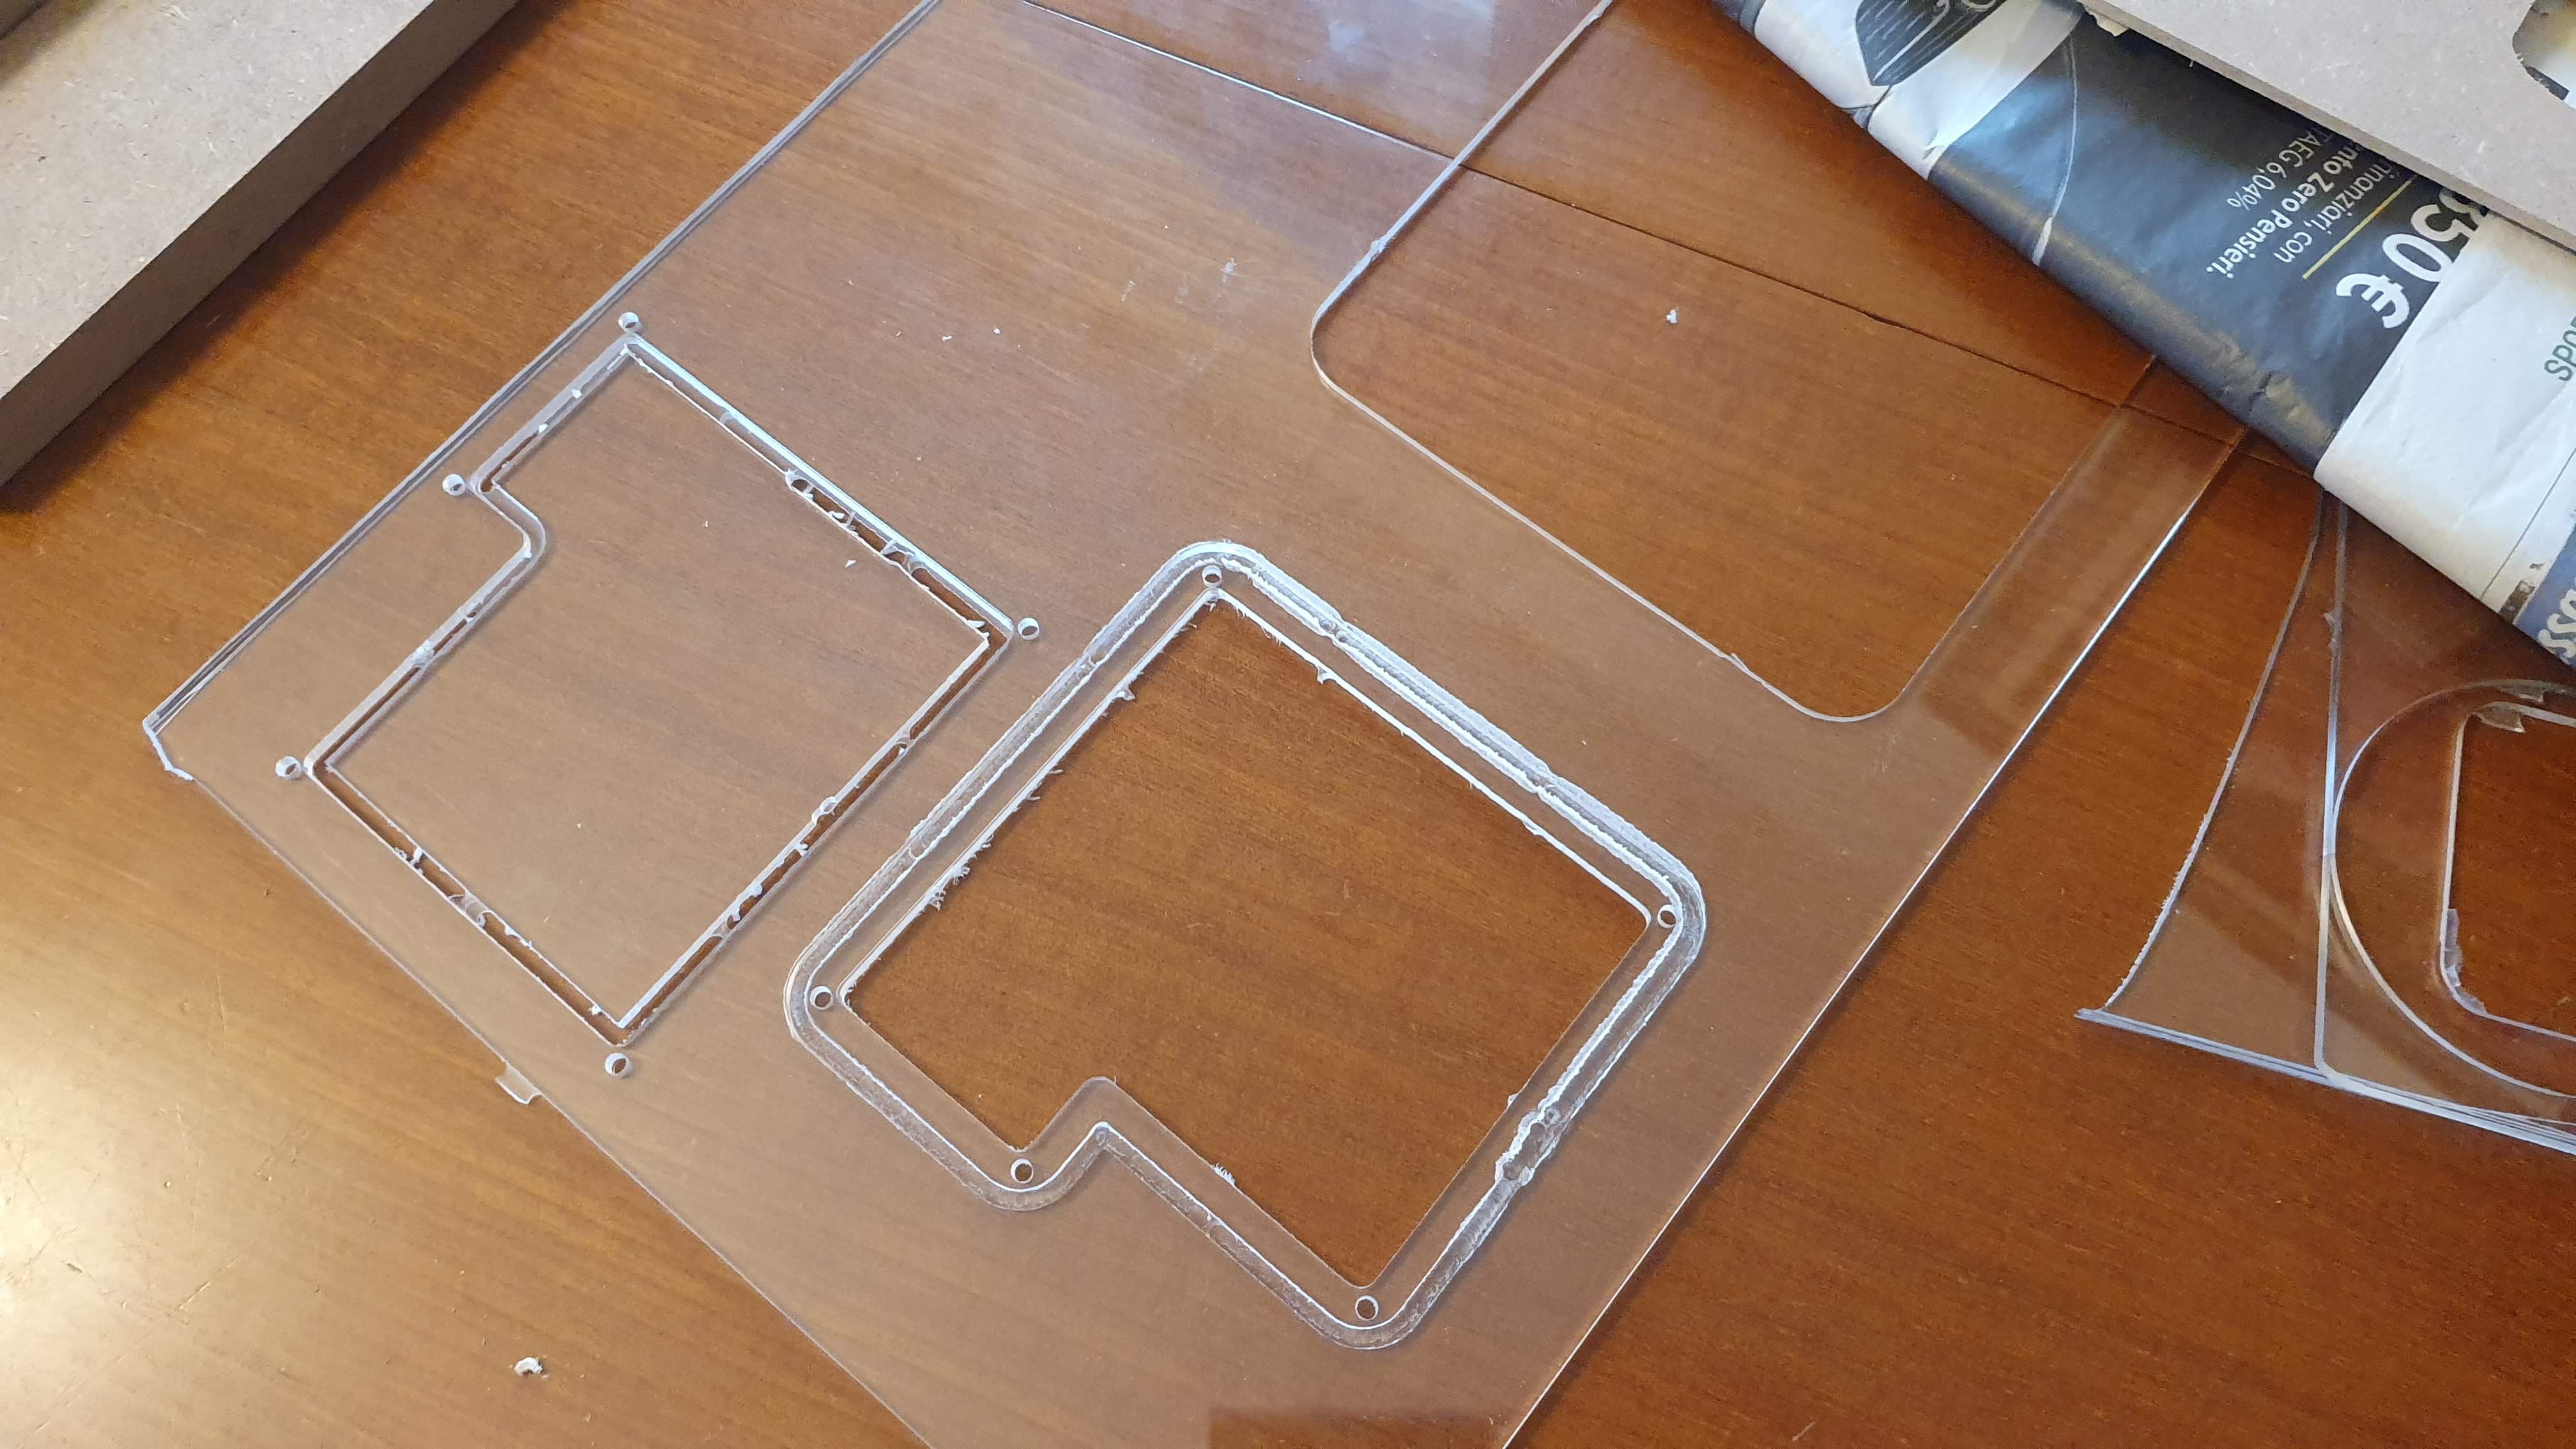
I then moved to the acrylic parts. It didn't turn out that good...
The acrylic melted around the bit and wrought havoc on my piece. After two more failed attempts changing various parameters, I changed bit to a newer one. Success finally...
So many failed attempts...
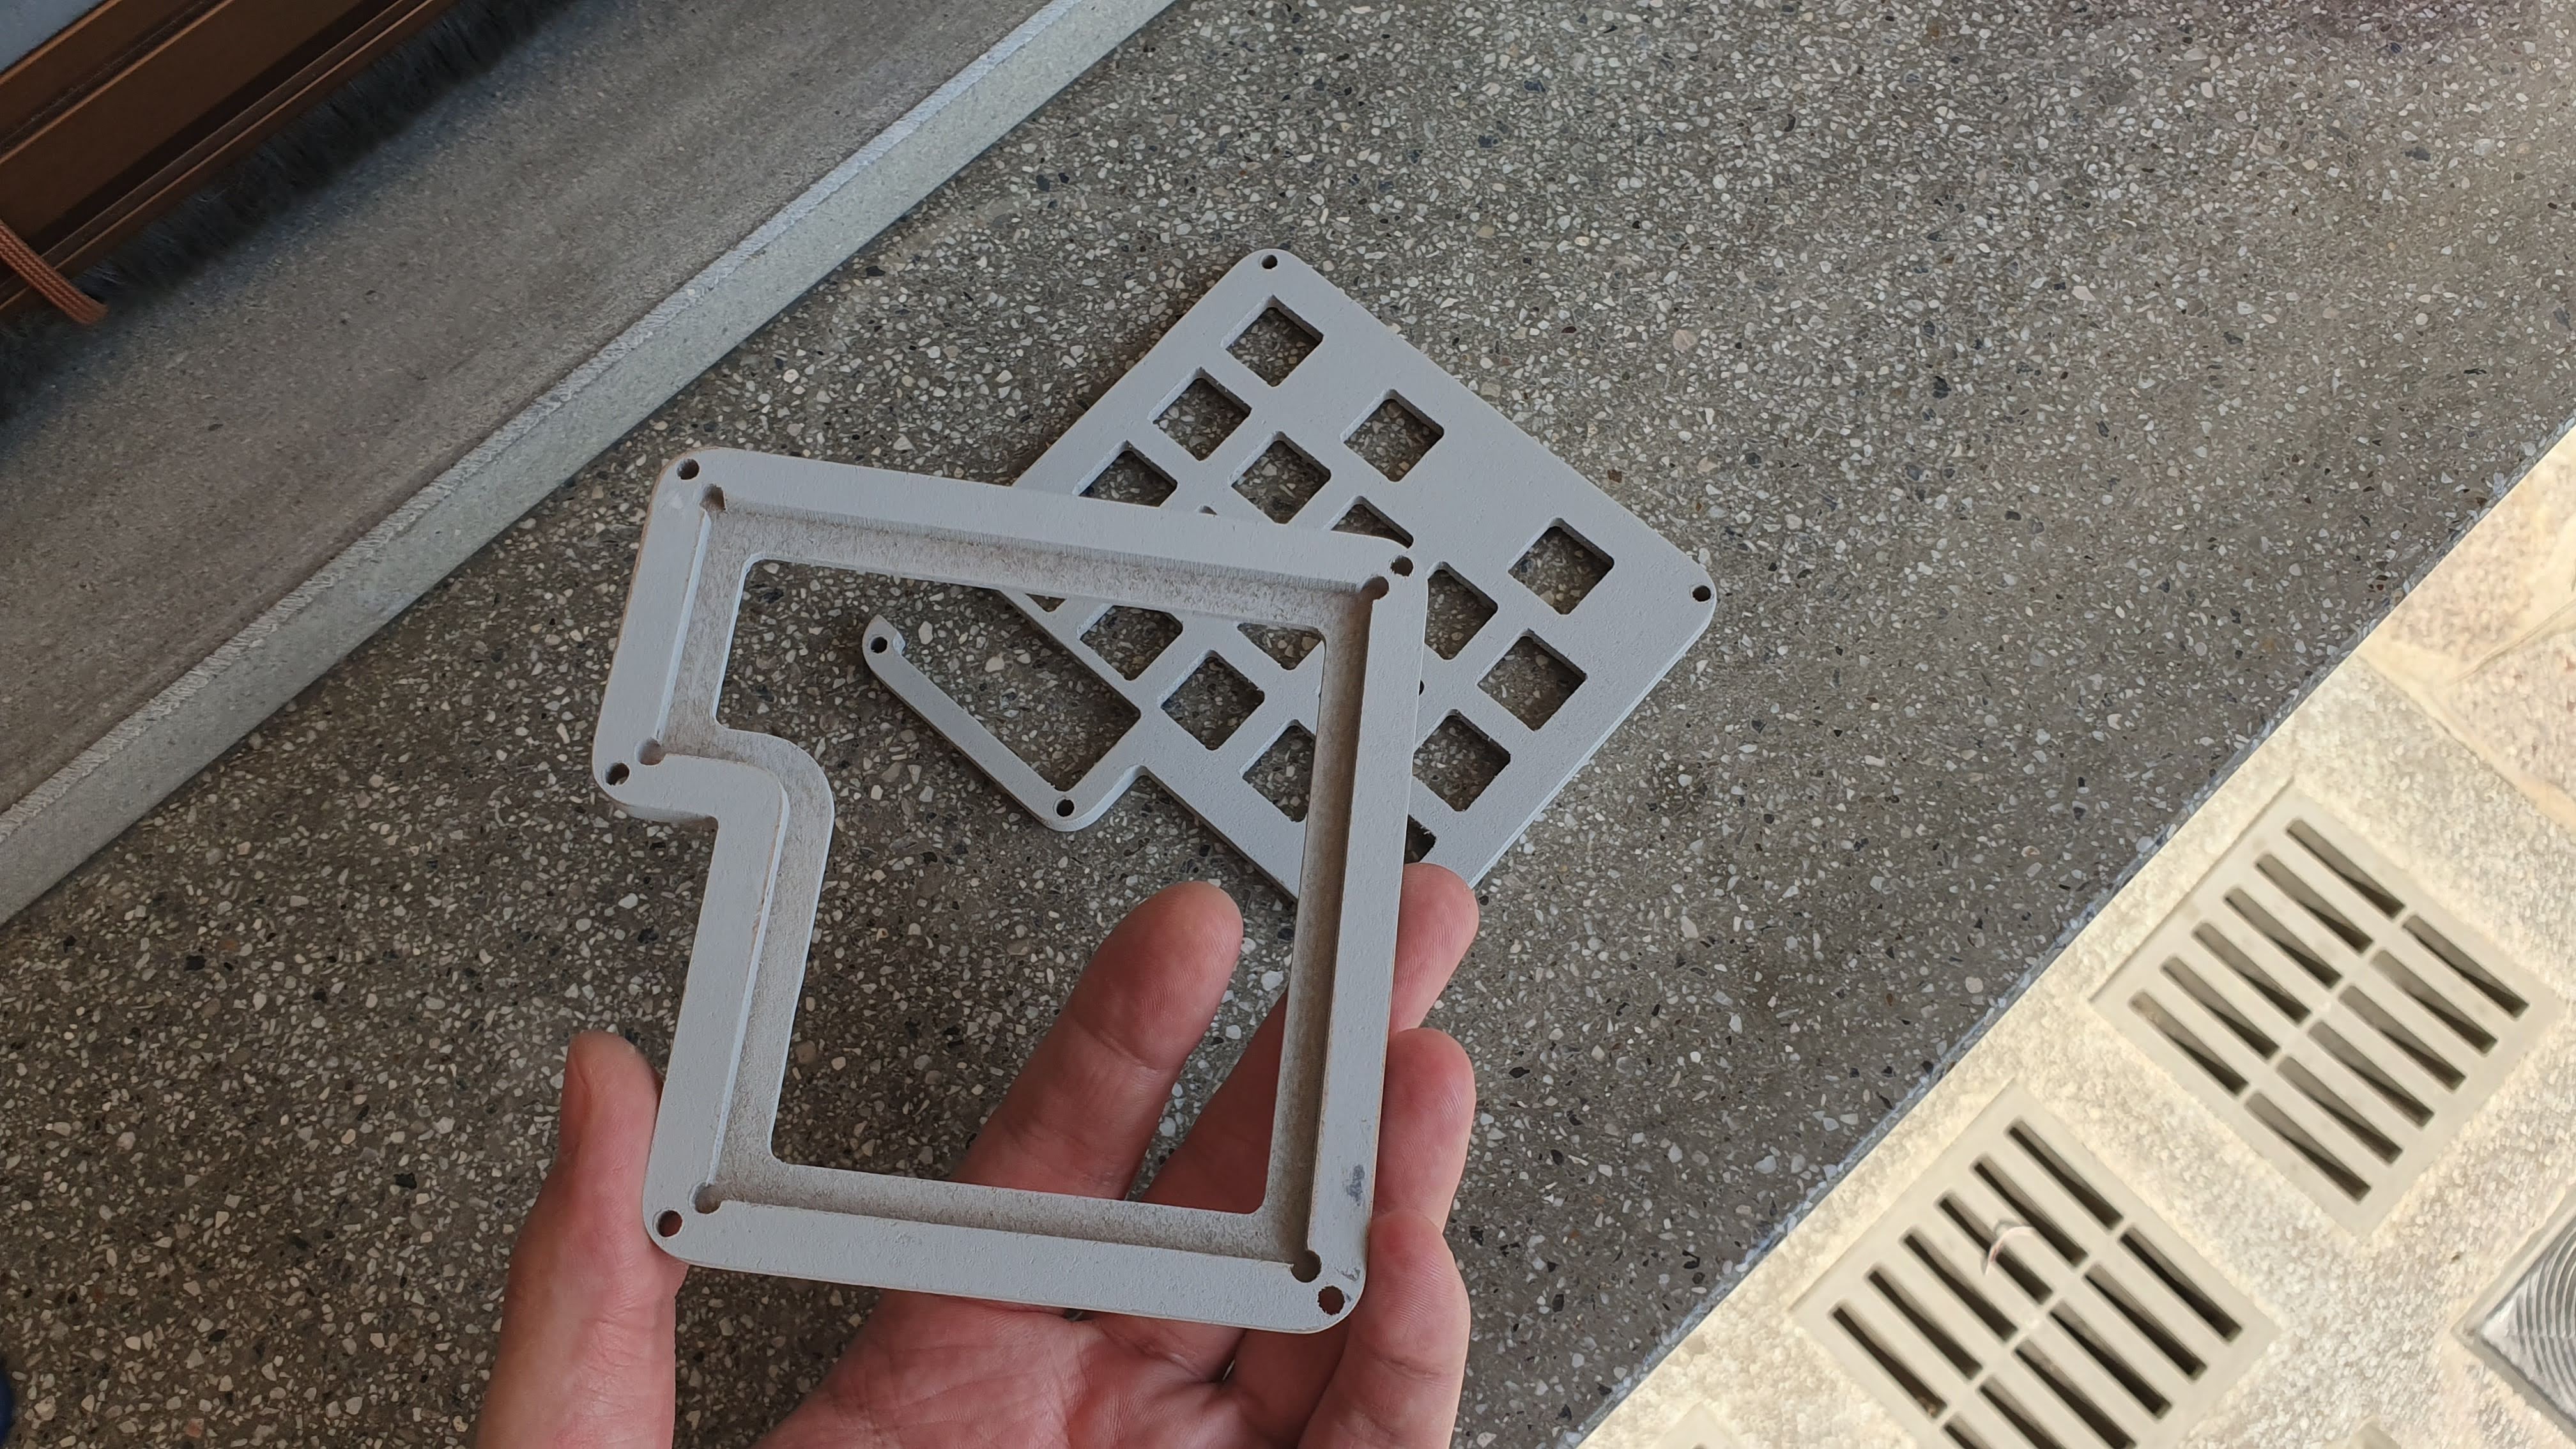
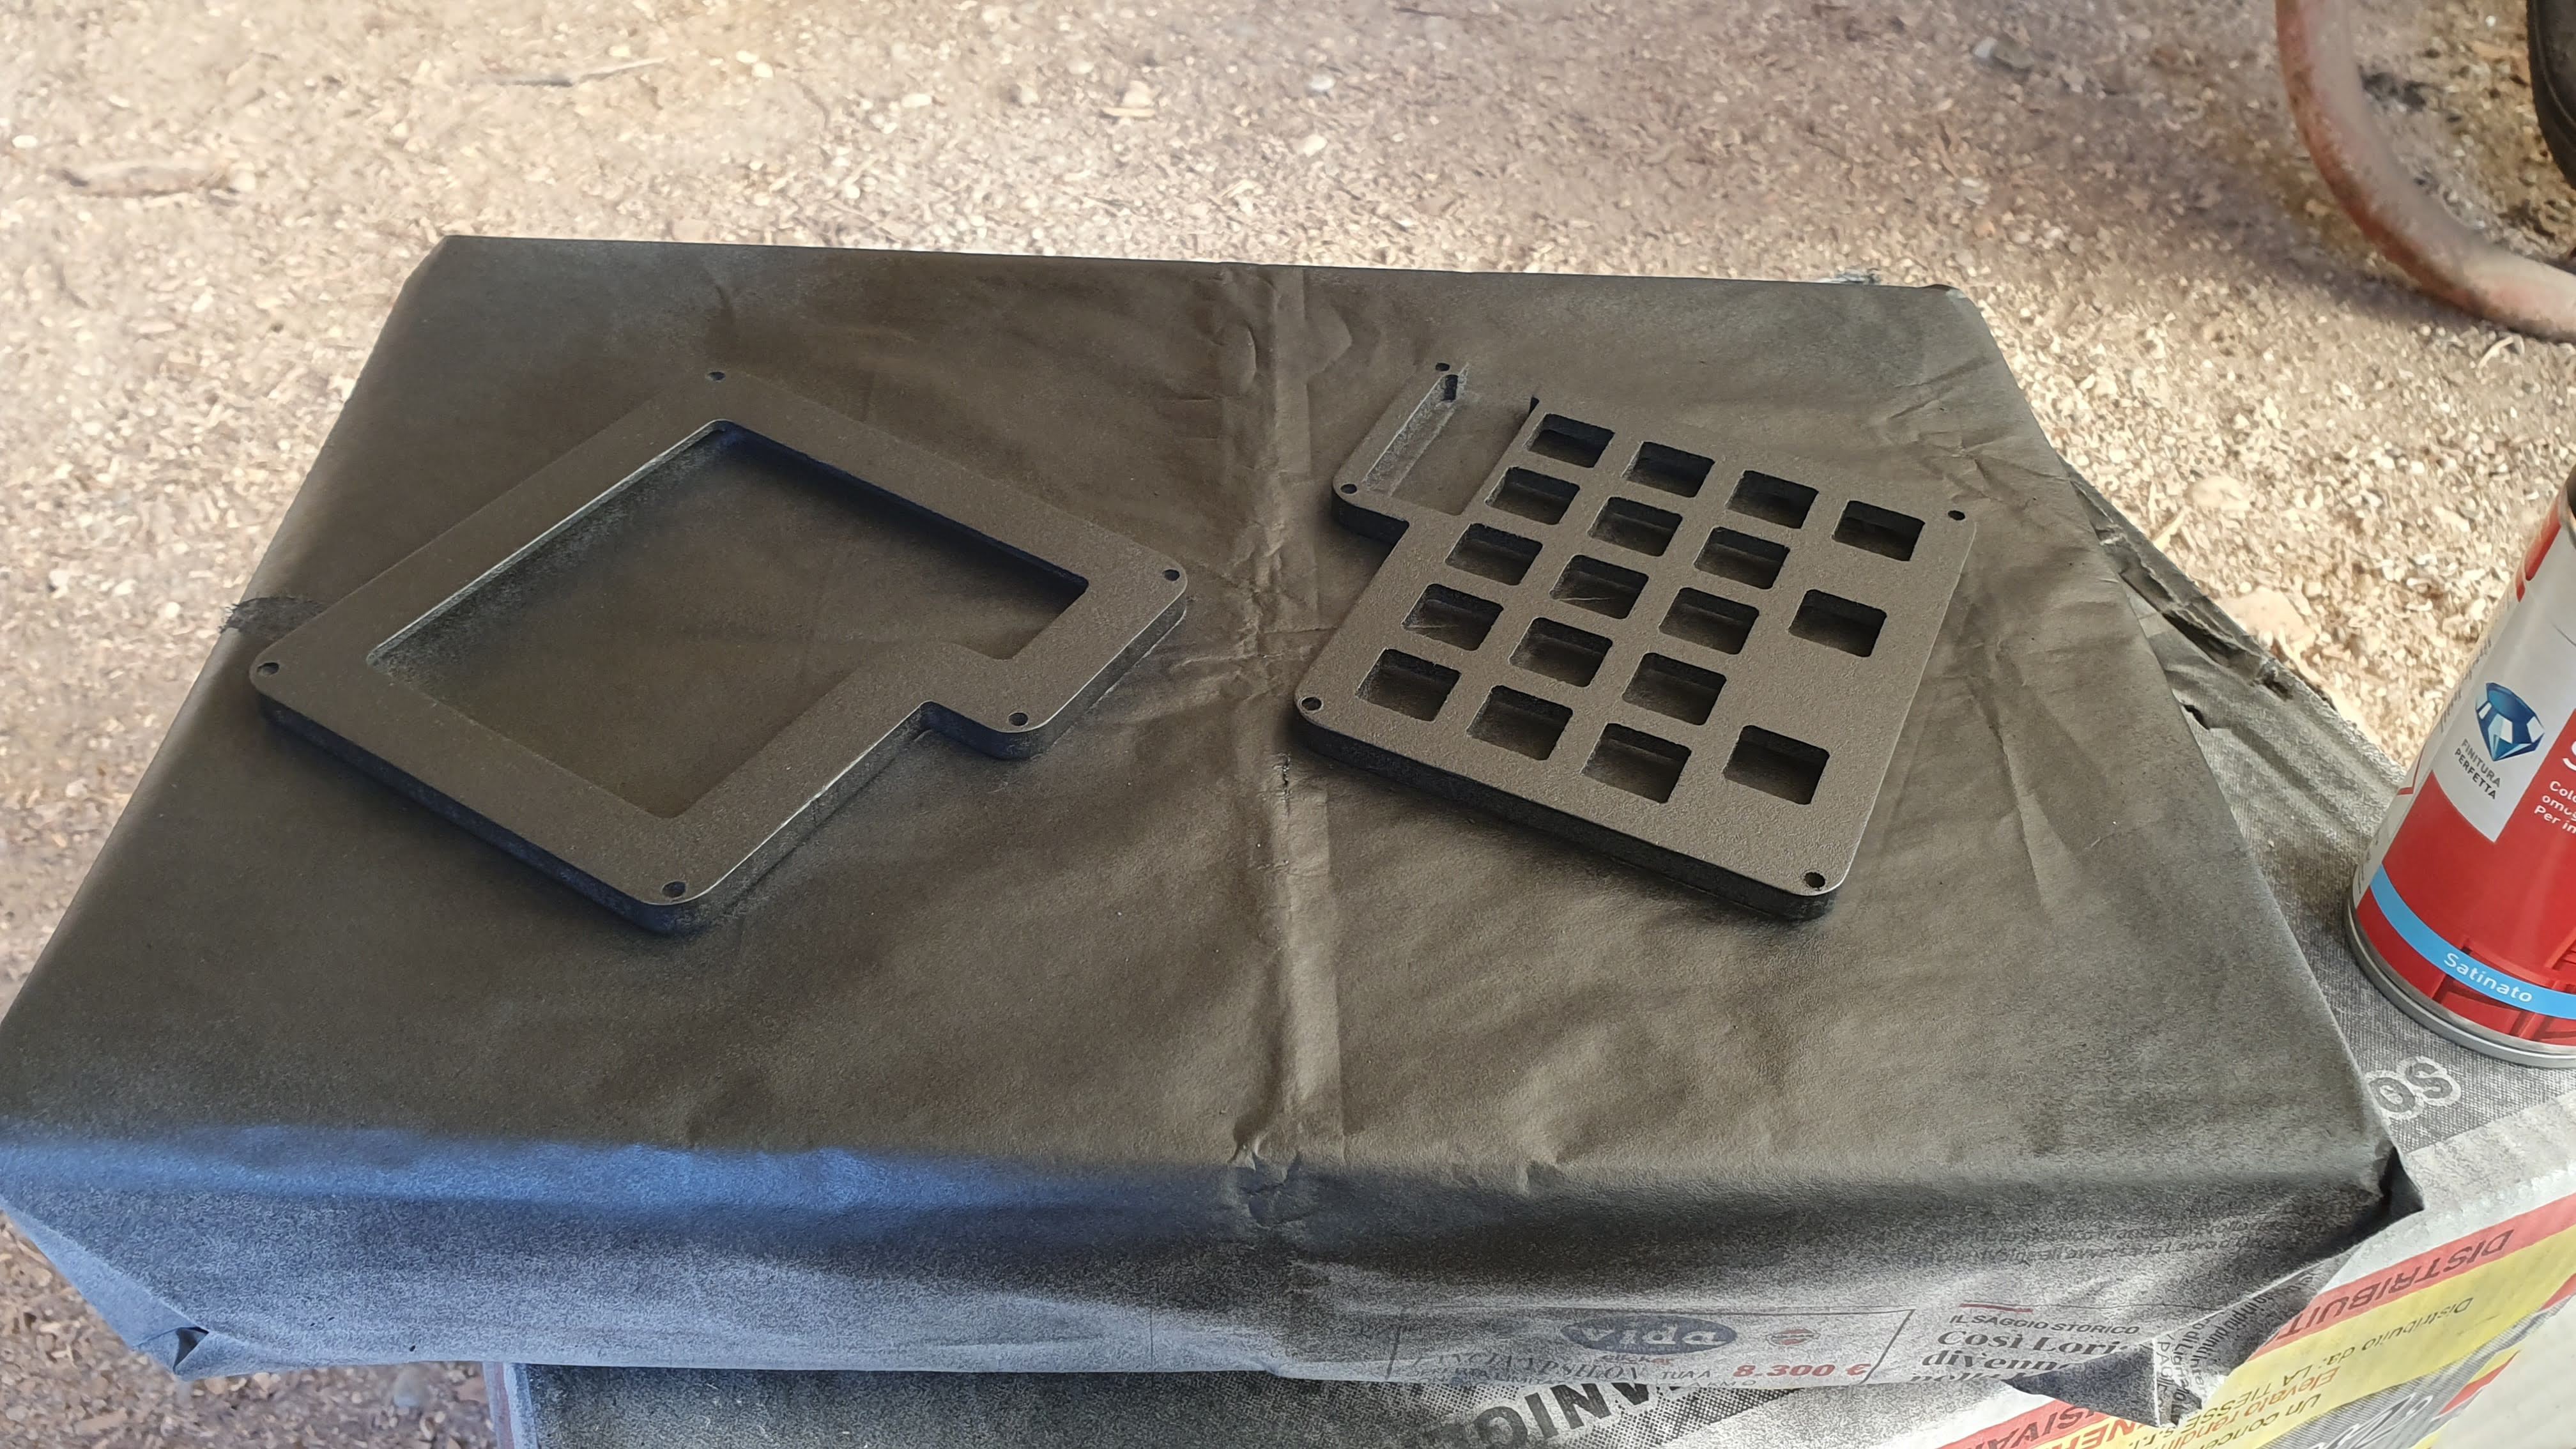
At this point I started priming the MDF parts.
And then some black paint... For MDF I always use solvent based paint, as it seems to bring the best results.
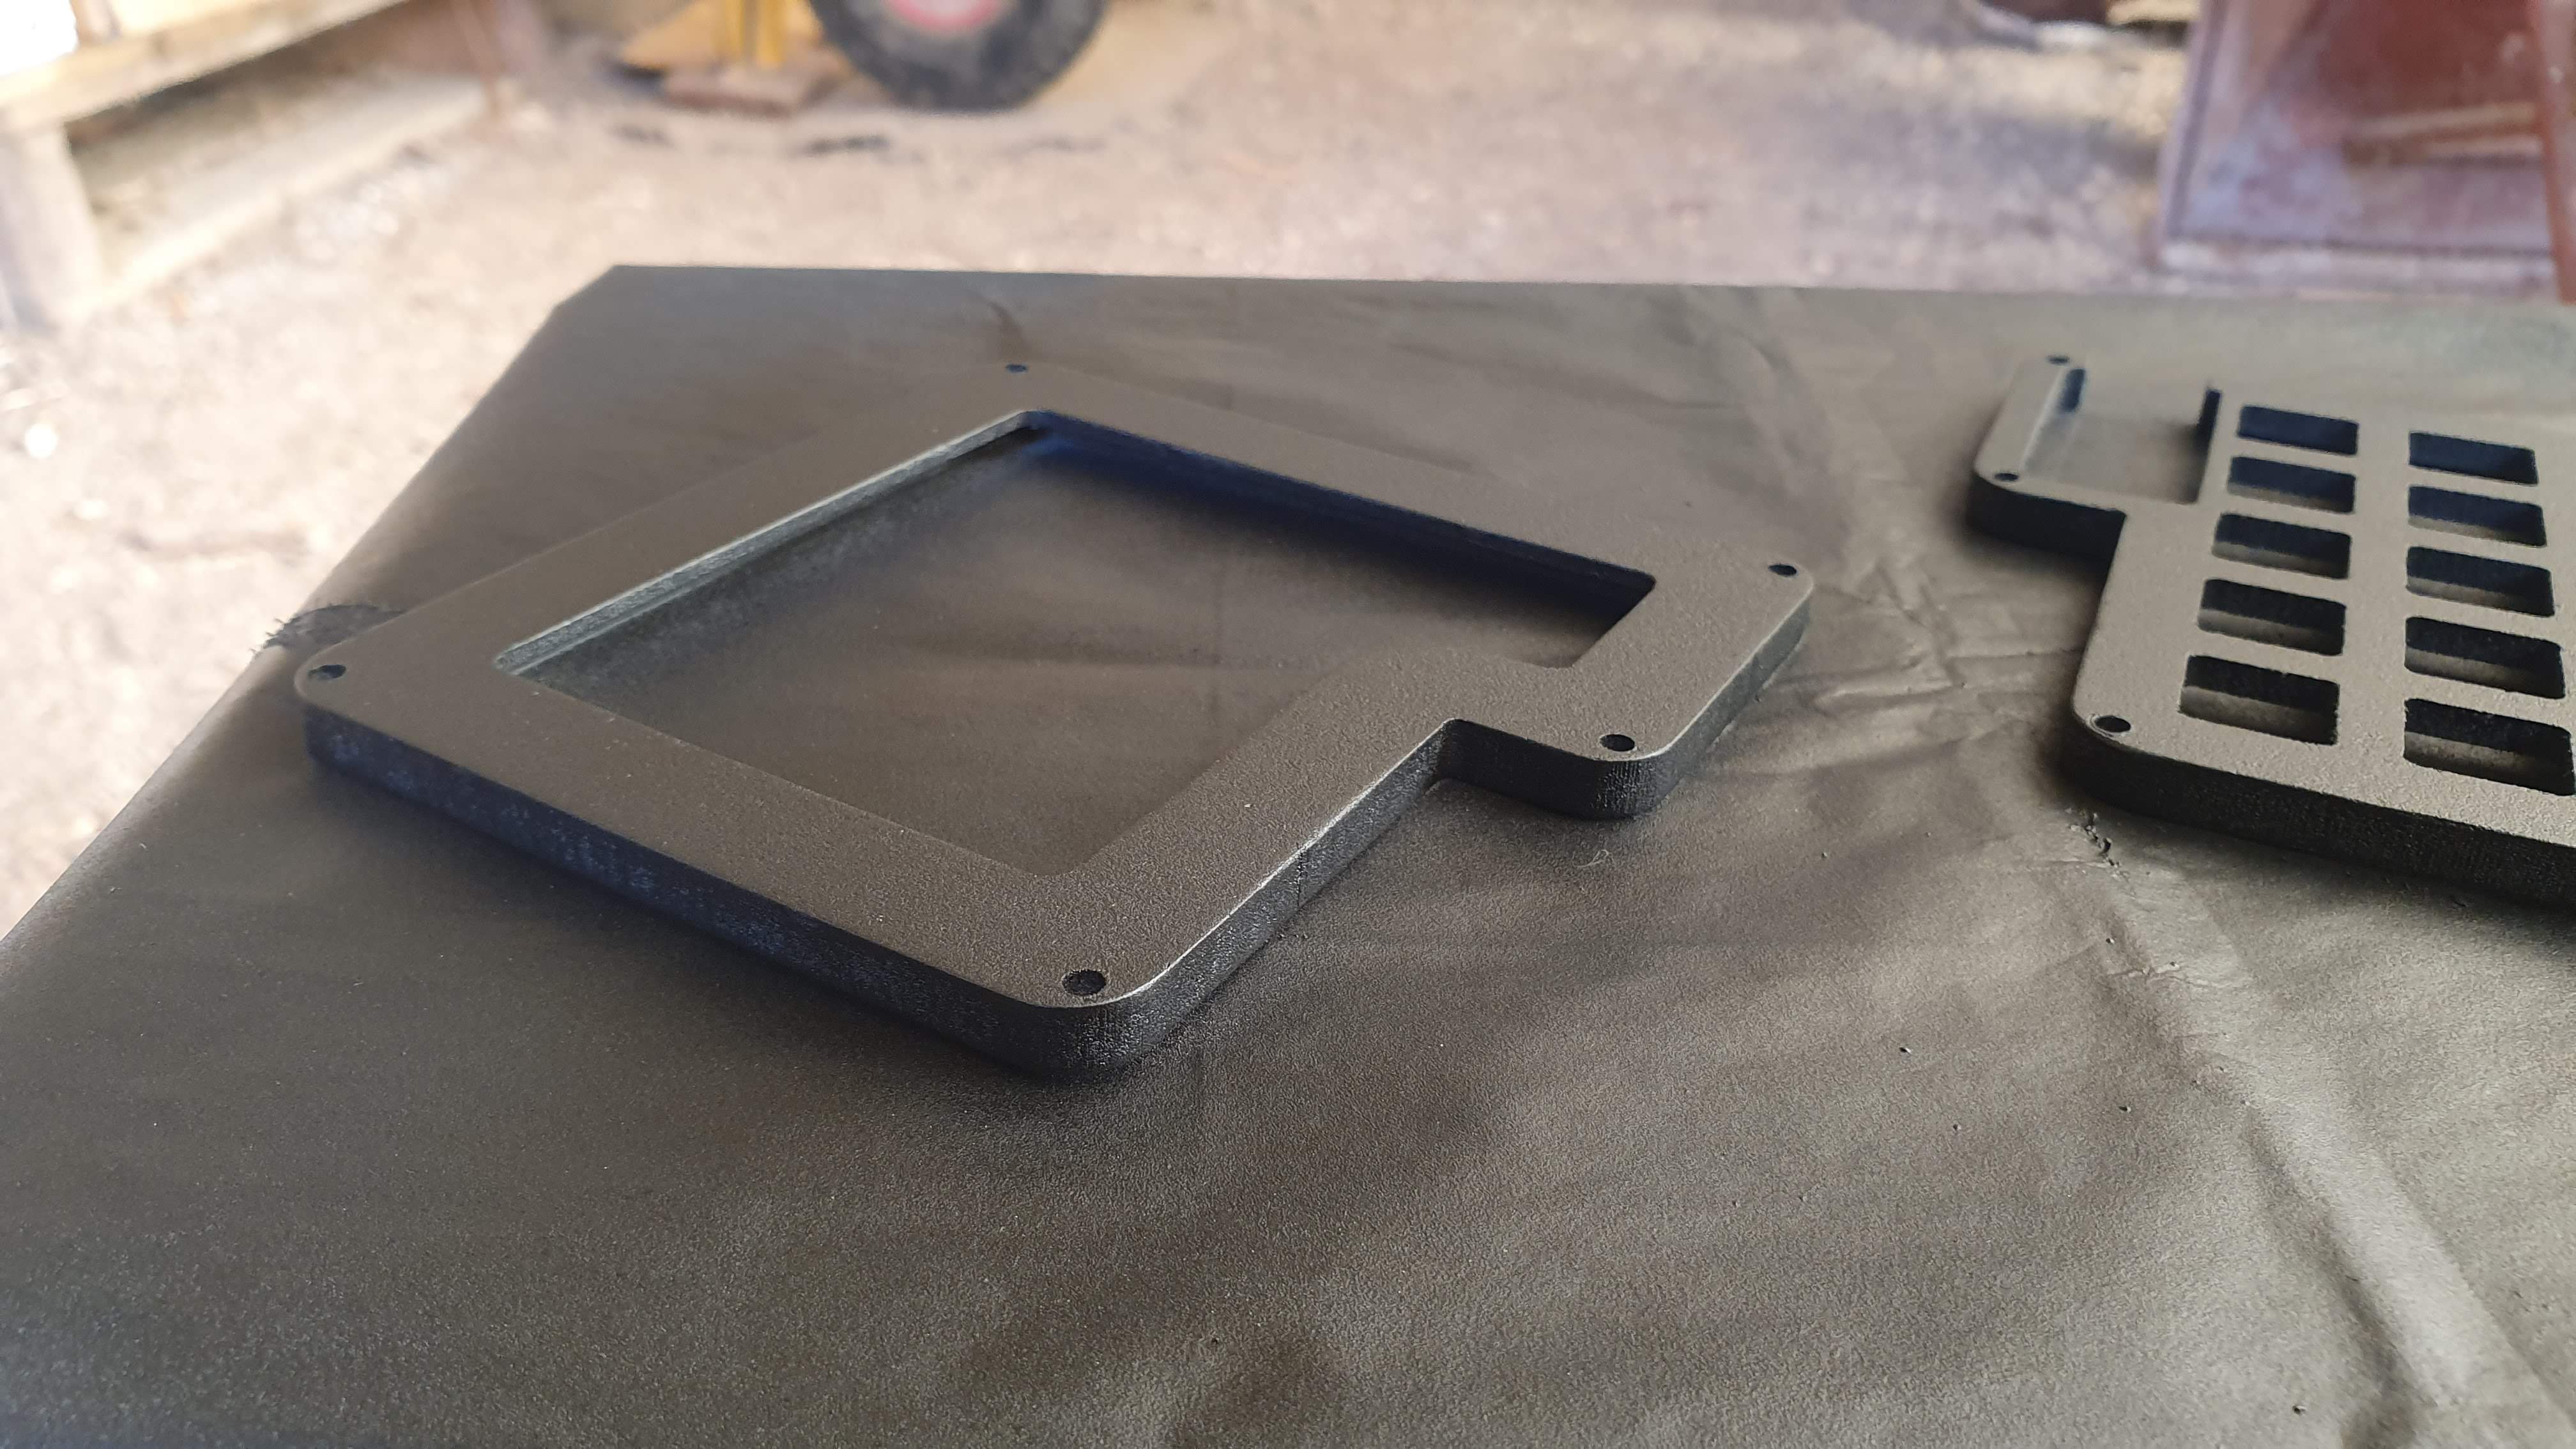
Turned out super nice! Tomorrow I'll add a final layer of transparent finish and I can finally move to the final assembly.
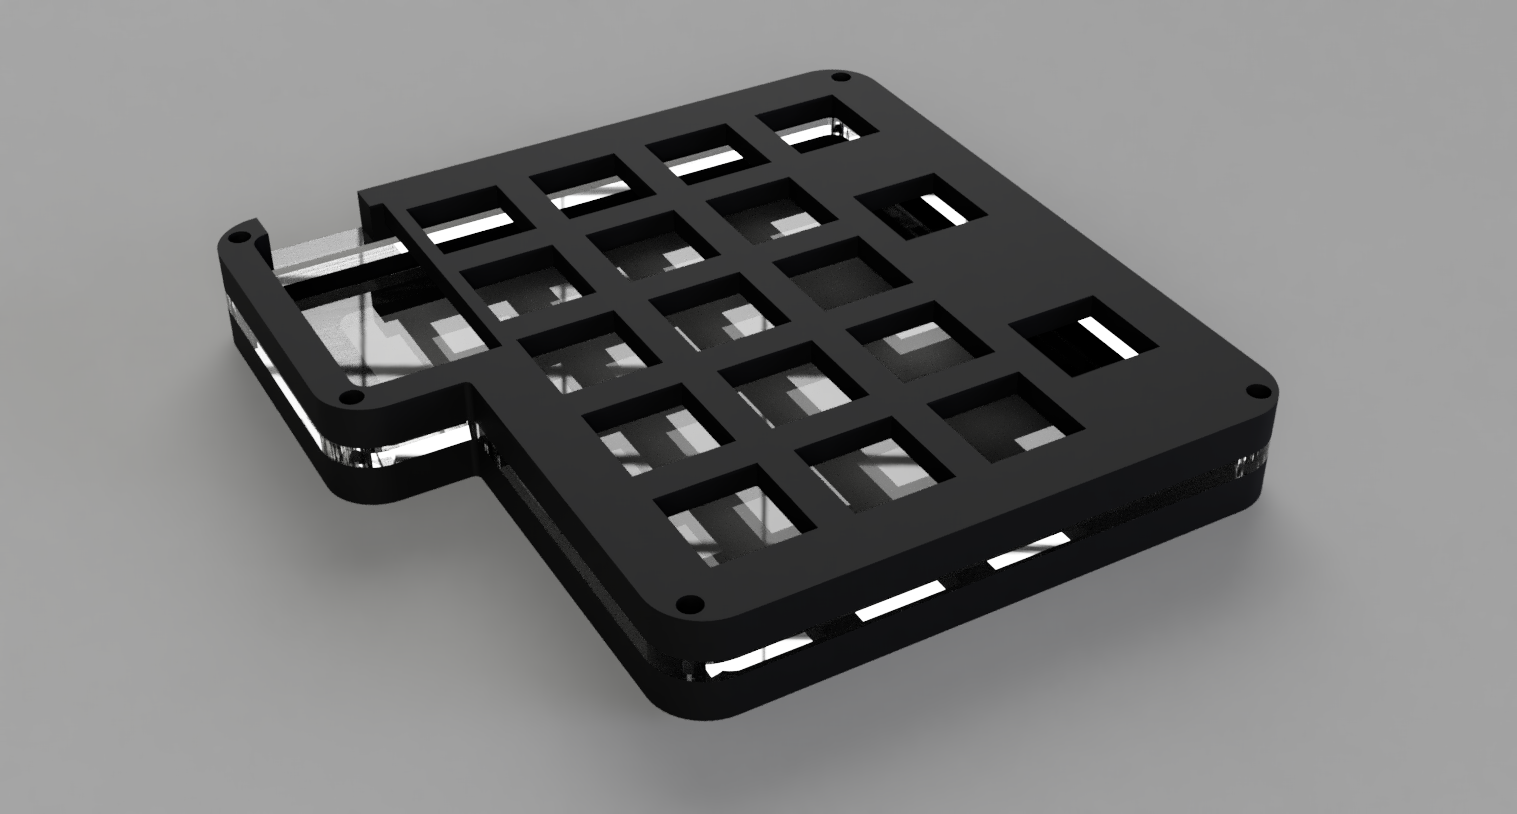
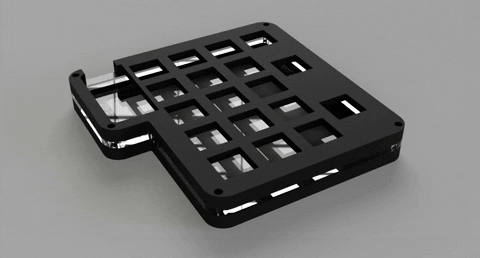
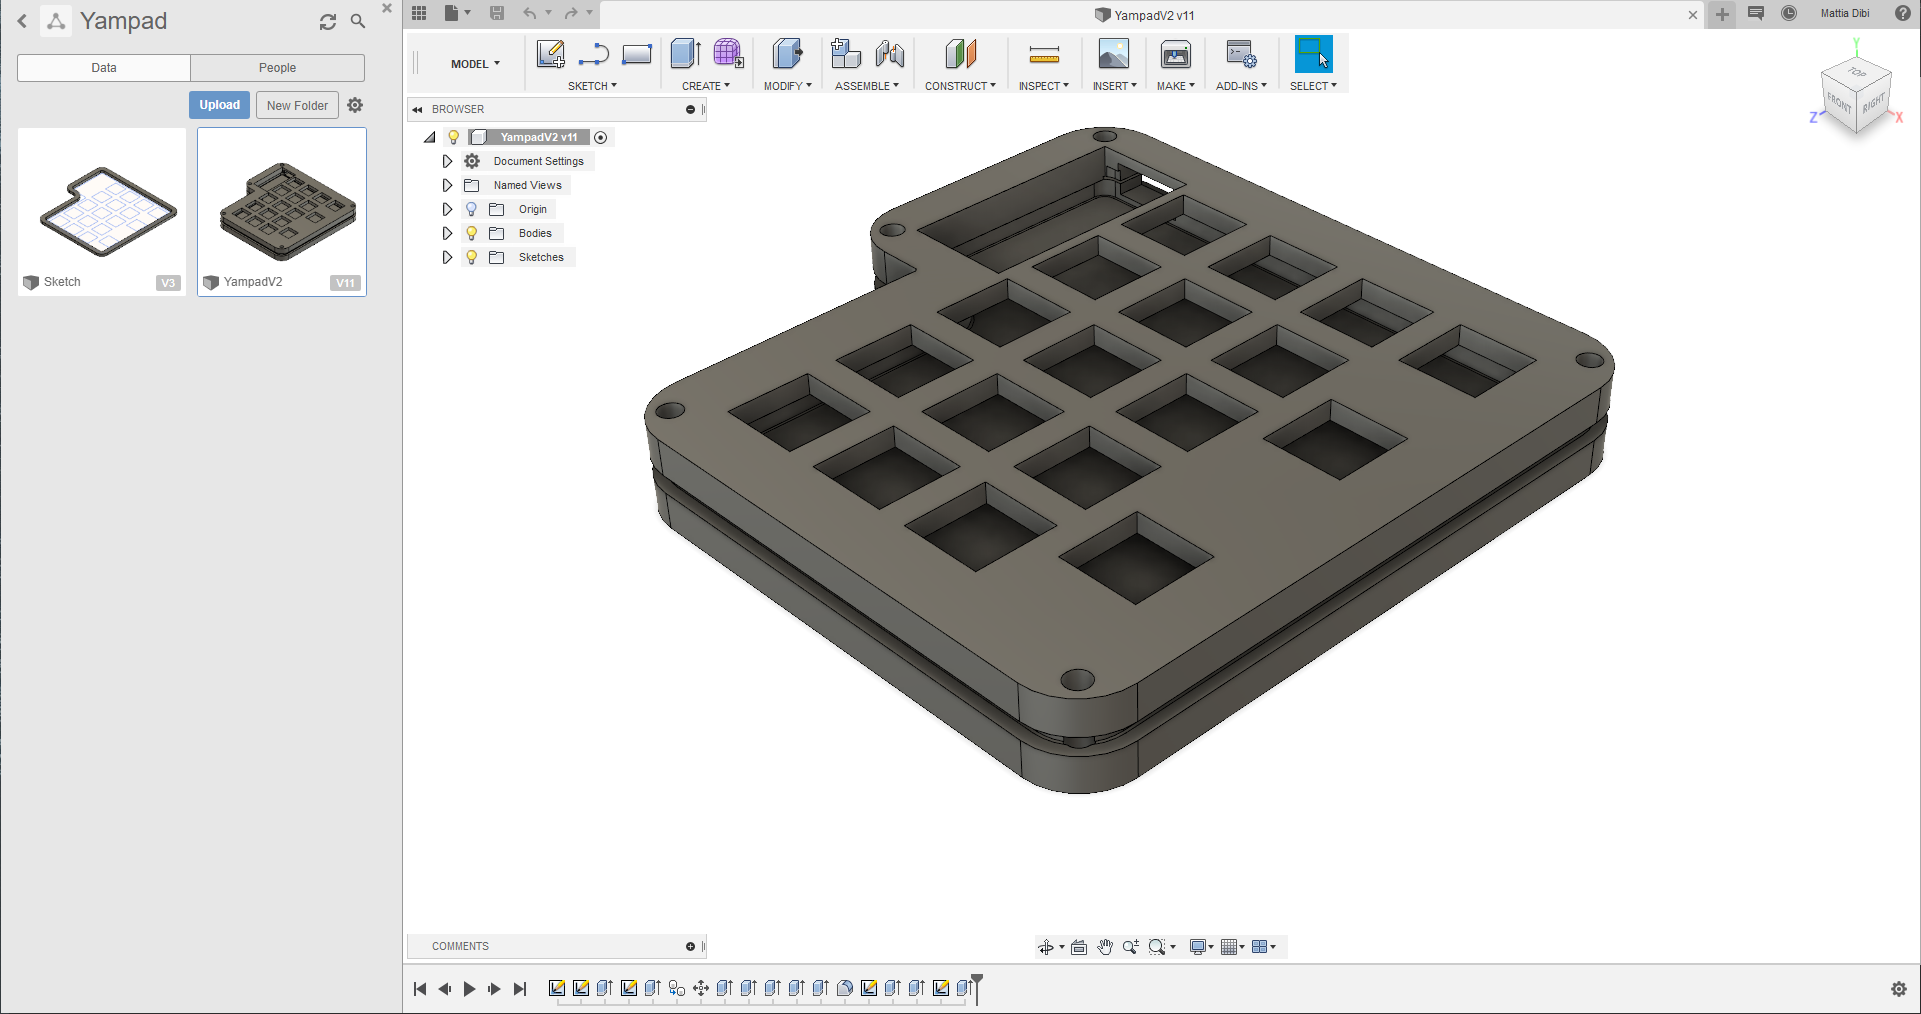
Finally, after a few iterations, I came up with a design I like. The main problem is the screw holes, I'm worried about the acrylic structural integrity after removing that much material from the corners. We'll see...
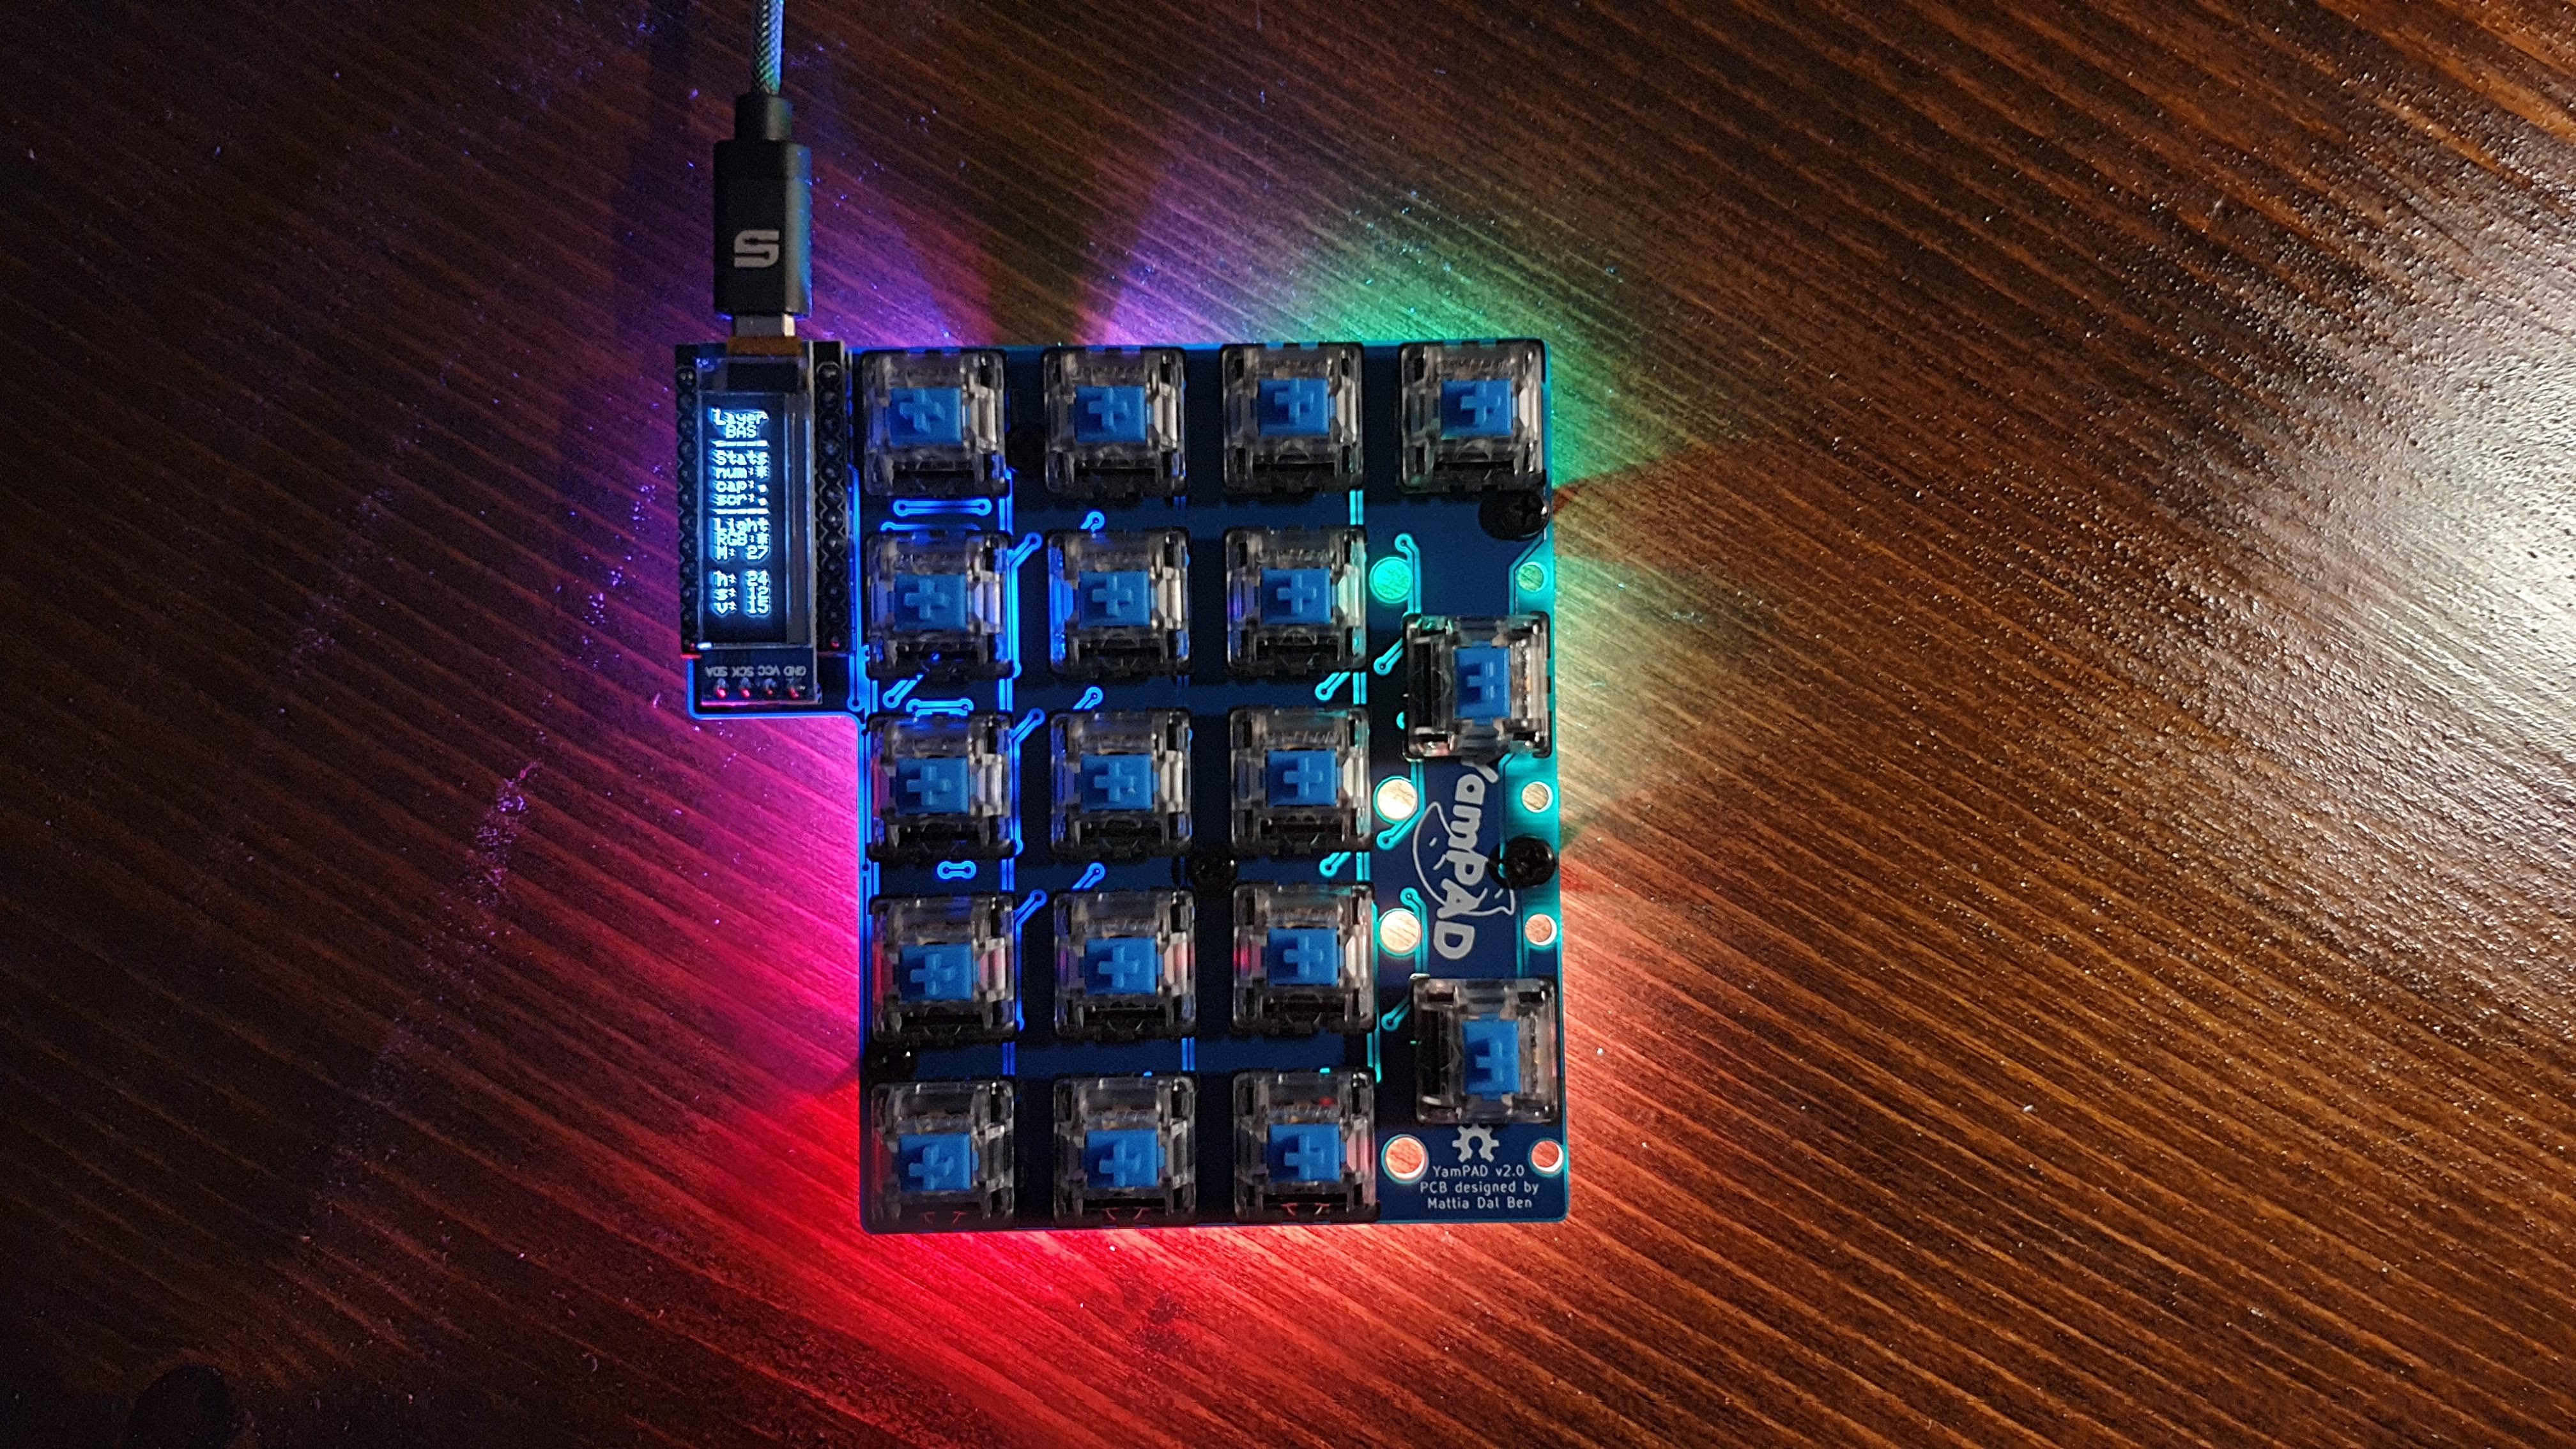
I finally got around to write some code. Here you can find it. In short it can be used as a standard numpad, pressing the key where you usually find the NumLock toggles the Navigation layer which enables the nav cluster. I also added a layer that controls the RGB backlight.
The OLED screen display information about the layer status, the NumLock, ScrollLock and CapsLock status and RGB settings... But I want to add something more in the future.
All of this obviously was made possibile by the awesome work of the QMK community.
While I was at it I also took some more pics, enjoy...
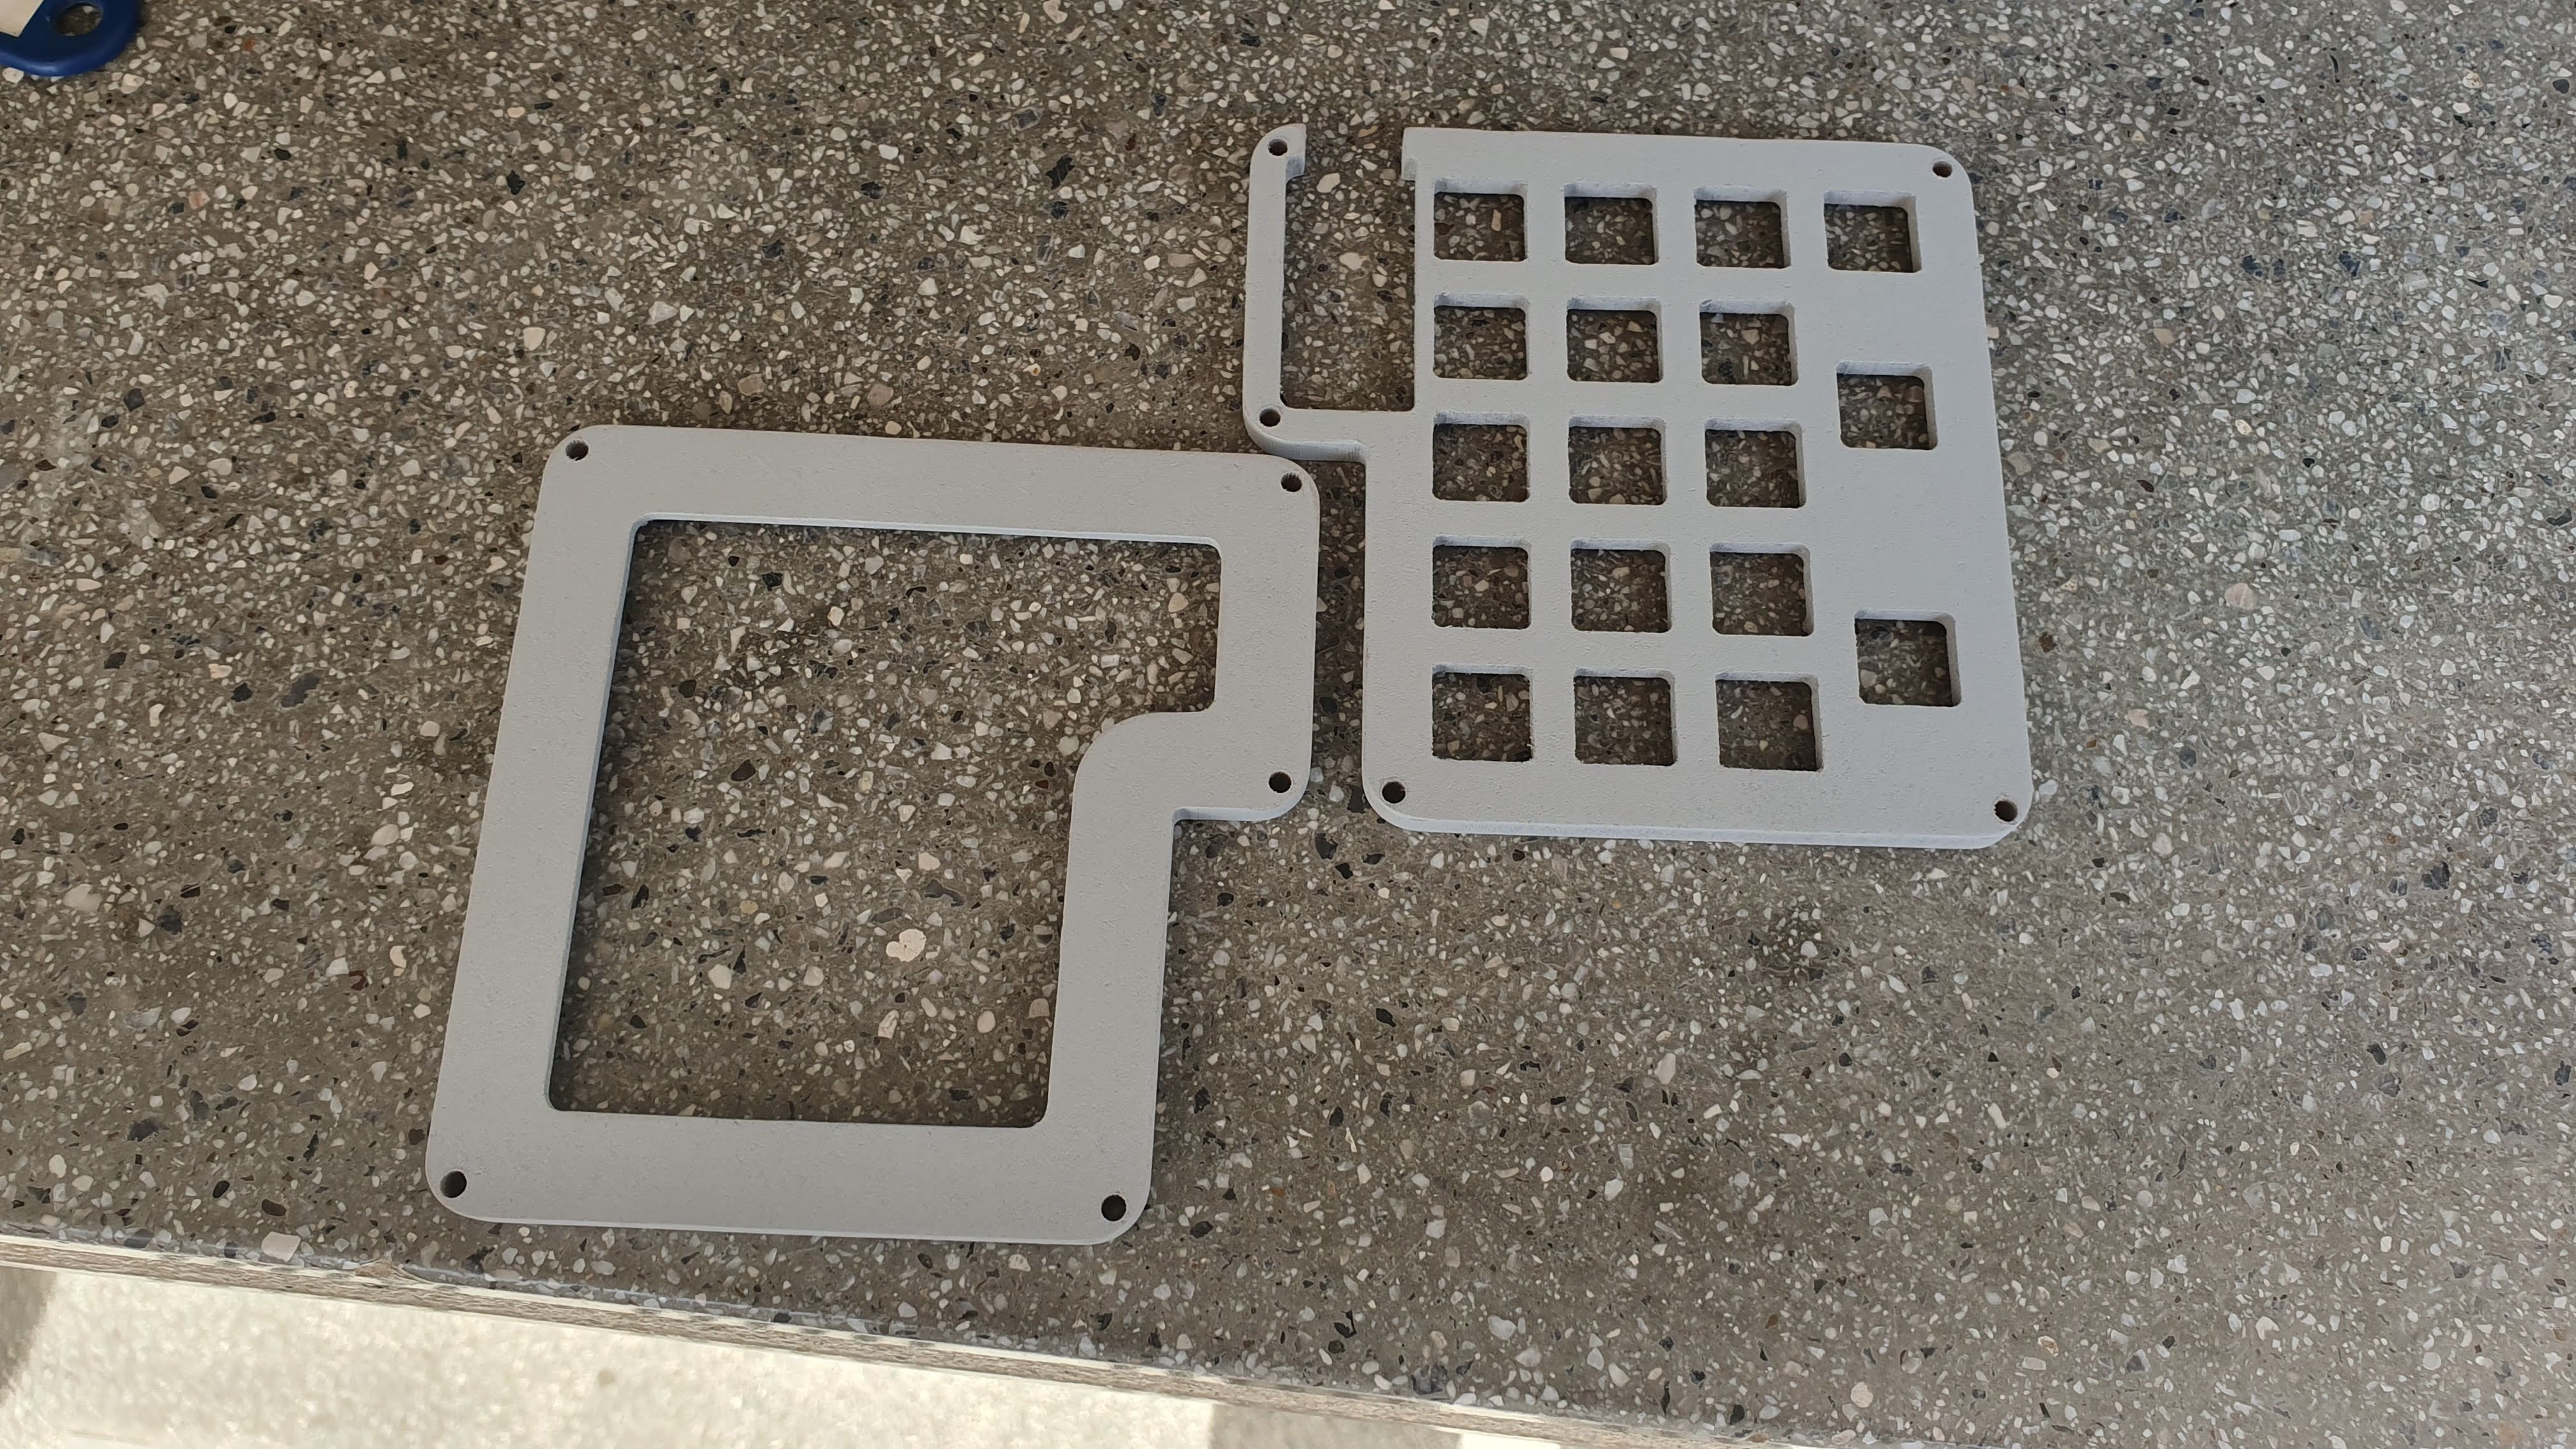
Today I was in the mood (actually rained all day sooooo...) and I designed a case prototype for the YamPAD. Unfortunately it didn't turn out that good....
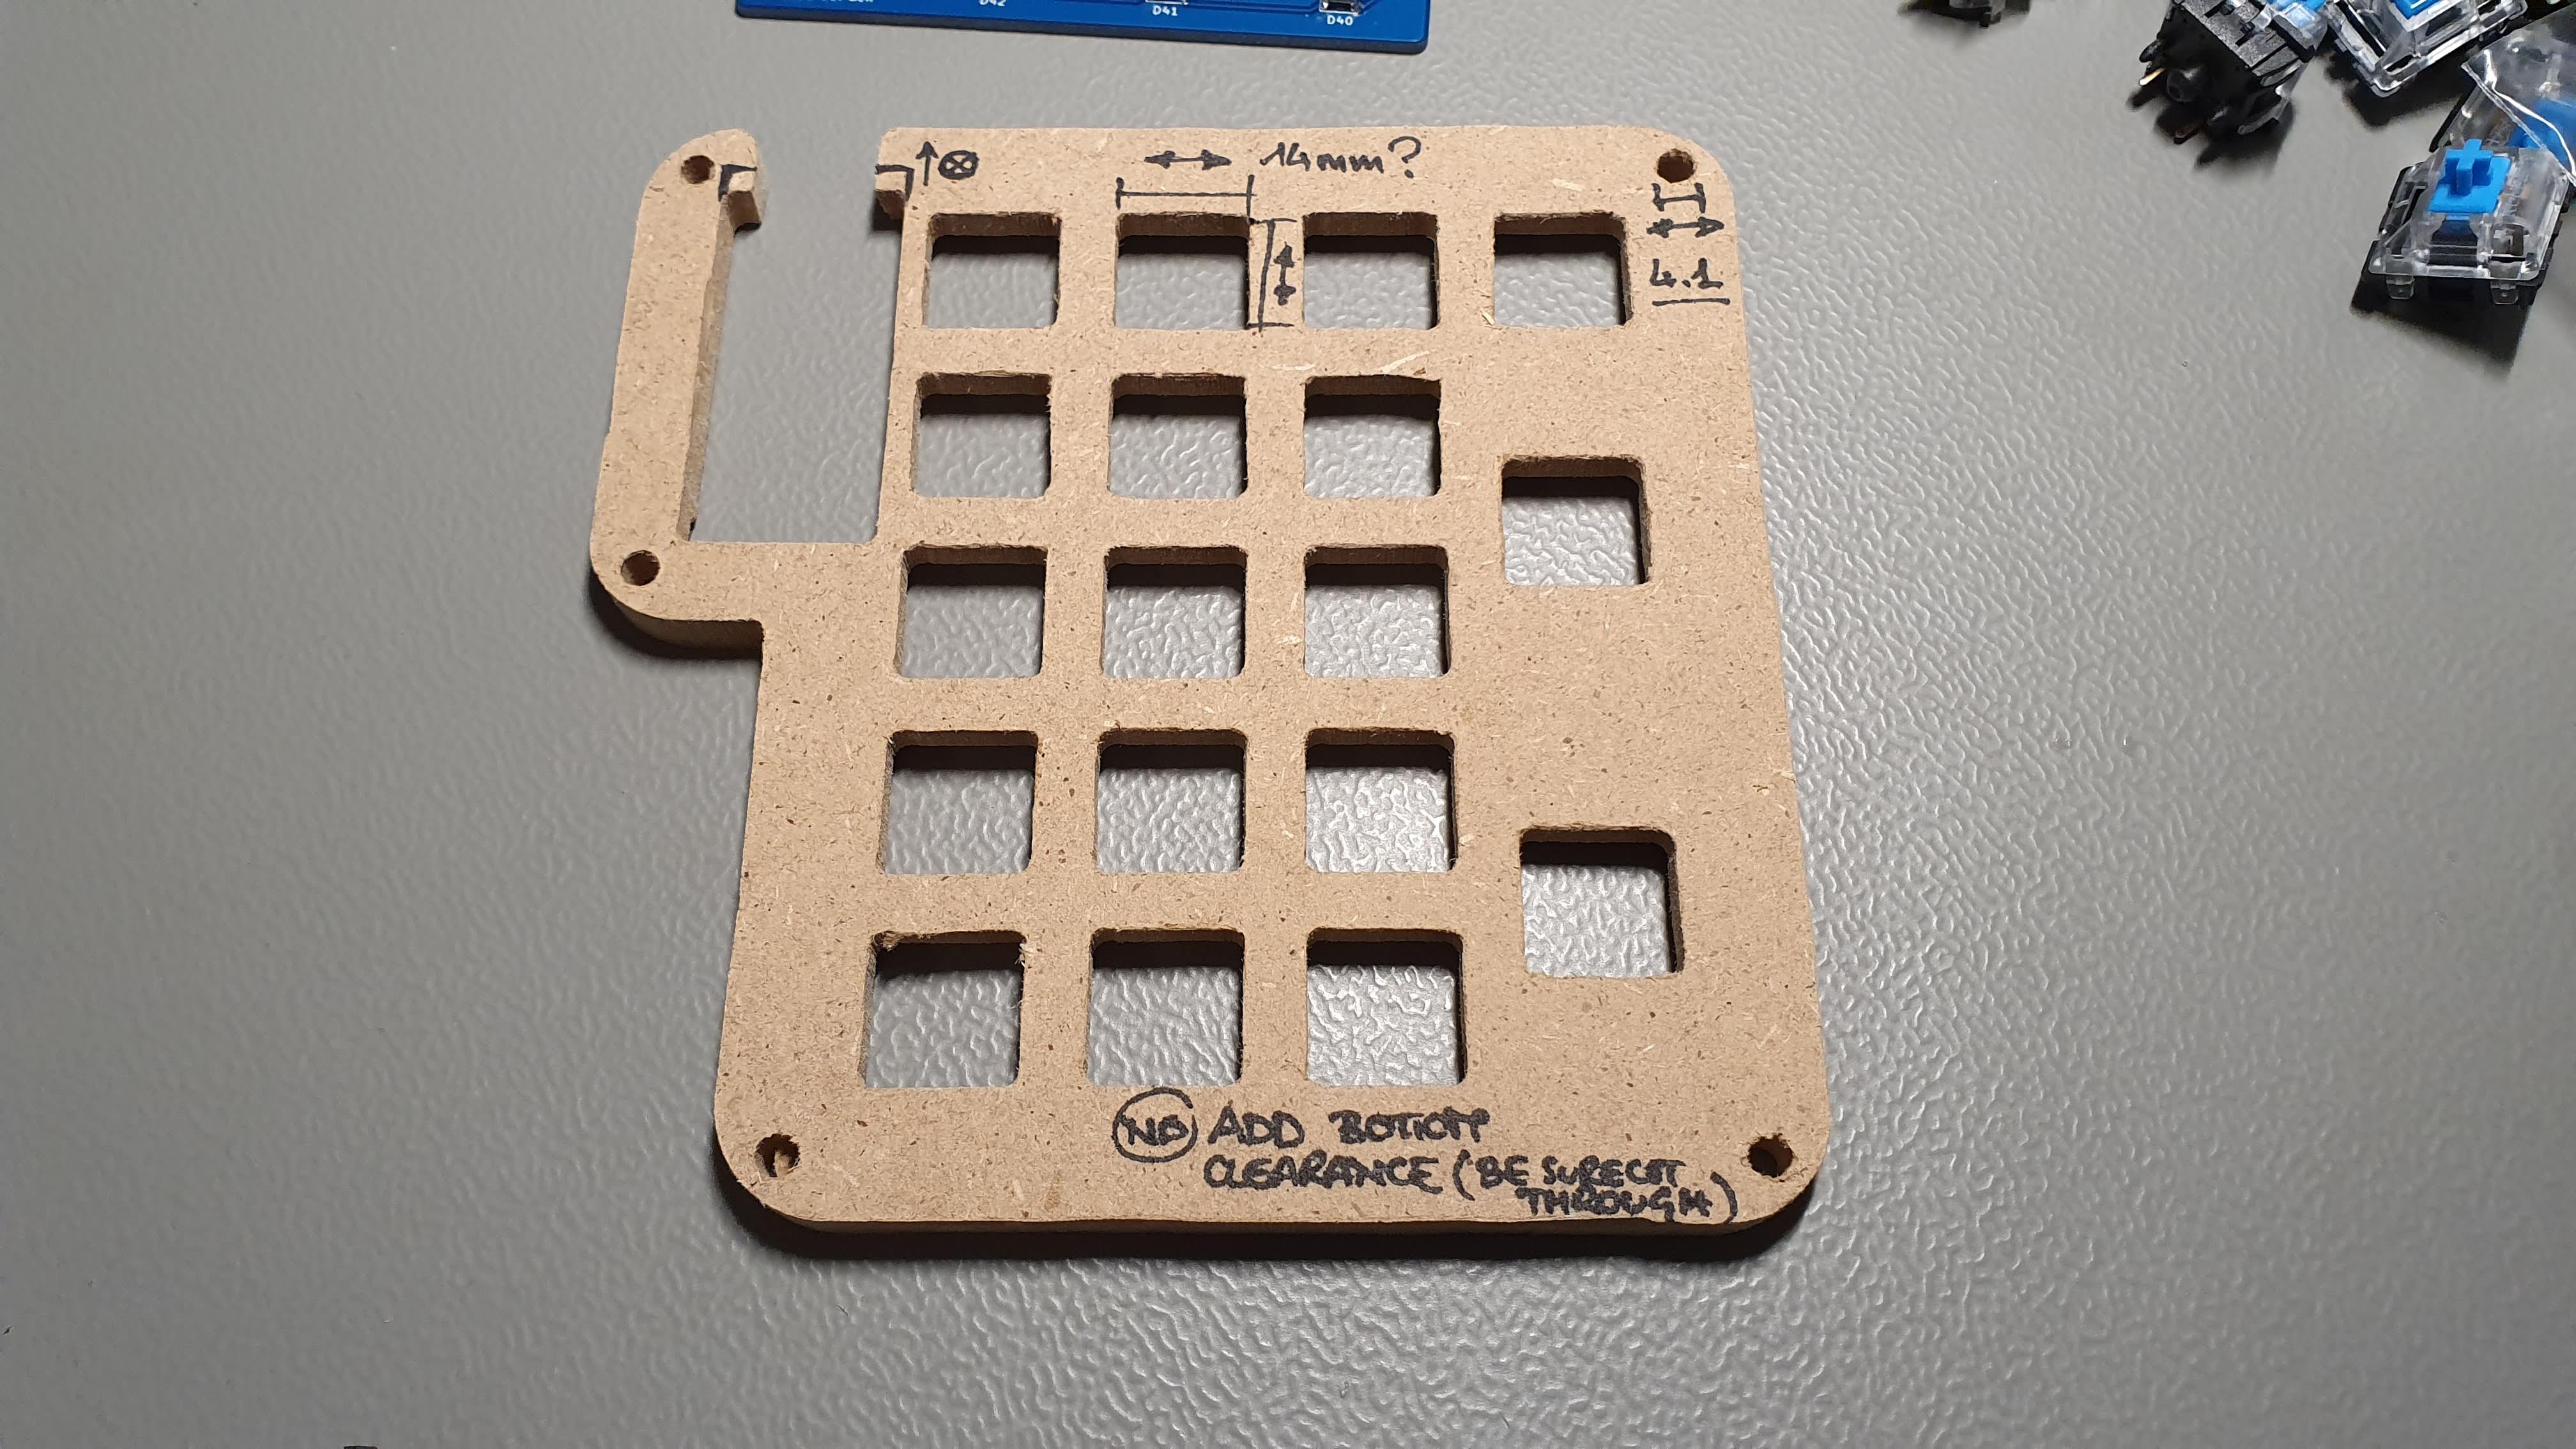
I started by importing the Edge Cut layer of the PCB in Fusion by exporting it in .svg. Once I realized I was looking at a 5 feet long keyboard I switched to the .dxf format. Then I exported the switches and Pro Micro positions to make the holes for them.I'm still a noob with my CNC but I try to use it as much as I can. Unfortunately I forgot to film it while it was working... Next time I'll post some CNC action I promise!Turns out the switches don't fit, the screws don't fit, the Pro Micro didn't fit until I opened the top but hey, everything else fits like a glove :D
I need to do some minor adjustment to the design and get the tolerances right.
I'm also thinking about changing the width of the case... It looks too bulky and I don't think the proportions are right. We'll see...
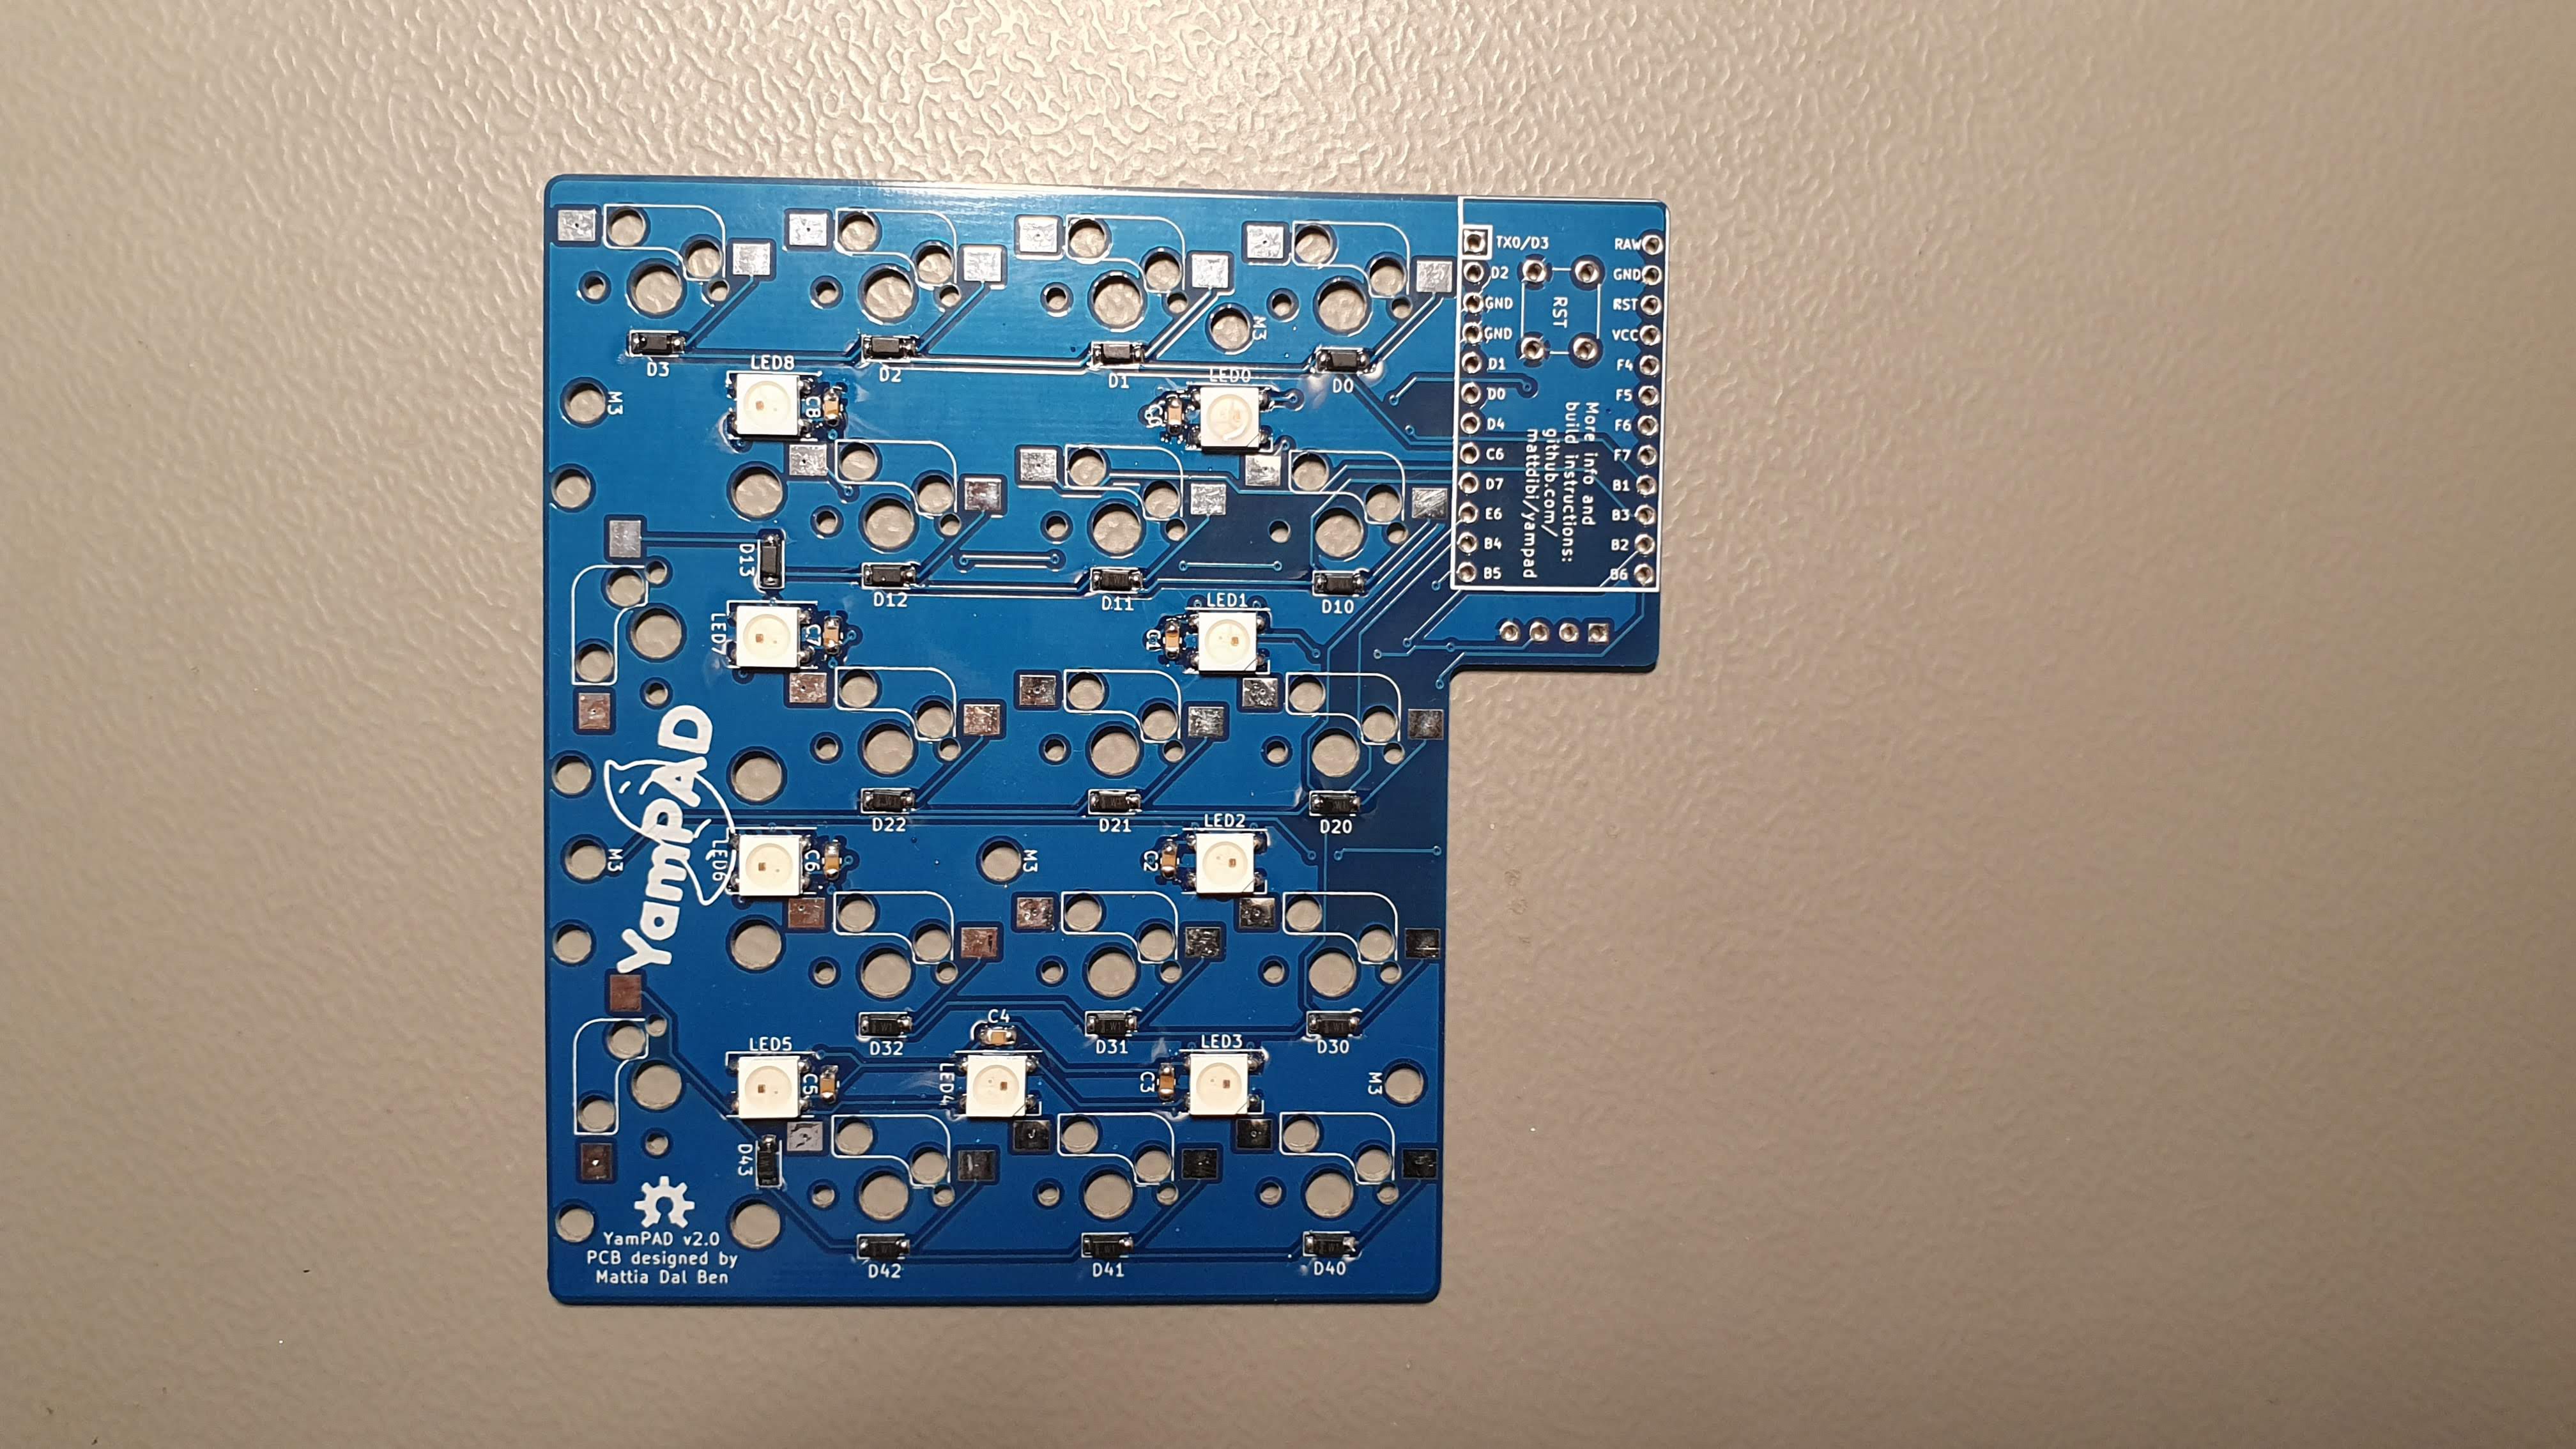
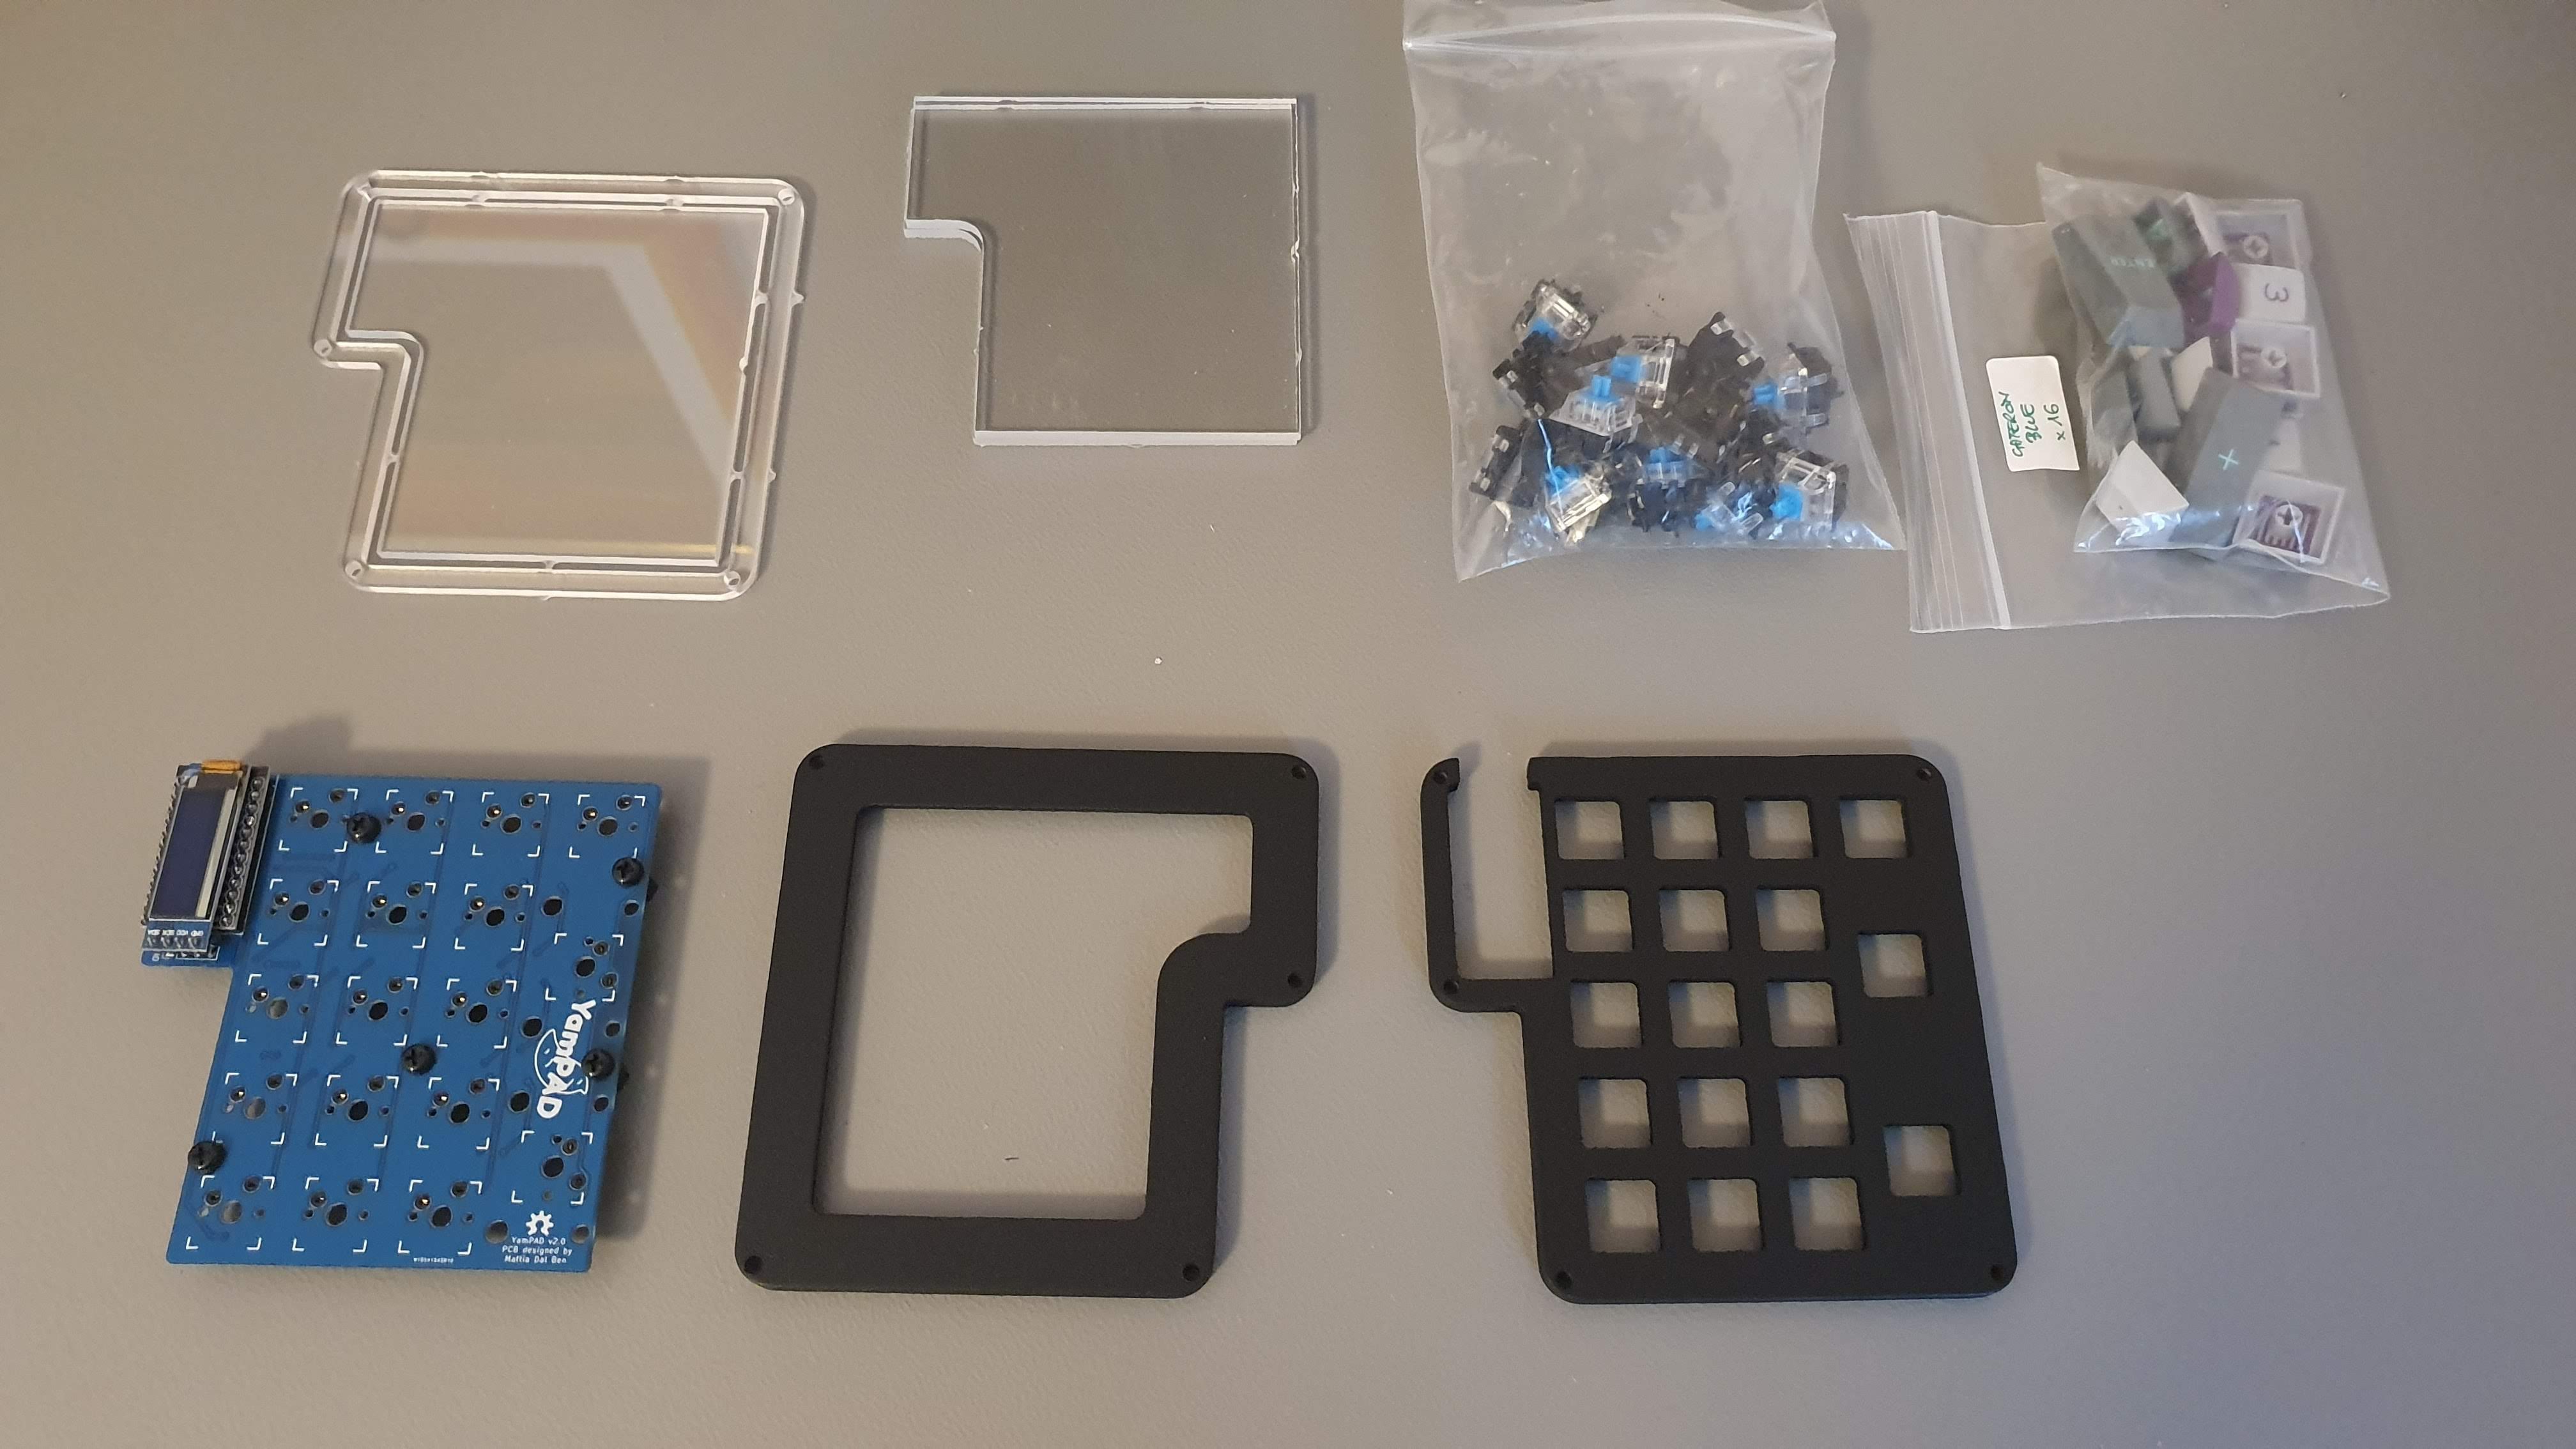
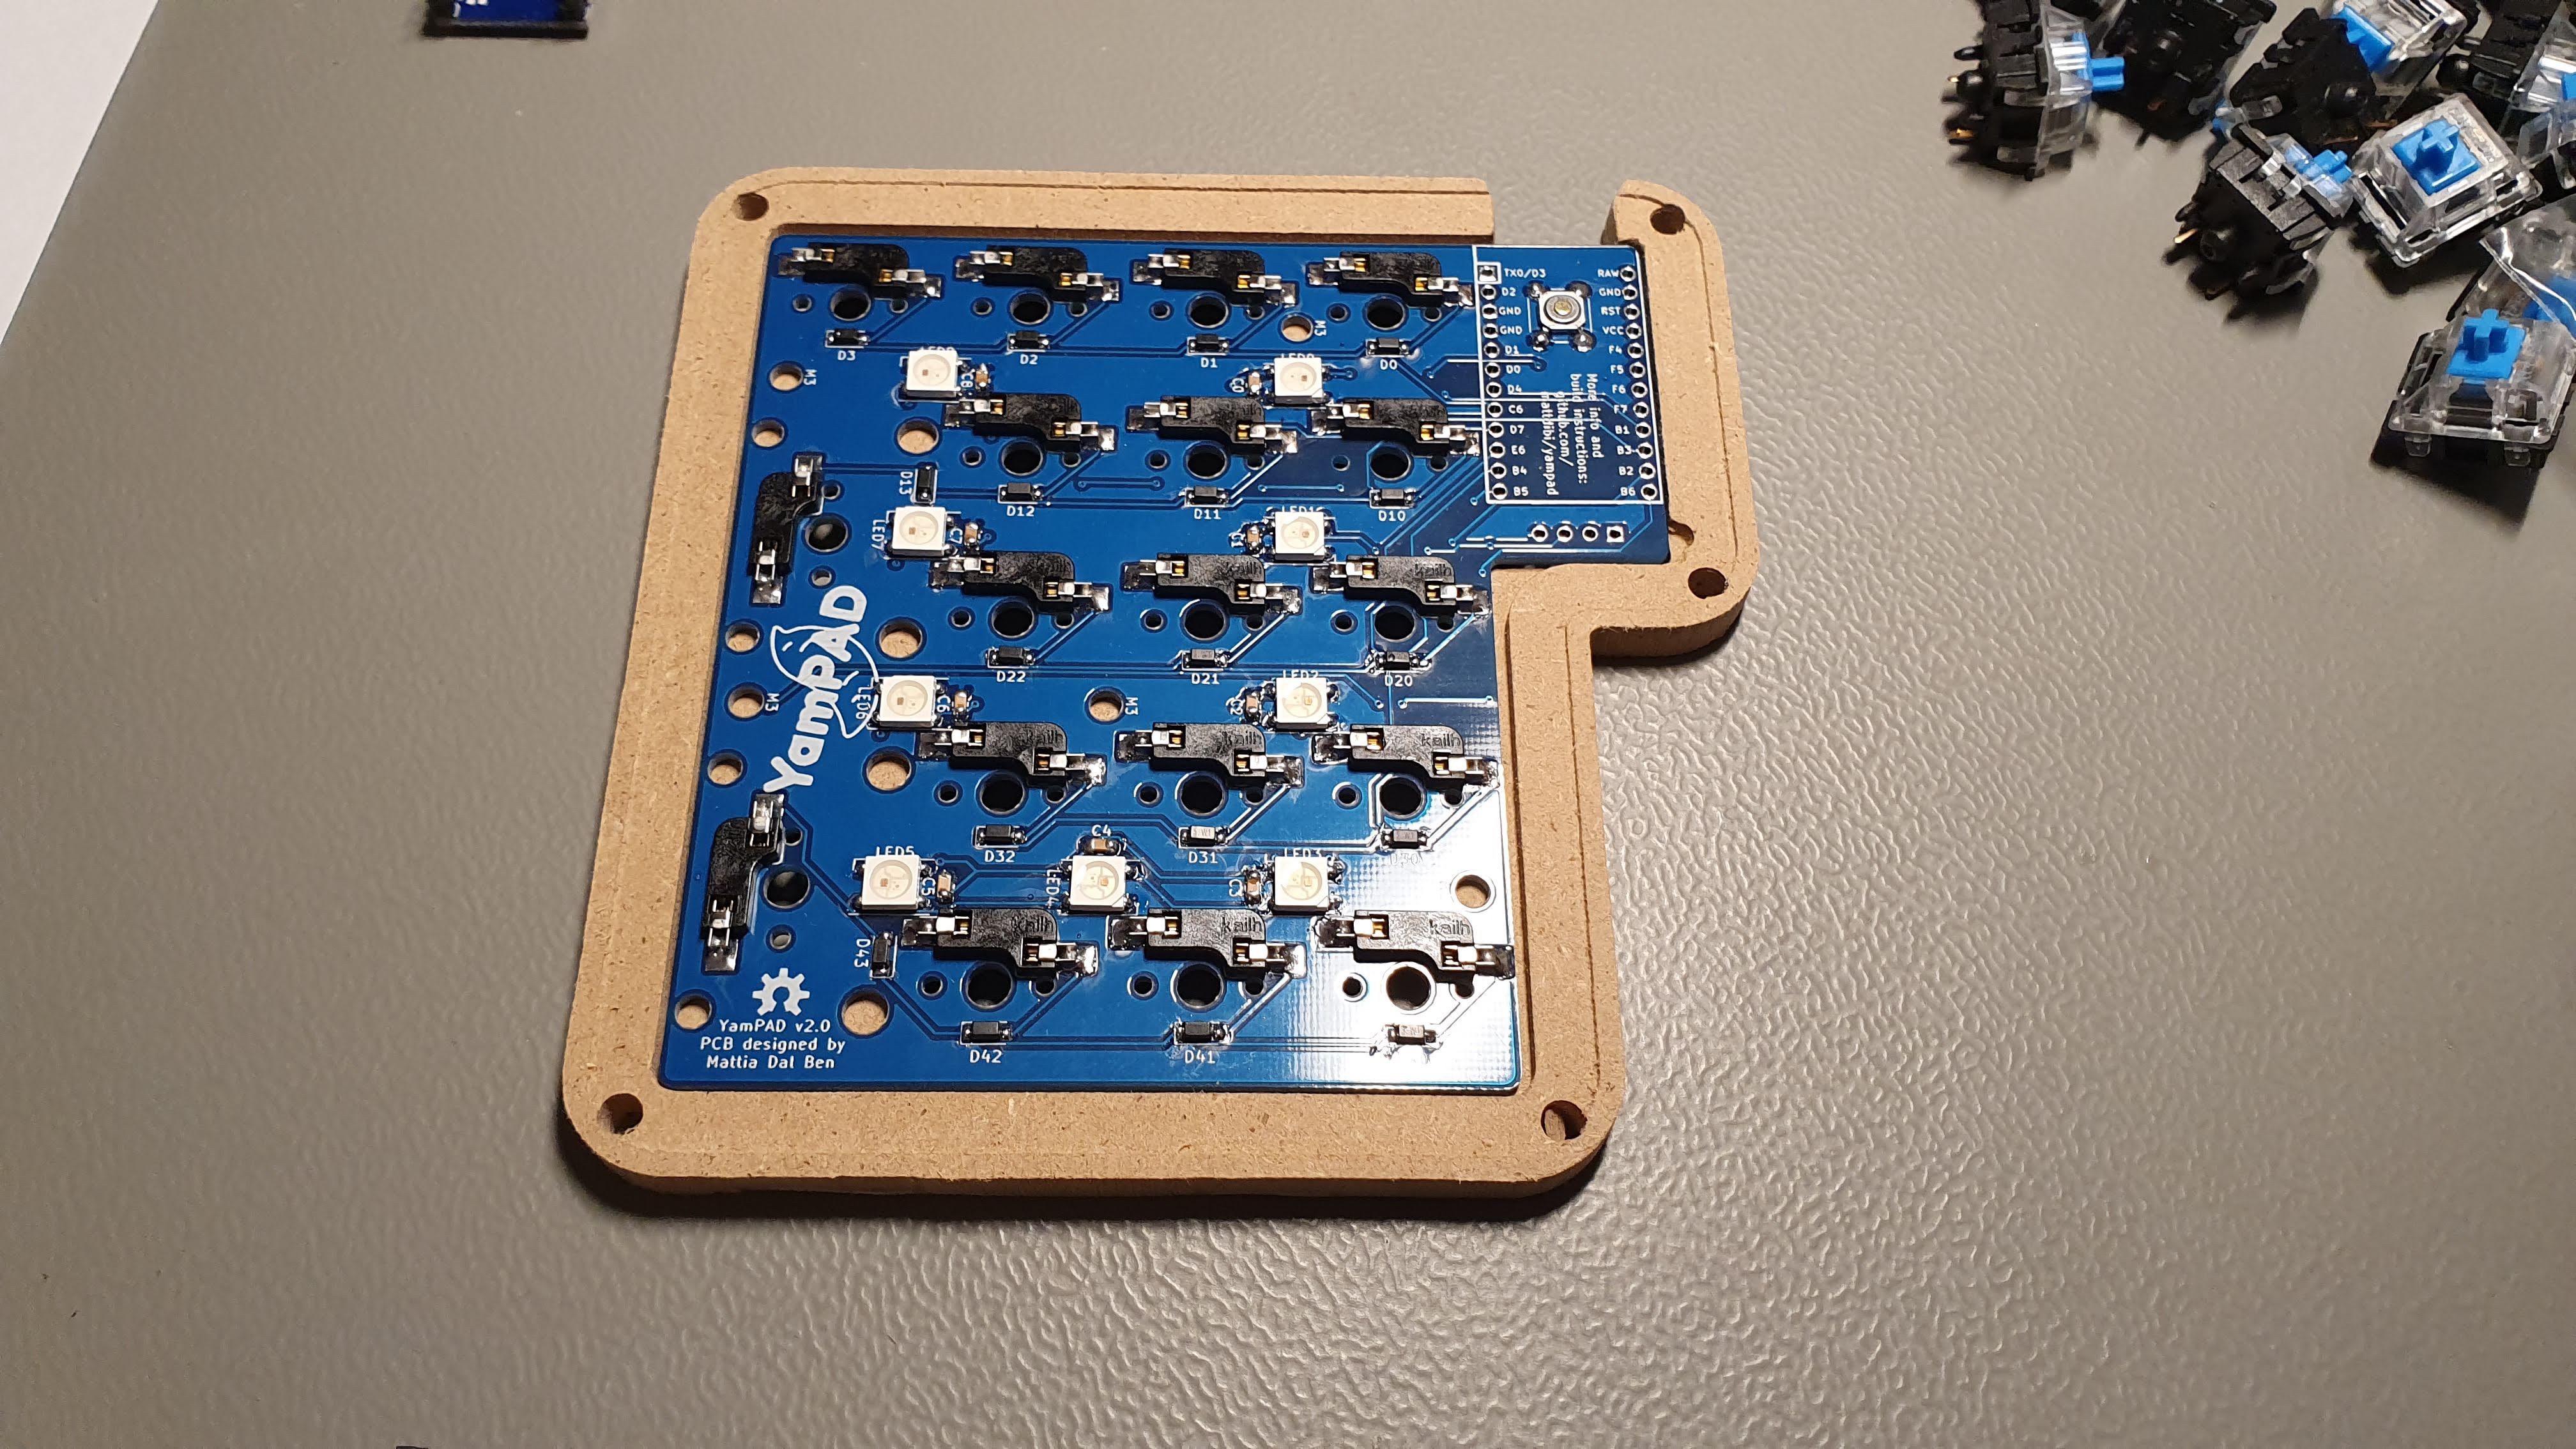
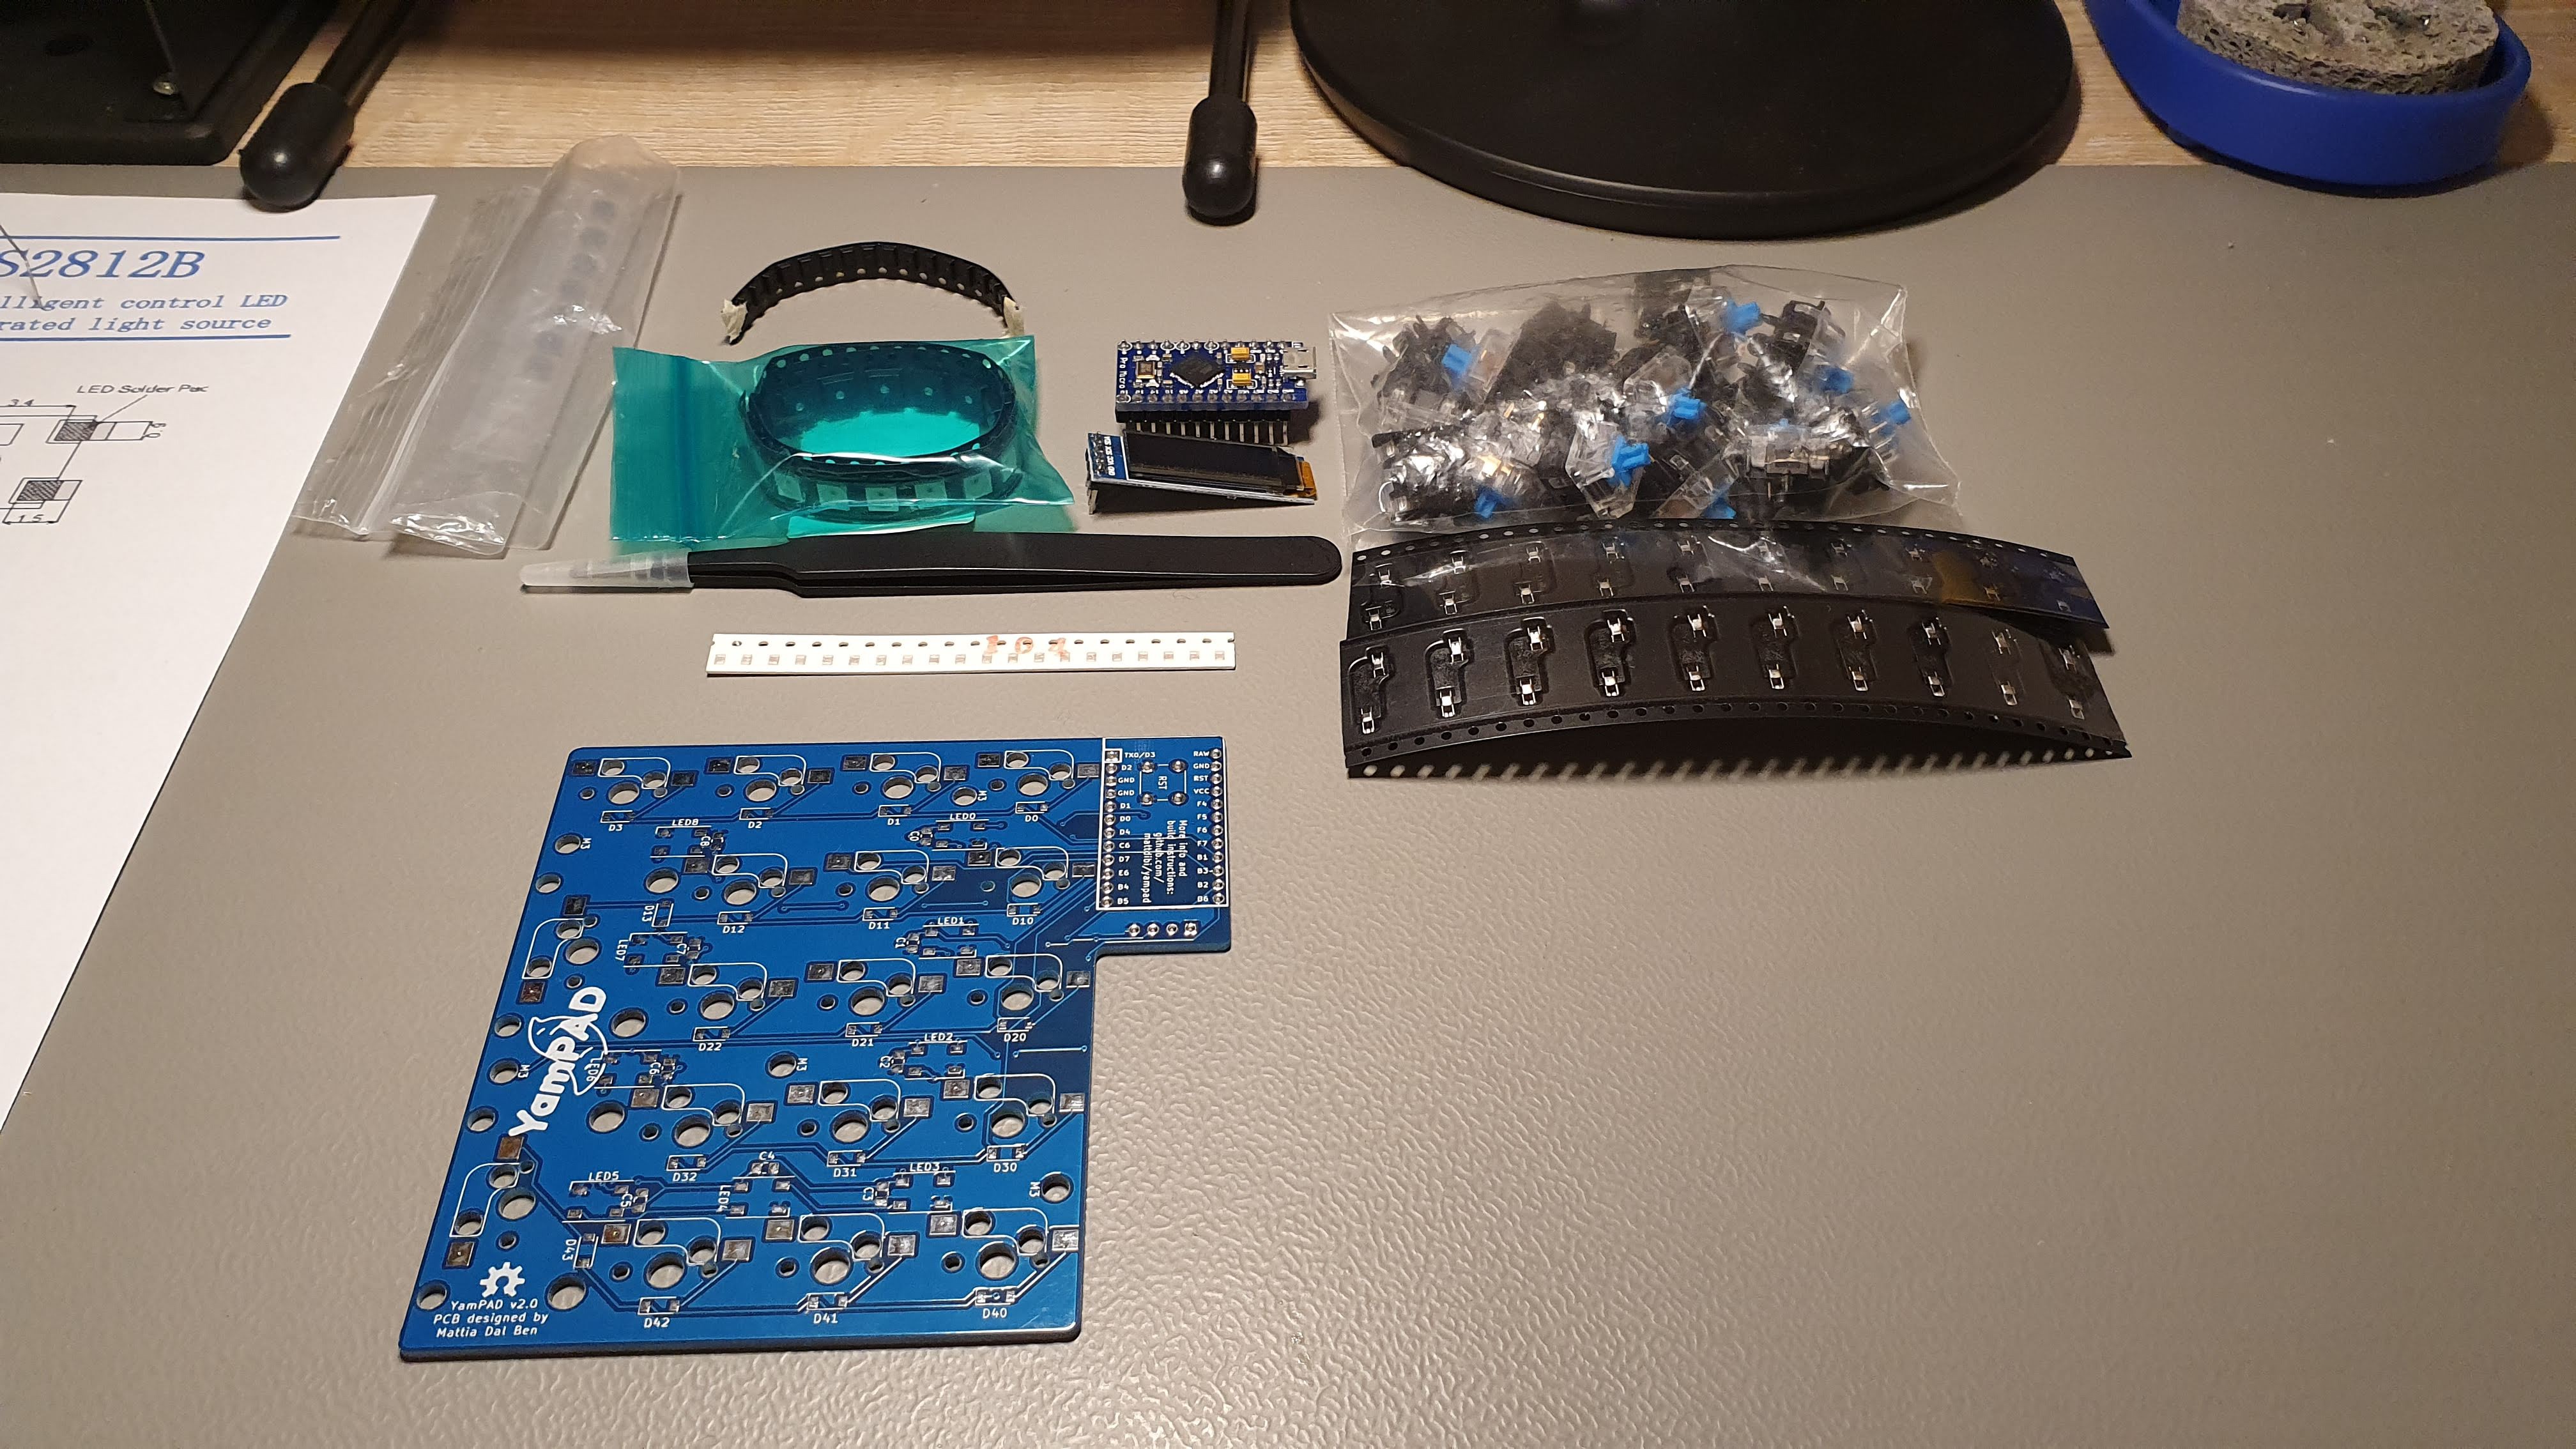
I finally had some time to go on with the PCB assembly. Turns out the most difficult part (caps) was a breeze, the WS2812B leds... not so much.
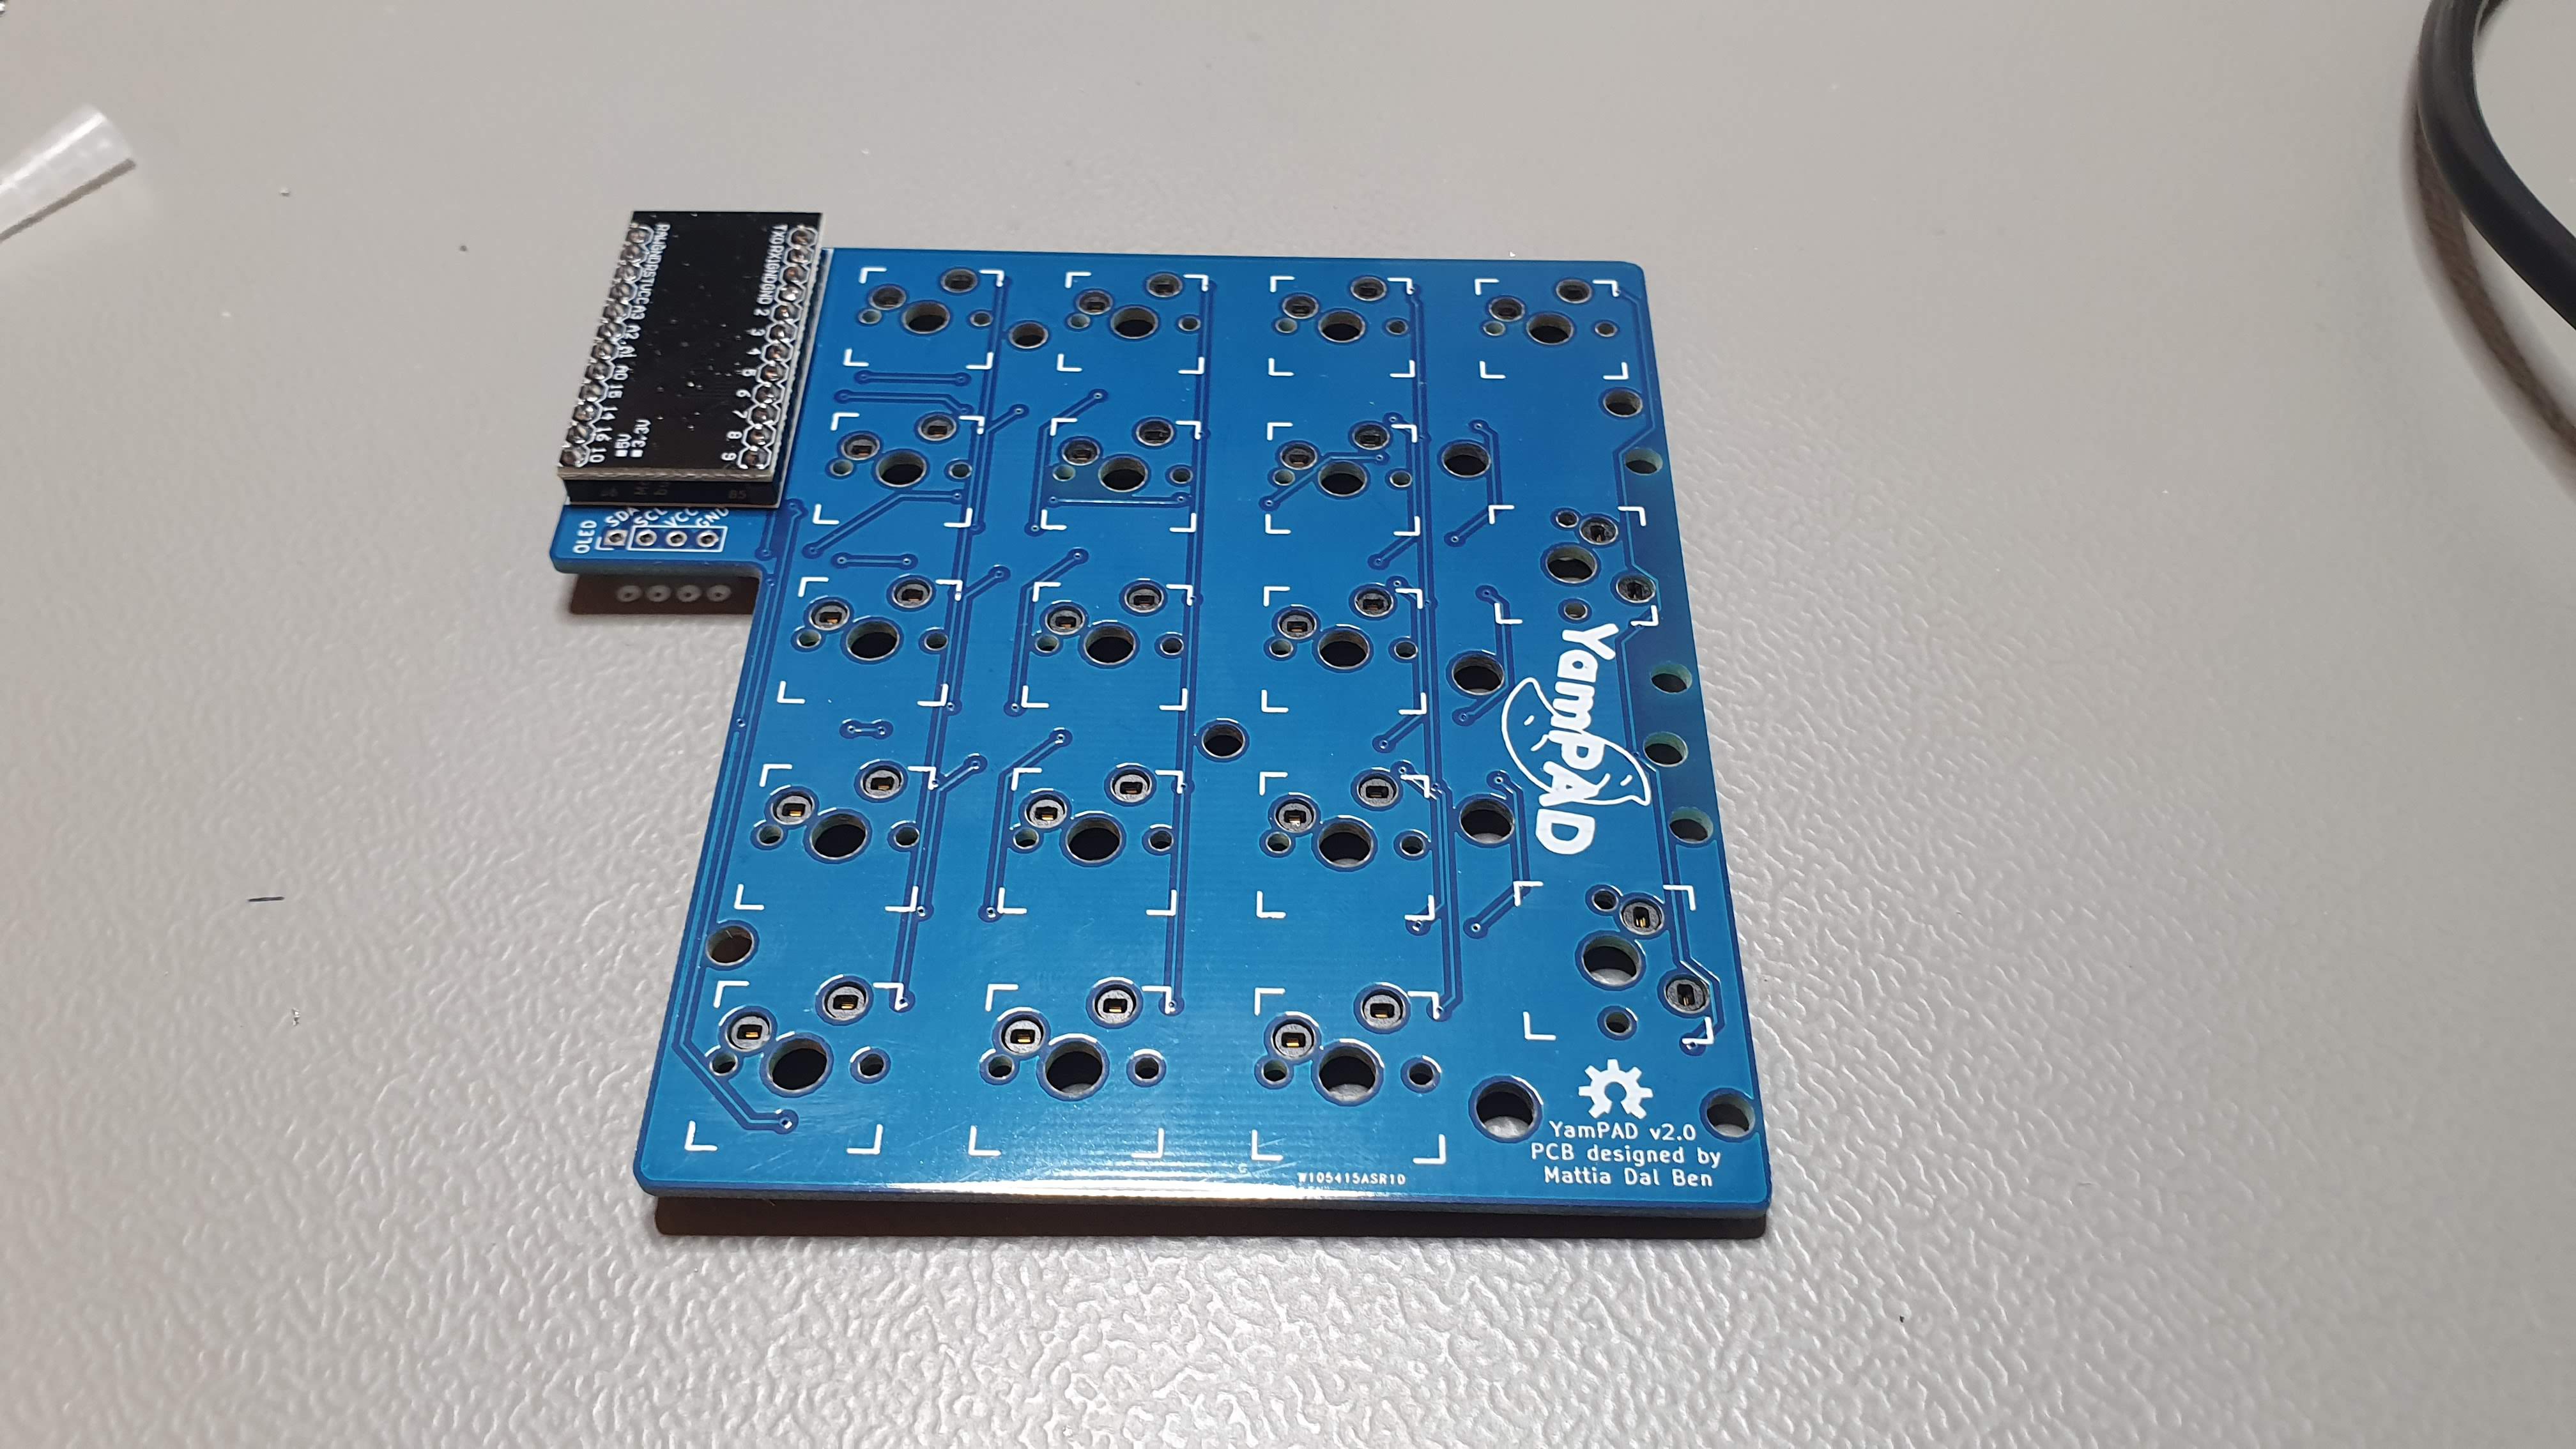
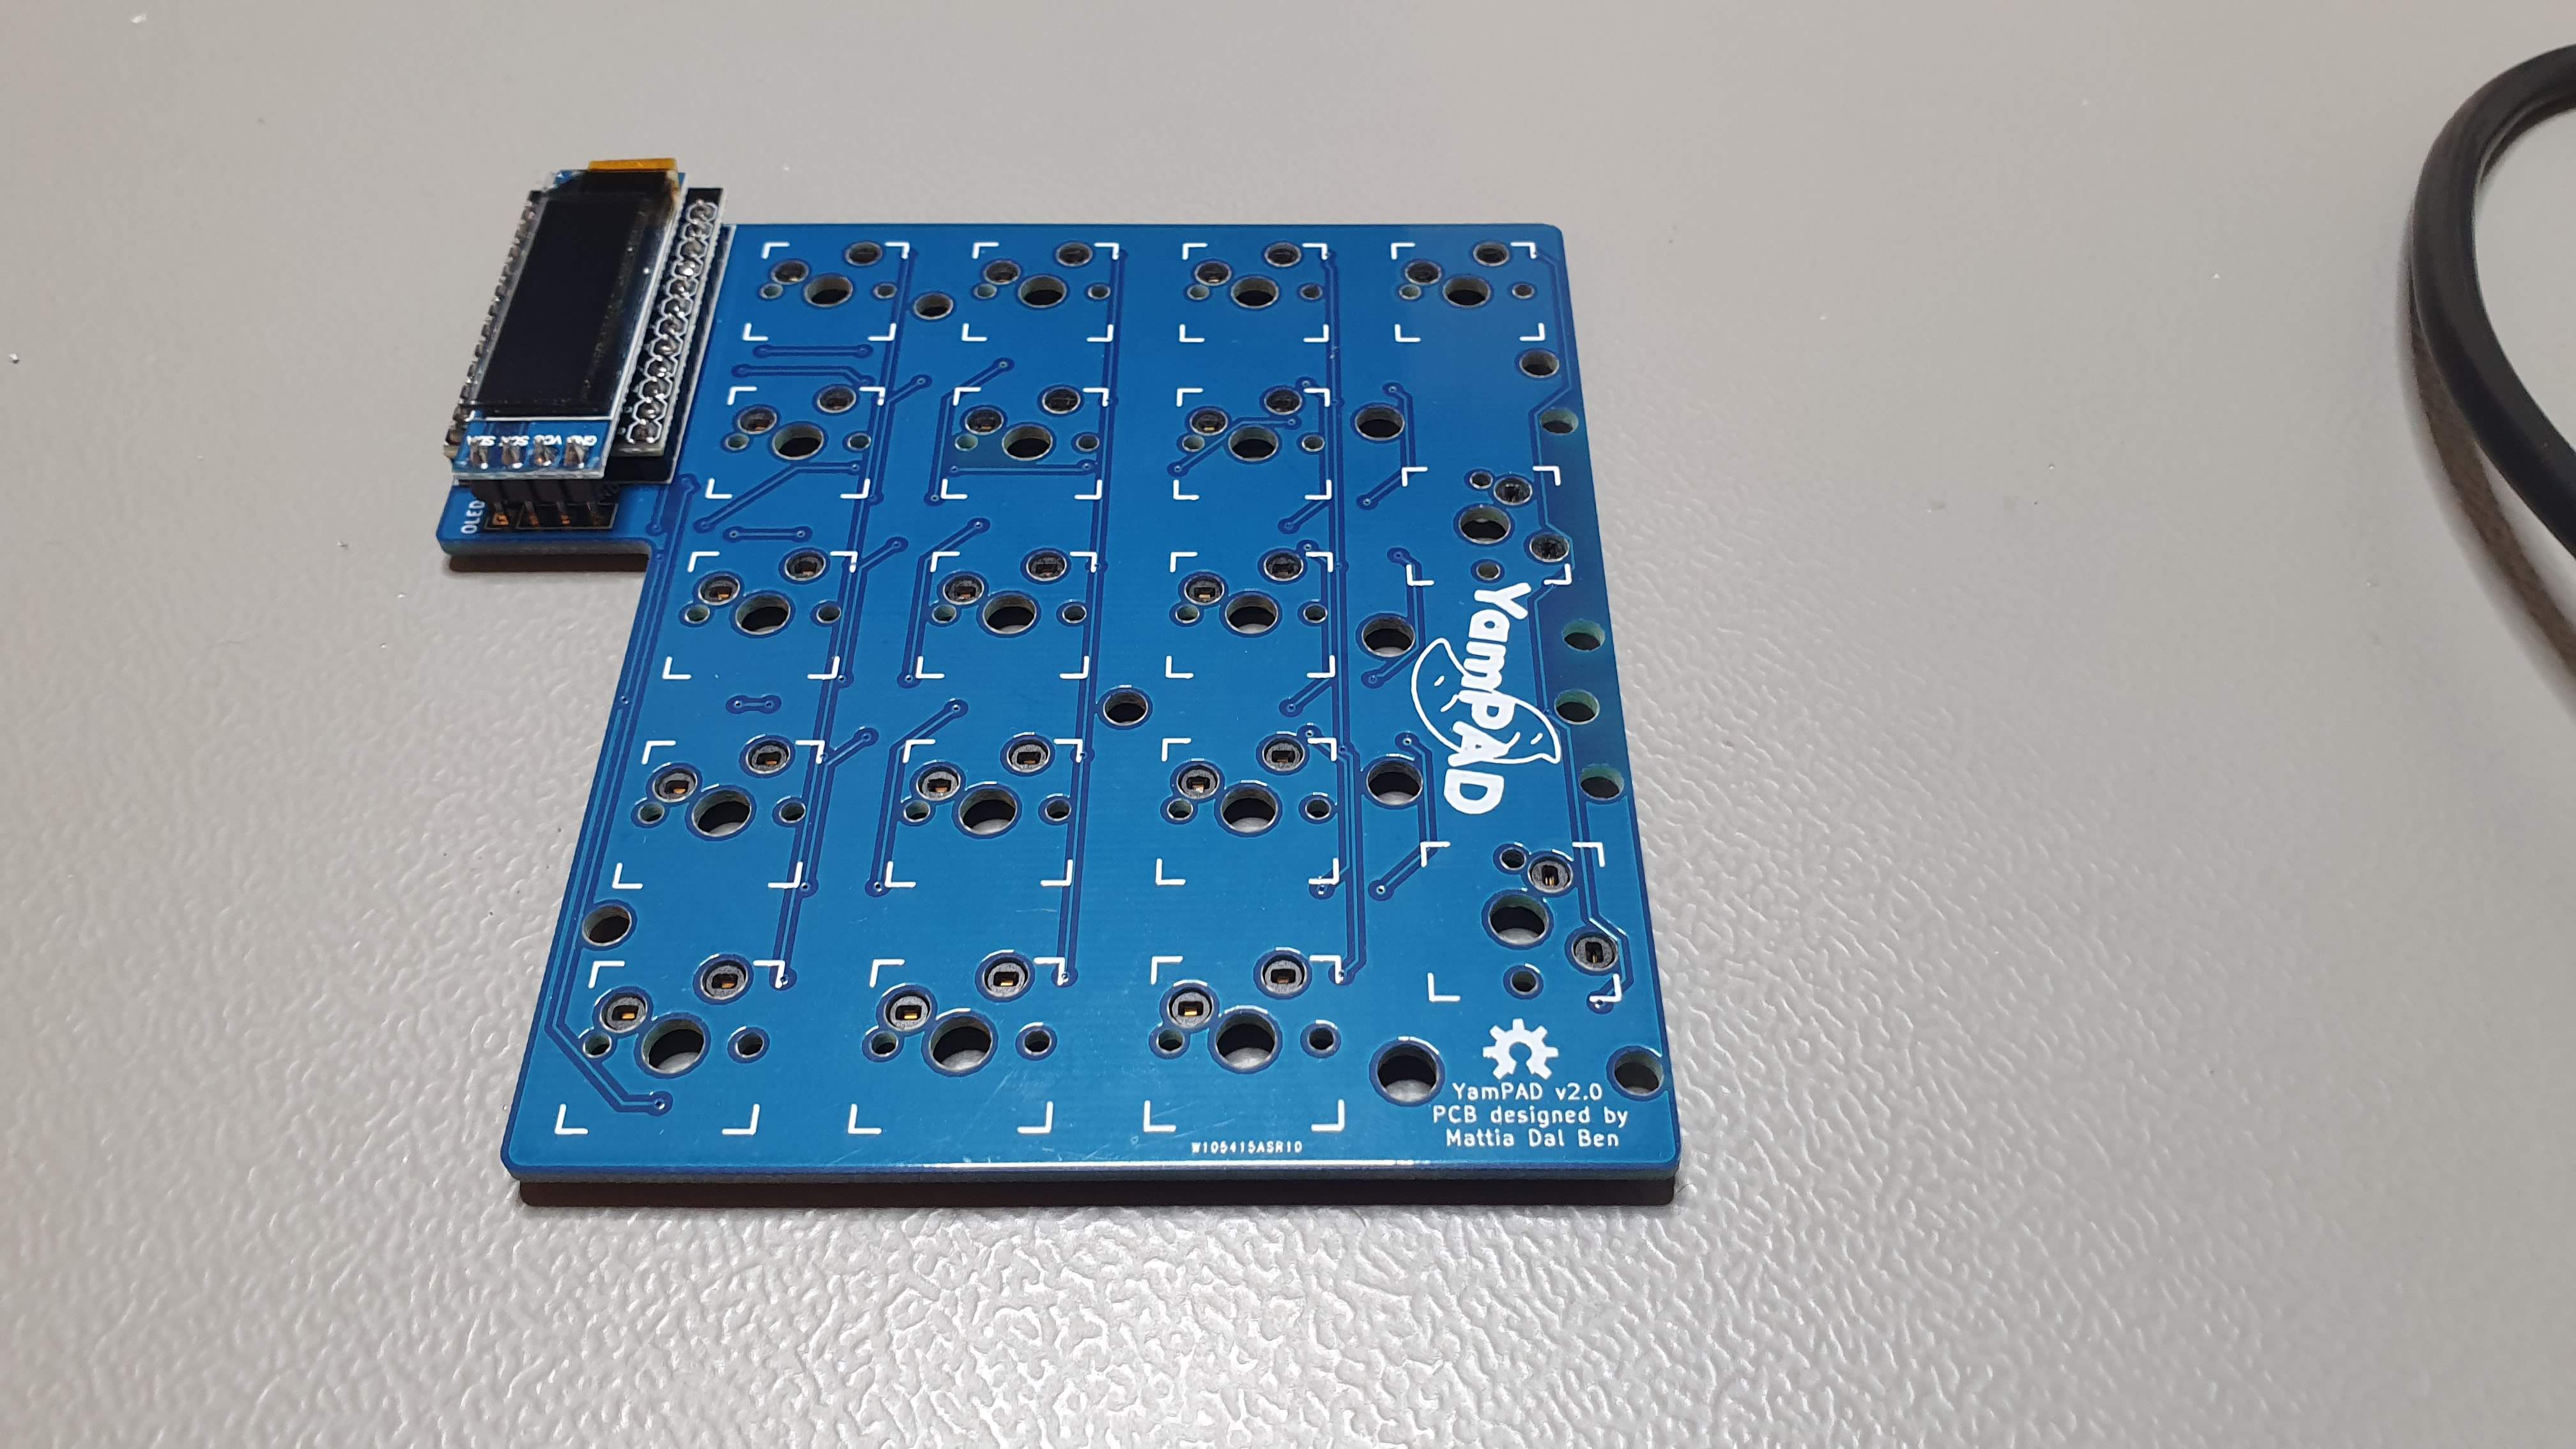
Getting ready for the assembly.
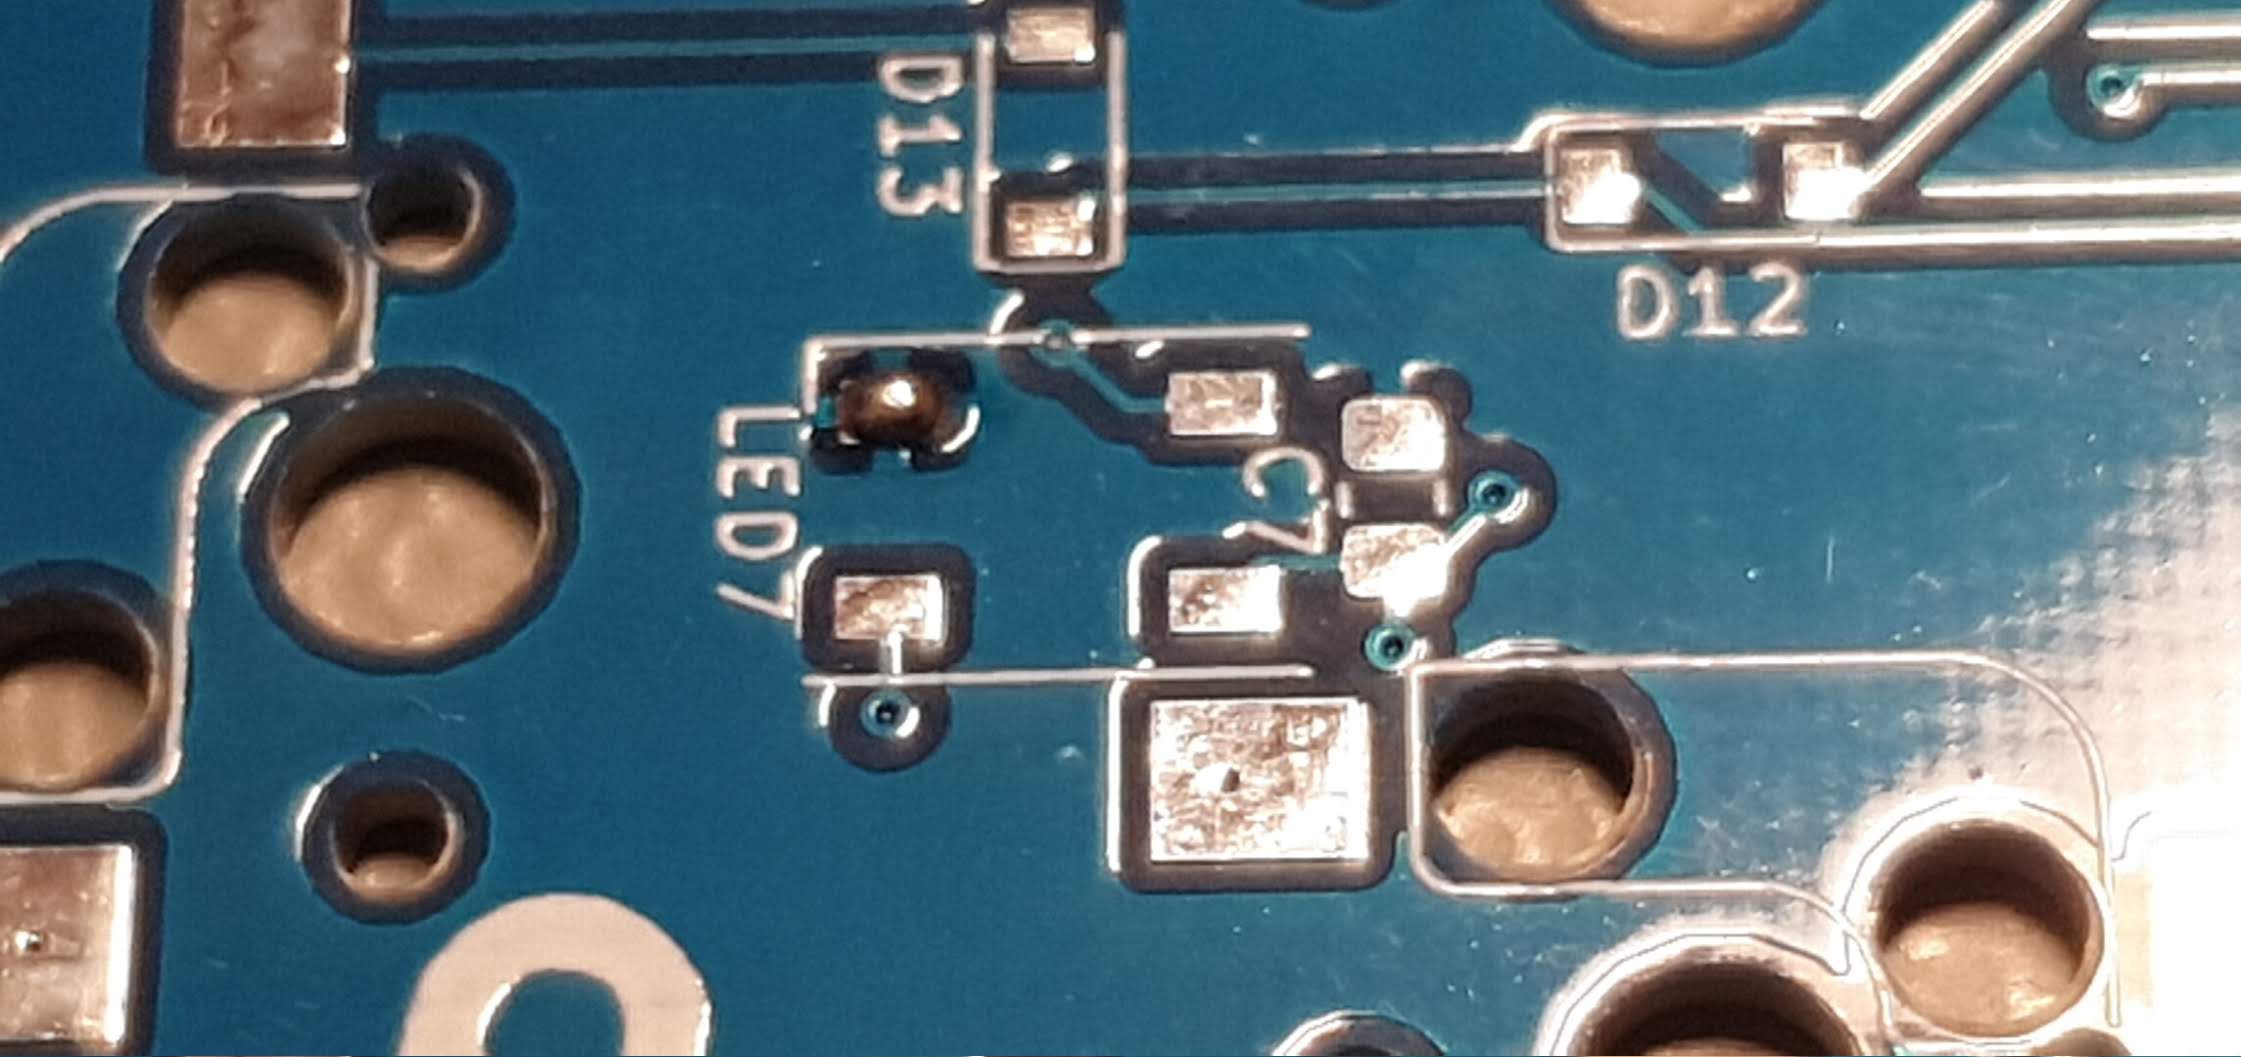
Let's start with the hard stuff... RGB leds.
I used the usual SMD hand soldering technique: start by applying solder to a pad, then heat it up while adding the component, finally solder the rest. Turned out pretty good IMO.Assembled LEDsNow it's the caps turn.And diodes...
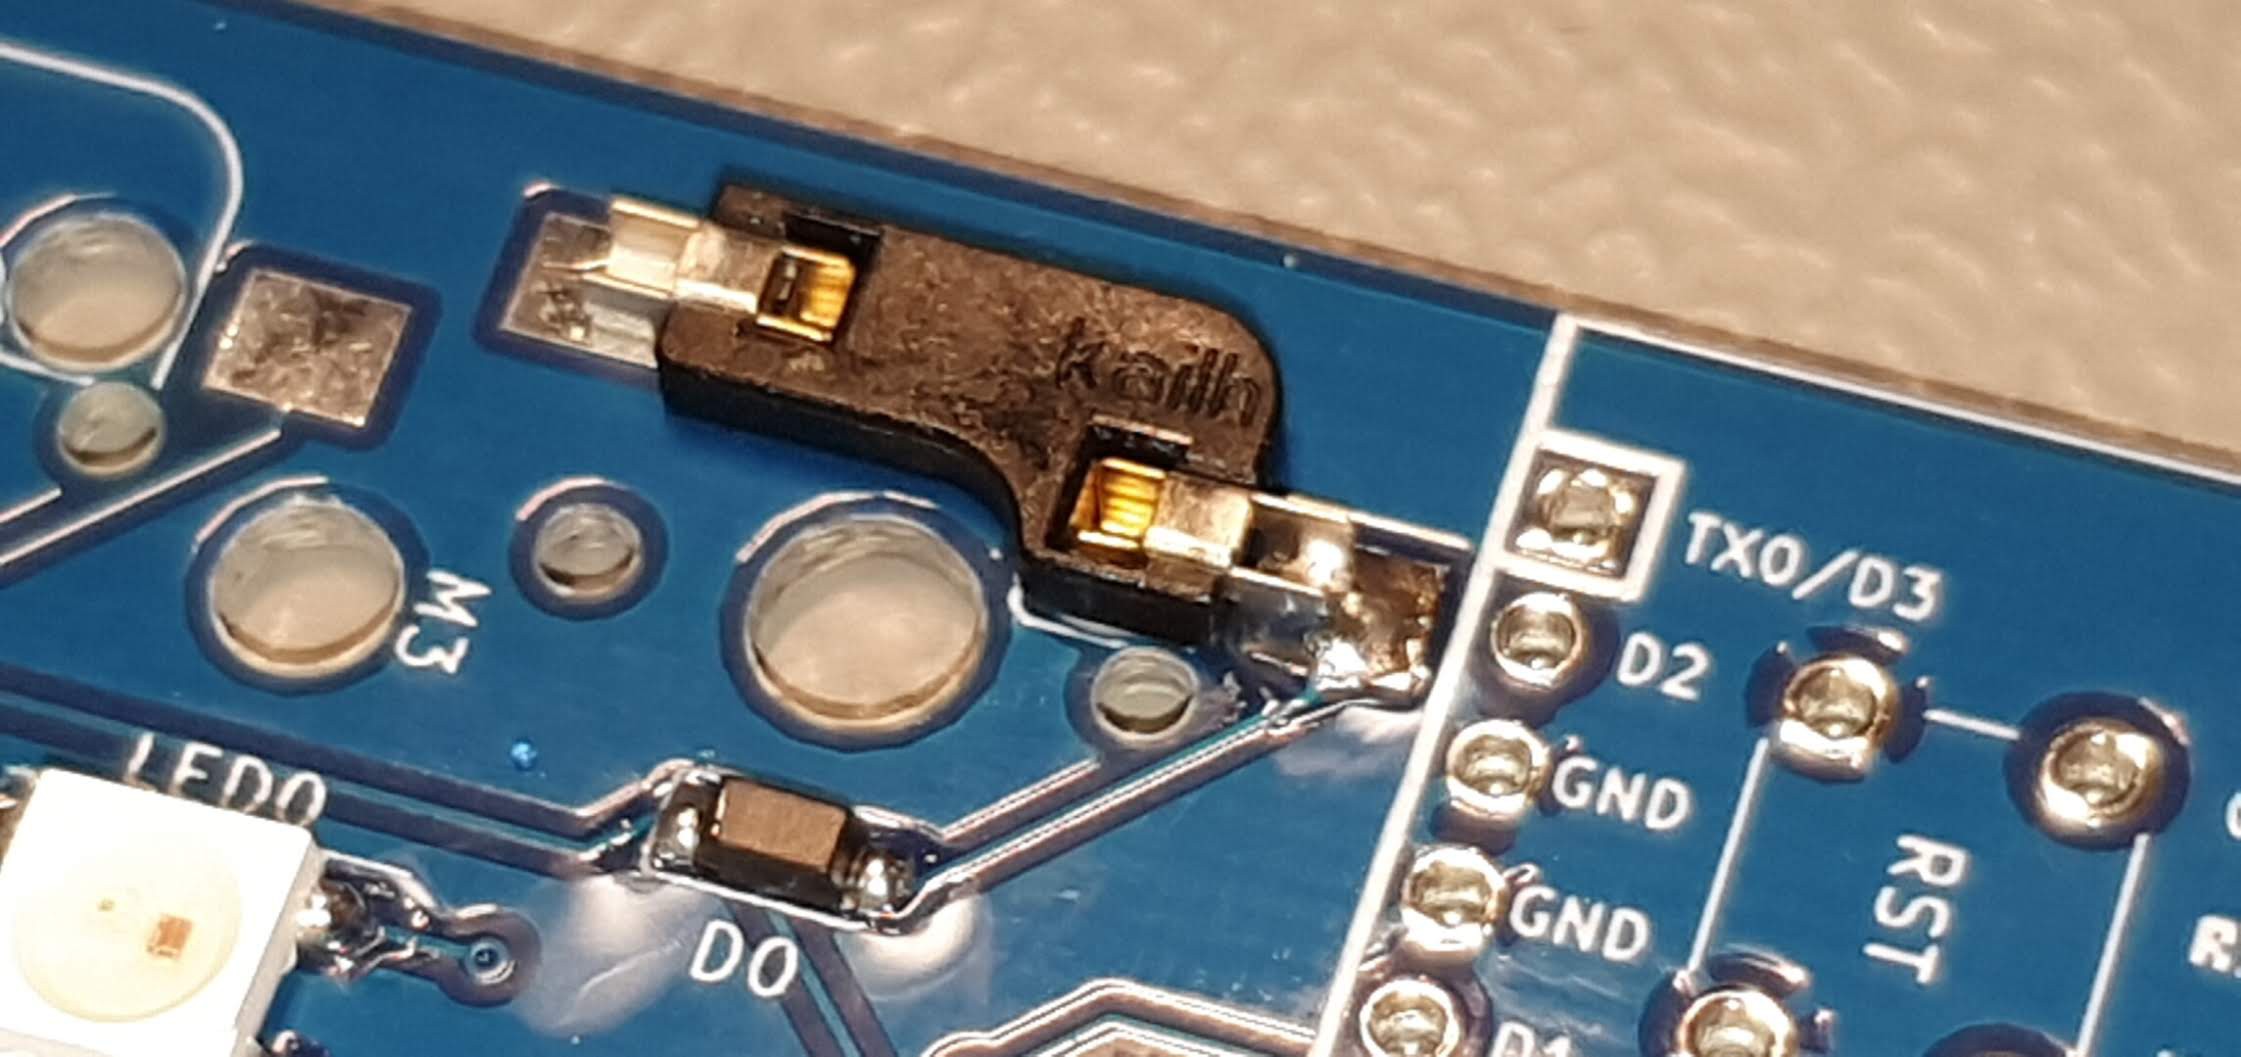
Now it's the Kailh PCB sockets turn. I was worried I couldn't apply the same technique as before, since I never used them. Turns out they're quite easy to solder.
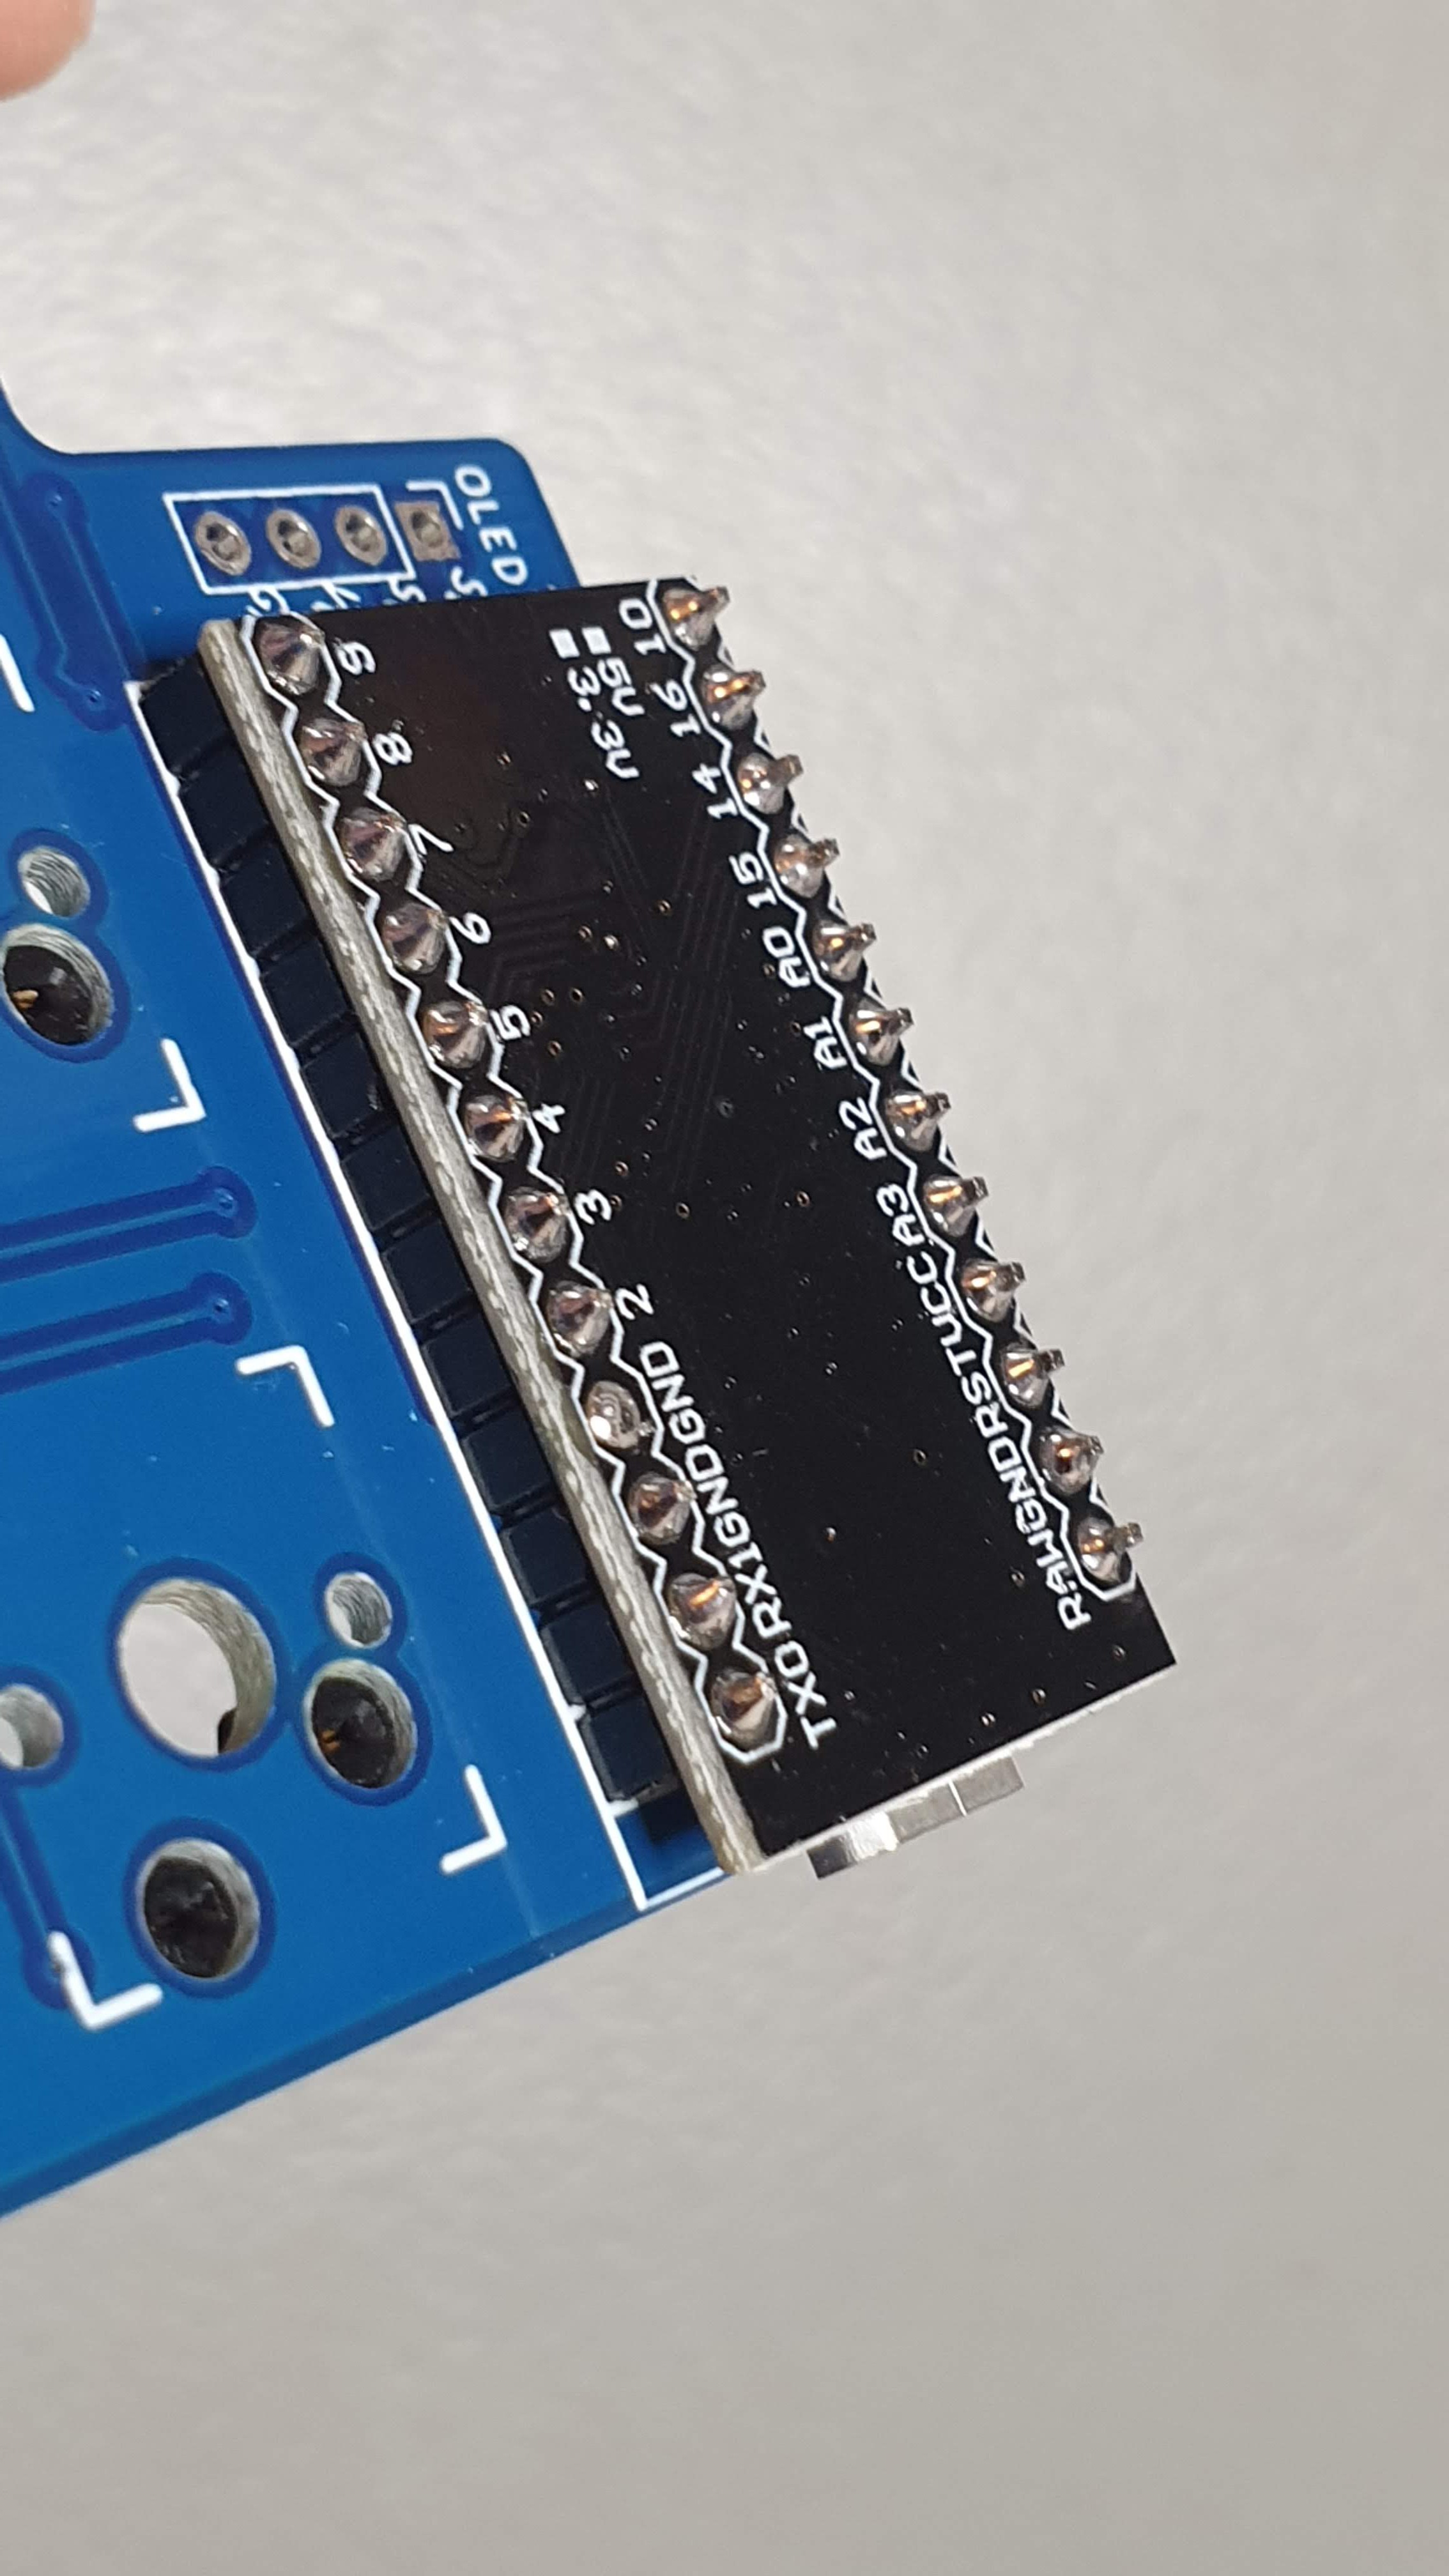
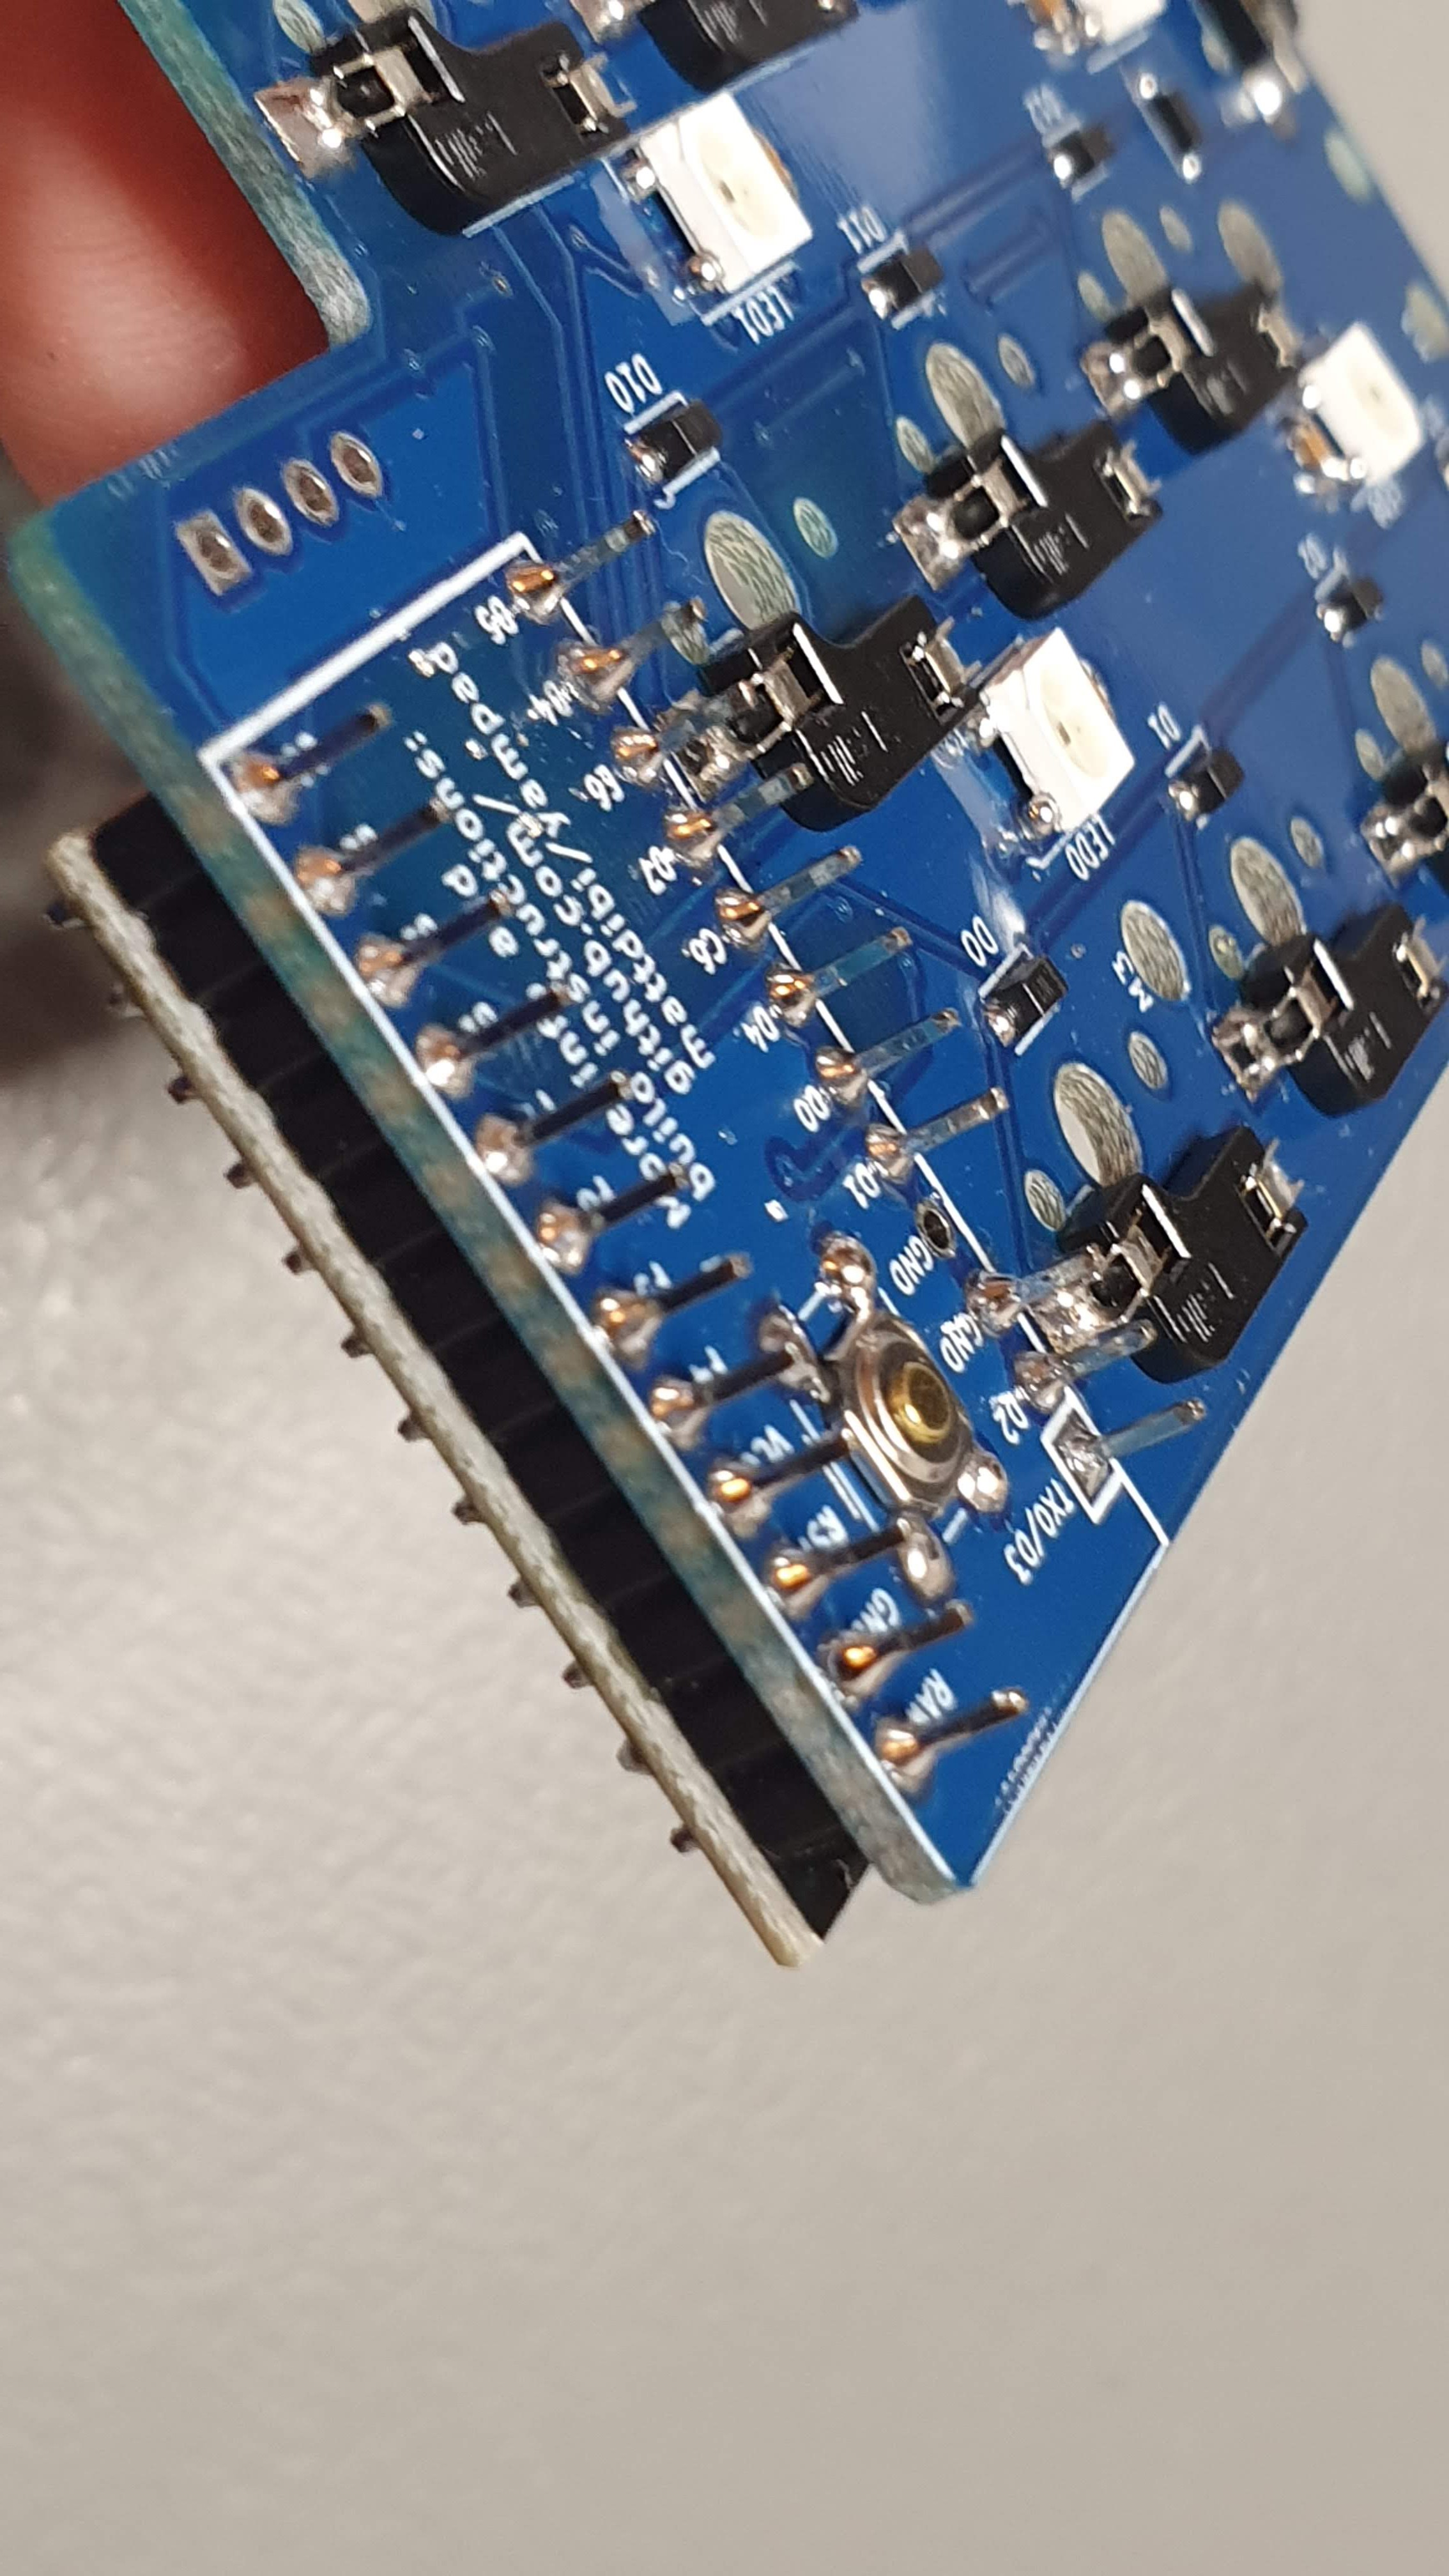
Unfortunately my Arduino Pro Micro is not here yet (the one in the first pic have the header pins soldered in the wrong orientation and I don't trust much my desoldering skills) so I can't finish the build.
I hope they'll arrive soon, I need to know if everything works!
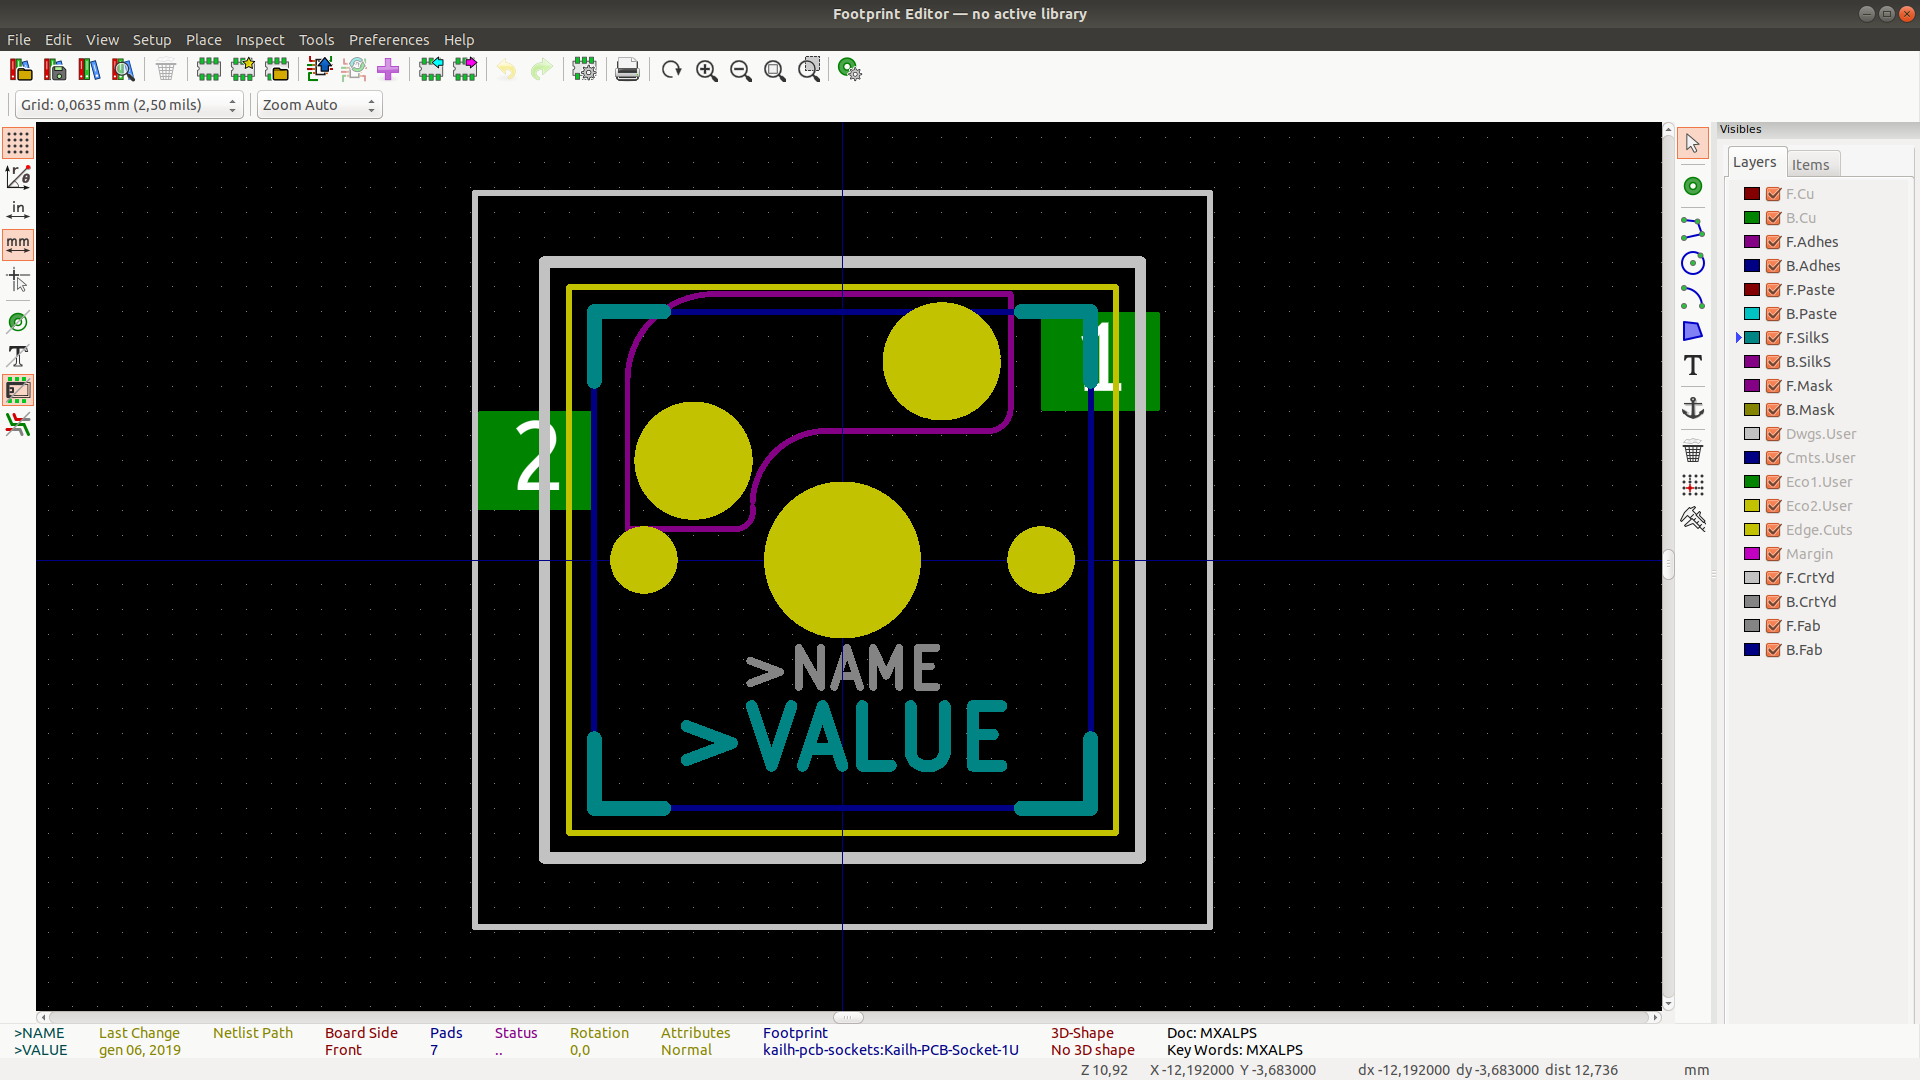
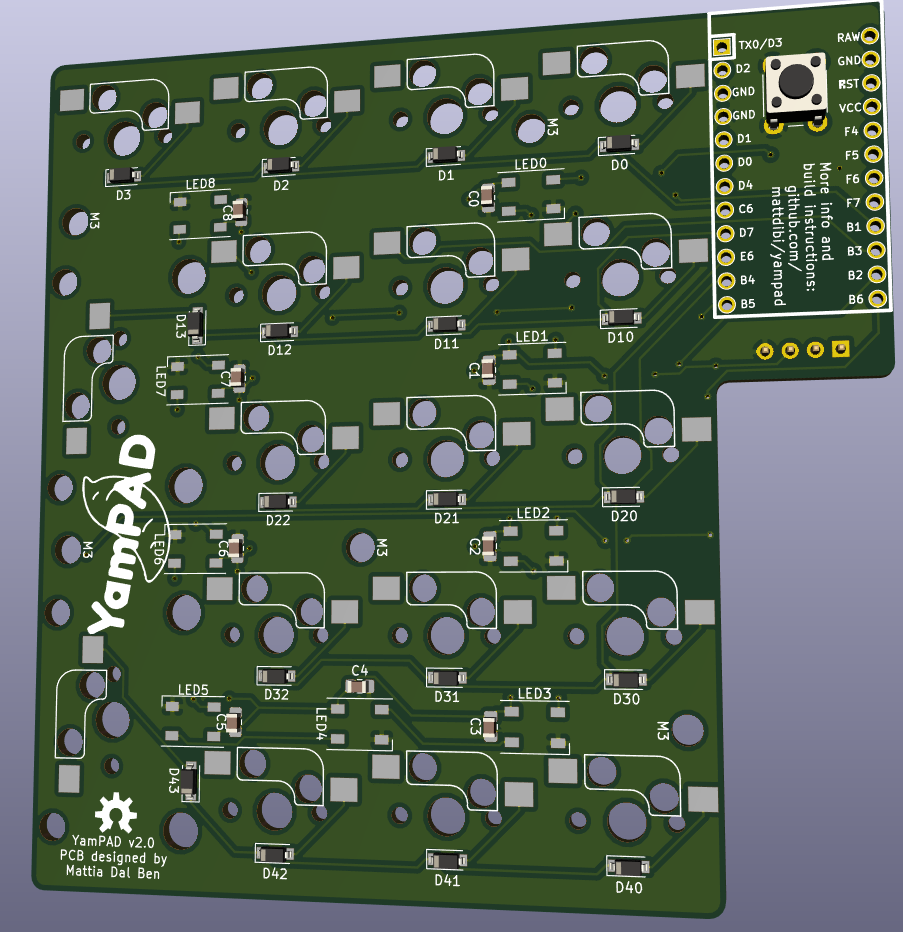
I needed to design the footprints for the Kailh PCB sockets as I couldn't find a footprint that I liked. This was took me some time since this was the first time I designed a footprint in KiCAD. The results are OK.
Then I proceeded with placing the component and wiring. The last few wires were a nighmare but all went good eventually.
And then some rendering...
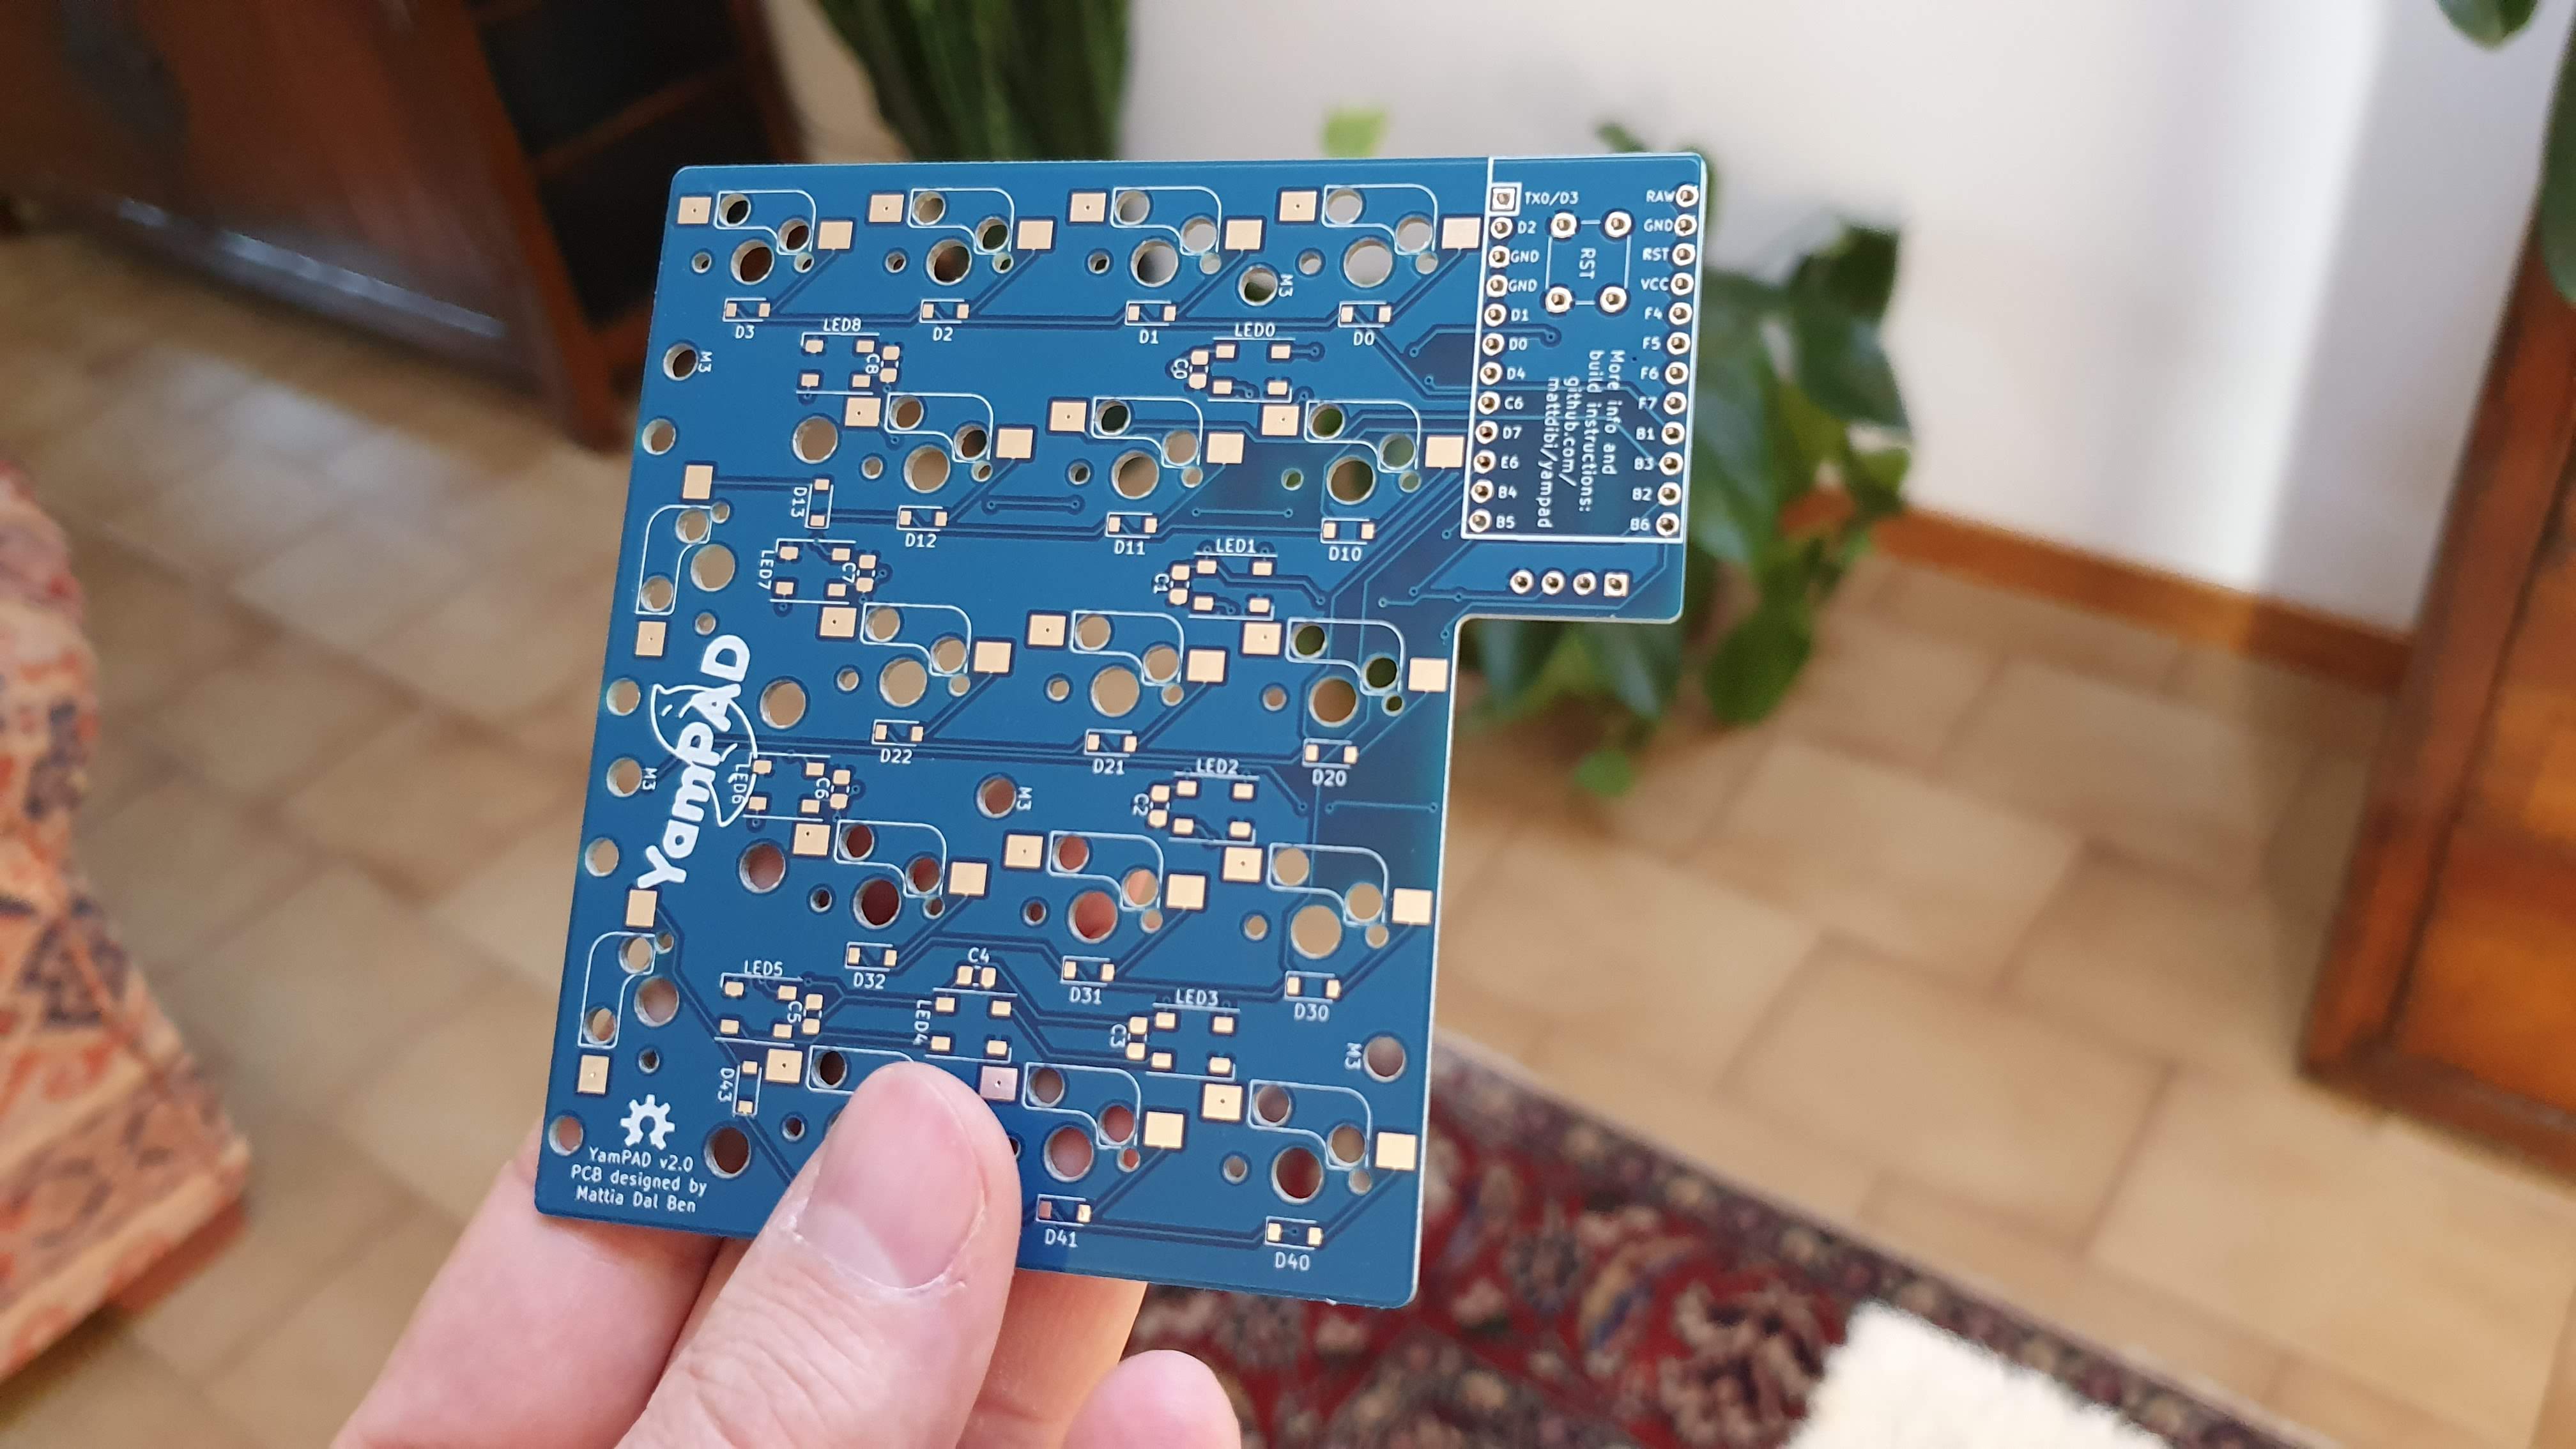
Currently the PCBs are in production... They can't arrive soon enough!
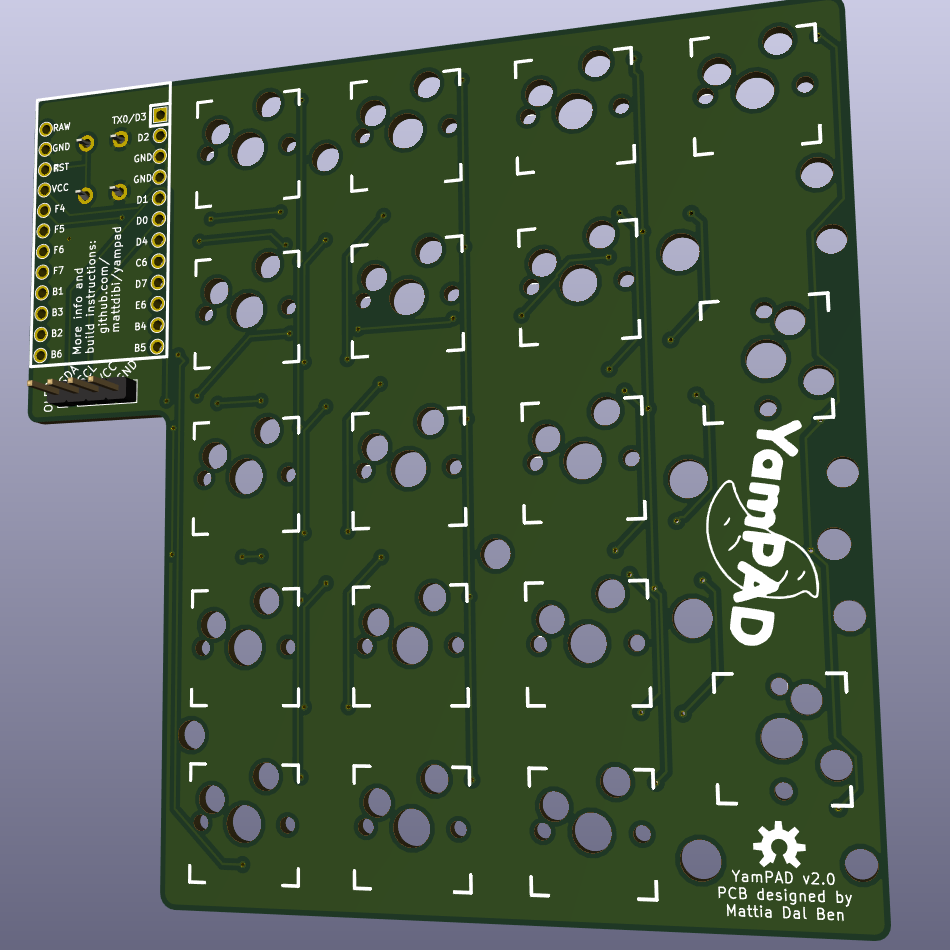
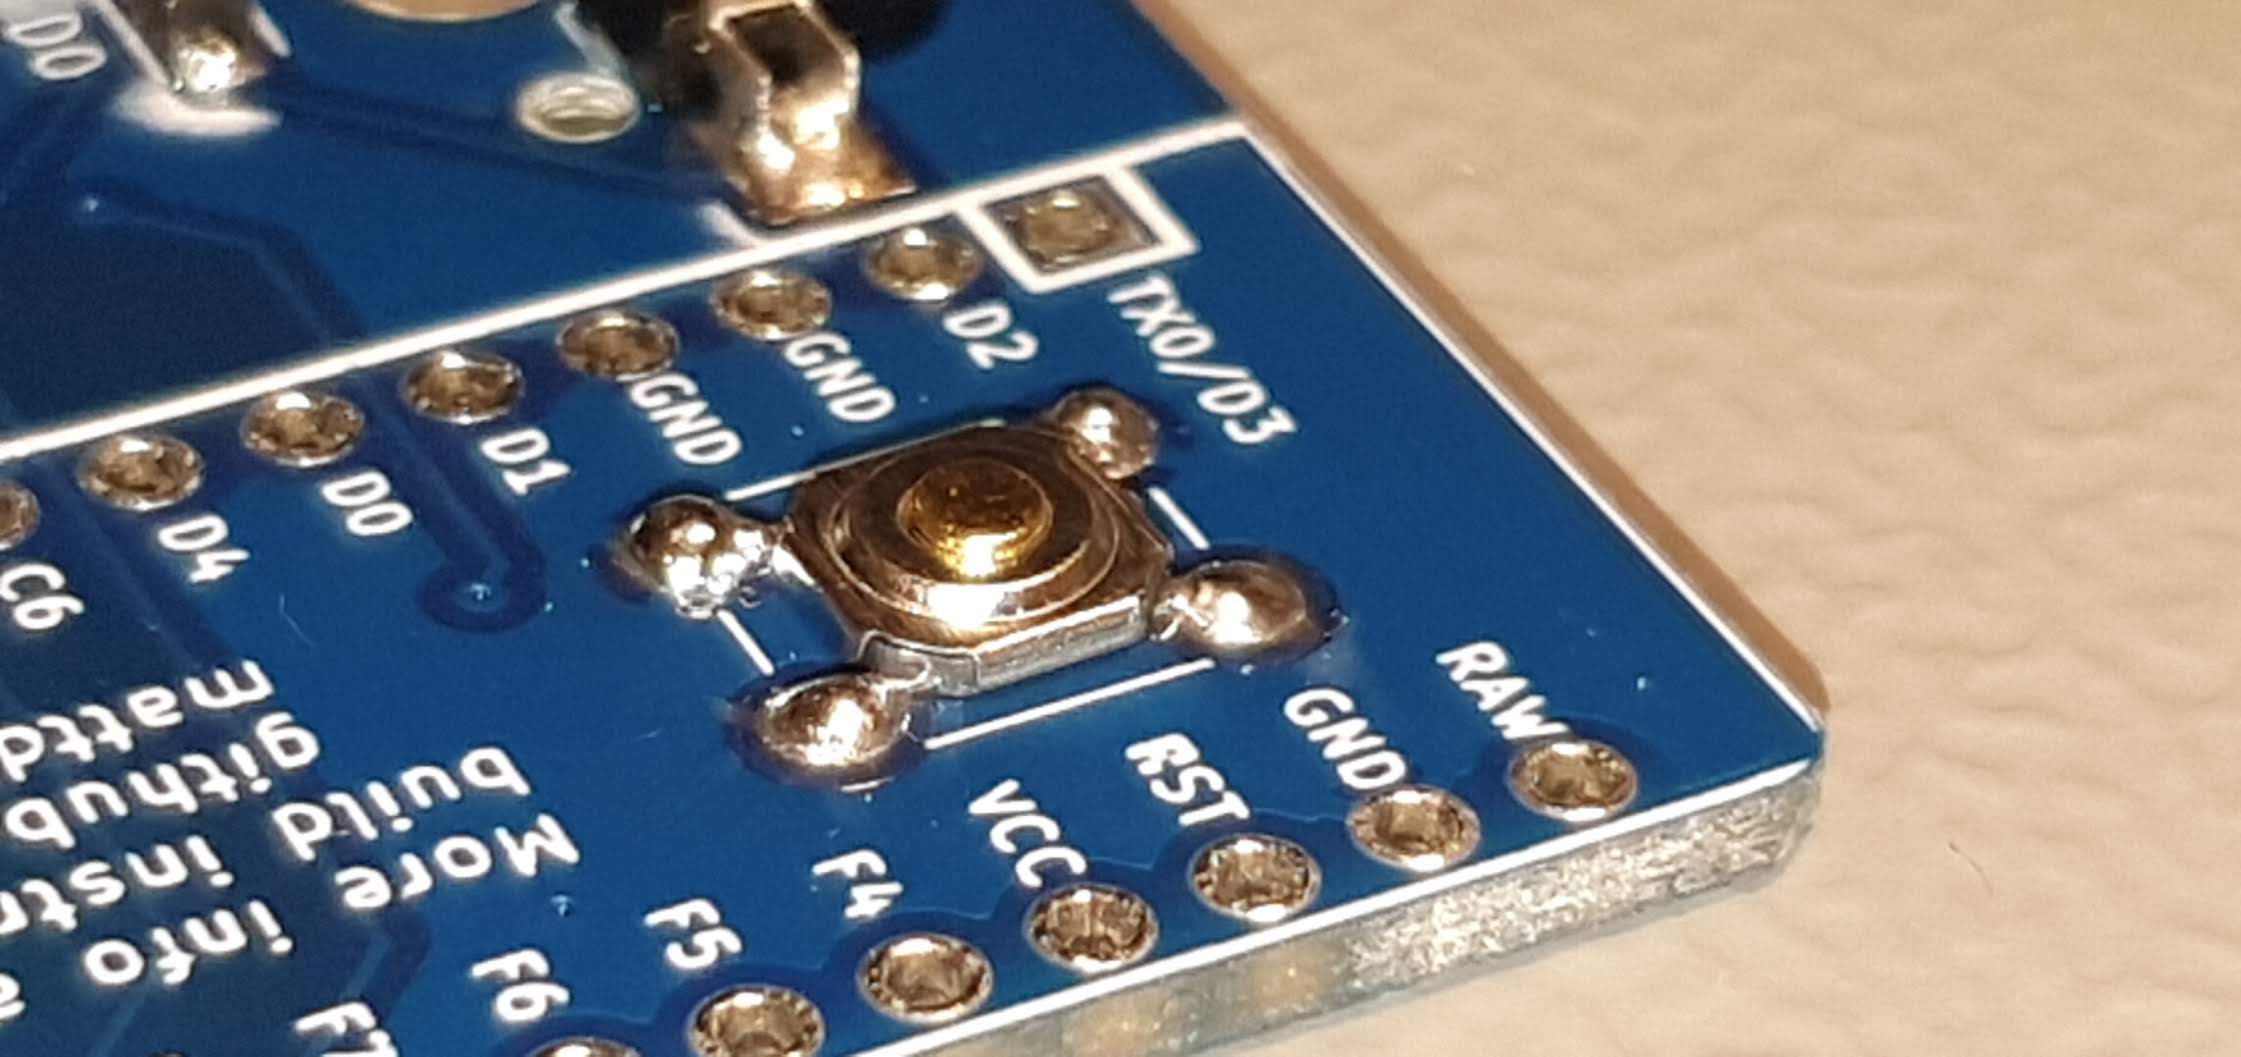
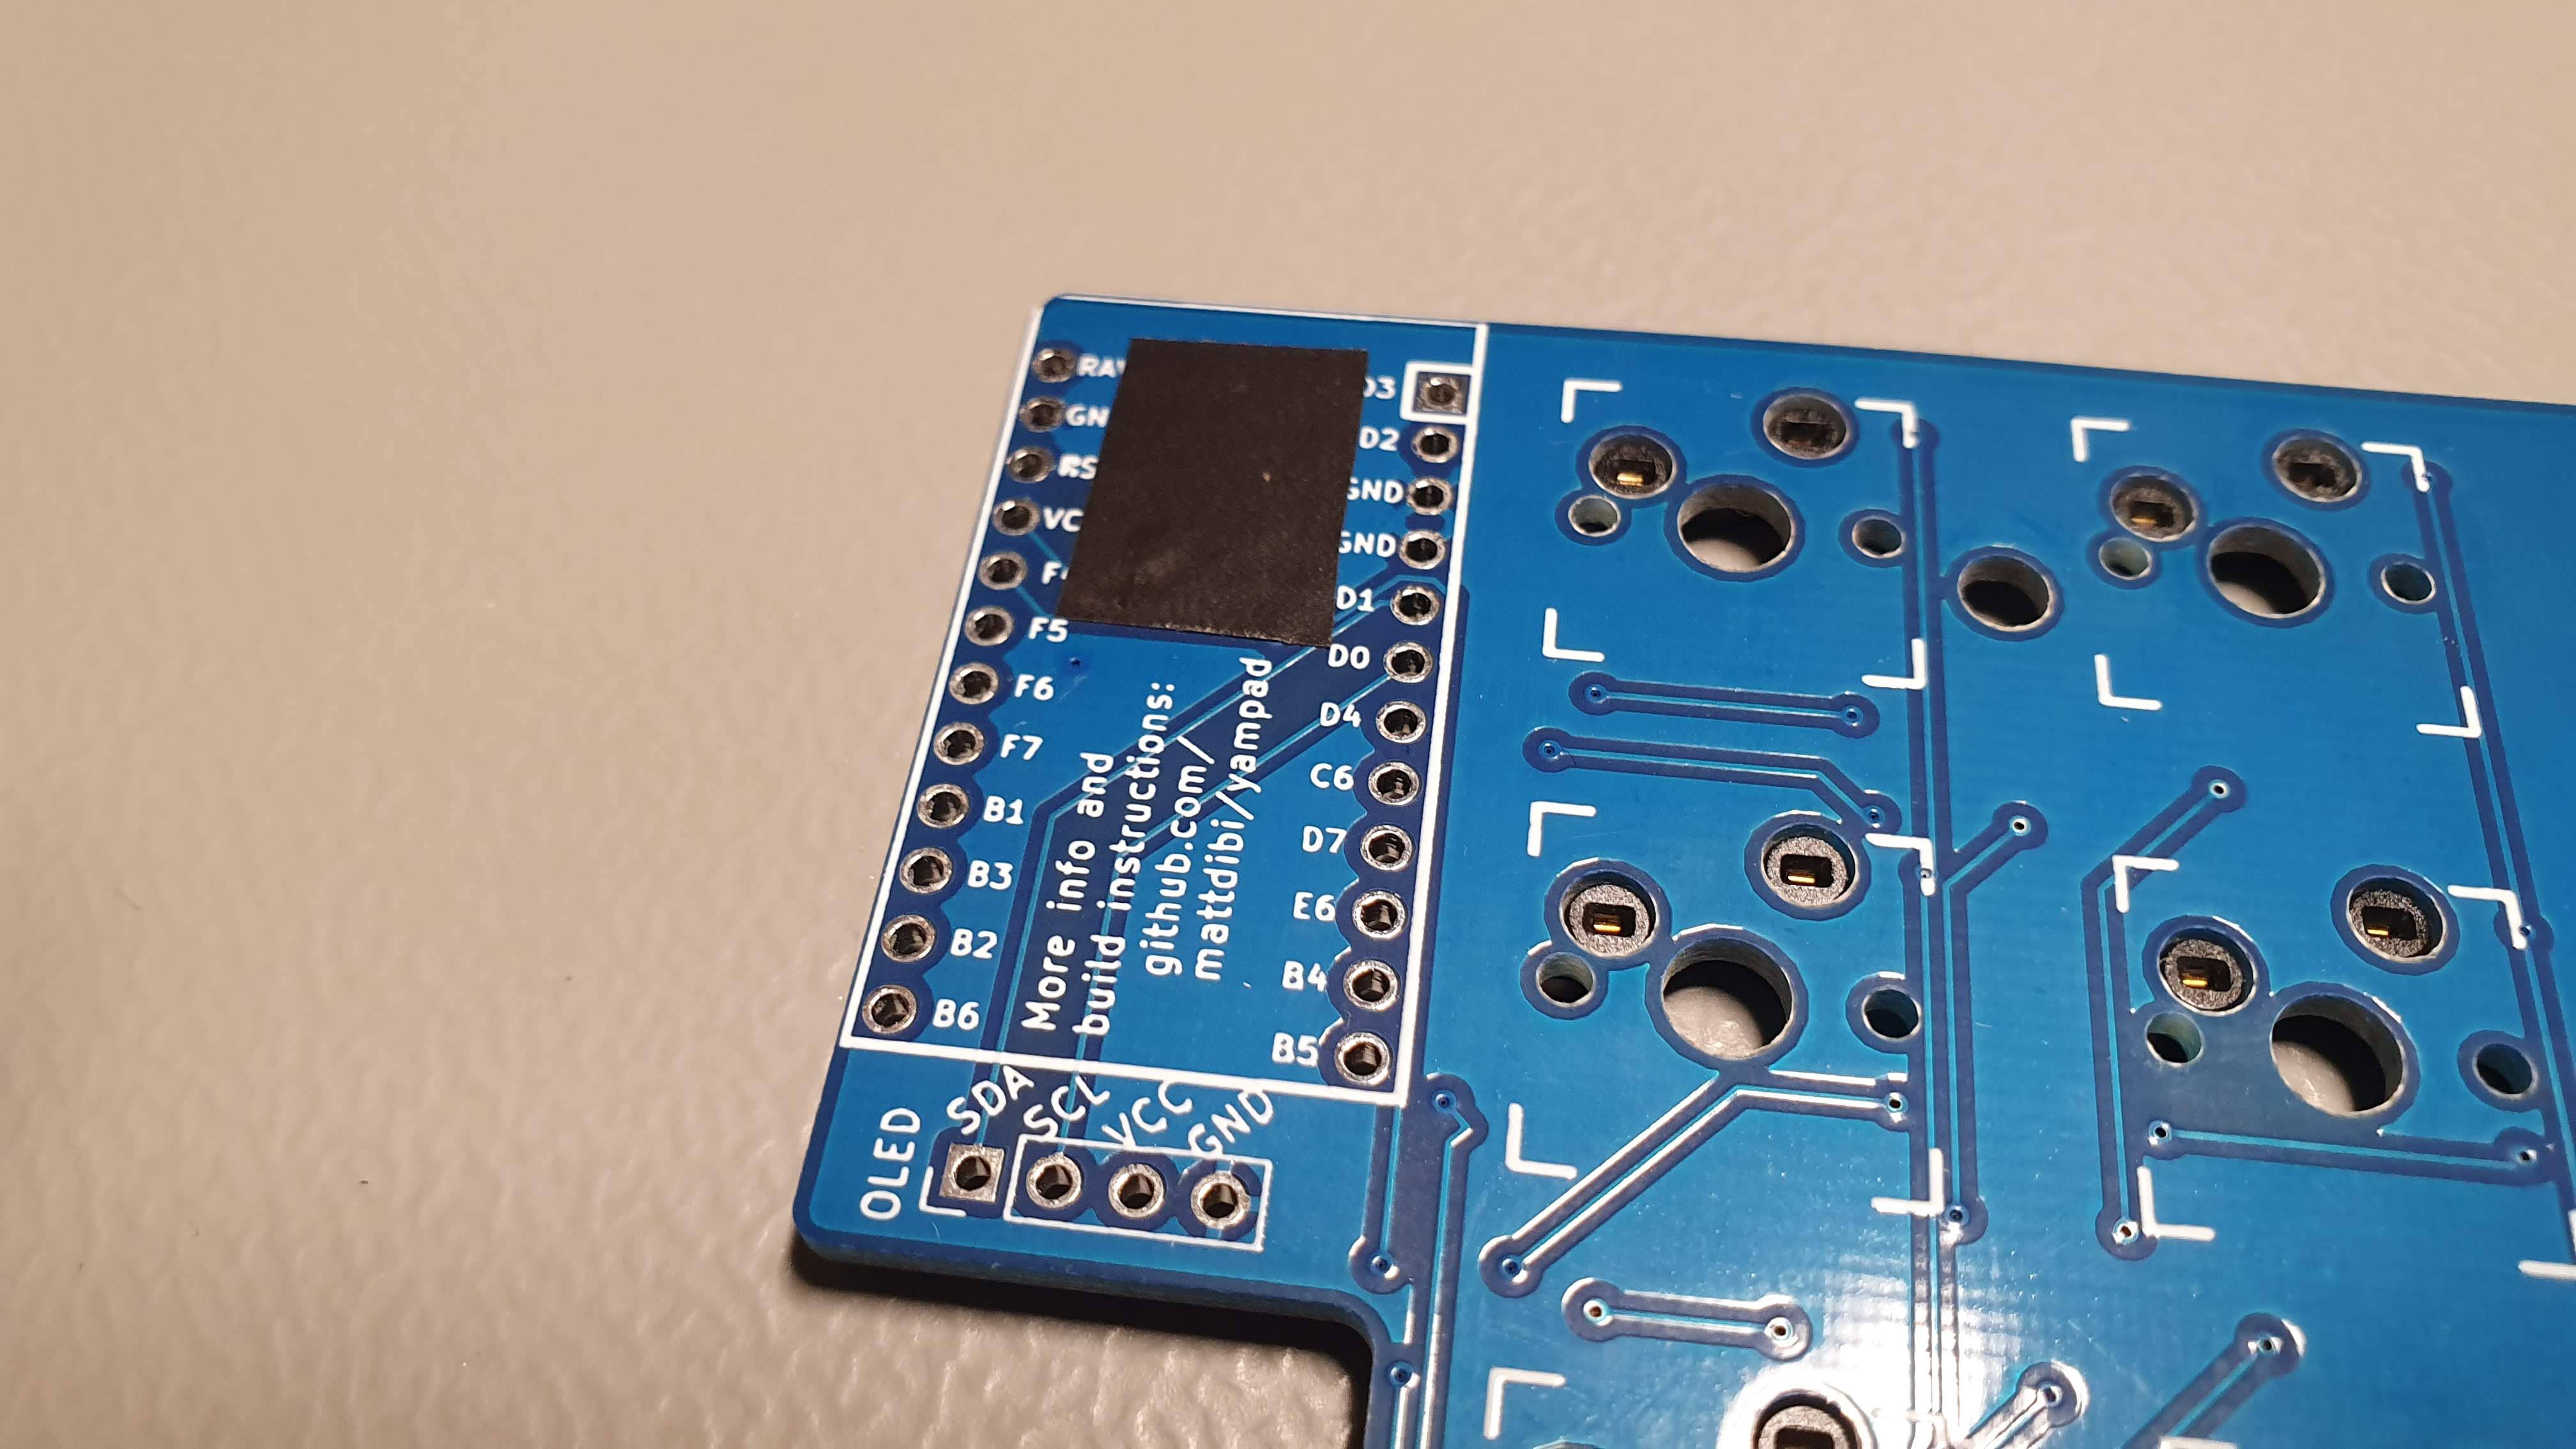
As always I followed the sacred text and designed a simple matrix for the numpad. I added the header pins for the oled screen and daisy-chained the WS2812B as per their datasheet. Added a reset switch and here we are...
 Mattia Dal Ben
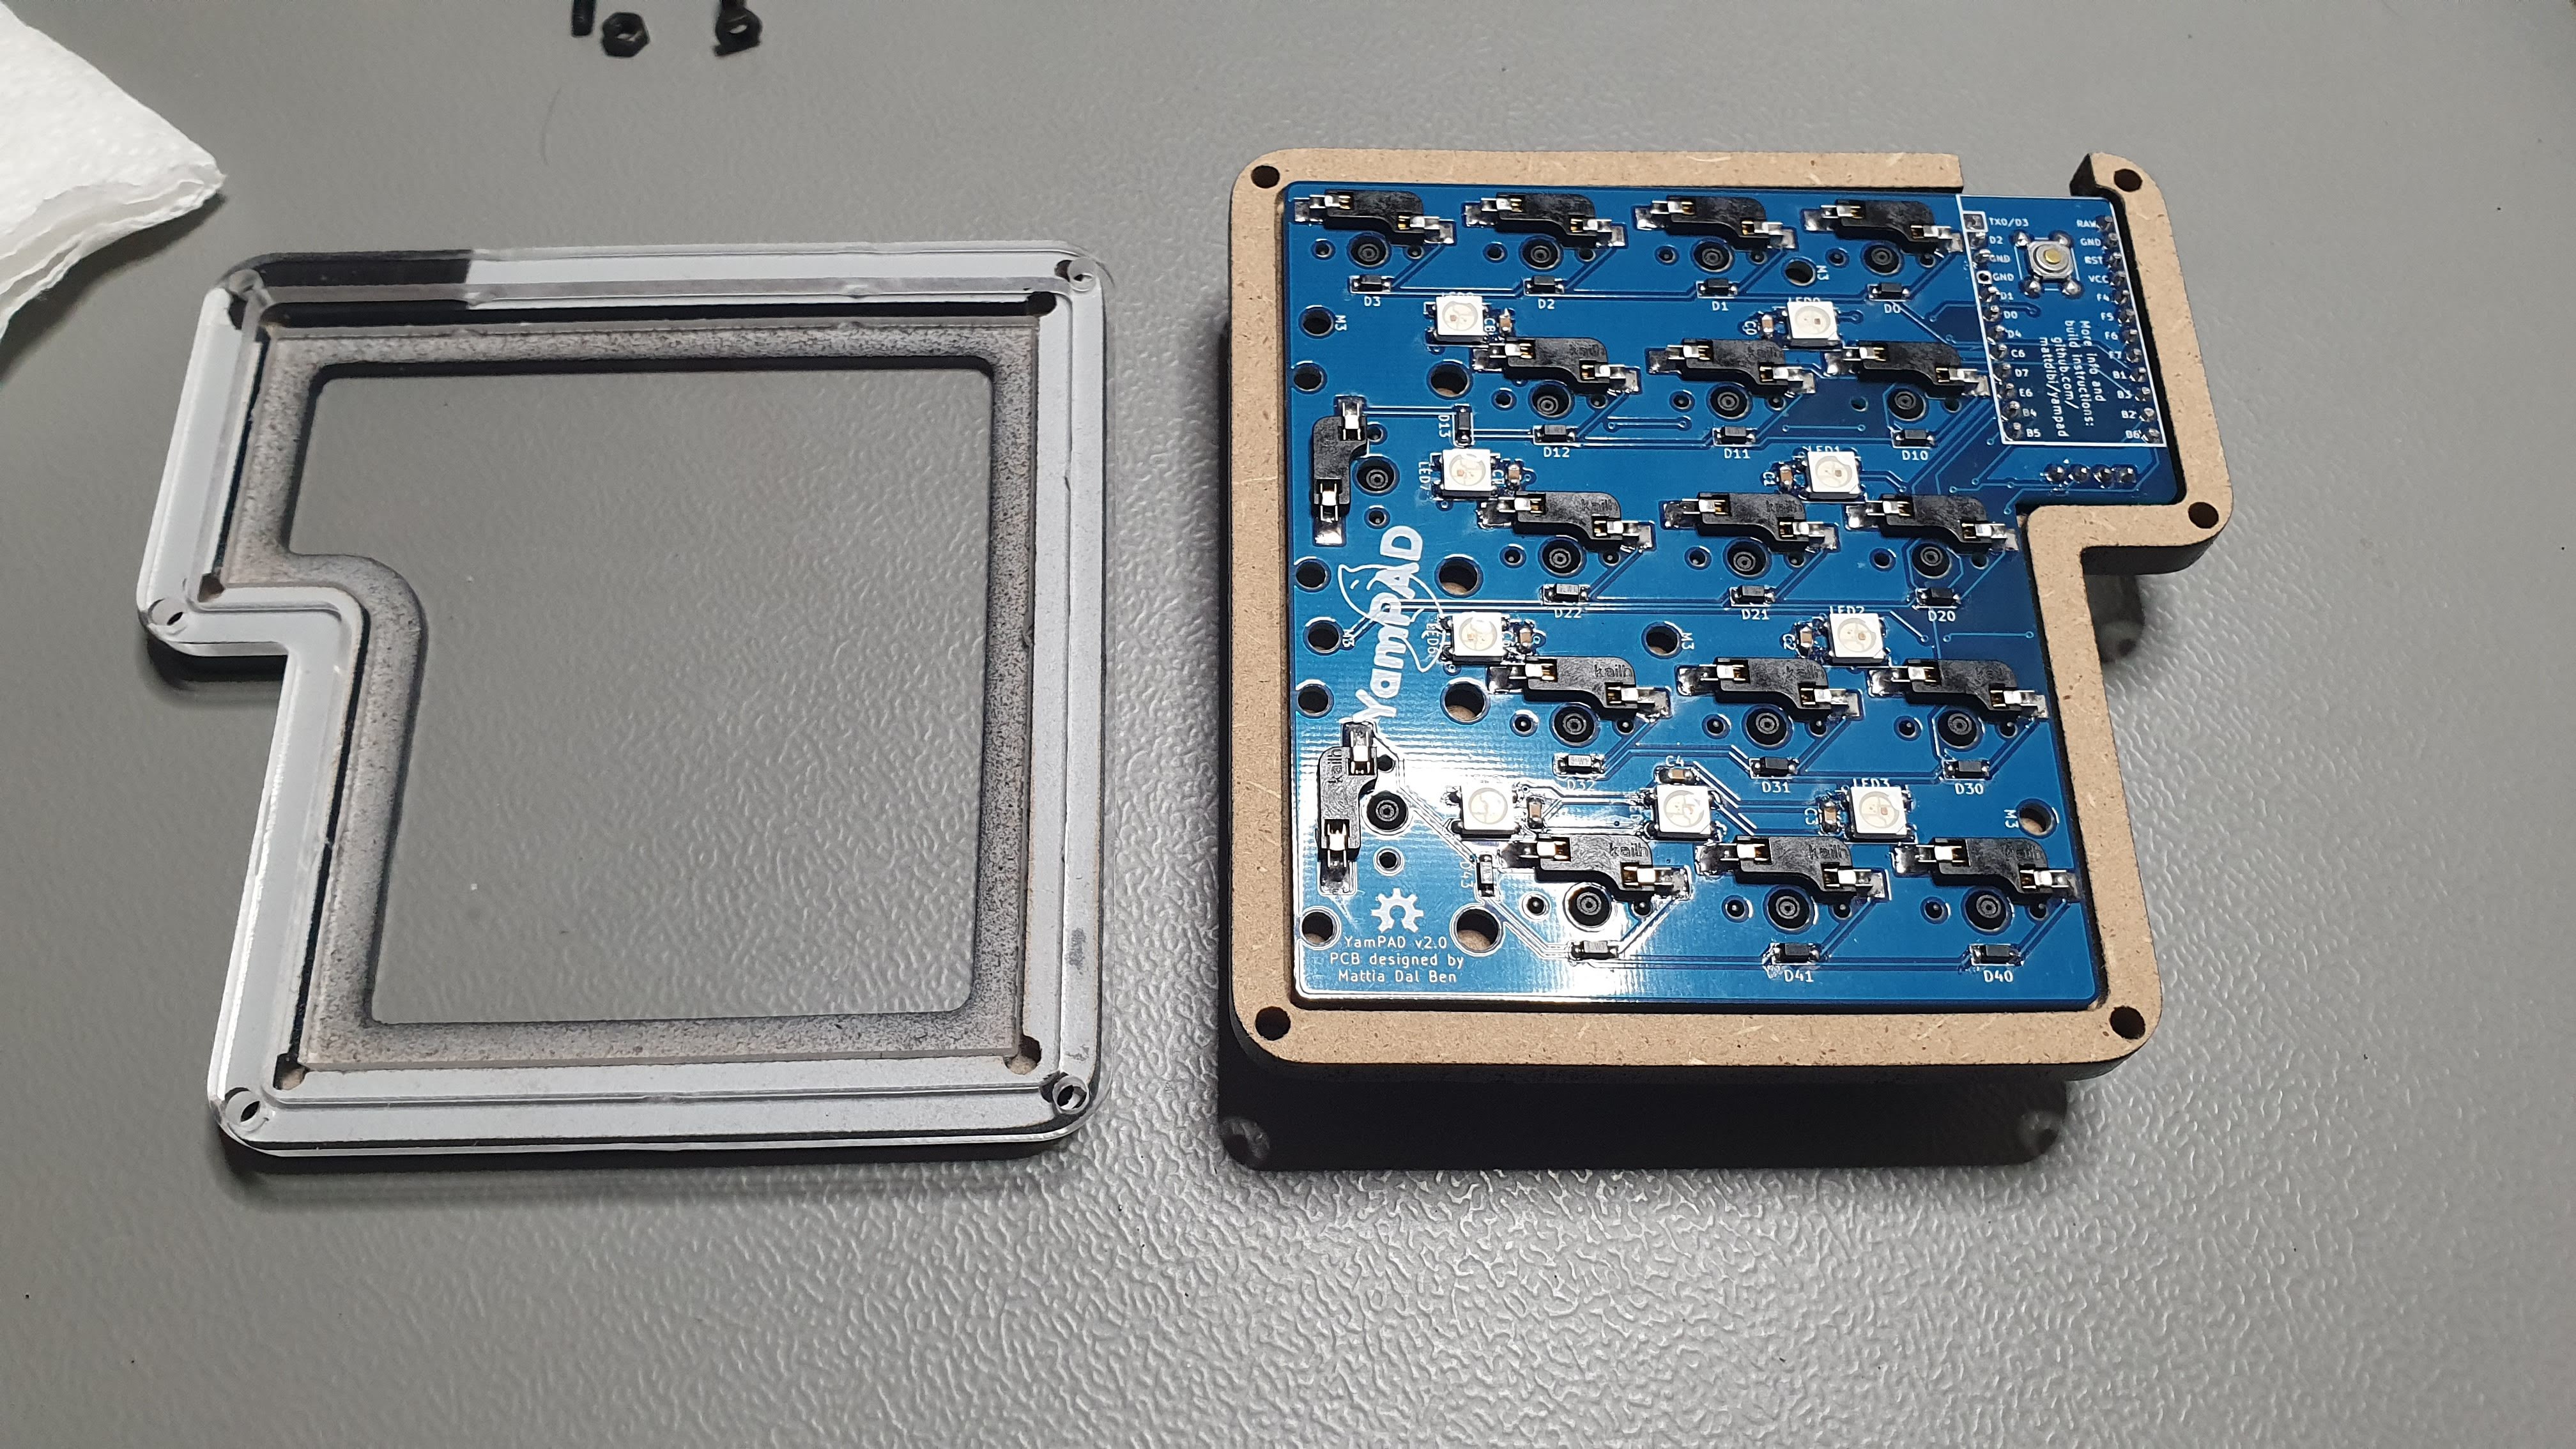
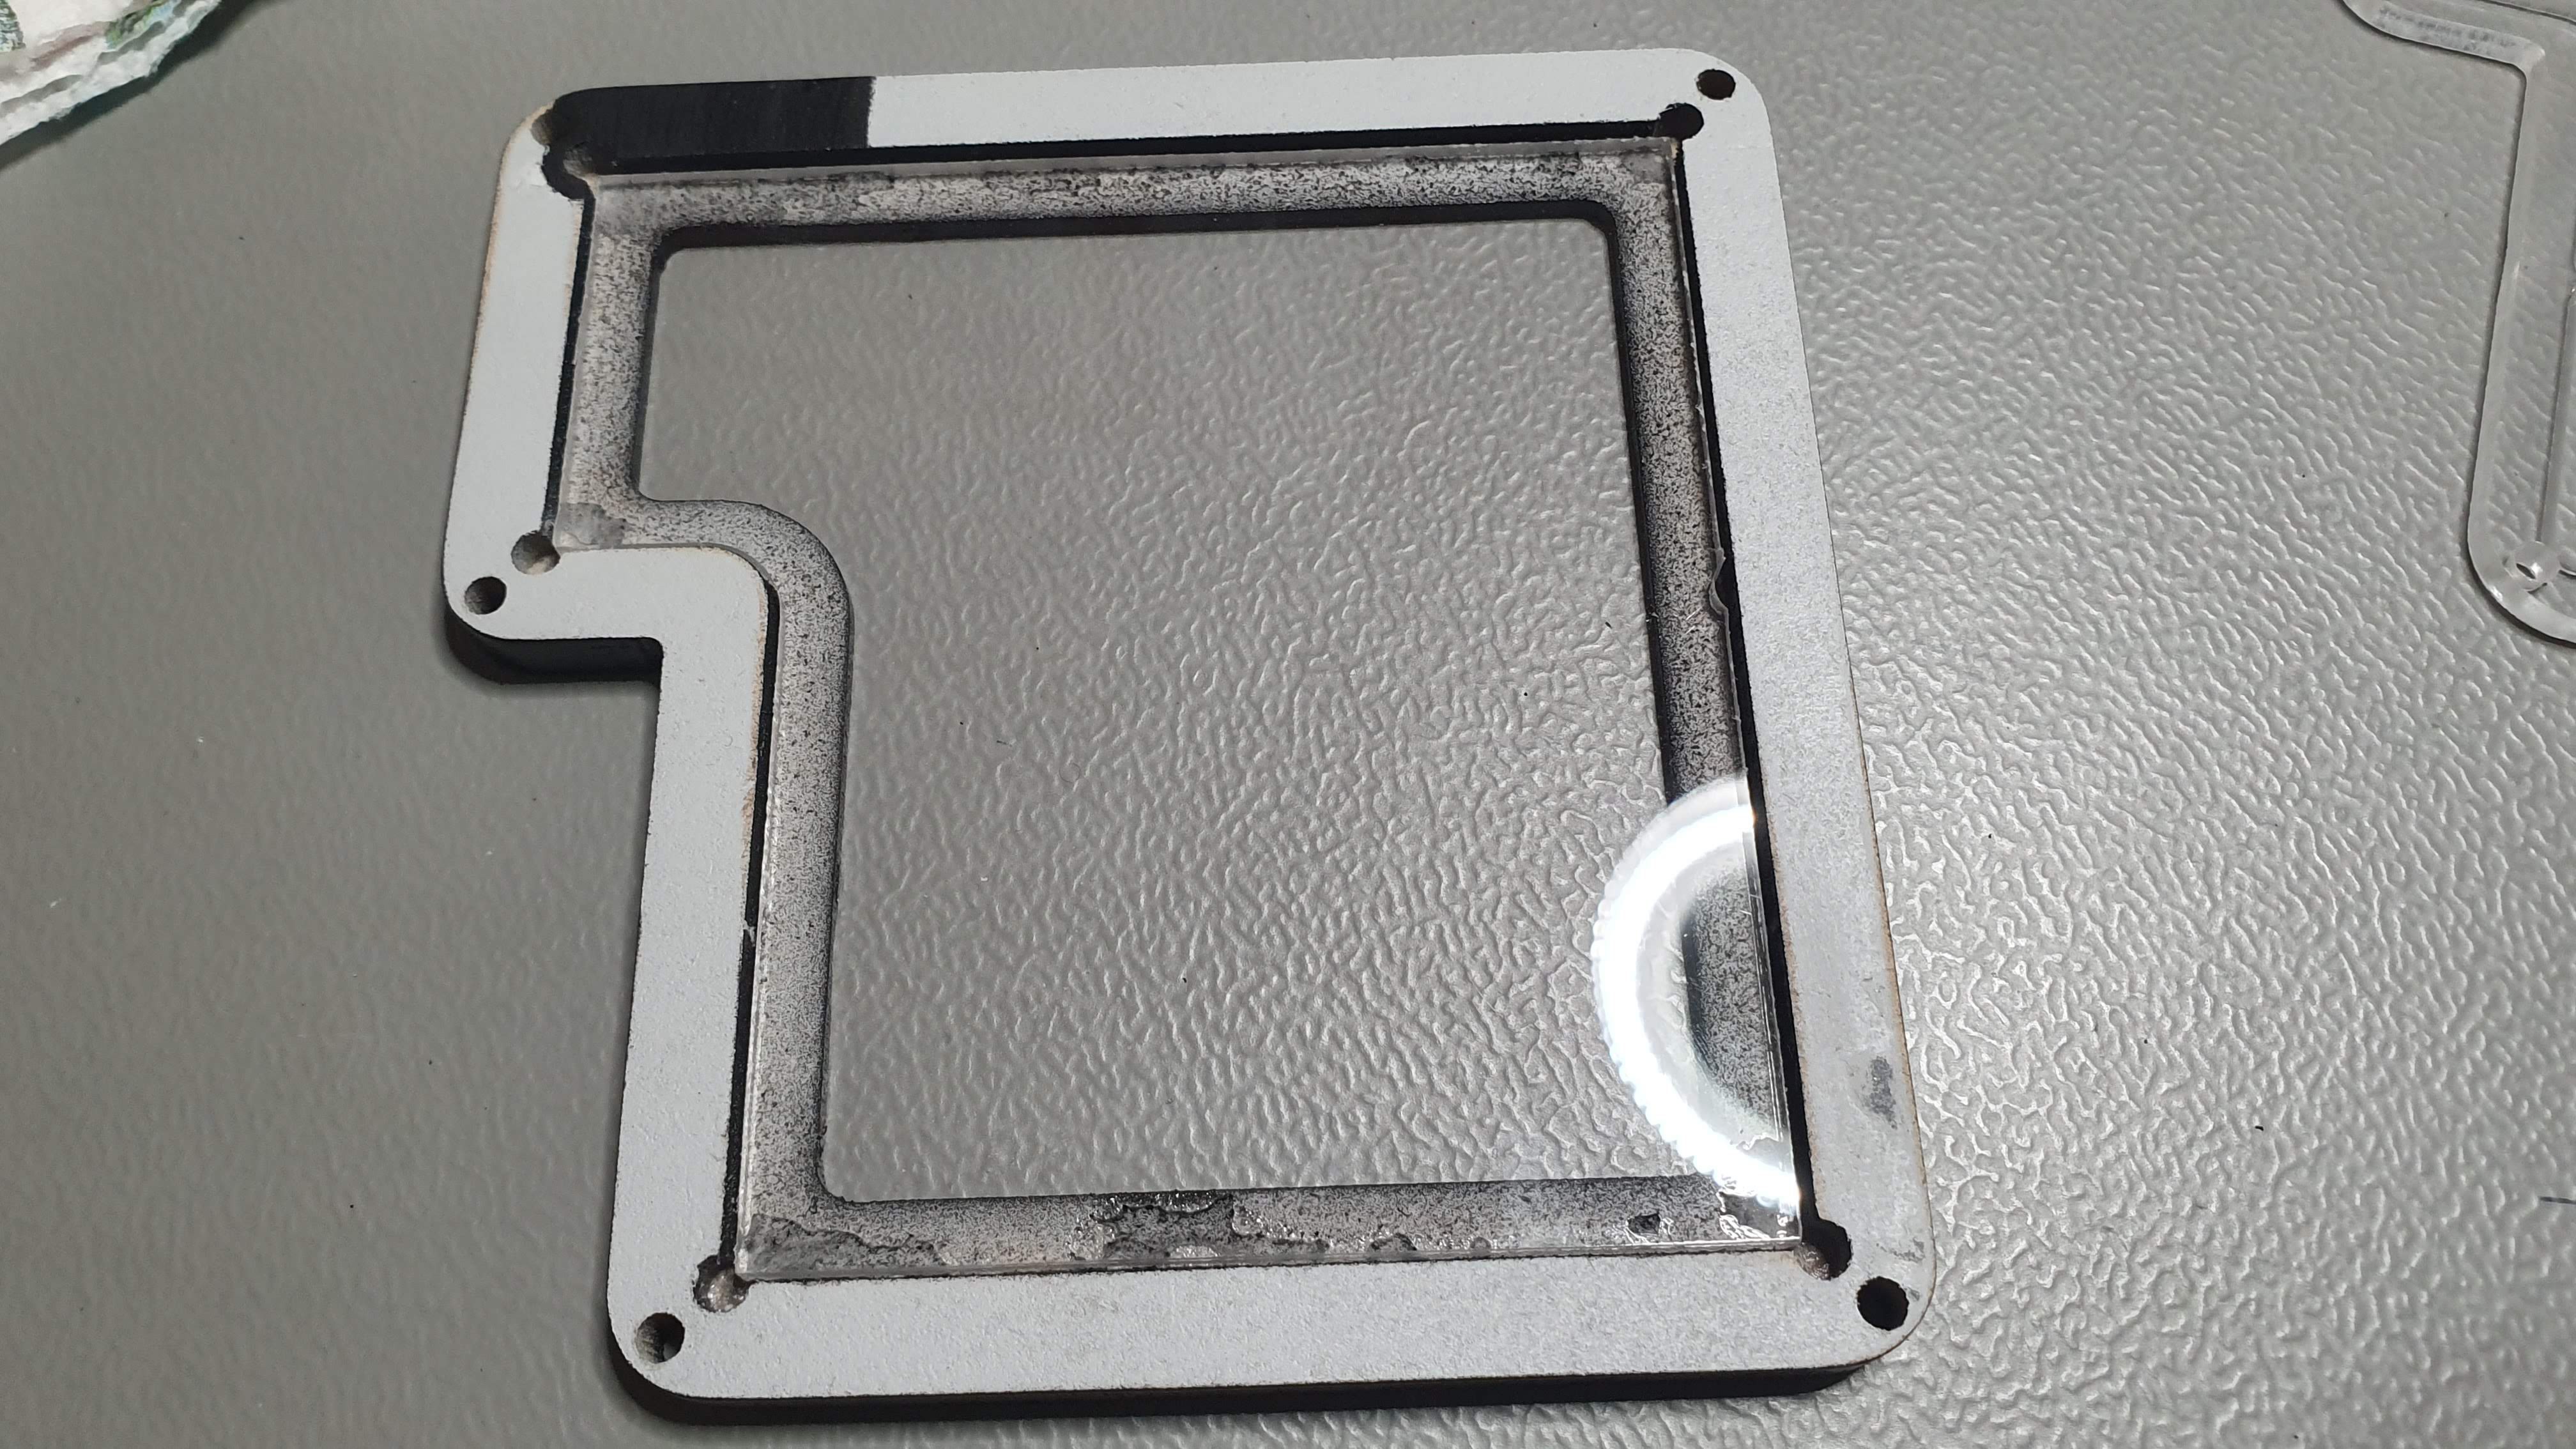 Here are the completed and painted pieces. I added the window in the bottom since I had the acrylic piece left over from the middle layer cut. I thought that it could be a nice addition to the final desing.
 And now some glamour shots.
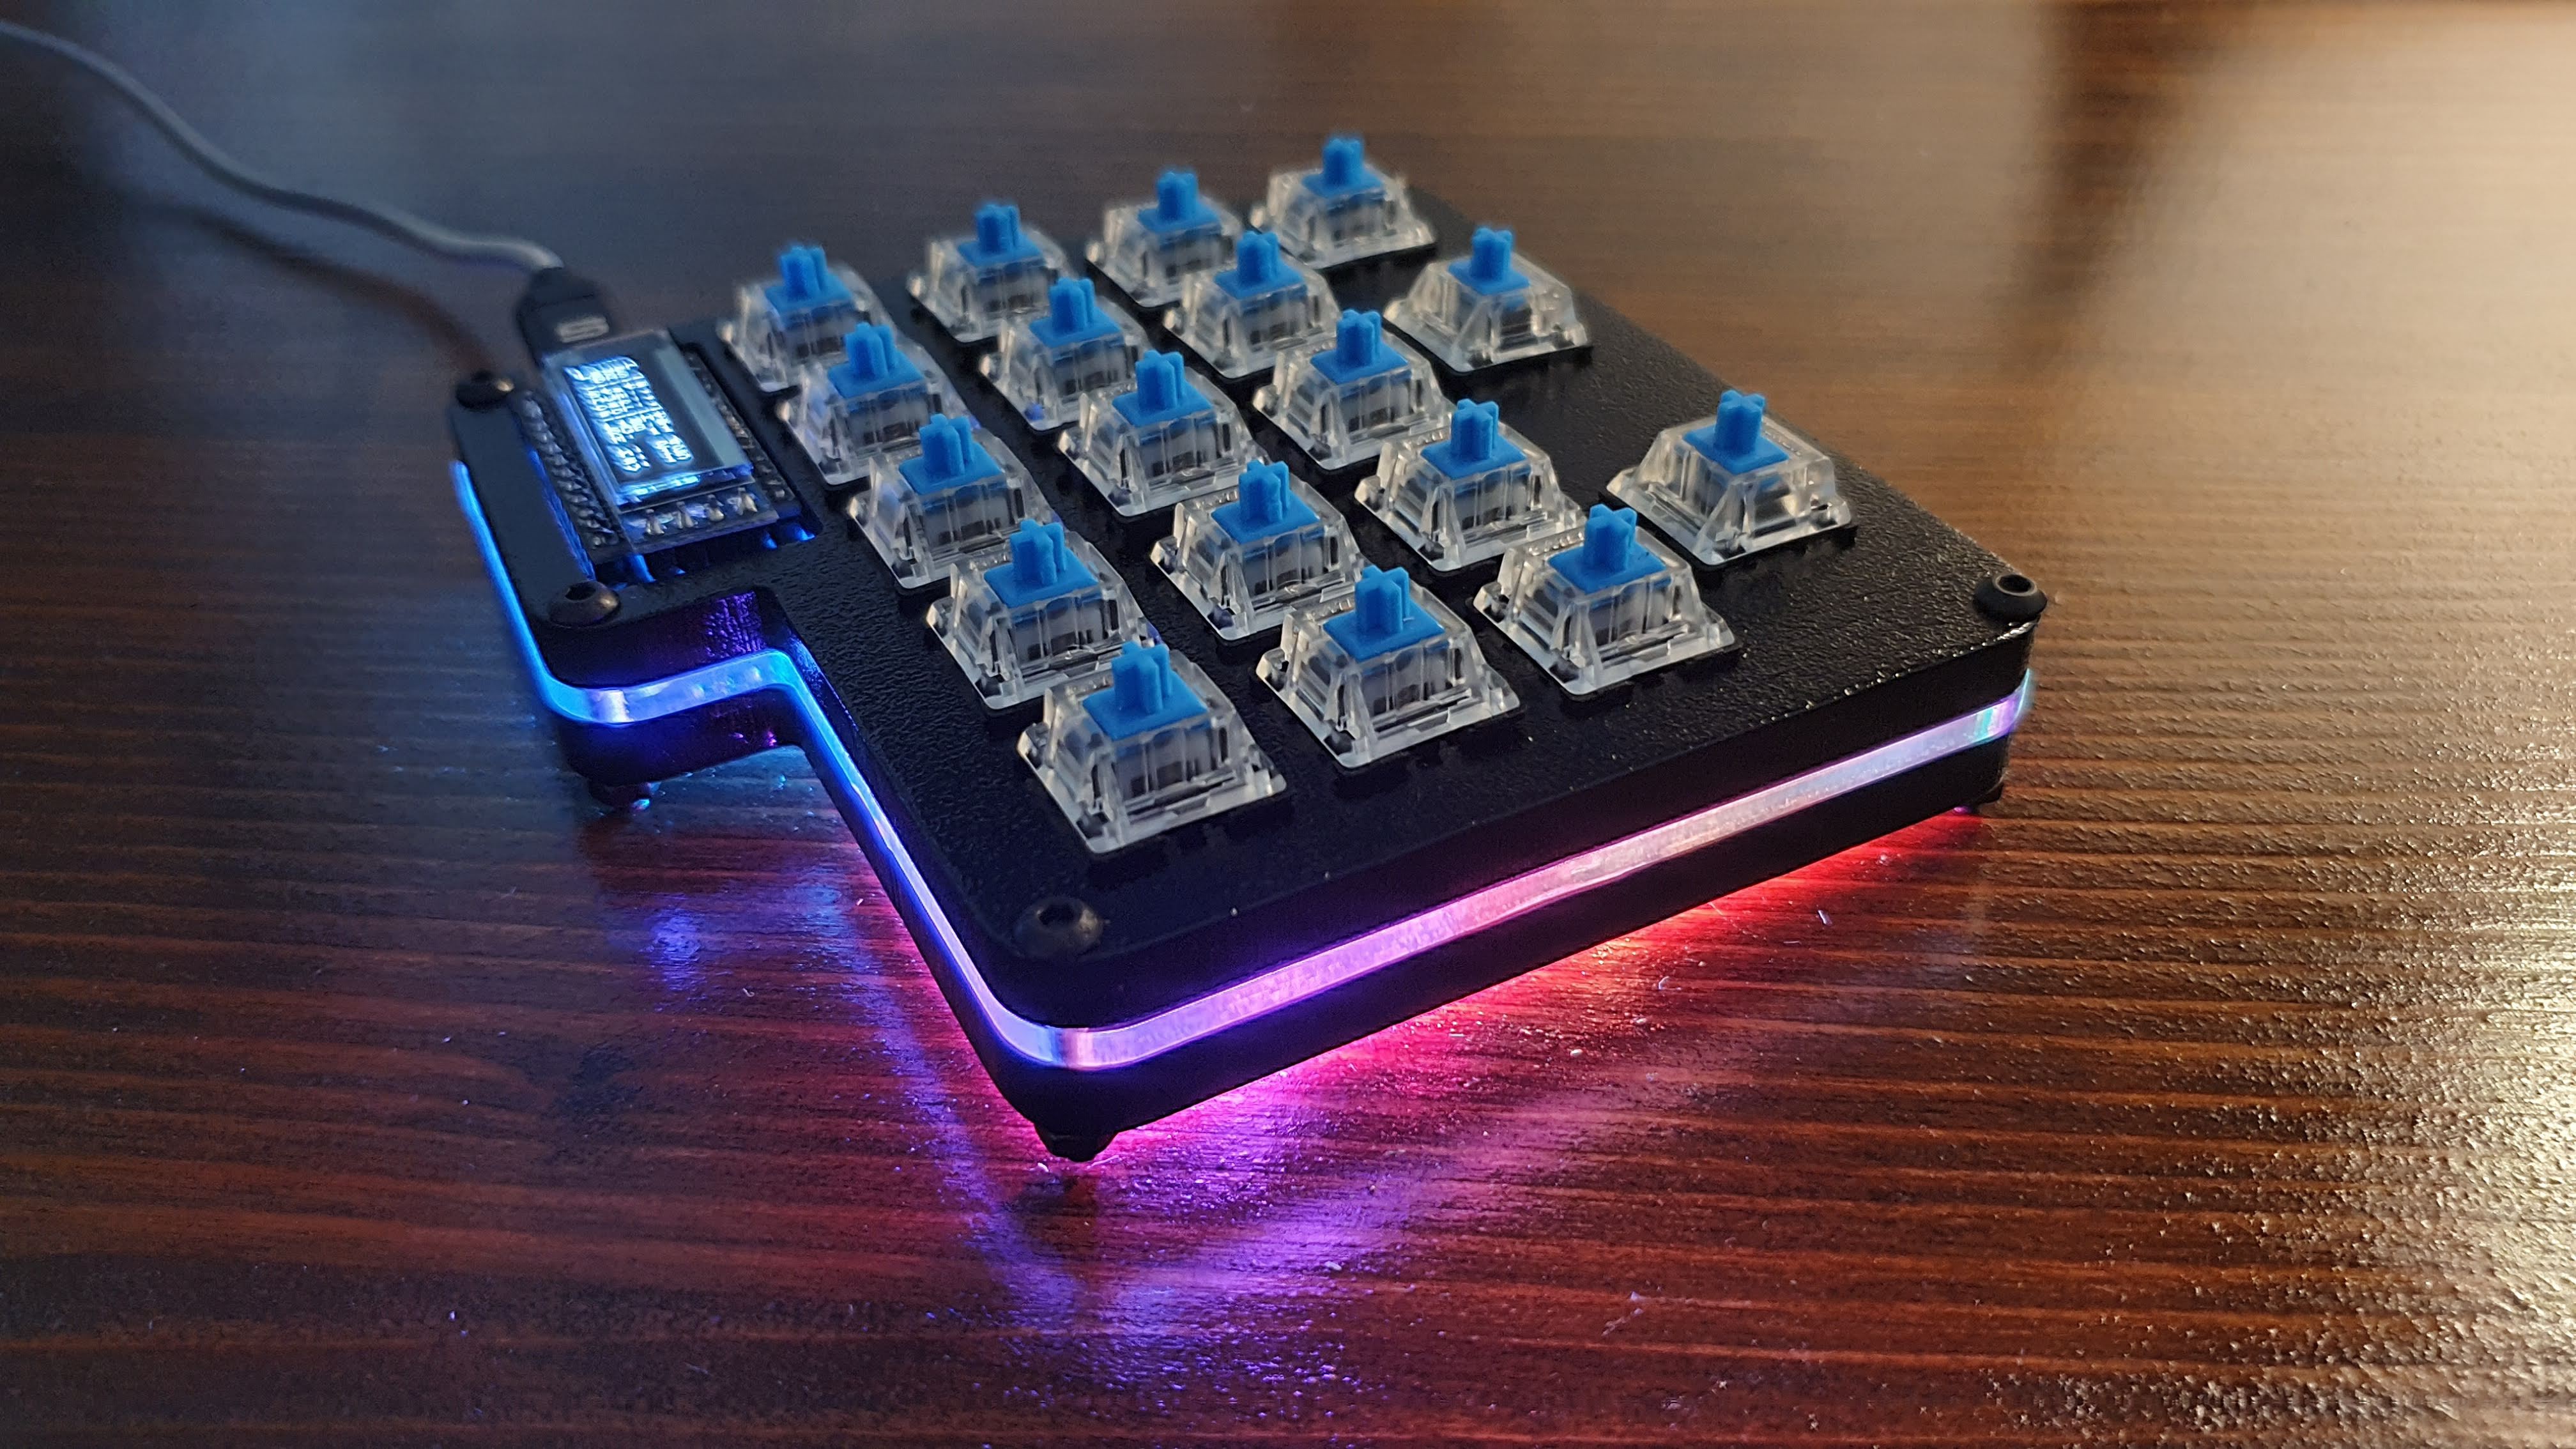
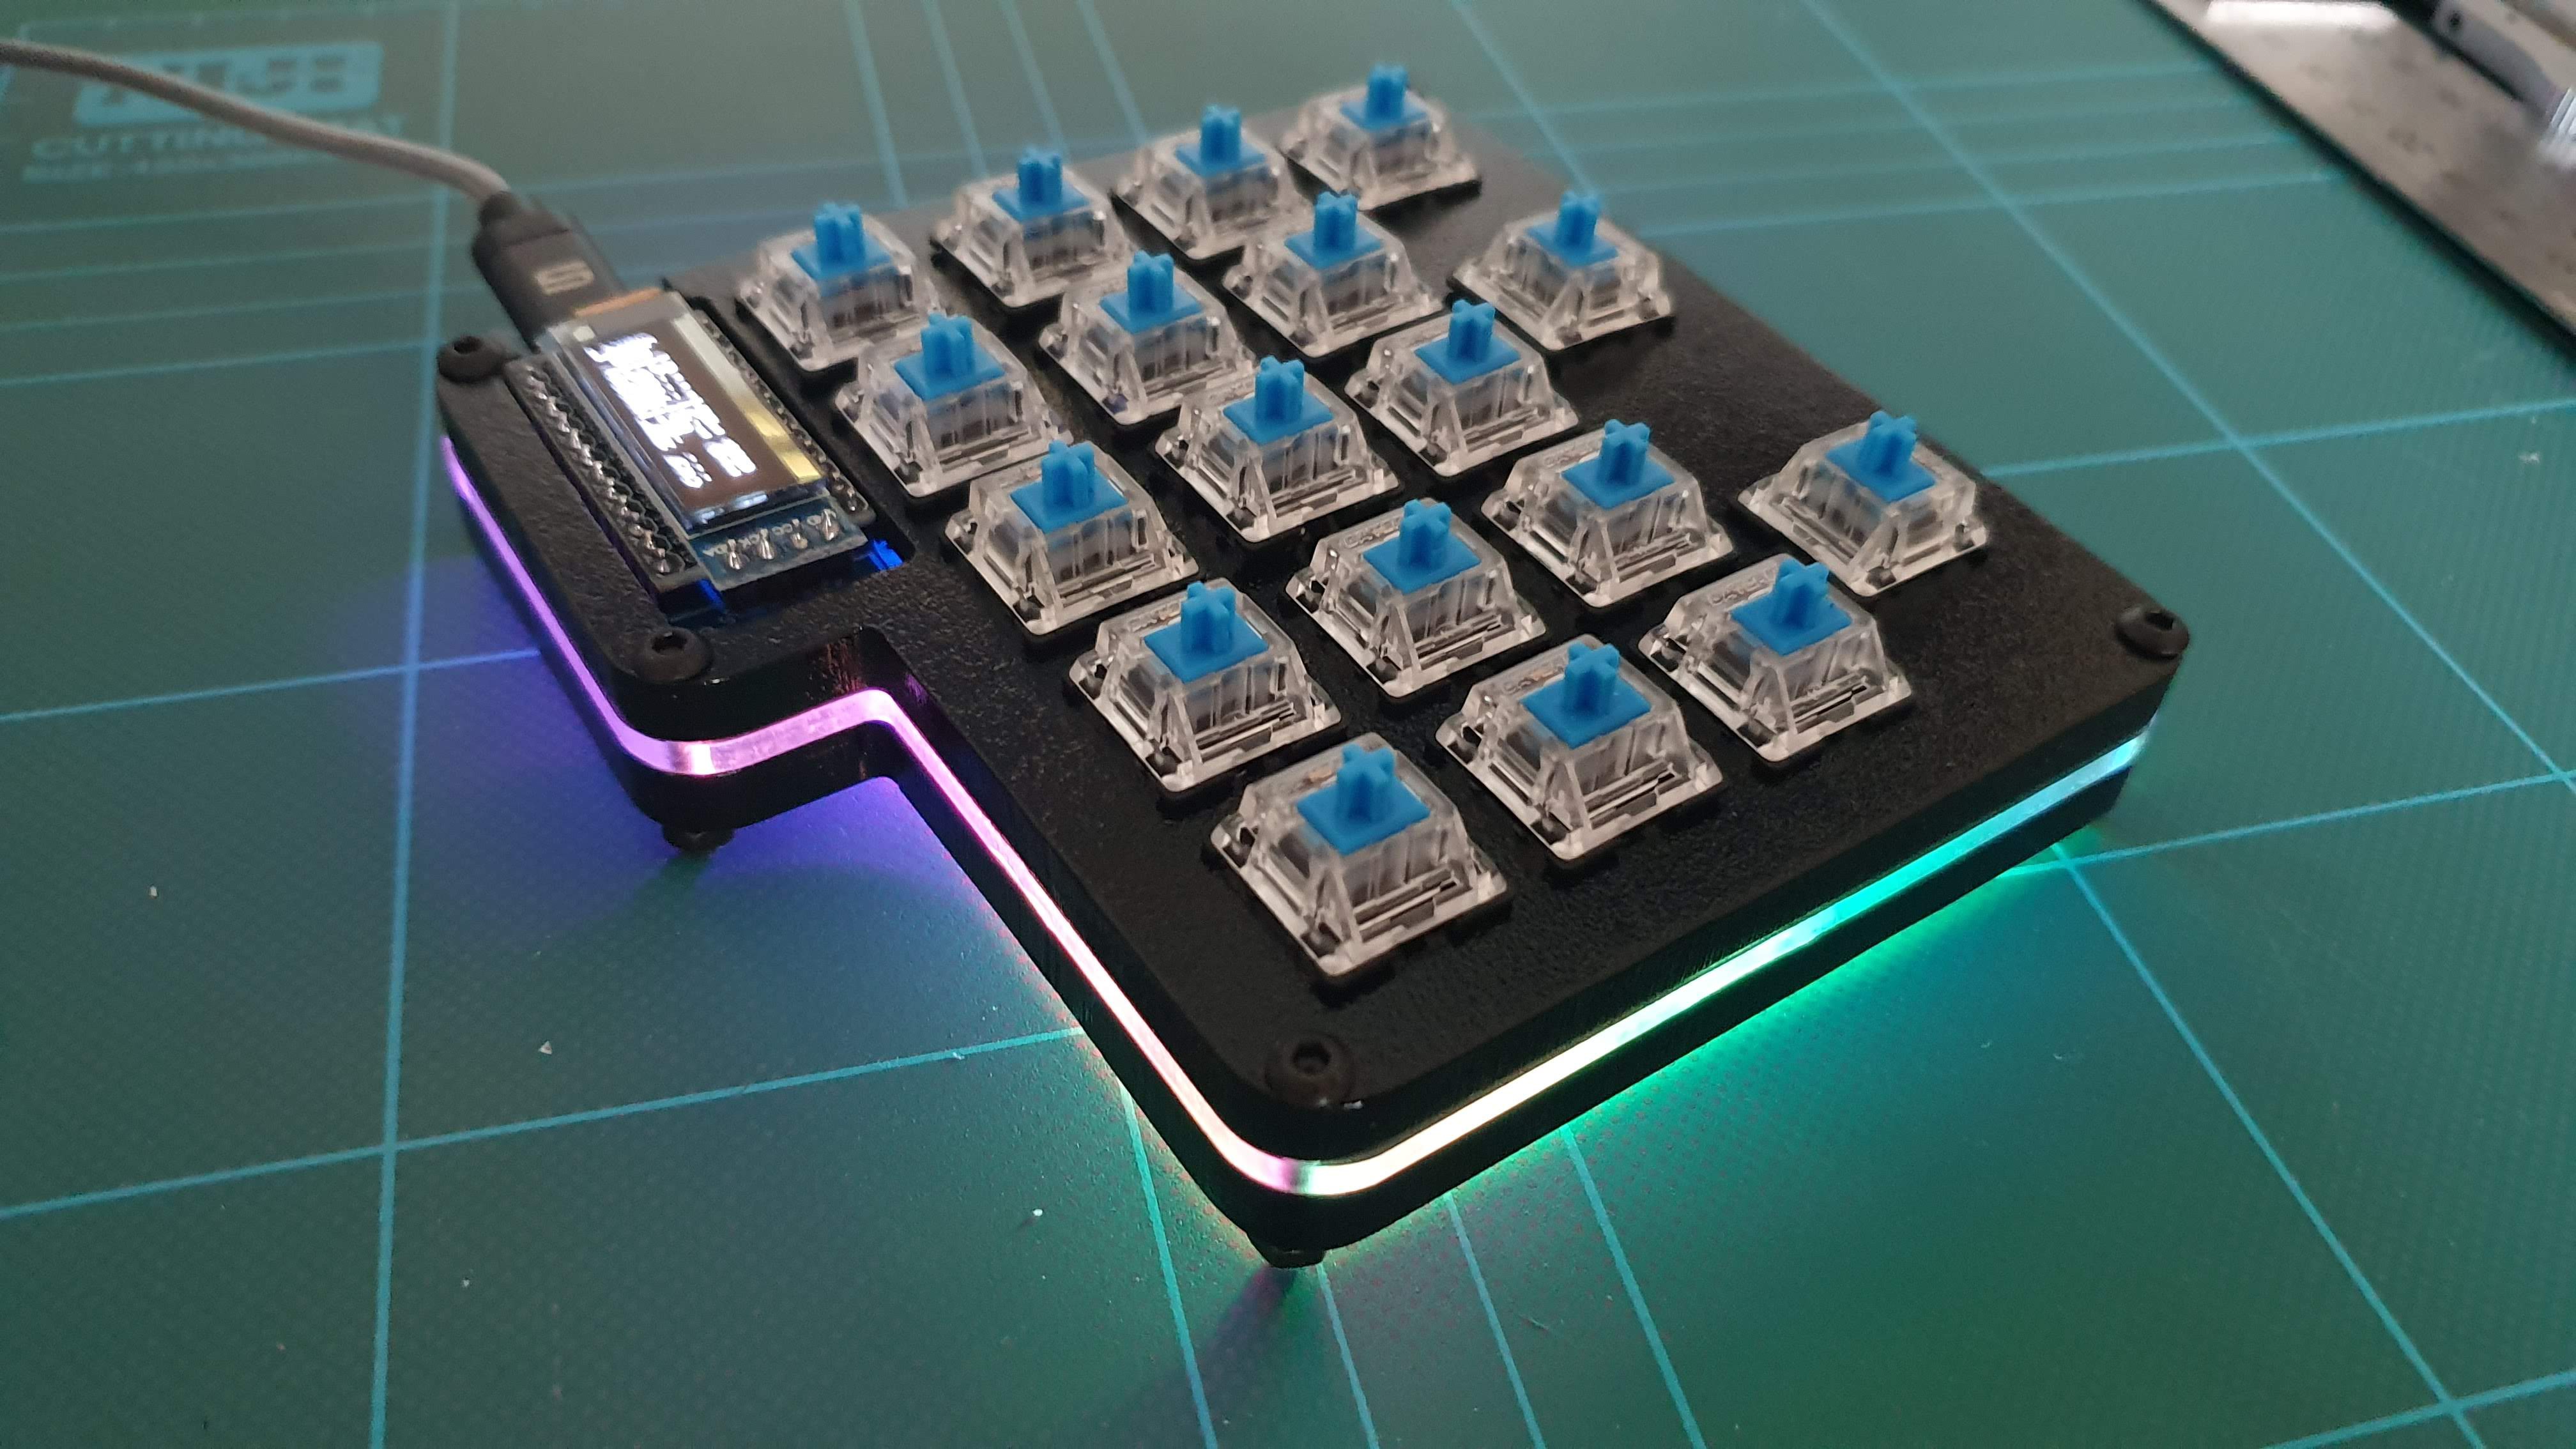


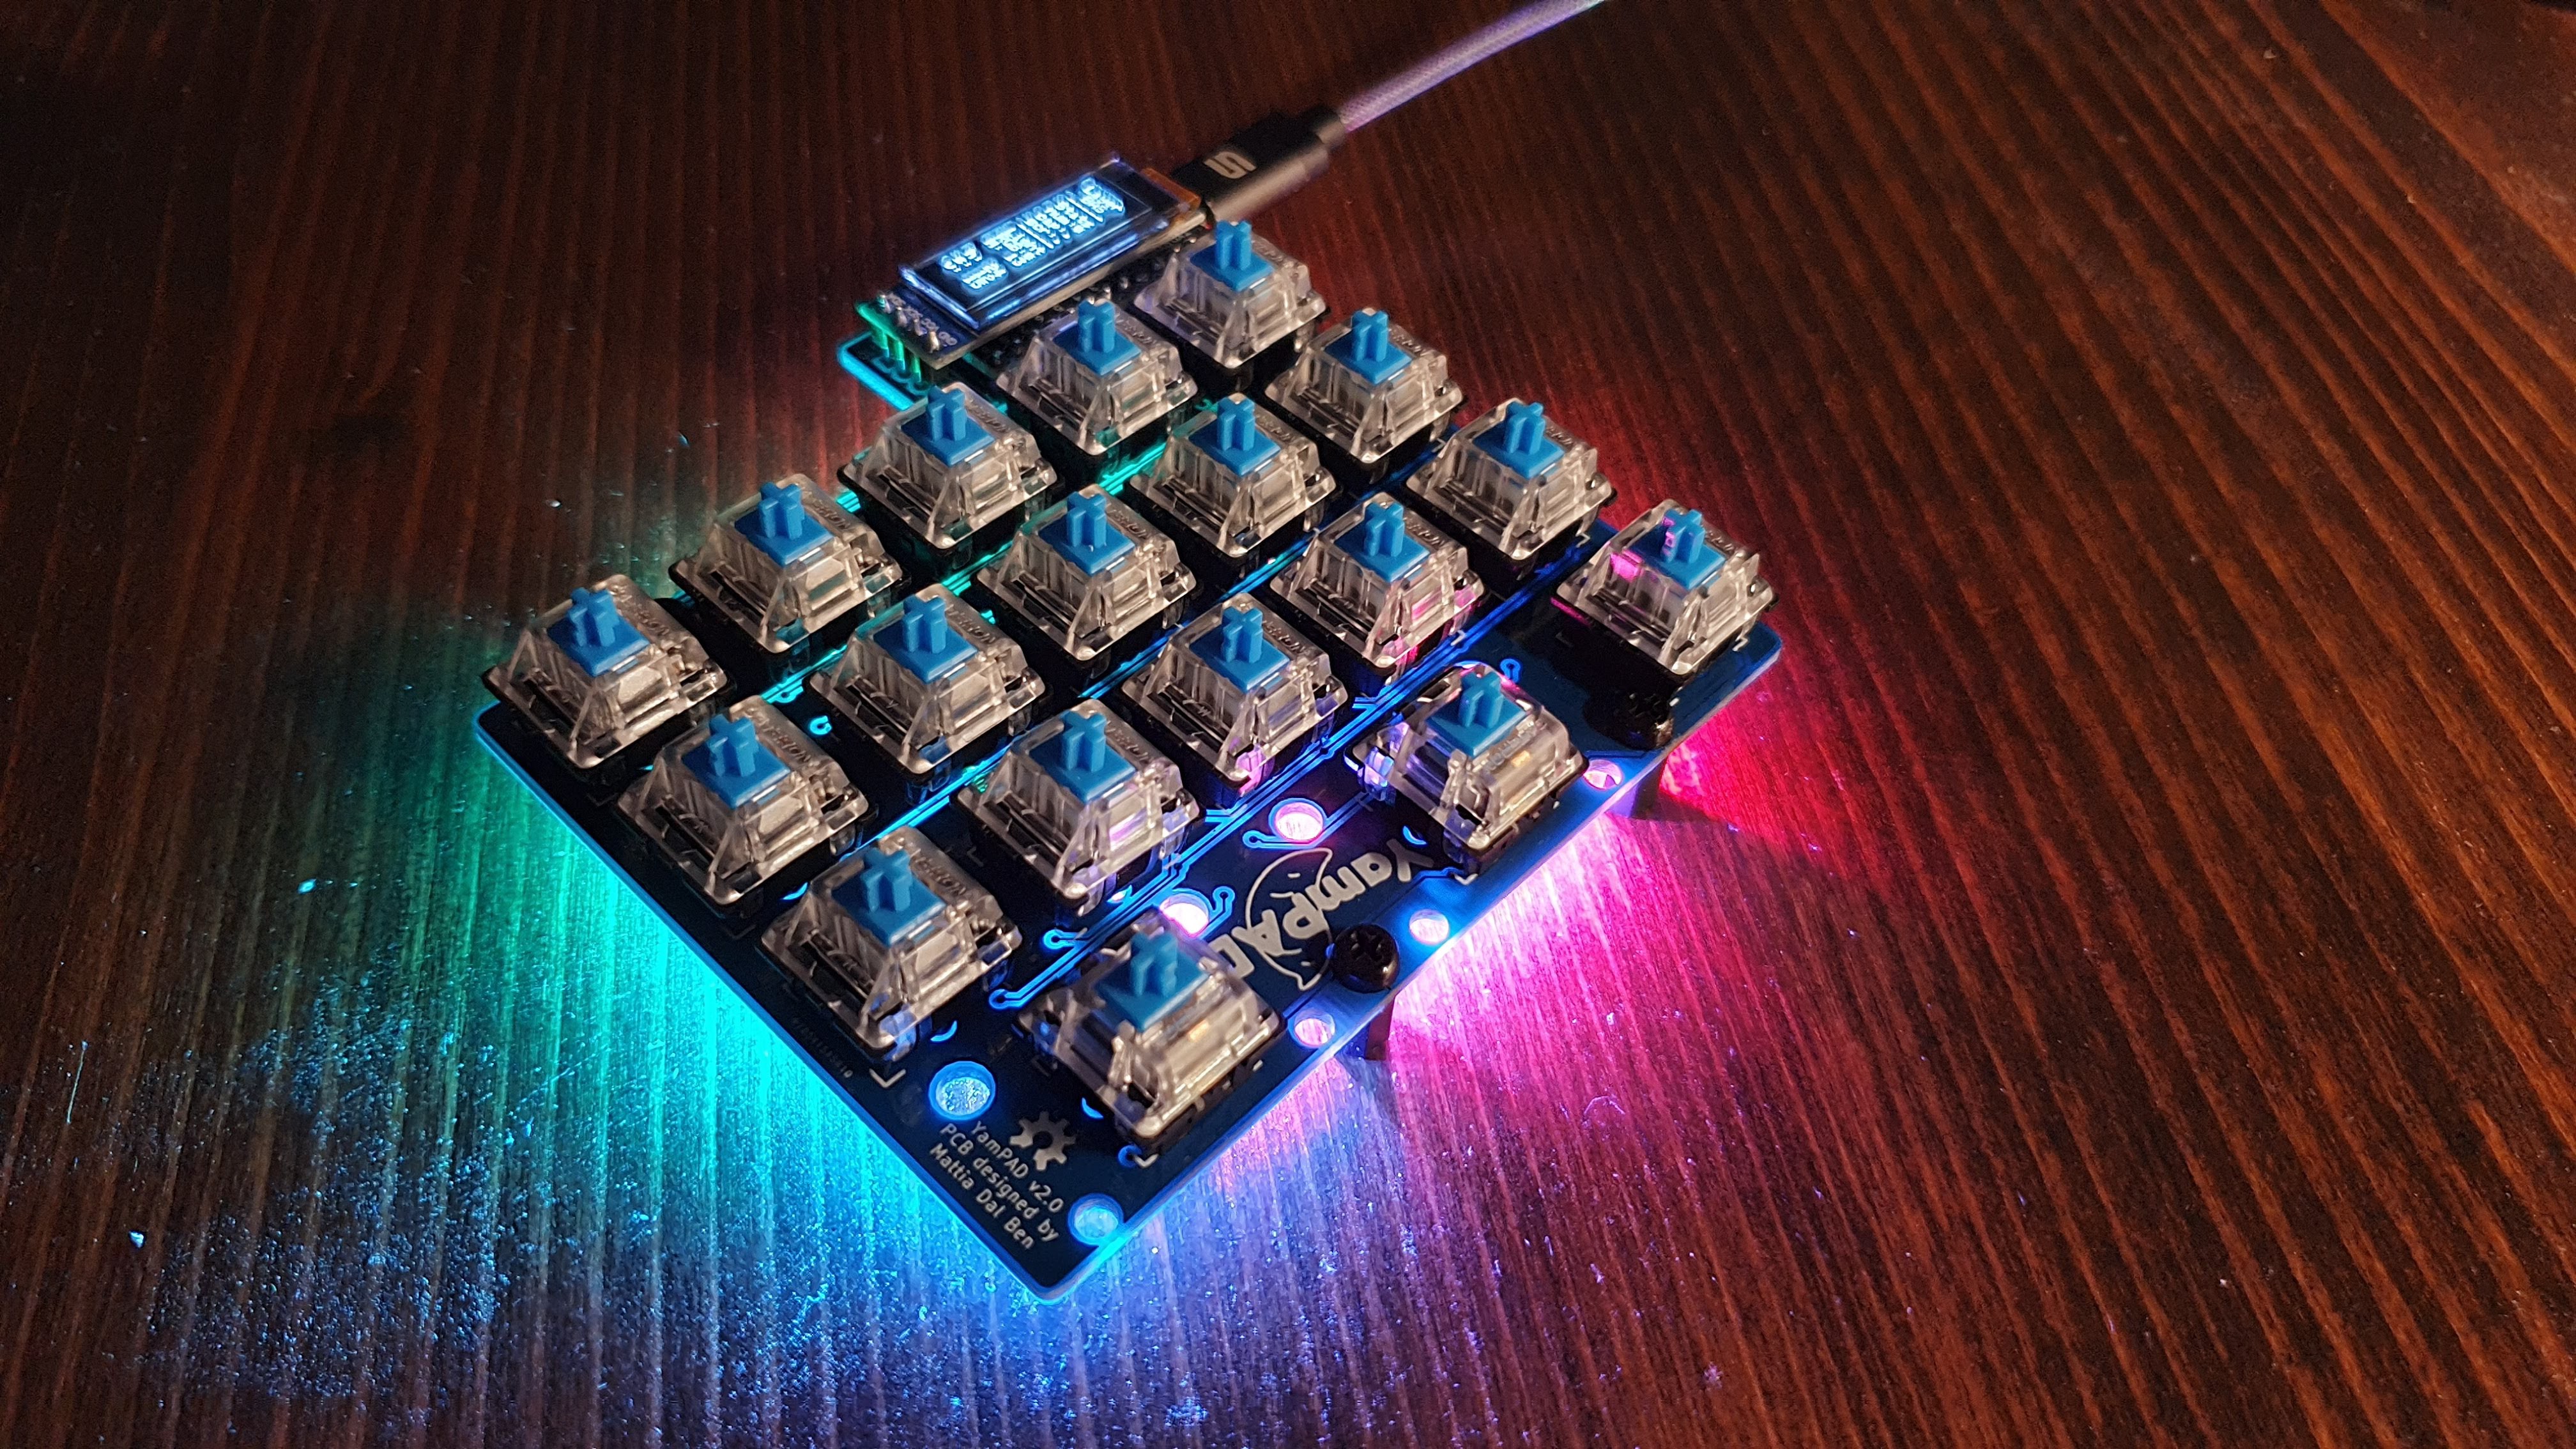

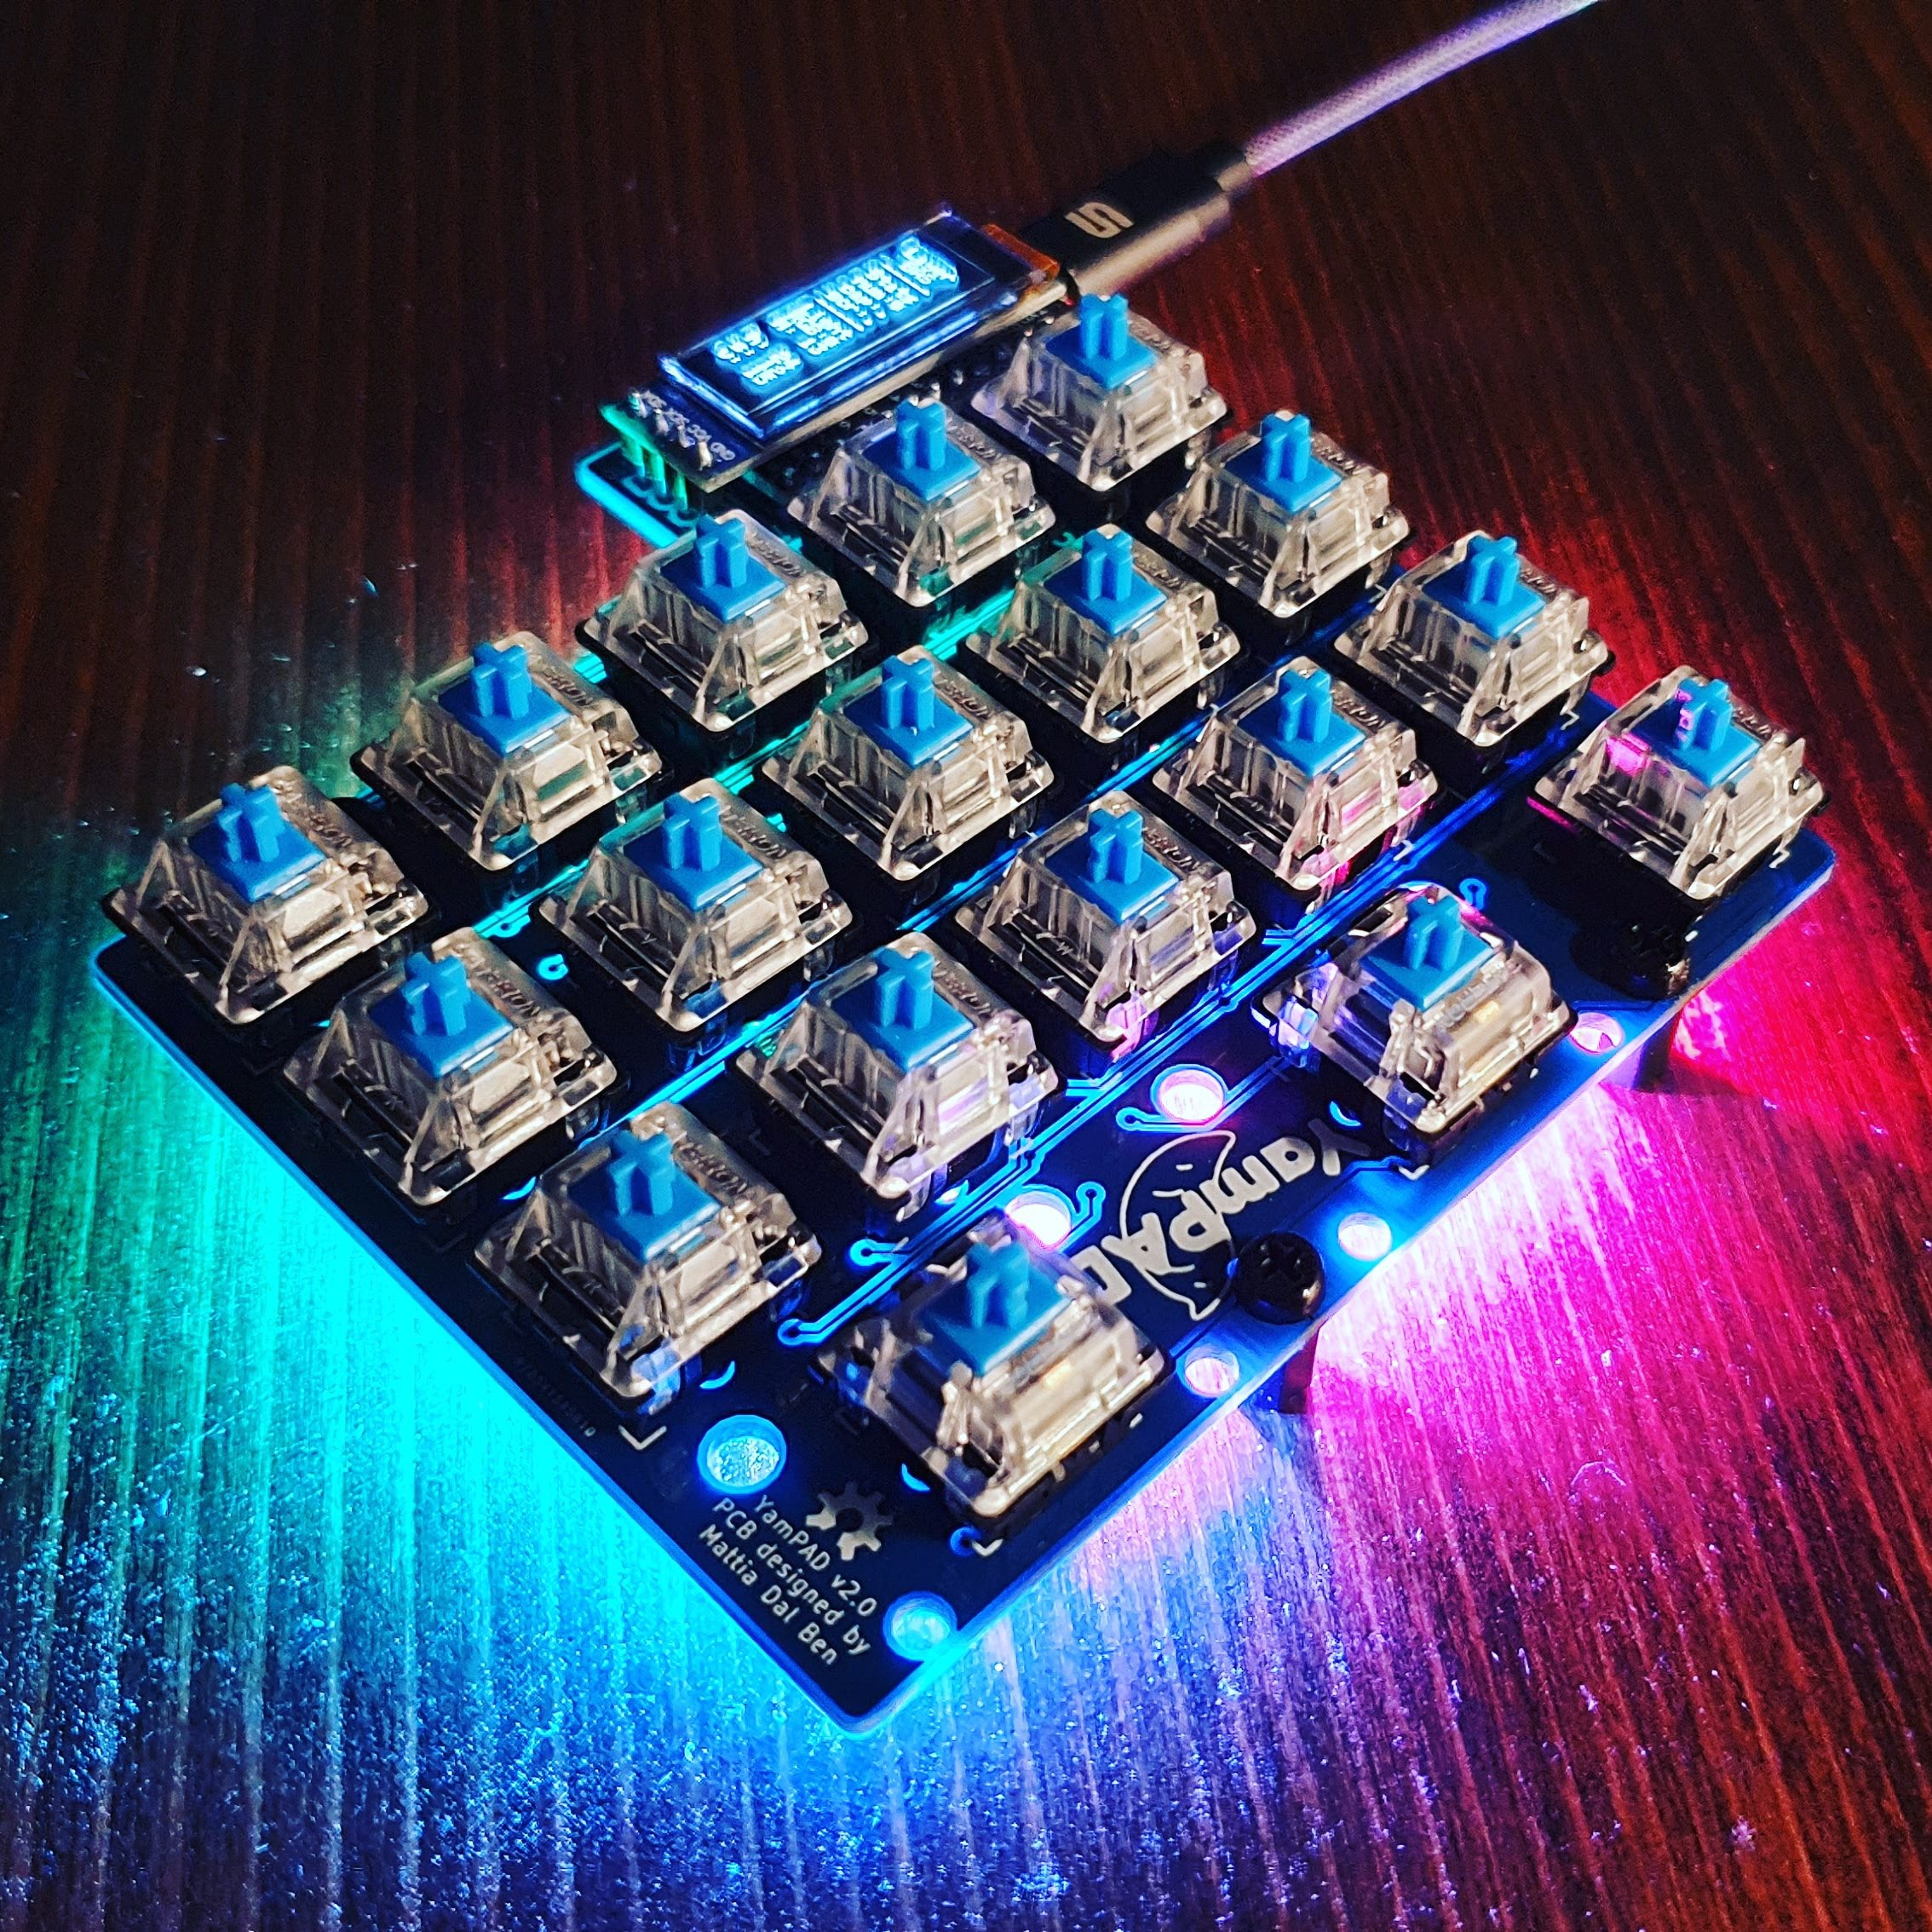


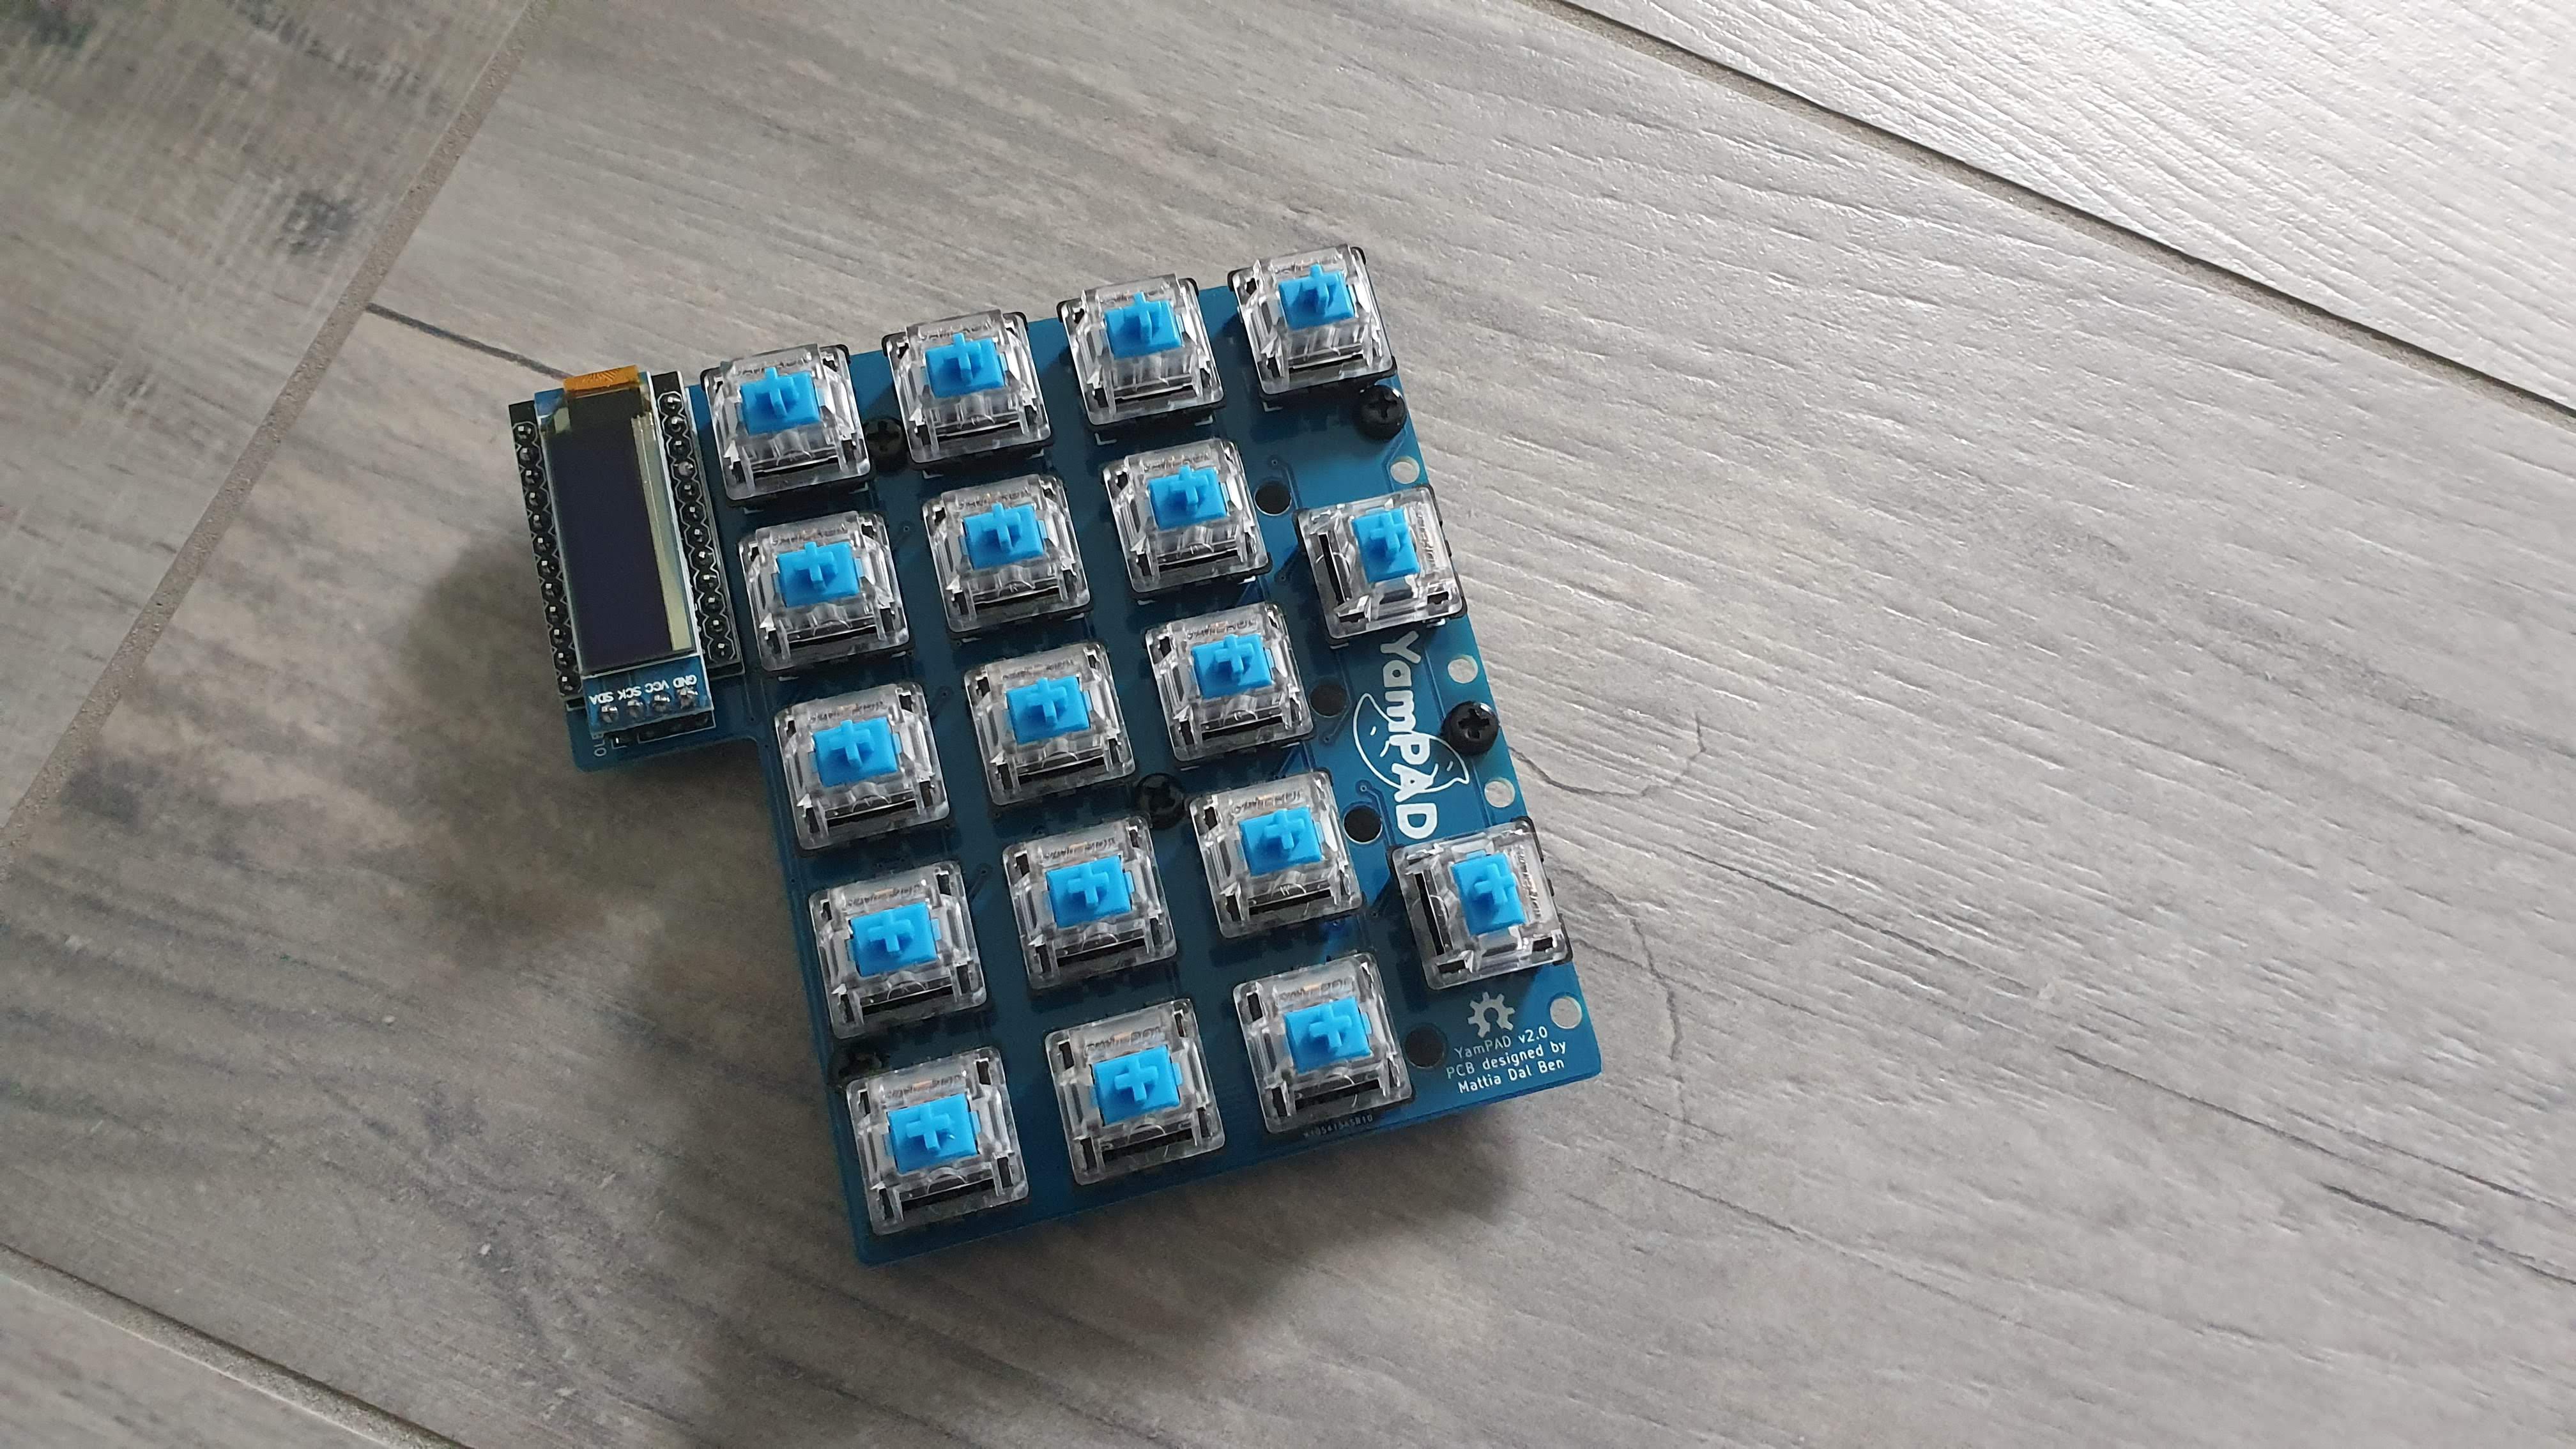
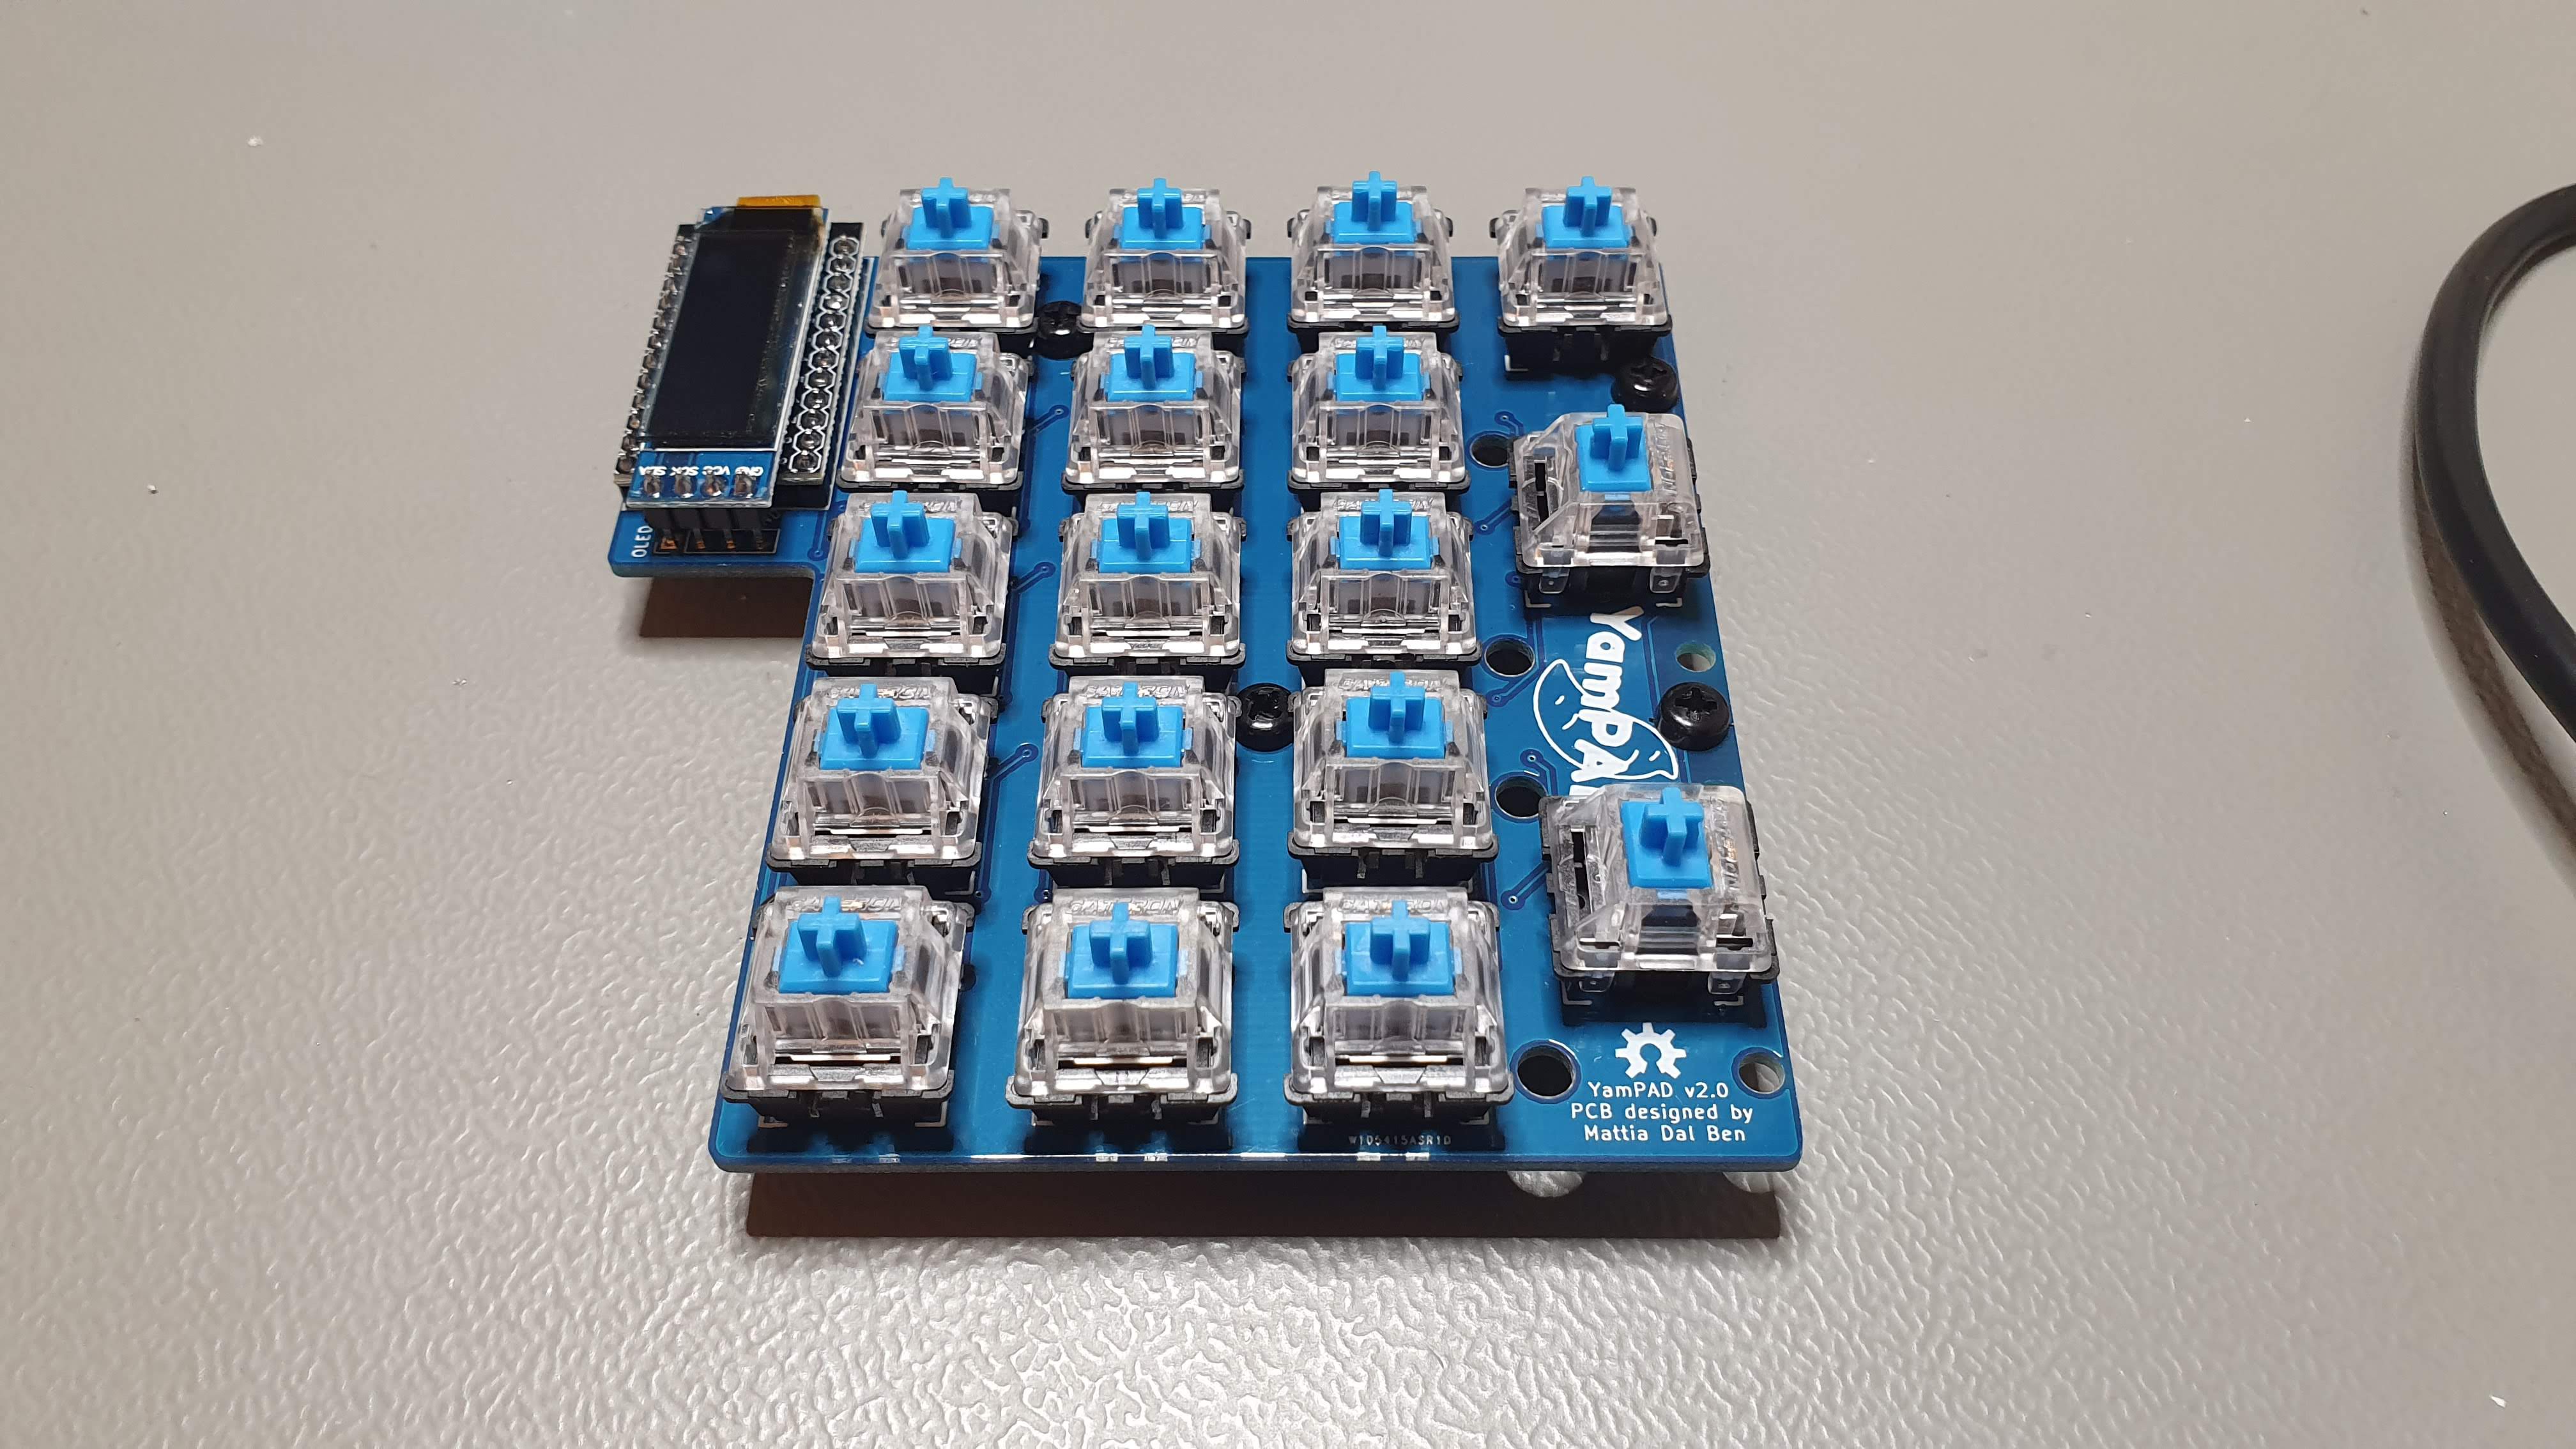 Added the switches.
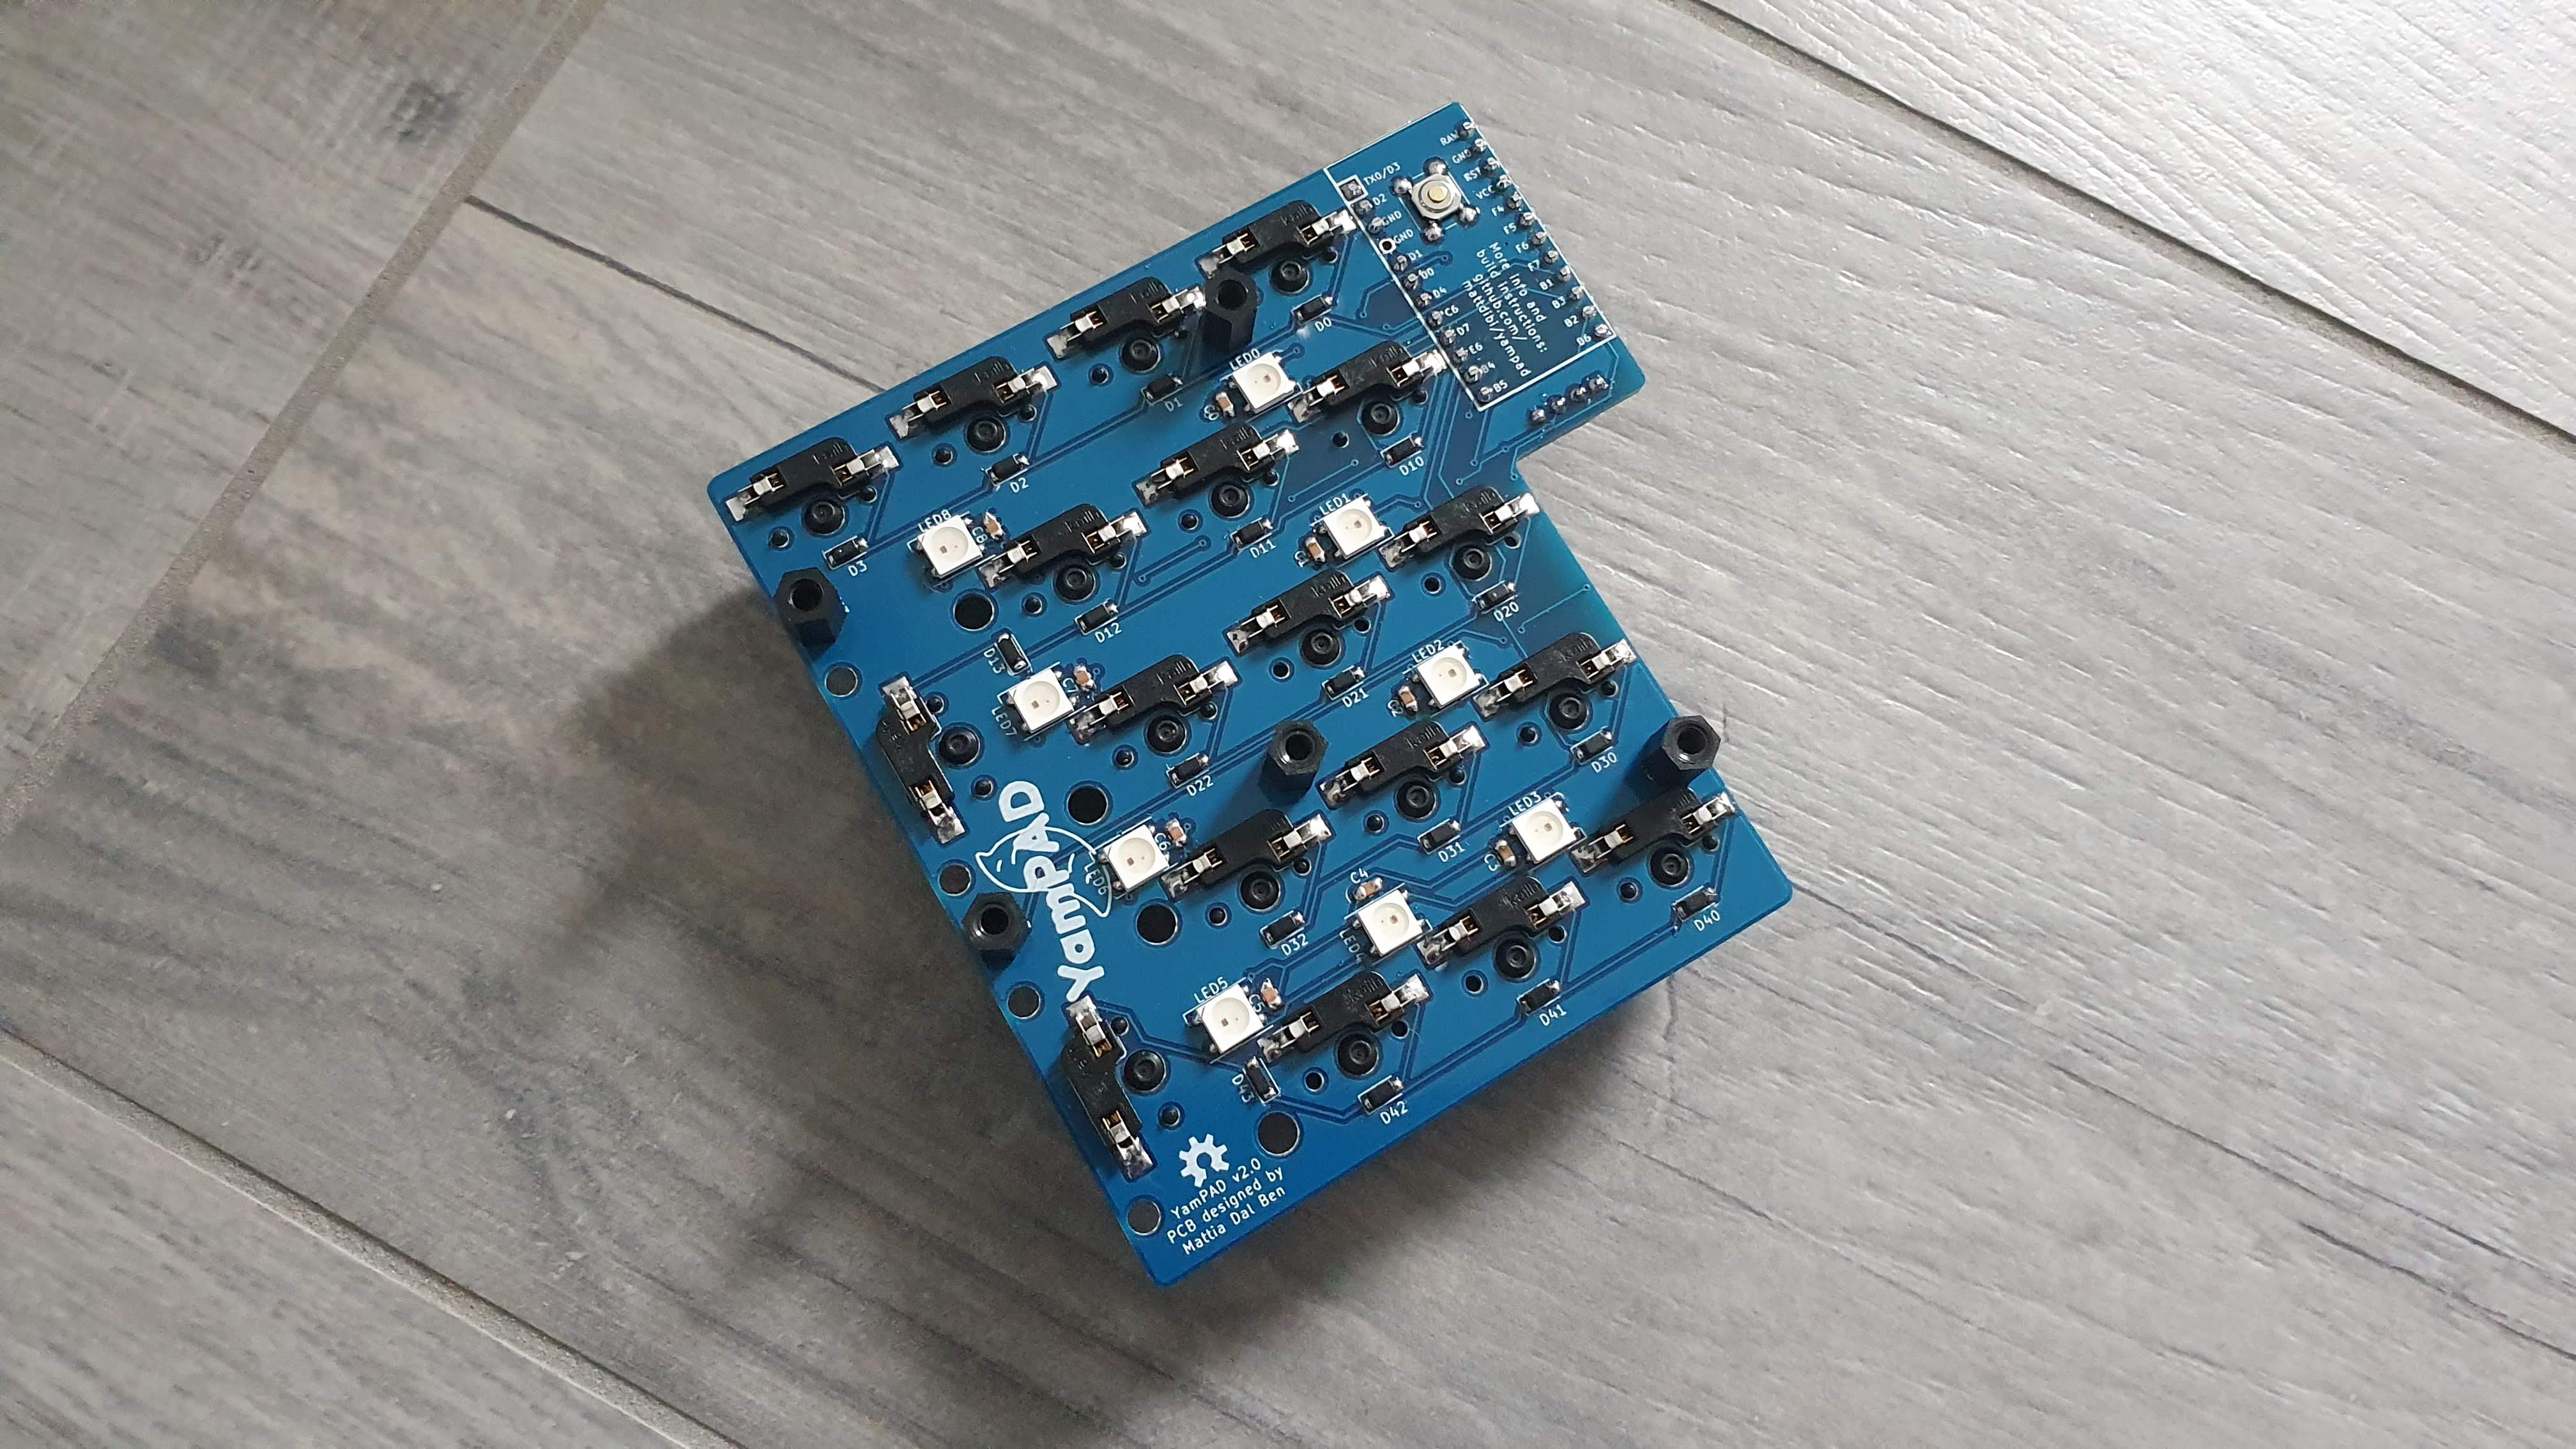
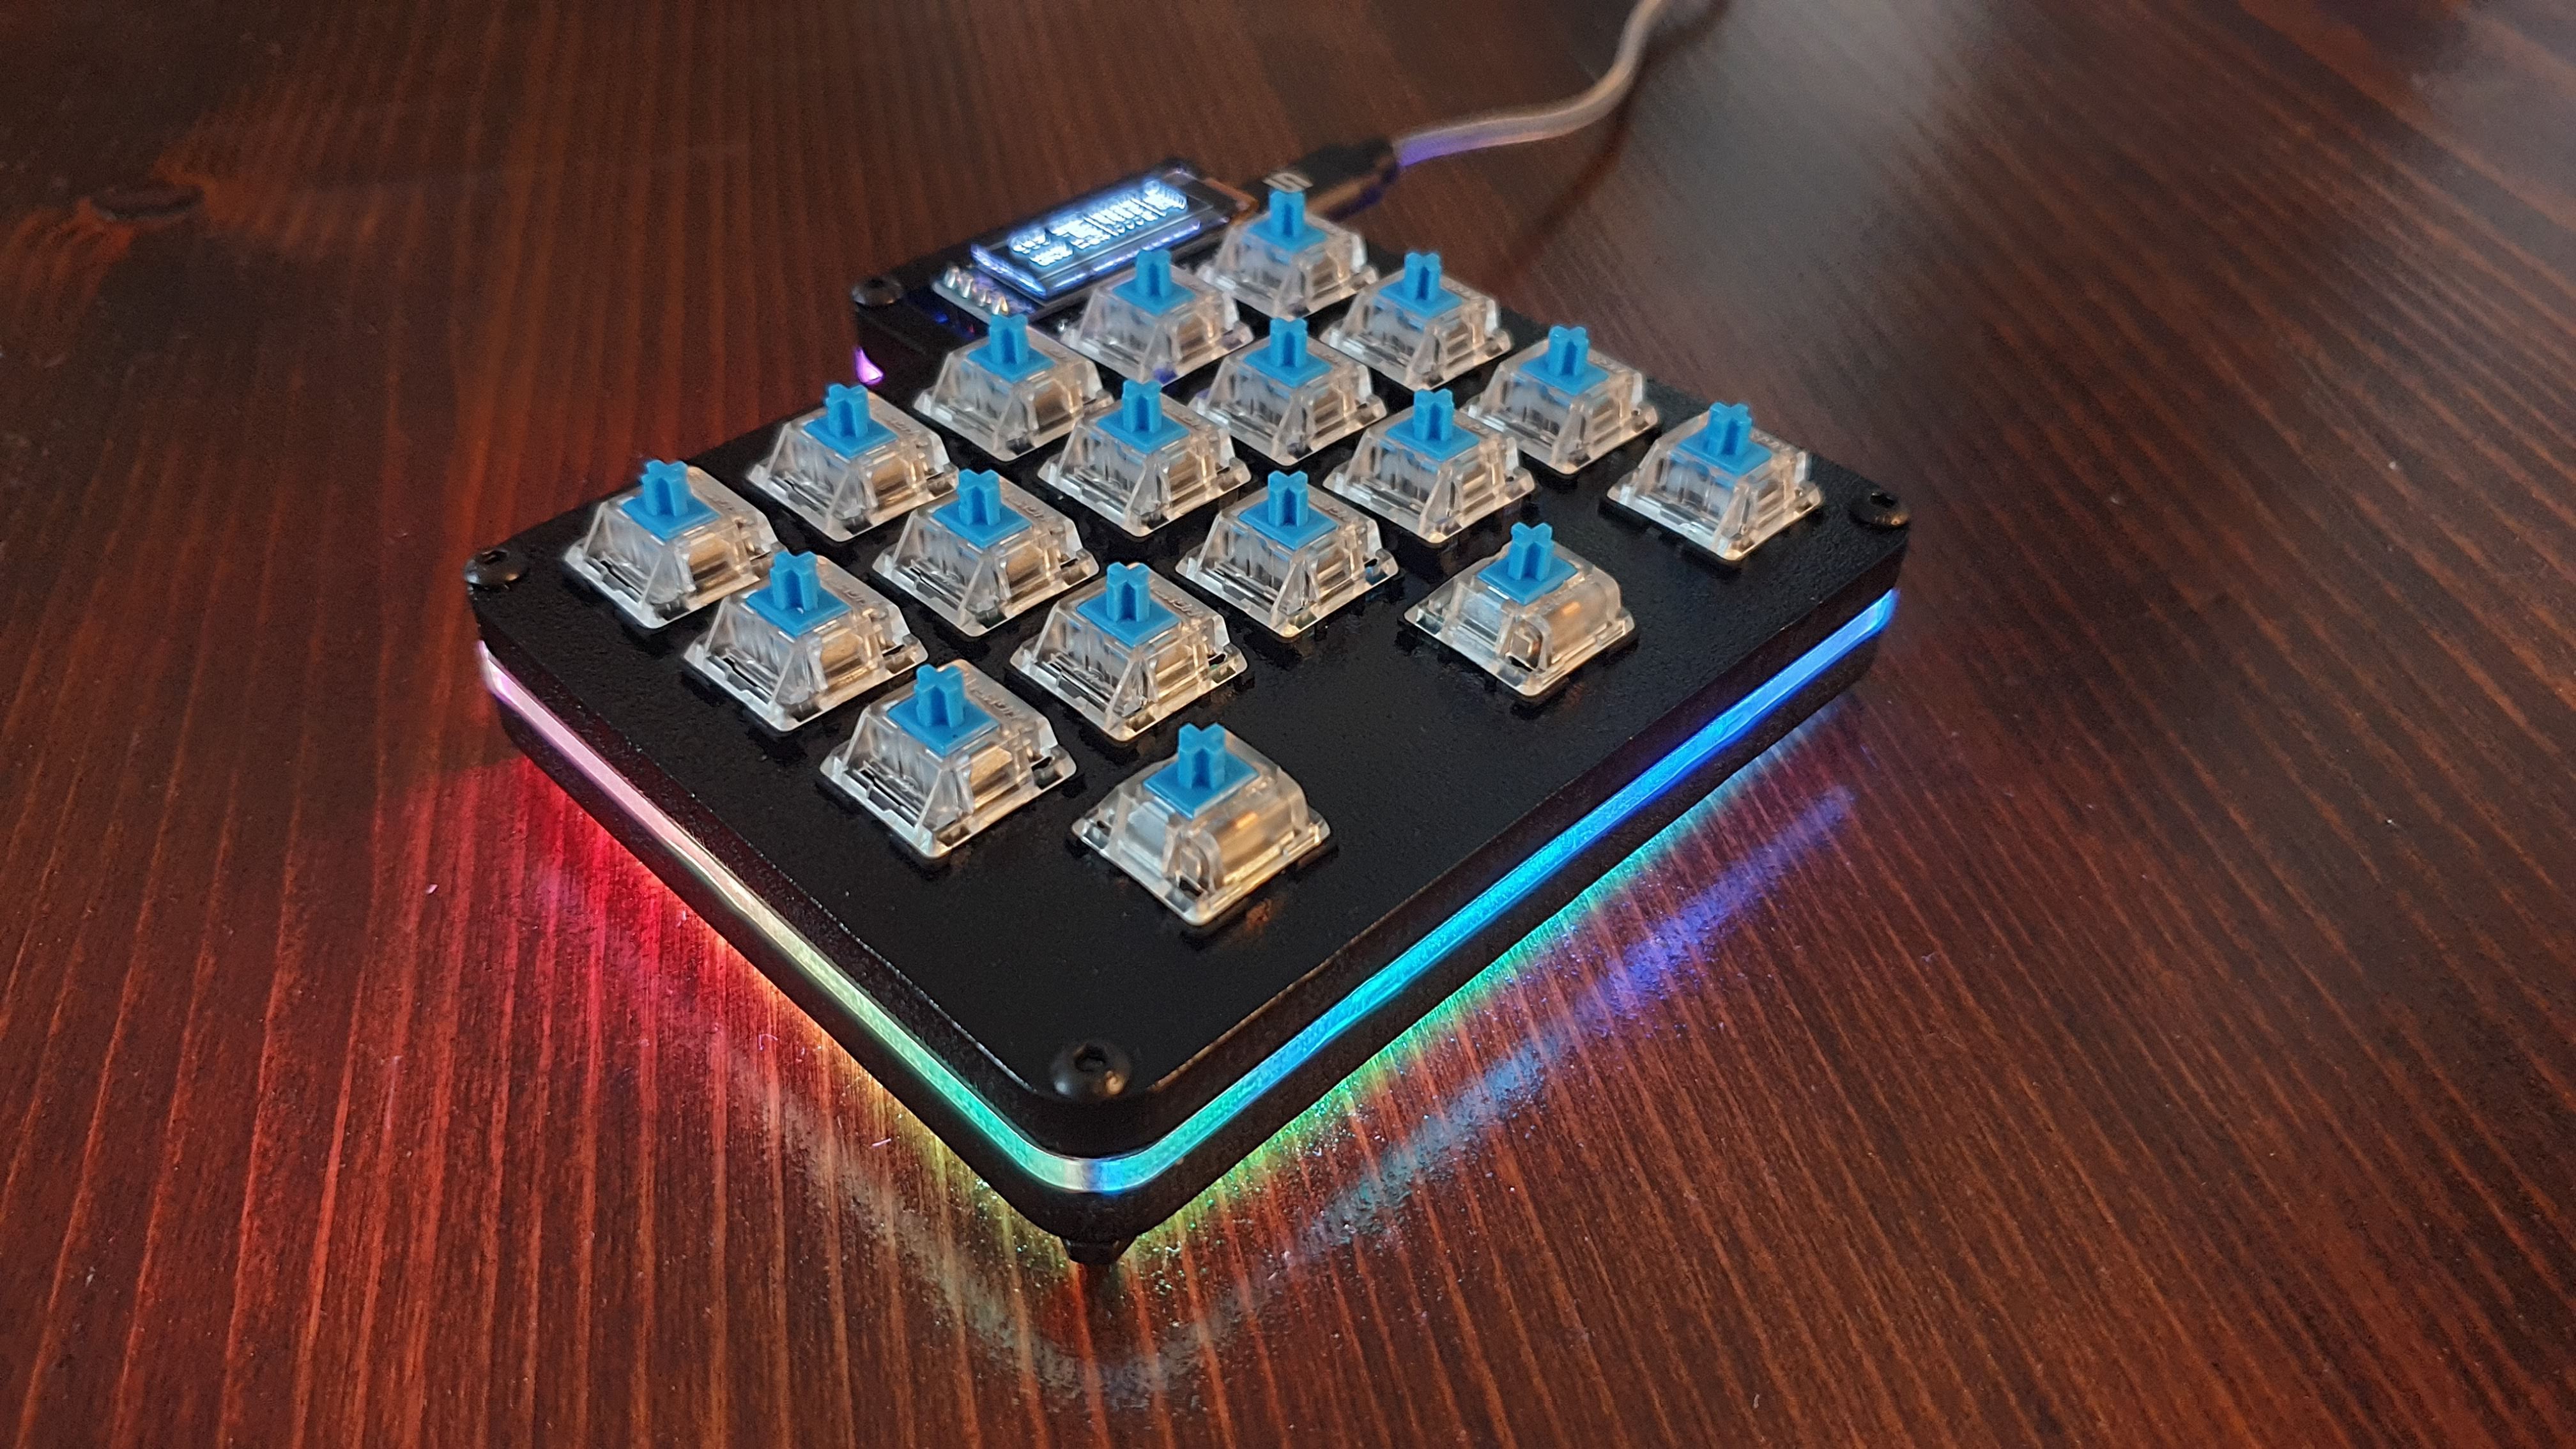
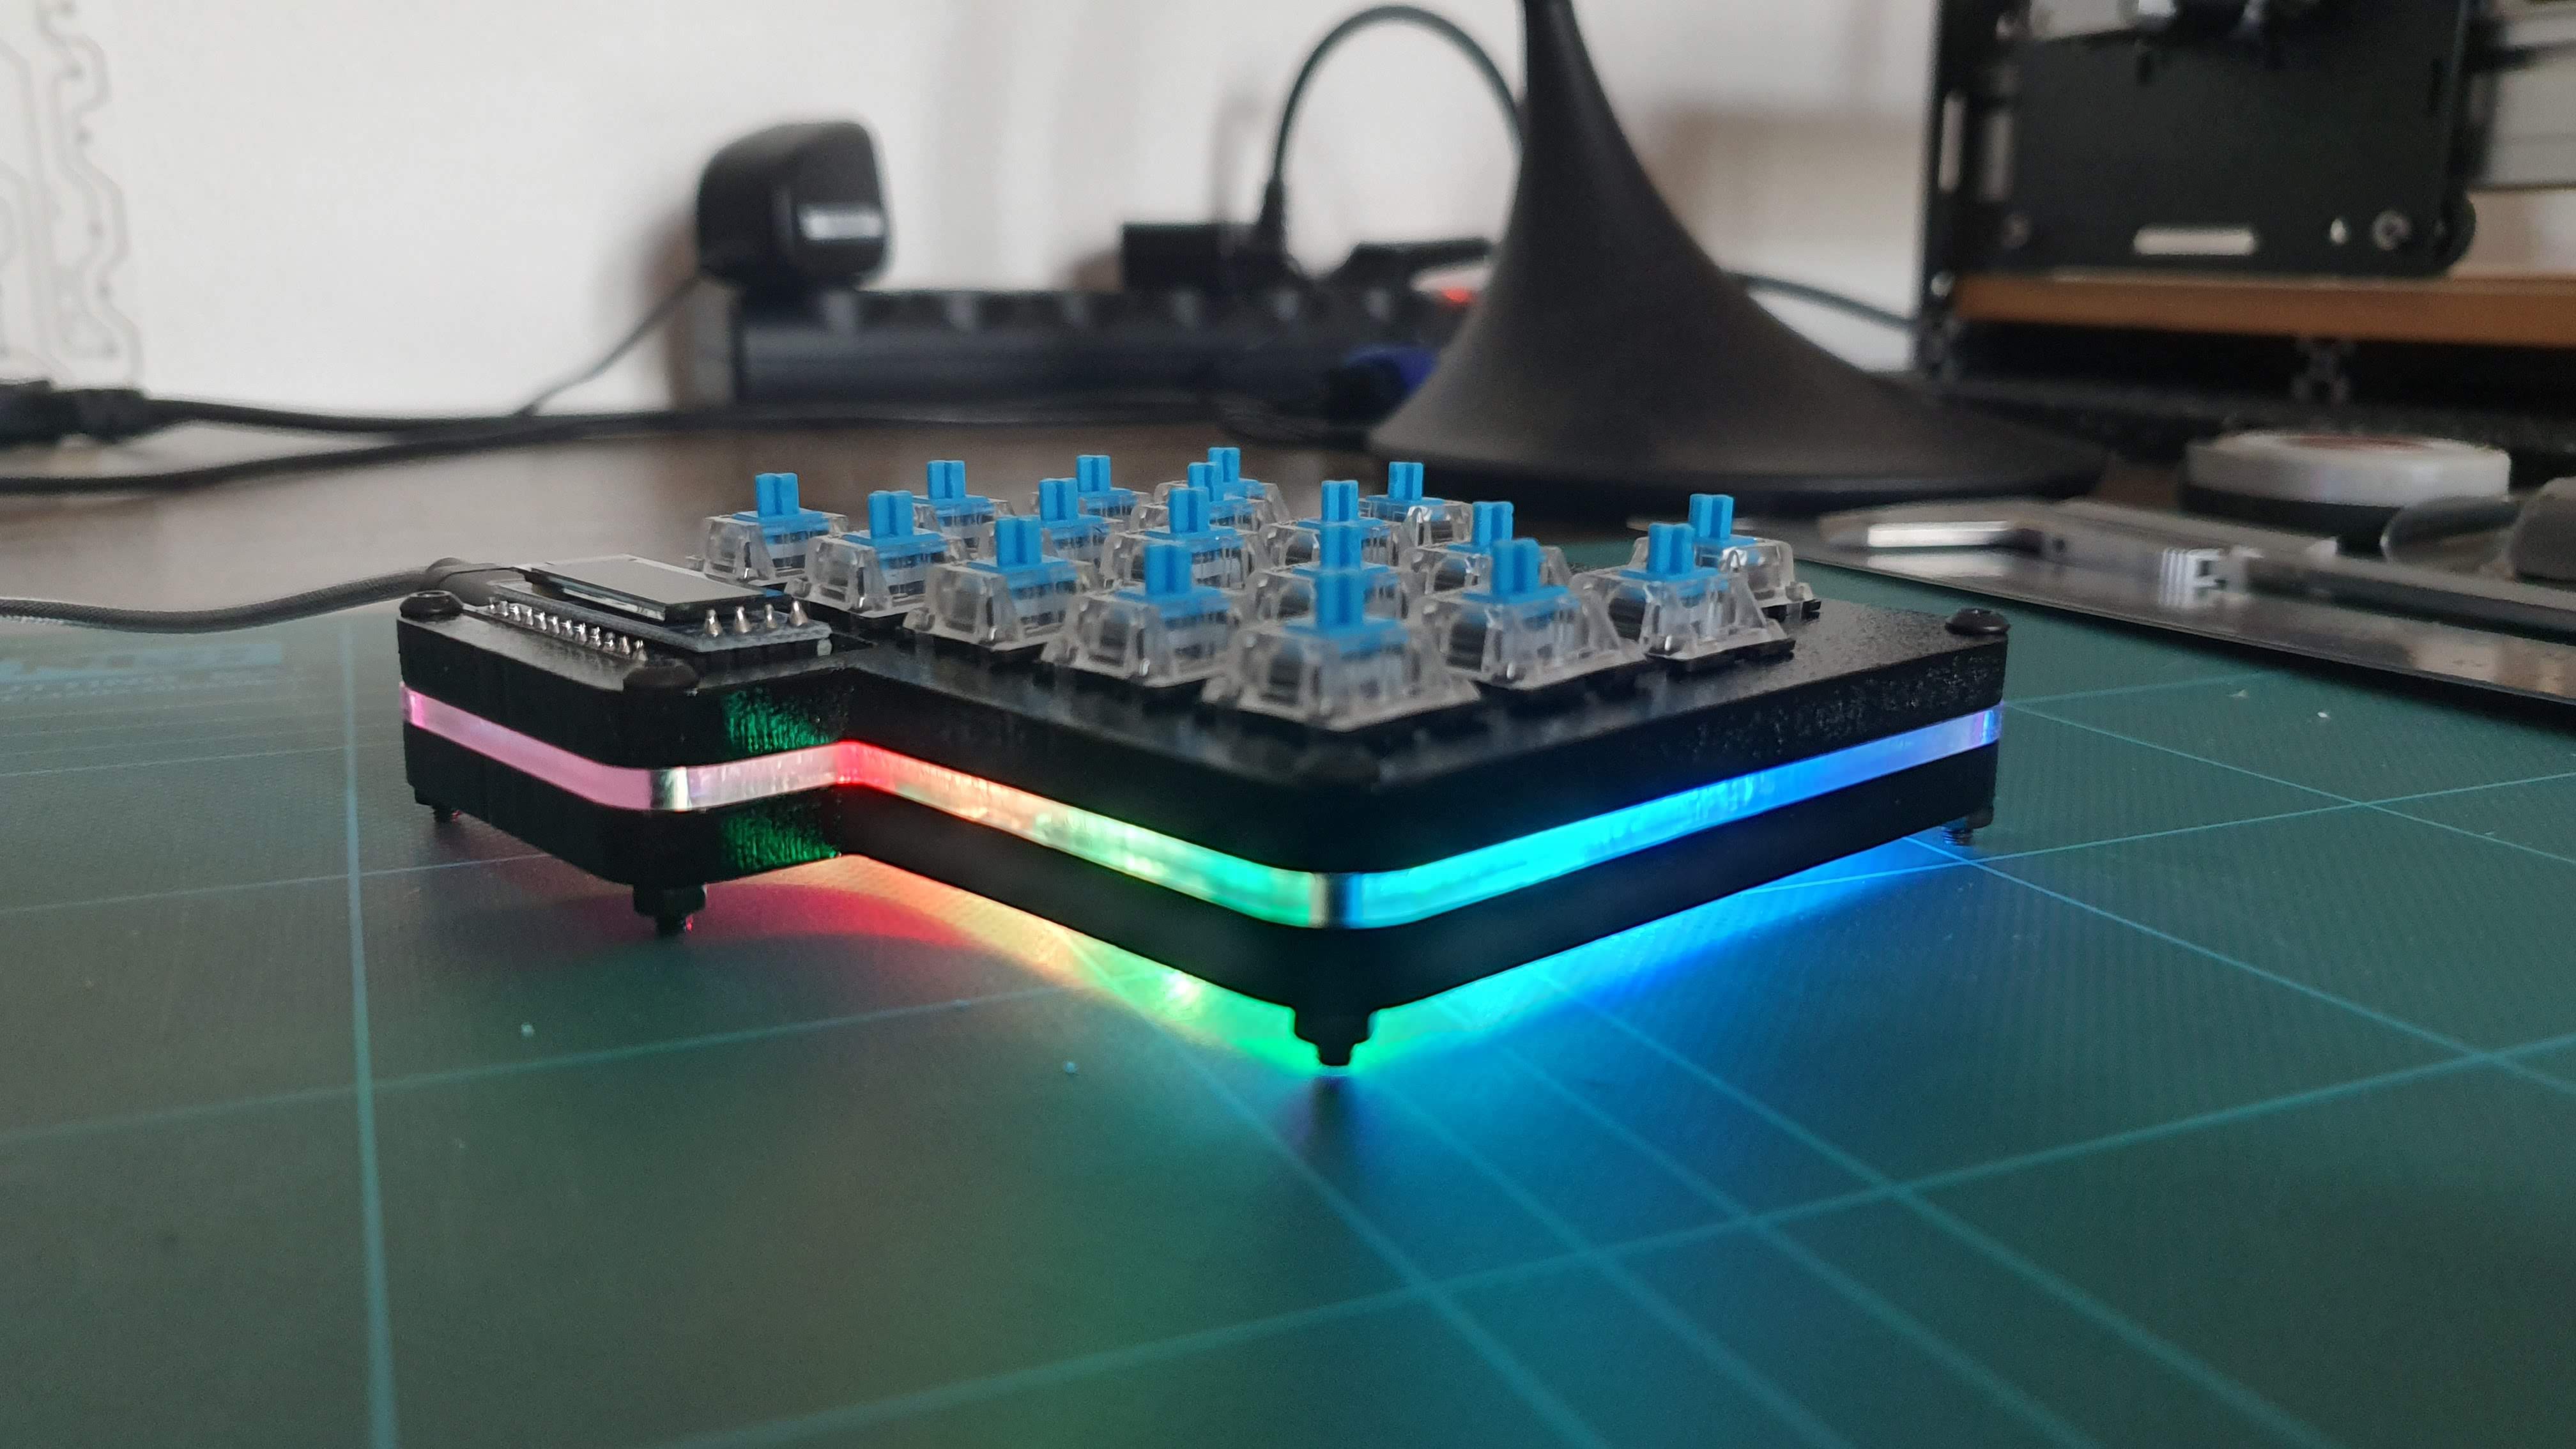
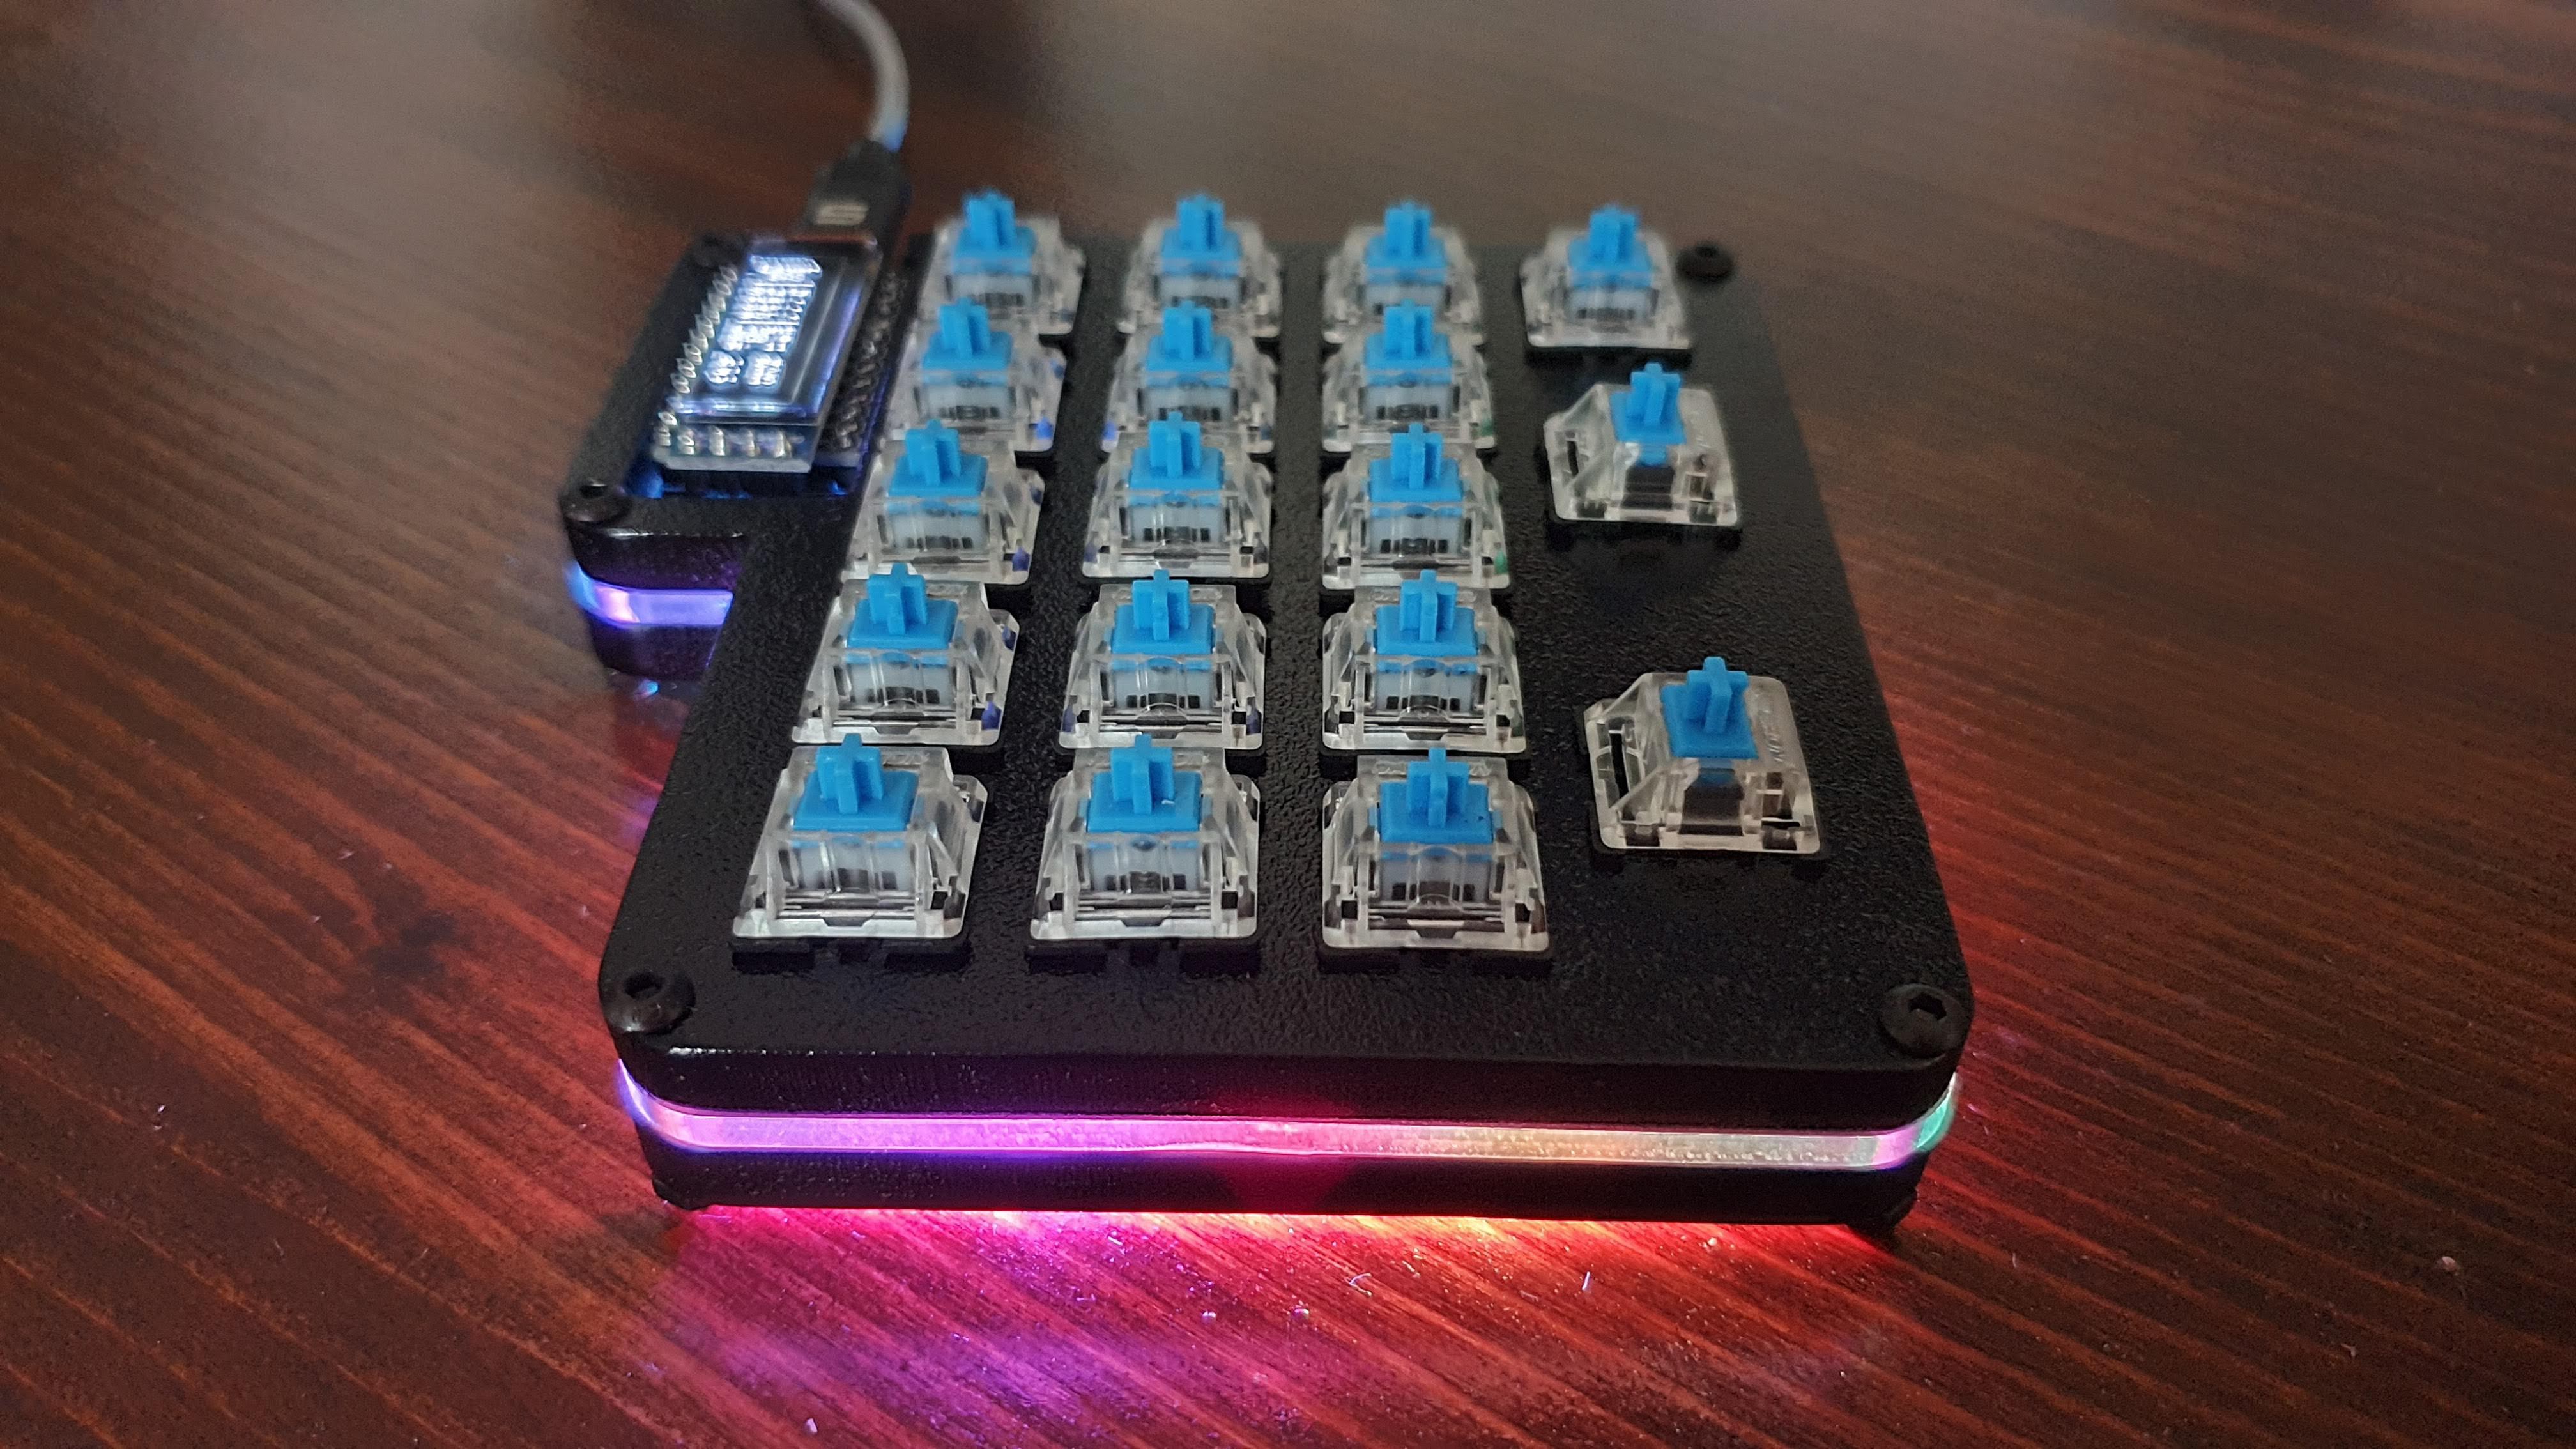
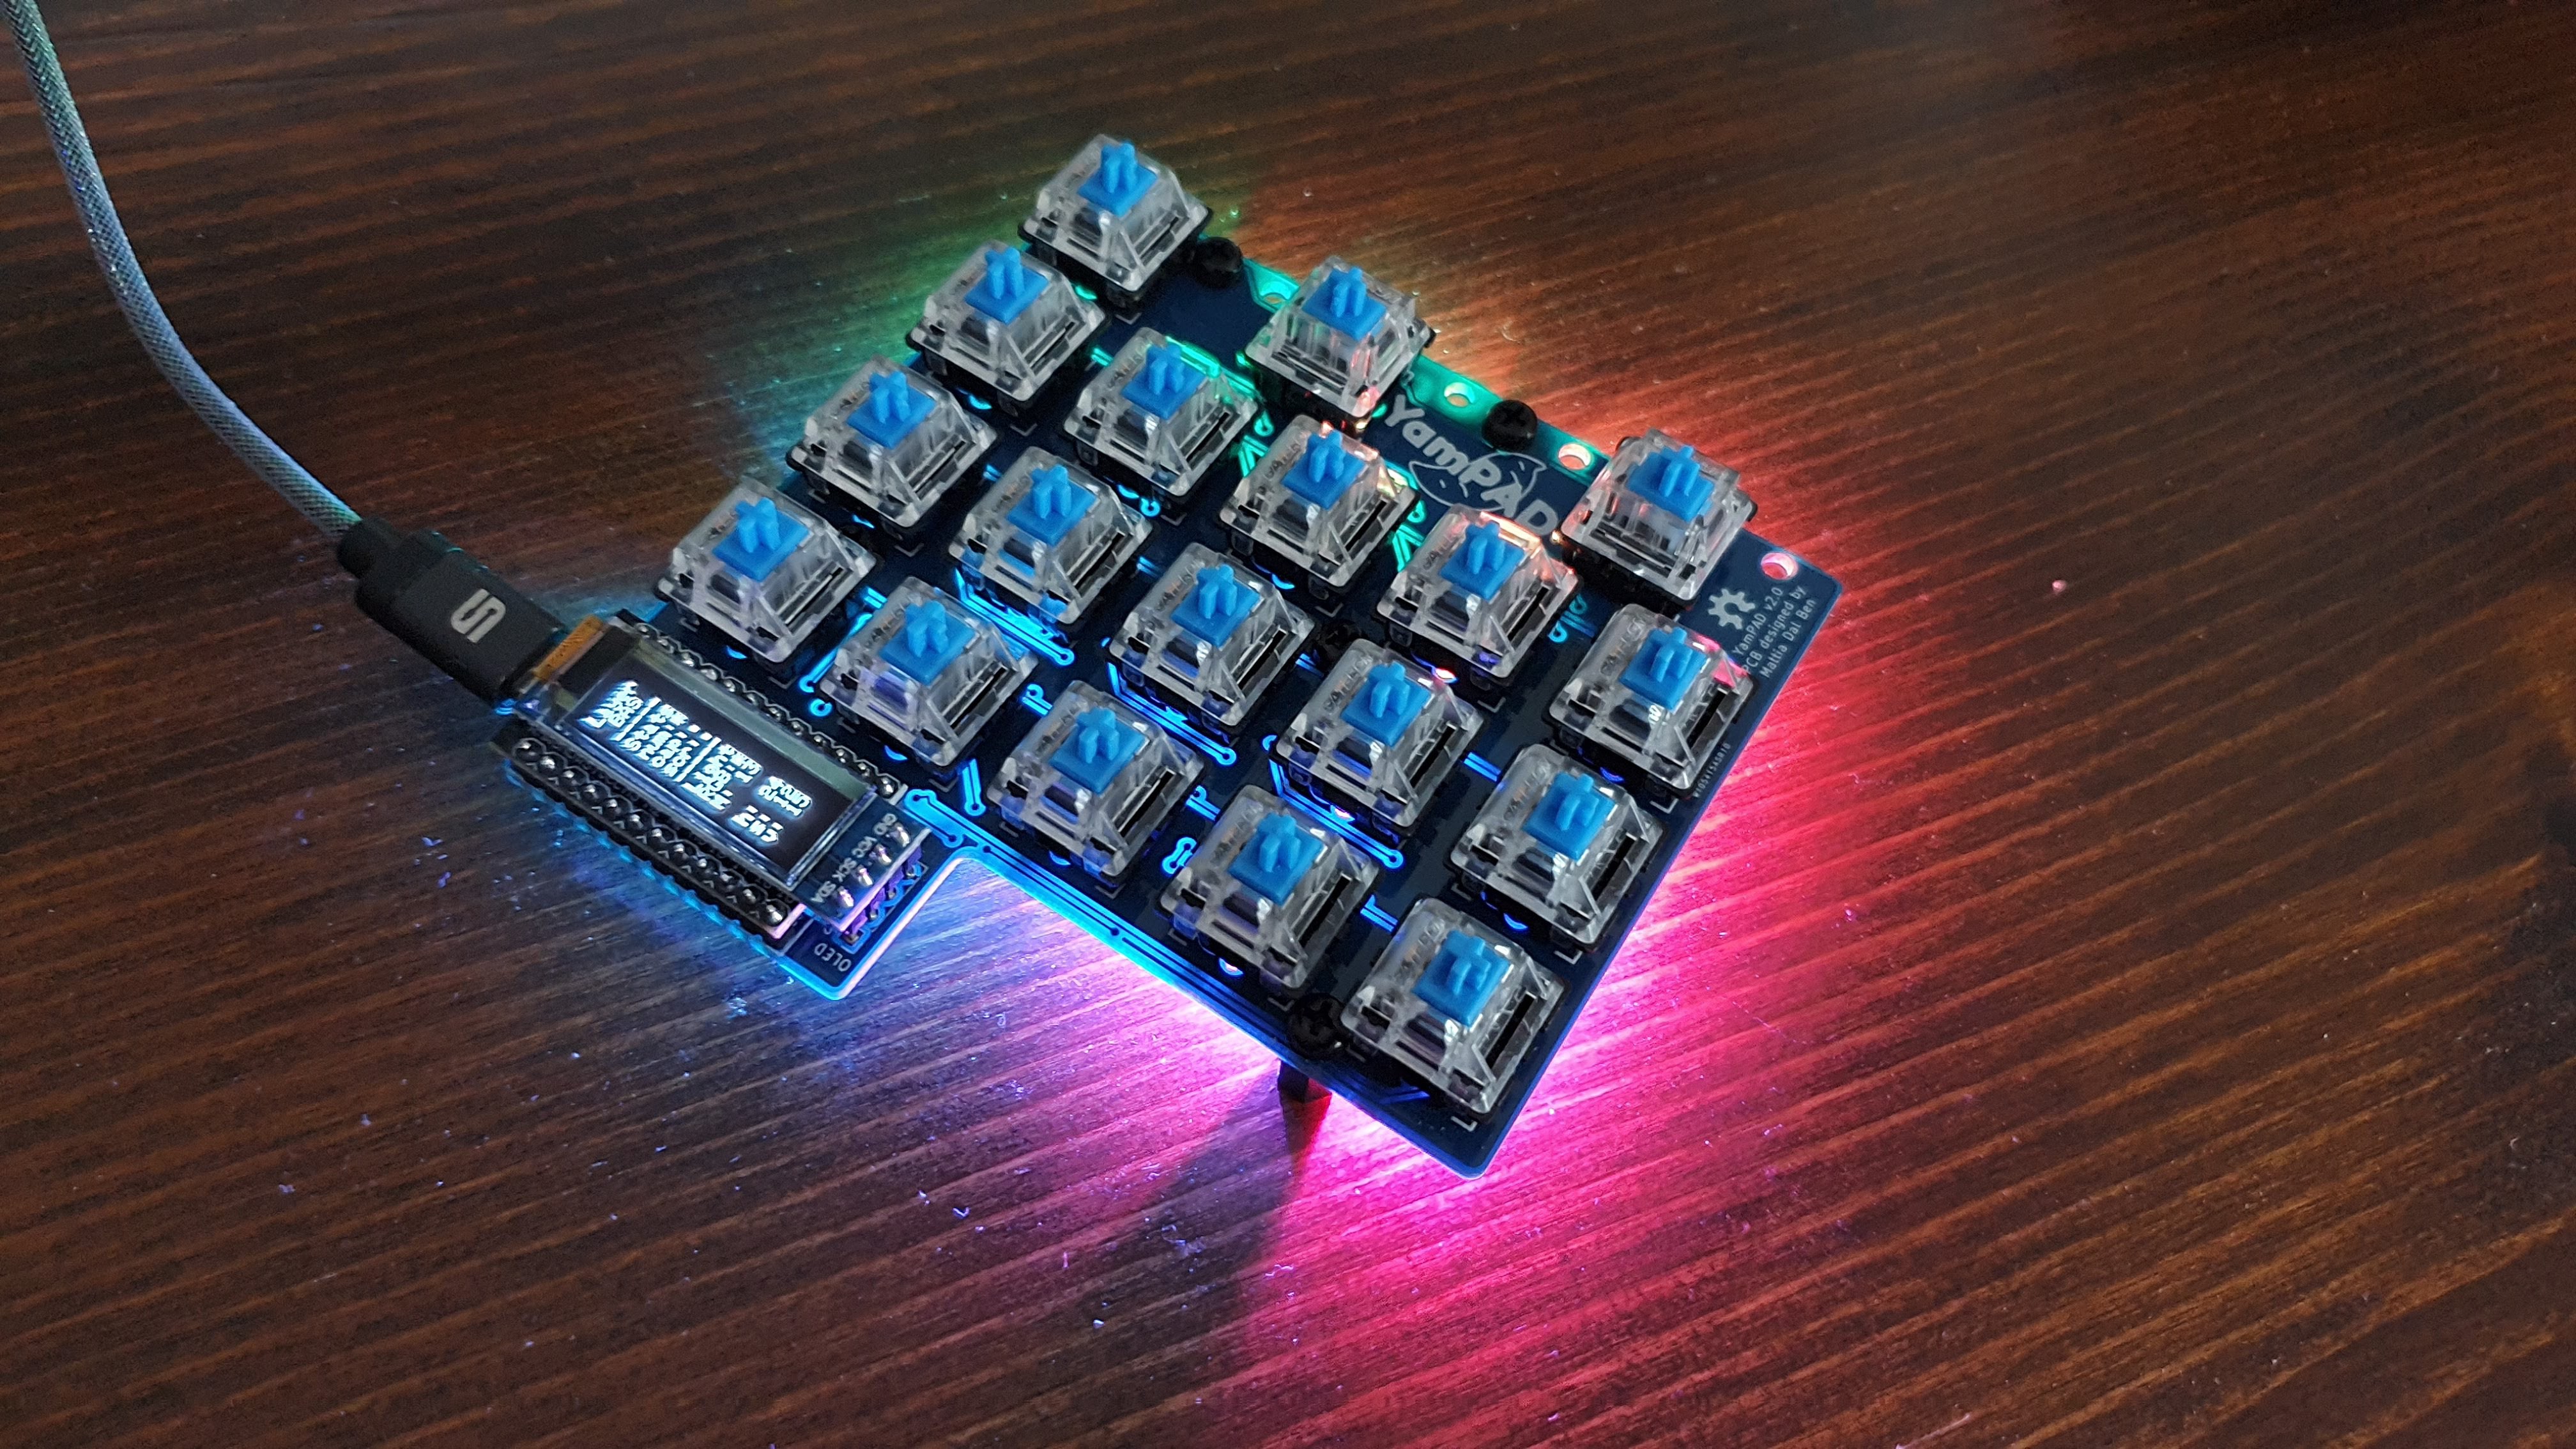
 Some glamorous shots.
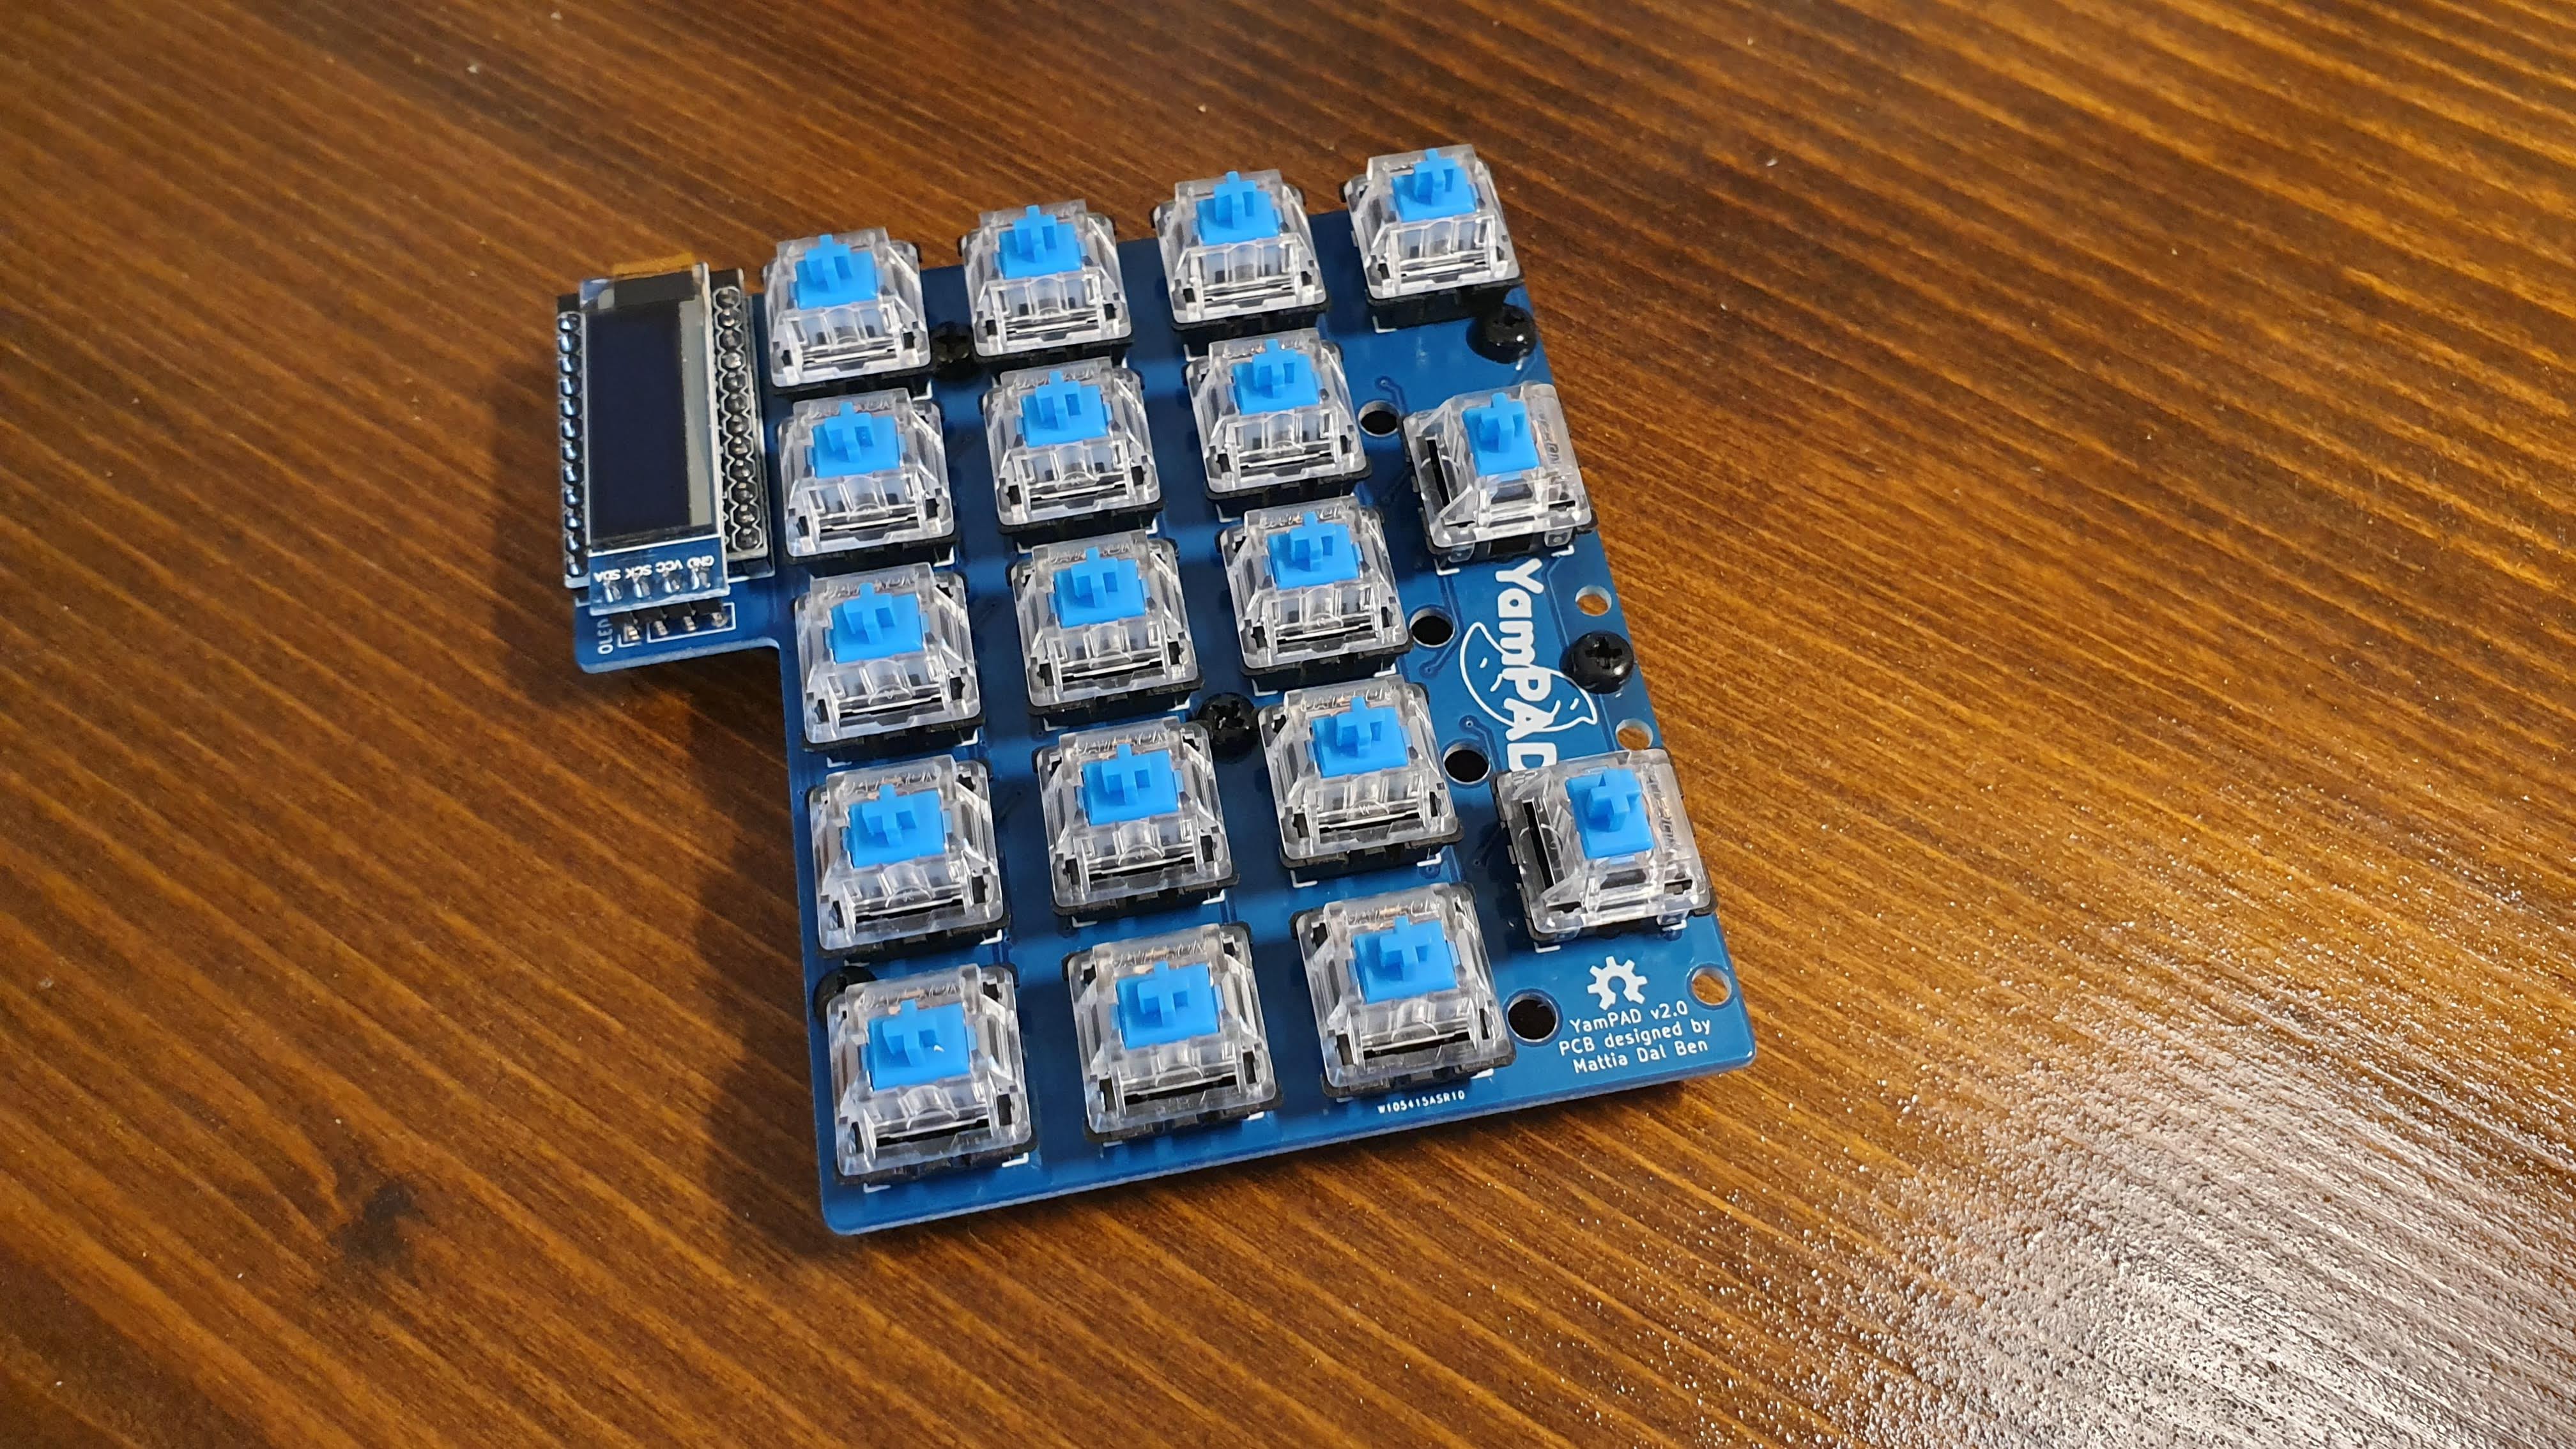 I'm getting repetitive, am I?
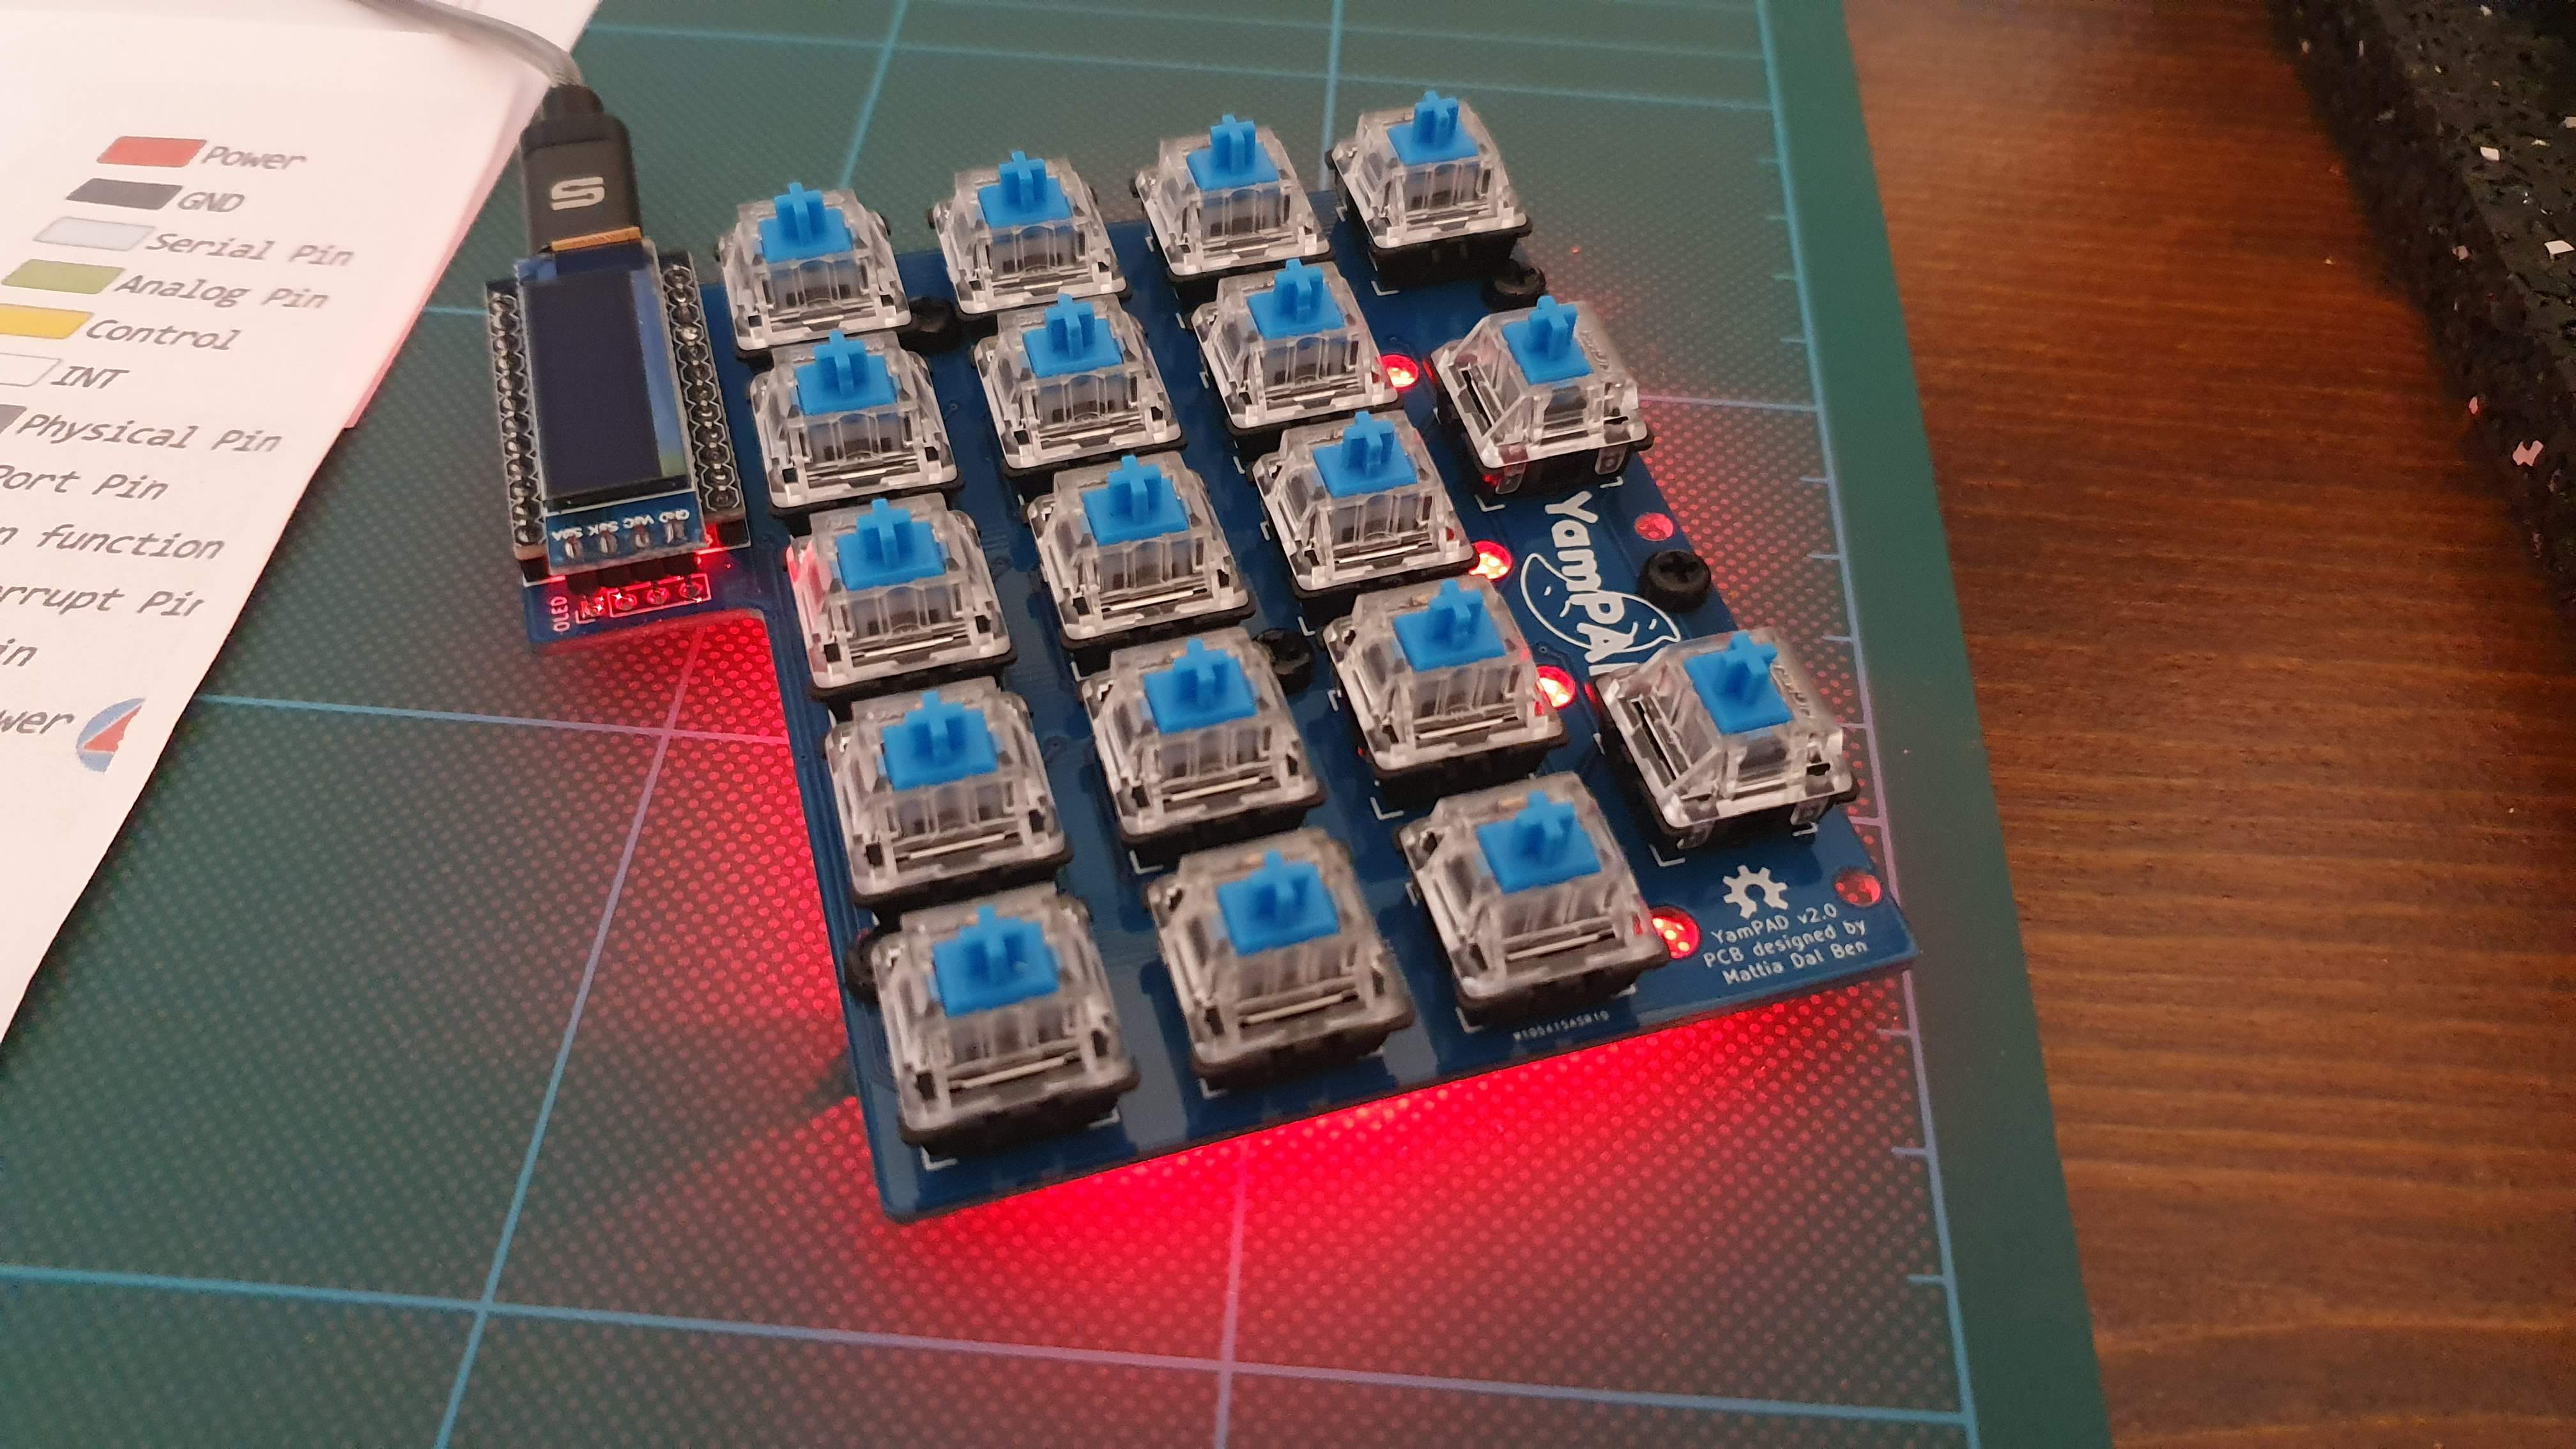
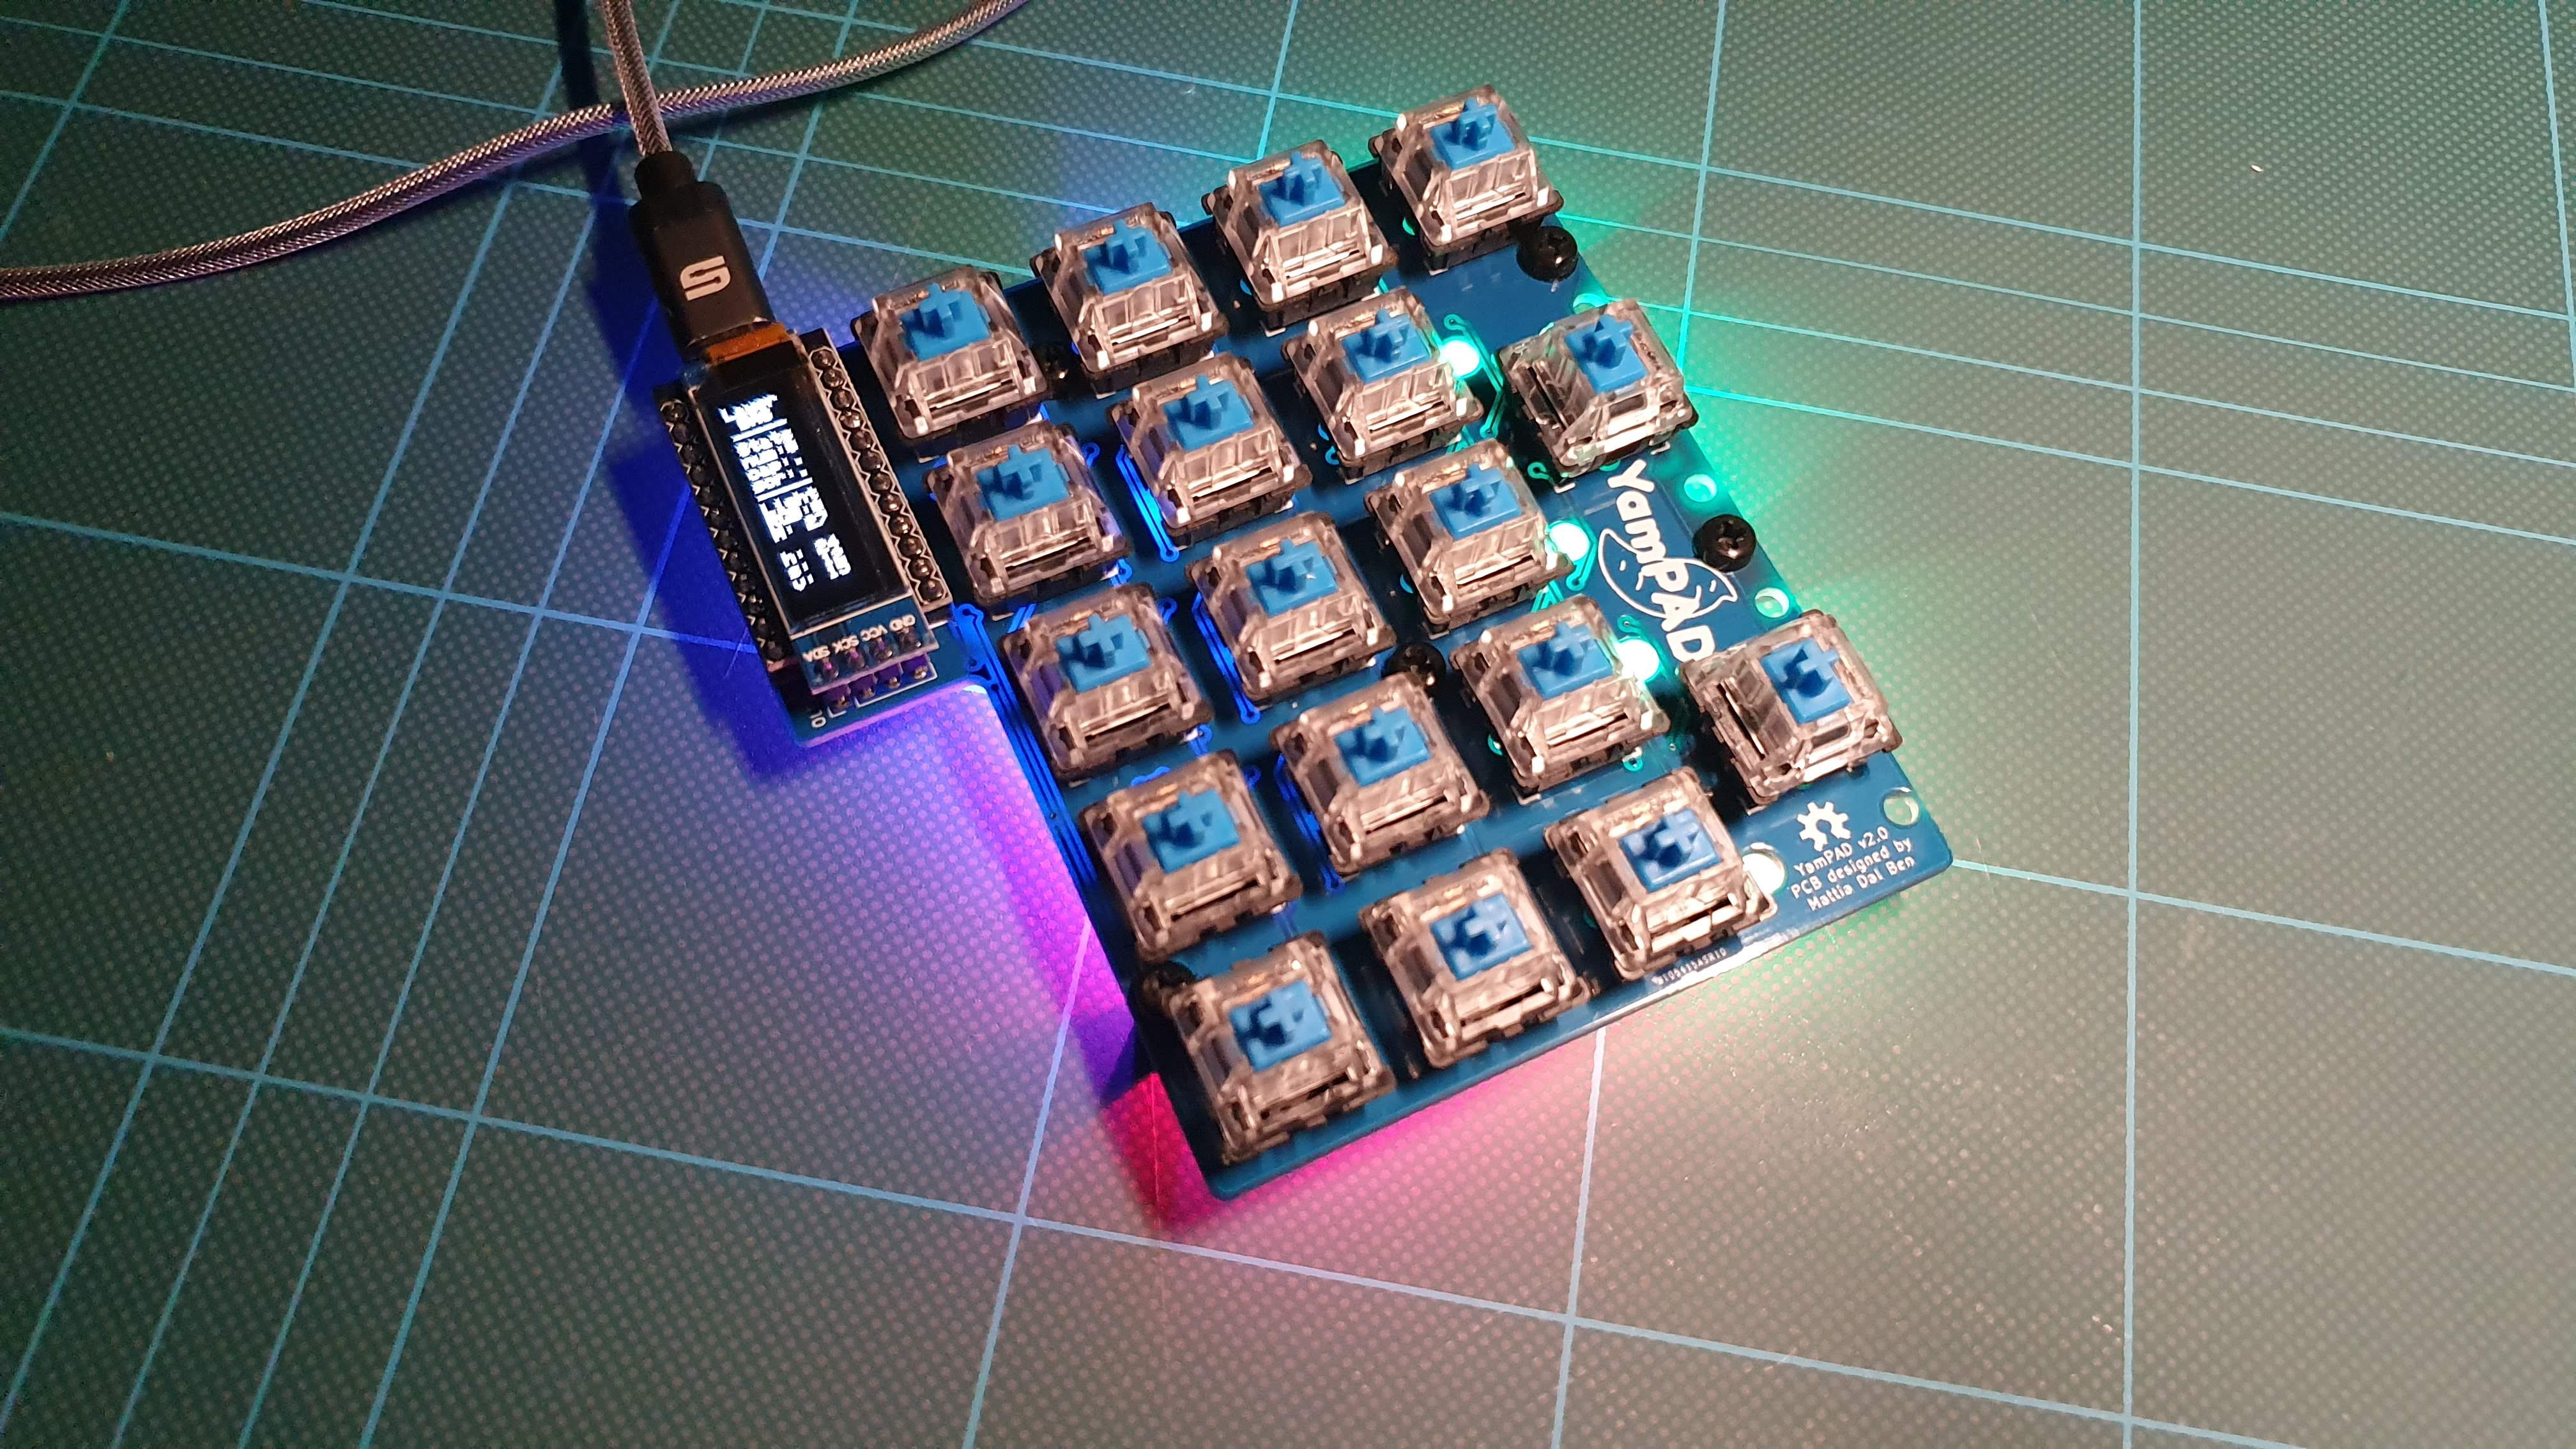
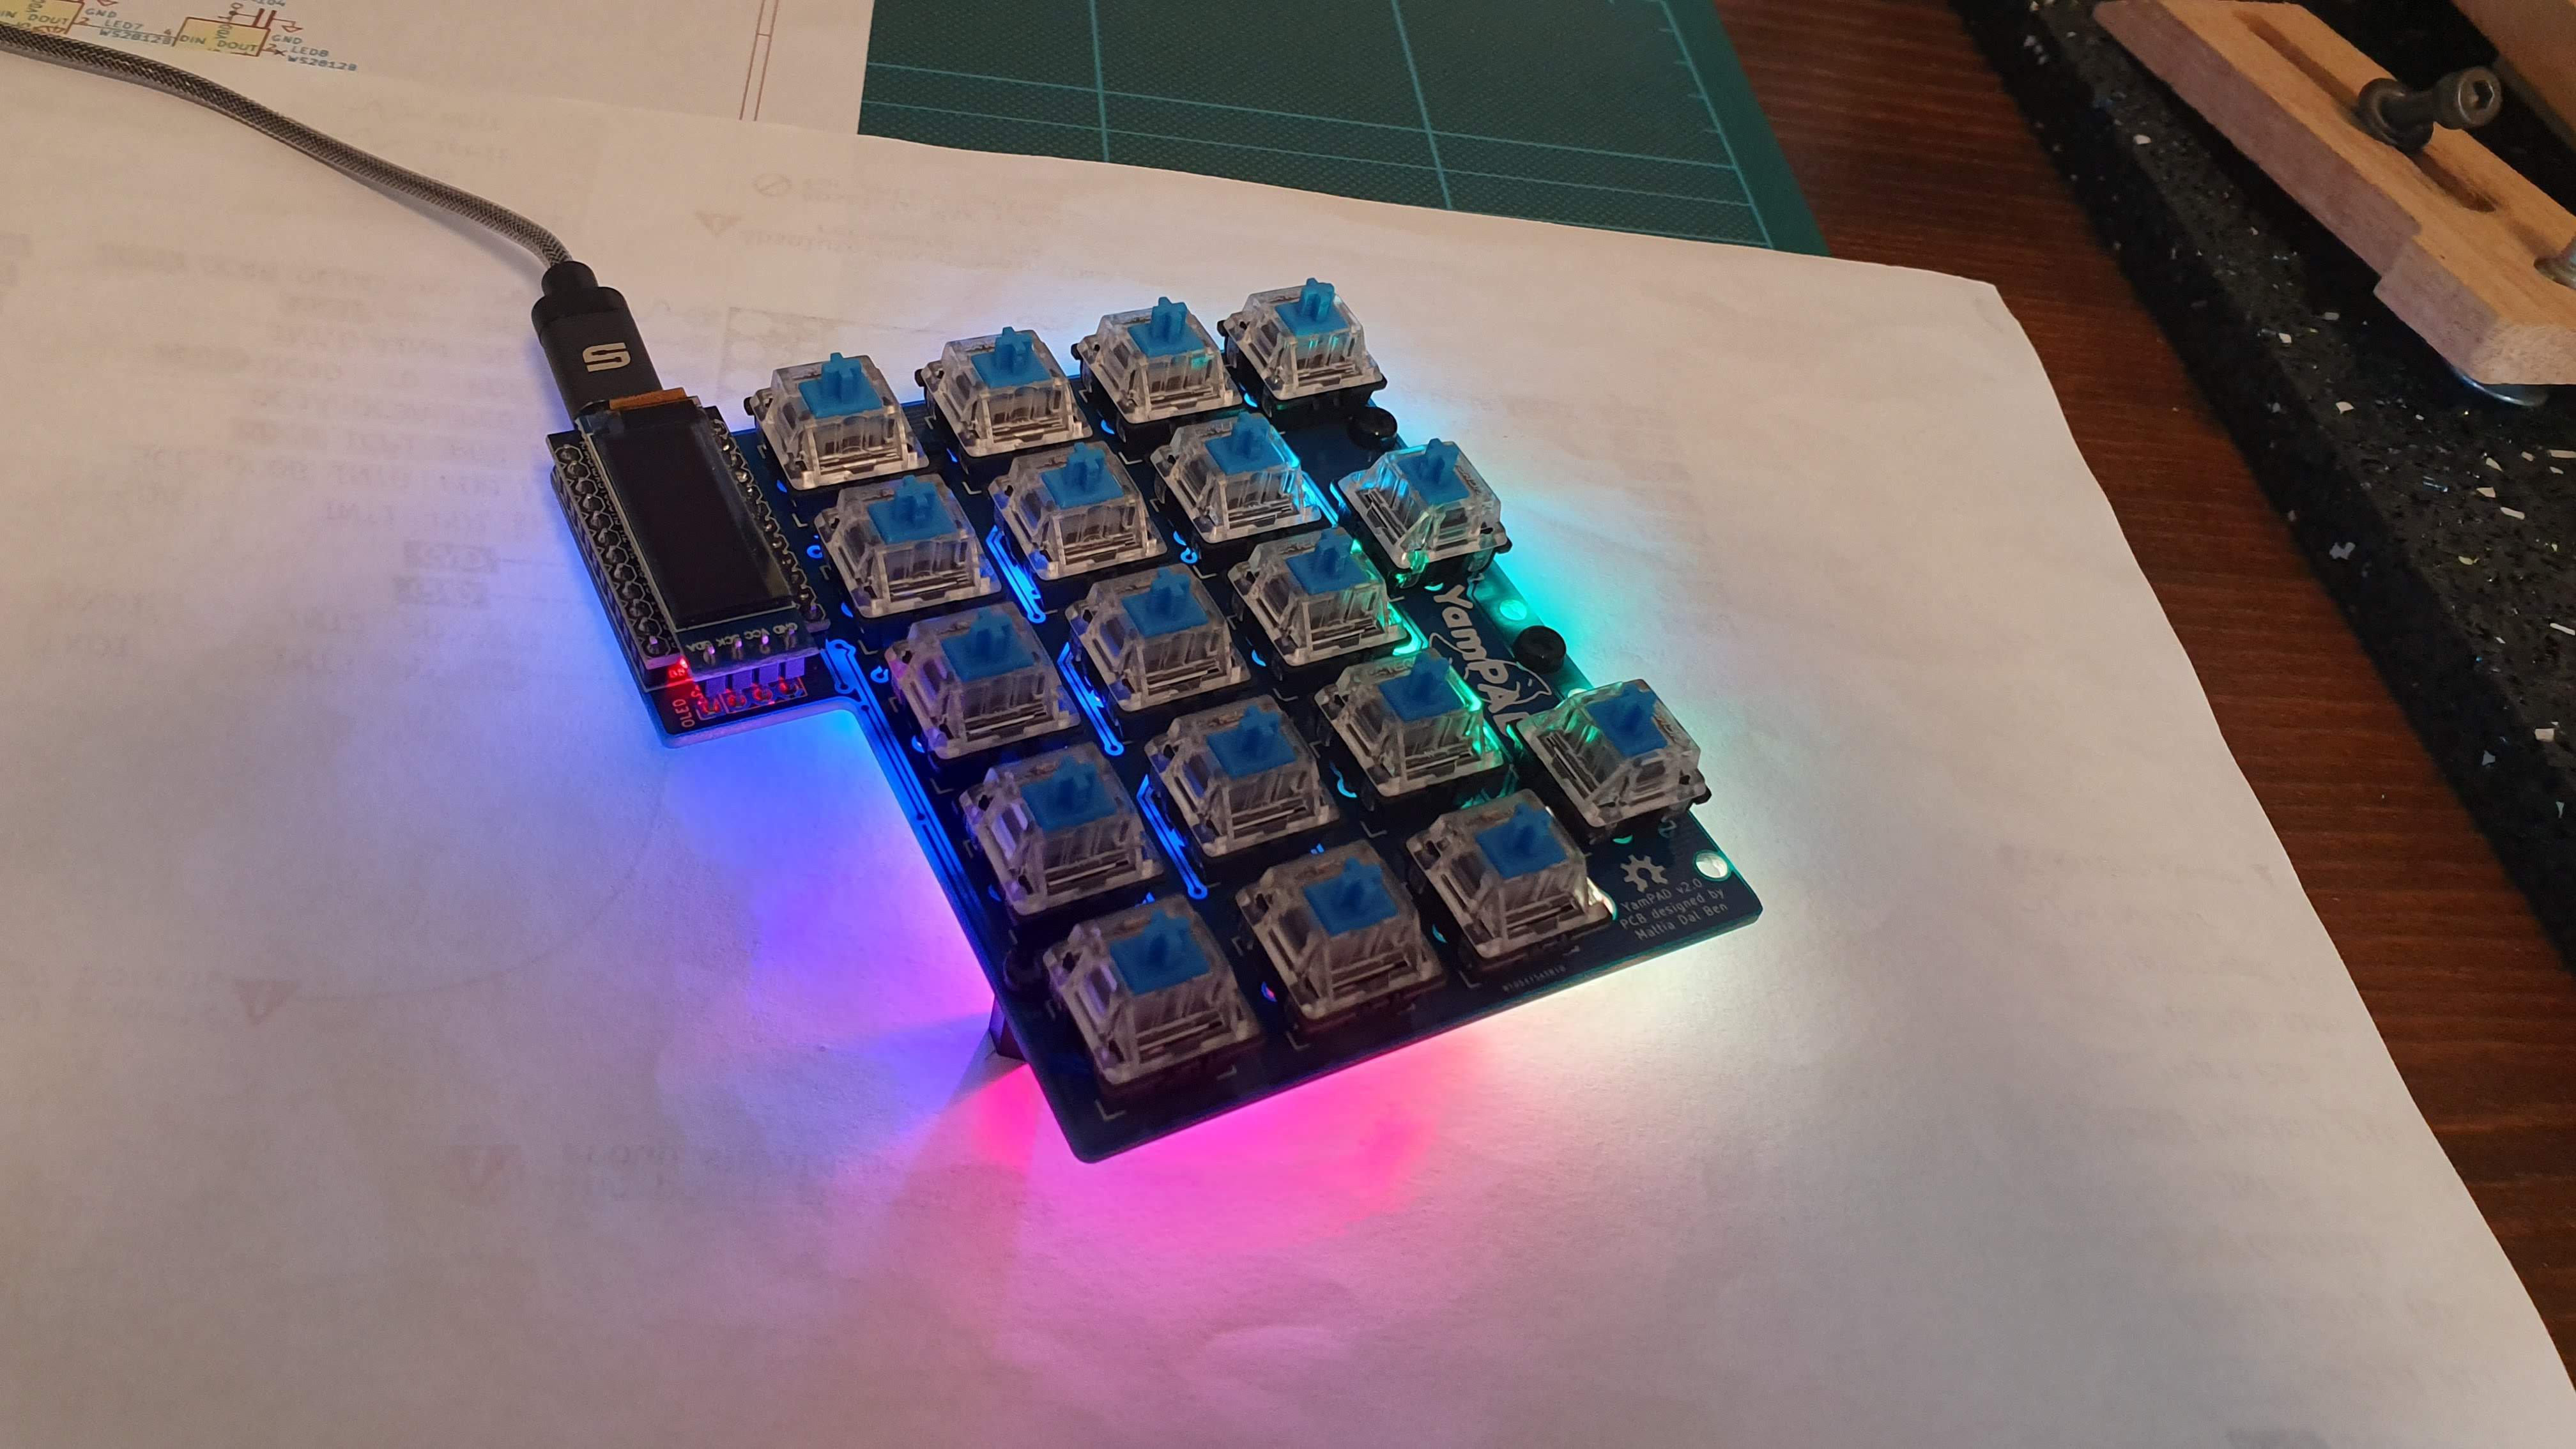 RGB lighting test result: PASS.
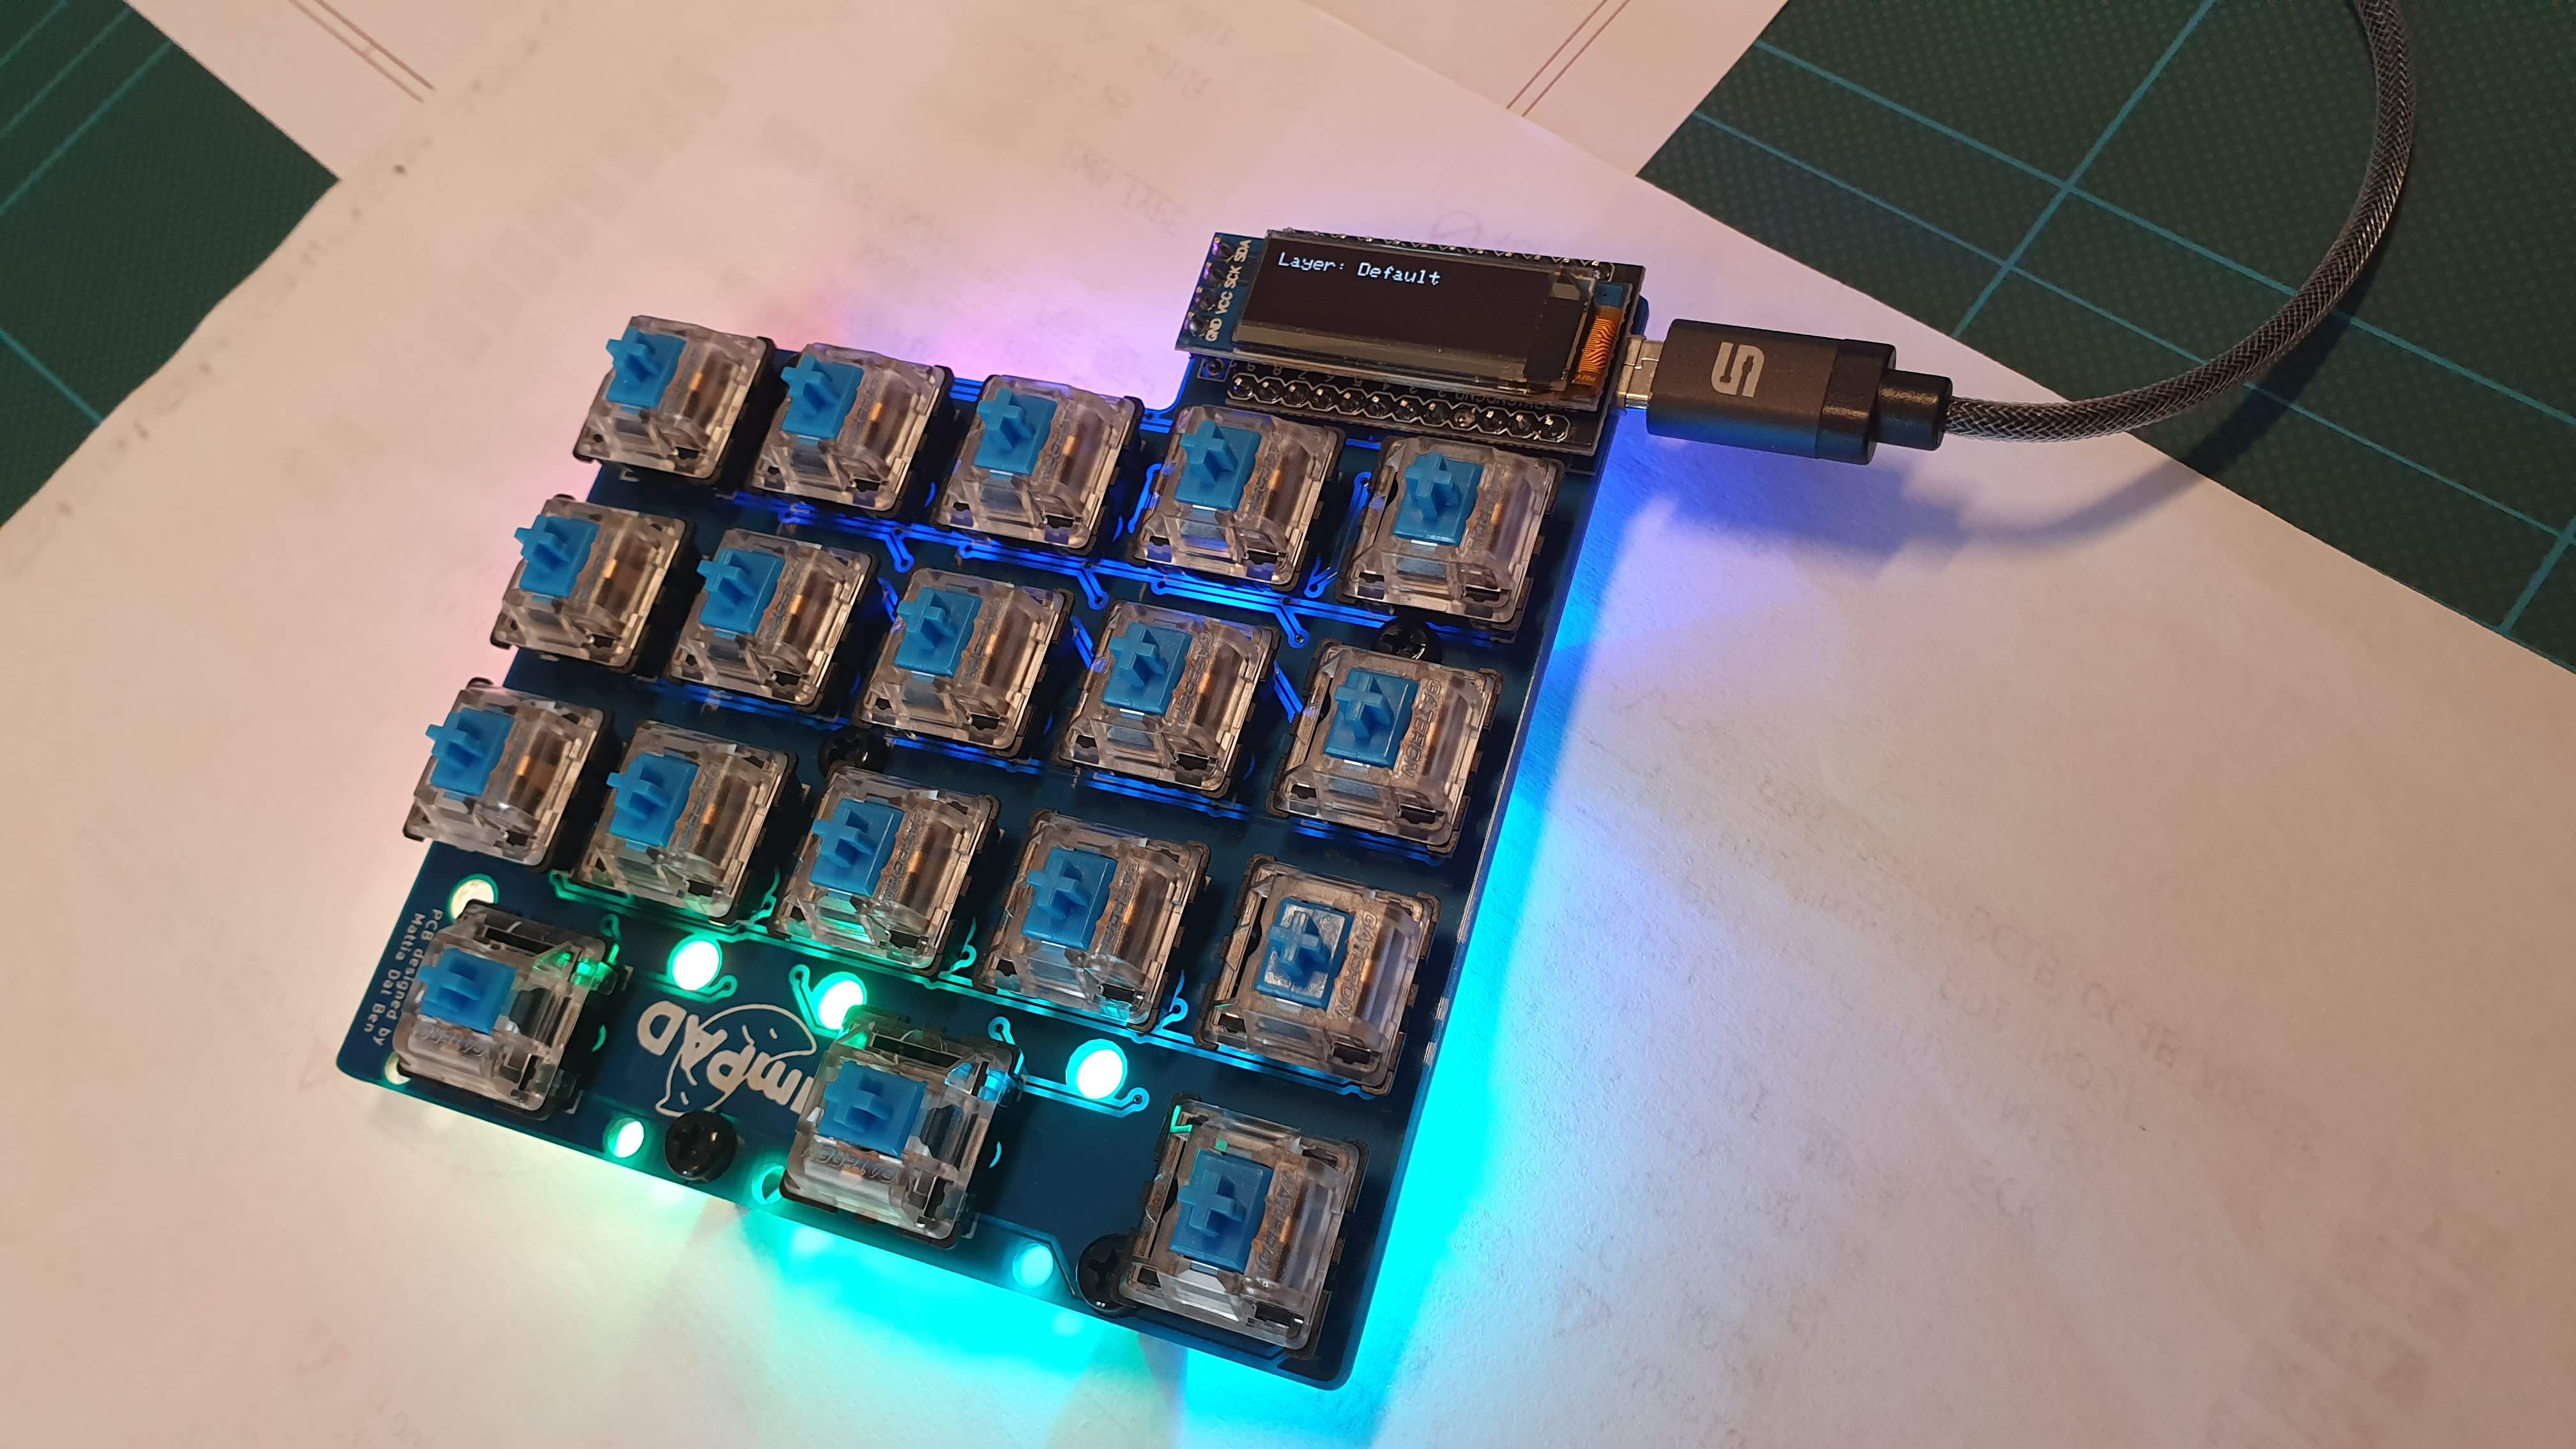 OLED screen test result: PASS.
 I started by importing the Edge Cut layer of the PCB in Fusion by exporting it in .svg. Once I realized I was looking at a 5 feet long keyboard I switched to the .dxf format. Then I exported the switches and Pro Micro positions to make the holes for them.
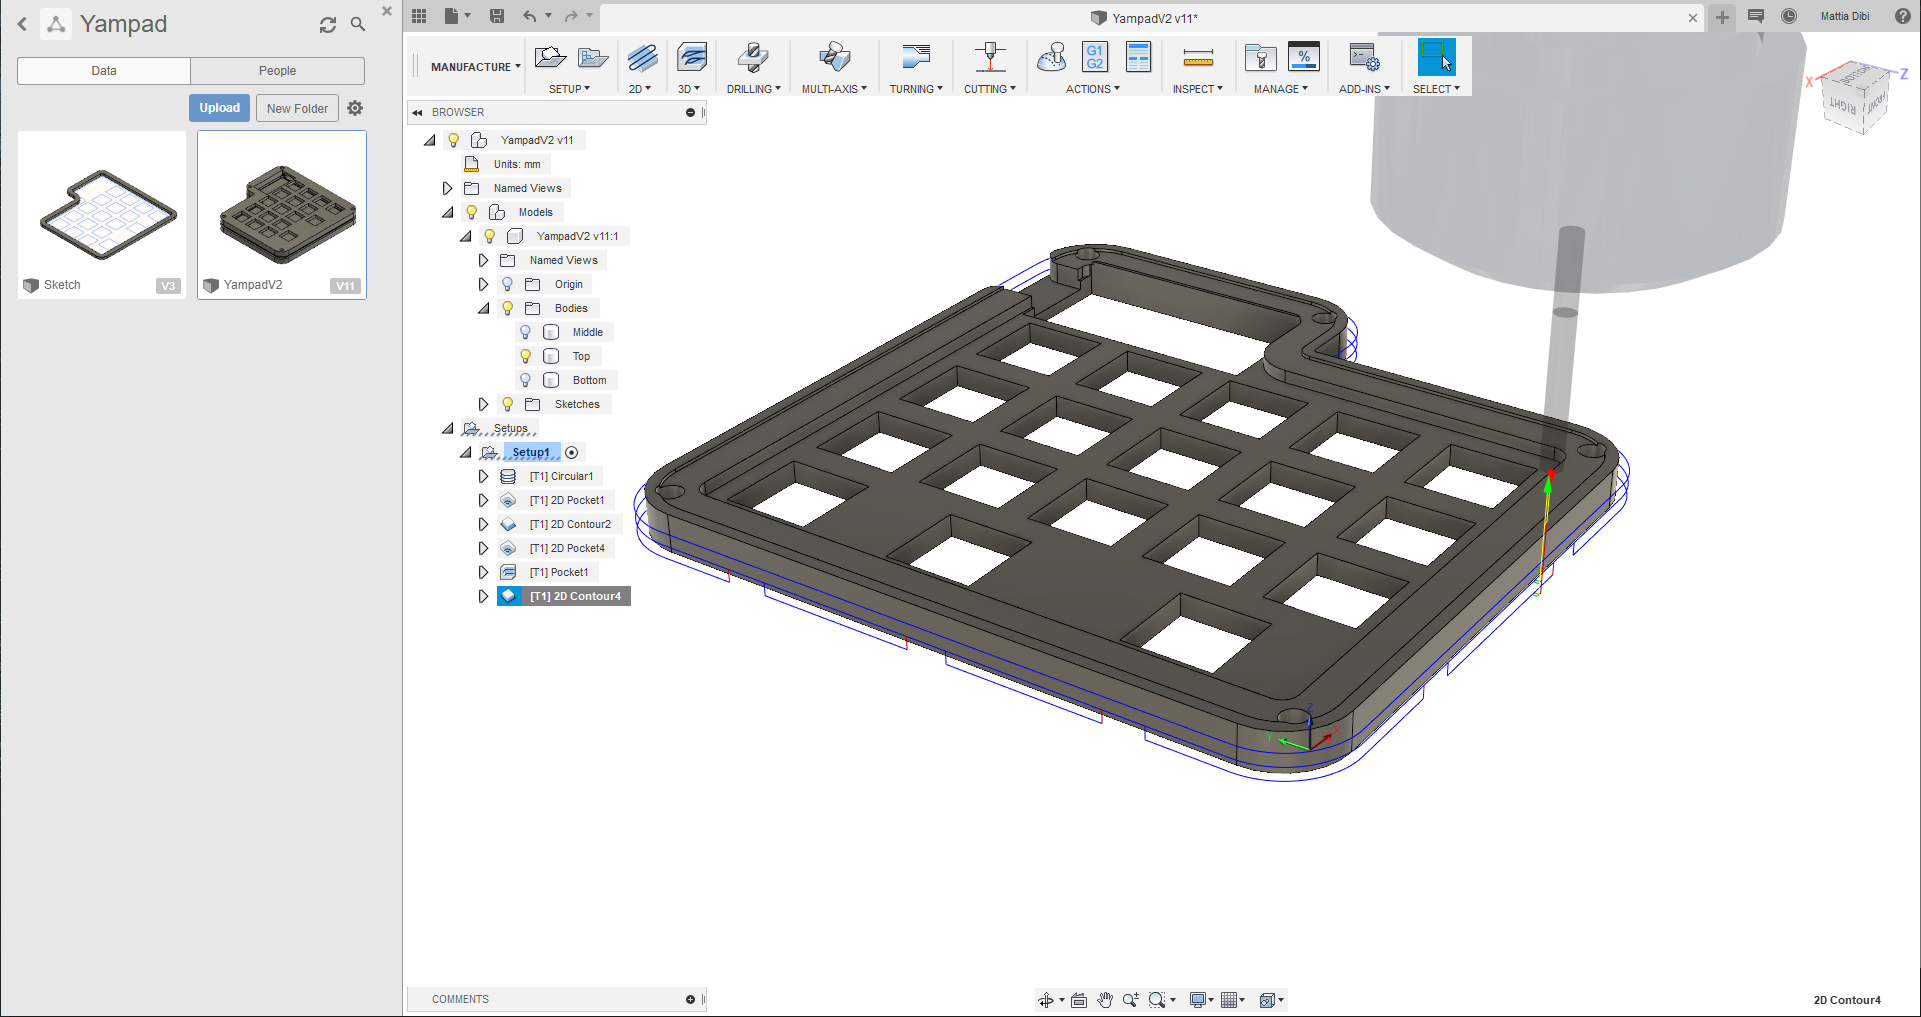 I'm still a noob with my CNC but I try to use it as much as I can. Unfortunately I forgot to film it while it was working... Next time I'll post some CNC action I promise!
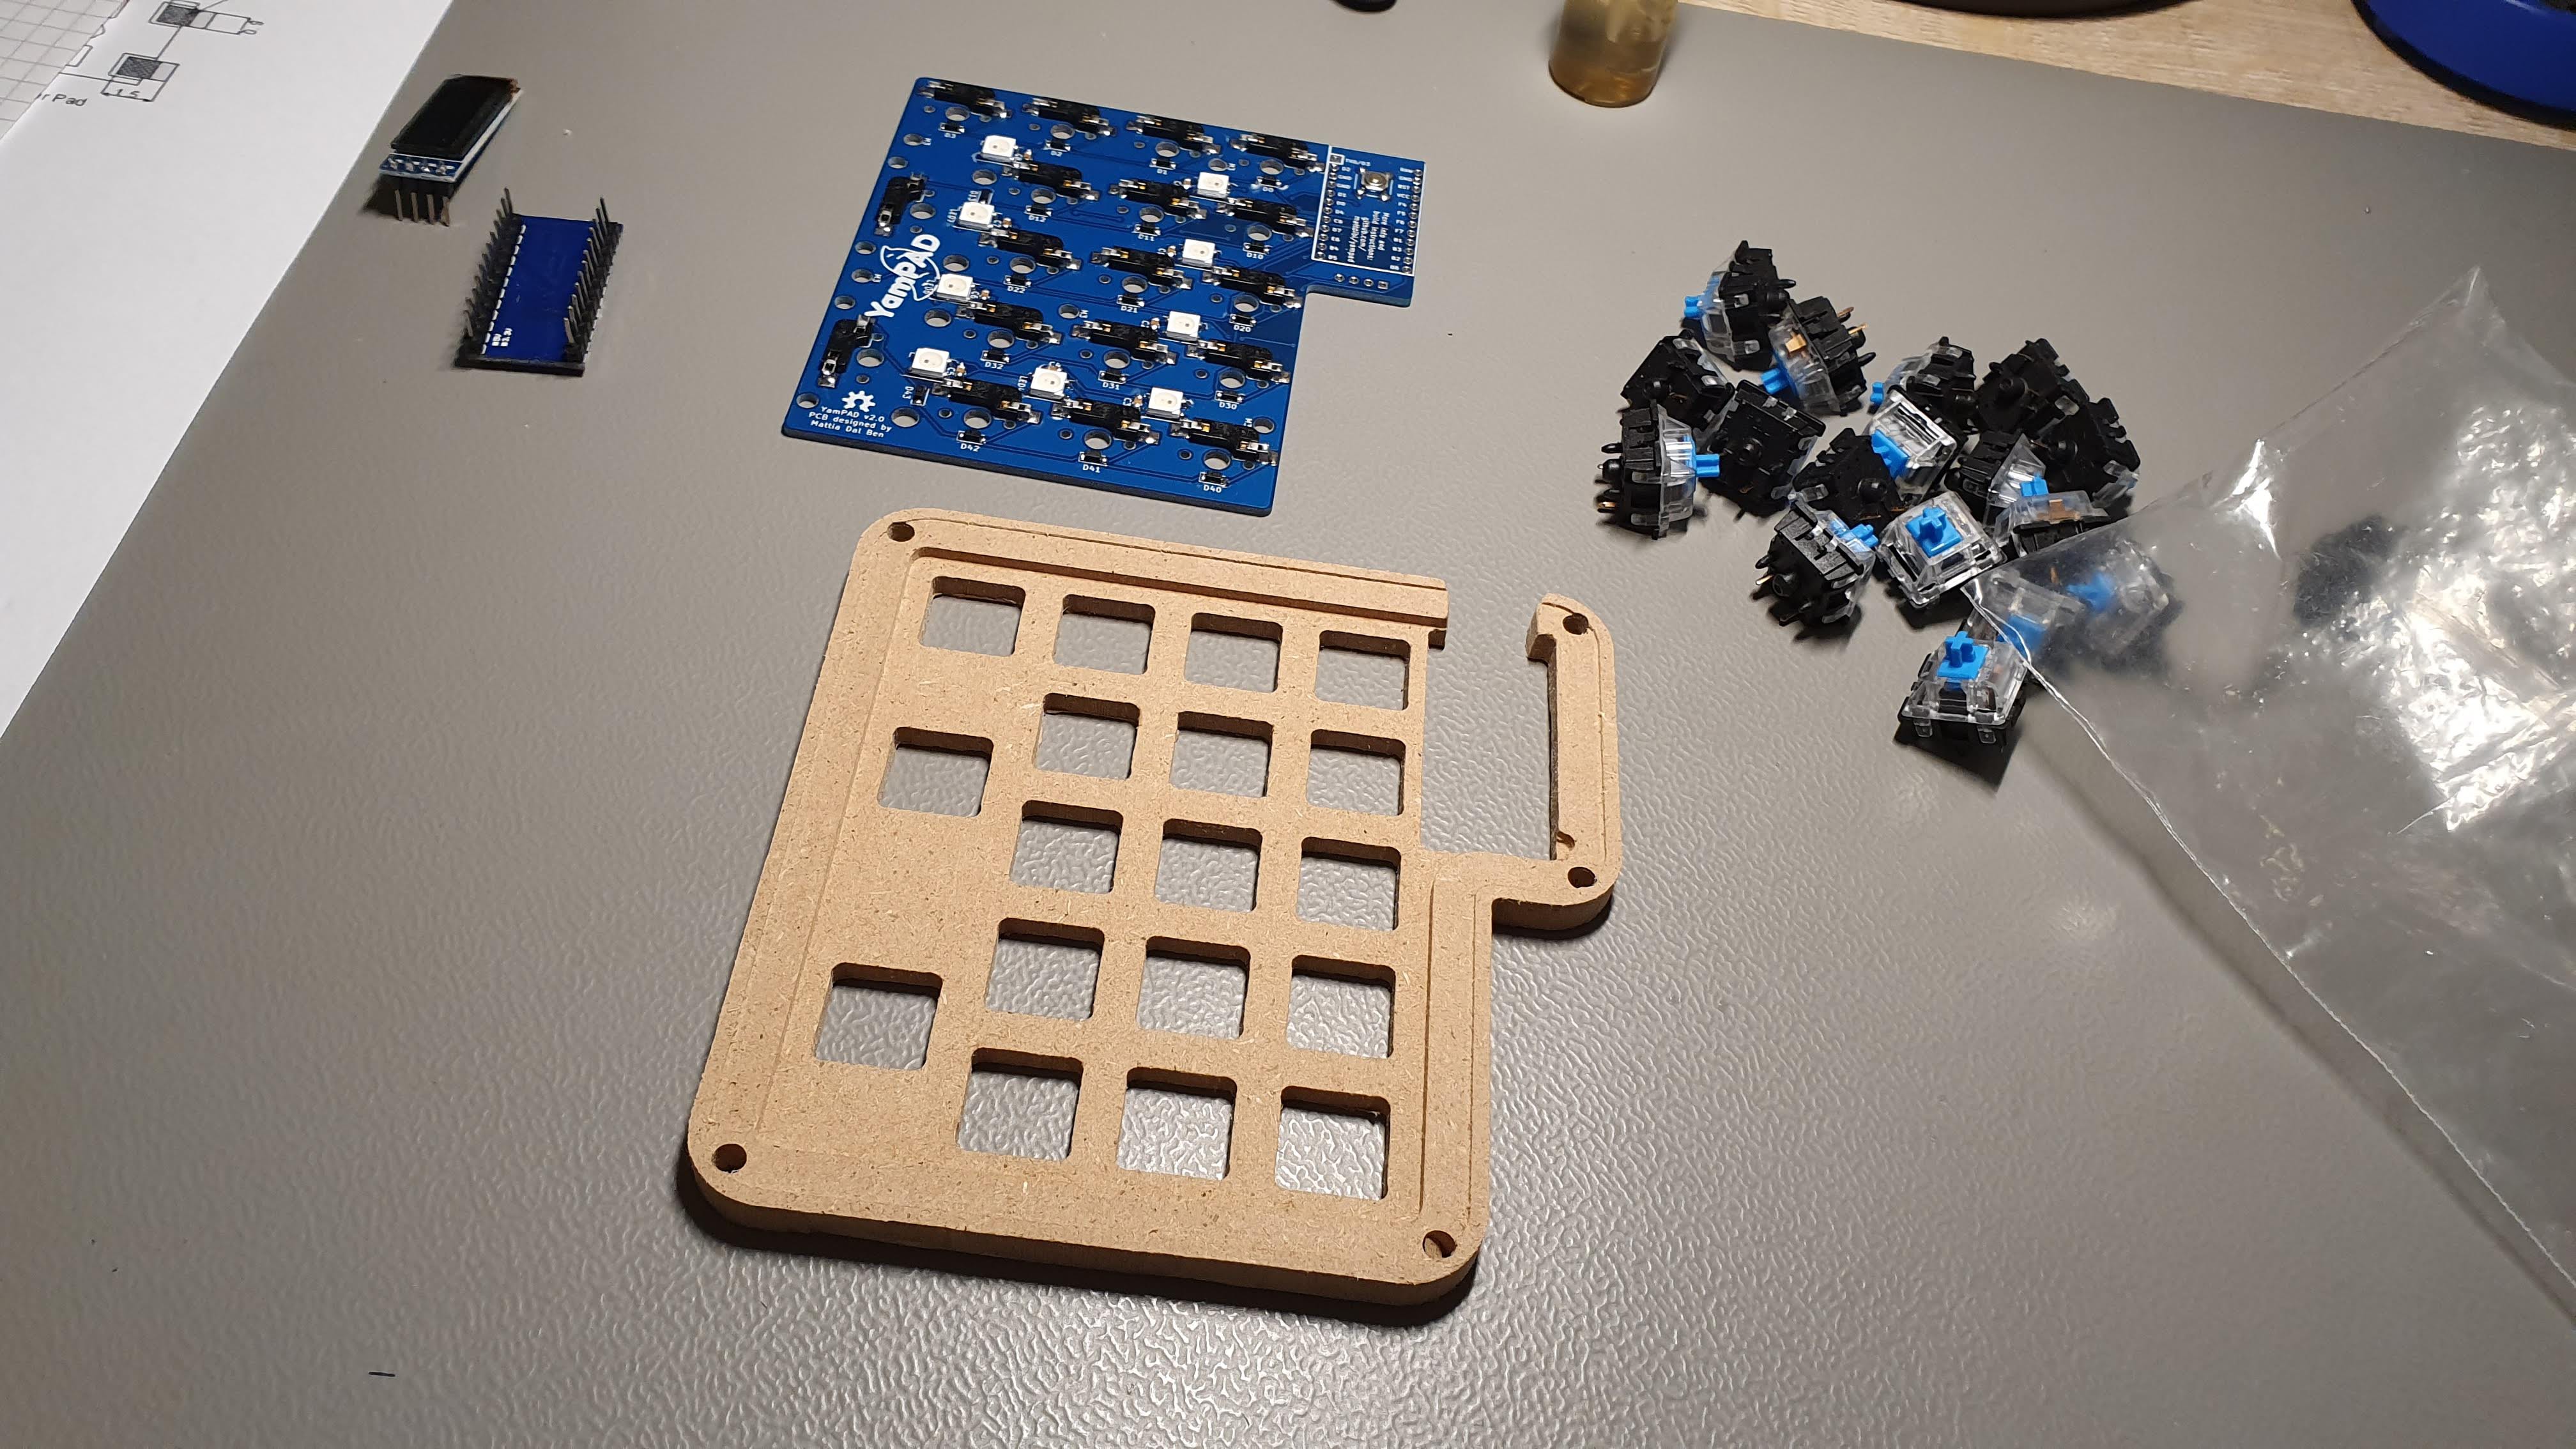 Turns out the switches don't fit, the screws don't fit, the Pro Micro didn't fit until I opened the top but hey, everything else fits like a glove :D
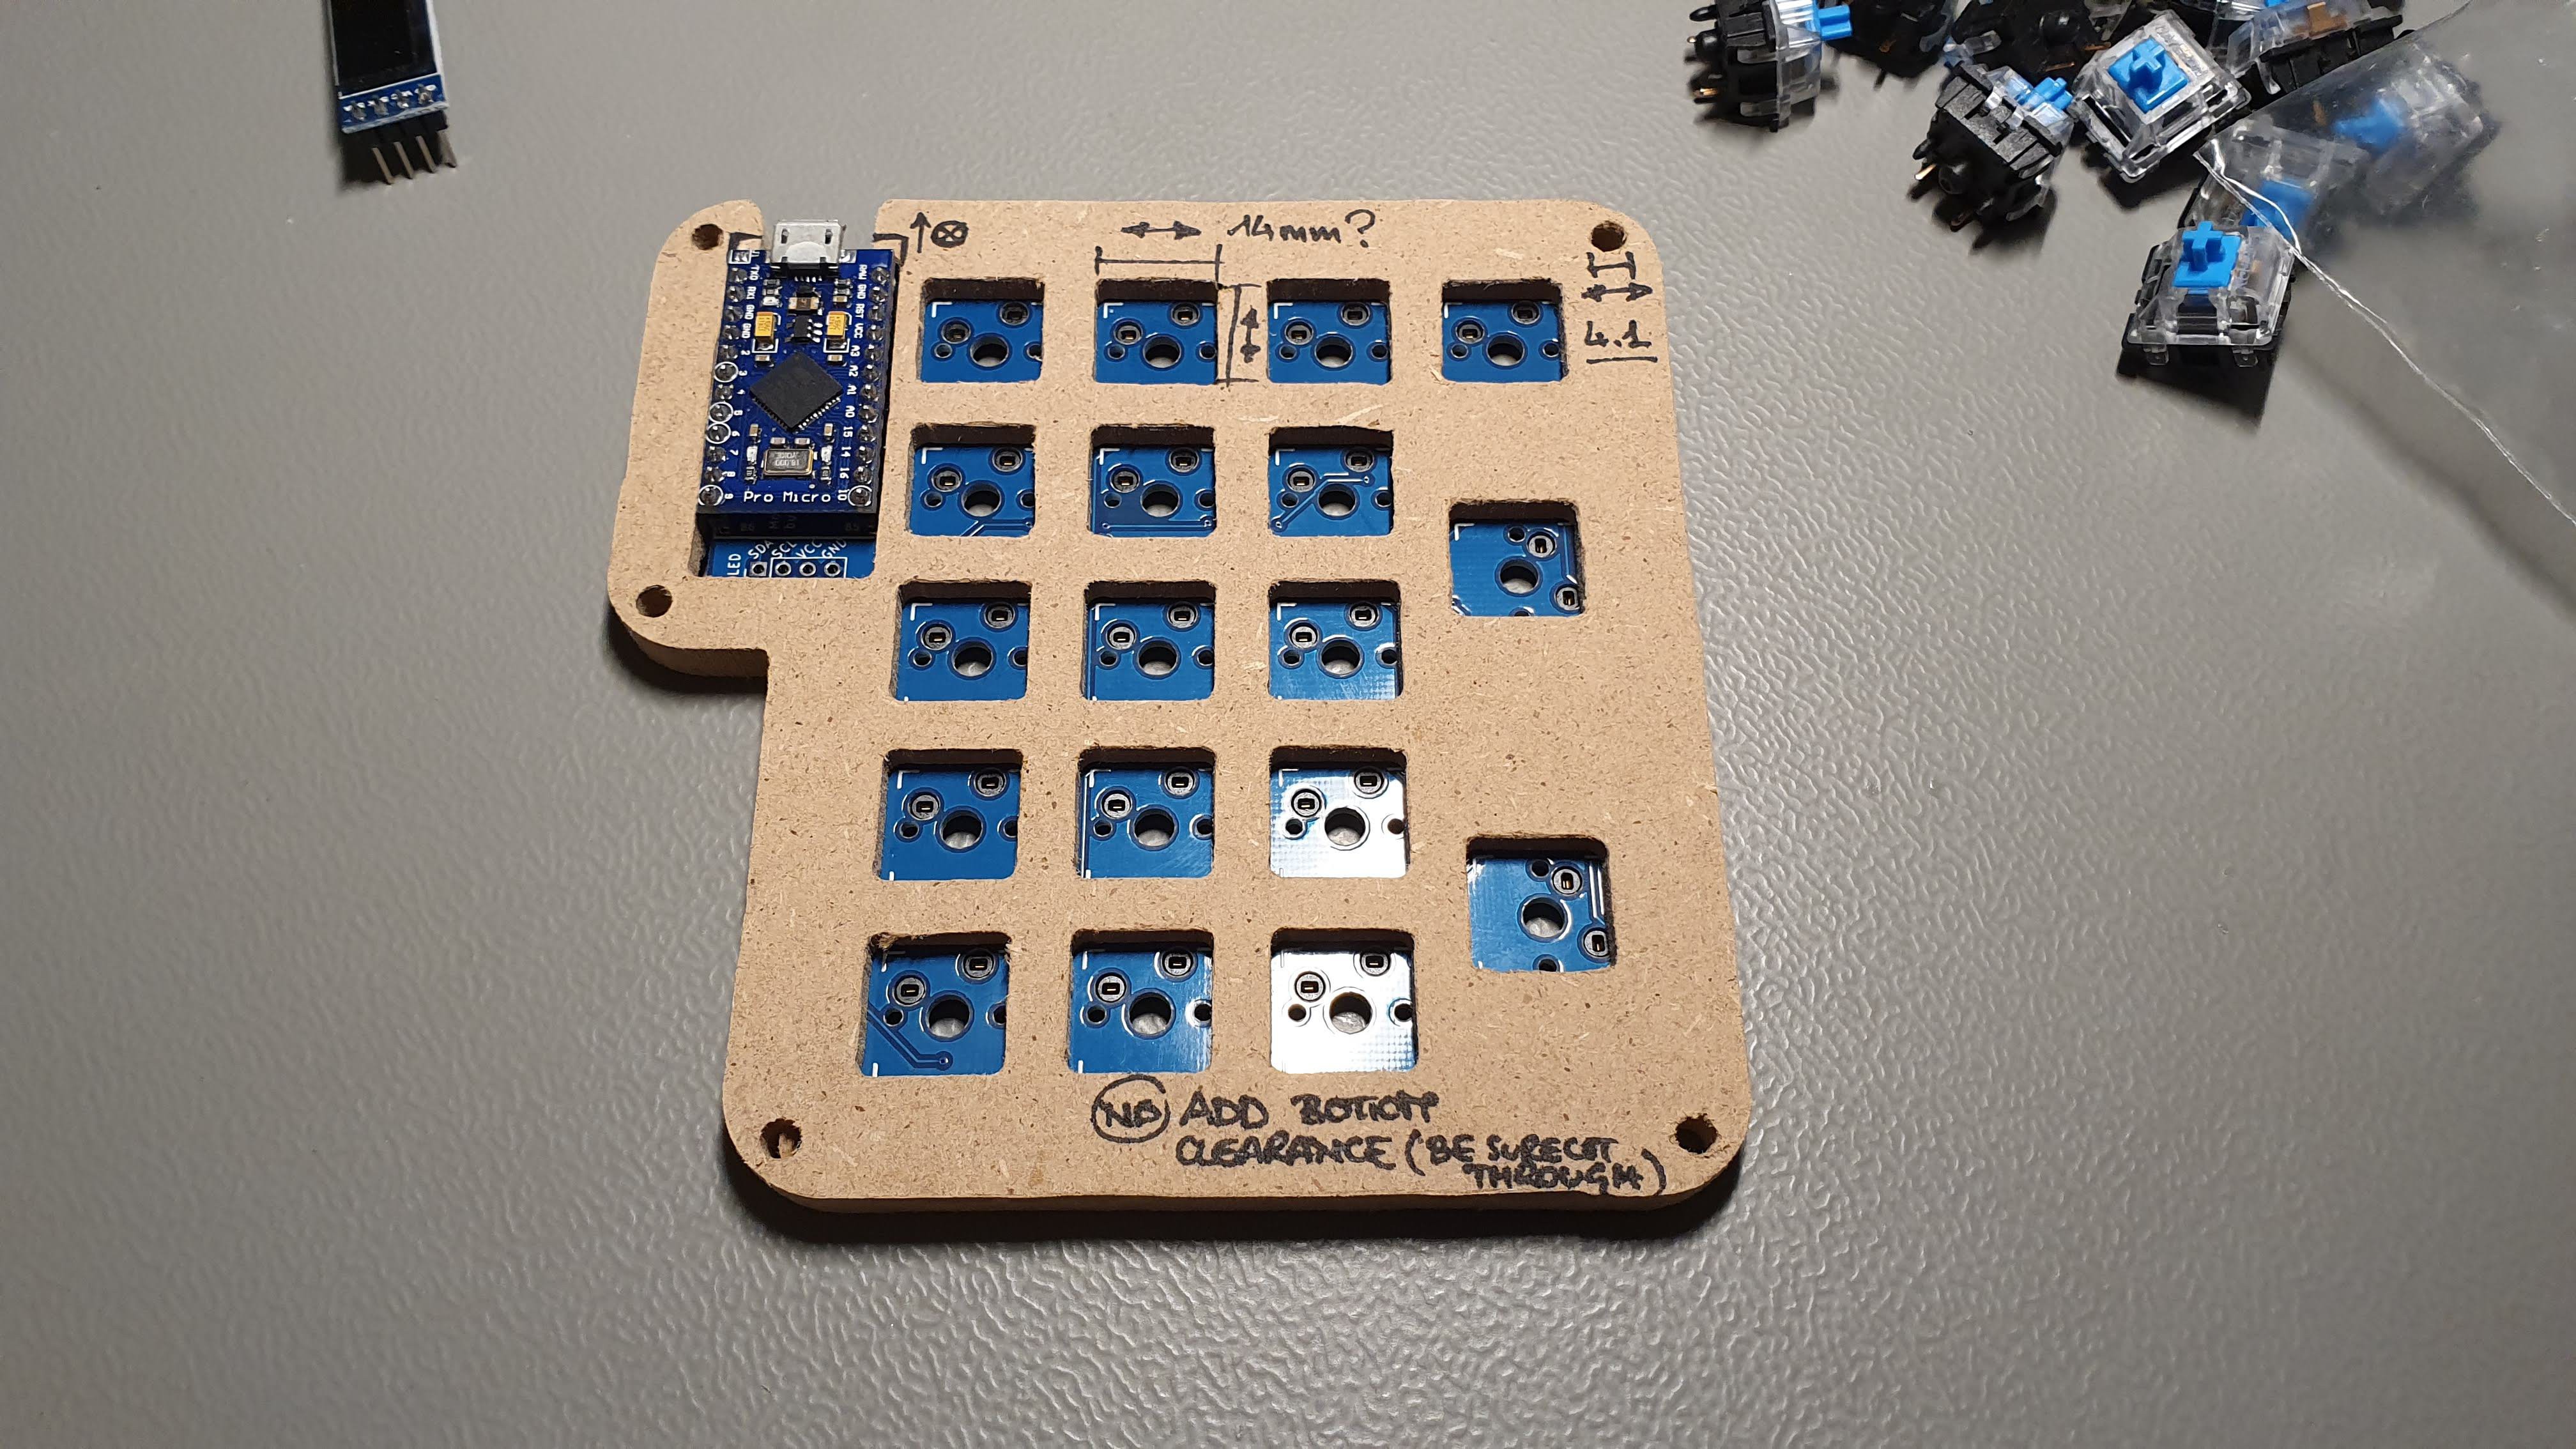
 I used the usual SMD hand soldering technique: start by applying solder to a pad, then heat it up while adding the component, finally solder the rest. Turned out pretty good IMO.
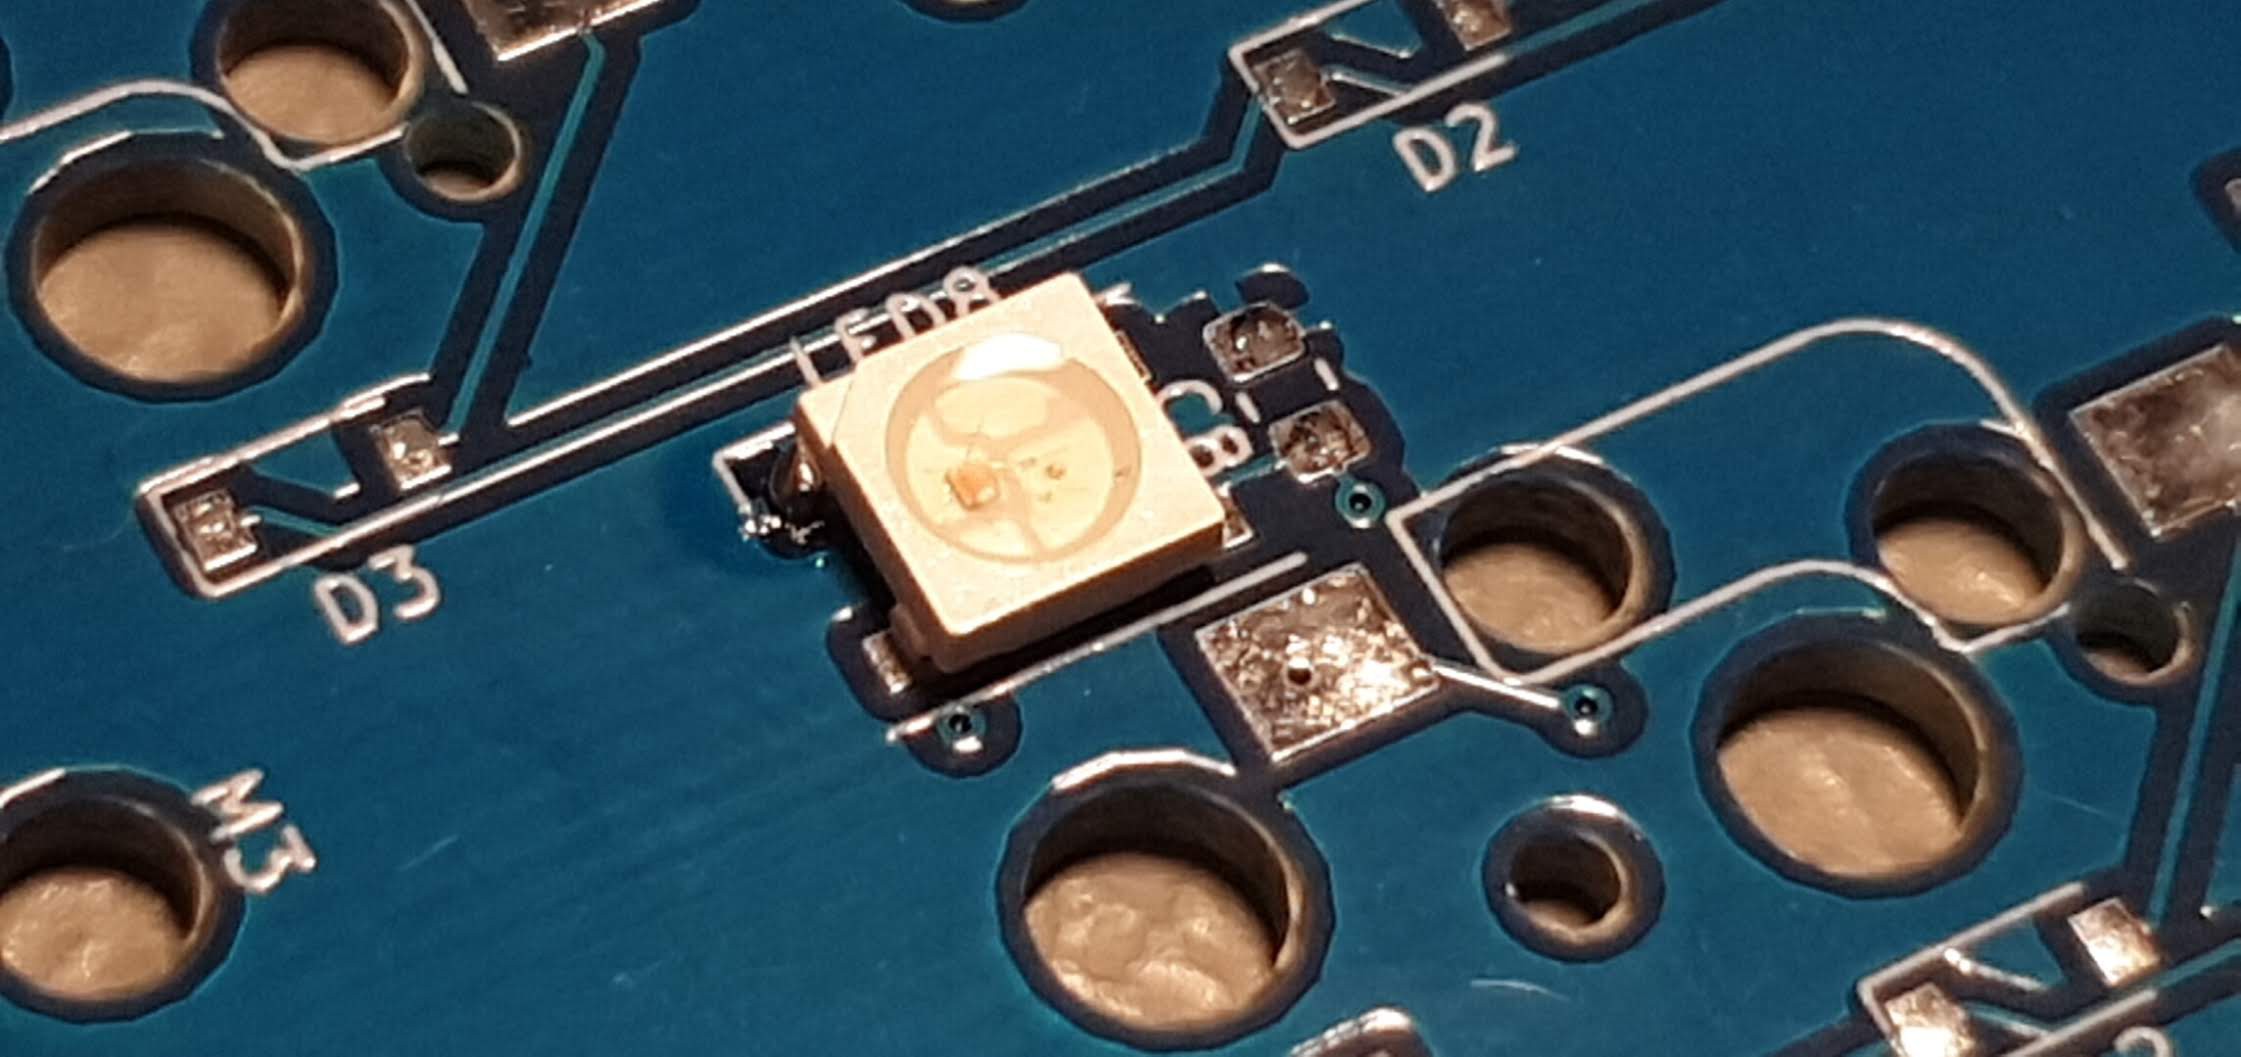
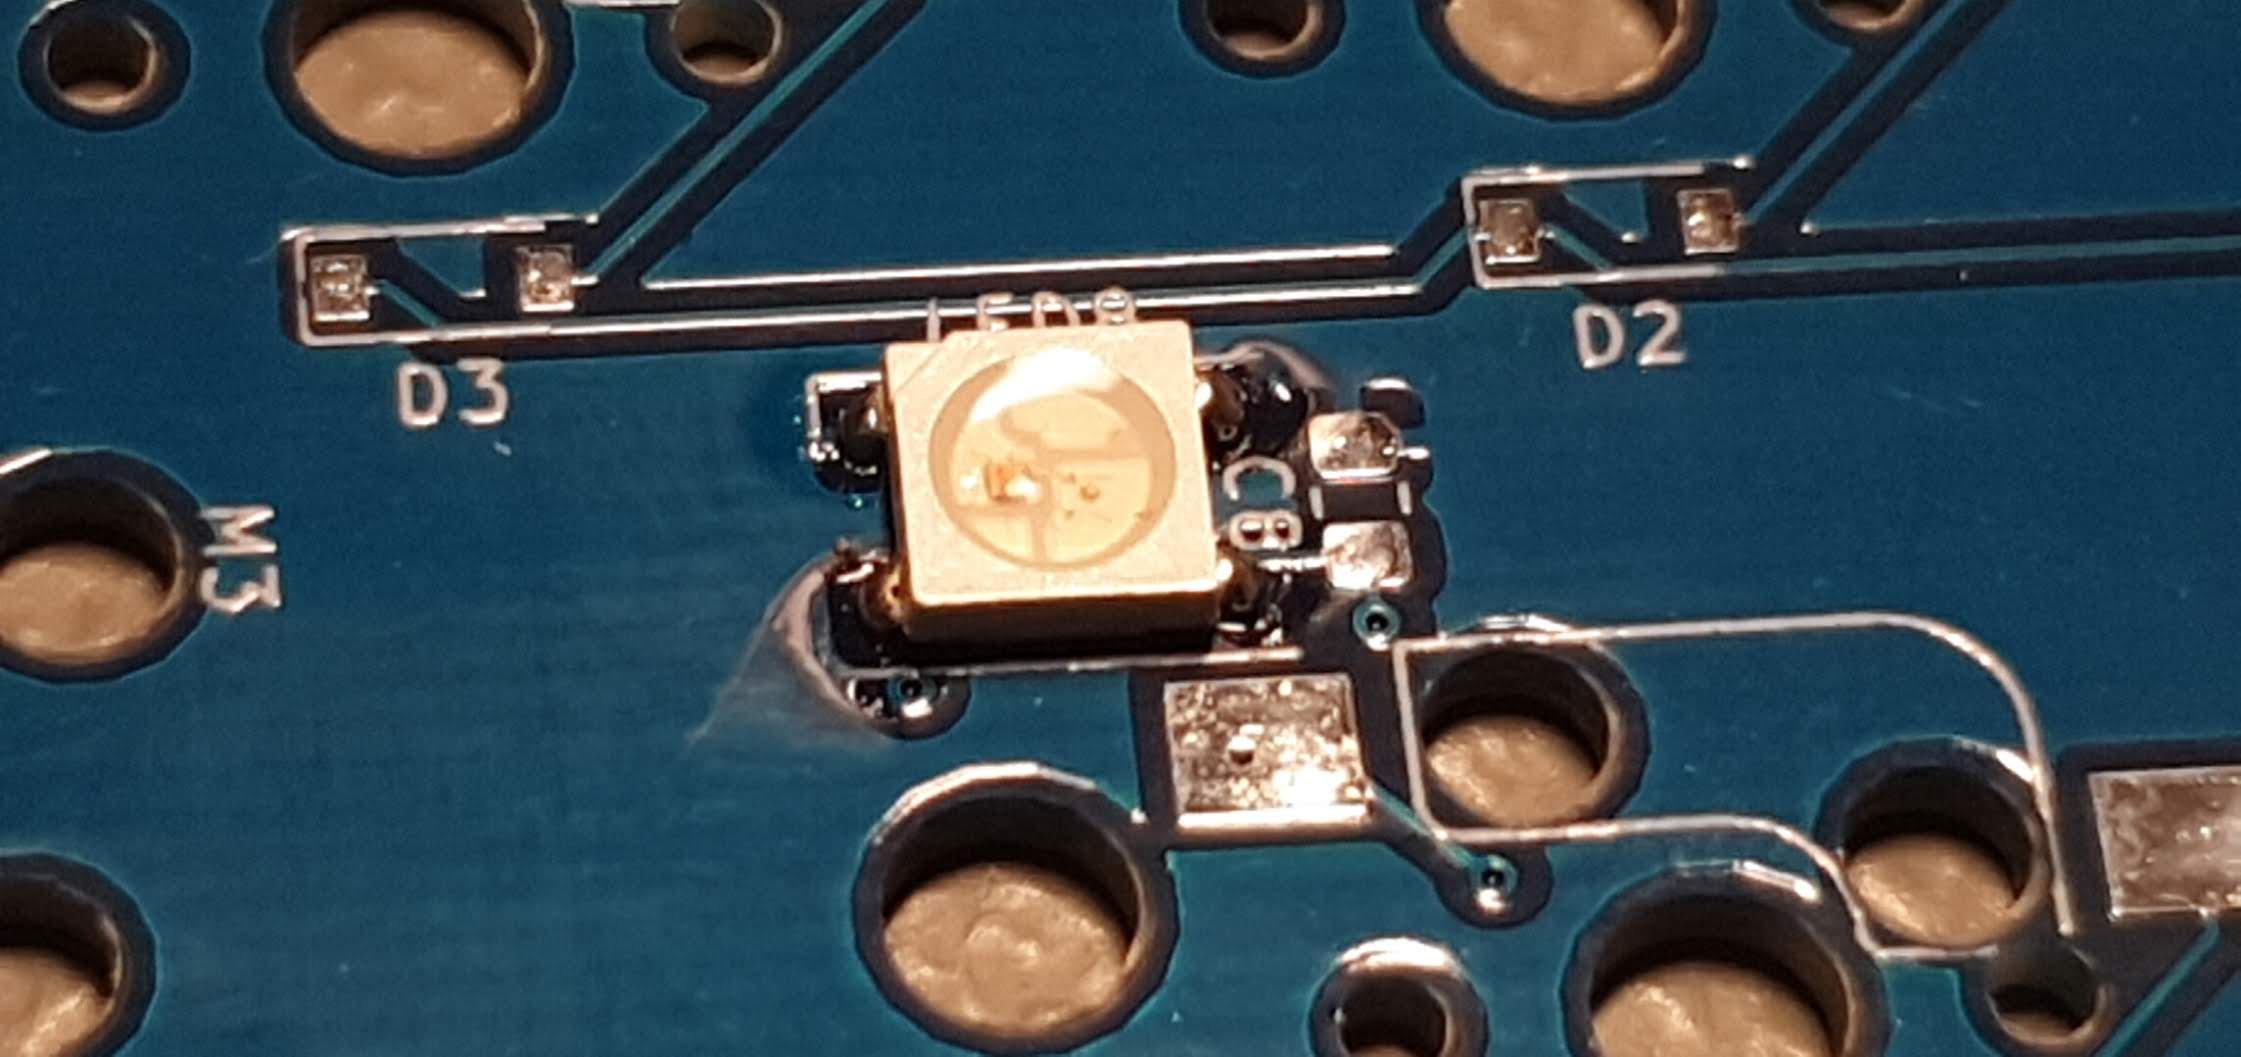 Assembled LEDs
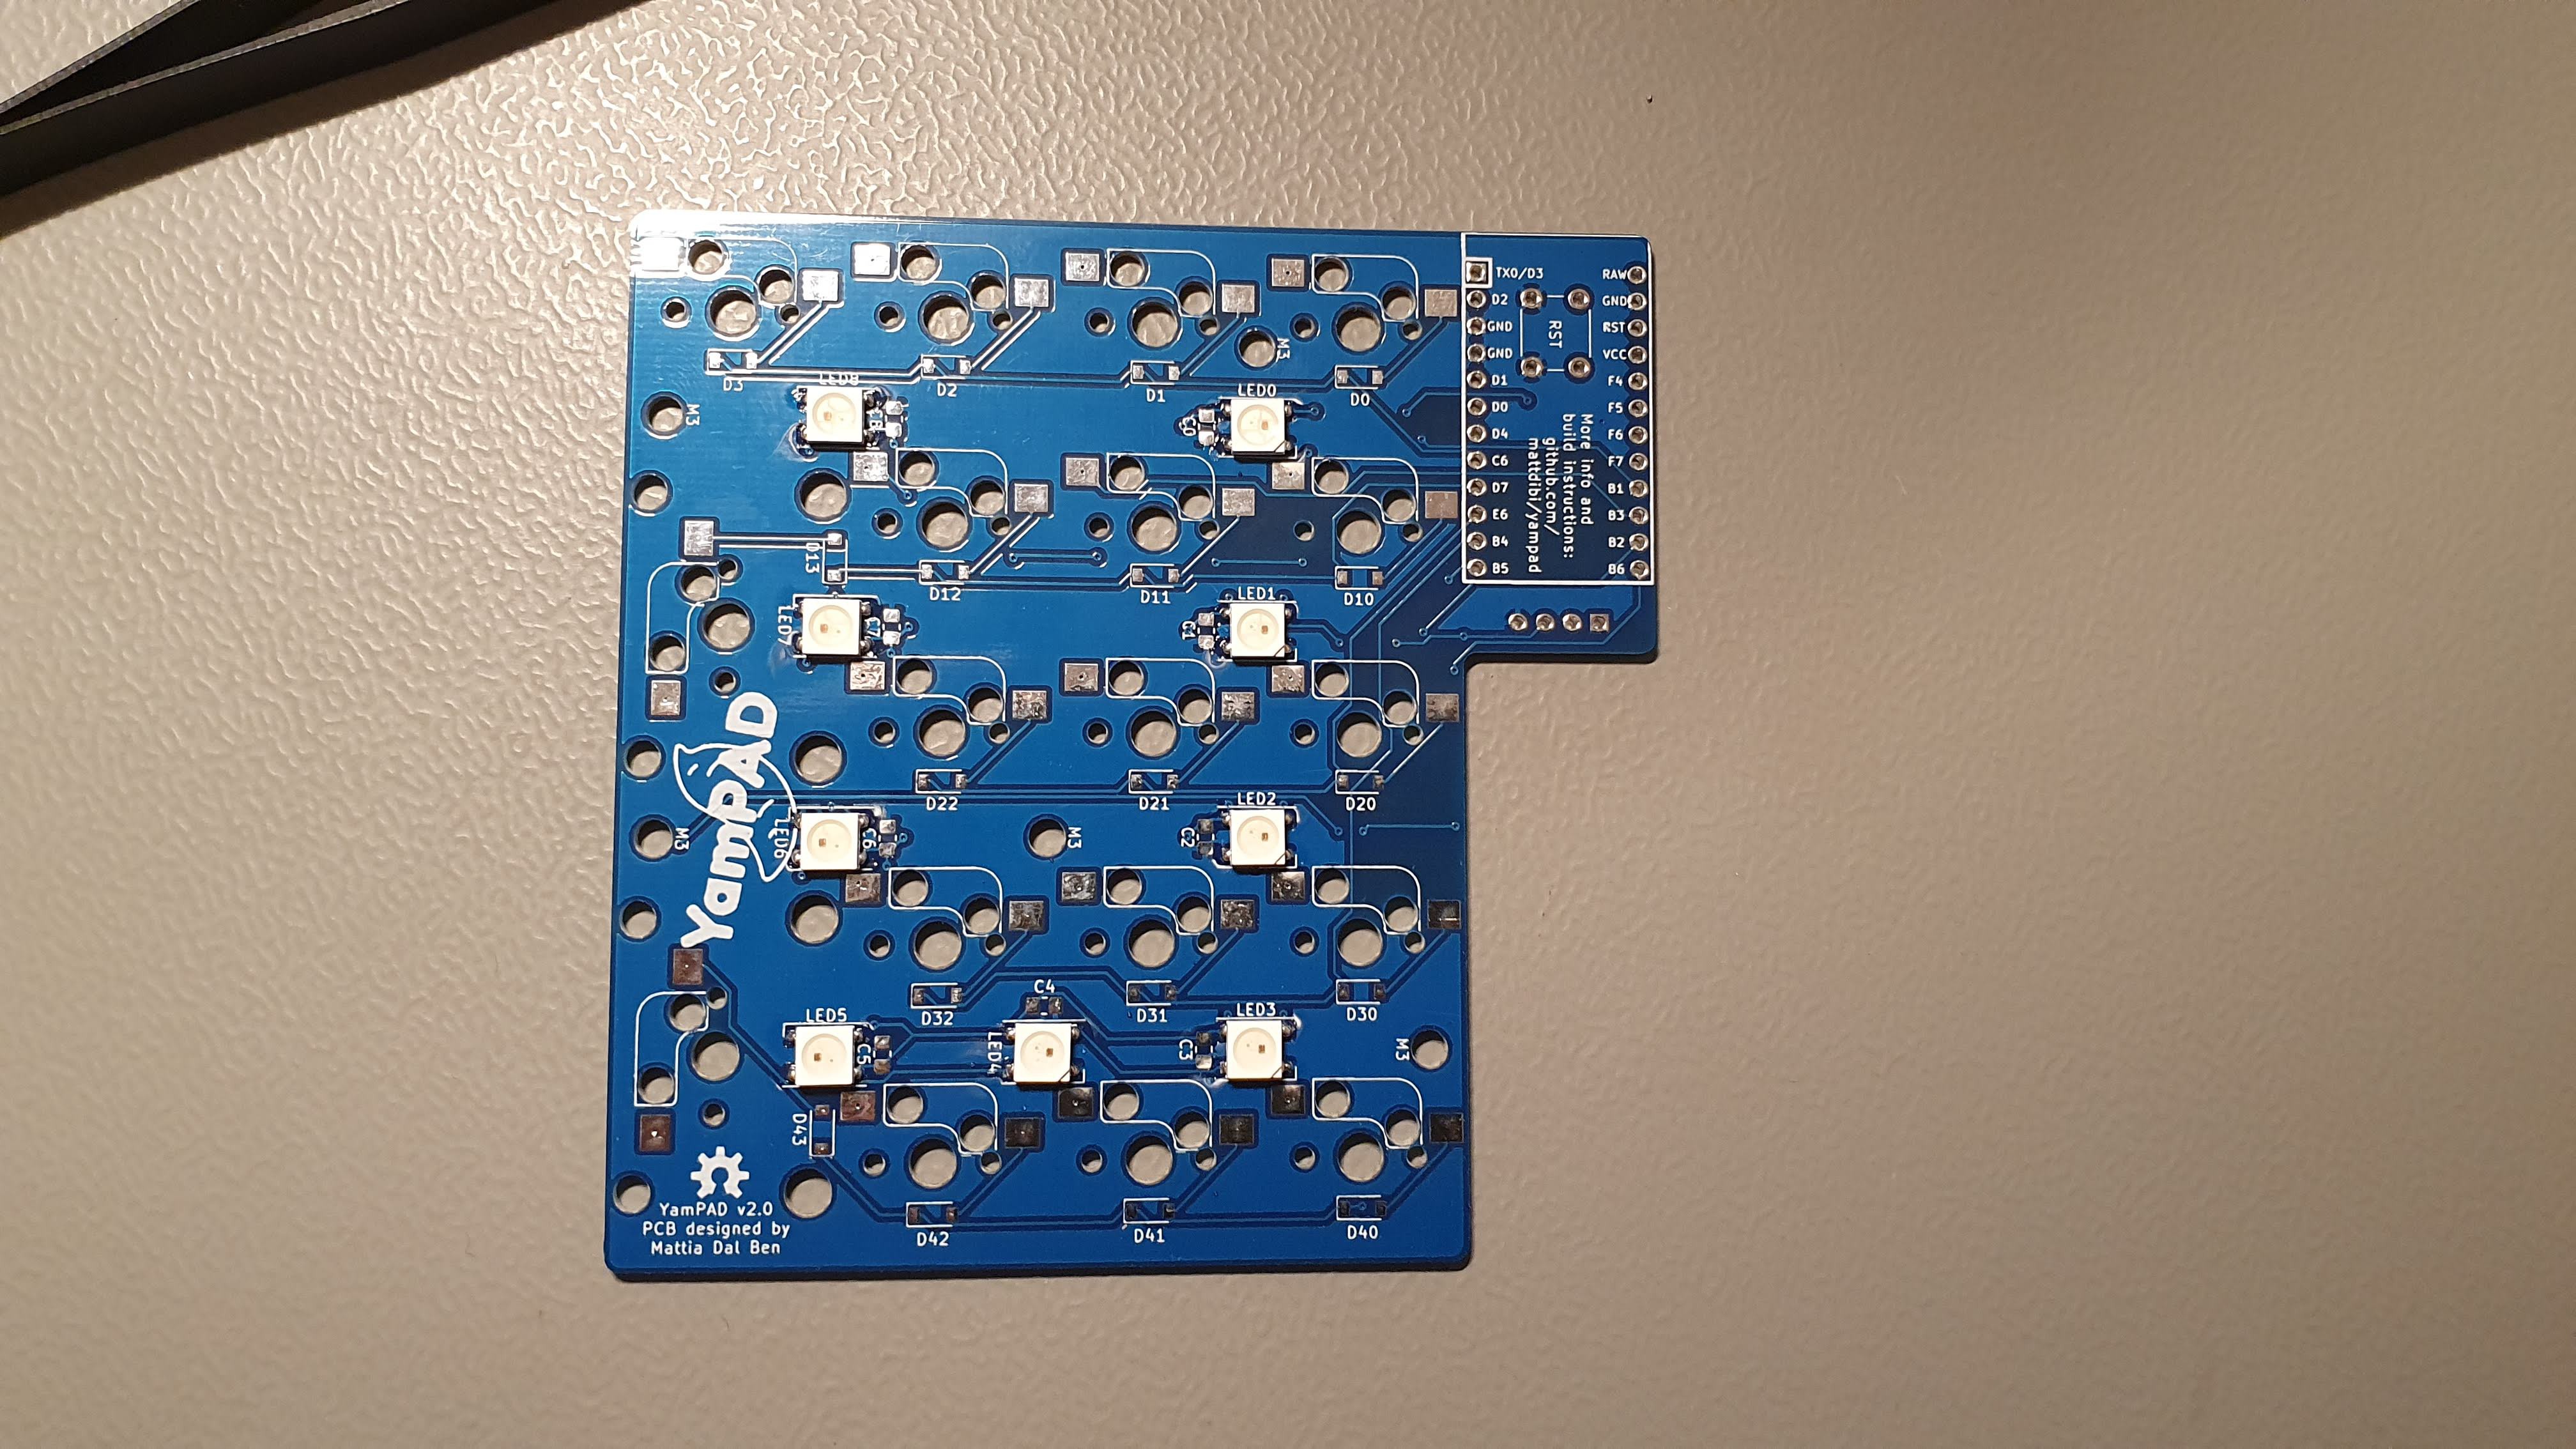 Now it's the caps turn.

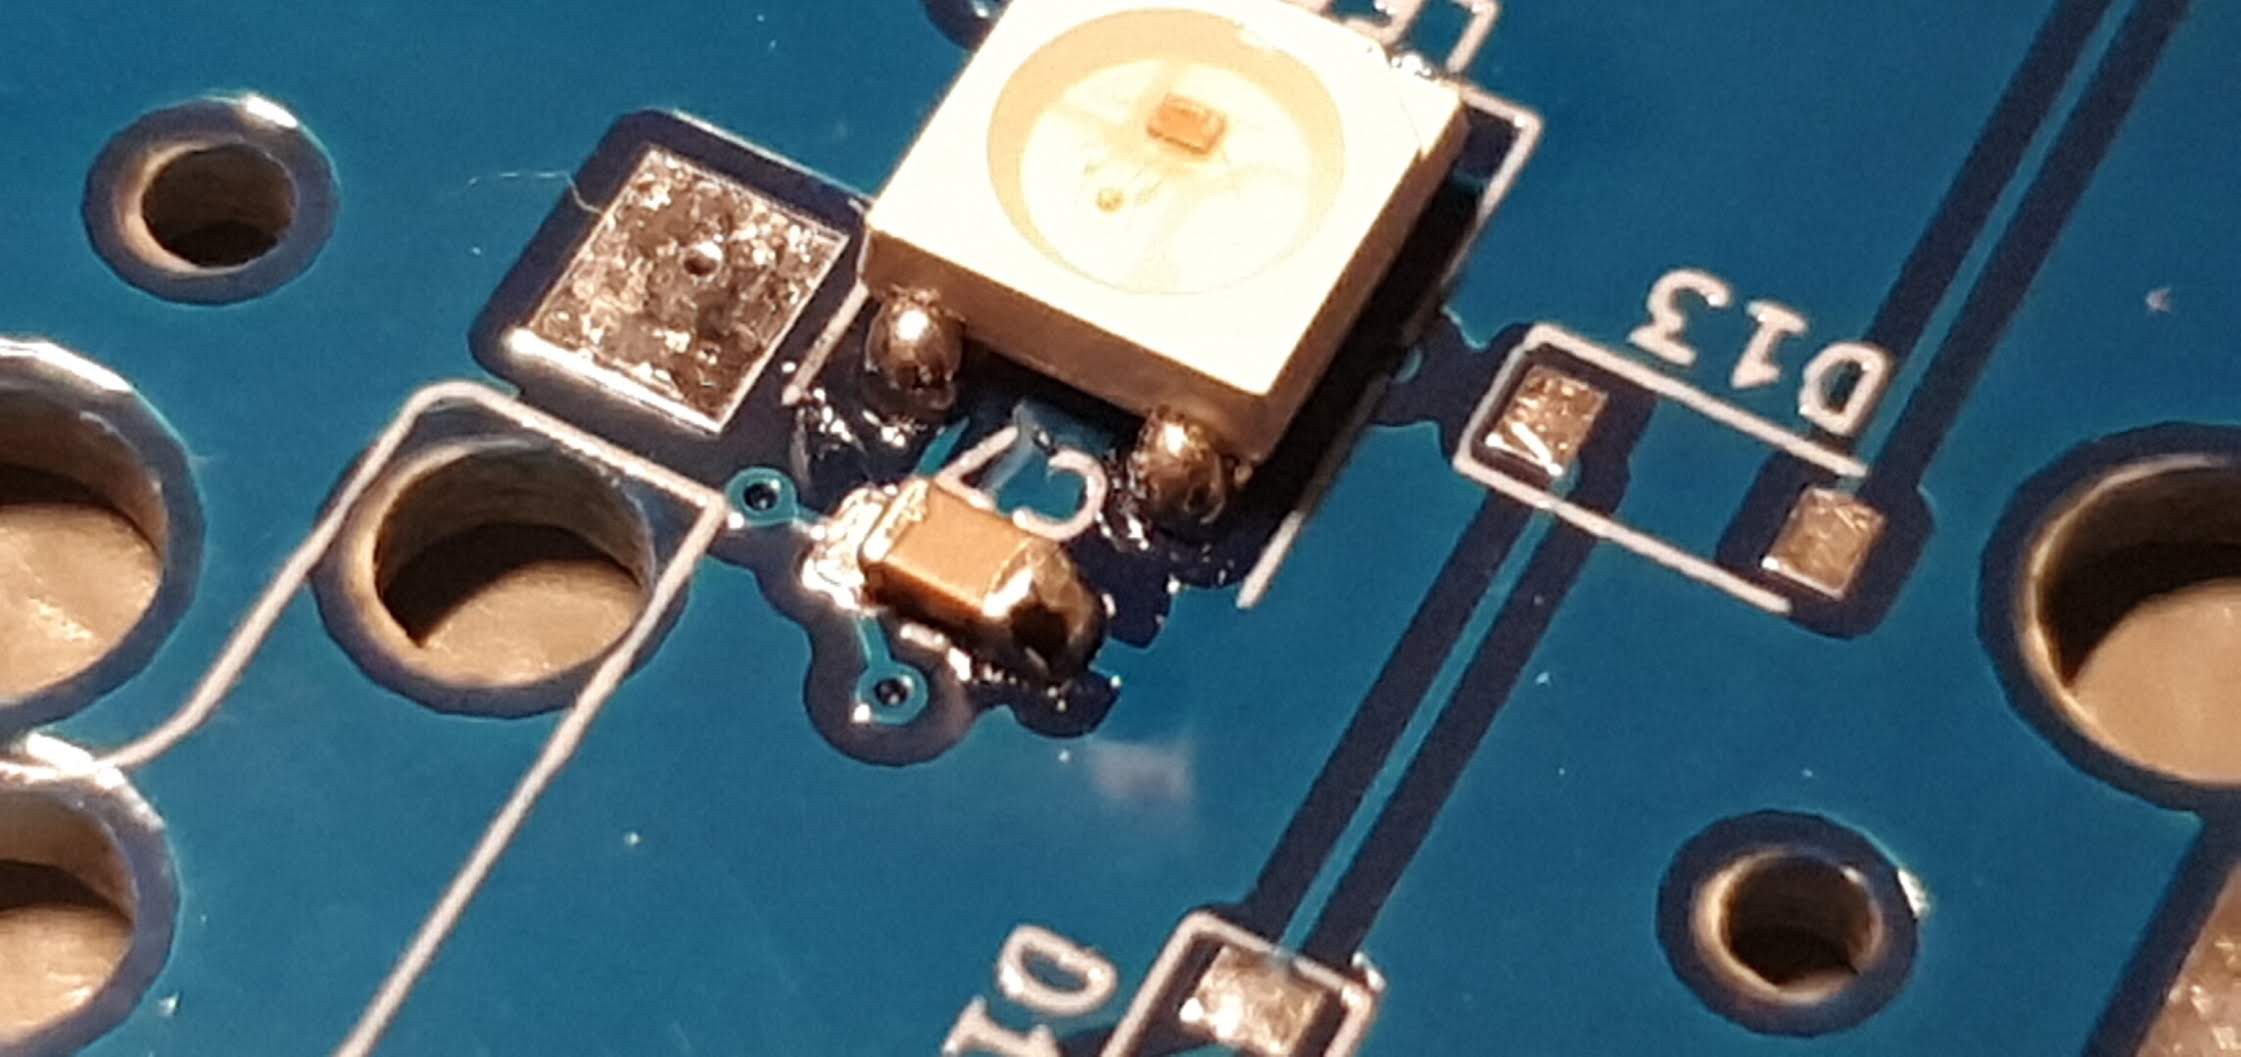 And diodes...