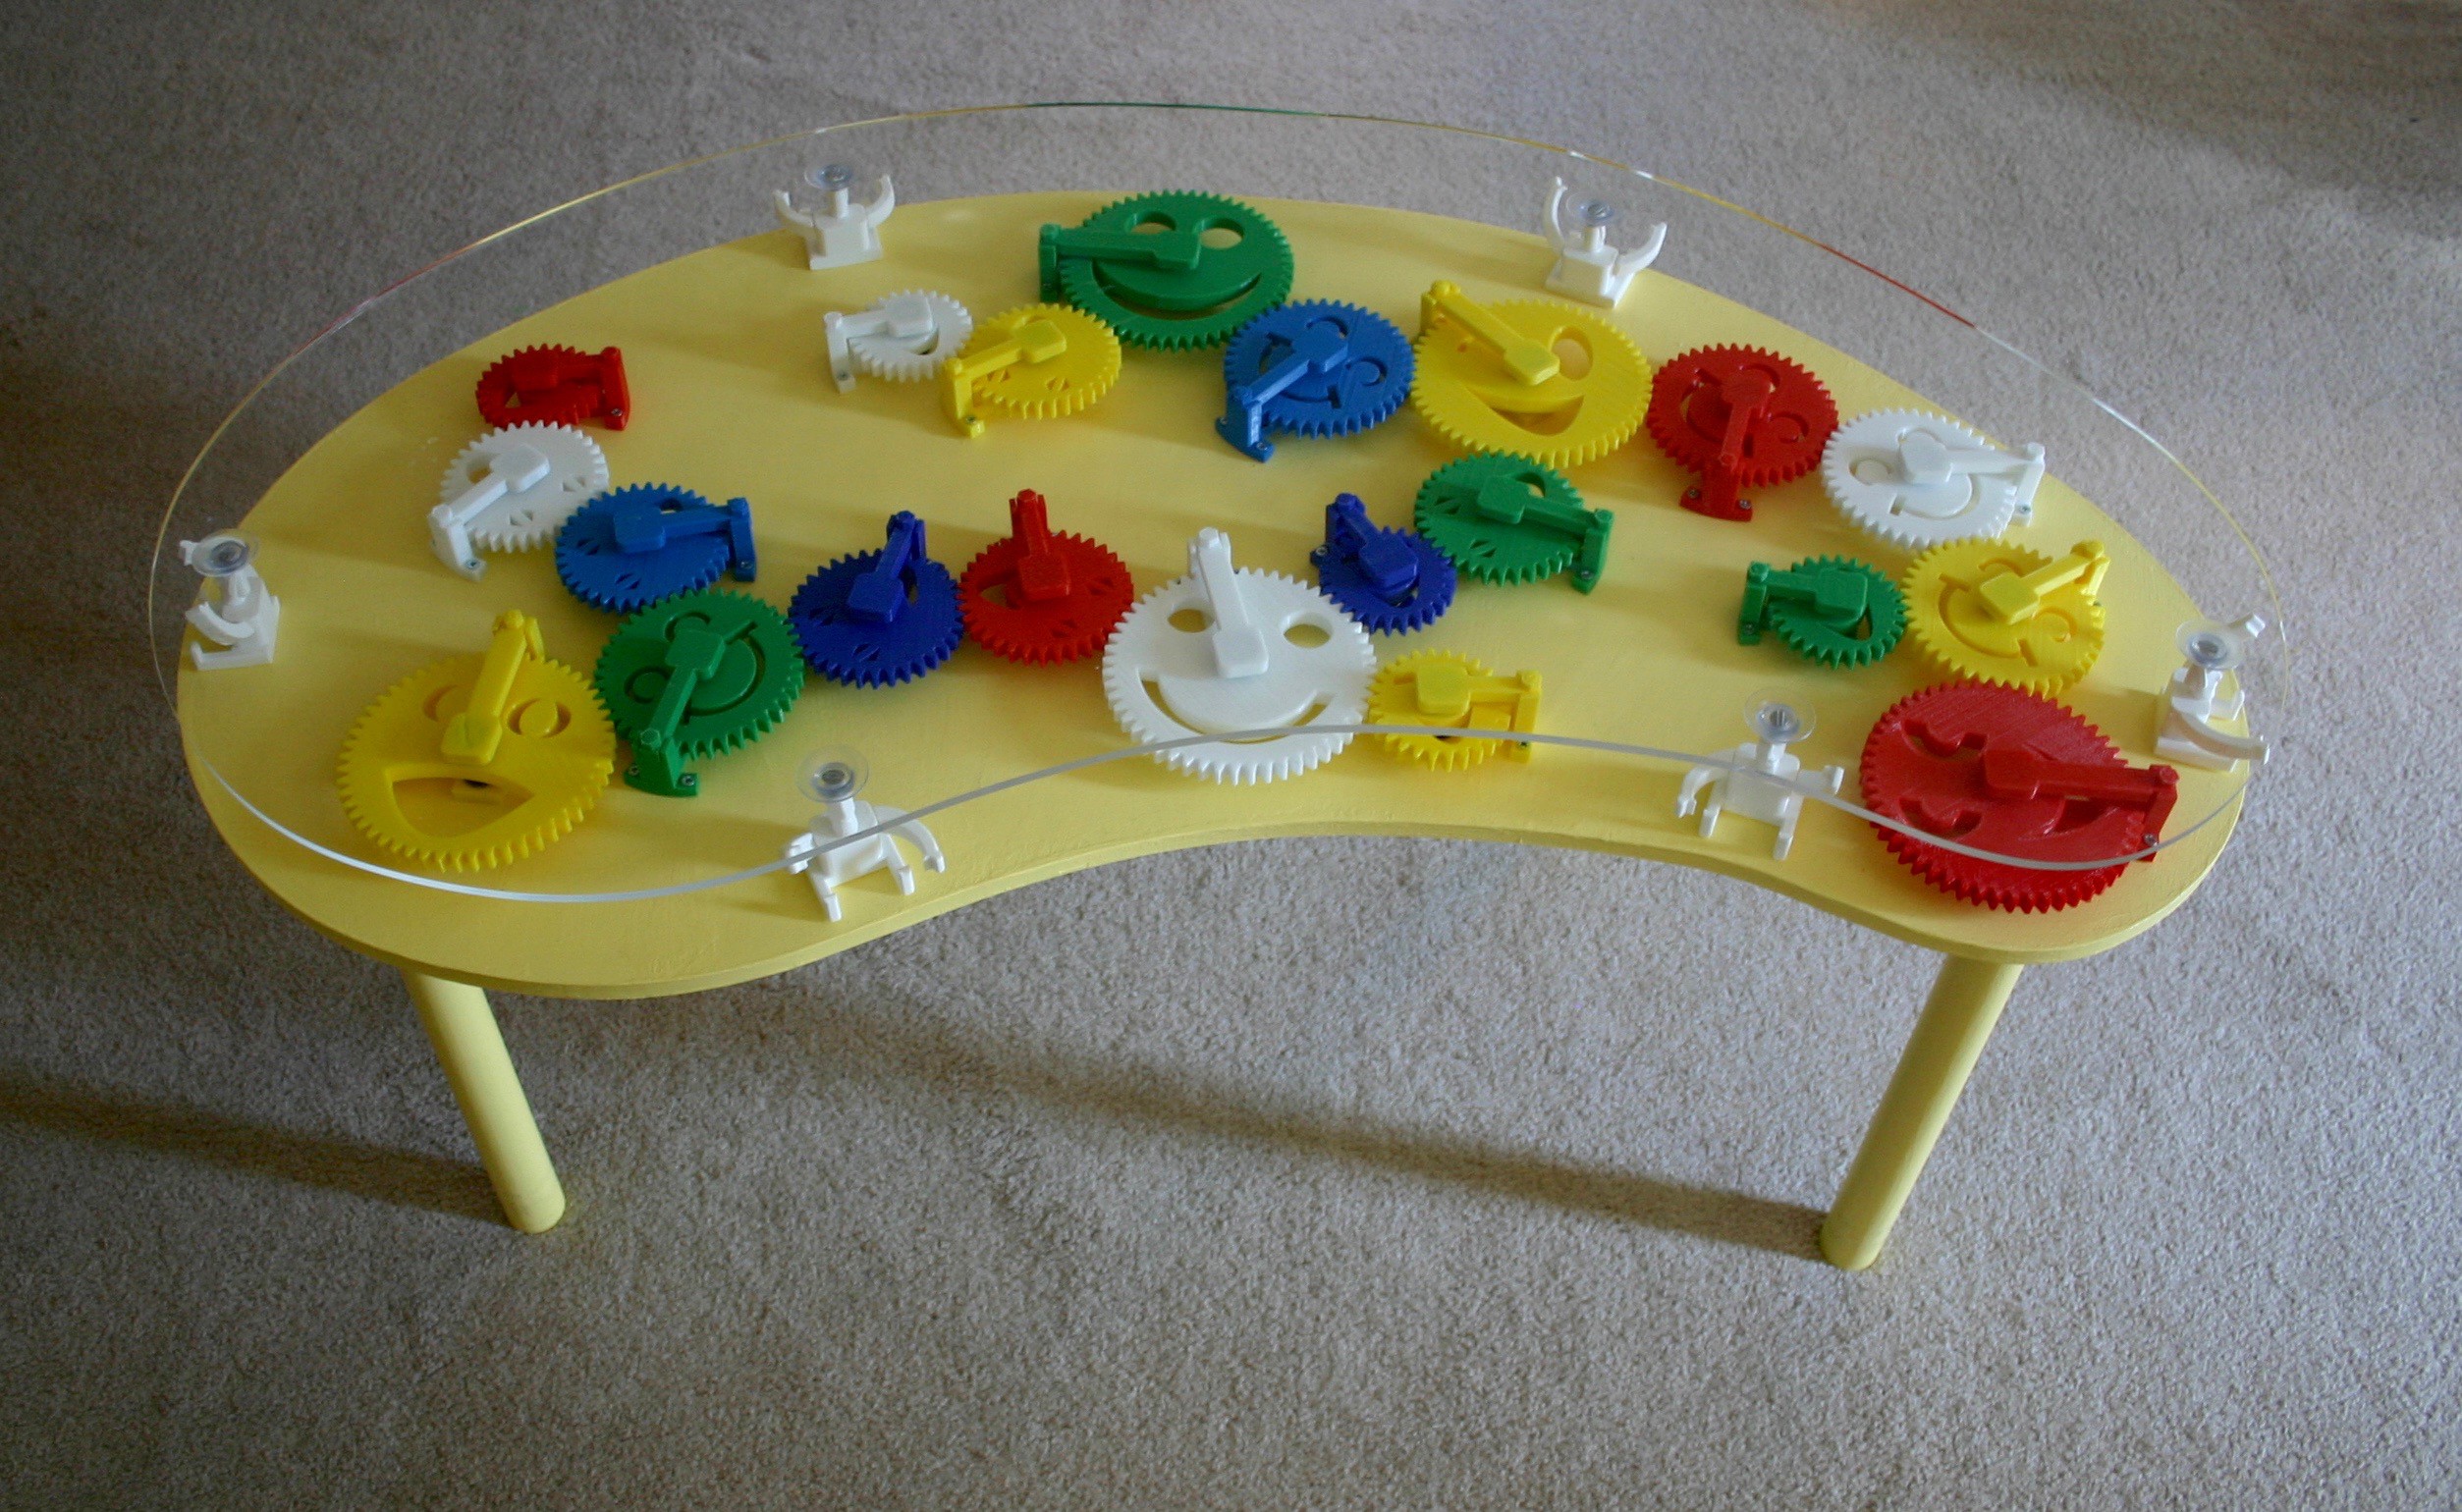
Right now, I prefer the little men for support figures. For construction details, look at the logs.

Move the interactive smiling gears or adjust the arms on the support men--whatever makes you happy!
To make the experience fit your profile, pick a username and tell us what interests you.
We found and based on your interests.
Right now, I prefer the little men for support figures. For construction details, look at the logs.
Mike_Rigsby_Gear_Desk.svgsvg+xml - 4.81 MB - 01/19/2019 at 19:44 |
|
|
spacer thread.stlStandard Tesselated Geometry - 1.30 MB - 01/19/2019 at 19:44 |
|
|
Gear 52Y complete.stlStandard Tesselated Geometry - 1.46 MB - 01/19/2019 at 19:44 |
|
|
Gear 52G complete.stlStandard Tesselated Geometry - 1.50 MB - 01/19/2019 at 19:44 |
|
|
nut.stlStandard Tesselated Geometry - 444.32 kB - 01/19/2019 at 19:44 |
|
|

The gears started out rather plain--looking like . . . gears.
As the process unfolded and I had a few gears to play with, I found that spinning the gears by hand was somehow satisfying, so I abandoned the idea of motorizing the table and pursued the idea of interactivity.
My wife, Annelle, designed the happy faces for the gears and the shape for the acrylic top. Our daughter, Tia, and a friend, Brian Watt, assisted in creation of the vector file needed for cutting the acrylic and plywood.
The large gears each take about 5 hours to print--then the supports have to be removed. The bearing holders take another 2 hours. Take 21 gears at 5-7 hours each and the investment in printing time is notable.
The acrylic and plywood were laser cut at Polulu.com. Just for
information, the cost to laser cut appears to be: $10.00 setup per file; $0.15 per linear inch (1/4 inch depth); material cost; shipping
For the acrylic, this is the way to go. For plywood, maybe you can do an adequate job with a sabre saw, but I would use the acrylic as my template. For legs, I used 17 inch long, 1 1/2 inch diameter round wood rods. I attached them to the plywood using printed brackets.
The gears were designed using Autodesk Fusion (look at add-ins, spur gear). The gears were WAY too big for my printer, so I imported them into TinkerCad (at 20% size), then made the gears 10mm thick. I added the bearing hub in Tinkercad also.
I set the table up using the little men for supports--just to be sure that there would be no gear conflicts regardless of arm positions on the little men.
I opened the well packaged box of laser cut material.
This is the acrylic.
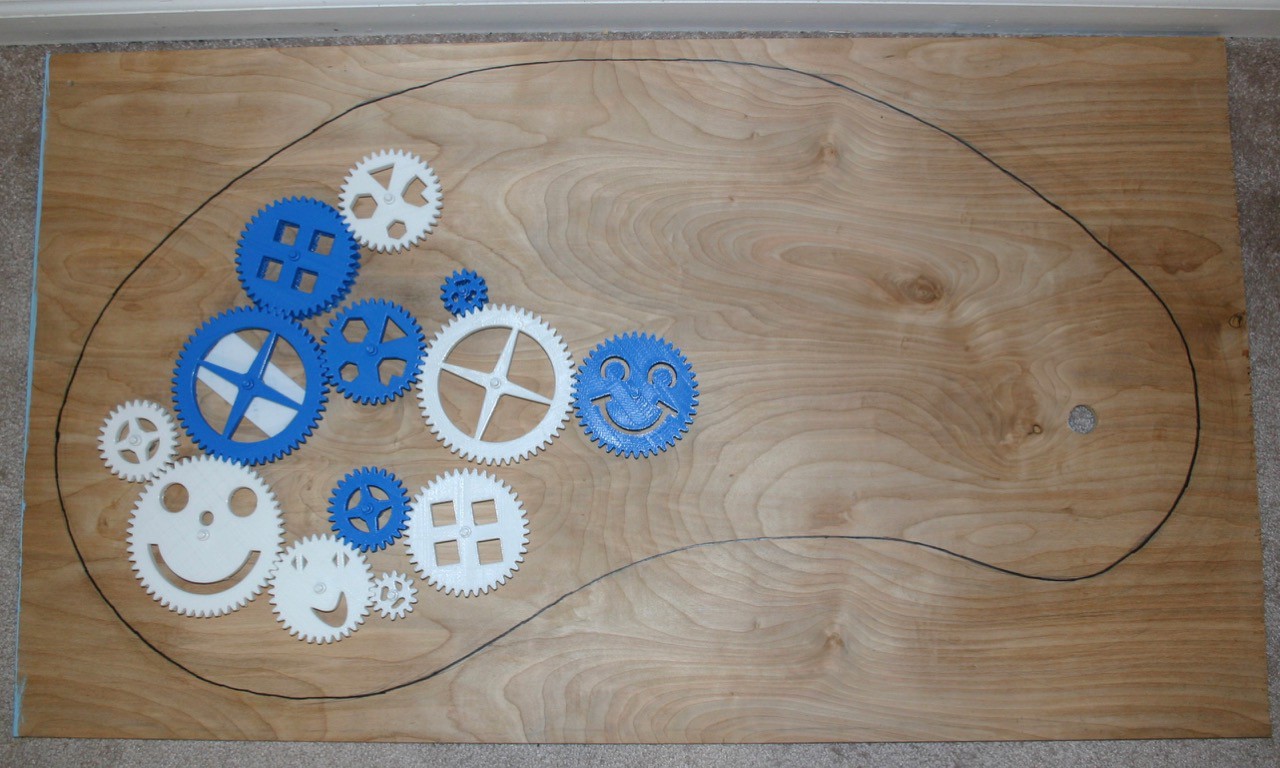
This is the plywood.
Legs mount using 3/4" wood screws.
Unpainted, the table base looks like this.
Every gear has a bearing support lower, upper and a printed nut to secure them together. The bearing supports have two screw holes and wood screws secure the gear to the table. Each gear must be placed and checked for ease of motion before securing the screws.
With plain supports, the table looks like this--so many choices :)
Create an account to leave a comment. Already have an account? Log In.
Mmmmmmmmmmmmm, I love this so much! It looks great and will definitely be a hit with kids. Do you have any concerns about small fingers getting pinched (I ask since you started with the idea of a rail around the outside).
Thanks for showing off the little figure you considered using as the spacer for the table top. Even though you decided against it, this made me smile and is a nice touch I would have never thought of. Neat!
Glad you like the table! At first, I planned on having the gears turned by a motor--but that meant a cord to trip over or batteries to run down as well as torque that might catch fingers. Multiple kids have played with the table without trouble--actually they prefer moving arms on the little men more than the gears (the little men are back as spacers; it's really easy to change the spacers when I want a "new look").
Oh yeah, I see them in the still image now! This would be perfect for a pediatrician's office waiting room.
Become a member to follow this project and never miss any updates
That's awesome. I wanted to make a (much more modest) version of the same thing for my son. Kudos for actually doing it!
As for little fingers: as long as all the gears run backwards as well as forwards, I'd chalk it up to "learning experience". And with that in mind, good call on the non-motor-drivenness.