 Marcelo Valeria
-
1Get the components ready
Components
![]()
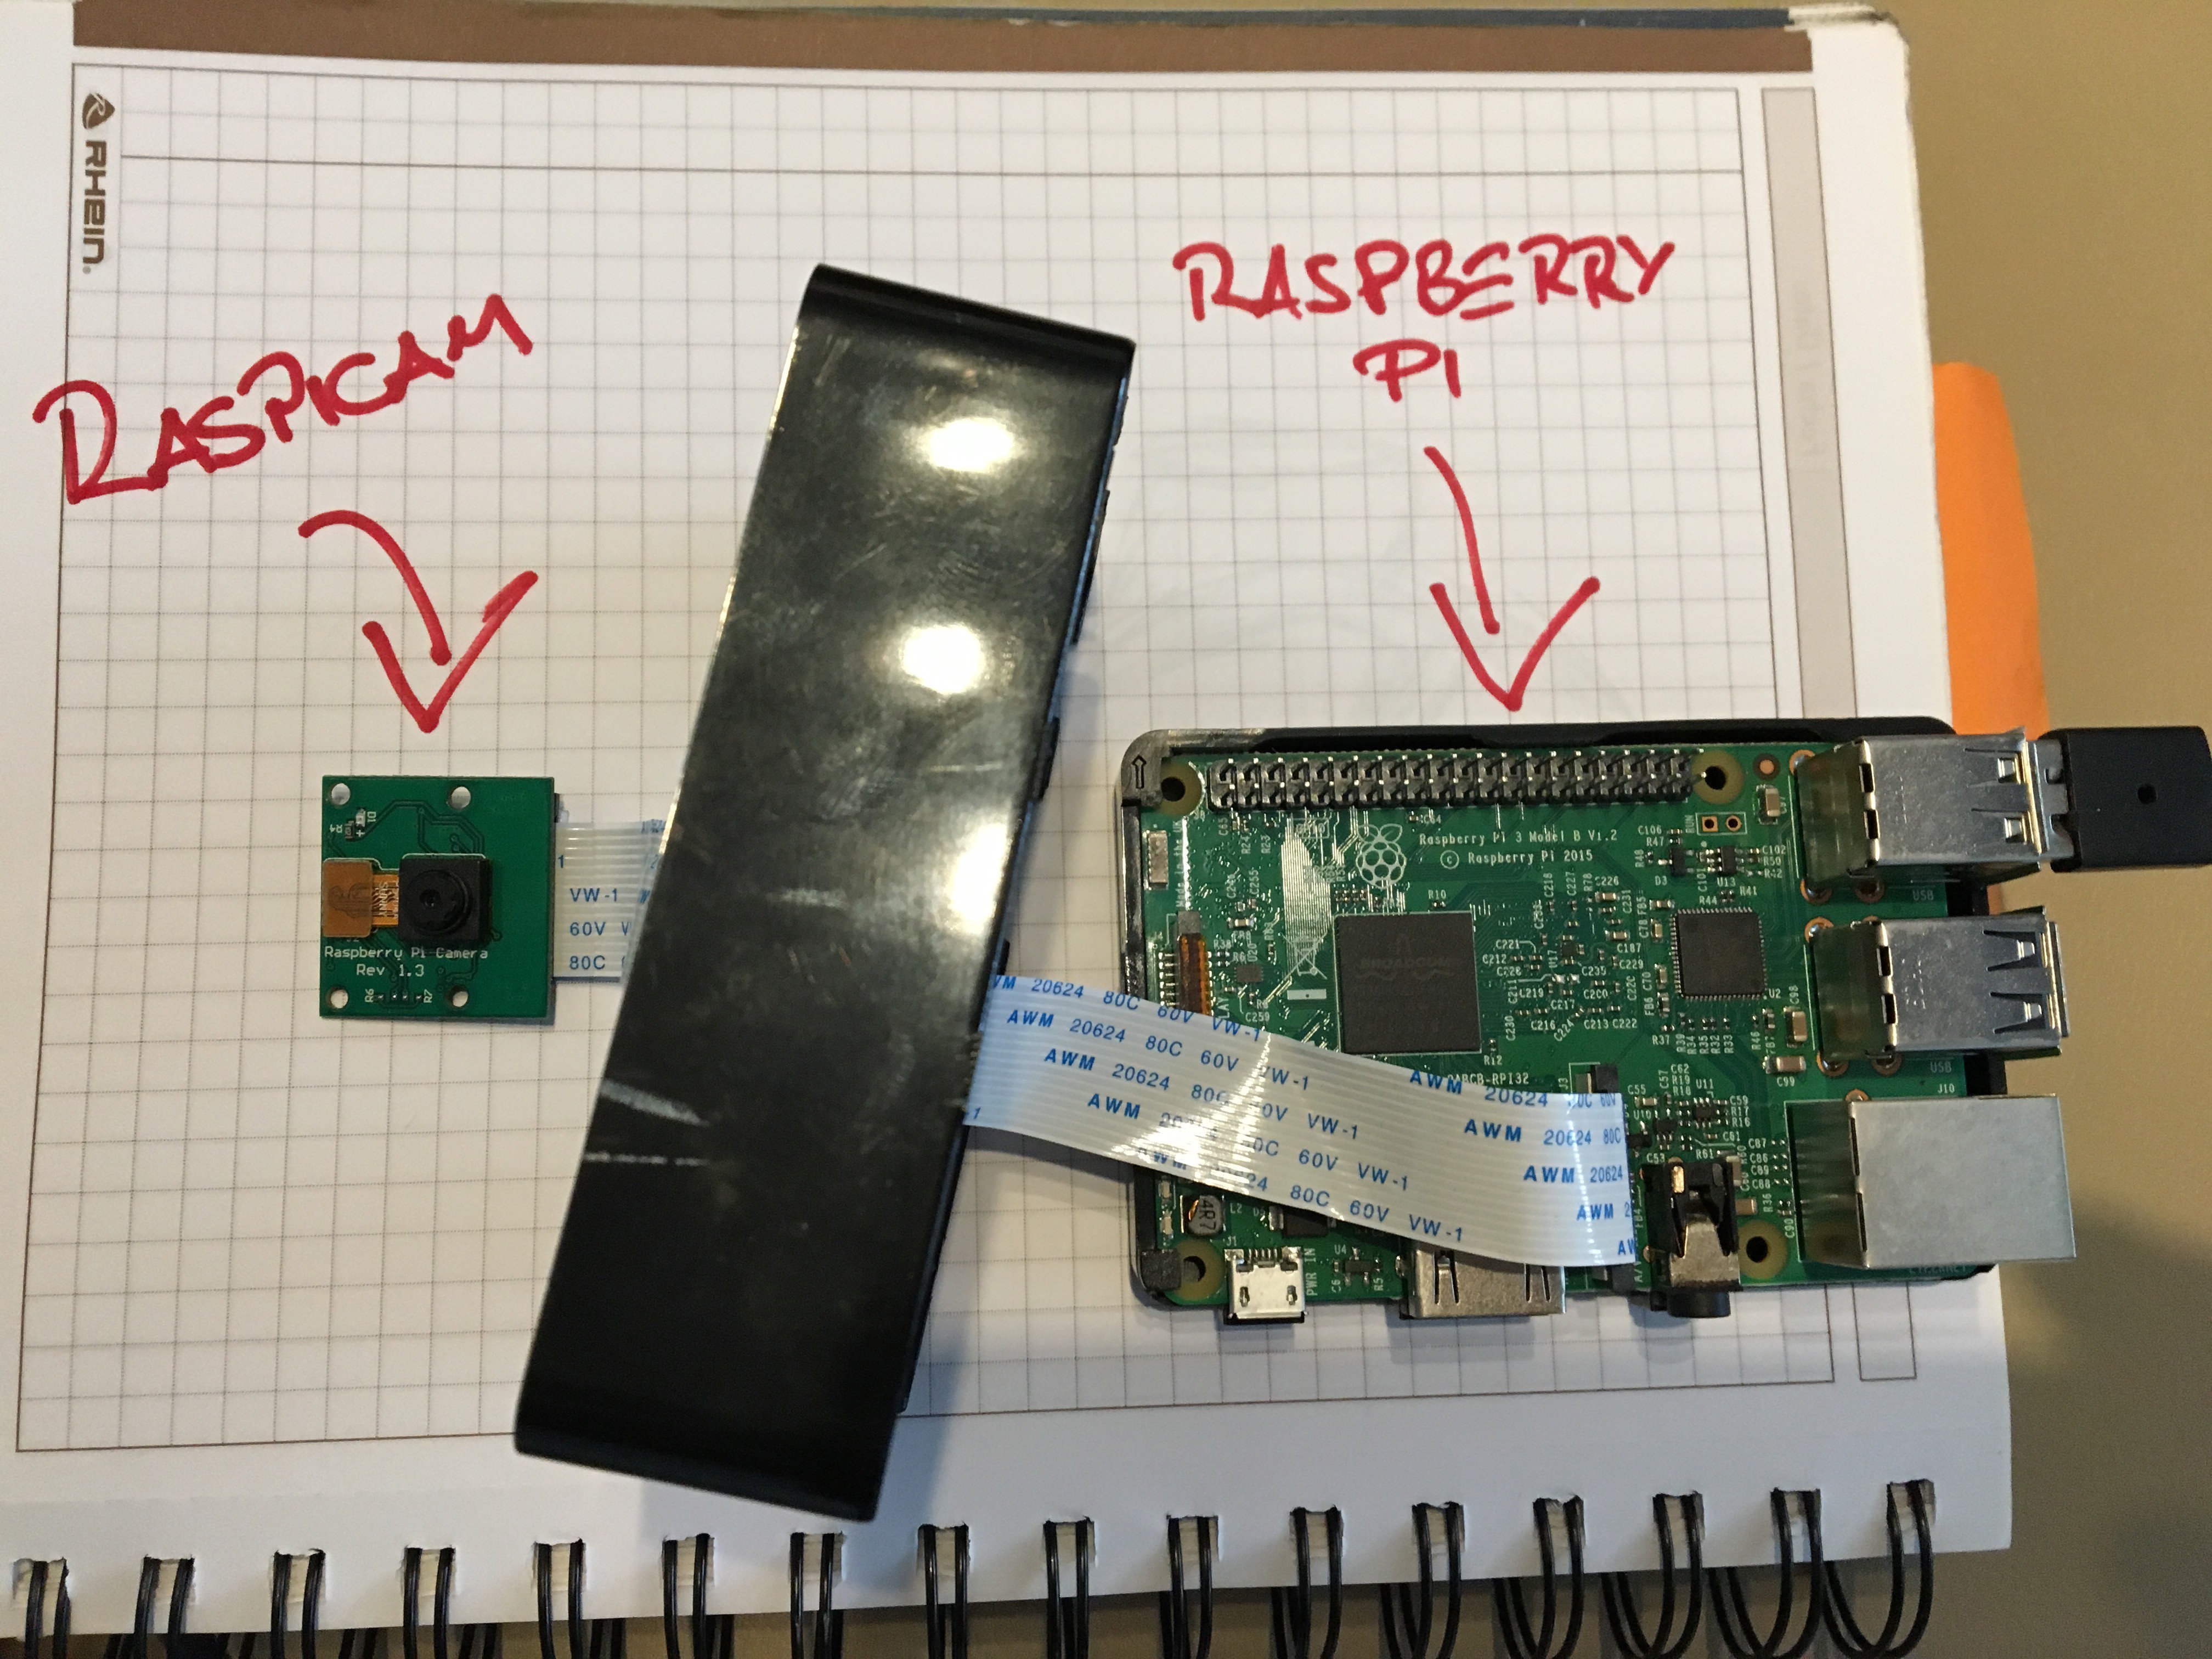
we have a raspicam, a data ribbon and the raspberry with a keyboard/mouse dongle.
You should connect and re check connections between the camera and the pi. almost all the problems to get the camera working is about three connections; the connector between the black camera and the pcb, the ribbon on the back of the camera and the ribbon on the camera port of the pi. check them all and put them in a case if you have one. if questions arise follow the documentation on hardware connection :
https://www.raspberrypi.org/documentation/configuration/camera.md
Next Step: start the pi and take a pic
-
2Start the Pi and take a pic
We have to install Raspberry Pi Desktop in the SD card. Follow the instructions (use New Out Of The Box if you are not familiar) and install the Pi Desktop.
Now, if we connect the pi to the power source we can start the OS and configure an internet connection. The pi starts in a graphical environment with a setup mode, everything is mouse and click =D
After the configuration we should have a rebooted raspberry logged with user pi and your new password and connected to the internet, nothing out of the ordinary in the pi setup.
Next we should setup the raspicam; in
Preferences>Raspberry Pi Configuration>Interfaces
we put it in enable state and click Ok, then reboot the pi to start using the camera module.
Now the Picture!!!!
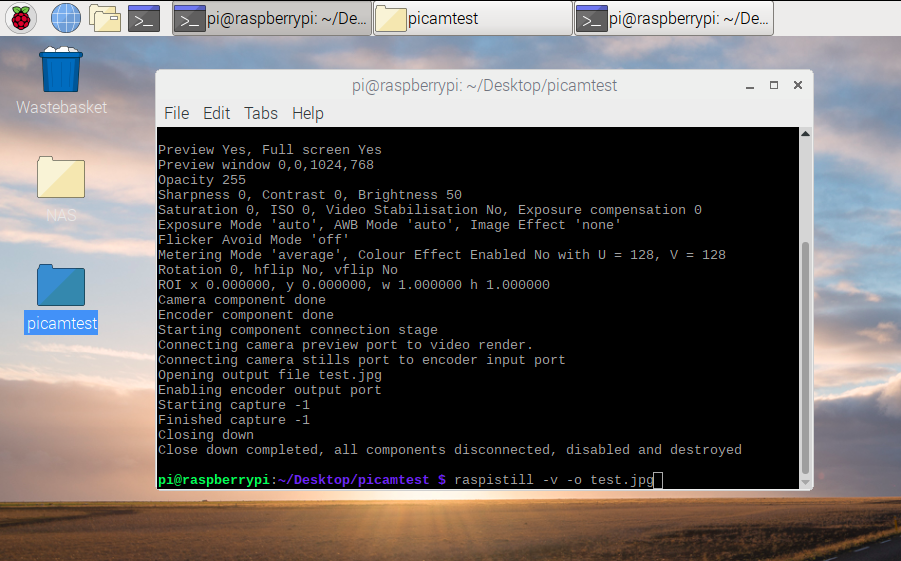
Create a new folder in the desktop named picamtest, then right-click it and click "open in terminal". now type
raspistill -v -o test.jpg
and you should have something like this on your terminal window
![]()
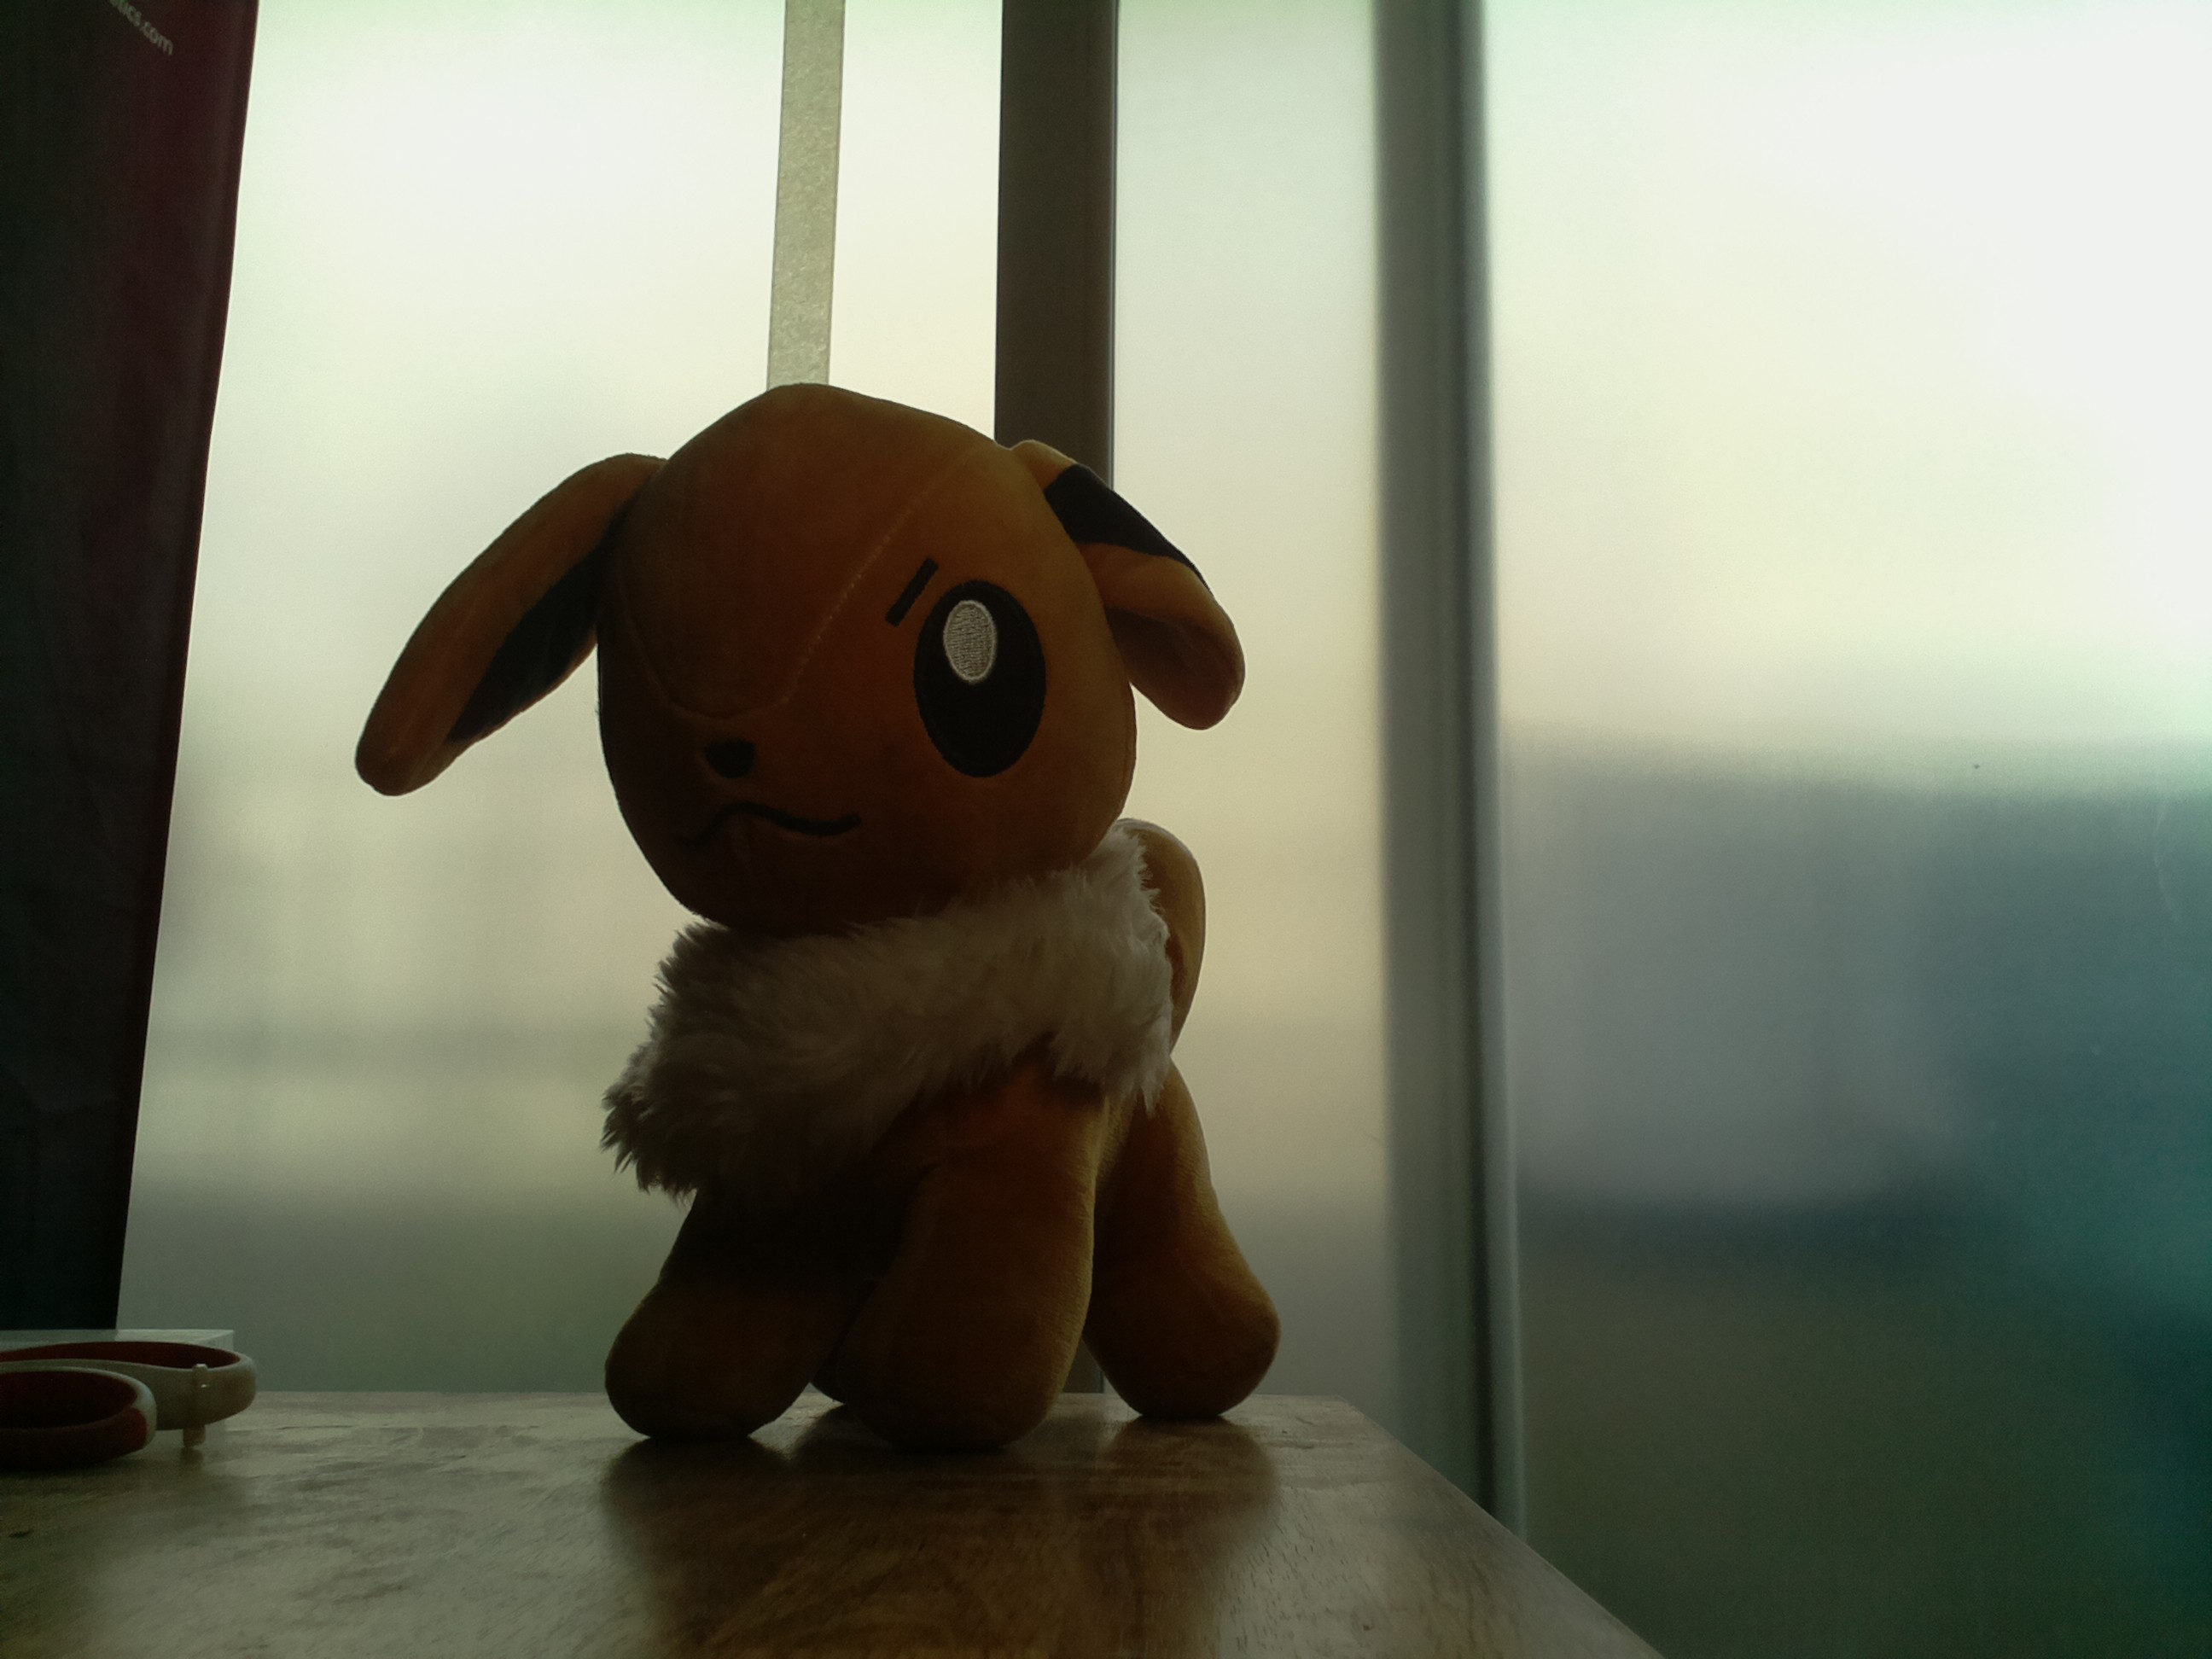
and a picture named test.jpg in your picamtest folder
![]()
if the camera is not detected re-re-check the connections as is described in the first step and test again, it should solve it.
Check the lightning and take a few pictures to get a nice and clean framing for the objects.
-
3Mathematica (not the science, the Wolfram software) and computer vision
Now it's time to recognize things!!!
First, a few words on Mathematica from the Wikipedia;
Wolfram Mathematica (usually termed Mathematica) is a modern technical computing system spanning most areas of technical computing — including neural networks, machine learning, image processing, geometry, data science, visualizations, and others. The Wolfram Language is the programming language used in Mathematica.
Now in my words:
Mathematica is an insanely powerful engine and the Wolfram Language is the easiest in earth. and it came installed and free for use in the raspberry pi.
Now that we know everything we need to know about Mathematica, we can open it on
Programming>Mathematica
It opens a blank notebook, now we will take a picture from Mathematica; type
img = Import["!raspistill -n -w 600 -h 400 -t 1 -o -","JPG"]
and, with a right-click, select "evaluate cell" and we have taking a picture from Mathematica
![]()
Now step by step:
img = Import[... ,"JPG"] we create a variable to store a JPG of the result of the importation
raspistill -n -w 600 -h 400 -t 1 -o ask the script to take a 600x400 JPG image with 1 second delay
and the out = is the picture
Not bad for 1 line of code ;)
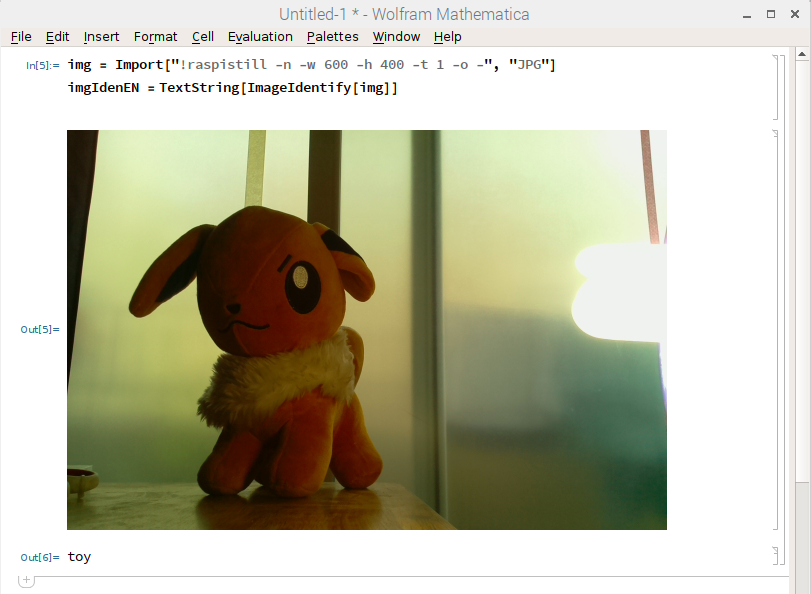
Now we want to know what object is in the picture so we type in the next line*
imgIdenEN = TextString[ImageIdentify[img]]
(*now we need a working internet connection to download the identify data, it'll say "running" in the tab for a minute for the first time... it's not frozen)
![]()
And voila! We have a textual description of the object in our picture =D
Now again, step by step:
imgIdenEN = TextString[ImageIdentify[img]]
ImageIdentify[img] Evaluate the picture to recognize objects, returns a Wolfram Entity. Ref : ImageIdentify
TextString[...] Returns a human readable form for the Entity. Ref: TextString
imgIdenEN = ... create a variable to store the resultant text name of the object.
So, in resume, to recognize objects you need to type:
img = Import["!raspistill -n -w 600 -h 400 -t 1 -o -","JPG"]
imgIdenEN = TextString[ImageIdentify[img]]
and that's all.
Next Step: Processing the results
-
4Processing the results
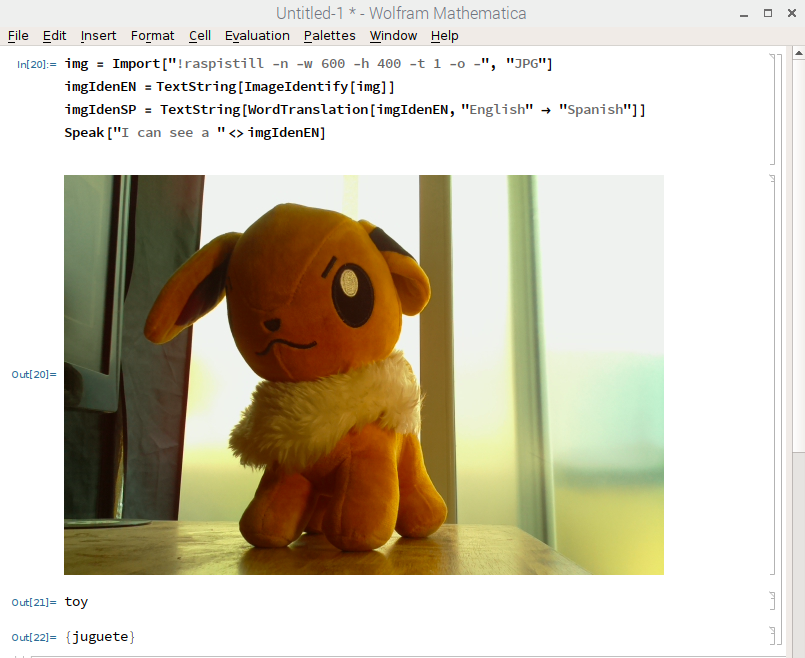
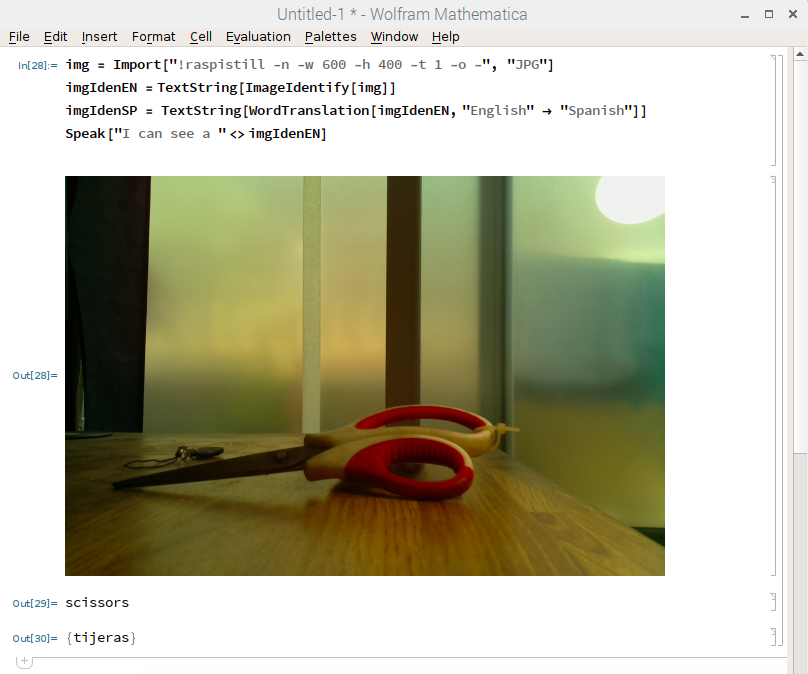
Now we have two things stored: the picture and the description in English. But there is a LOT more things that we can do, first i want to know the Spanish translation of the description so we can type
imgIdenES = TextString[WordTranslation[imgIdenEN, "English"->"Spanish"]
or if i want to listen what is in the picture*
Speak["I can see a "<>imgIdenEN]
![]()
(*Speak uses the System Sound so normally will sound by HDMI if your monitor have sound or Bluetooth if enabled)
![]()
and as we can see, with two lines of code you can now start your own Computer Vision project with a Raspberry Pi and Raspicam using functions like FindFaces (find human faces in an image), FacialFeatures (find features of each face detected in an image) or even more complex like feature tracking or training your own network.
Here you can find a lots of examples and documentation:
https://reference.wolfram.com/language/guide/ComputerVision.html
Next Step: It takes a button to take a picture (how to use all of this at the click of a button on the Raspberry GPIO)
Greetings in the meanwhile!
Easy Raspberry Image Object Identification
Easy and fun; take a pic, run image object detection and process the results on Raspberry Pi and Mathematica

Discussions
Become a Hackaday.io Member
Create an account to leave a comment. Already have an account? Log In.