Made another build of LB-322 with some minor improvements. Demo video below:
Compared to LB-312, the legs are now spaced apart at different lengths on left and right side. This is a bit of a compromise to make the frame more robust and easier to print. But it also introduces some balancing issues. An unbalanced load can lead to tilting to one side while the robot walks.
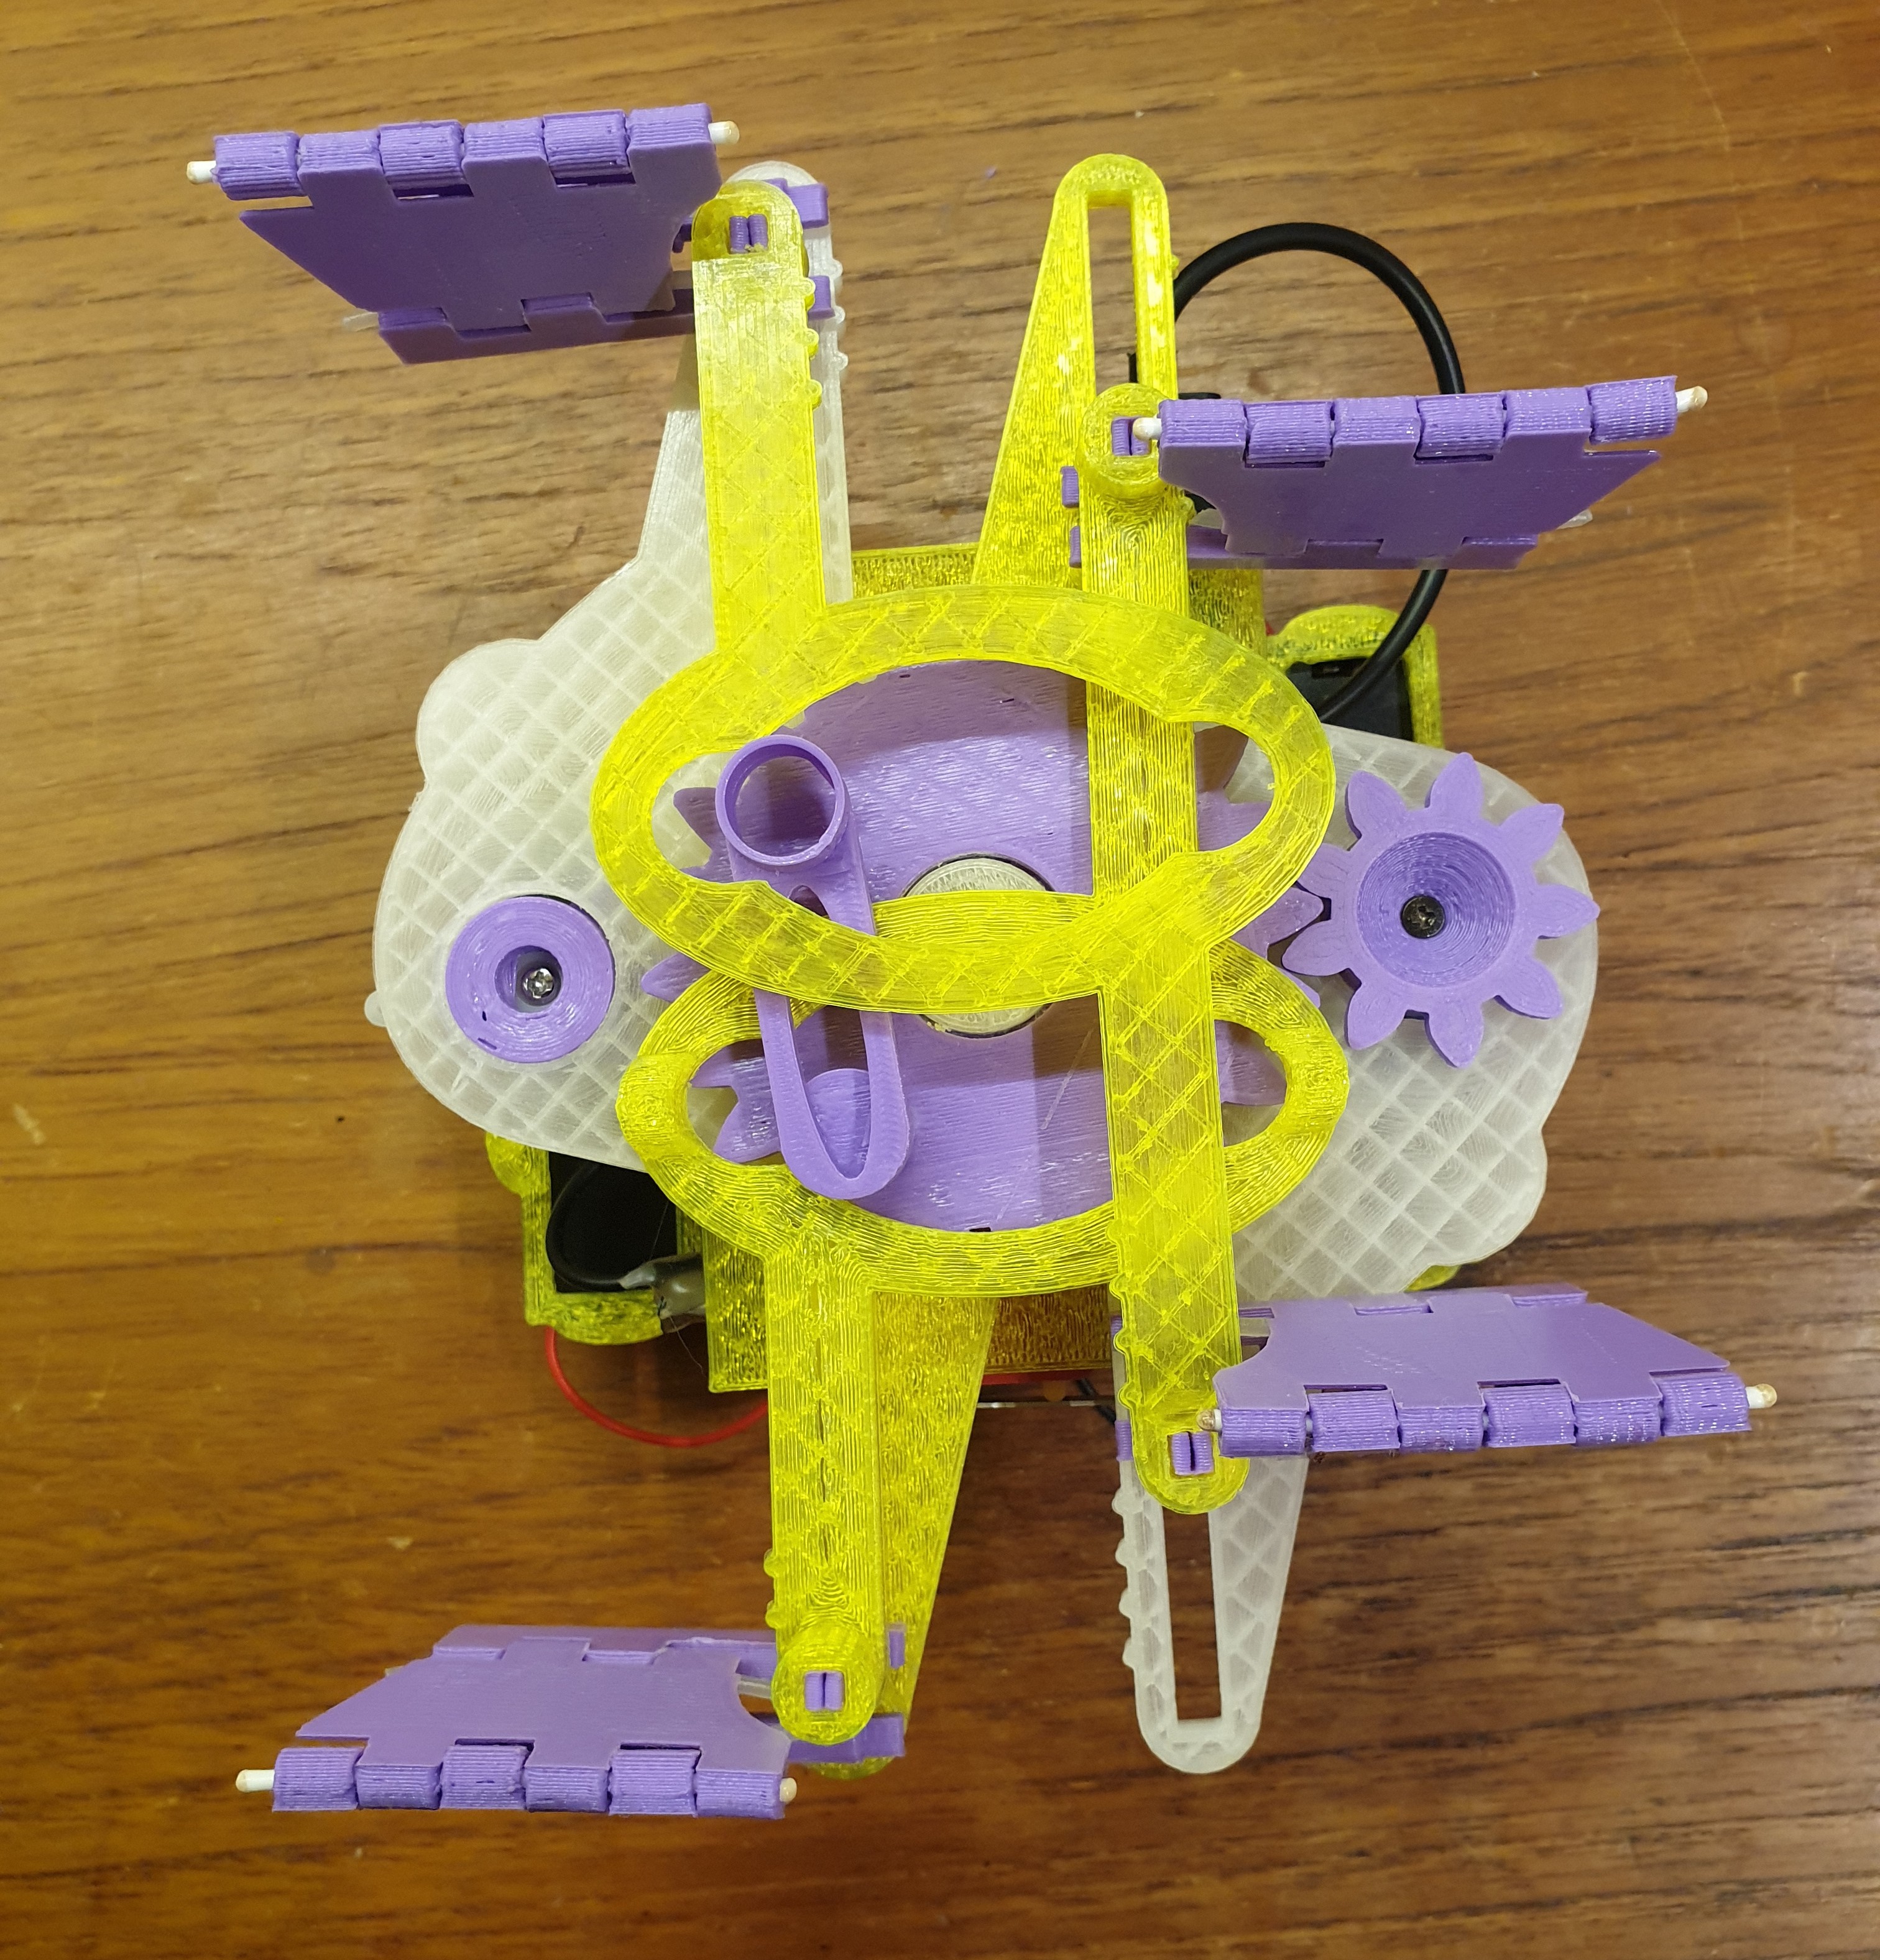
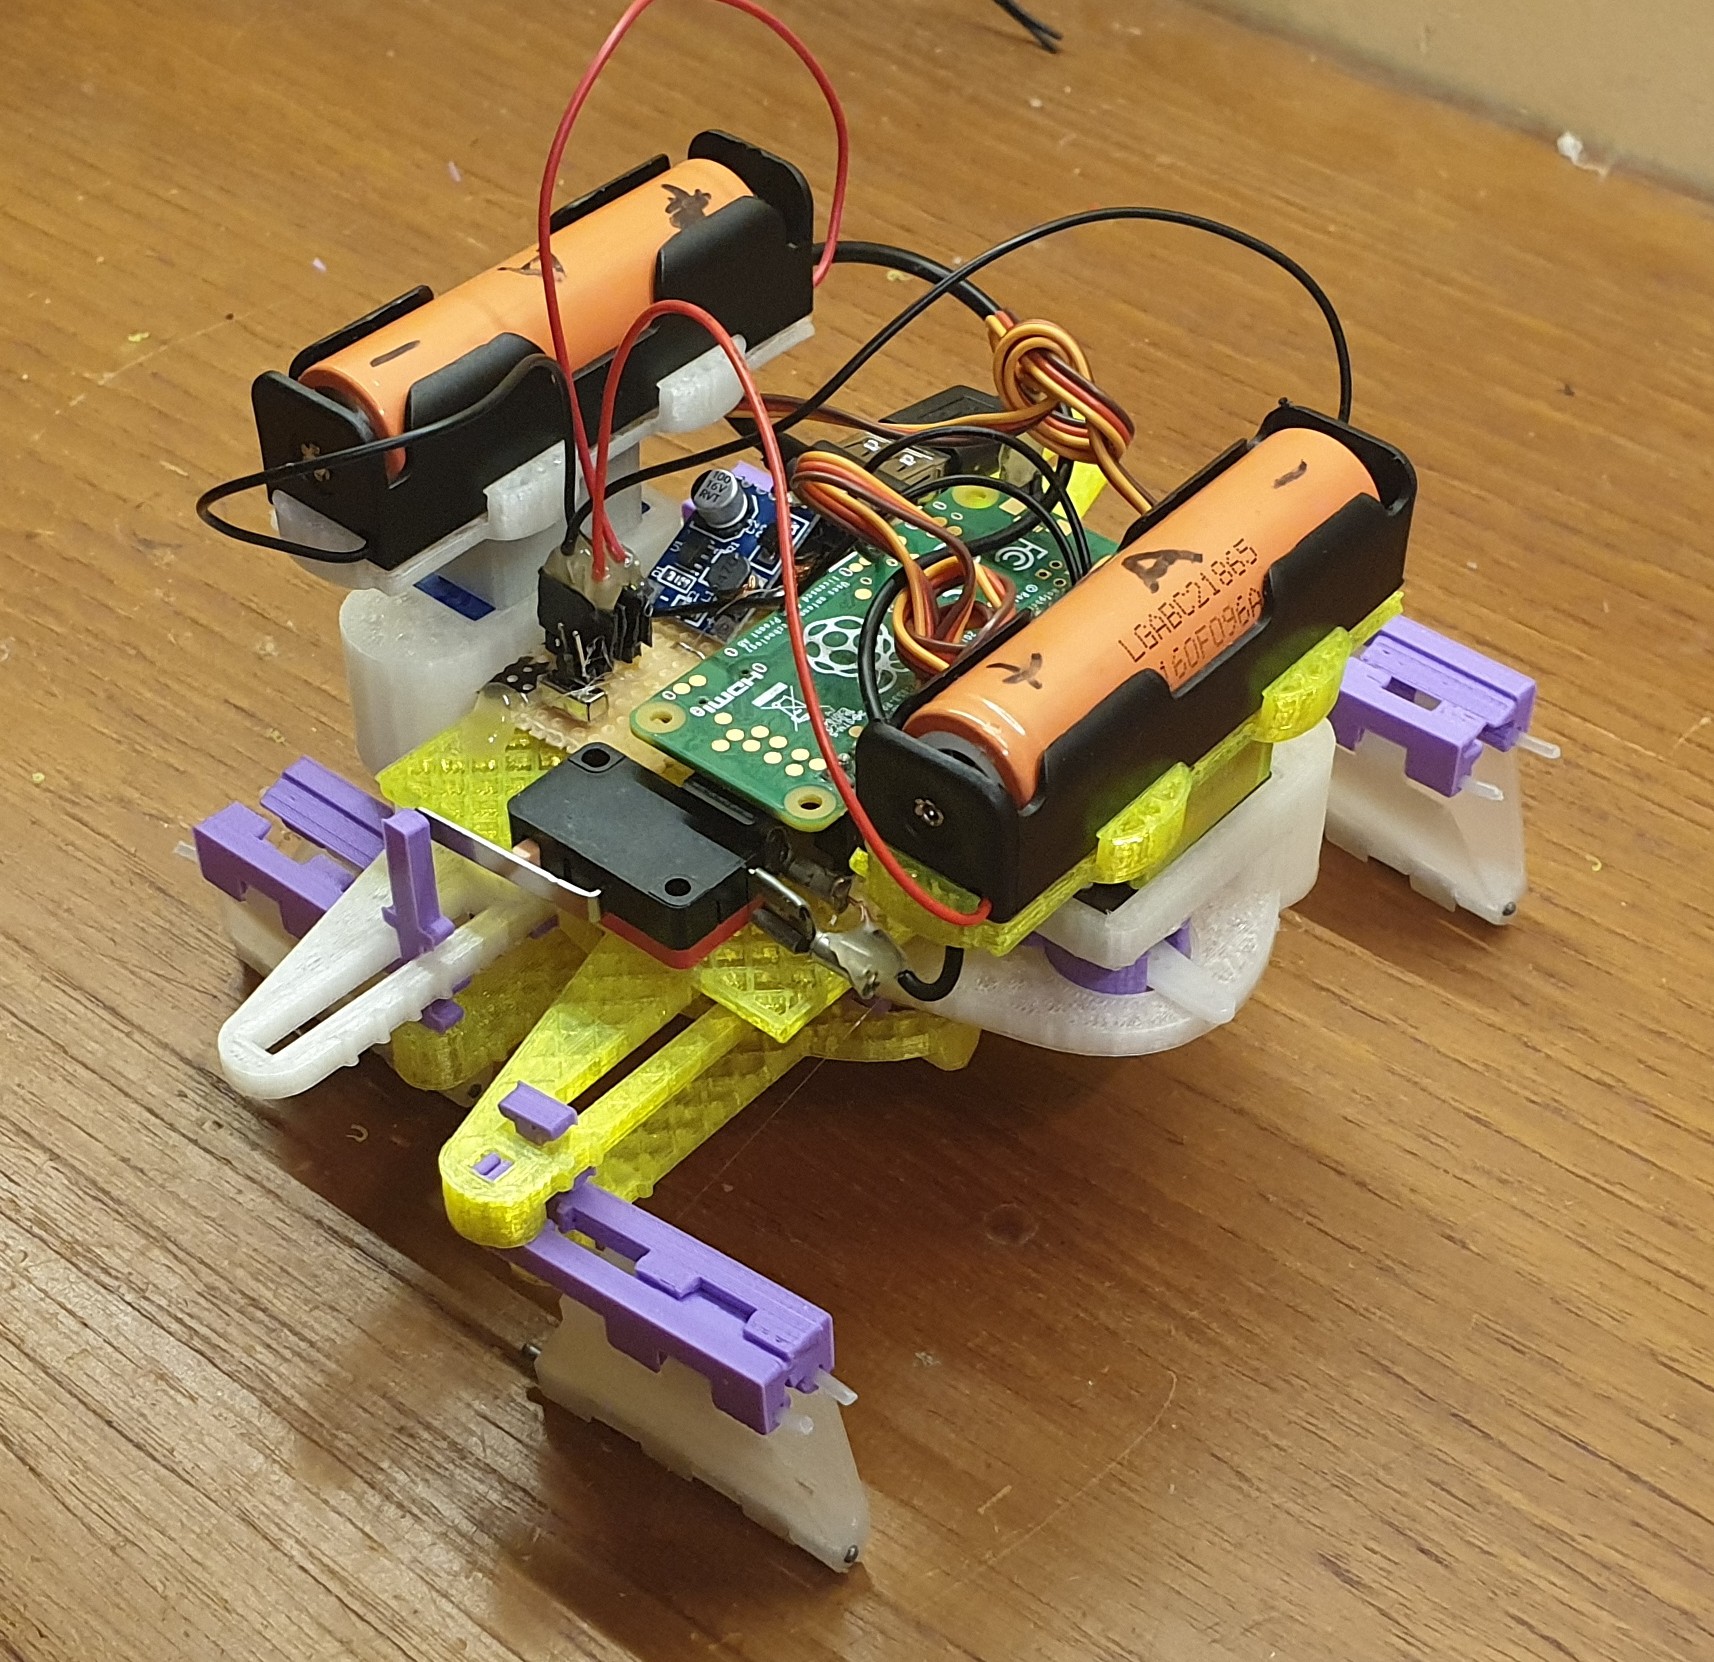
I decided the best spot for putting batteries are directly on top of each servo. I made a little 18650 holder that fits over each servo. The holders are designed so that the weight of the batteries gets evenly distributed across the frame.
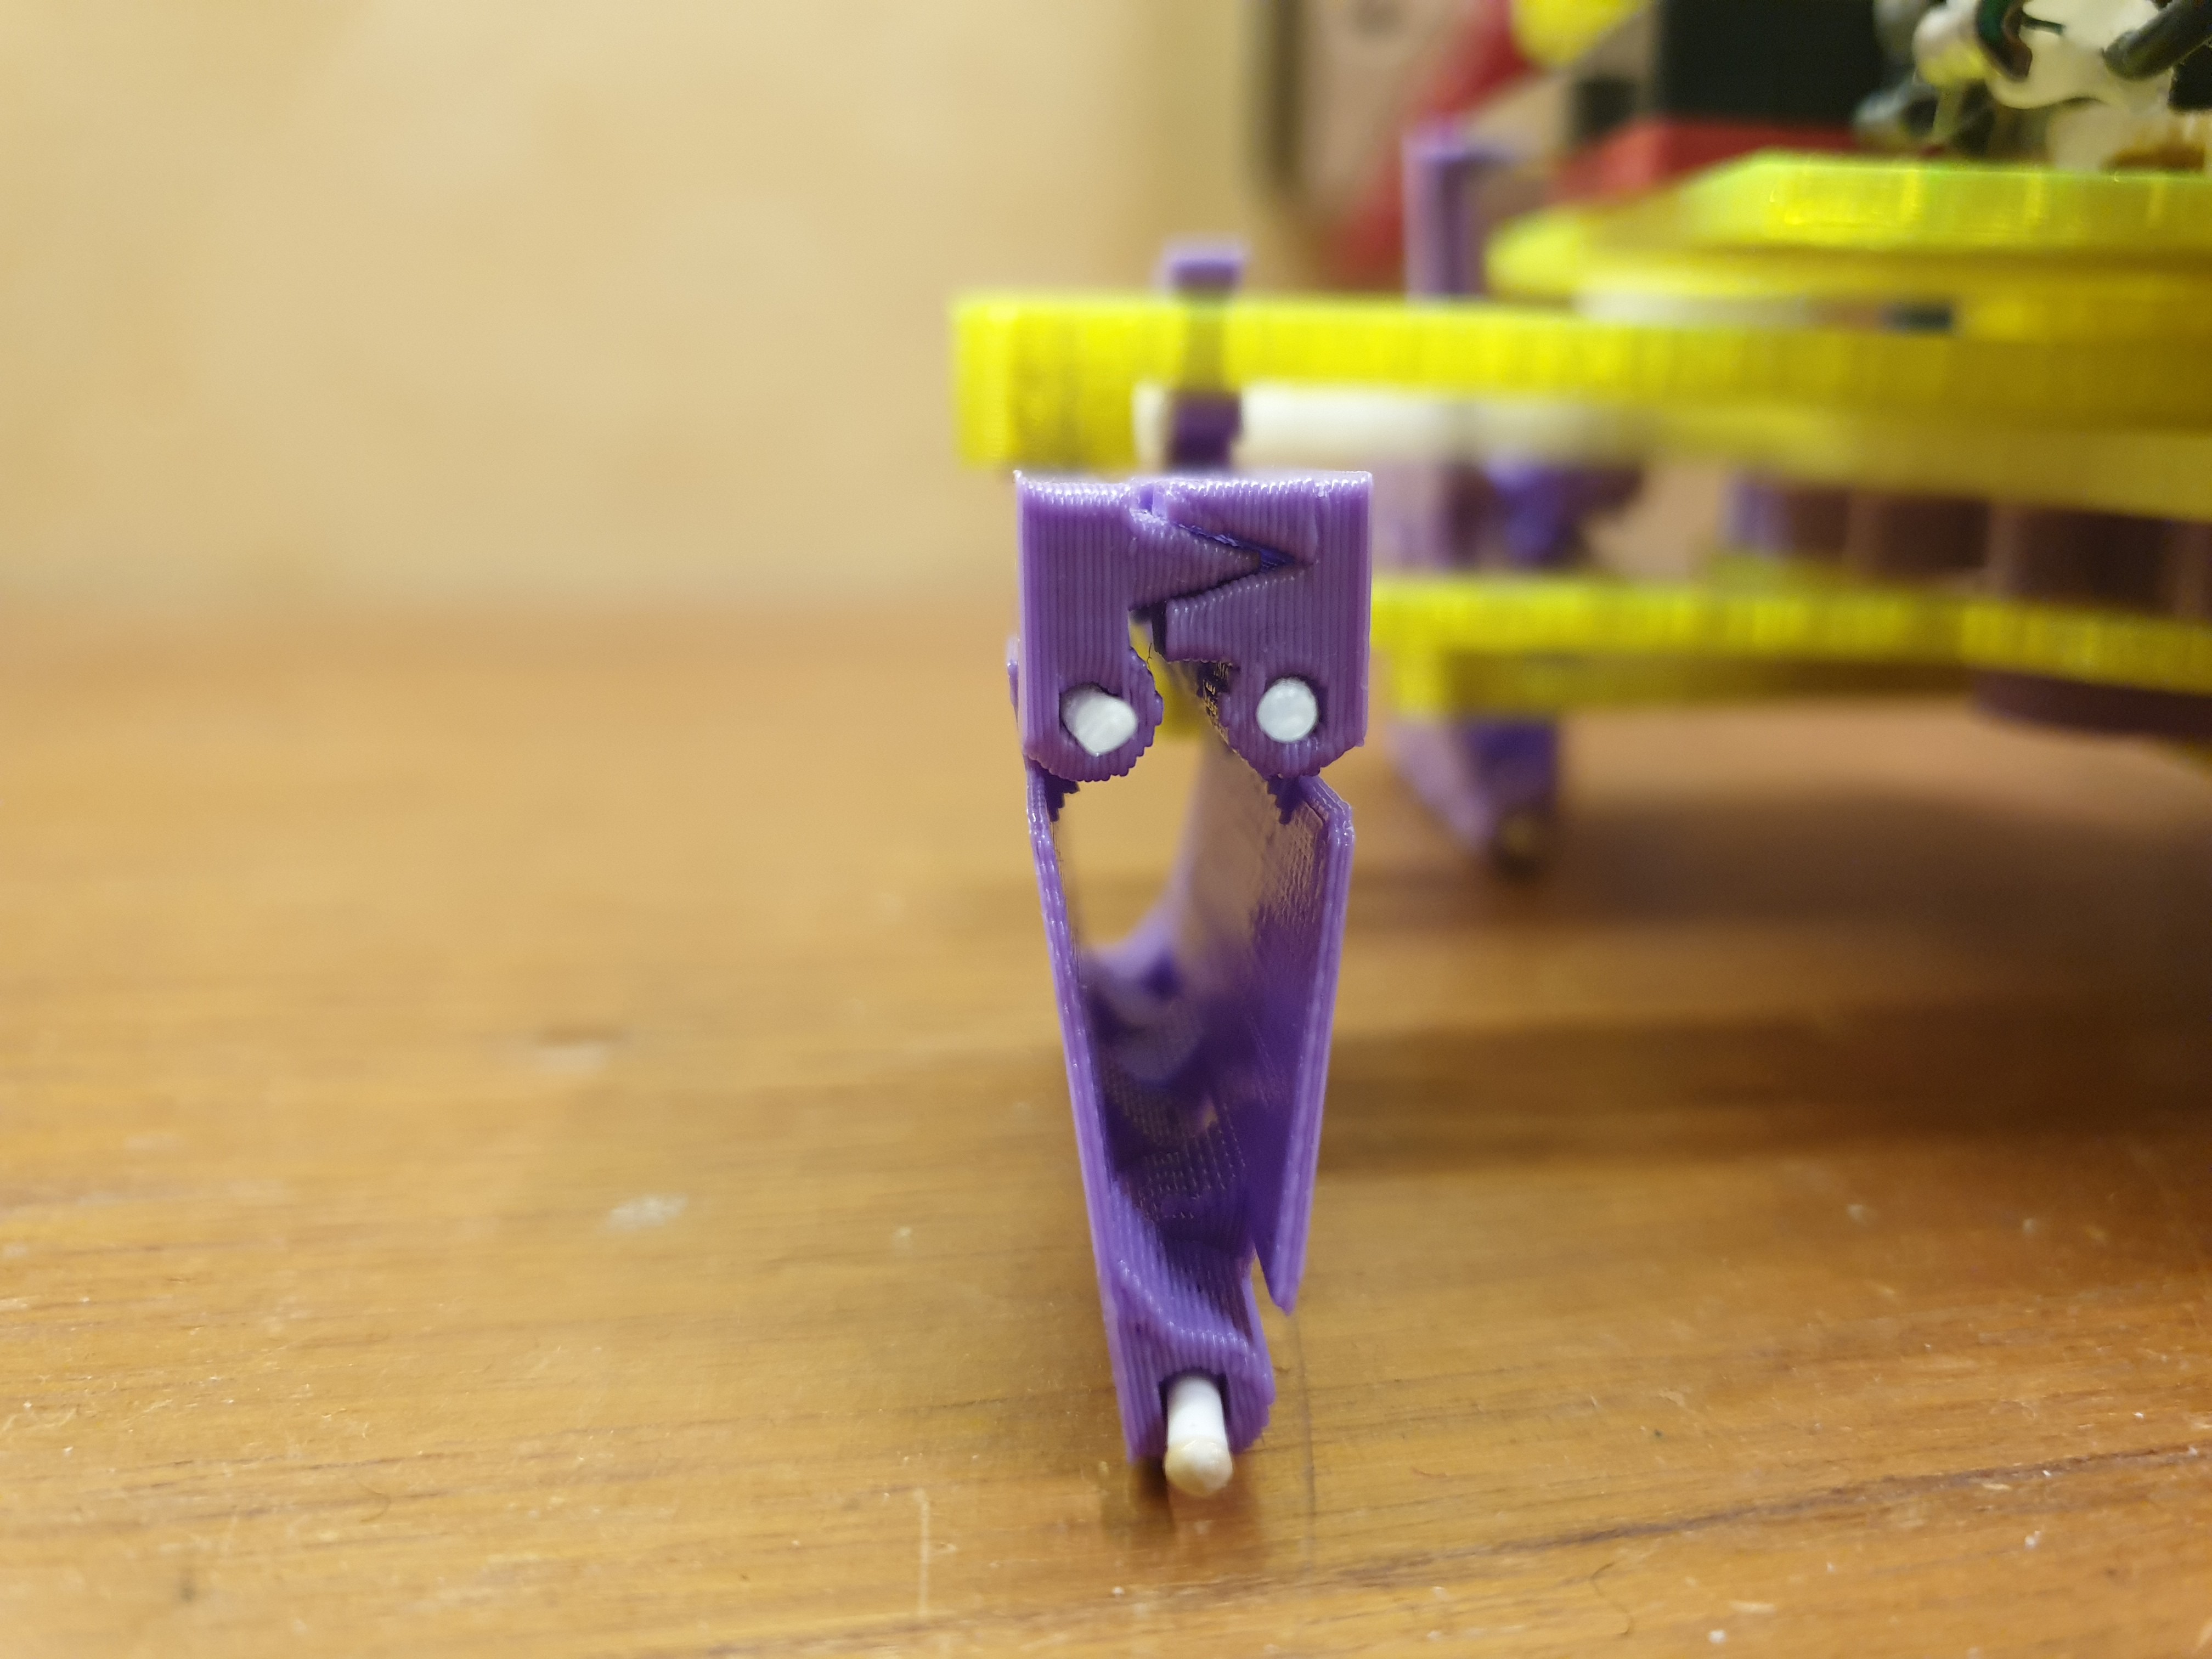
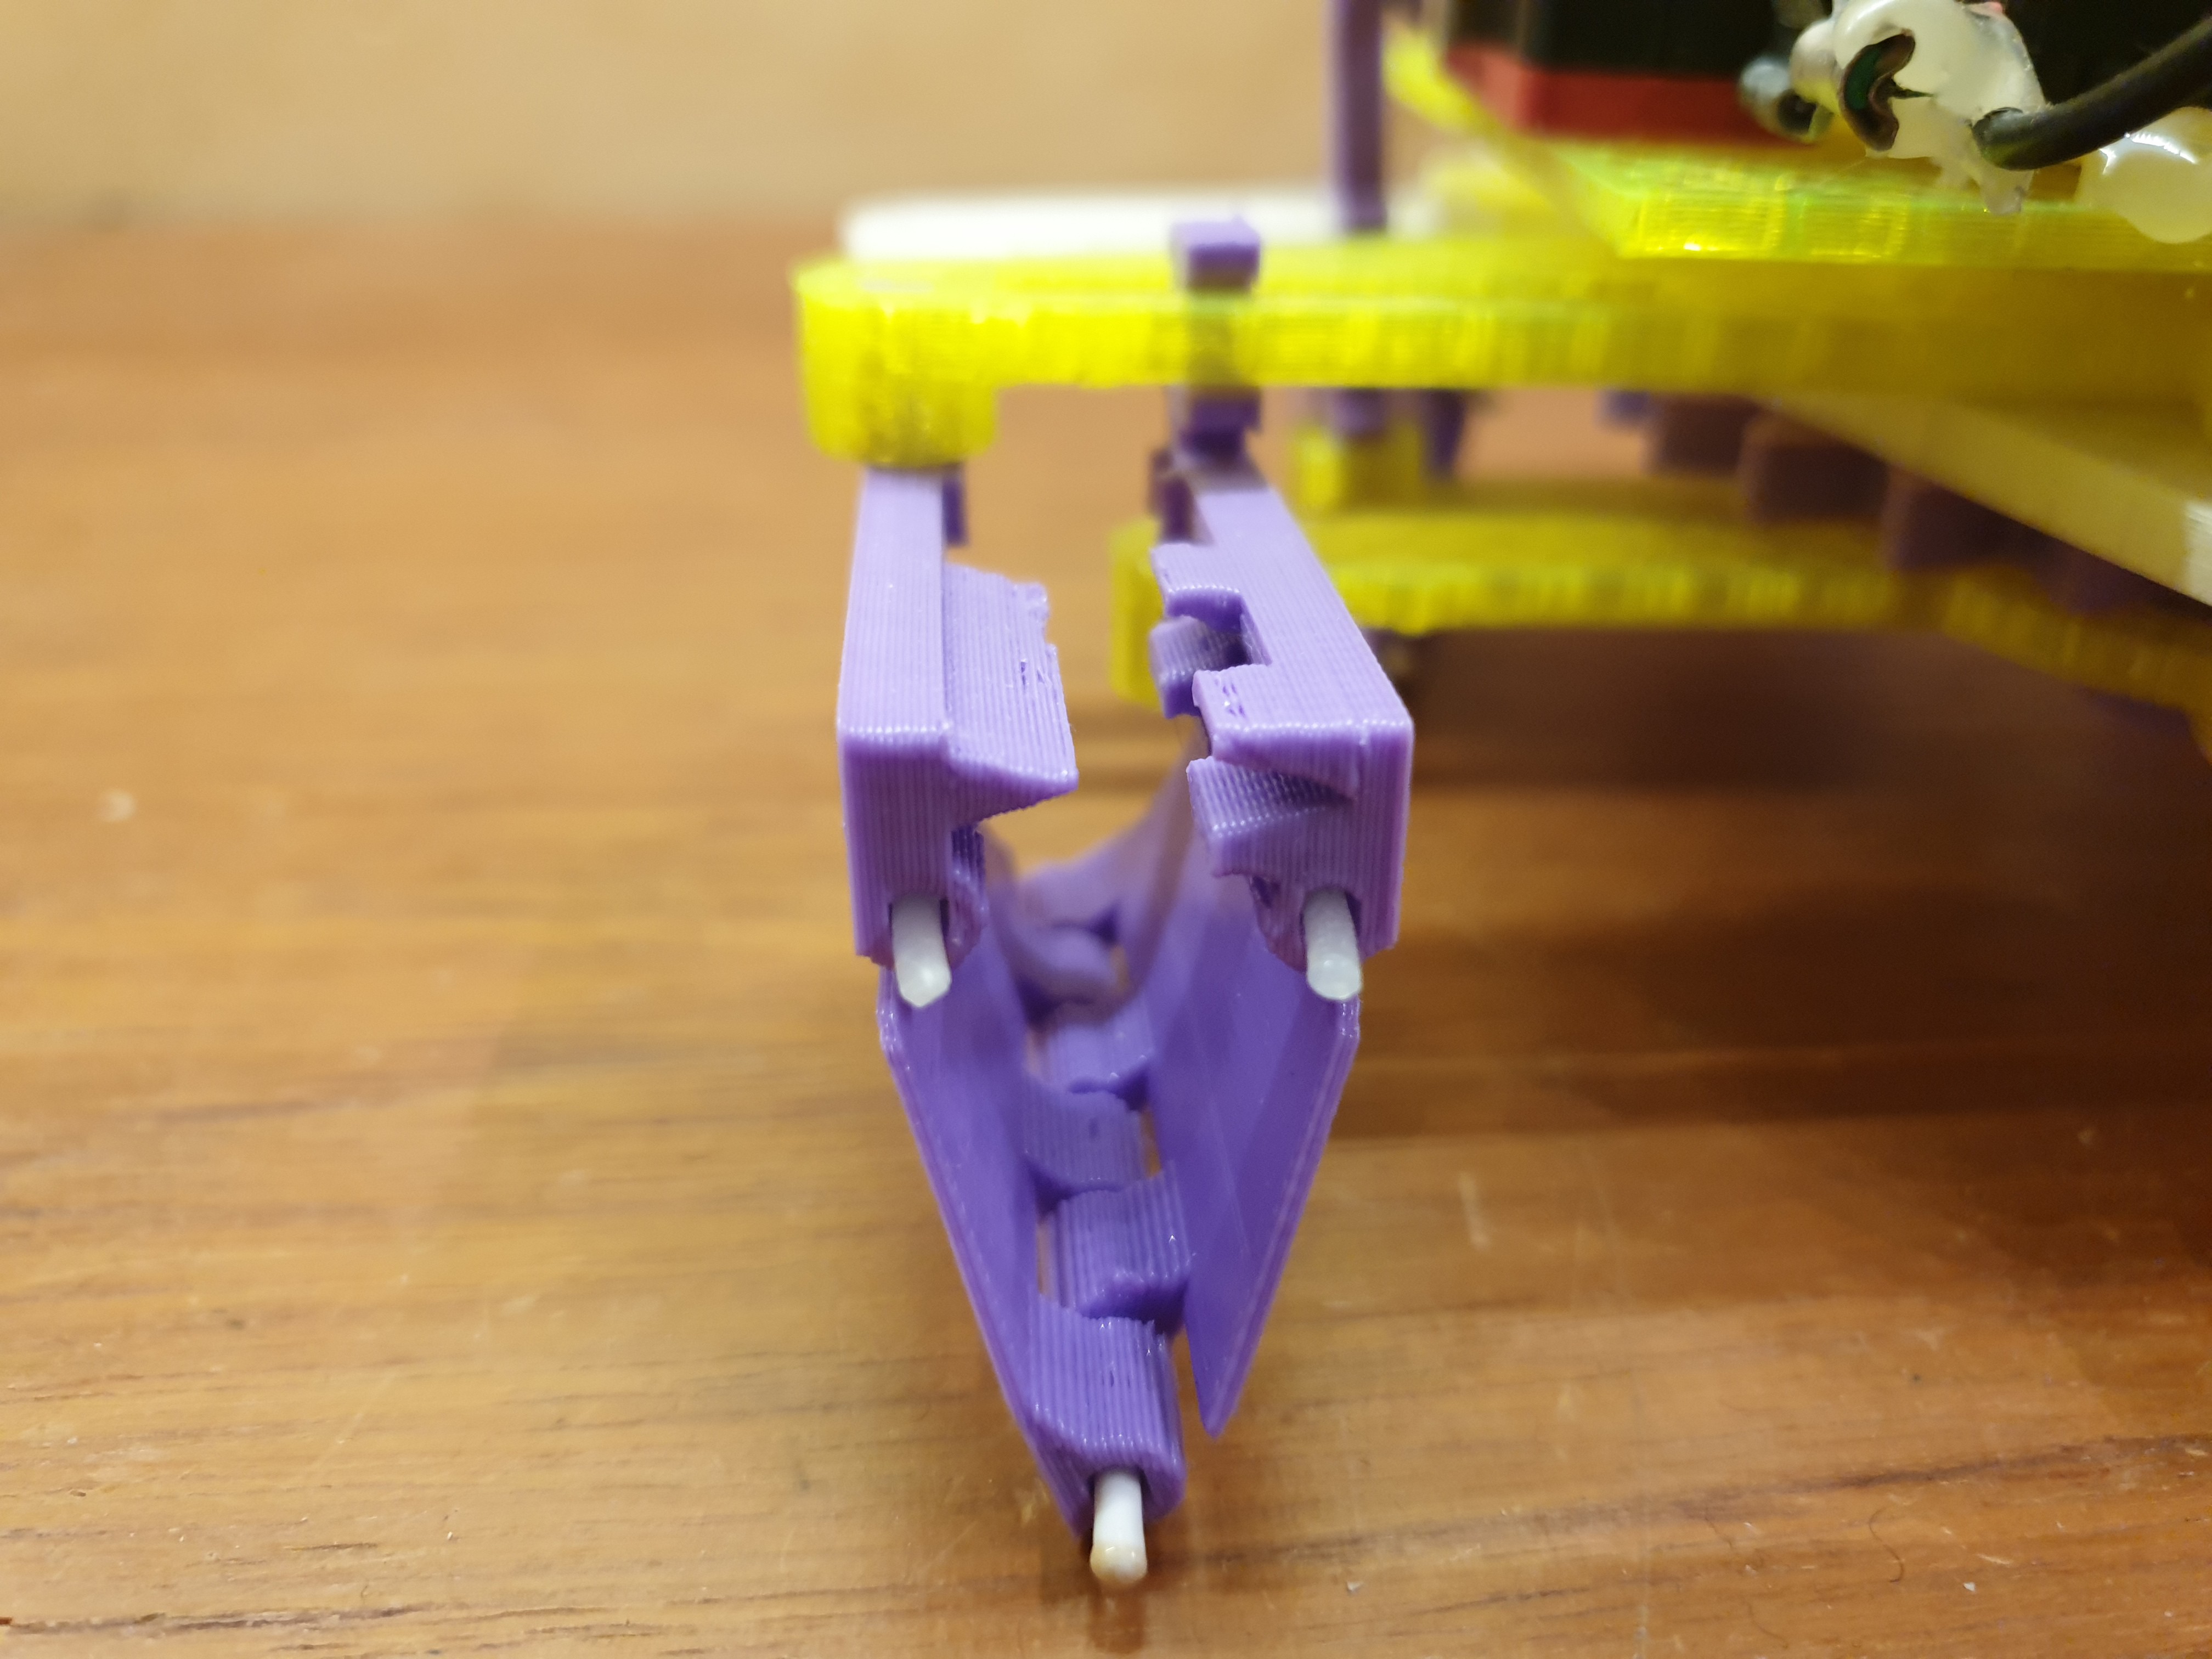
One issue with the LB-312 was that the legs could be quite wobbly in the upright position. With LB-322 I've solved this by having an interlock that holds the leg hinge stable while upright.
There are still a few minor kinks left to with the design:
- There is an audible squeak when the robot walks. Sounds like the cam and follower tolerances are a bit to tight.
- The leg hinge pins made from pla filament tends to wiggle out after prolonged walking action. This can be prevented by melting the filament slightly on each end after insertion. Not sure if there's any better solution.
Discussions
Become a Hackaday.io Member
Create an account to leave a comment. Already have an account? Log In.