Dr. Cockroach
-
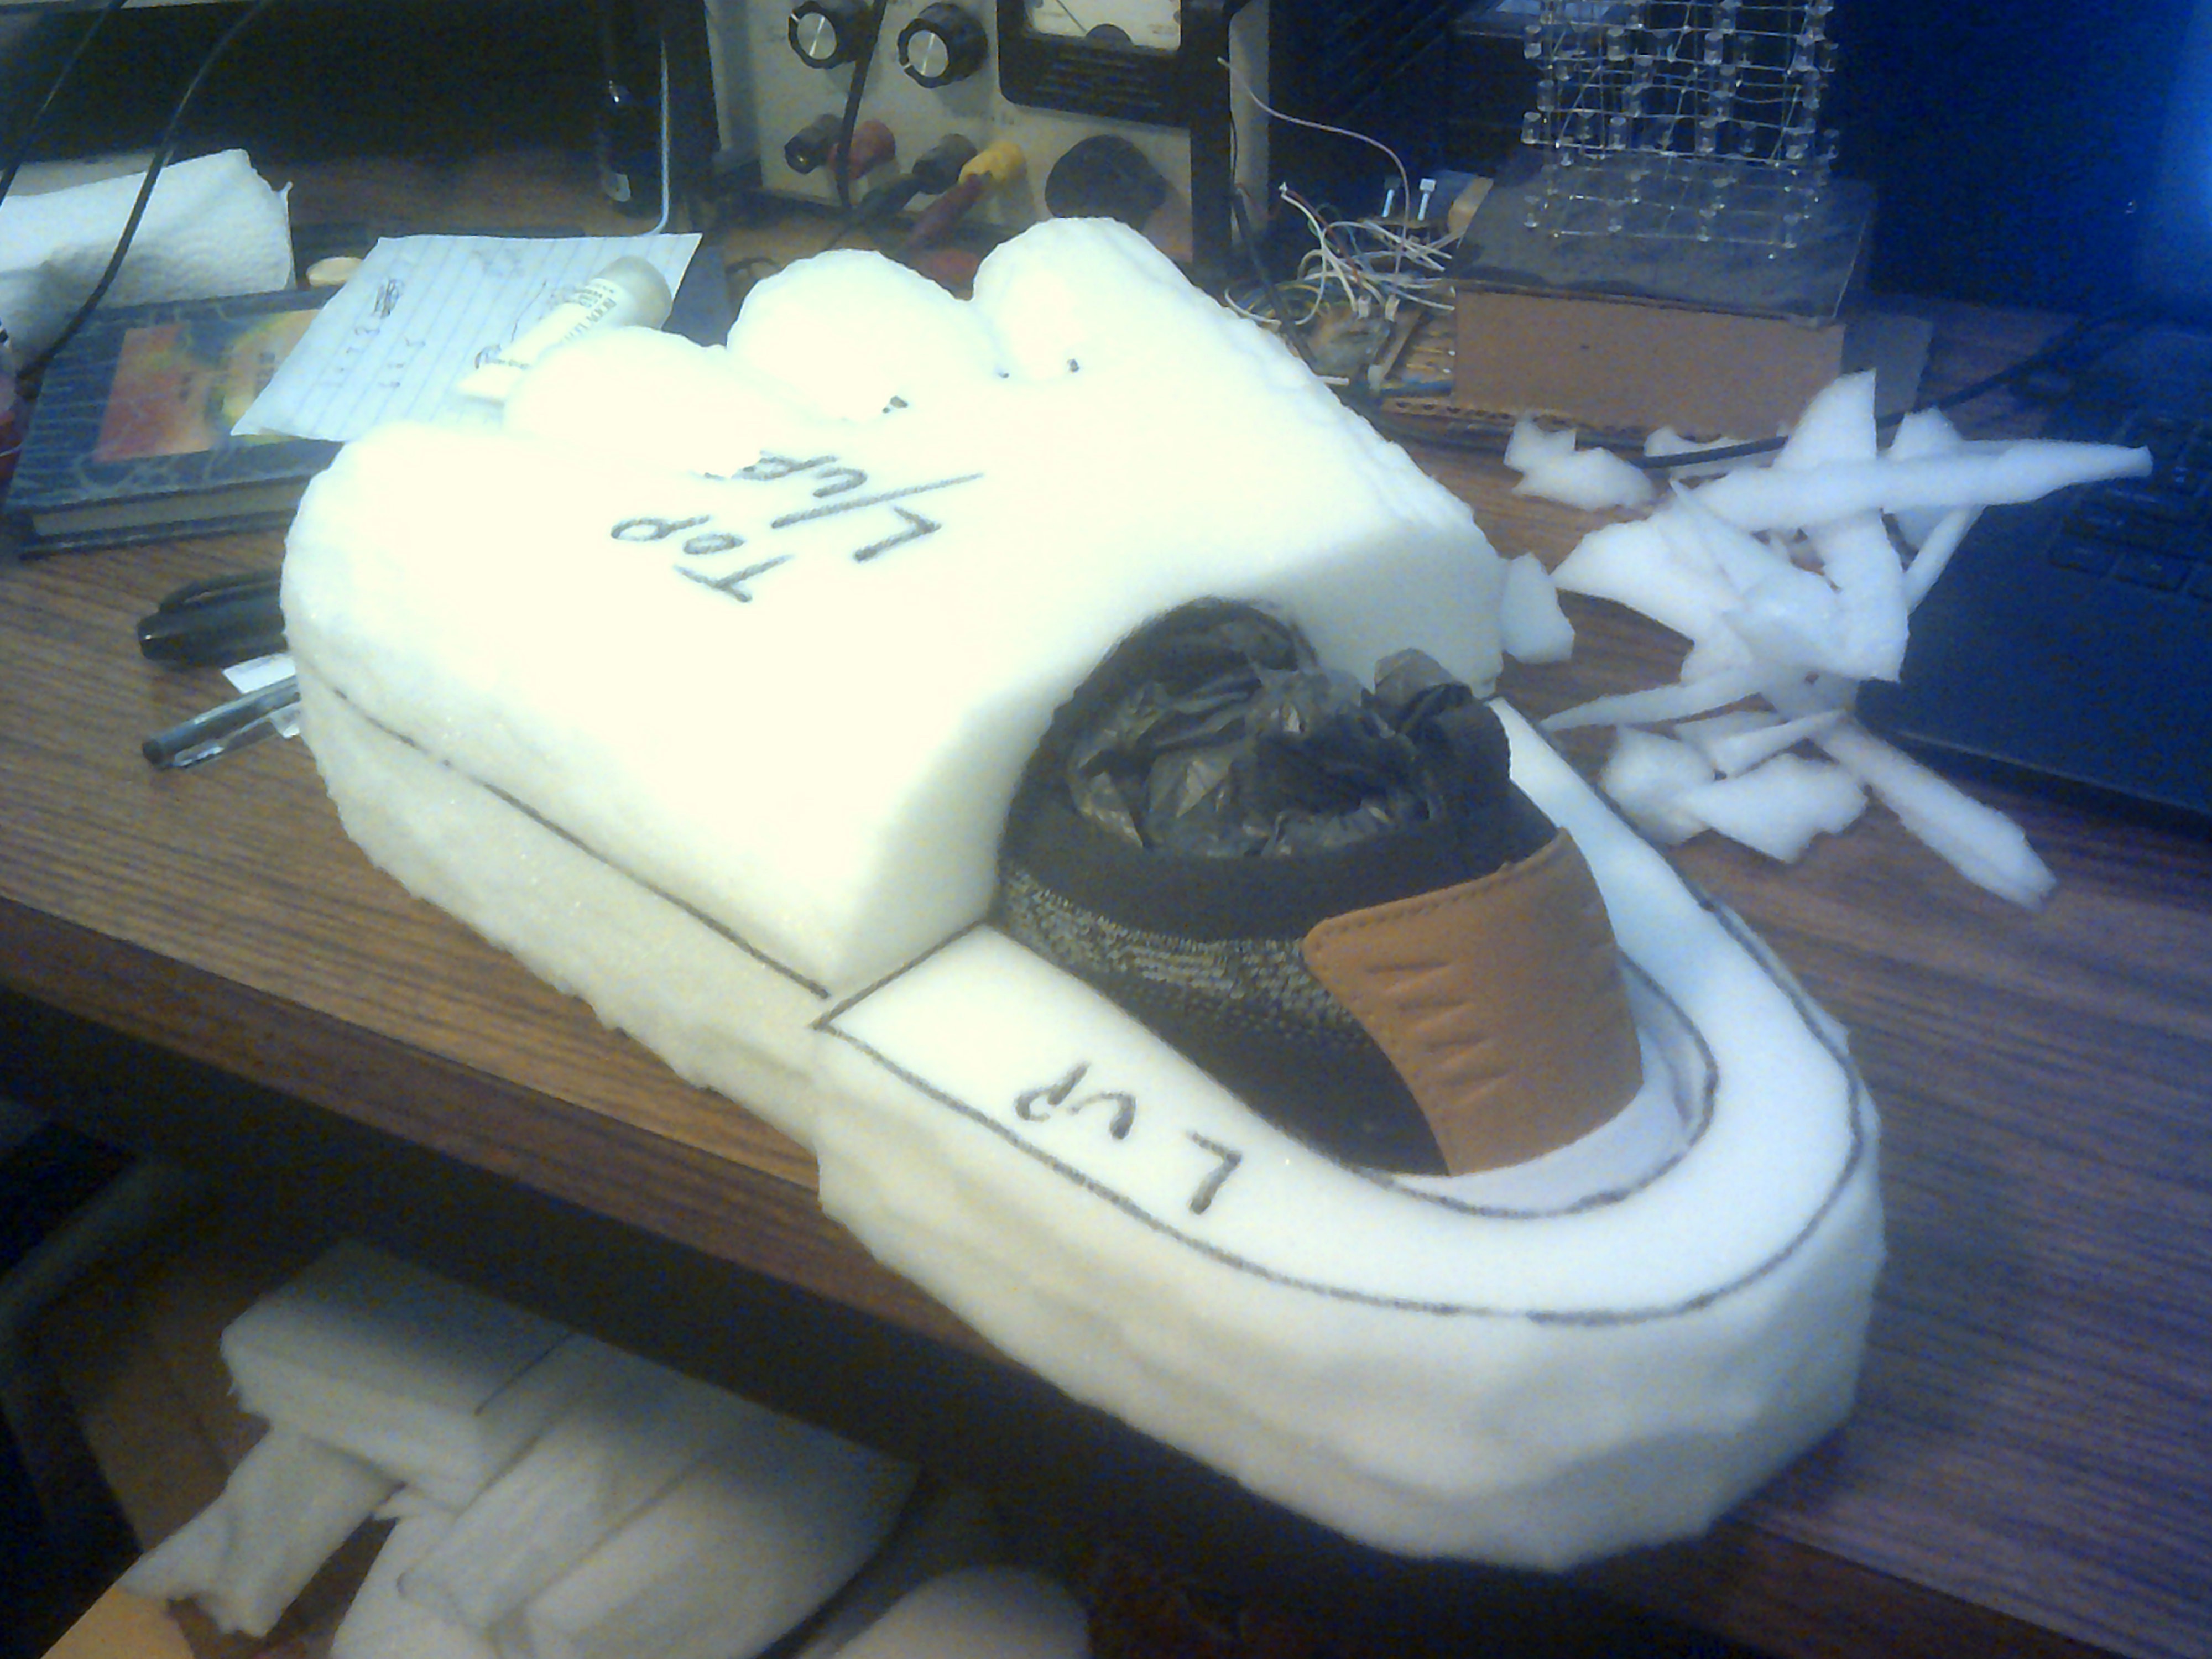
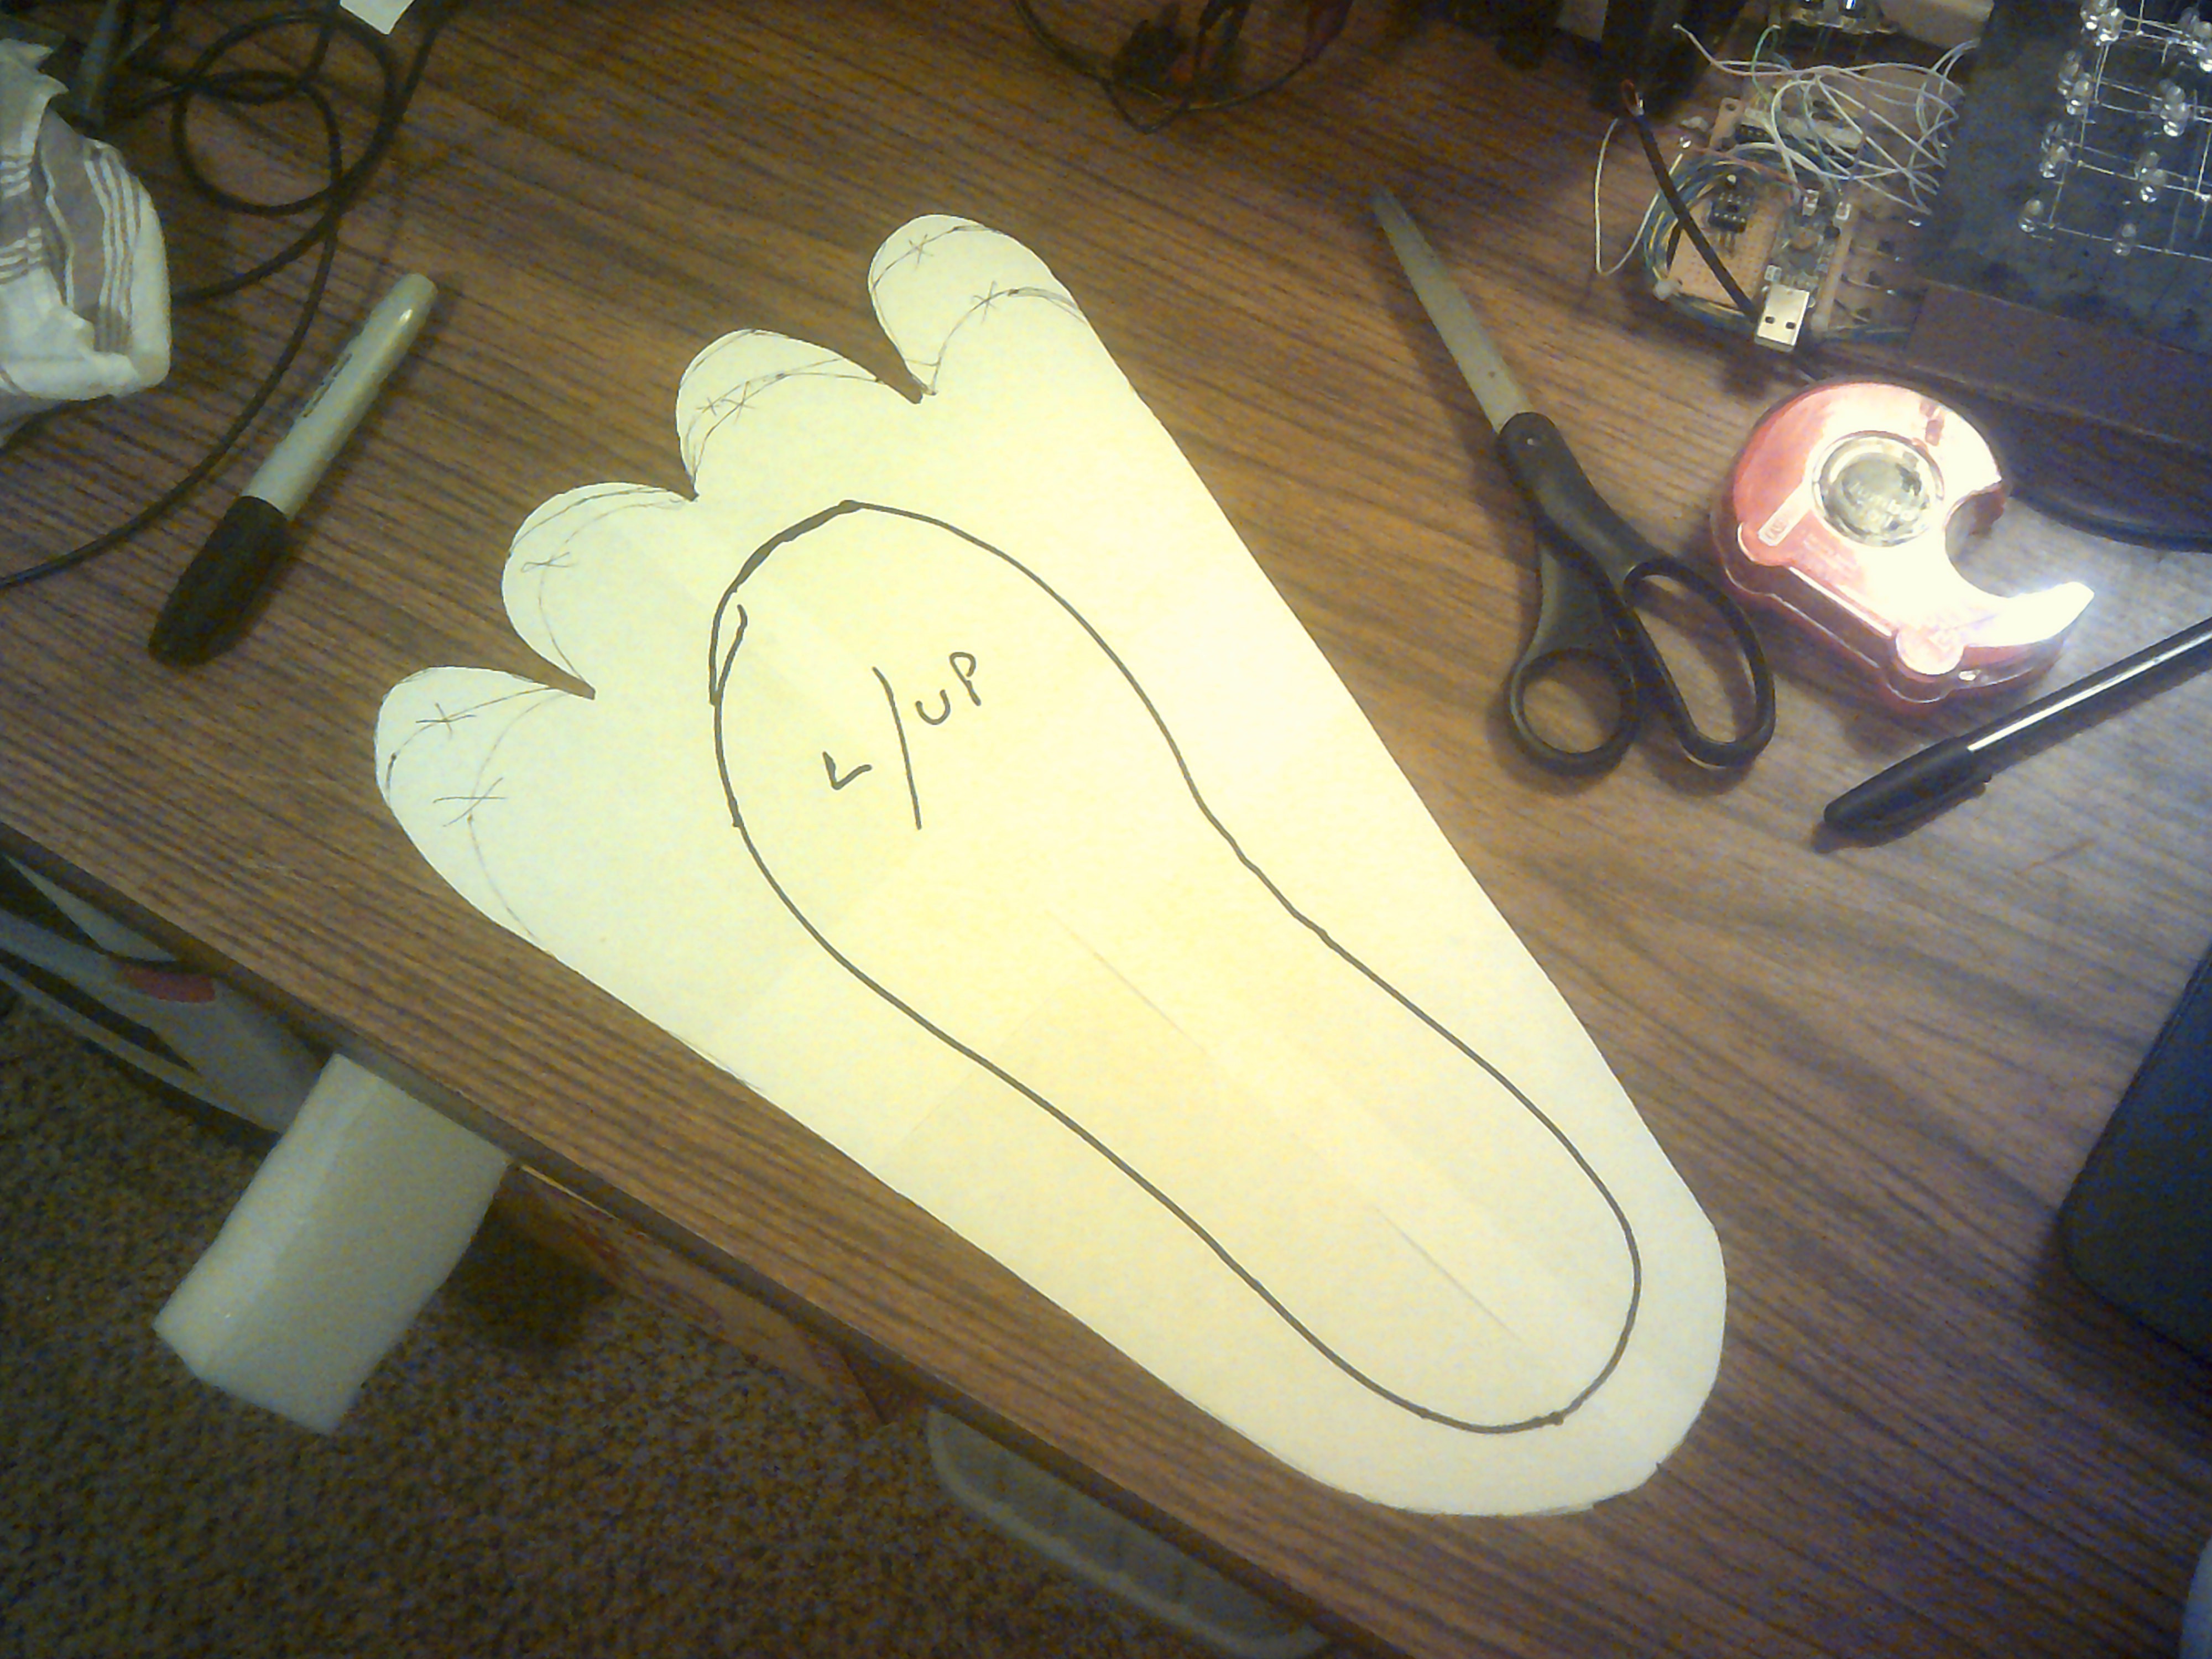
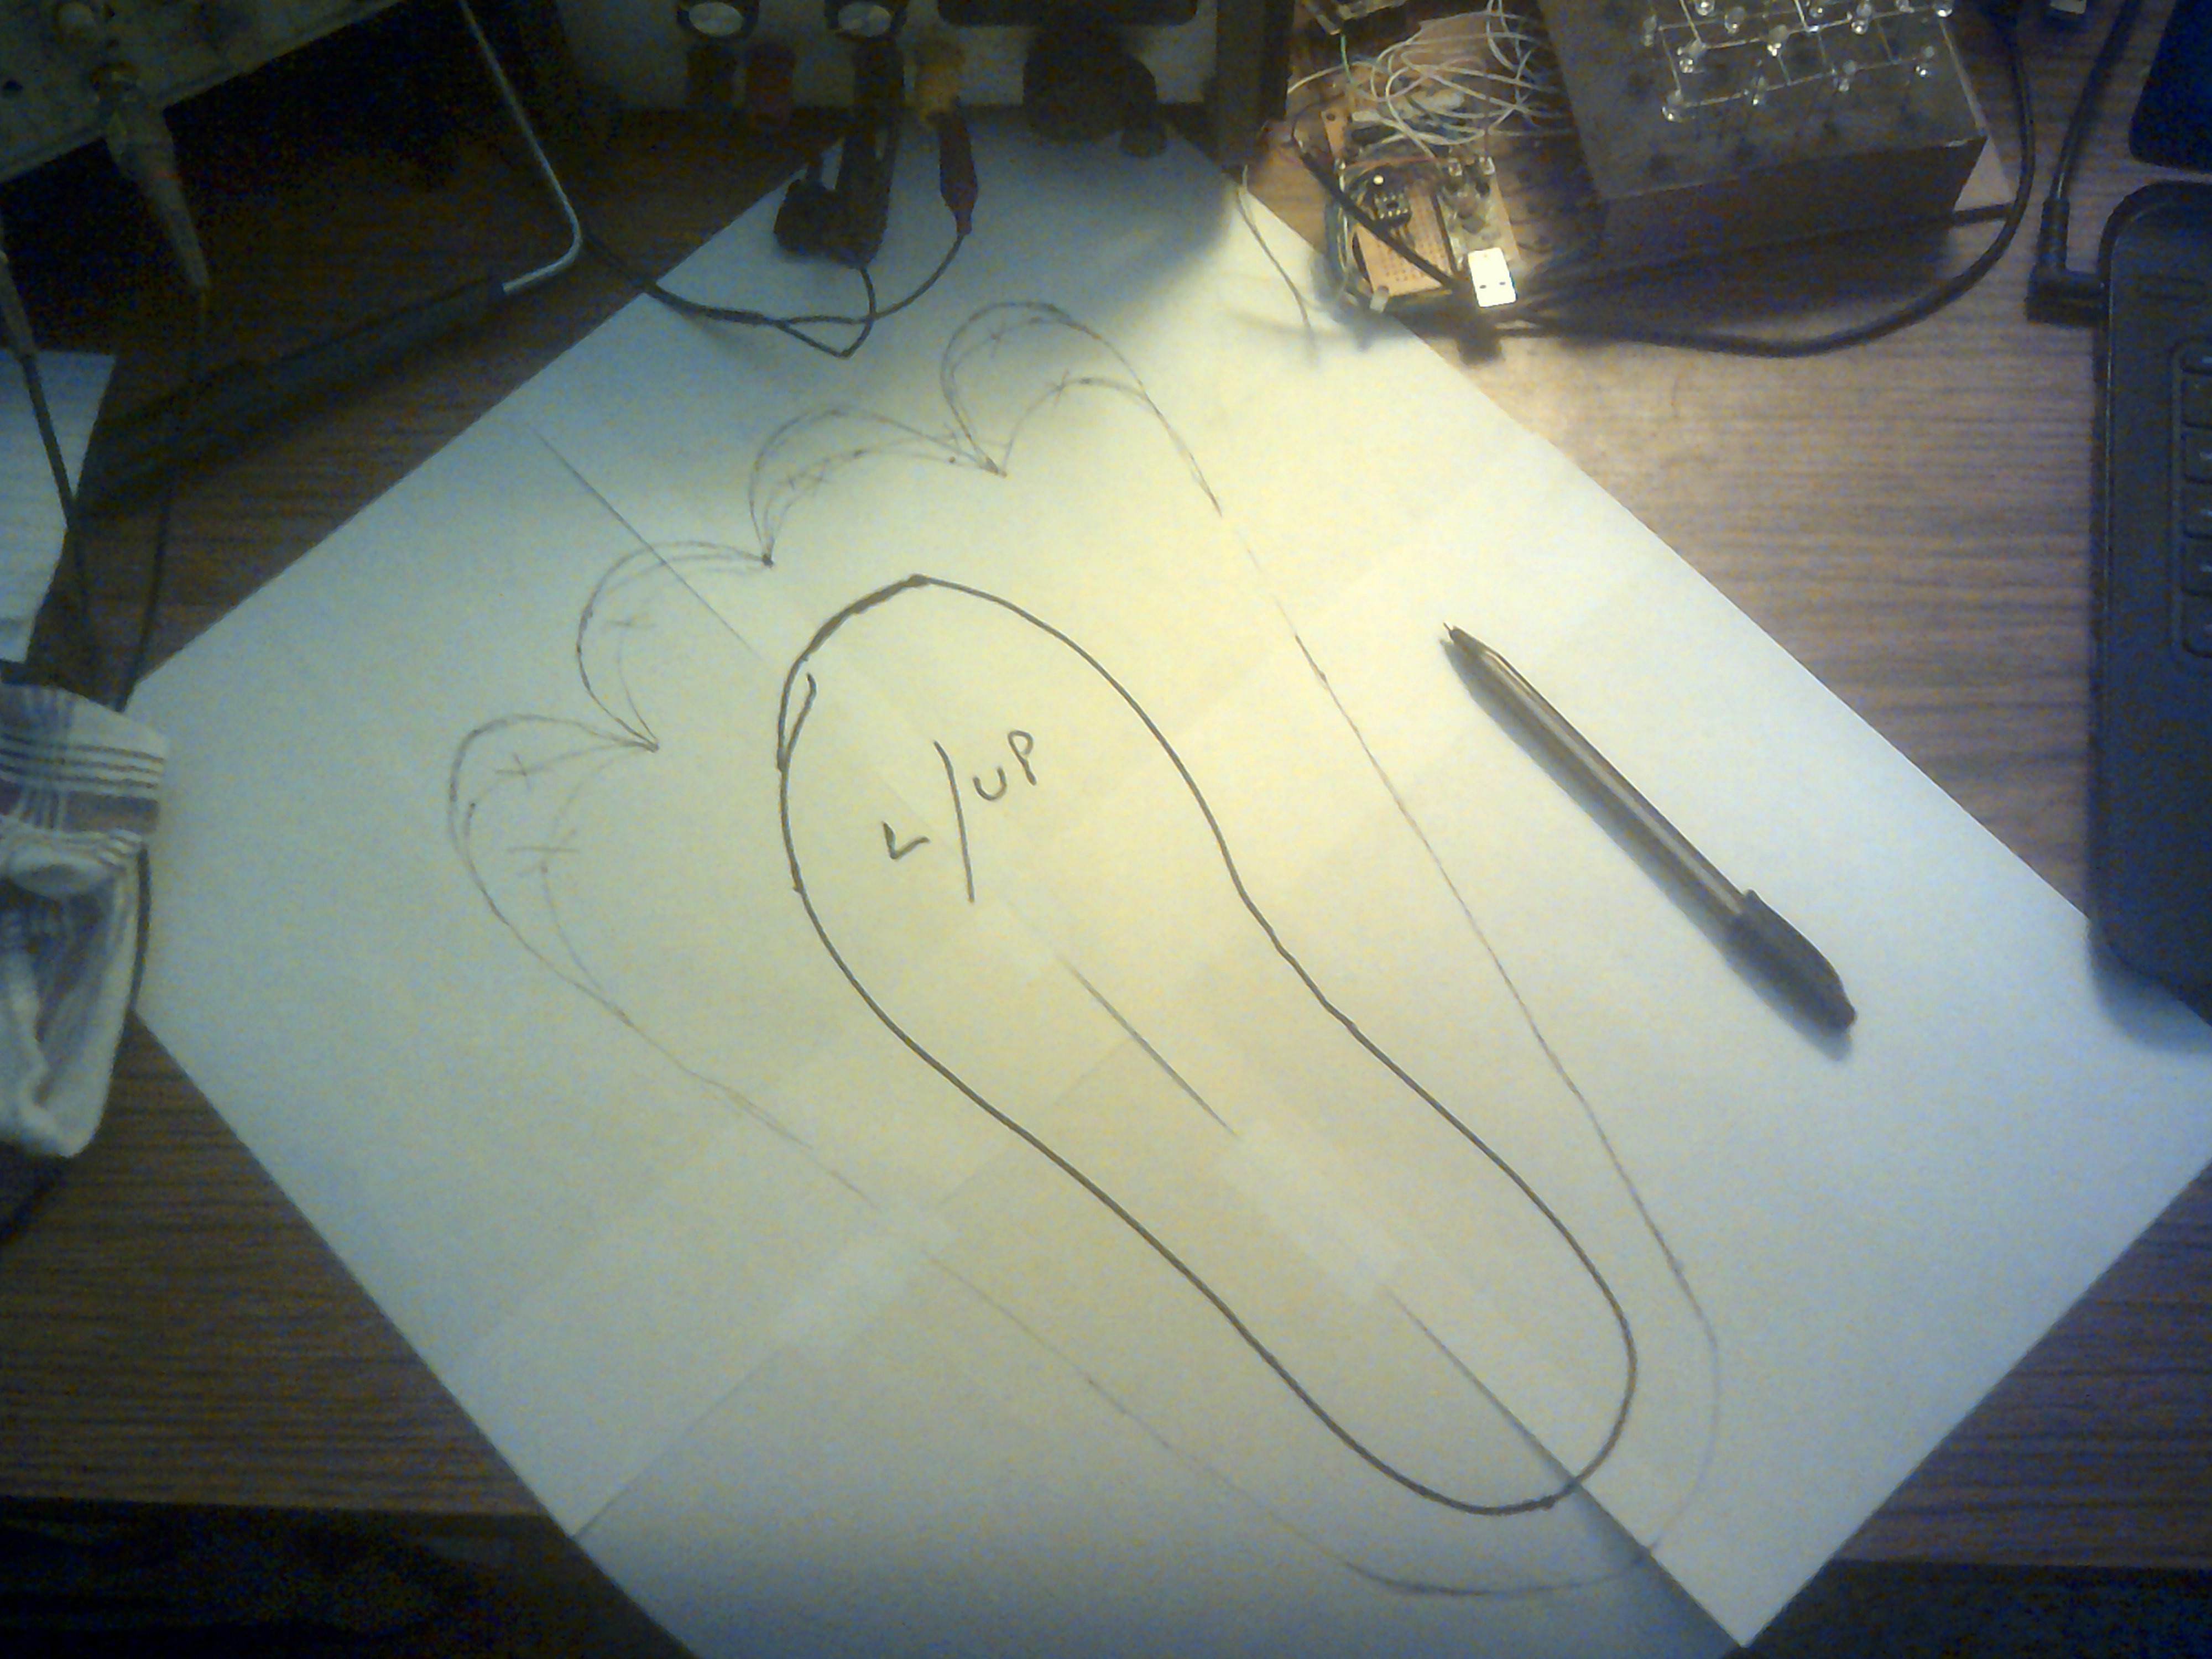
Left Foot/Paw Finished ( just about )
06/03/2020 at 22:41 • 4 commentsI am just going to show some of the steps in making the left foot/paw. The toes were the hard part but not bad for a first build like everything else with "Marcus"
![]()
![]()
![]()
![]()
![]()
![]()
-
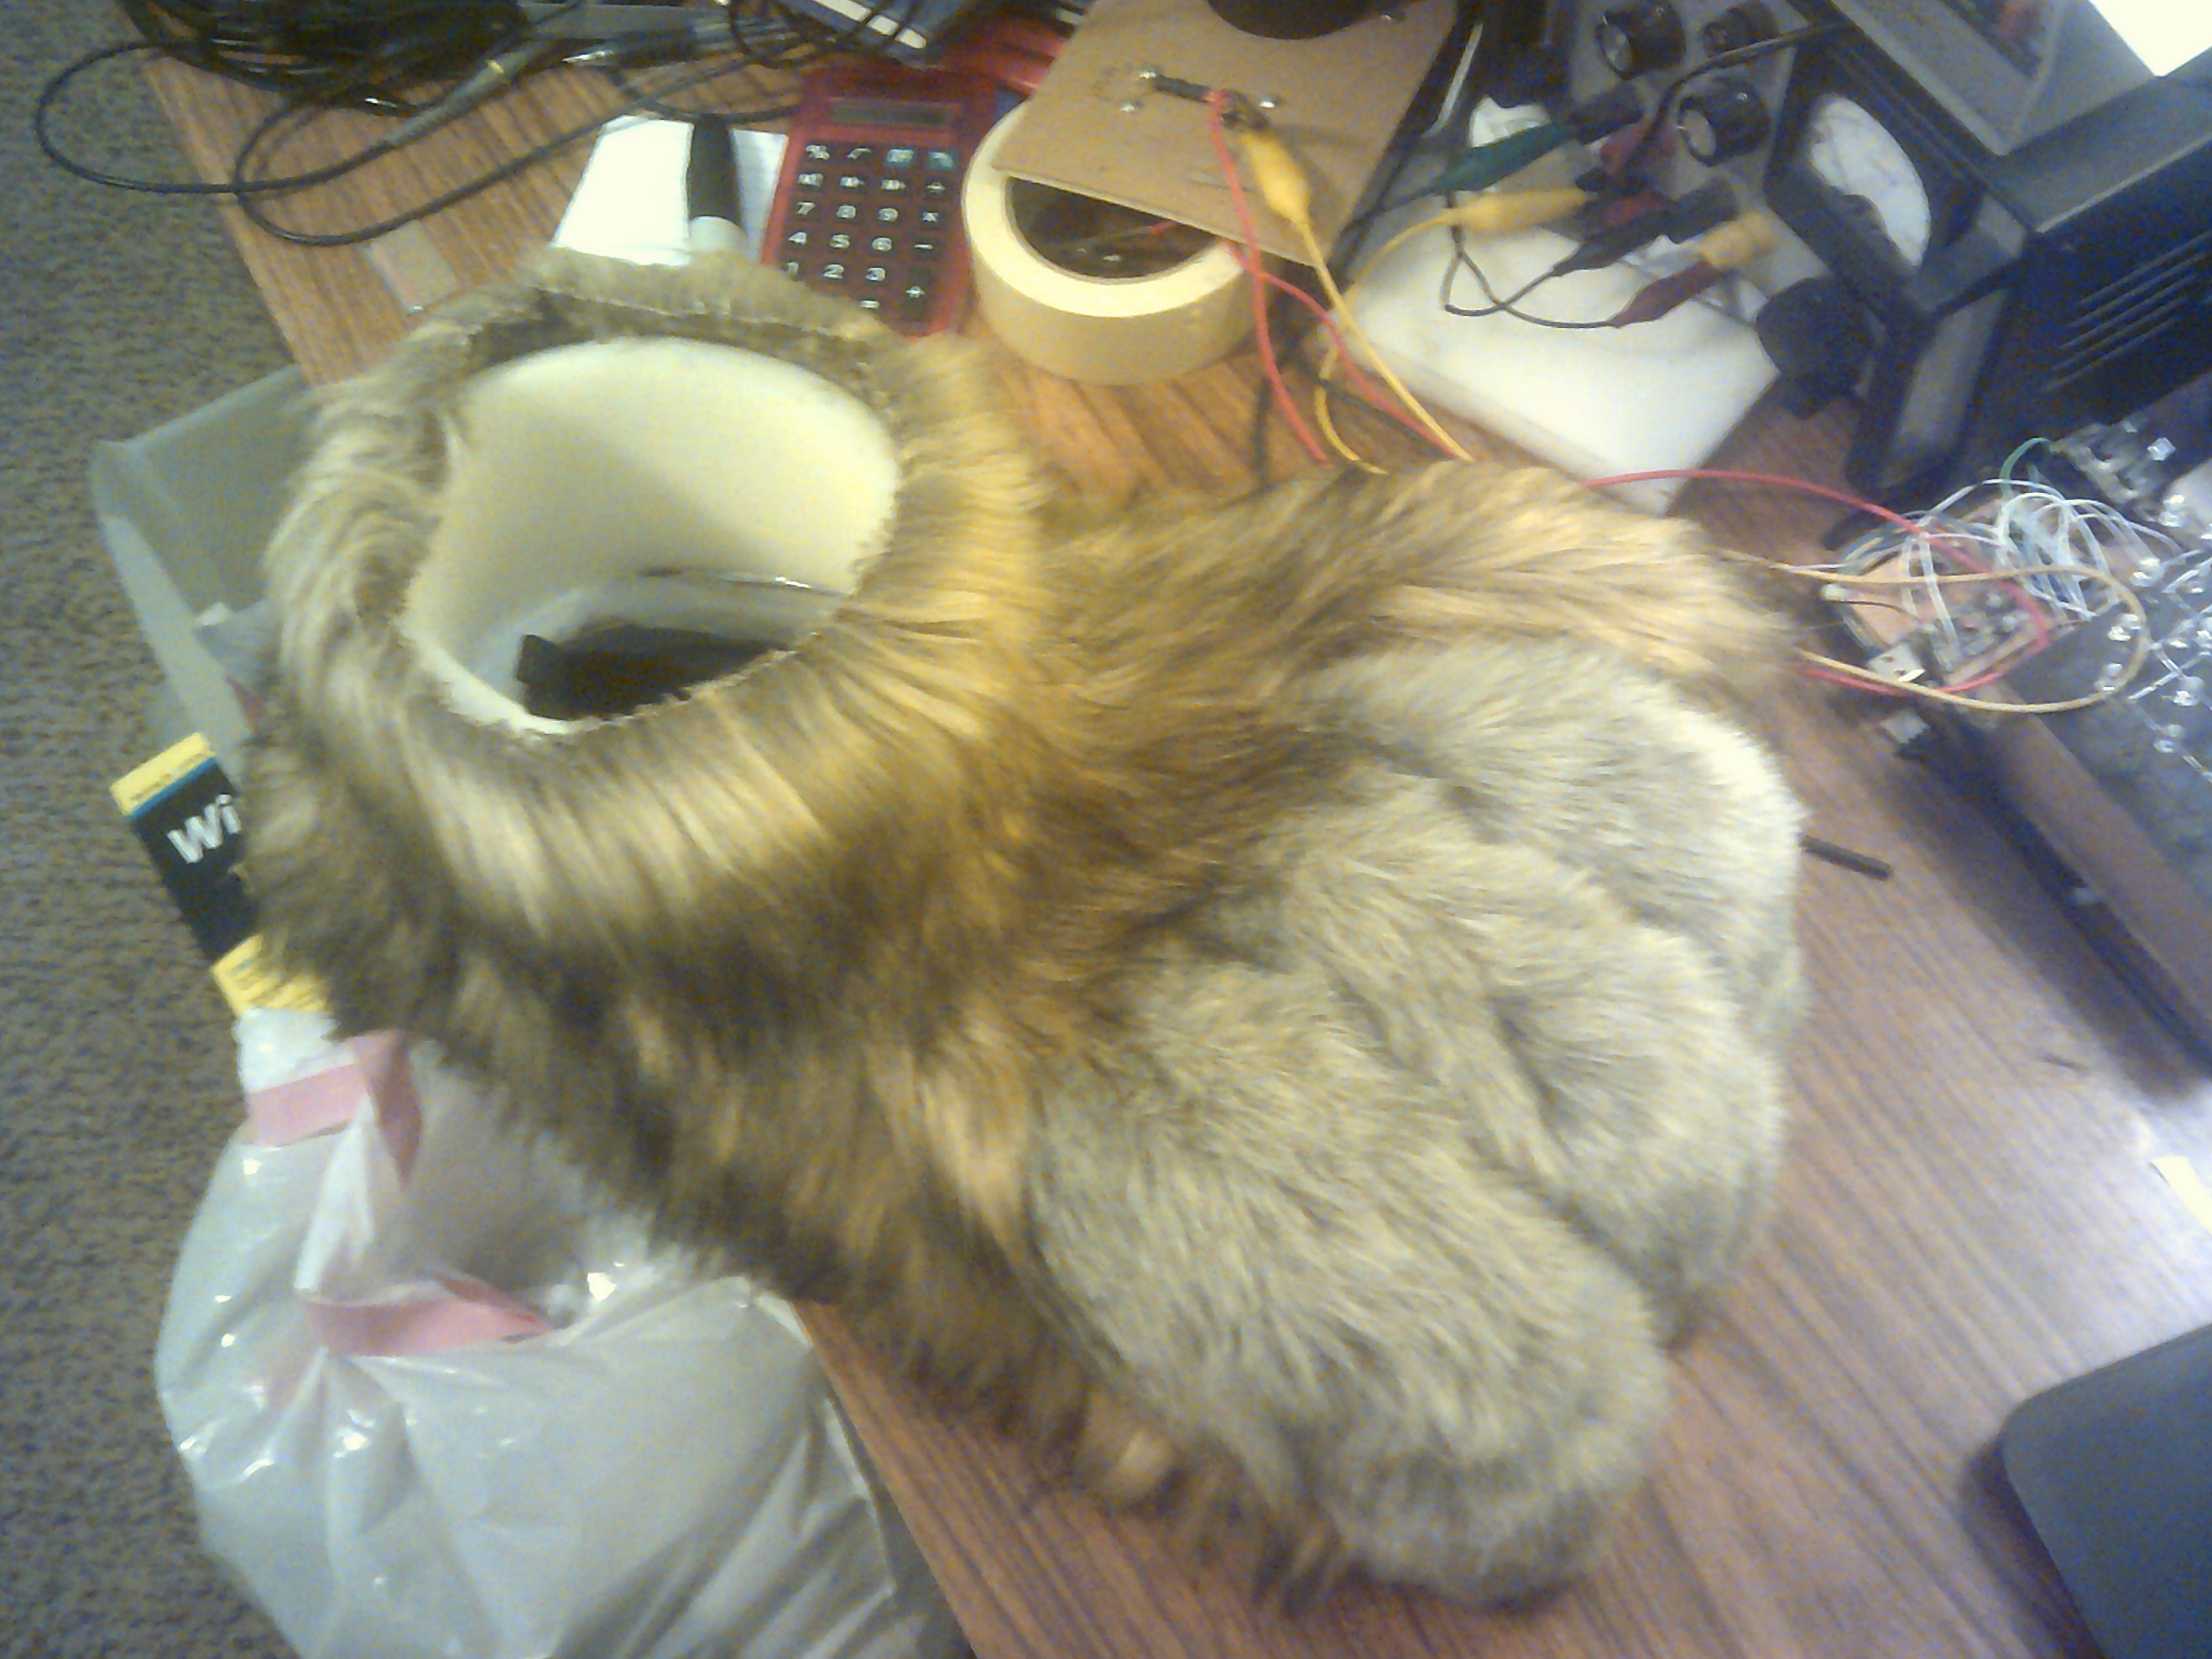
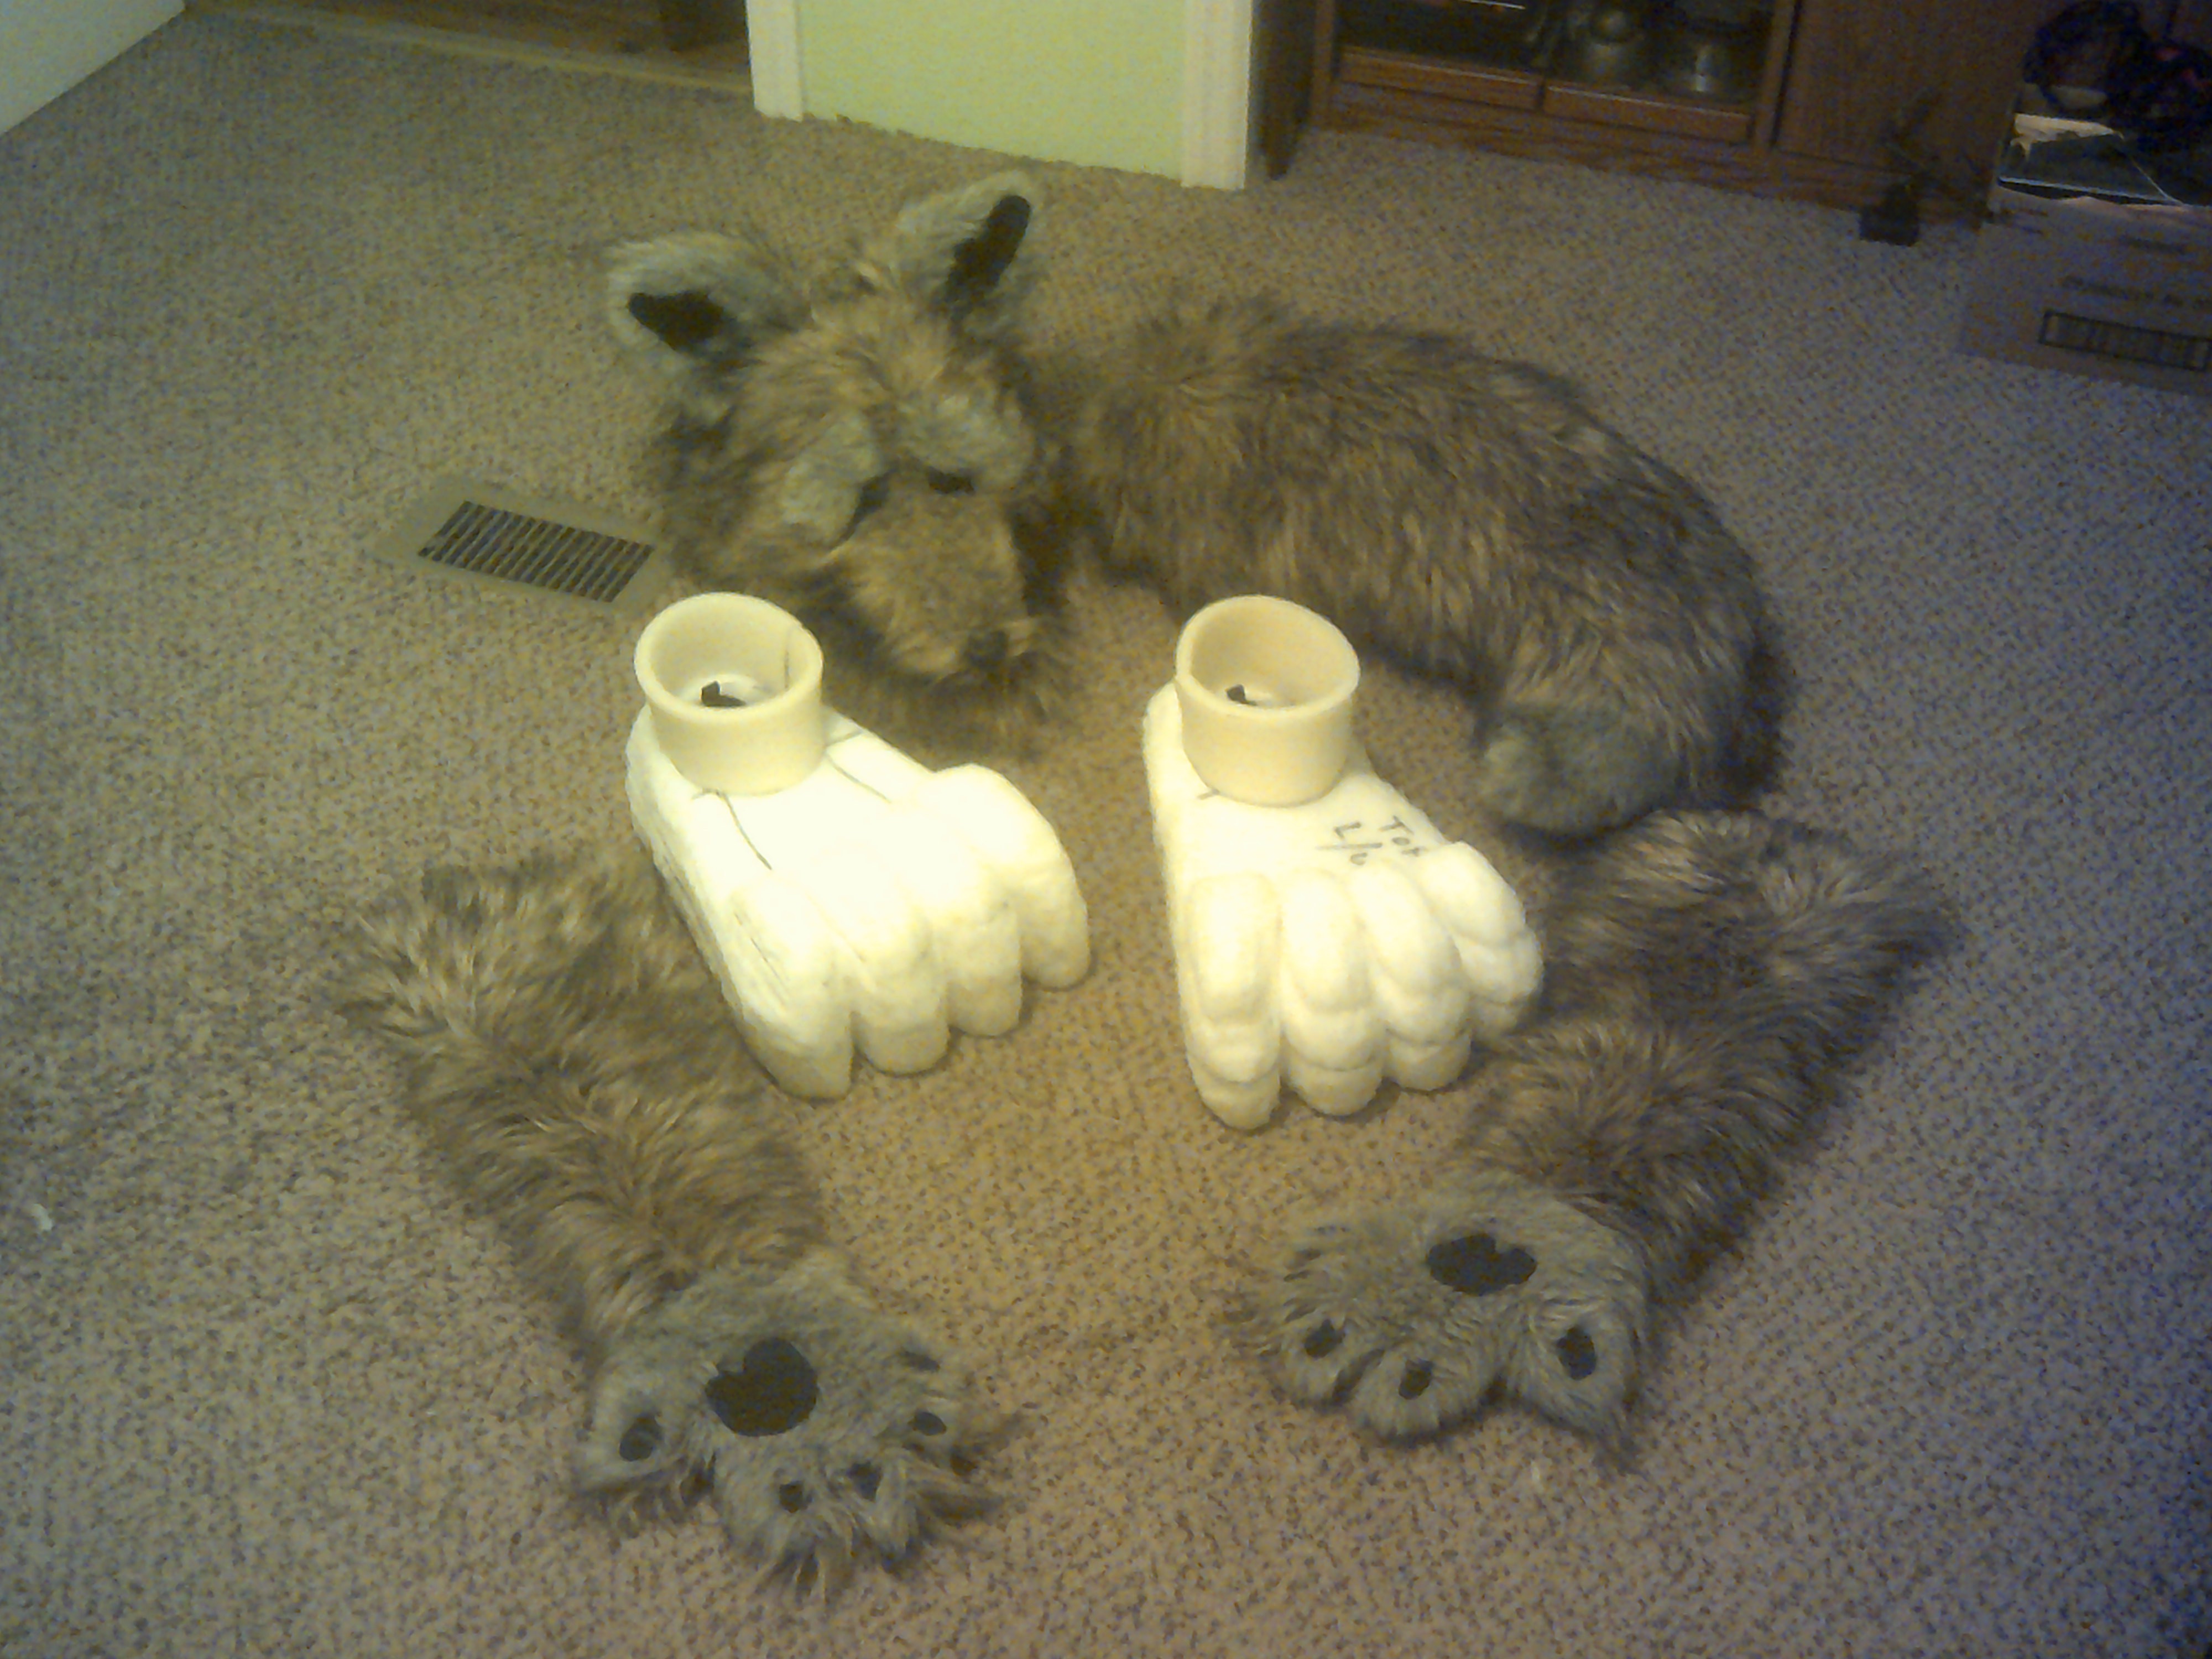
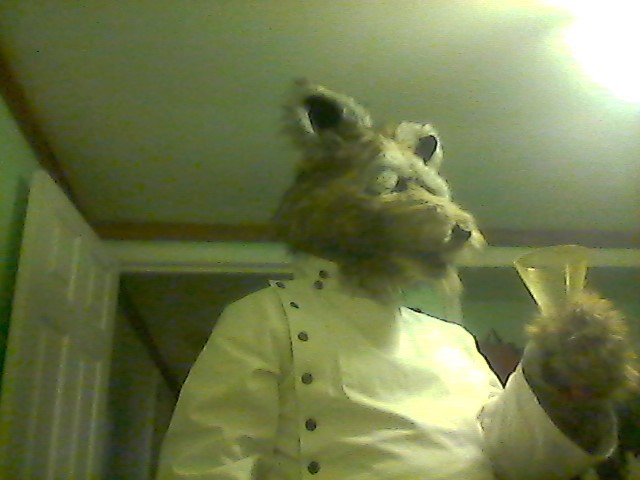
Where I am with Marcus
05/27/2020 at 23:27 • 5 commentsJust a update to show the progress with Marcus. The foot paws are basically finished except for getting the fur put on. Cheers :-D
![]()
![]()
-
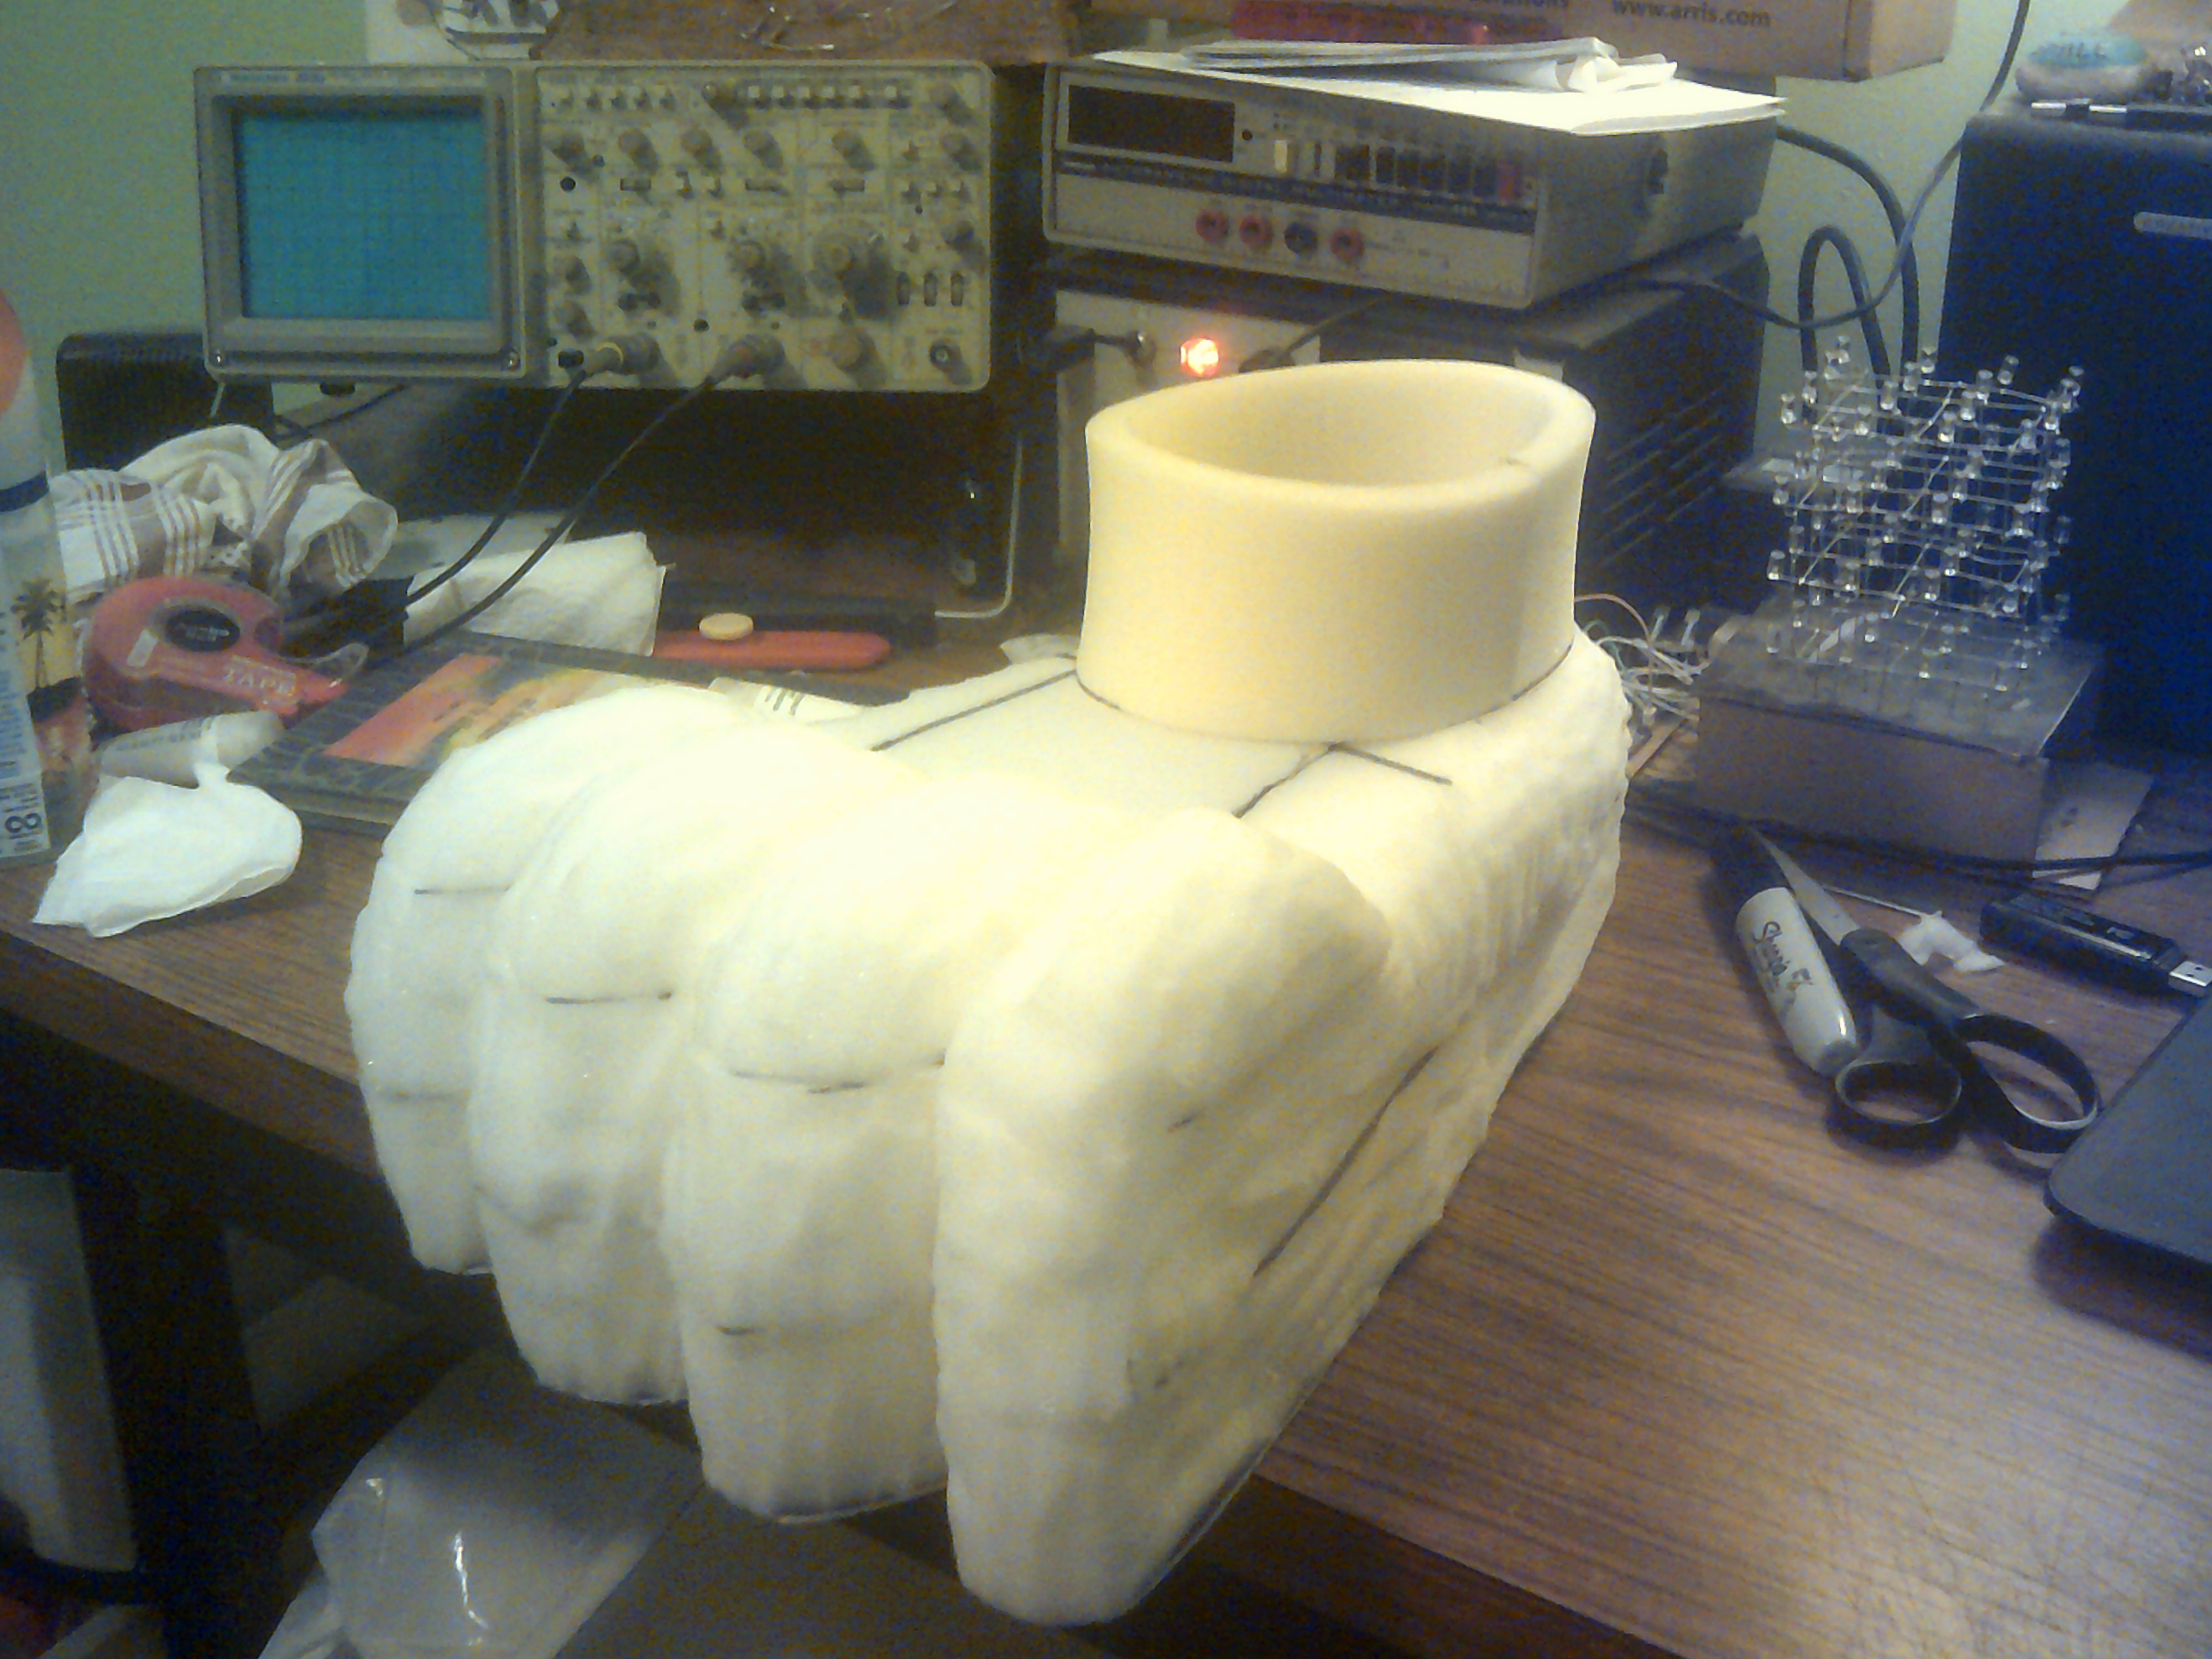
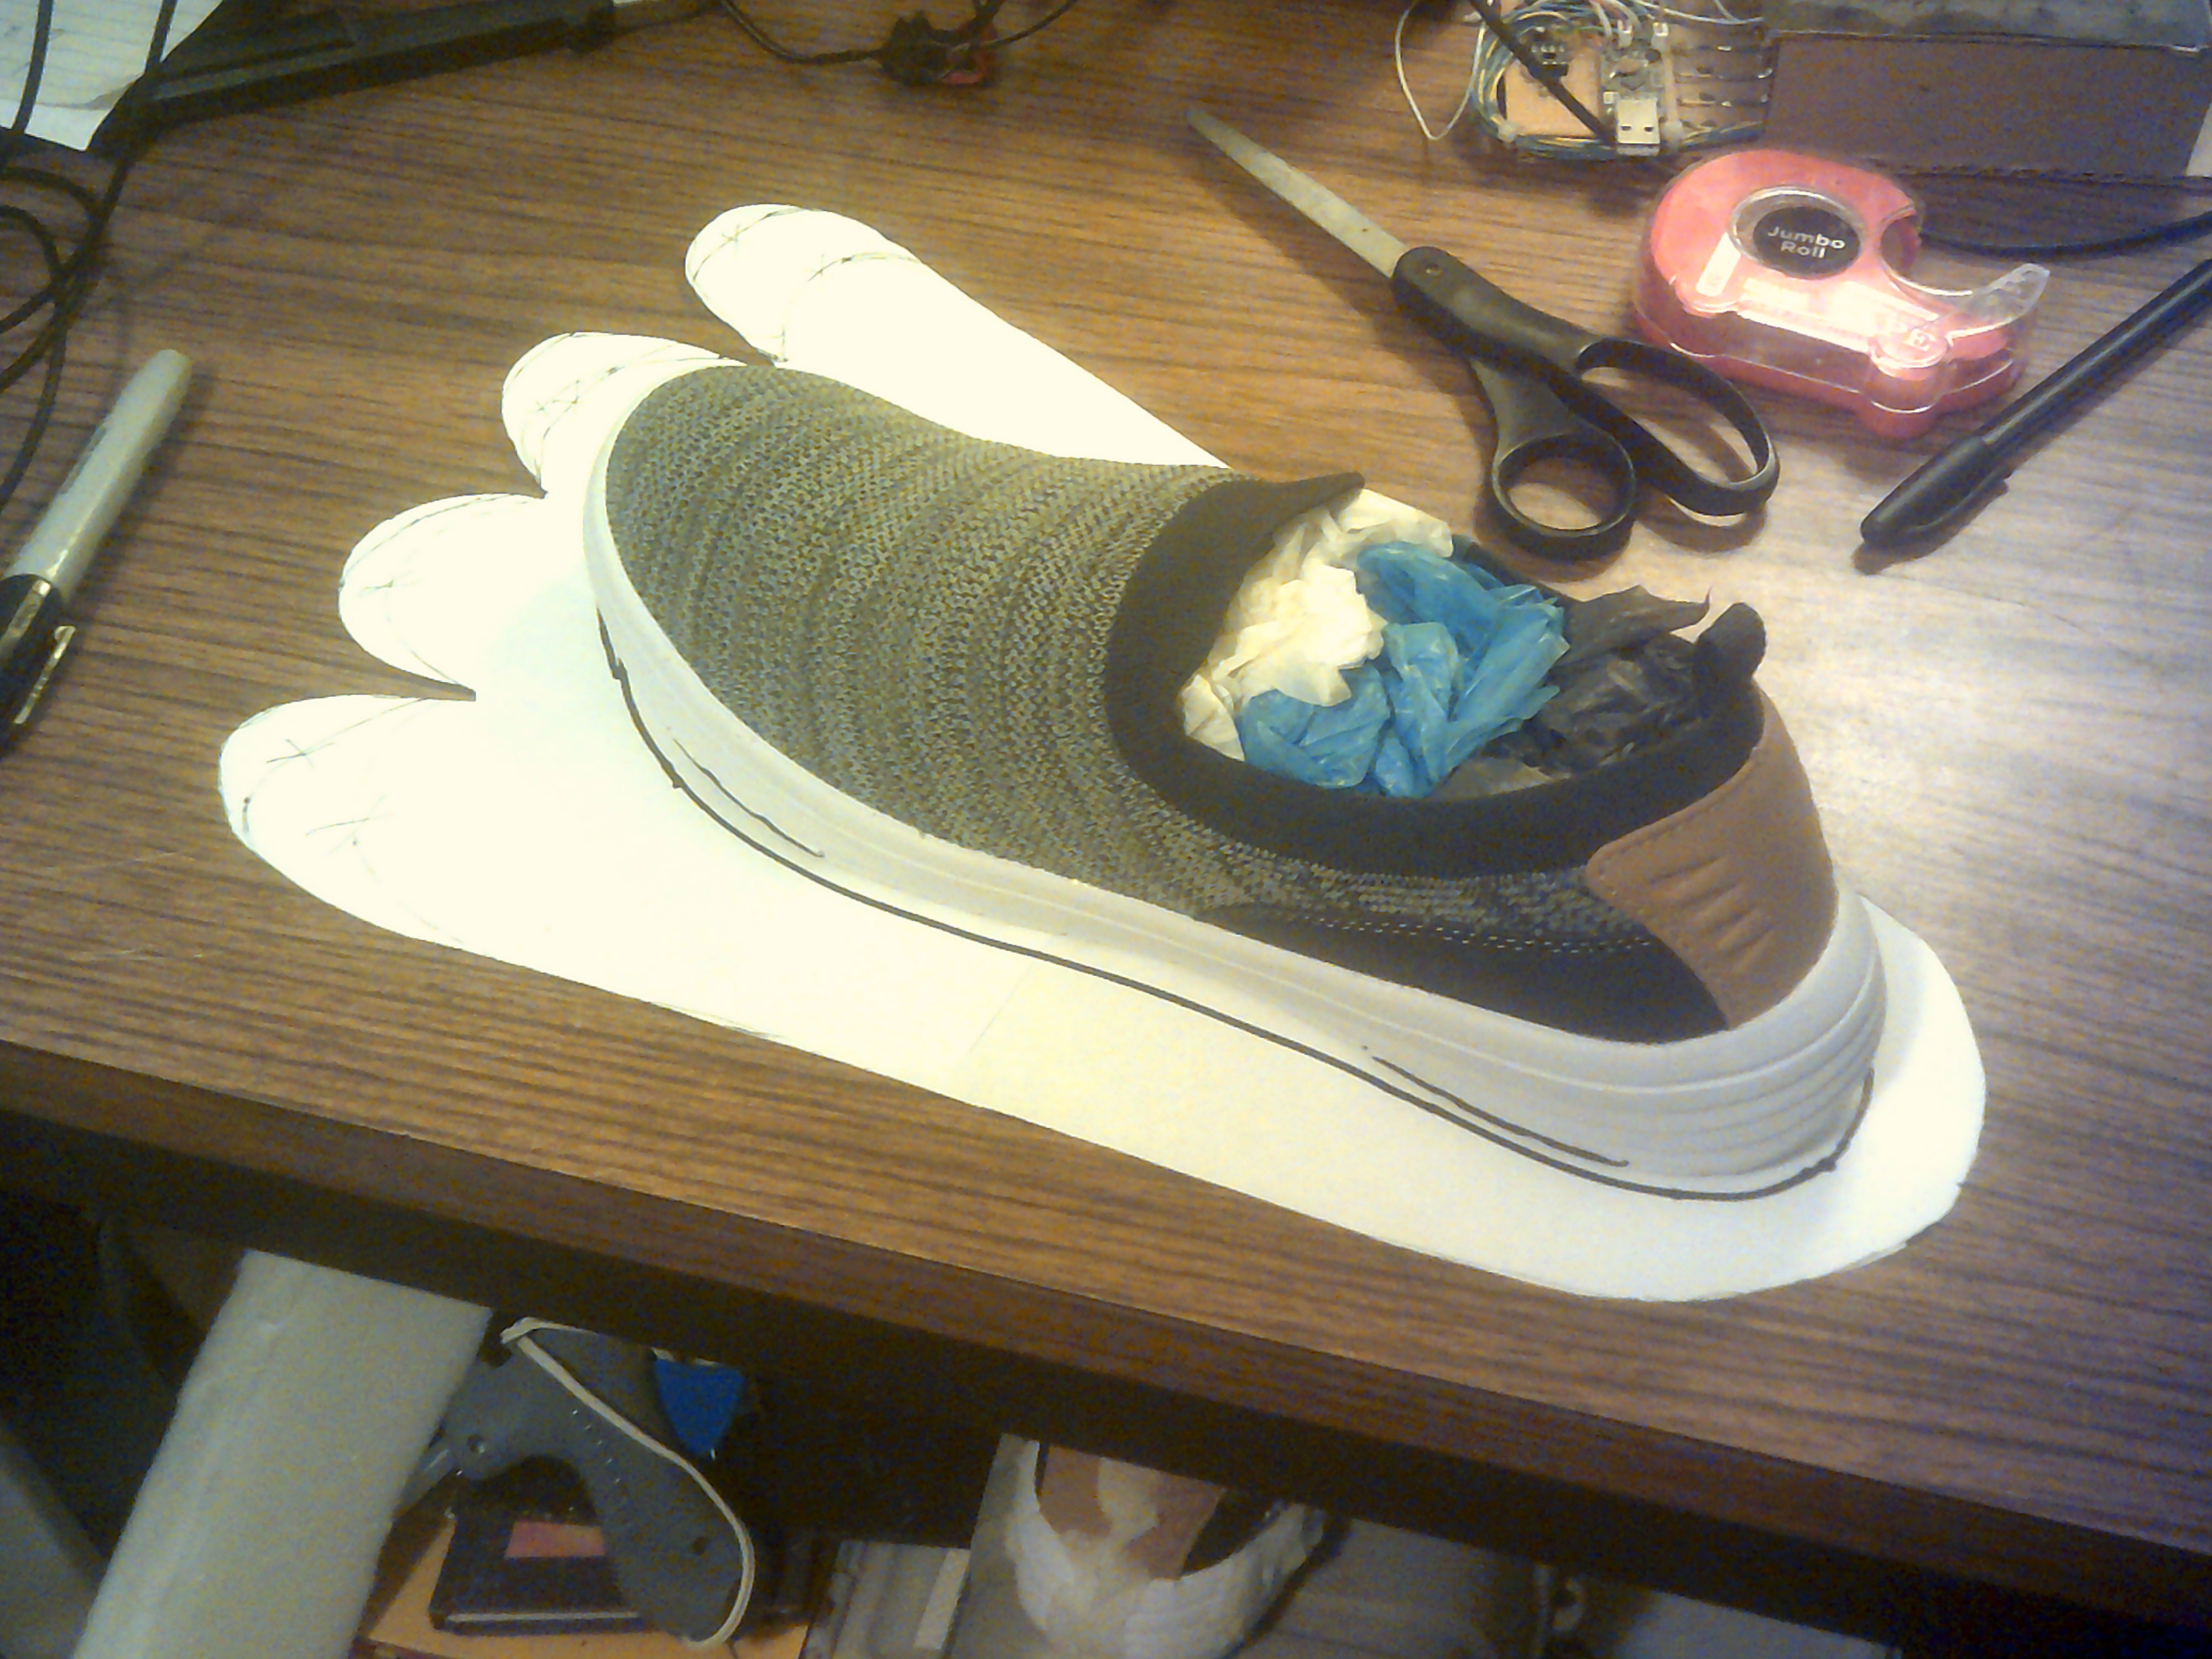
Foot Paws, At Last....
05/20/2020 at 15:55 • 0 commentsFinally getting to making up my first foot paws for Marcus. Making use of tips from other suit makers but I am just going to go one step at a time and see how it turns out. Here are the first baby steps.
![]()
![]()
![]()
-
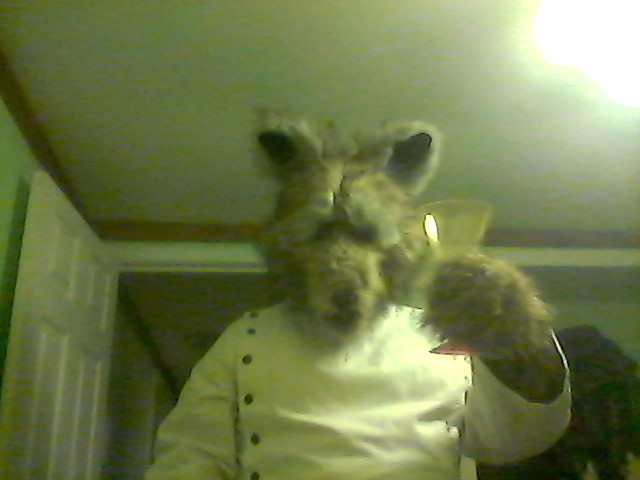
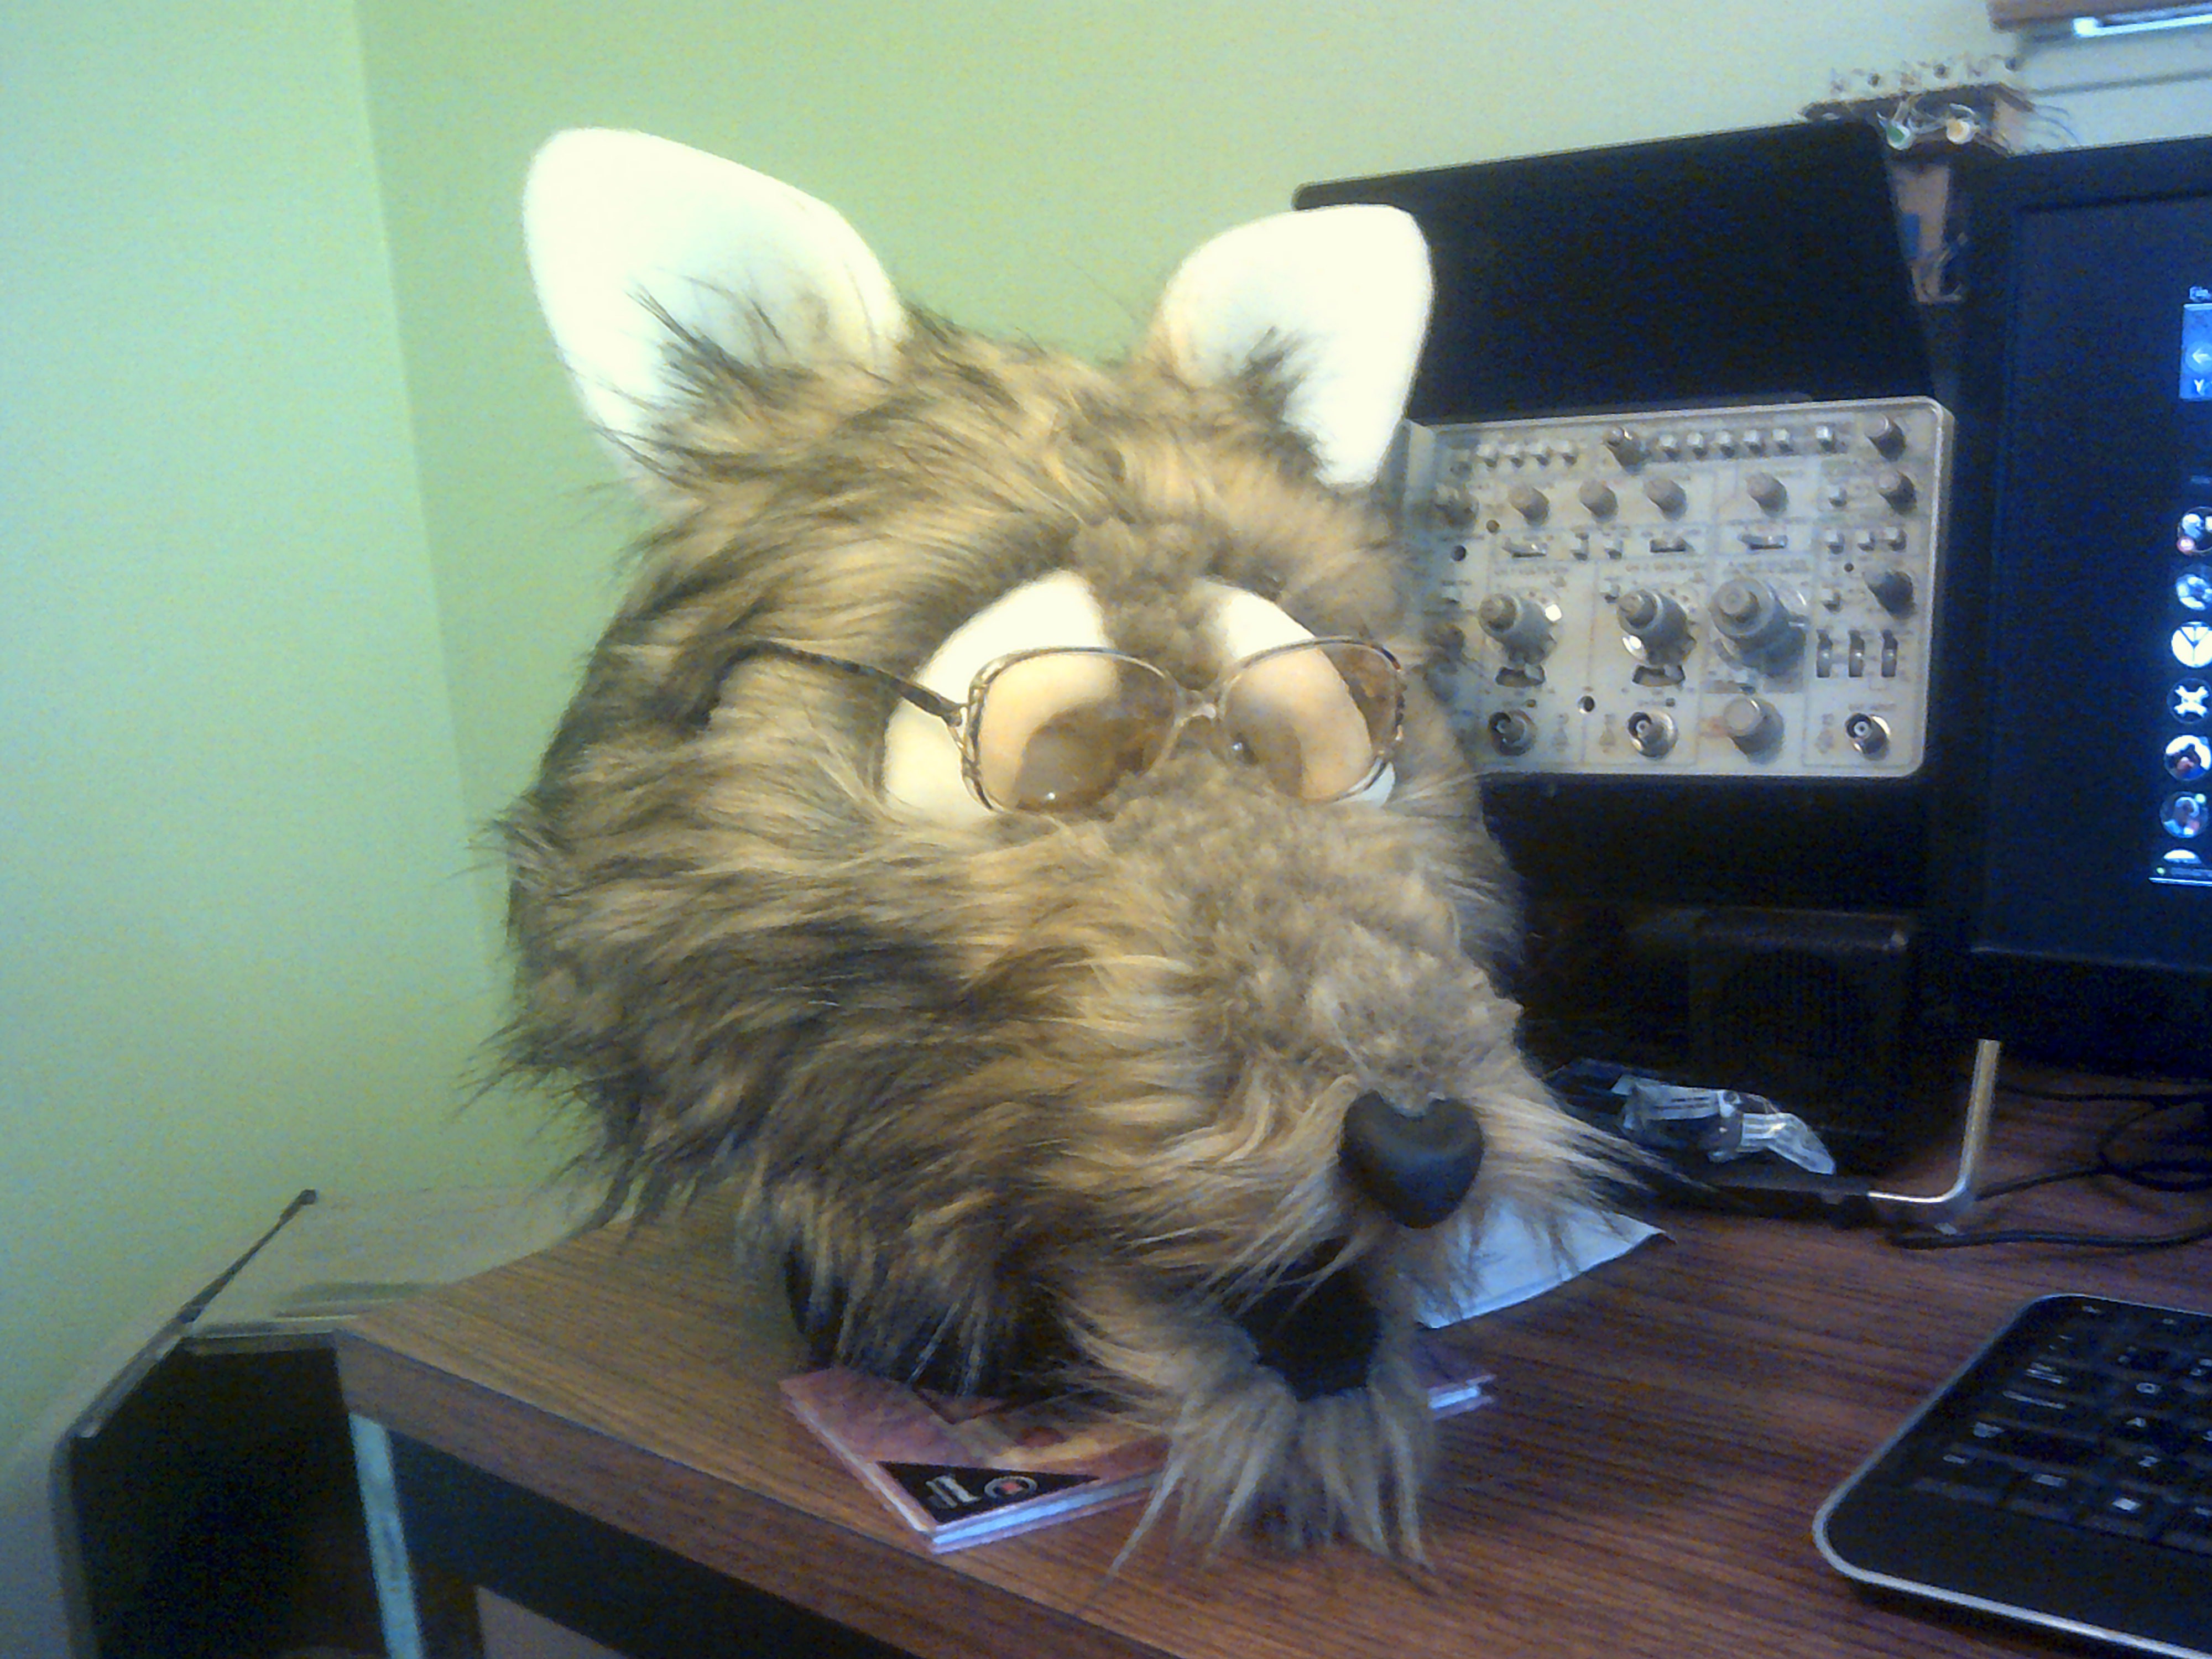
The Mad Dr Foxelhaus is in
04/29/2020 at 23:50 • 0 commentsNew addition for the outfit. The coat is from the Historical Emporium.
![]()
![]()
-
Adding mouth detail
03/11/2019 at 22:19 • 0 commentsStarted adding black felt to the inside of the mouth for Marcus. I also plan on adding a few teeth as well.
![]()
![]()
-
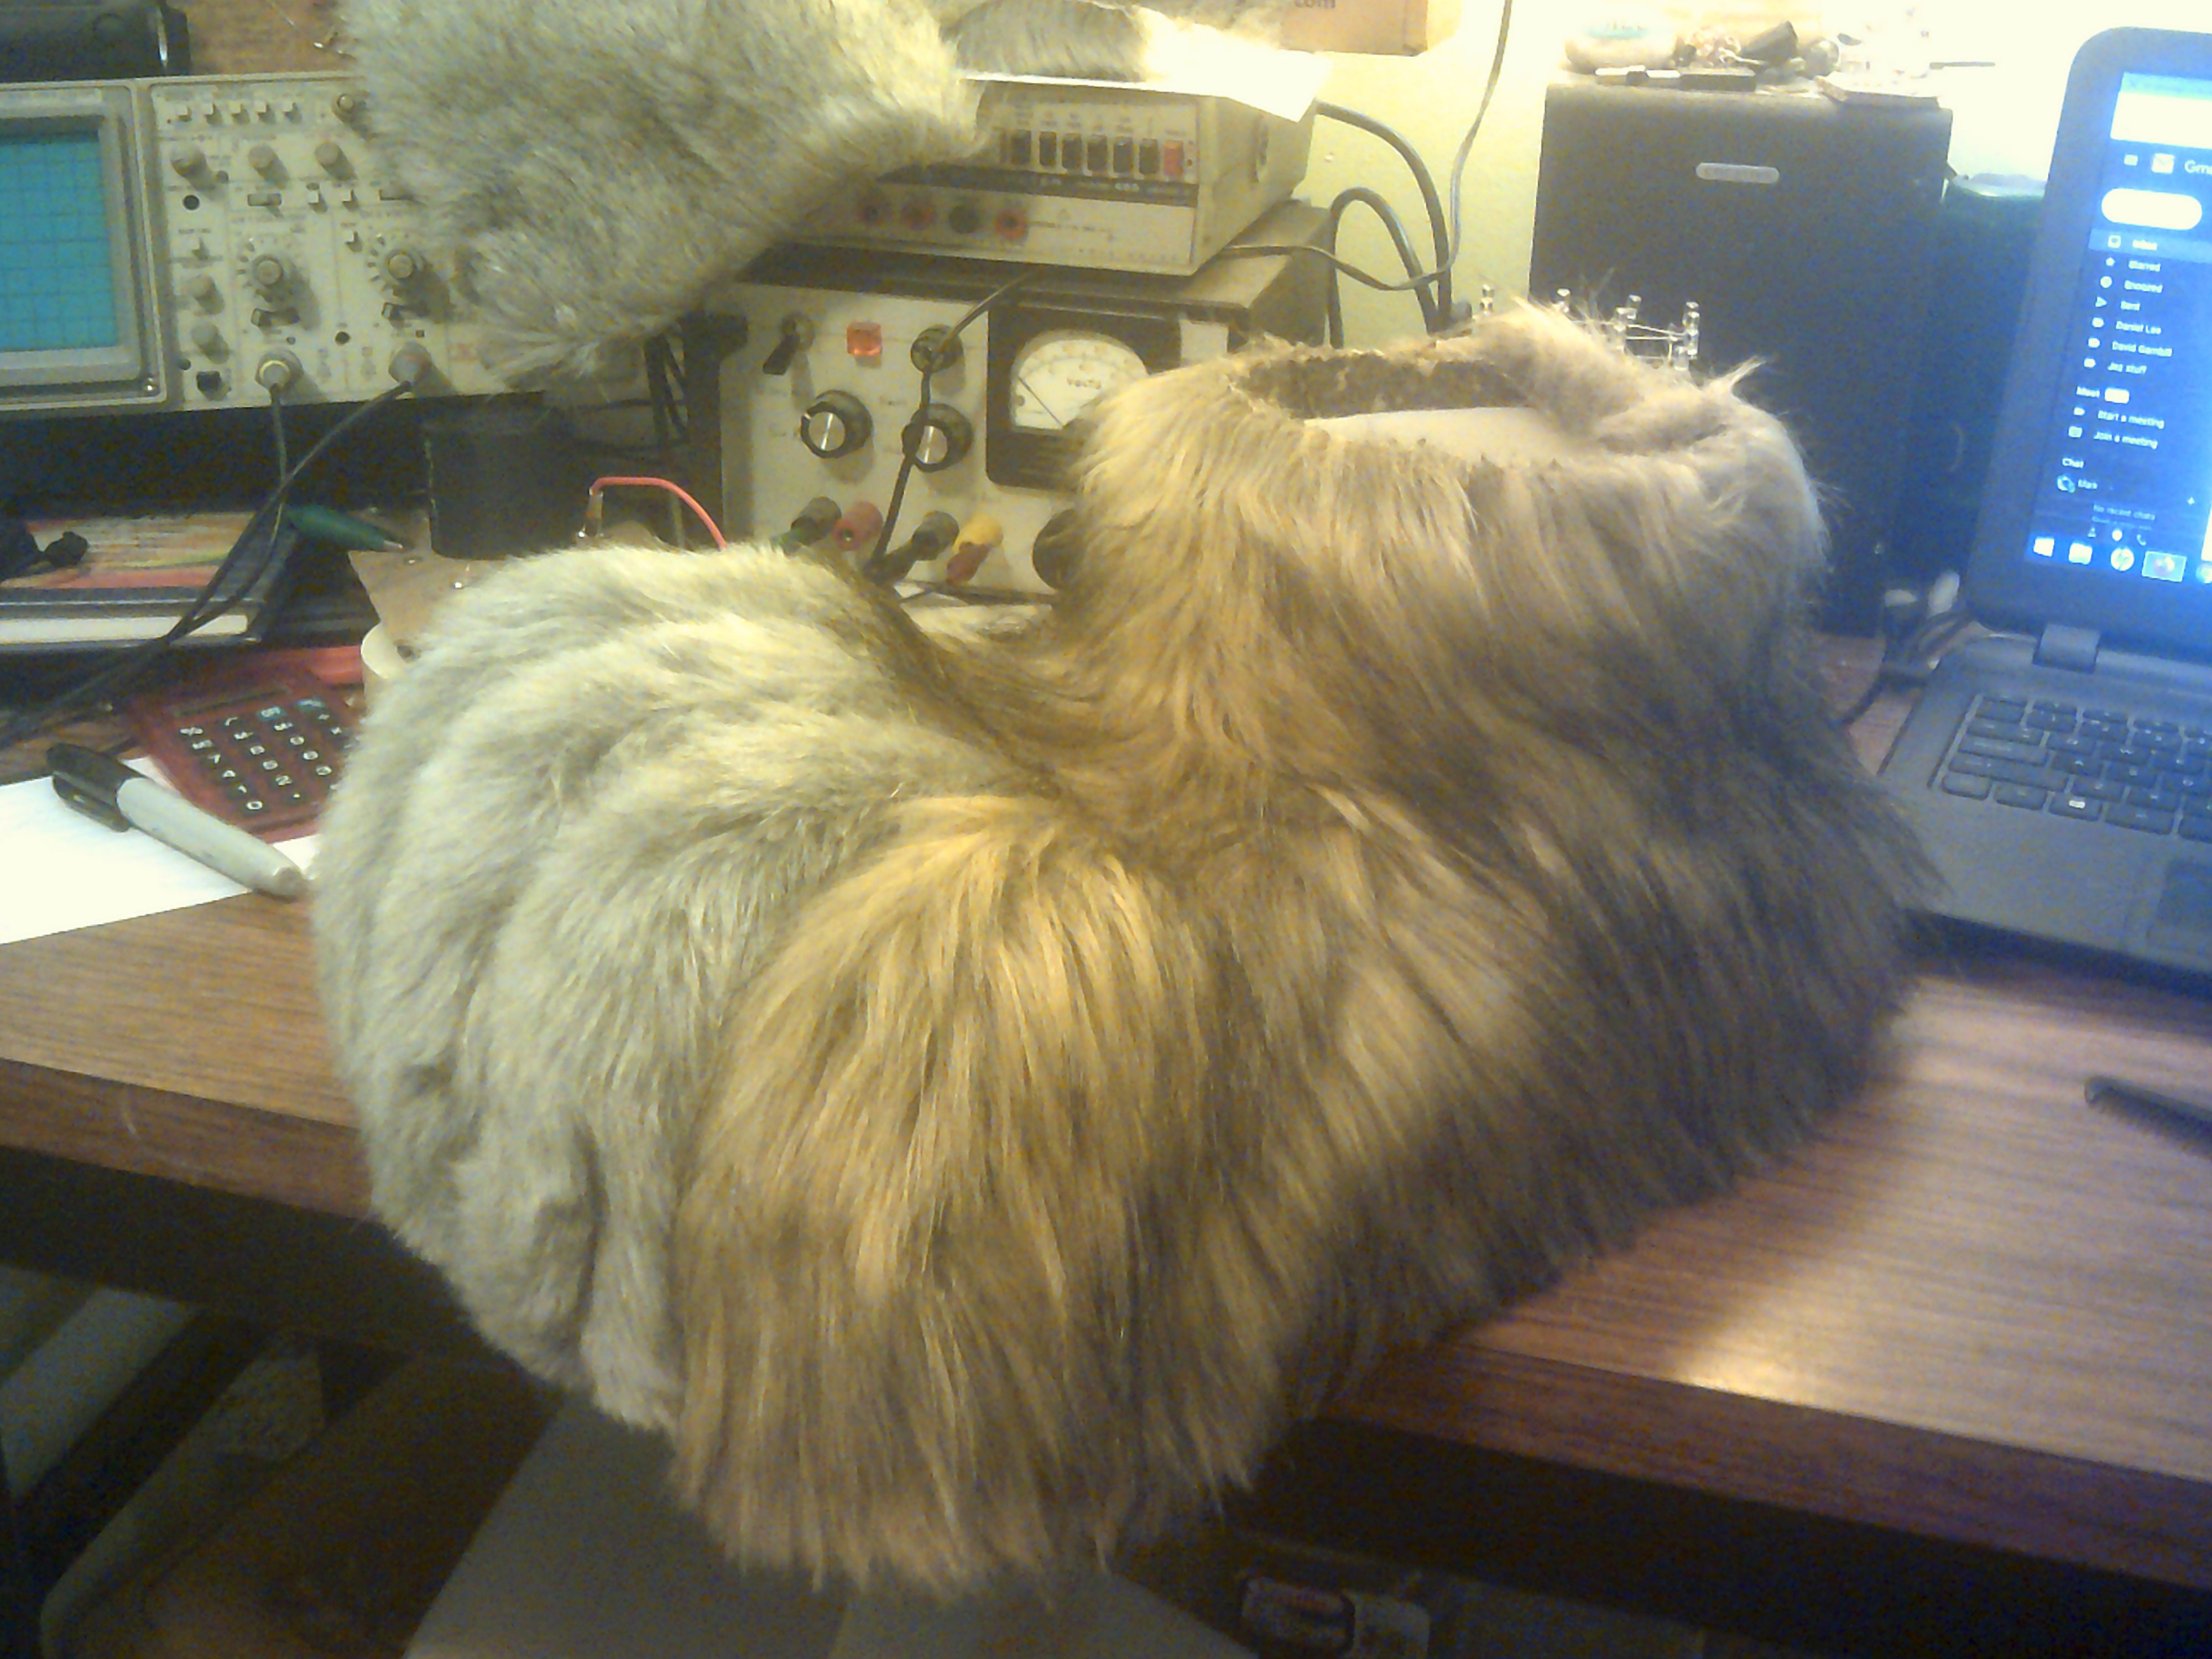
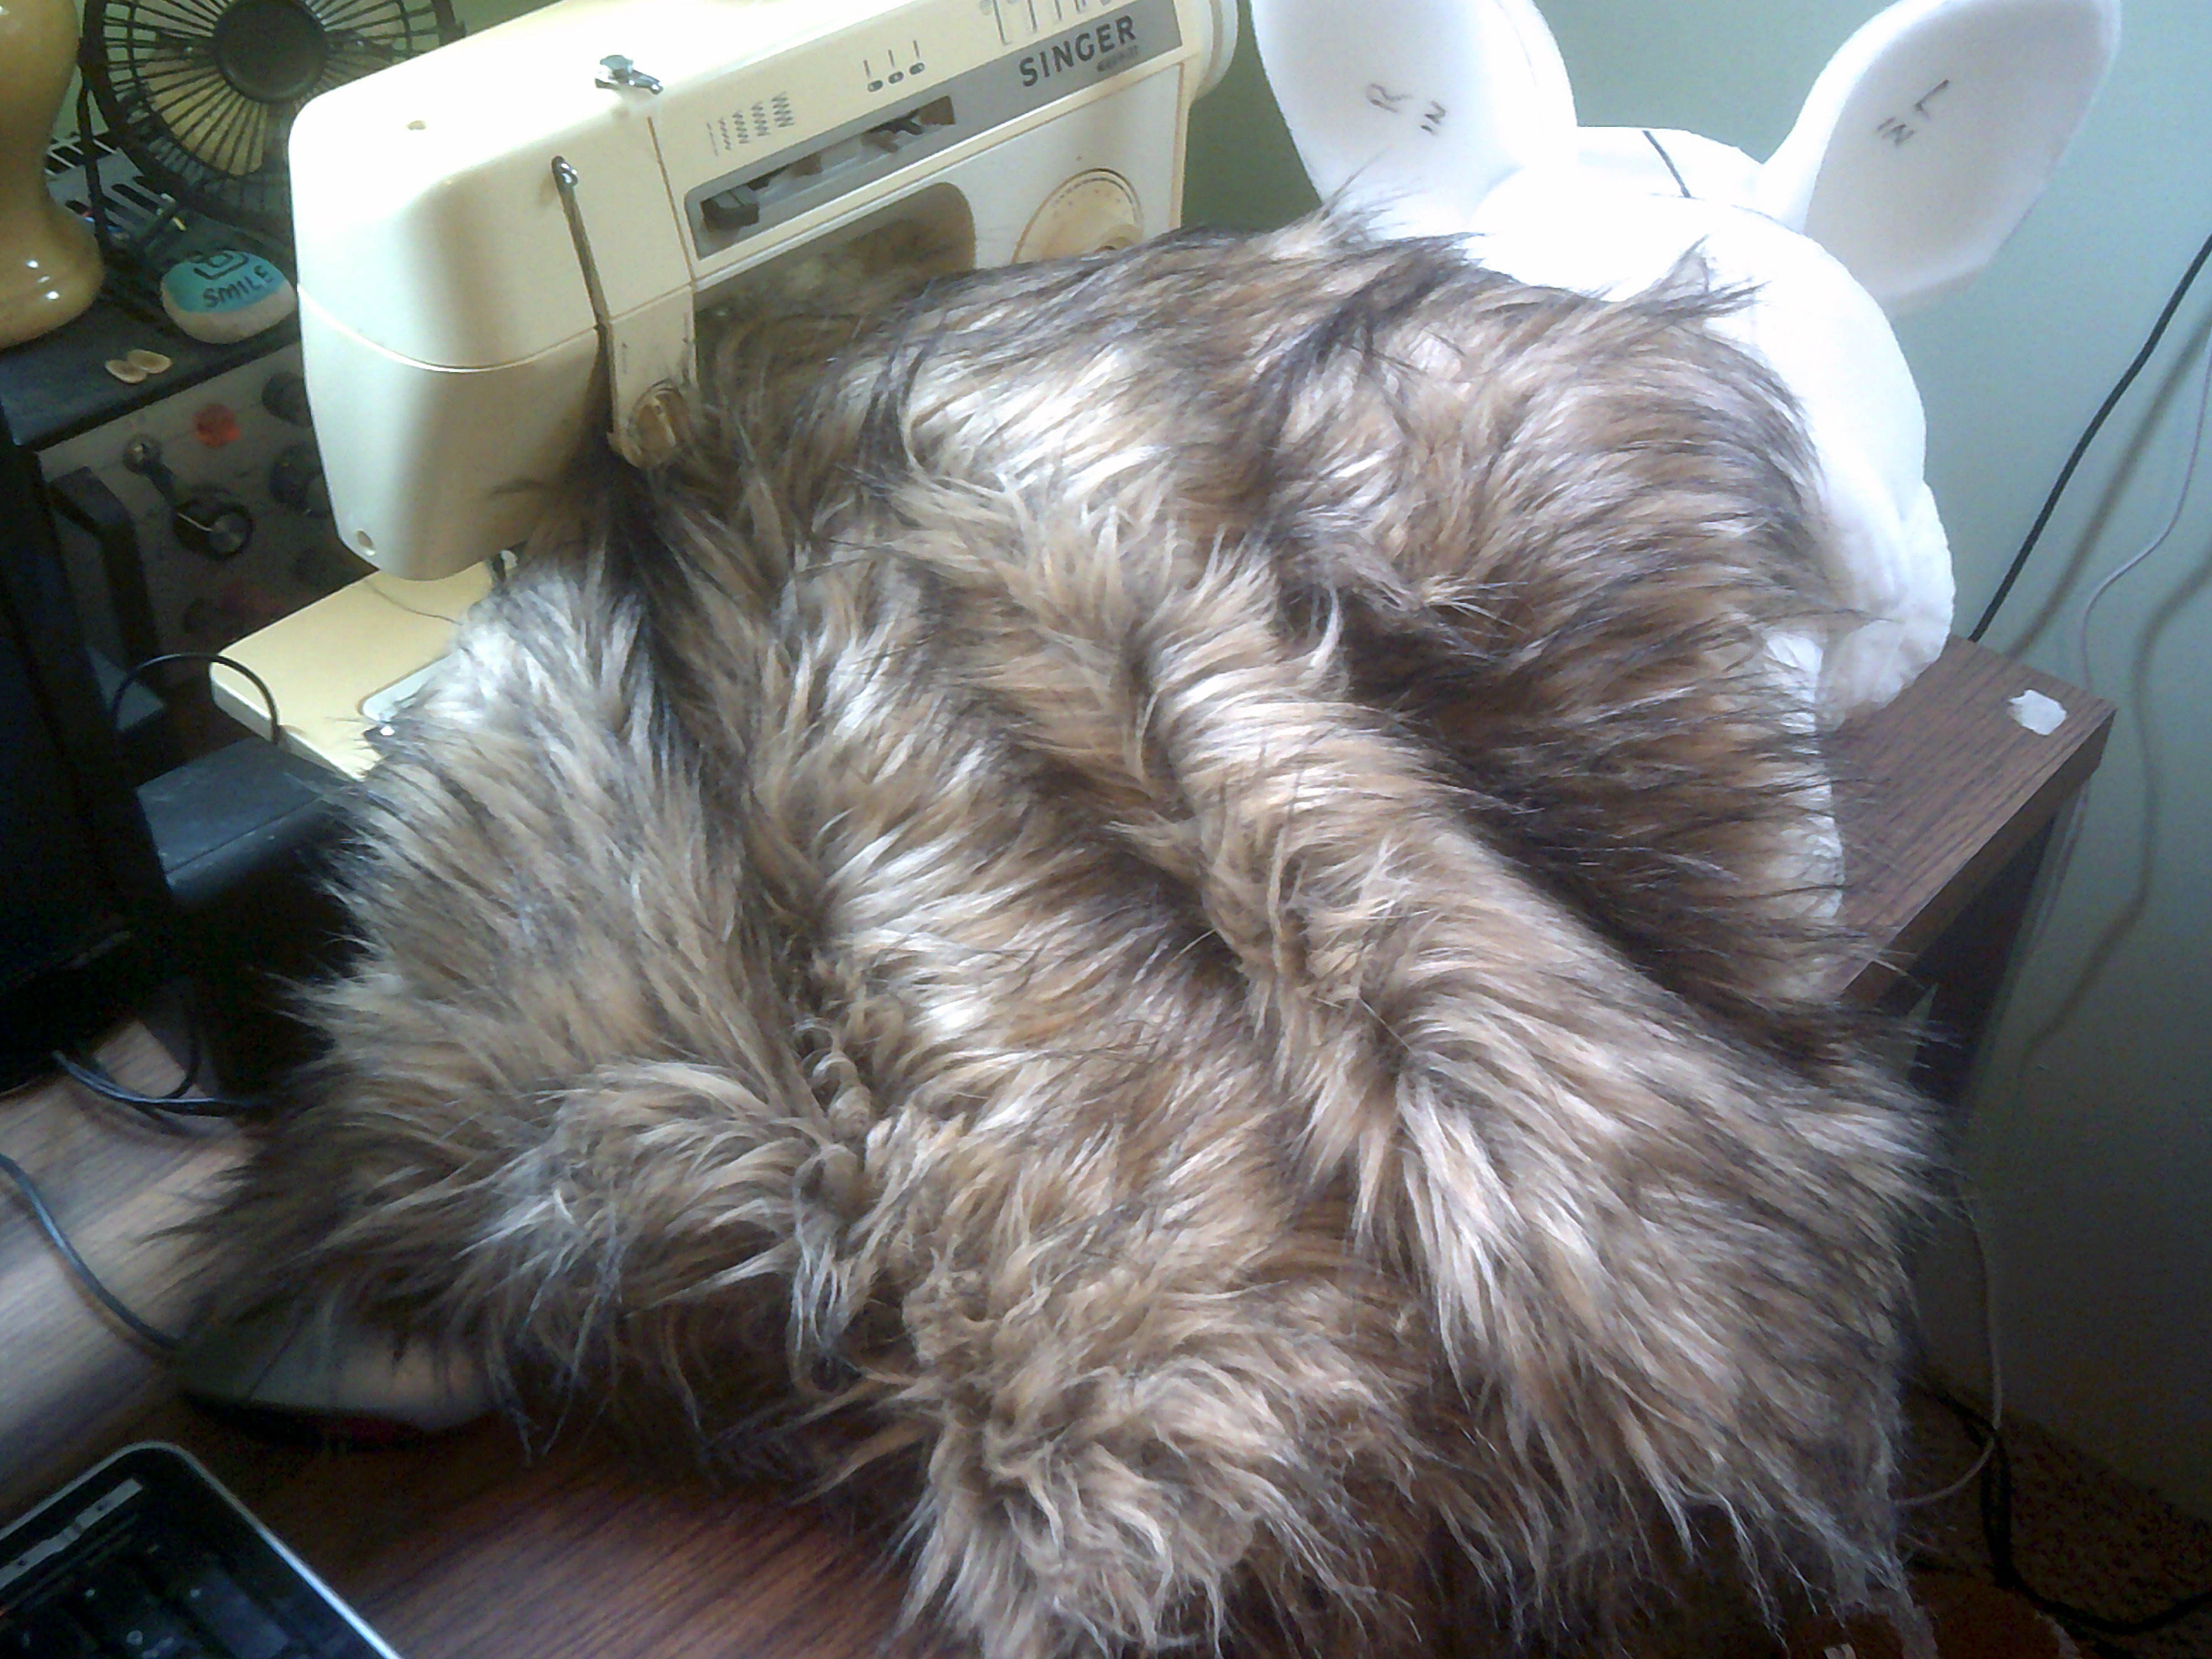
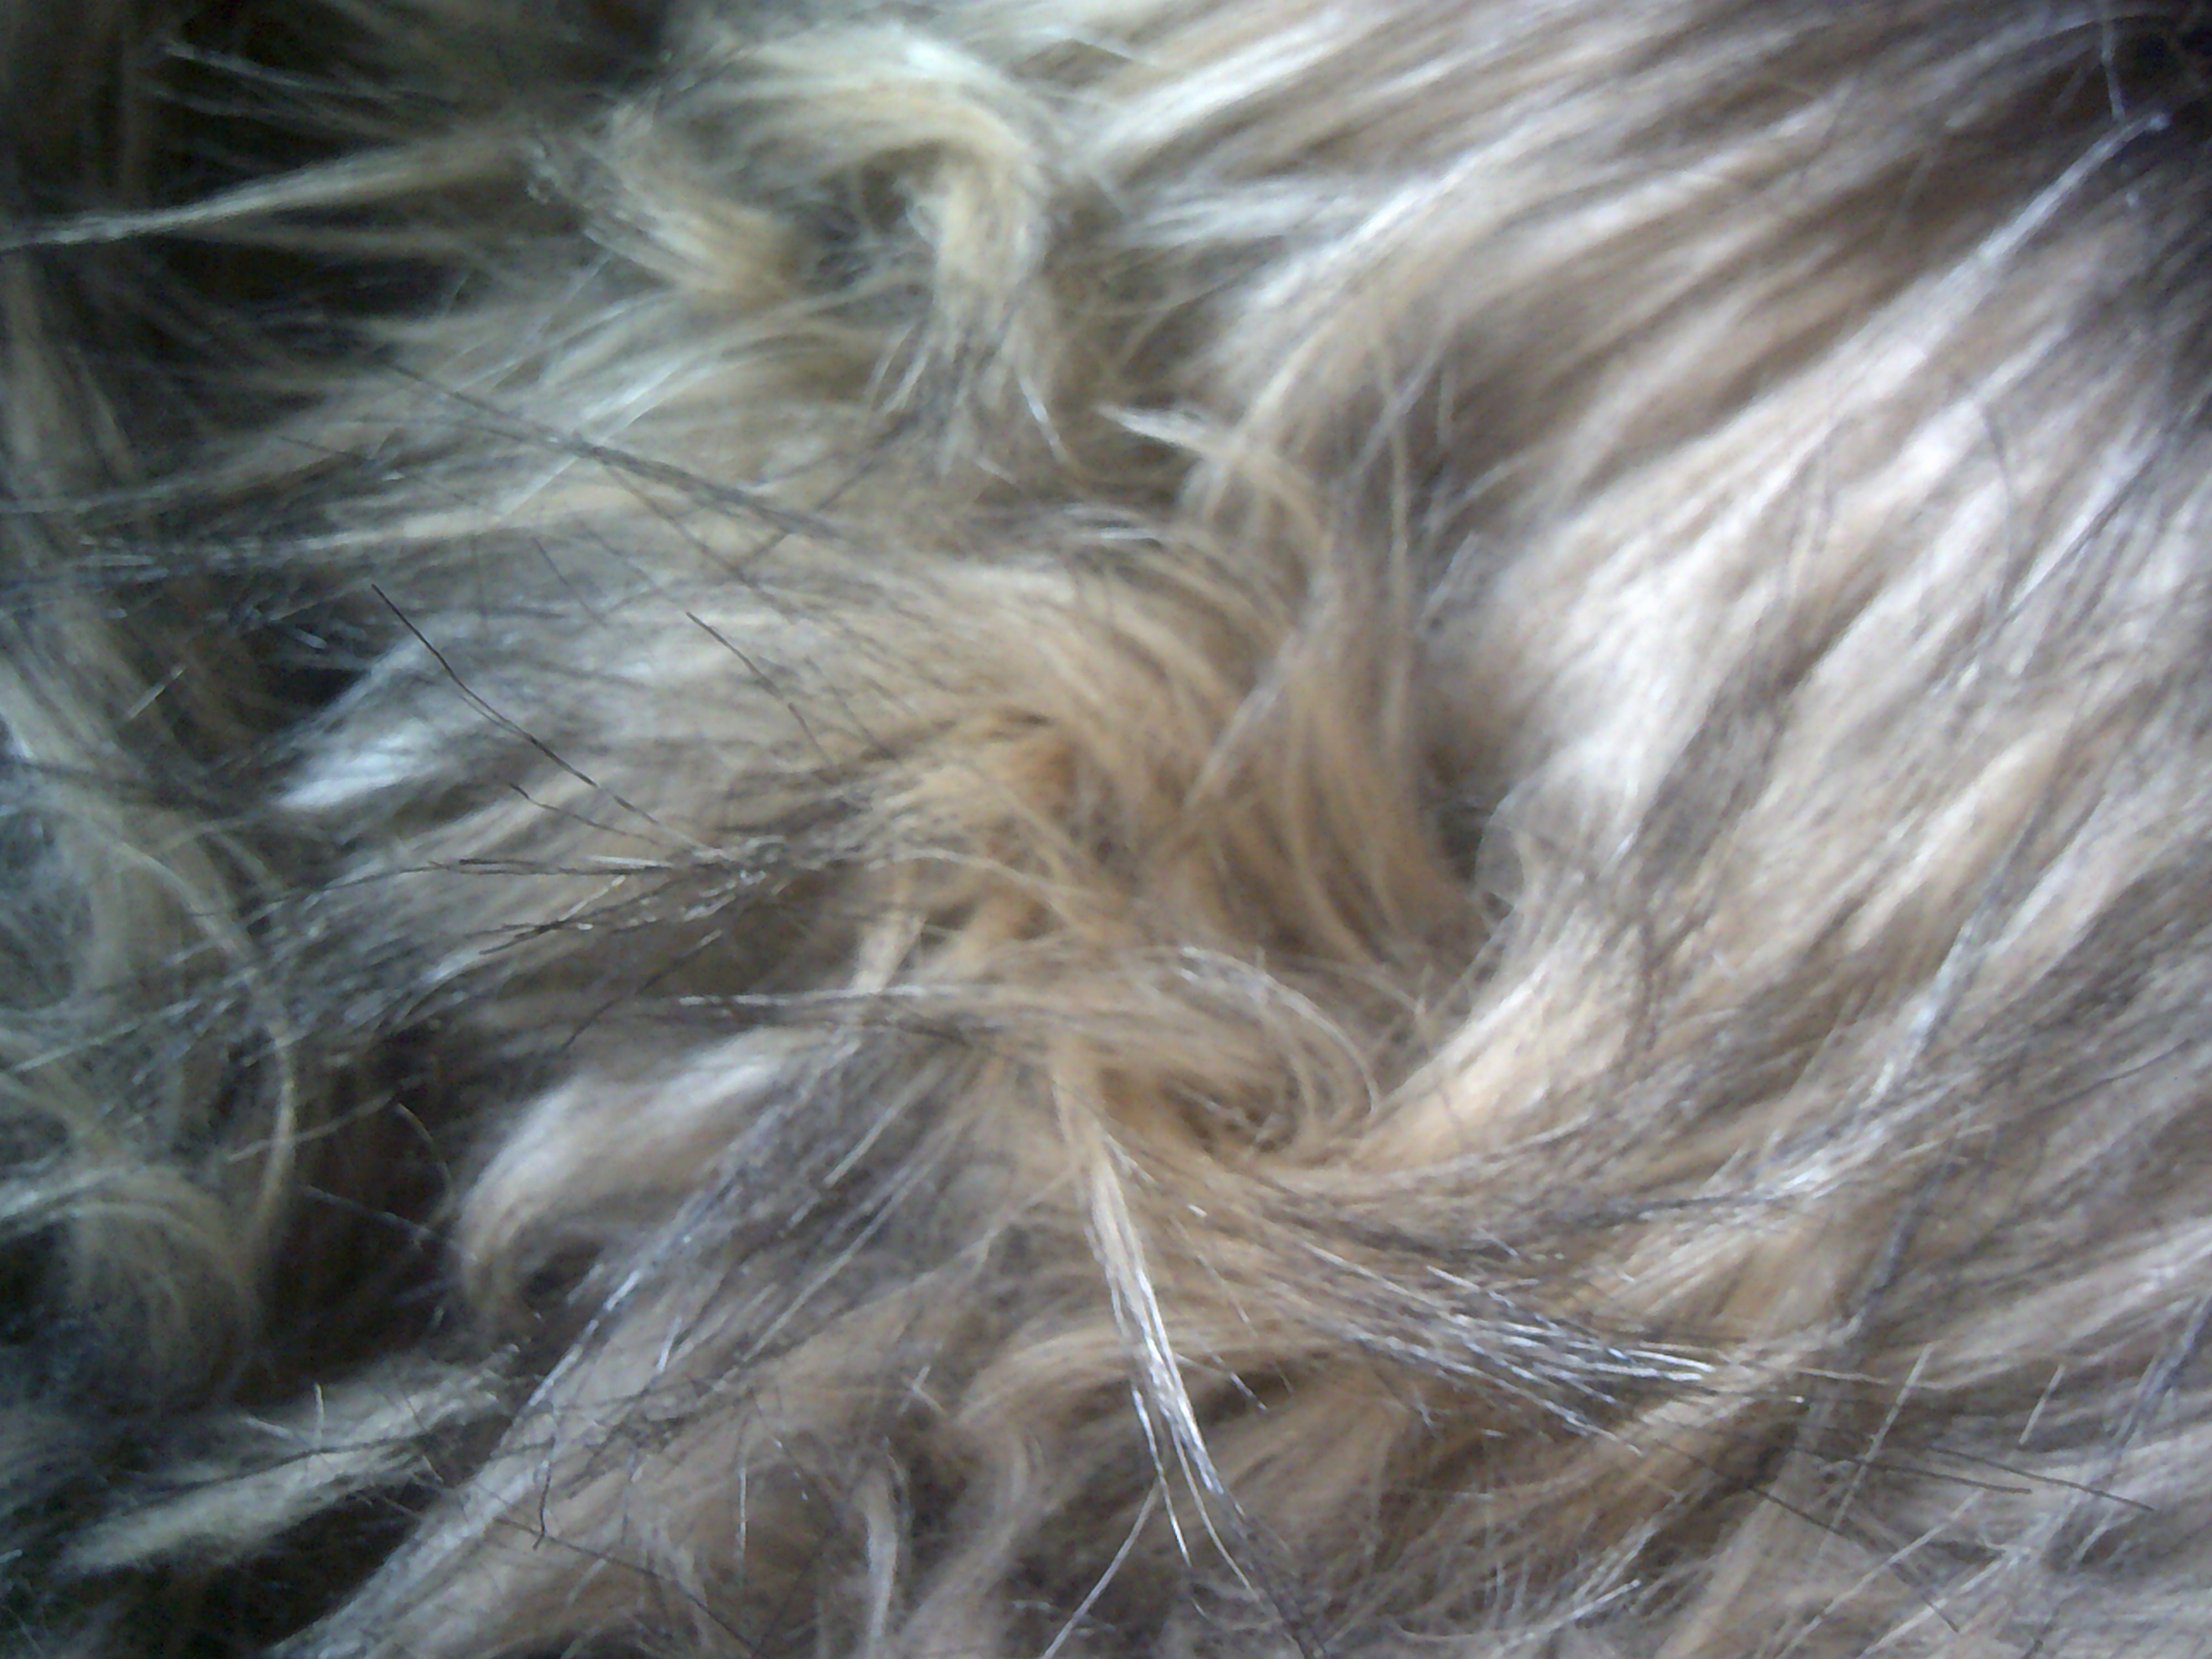
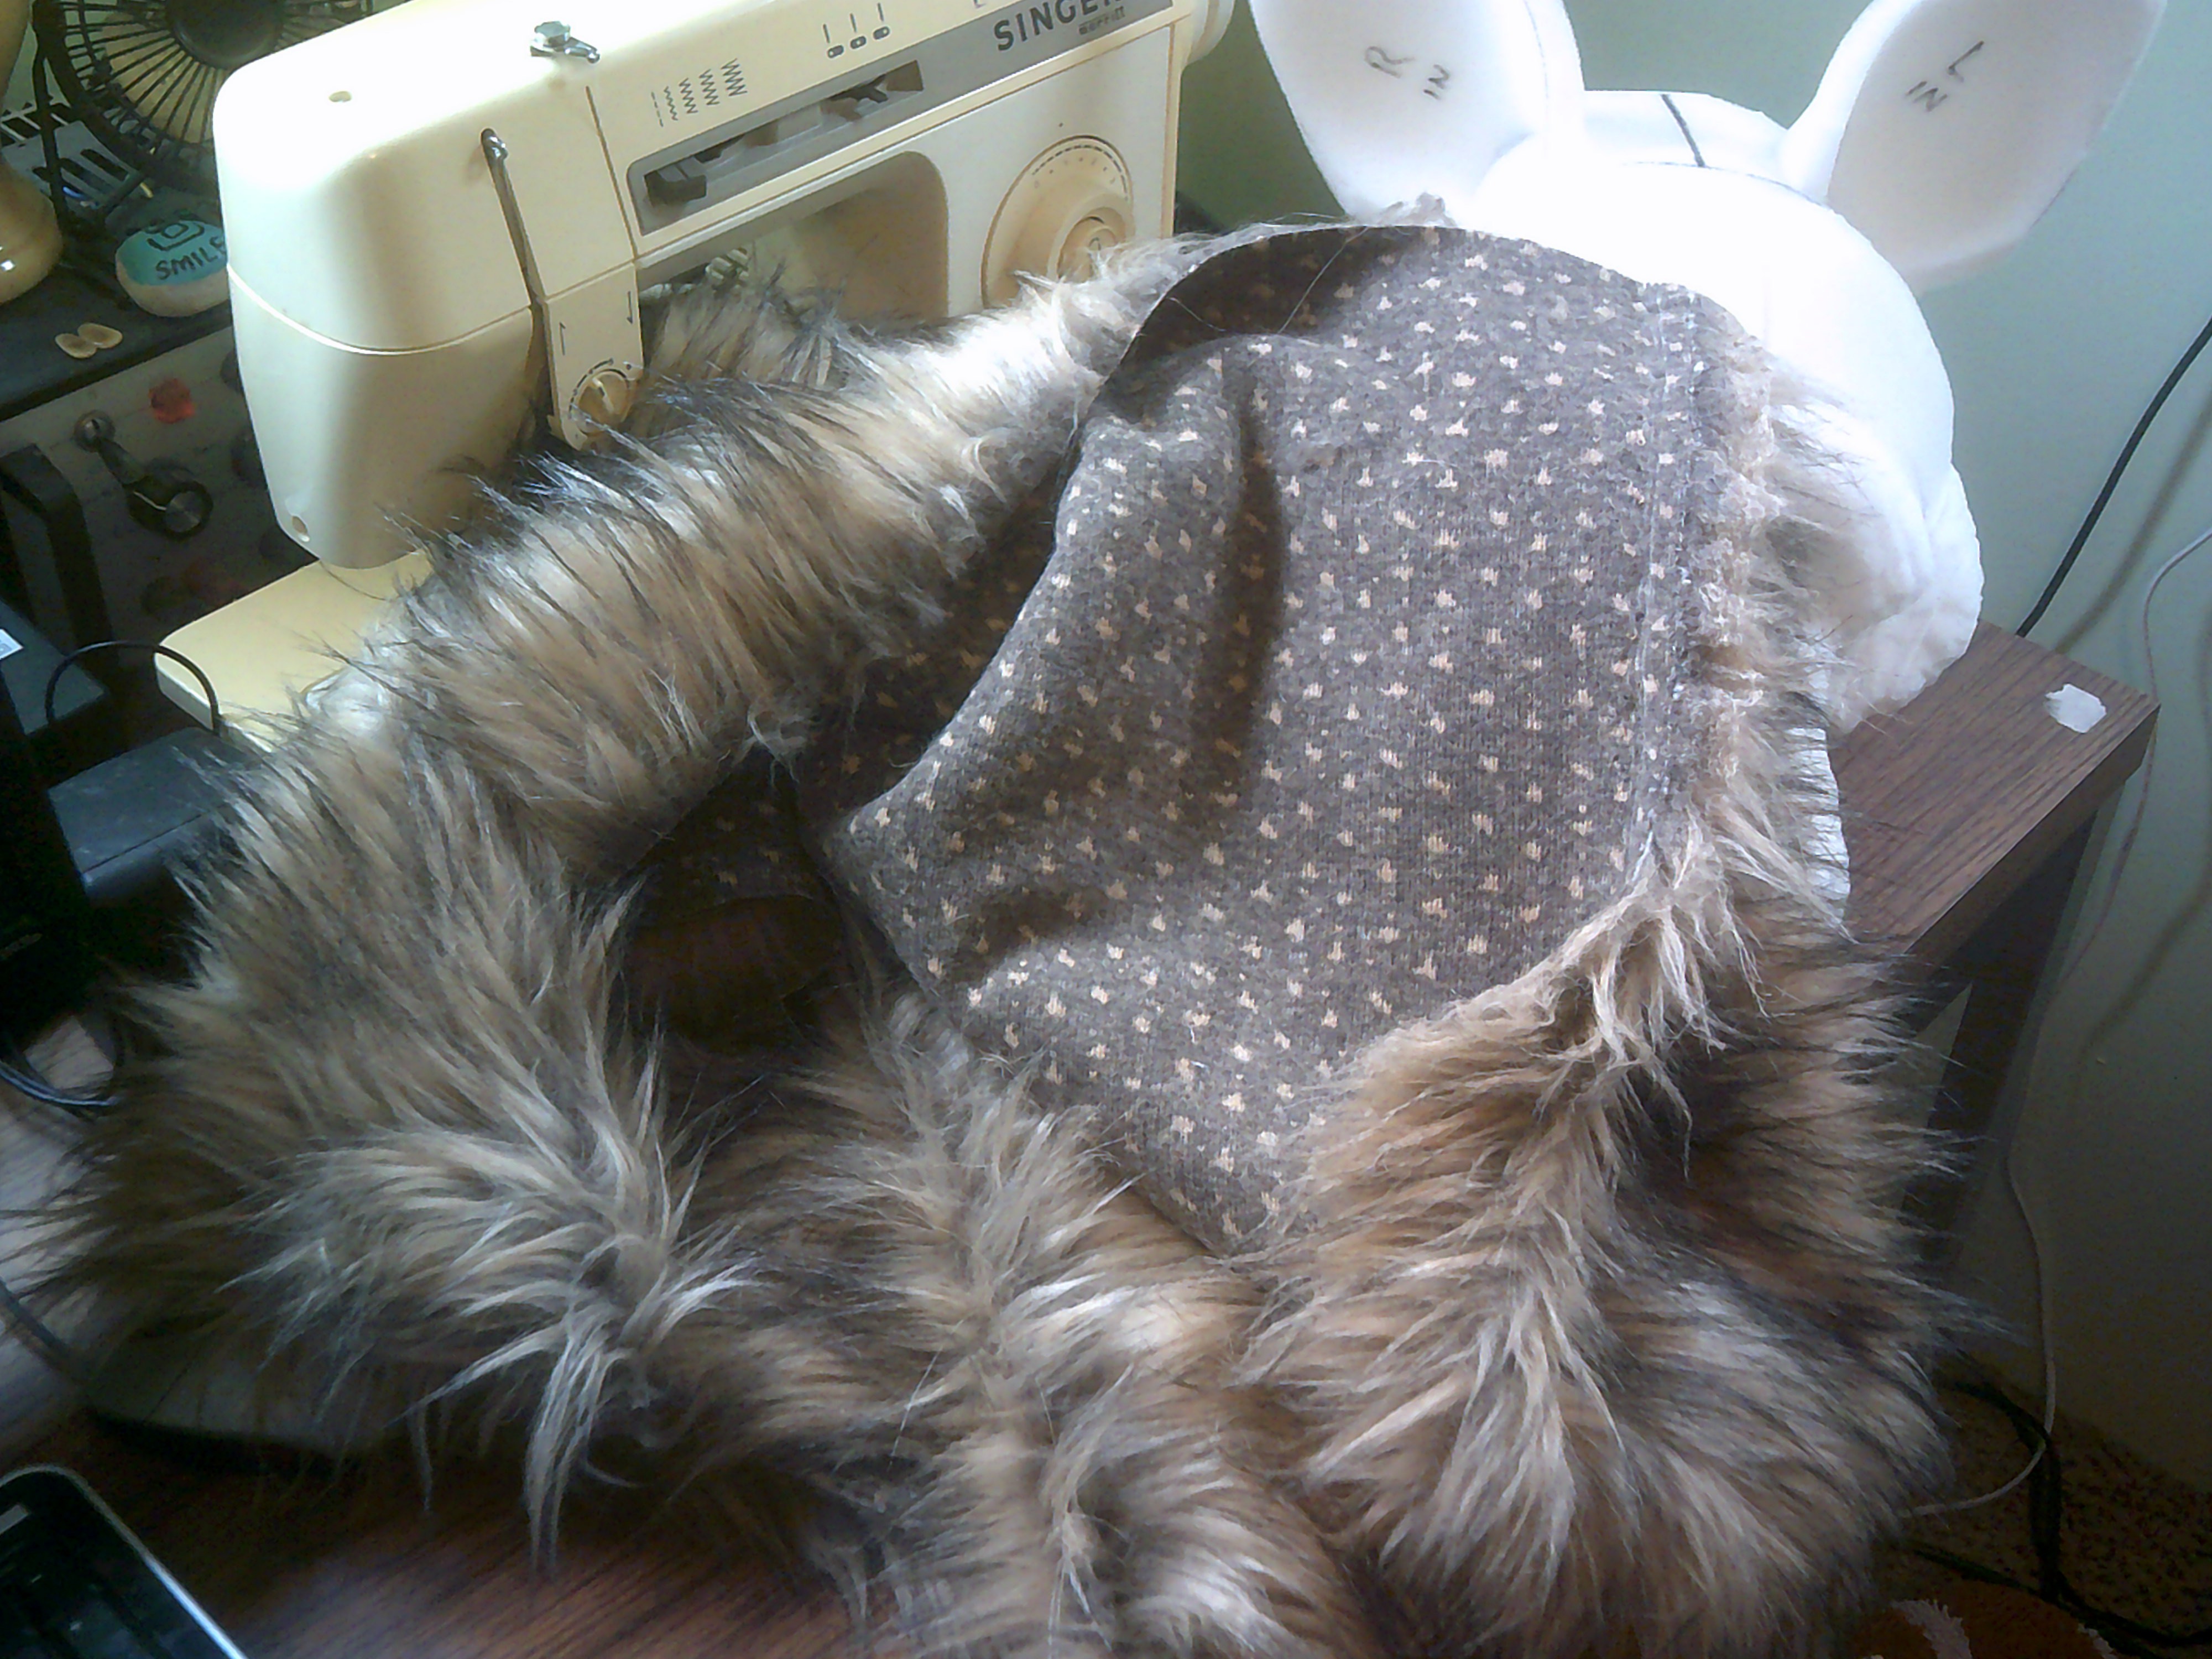
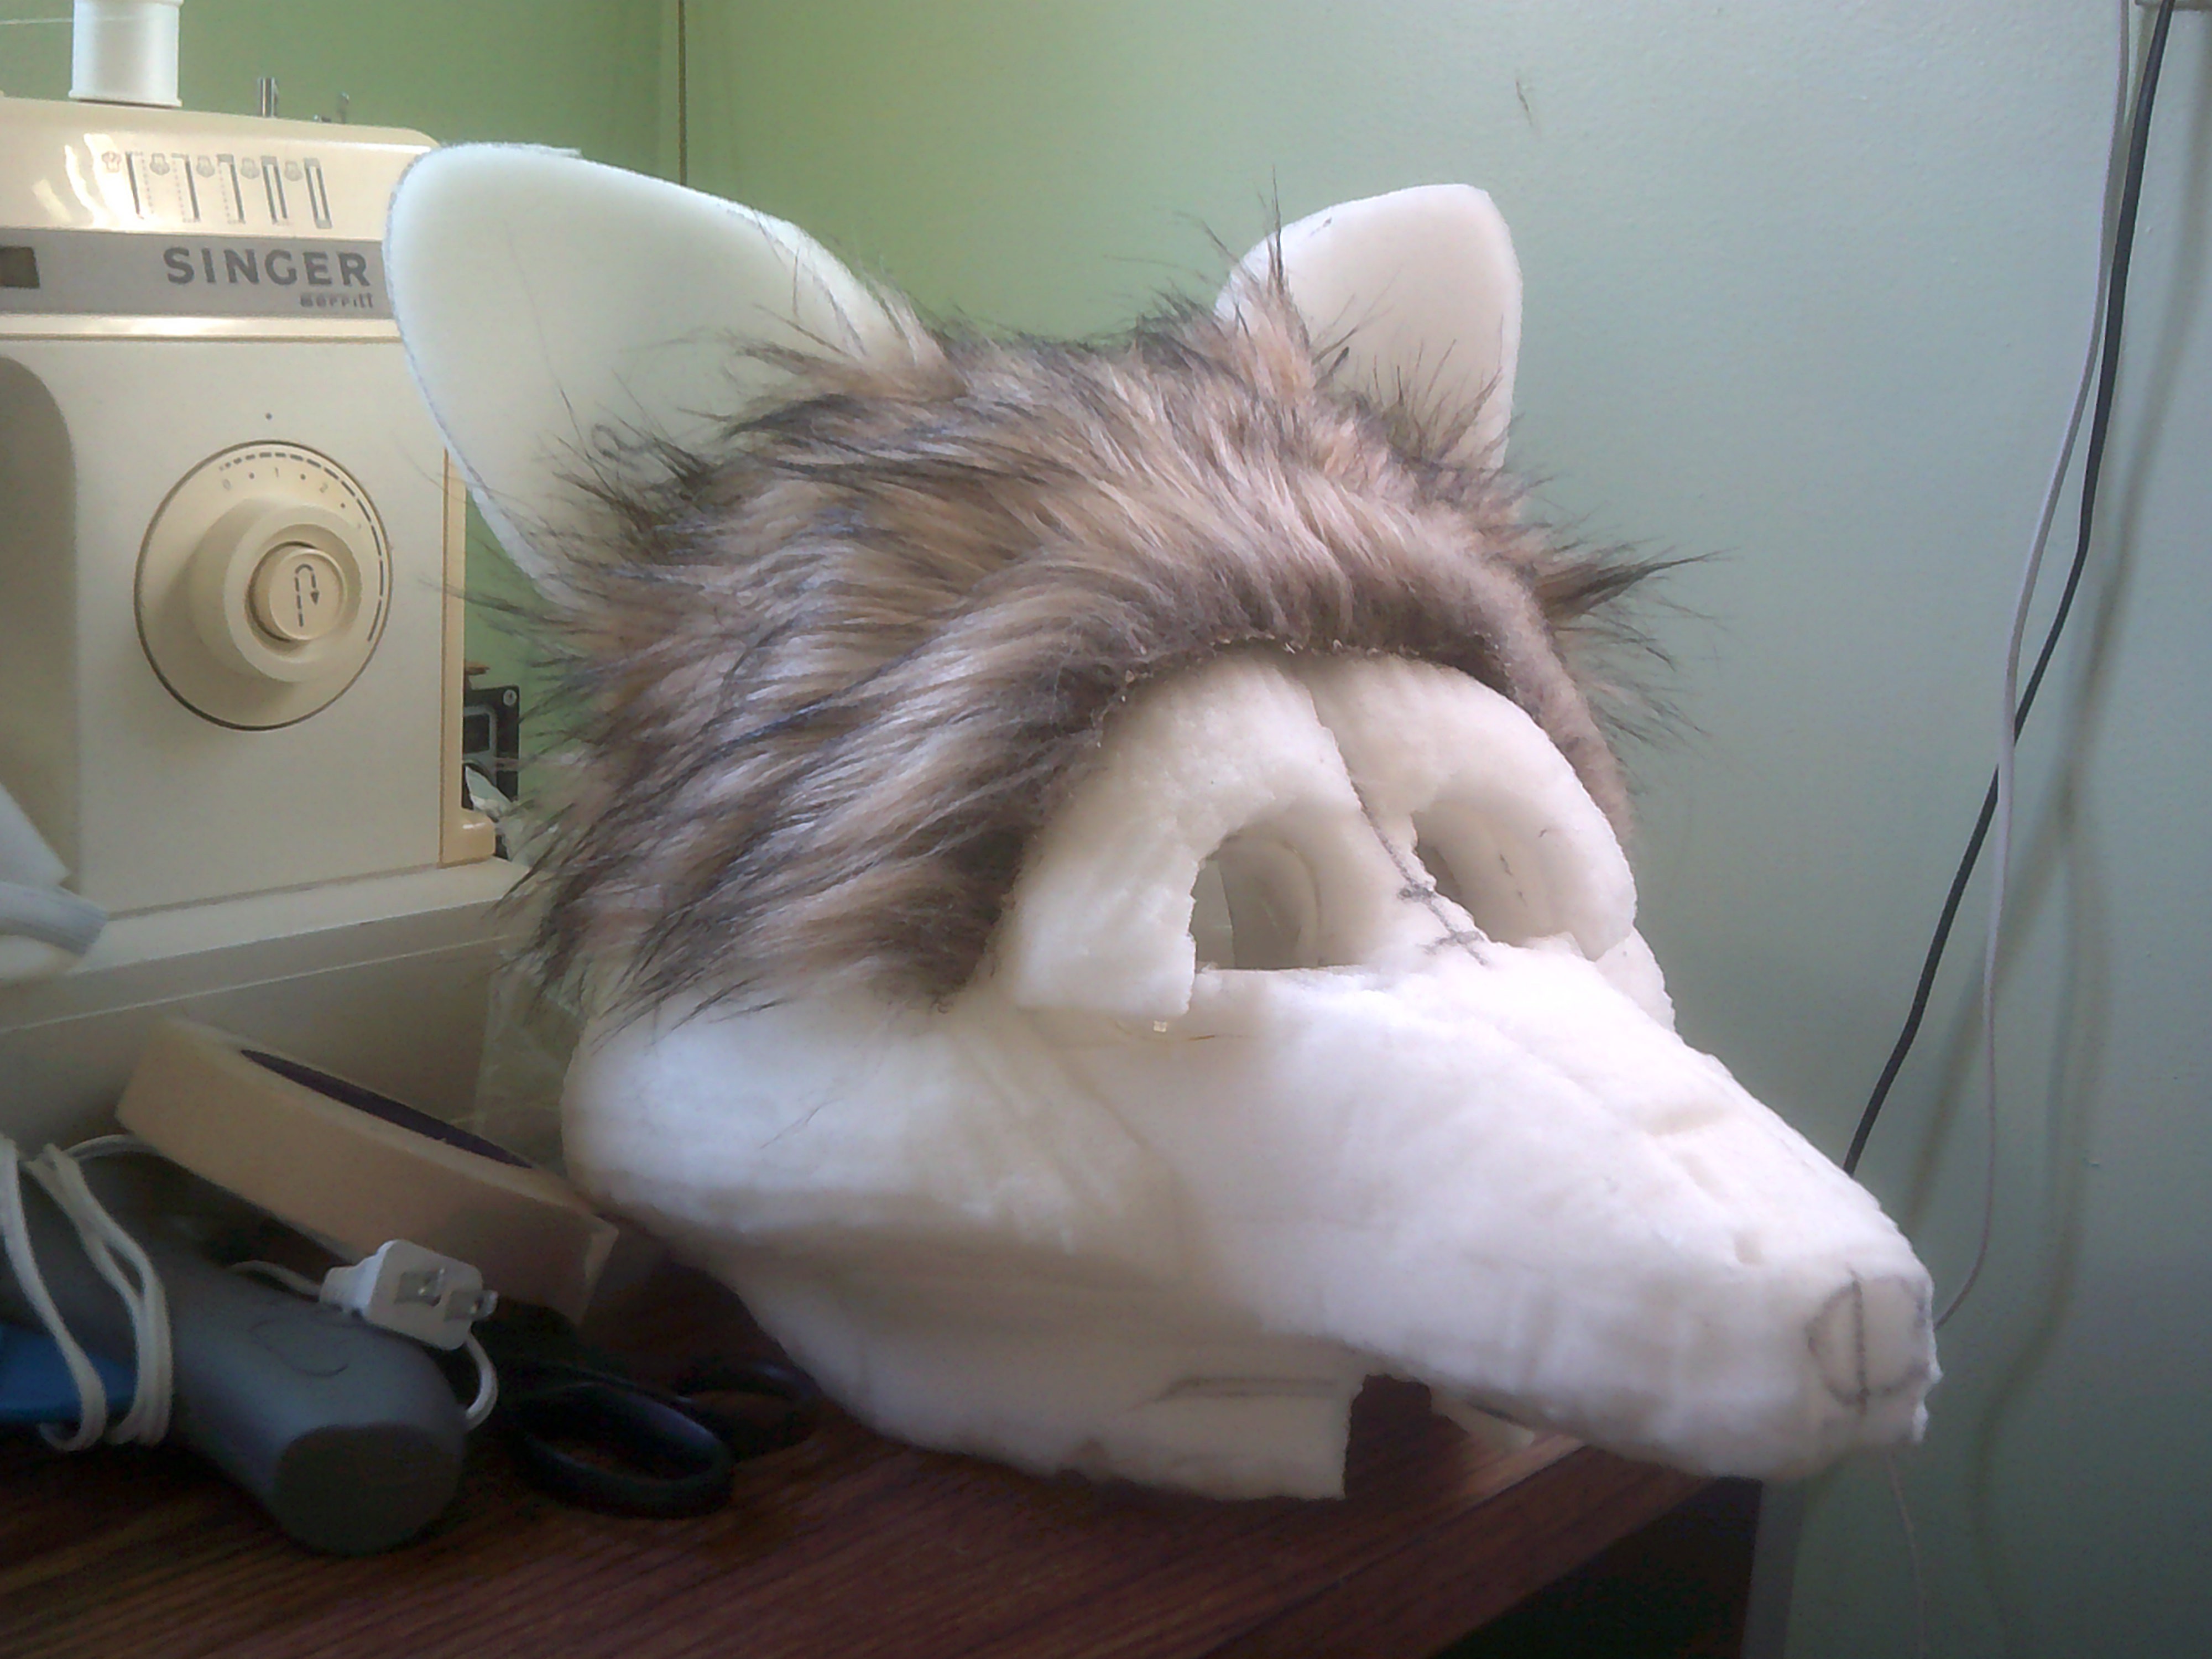
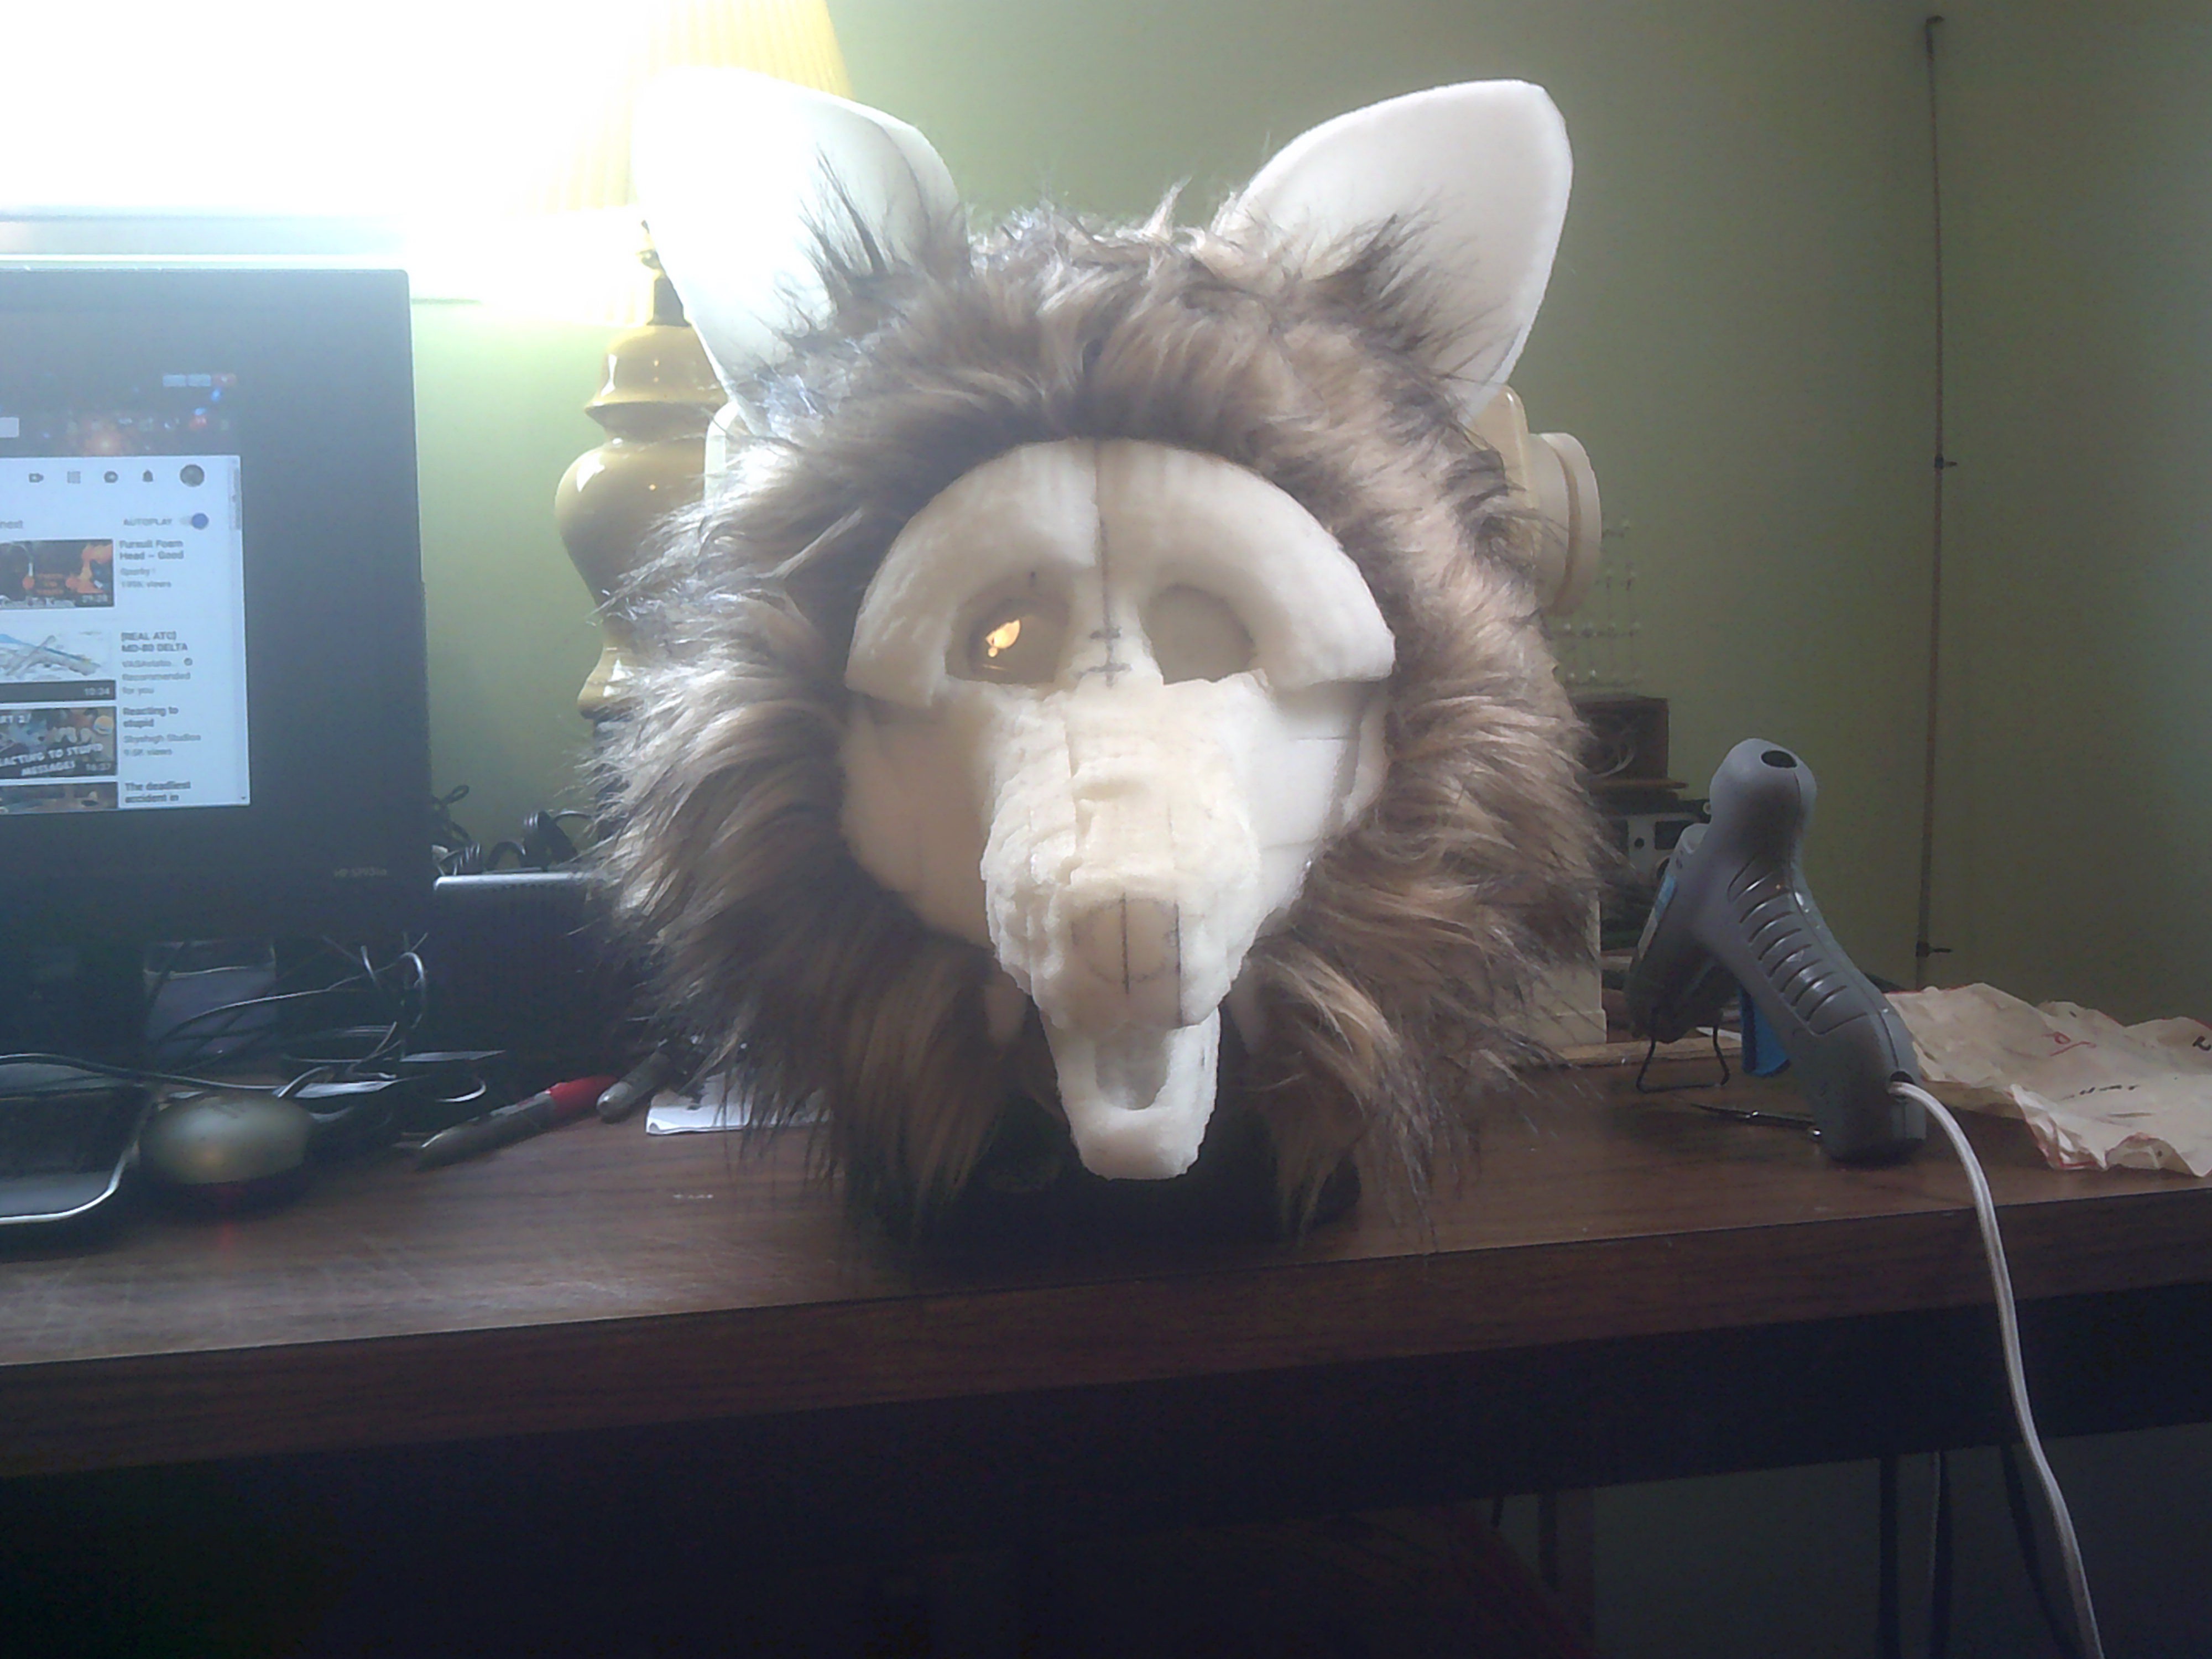
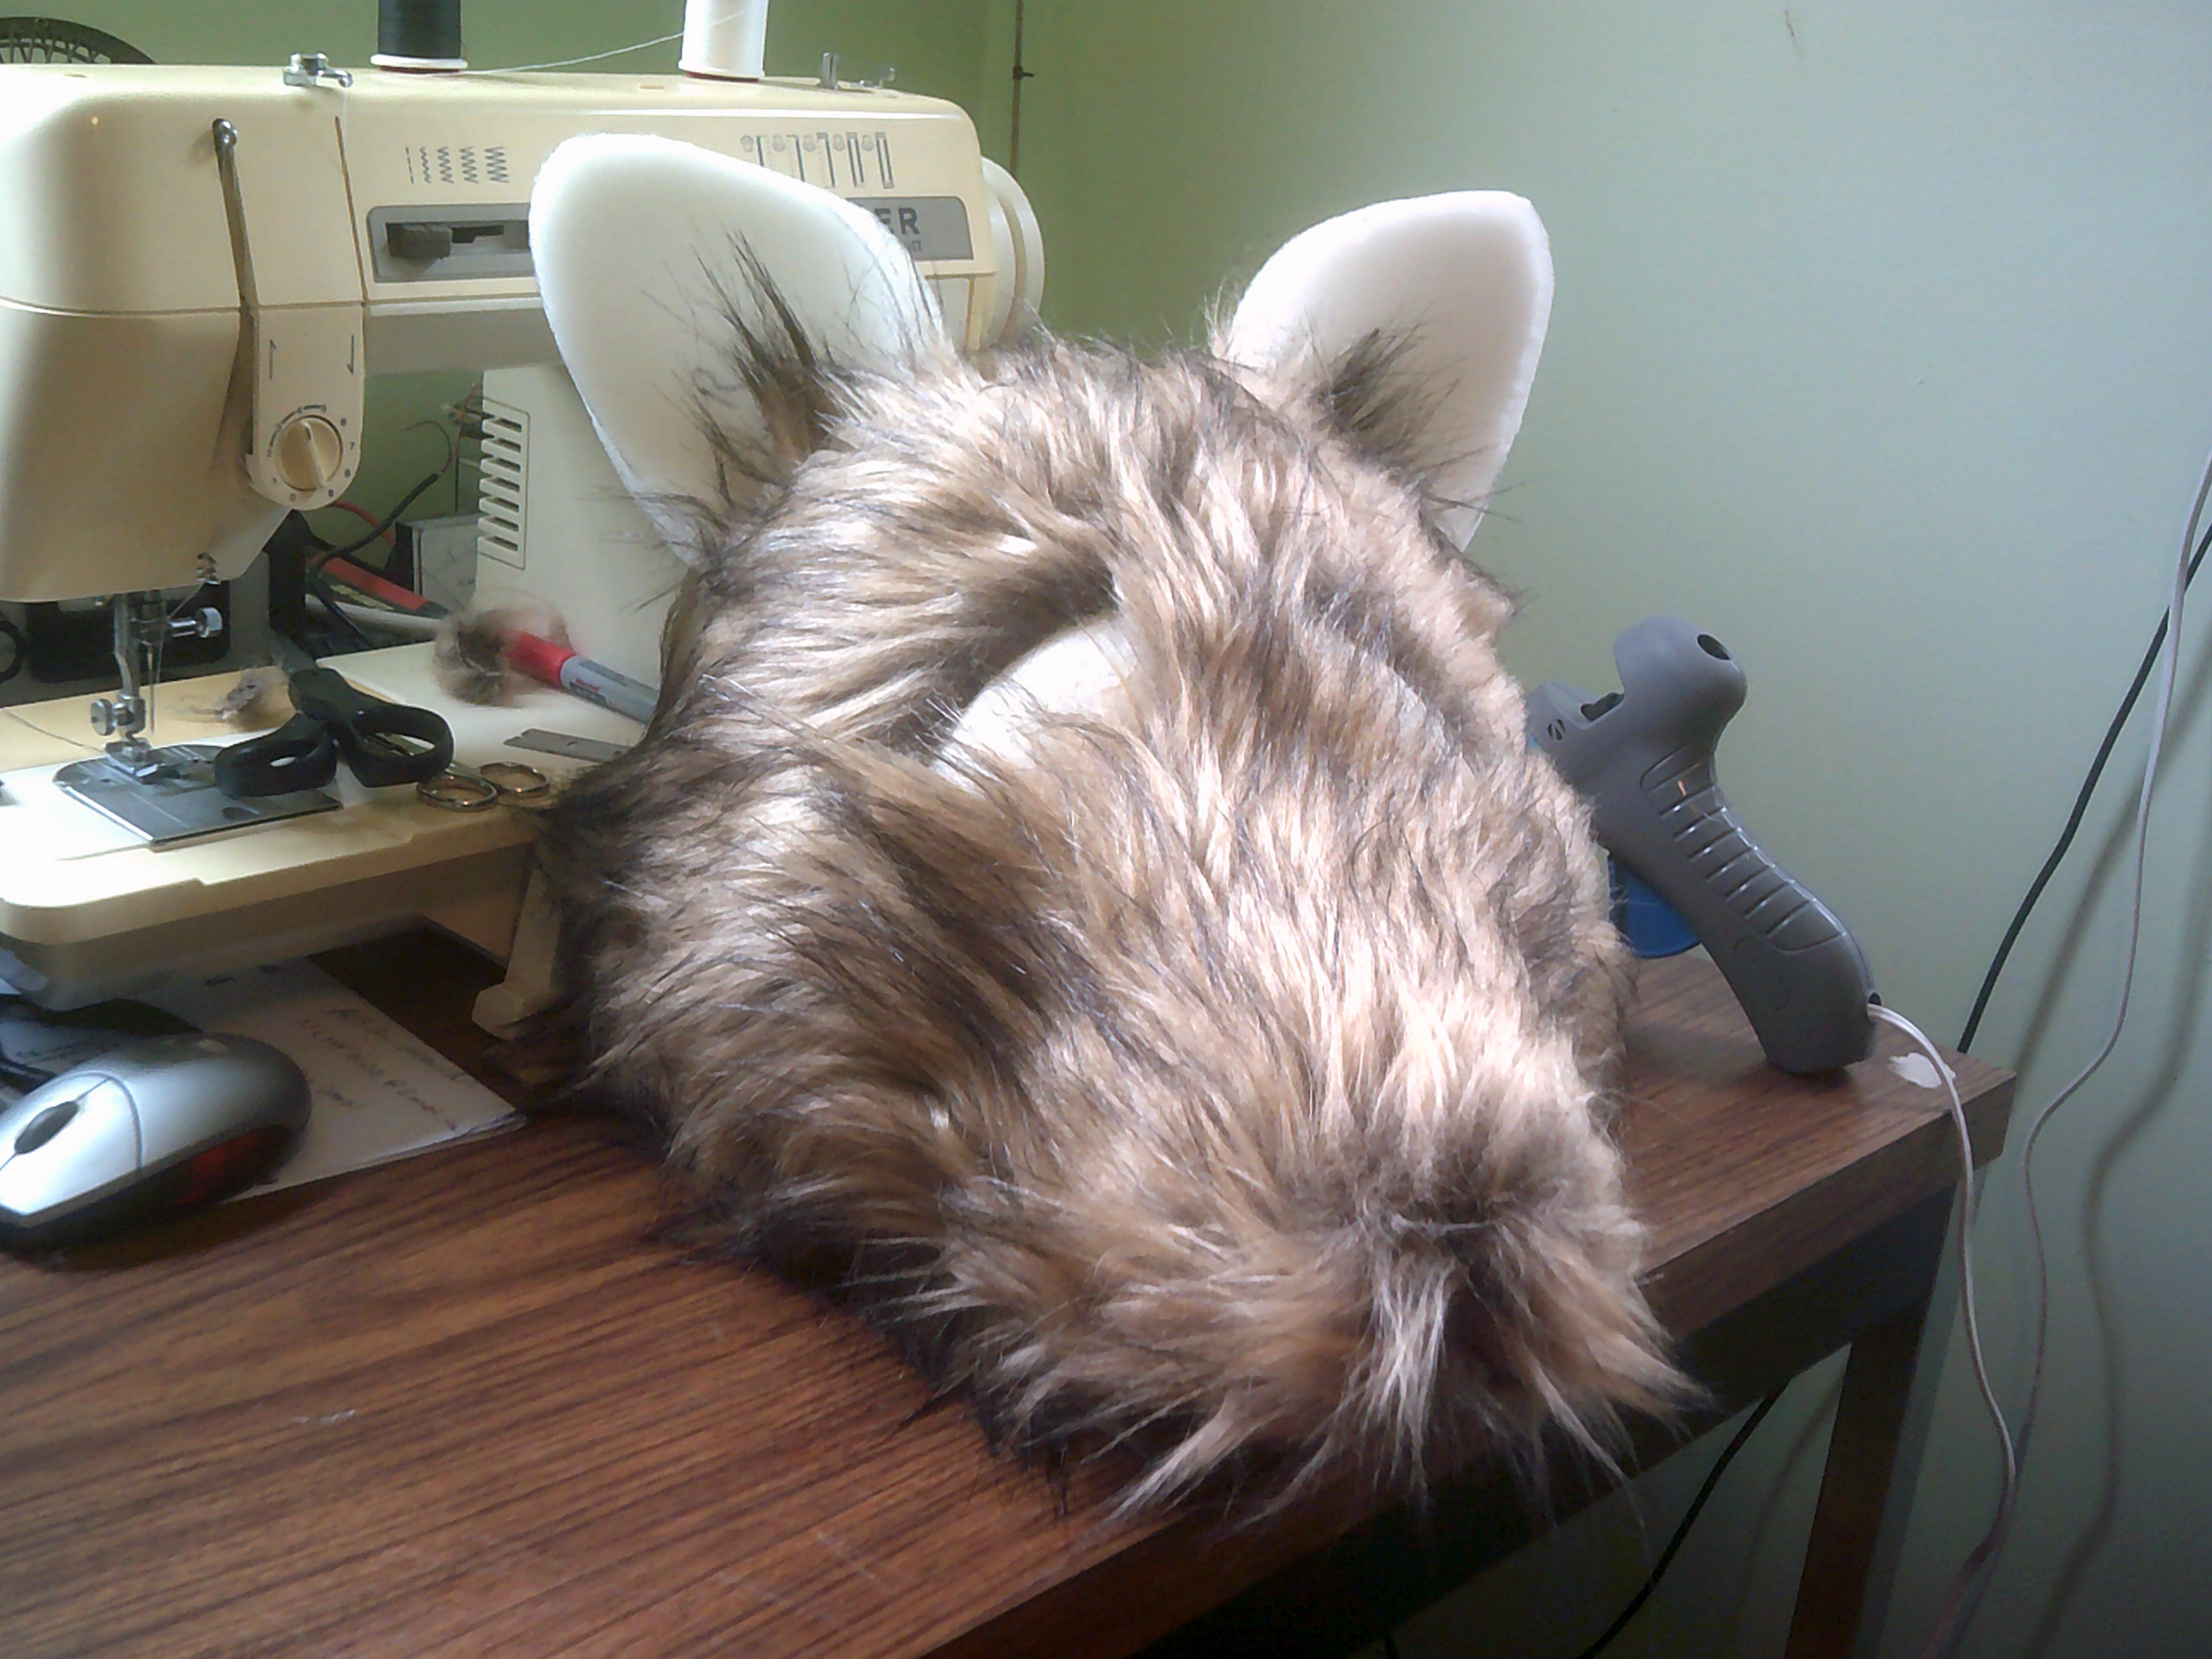
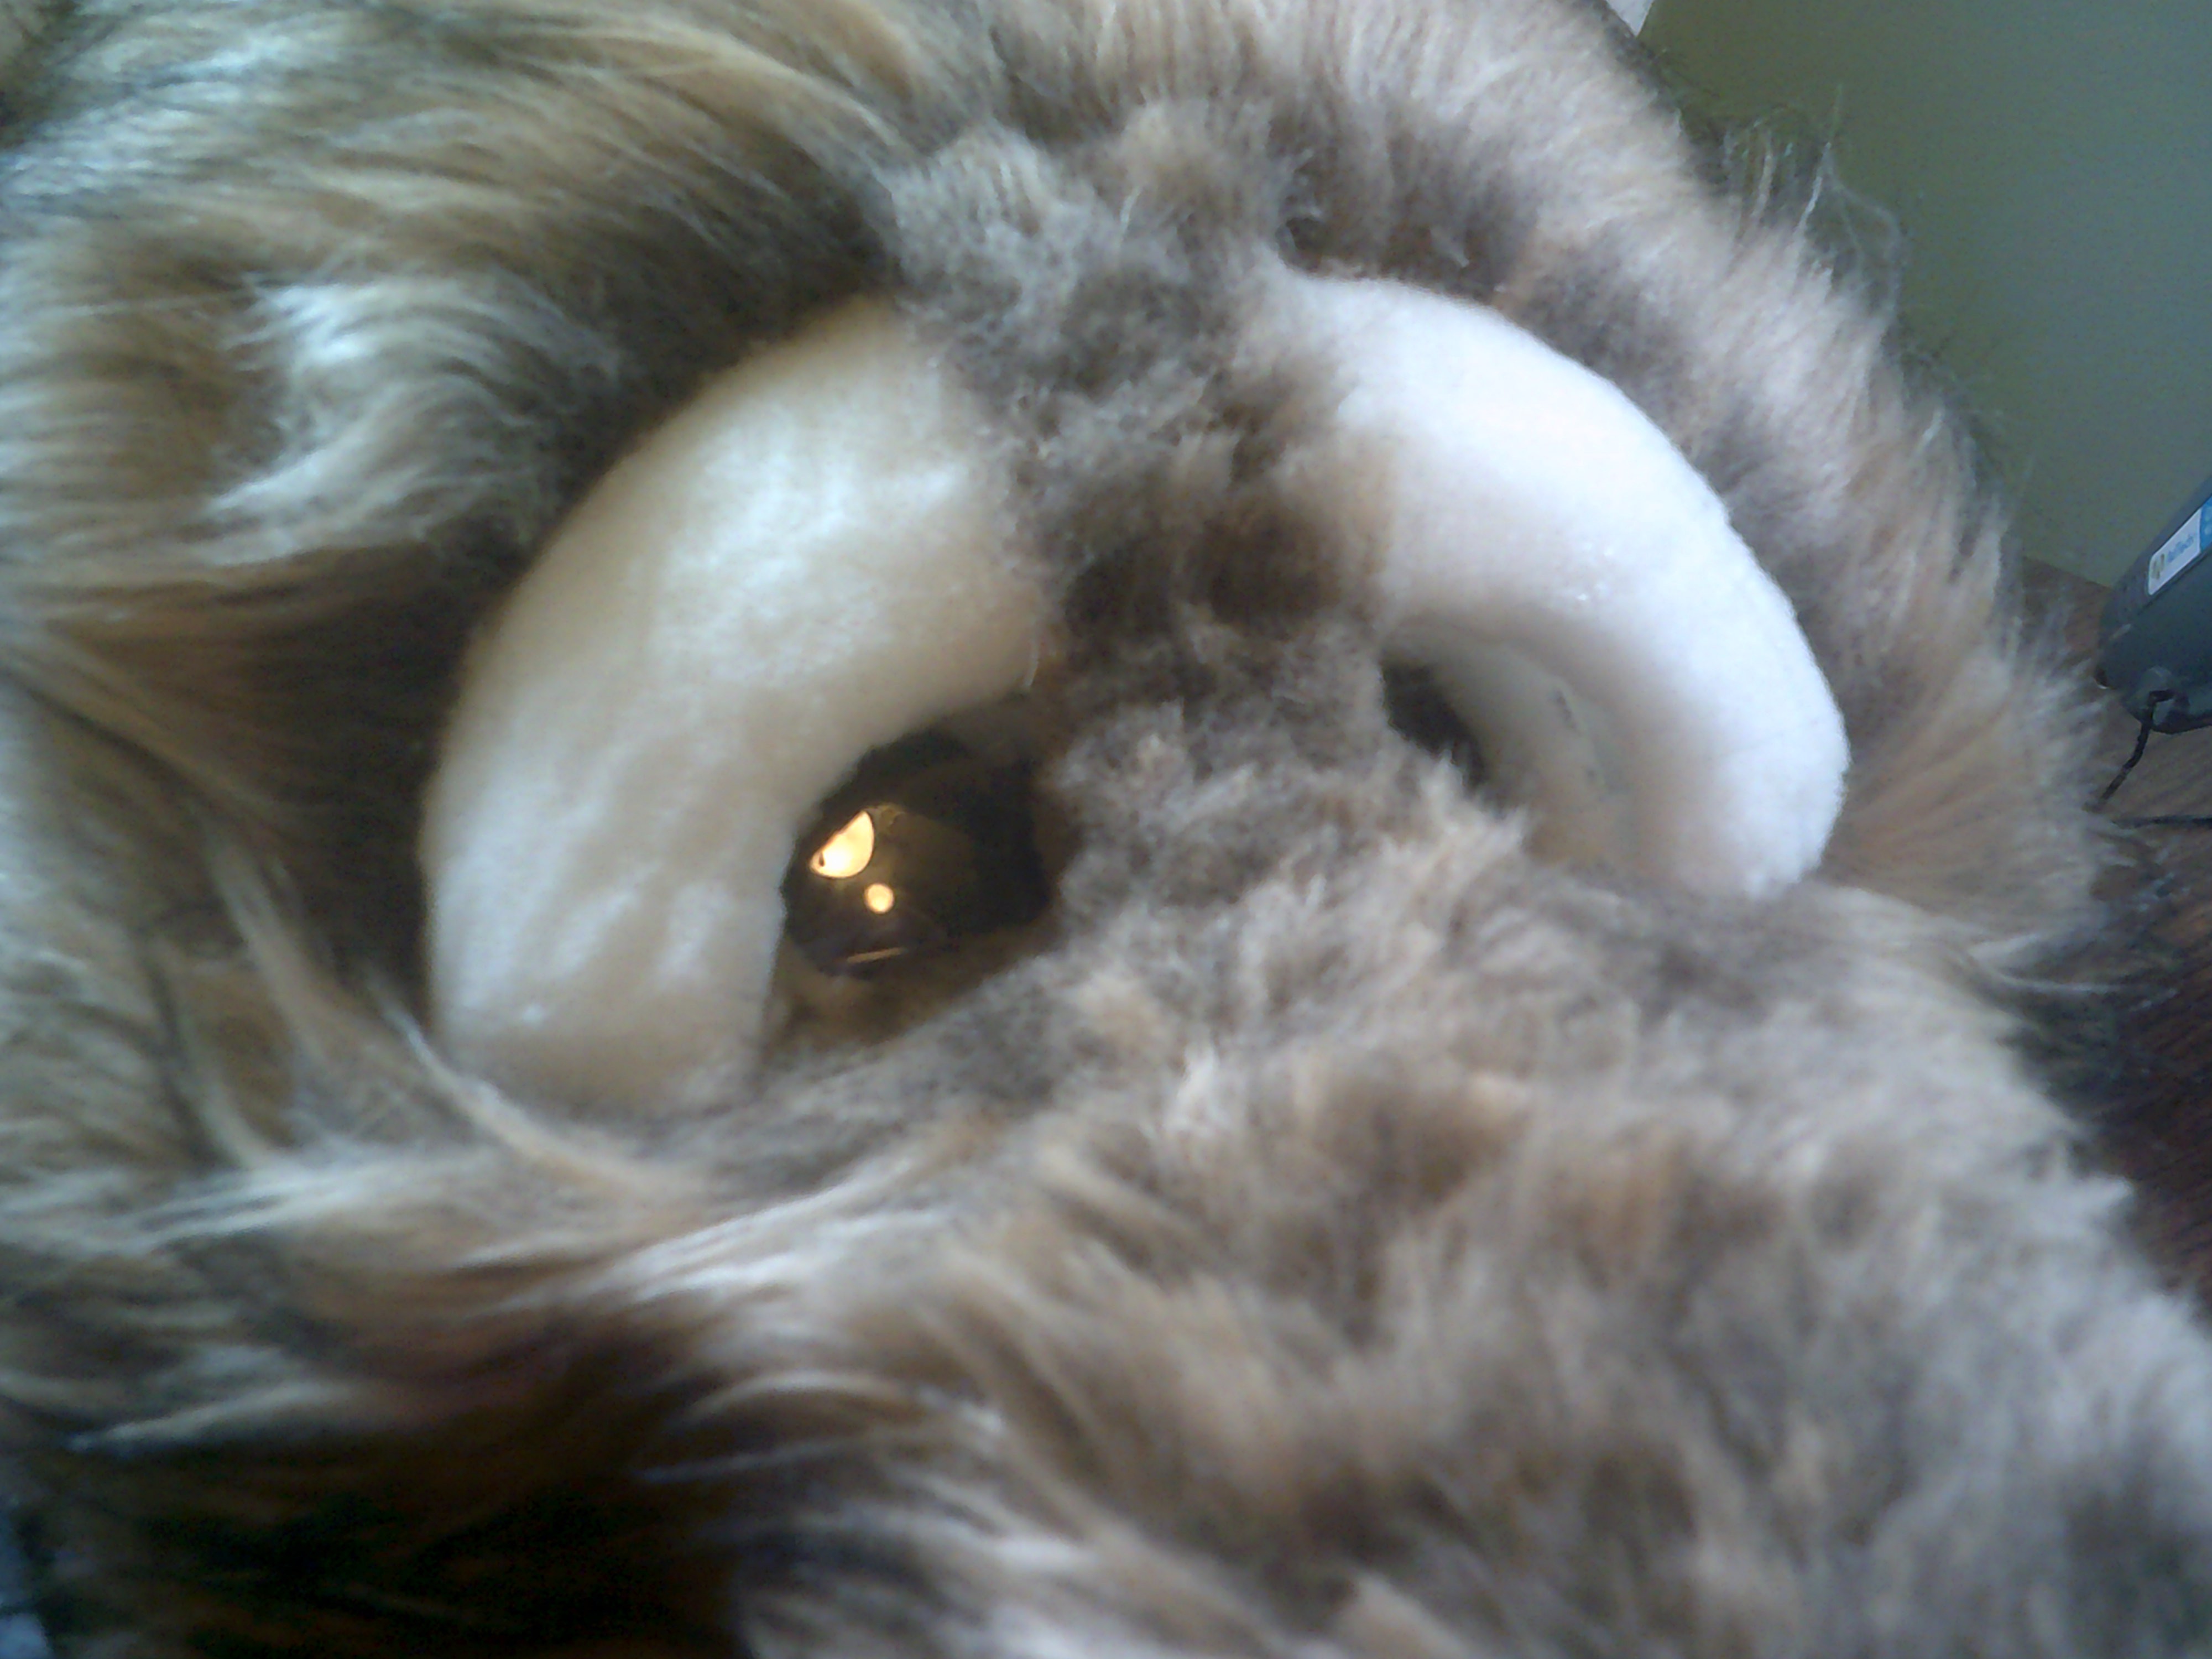
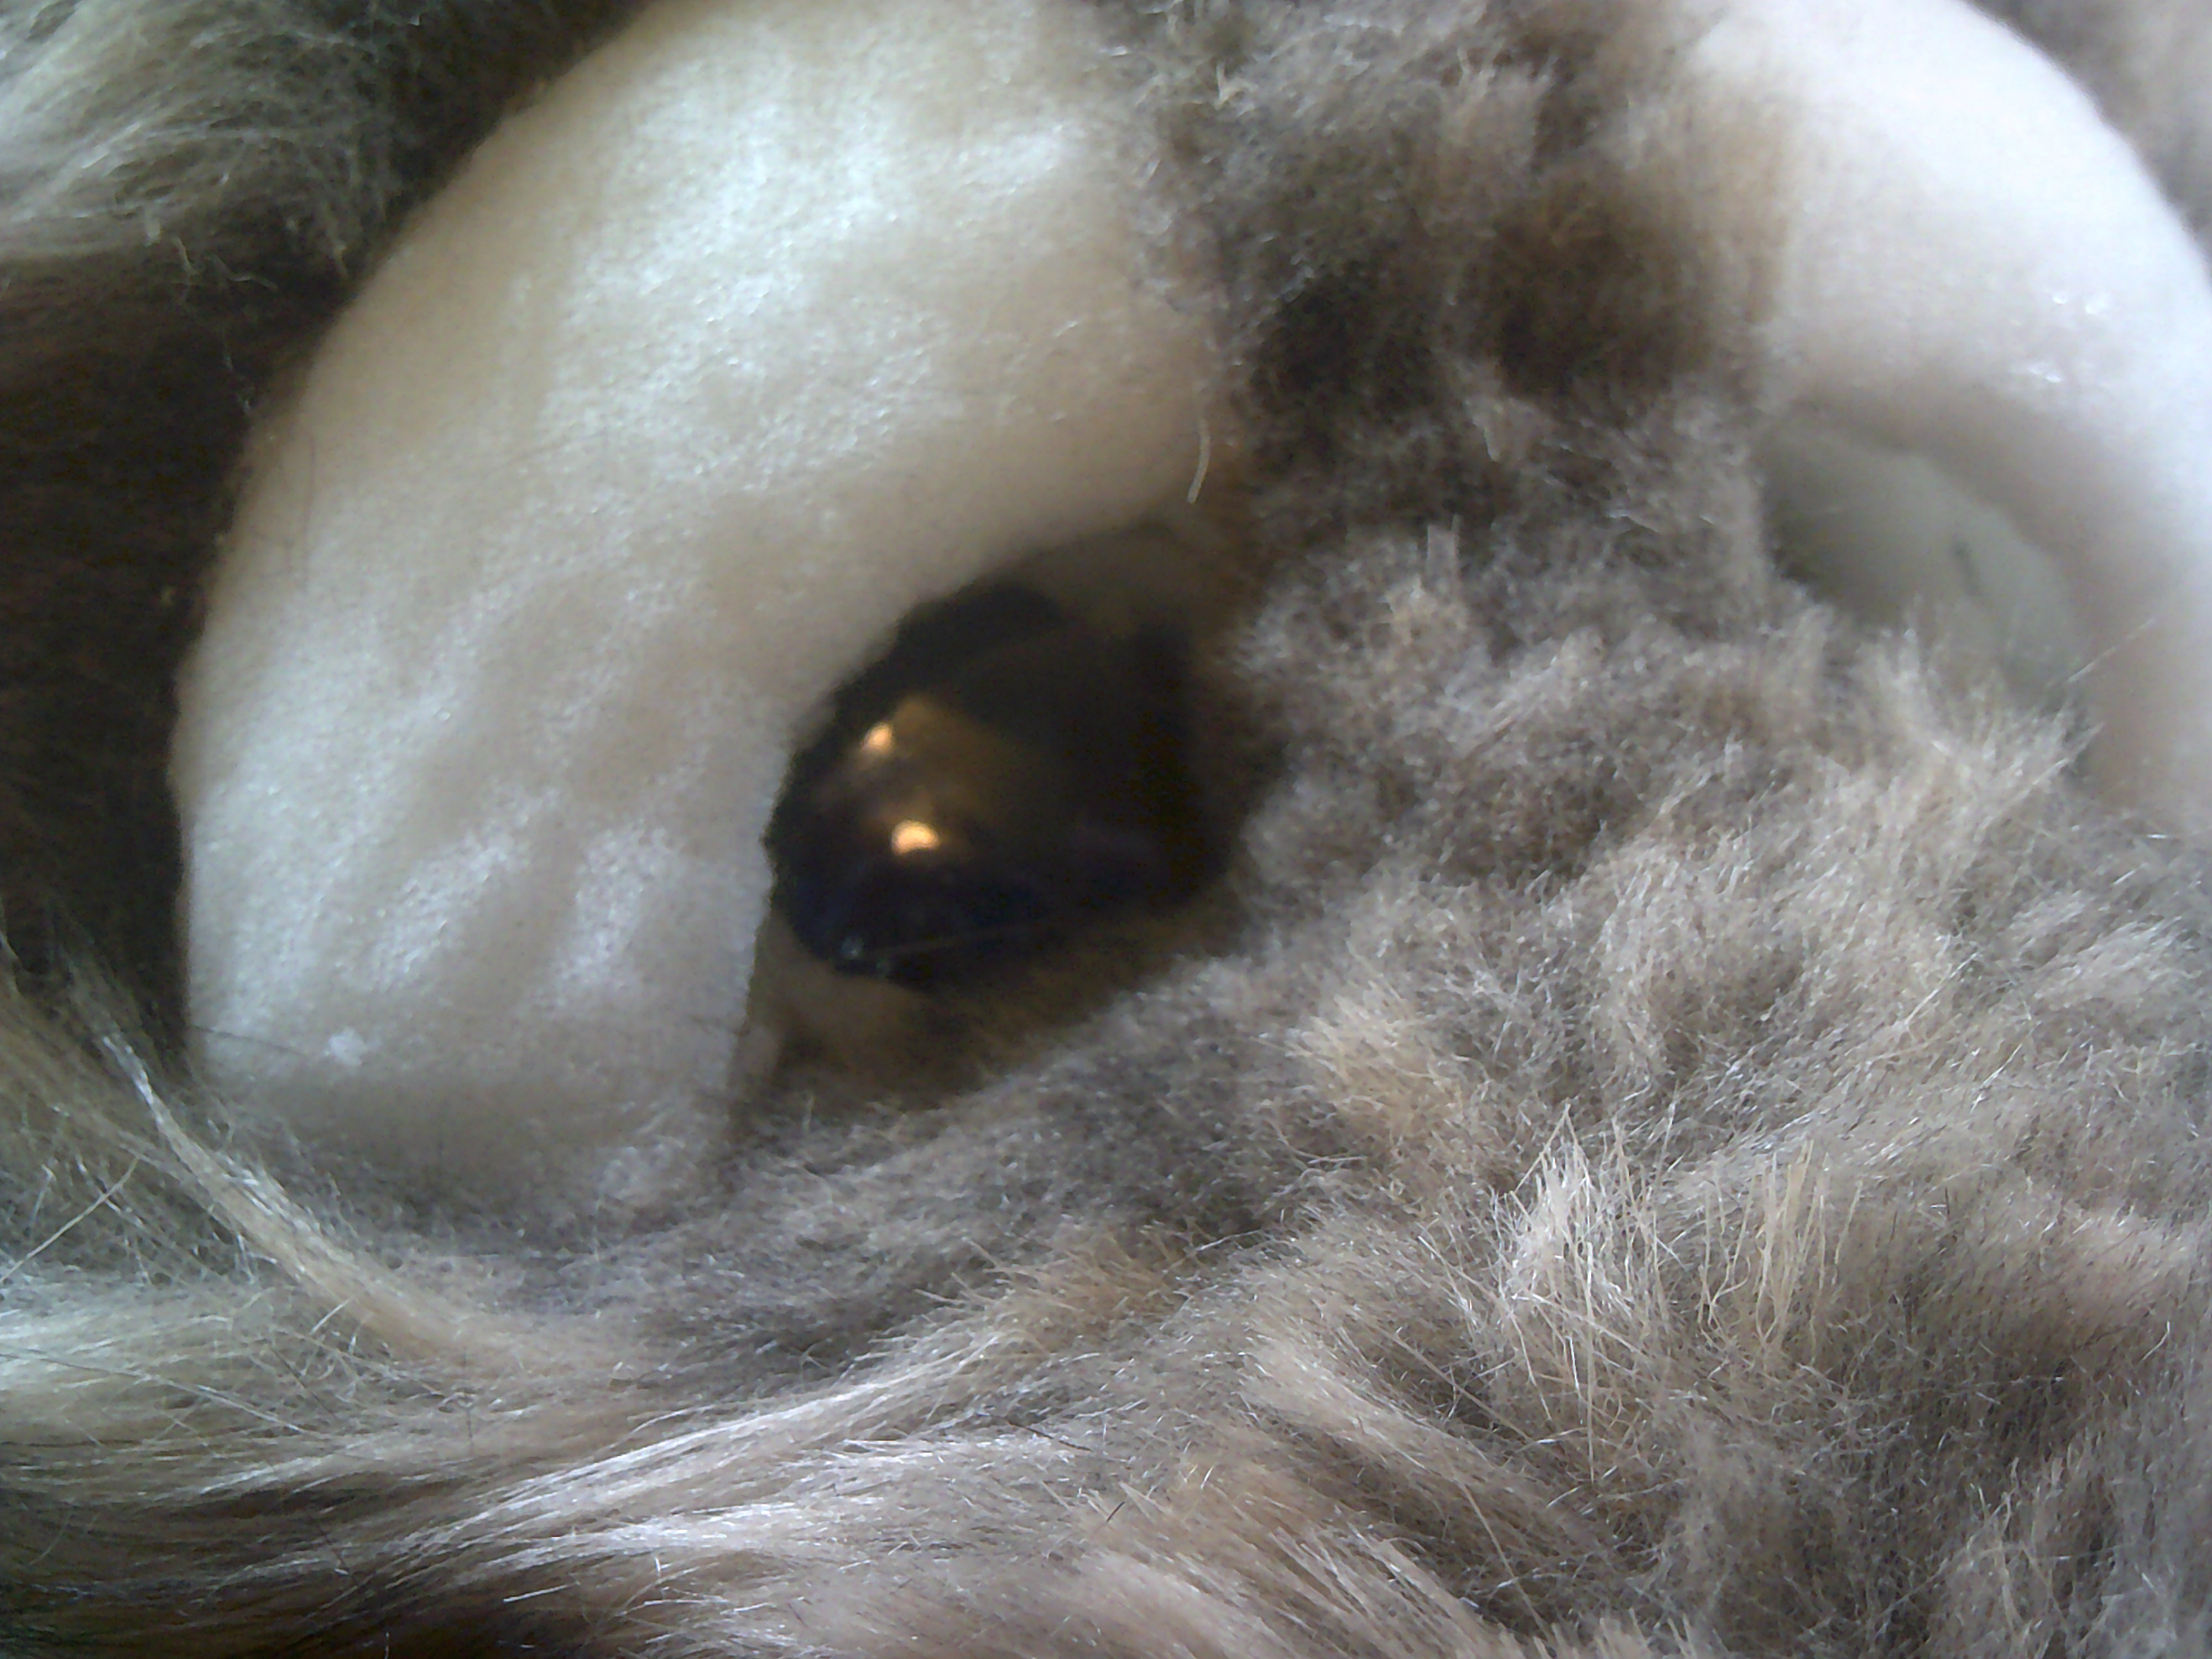
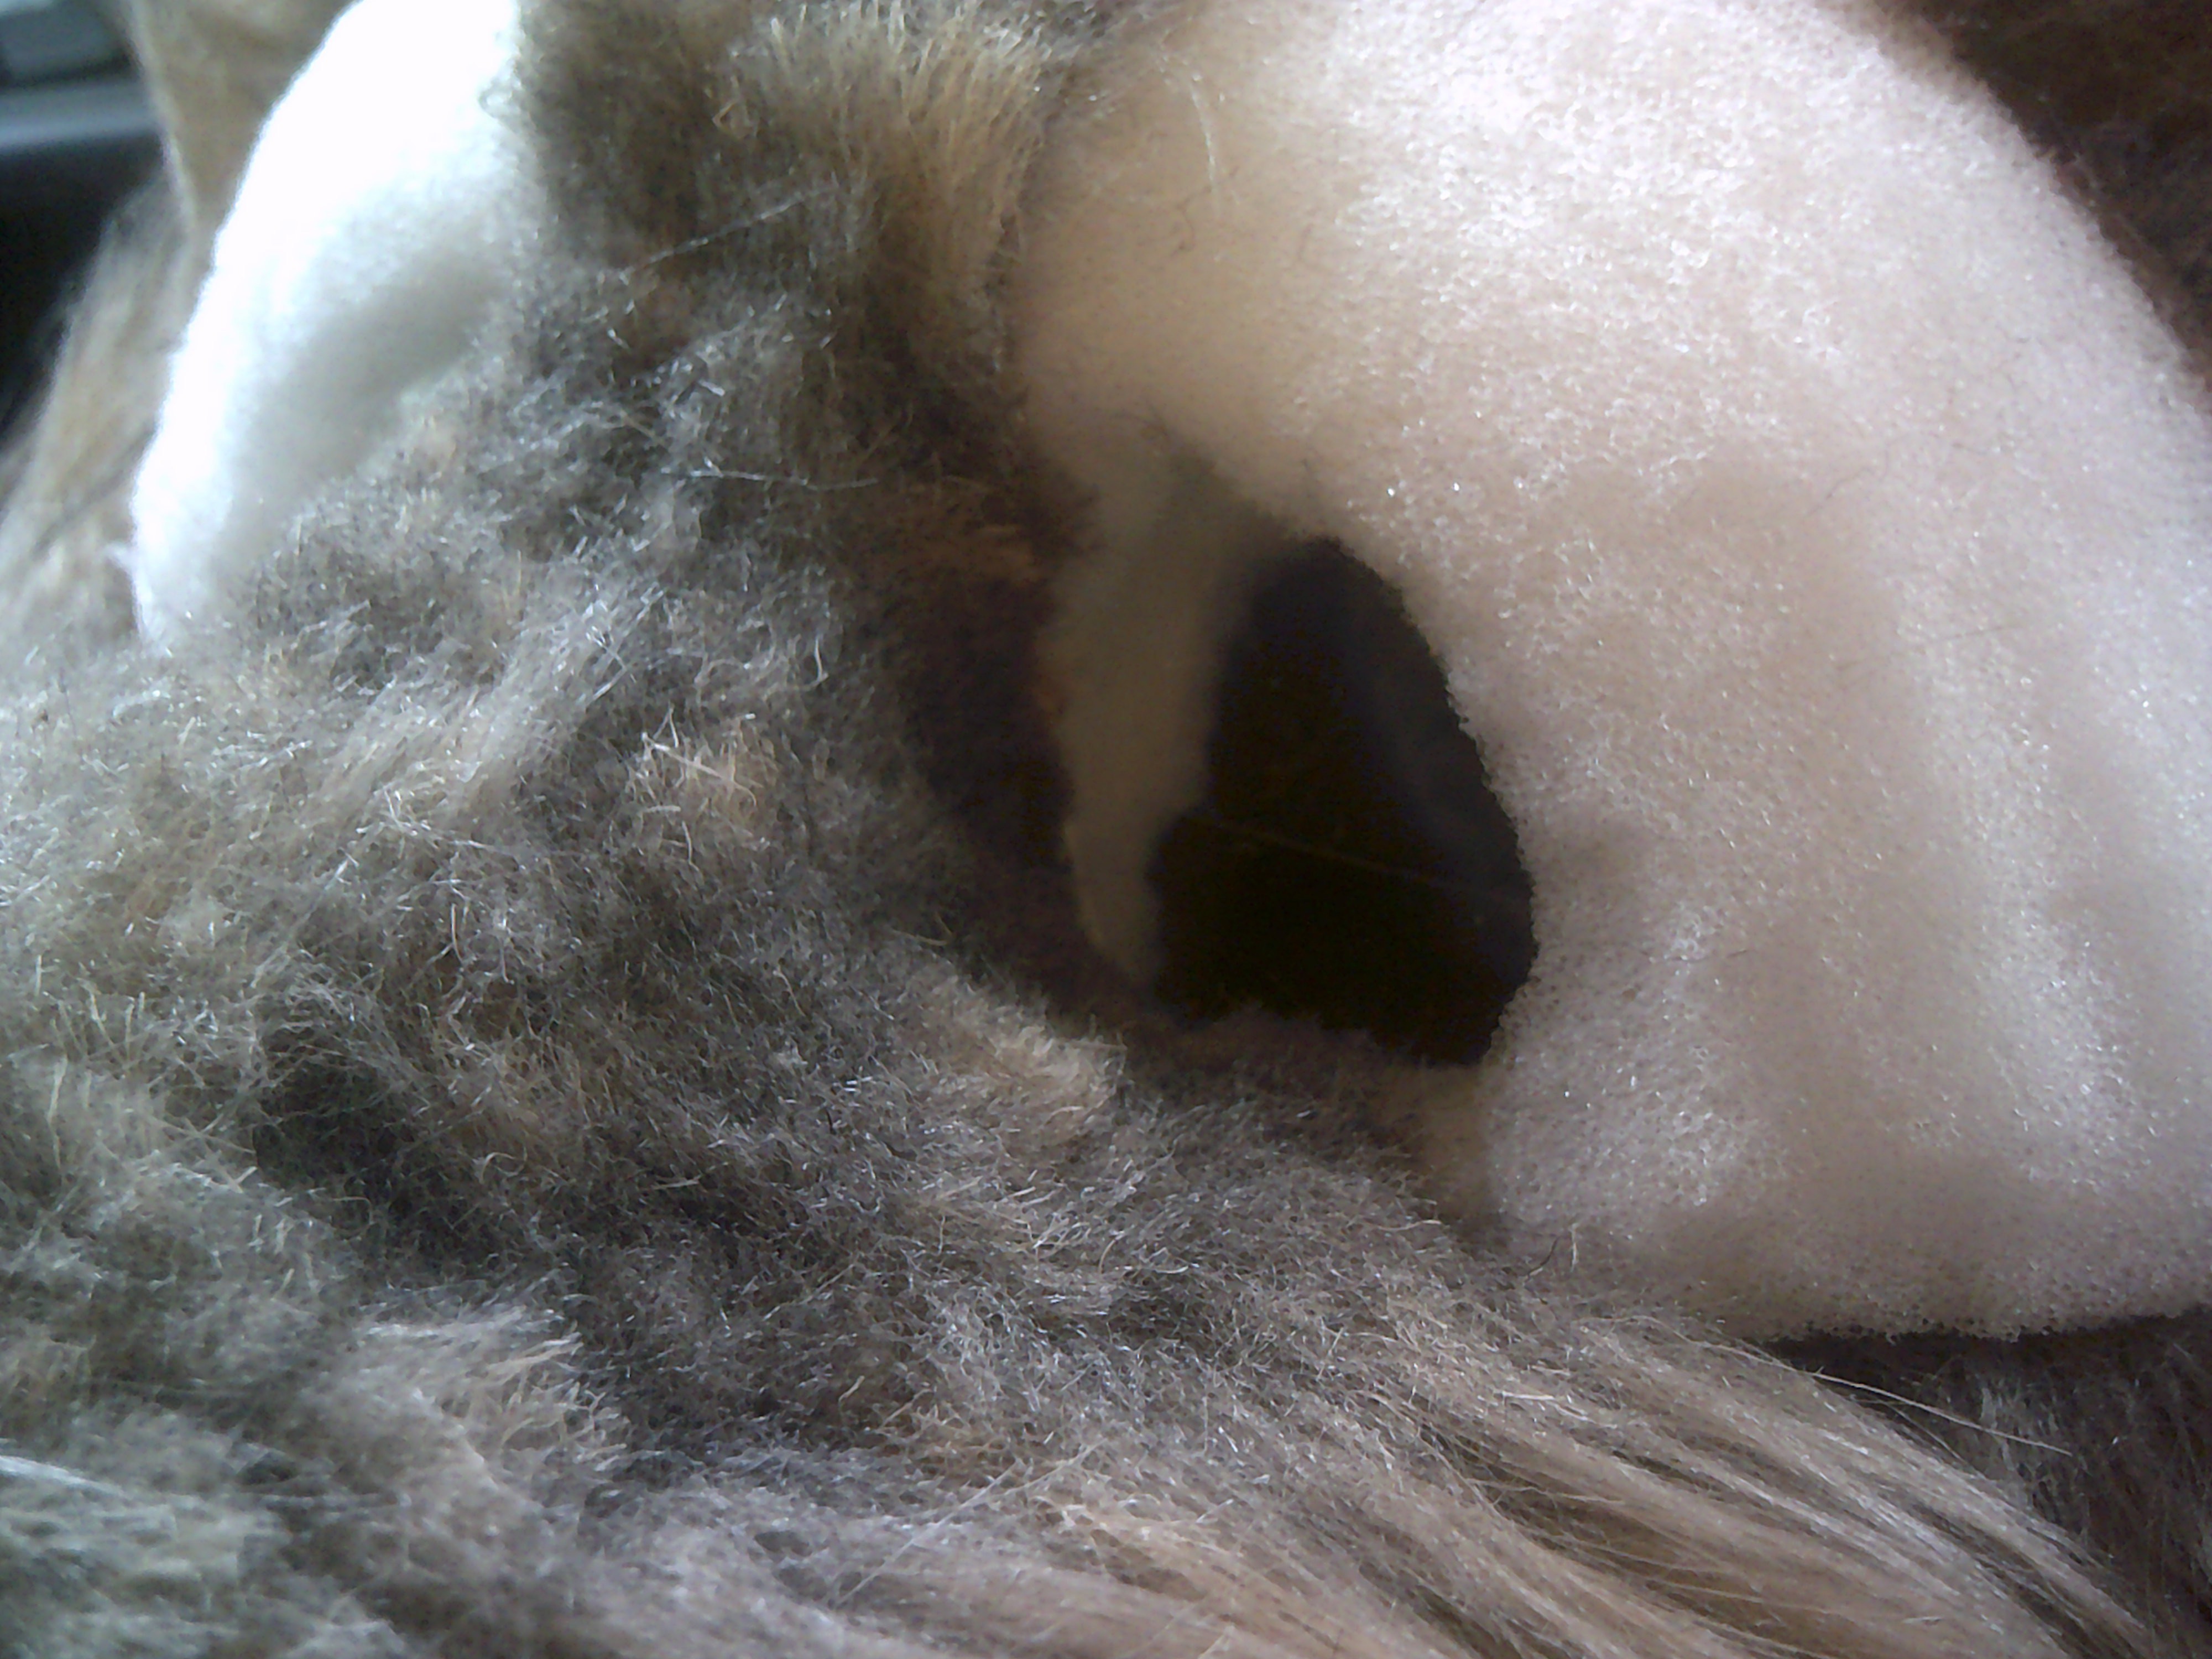
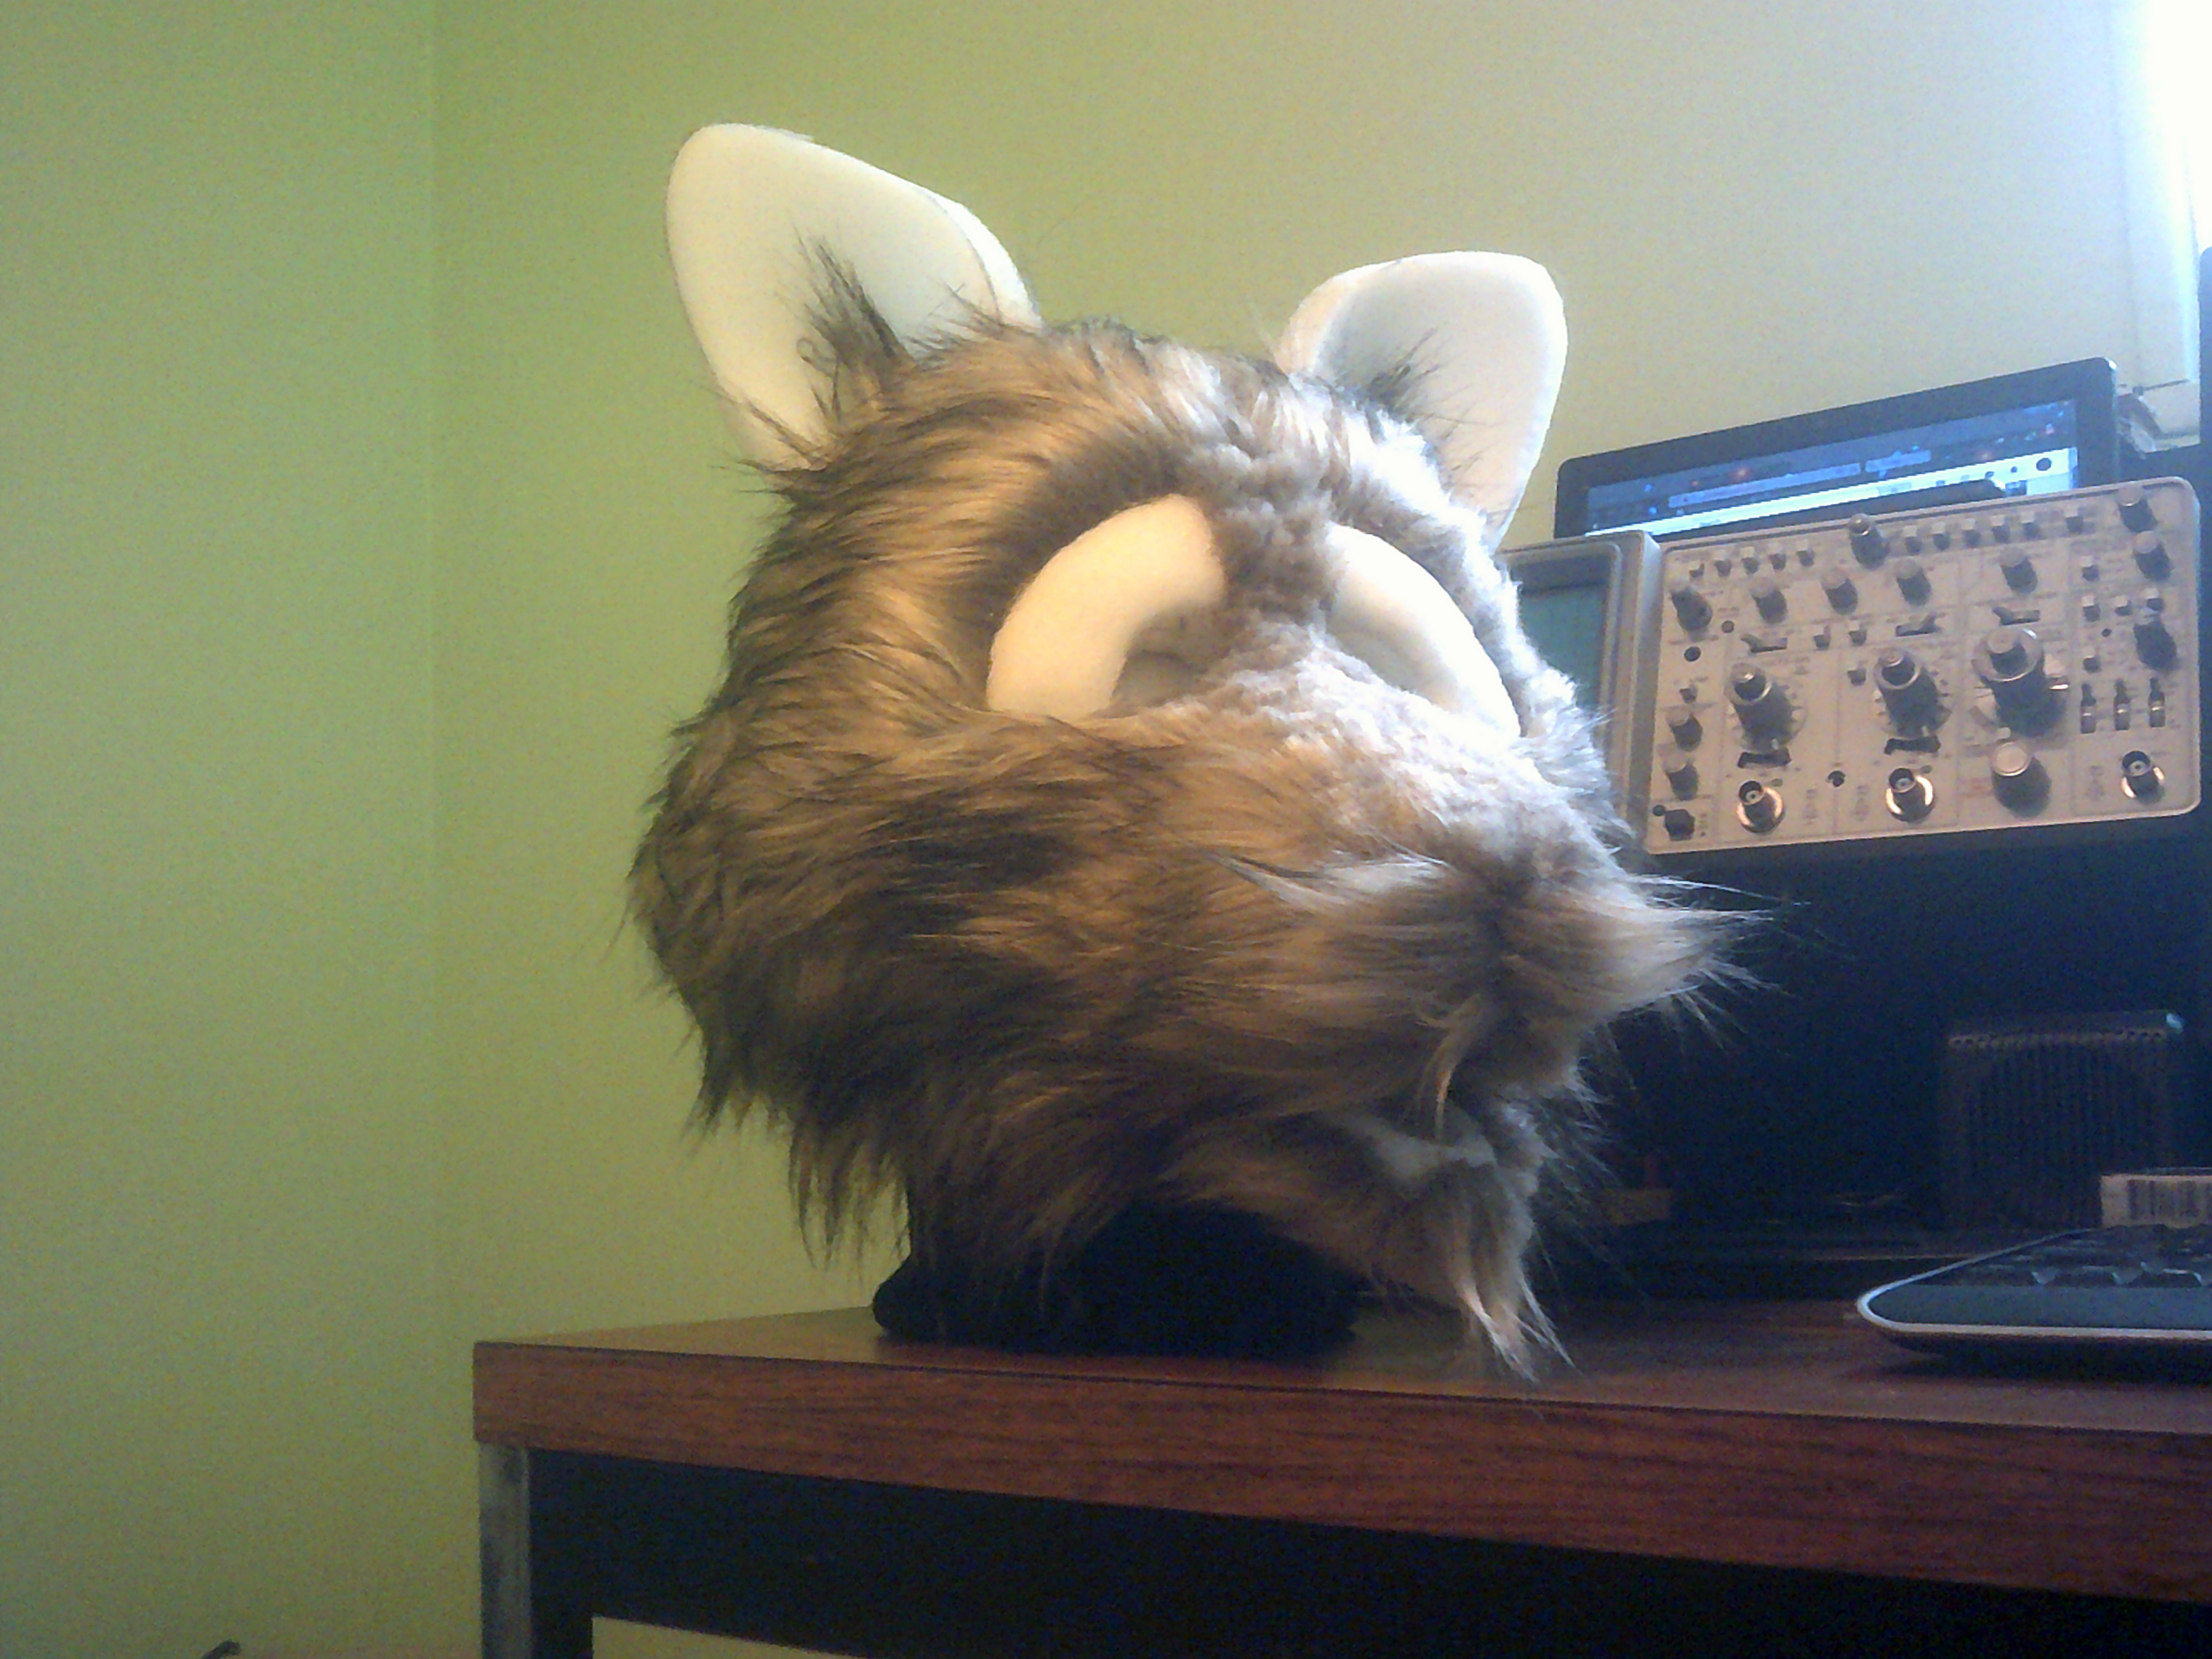
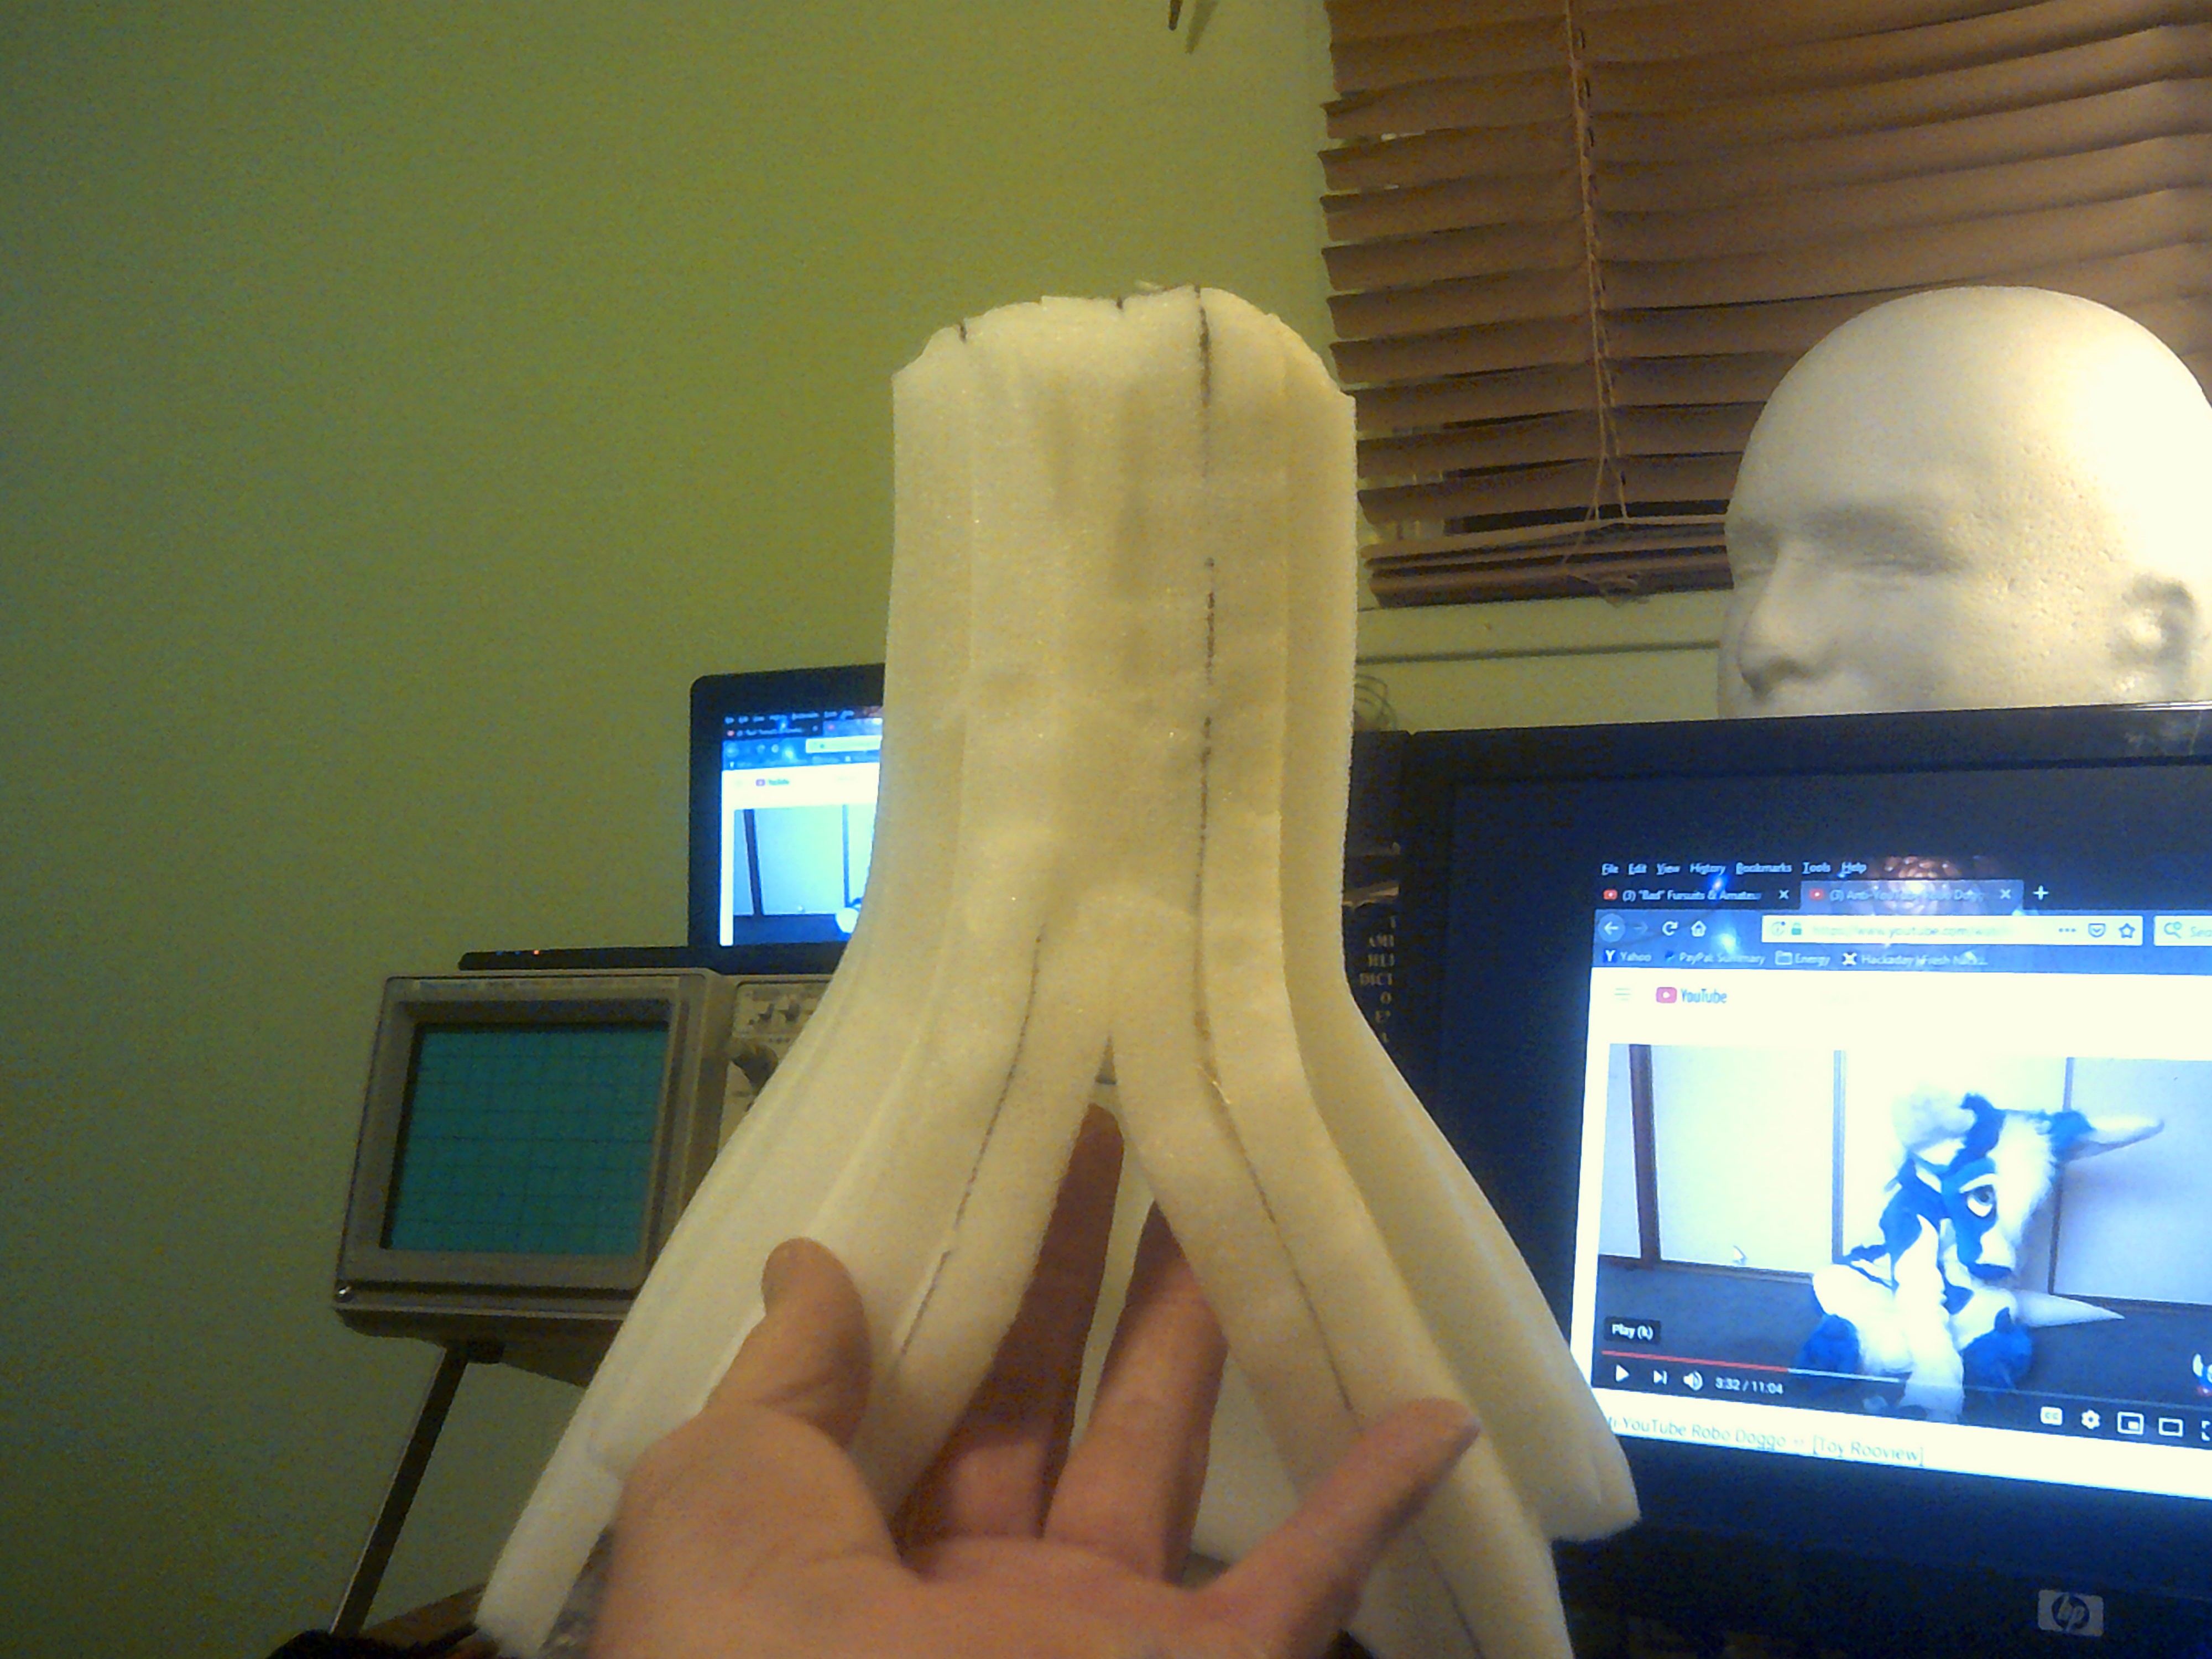
Adding fur to Marcus
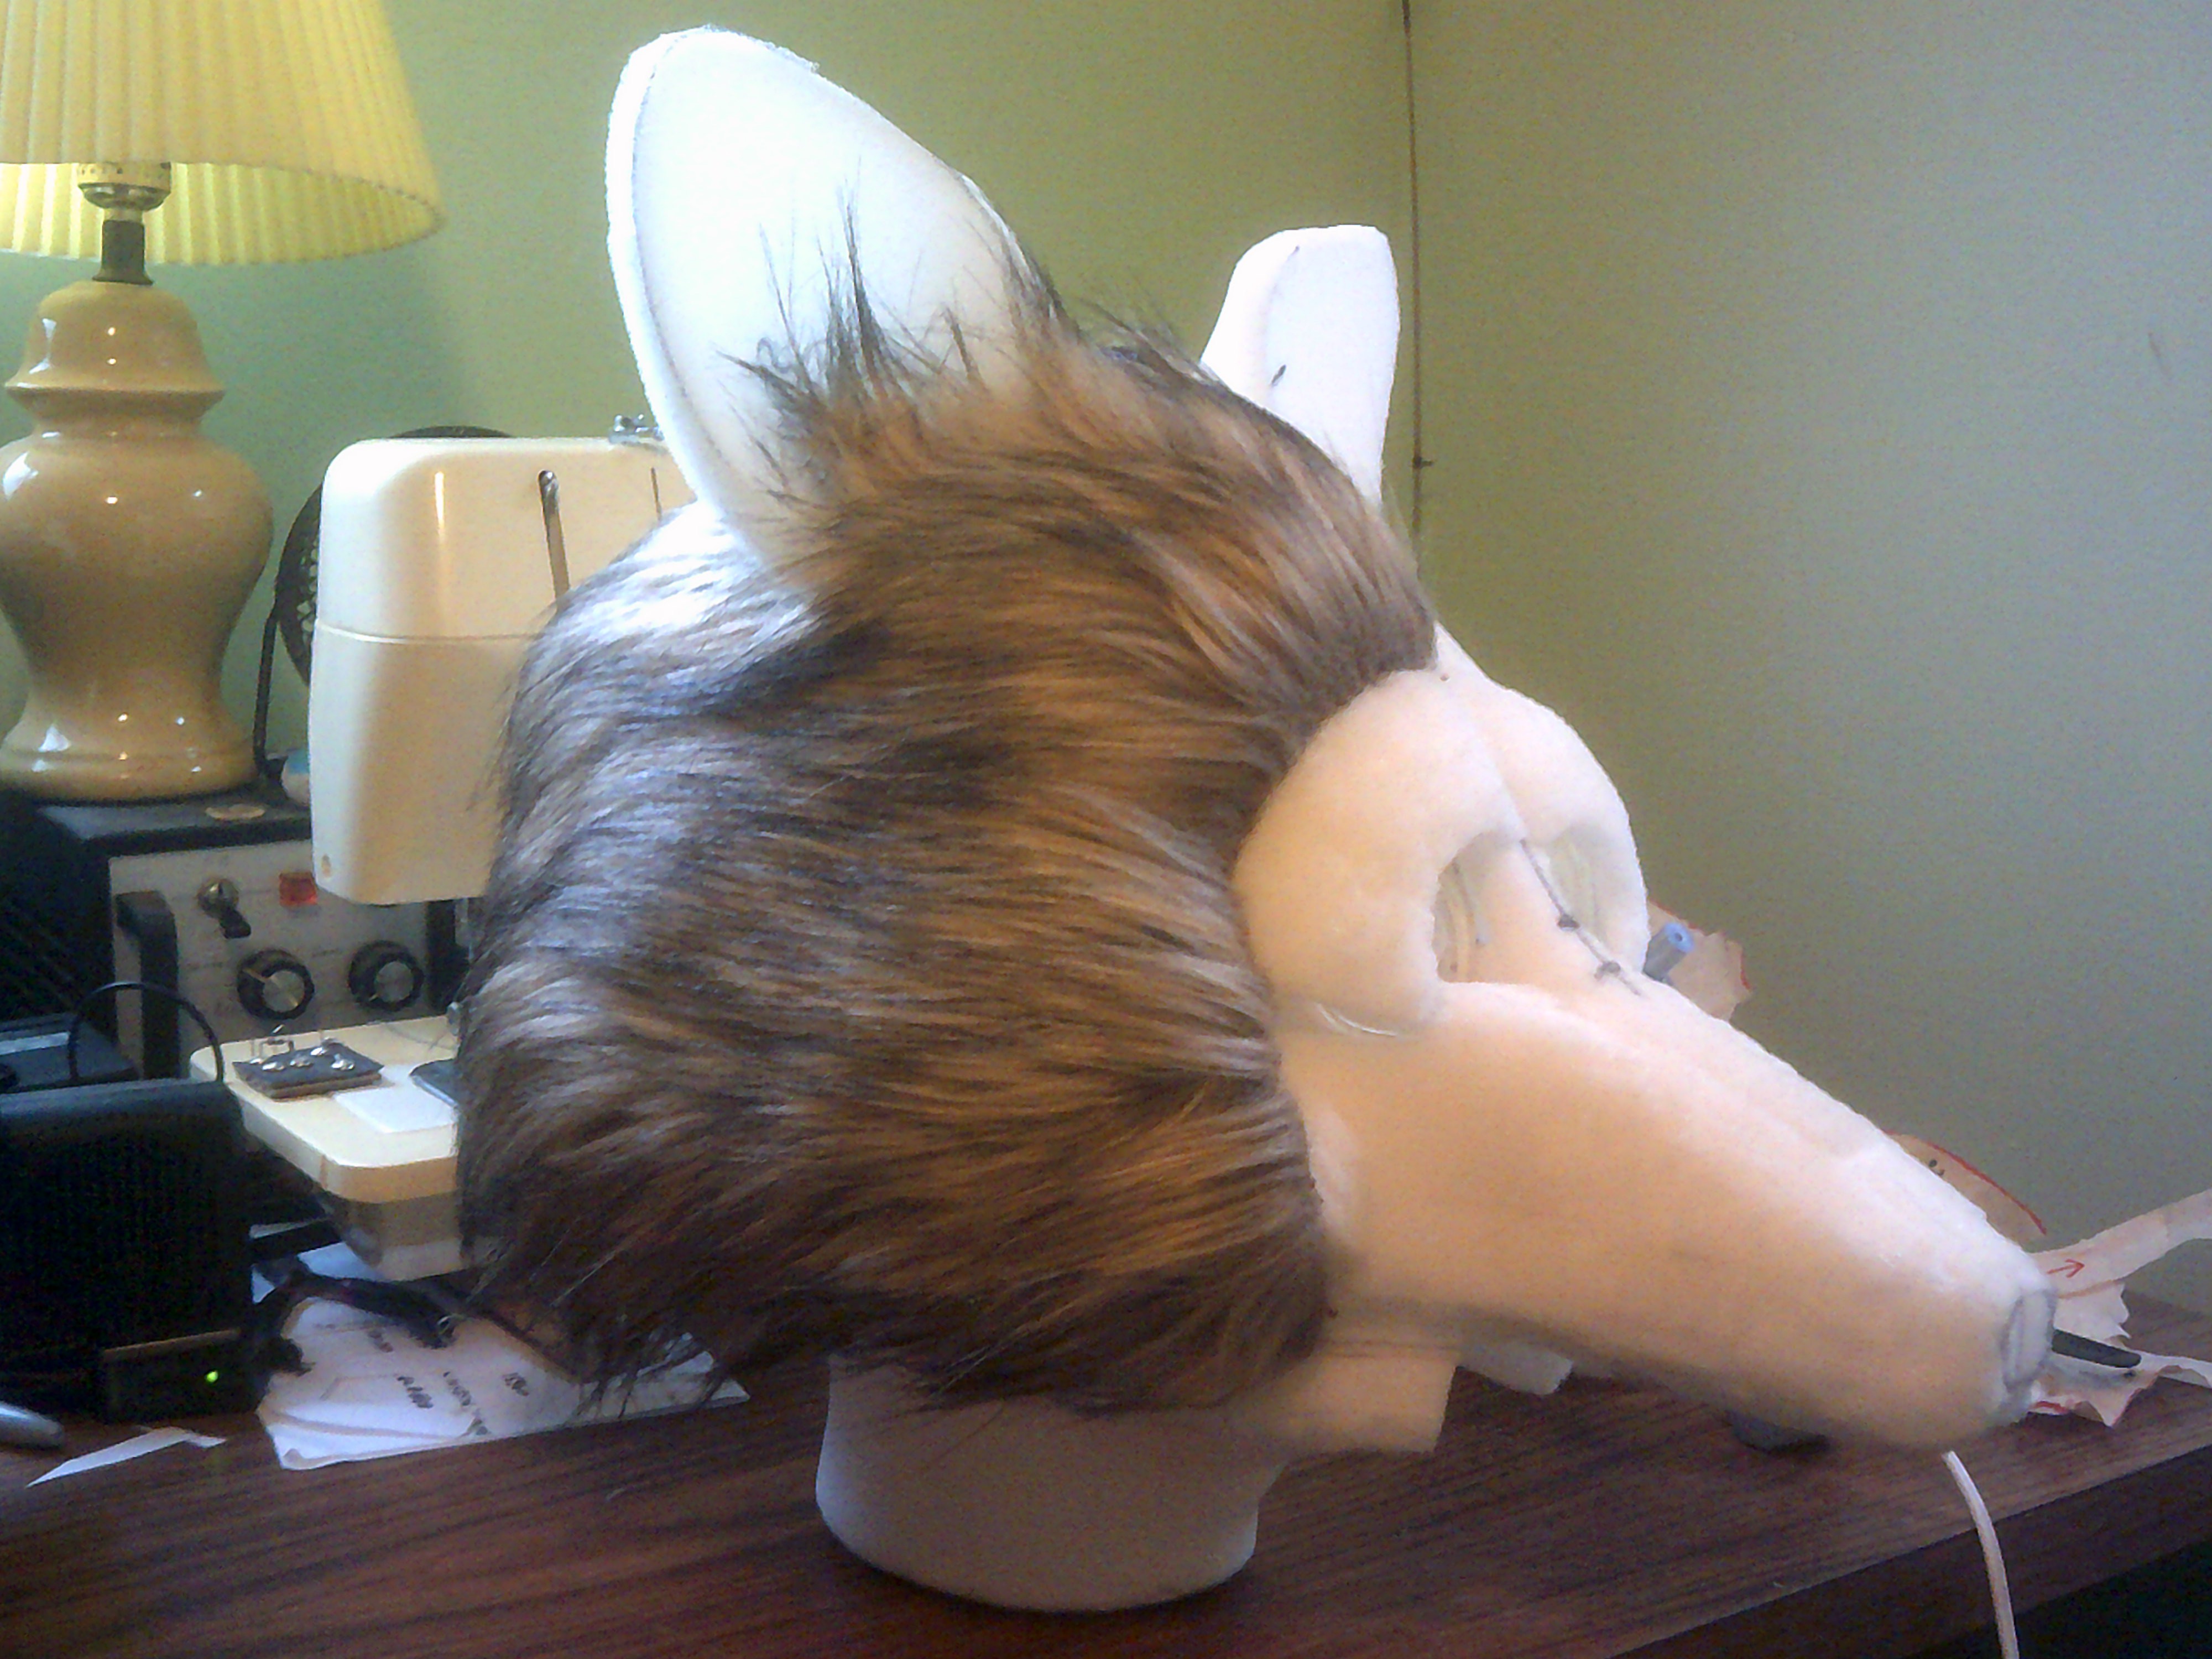
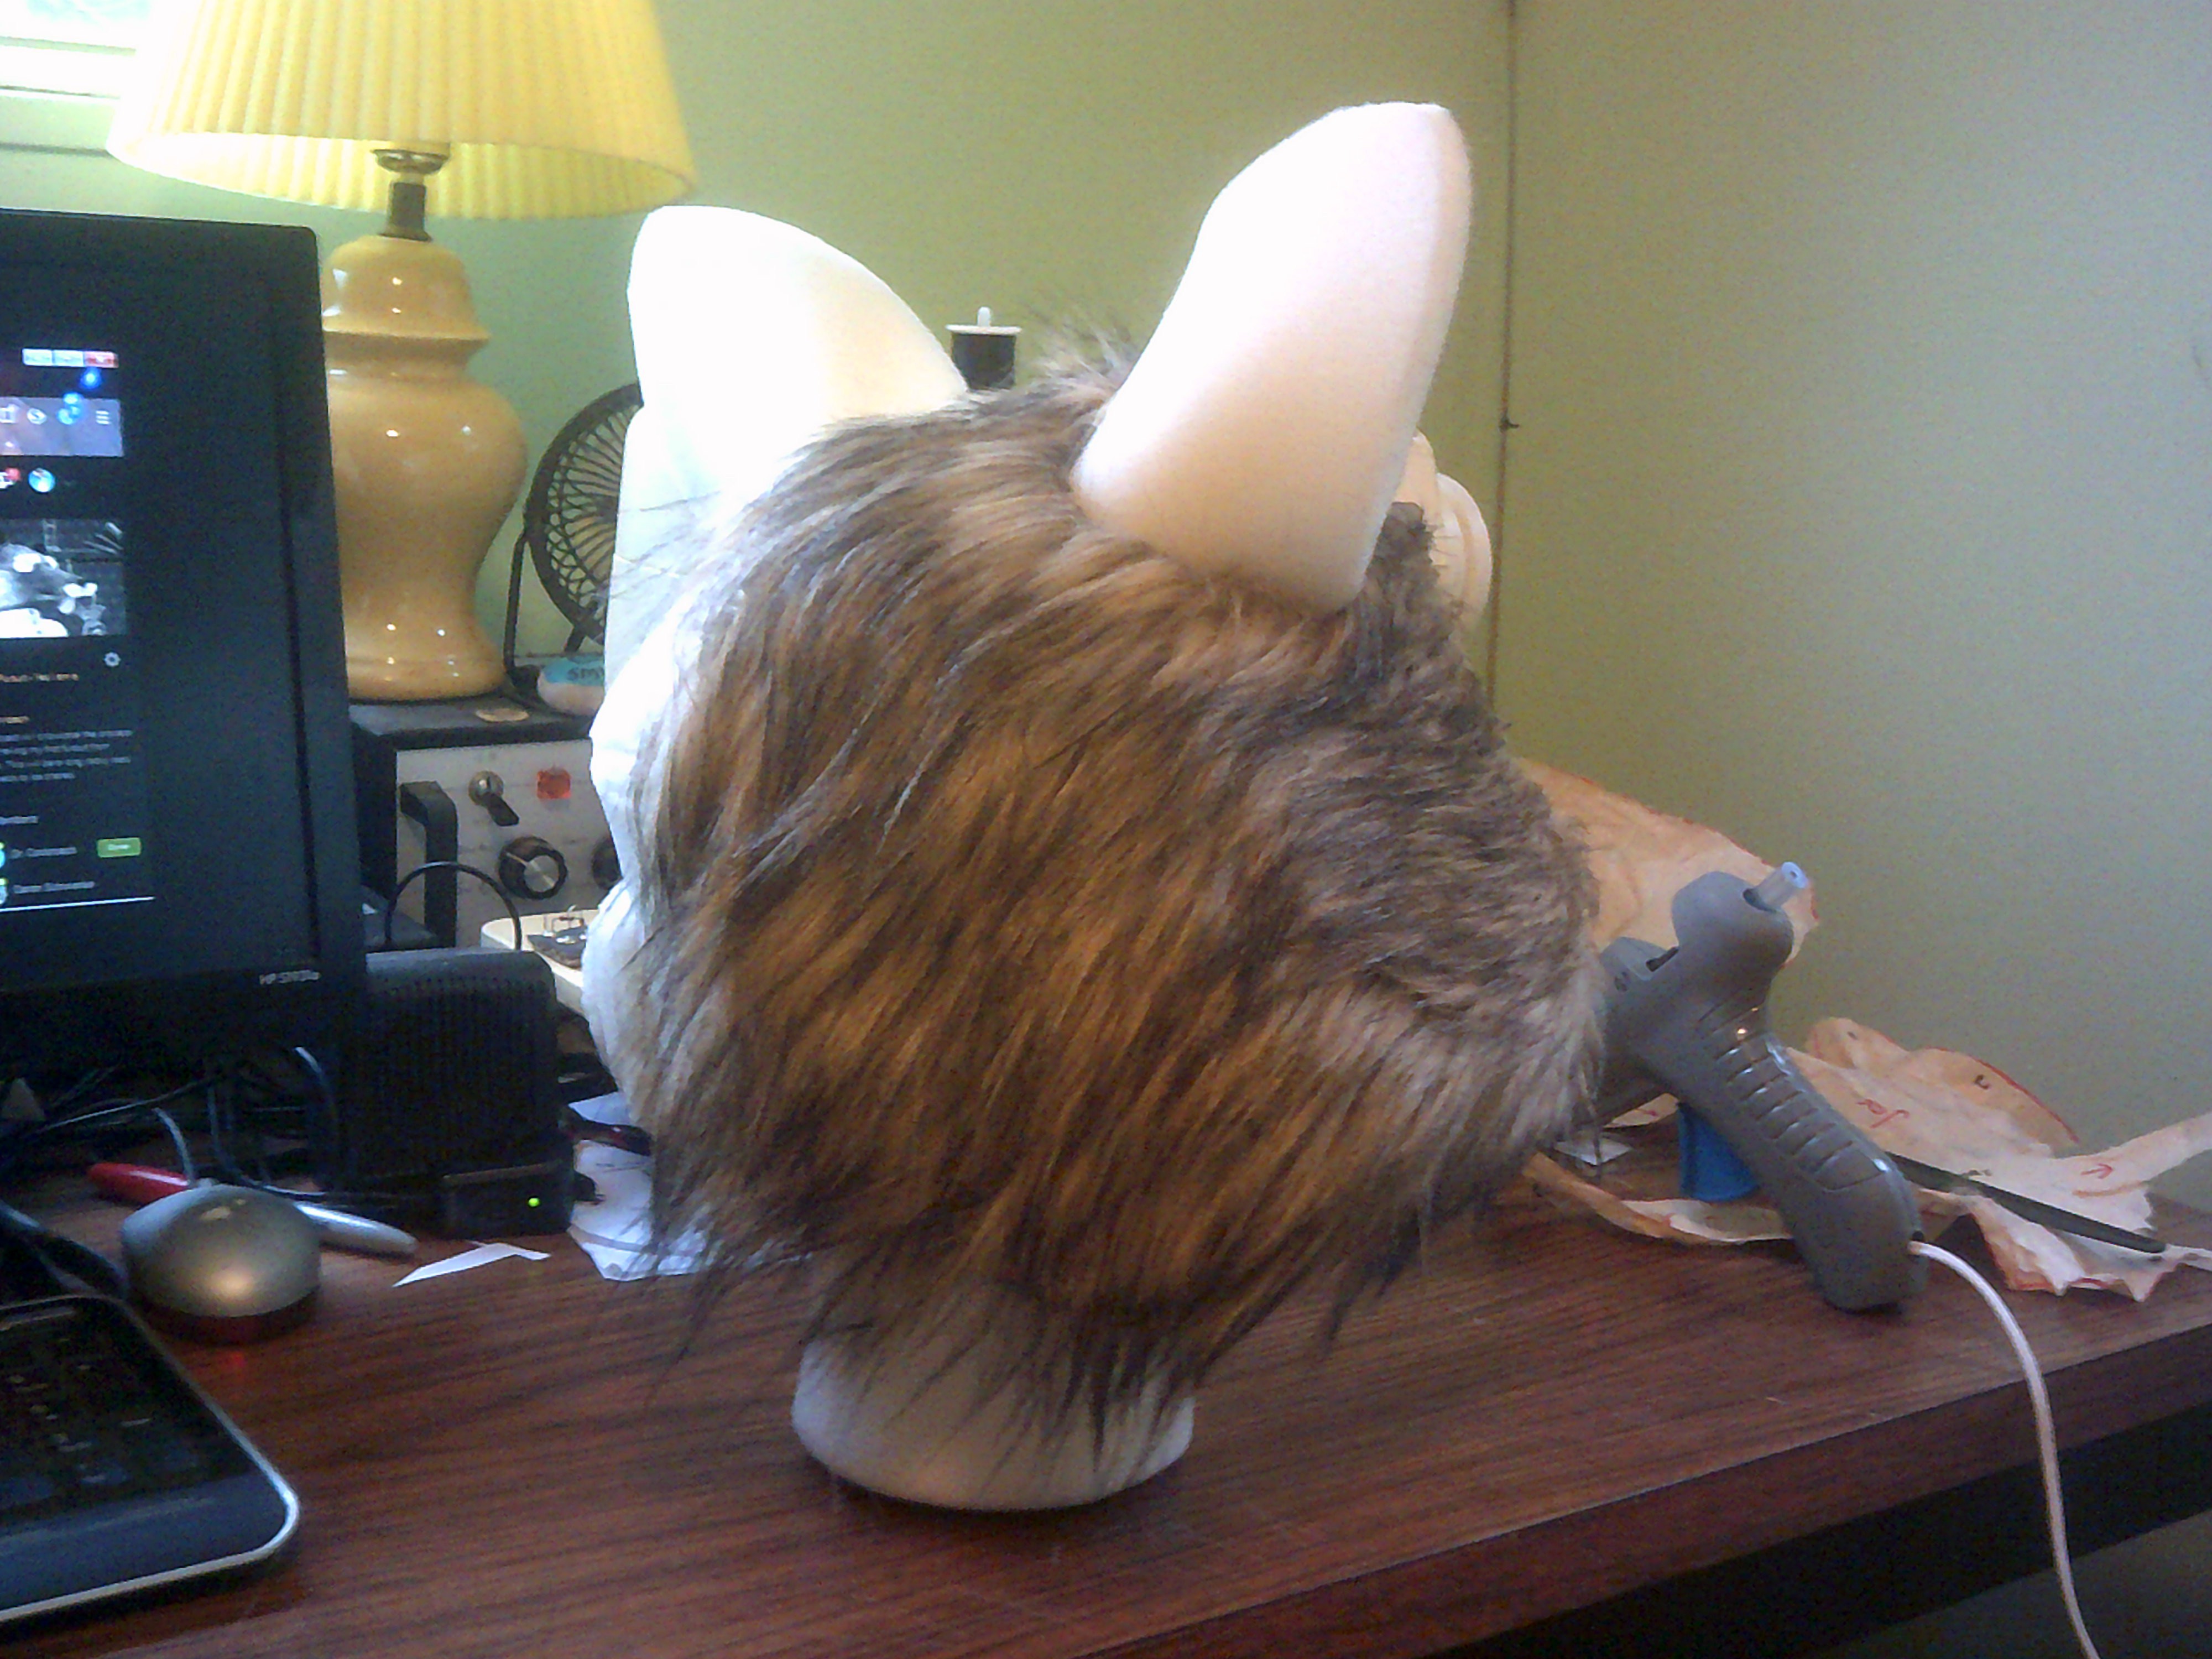
02/24/2019 at 16:38 • 0 commentsFirst I want to present a video that shows the progress after placing fur onto the Marcus foam base. At this point the ears, eye brows, nose and inside of the mouth need to be finished. I am also going to take my time in trimming the fur to its final look.
The fur was found at my local Hobby Lobby craft store. One yard of this fur was $19.99. Ten short sticks of hot melt glue was used up to this point.
What follows is roughly the pictorial steps in the furring process.
This fur was very dense and it is very hard to find the backing through the fur and the backing is very soft as well. Very easy to work with.
![]()
![]()
![]()
A sample test patch just to see how it was going to look.
![]()
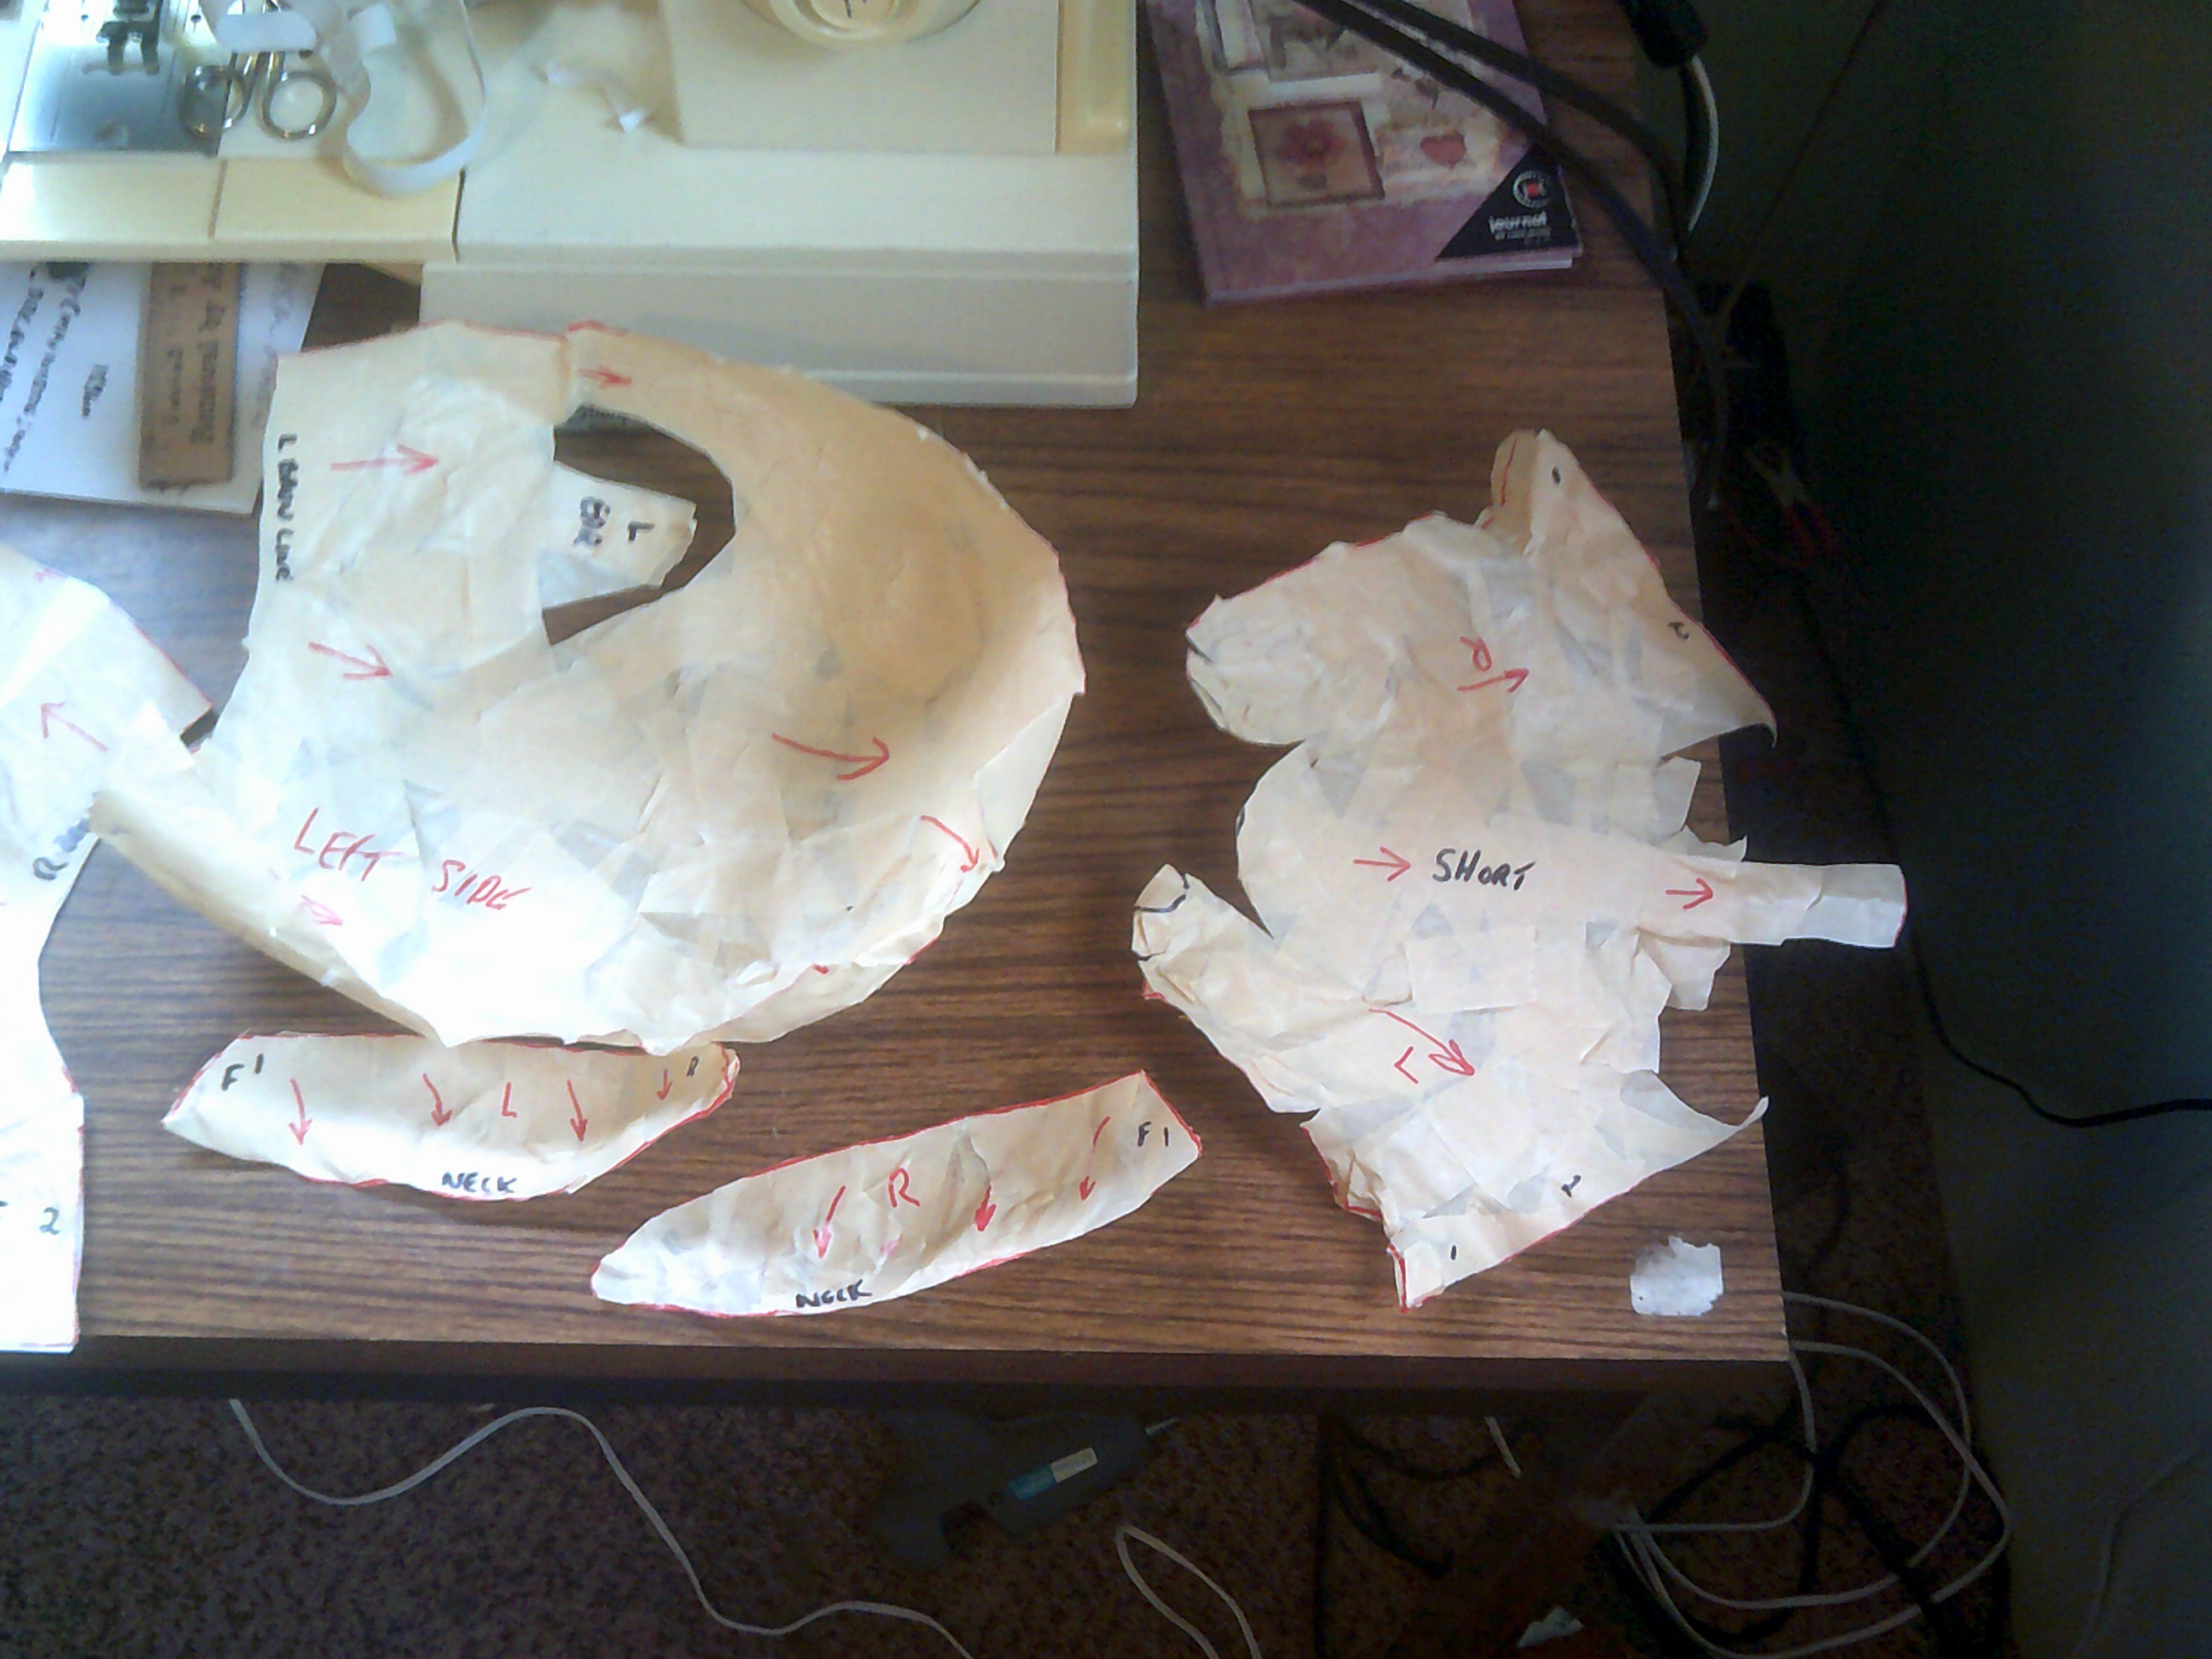
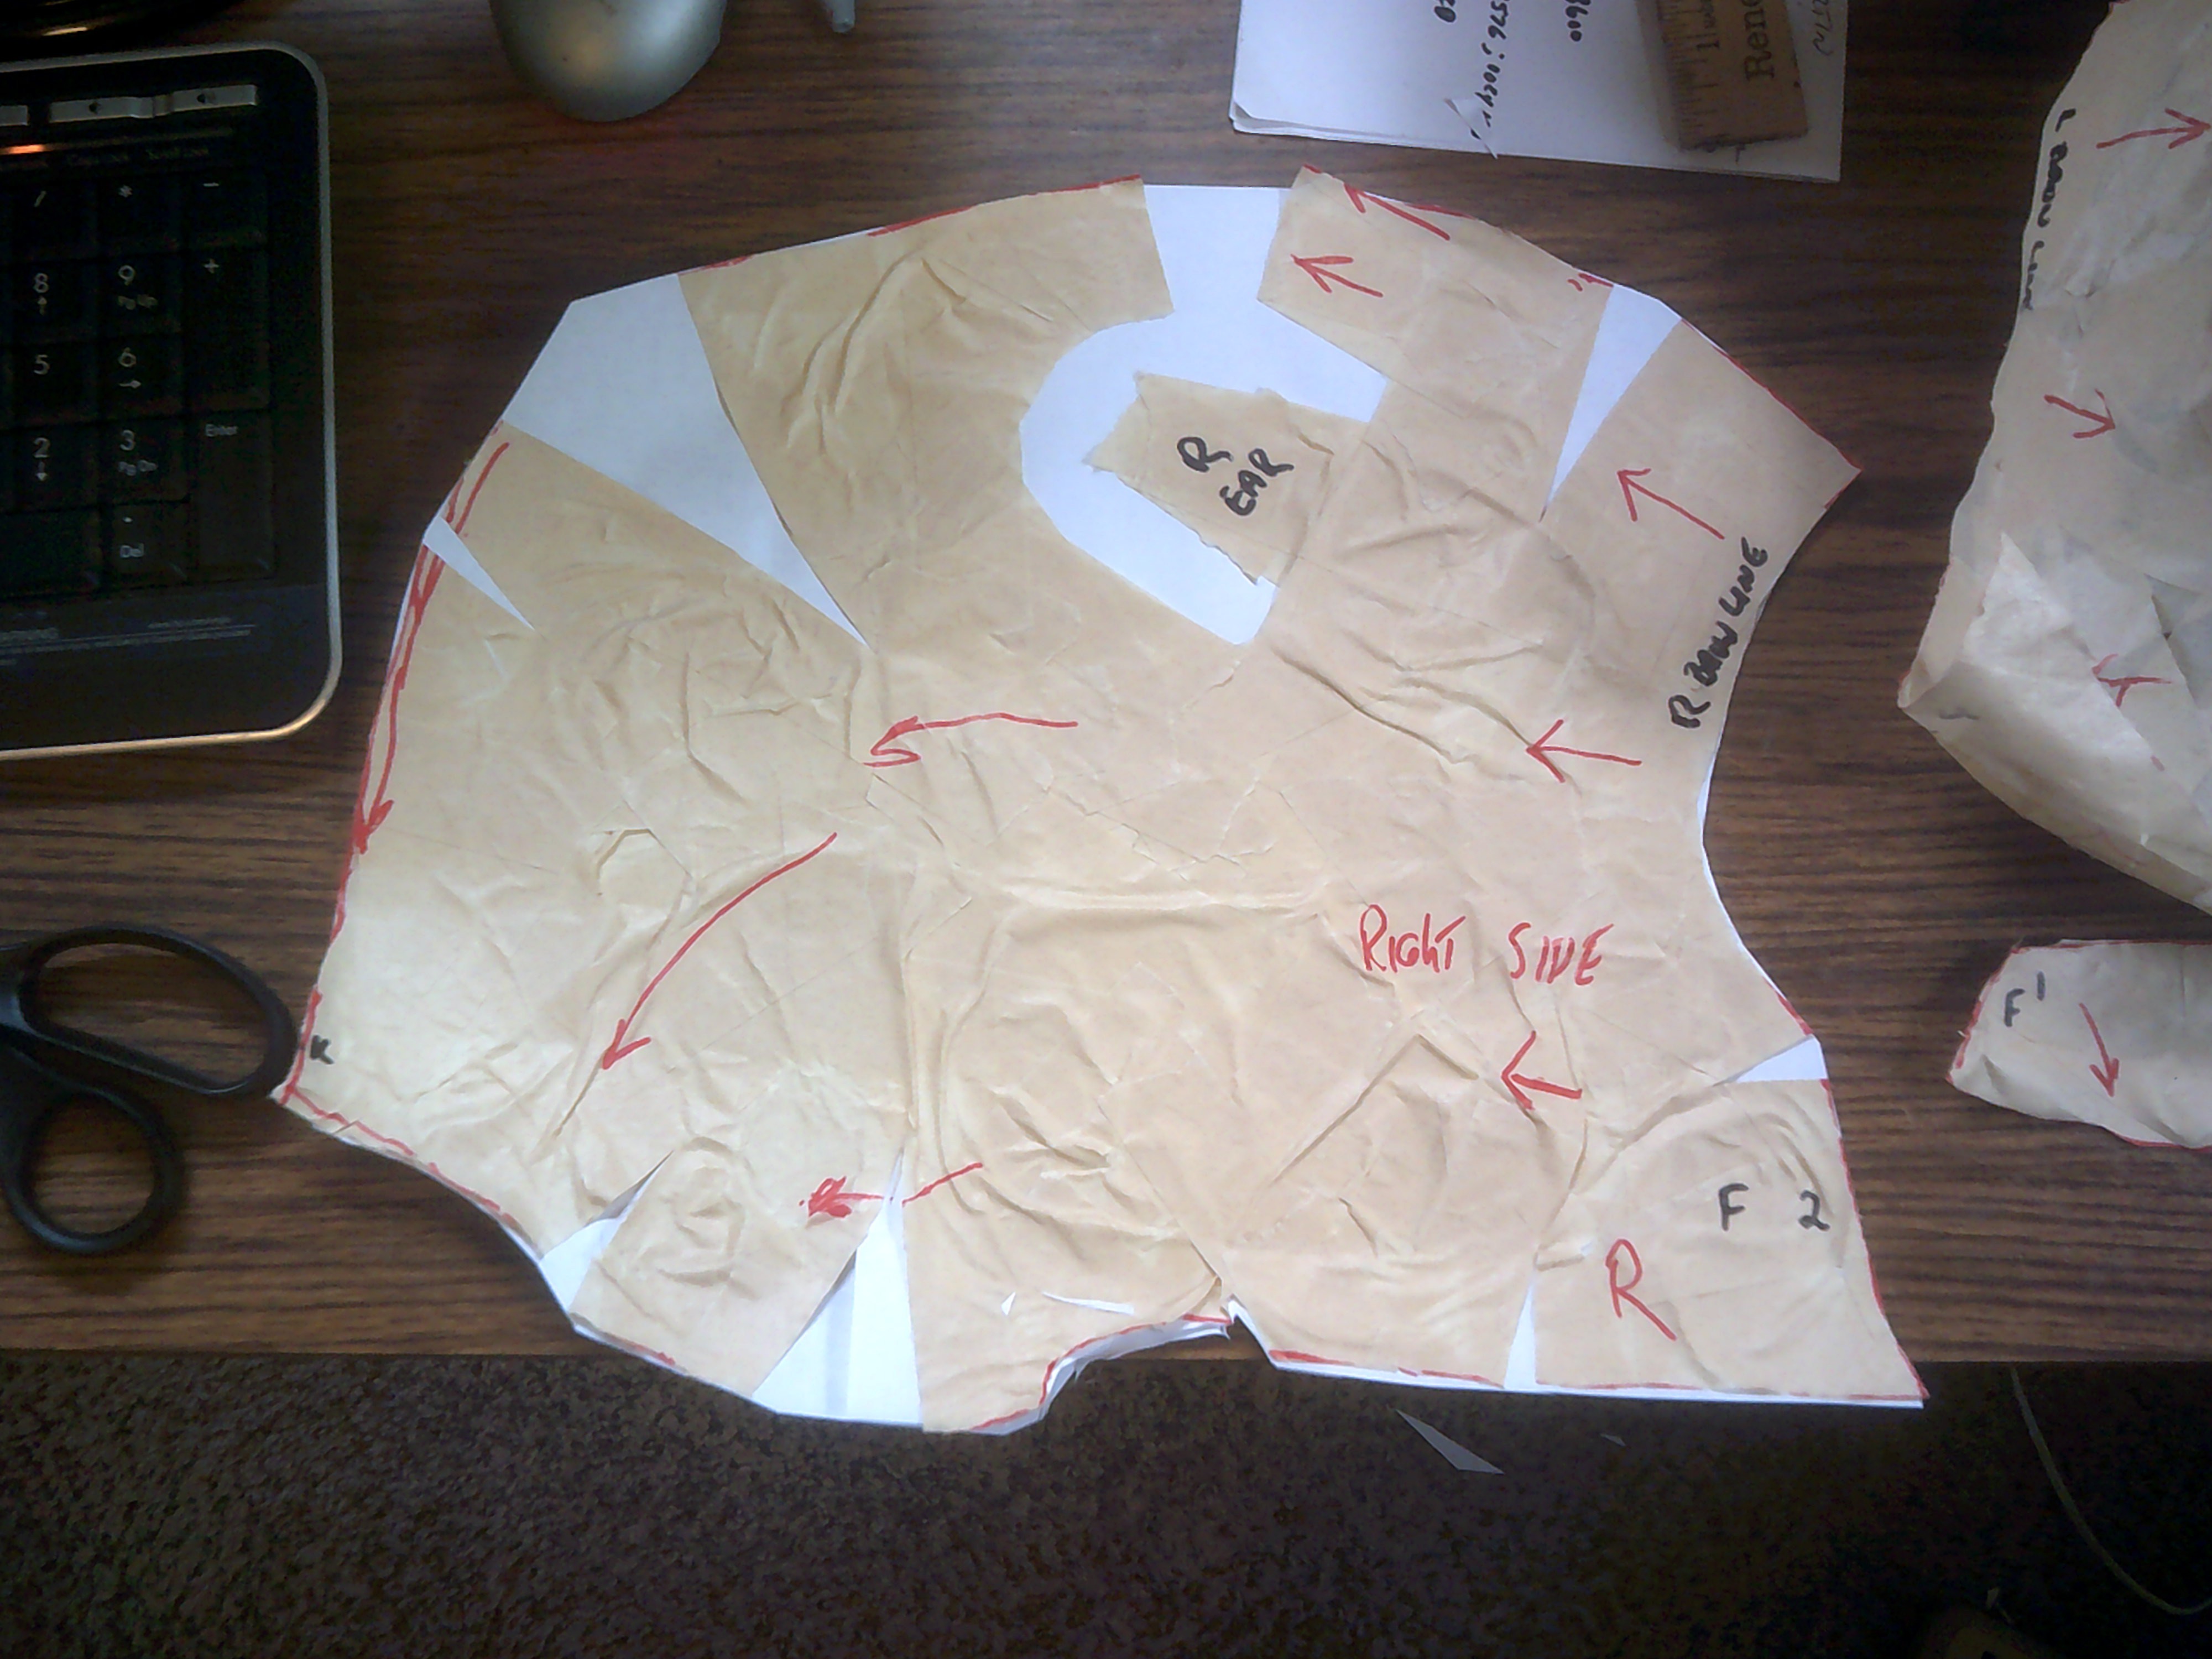
The taping process. Masking tape was used to build up the fur pattern pieces.
![]()
![]()
![]()
![]()
![]()
![]()
![]()
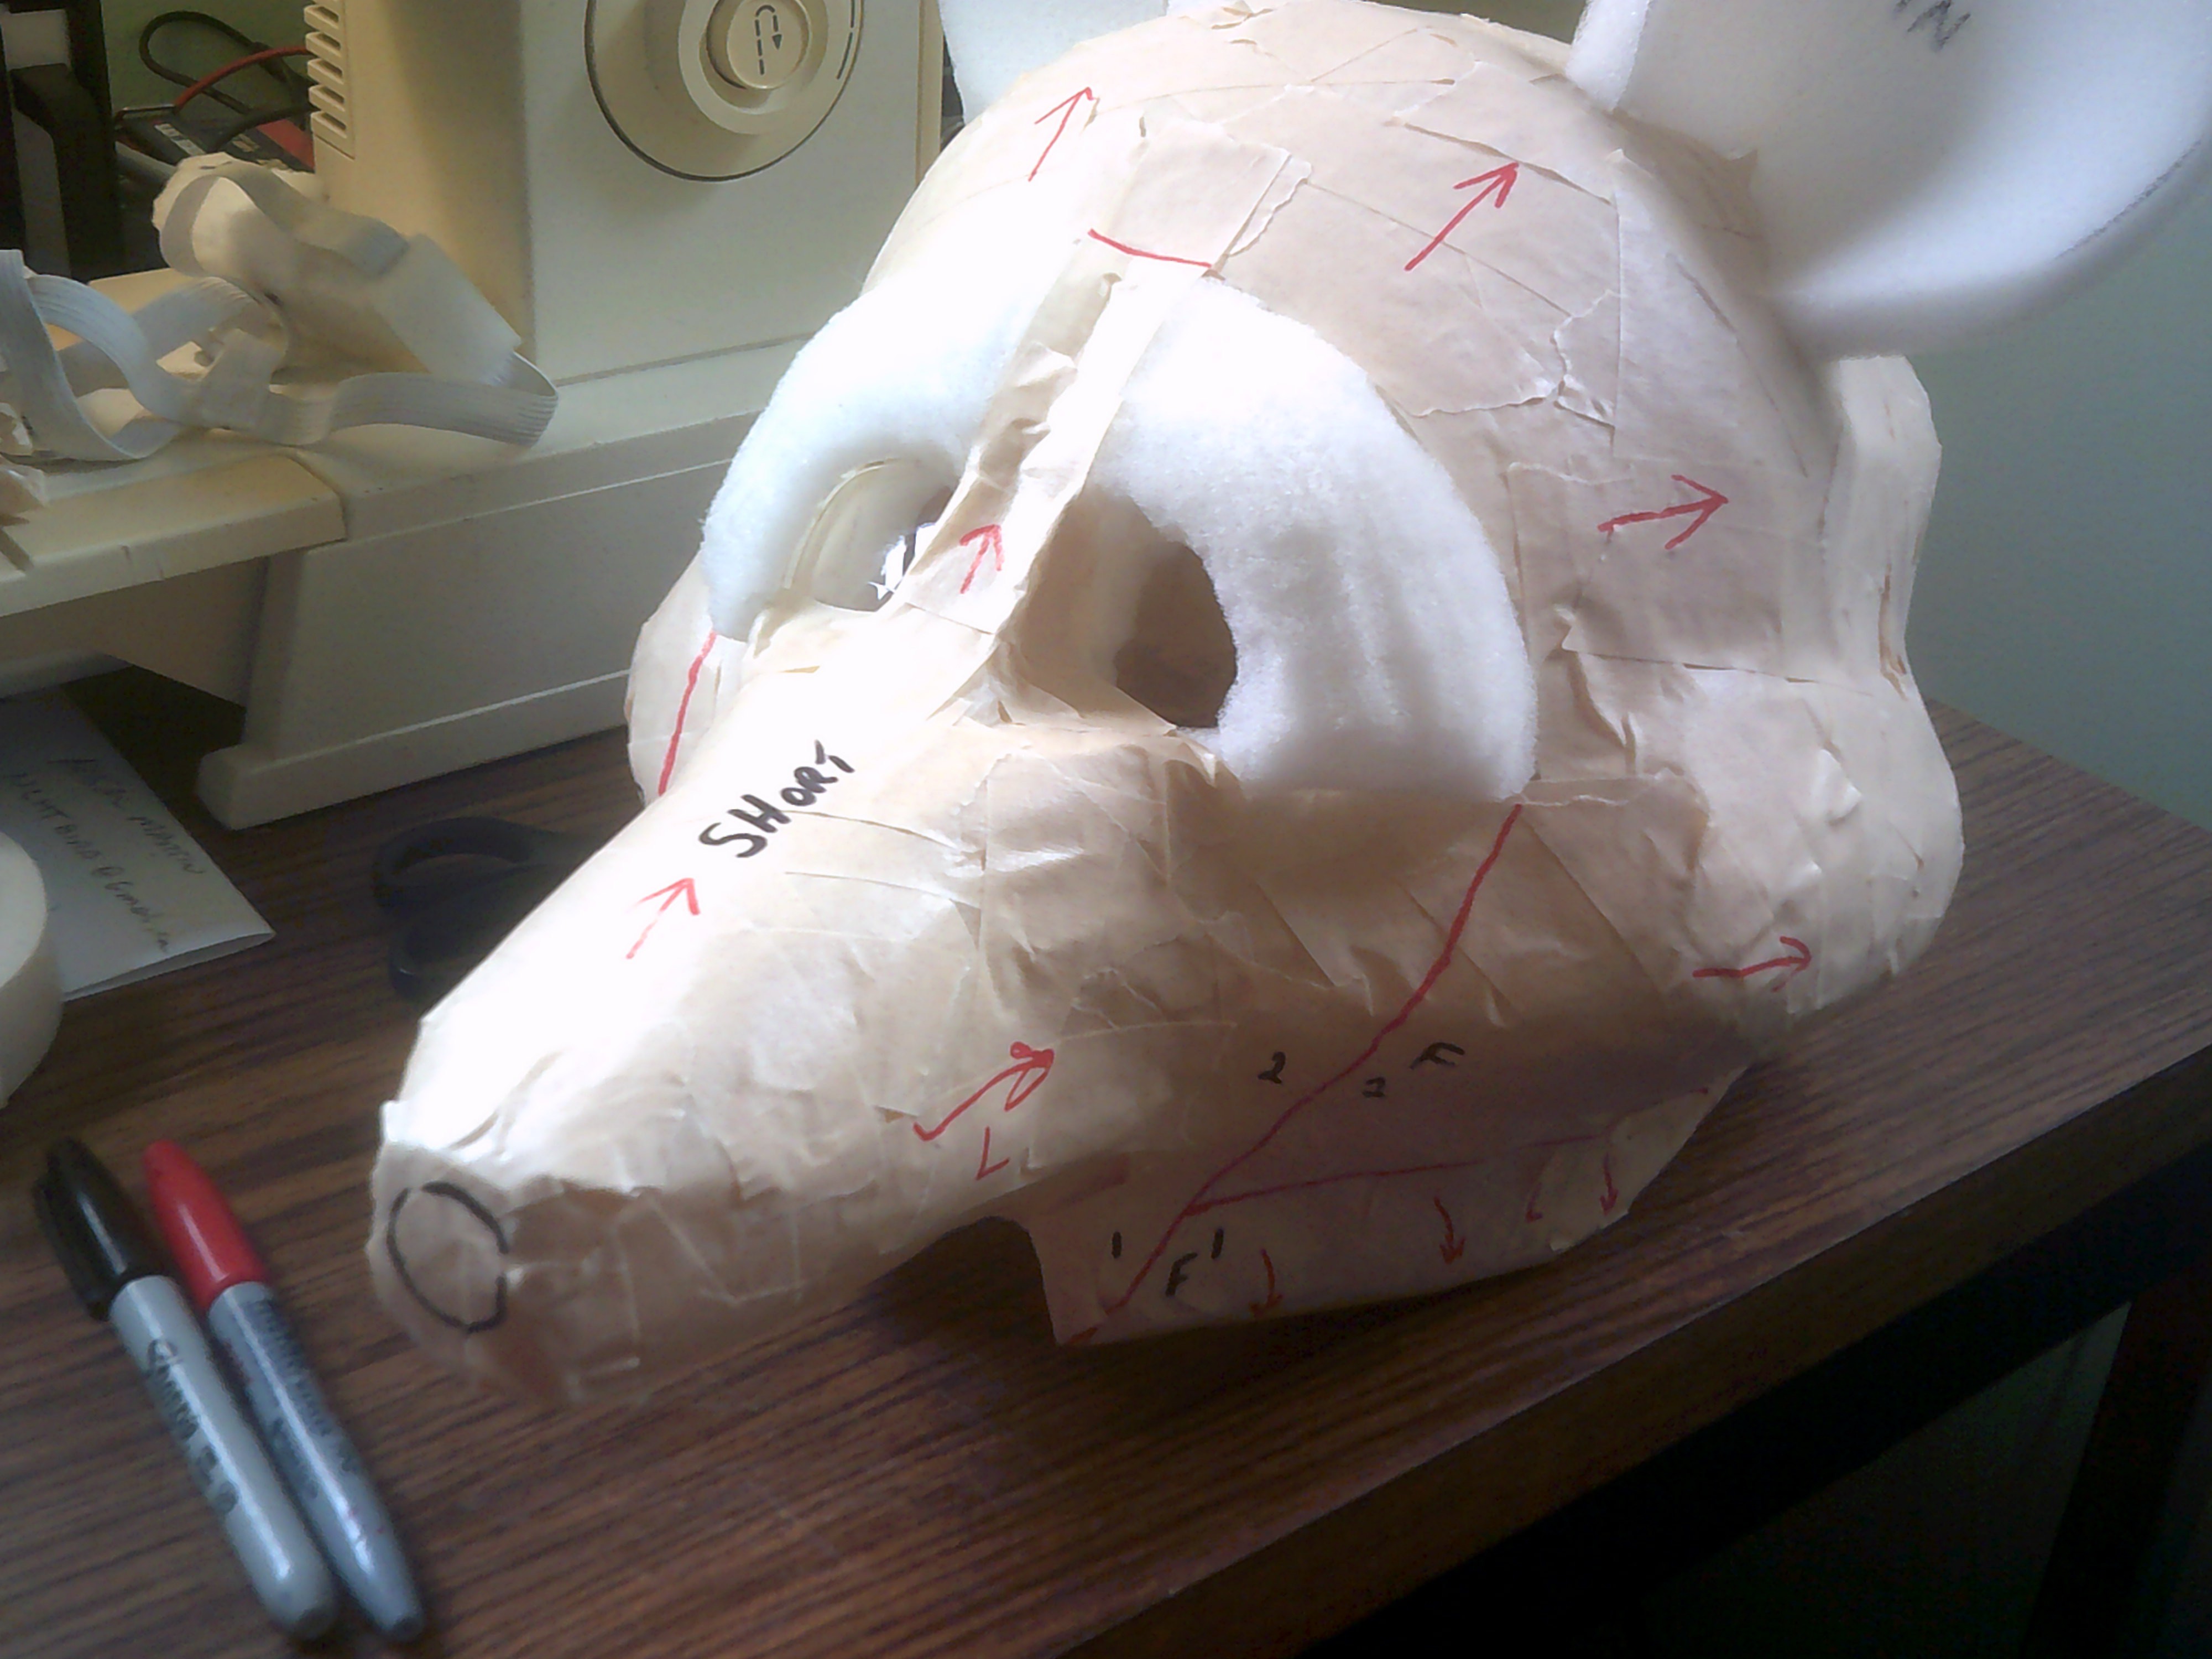
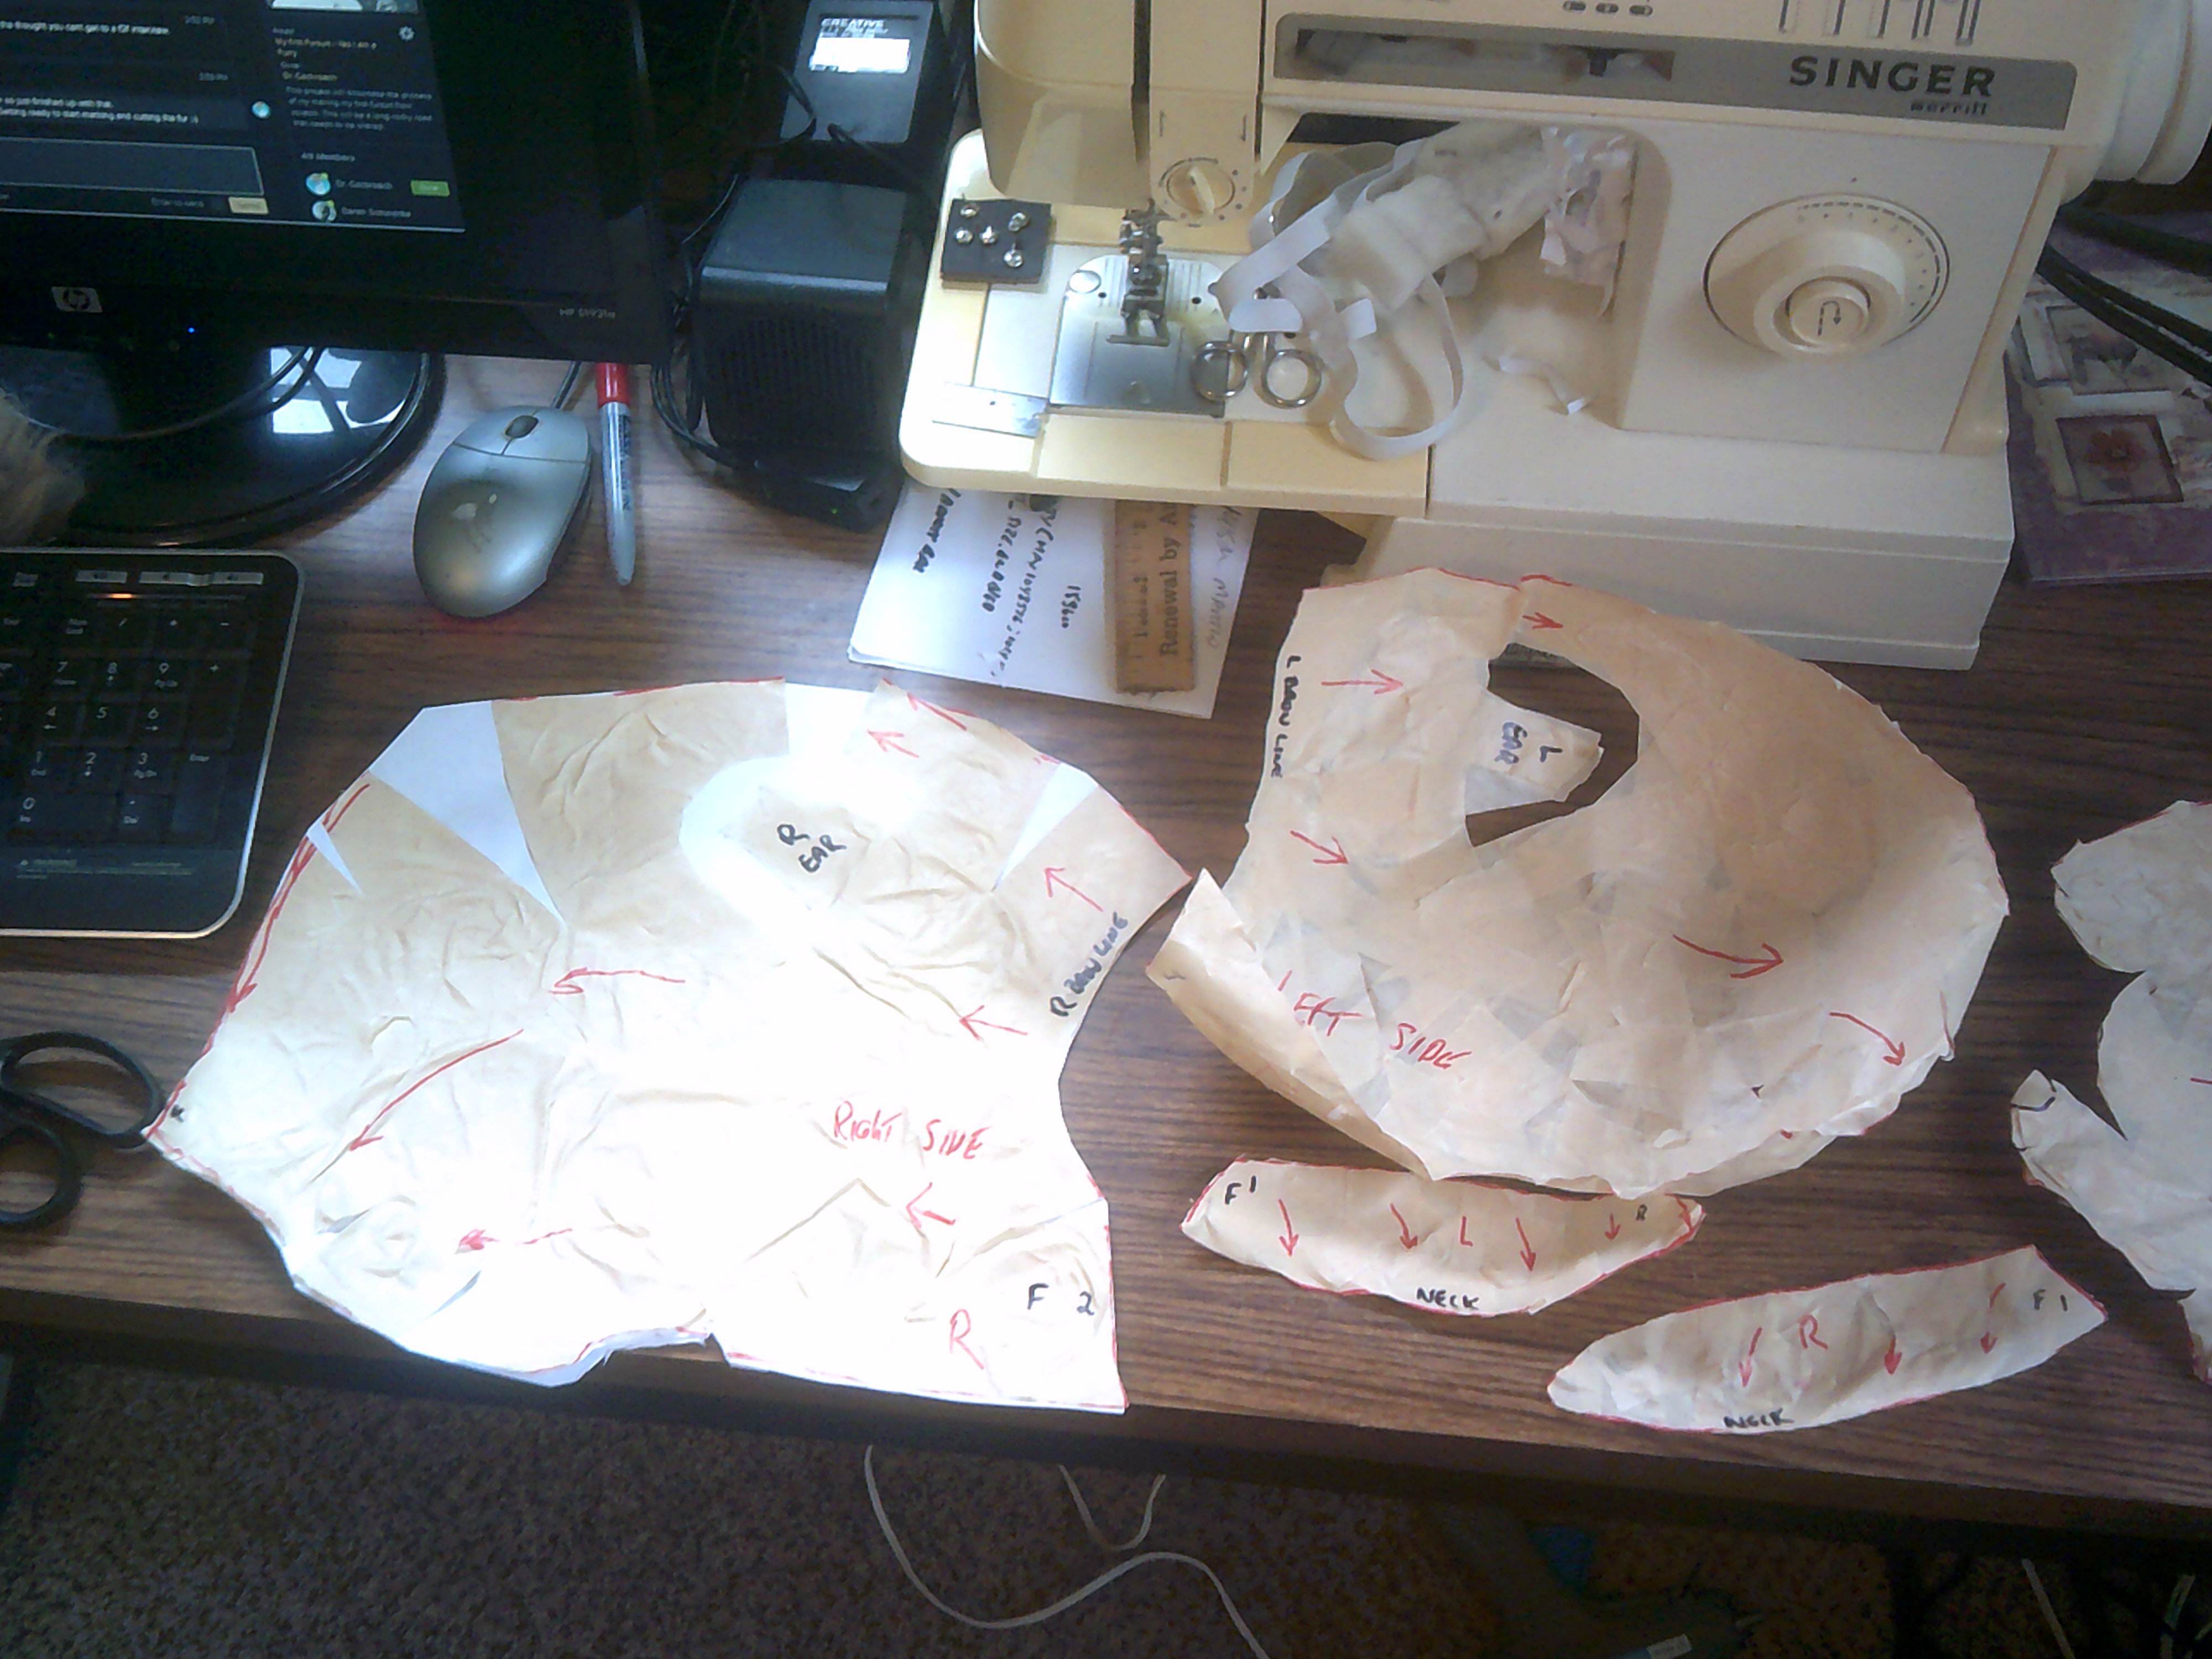
After taping, the next step was to mark off the pattern cut lines as well as fur lay direction and any marks to assist in final fur placement.
![]()
Carefully cut and remove the pattern pieces ( 5 ) and begin the process of laying them out flat onto paper. If the patterns will not lay out flat then small darts need to be cut into the patterns. Much like laying out a world globe flat.
![]()
![]()
![]()
Trim the paper backing to match the pattern piece and then begin the process of marking and cutting out the fur. be careful to place the fur in the desired direction so that the fur is laying the way you want. Cut the fur from the backing side using a sharp razor blade. Do not use scissors as they will cut the fur as well.
![]()
![]()
![]()
The Werewolf look.
![]()
Trim the fur real short for the eye areas.
![]()
![]()
![]()
Trying to decide if a mustache and goatee will work for Marcus.
![]()
-
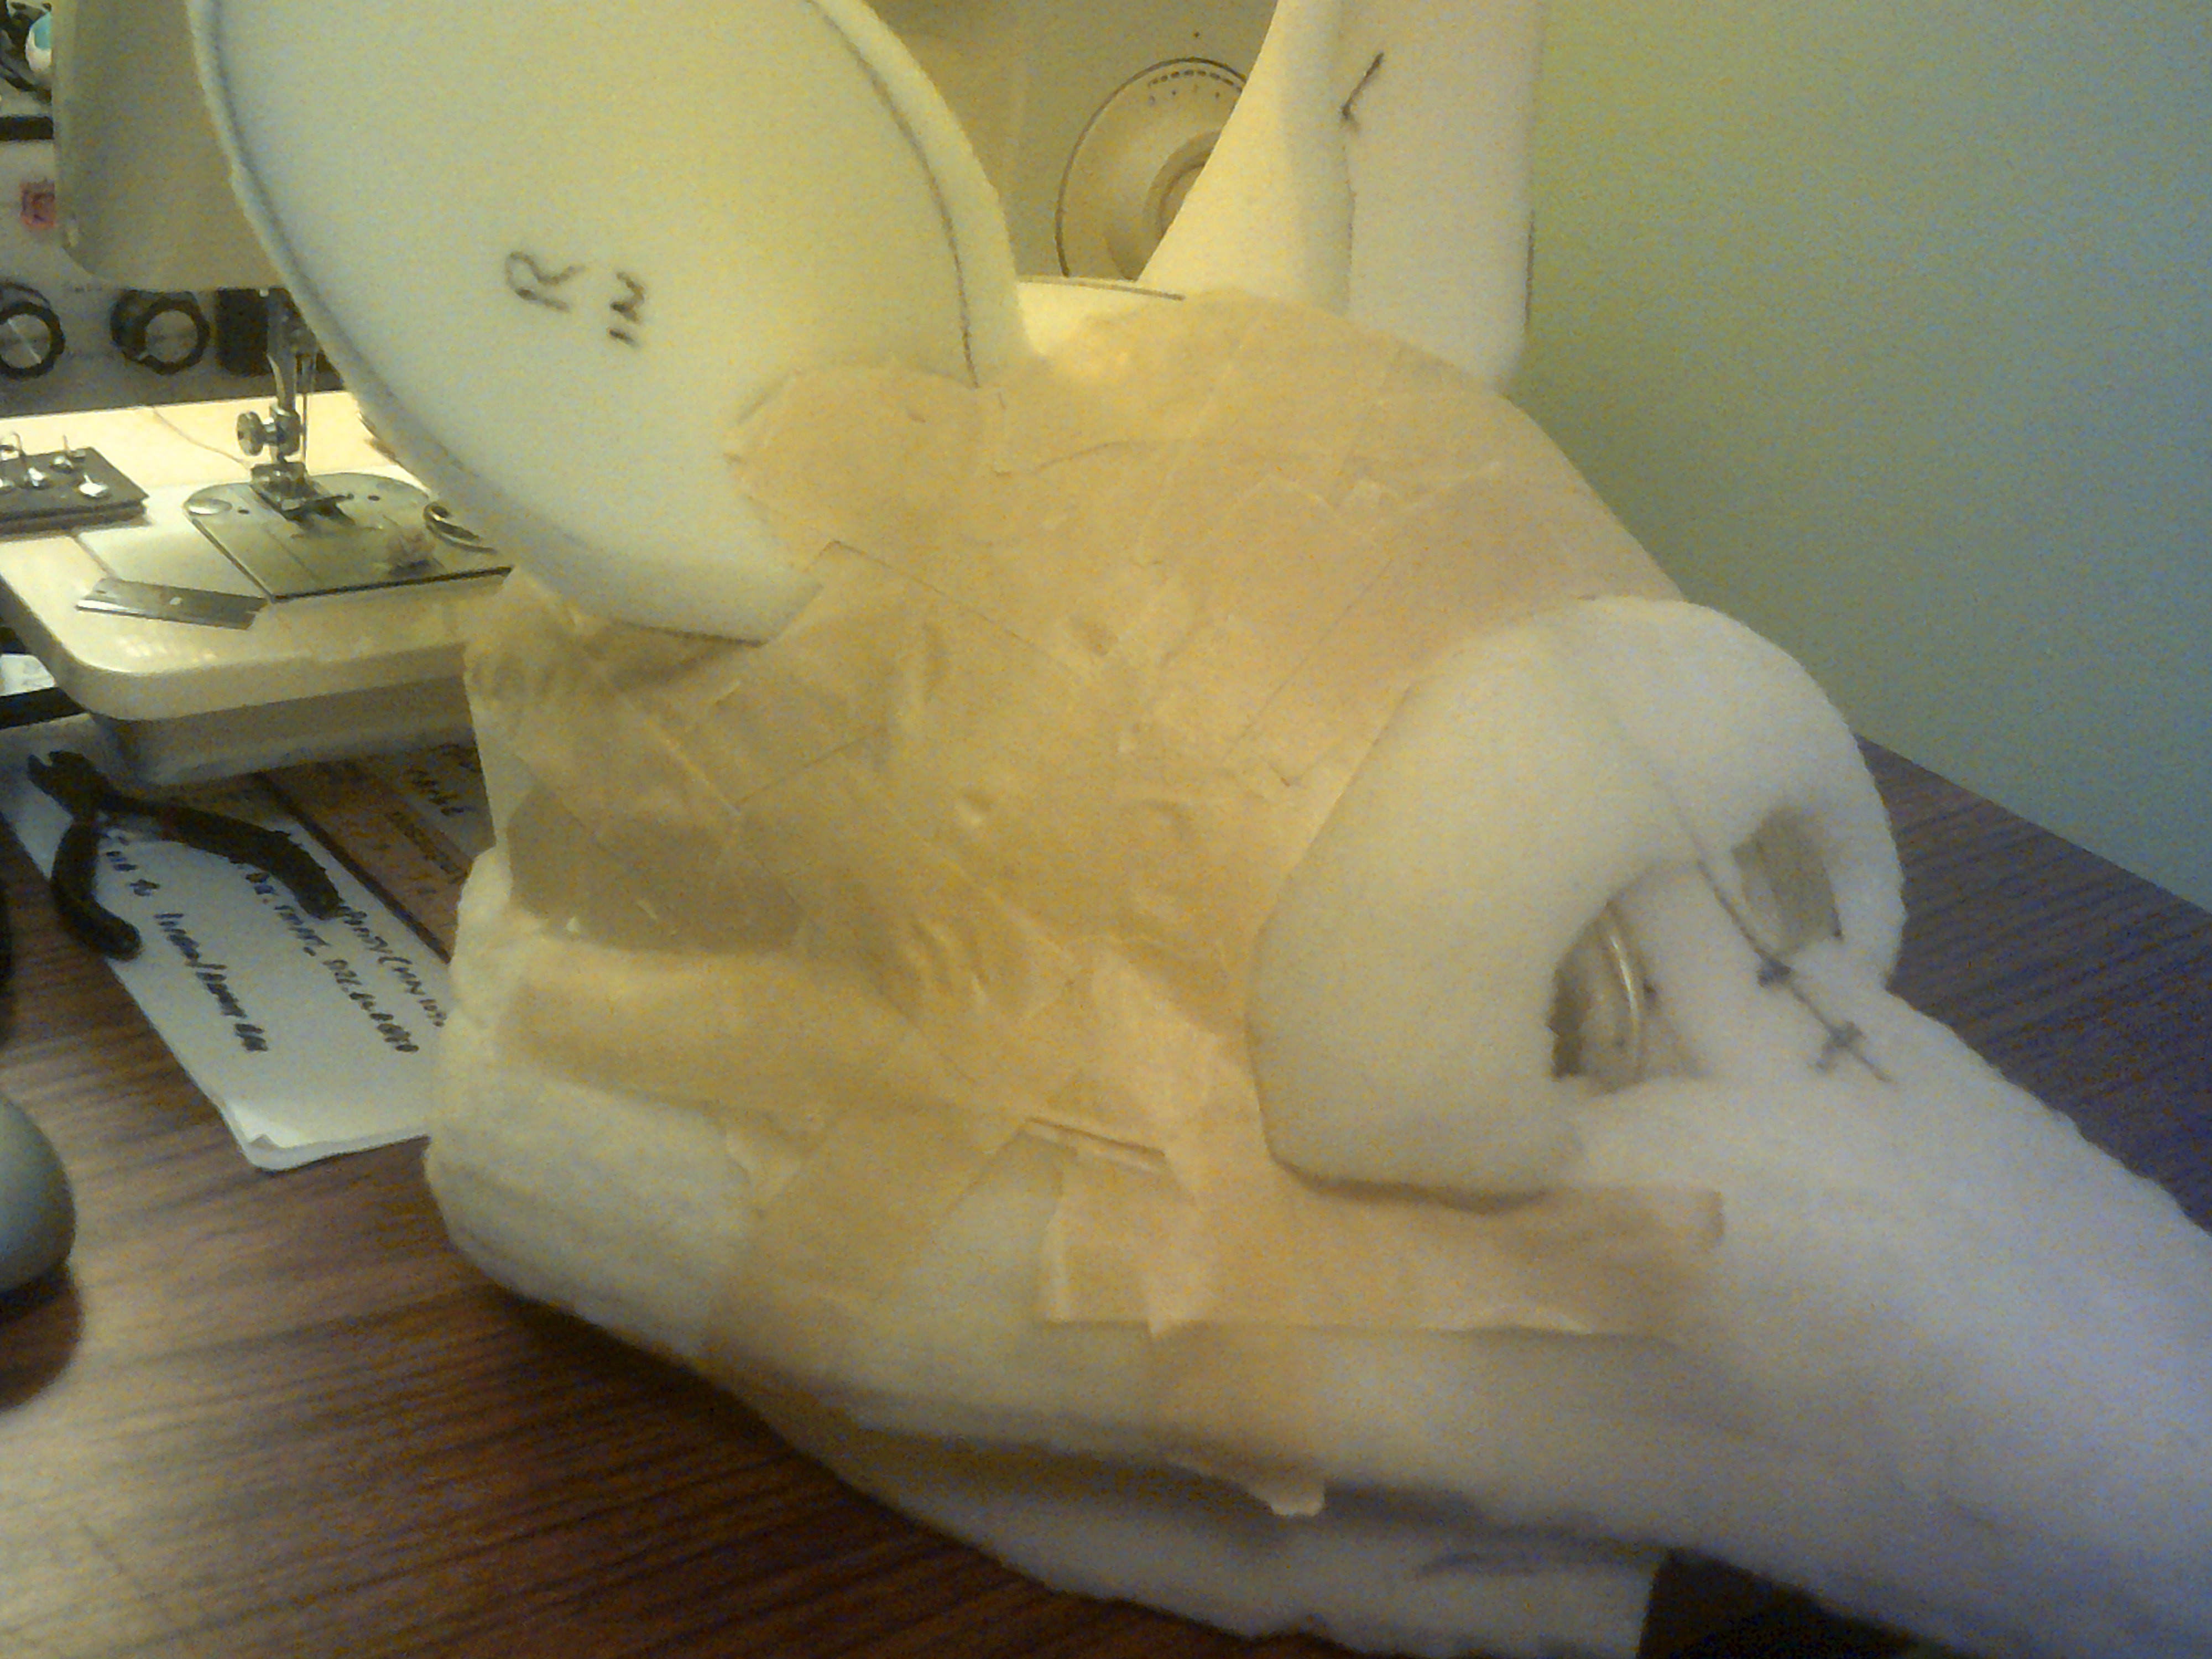
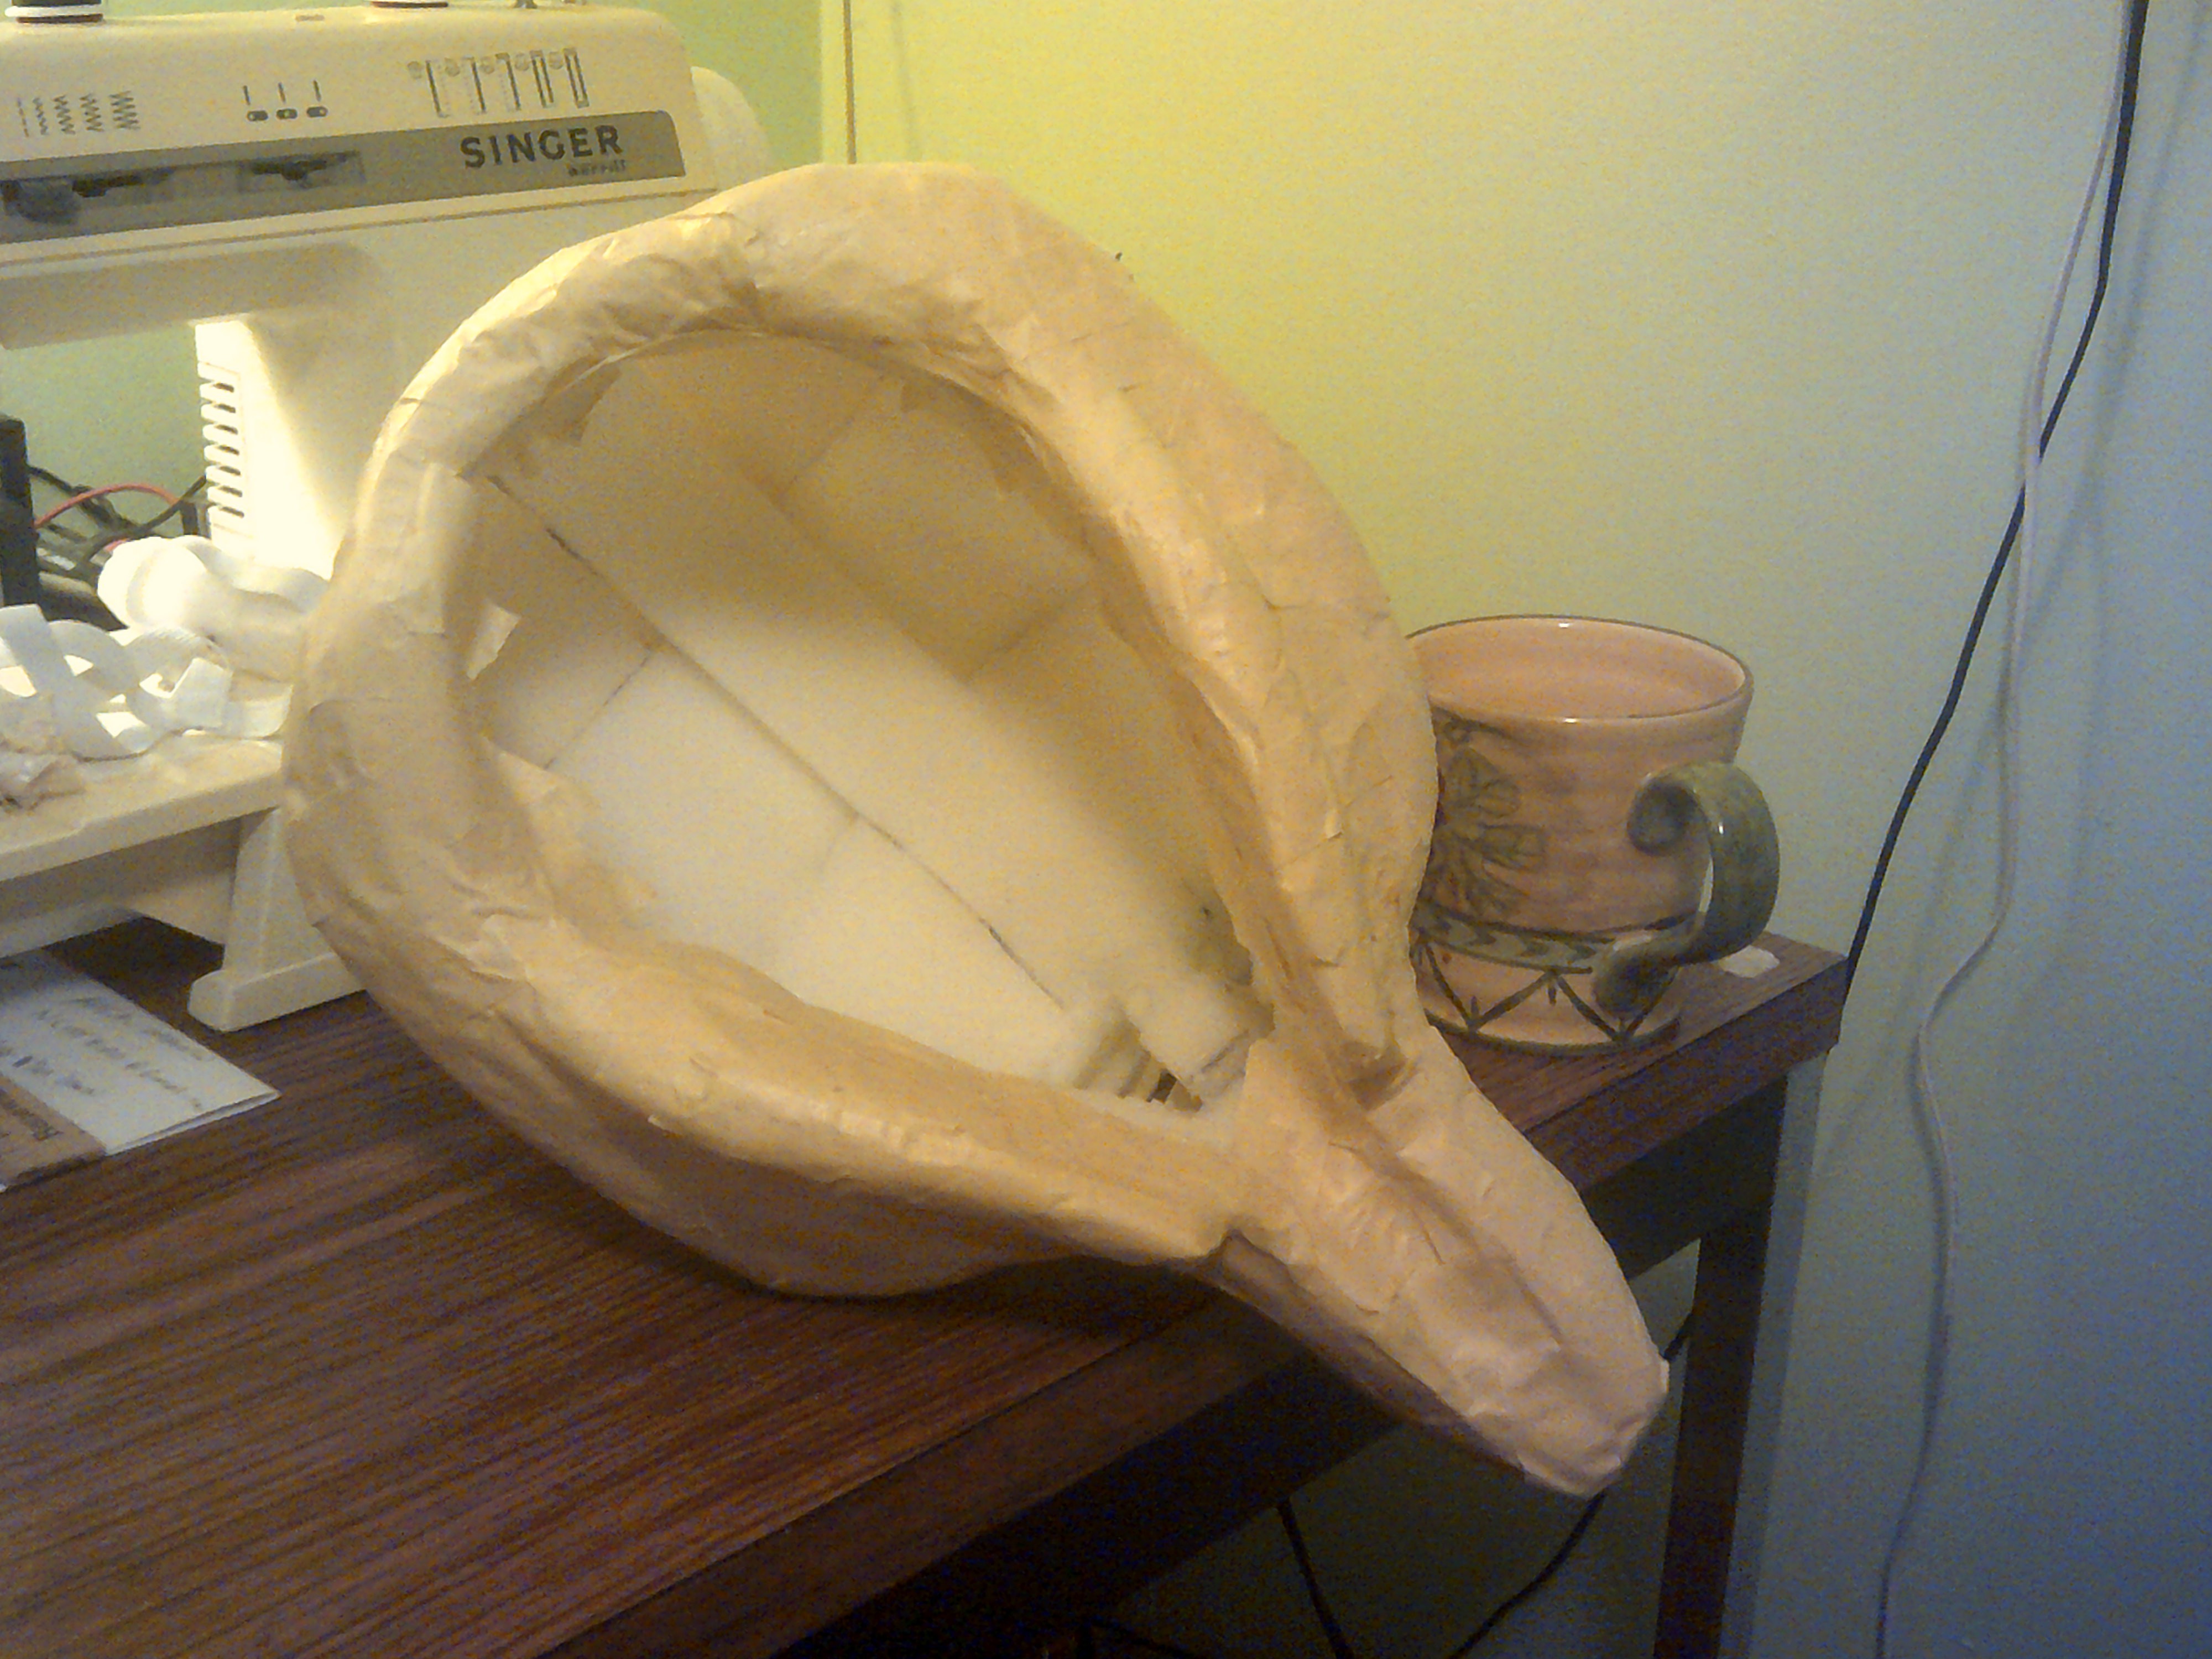
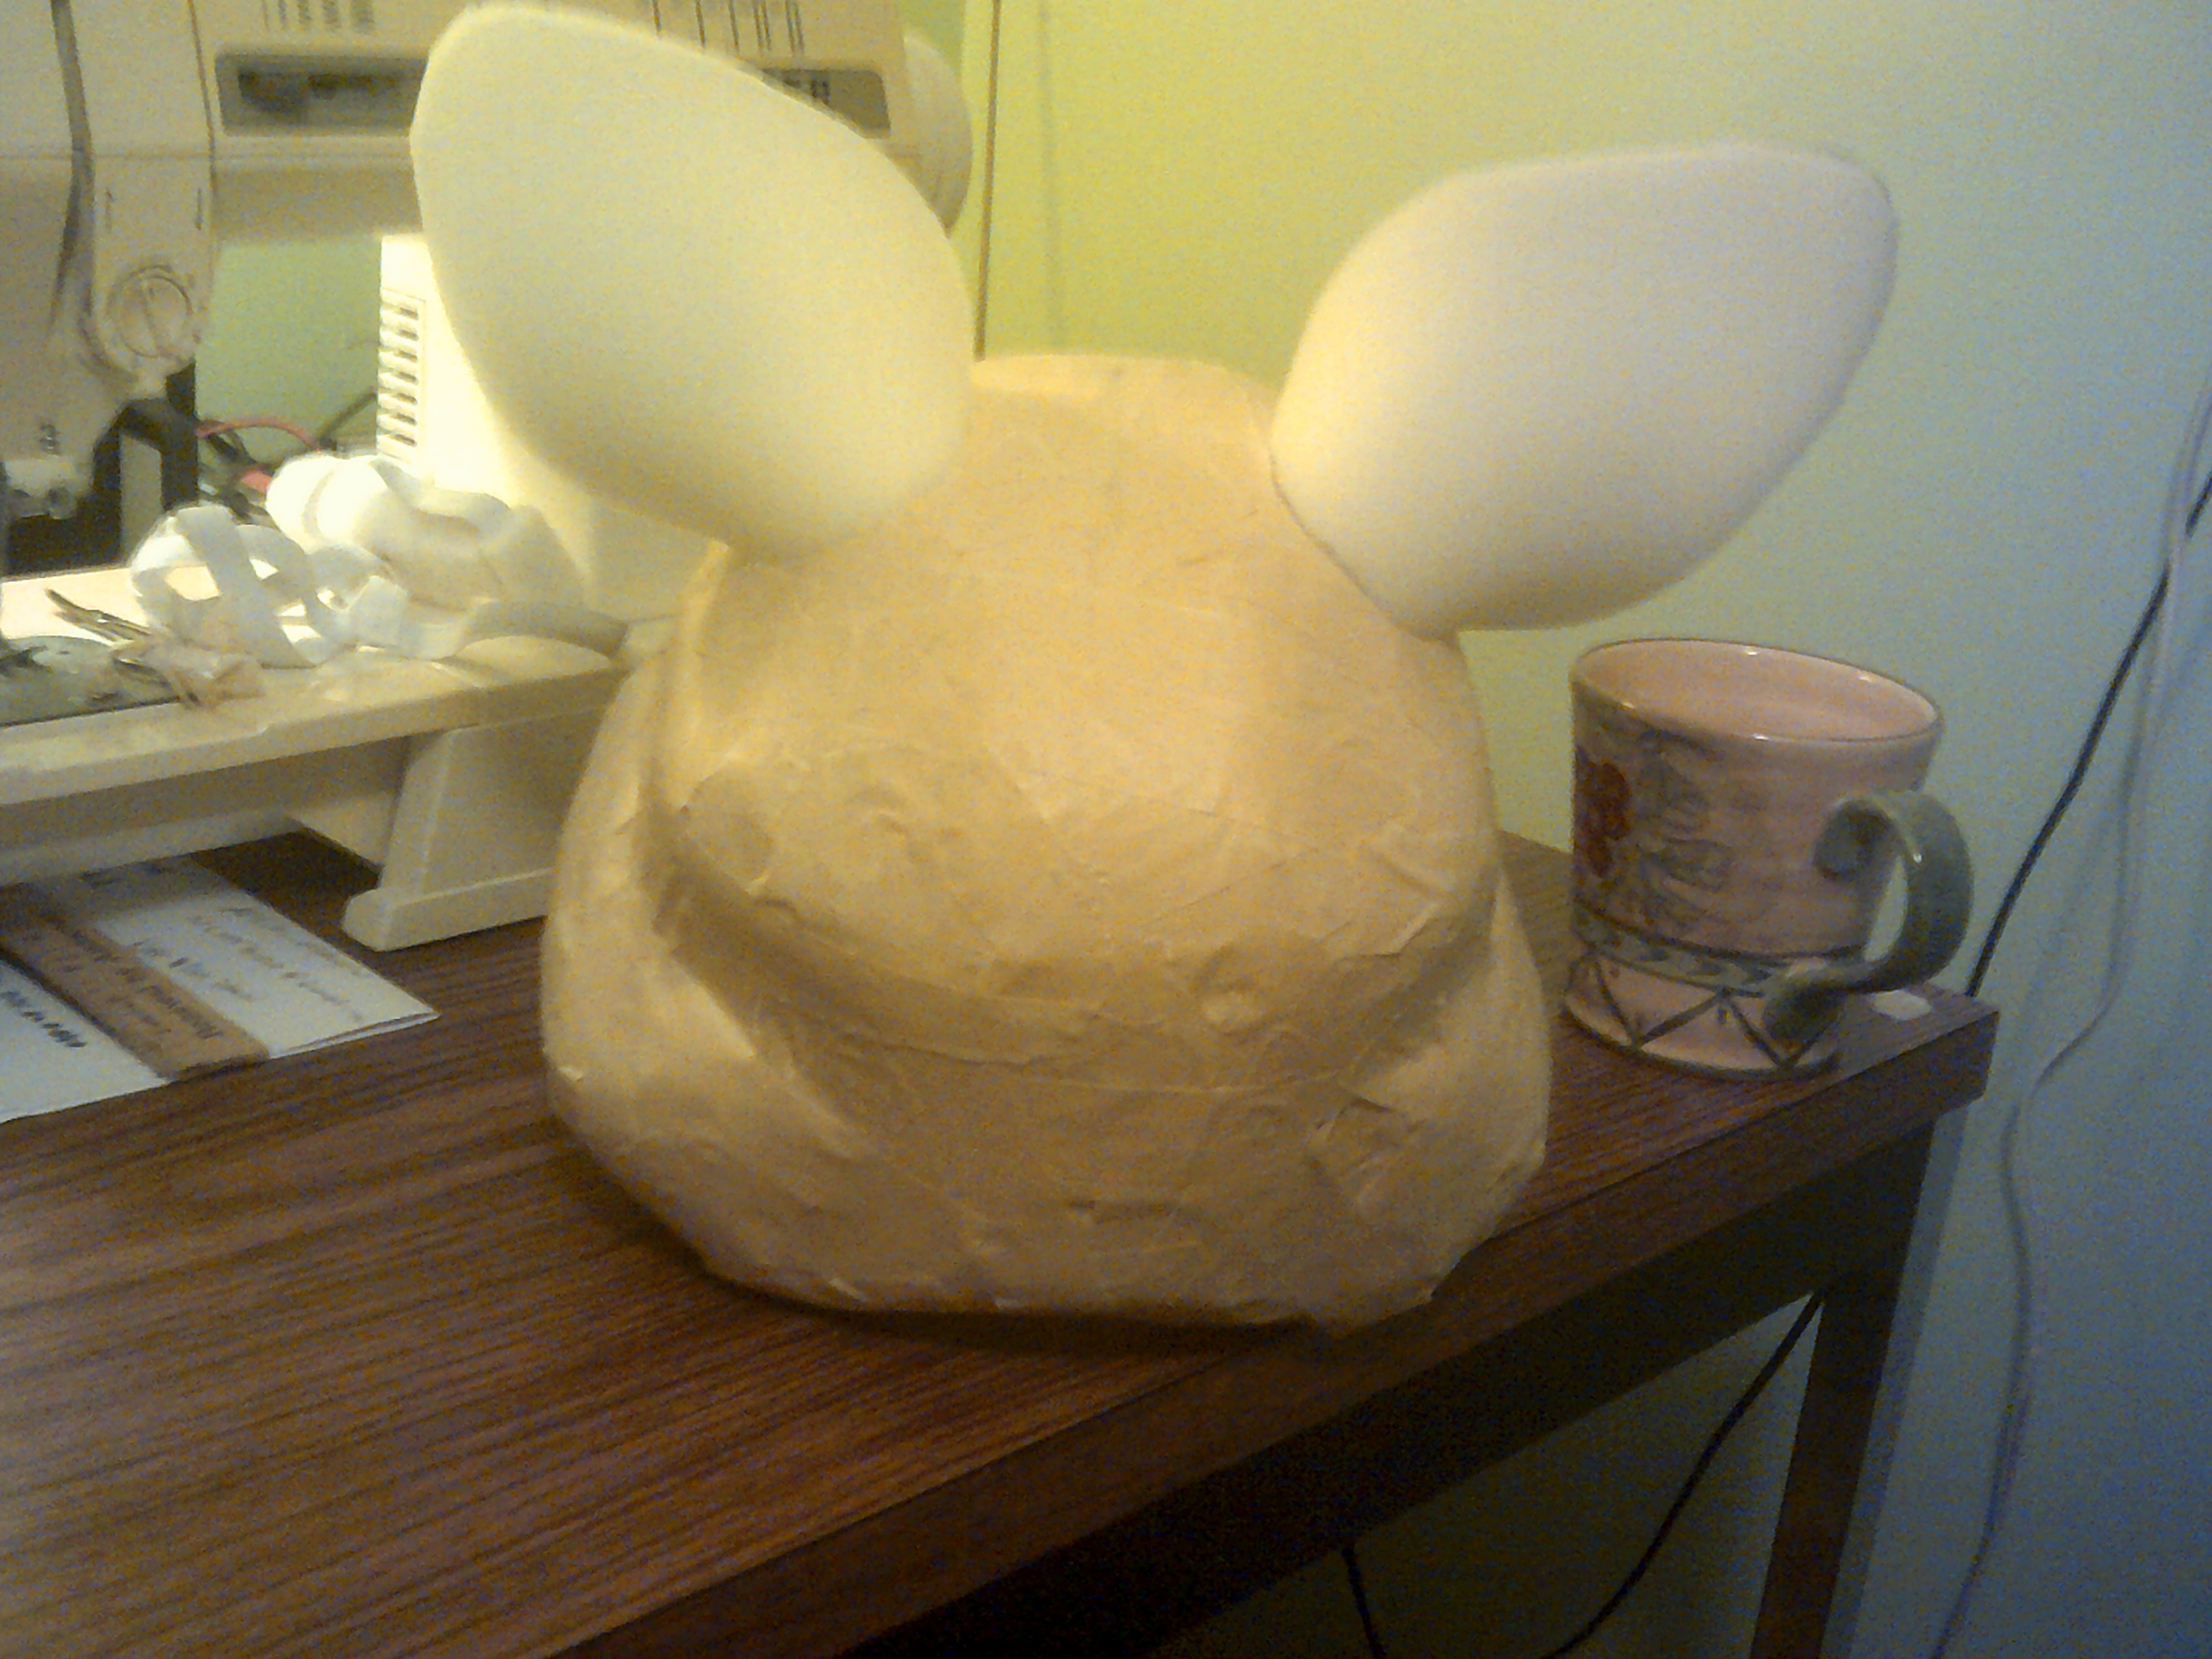
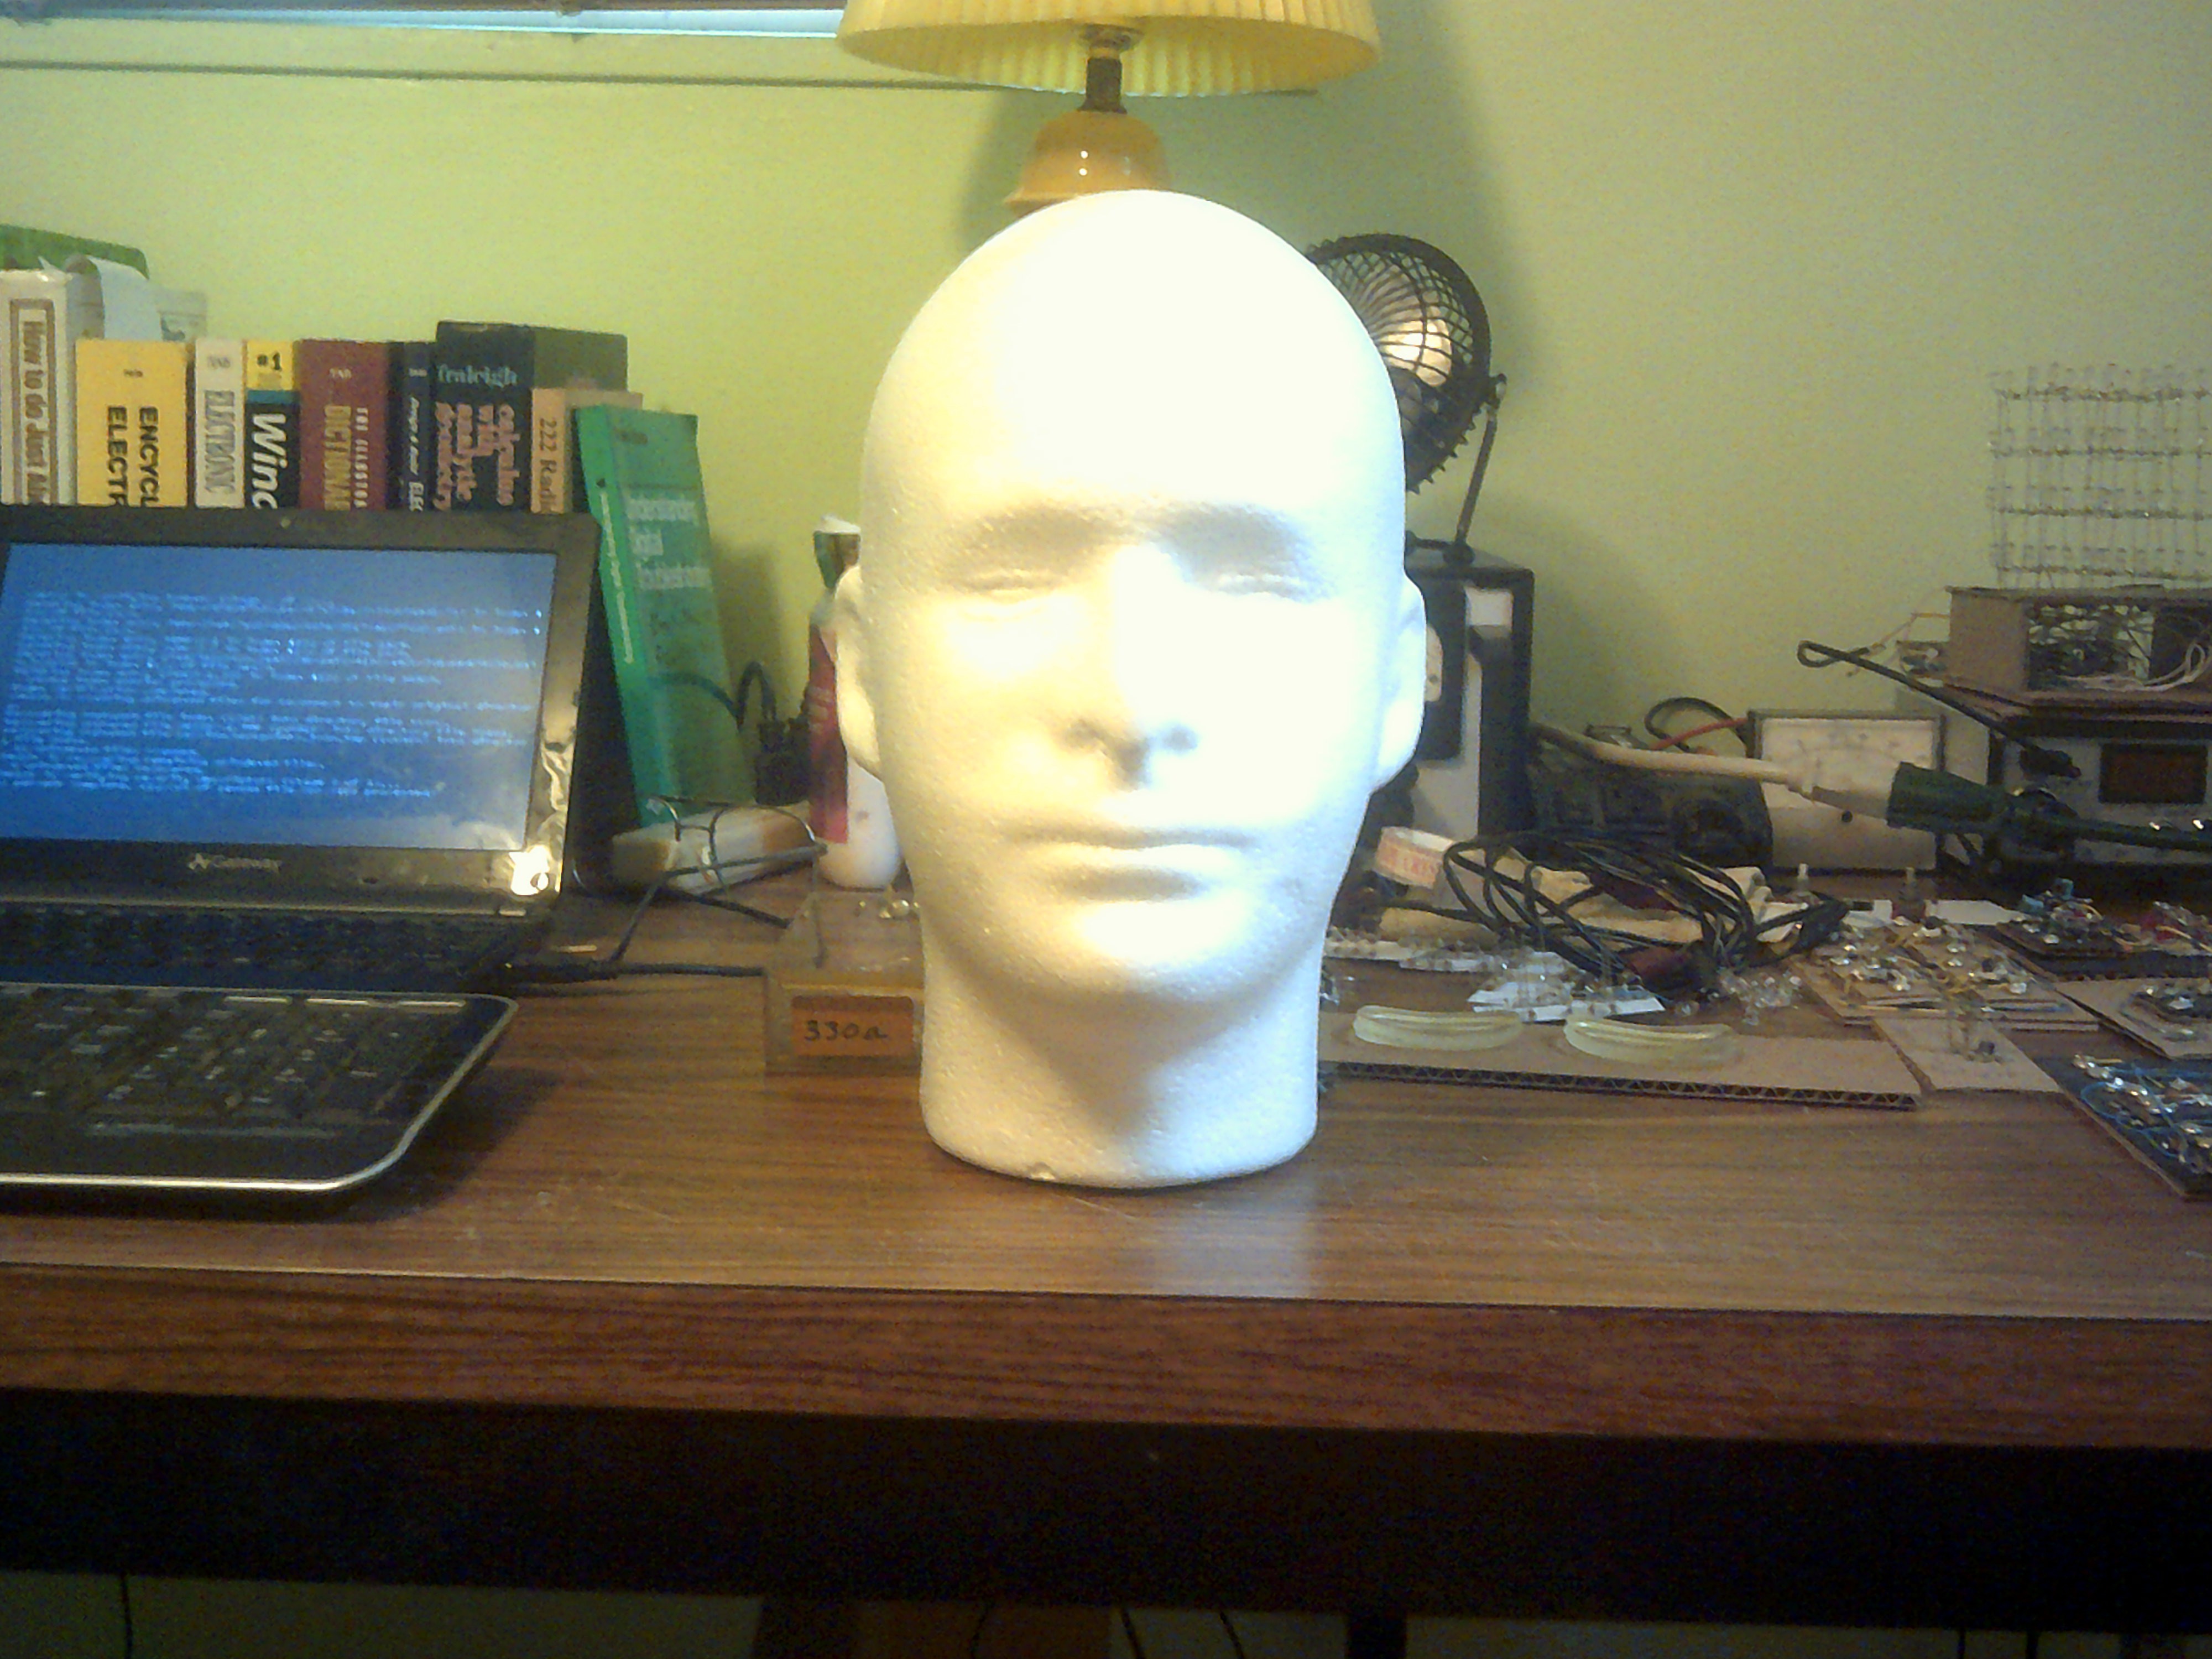
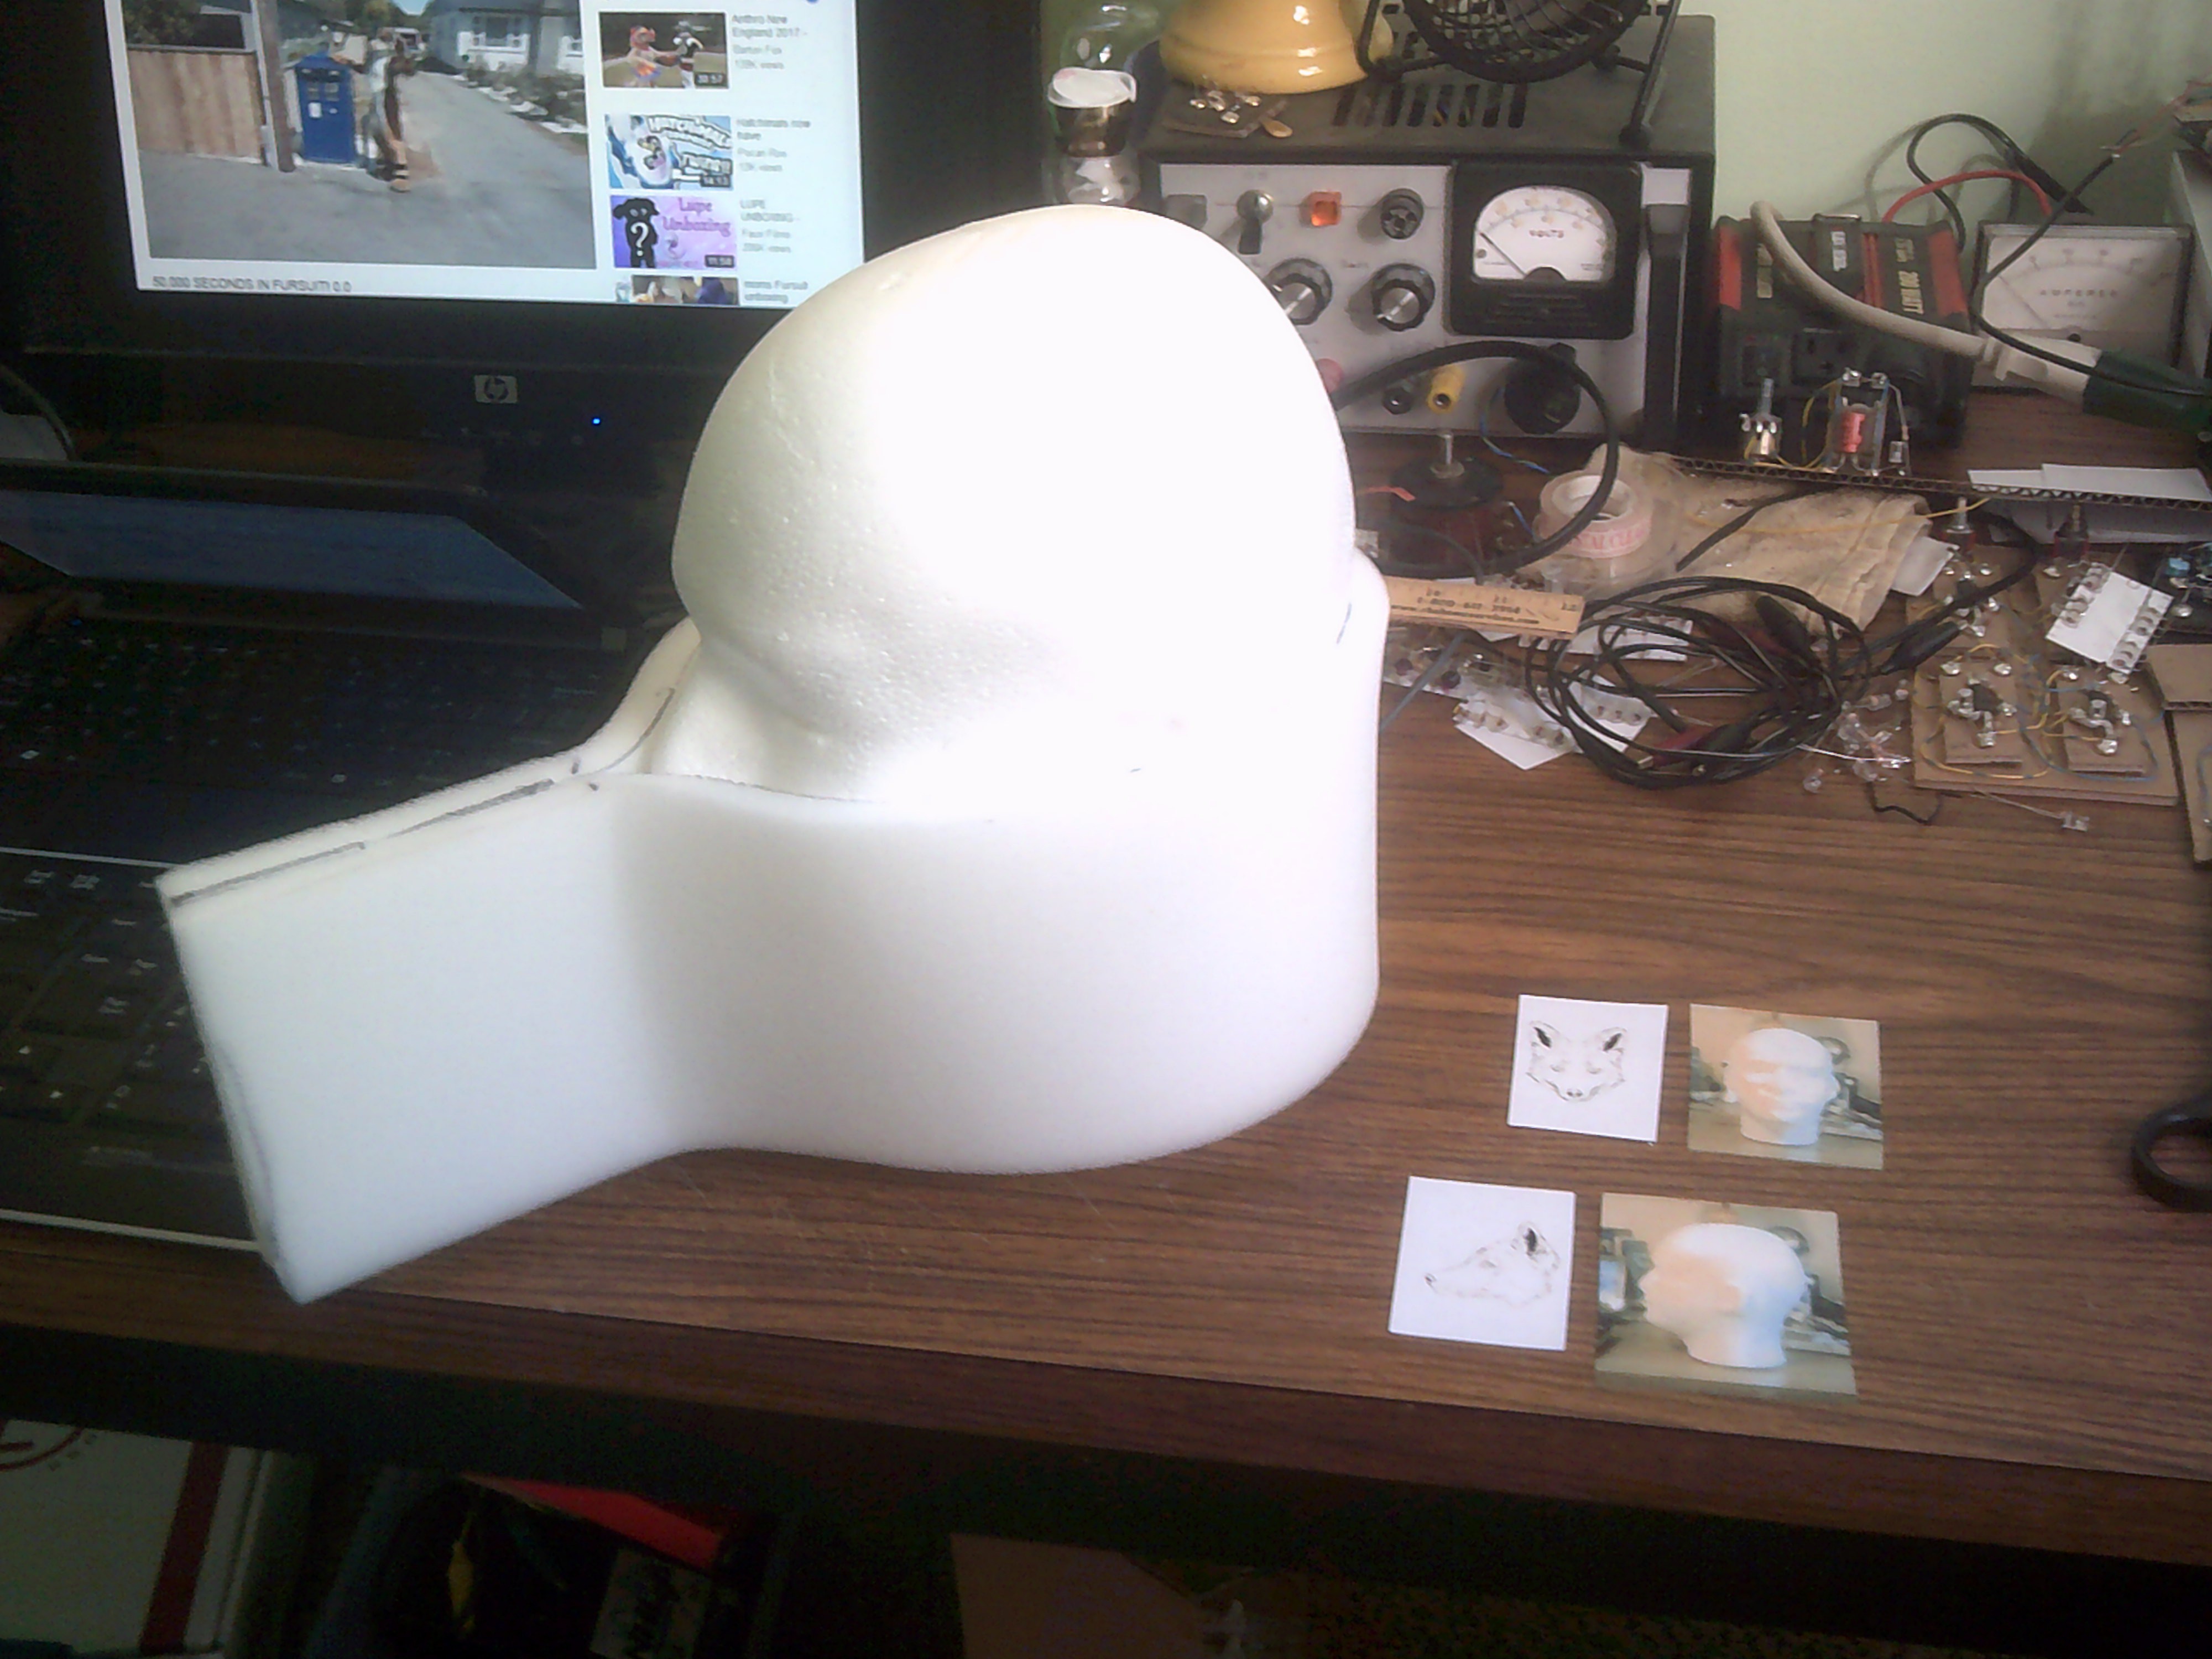
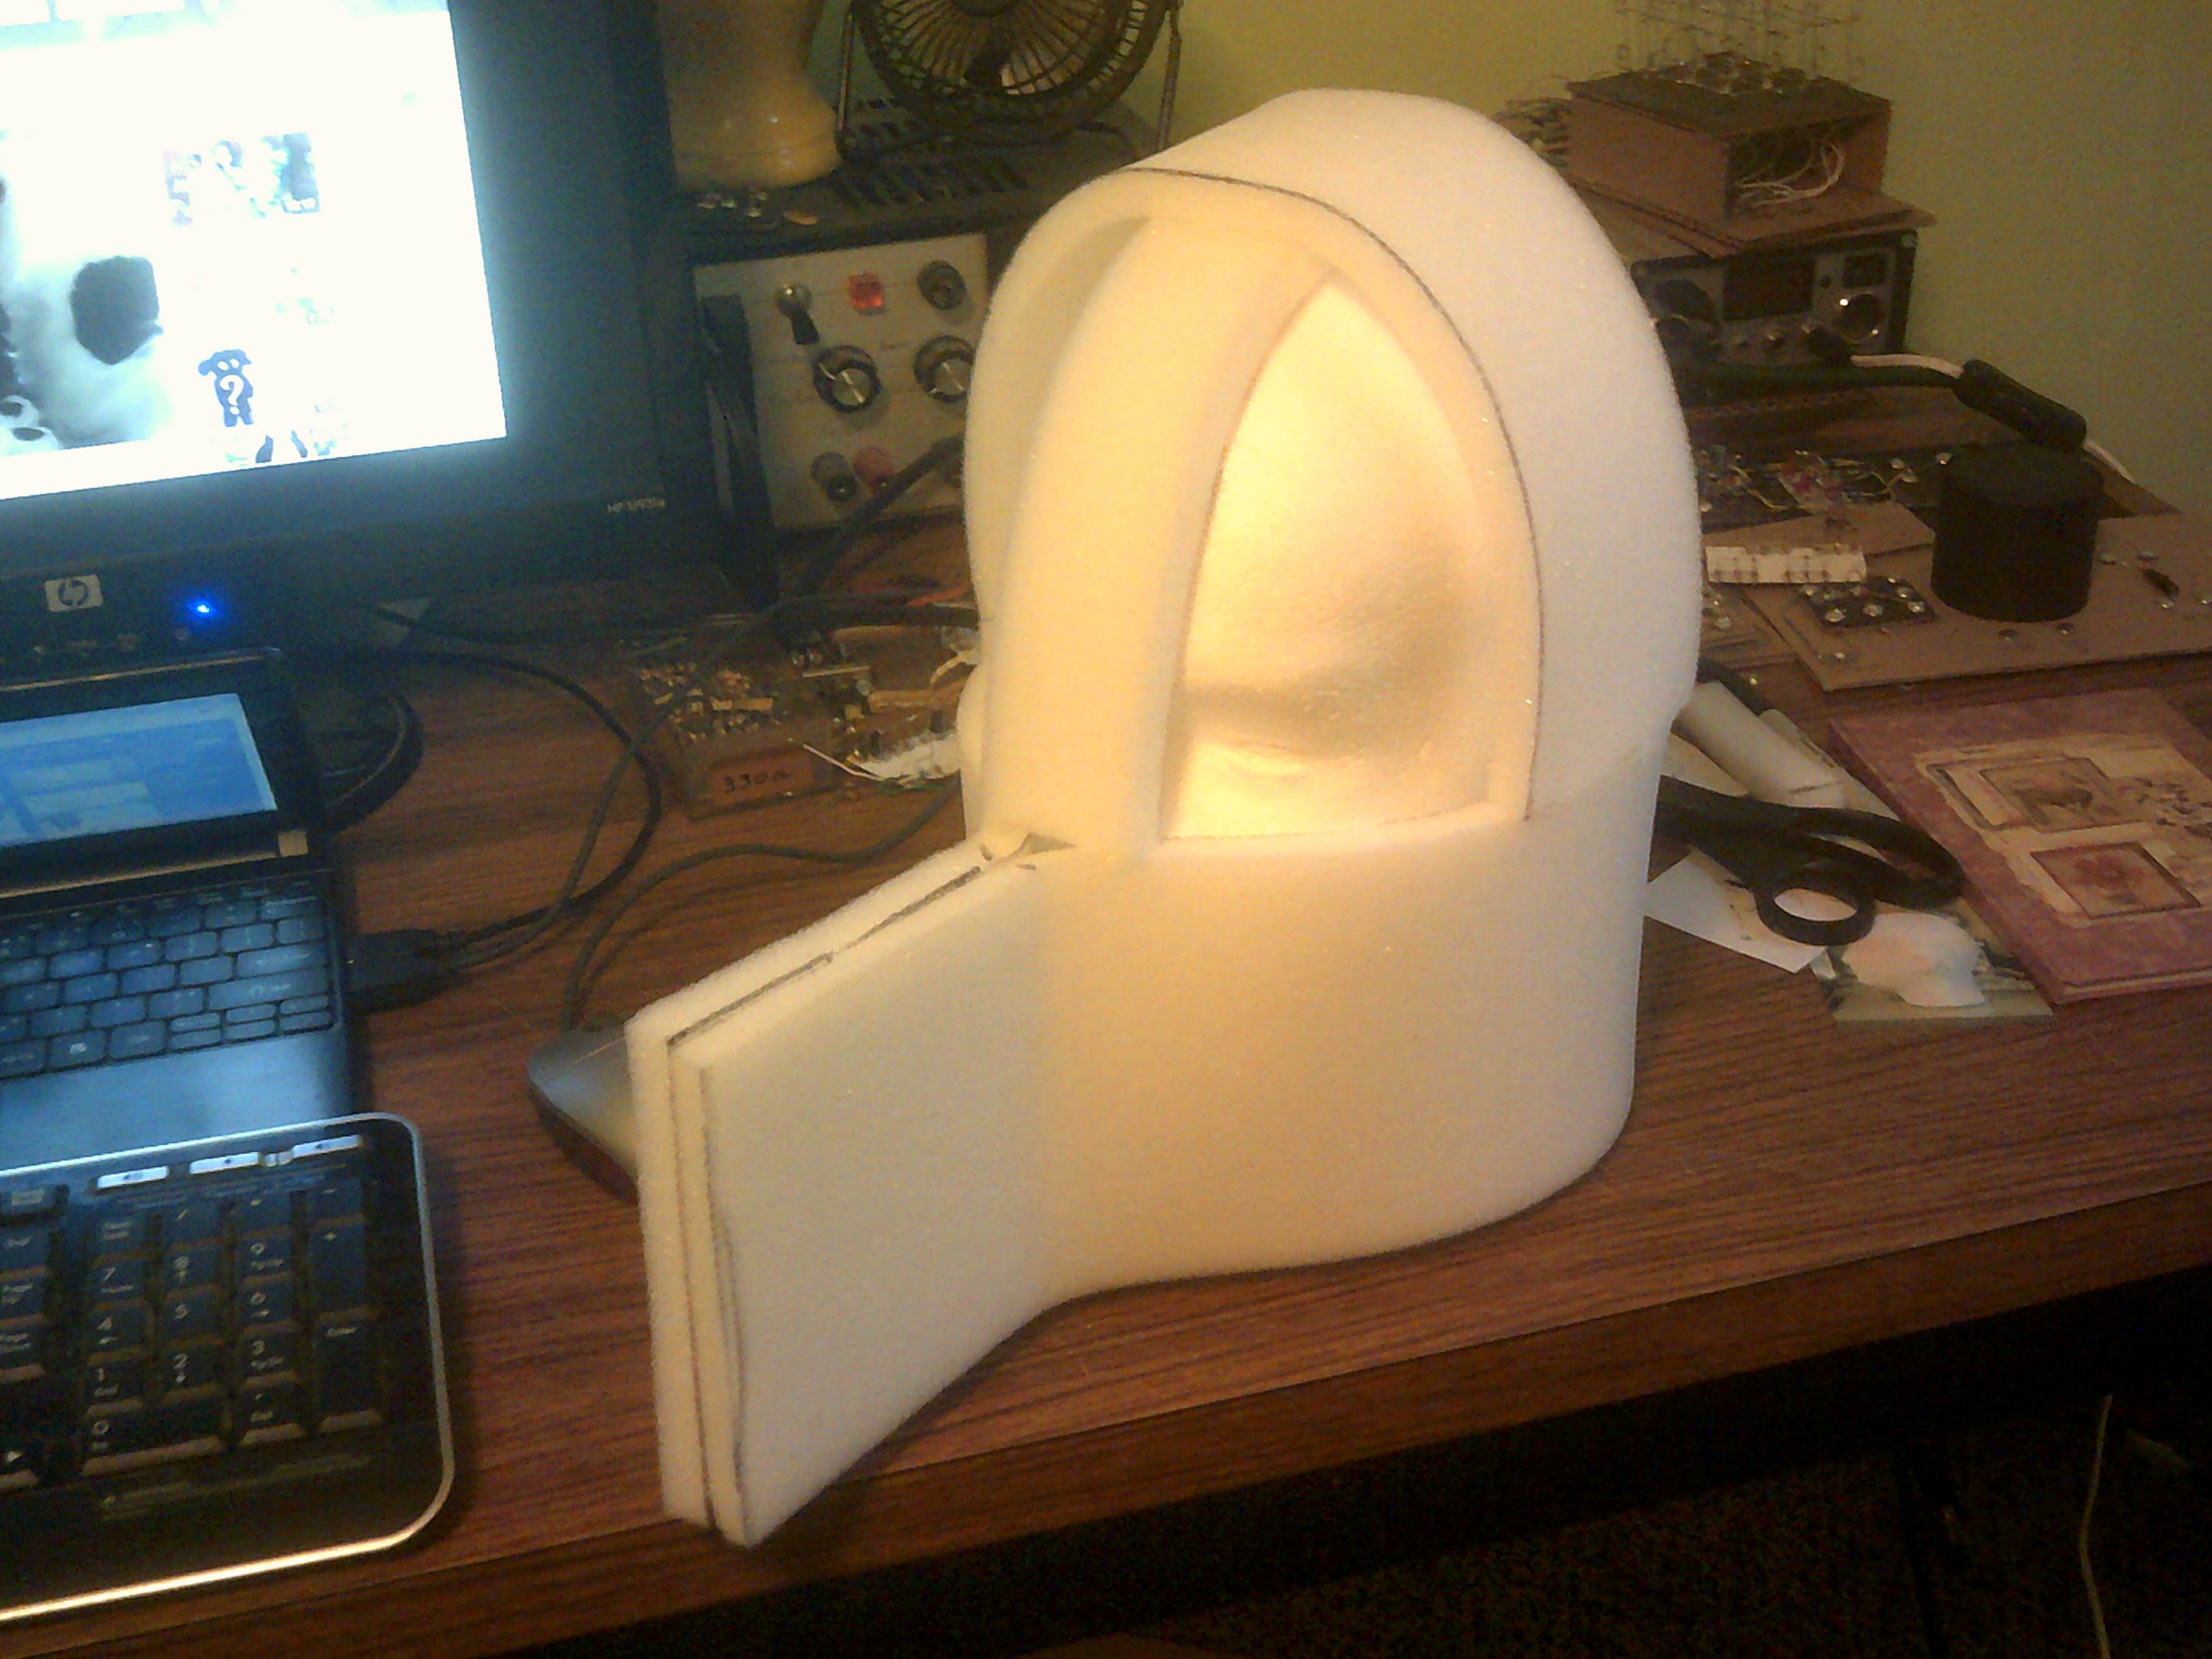
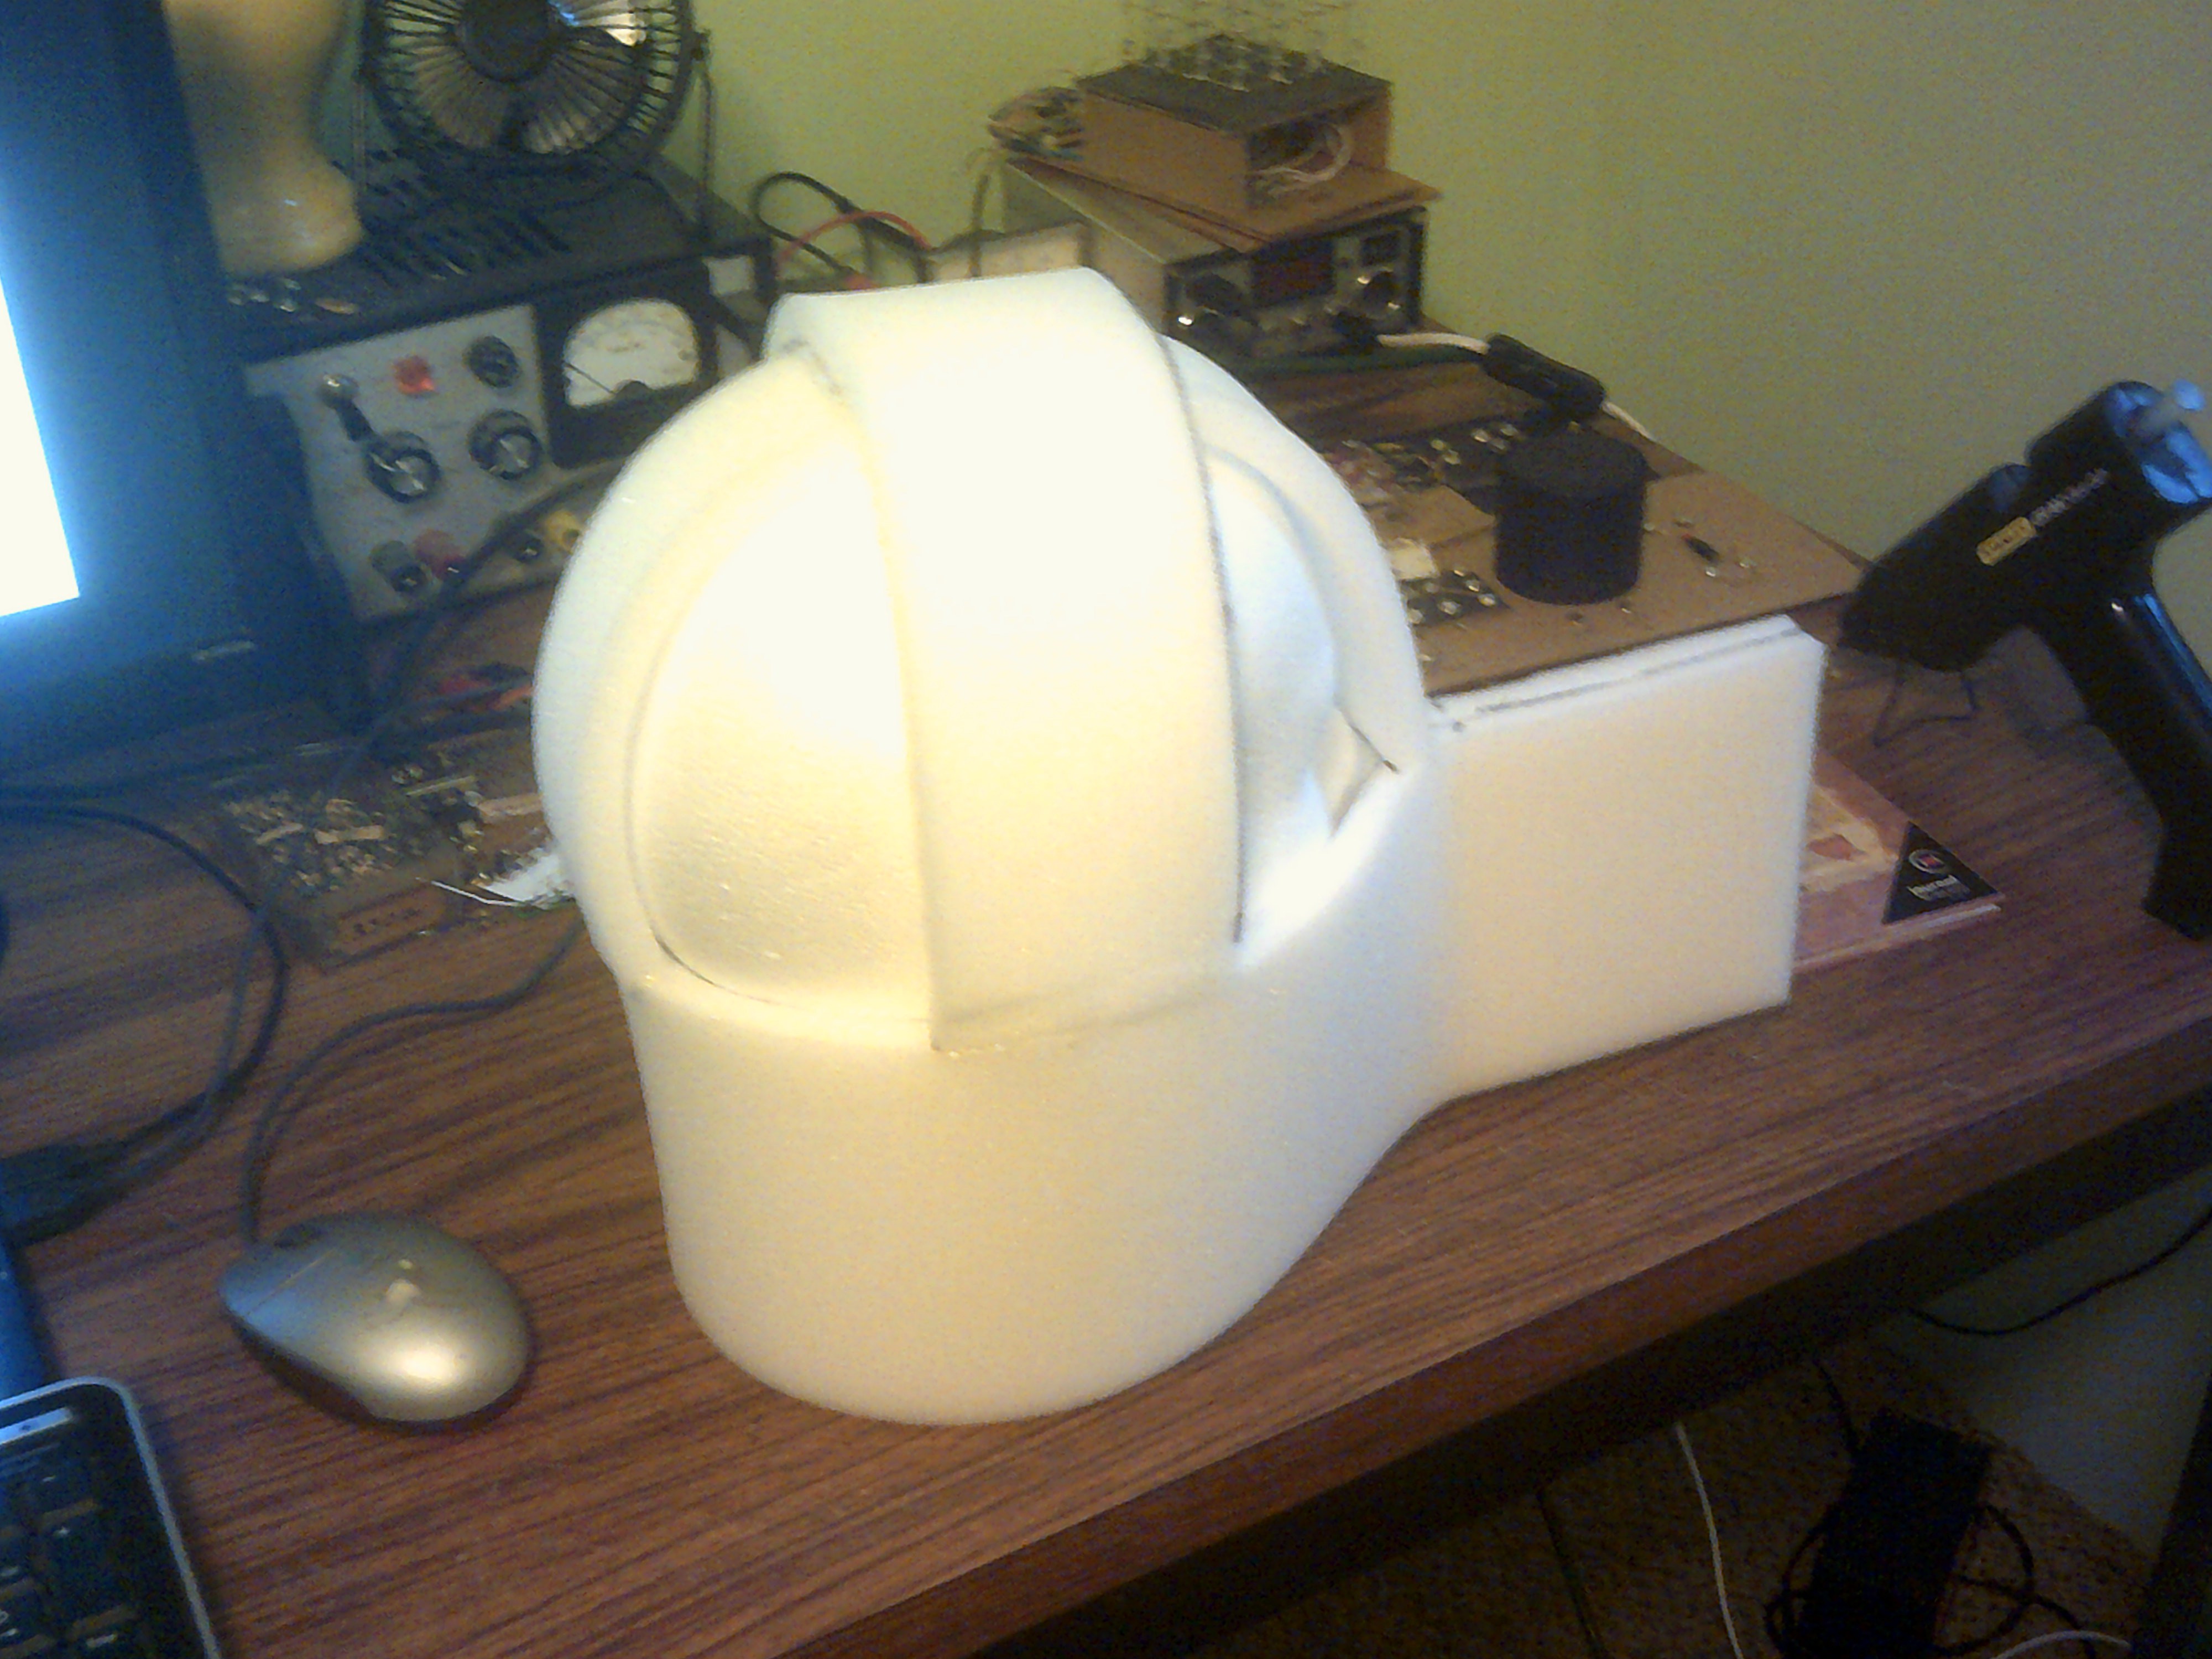
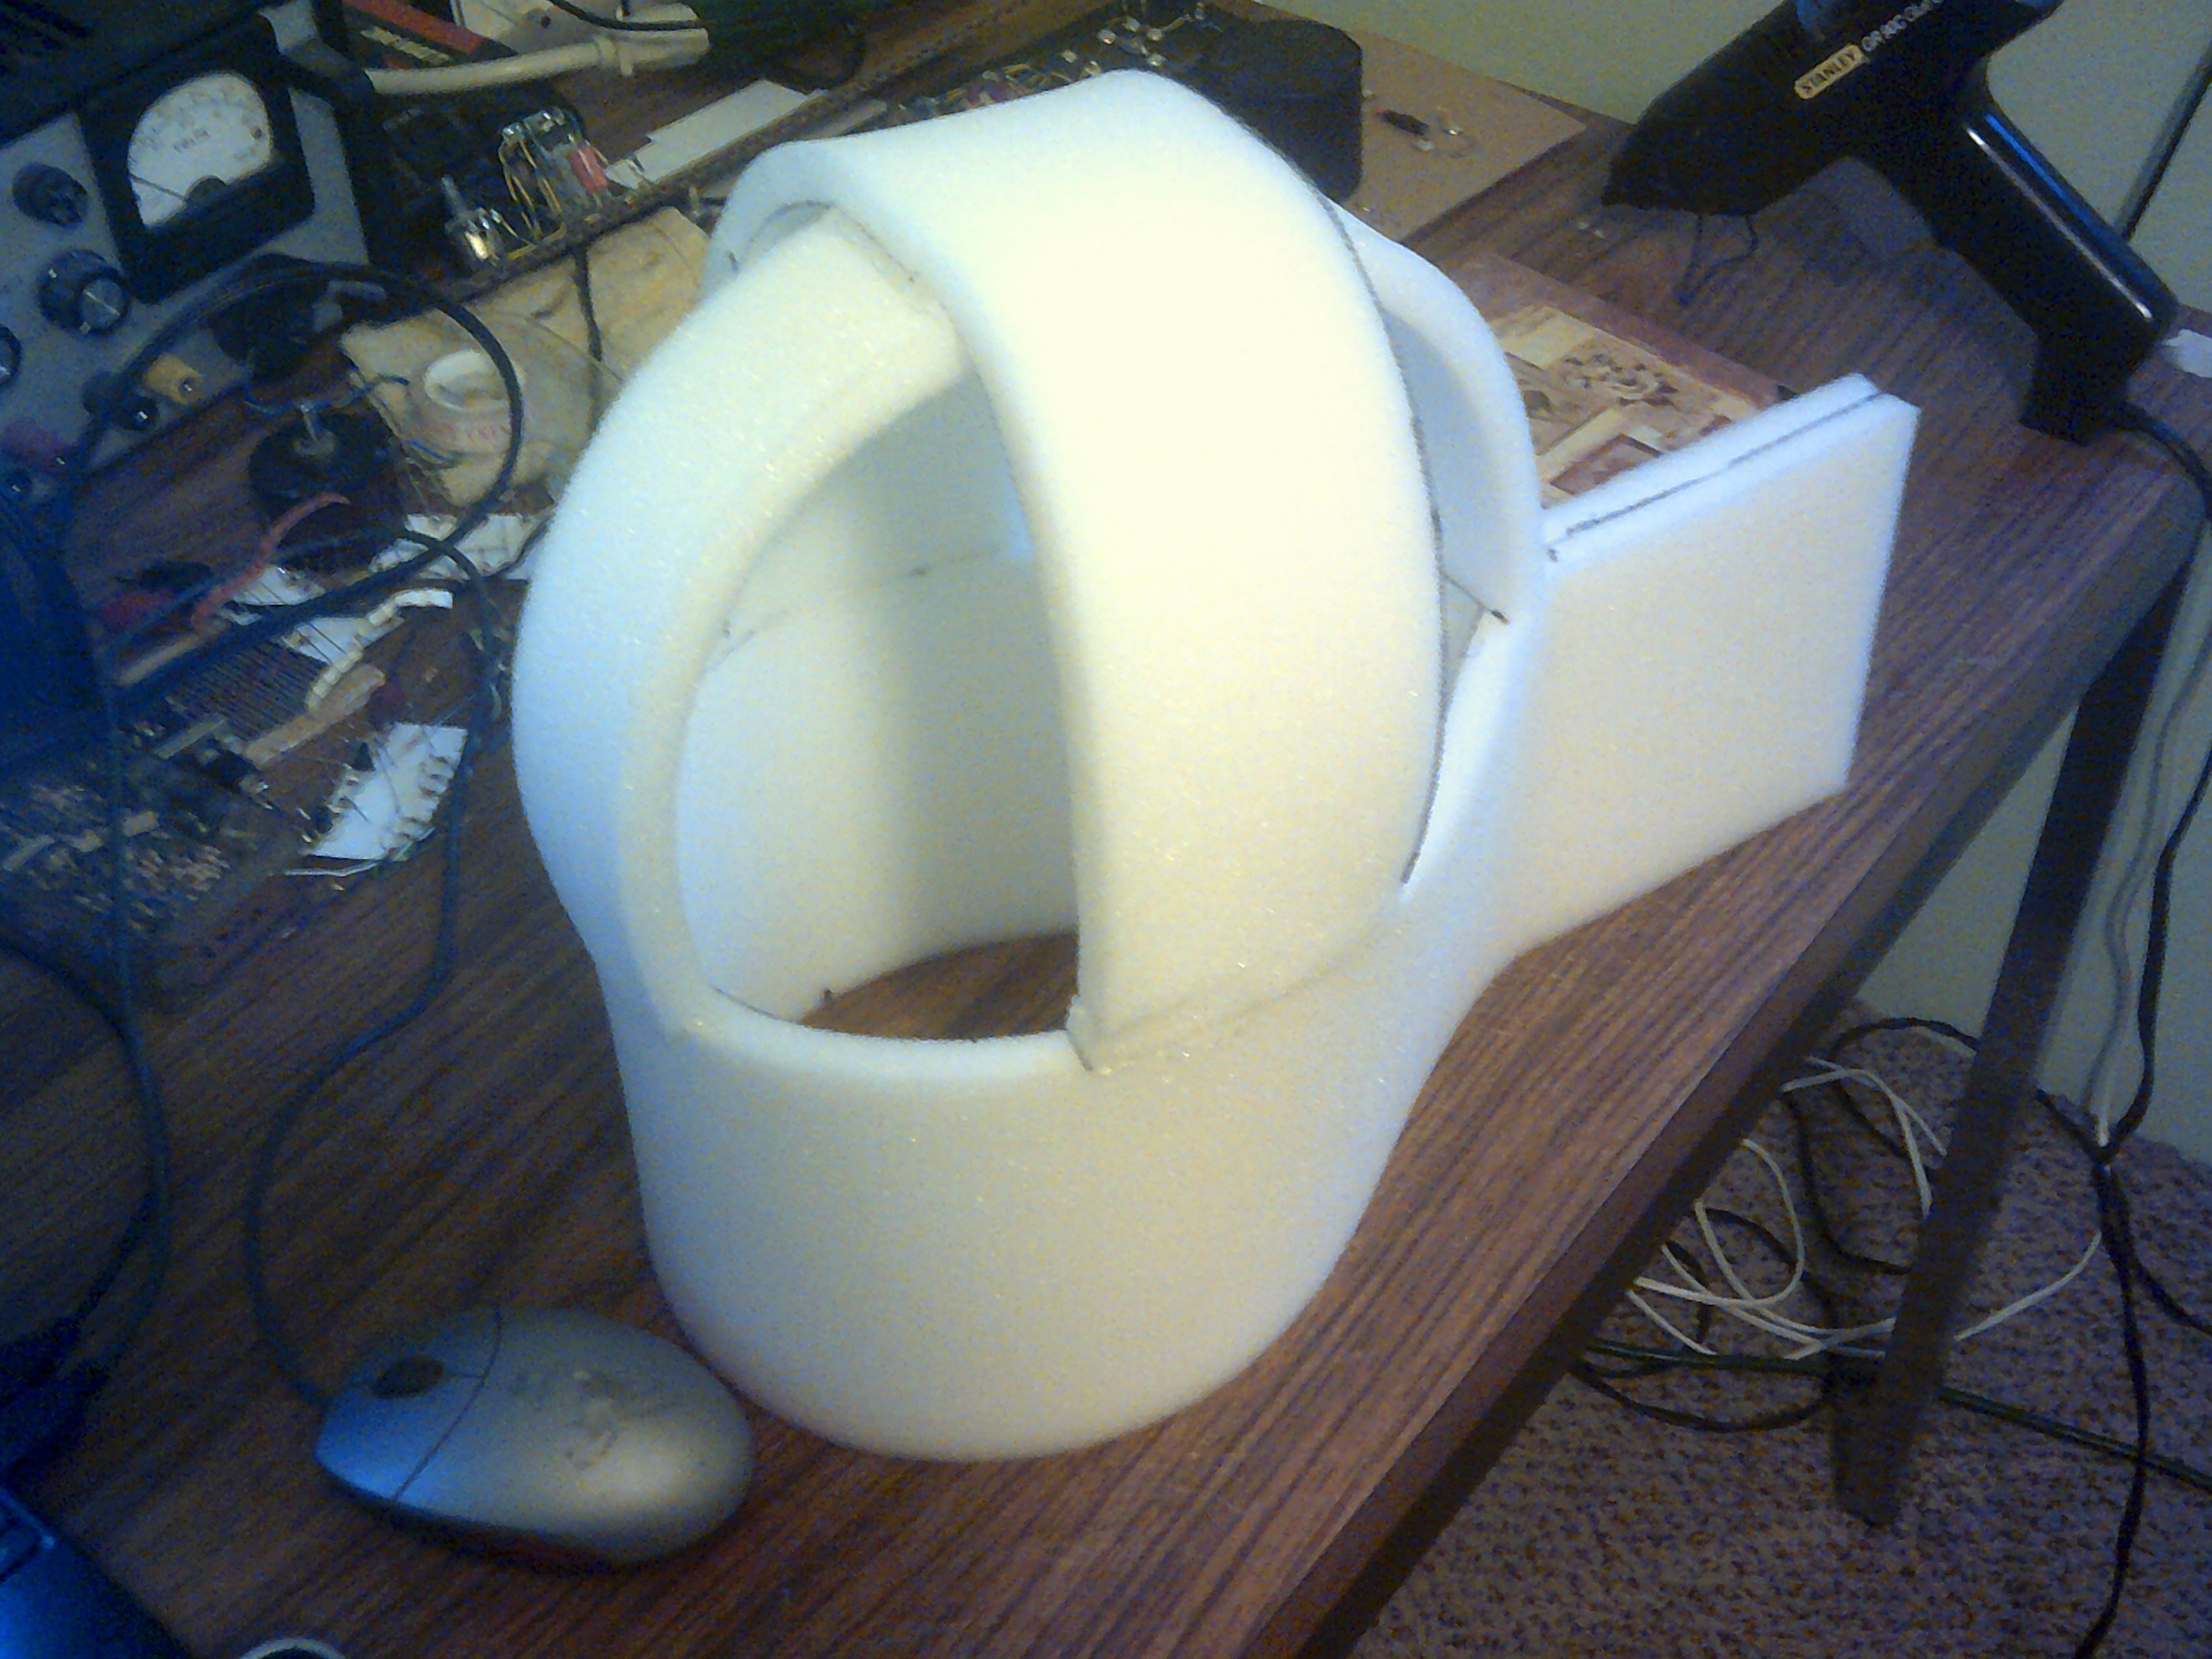
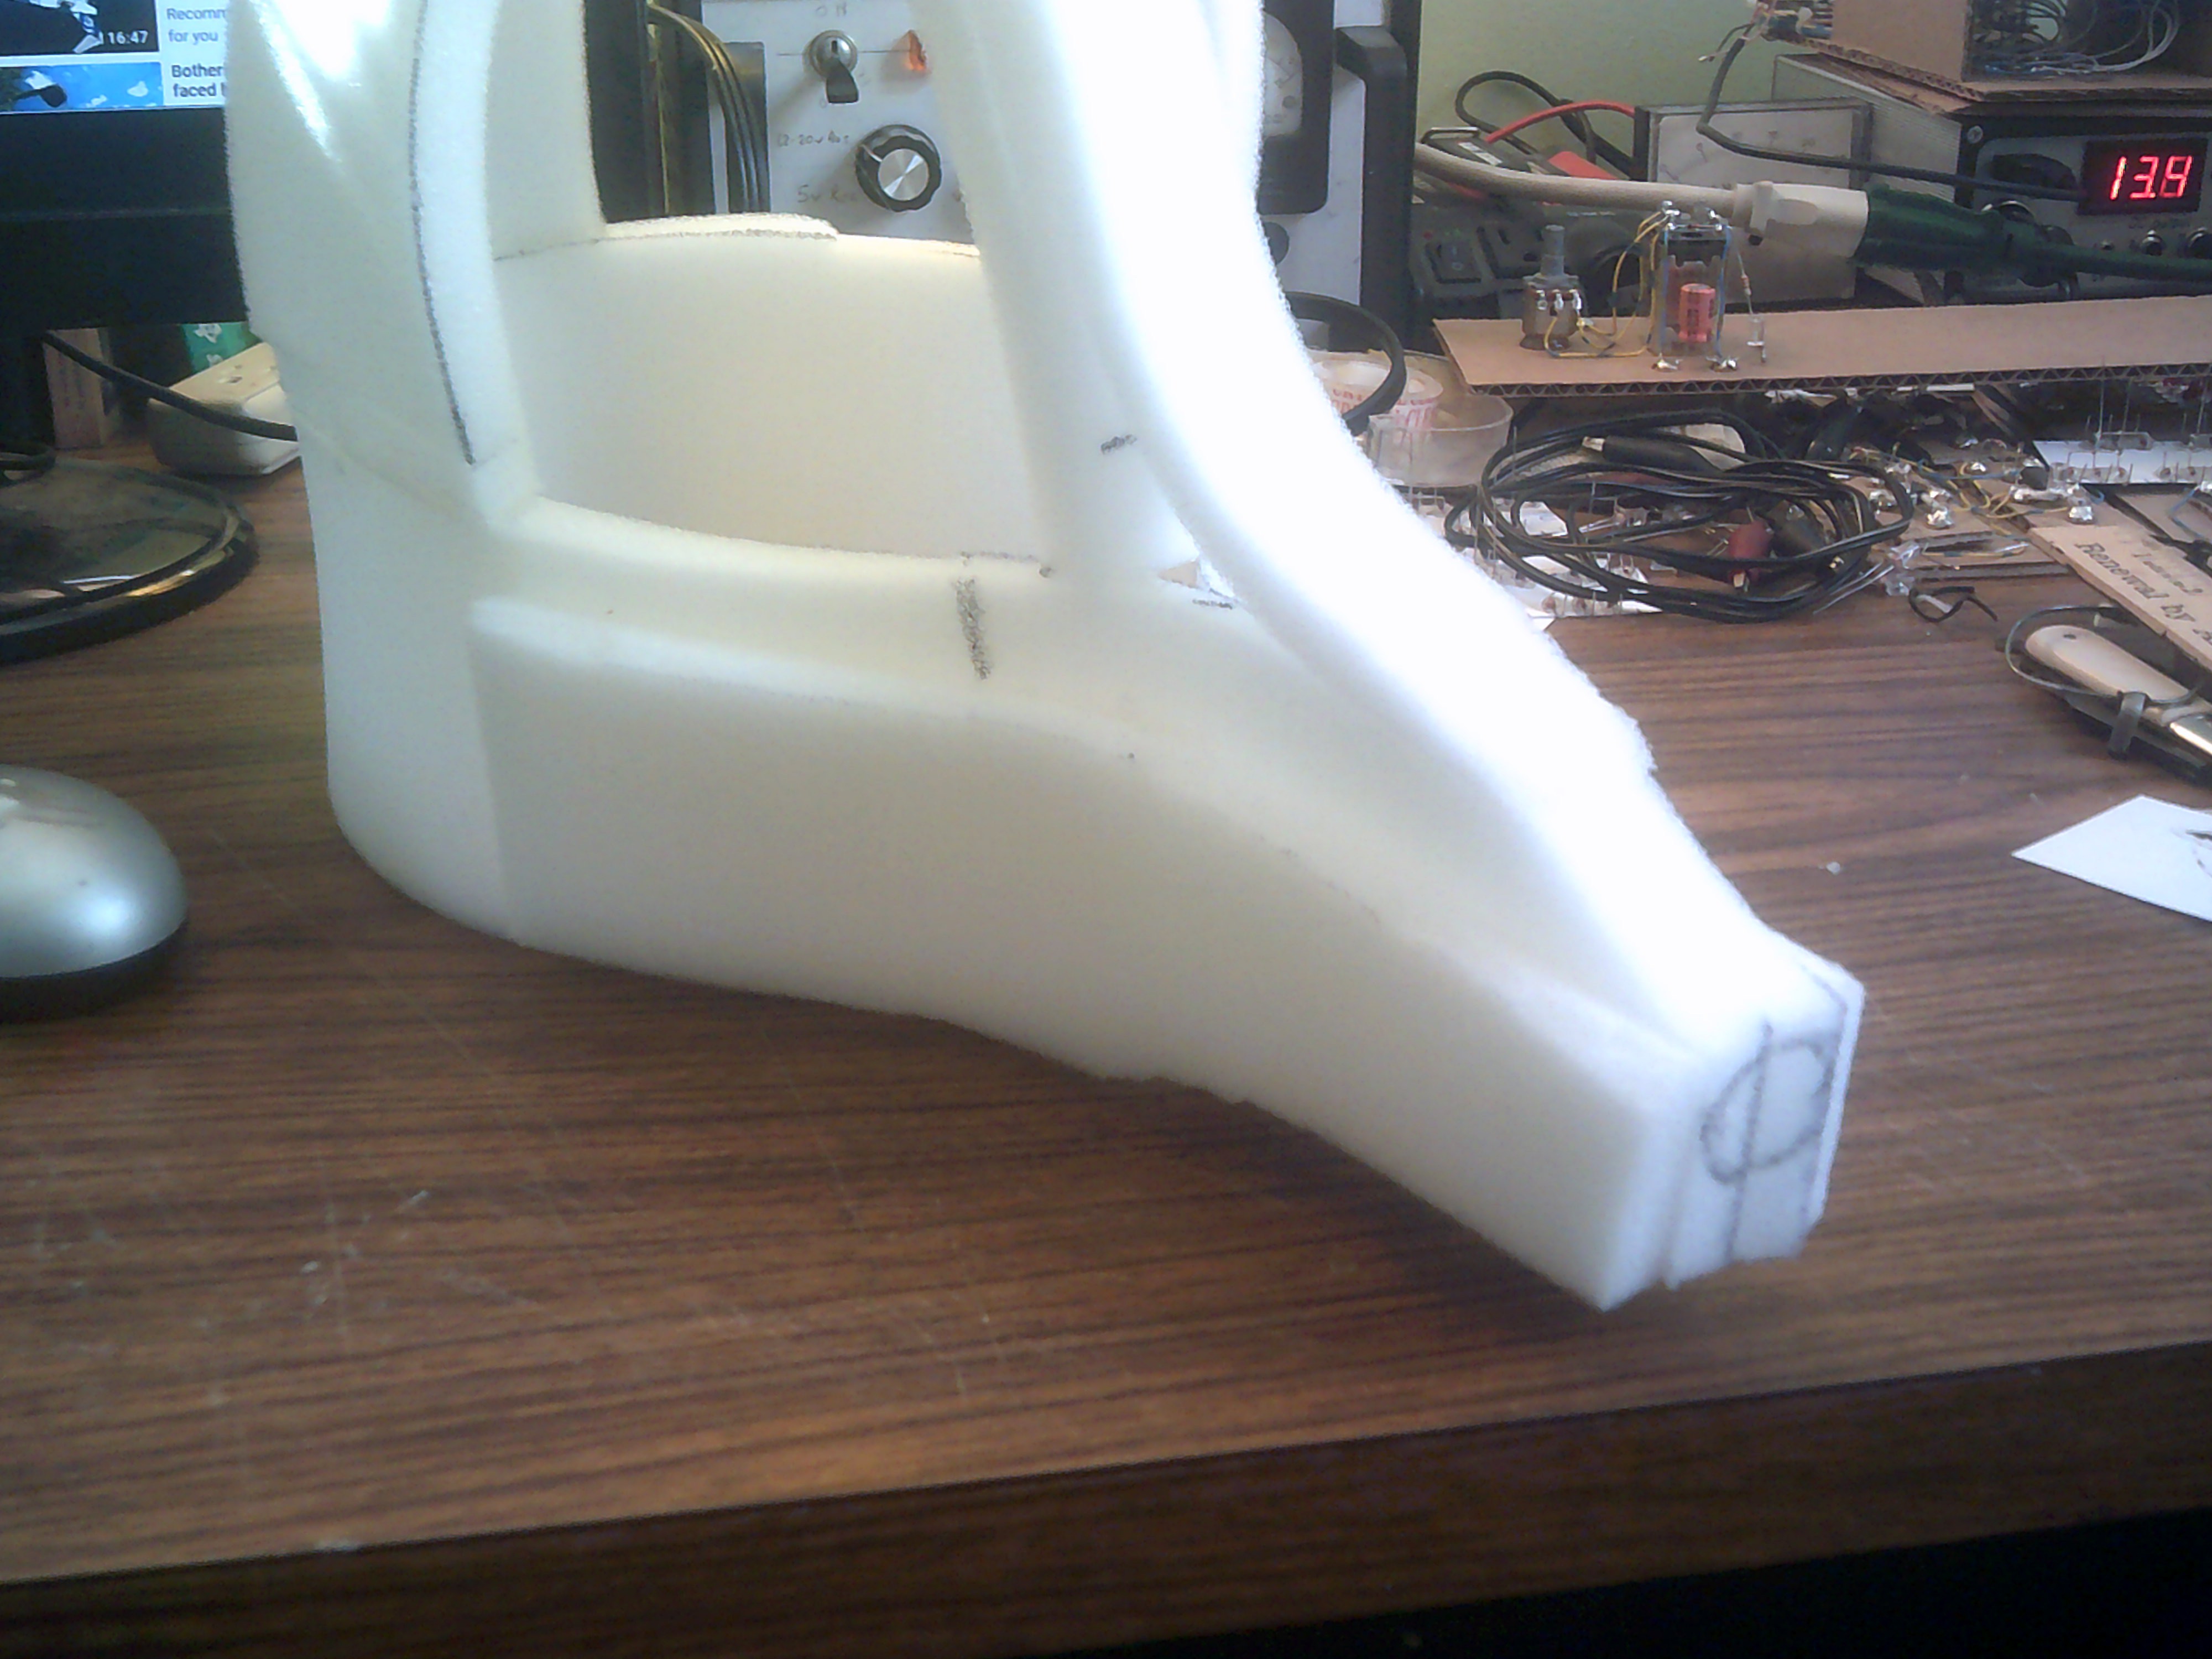
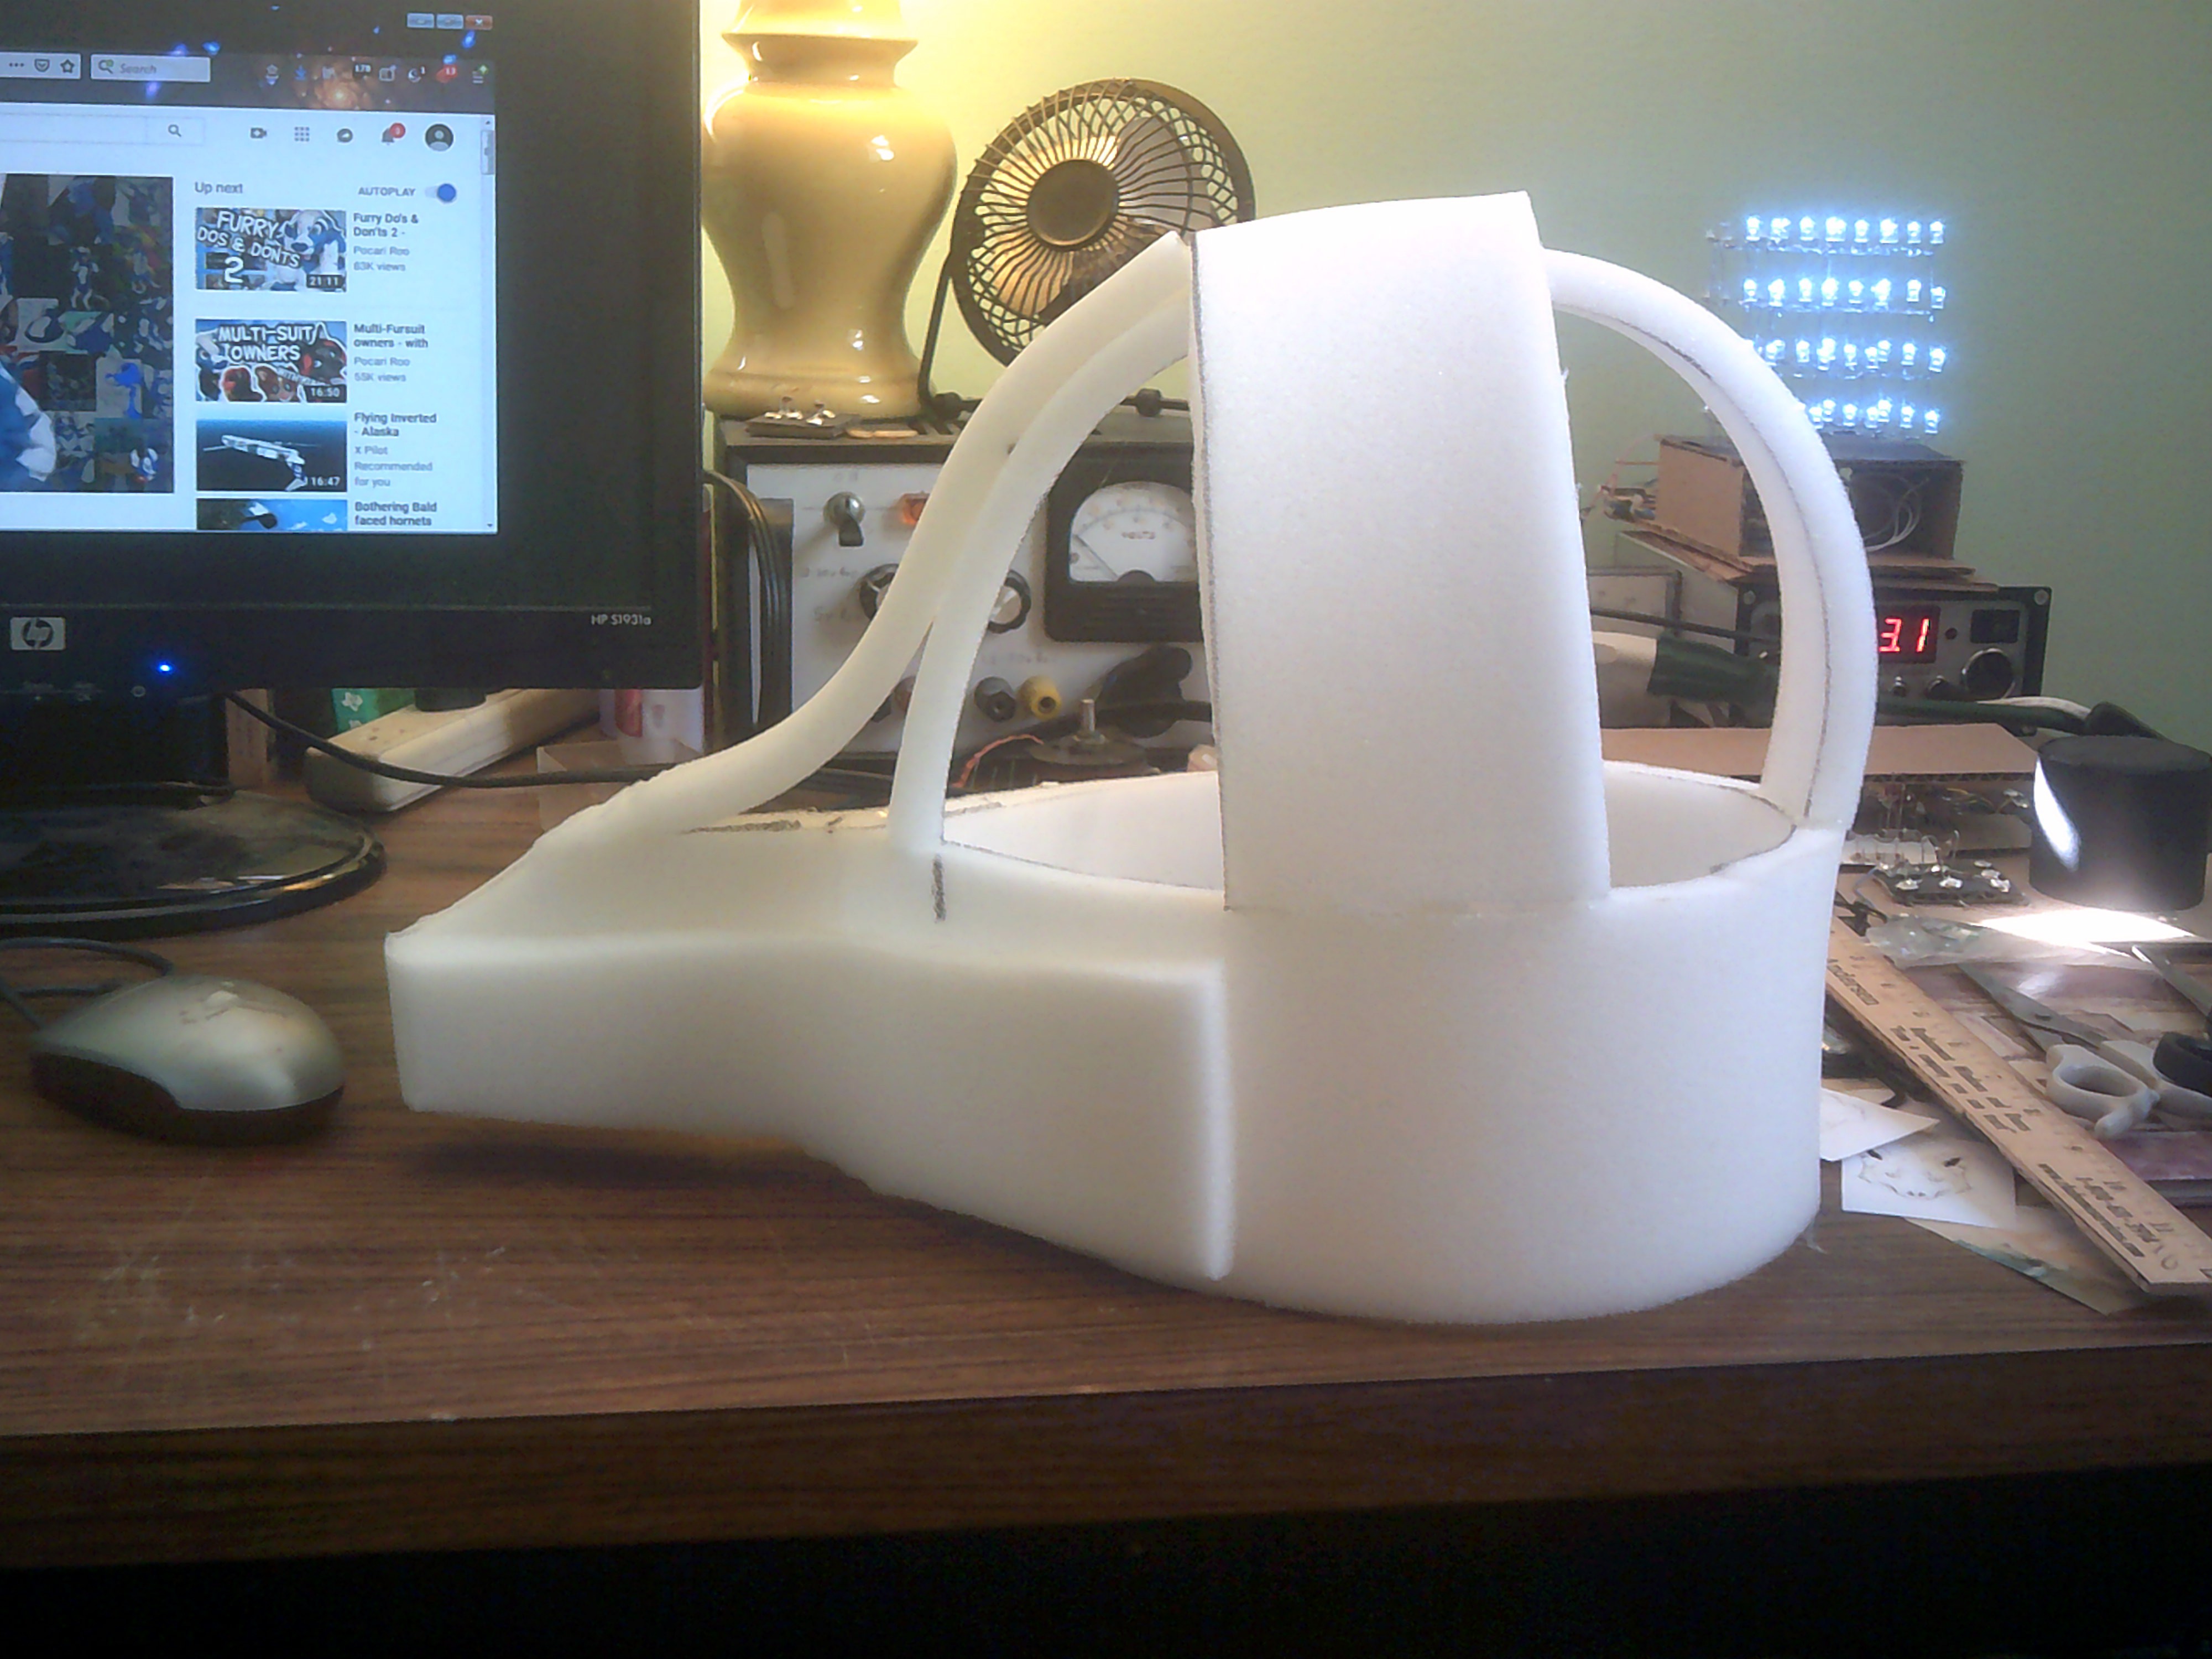
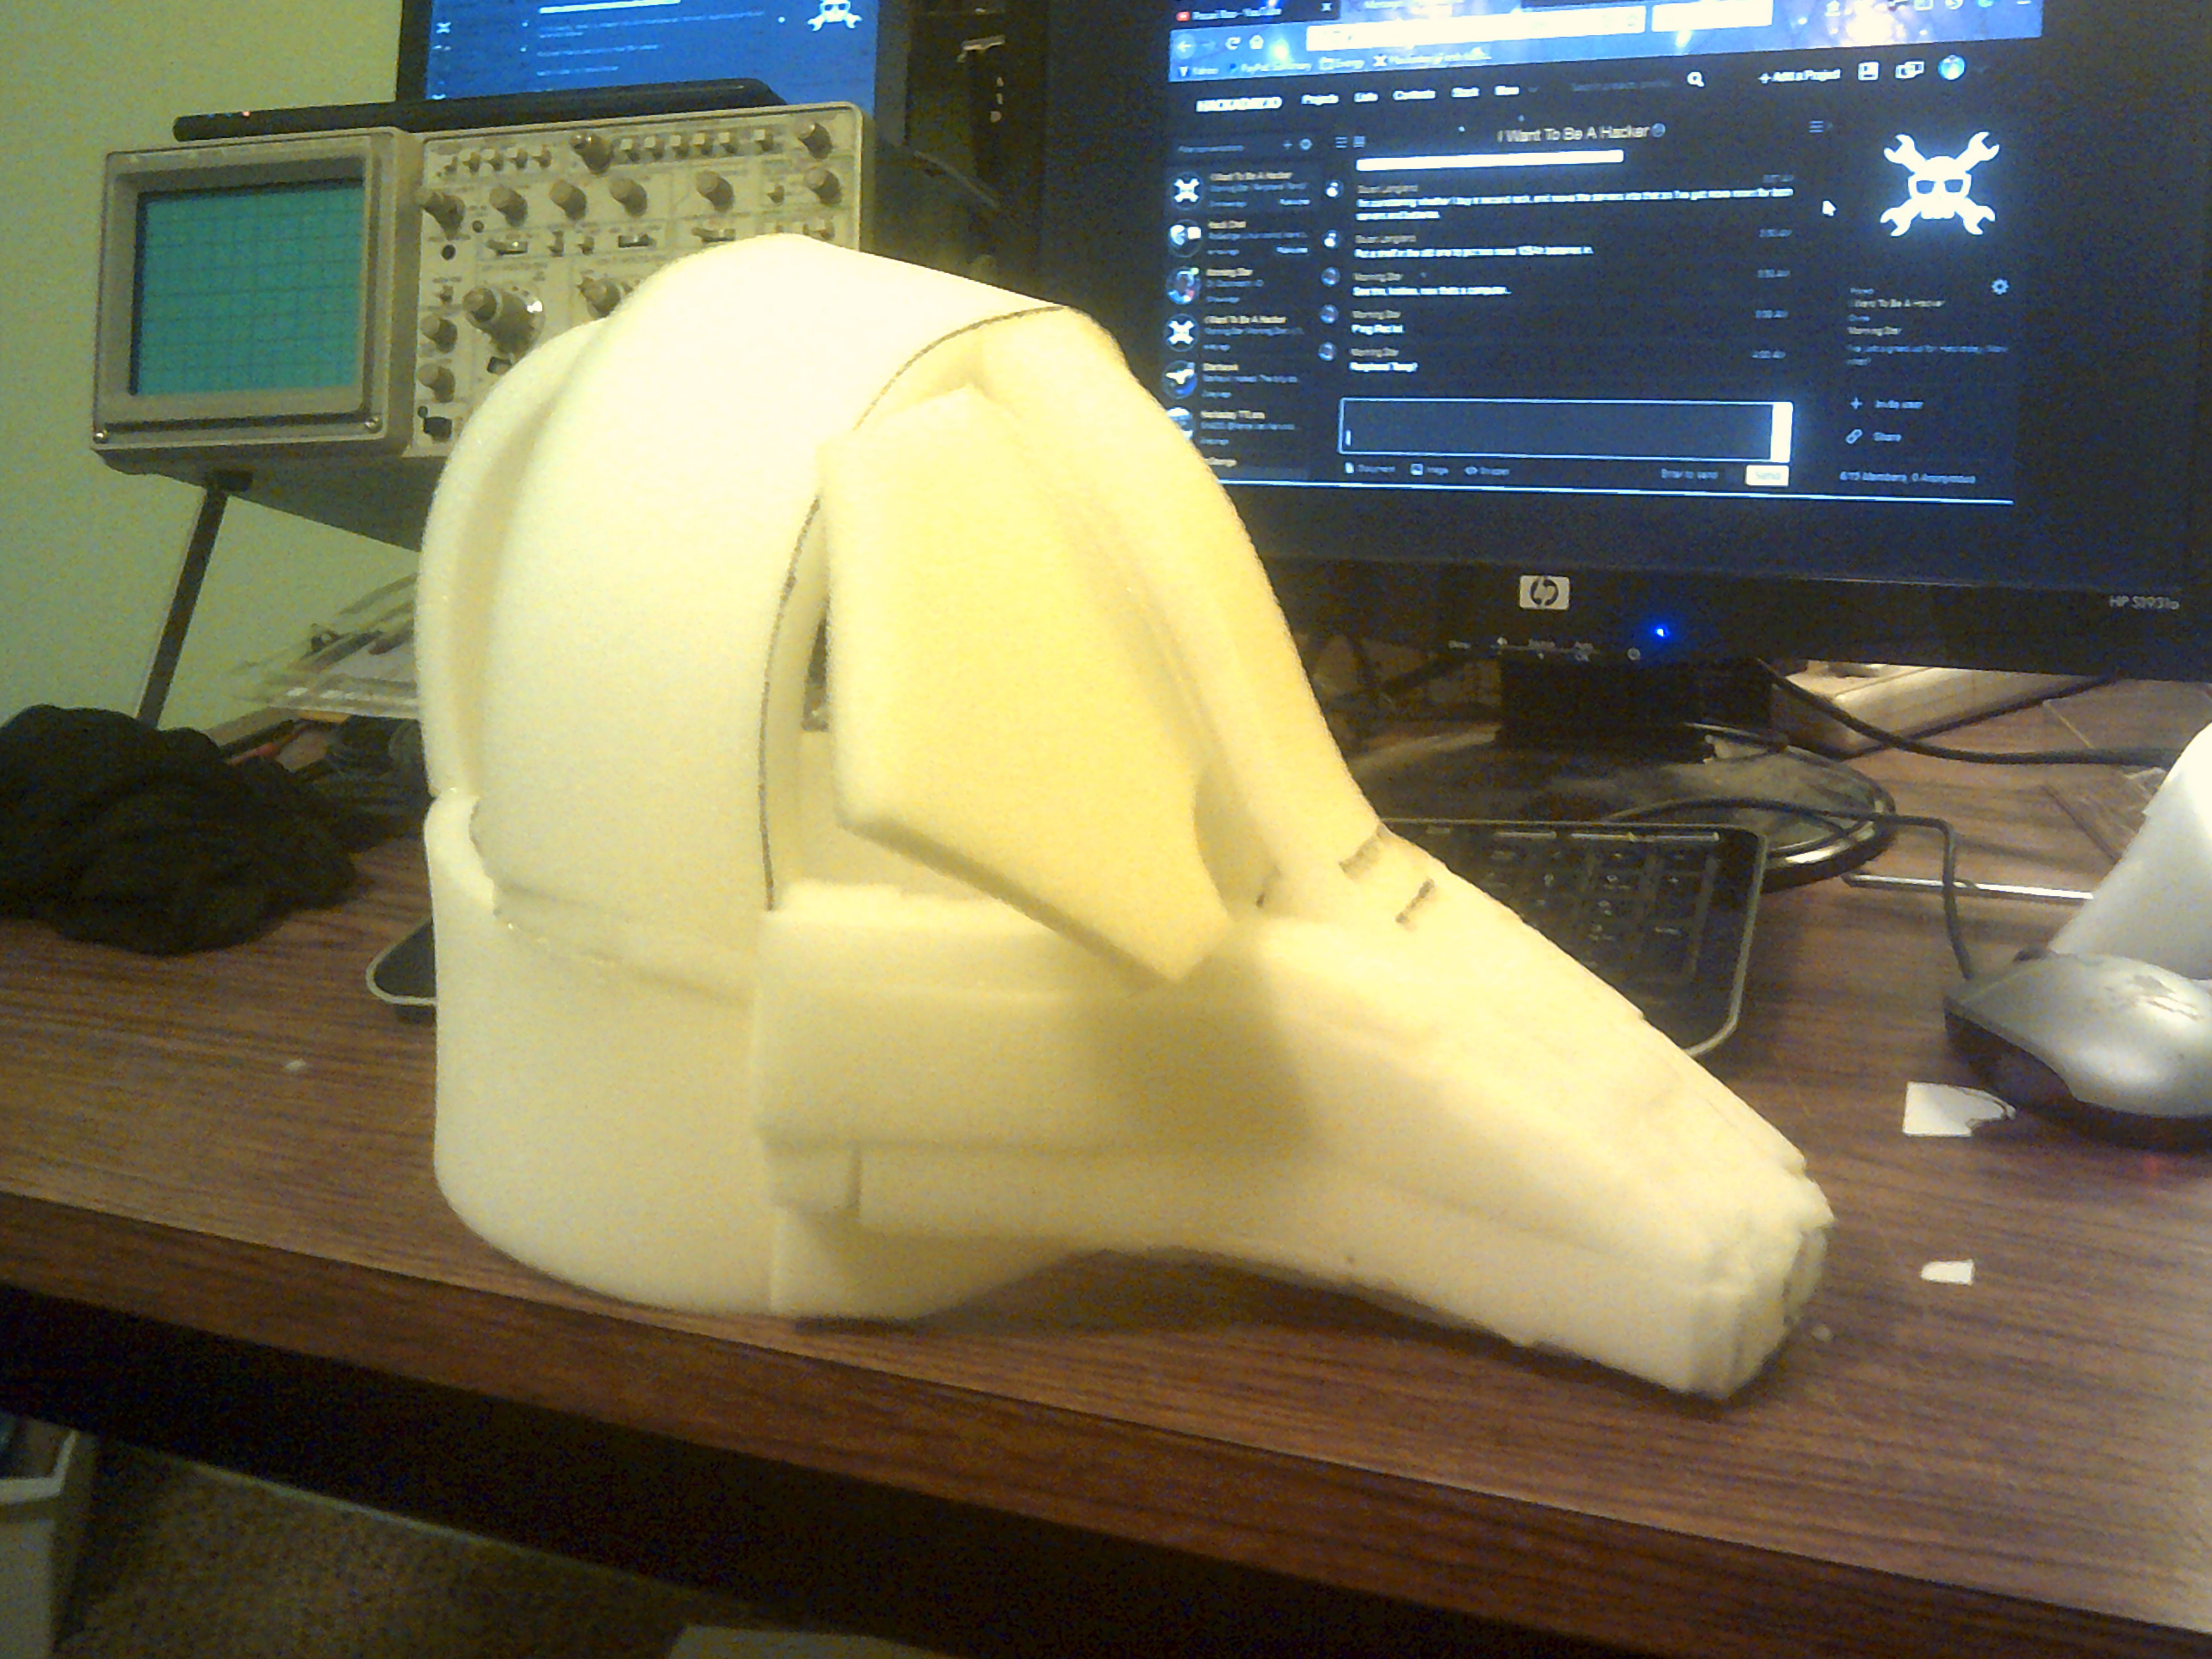
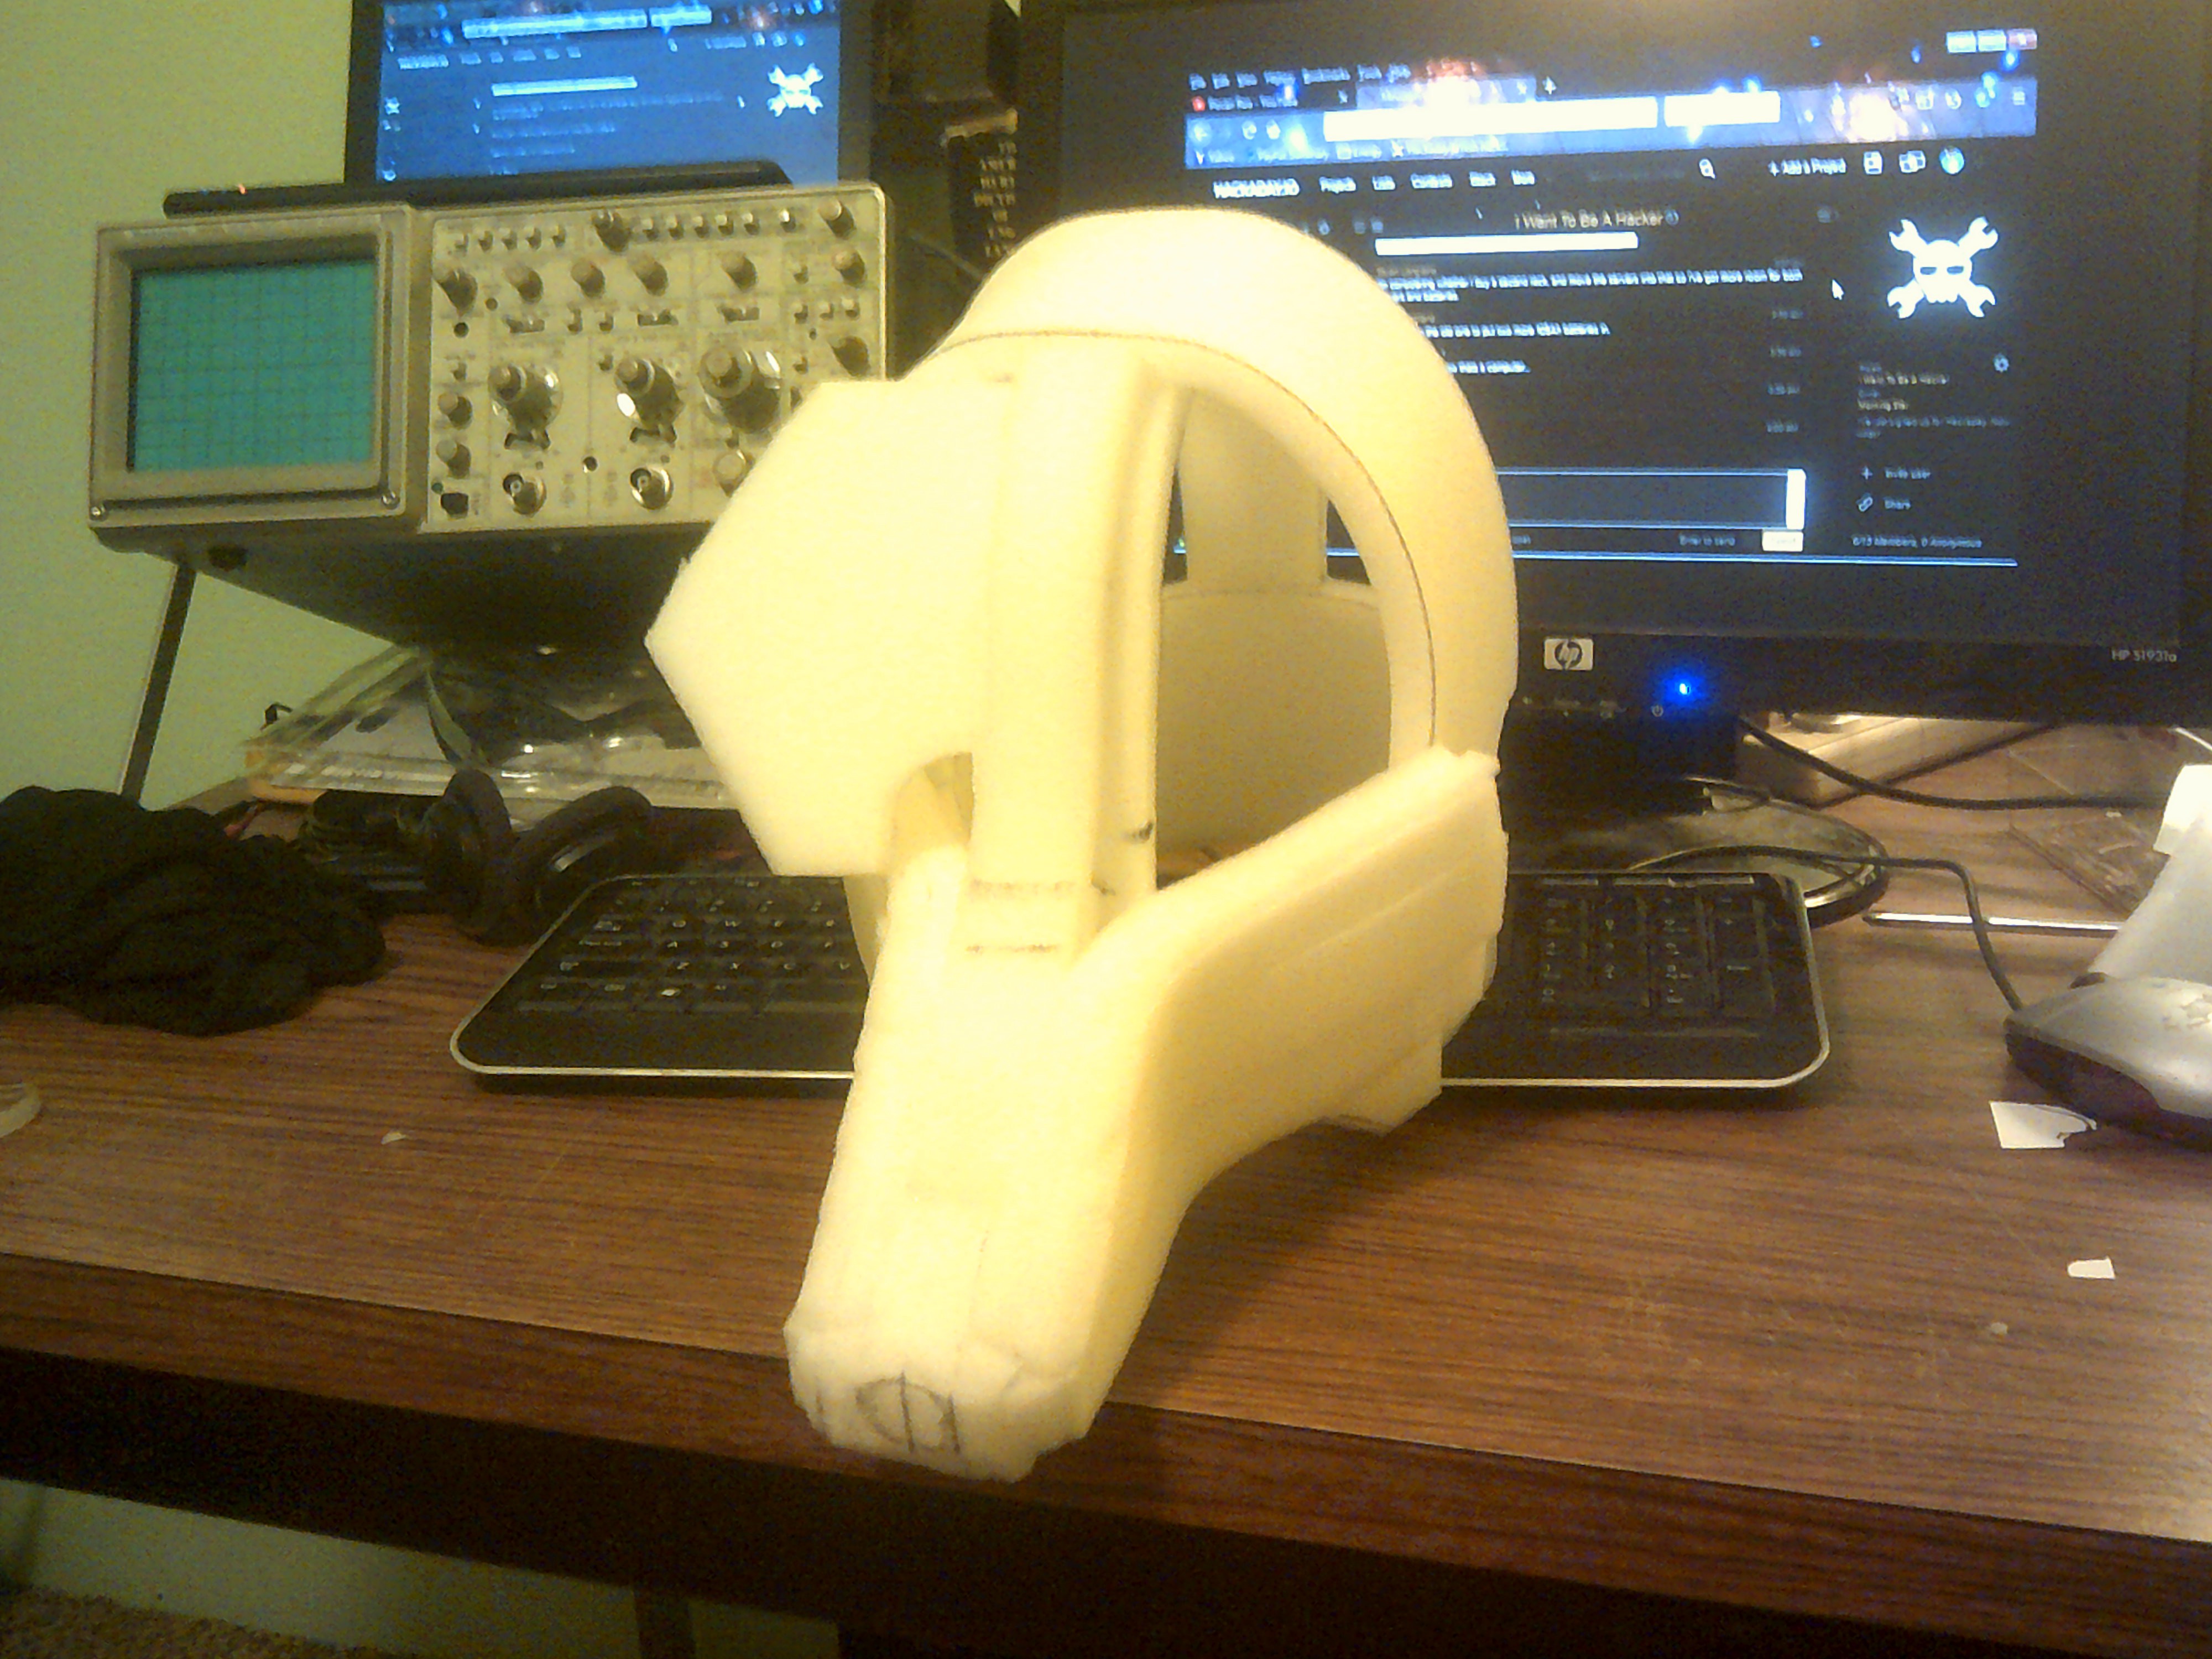
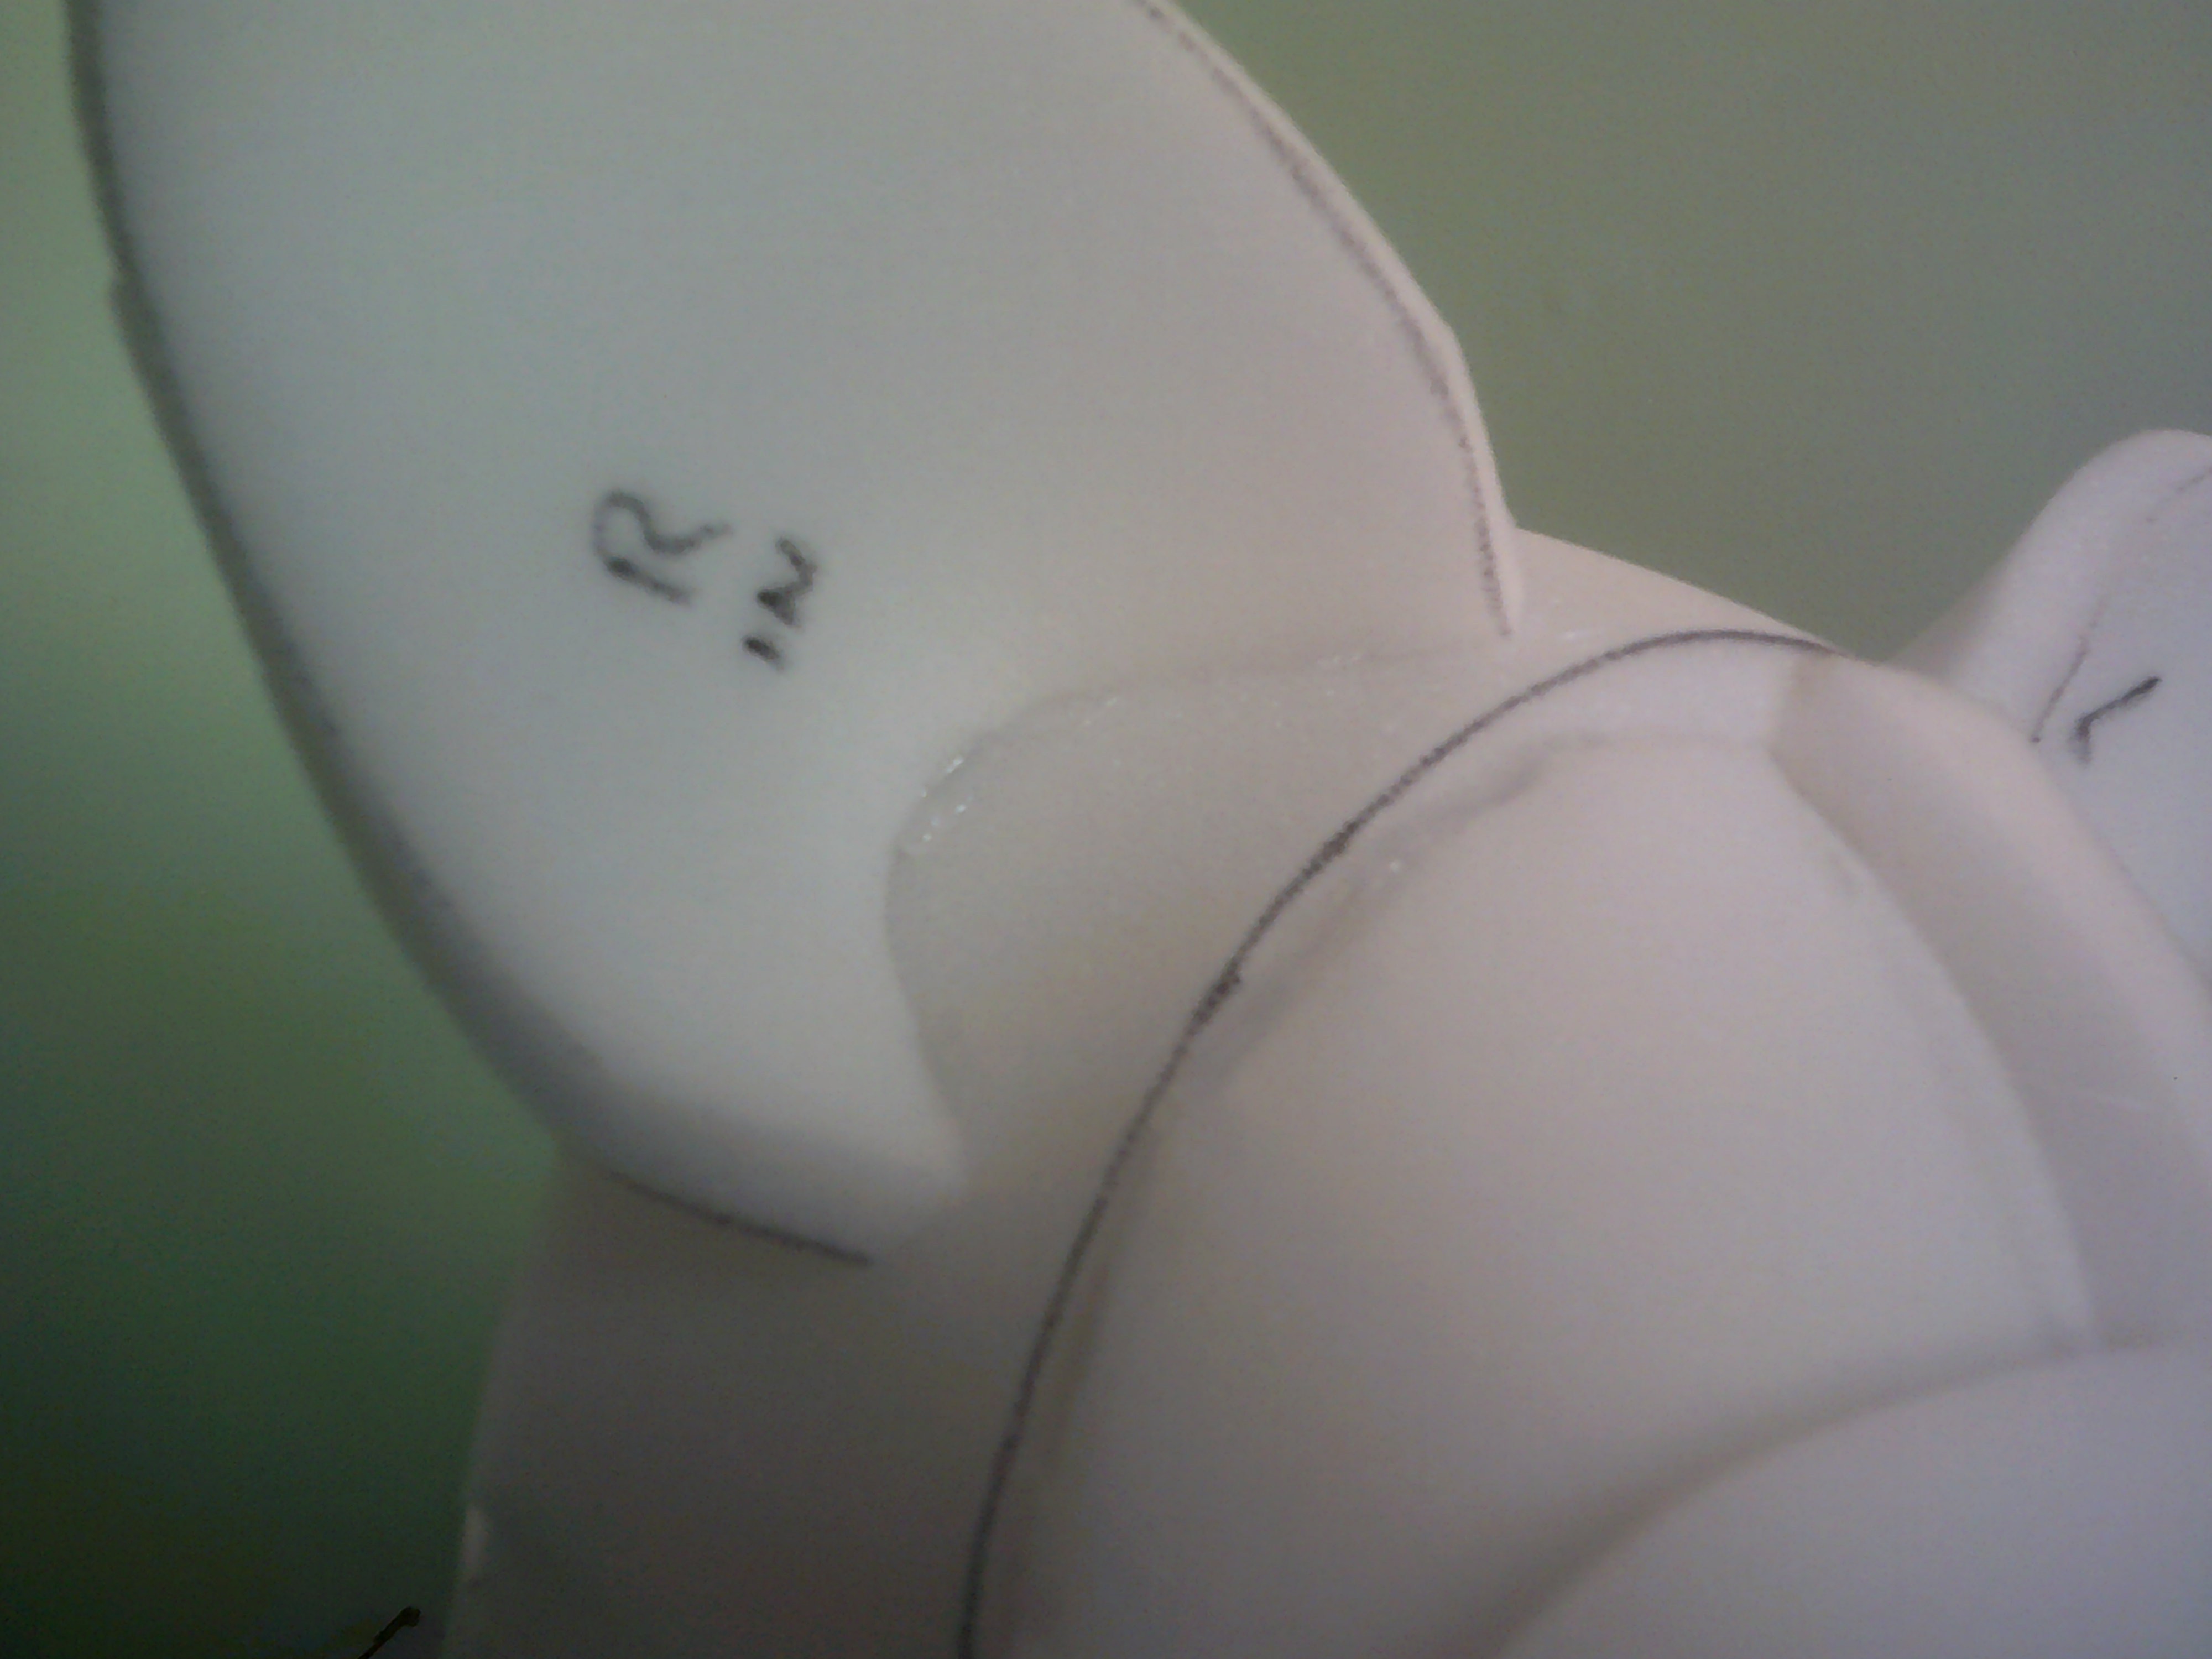
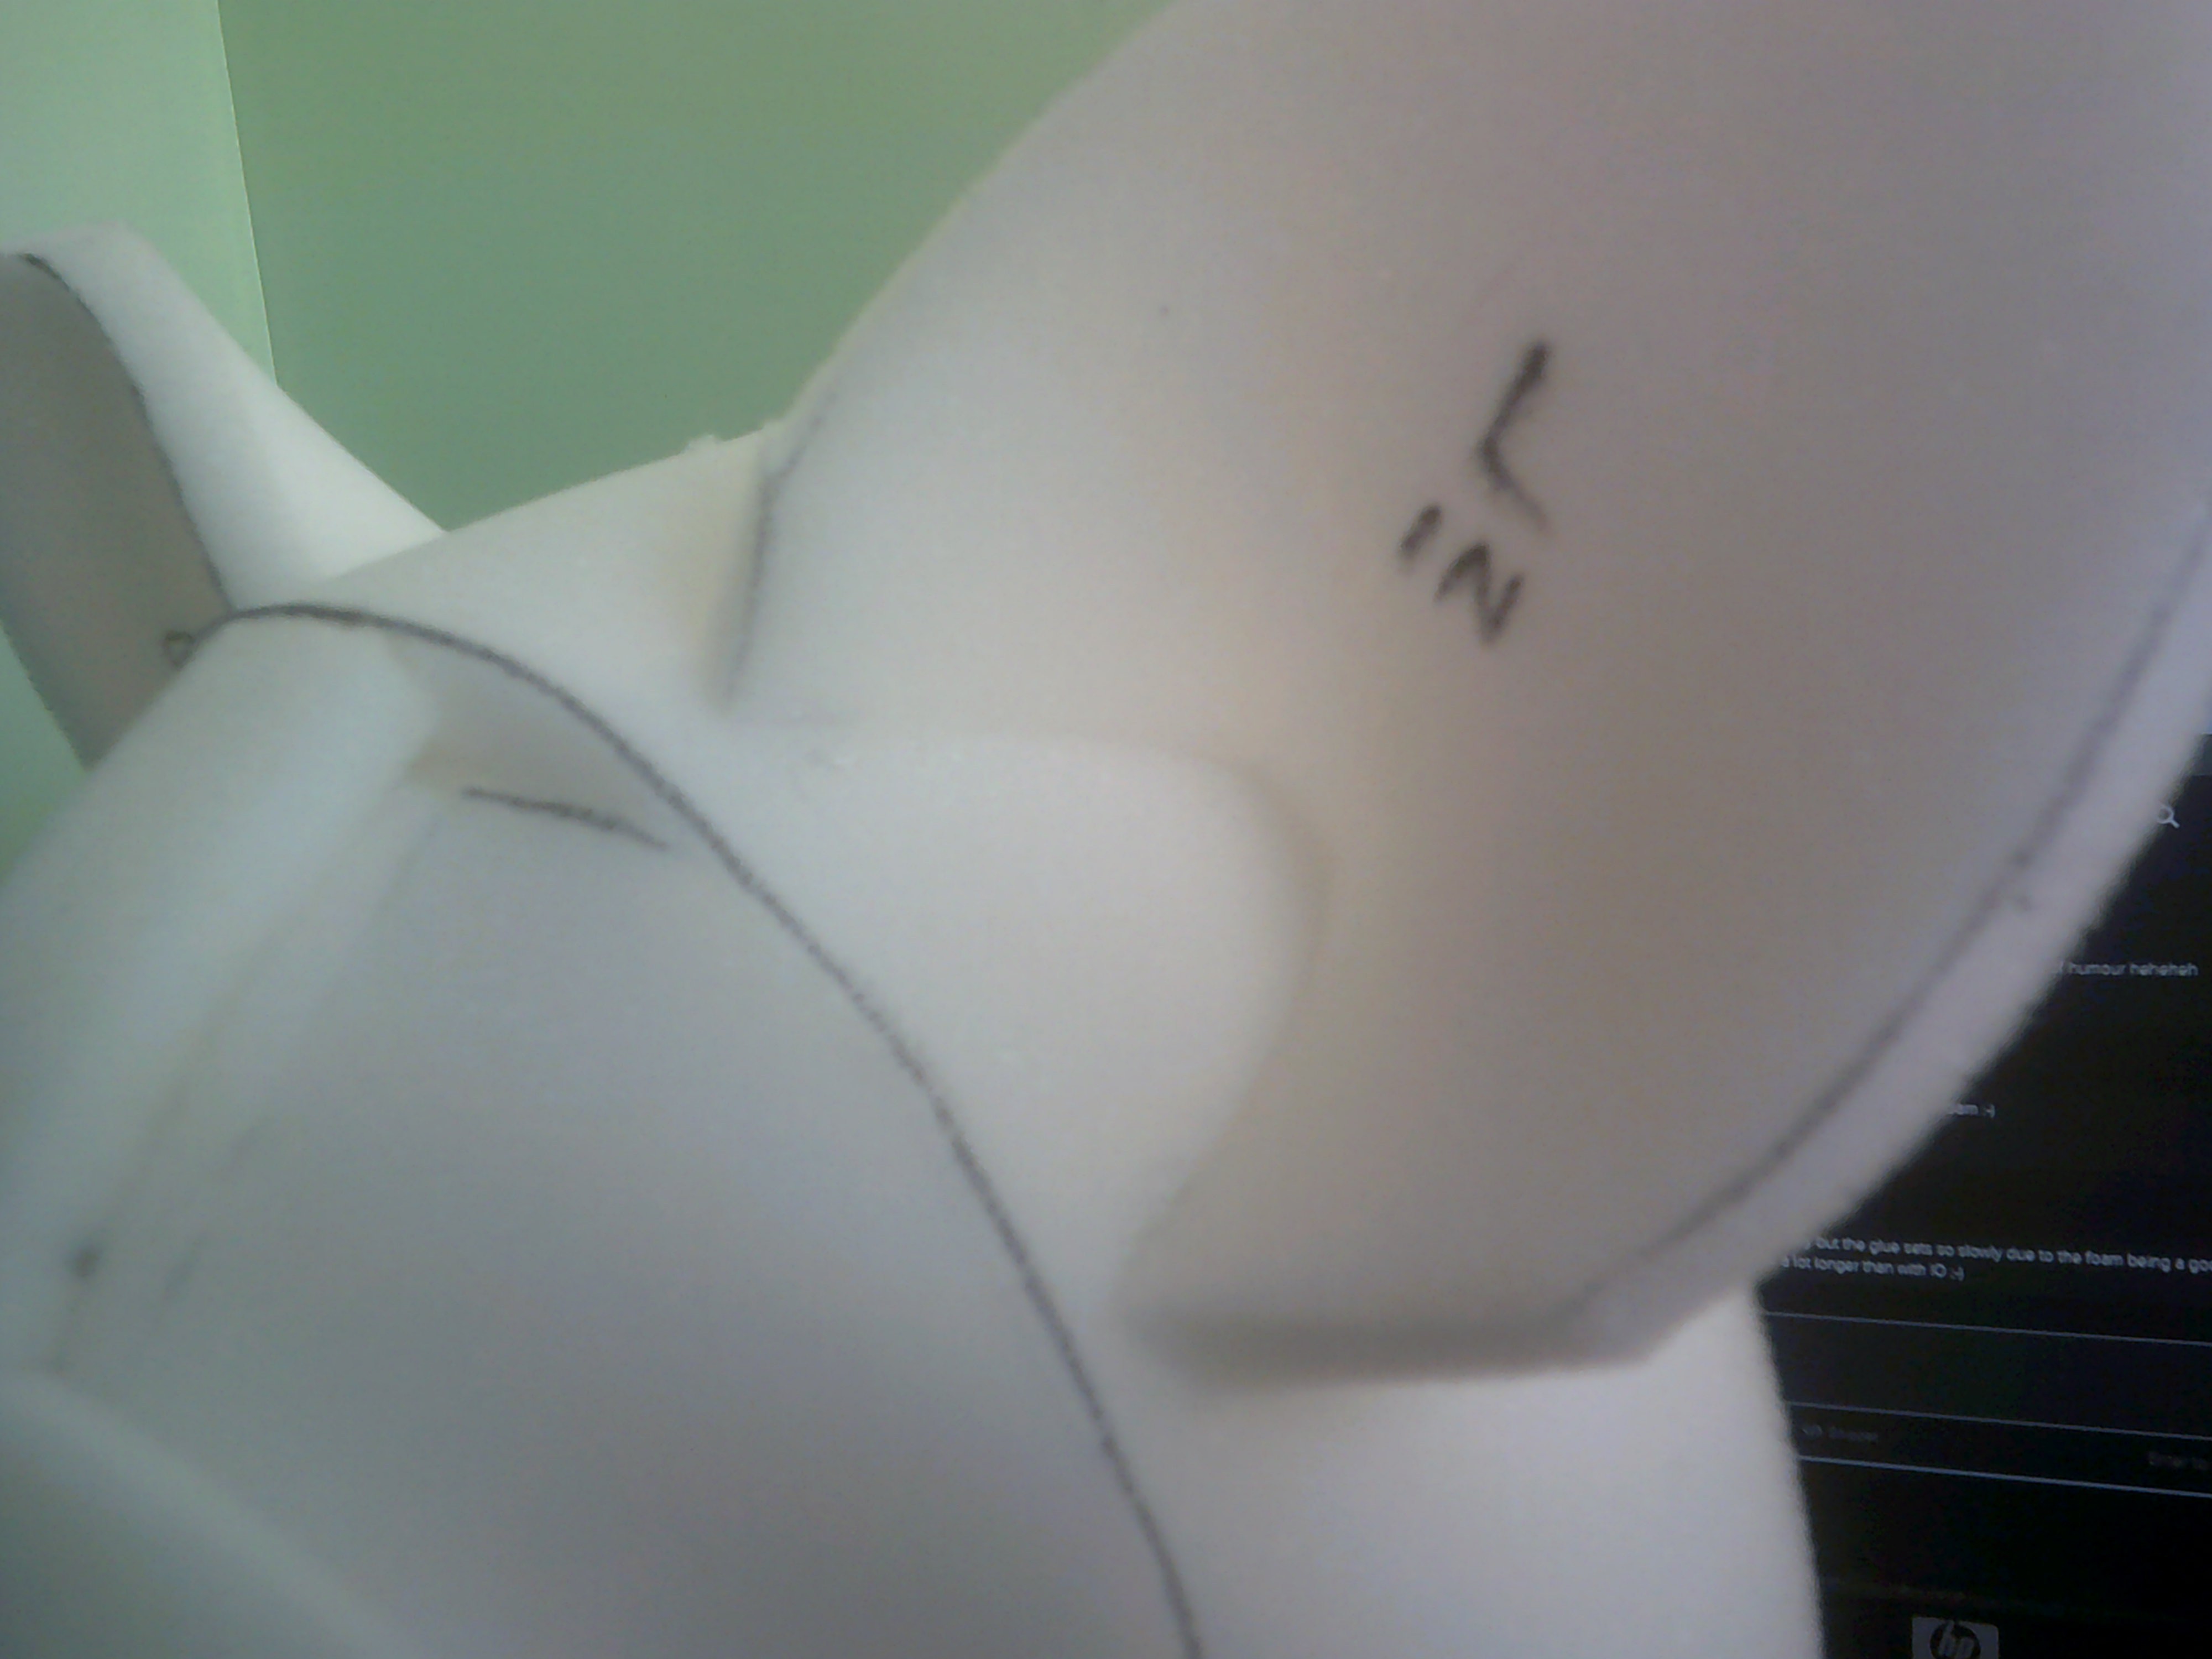
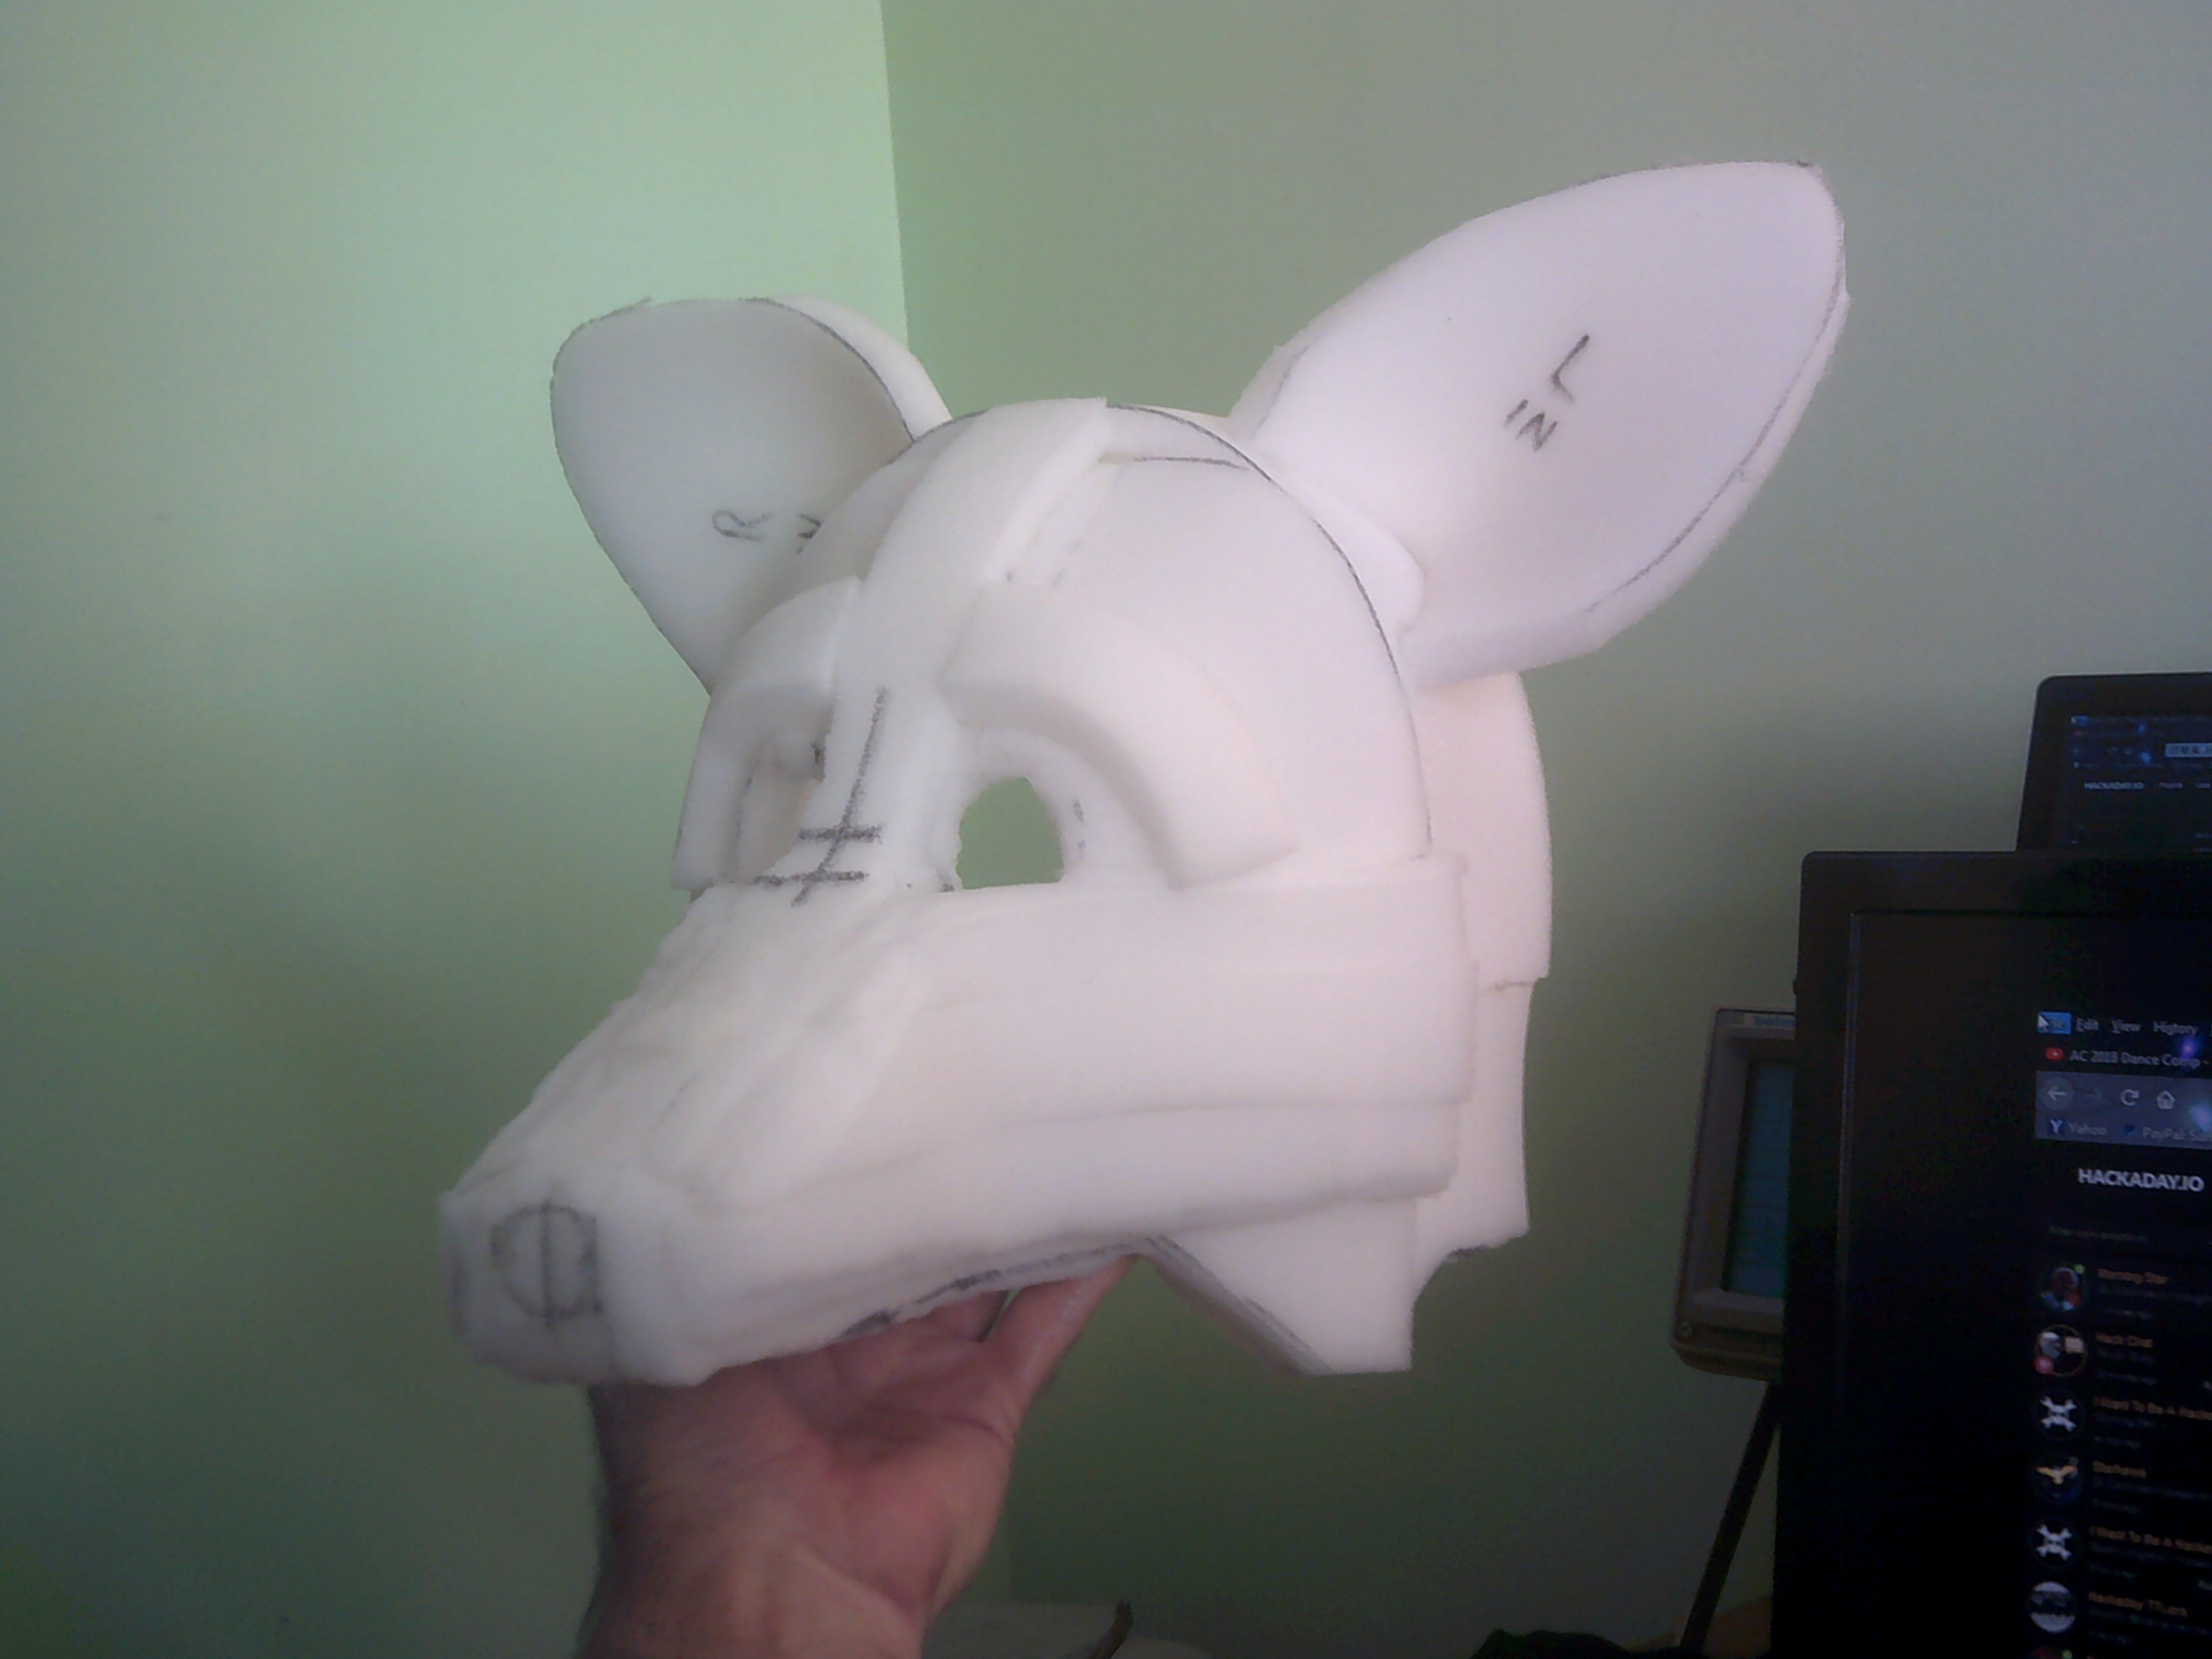
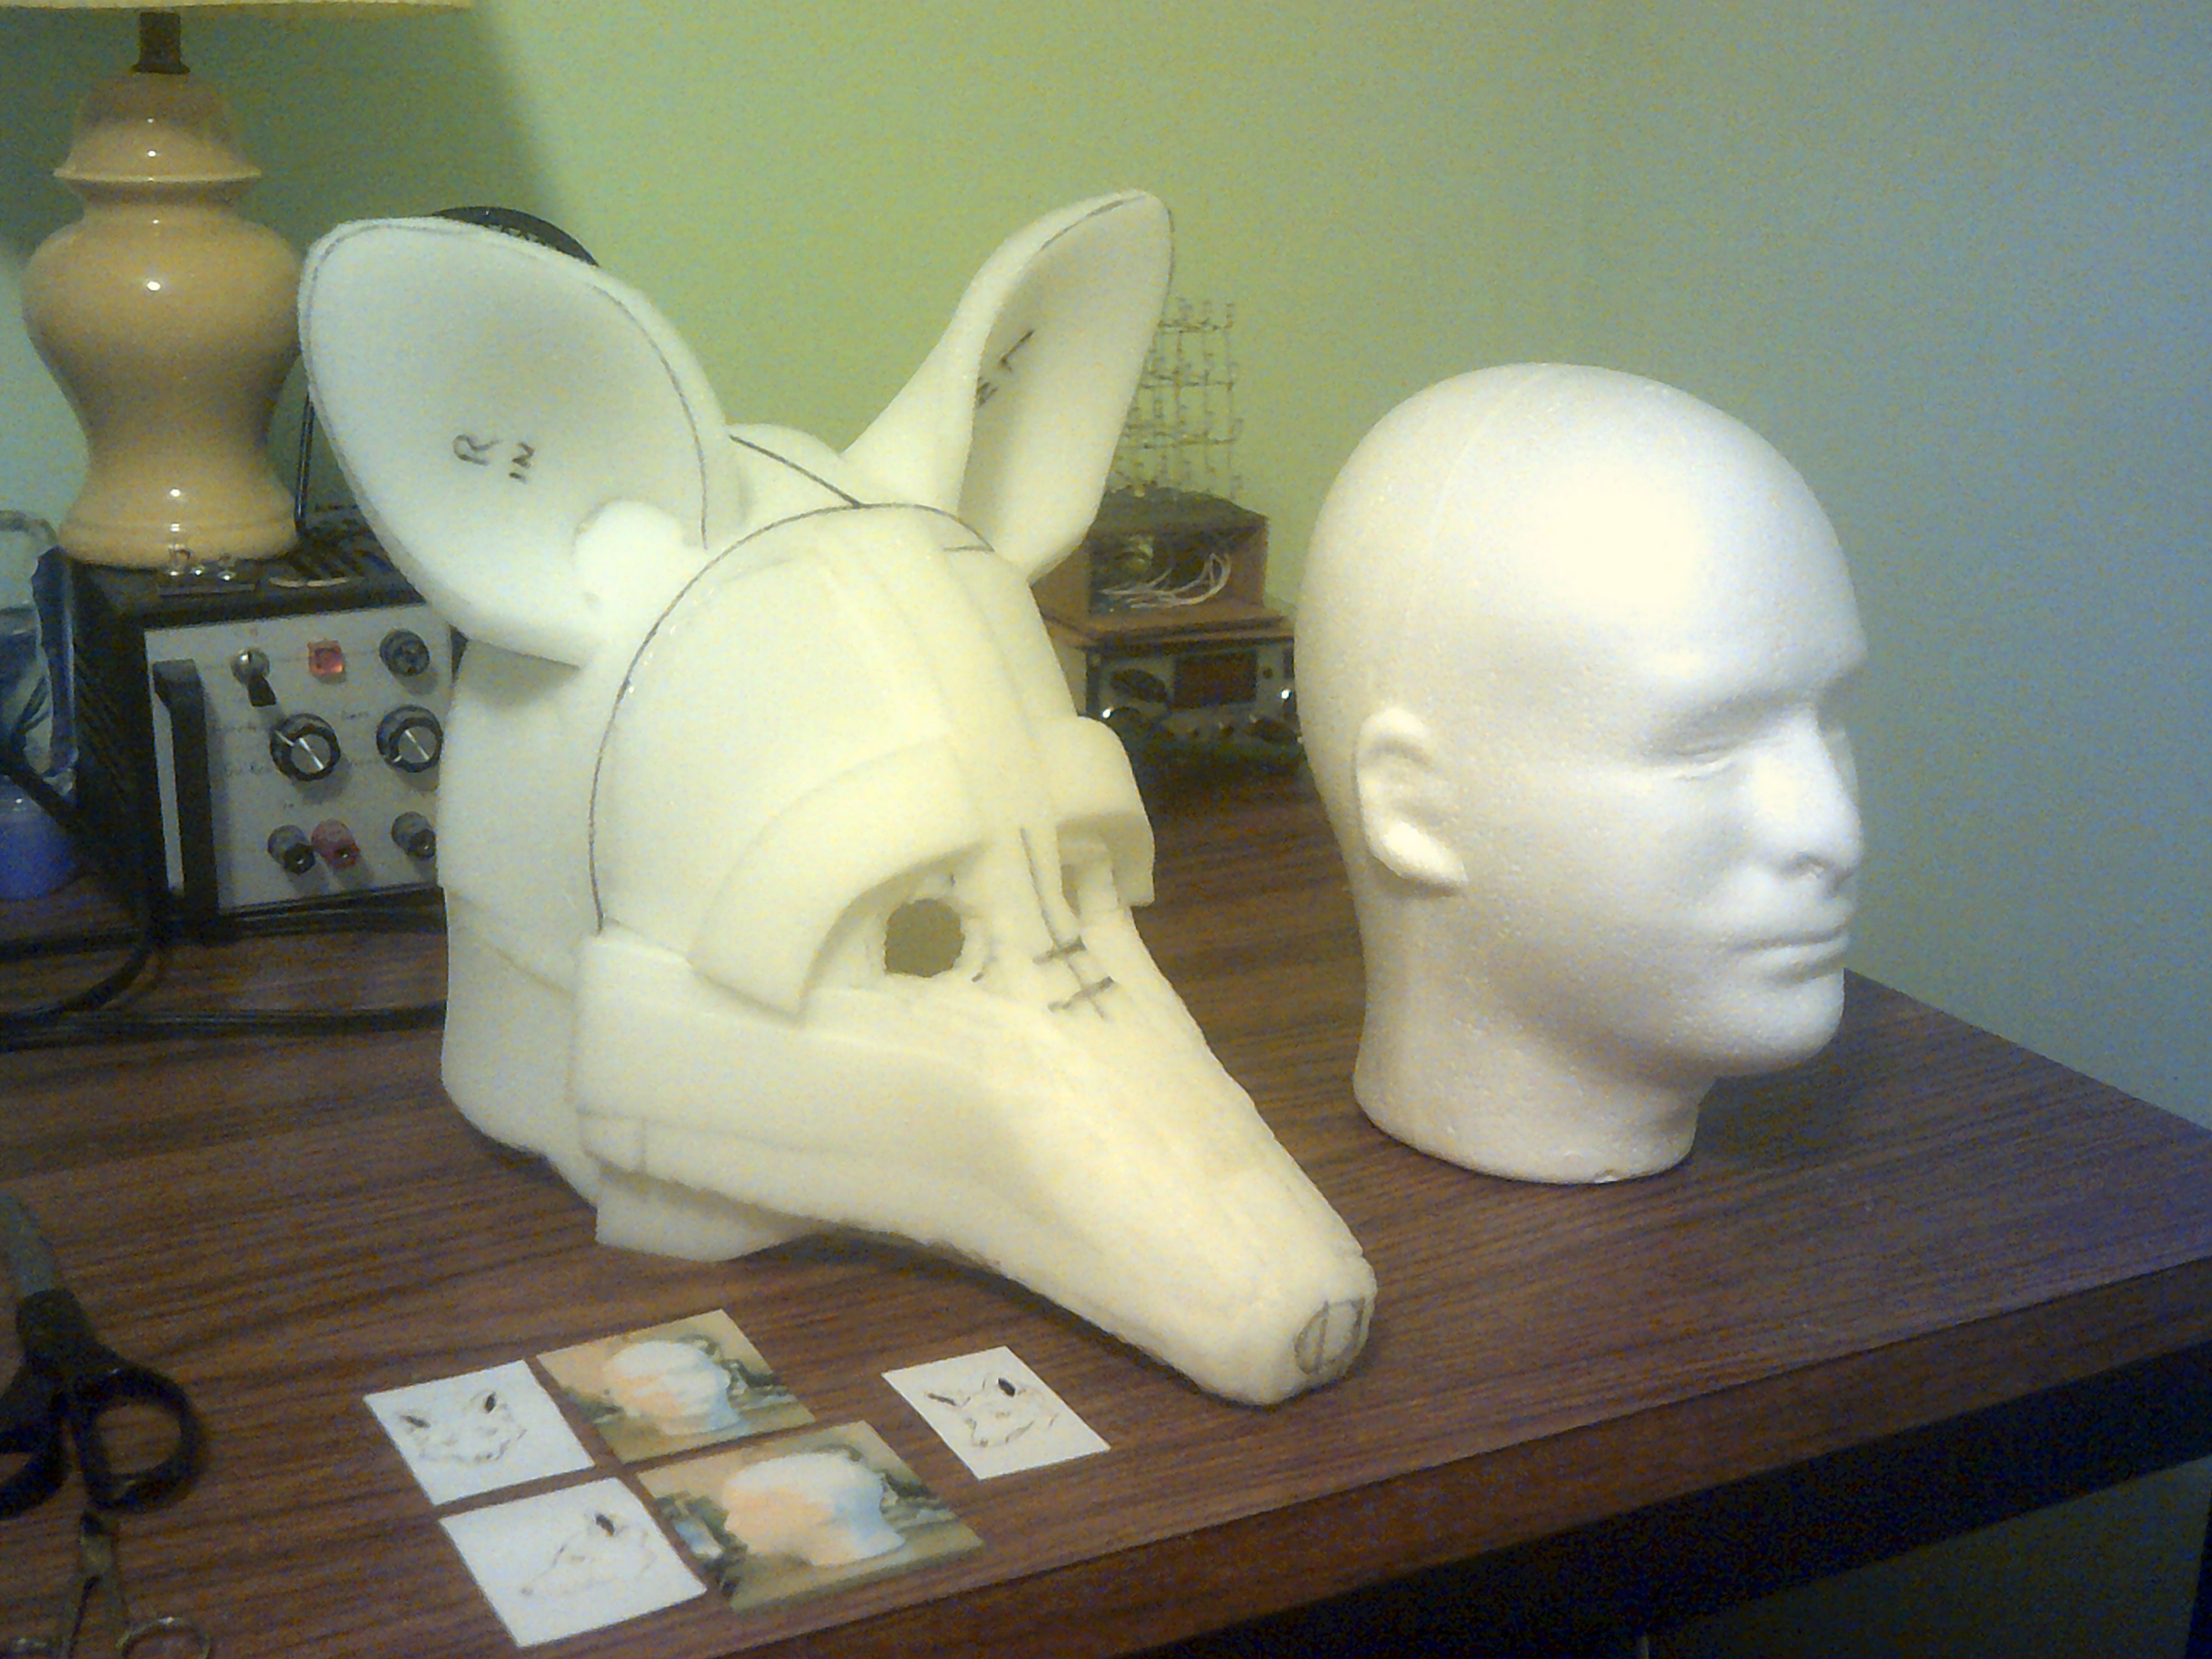
The Foam Head Base
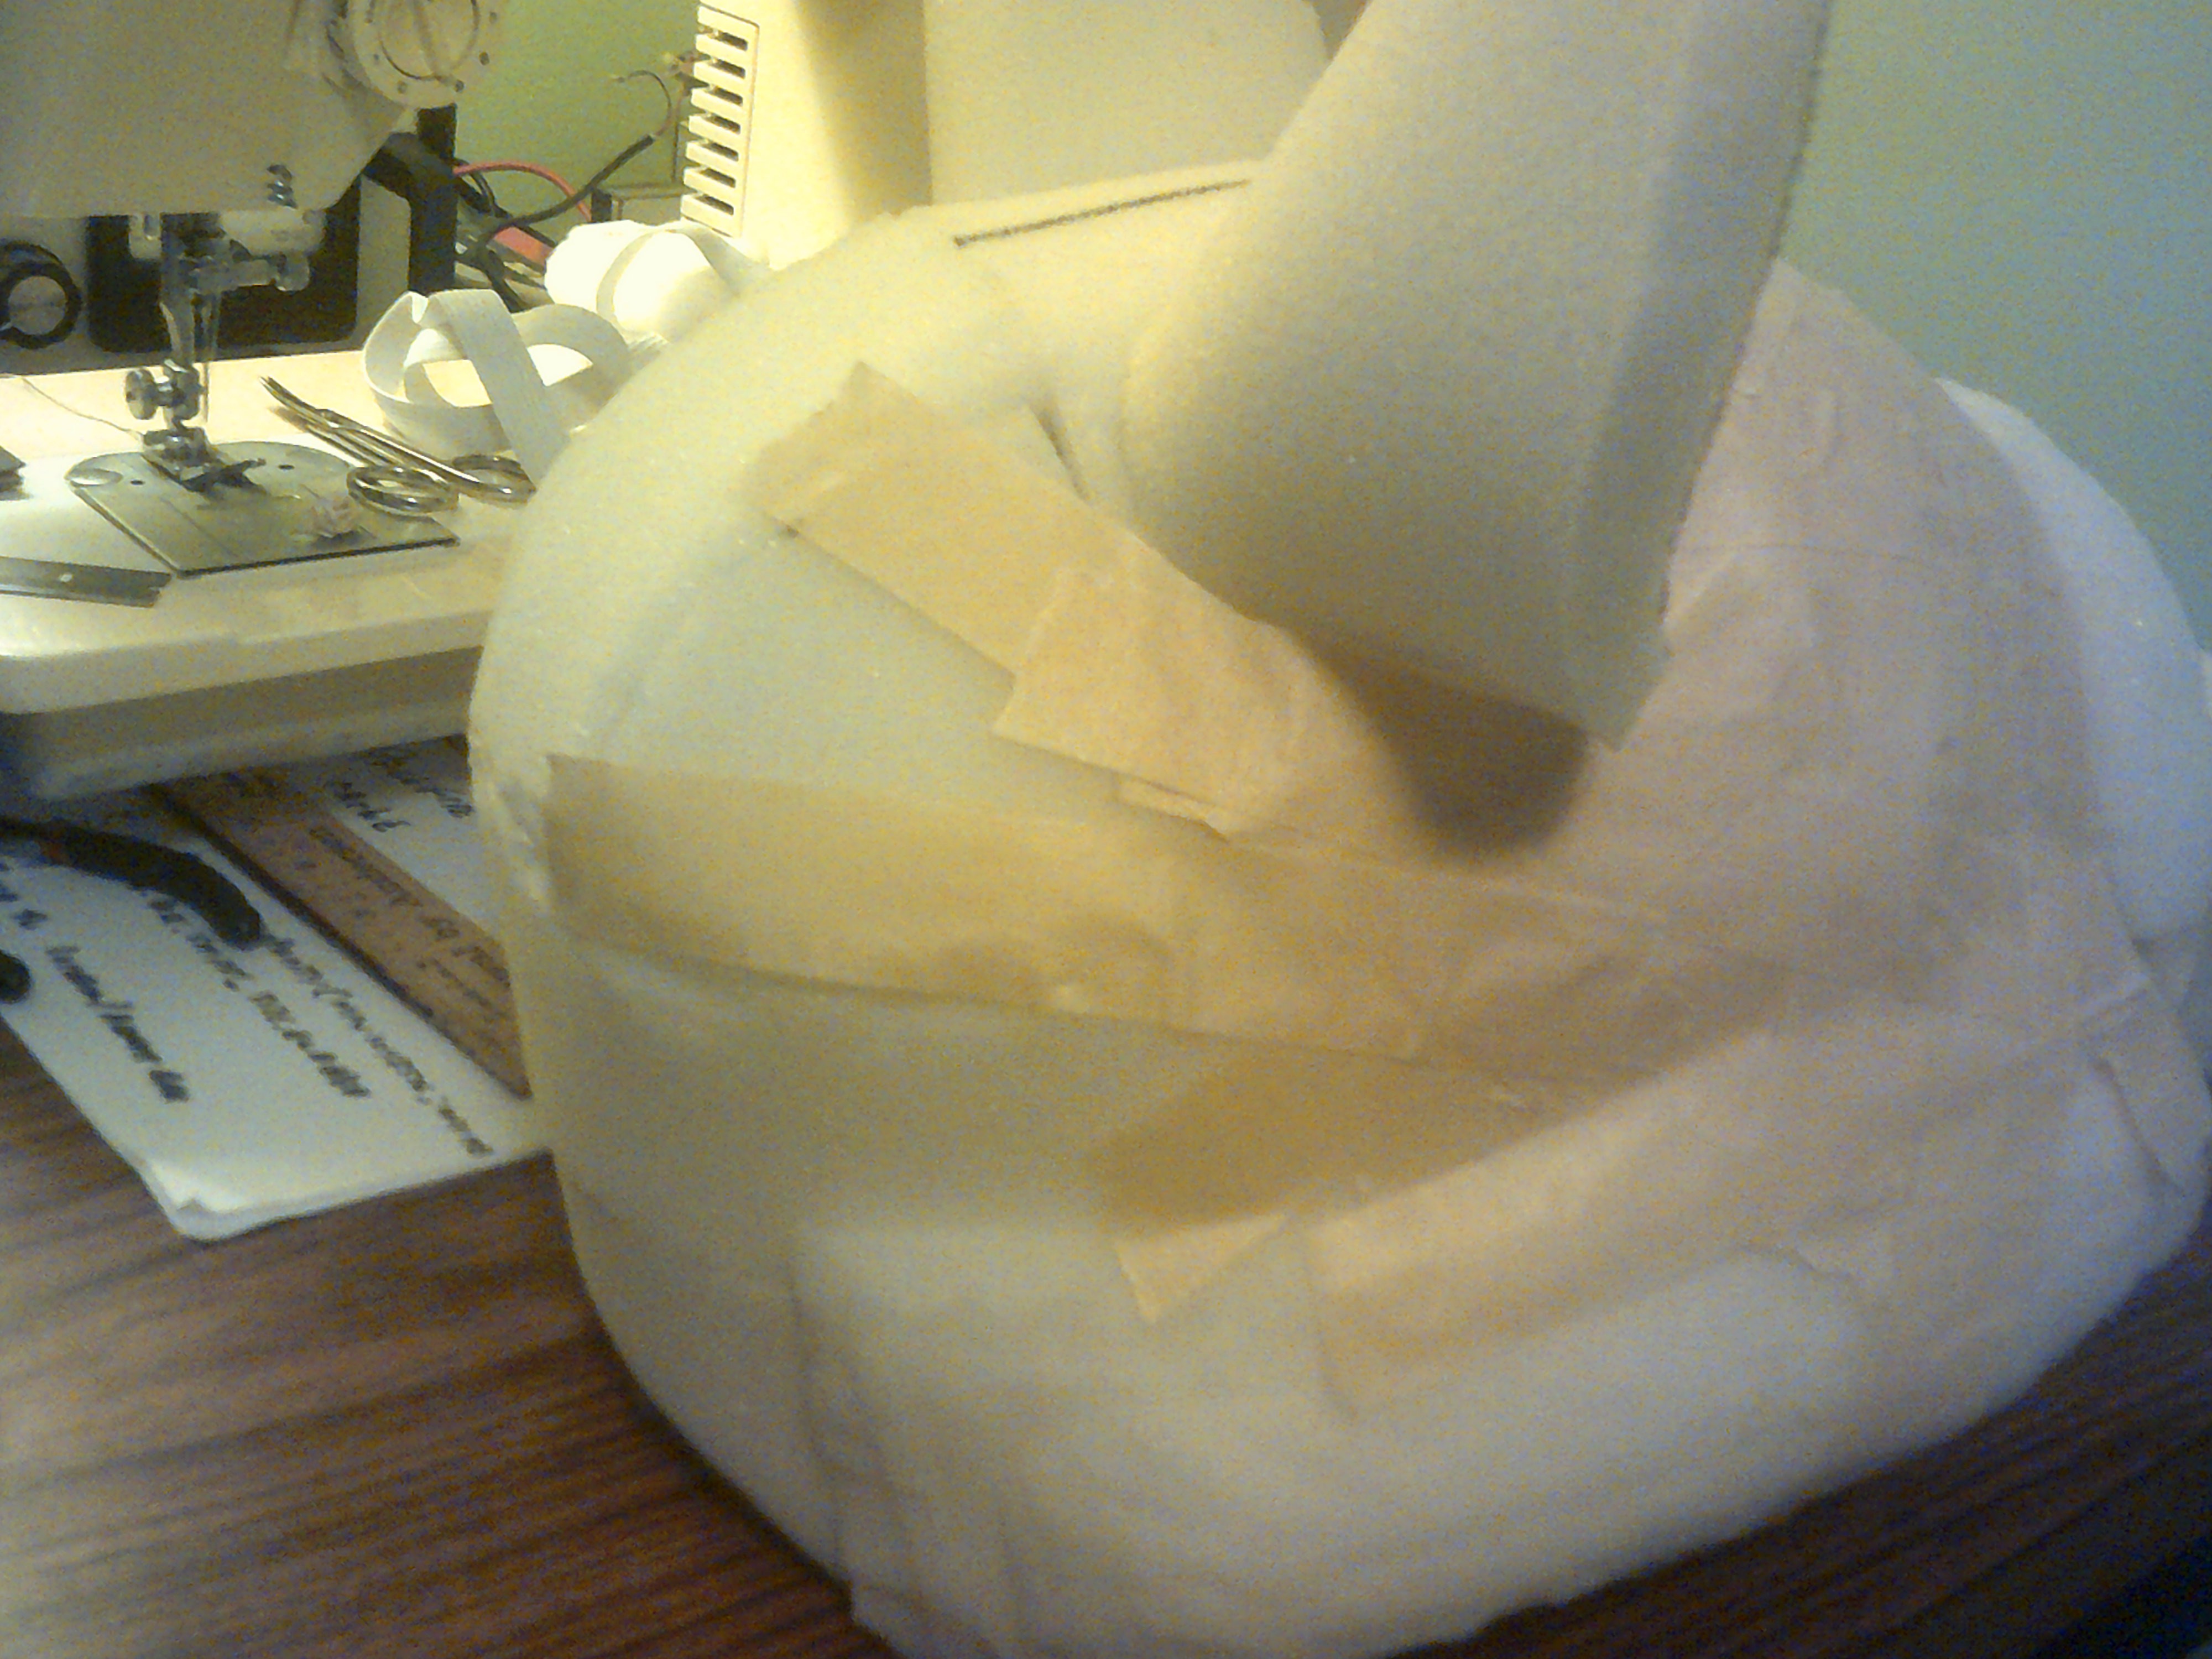
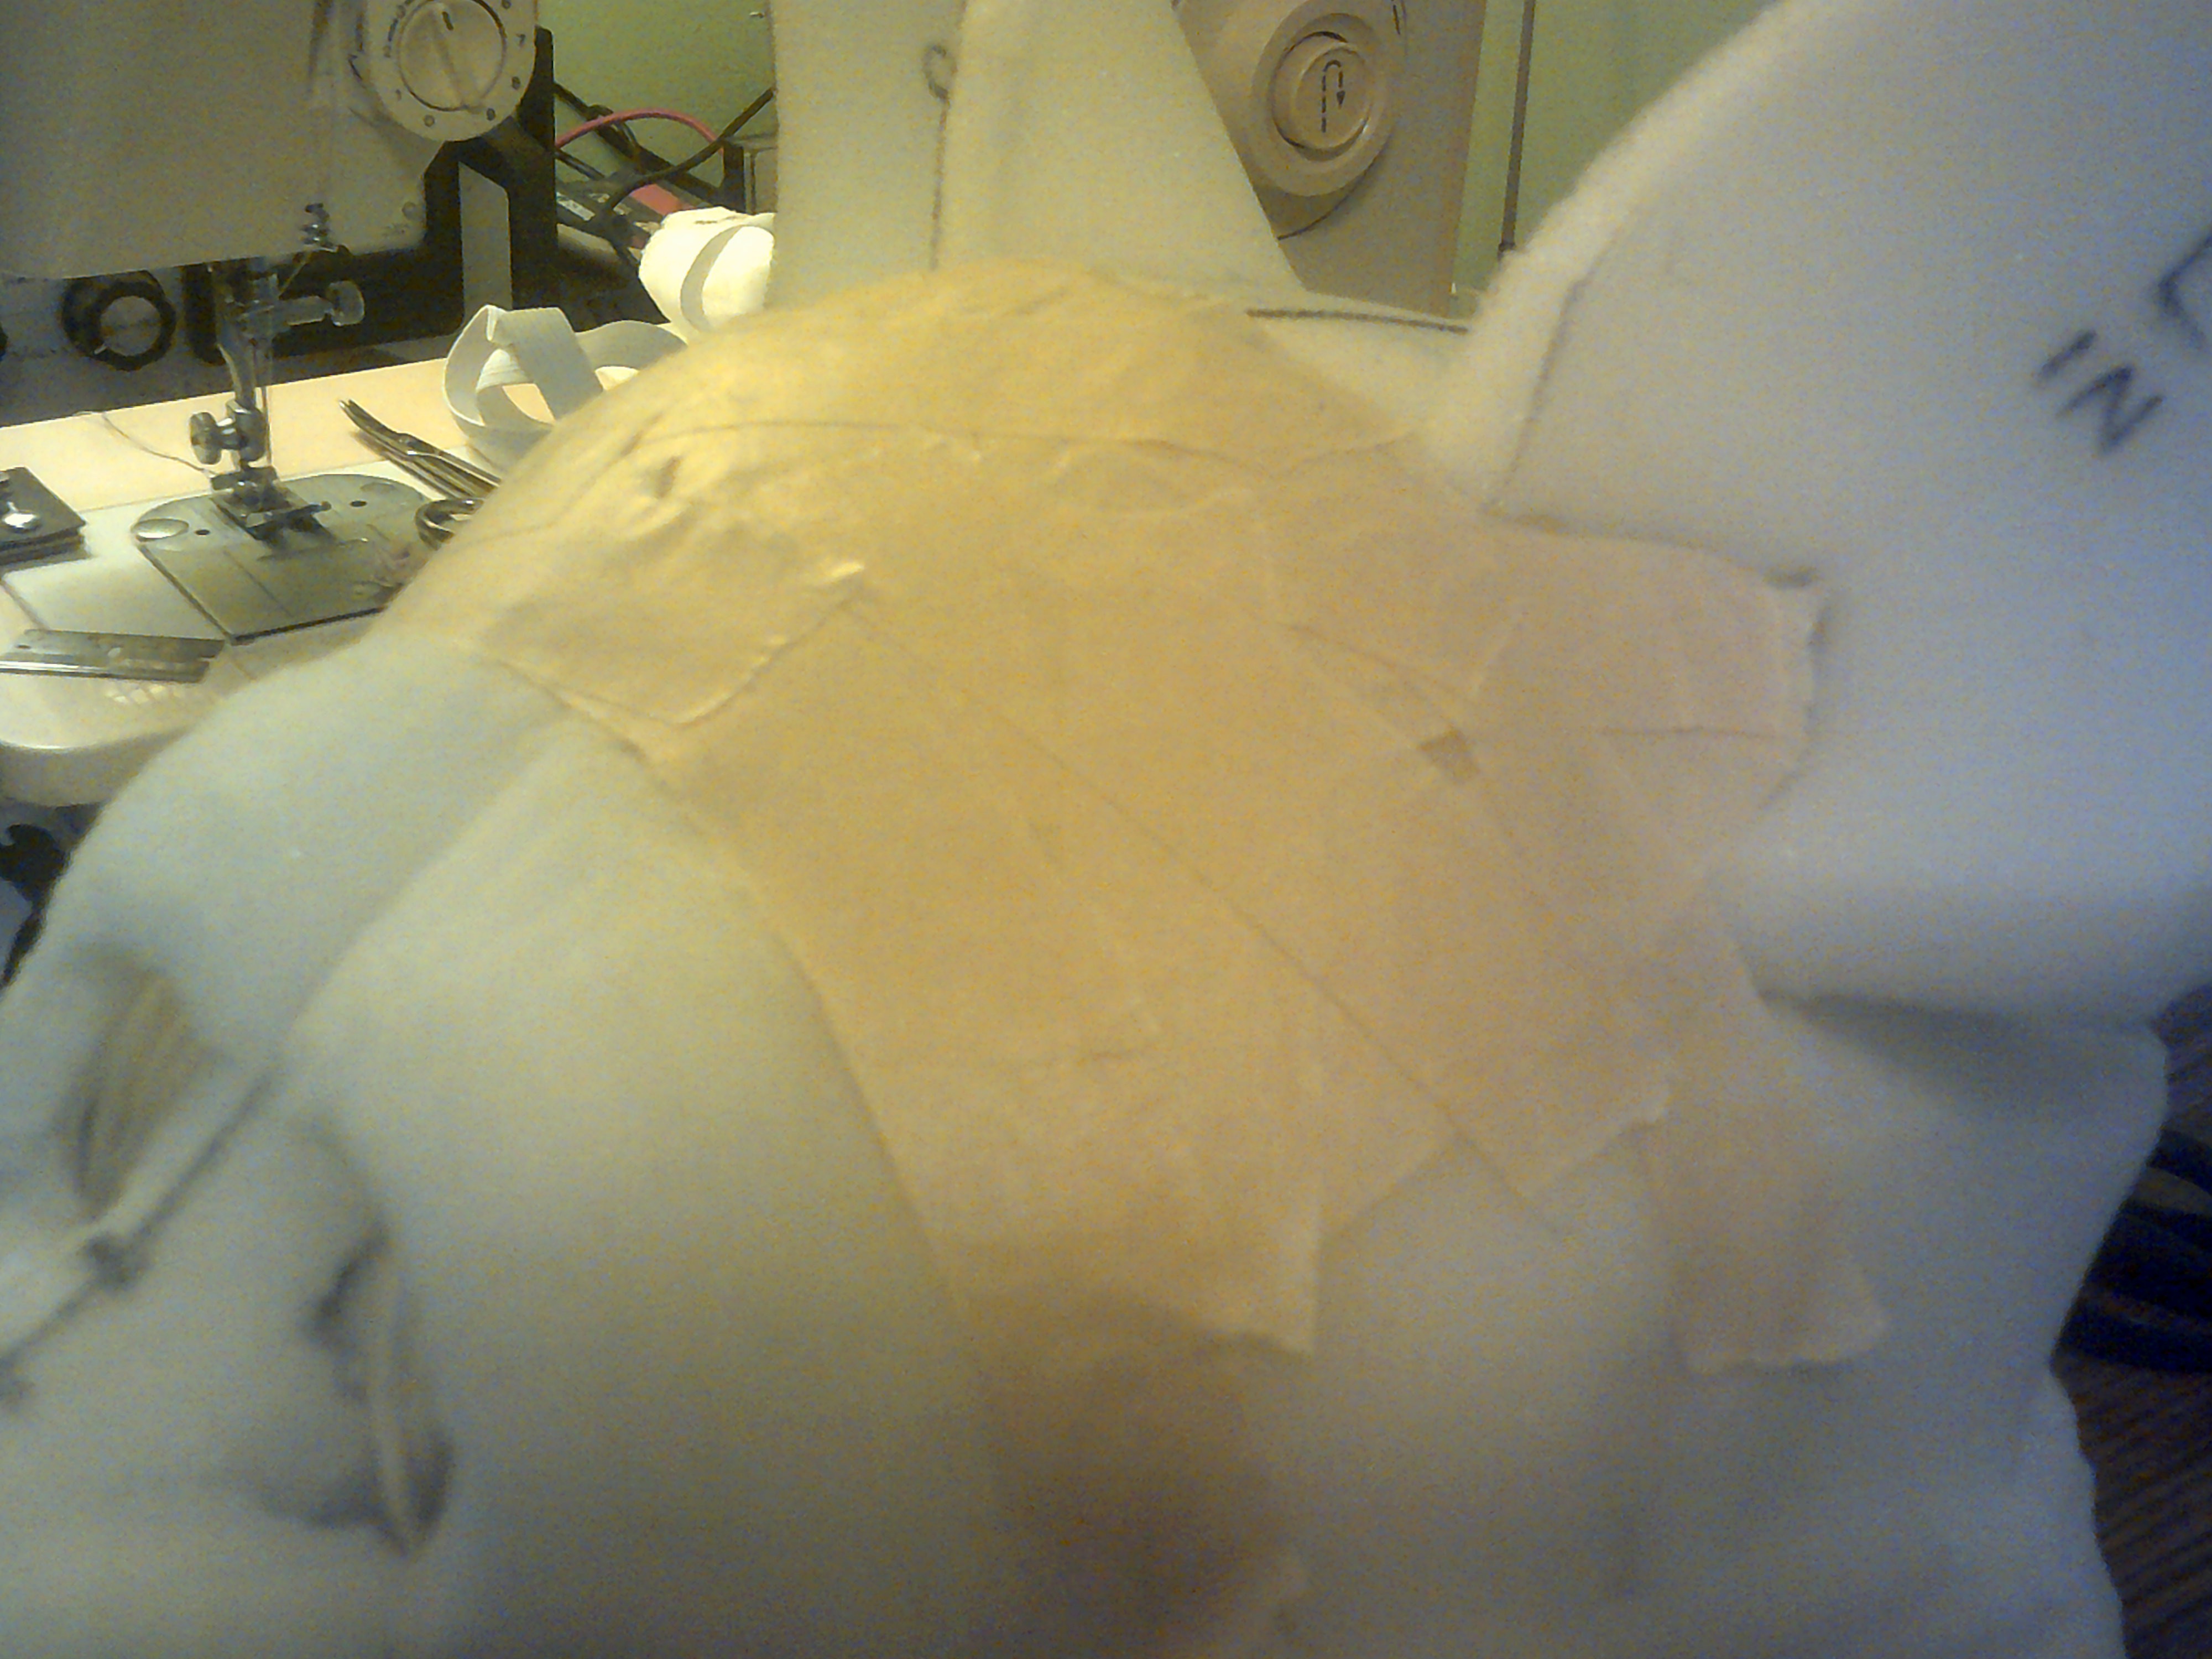
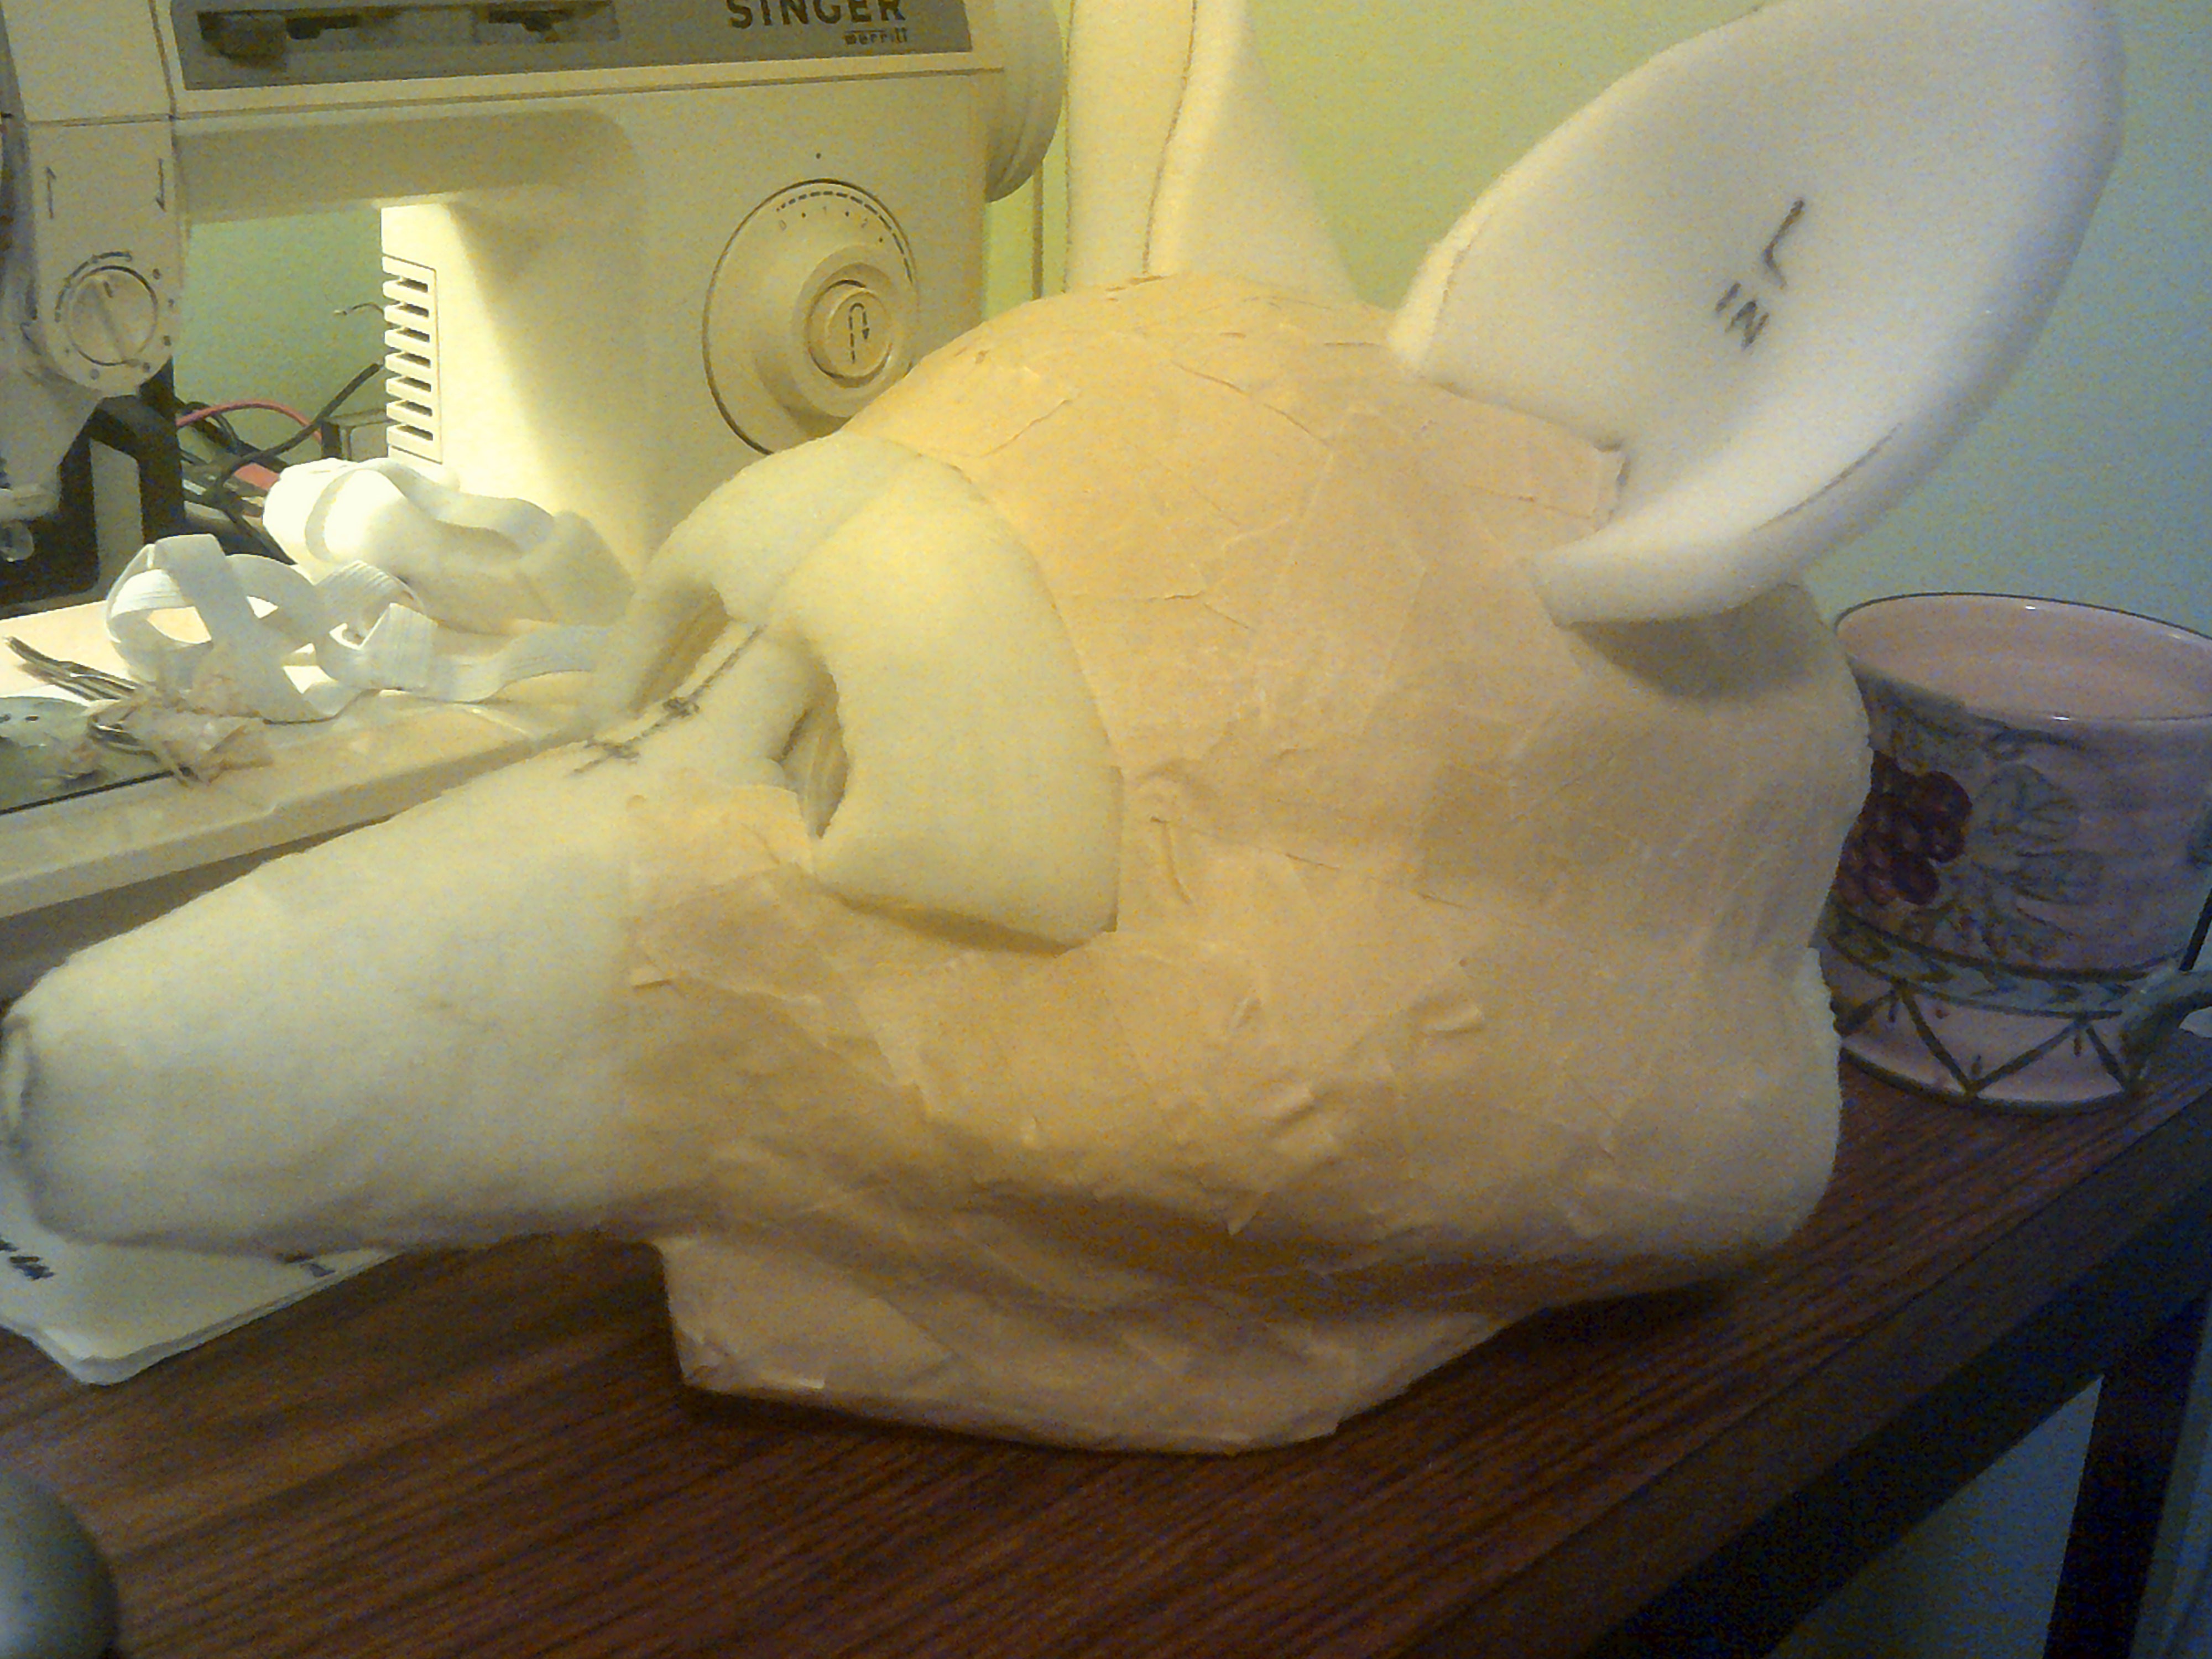
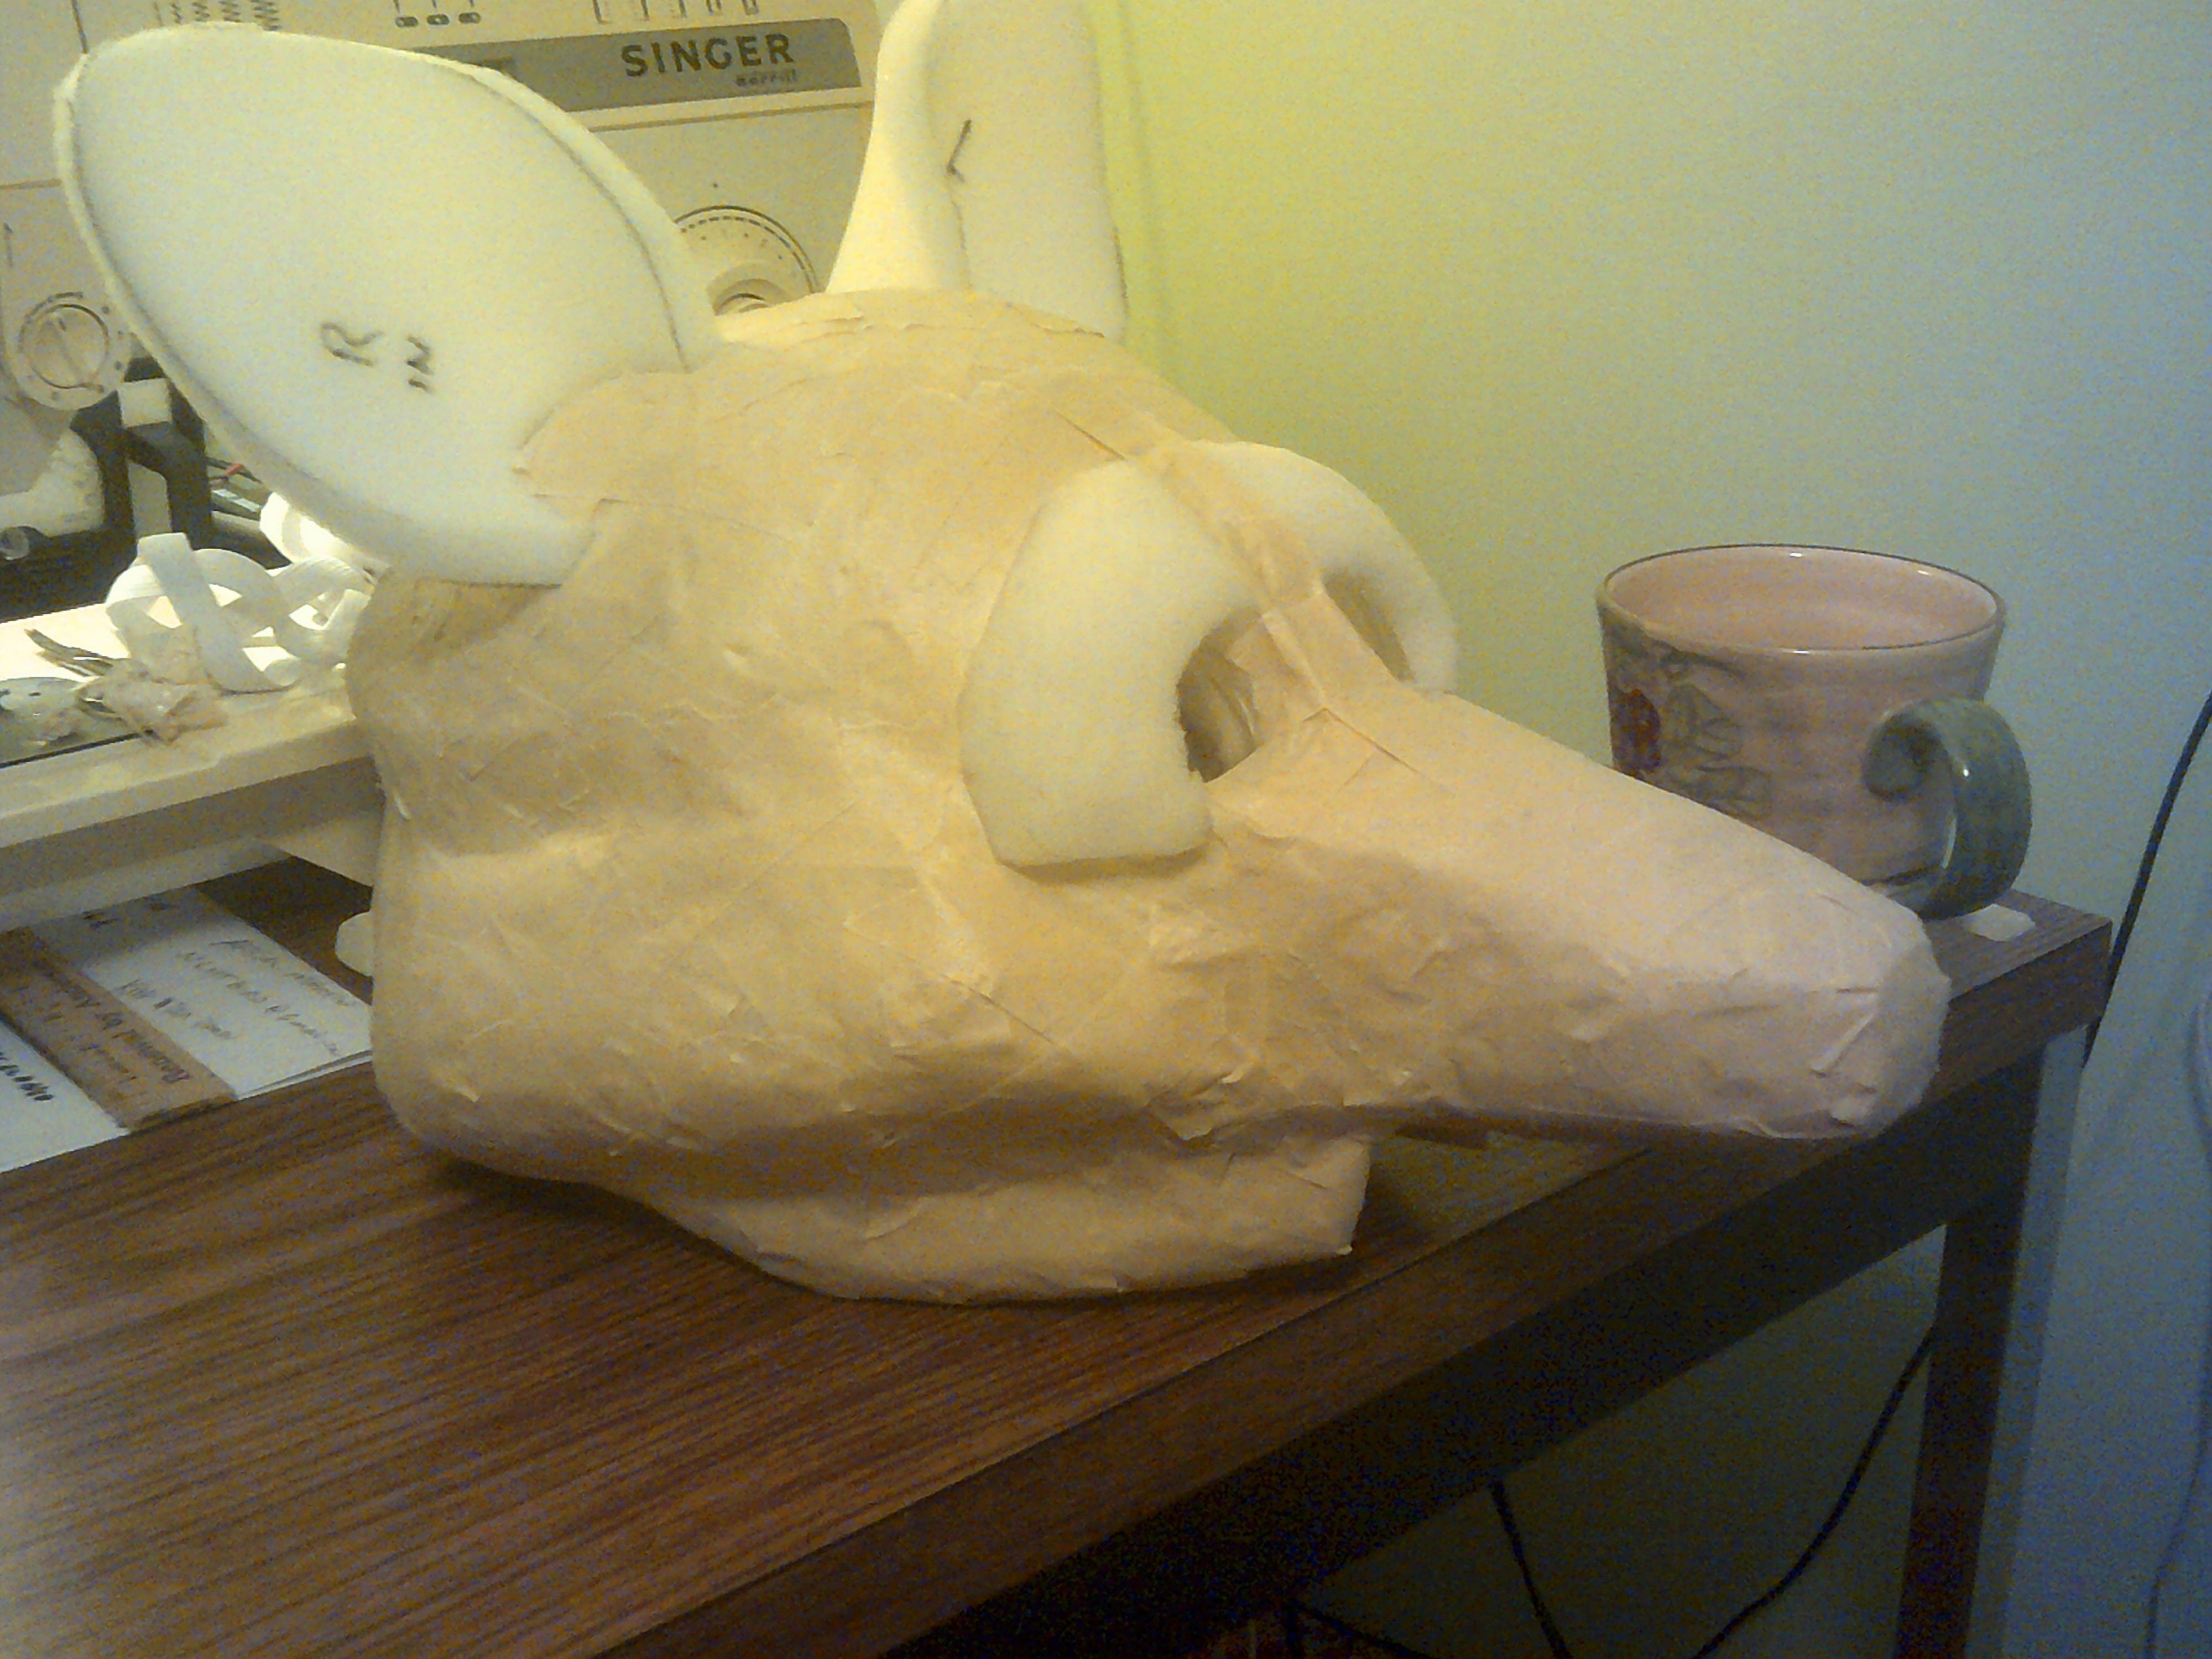
02/07/2019 at 11:47 • 0 commentsI am just going to present a series of photos that show the progression of making the head base from start to the point that it is ready to be taped. Most of this work was done in about four days of off and on work and I have never done anything like this before. All that is needed material wise is a roll of 1/2" thick foam, a styrofoam model head from the local big box store and a hot melt glue gun.
The only tool used for cutting and shaping was scissors.
![]()
![]()
![]()
![]()
![]()
![]()
![]()
![]()
![]()
That's is Pocari Roo online :-)
![]()
![]()
![]()
![]()
![]()
![]()
![]()
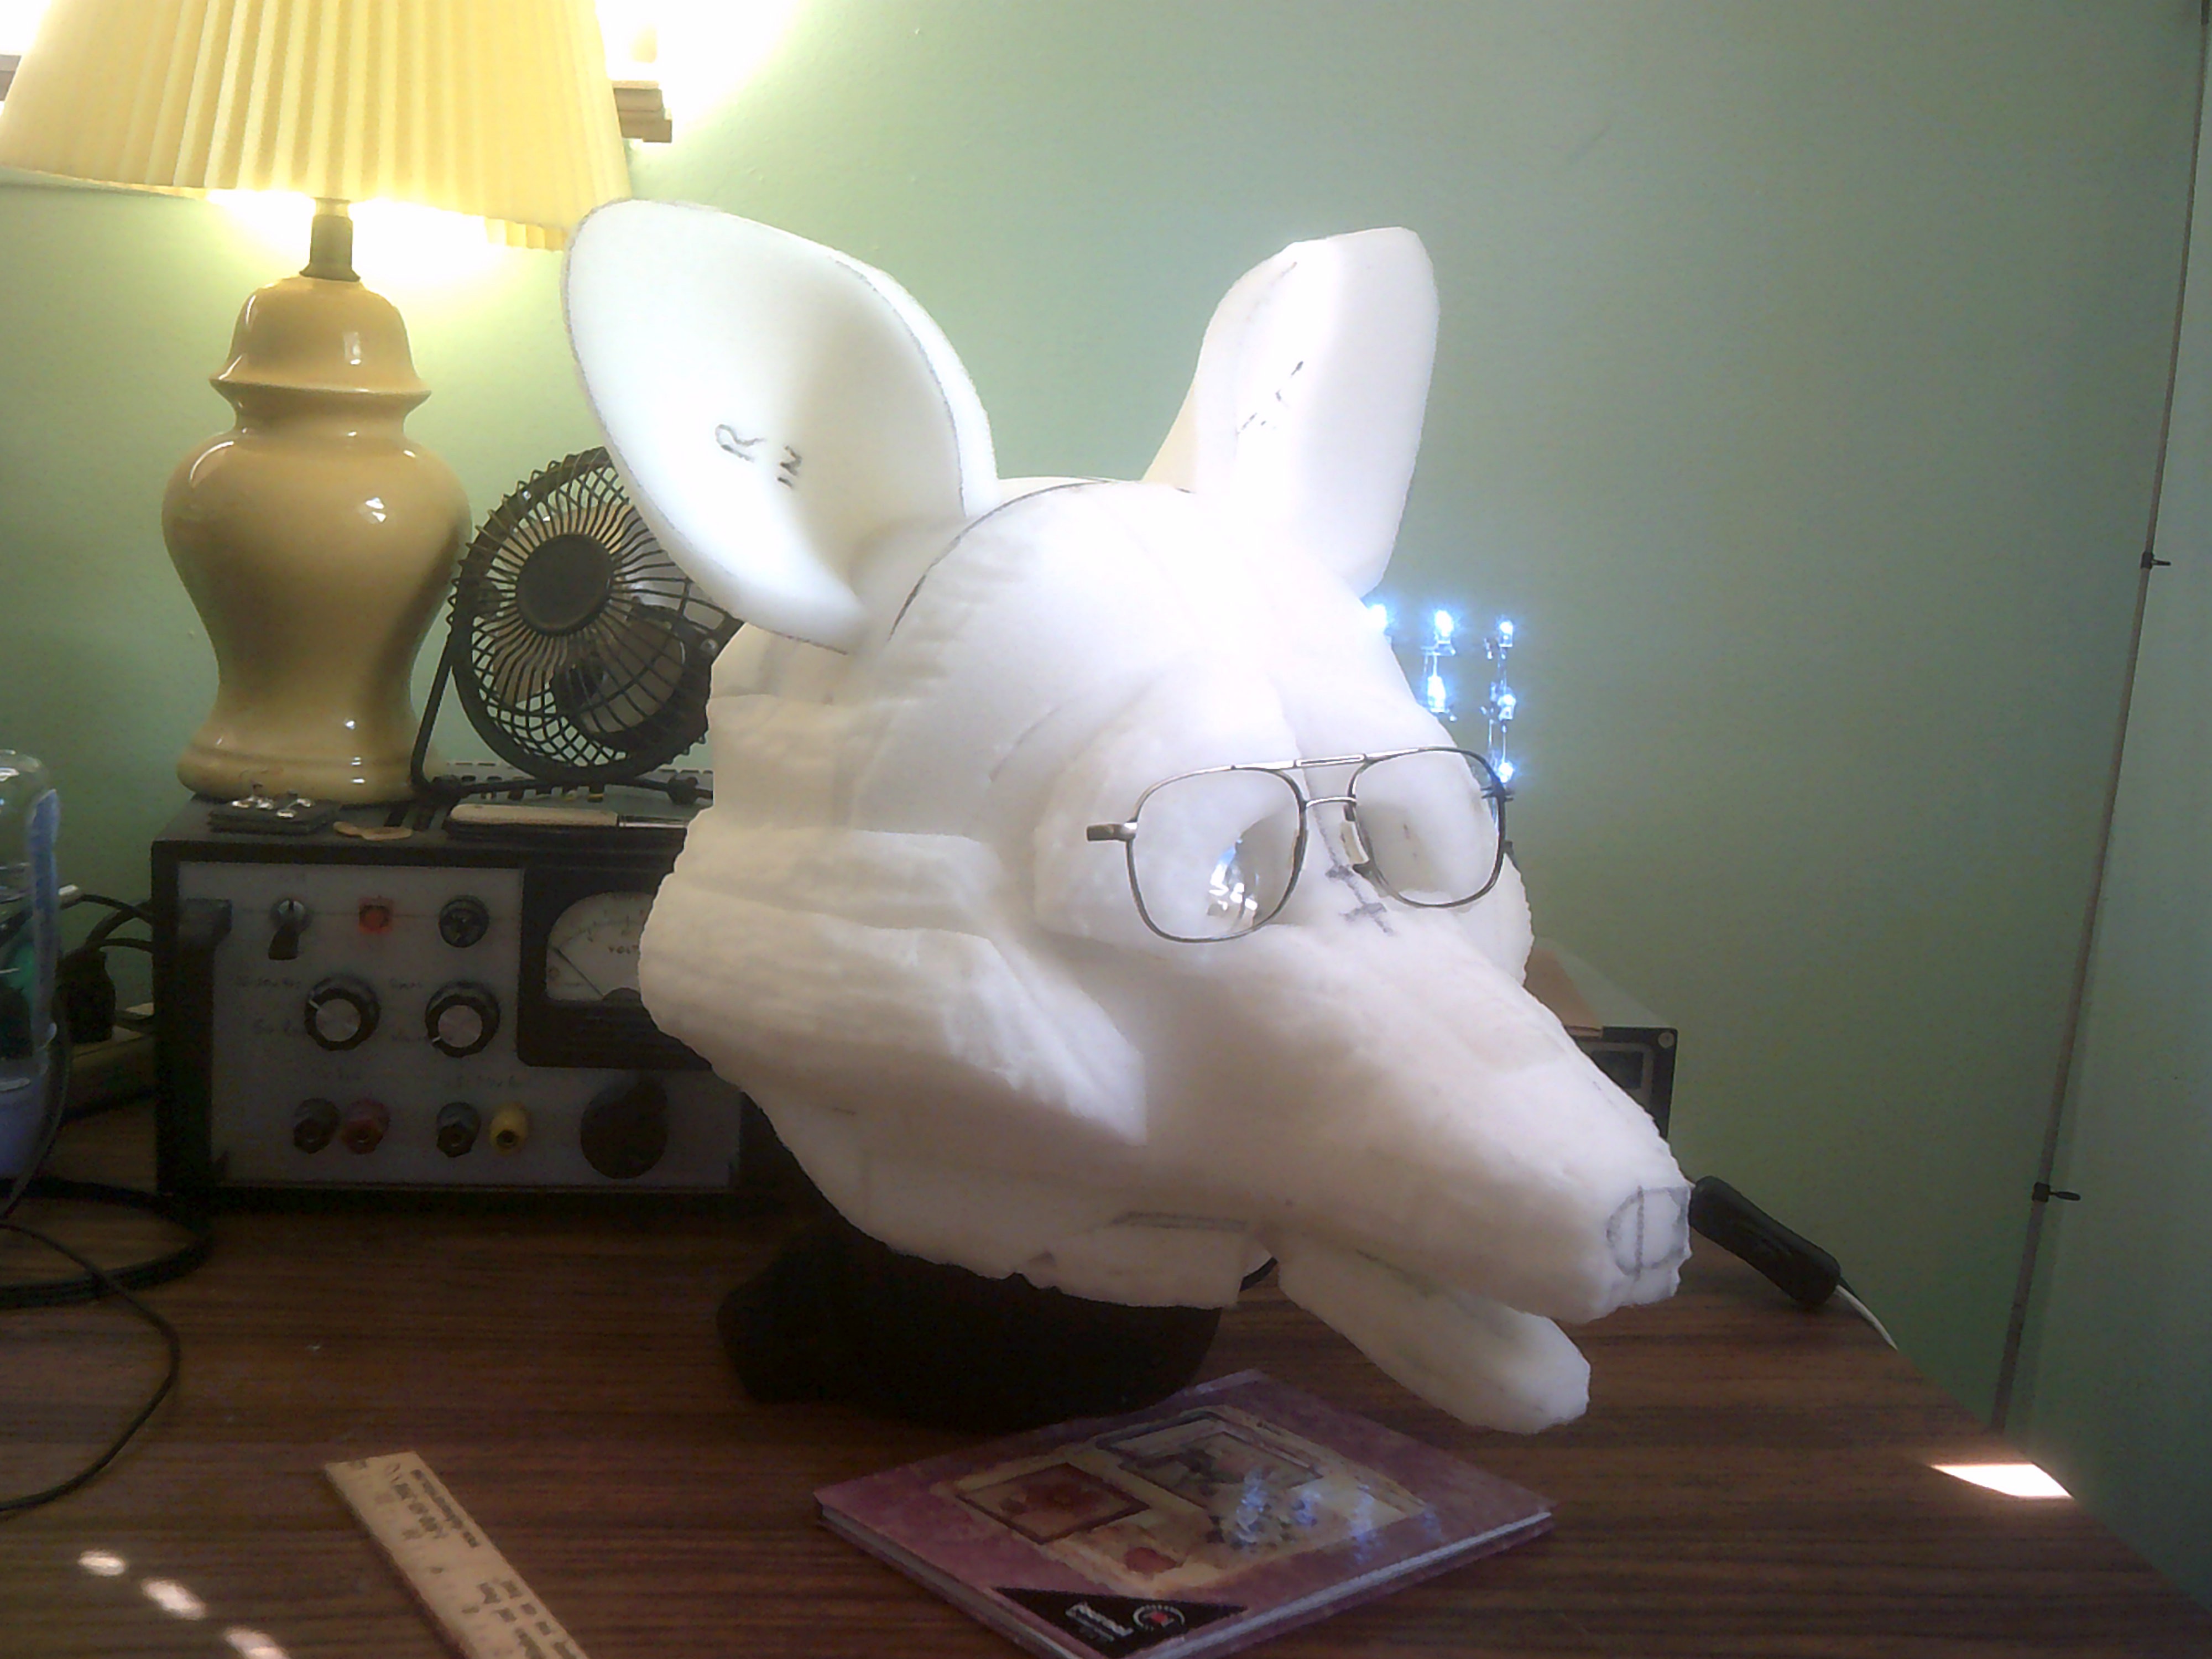
Had to test if I could actually see out of it. My wife was laughing her butt off.
![]()
![]()
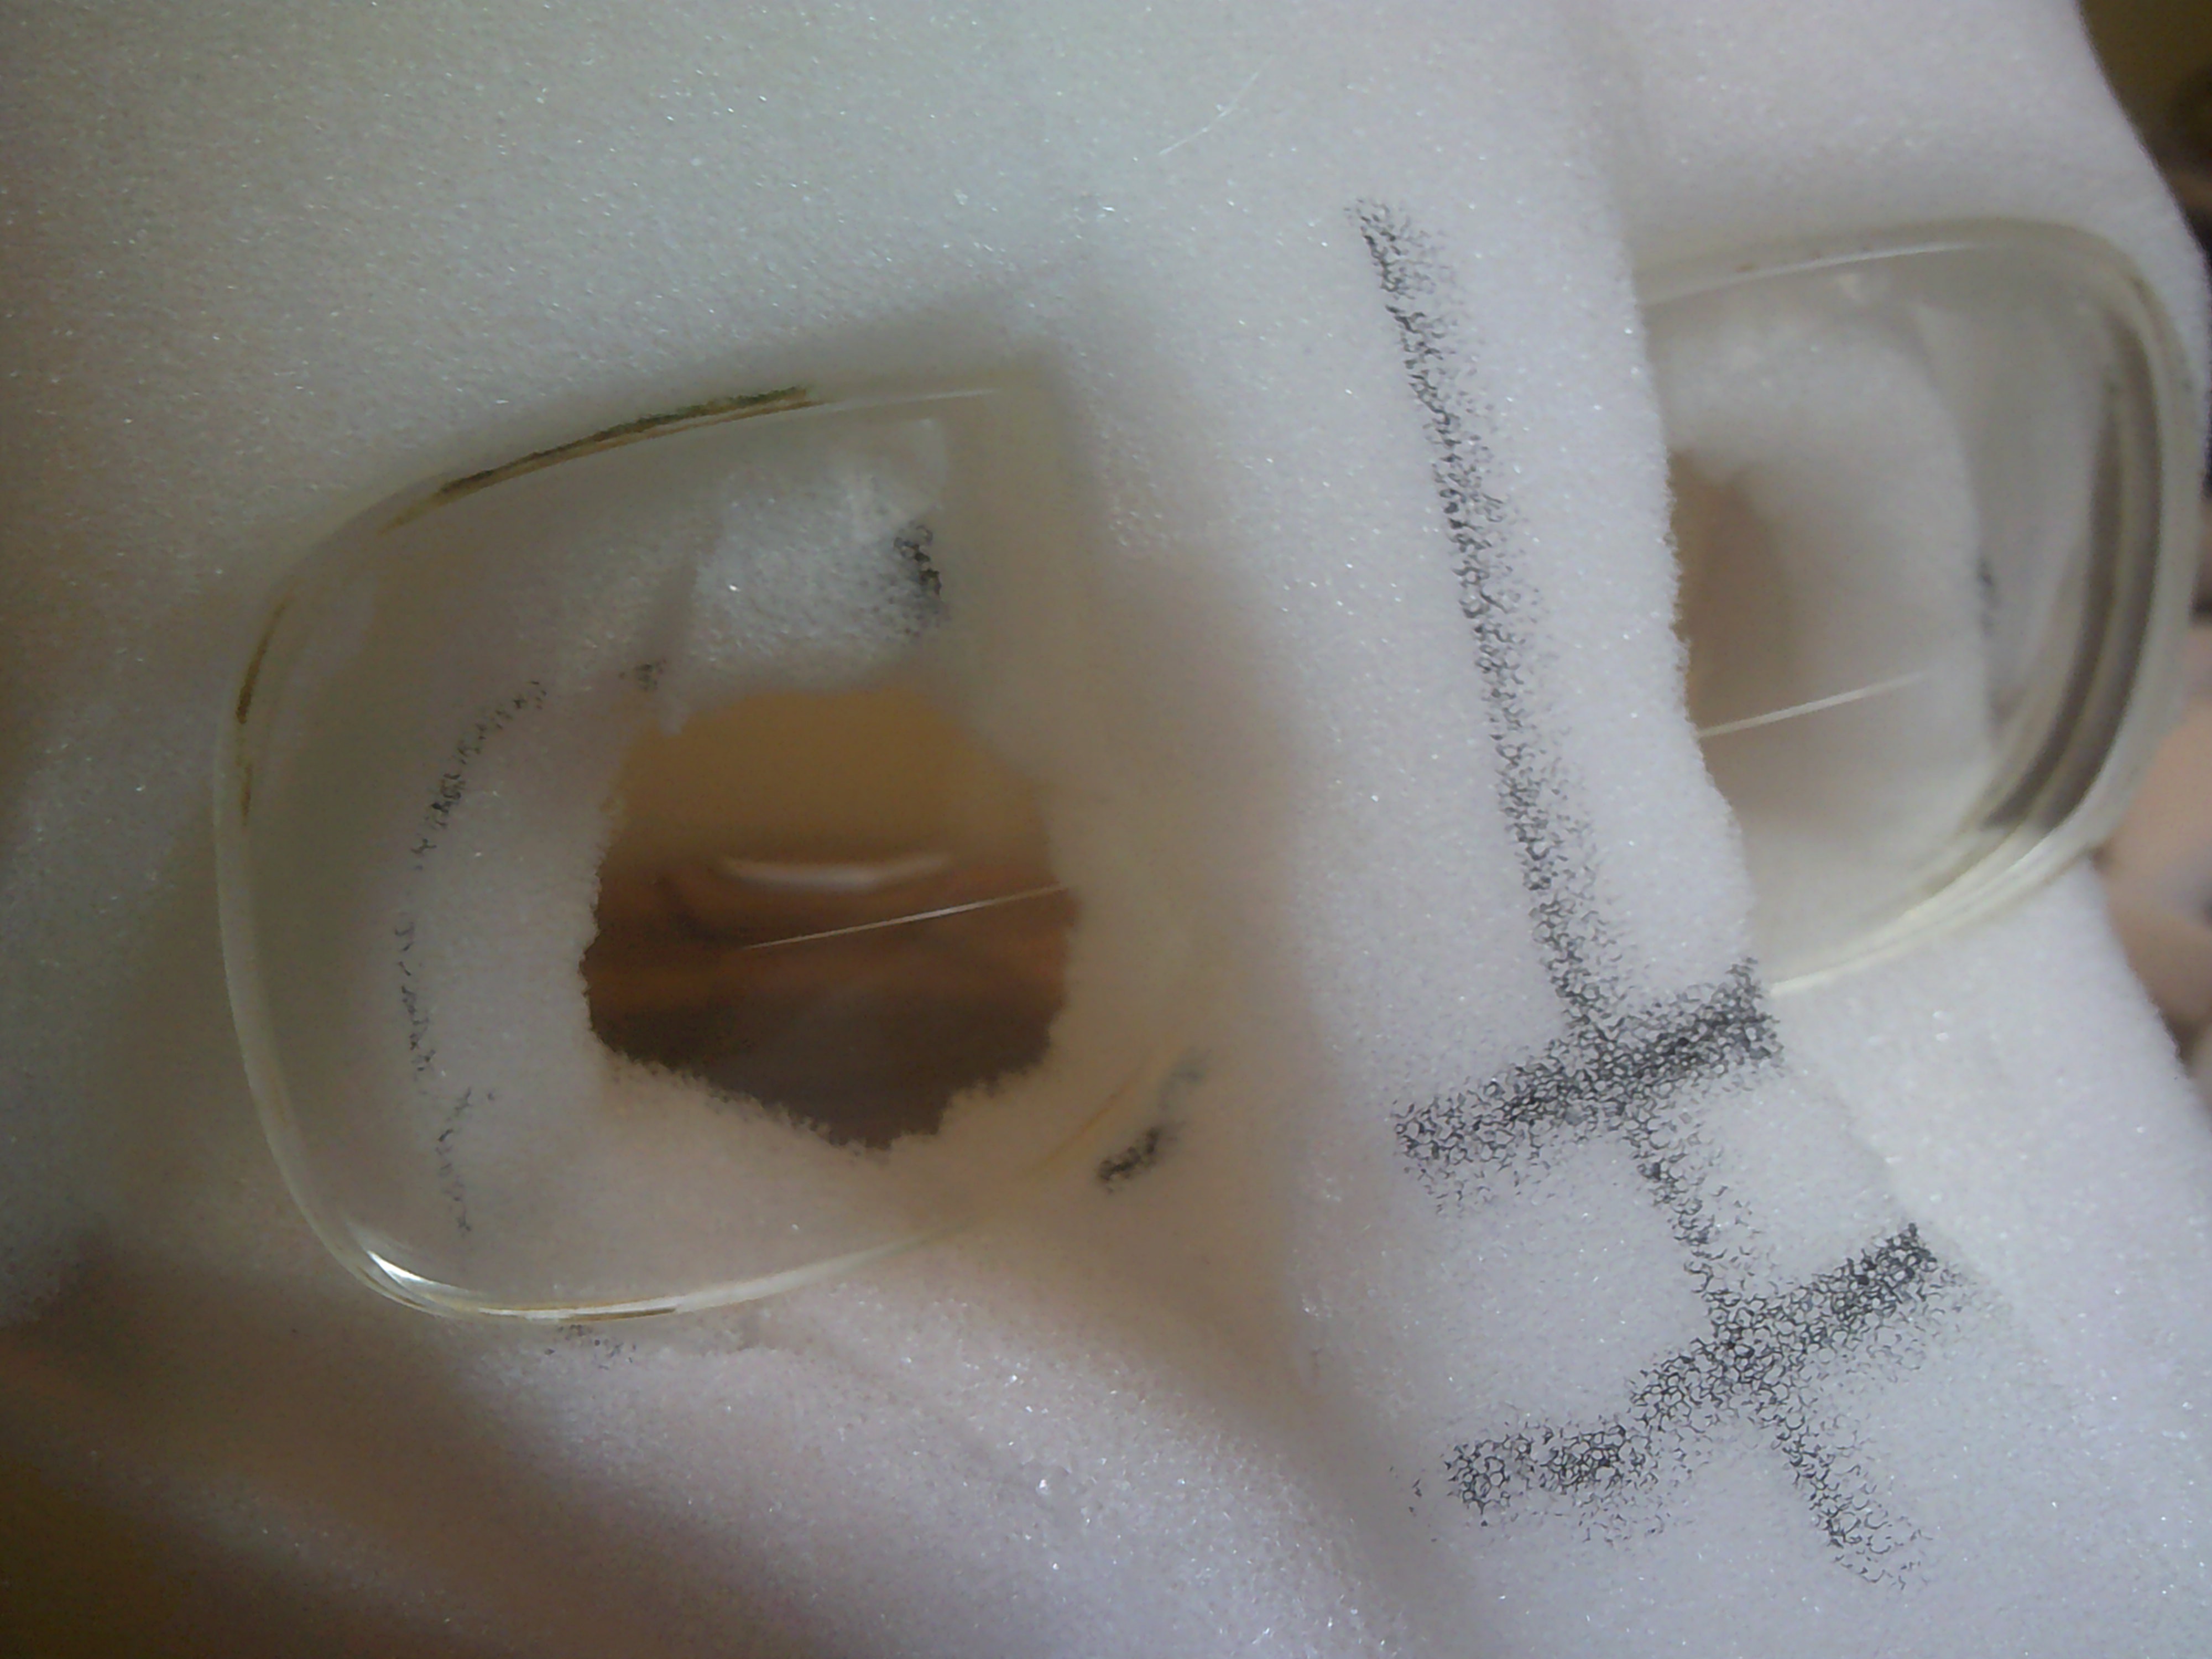
Setting my bifocal lenses into place.
![]()
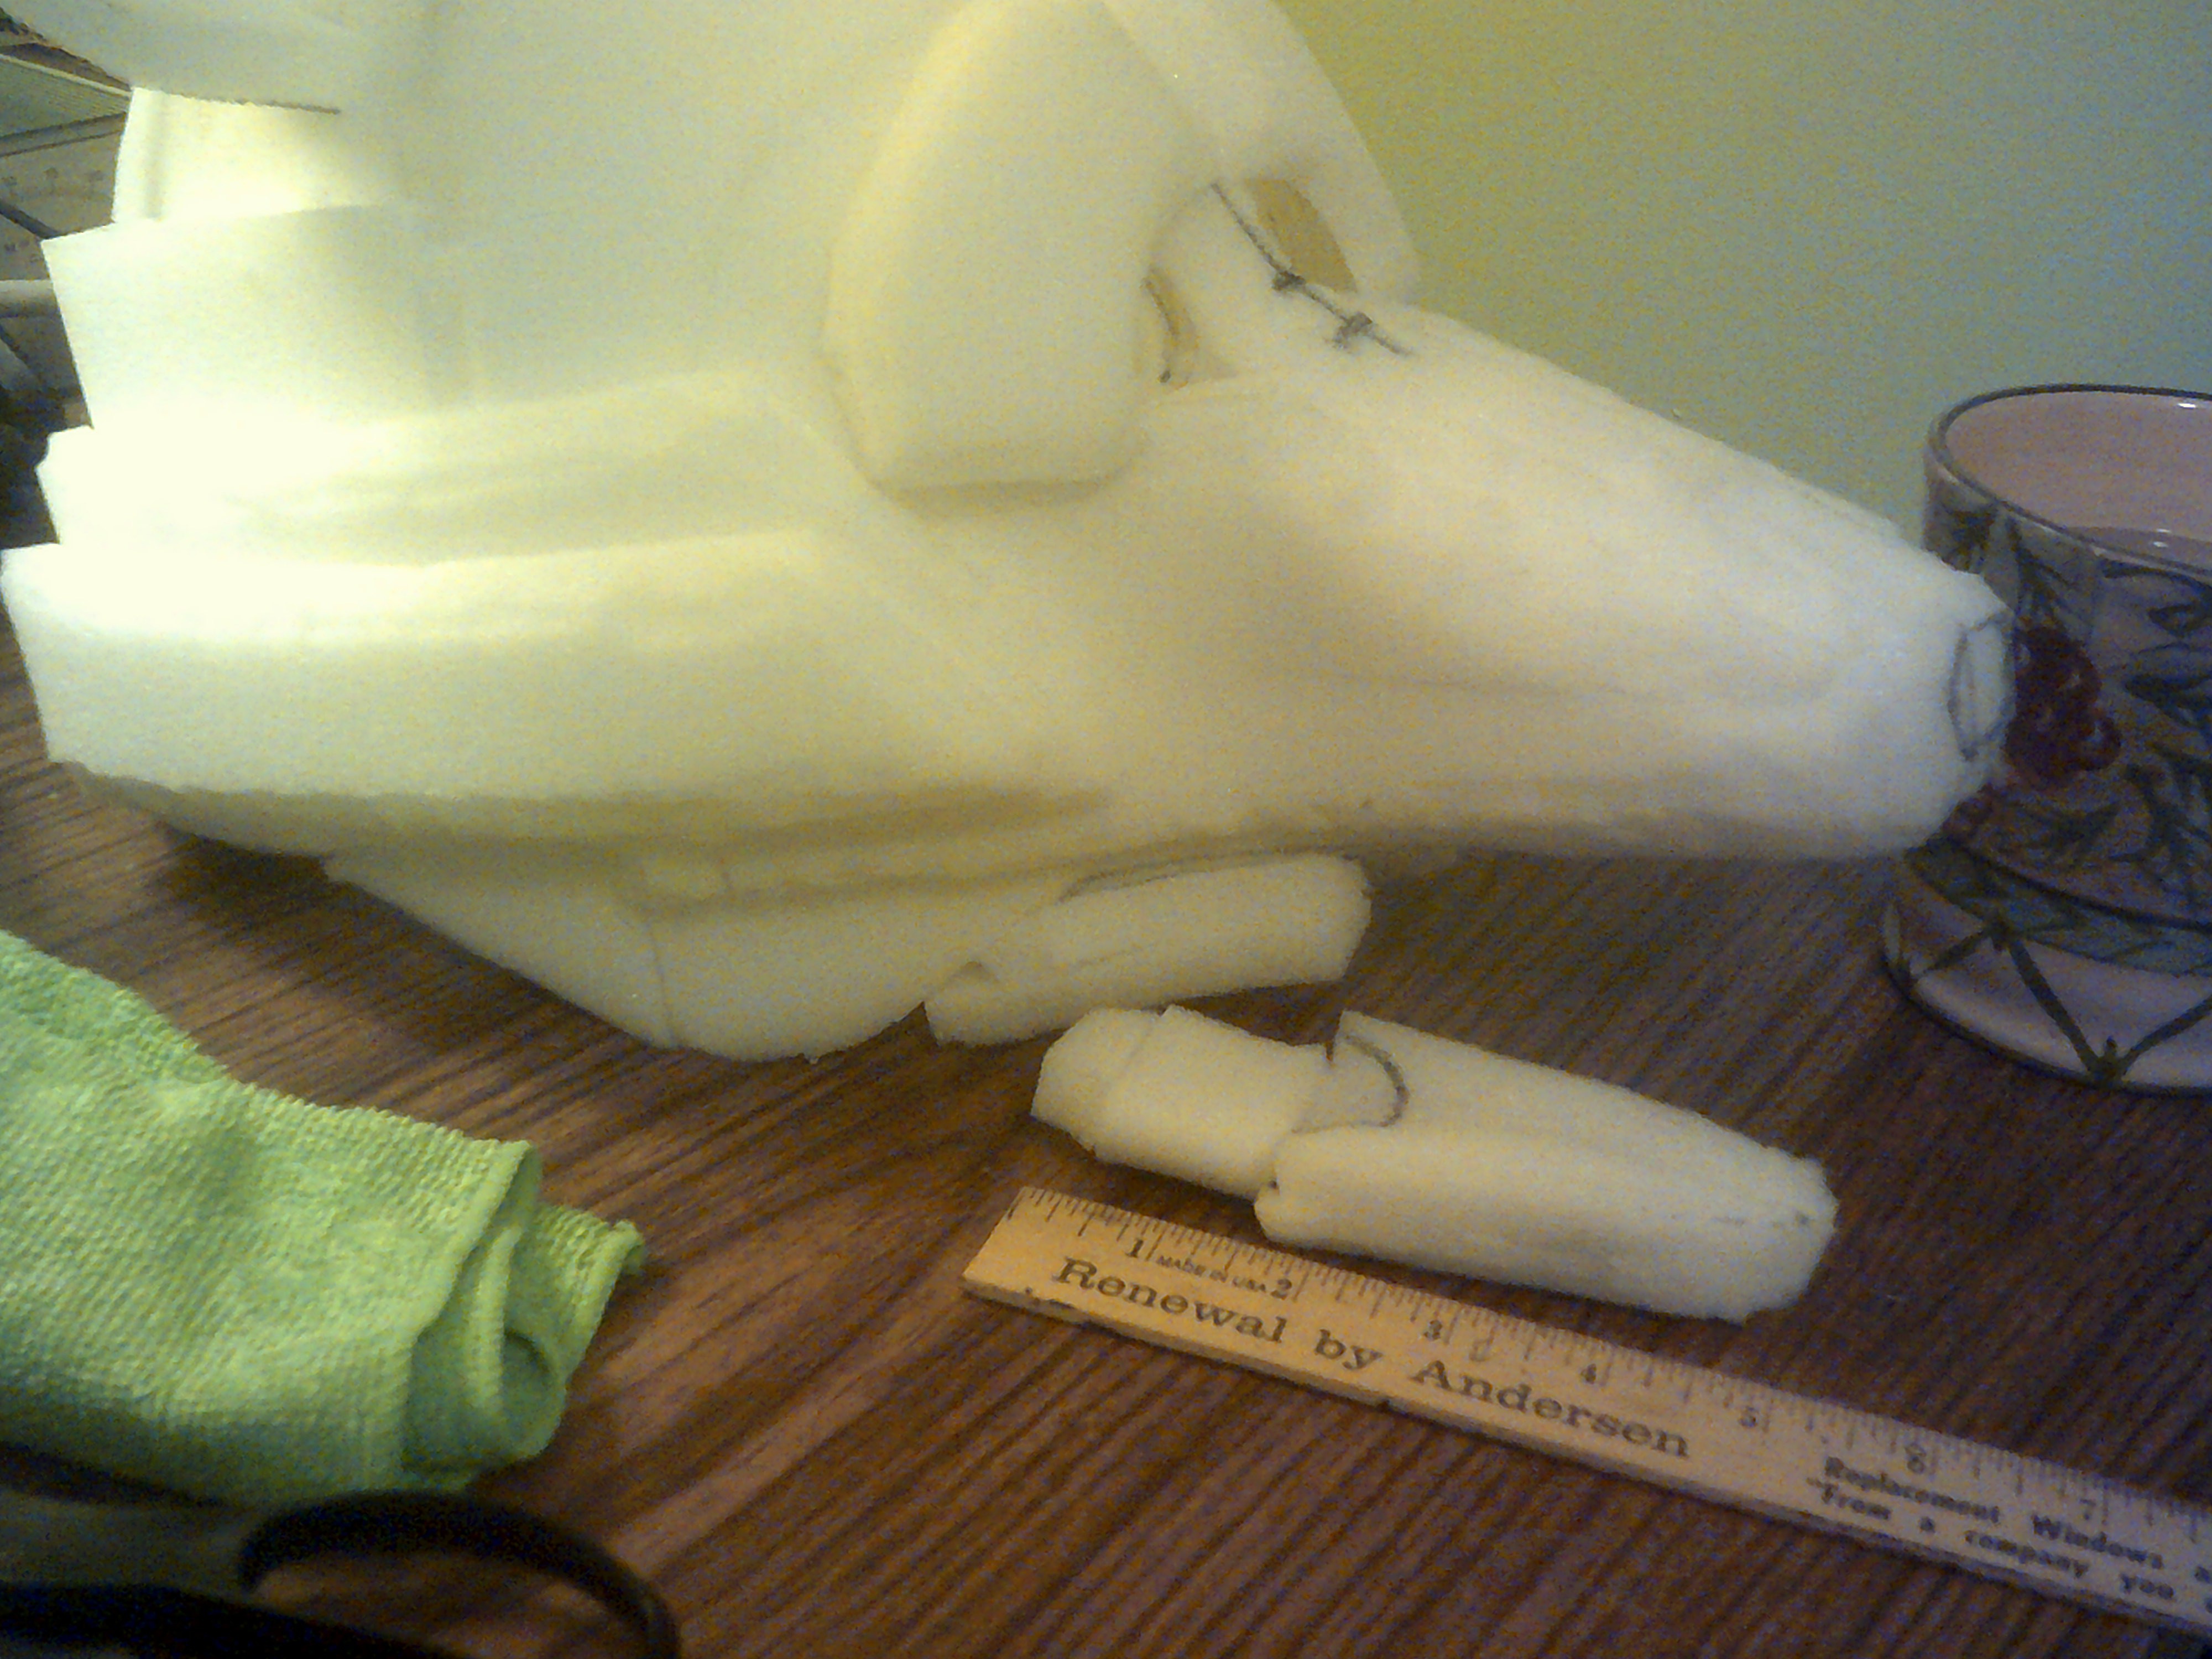
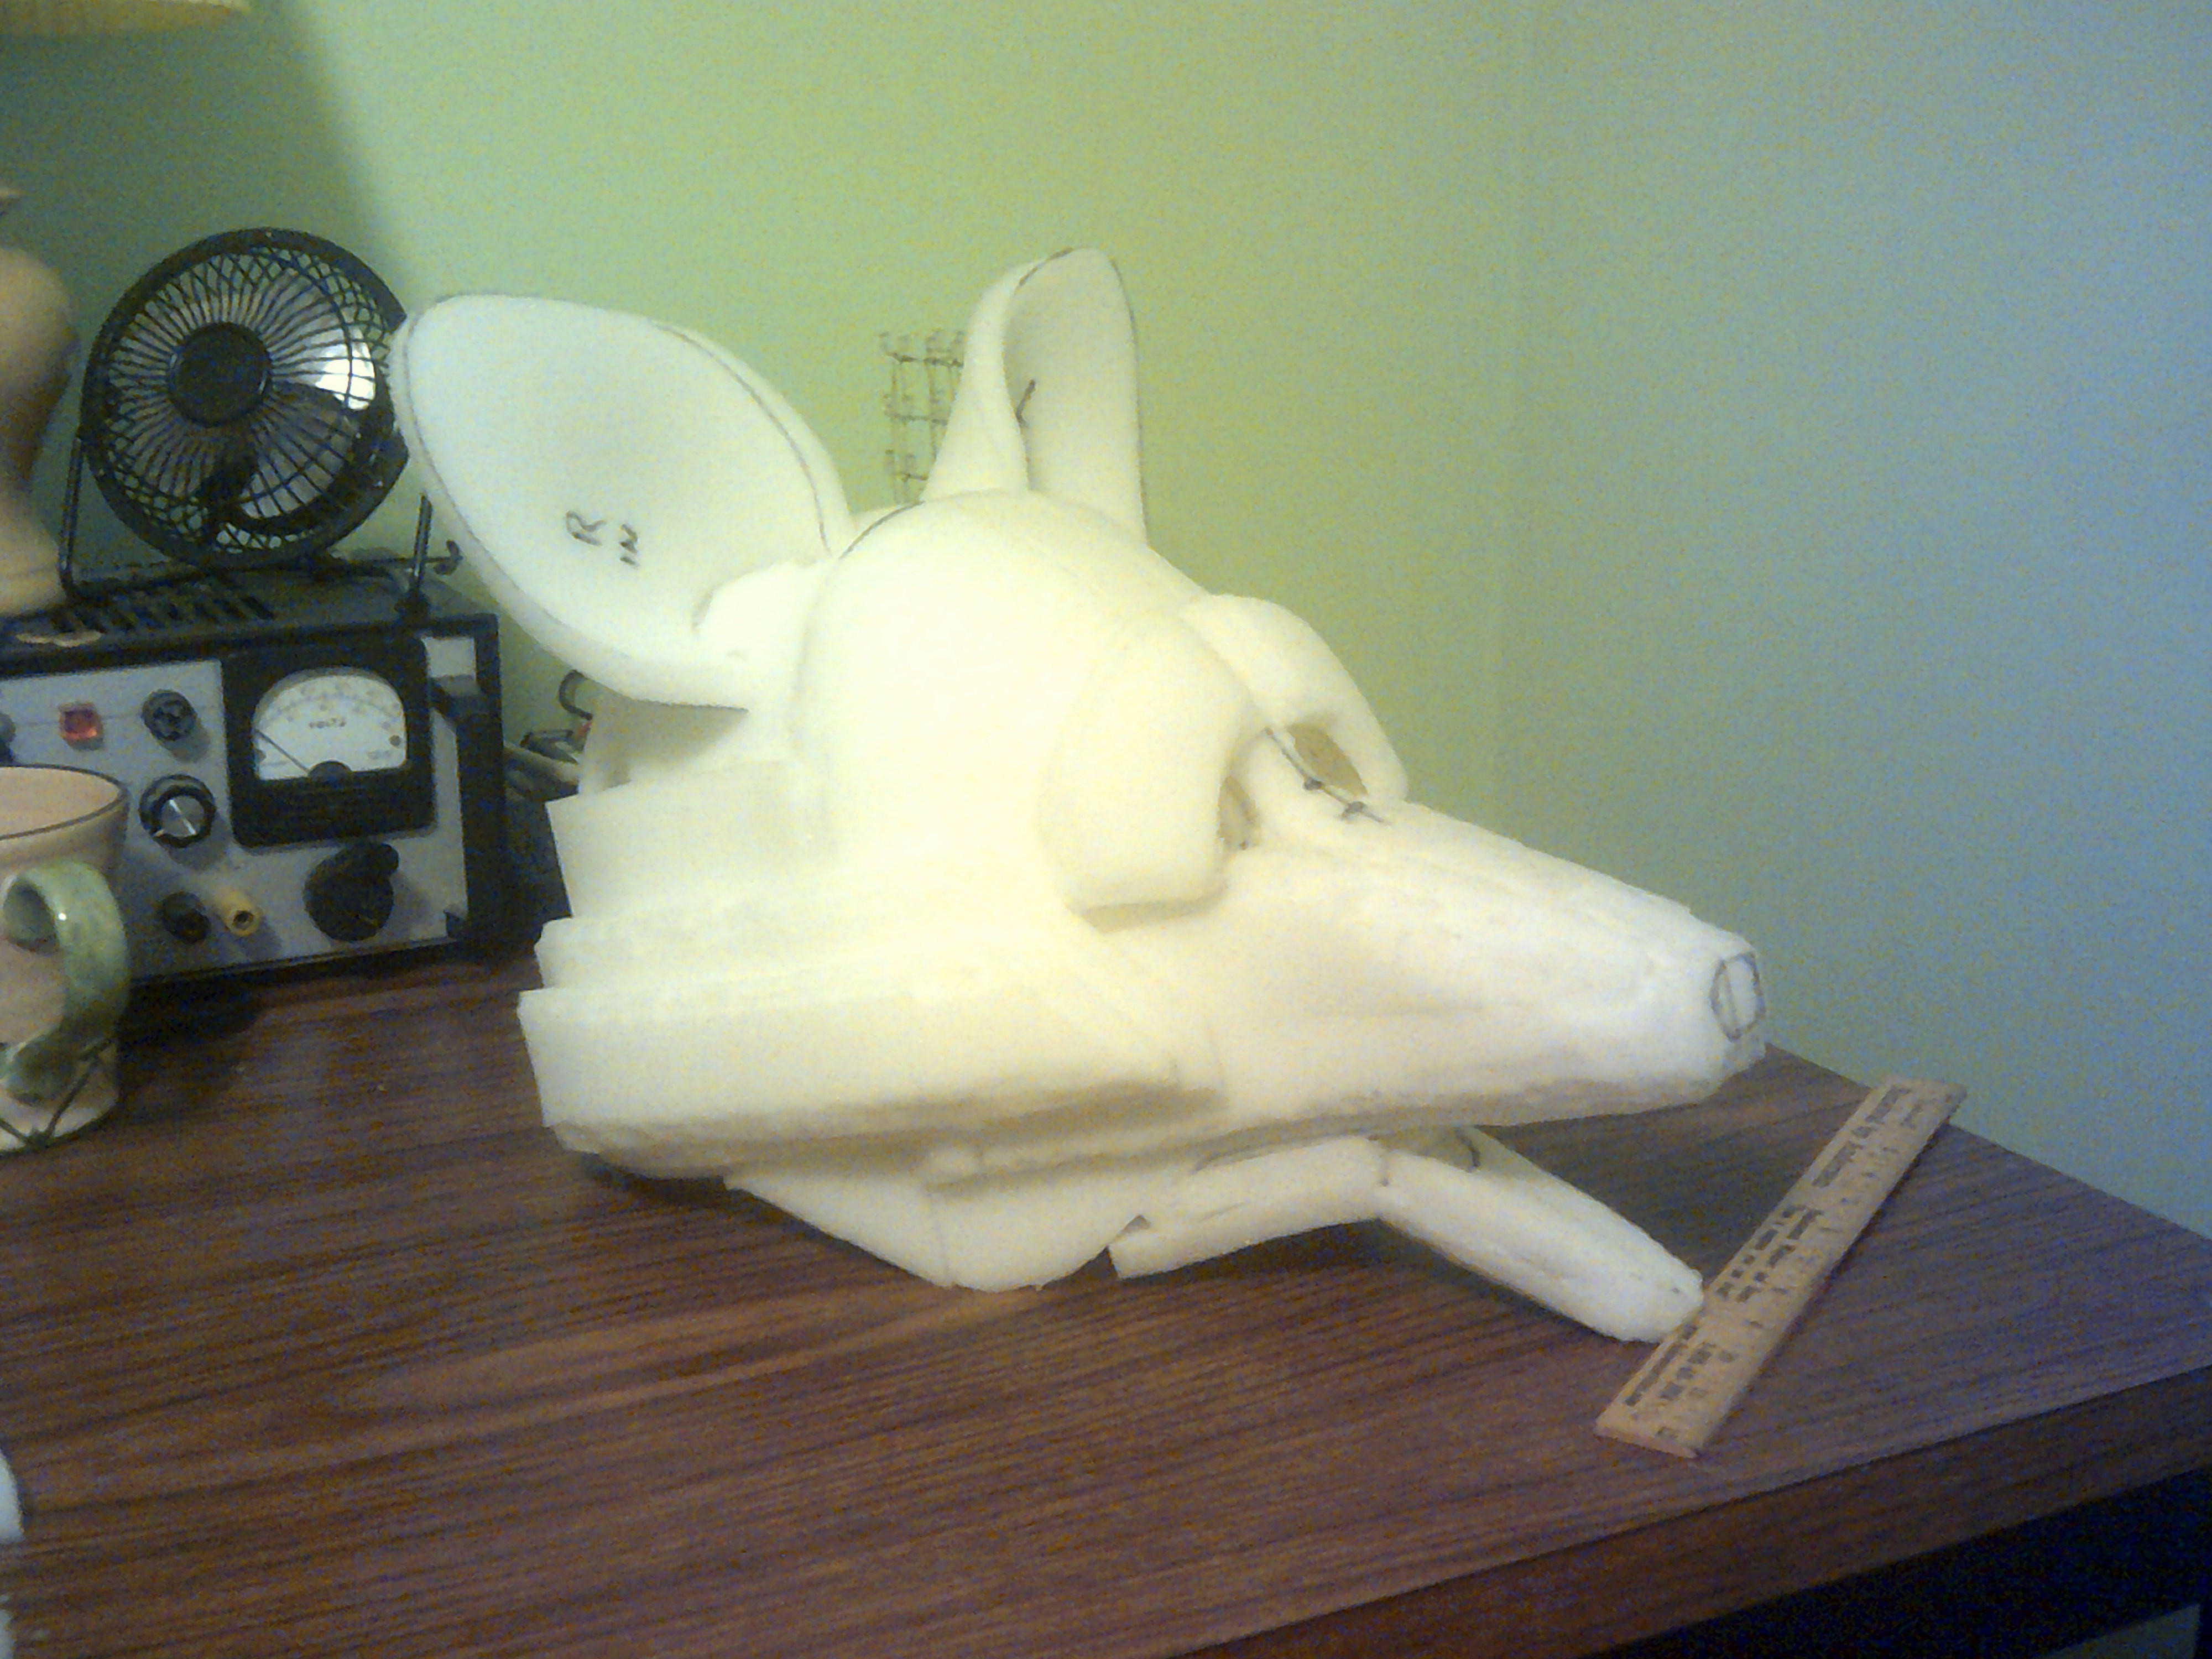
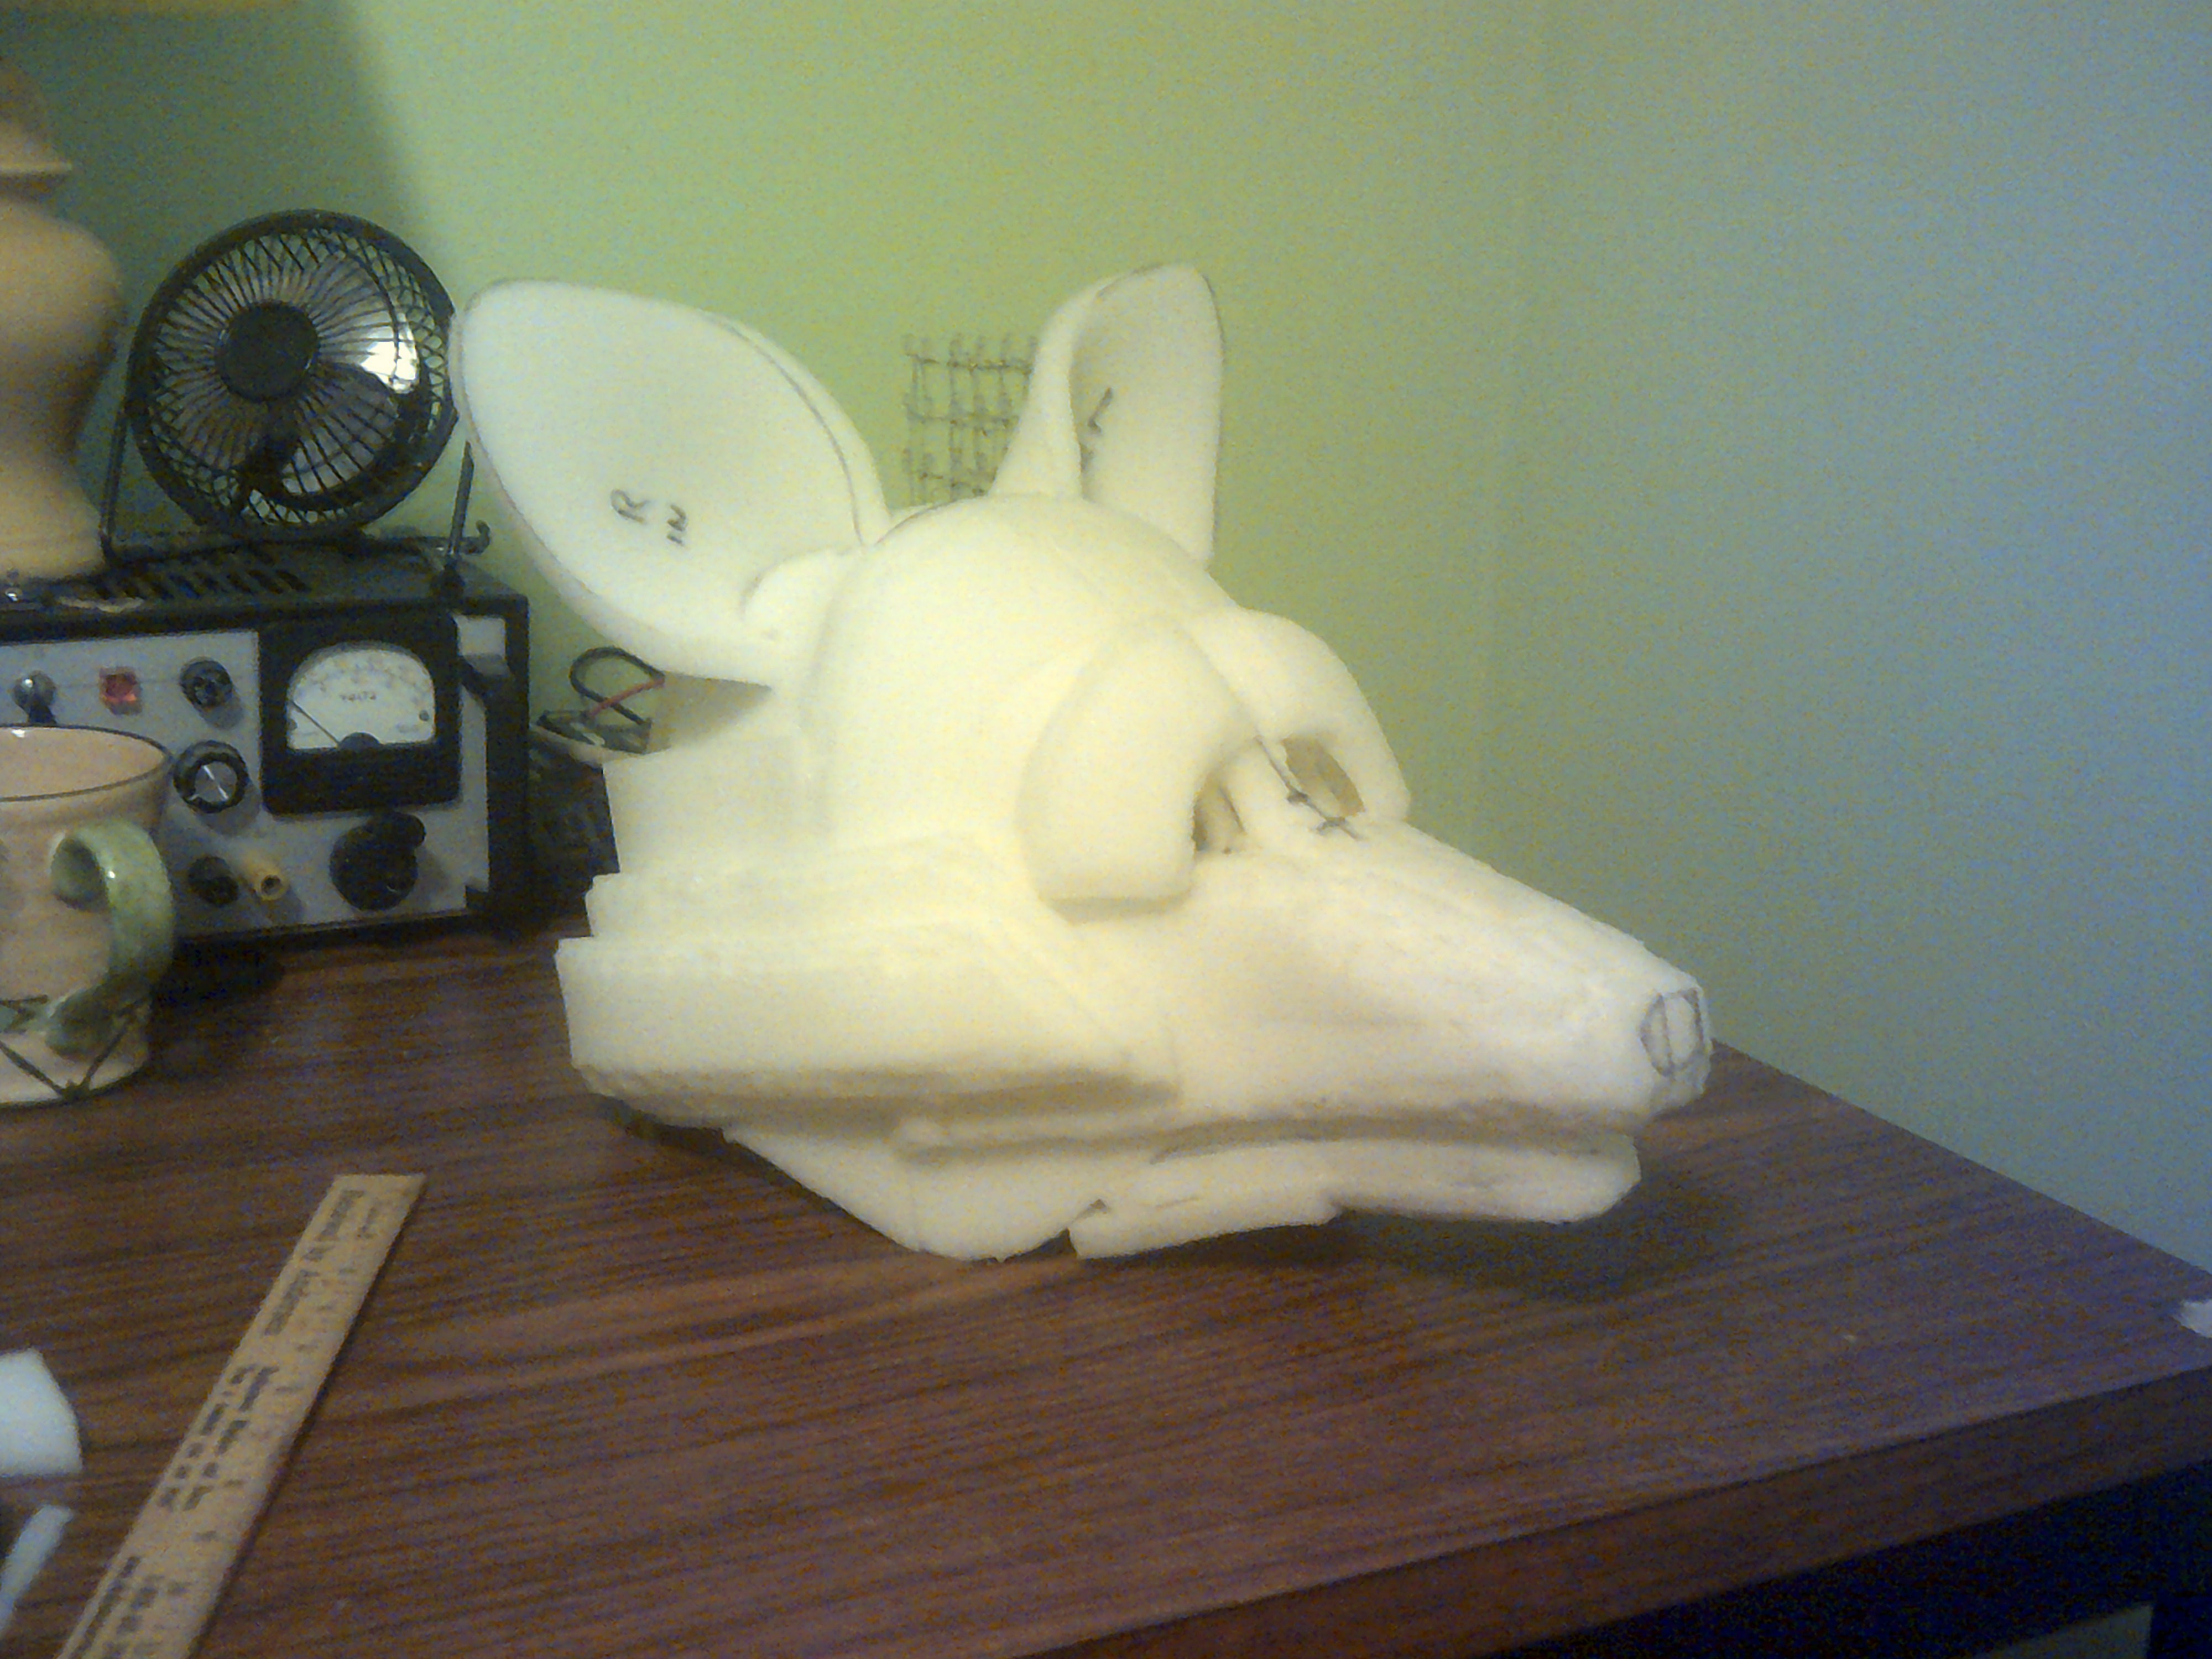
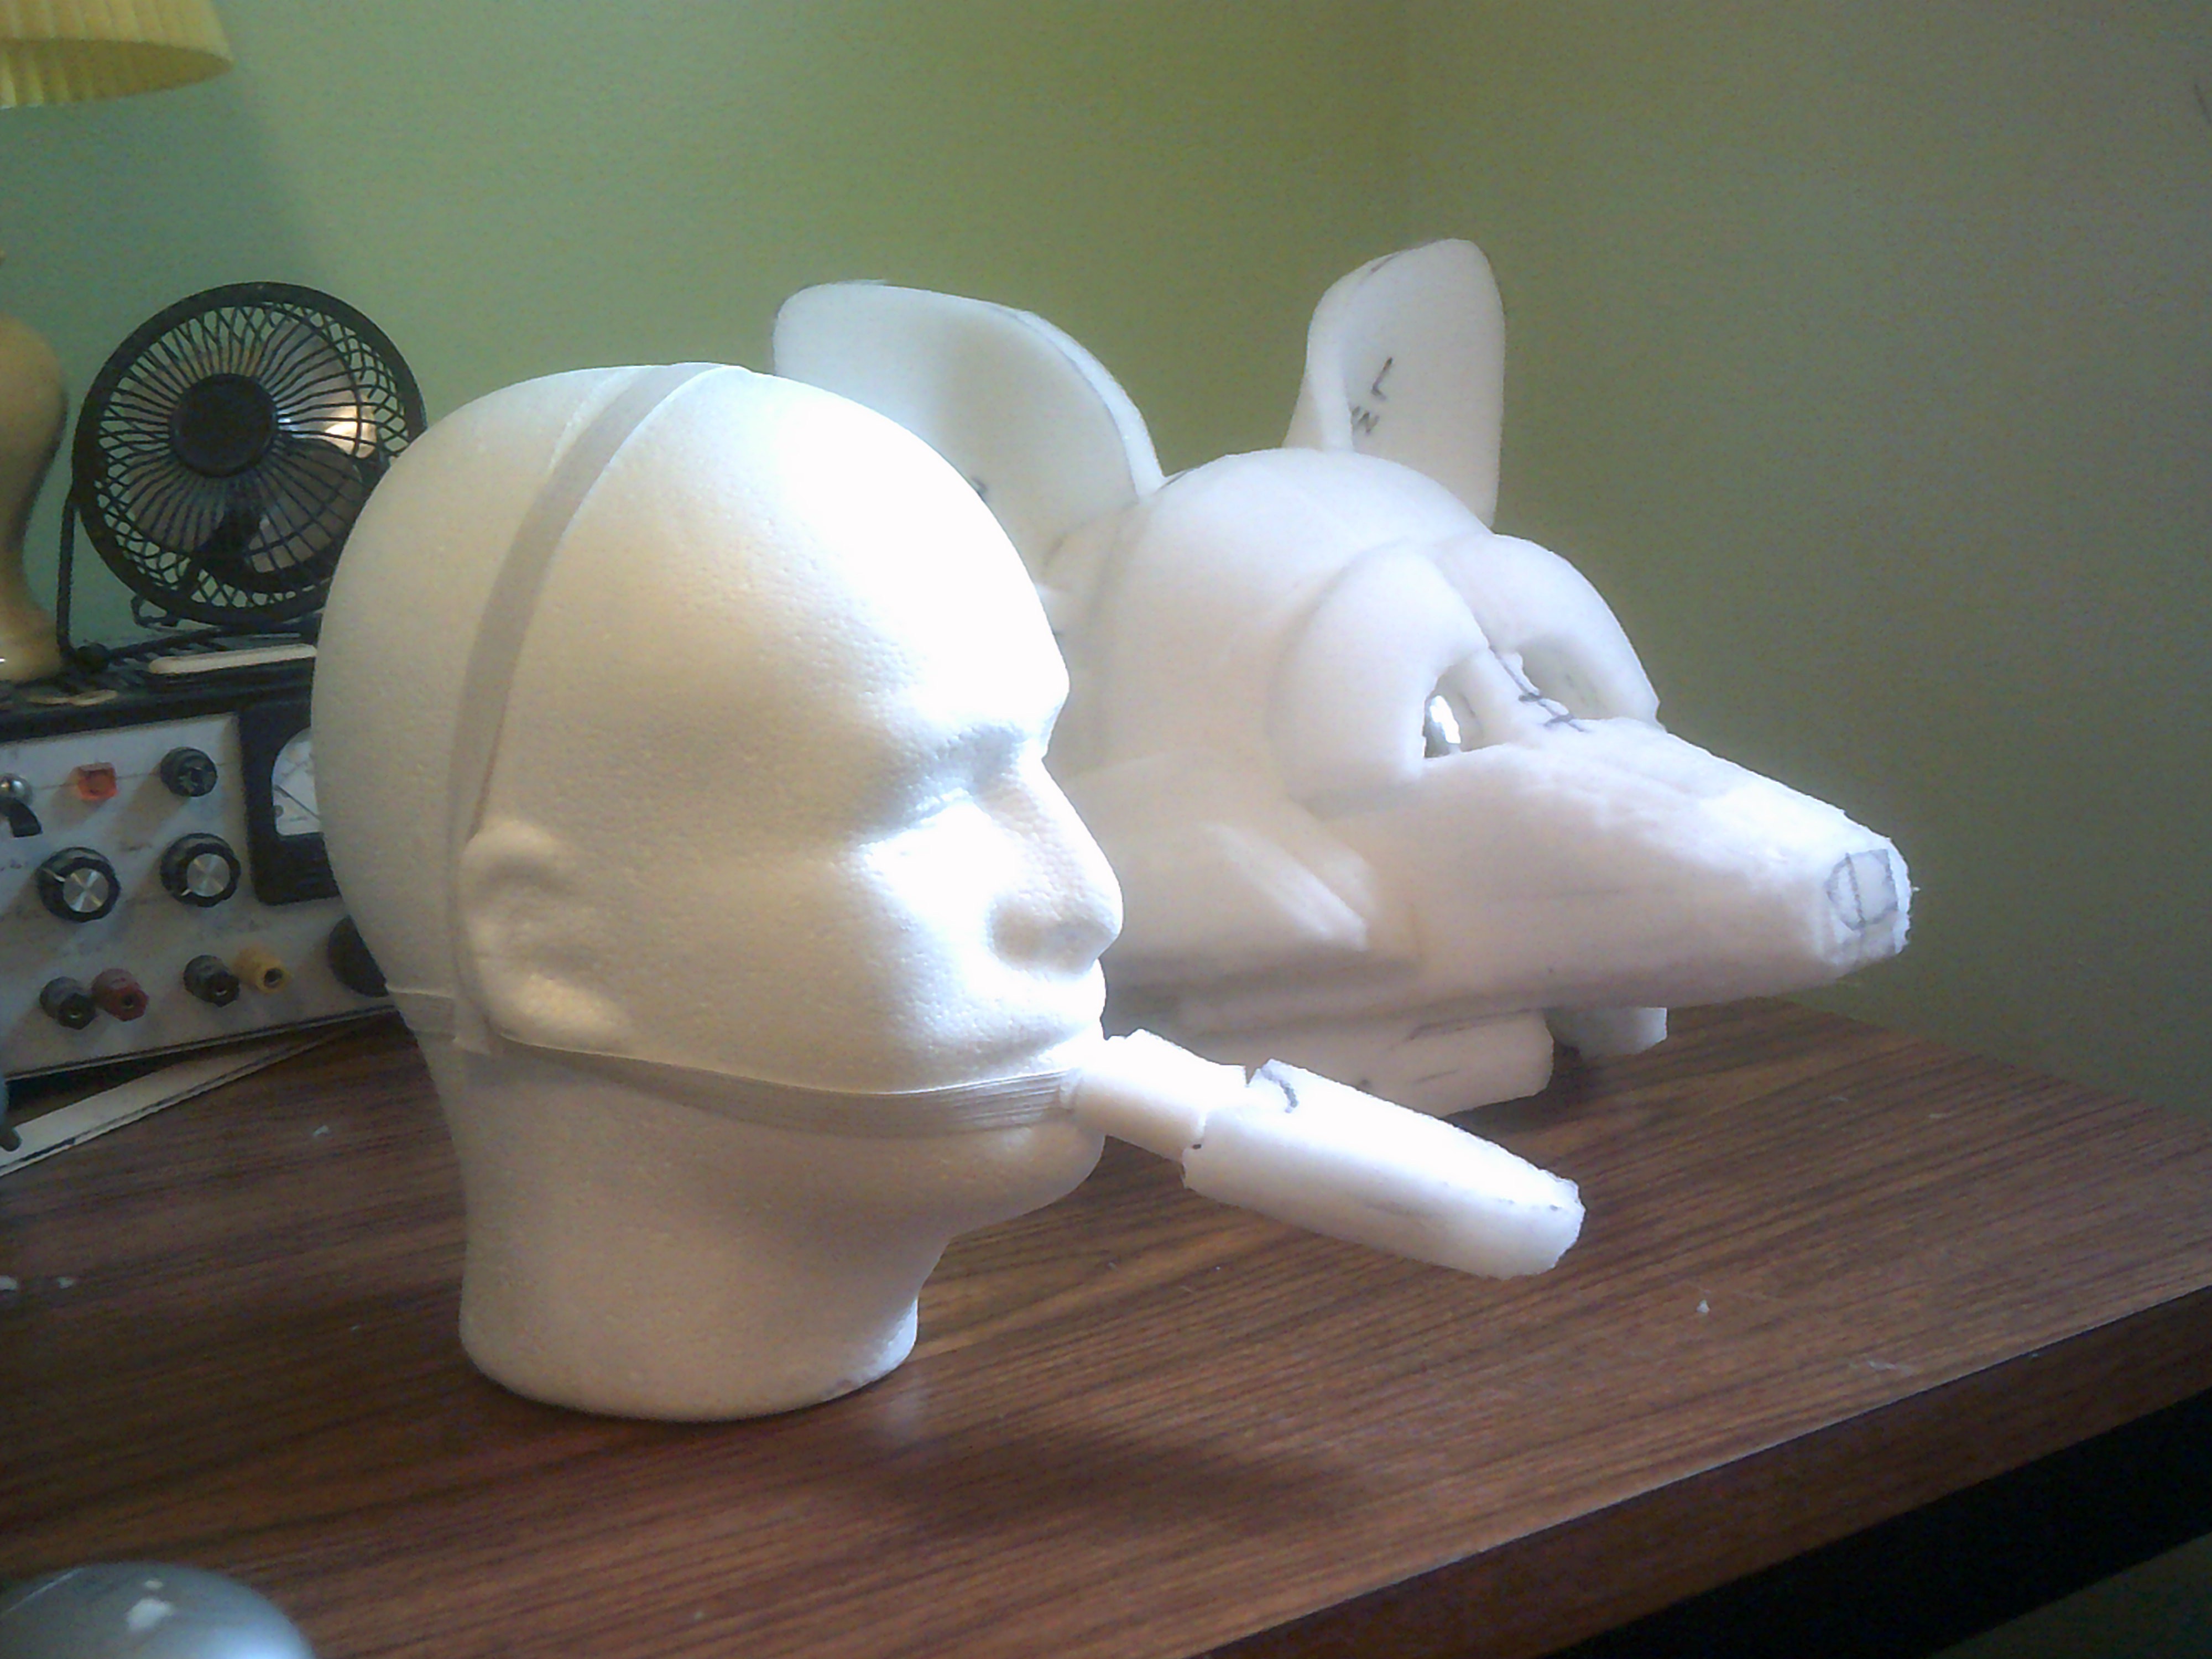
Working on the lower jaw.
![]()
![]()
![]()
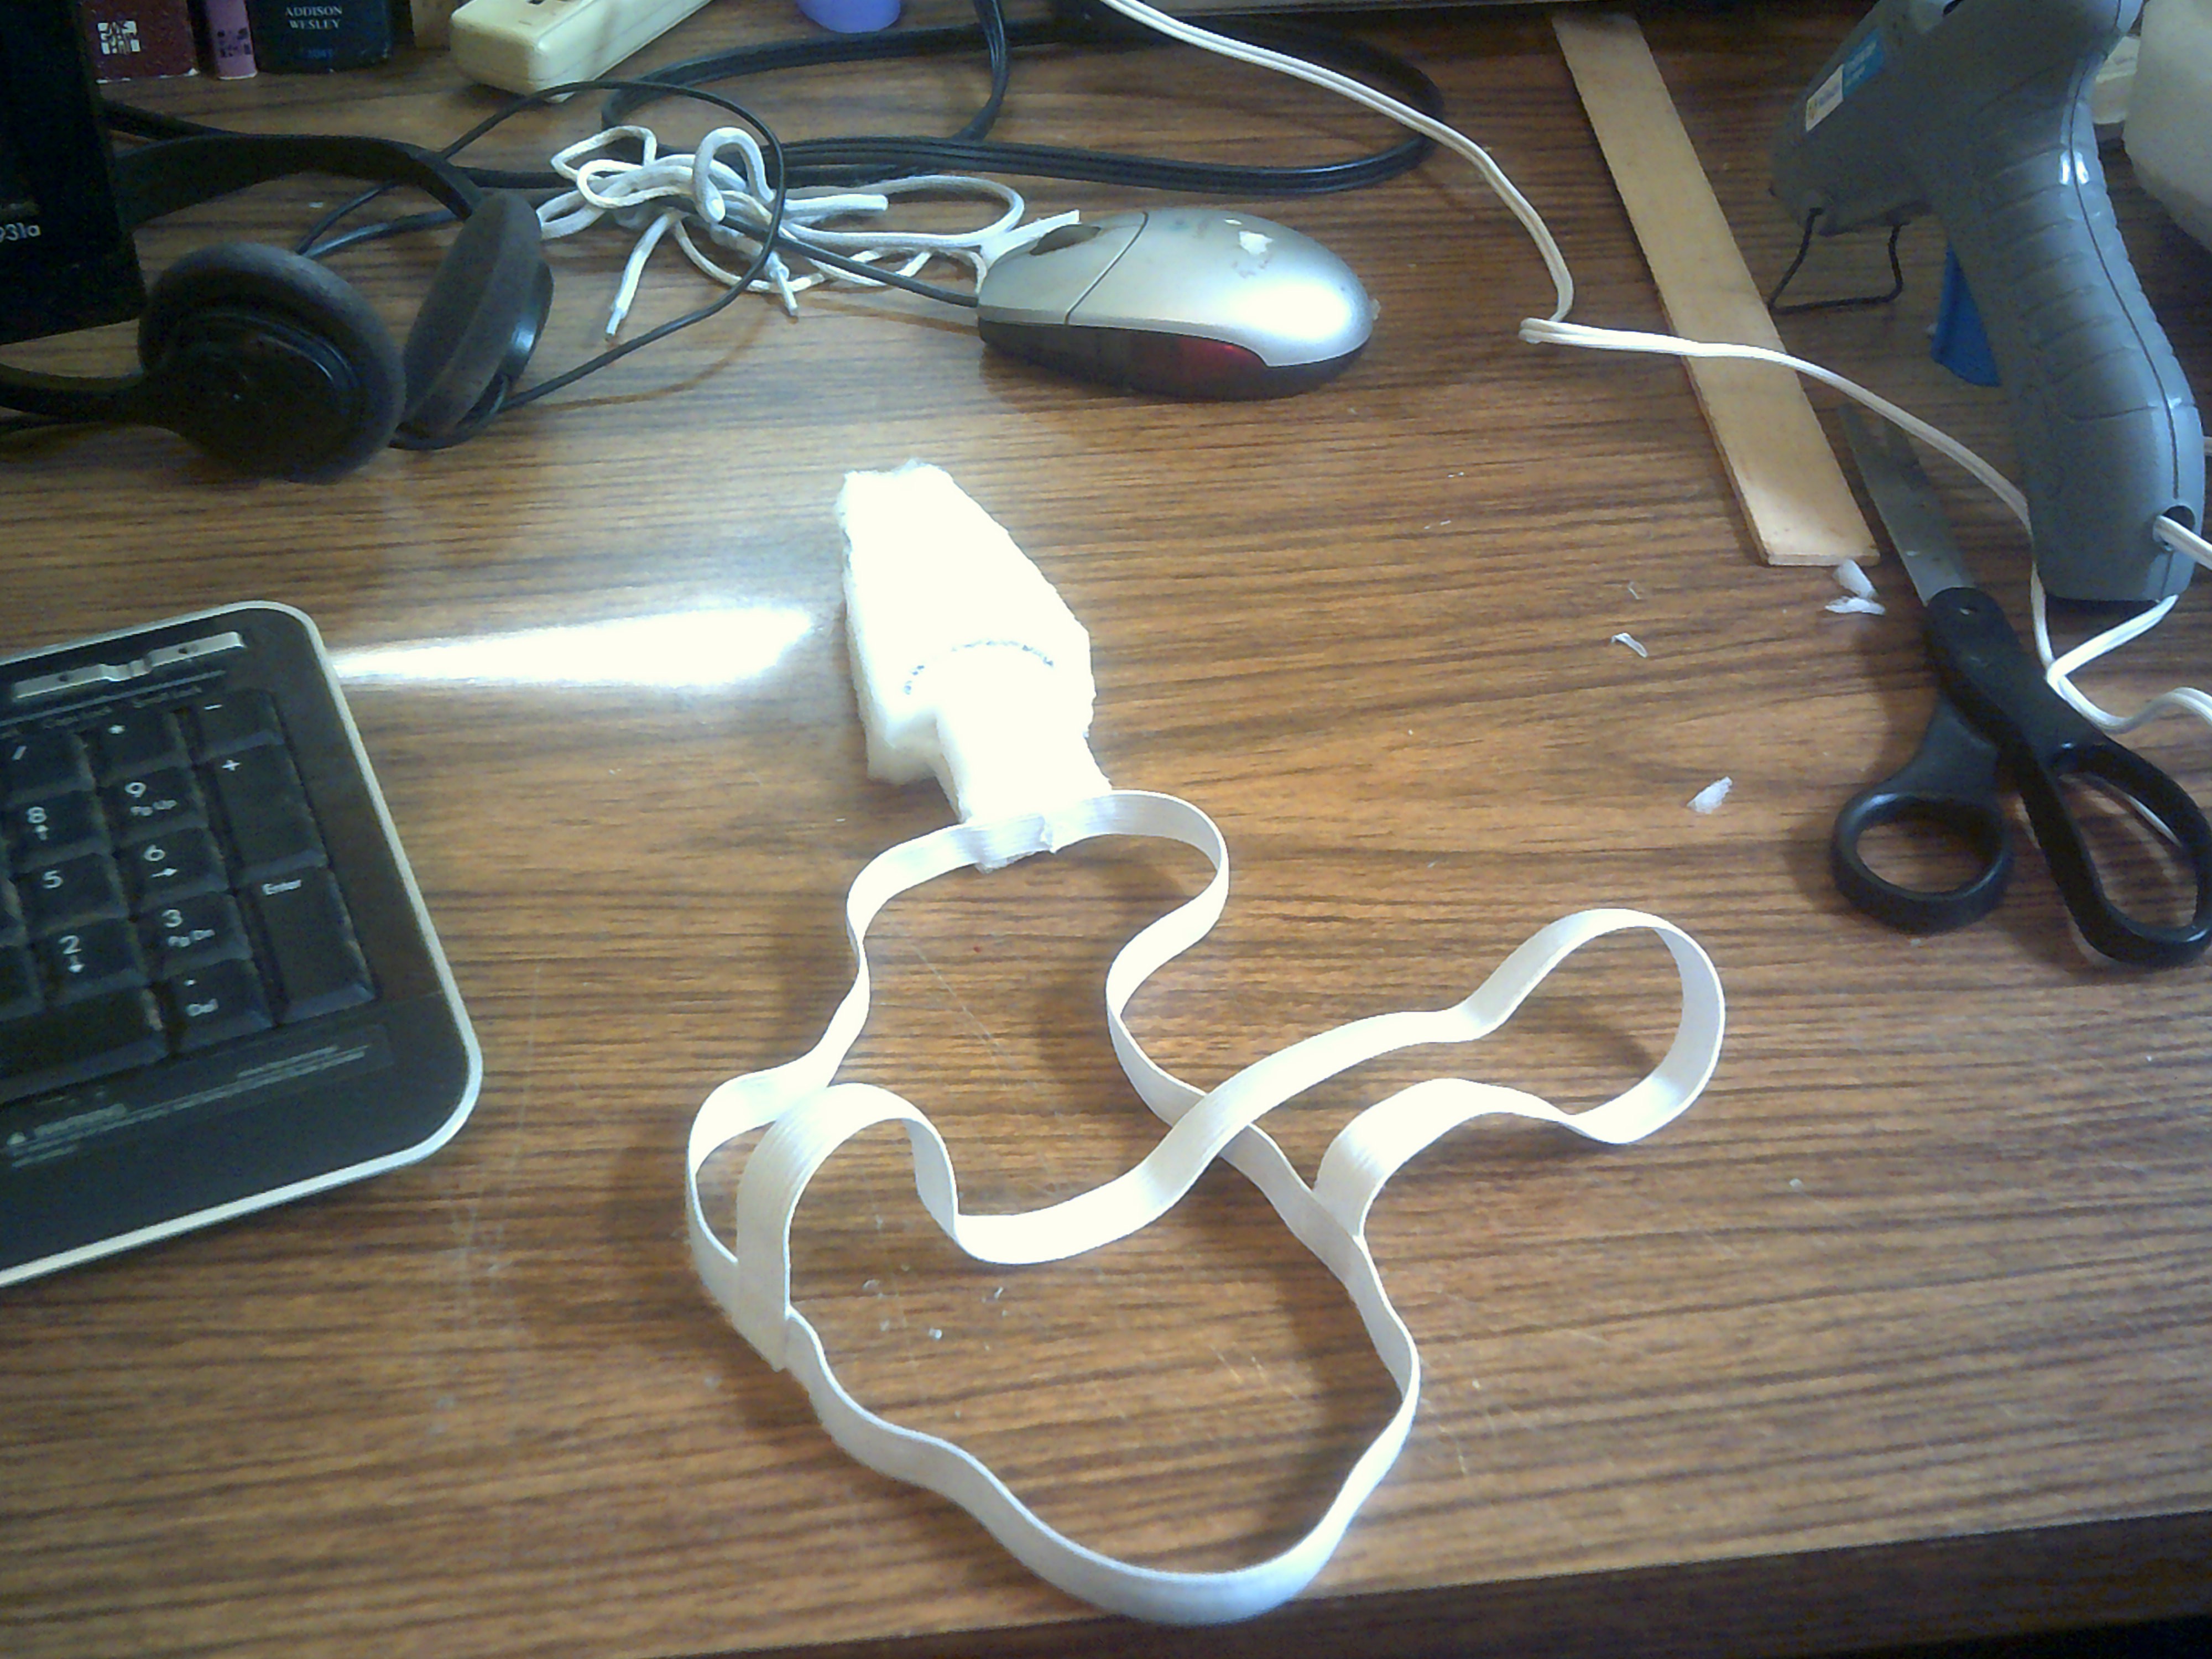
Attach elastic straps for wearing the lower jaw.
![]()
![]()
Keep trimming the foam until you get the shape you want. If too much foam is removed then more can always be added.
Just a short video to check for range of motion.
Test of the lower jaw.
My first Fursuit - Yes I am a Furry
This project will showcase the process of my making my first fursuit from scratch. This will be a long rocky road that needs to be shared.