 mechatroNick
Main features will be:
- show time and/or date
- different visual options
- automatic time setting via WiFi
- look nice (hopefully)
(work in progress)
Just another word clock - except it's in japanese and can show time and date!
Already have an account? Log in.
To make the experience fit your profile, pick a username and tell us what interests you.
Main features will be:
It's alive!
Programming has started and I've made some test sequences to get a feeling for the final look. It's kind of hard to capture the real impression because of the high contrast but here is a short video, showing:
Brightness sensor is working as well. I also have some ideas for making the appearance more diversified with different animation patterns and maybe an option for randomly toggling optional features, e.g. 12/24-hour modes.
Next thing will be setting up WiFi to get current time automatically and maybe also to be able to connect with a smarthpone for configuration... should be possible...
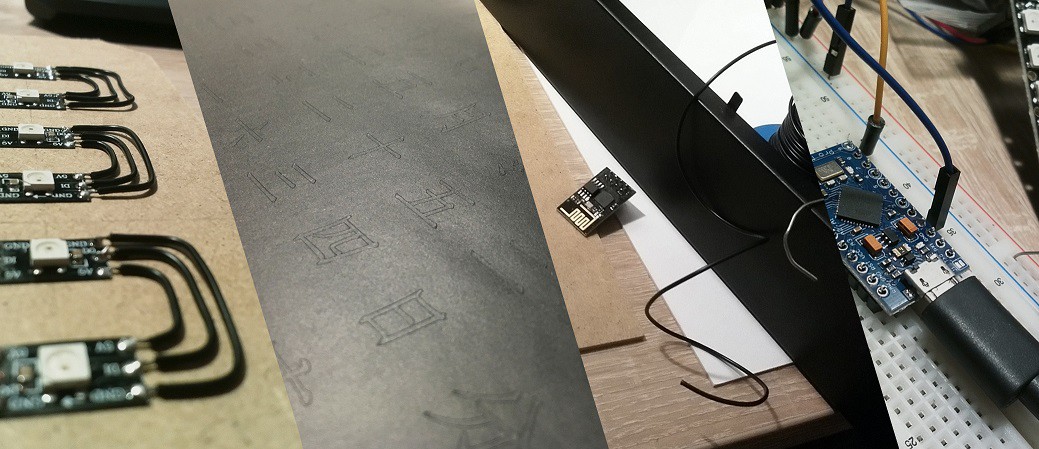
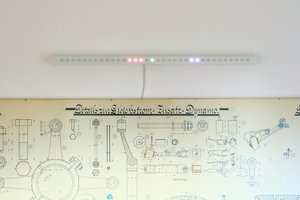
Alright, after making some small adjustments to the layout, it's now fixed and already went through the cutter. Instead of sticking the adhesive foil to the glass of the picture frame as I previously planned, I applied it on a simple sheet of paper. This way I have absolutely no struggle with dust particles or air bubbles and the paper is also functioning as a diffusor for the LED light.
The WS2812 stips are already applied to the back board and I also added a completely hidden photoresistor behind the black foil for automatic brightness adjustment. (Fortunately, the film is nearly but not 100% opaque).
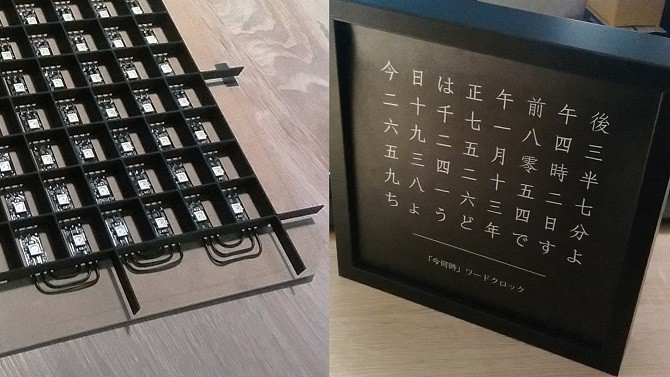
A 3D printed spacer grid ensures a defined illumination distance and blocks nearby LEDs. A first style-check of the layout inside the frame reveals... it could become a beauty :D Can't wait to see it light up.
Next steps include finishing the electronics and having some fun with the code editor.
I've always been fascinated by encoding information in the most different ways (from symbols and color codes to cryptography, programming and stuff). And since I've casually been learning some japanese recently, I liked the idea of a japanese style clock as a design object and a way to practice the characters.
And as I love flashy LED gimmicks, it was just logical to create a fancy clock inspired by some other awesome projects here.
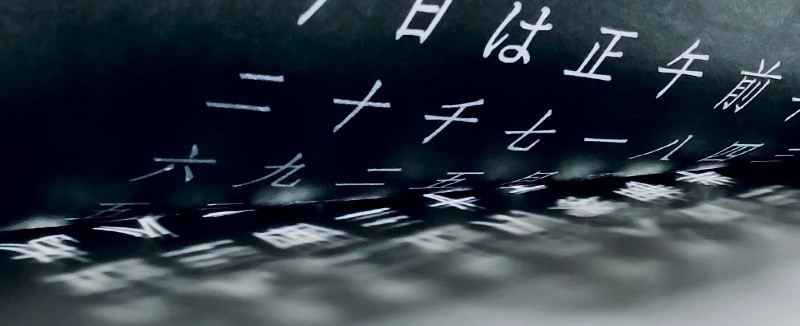
For planning the layout, I gathered all the characters I needed to display time. I know that Japanese also often use latin numbers, but I thought an exclusive kanji/kana style would be more nerdy :D - I mean classic... I also included optional characters for "half" and "noon" and a basic sentence structure ("it is .... right now") typical for word clocks.
With at least two full sets of numbers from 1 to >20, I thought of a way to optionally show the date. With the idea of showing the date in sequence, I was also able to optionally display the current year without a third set of numbers and by just adding one character 年 for year.
As Japanese can be written left-to-right or top-to-bottom, I know it may be a bit confusing to read but I decided to stick with the western L-to-R reading I grew up with.
Some characters like 四 (4) and ニ (2) had to appear three or more times, so I tried my best to distribute them evenly between the other symbols while also keeping symbol groups in the right order. Additionally there are some characters representing a word in combination, so I didn't want to split them up, e.g. 午前 (forenoon) and 午後 (afternoon). This results in having "noon" twice in the layout although not needed shown at the same time...
this still bugs me...
maybe I will rethink this decision...
I'm currently plannig the manufacturing process. I think I will buy an empty picture frame, cut the layout into a sticky foil, 3D-print some space holders and throw some electronics in there.


That is a great way to practice reading the Japanese characters. Makes me think smart watches should have clock options that tell fuzzy time in different languages.


 Jan
Jan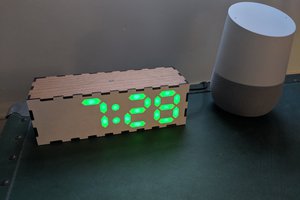
 Michael Furtak
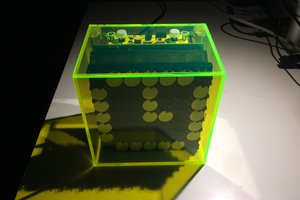
 makufelis-xyz
 jens.andree
Can you please post instructions and design files (3d files, layout, etc.)