-
Mechanical Overview
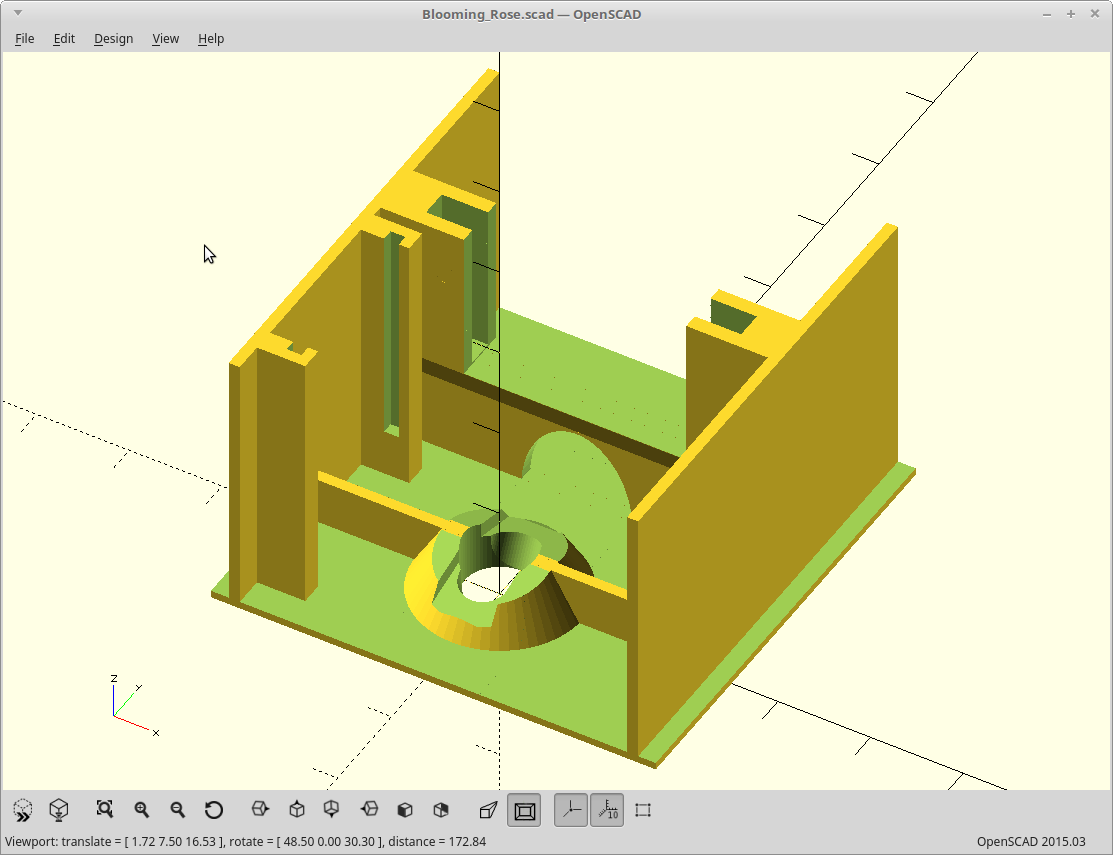
03/18/2019 at 14:12 • 0 commentsSo if you were wondering what's going on under the hood, here ya go.
Forgot to mention, but you'll notice the closed position stops with the fishing line going across the center of the servo hub. That means I can shut the servo down when either fully open/closed and it stays put. It also means that if the rose fails to open or close for any reason, I don't sit and burn out the servo, which is a plus.
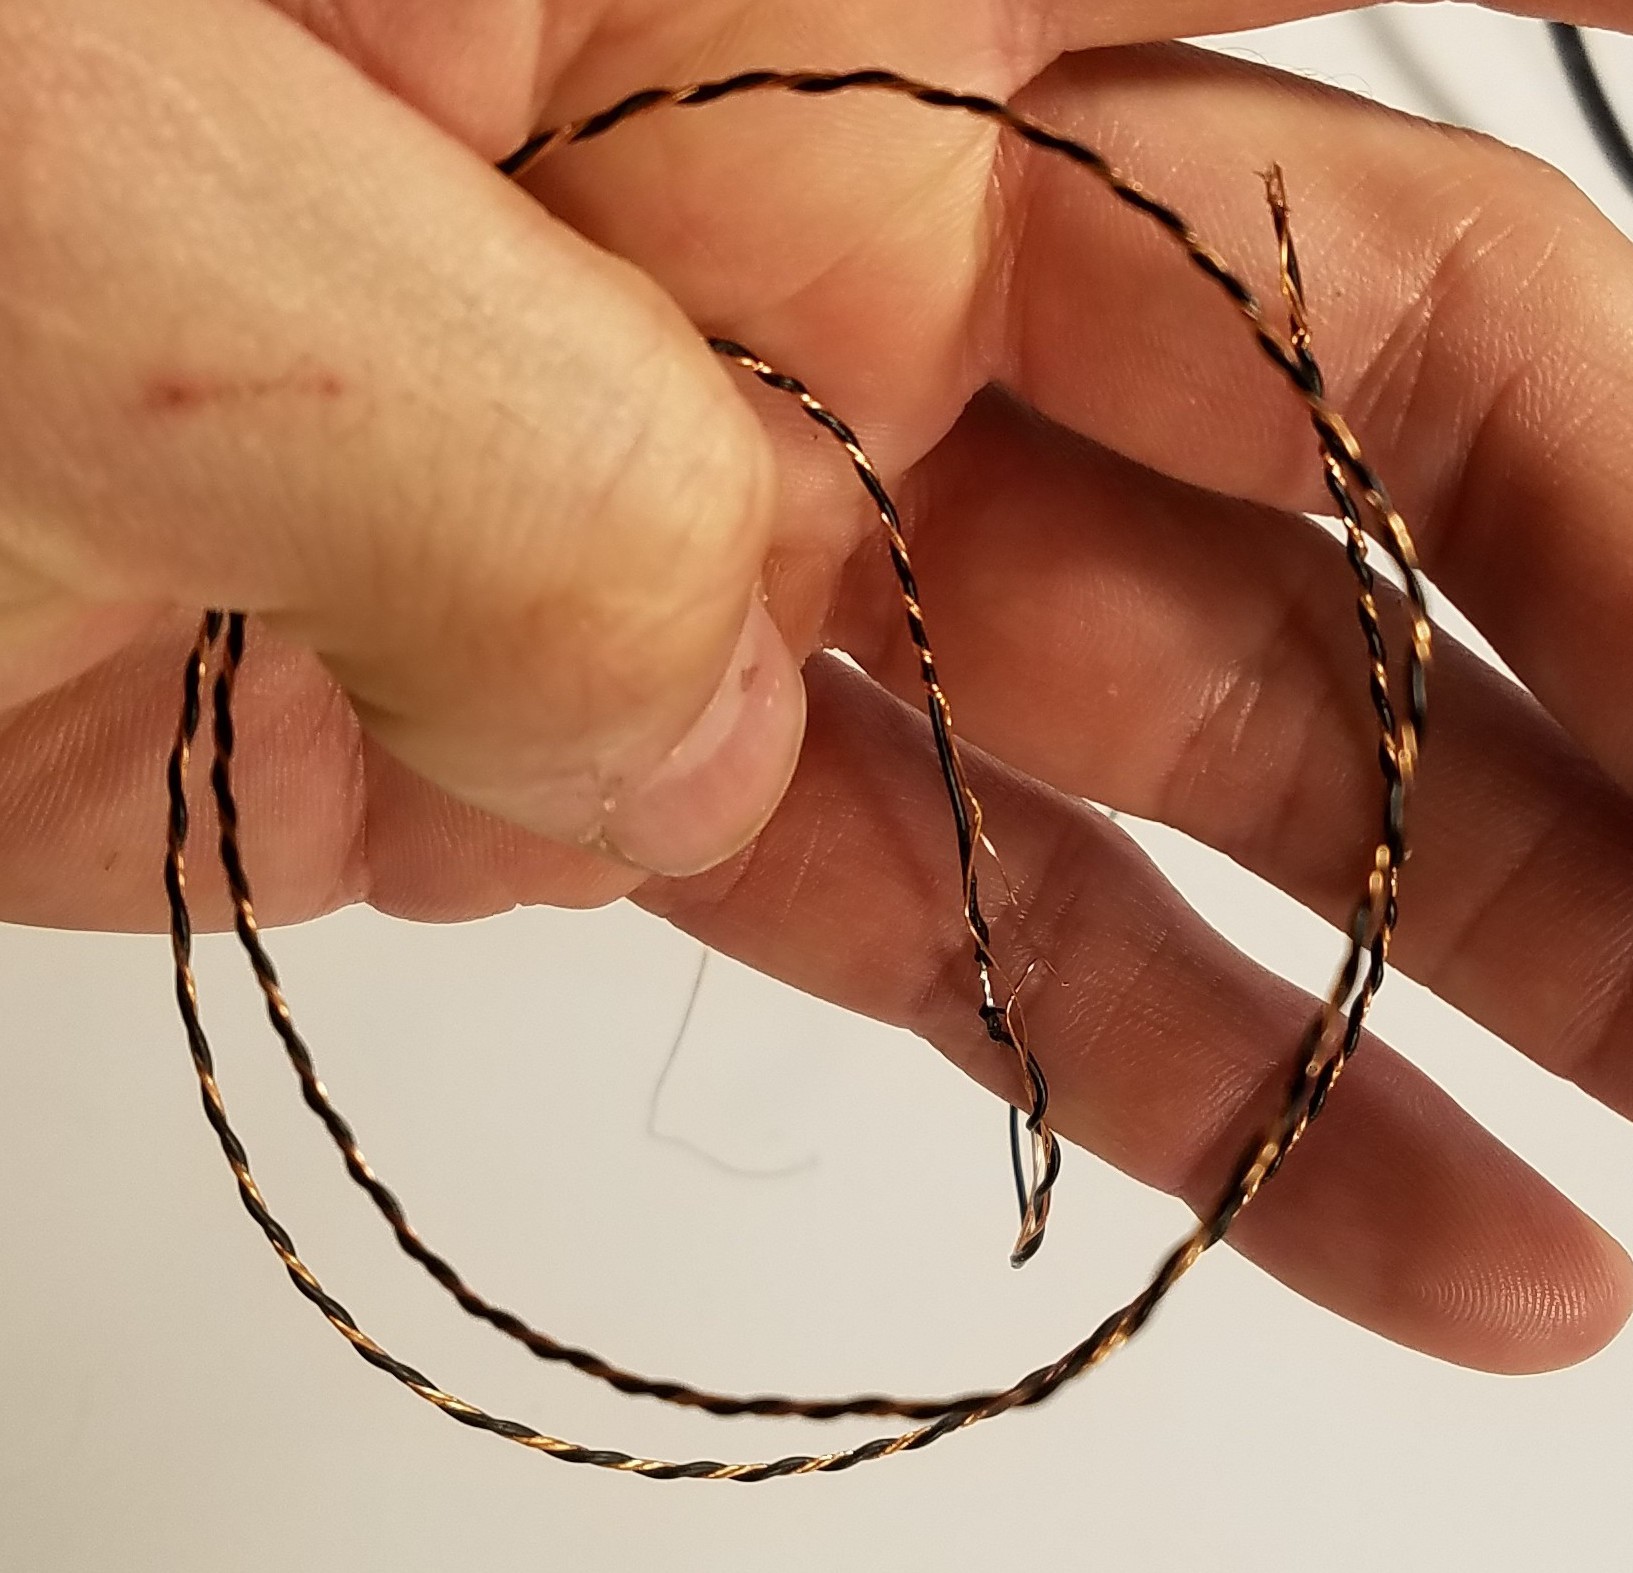
To try to eliminate the random triggers I was getting with capsense, I 'shielded' my capsense wires going up the stem by twisting them with the ground wire.
![]()
It worked, but also succeeded in coupling the two channels so they behave as one. Bah.
-
Forming the stem.
03/18/2019 at 05:22 • 0 commentsAfter everything is assembled, time to make it a bit more organic looking.
A space heater is sufficient to soften the PLA enough to bend it.
-
Forming the petals.
03/17/2019 at 17:09 • 0 commentsPetals are heat formed by pulling them tightly over a 40w candelabra light bulb with a cotton cloth.
Wait 20-30 seconds. Remove.
This gives them a nice curve in two dimensions that helps them to interleave better.
-
Zero walls is a thing..
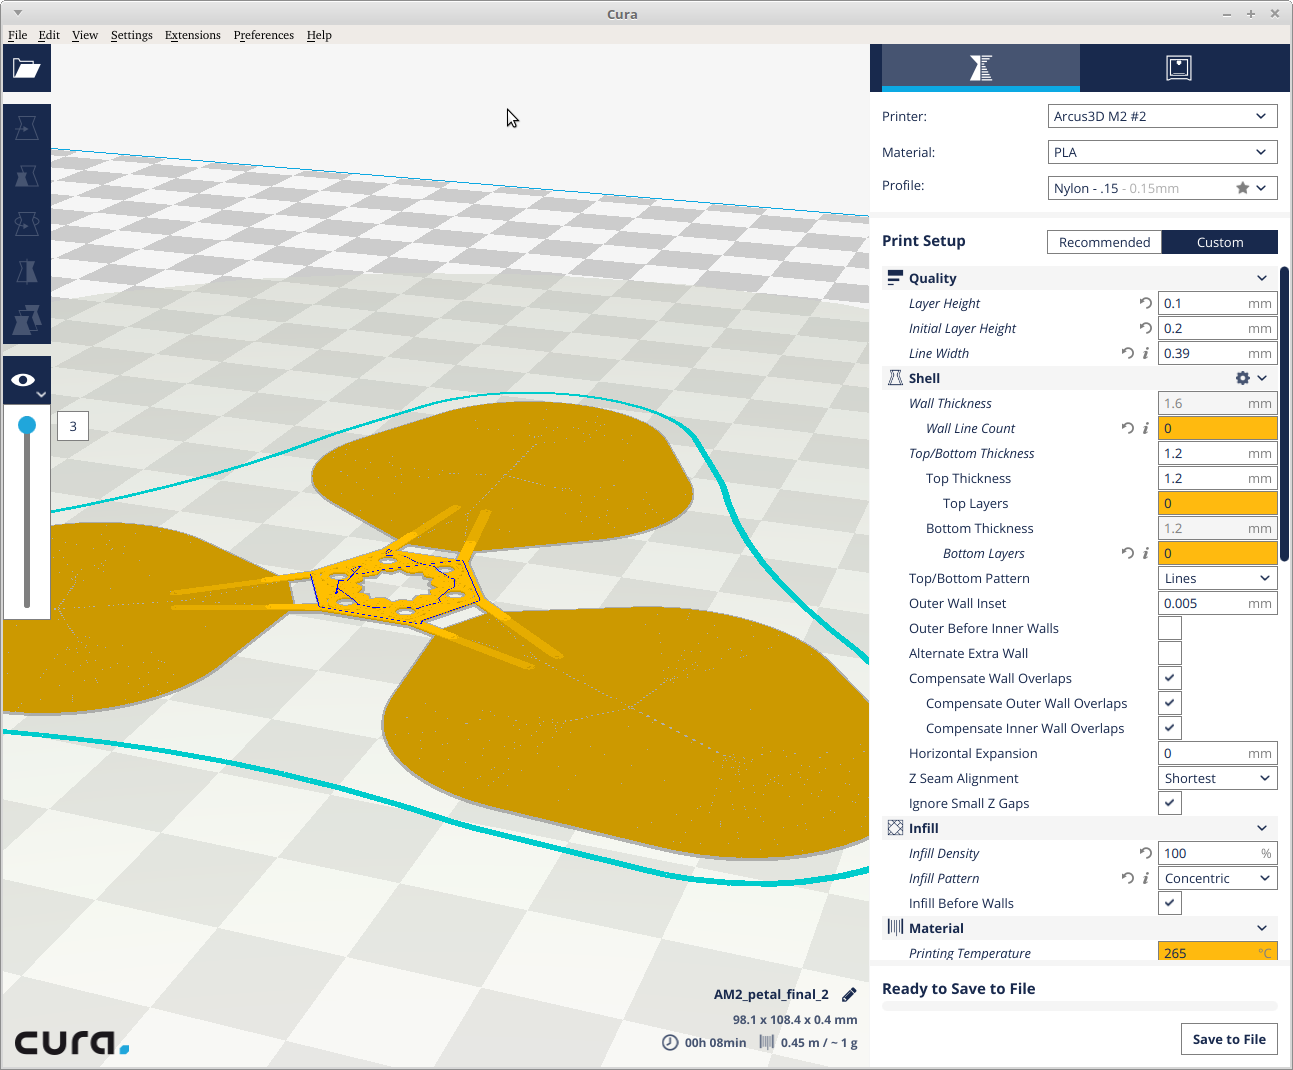
03/16/2019 at 10:07 • 0 commentsExperimented in Cura to find the best settings for printing the petals. The result which worked the best by far, was a bit strange. I set Cura to only print infill, and it worked flawlessly.
![]()
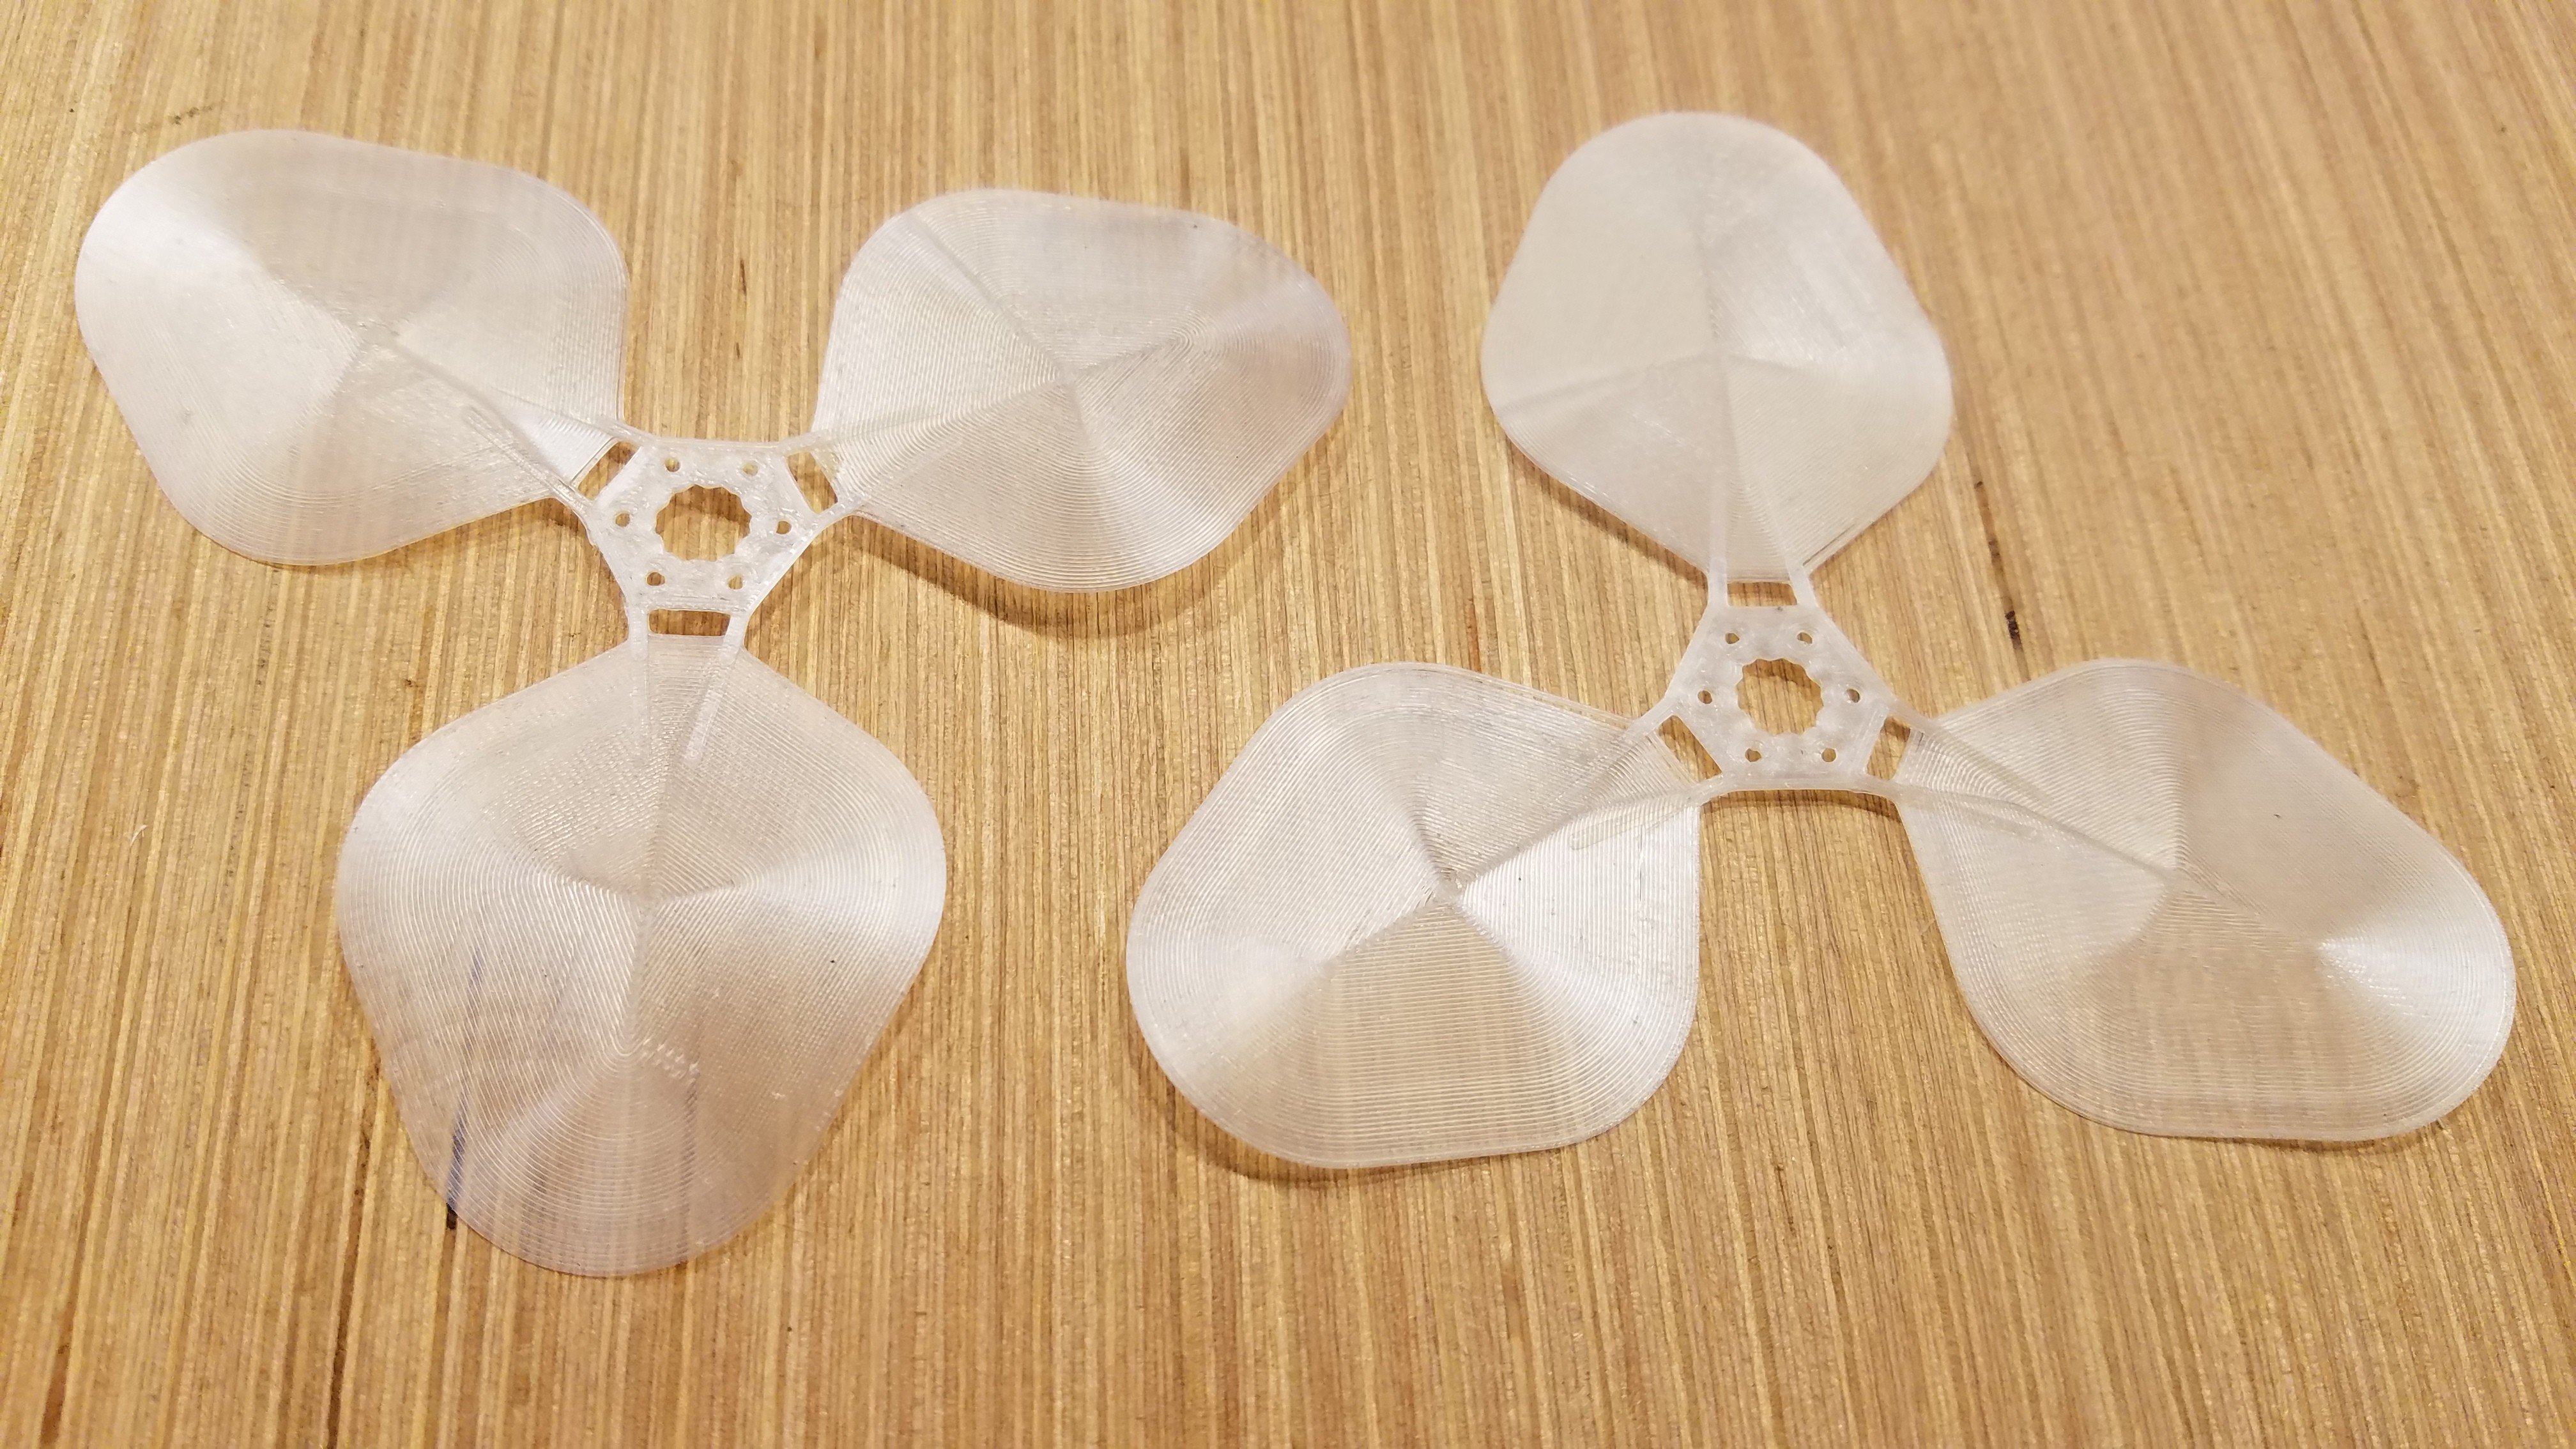
No travels at all minus moving from the center of each petal to the center hub. It's basically printed as much as is possible, as a single extrusion. The results are fantastic.
![]()
-
Petal to the metal.
03/16/2019 at 04:34 • 0 commentsI've decided to rework the petals.. again.
Small changes this time though.
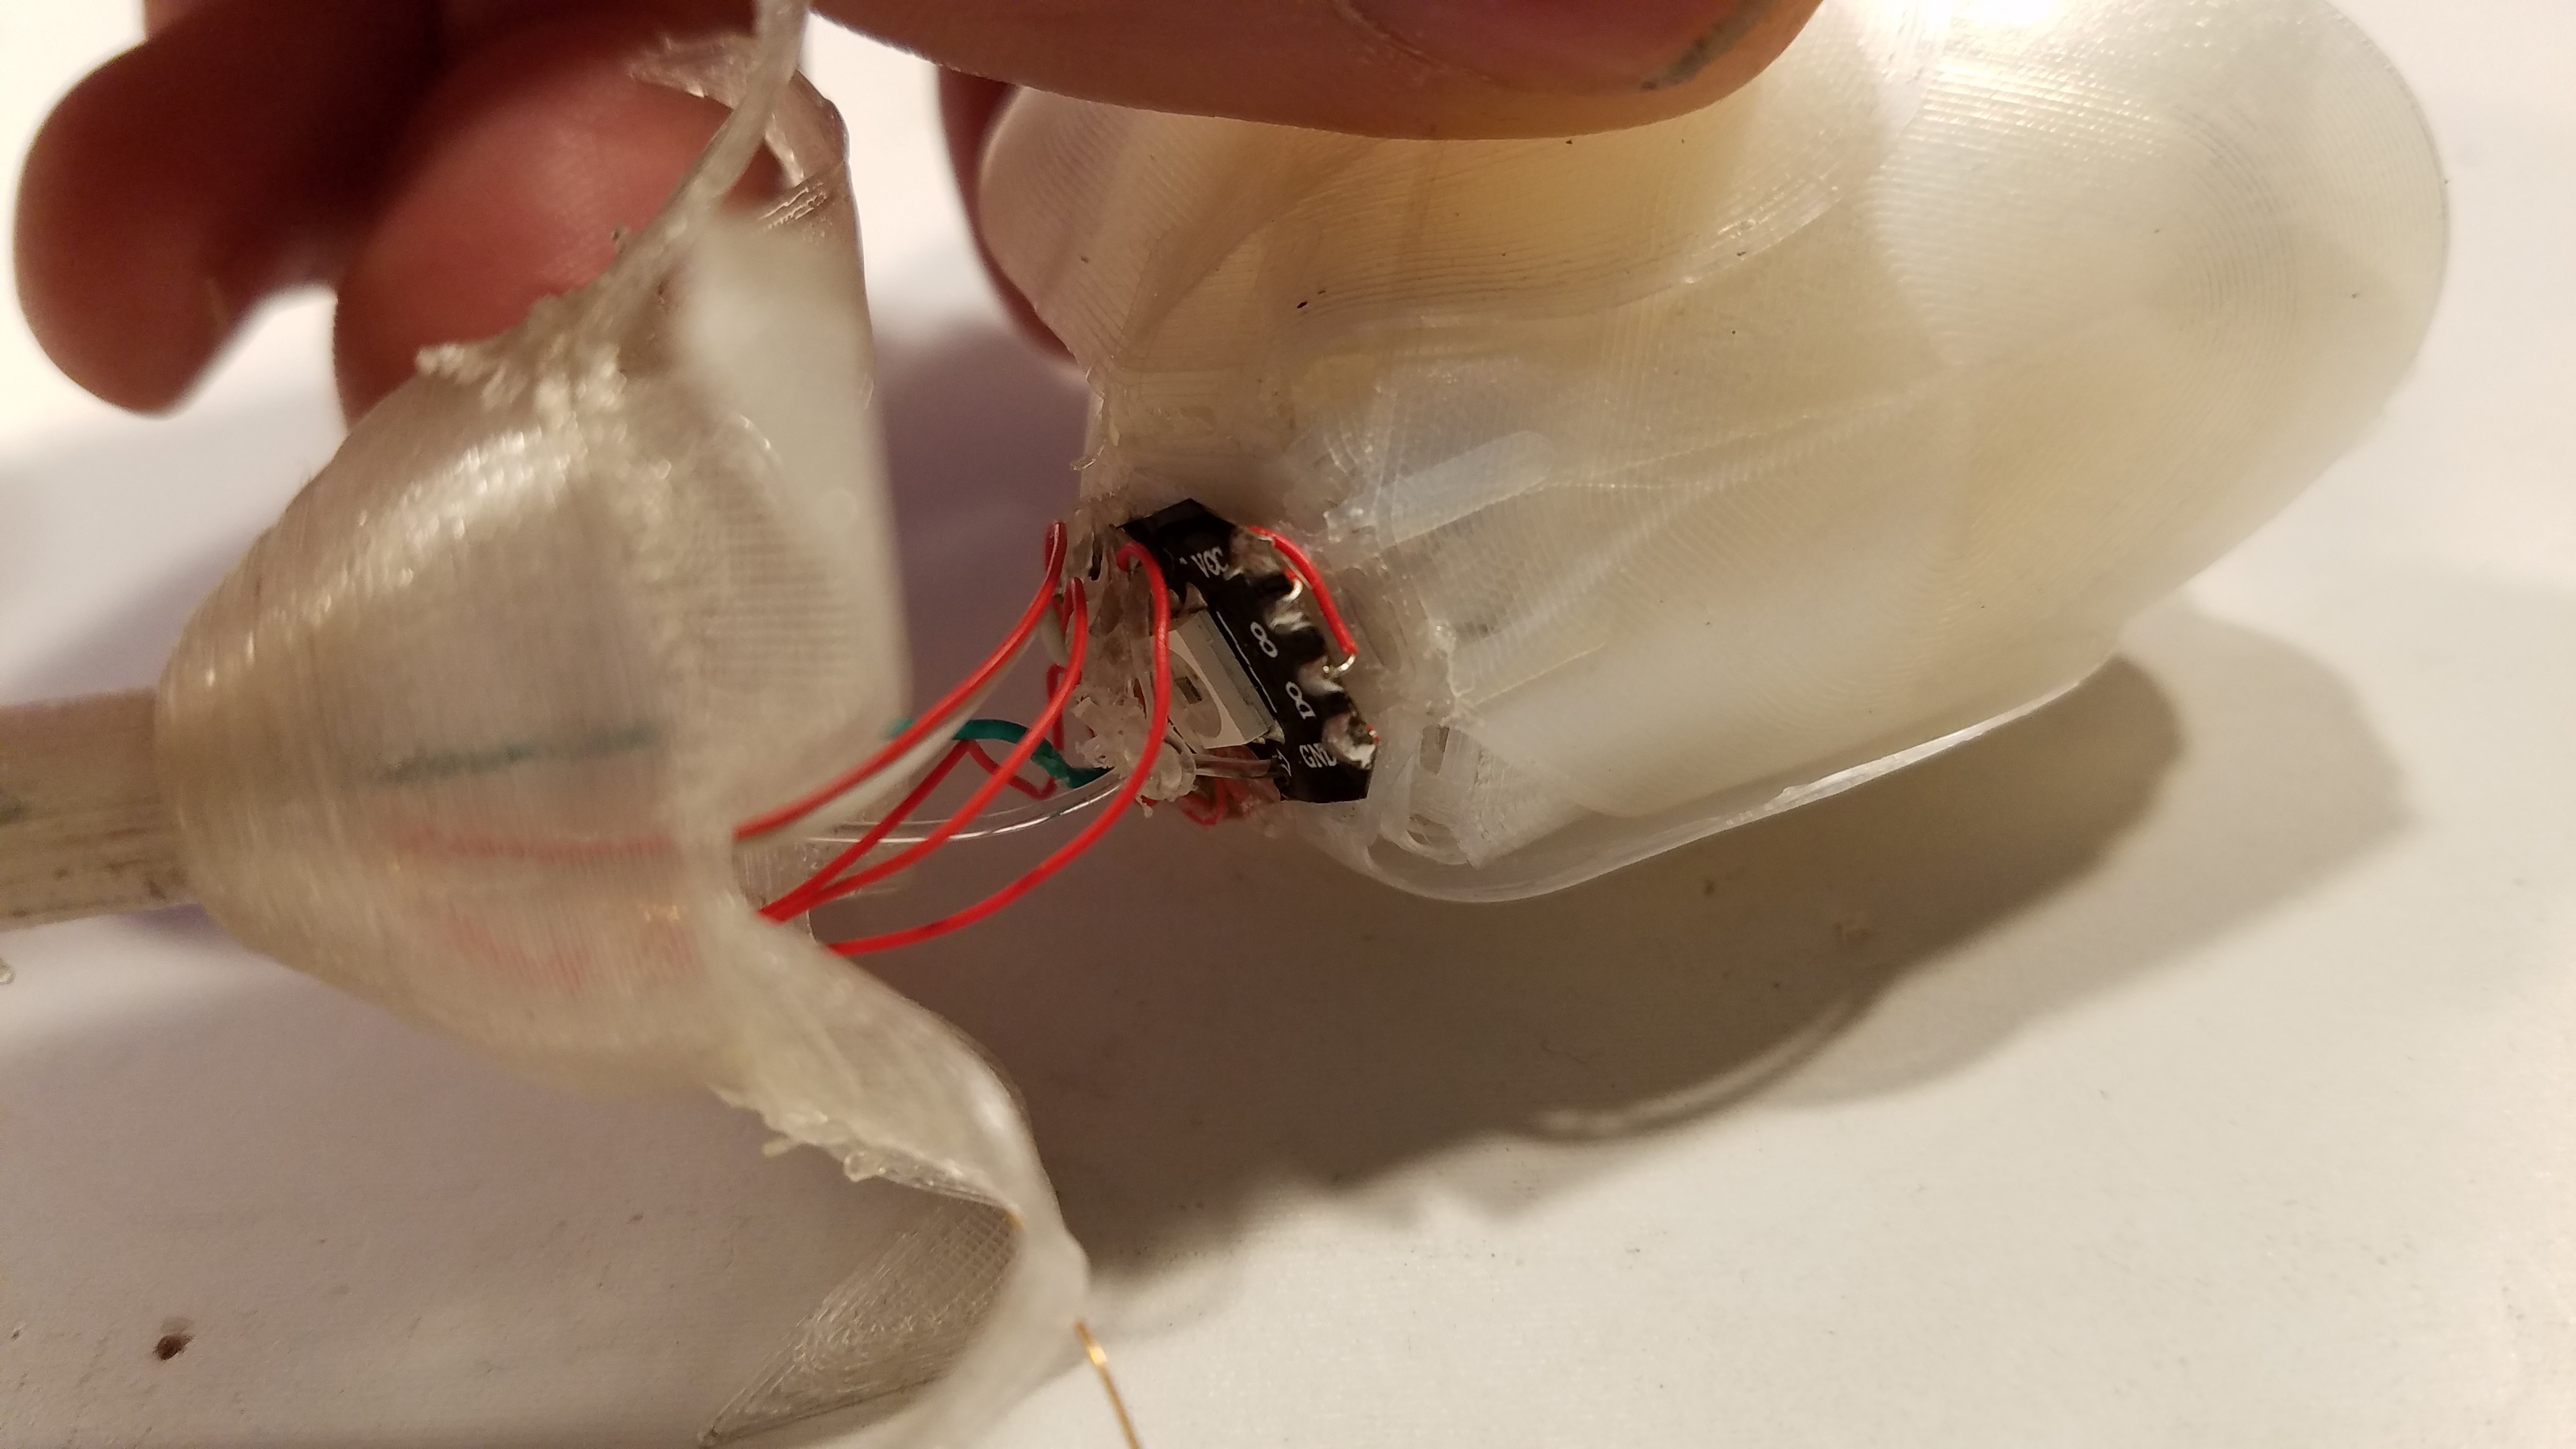
The current Dotstar module which lights the top of the stem is slung below and moves with the petal assembly.
![]()
This means I need to drill holes in it to pass the fishing line which drives the closure through, solder below the petals, and consume half of the retract space.
I'm moving it.
It's now going to live inside the rose, shining through a hole in the center of the petal assembly.
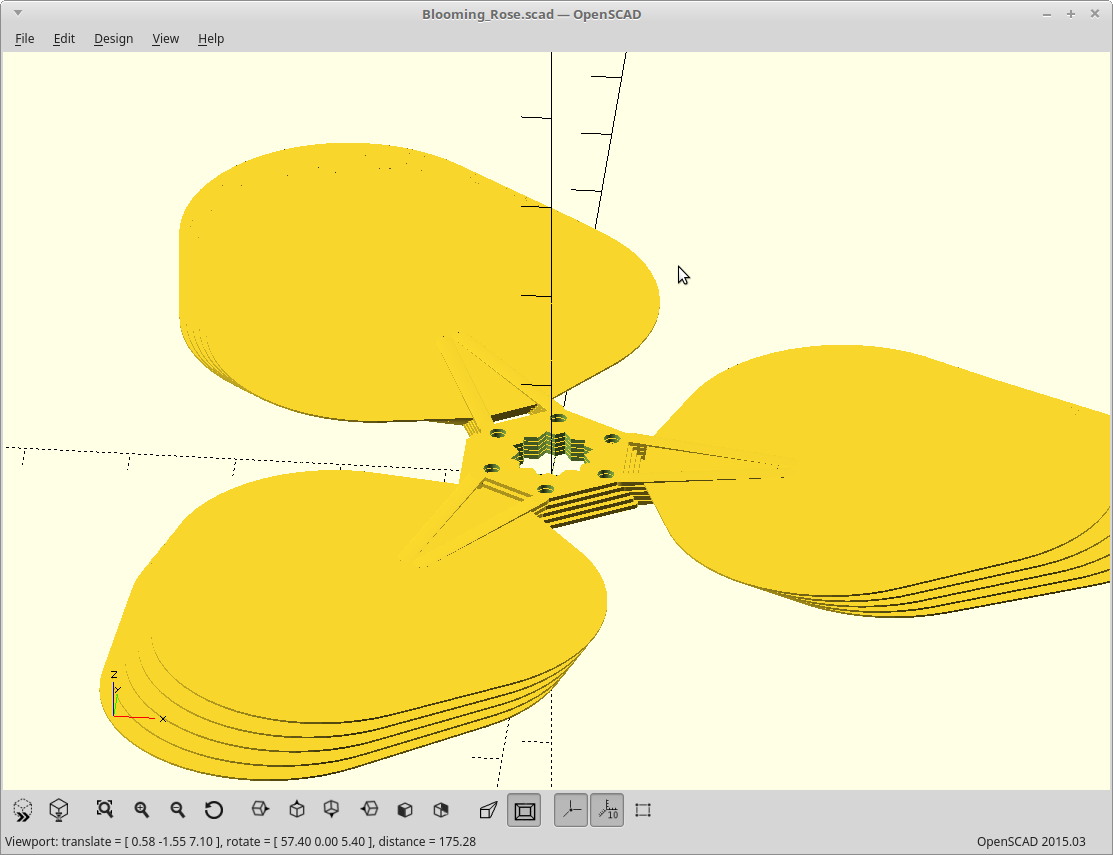
Also made the petals and hub slightly thicker, extended the hinge so the bending radius is larger (more spring) and instead of a single size, I'm printing 5 with slightly different diameters. They should mesh better this way.
![]()
We will see.
Reprinting... everything.
It will give me a chance to do a good assembly video too.
-
Hardware tweaks.
03/15/2019 at 10:55 • 0 commentsCorrected some things in the model I didn't like or had to correct with a Dremel when I assembled it.
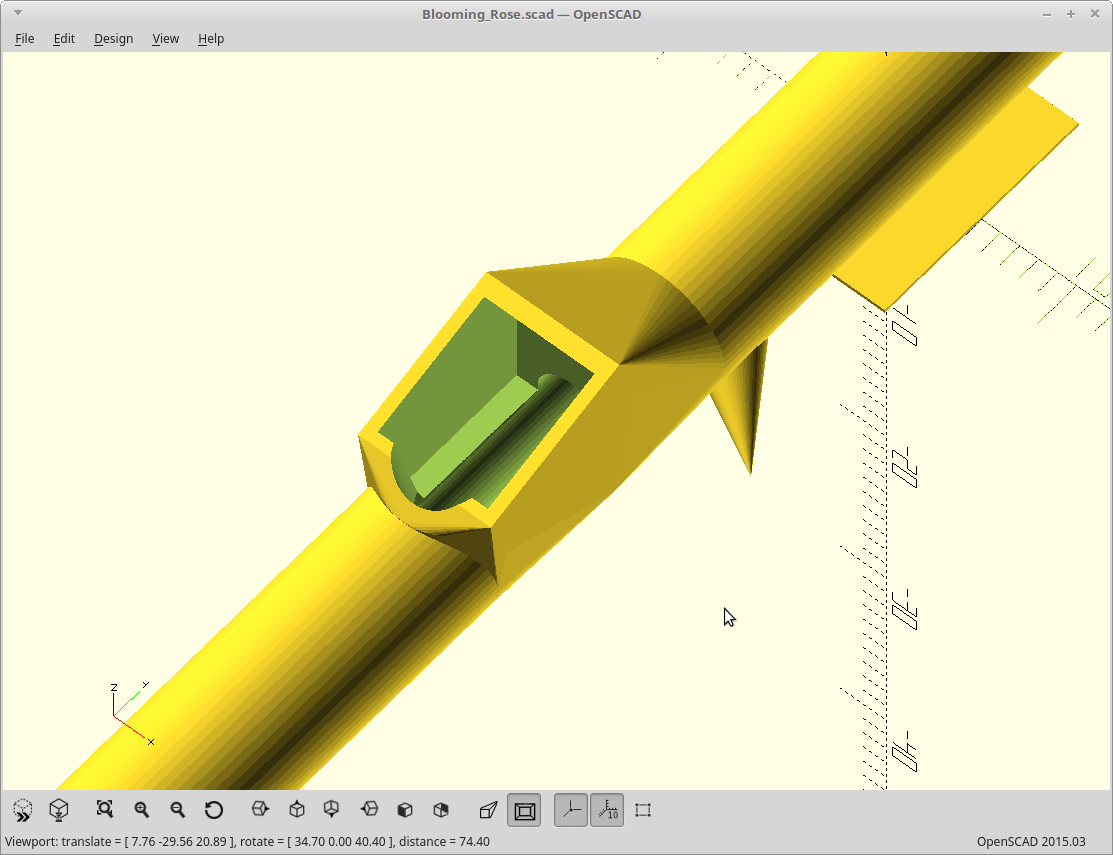
The stem got angled ends matching the Dotstar placement in the base. The mid-stem Dotstar pockets were also made larger with a flat bottom and sides for easier cleanup and should also allow the Dotstar aiming down the stem to light it better. FDM light pipes don't like to cross layer boundaries.
![]()
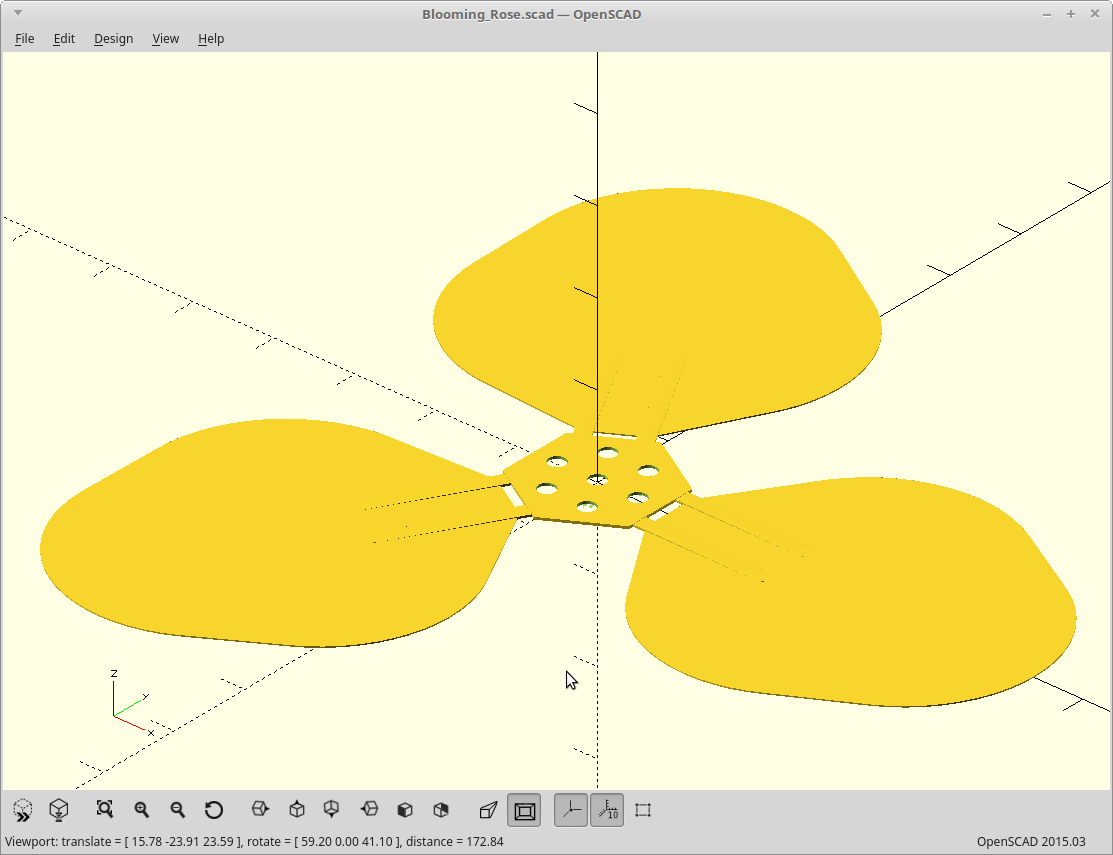
The petals got some holes for alignment and passing through the wires/fishing line.
![]()
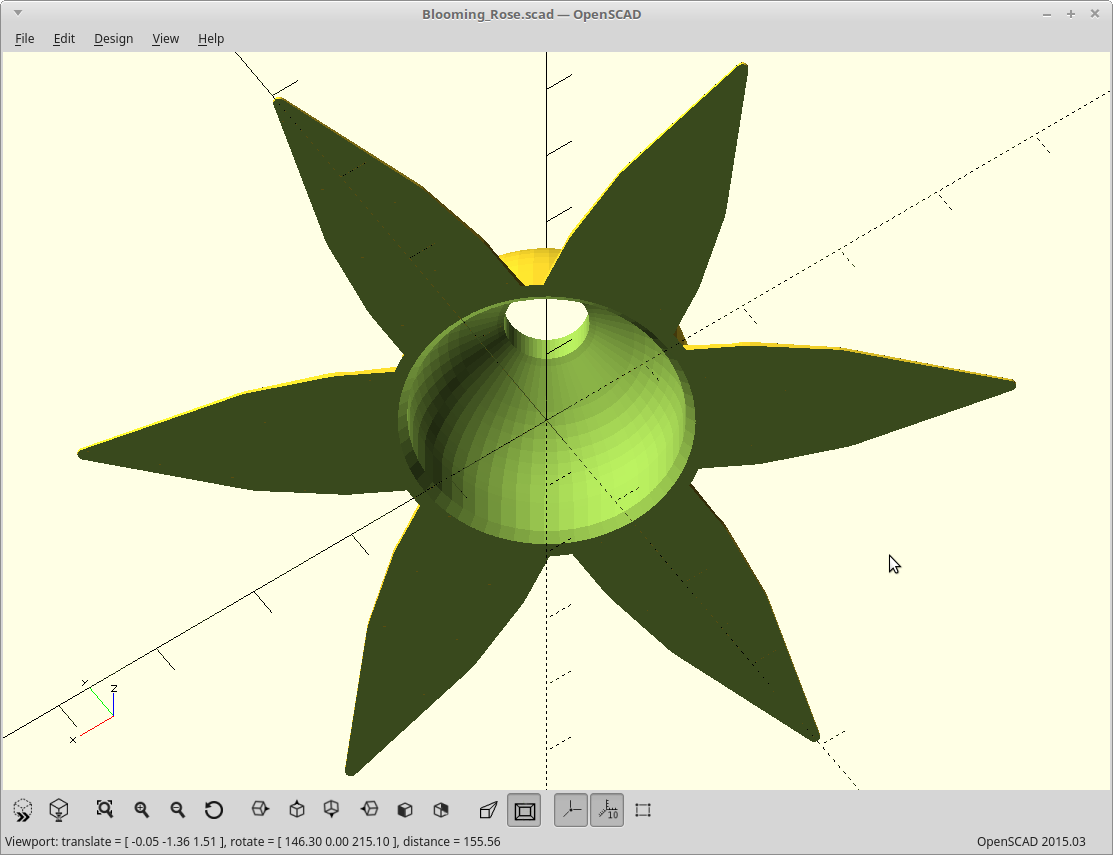
The top of the stem got a little more depth to accommodate the wires which are bottoming out right now.
![]()
The base got extended fins to keep it upright in the vase, a slot for the Arduino to live in, better alignment for the stem Dotstars, and holes for wires.
![]()
The leaves were perfect as they were.
I'm probably not going to reprint everything as I'm pretty low on clear PLA and nylon.
I may reprint the base as that's a mess of hot-melt glue right now..
-
Crawling average.
03/13/2019 at 04:05 • 0 commentsWe are using the capsense library here to trigger the movement based on touch.
This is a remarkably simple solution, uses only N+1 digital pins, and N resistors to drive it. So for my two channels of capsense, I need 2 resistors and 3 pins. Sweet.
However, the values you get from it can vary by two orders of magnitude, just depending on where you end up placing the rose, grounding of the power source, humidity, people in the room, the phase of the moon... etc.
So.. I attempted to implement some sort of auto-calibration of the capsense thresholds based upon a running average.
The idea is that an actual touch will cause a rapid spike in the value as compared to the previous values, no matter what those previous values happen to be.
This should work..
It sorta does now.. but.. the current running average code either compensates so rapidly so as to eliminate the touch signal sometimes, or still triggers based on the random fluctuations.
The happy medium seems hard to find, but I am using the simplest form of running average. This ends up weighting the last measurement much more heavily than the previous ones which I believe is the source of my problems.
I could use an array instead to store the actual previous measurements and average that way, but it costs memory. I do have memory to throw at the problem though, so worst case I can do that. I think I'll just do that.
Working on it.
<EDIT>
It is better, but not enough to justify consuming 4x as much memory. It still triggers sometimes on it's own.
What's happening is this.
Before the first touch, the value hovers around 15, with threshold set to 45.
On touch it goes up to about 200, and on release settles down to about 60.
On the next touch it goes back up to about 180, and barely triggers.
On next settle it can go down to either 15 or 45...
Sometimes then it goes back up to 60 without a touch, and if the previous level was 60, it will trigger on it's own.
Setting a static threshold of 75 or so would solve it, for where it is now. Or... perhaps an exponential or logarithmic threshold curve might help... I'll try those next I think.
</EDIT>
-
Smoother
03/11/2019 at 14:45 • 0 comments@Morning.Star and I worked on the code.
We cleaned up the open/close animations and added fading between states.
The hardware got tuned so the servo is not under load when fully open/closed, and so we were able to alter the servo code so it can power down between movements.
Also added color shifting to the existing 'breathing'. Not sure if that is going to stay yet.
-
Hello, my twitchy friend.
03/10/2019 at 06:54 • 4 commentsObviously need some debounce code here, and the servo motor noise seems to be triggering touch as well. Probably need some tinfoil.
But hey... It's Alive!
Can you believe @Morning.Star wrote all the code for this, without *ever* having access to the hardware (as it didn't exist yet.) I asked for 'organic', and gave him the hardware I was using. He delivered.
Simply unbelievable. Thank you sir.
-
Dotstars are really fragile..
03/10/2019 at 01:27 • 0 commentsThe last 2 days have been torture.
Dotstars are rated to be soldered by reflow... once. The failure rate I've been getting de-seating them is nearly 75%. When you solder them multiple times, the pins migrate, which pulls off the tiny connecting wires inside the module. Usually the clock pin - in/out.
So nevermind getting a row of 6 of them to work. I'm willing to settle for 2!
FYI, I was using the 5050 Dotstars. The 2020 ones, although harder to solder due to the size, hold up better to manual soldering. Or... it's just me.. :)
Christine's Blooming Rose
3D printed, heat formed, servo actuated blooming, Dotstar module lit, rose.
 MasterOfNull