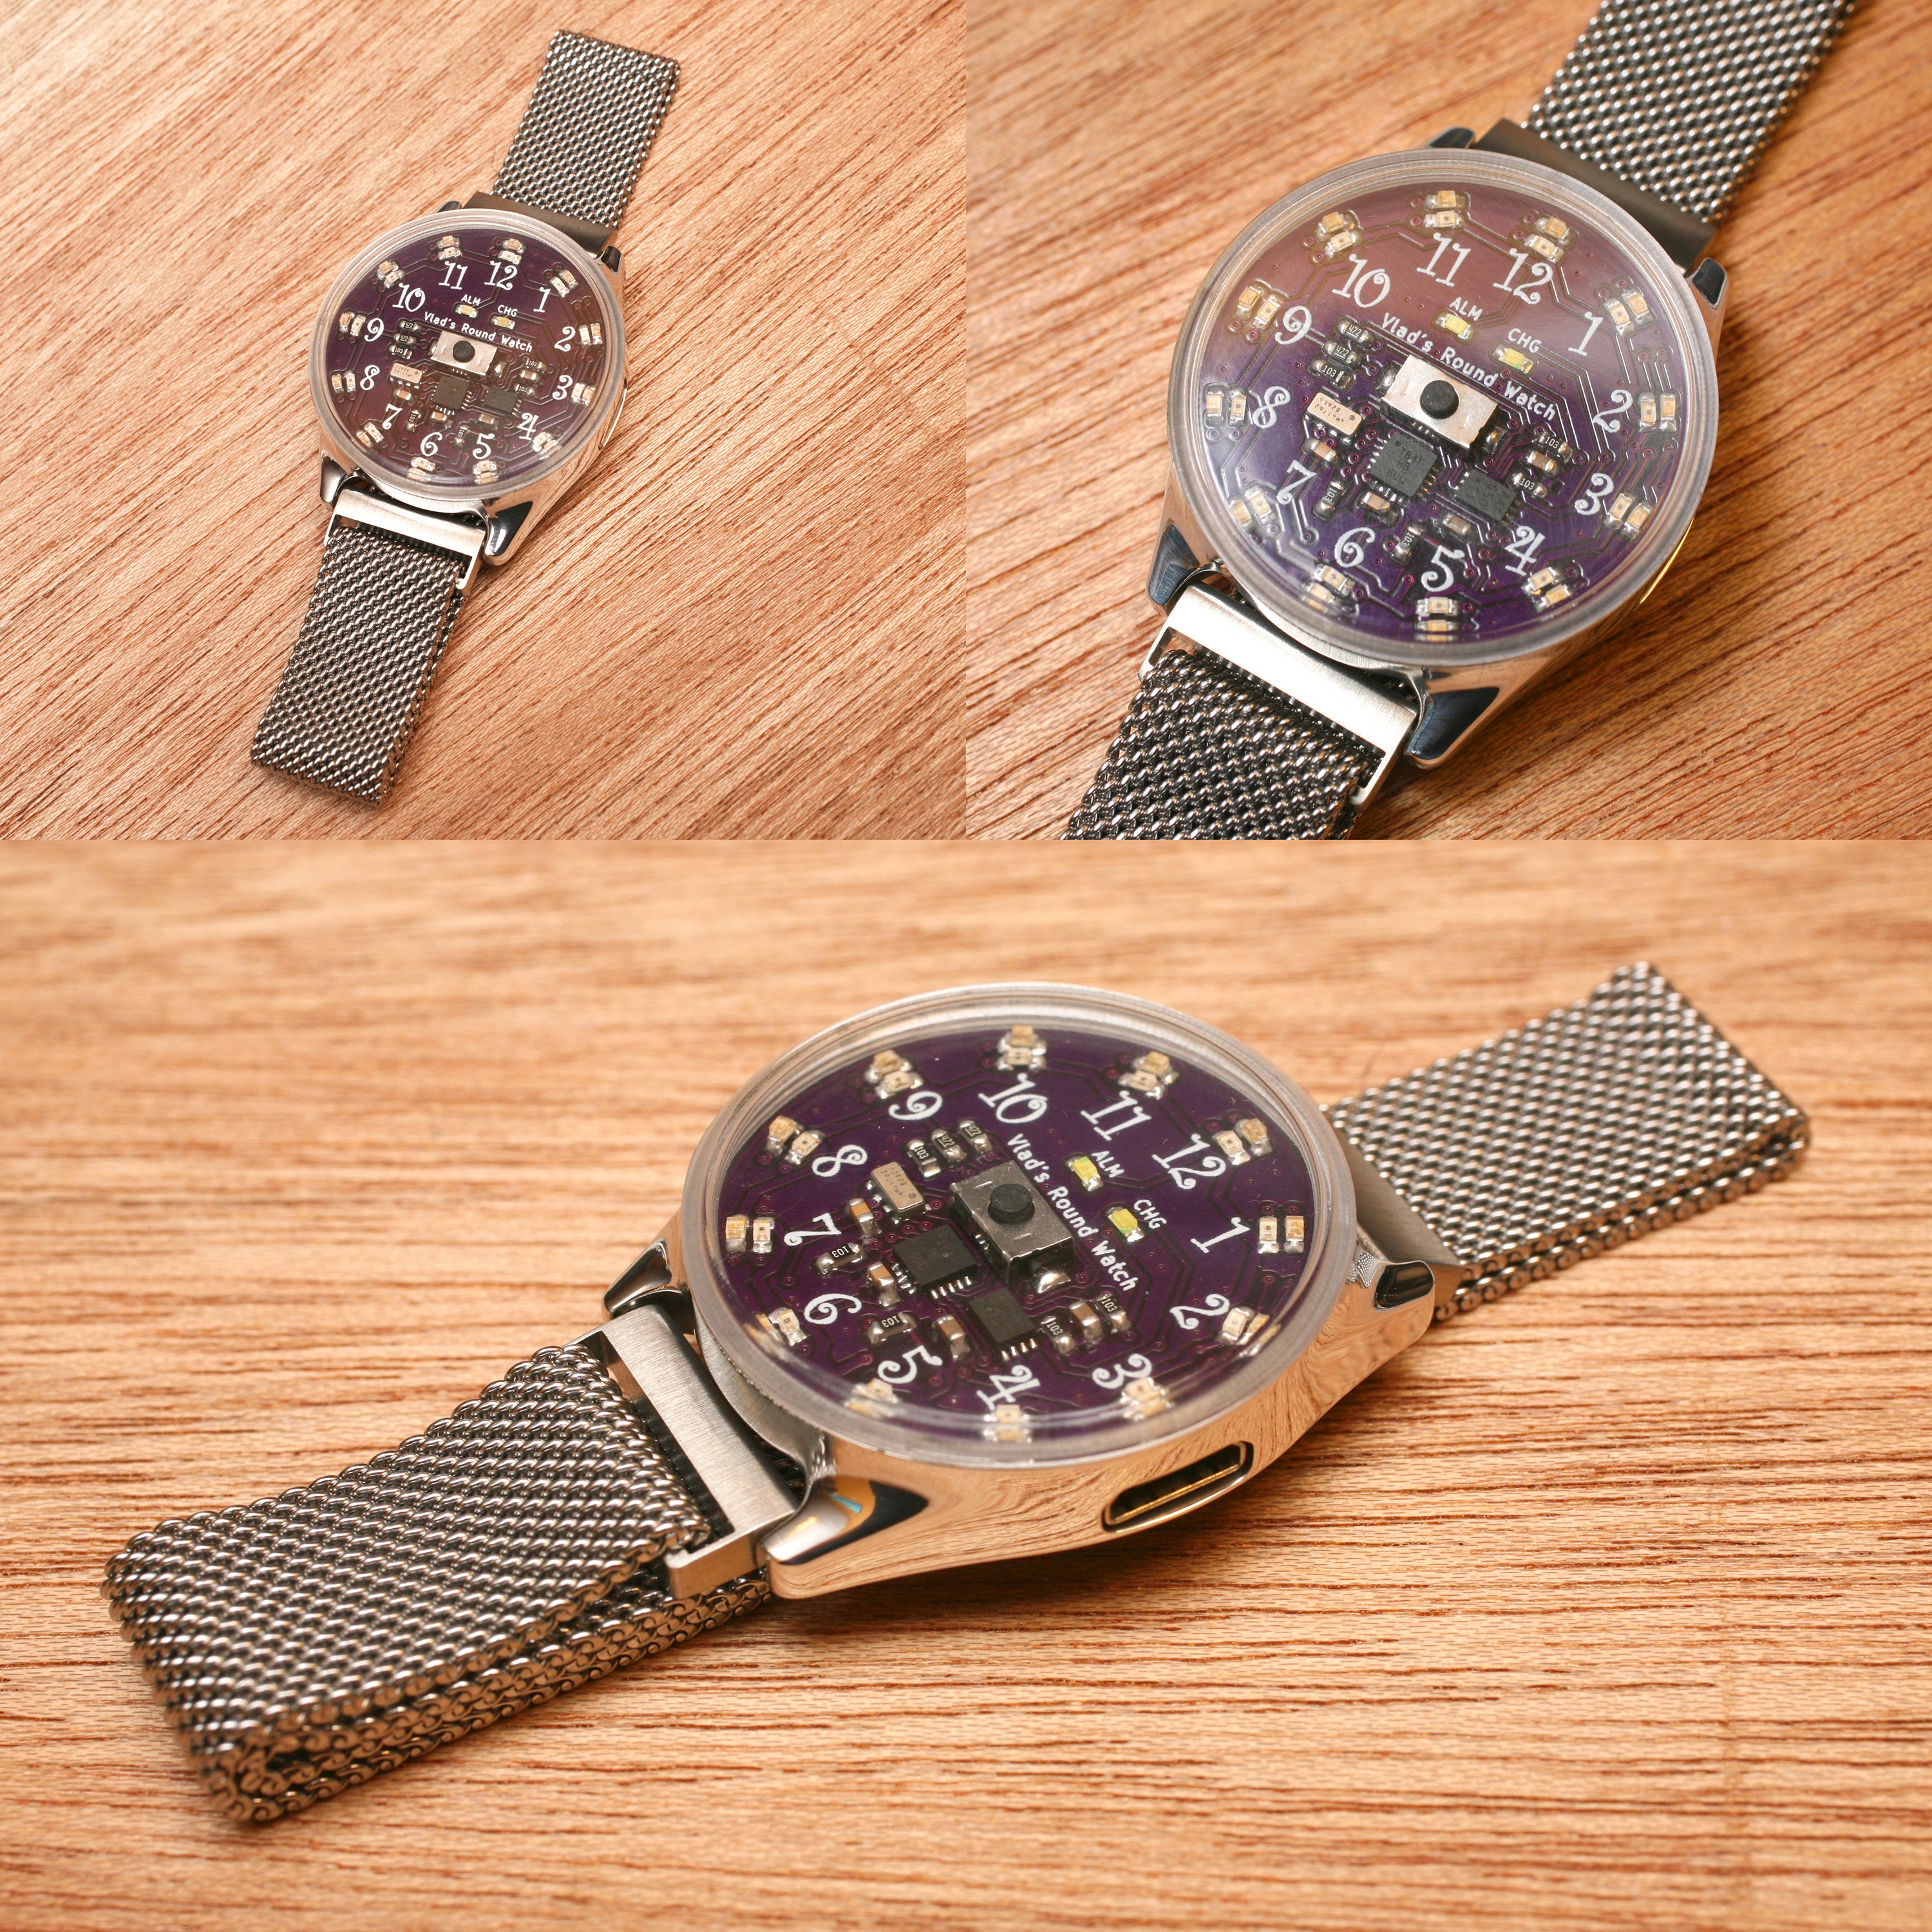
I posted the KiCad project files with footprints and a set of exported gerbers. The PCB has a few minor changes to resolve the issue of the LED driver getting disabled after the battery died. I had left the enable pin floating, which worked fine in all my testing, but seemed to get latched low after the battery died once everything was on the real PCB. It's now tied high and has been verified to work on Vlad's watch by bodging a single strand of wire between the enable pin on the LED driver and a nearby v+ source. That was some fine soldering! ;) I also moved the test point for the Tiny 841's reset pin out from under the piezo buzzer so it's still accessible after soldering the buzzer should the bootloader need to be re-flashed or fuses changed. I had the PCB made in a .8mm thickness. If you make one thicker, the housing will need to be modified to accommodate the extra thickness.
There's also an Excel spreadsheet with all the components. I didn't list prices and only included links to the parts on DigiKey for simplicity since they have everything. On the LEDs, resistors and capacitors, I didn't list specific part numbers or links, since I assume people will have these on hand in a sample book or something, or will want to choose their own color LEDs. These parts aren't too critical, as long as they're the specified values and 0603 packages. The two zener diodes on the USB + and - lines are somewhat critical, so I listed the specific ones I used.
Lastly, I included the bootloader for the Tiny841, the hex and the config file should anyone want to make changes. This sets the correct pins for the USB lines and configures it to enter programming on a watchdog reset, which I'm using so it can be reset from within the sketch. This was important to be able to keep to the single button for input. A triple press of the button after the time is displayed sets a watchdog reset, which will then accept programming. Use the following command to flash the bootloader and set the fuses:
Obviously replace the com port and the location of the .hex file with your specifics.
I'm changing the programming and time/alarm setting around a bit, so I won't post the sketch for now, but if anyone really wants it, let me know and I'll send it.
Need to finalize the housing files before I can post anything remotely useful... will do so ASAP.
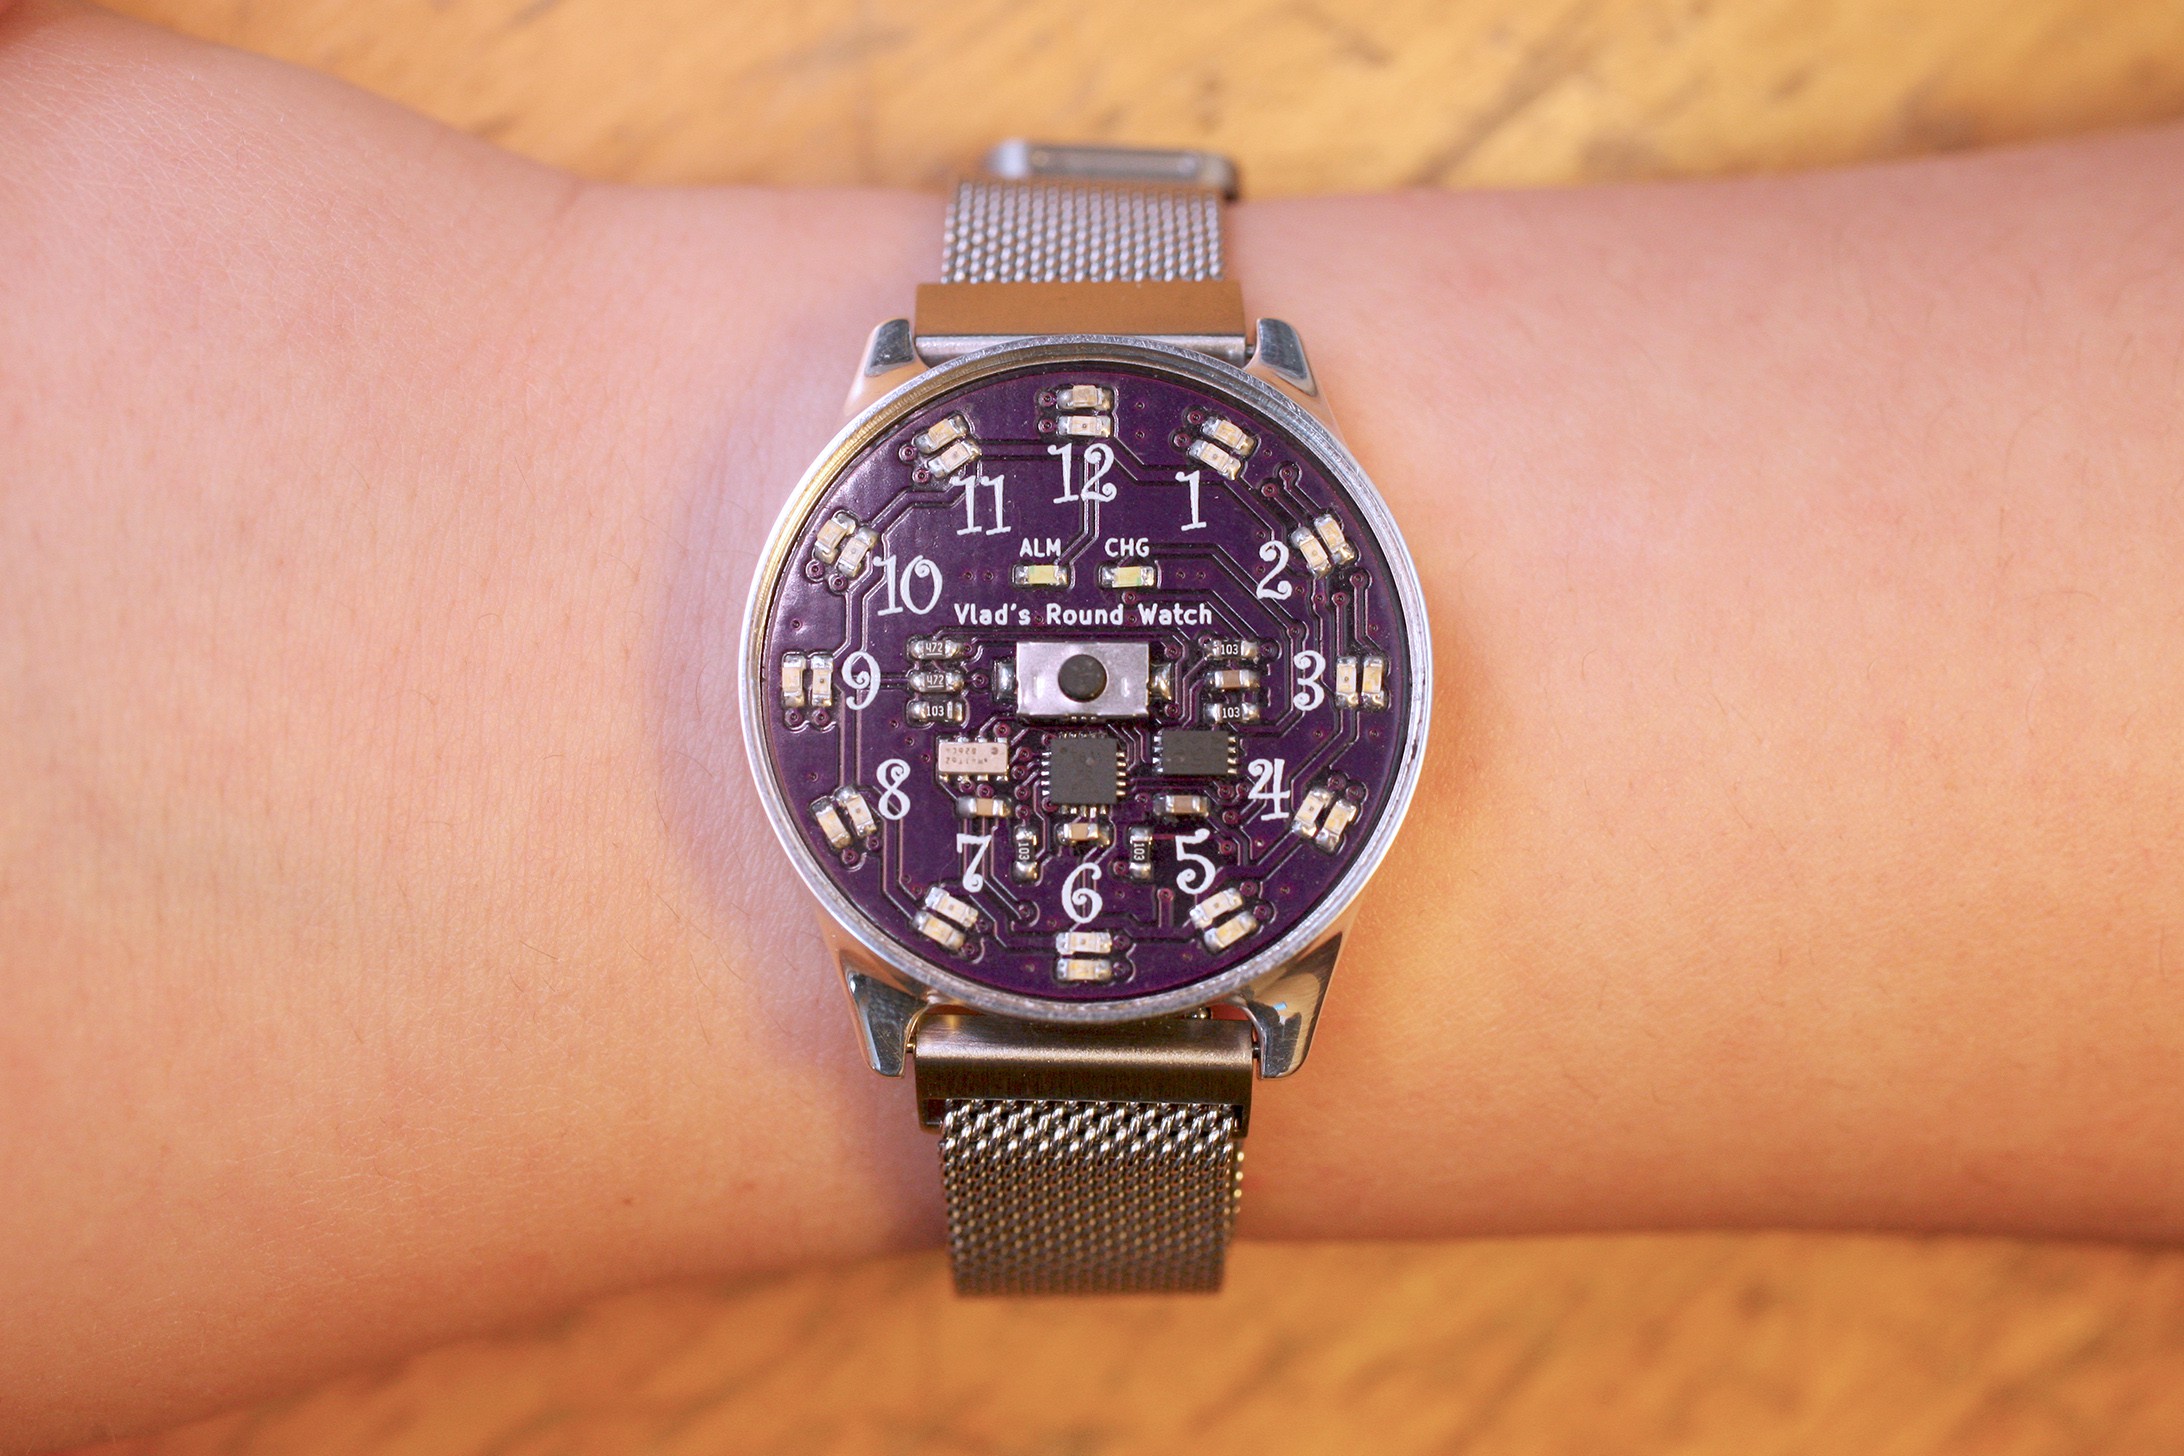
Face plate is done and everything is ready for my son to start wearing it to school, which he's been itching to do for months now!
I'll probably be making a new face plate with some tweaks to the dimensions to reduce the pressure needed to press the button. It's not hard now, but I think I can make it a bit easier. And plastic mills like butter compared to metals, so it wouldn't take long. Aside from that and a few tweaks to the programming, it's pretty much done.
There's one issue I'm investigating that might require a modification to the PCB. Once I take care of that, or rule out that the circuit might need to change, I'll post the KiCad files, Arduino sketch and 3D model of the housing.
My Son's chosen band was delivered today and I *carefully* drilled the holes for the pins. I sacrificed two drill bits by snapping off a little more than an 1/8th inch of the ends and gluing them into thin plastic tubes. This let me bend the tube slightly as I twisted so I could drill the hole as straight as possible while avoiding the lug thing on the other side... if that makes sense!
Just down to the face piece, which is small and pretty simple.
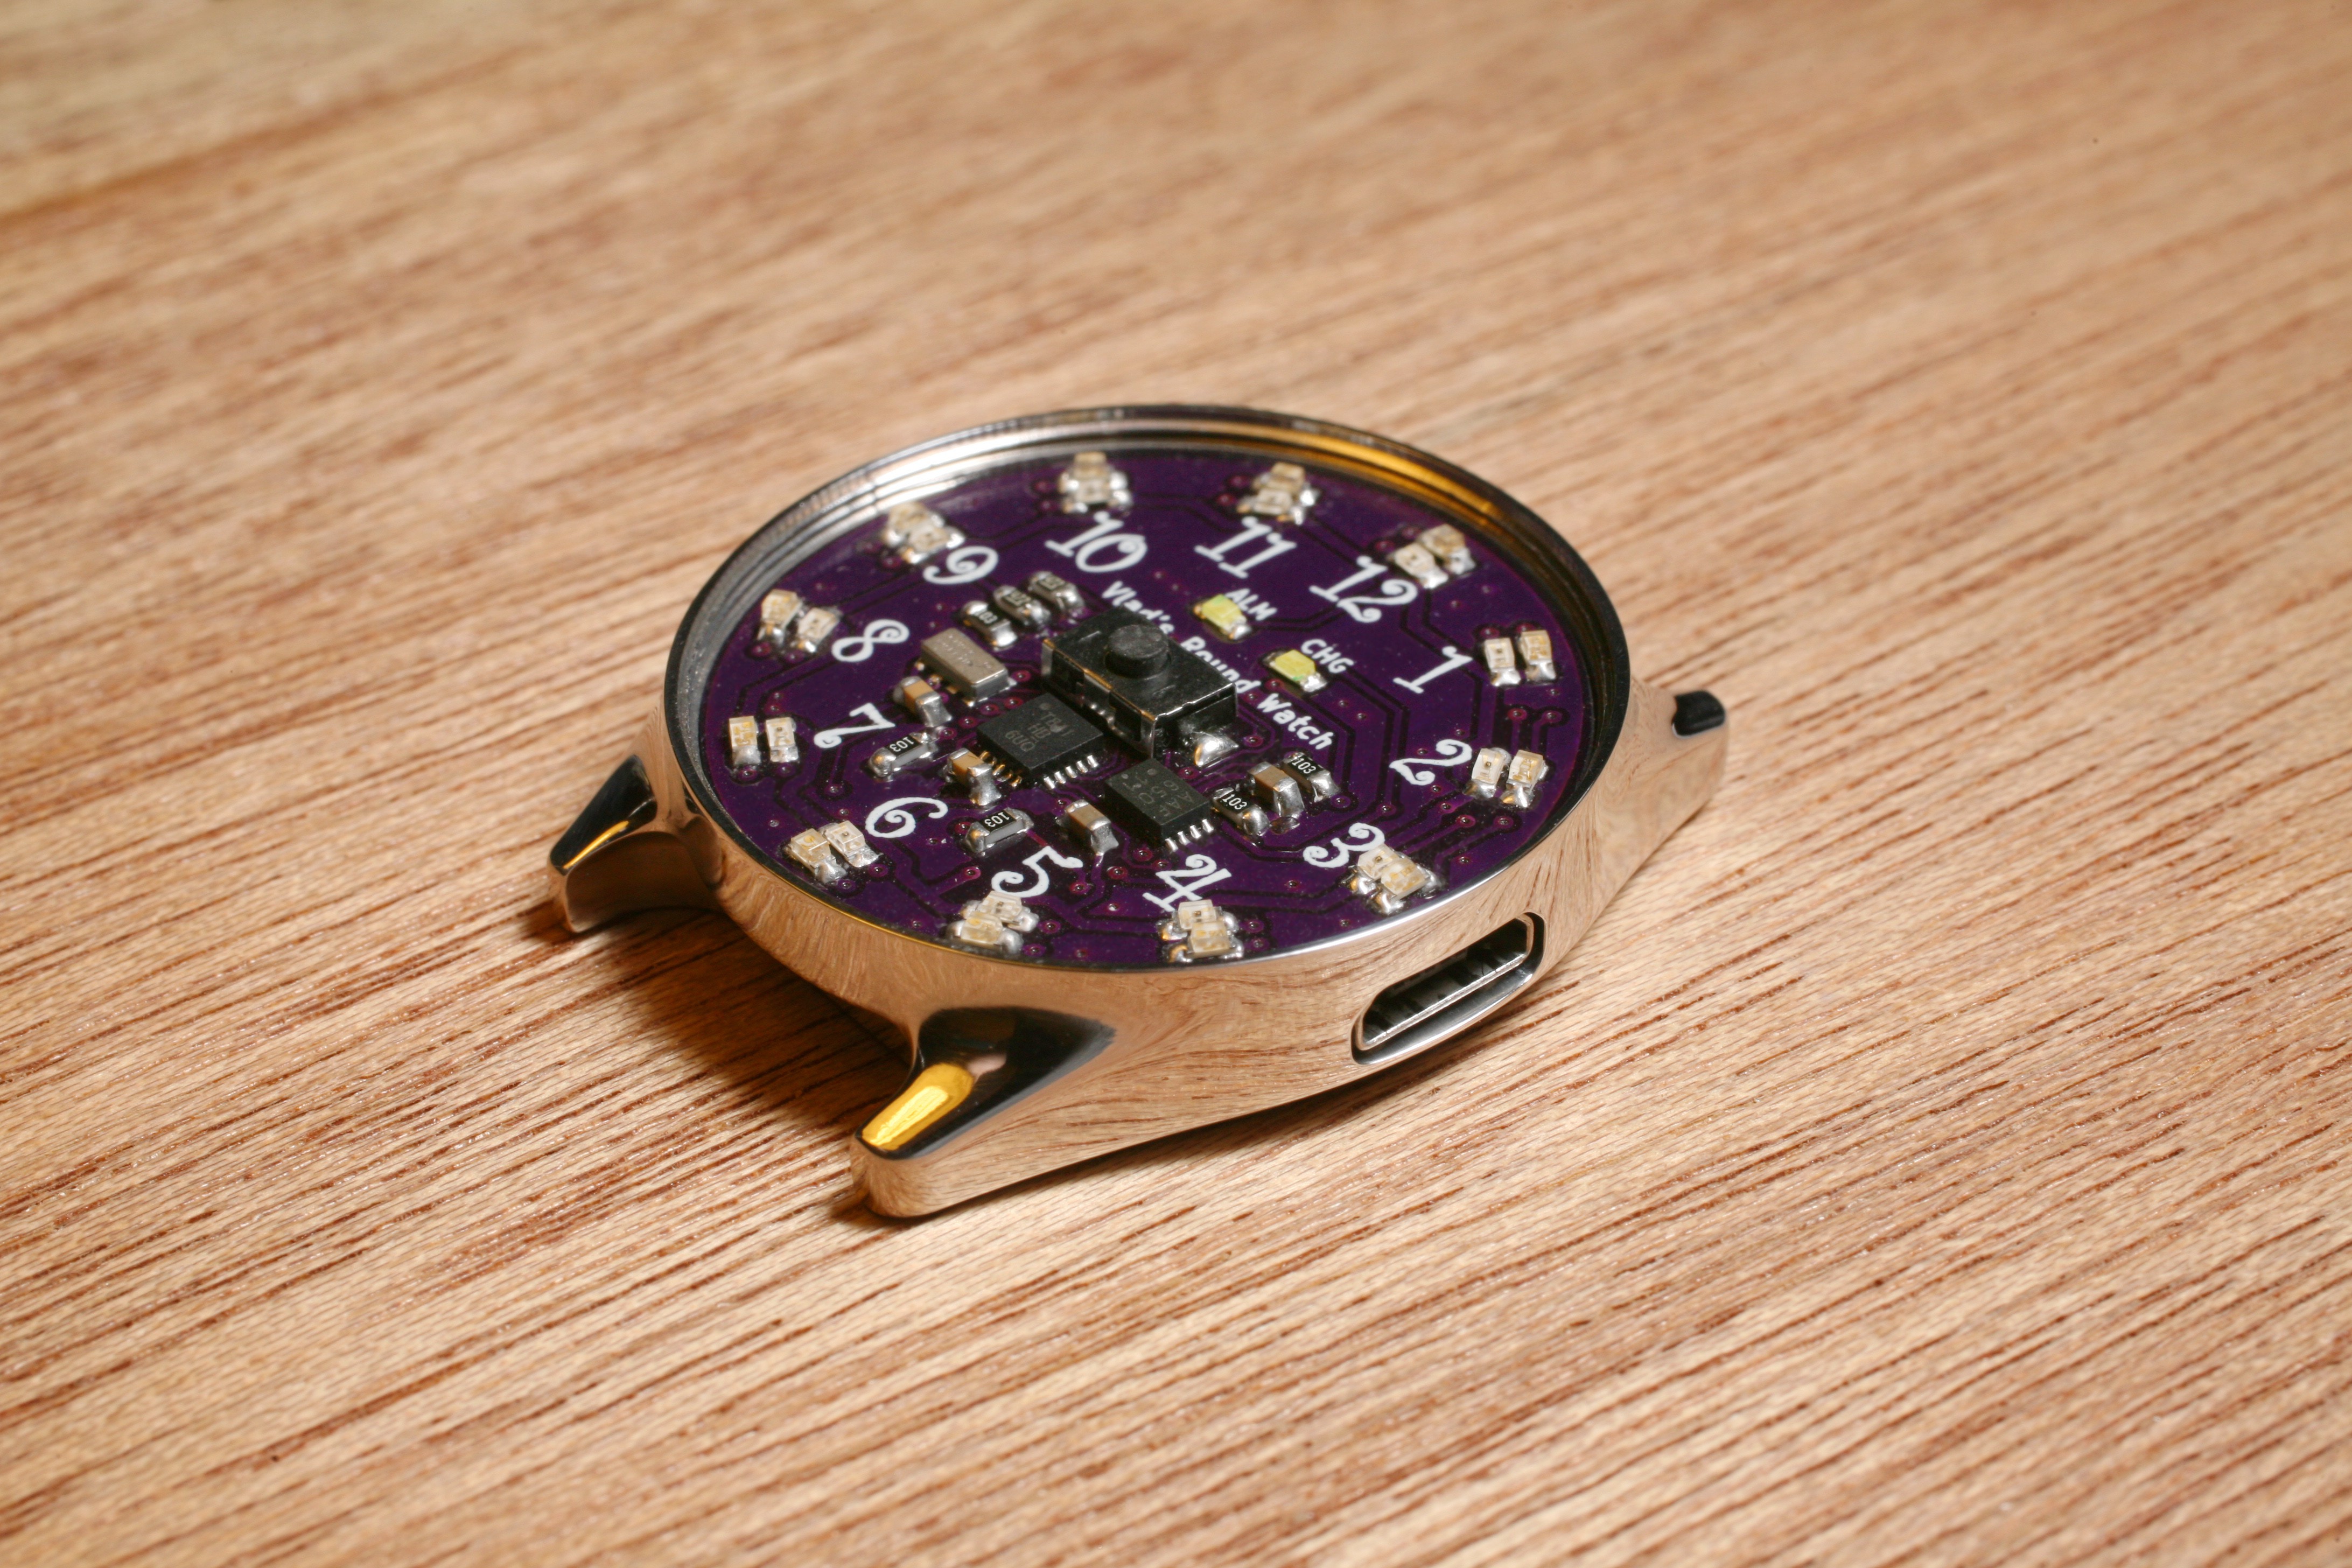
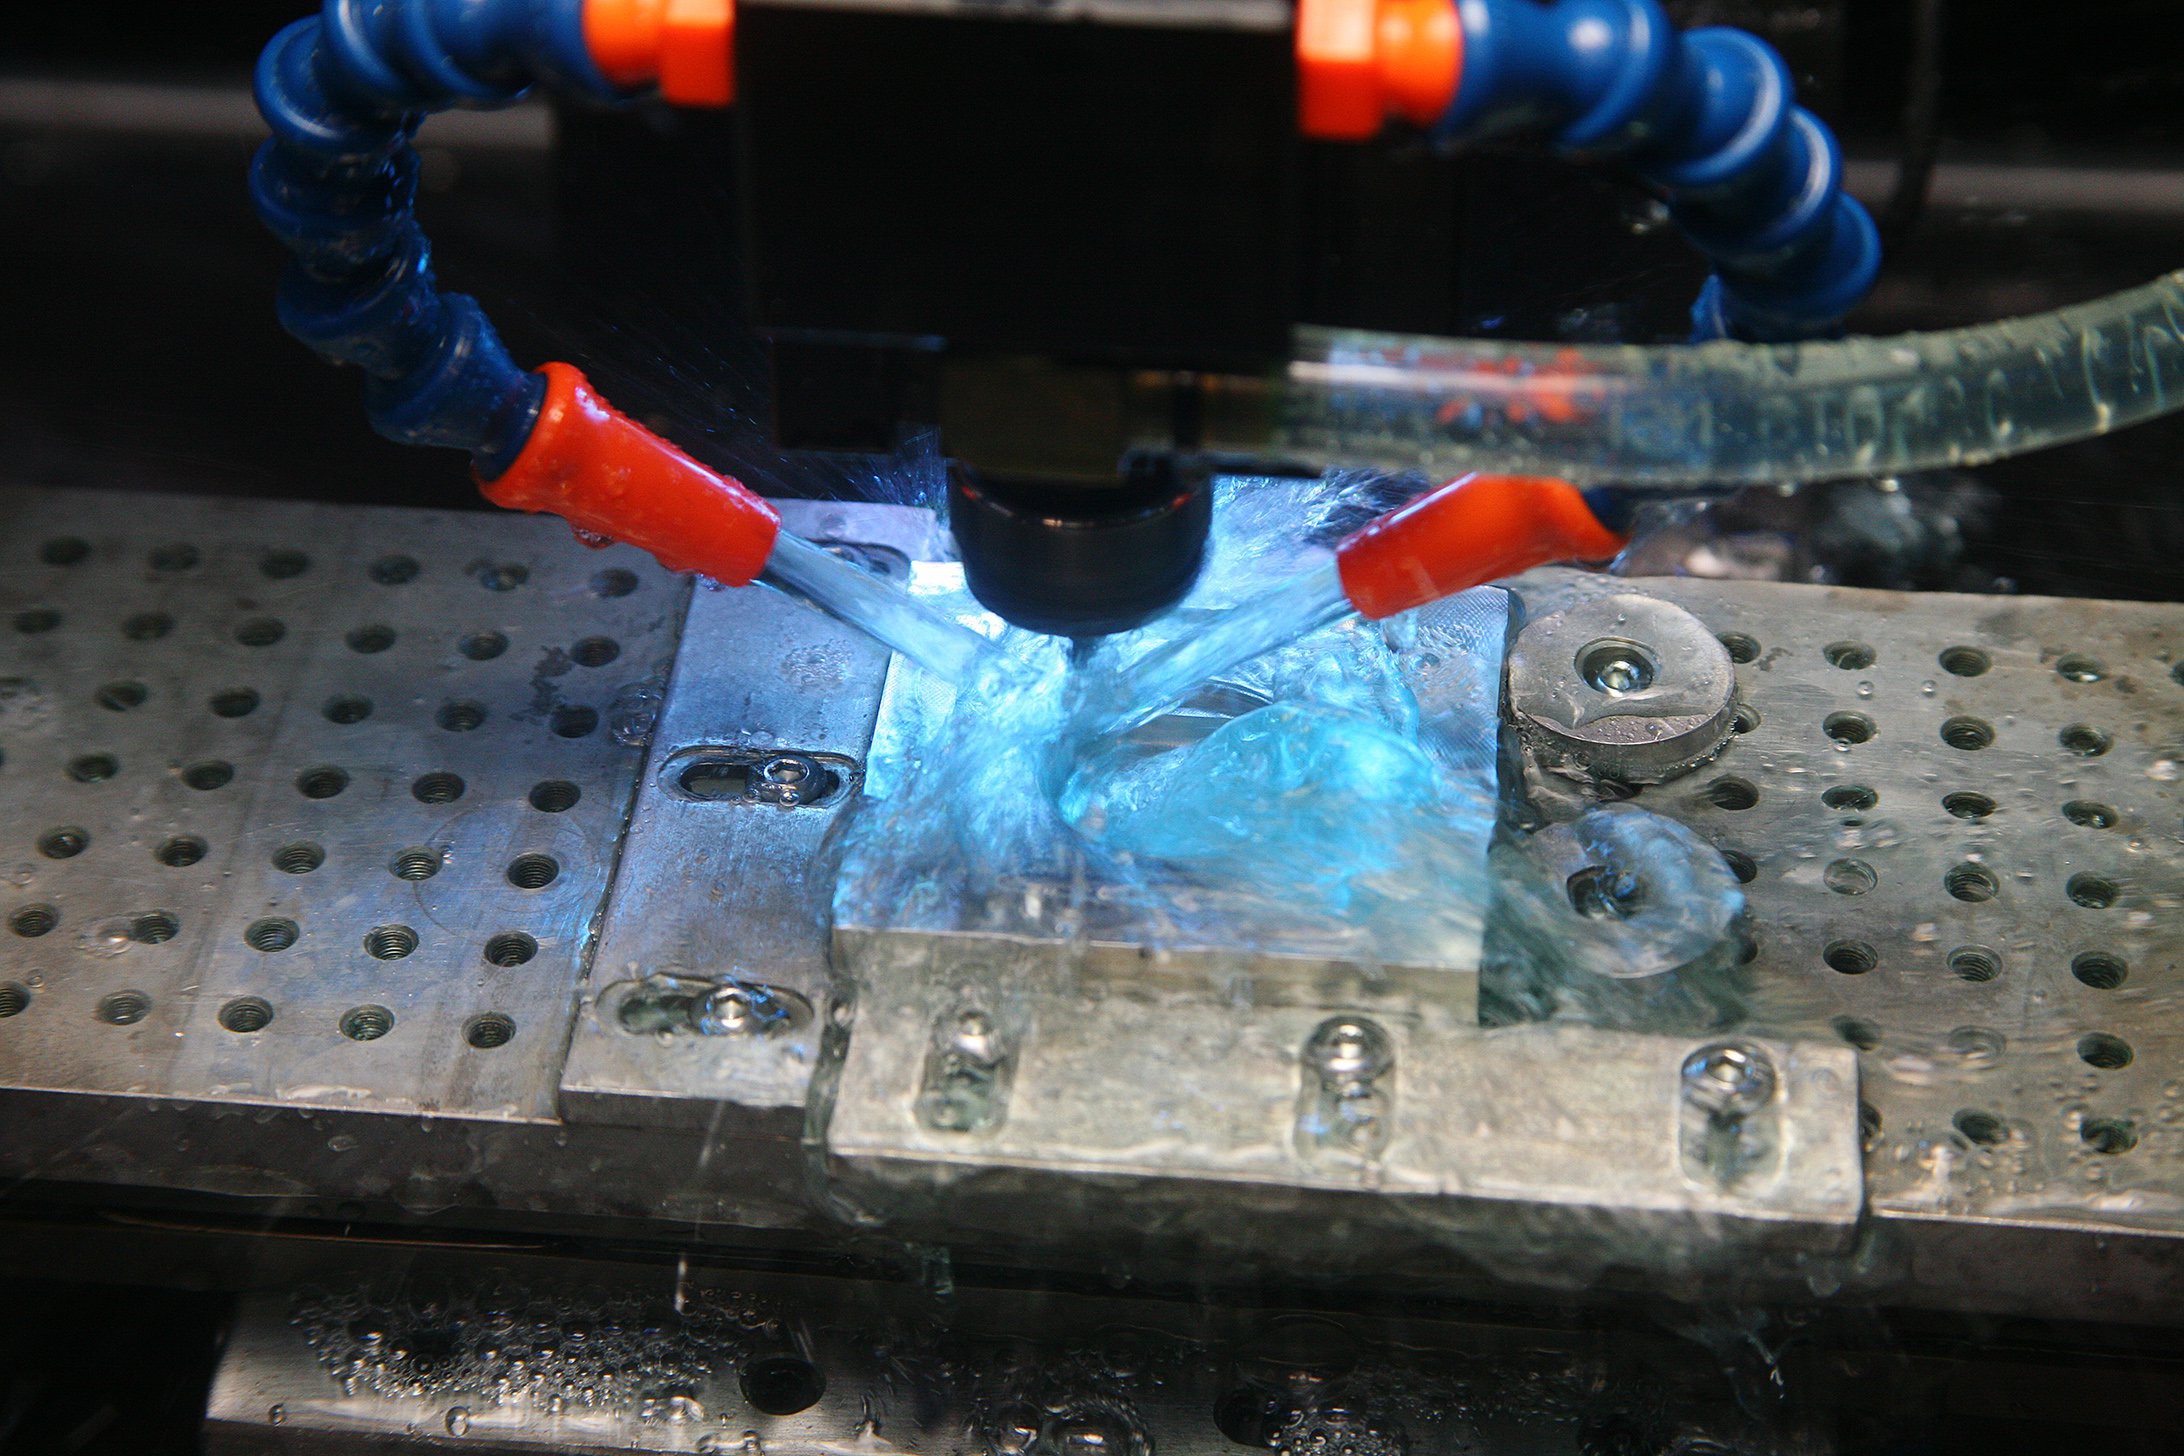
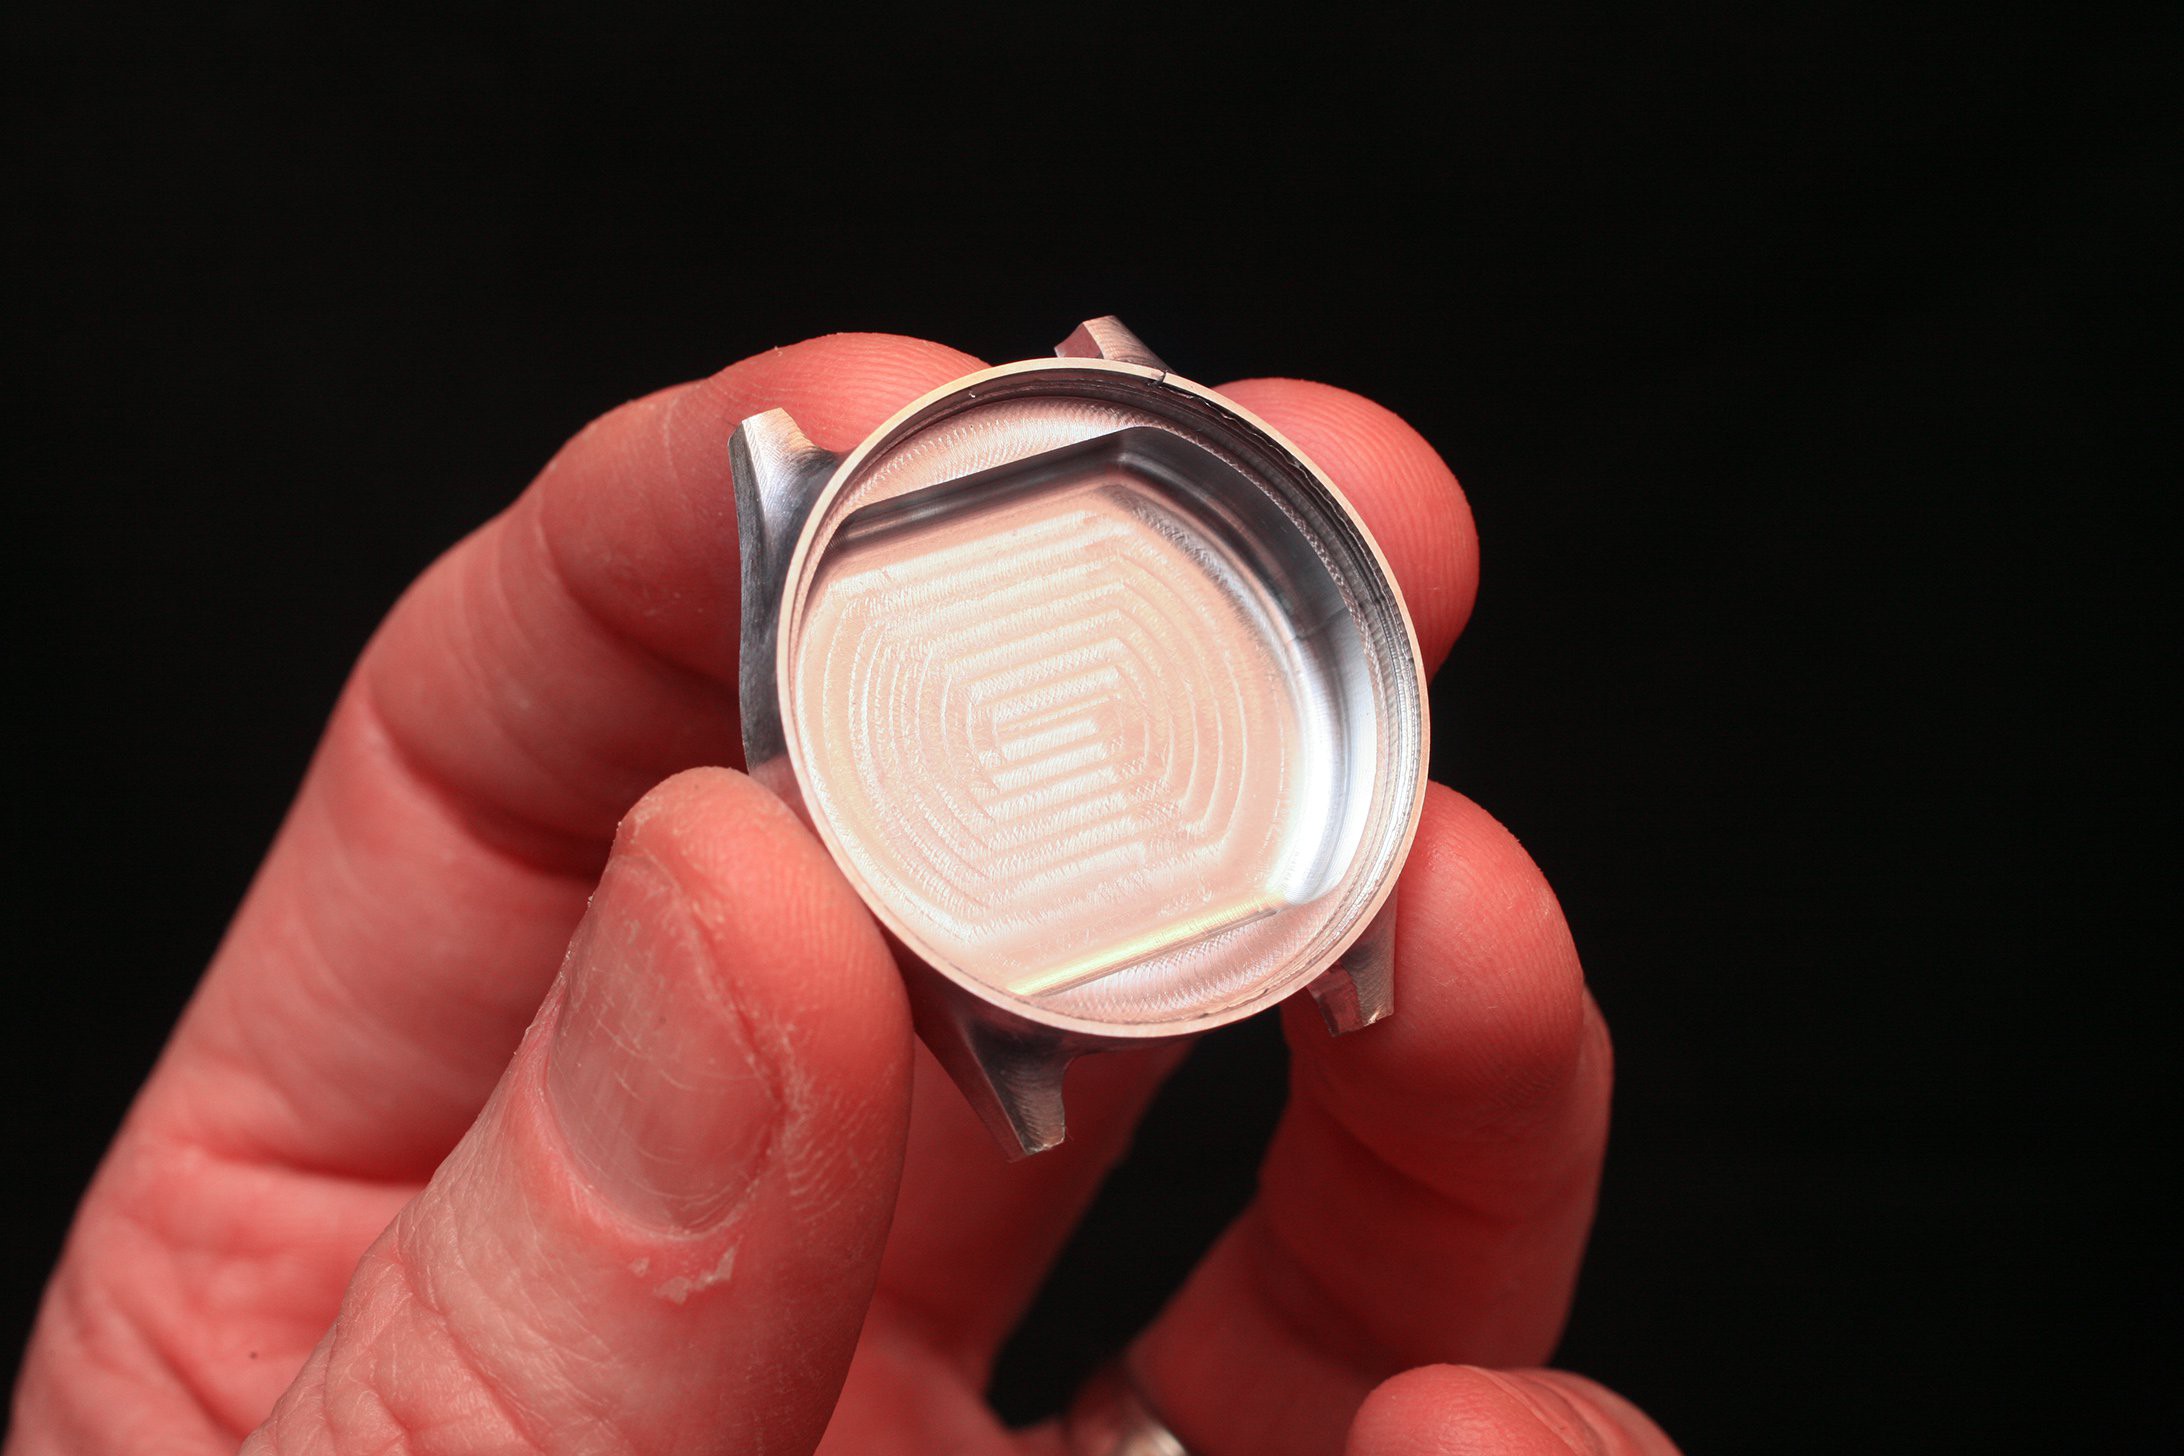
Final polish and milled out the opening for the USB port. Down to just the face and drilling the holes for the watch band pins, which I'll probably do by hand.
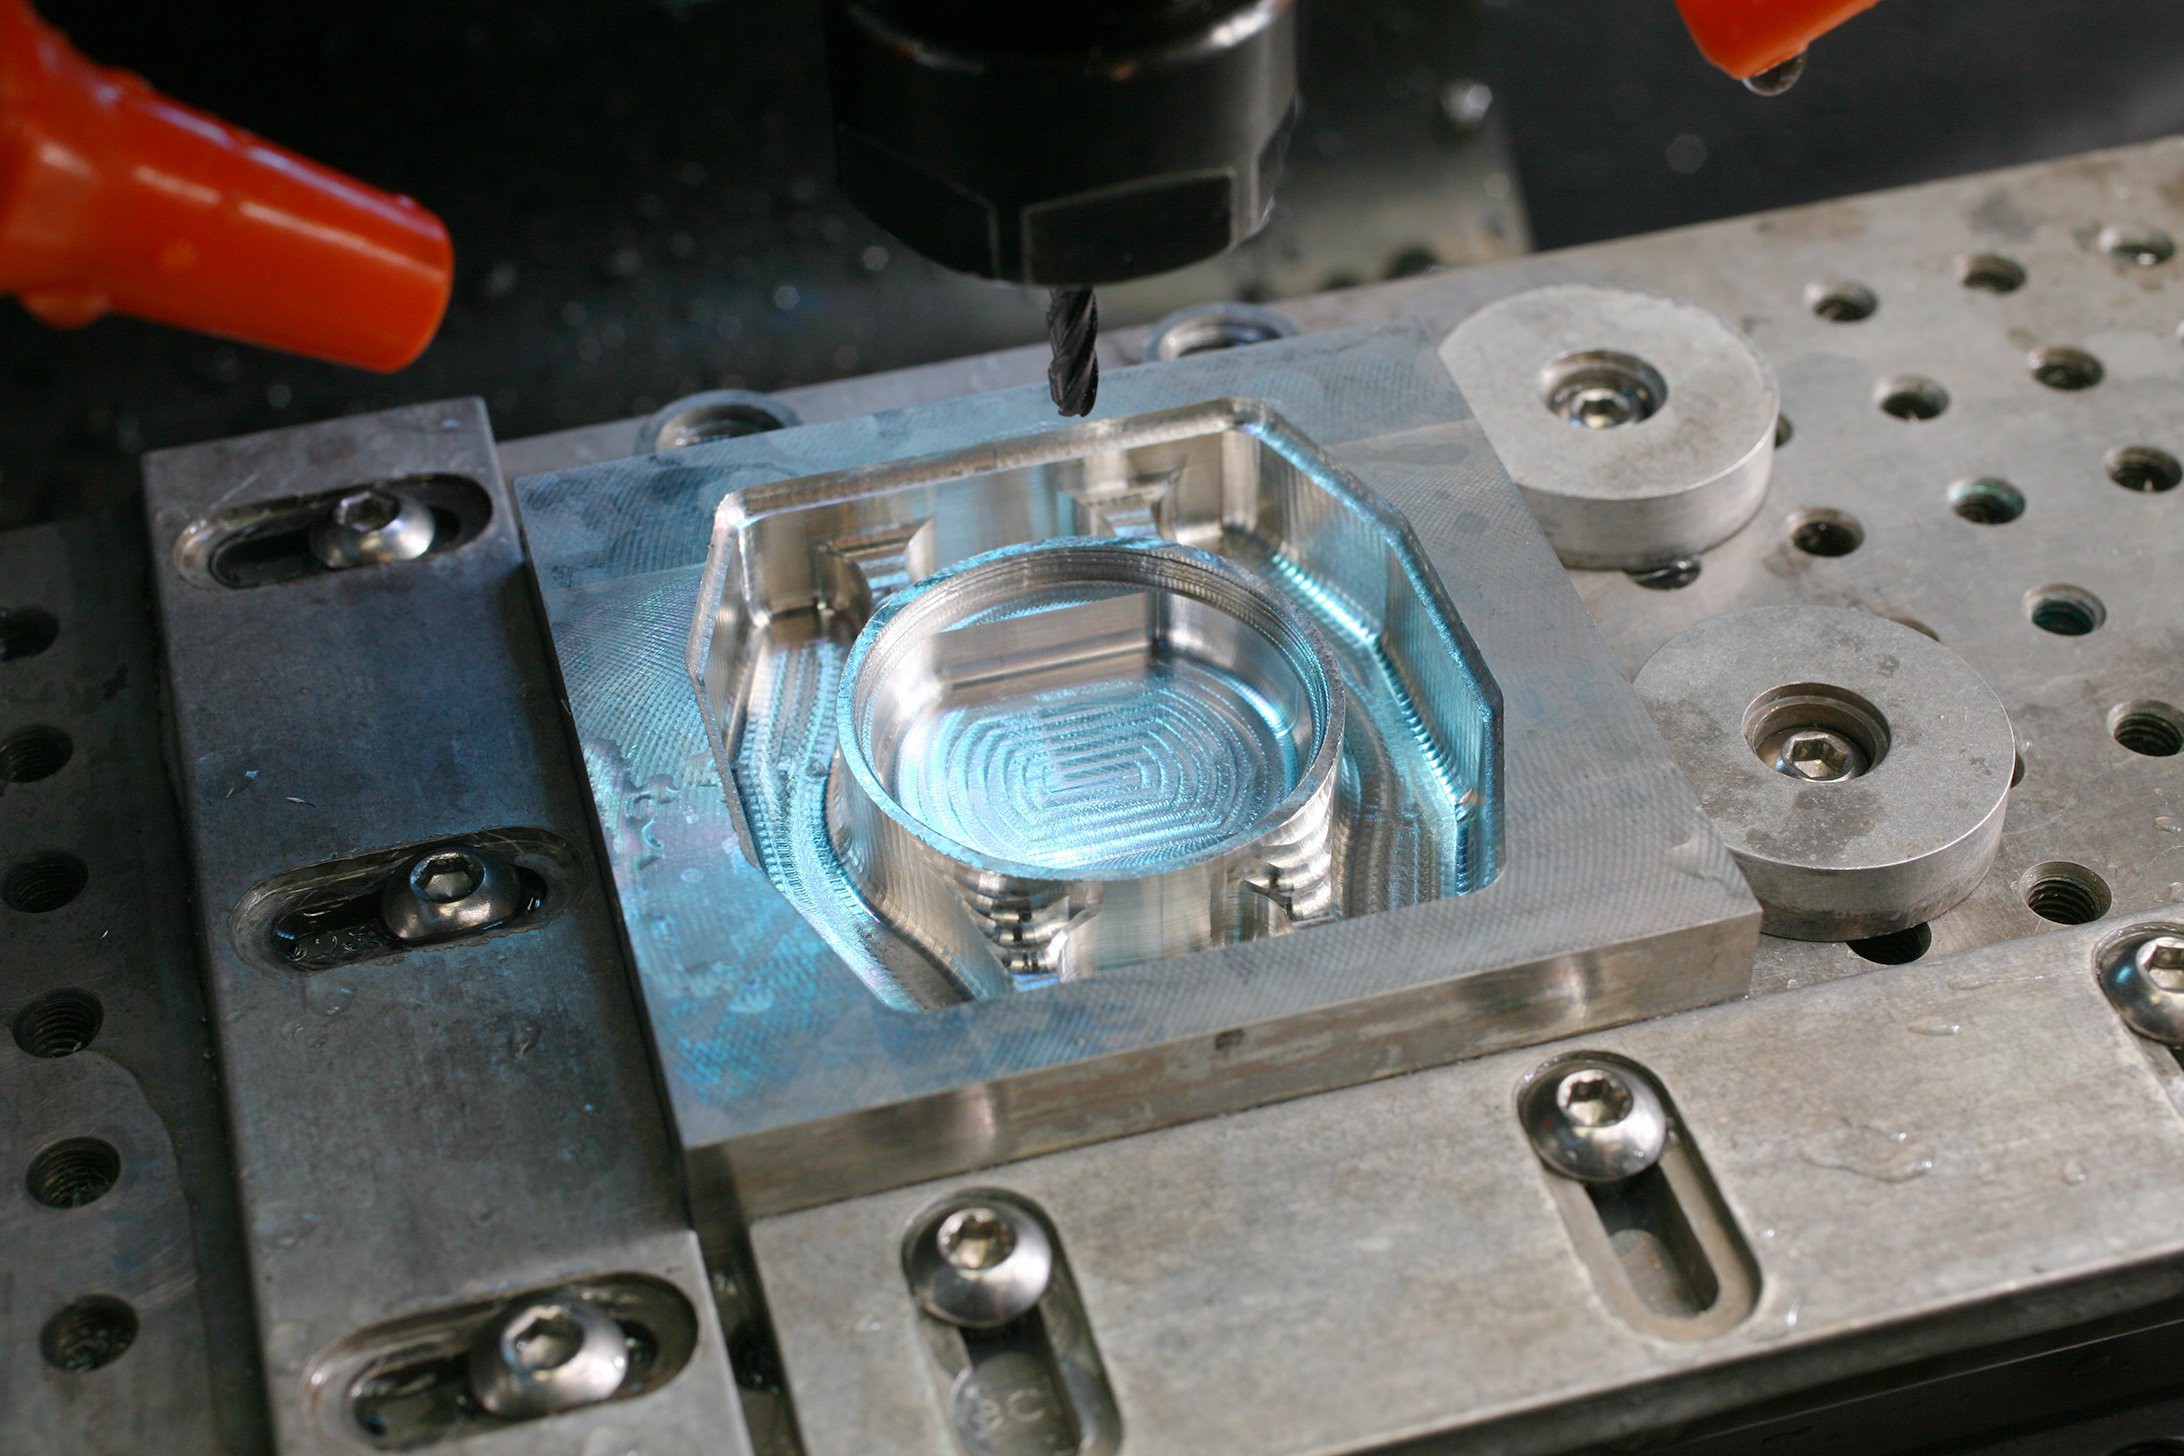
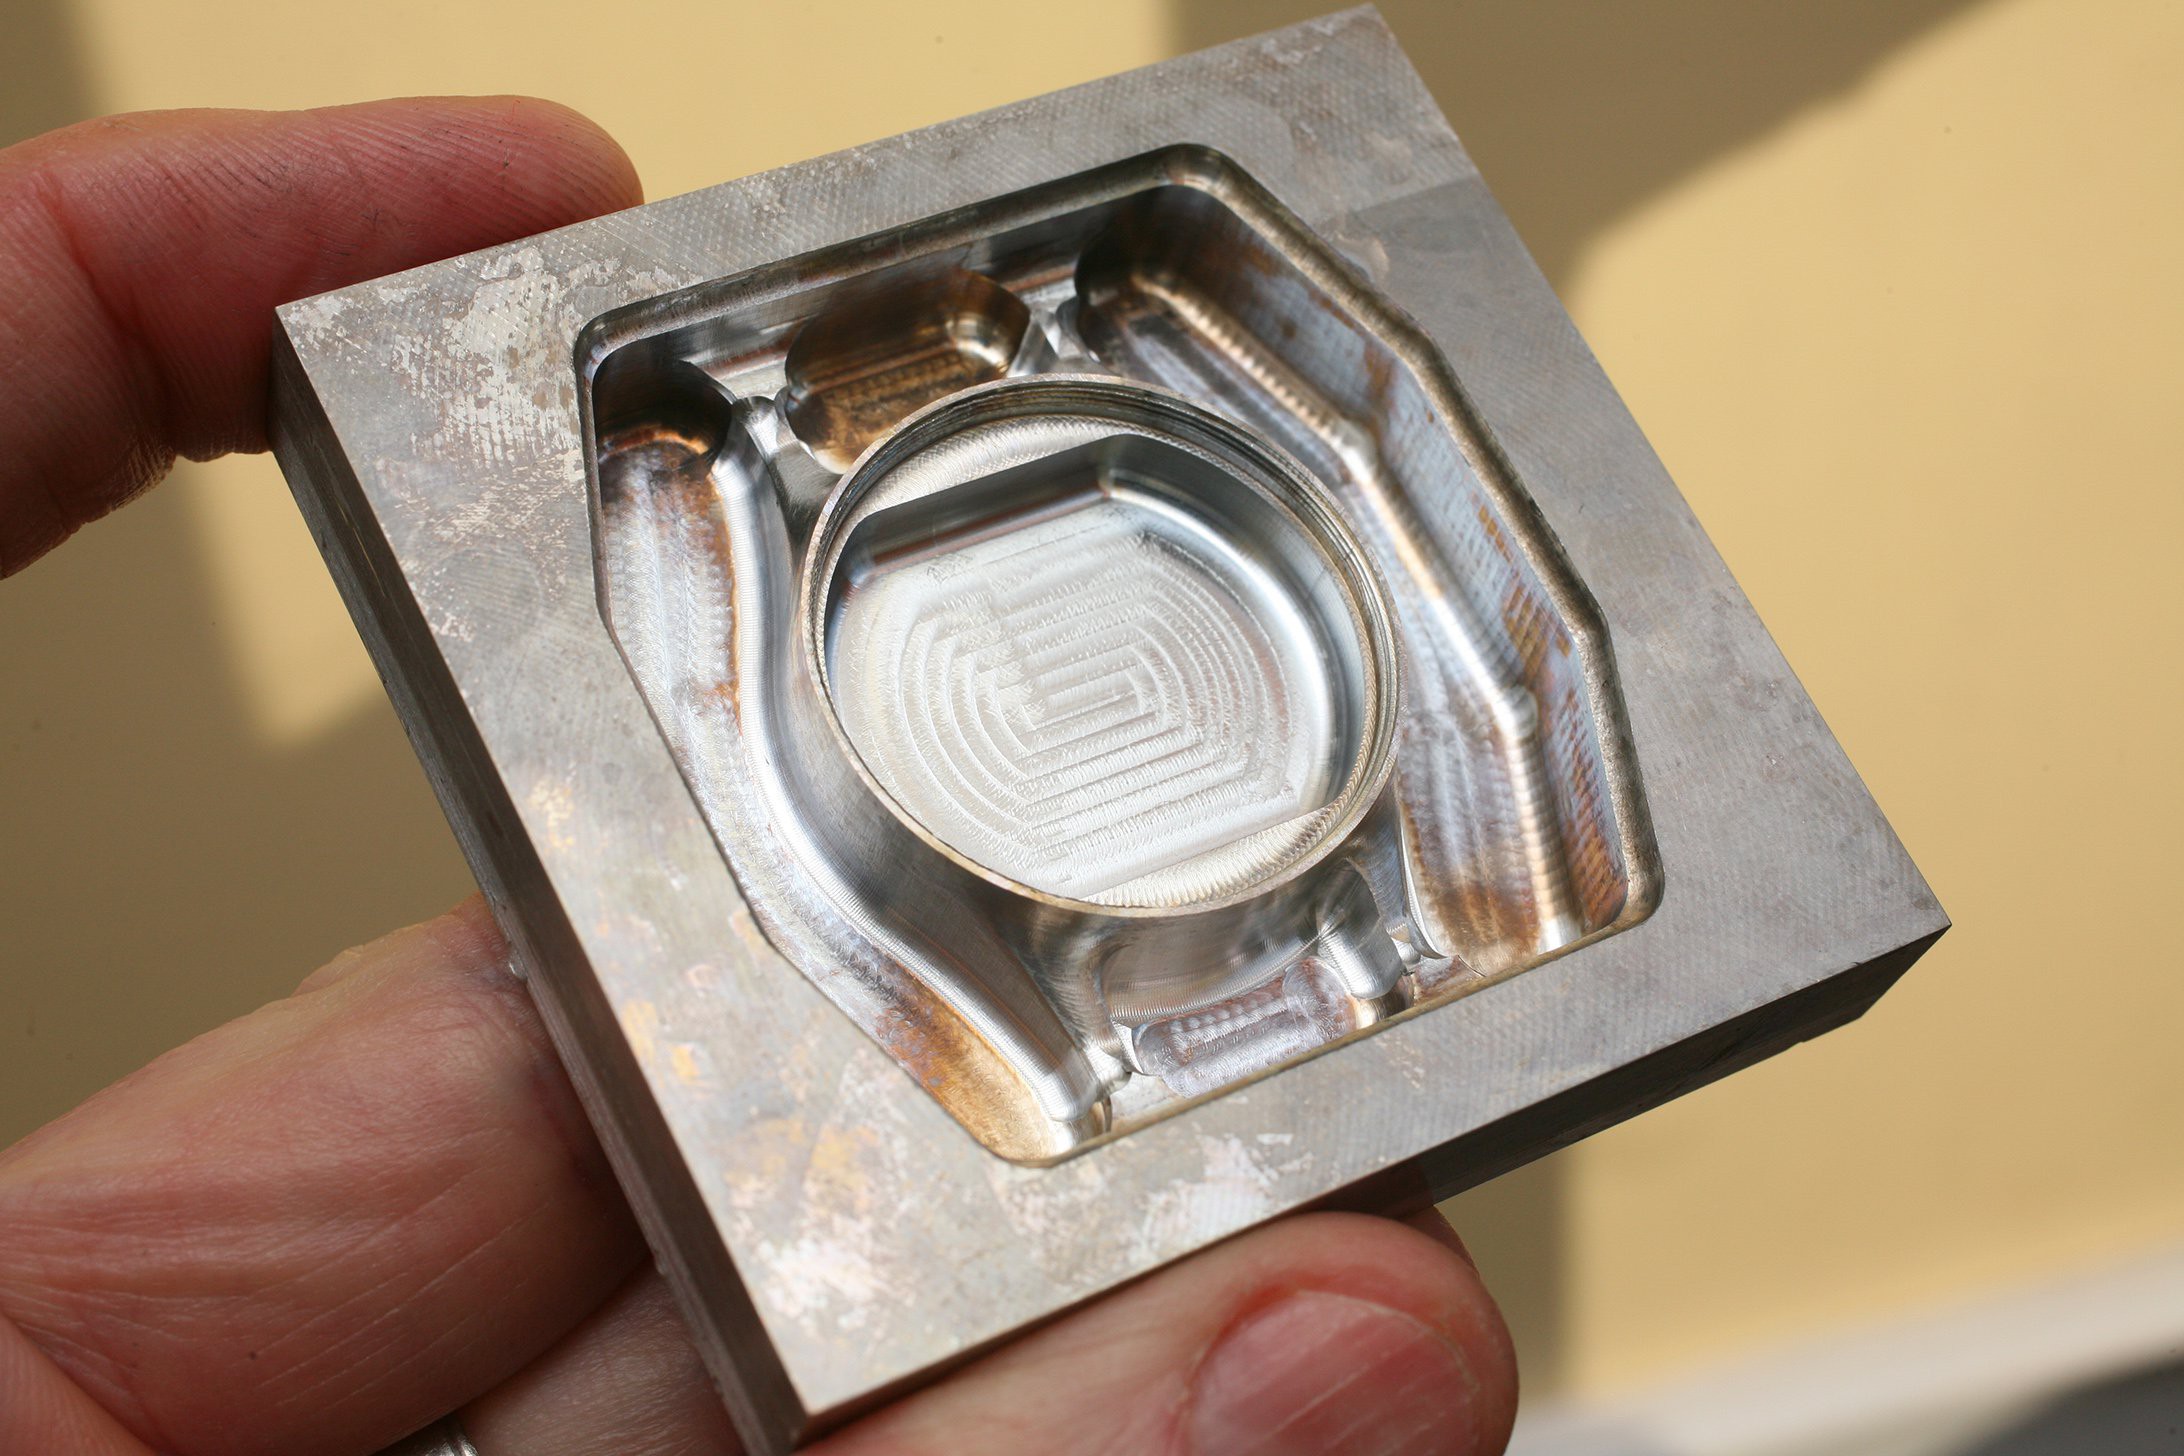
Milled the housing today, still need to mill the hole for the USB port, but I'll have to make a bracket to hold this piece vertically. A little sanding and polishing and this piece will be done. Then it's on to the clear face piece. Going to buy a band with a magnetic clasp (son already picked out what he wants). I'm not crazy enough to try to mill all the pieces for a band!