Ryan
Ryan-
Motor Test
02/20/2019 at 11:03 • 0 commentsI reseated the 3D printed adapter, drilled a hole in it, and used one of the two set screws to help attach it to the center motor shaft. I'm pretty happy with how it turned out, I don't think it'll go anywhere. Also, I'll get a longer setscrew tomorrow and I'll be really happy with it.
I just wanted to add a quick video here, first motor tests.
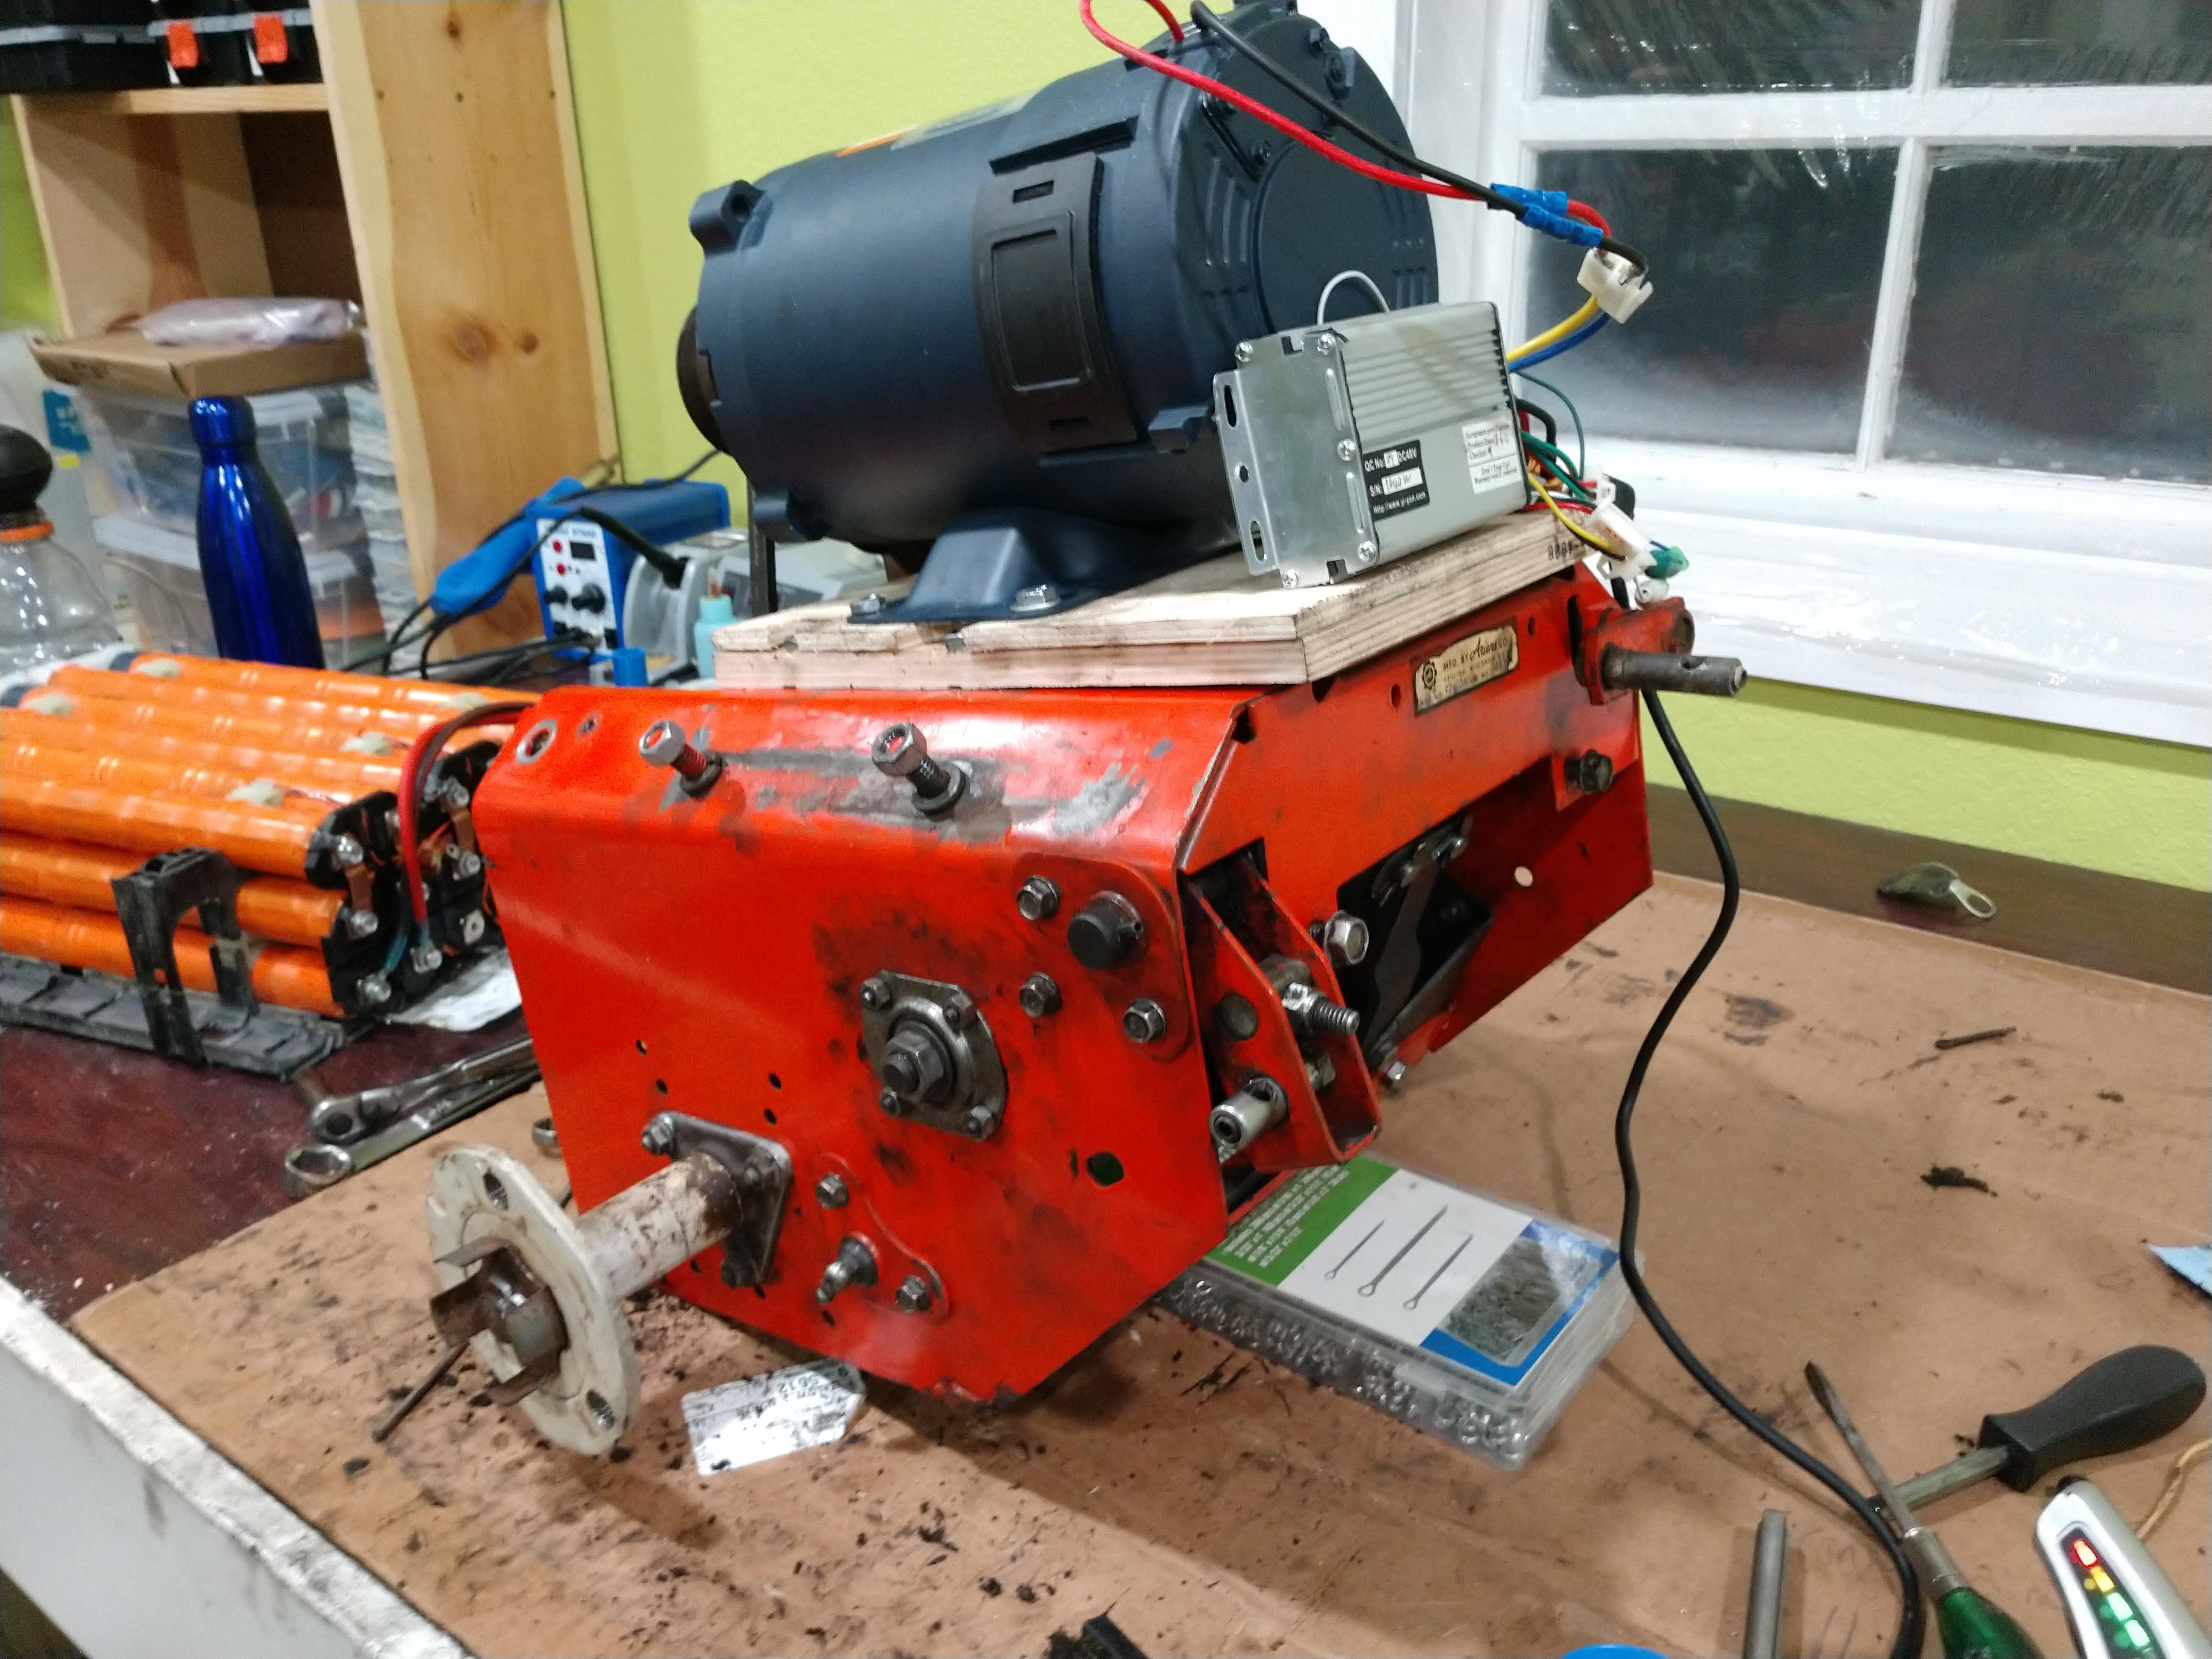
Running the drivetrain pulls about 6A @ 48V after the initial current spike. -
Success!
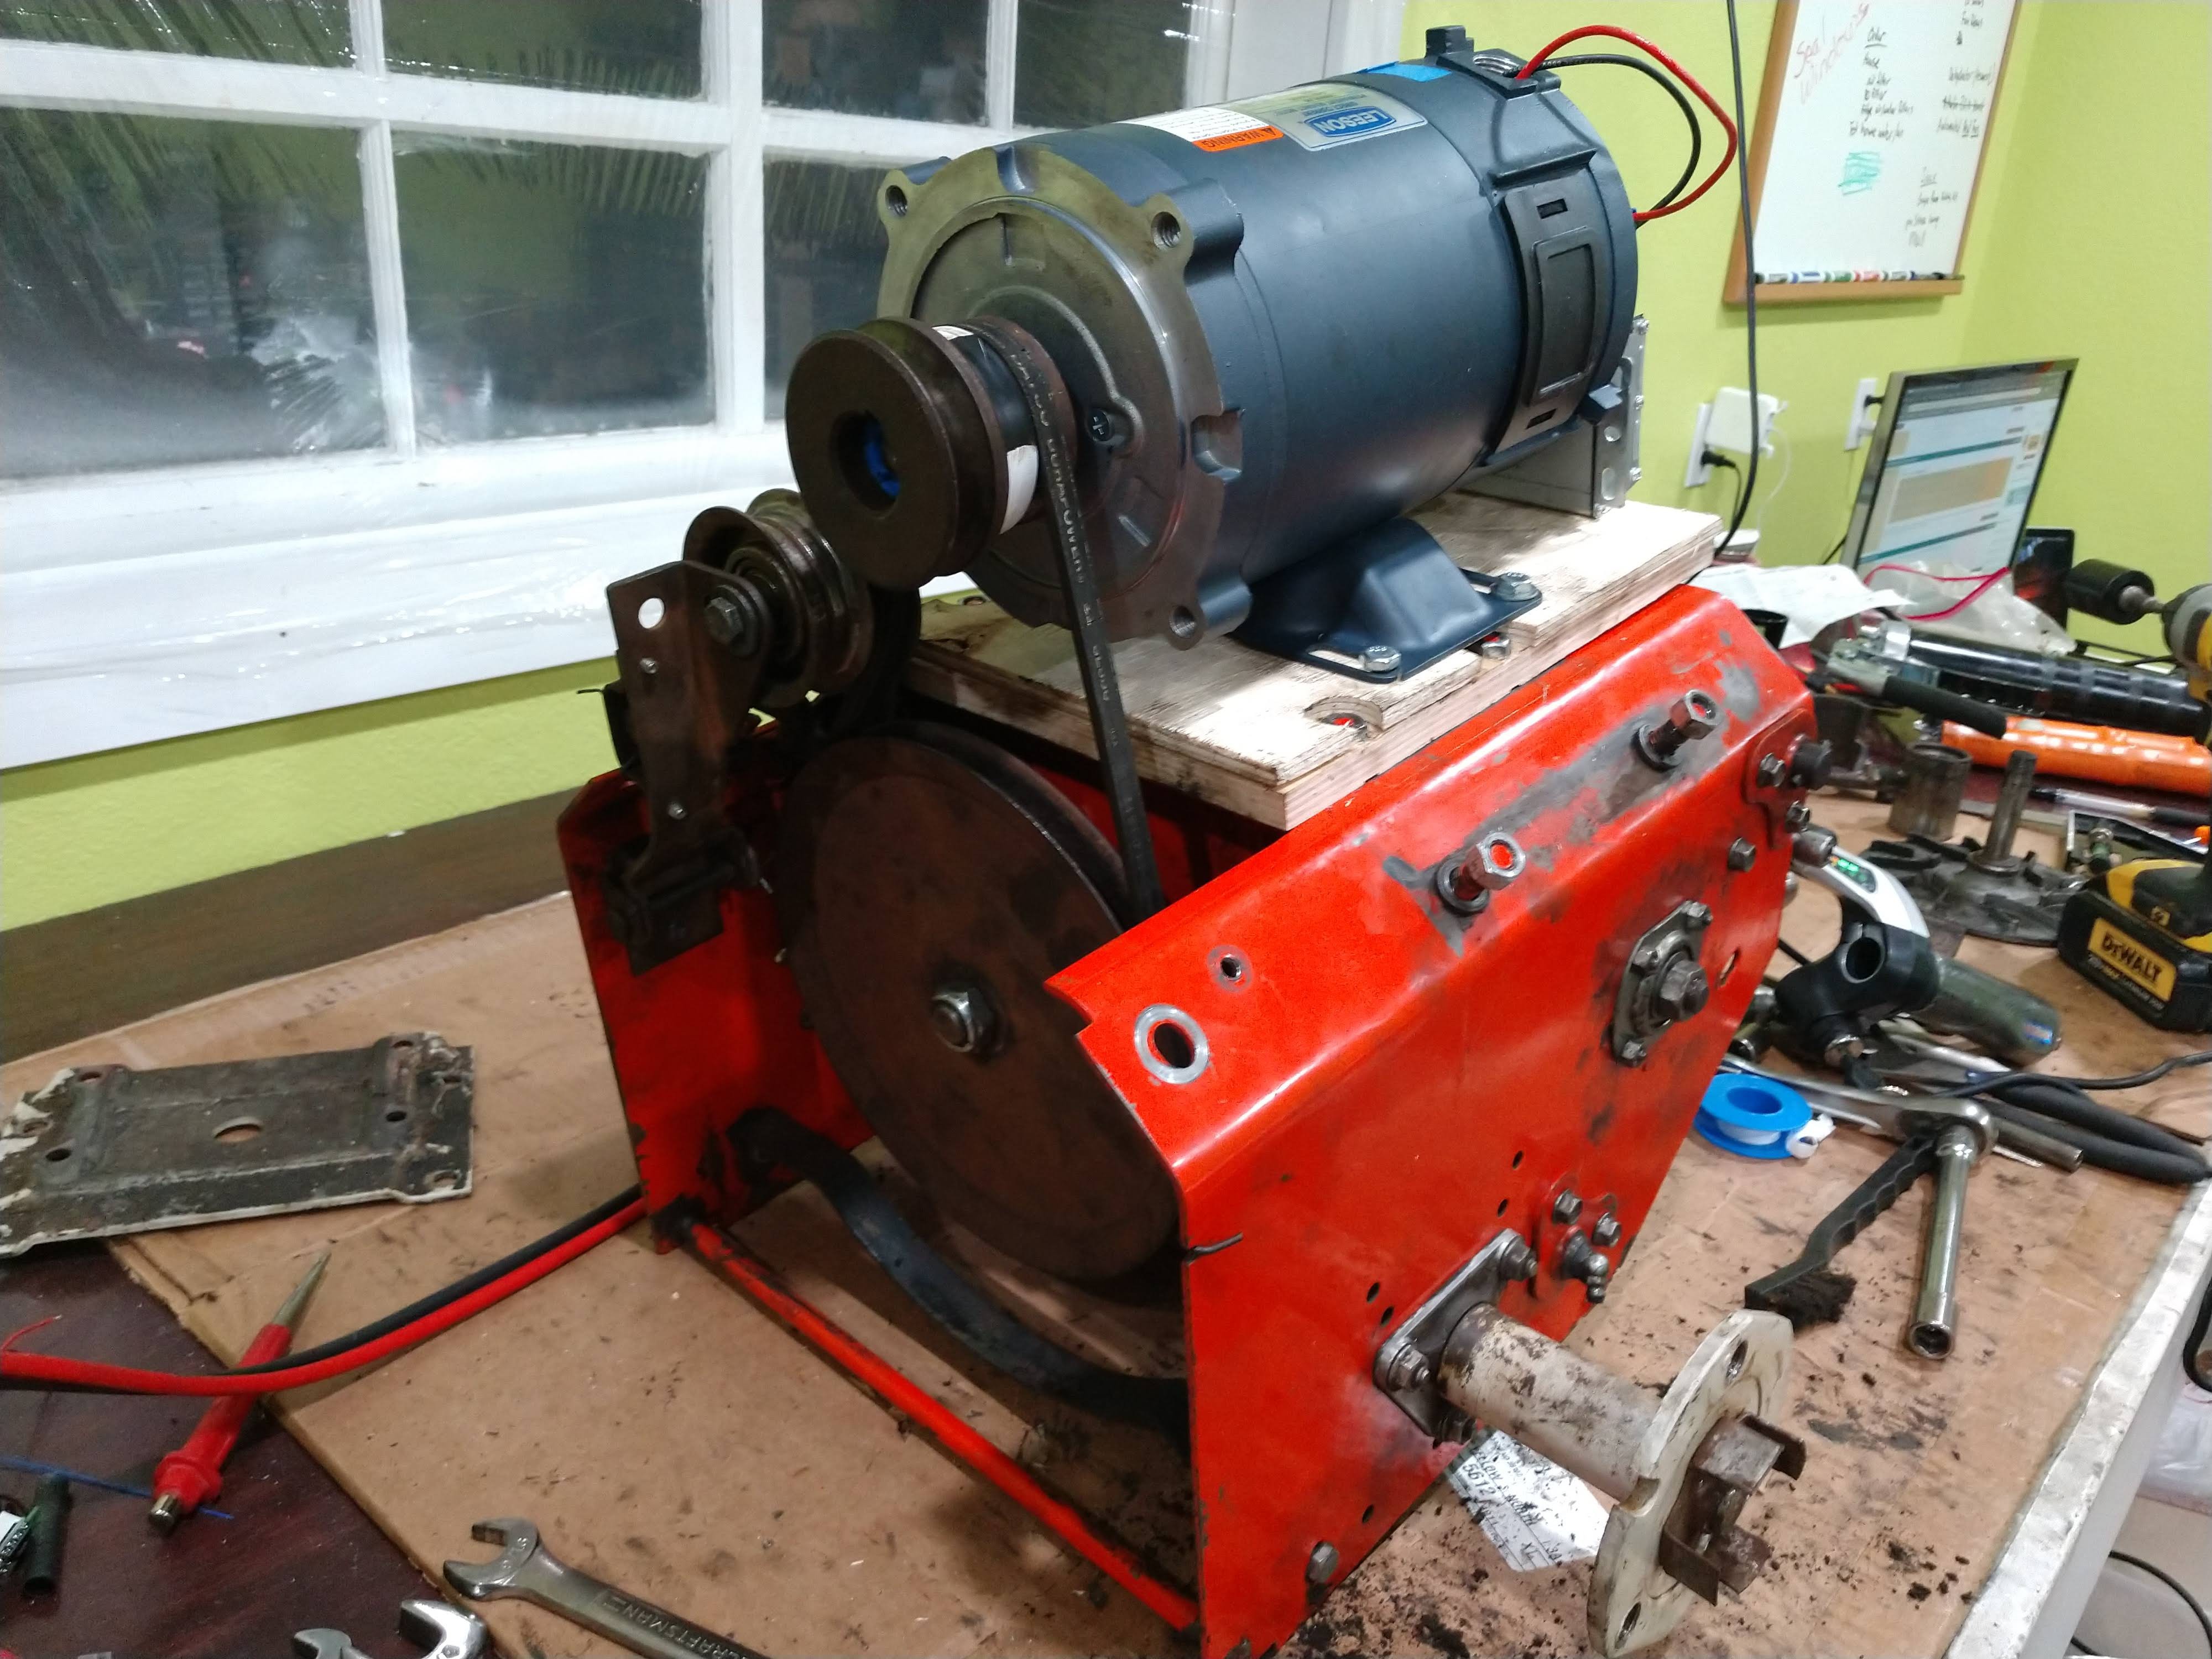
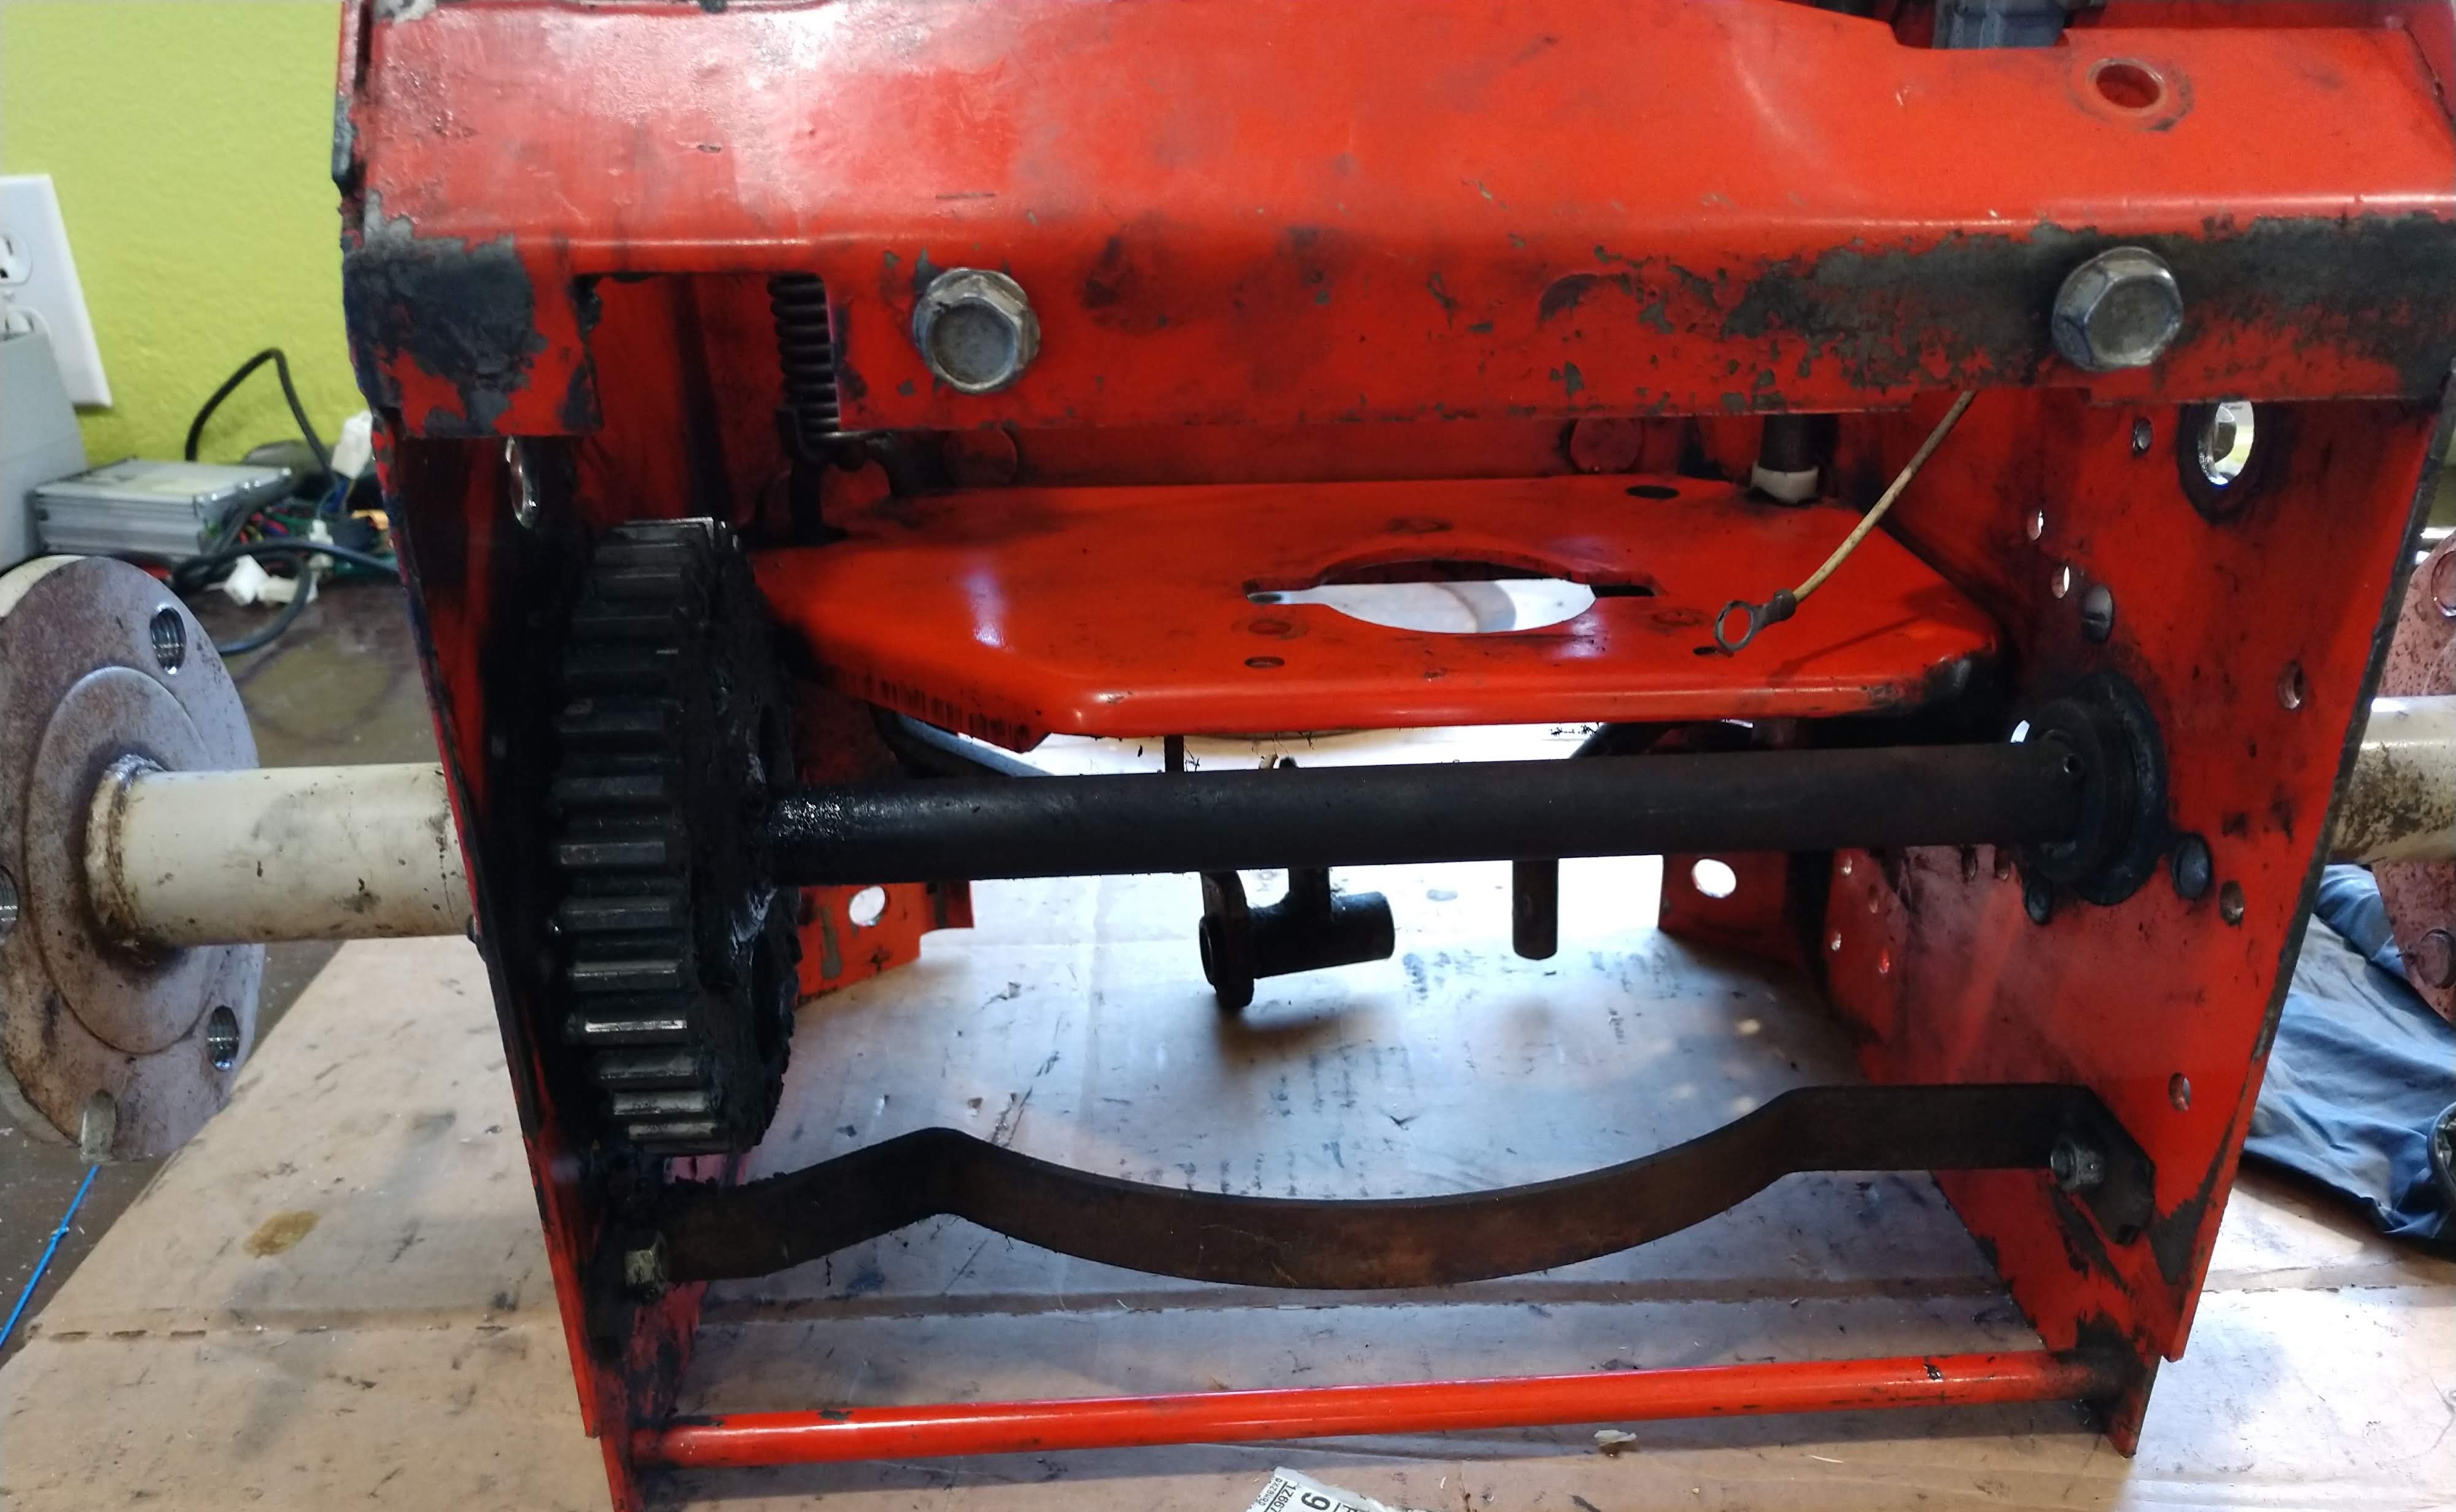
02/20/2019 at 06:45 • 0 commentsSo I know the motor is mounted on plywood, and running full steam with a 3D printed part in place of a metal one isn't the best idea... but it works!
The motor spun up full throttle, and I was moving the drive axle. Next I'm going to put it all back together with the wheels and the handles, and see if I can drive this around the yard. I might need to move the motor back an 1/8 of an inch ... but I can do that just by loosening the screws, there's enough play.
![]()
![]()
-
New Parts Arrived
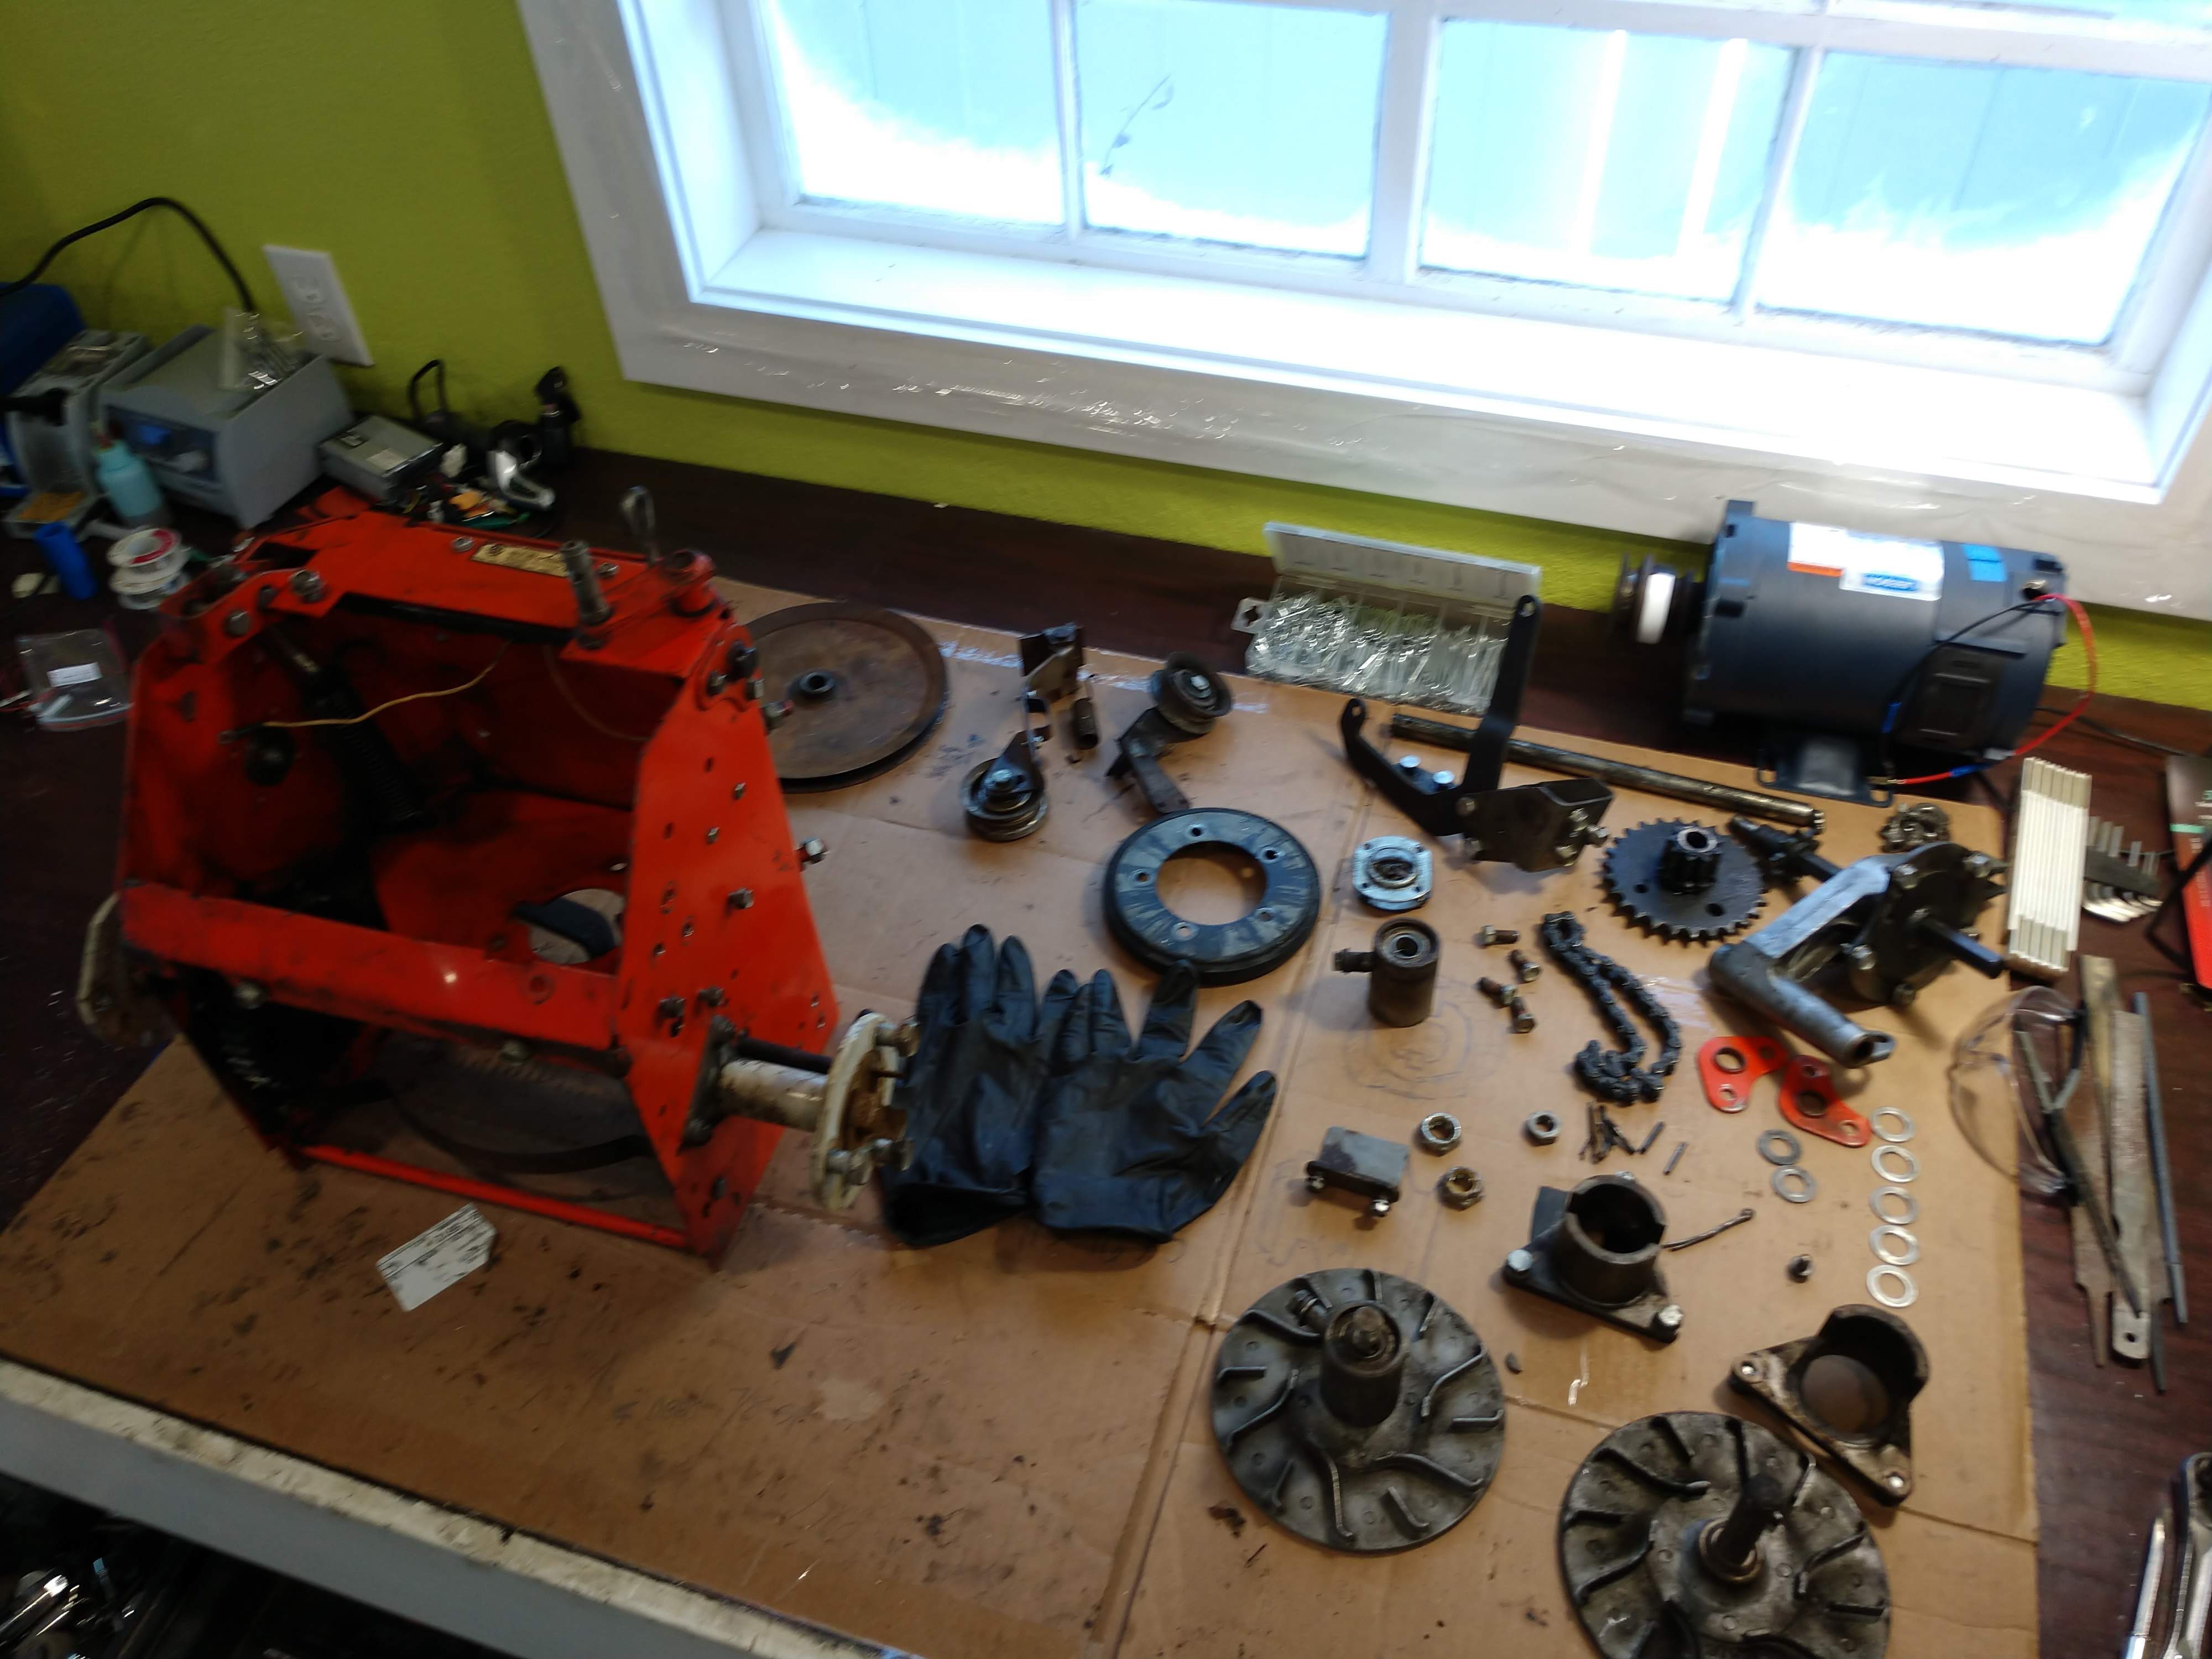
02/20/2019 at 06:39 • 0 commentsGot the new spindle housing today, you can see the two drive wheels and the two spindle housings above them on the lower right of the first picture. There was probably some casting flaw, and snapped at it's weakest point eventually. Also added a picture of it completely apart, all except for the main axle.
![]()
![]()
![]()
-
Safety PSA
02/19/2019 at 17:30 • 0 commentsIn case anyone is wondering, metal tape measures can carry a surprising amount of current .... and make an awful noise. I measured less than an ohm of resistance over 6 inches.
If you bridge the terminals of your 48V battery with a metal tape measure, you might need to change your shorts afterwards.
-
Batteries
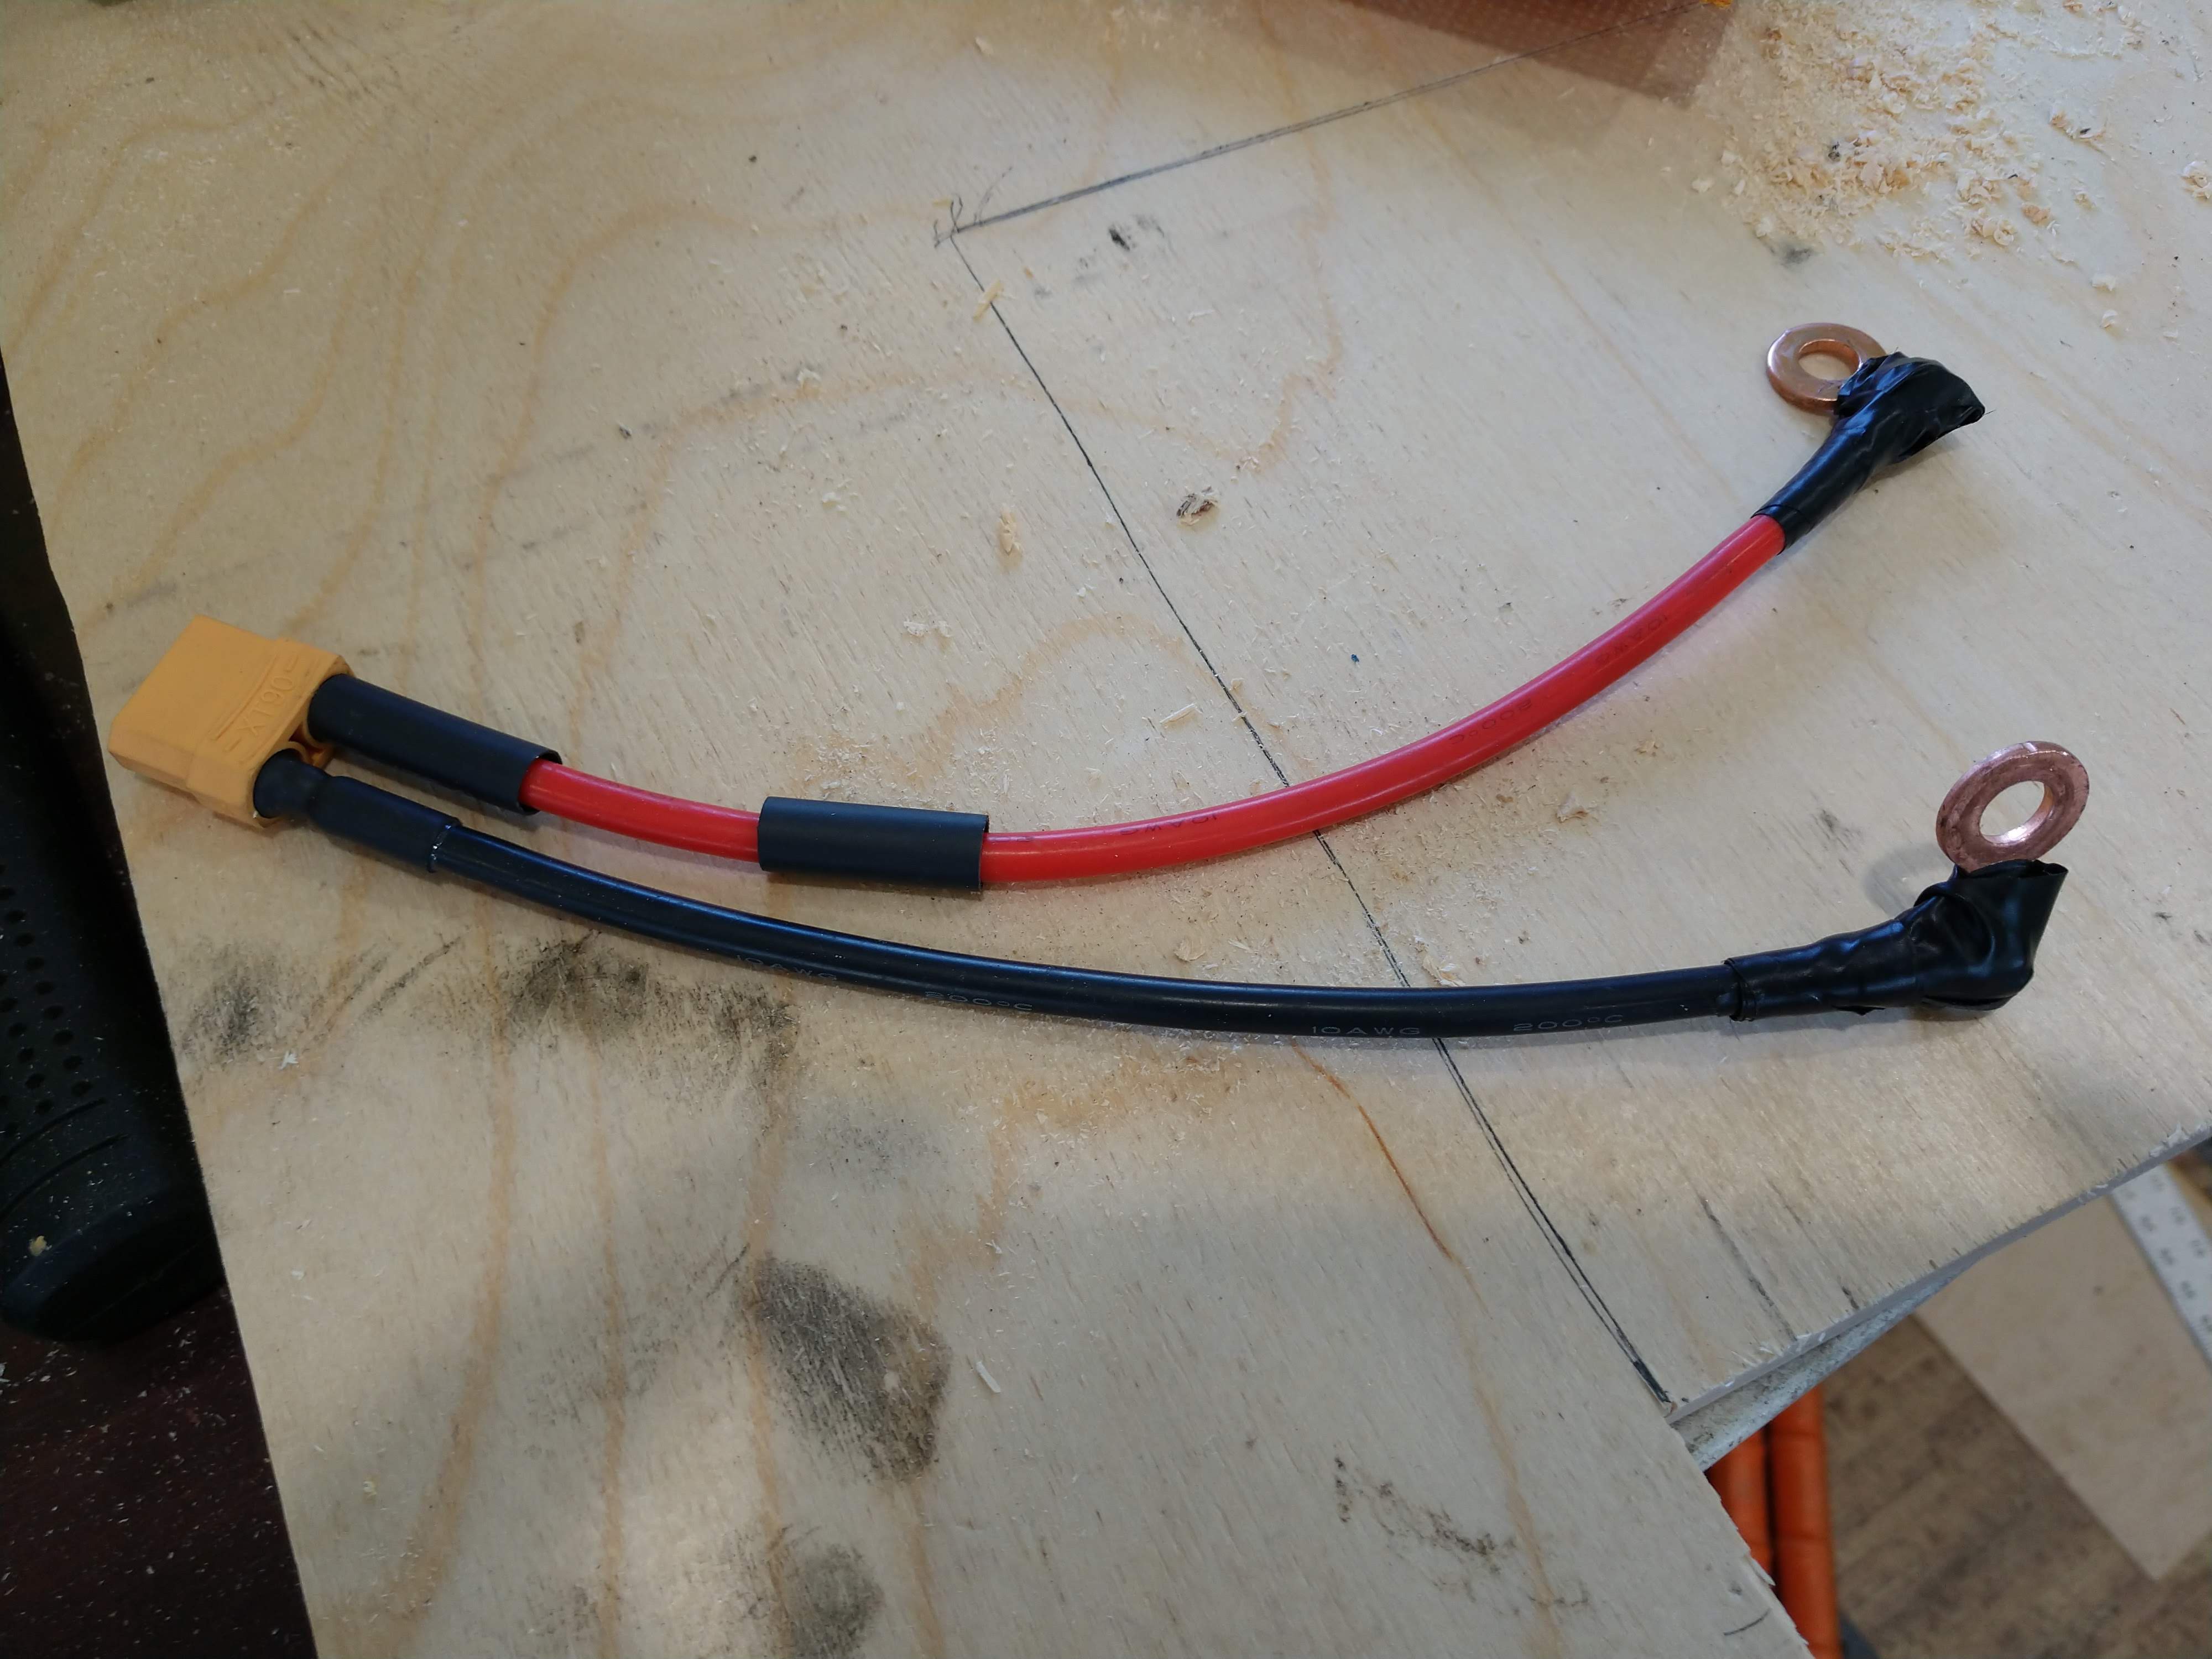
02/19/2019 at 17:08 • 0 commentsHere's how I have the batteries wired:
![]()
![]()
The first picture shows the XT90 connector. That takes quite a bit of heat to get a good solder connection with the 10AWC silicone covered wire. This wire is super flexible, very nice to work with. I'll add a link in components.
I have 3 separate connectors, and plan to have 2 banks hooked up at first, and by switch (and contactor from a Toyota Prius) change over to the backup bank. I don't want to be out of power before I have time to crawl back up on the back of the truck. If you look at the battery connections, the square post is negative and the rounded side post is positive. The copper straps and screws came with the battery pack, nice all included package. Purchased from the local salvage yard ... I got 2 Honda Accord batteries like this one, 2 Prius batteries (these include high current contactors) and a Ford Explorer hybrid battery at 330V ... all from the local salvage yard, all for $40 and a dance (yes, I actually danced). The total weight made my Jeep Wrangler sag a few inches.
-
Waiting for Parts
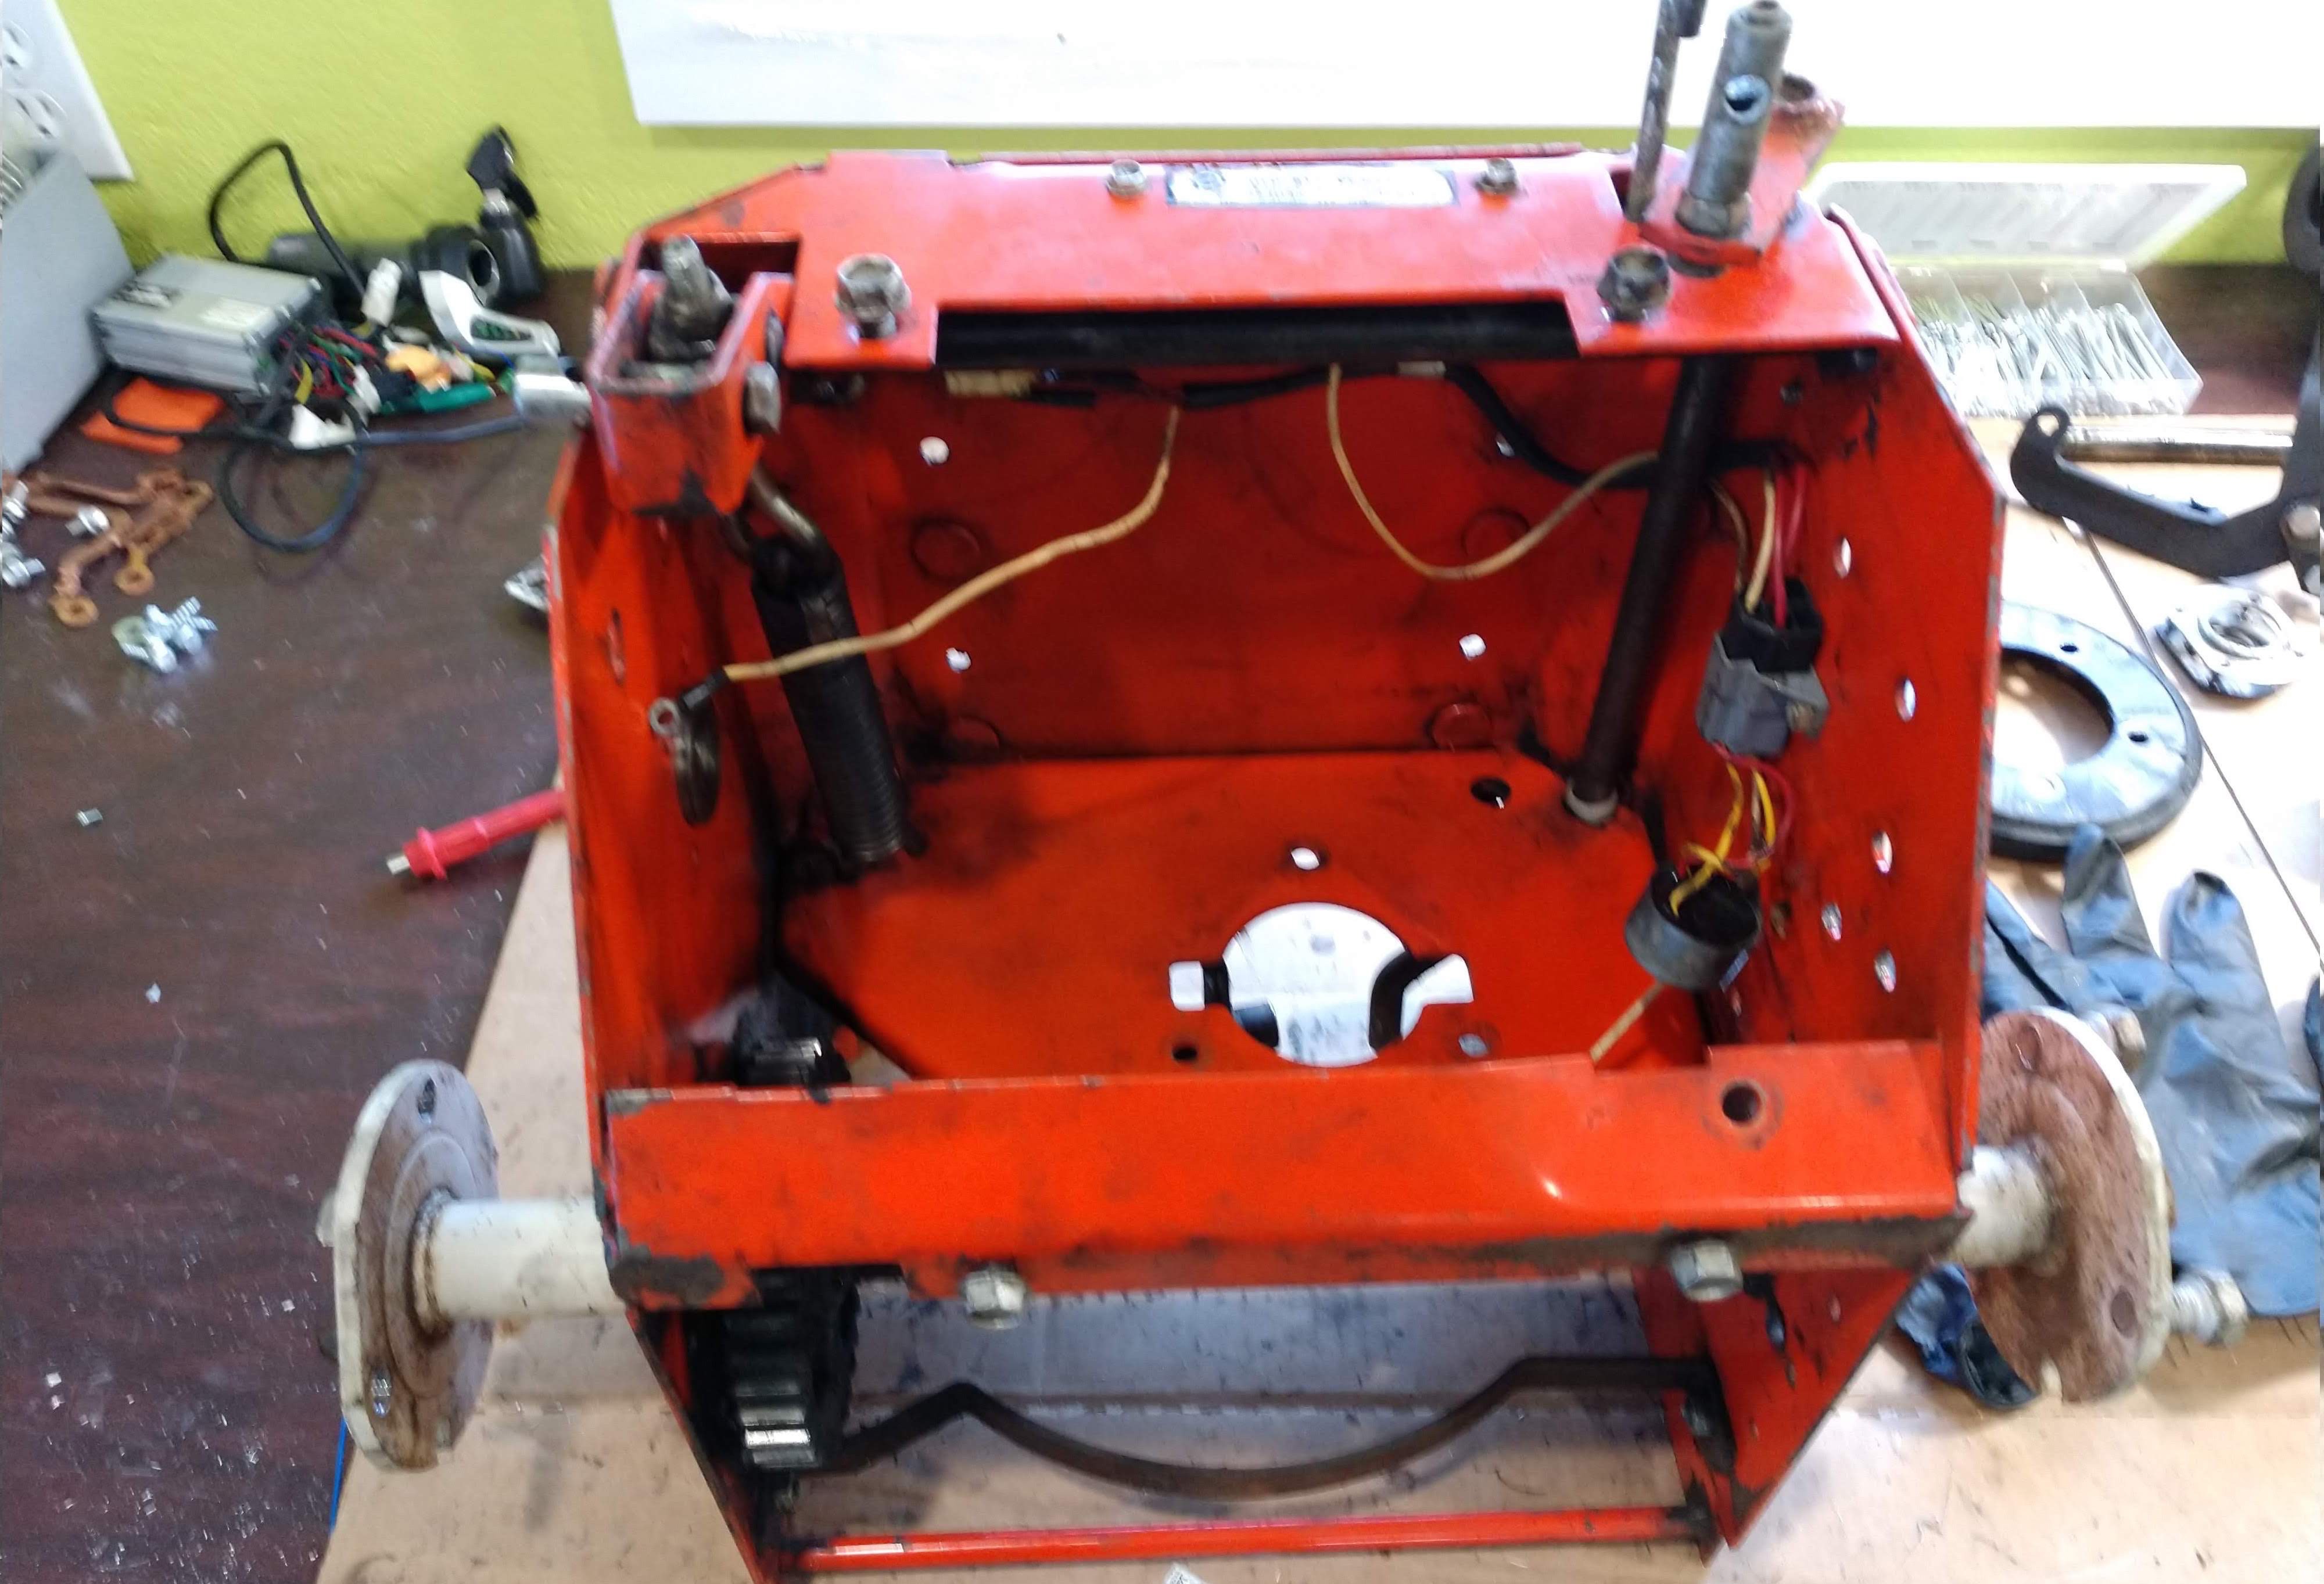
02/19/2019 at 09:17 • 0 commentsRight now I'm waiting on a part in the mail, something that was already broken on the blower before I started this project. That should come in, and I can start the long process of putting it all back together. I'll get one more picture of it completely apart before I begin.
Electric Snowblower Conversion
Using a 1979 Ariens chassis, but replacing the small engine with a DC motor