-
Connecting tail to servo
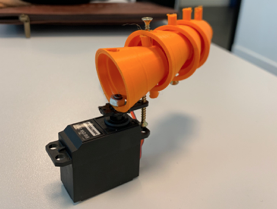
03/10/2019 at 19:40 • 0 commentsOnce the 4 tail cones are connected together they can be connected to the servo. You can use any servo but I would advise using a high torque servo with base dimensions 2.5cmx4.5cm. The servo will contain a thread at the centre of the rotating part. using a nut and bolt the bolt can be passed through the hole in the cone and the nut used to secure the tail in place. Another screw can be used to stop the servo from over rotating. this is done by using a long screw into the first downward facing pin on the bottom cone. I used a 6cm long screw.
-
Printing the Tail
03/10/2019 at 19:32 • 0 comments4 cones were printed using the stl file in the project files. the cones were printed with the top of the cone facing the bed in order to reduce the amount of supports required and make sure structure is maintained. once printed the cones can be connected together by filing down the pins until they are short enough to be pushed into the holes in the above cone. A 3mm screw can be used to screw into the end of the pin to stop the cones disconnecting.
-
Aesthetics
03/09/2019 at 10:30 • 0 commentsThe companion robot will be located within a toy Panda. The 'skin' of this project will be independent of the rest of the manufacture hence any cuddly toy can be used in your project. This particular panda is available at IKEA.
-
Power
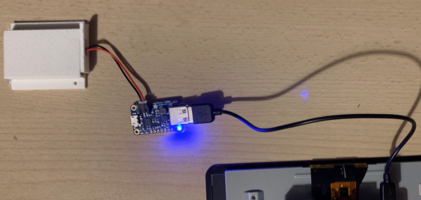
03/09/2019 at 10:26 • 0 commentsThe companion robot needs to be powered without the use of mains voltage. This is to make the companion robot portable and to make sure the development is safe. The companion robot uses a LiPo battery encased in a 3D printed battery holder (found in file log). The battery is connected to an Adafruit PowerbBoost to allow the companion robot to be rechargeable and easy to use. The Powerboost can be directly connected to the Raspberry Pi.
-
Processing and display
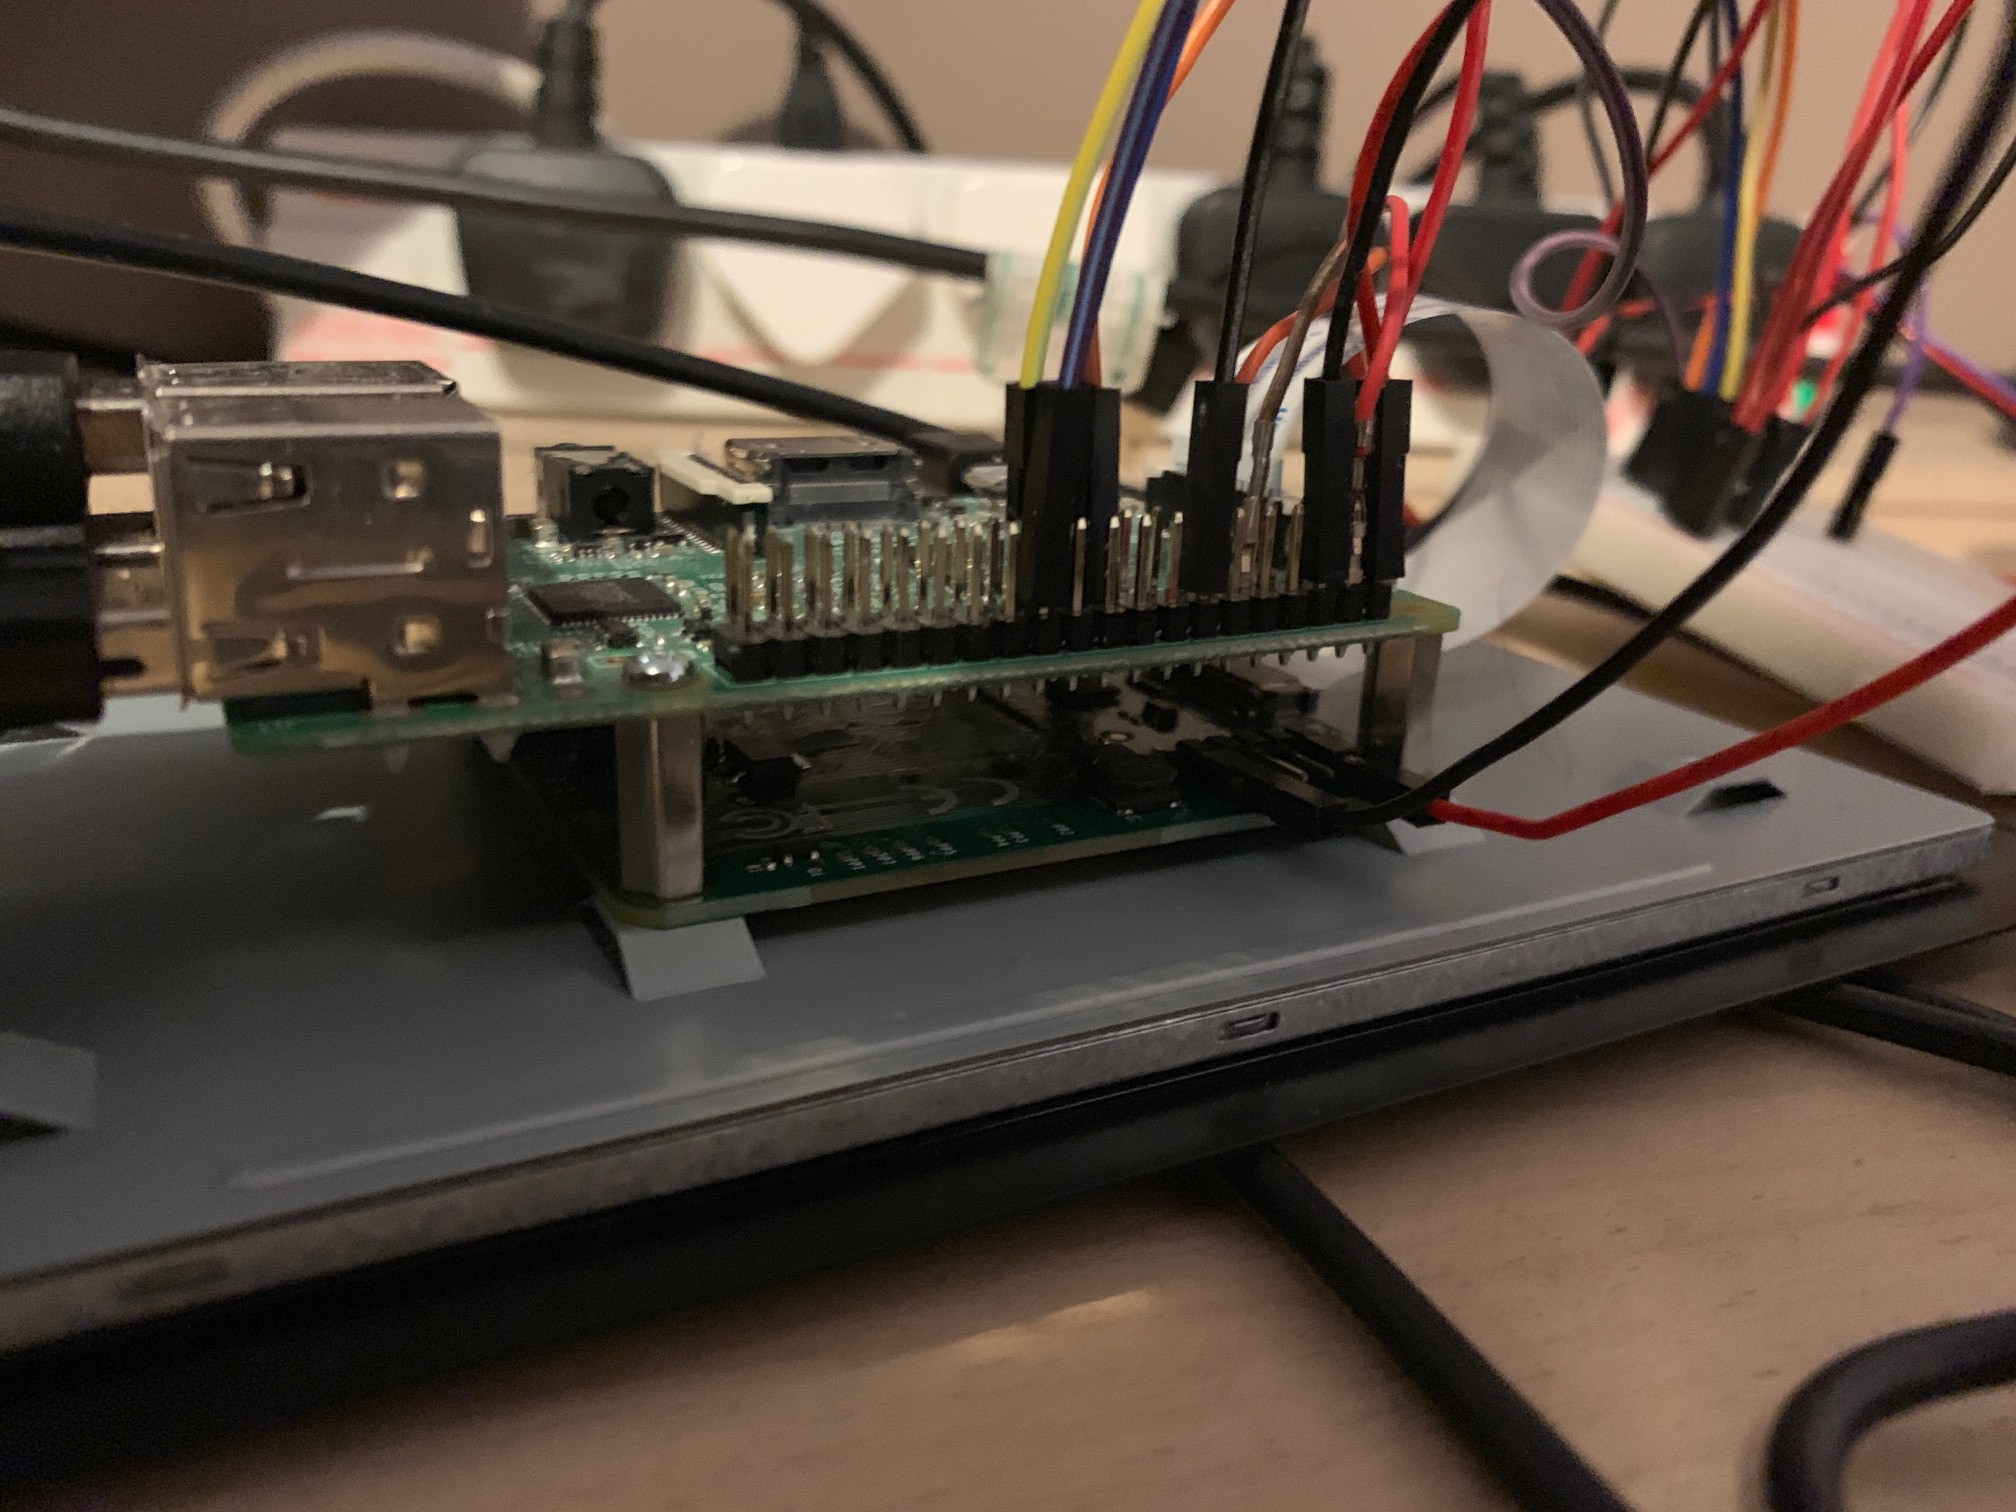
03/09/2019 at 10:21 • 0 commentsThe first stage of this project began with the decision of what processing unit to use. It was decided that a Raspberry Pi will be used because of the share volume of accessories available and Raspberry Pi's typically use python as a coding language. The Raspberry Pi is then connected to a 7" touchscreen via GPIO pins, and display tape. The Raspberry Pi can be screwed directly onto the back of the touchscreen, saving space within the companion robot.
![]()
Design and Build a Companion Robot for MS Care
The project aims to design and build a companion robot for aid in primary and secondary progressive Multiple Sclerosis care.


