Luca
Luca-
Completed Keyboard
03/06/2019 at 23:17 • 3 comments
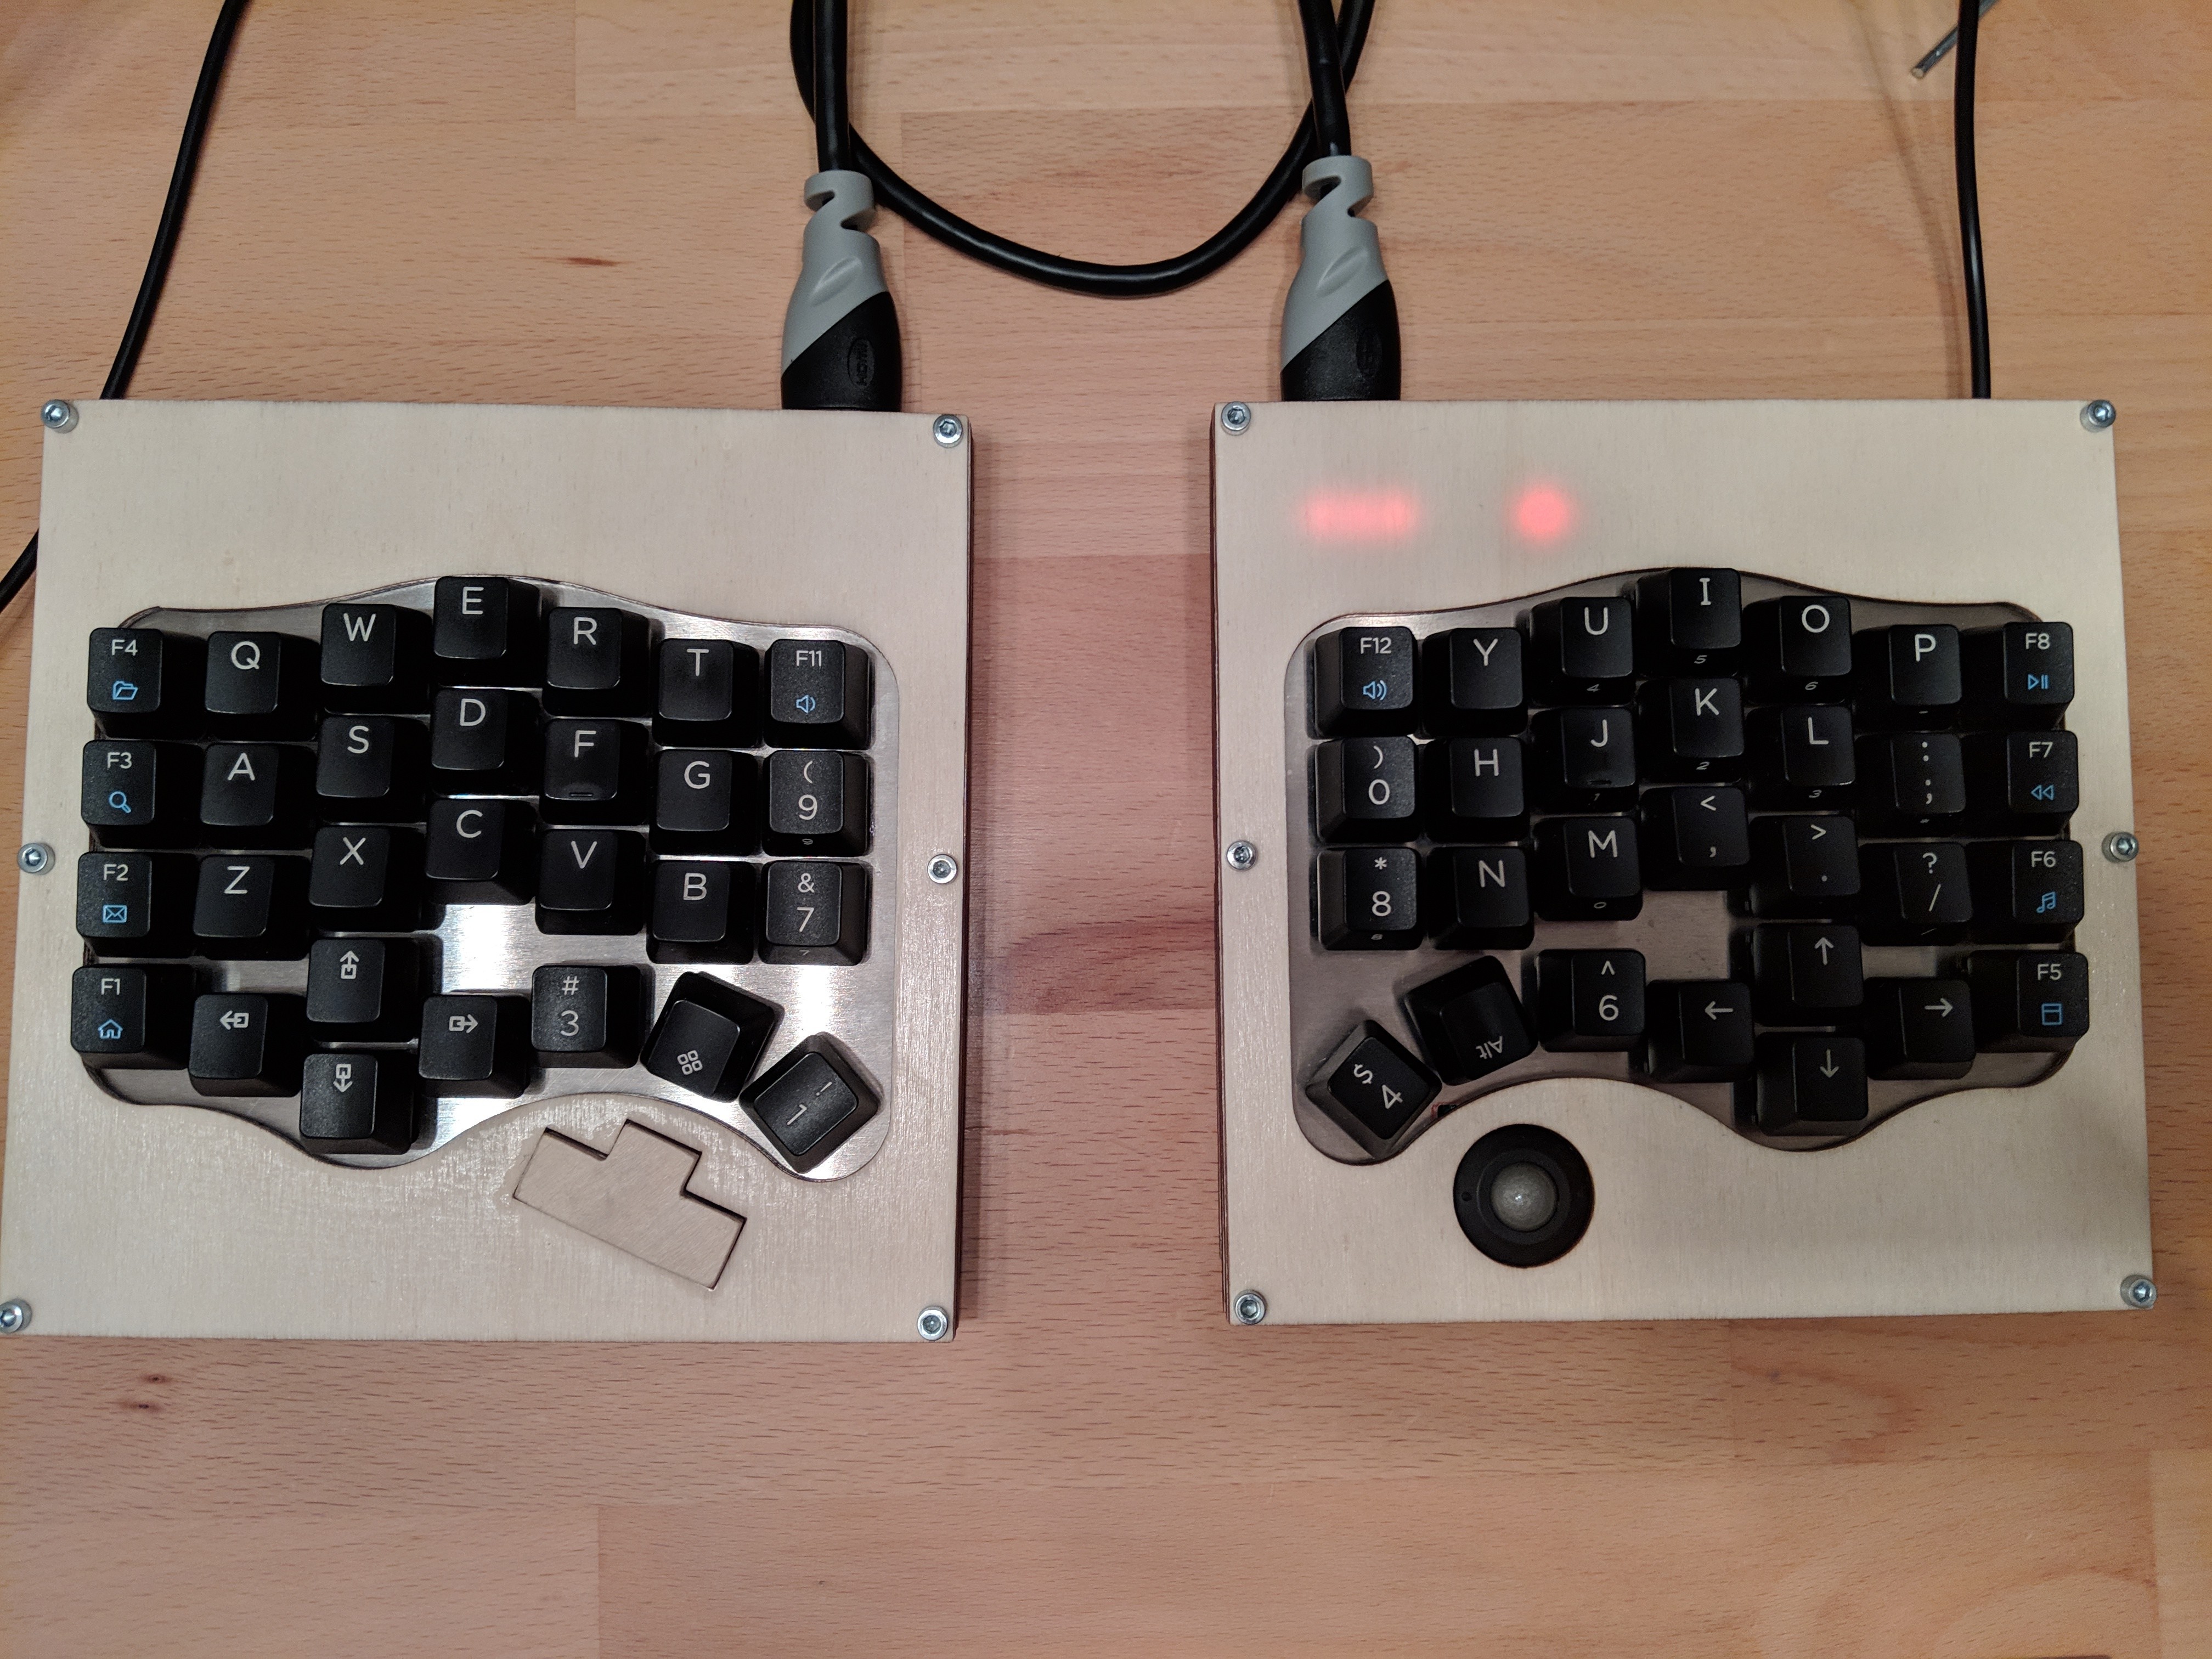
The keyboard completed and in use.
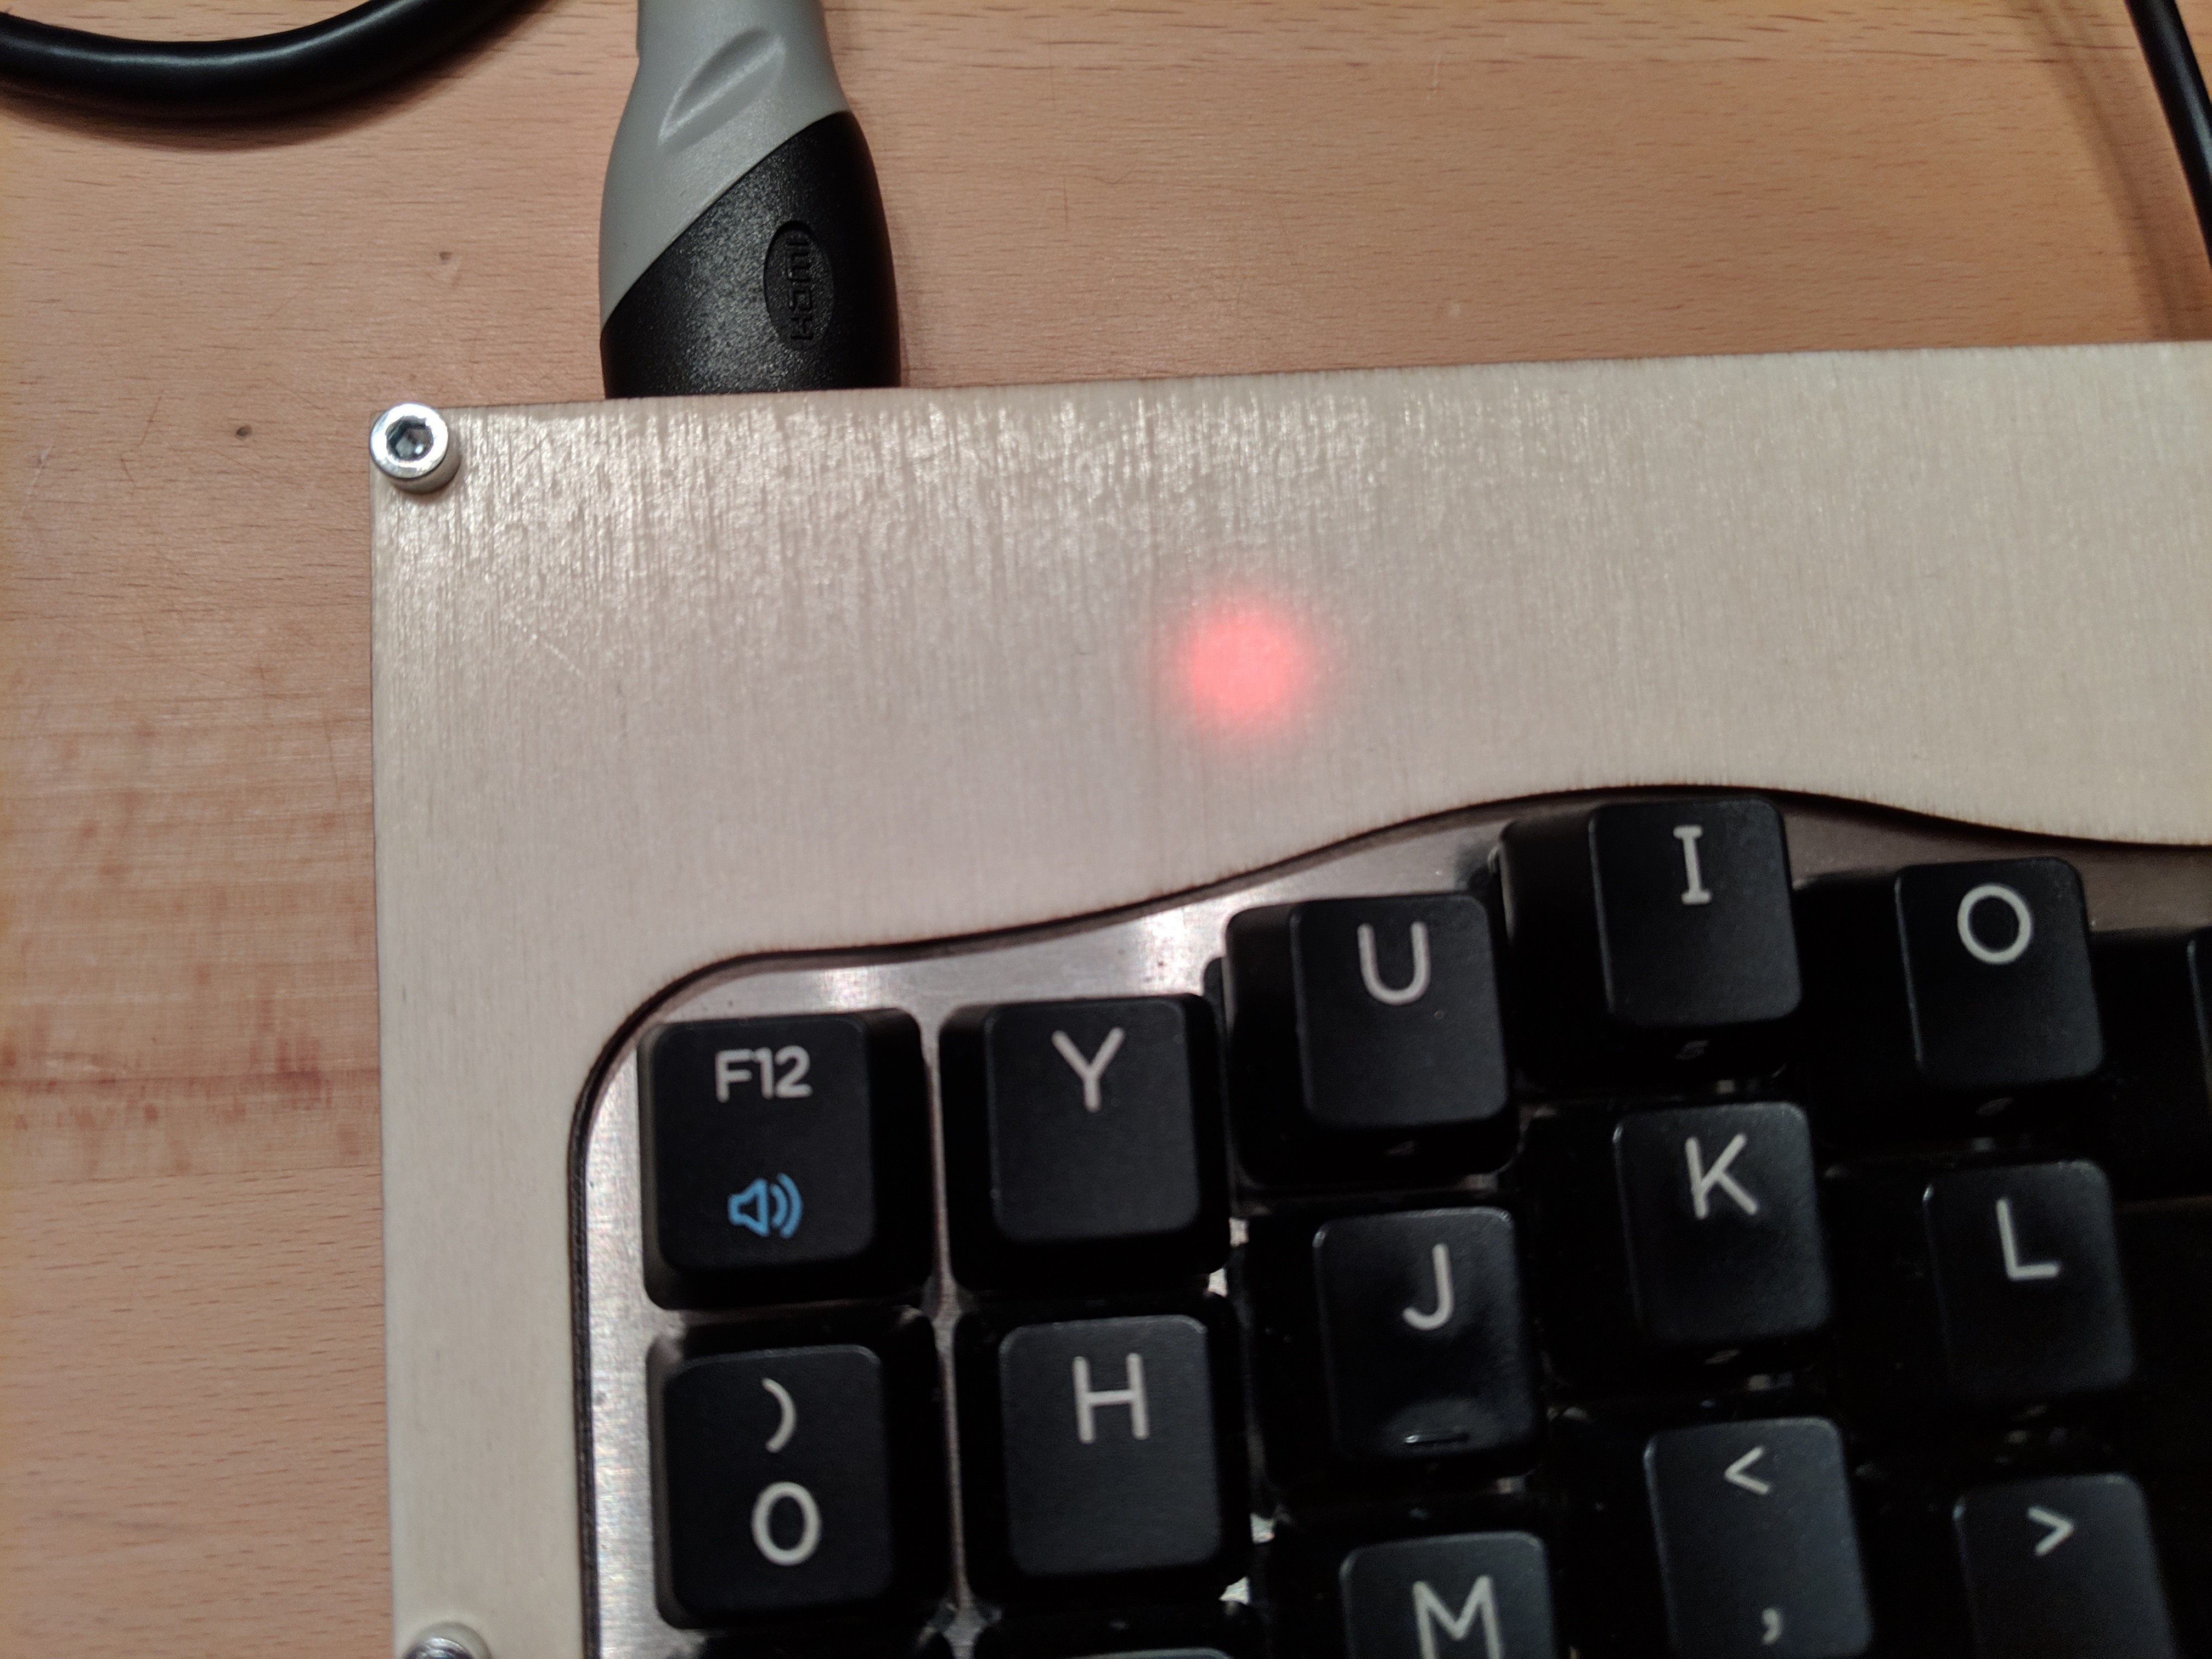
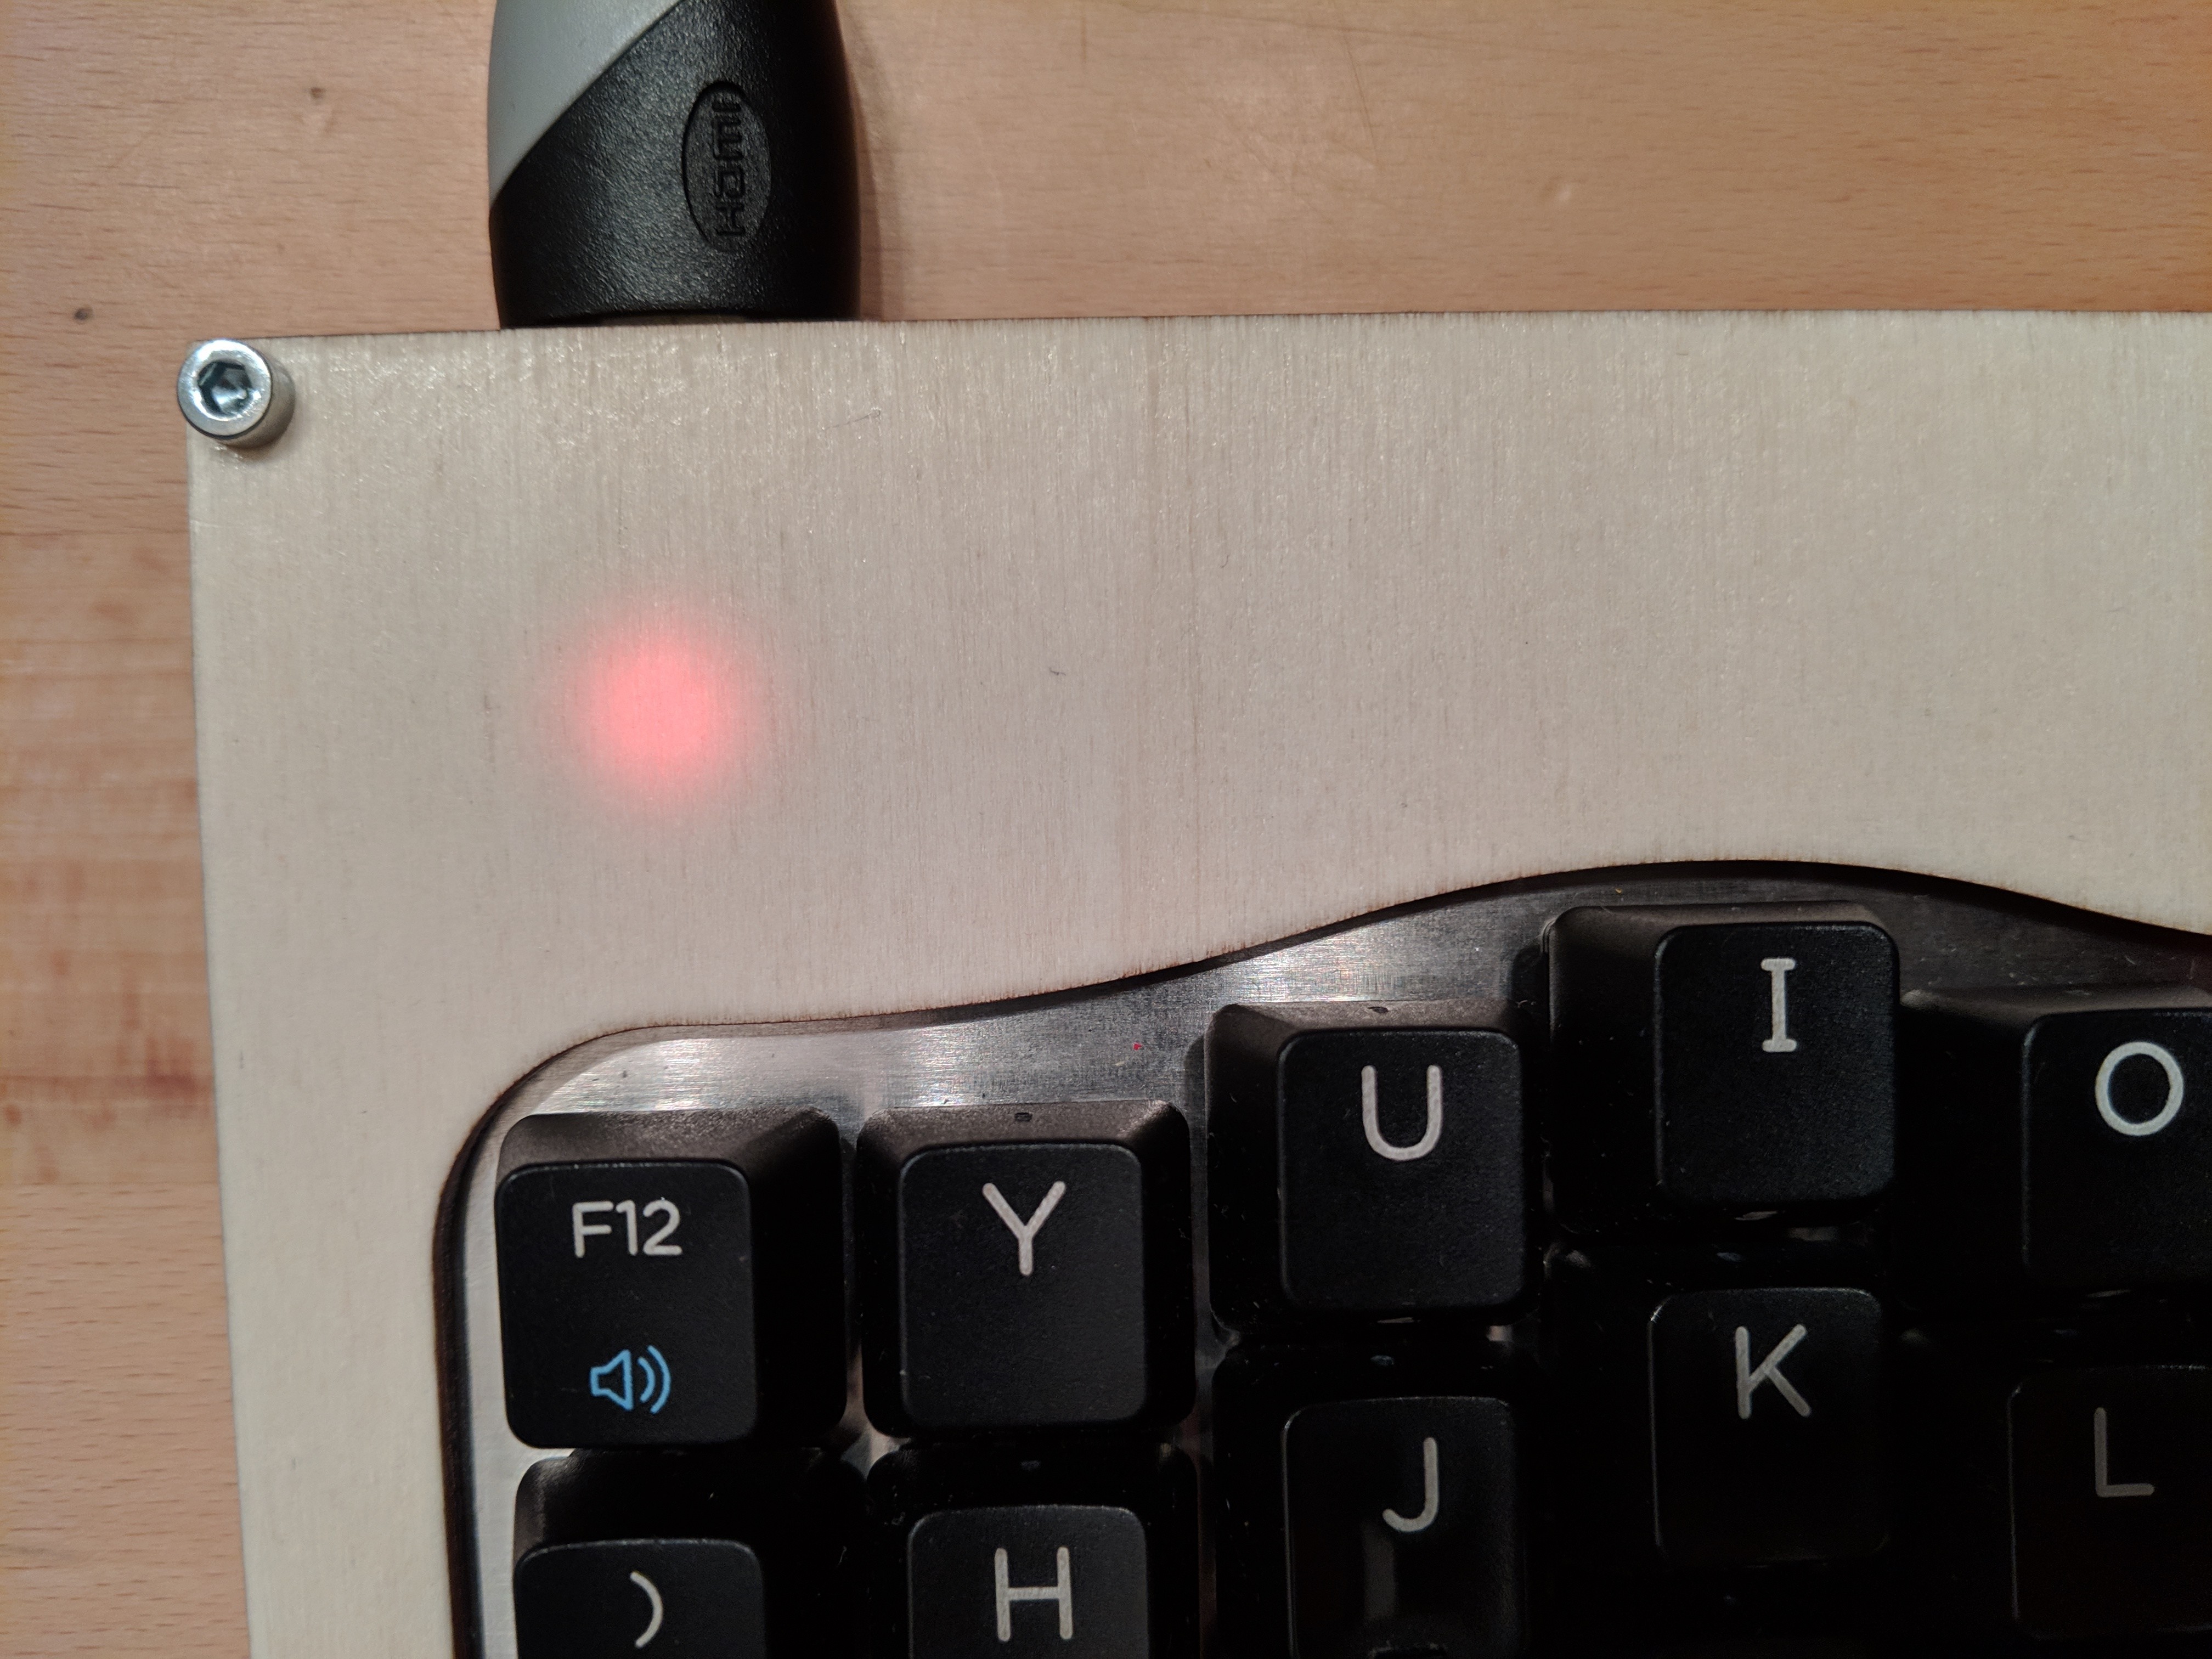
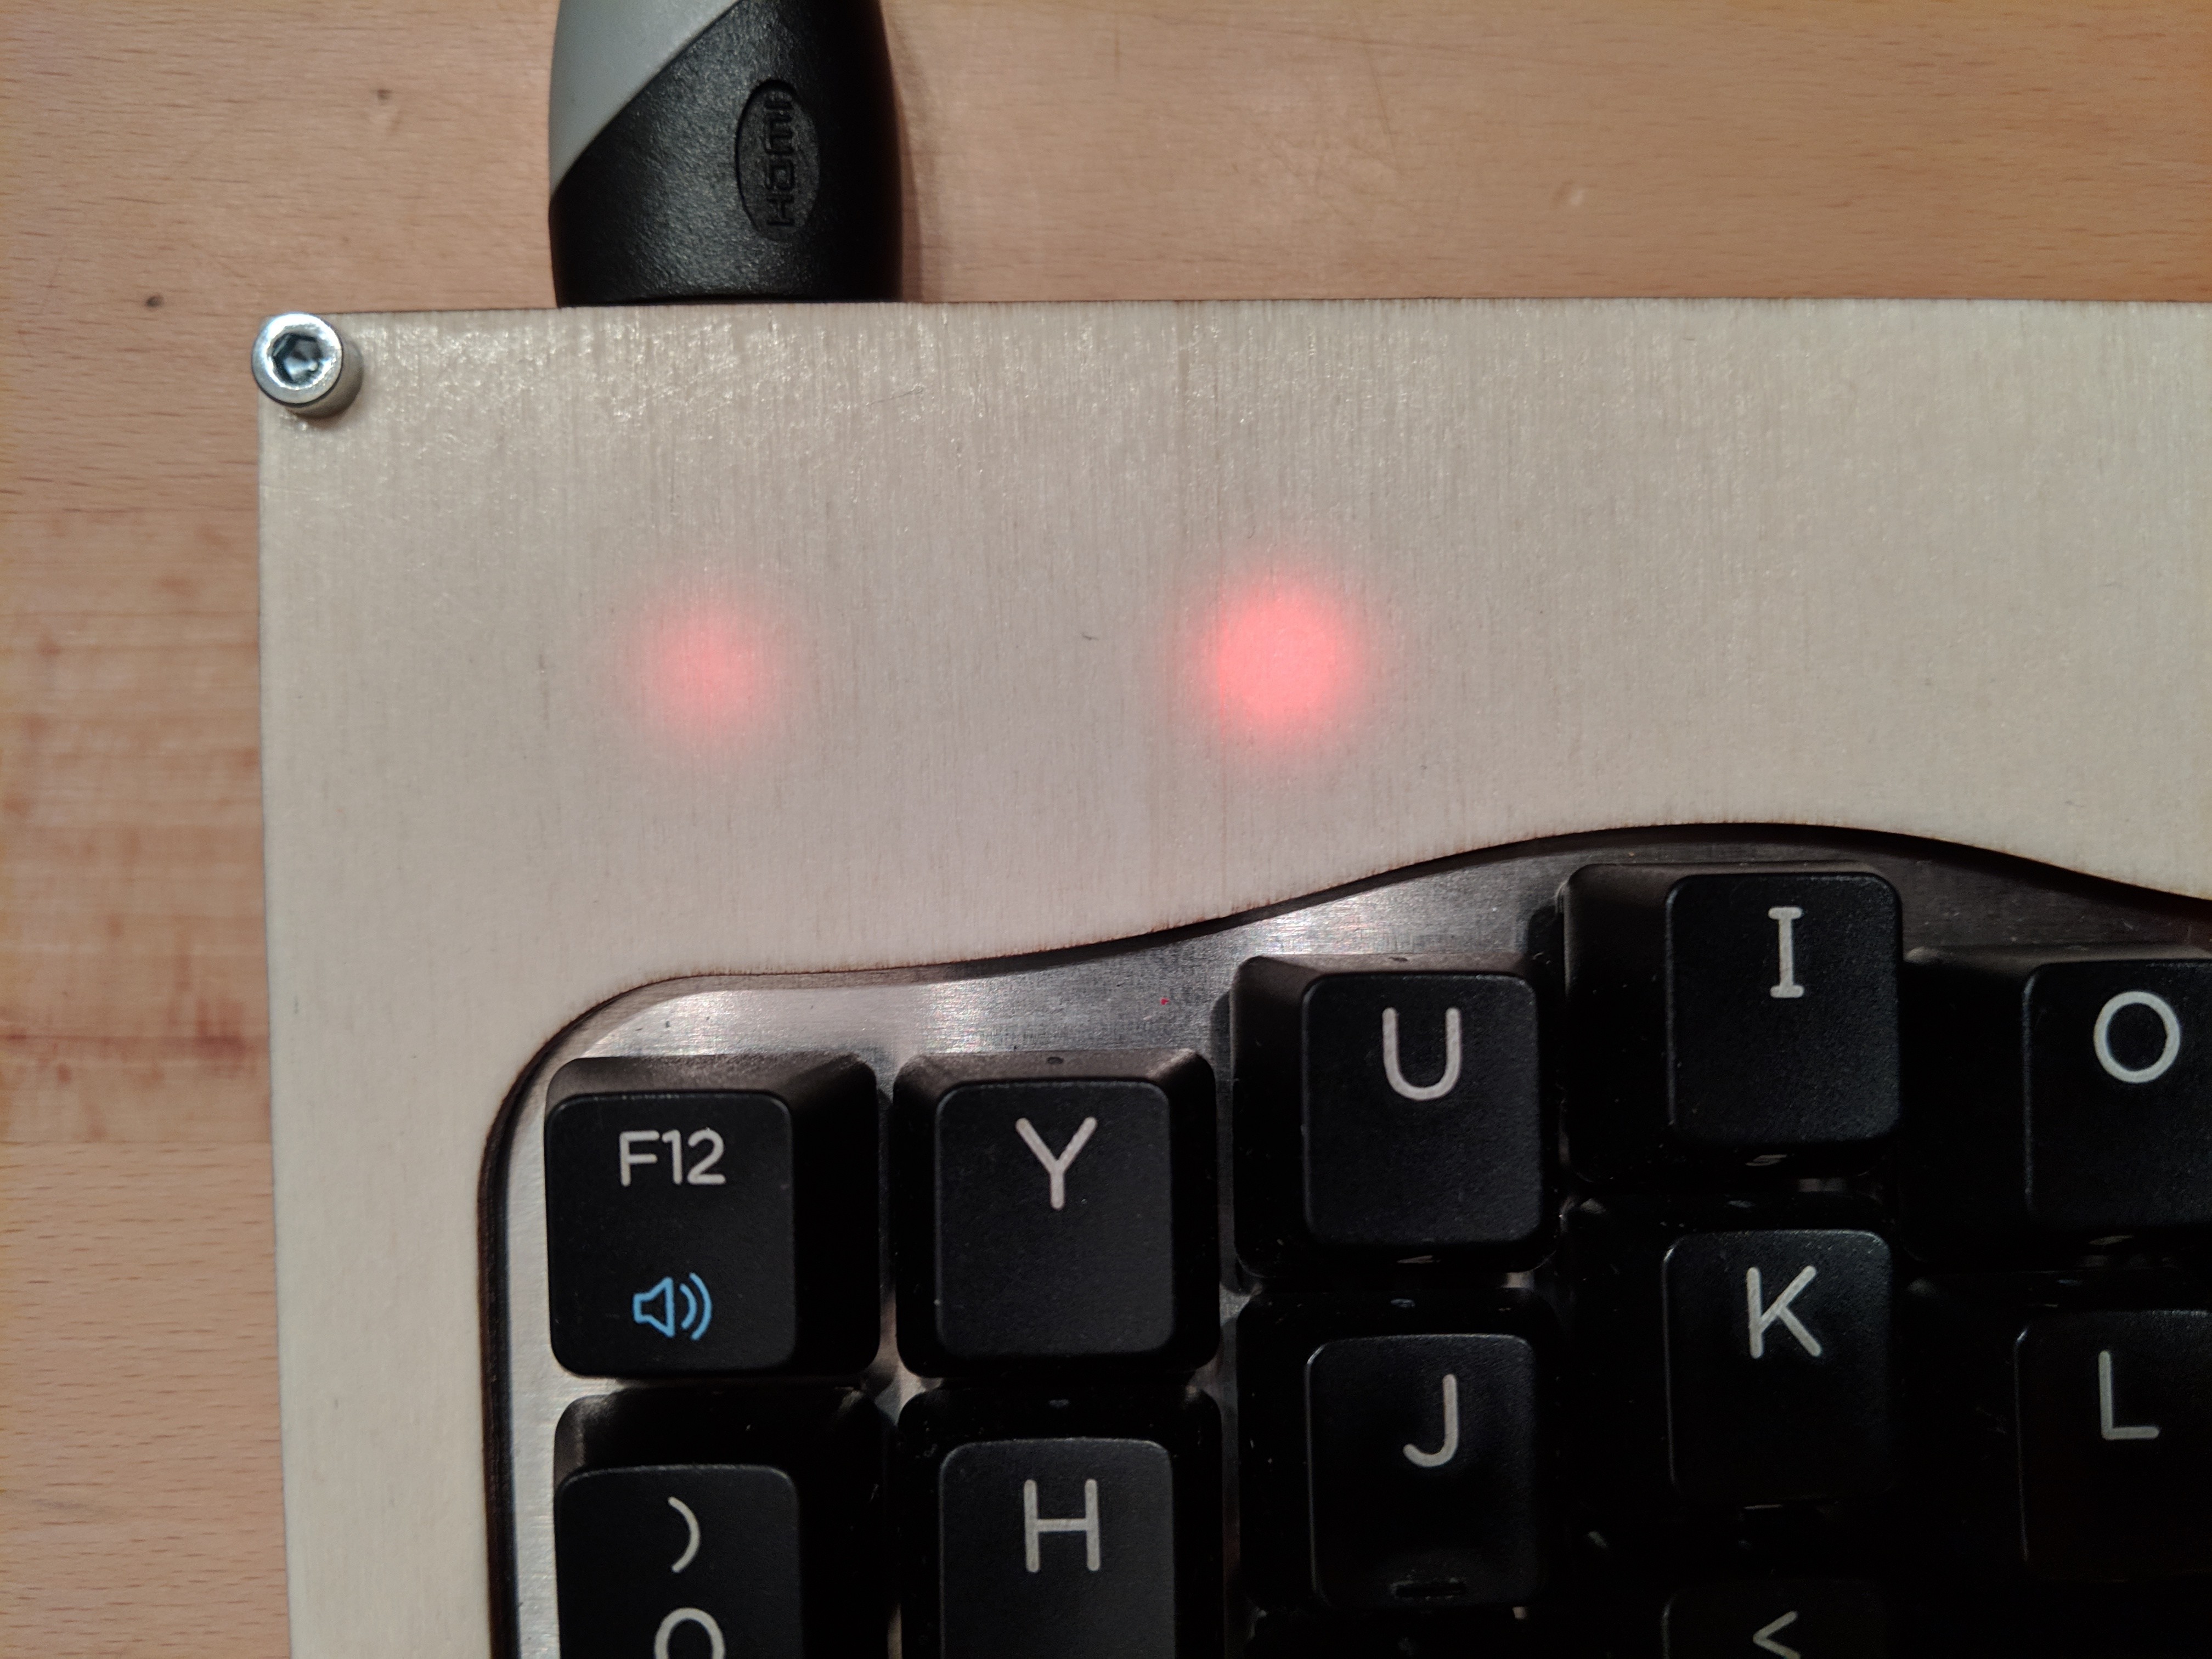
Here is possible to see that the 3 LEDs for the modifier keys (CTRL, ALT and SHIFT) are set for the "one key", hence the LEDs are at 50%; a layer is also active, hence the LED is to 100%.
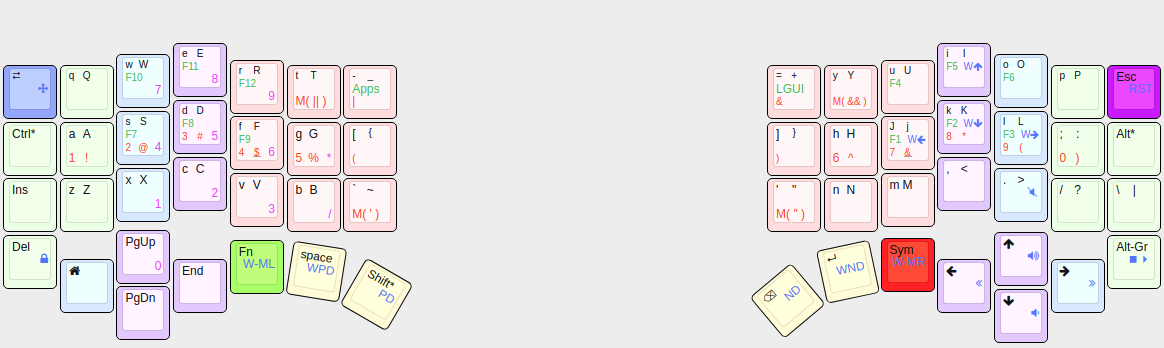
Fist draft of the layouts of the keyboard.
-
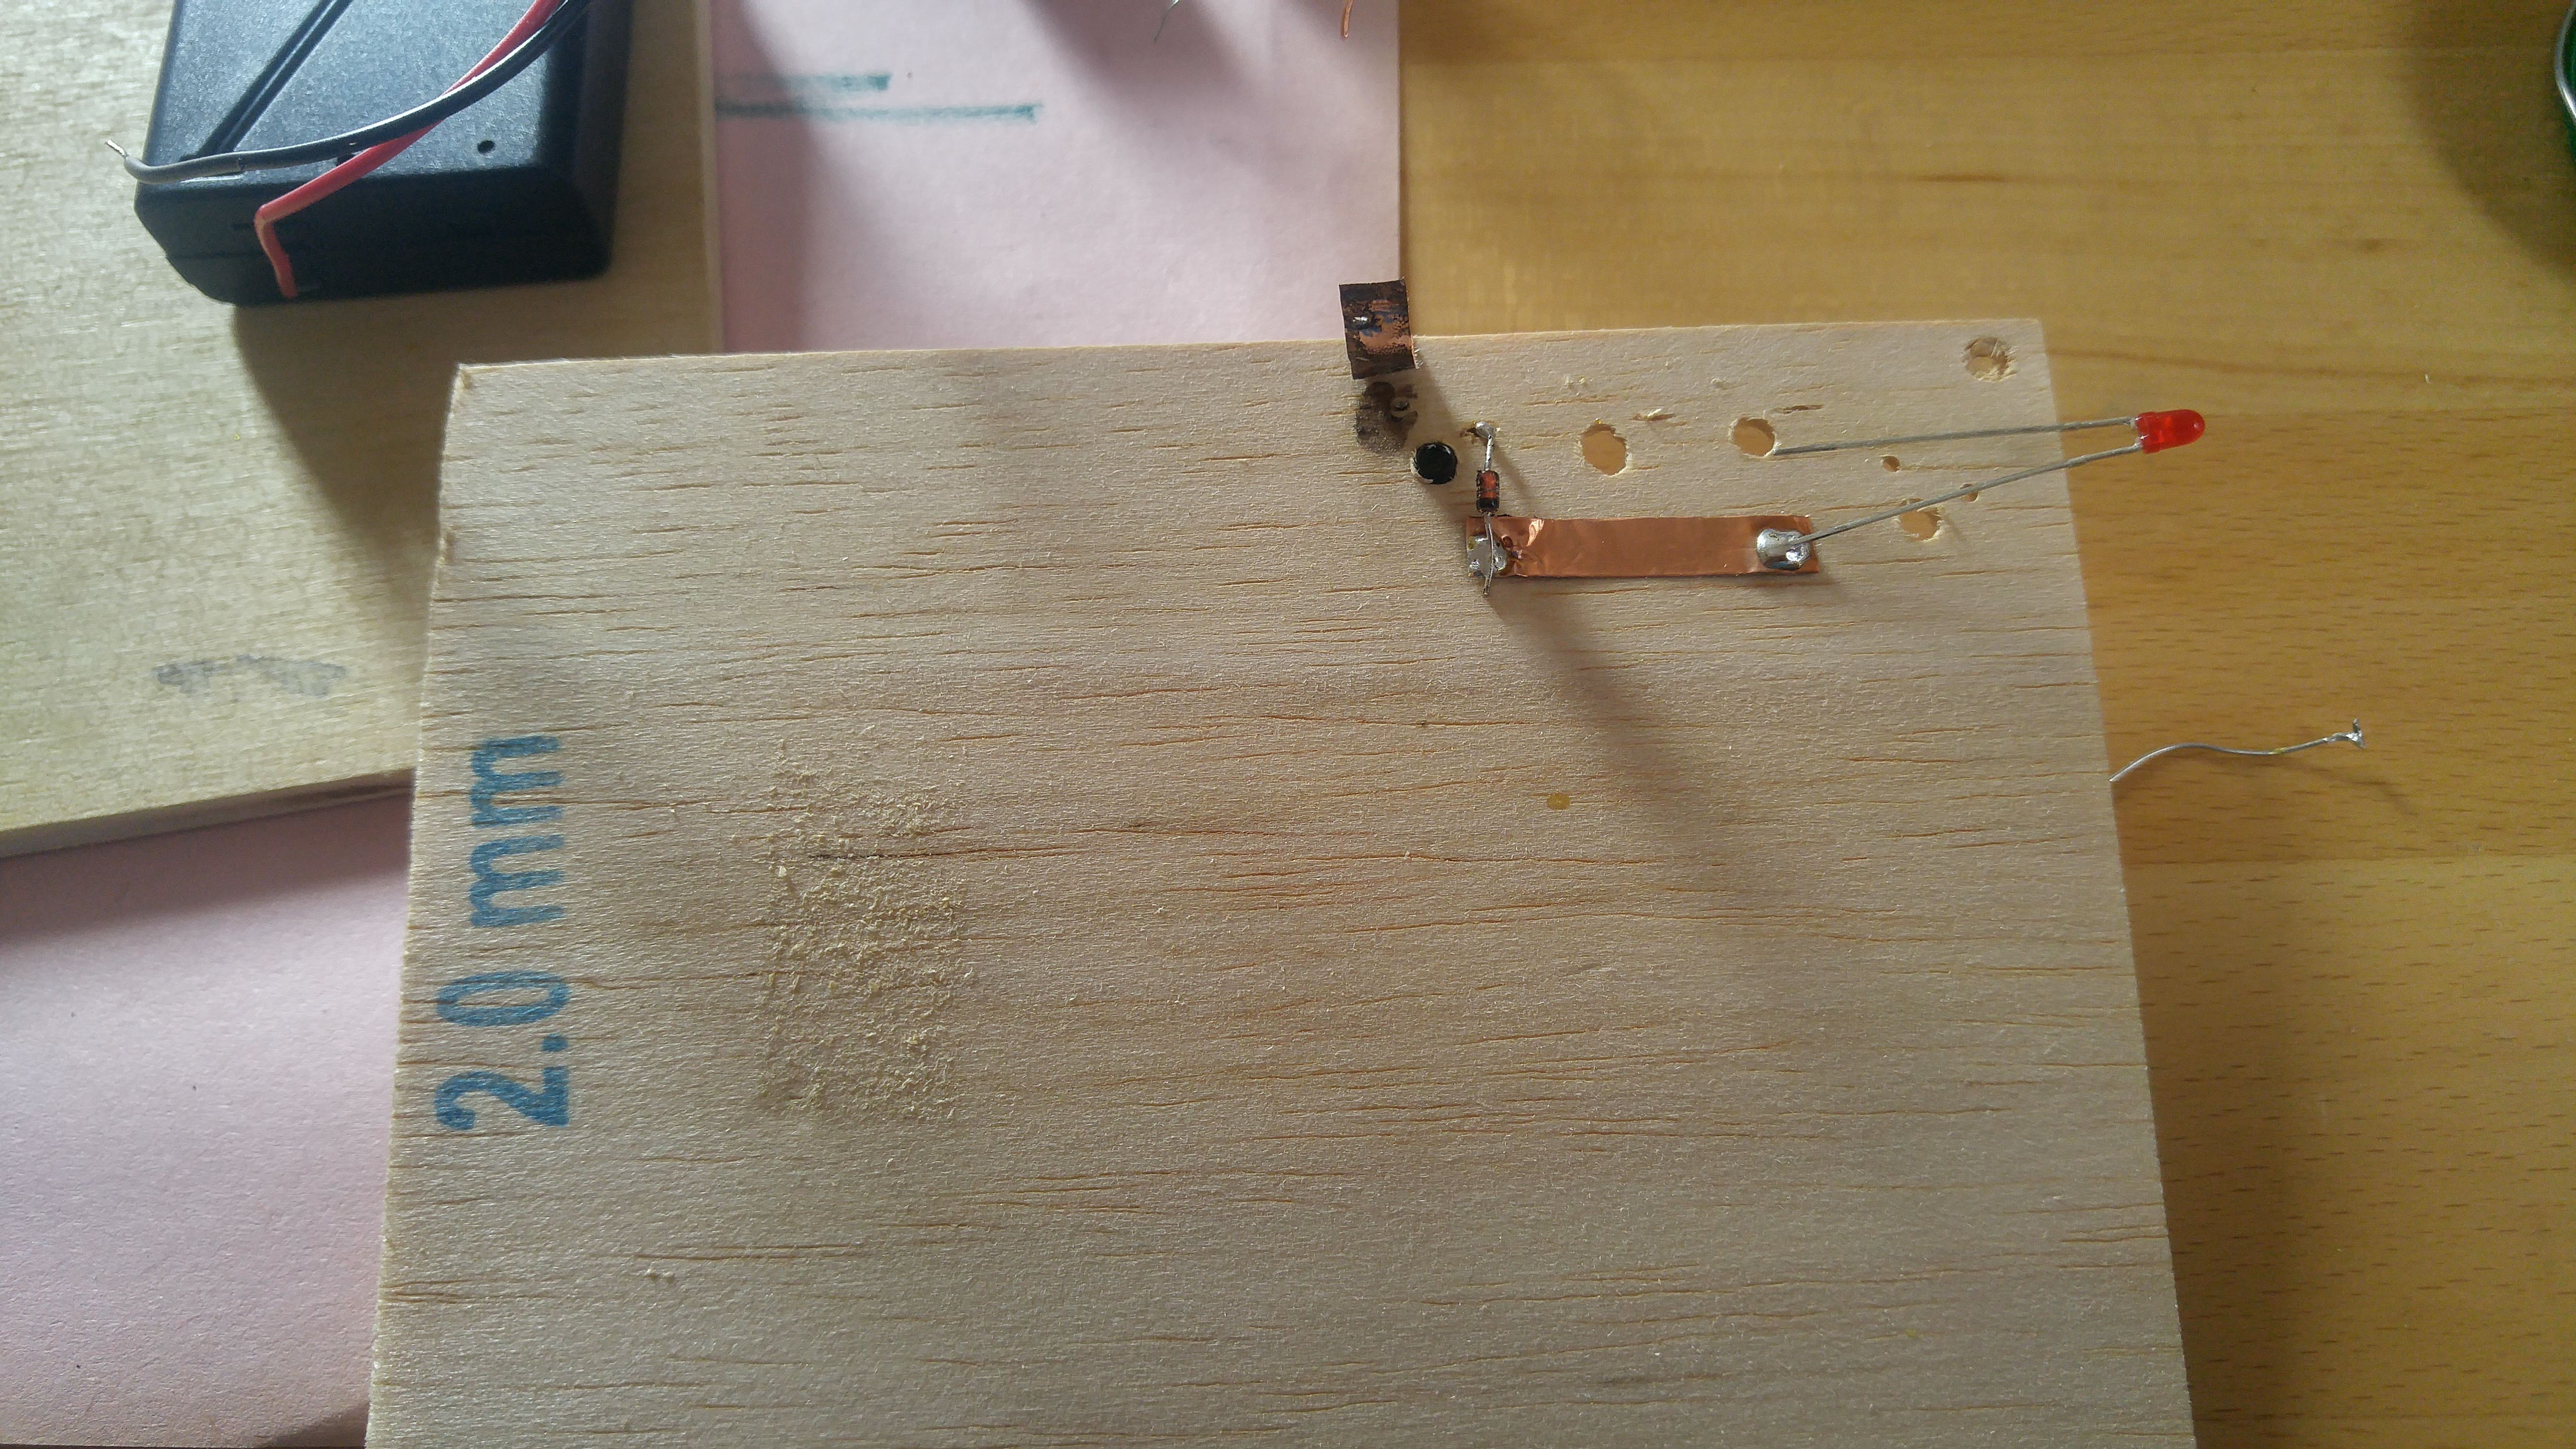
LEDs
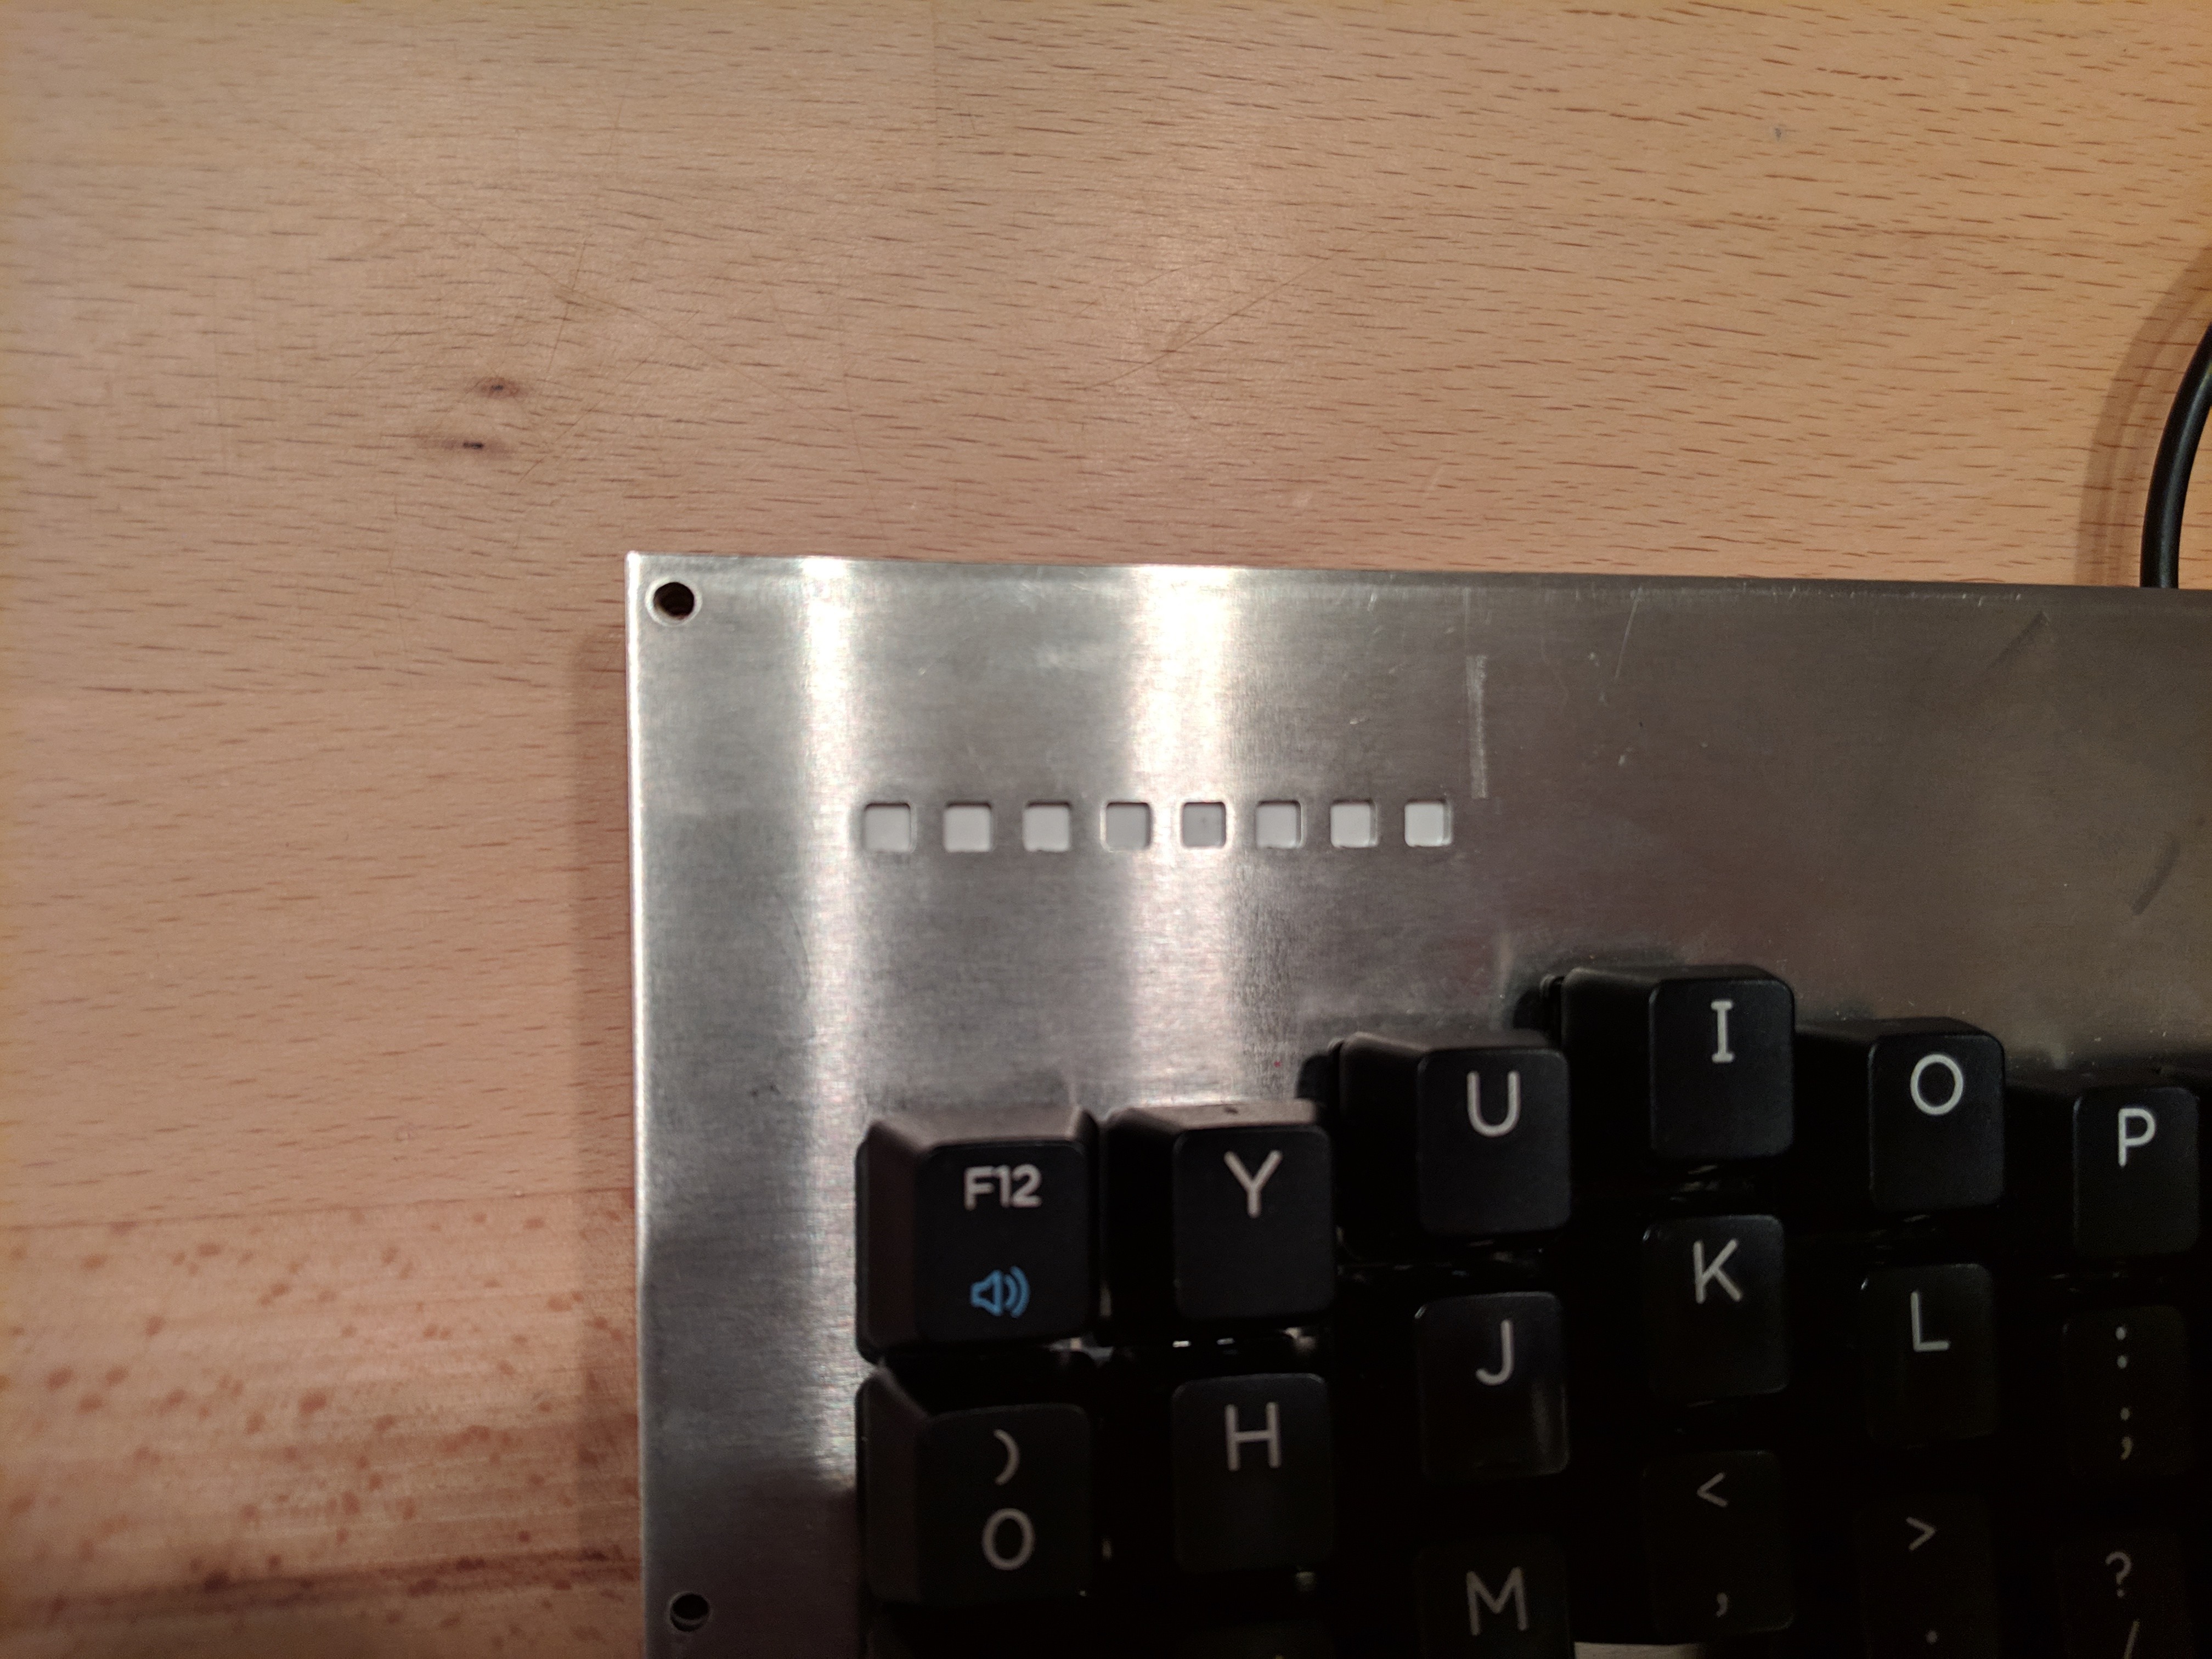
03/06/2019 at 23:02 • 0 commentsThe top of the right metal plate has holes for the light of the LEDs. The white is the double side tape. In the back is placed the strip.
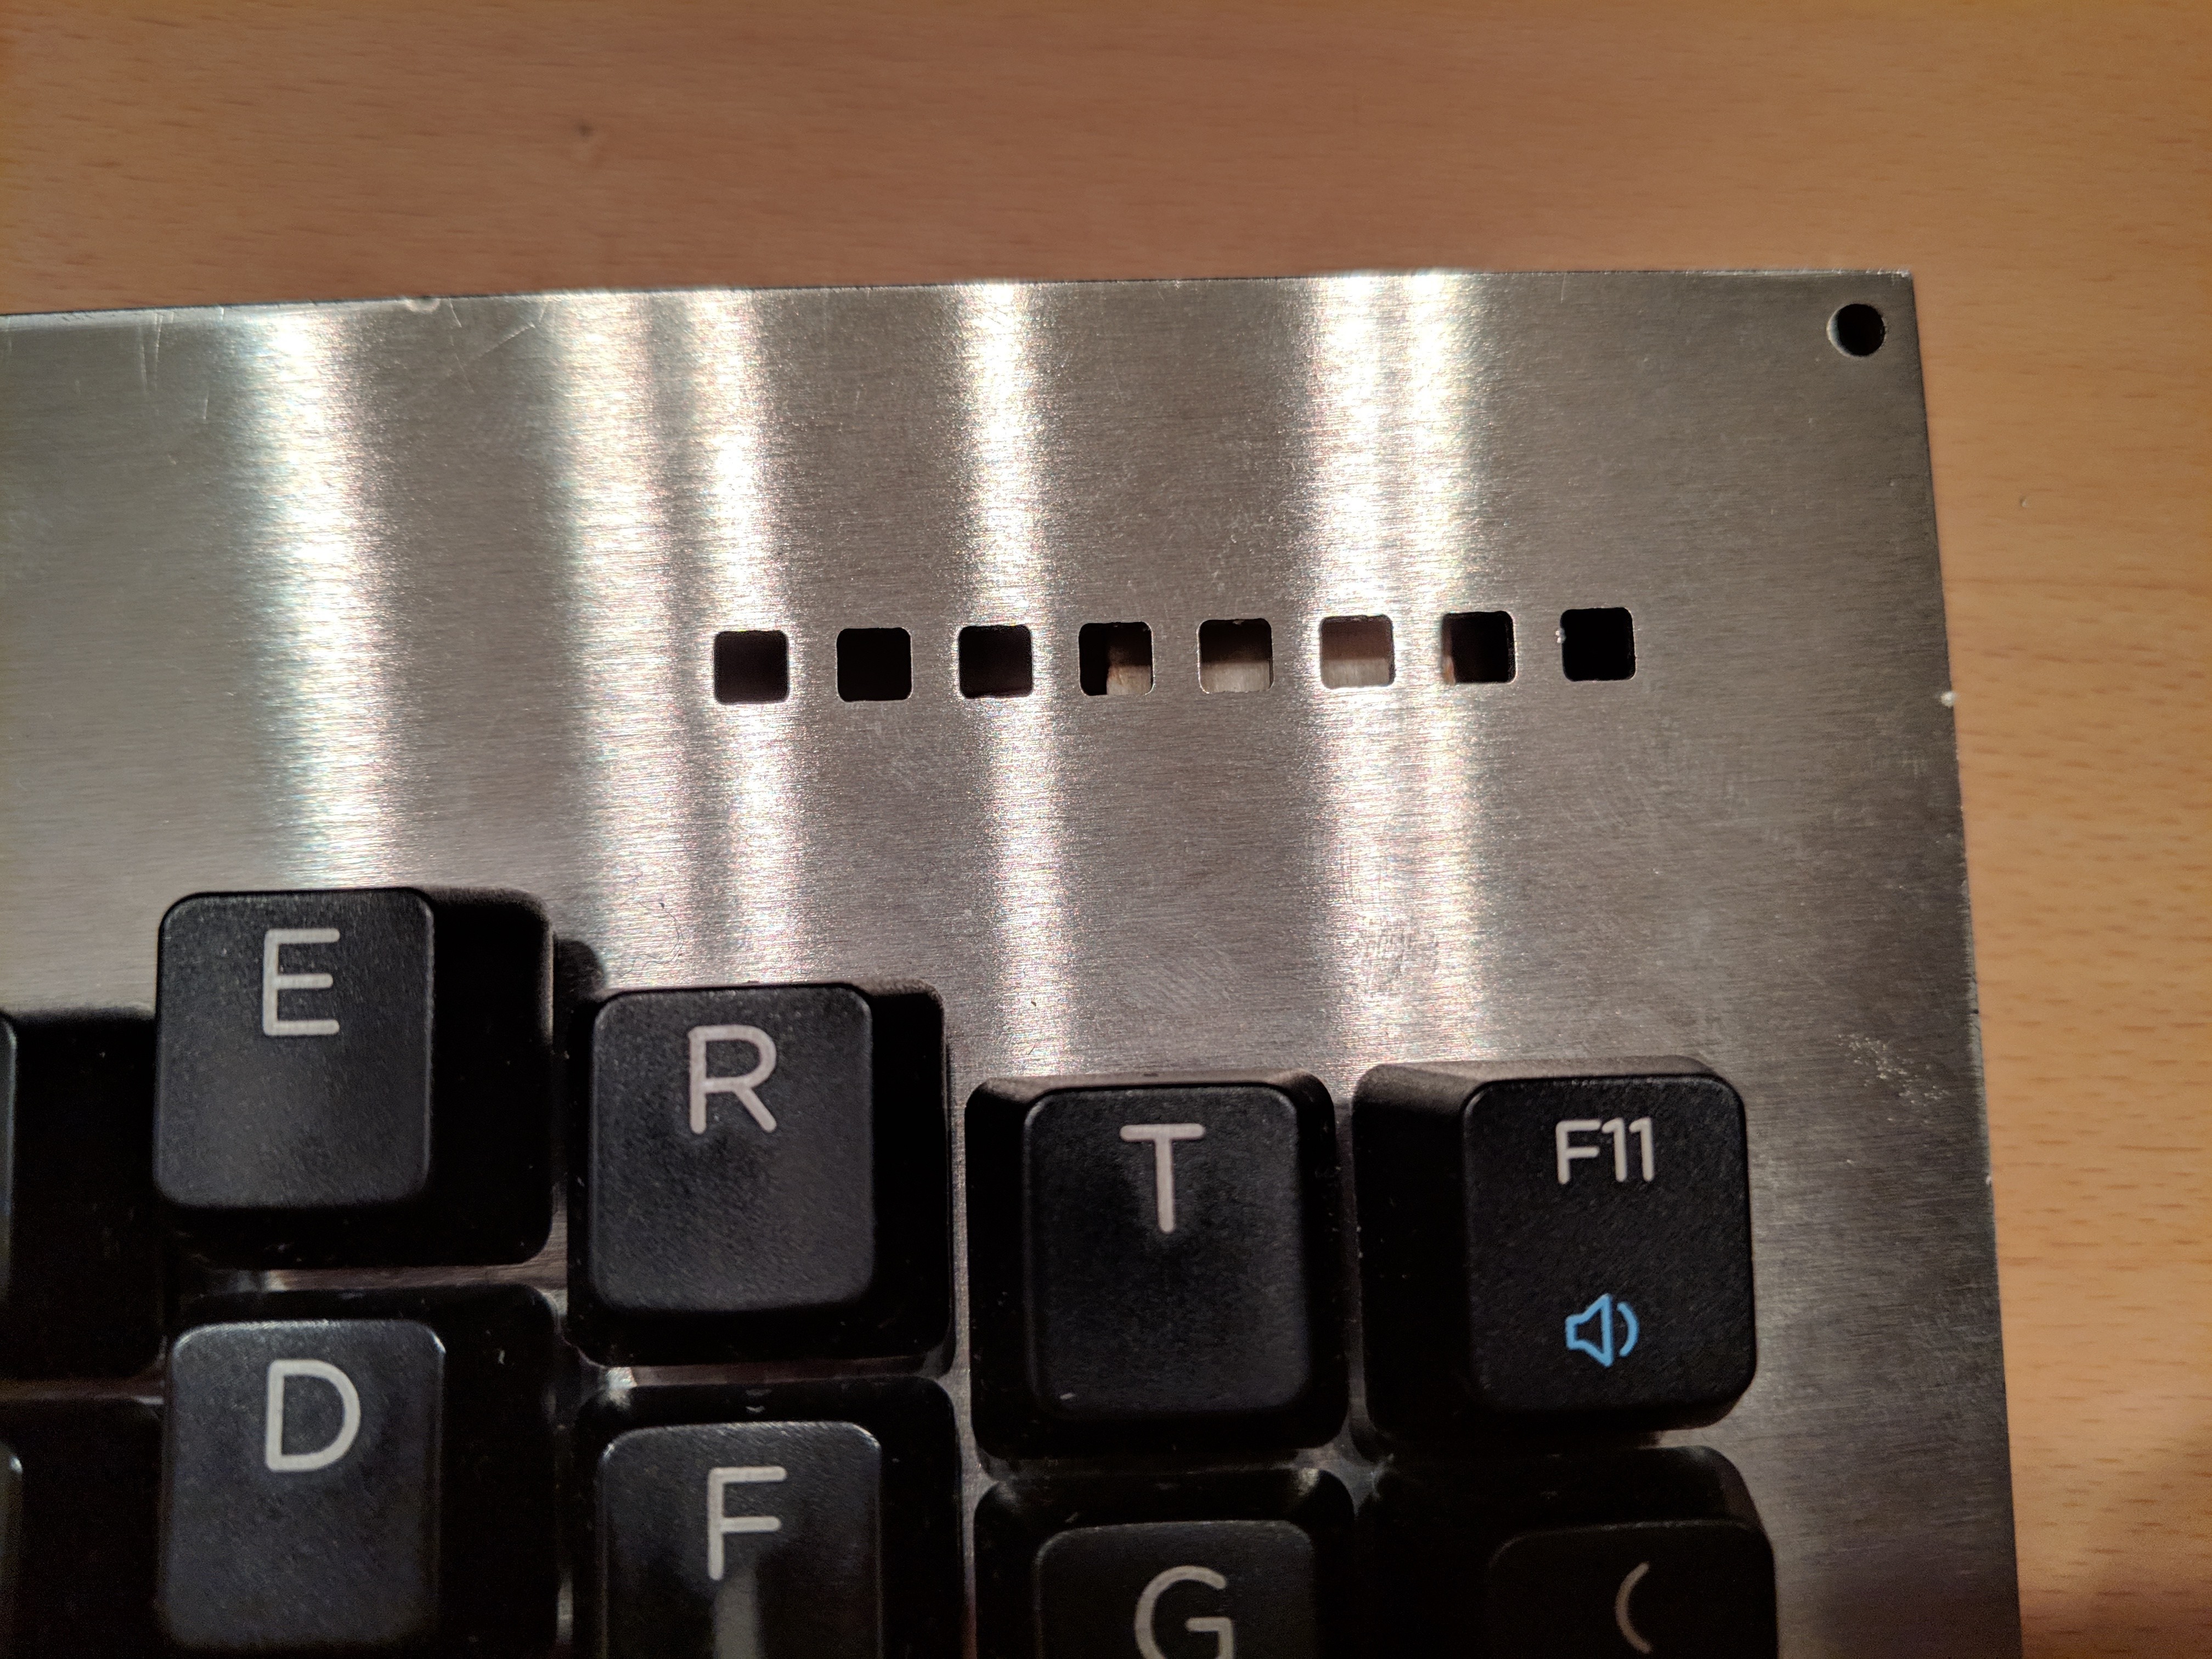
Also the right side has the holes, but no LEDs have been installed. The 8 ones of the other side are enough.
Some LEDs have just 2 states: 0% or 100%. They are used to inform which layer is currently active.
Others could have 3 states: 0%, 50%, or 100%. They are used for the One Shot Modifiers.
More informations about this feature could be found in the help pages of the firmwares that I'm going to use, QMK and Kaleidoscope. For example here the modifier is in the fixed state, hence at 100%.Here, instead, the modifier is in the "one key" state, hence just 50%. On the other side, an extra layer is active, hence the other LED is to 100%.
-
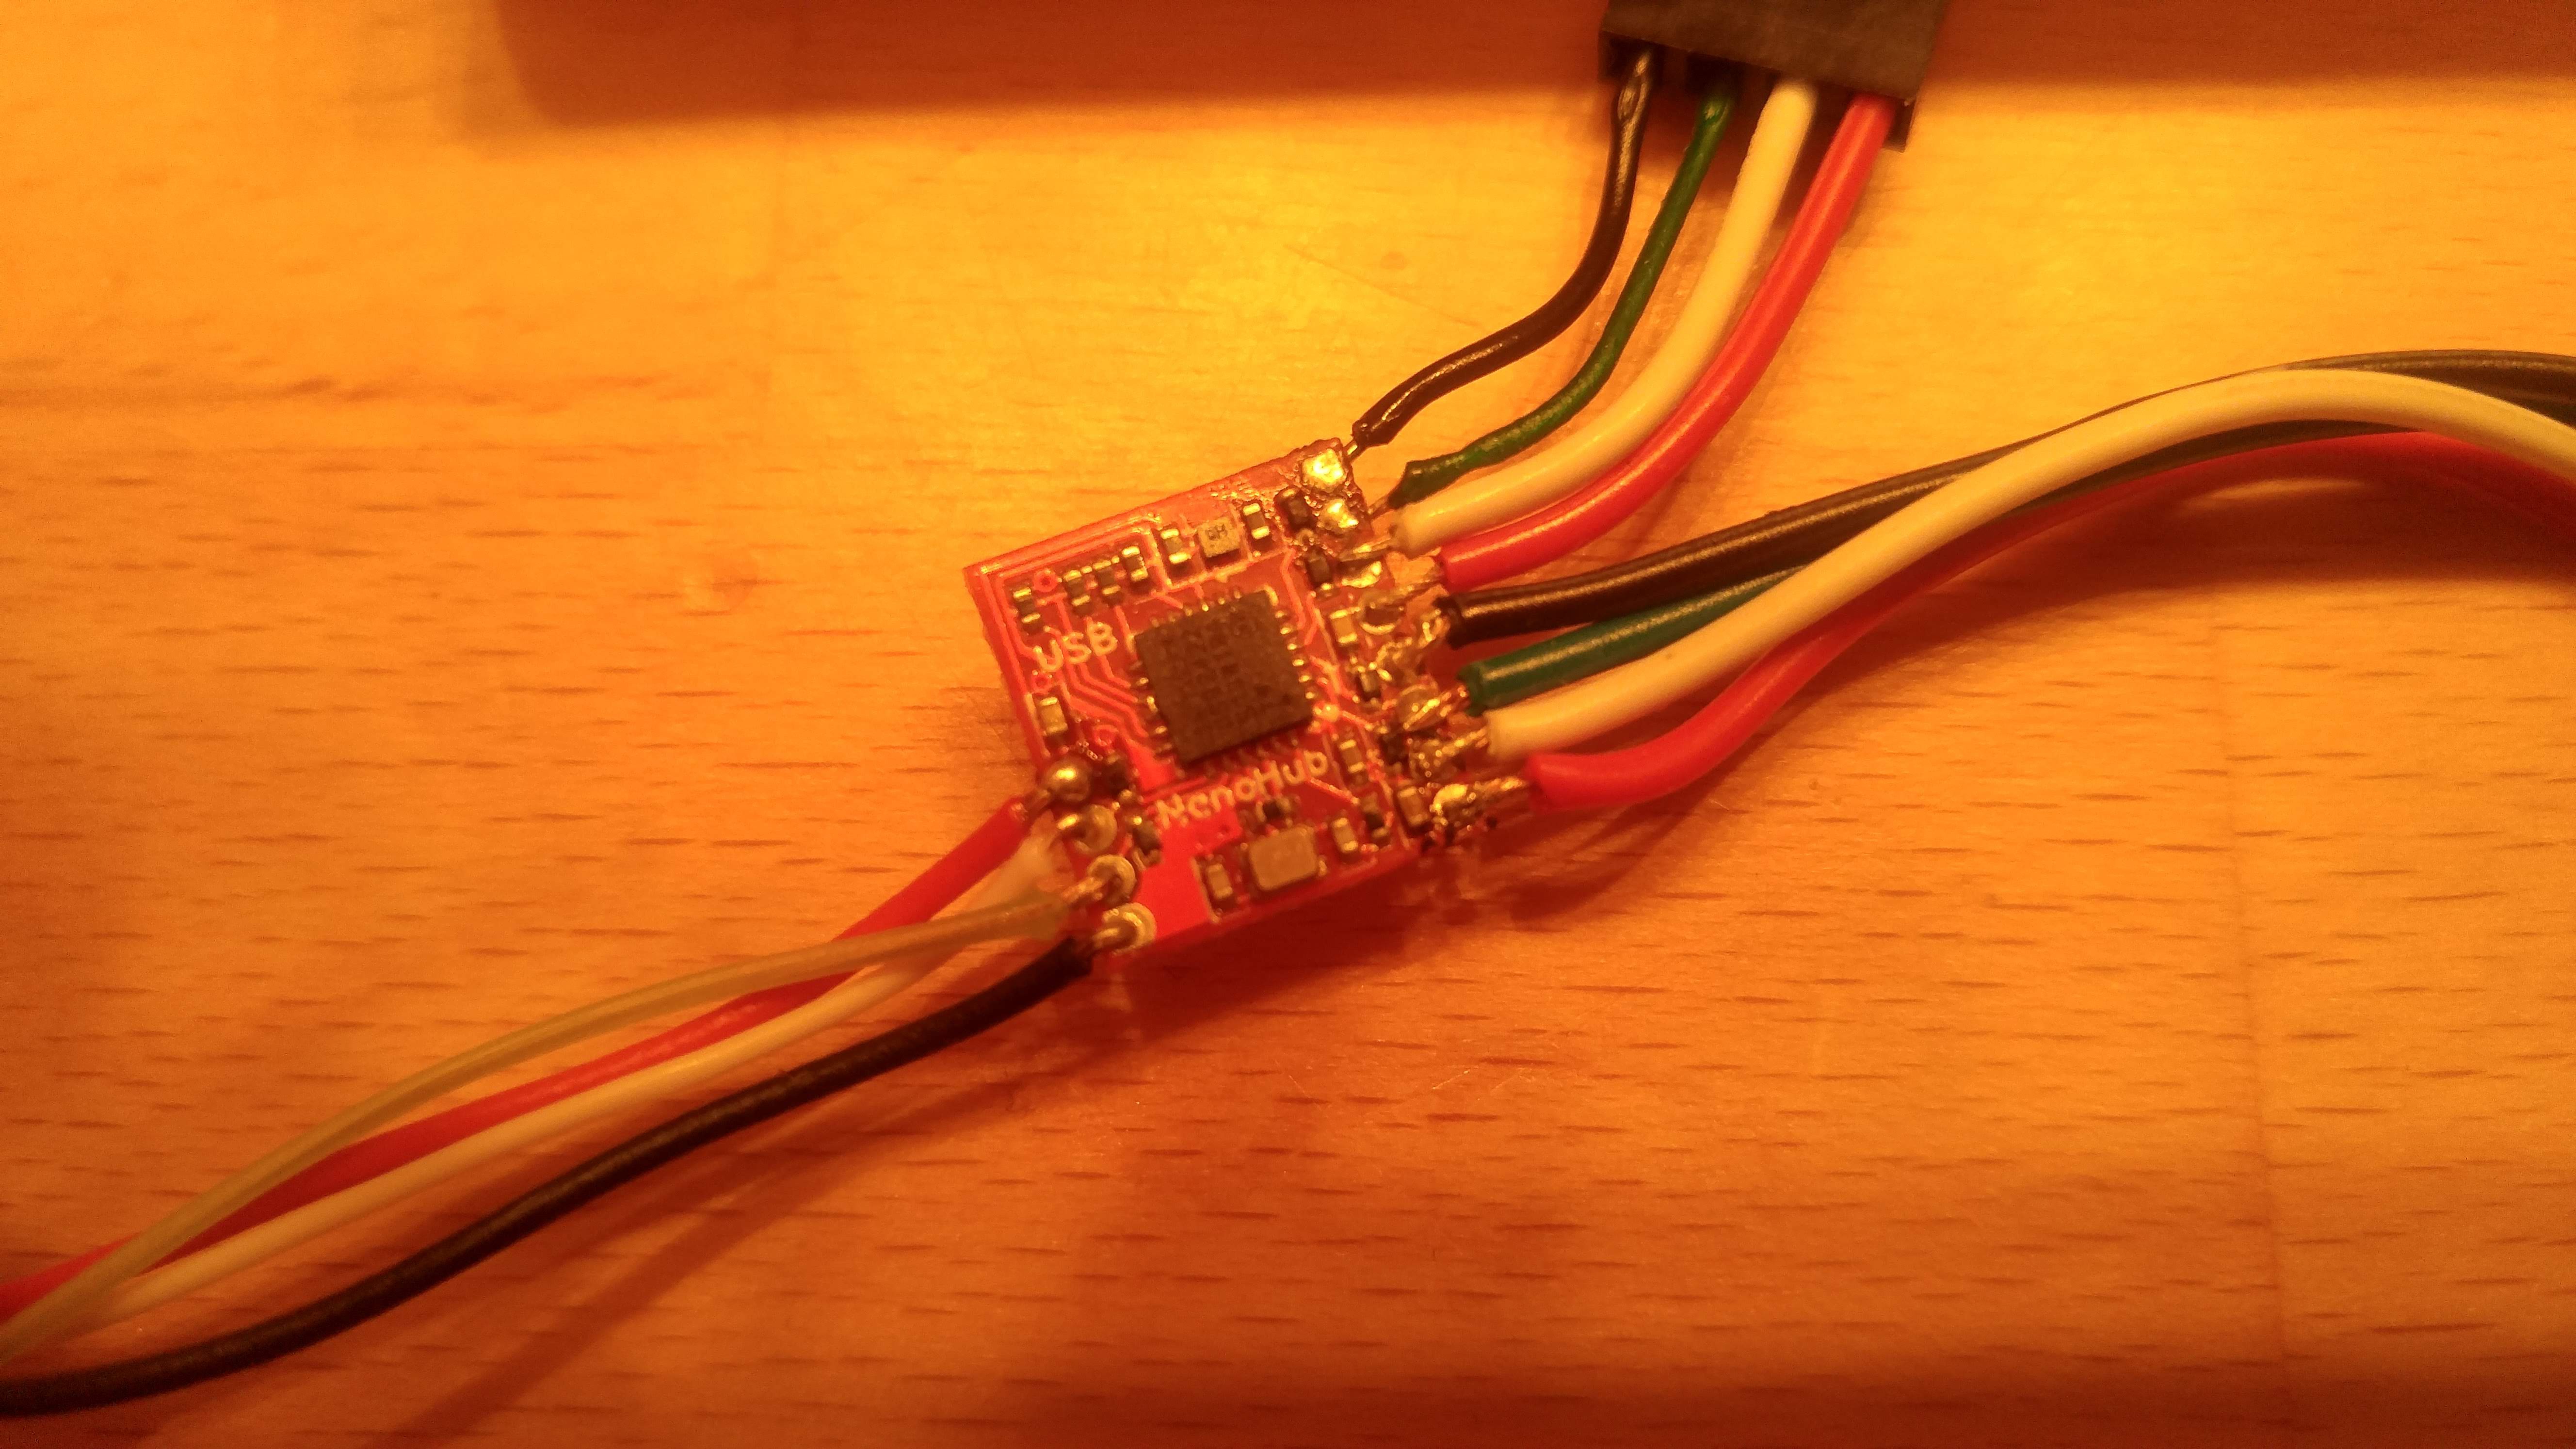
Connecting the wires
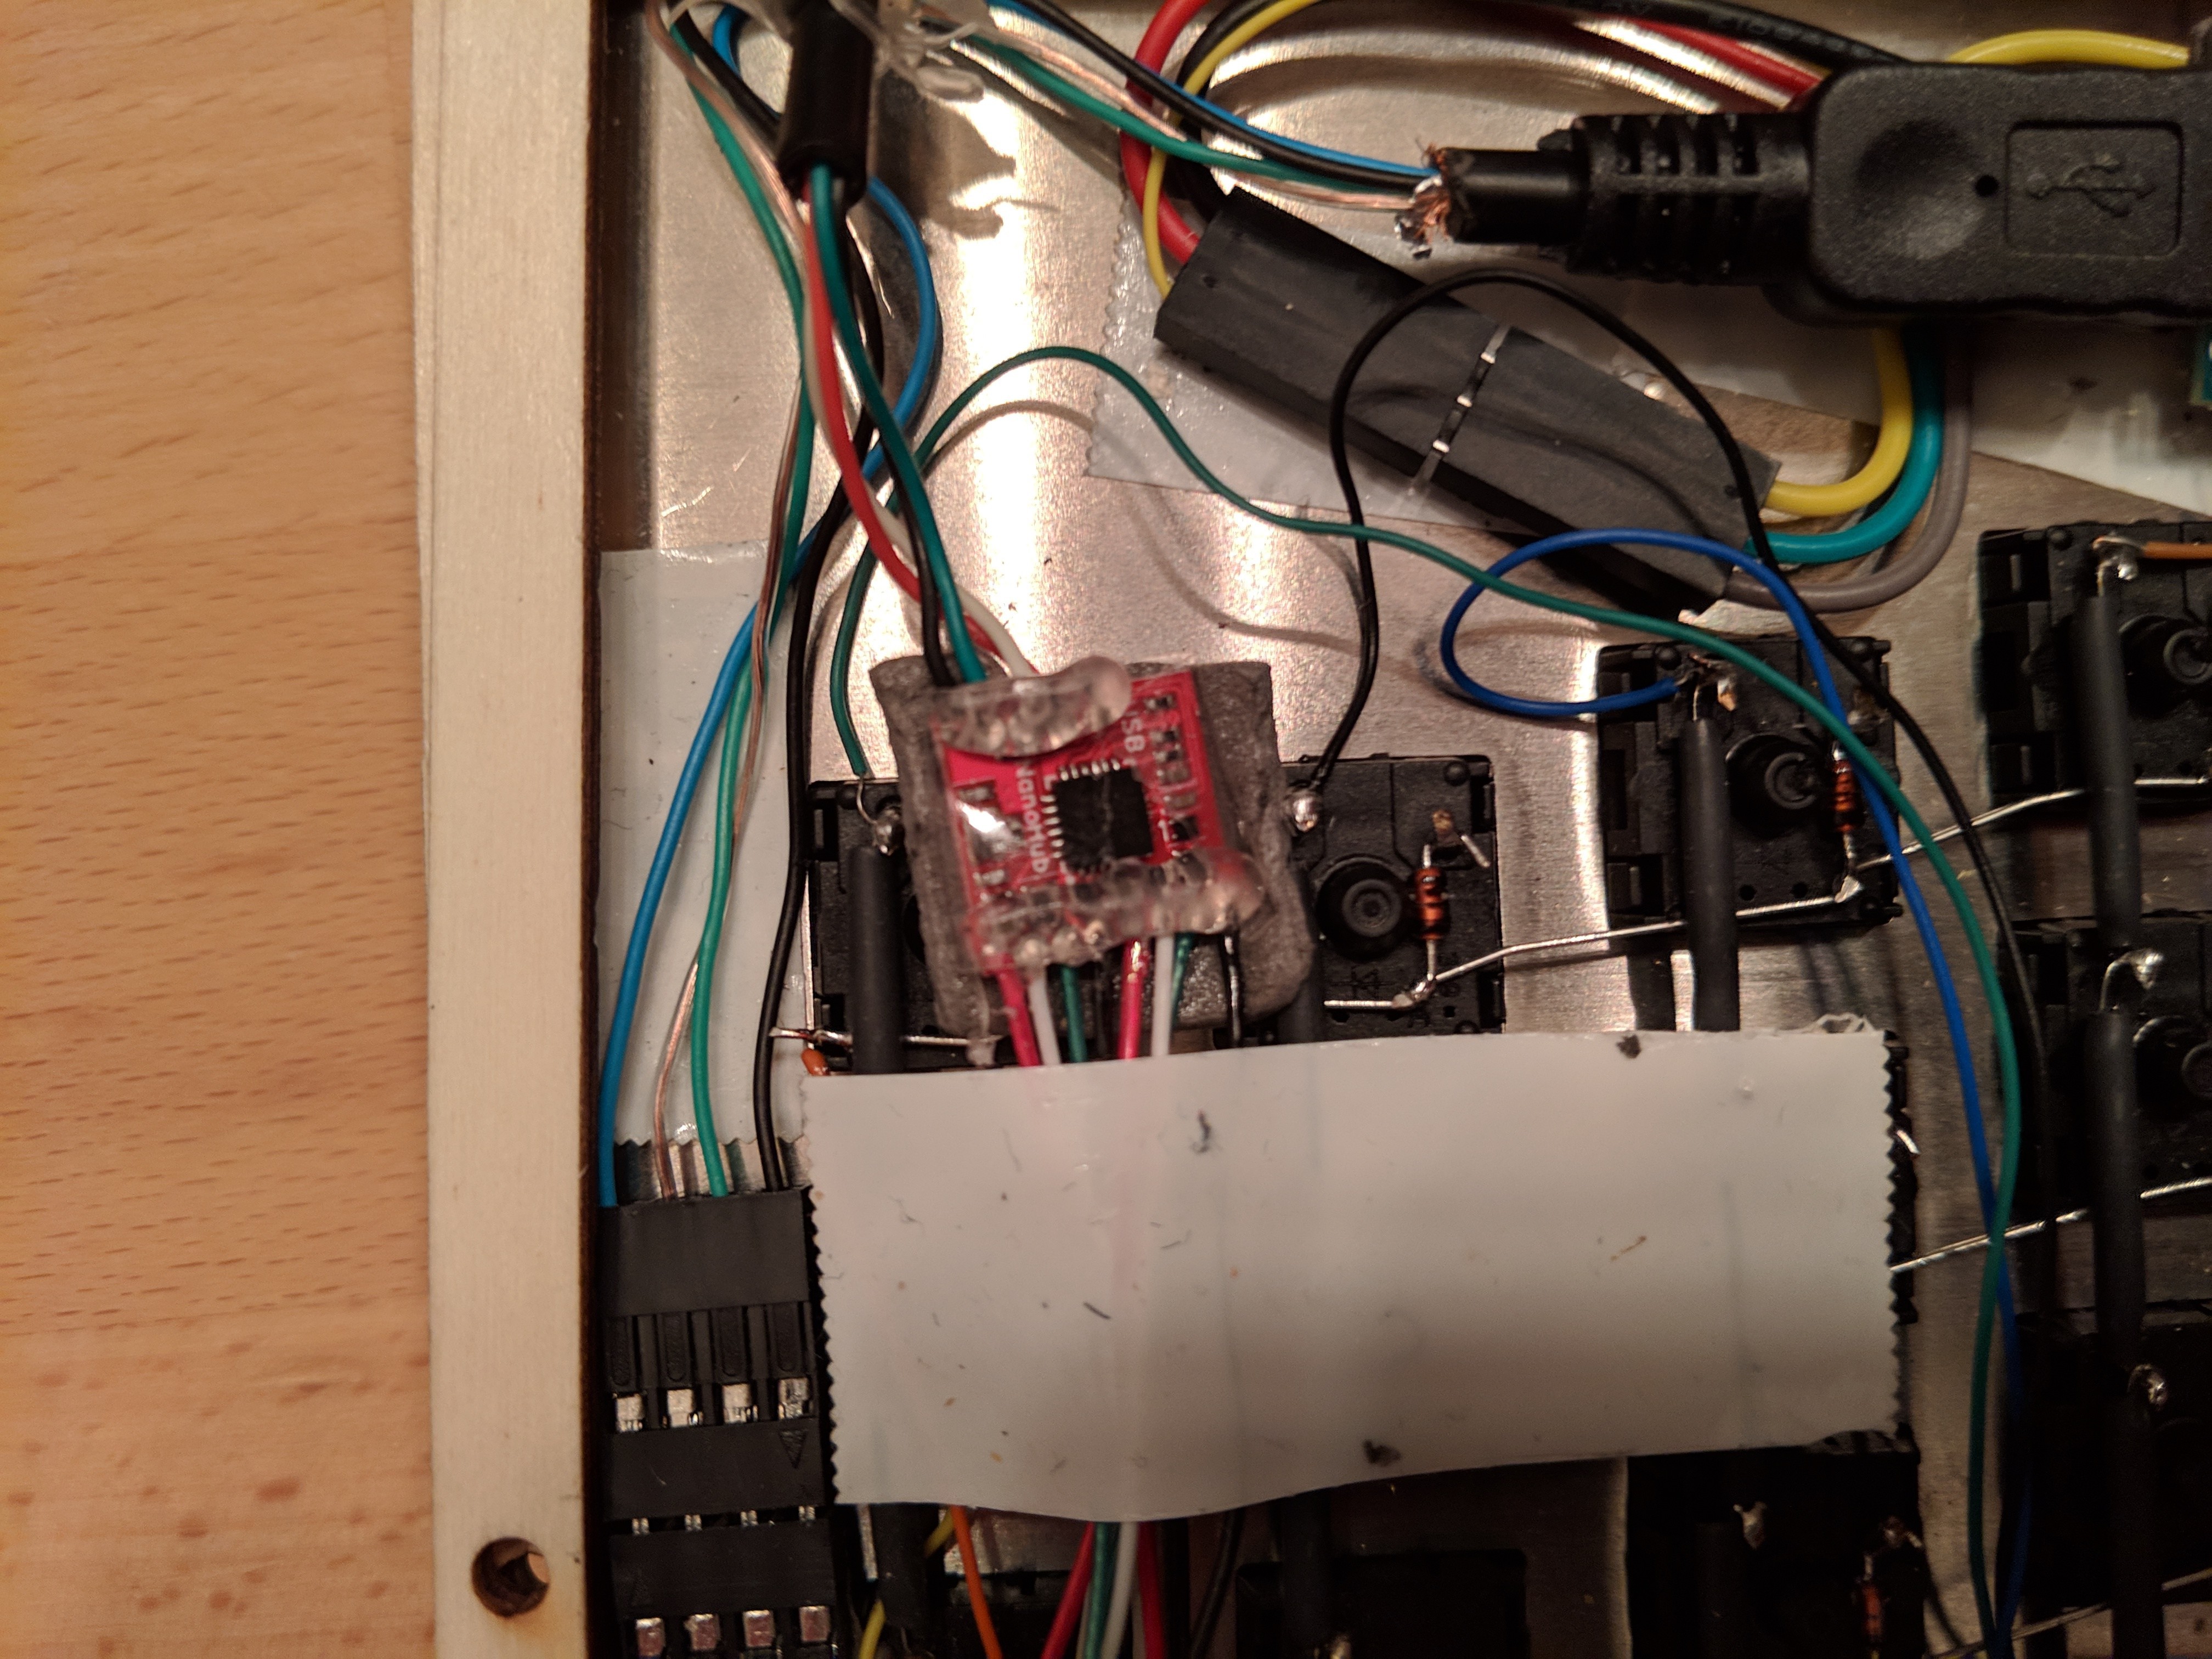
03/06/2019 at 22:56 • 0 commentsDetail of the NanoHub used to connect the devices. This is one of the several boards I've bought. Some went destroyed because I've had a too big soldering device (they're really really small - then I've took a smaller one and things went better); in some others I've broken the cables during the several connect/disconnect actions working on the sample wood case.
Overview of the back of the right side. I've had to cut a bigger hole in the metal plate, the trackball was too deep inside and it was almost impossible to use it.
Detail of the LEDs strip. It's blocked by a wood piece and double side tape on both sides.
The "protection" layer that keeps all the cables and joints in the back. Just the ones needed to connect the HDMI cable and the Trackball are still free.
-
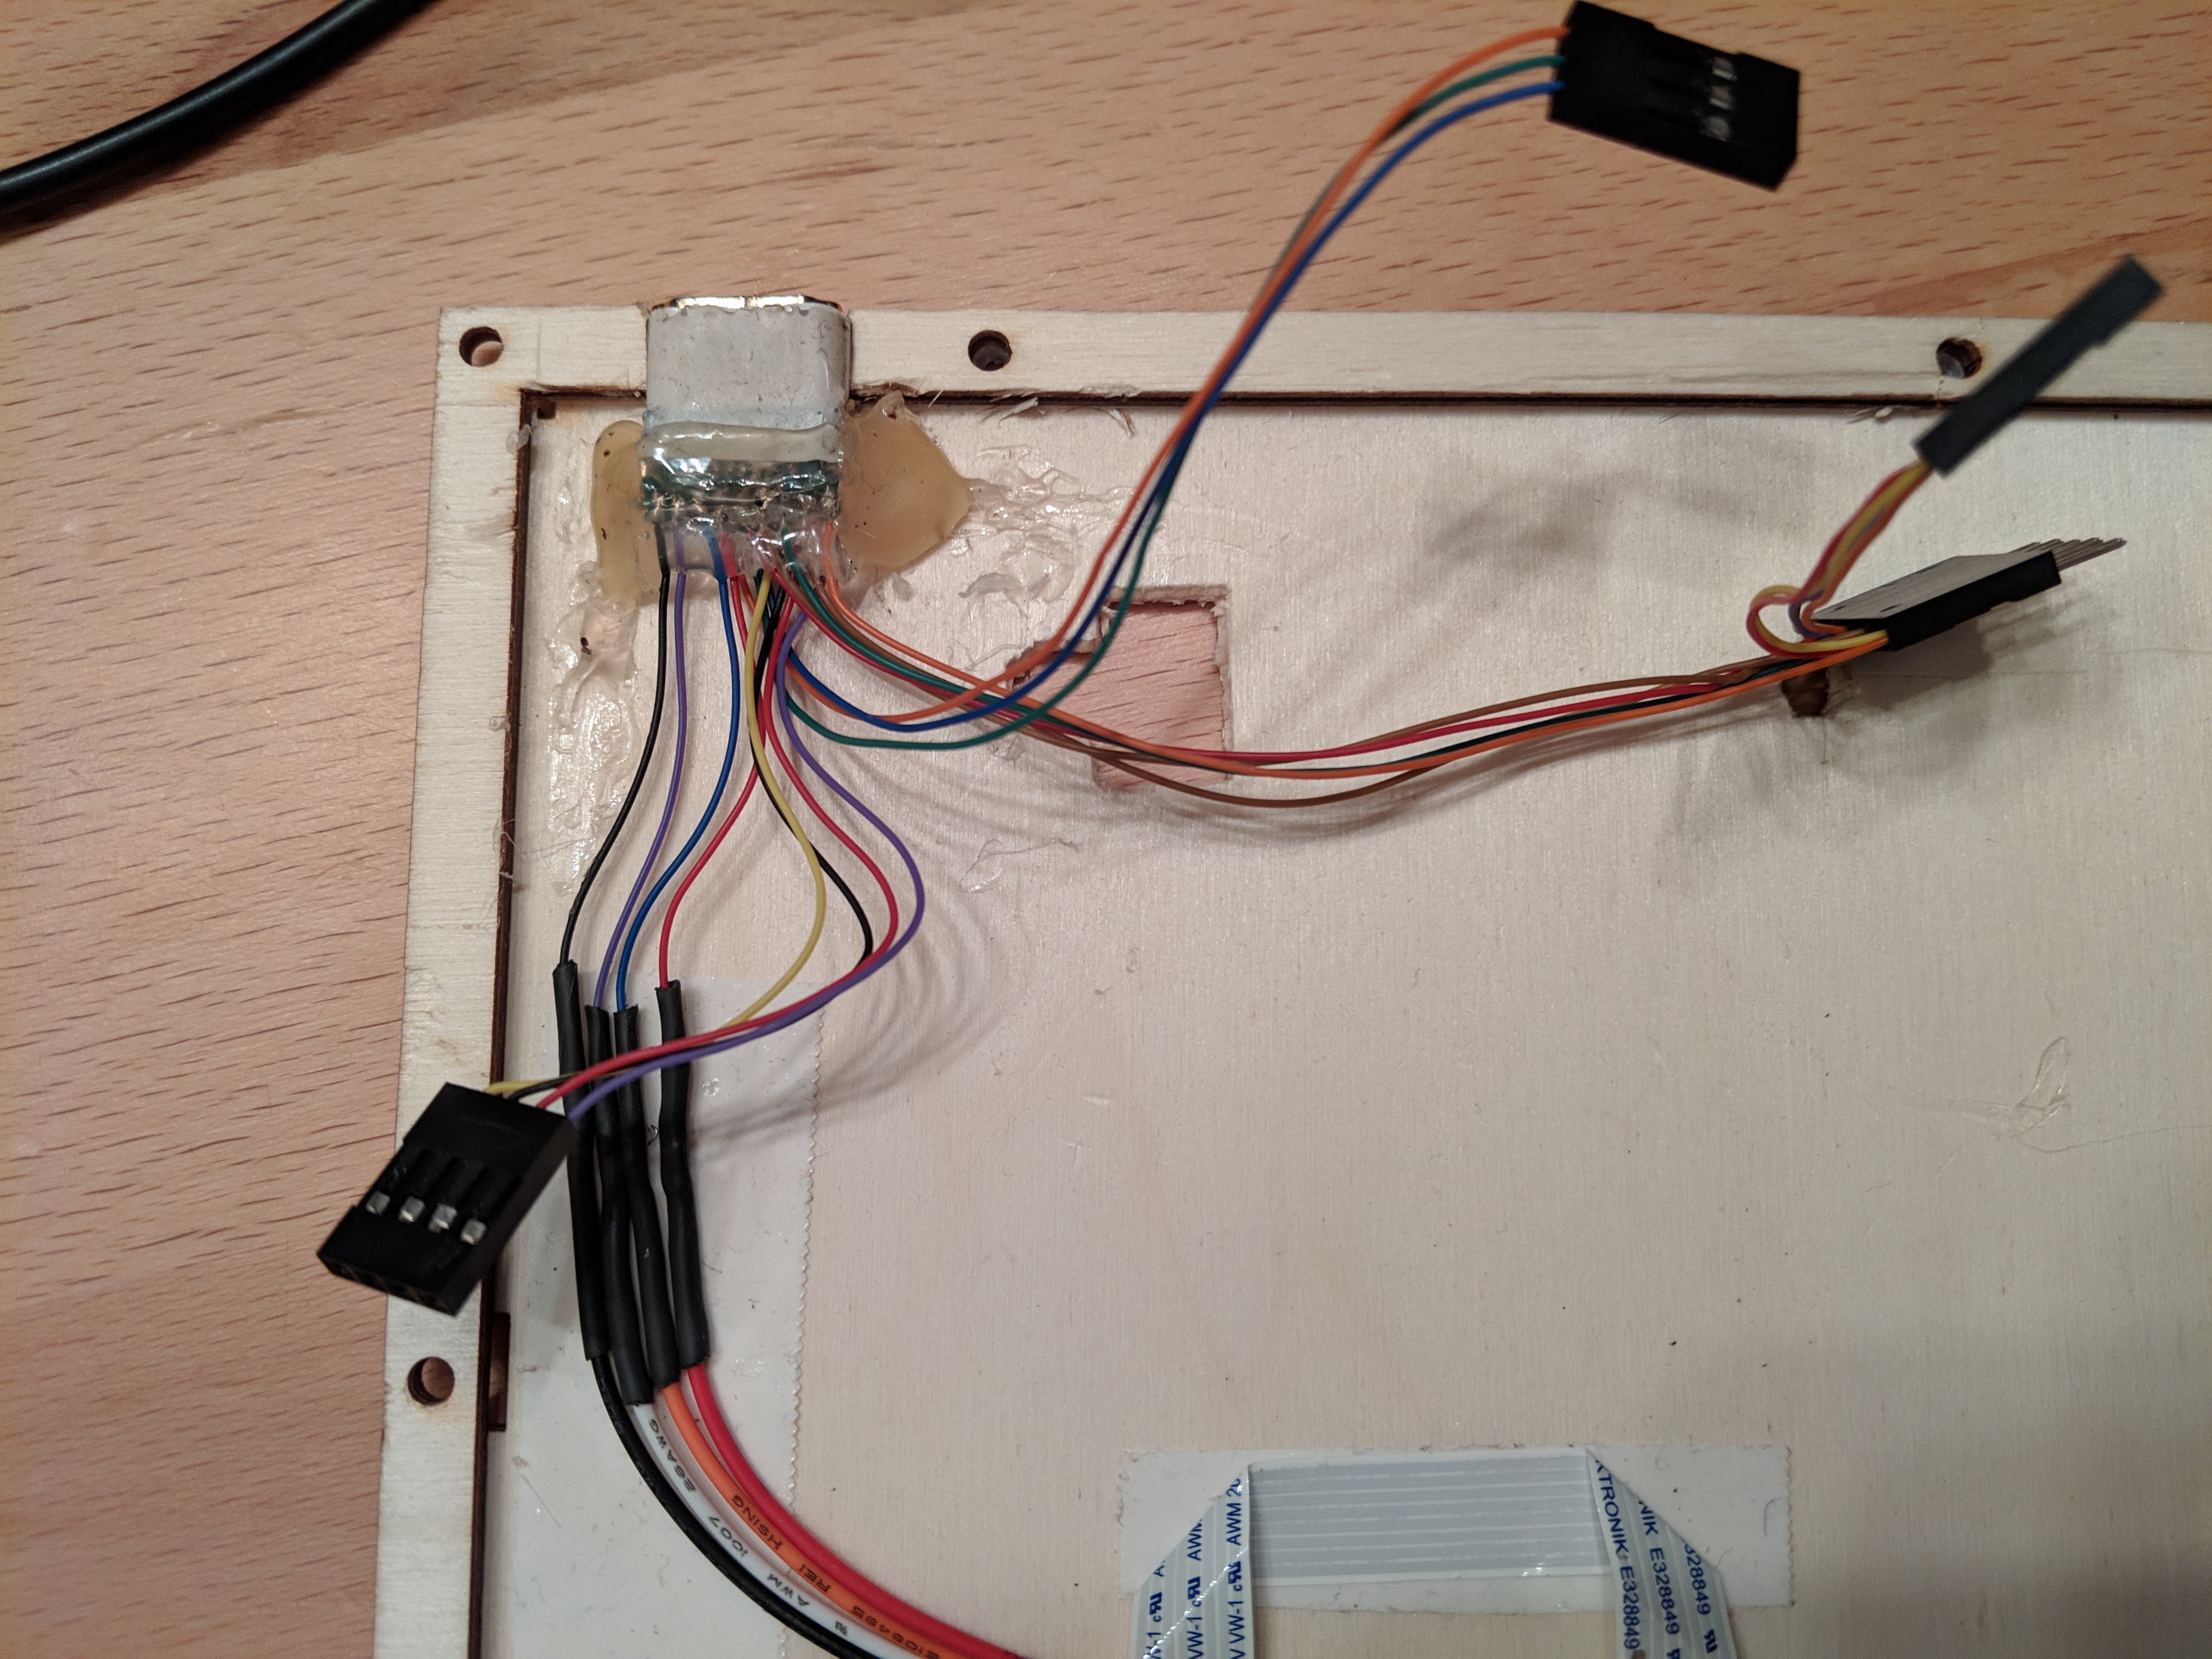
HDMI to connect the two sides
03/06/2019 at 22:42 • 0 commentsI use HDMI connectors to join the two sides. In this way I've enough wires to connect directly the left side to the Teensy and also some extra space for the three mouse buttons.
-
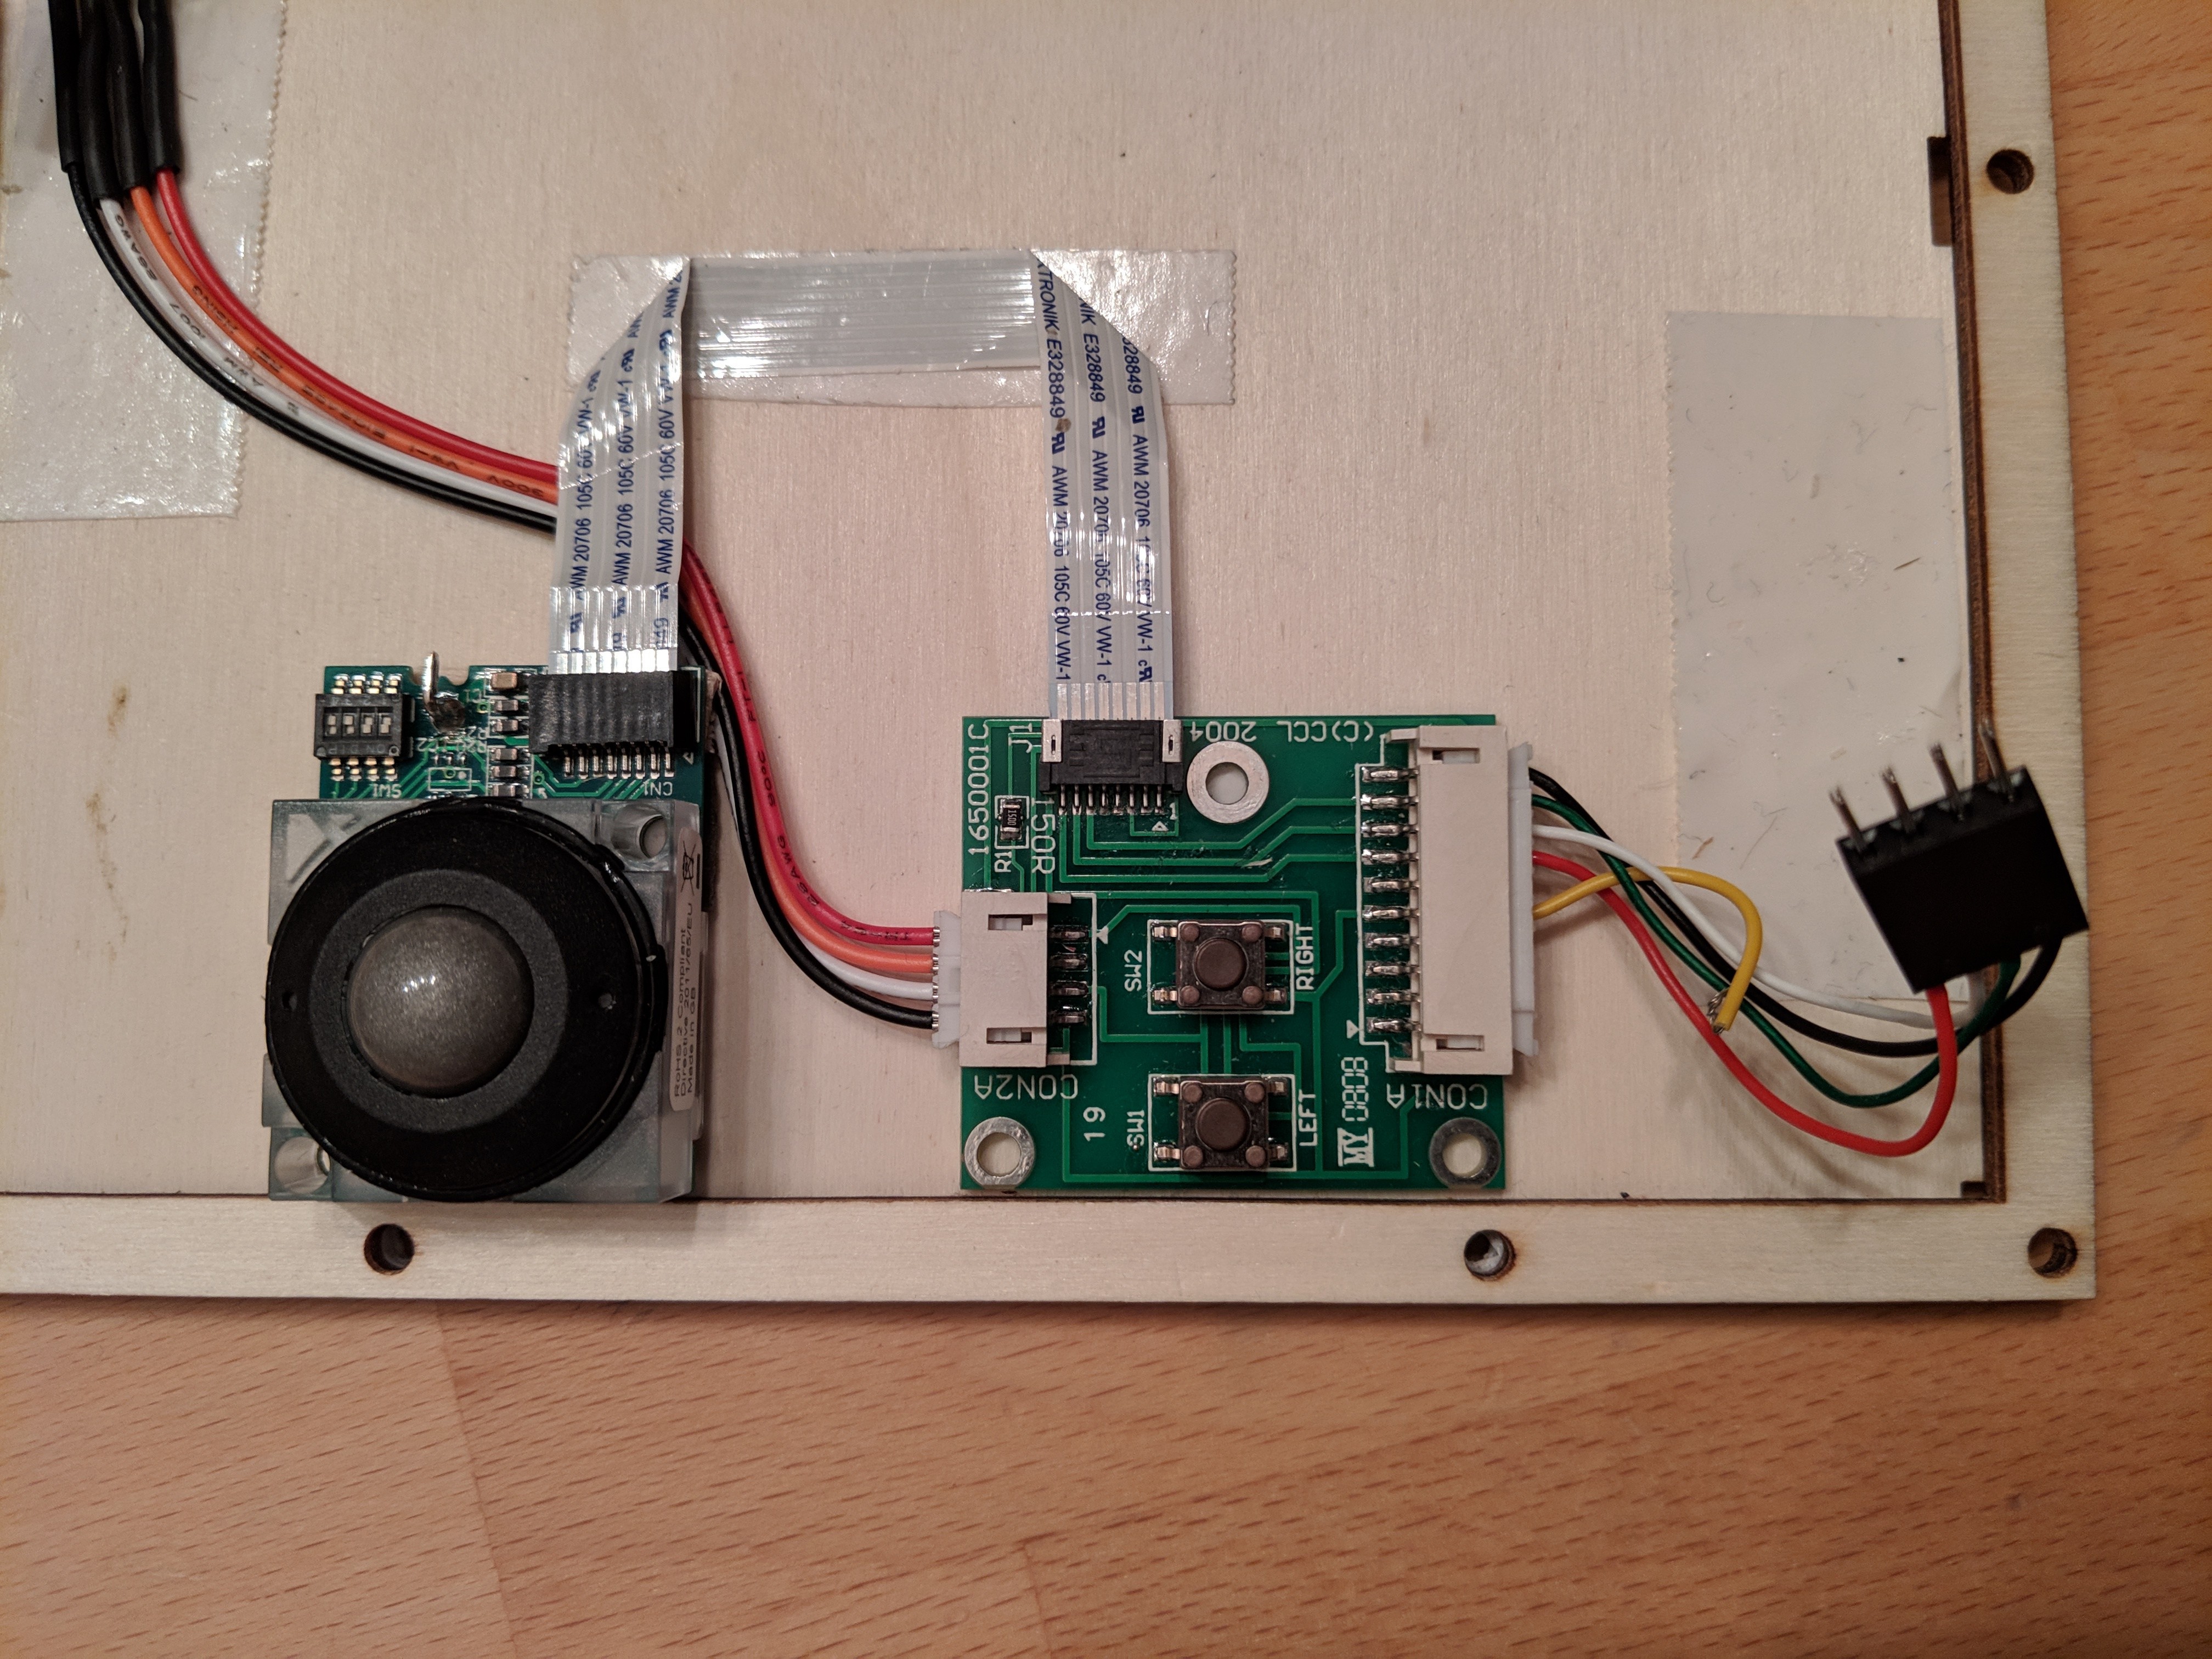
Installing the Trackball
03/06/2019 at 22:33 • 0 commentsThe Trackball at the bottom of the right side. The Trackball uses a small PCB to handle the USB connection and the mouse buttons.
-
Mouse buttons
03/06/2019 at 22:21 • 0 commentsThe PCB for the three mouse buttons. The wood parts are ready.
The hole in the middle is "per design". I've left an empty space that later I can use to fix a palmrest if needed.
The wood piece used for the three buttons.The wood piece fixed on the metal plate. Double side tape and a part of a label. Stable and flexible enough. -
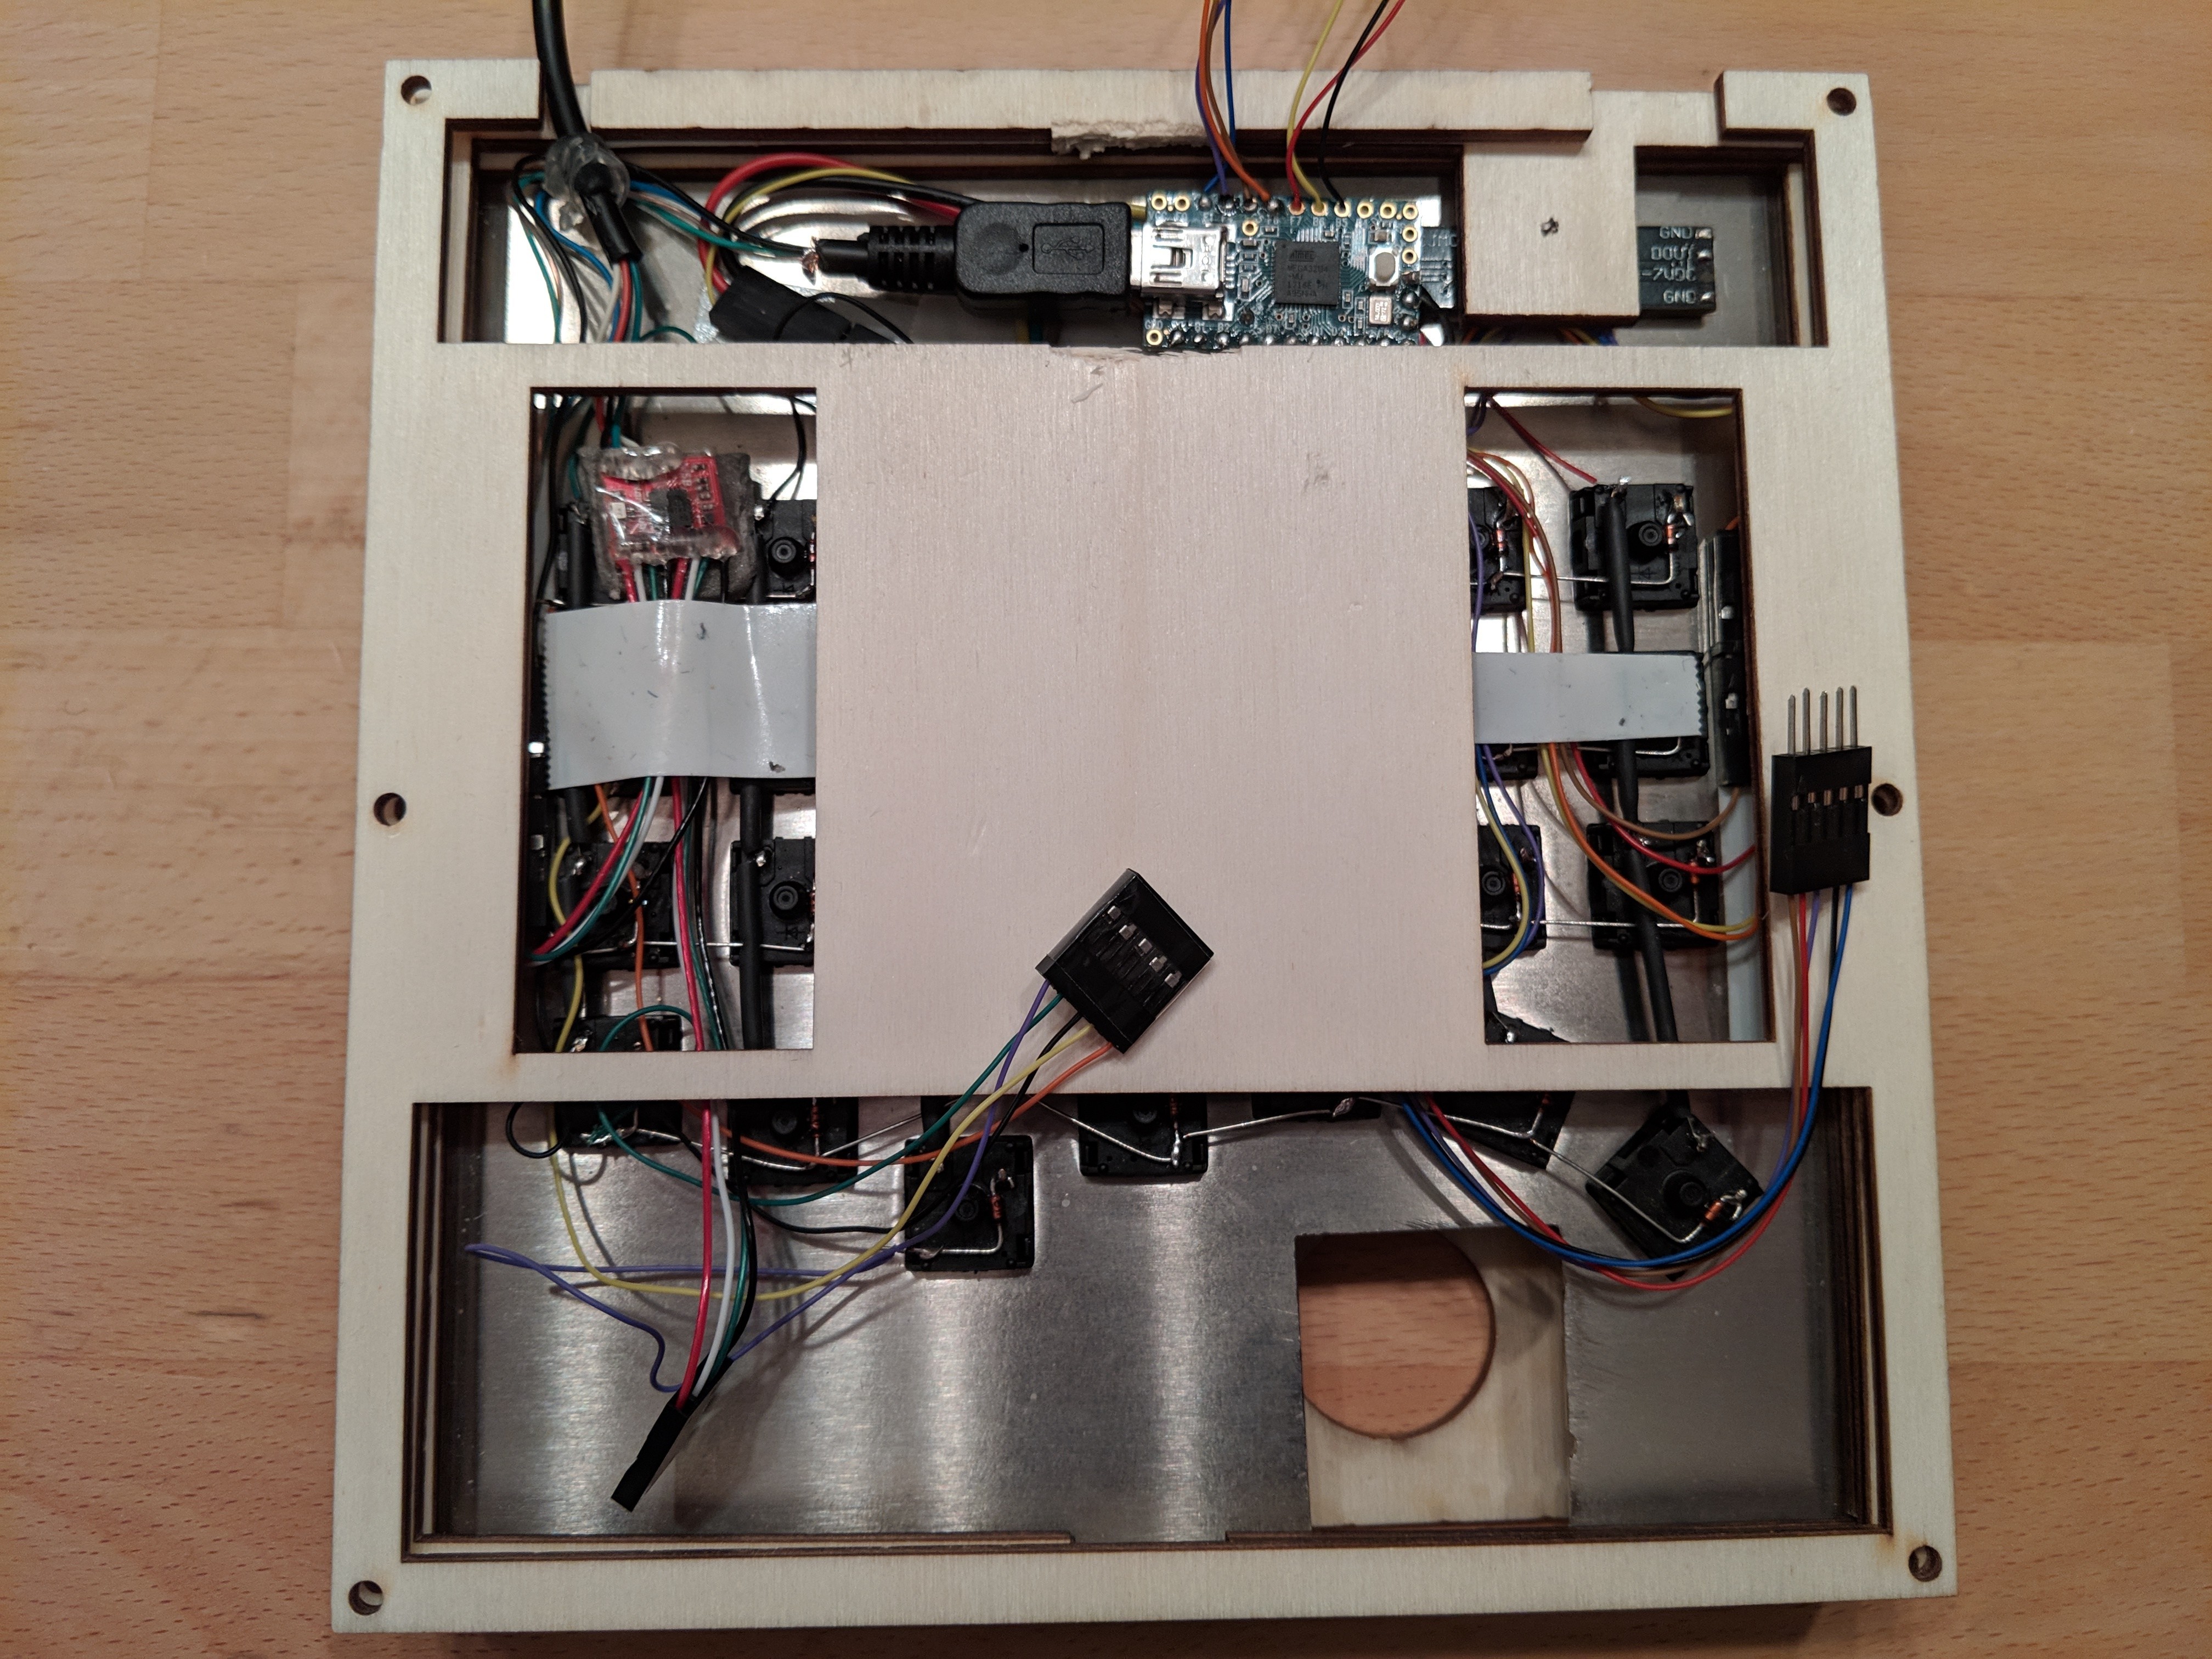
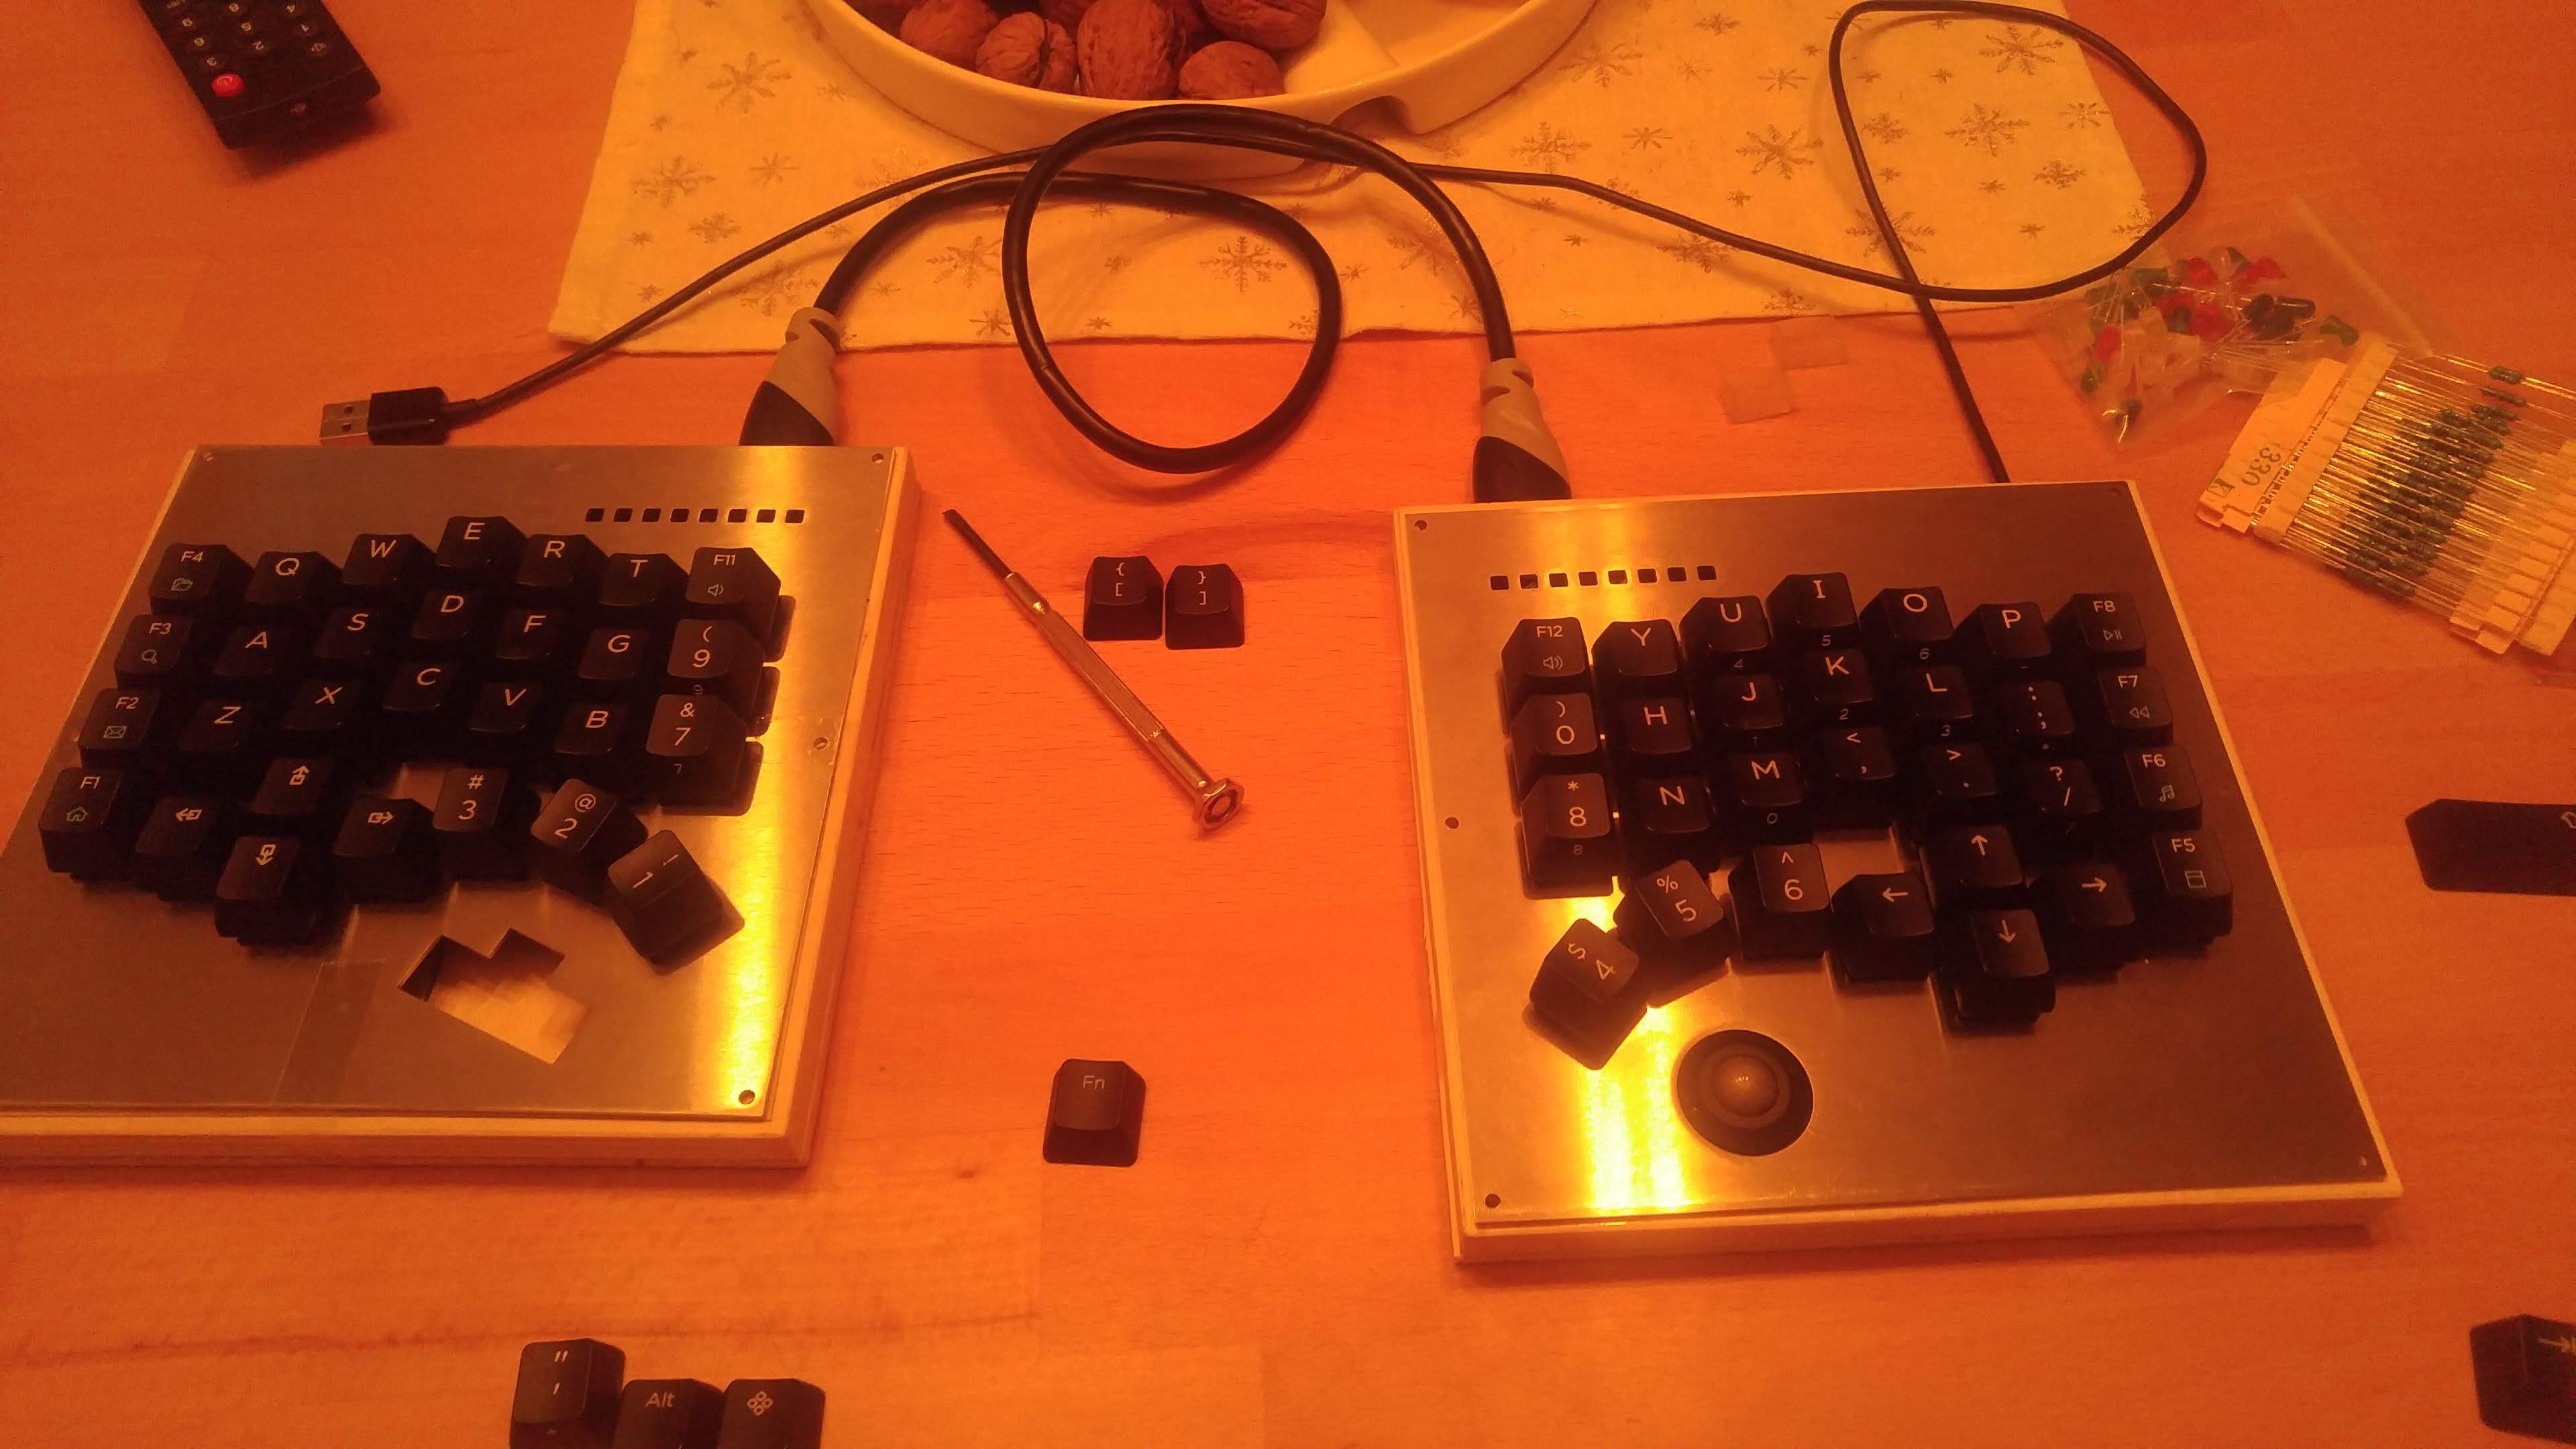
Both sides ready
03/06/2019 at 22:05 • 0 commentsFinally also the right side is readly.
Wiring and connecting the two side. I'm using a sample wood case, later I'll use a set of laser cut pieces.
-
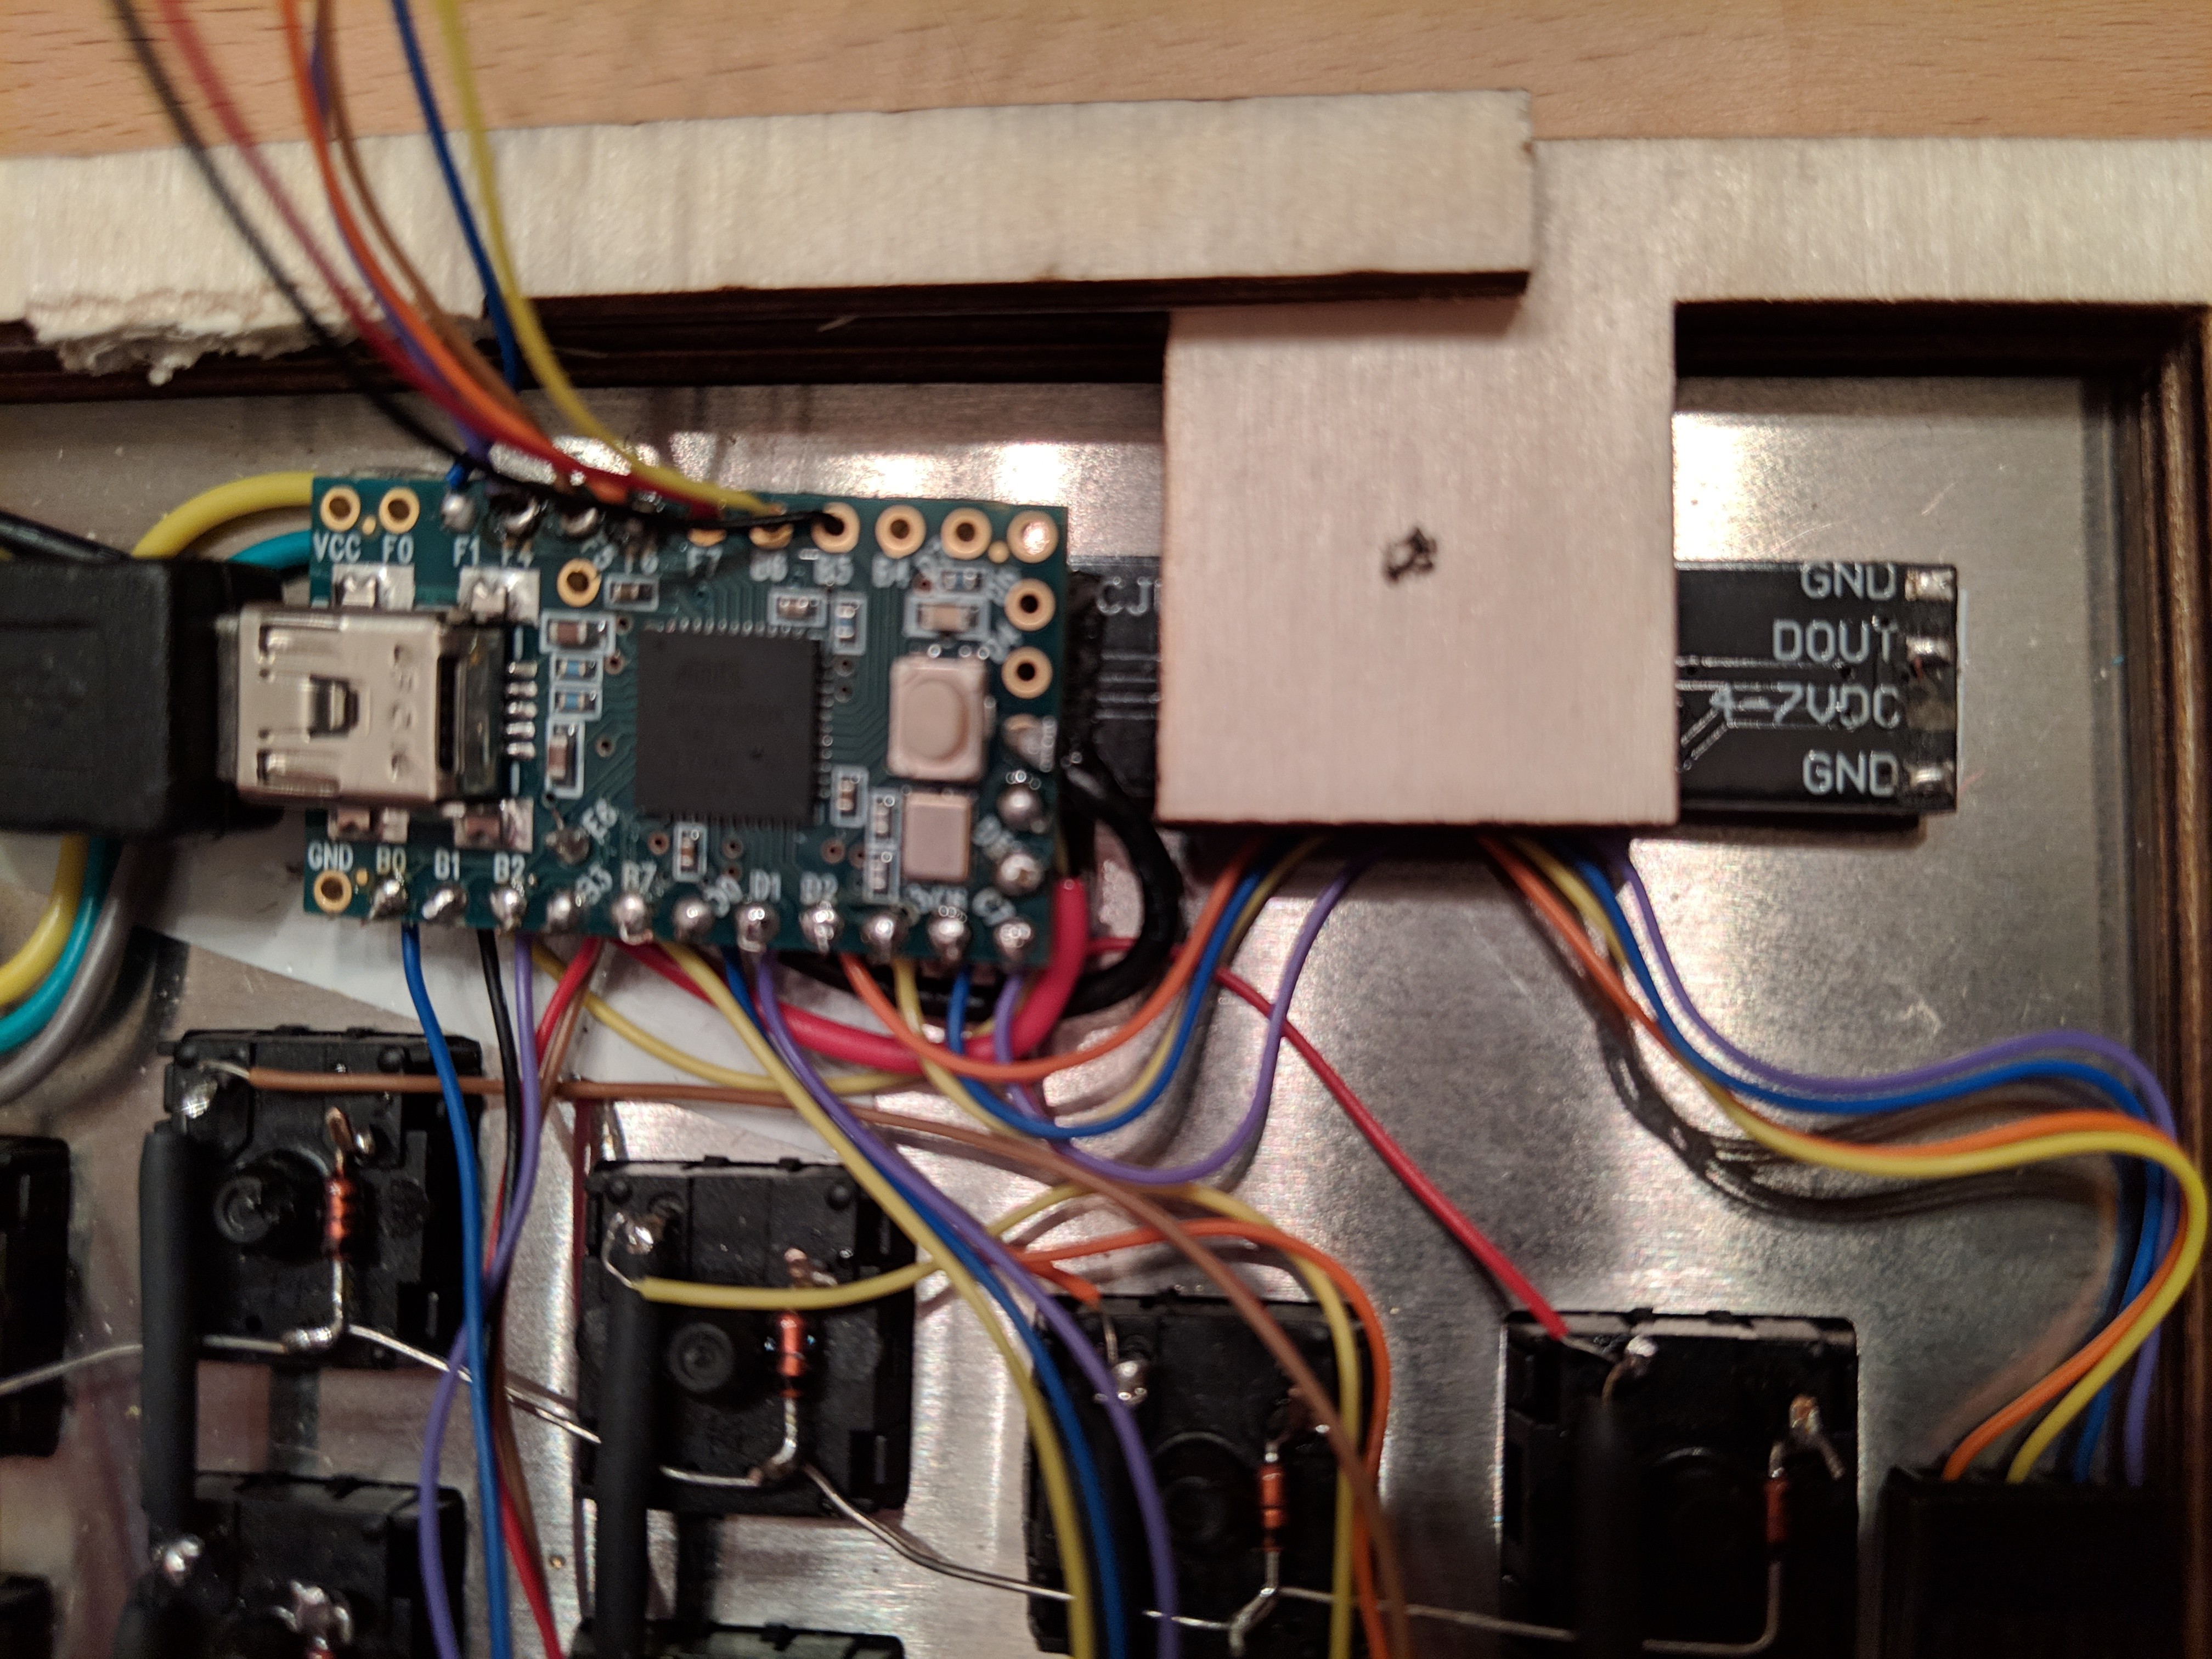
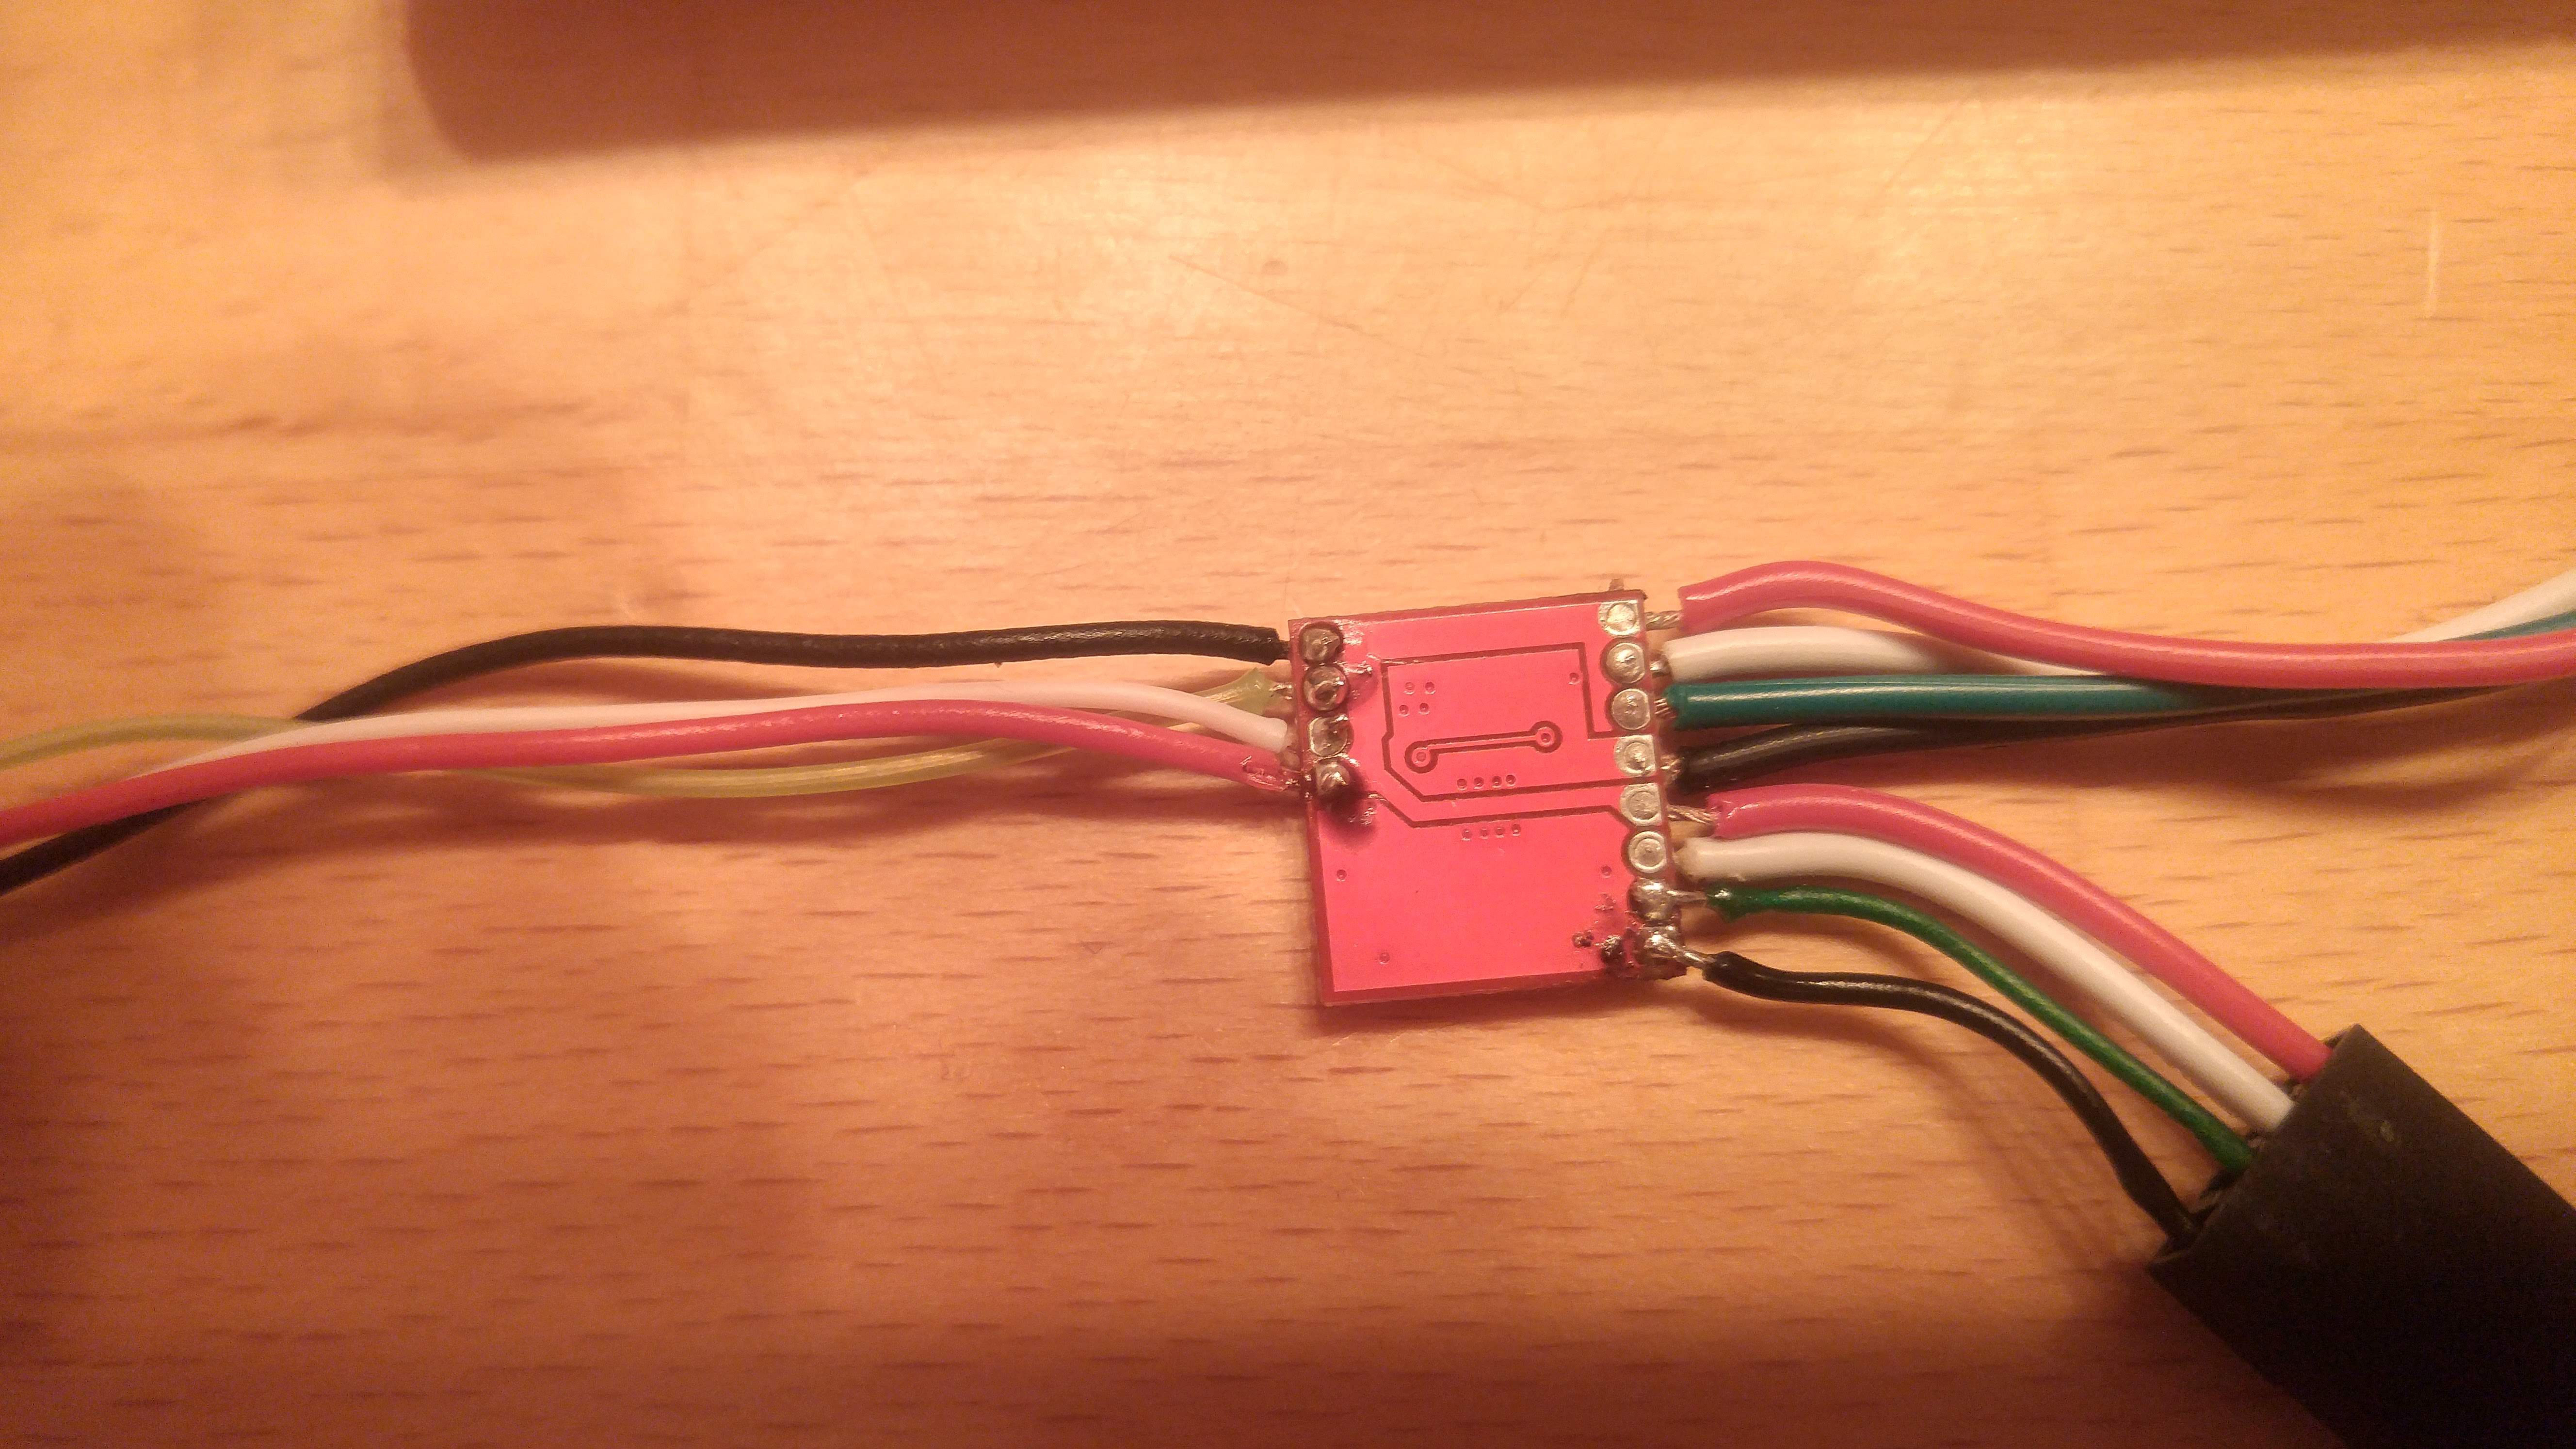
Connecting the NanoHub
03/06/2019 at 21:58 • 0 commentsThe NanoHub used to connect the Teensy2 and the Trackball.
I've had to use it because with the firmware the mouse was working, but the trackball was totally ignored. At the end this solution is much better, it makes the two devices independent and it allows the use of any firmware.
-
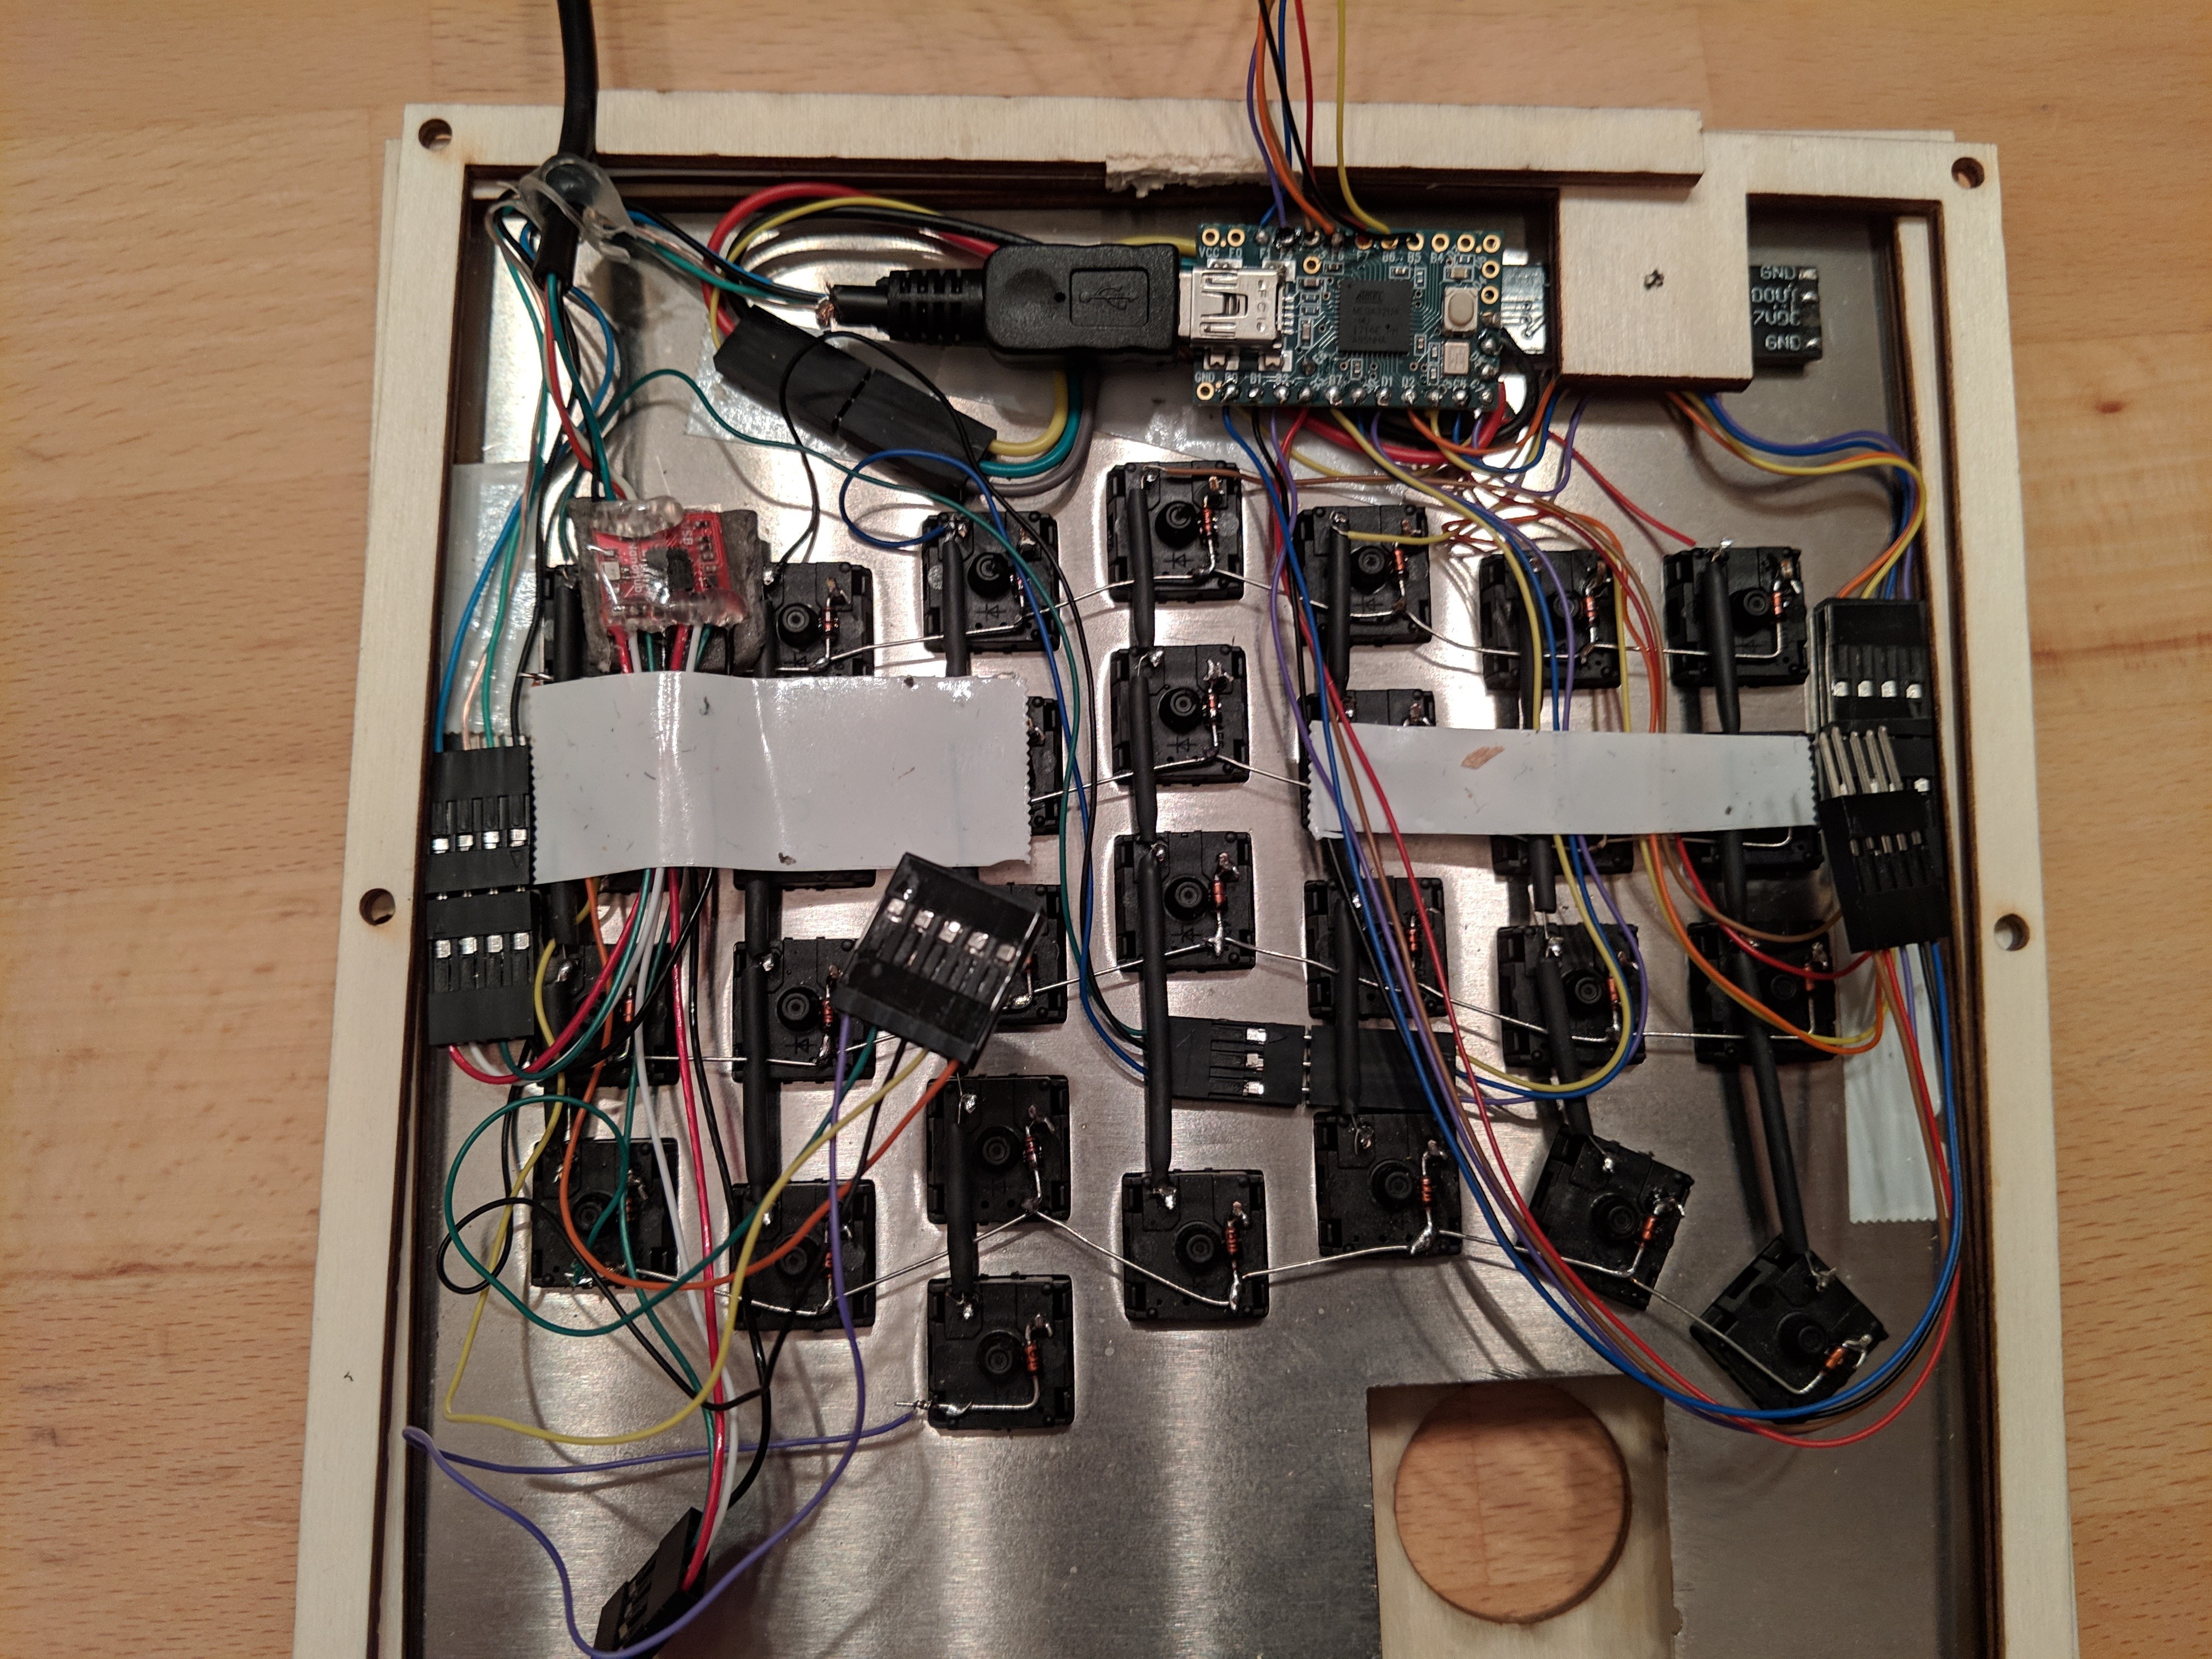
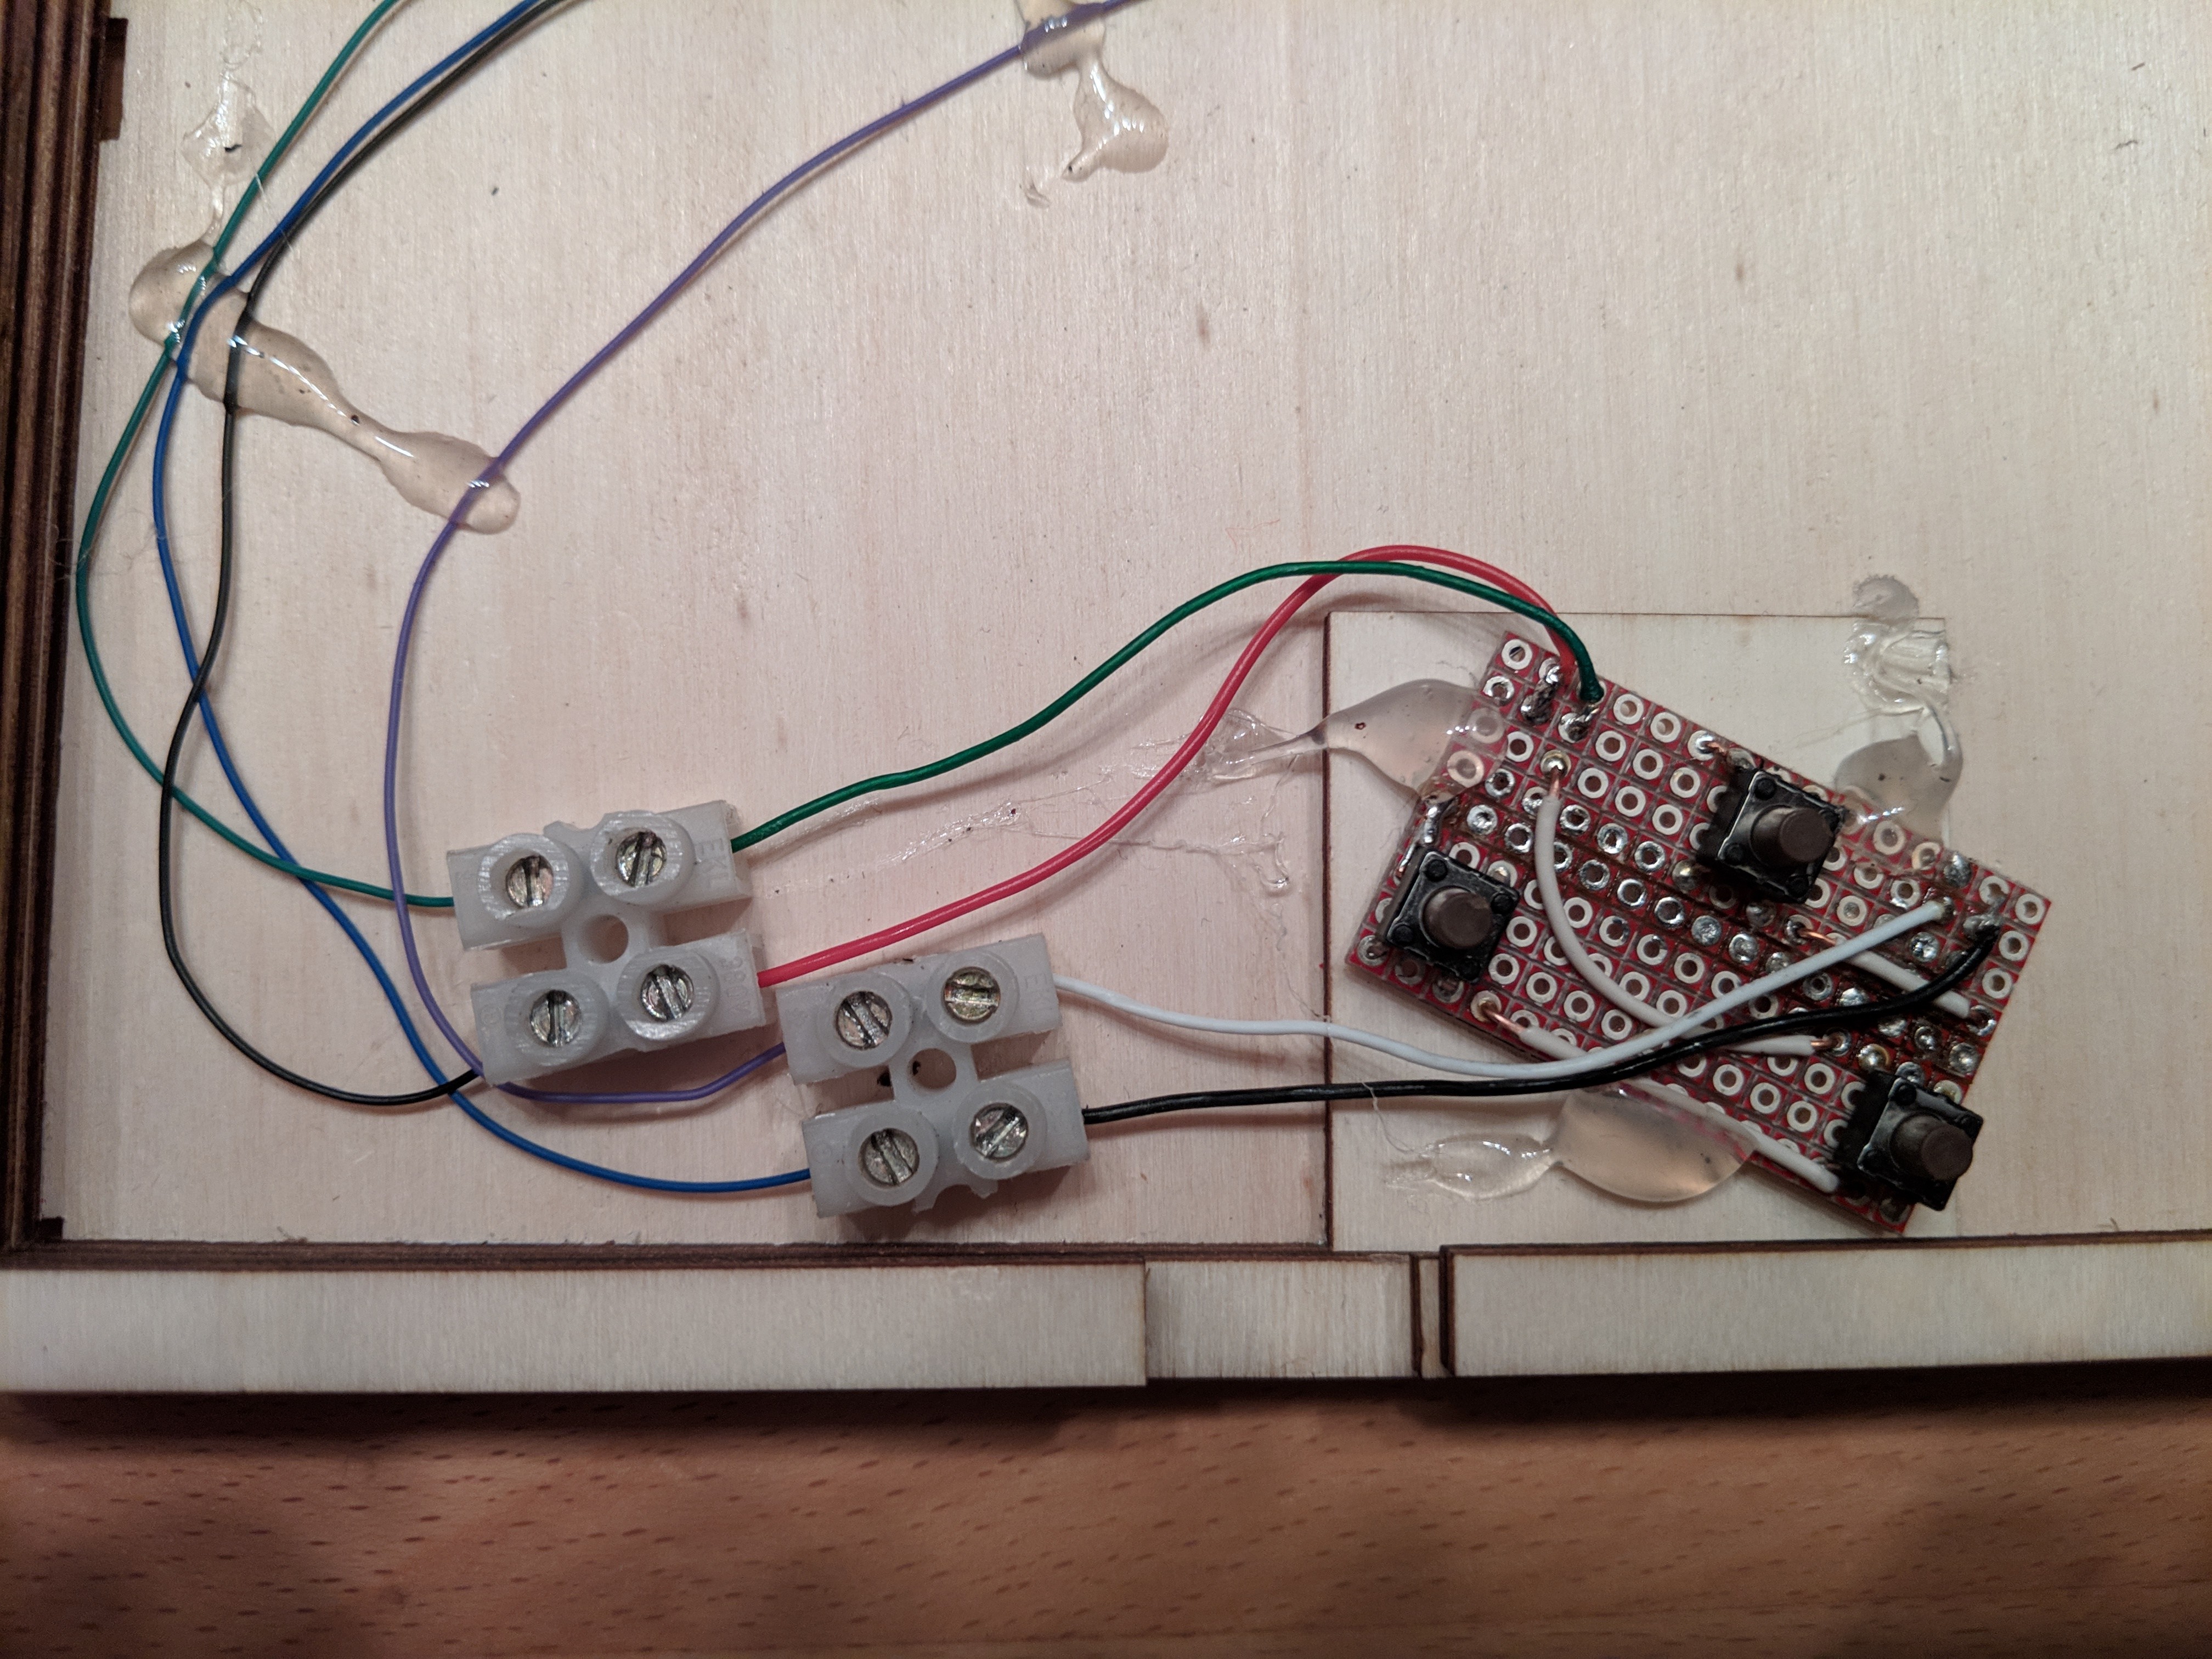
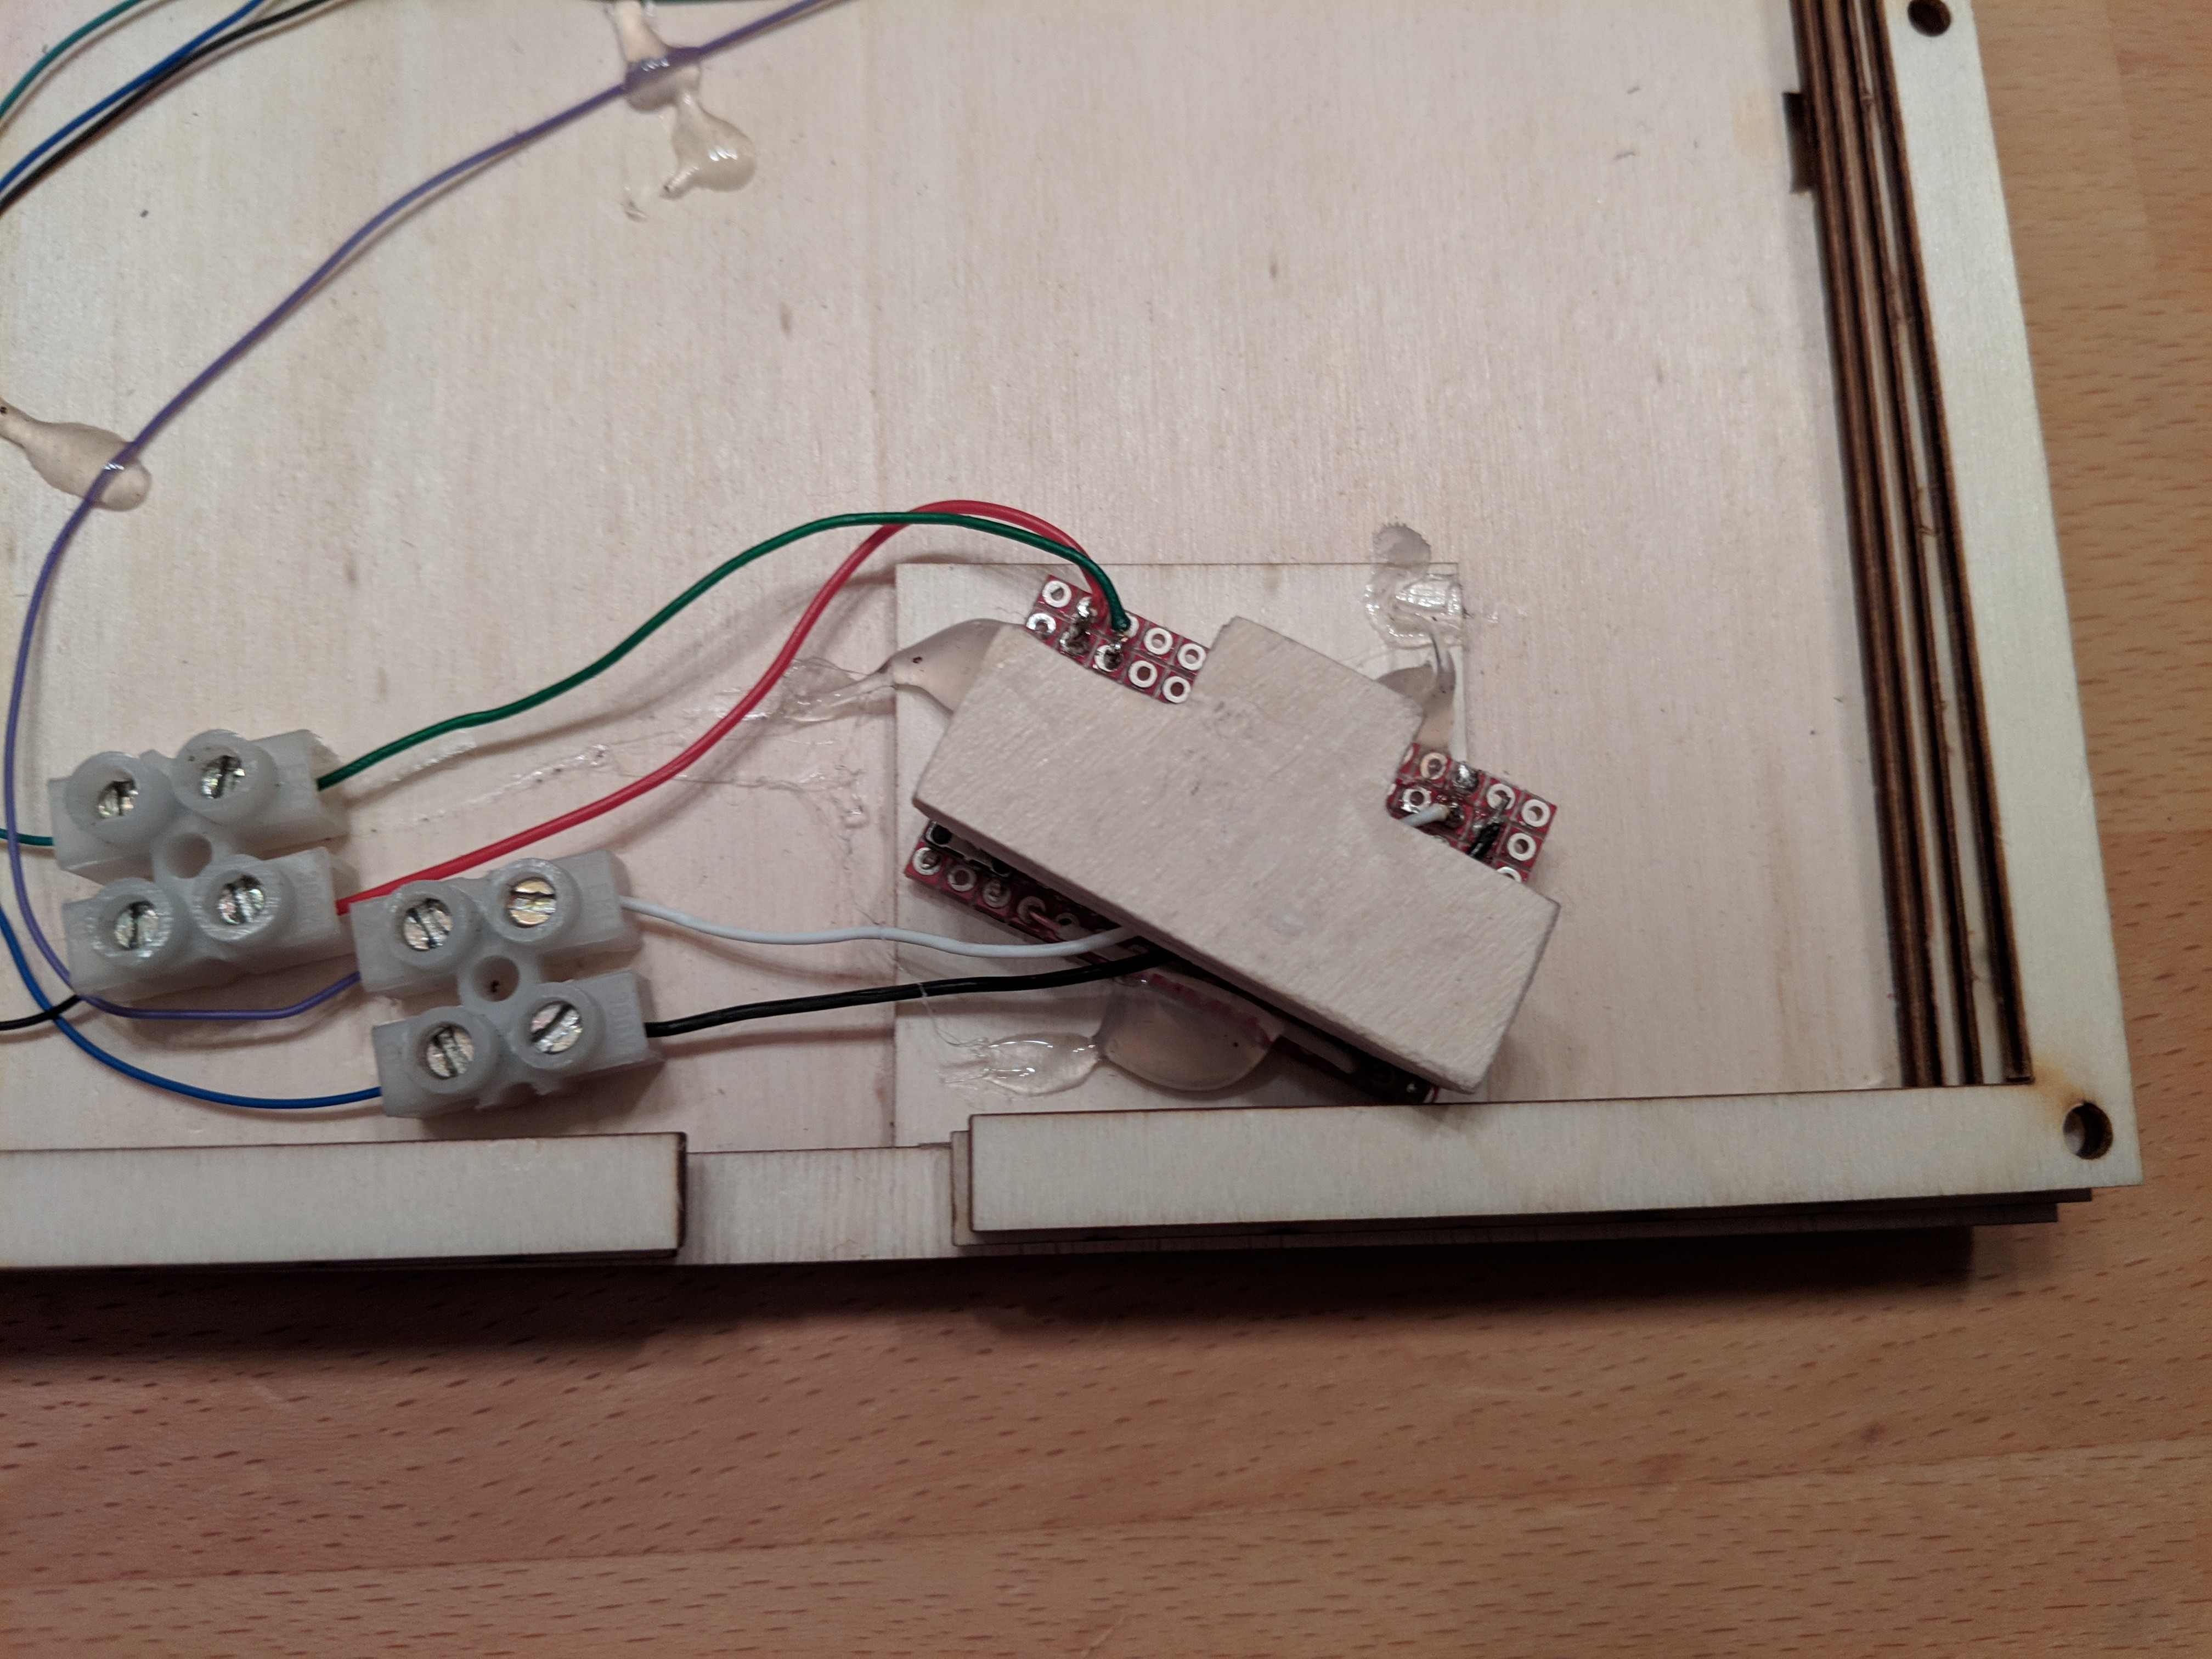
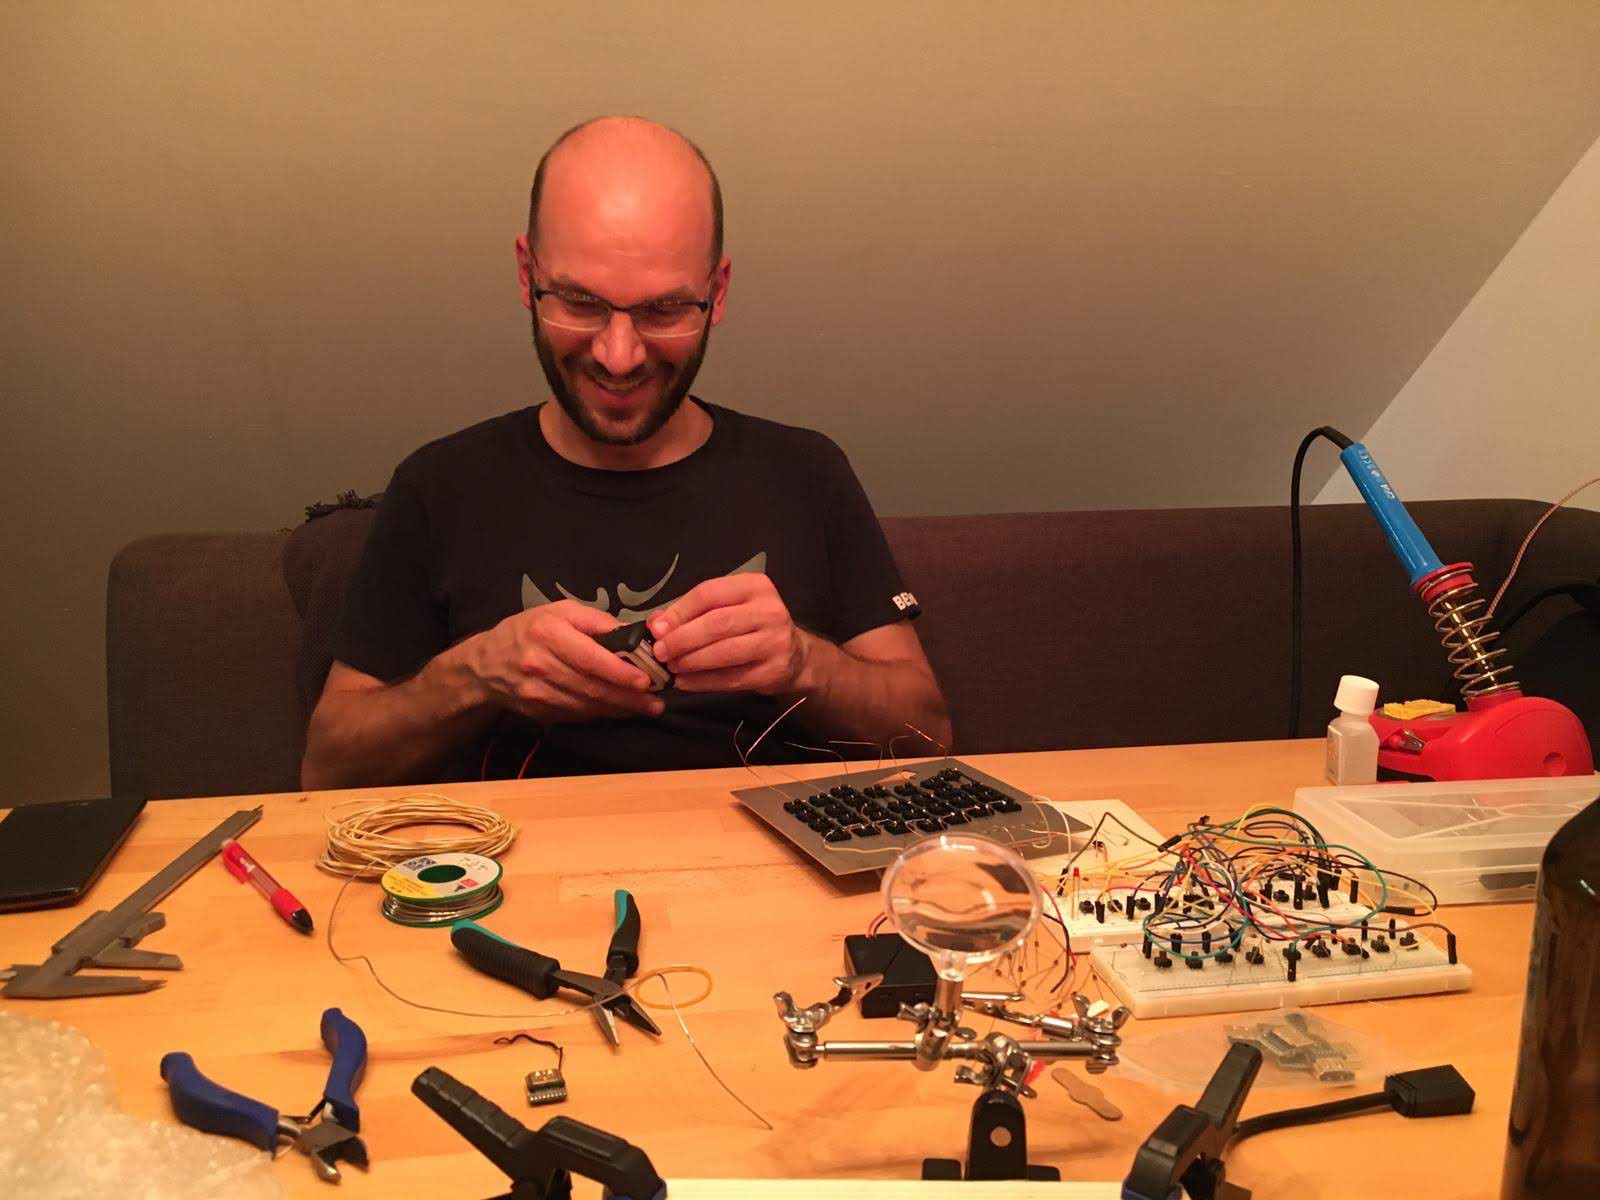
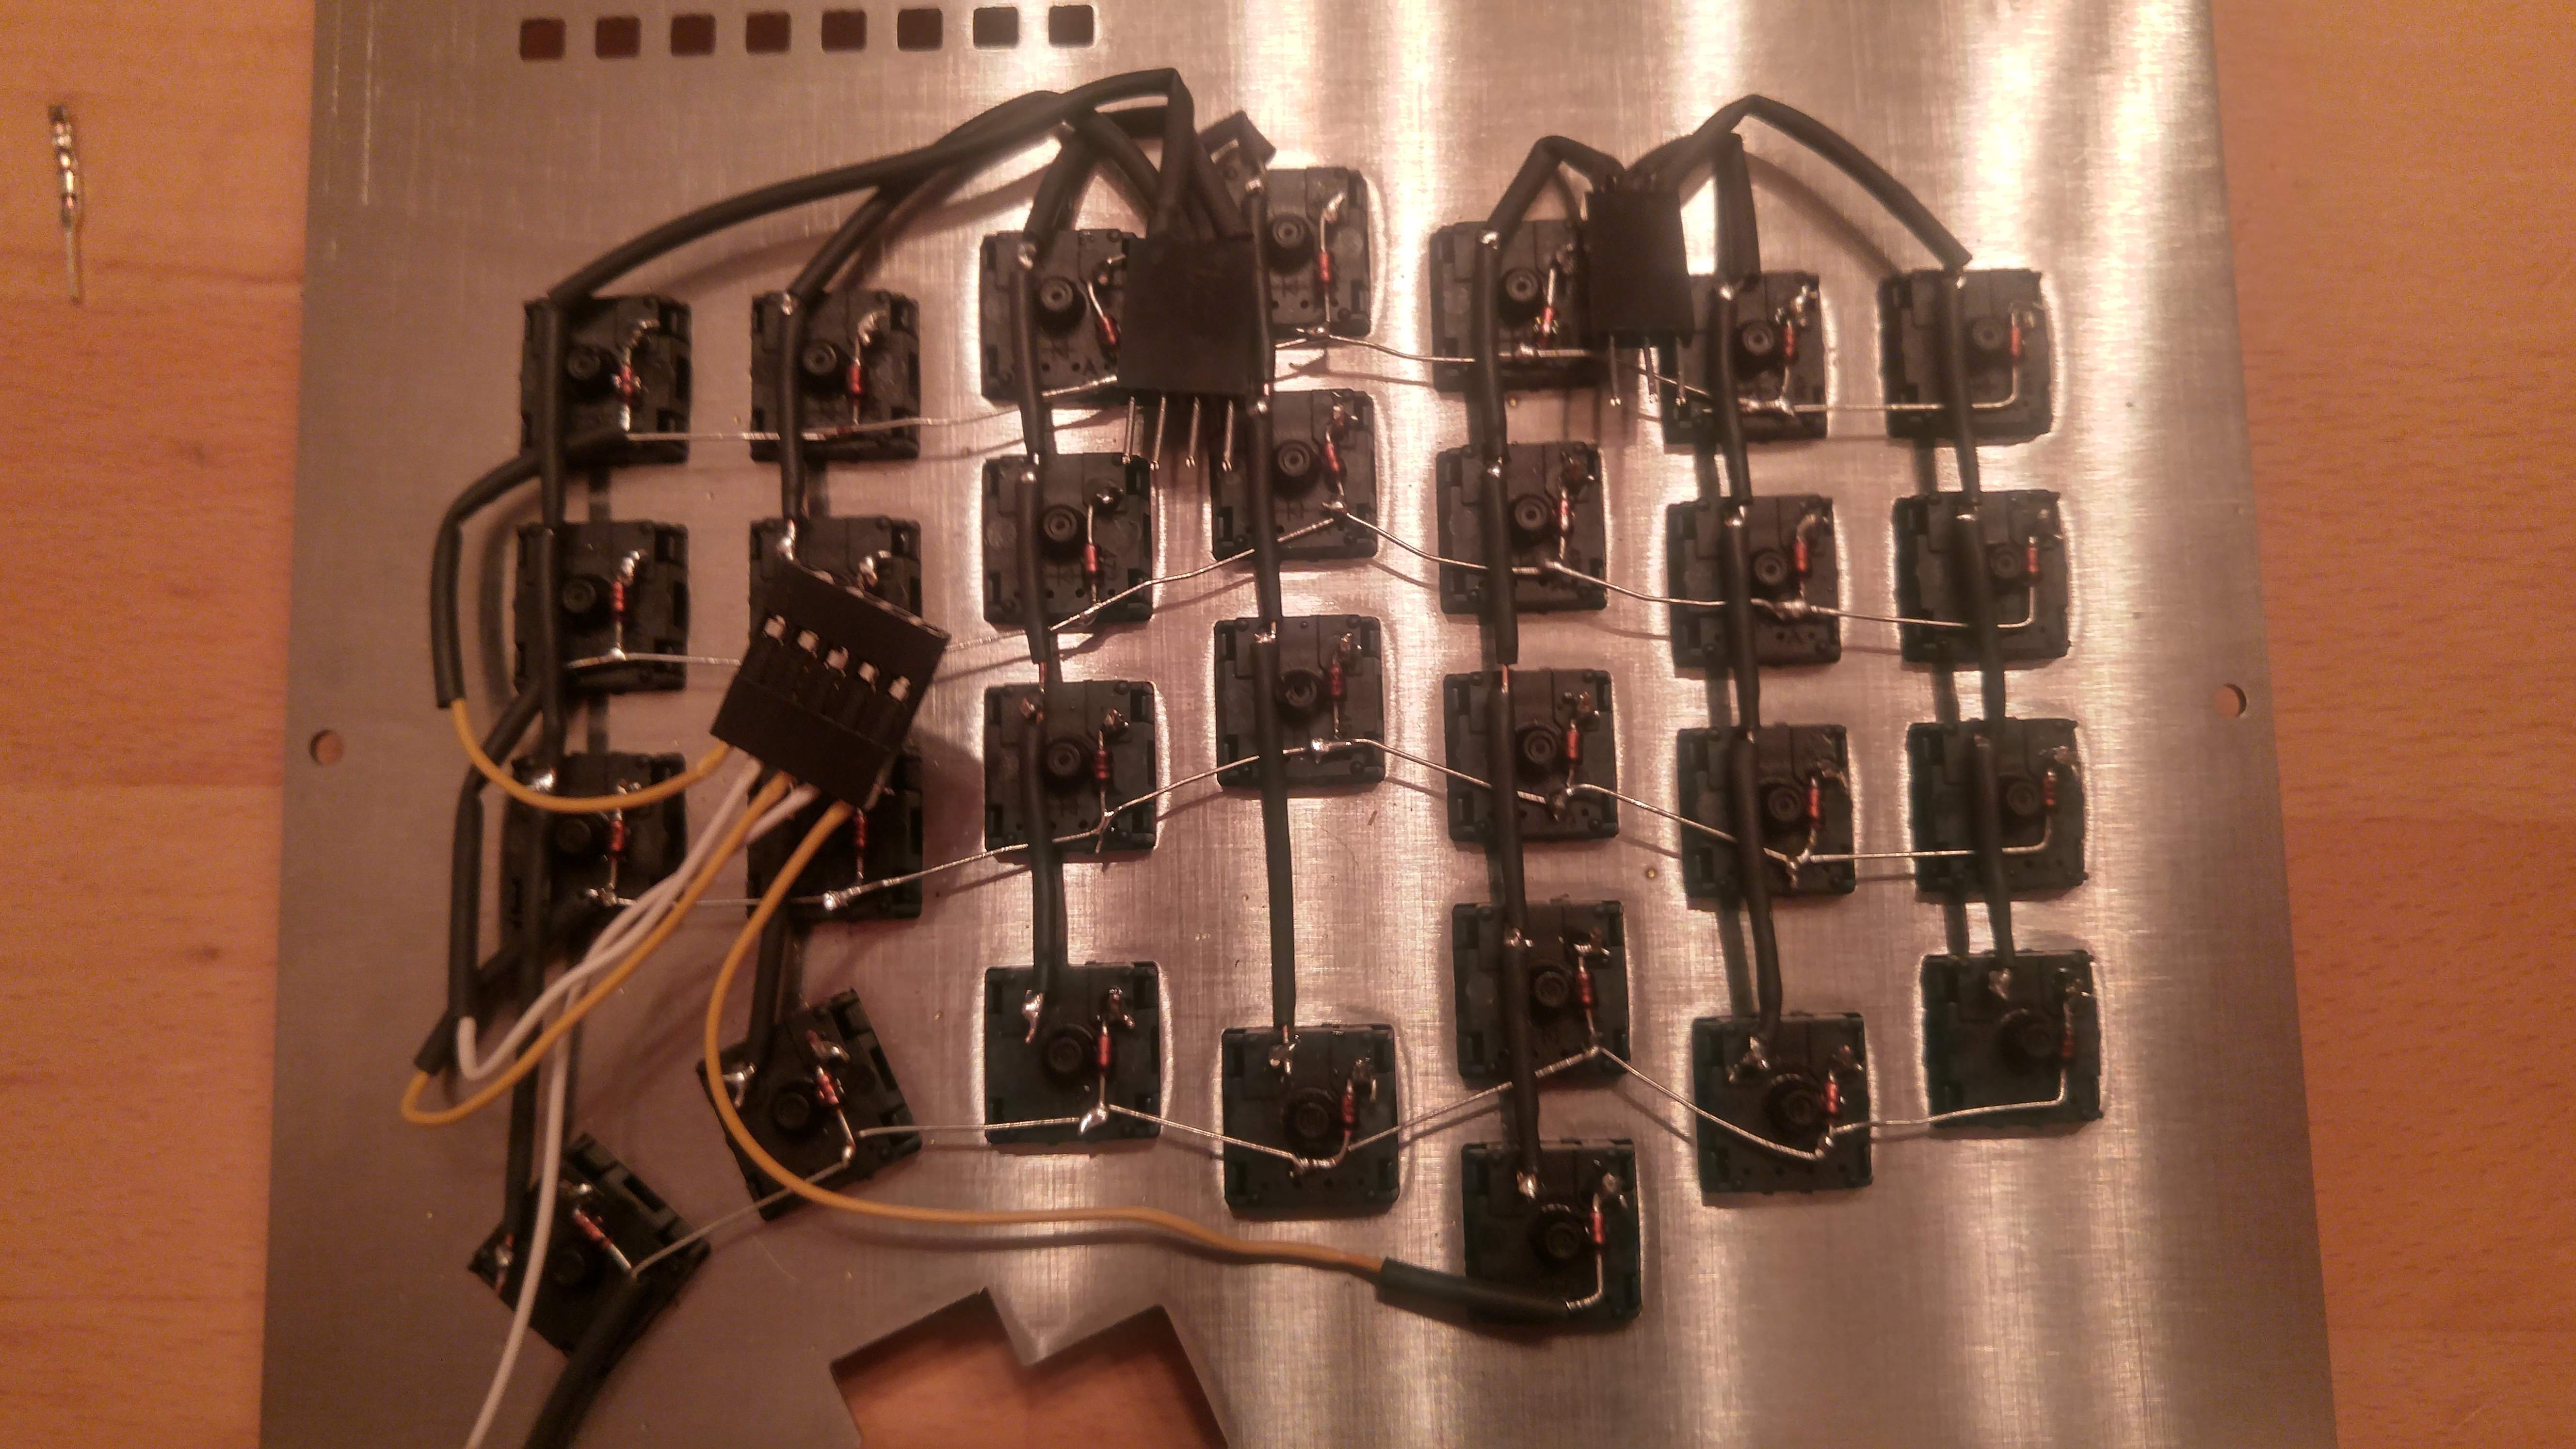
Wiring left side
03/06/2019 at 21:48 • 0 commentsWiring the left side of the keyboard.
Wiring completed for this side. I've used a hard wire, but later I'll do it again with soft and smaller wires.
Final wiring of the left side.
-
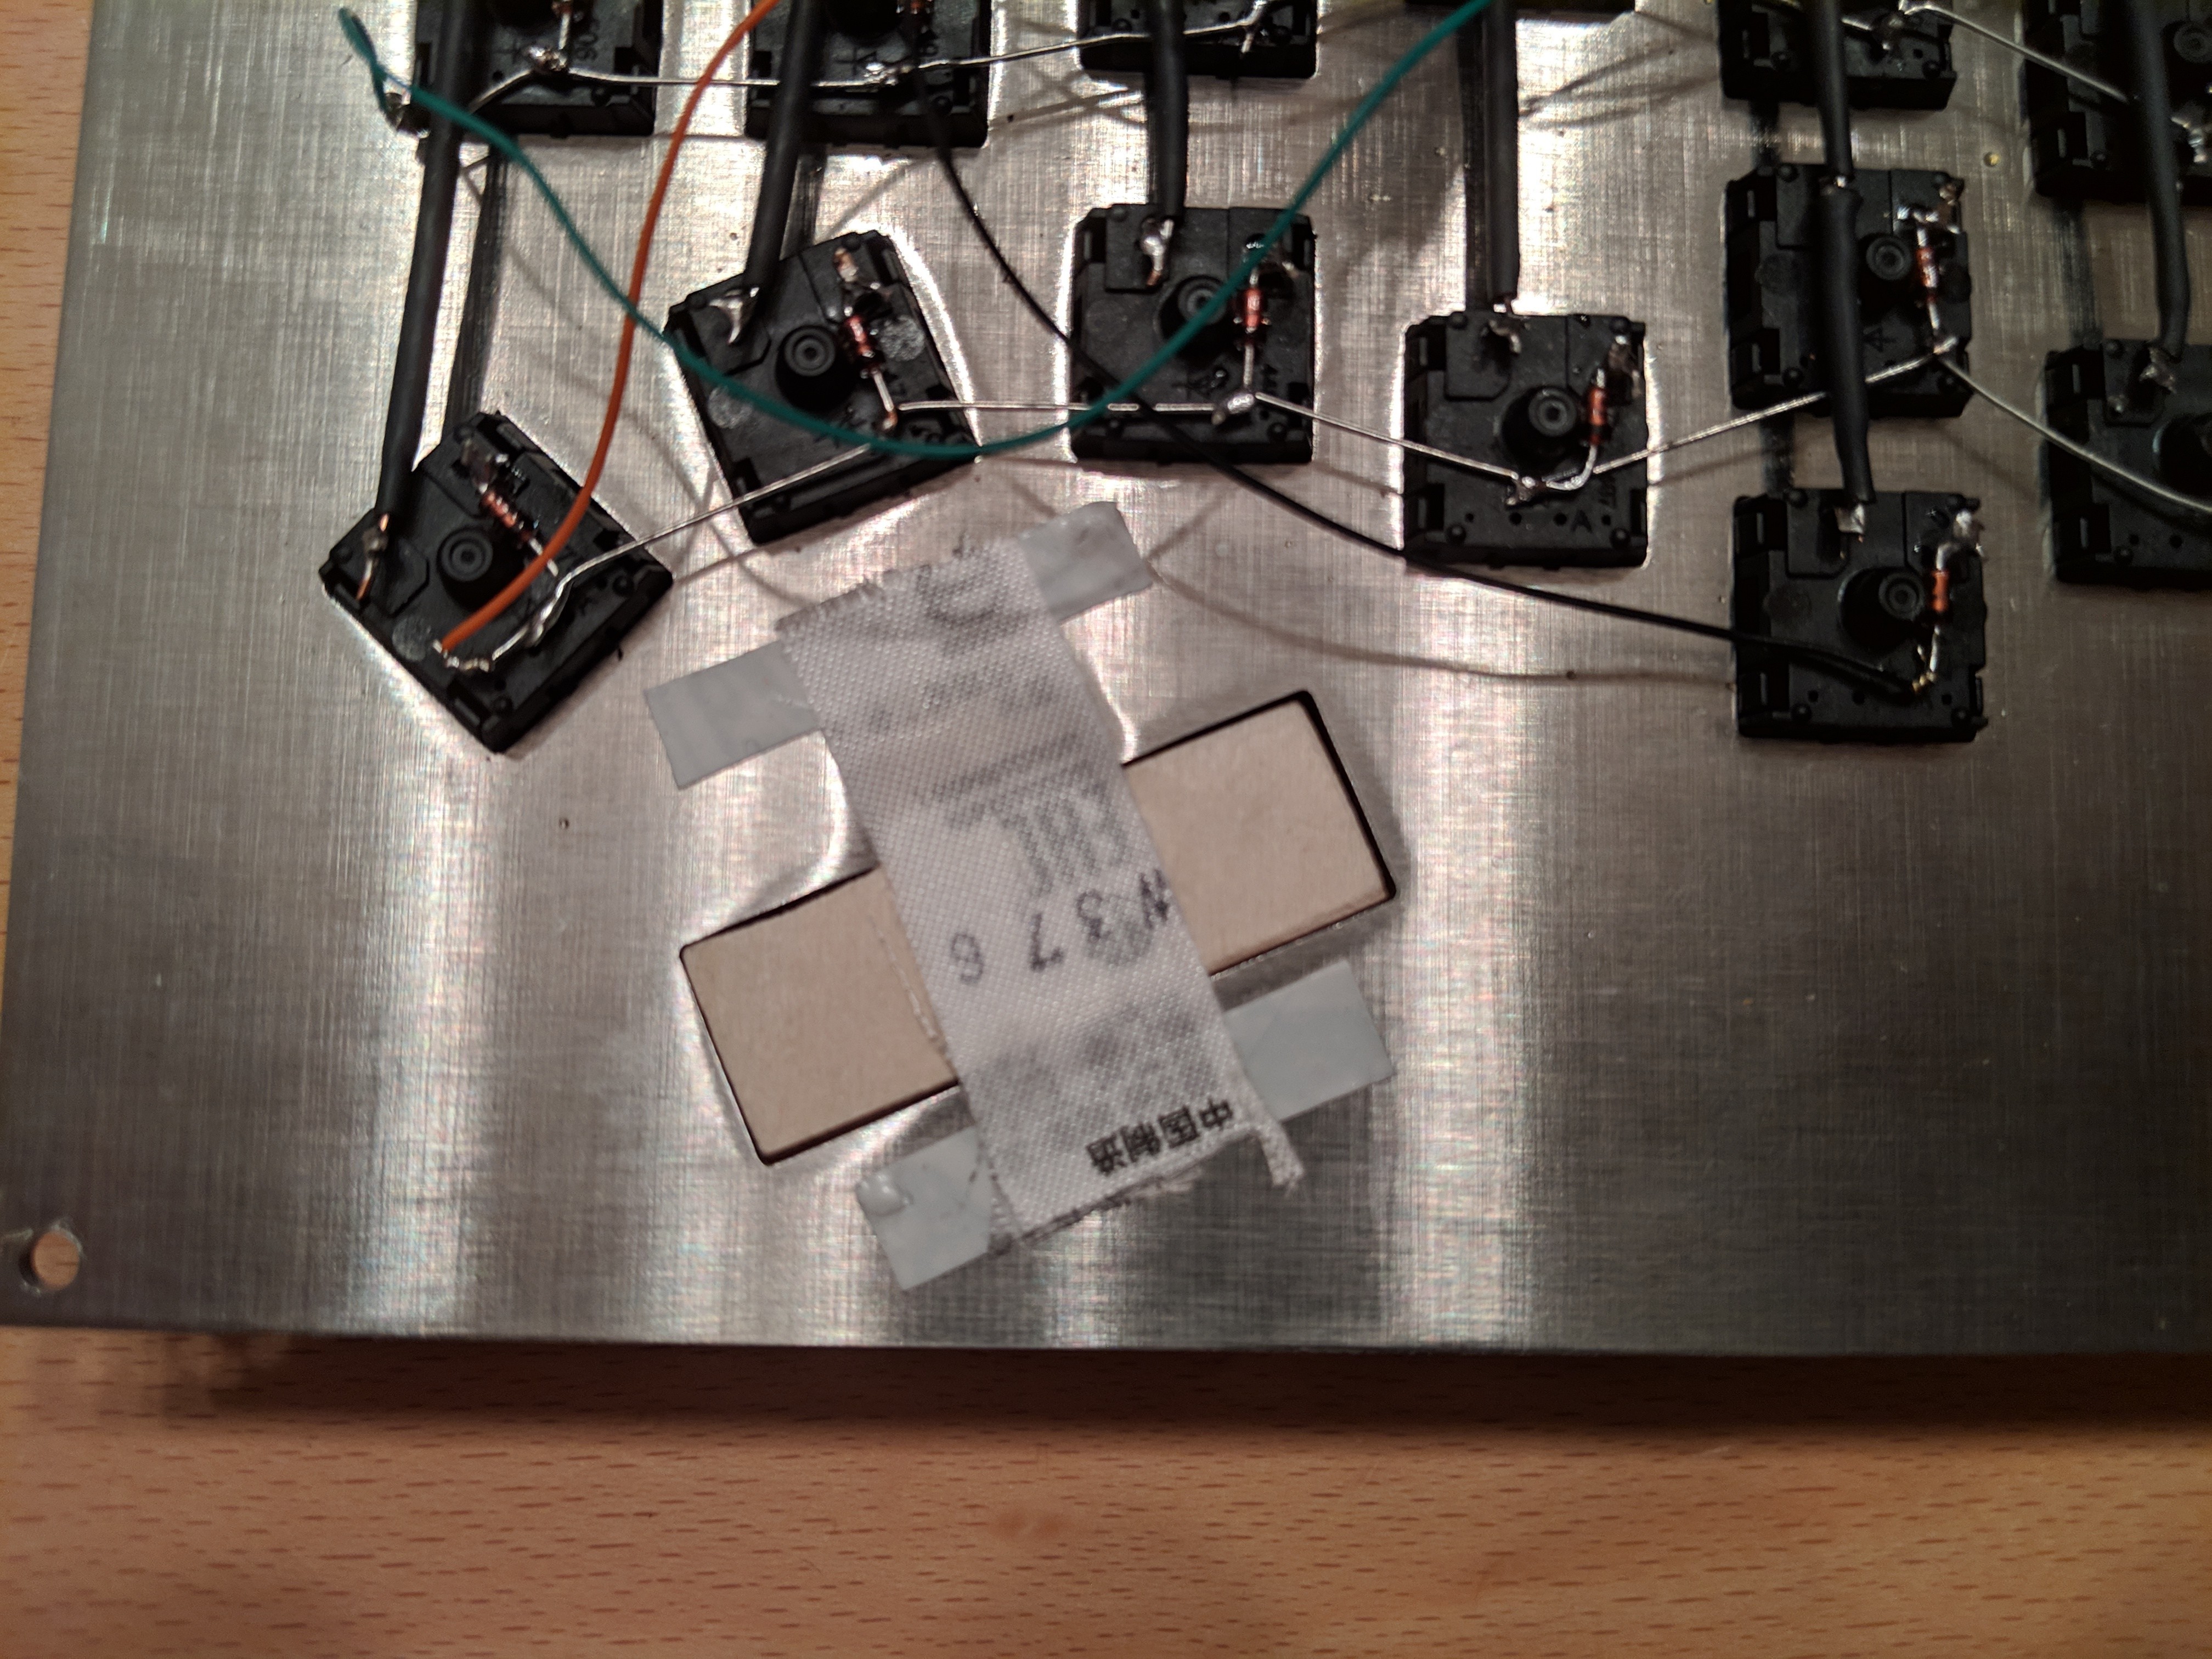
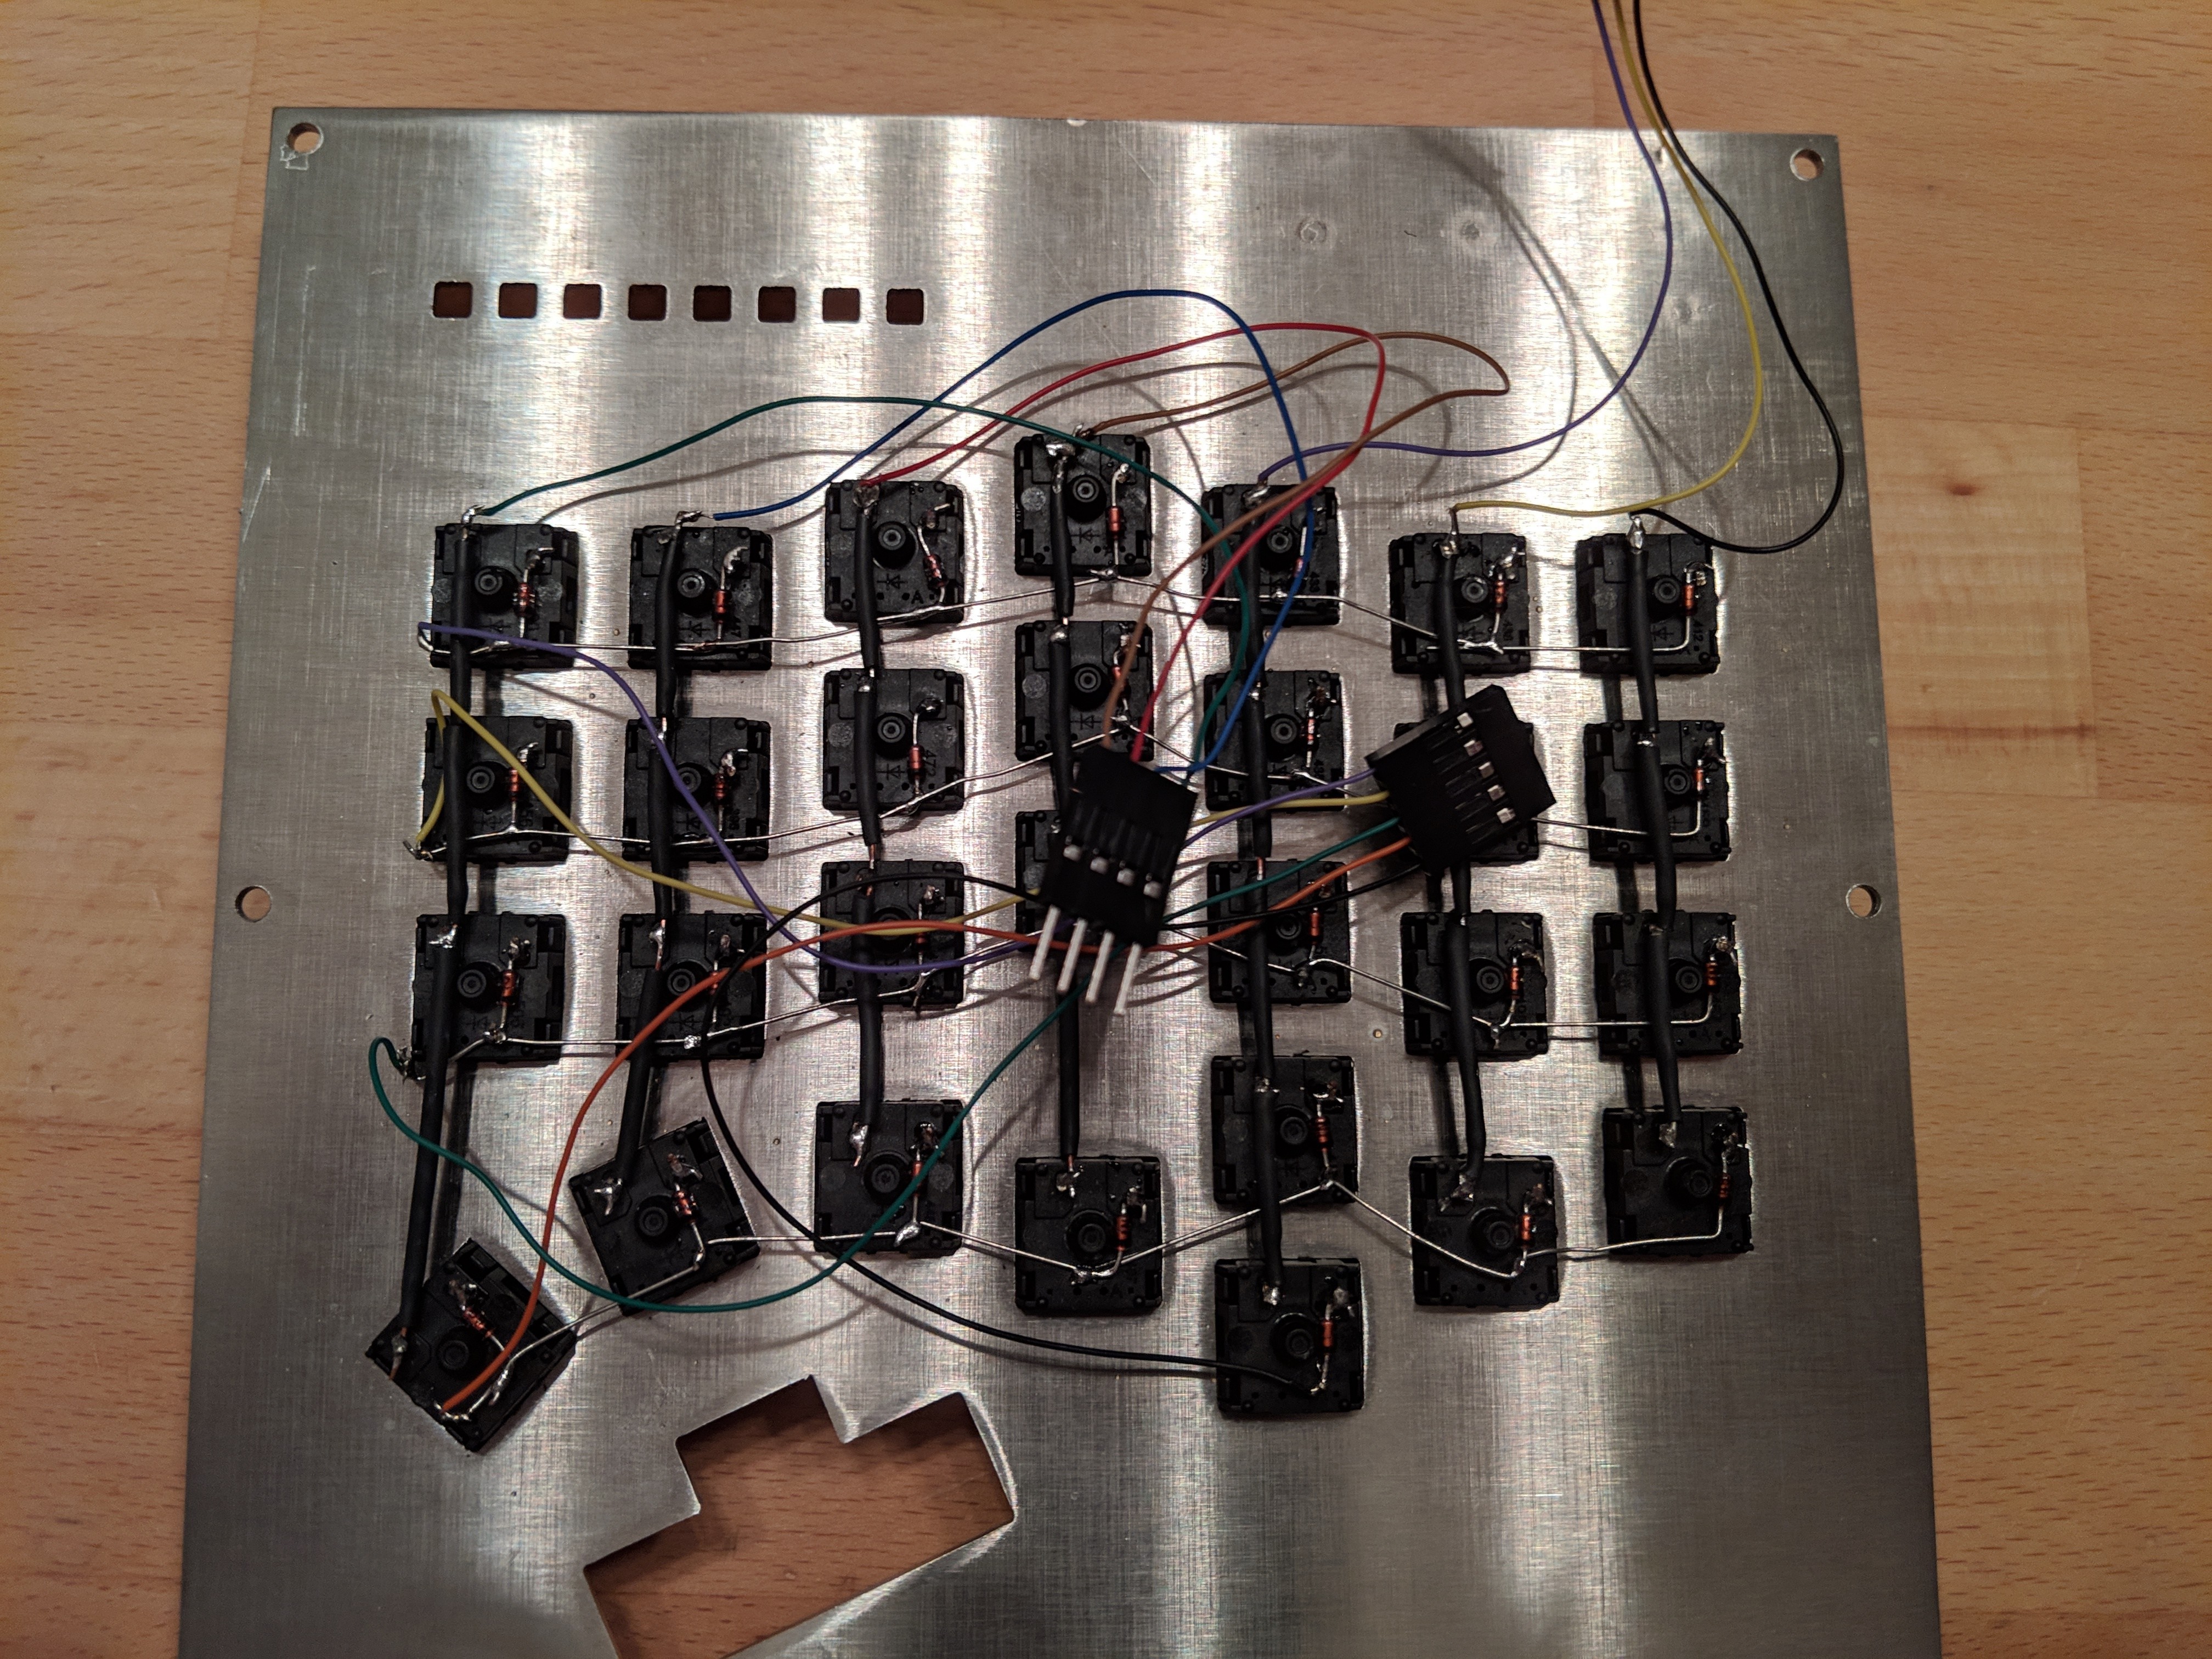
PCB attempts
03/06/2019 at 21:36 • 0 commentsJust an attempt to see what a PCB for the keyboard requires. A PCB would make the things really clean. But, this was just a test. The design of a PCB is not so simple and I've no experience. Better wiring directly.
Split 58
My custom split keyboard with integrated trackball and mouse buttons. Inspired by Ergodox and Keyboardio (https://shop.keyboard.io)