-
1Parts
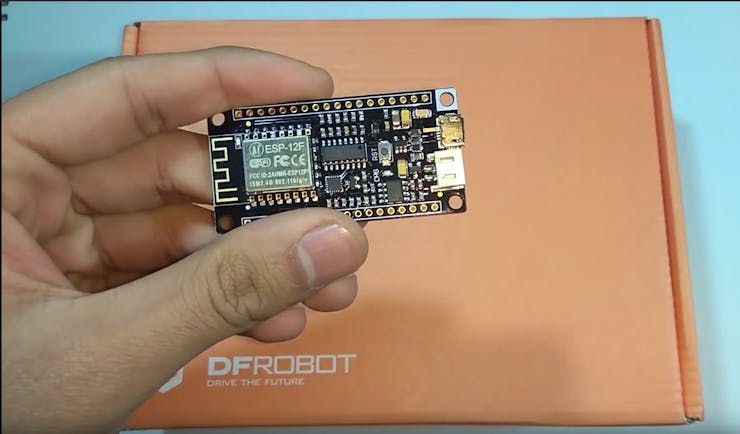
To make this you will need an ESP8266 board or an ESP32 and you can also add a battery if you want.
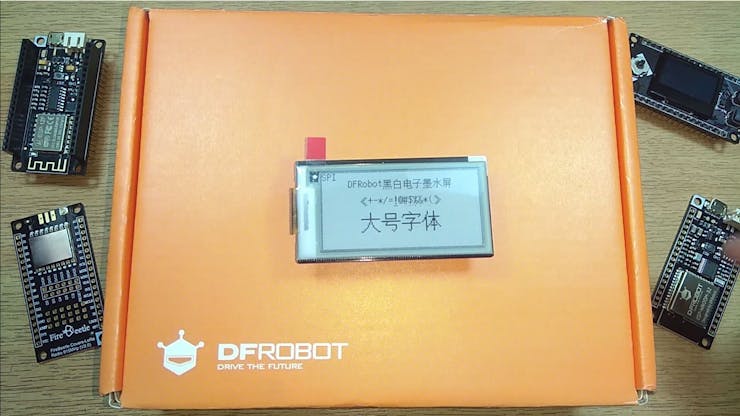
For the display I used an EPaper Firebeetle module.
![]()
I suggest to use a board from DFRobot with this module as the pinout will be compatible and you will face no issues anywhere, I used Firebeetle board from DFRobot as it has on board battery charging and monitoring solution.
![]()
![]()
-
2Get PCBs for Your Project Manufactured
You must check out JLCPCB for ordering PCBs online for cheap!
You get 10 good quality PCBs manufactured and shipped to your doorstep for 2$ and some shipping. You will also get a discount on shipping on your first order. To design your own PCB head over to easyEDA , once that is done upload your Gerber files onto JLCPCB to get them manufactured with good quality and quick turnaround time.
-
3Download and set up the Arduino IDE
Download the Arduino IDE from here.
1. Install the Arduino IDE and open it.
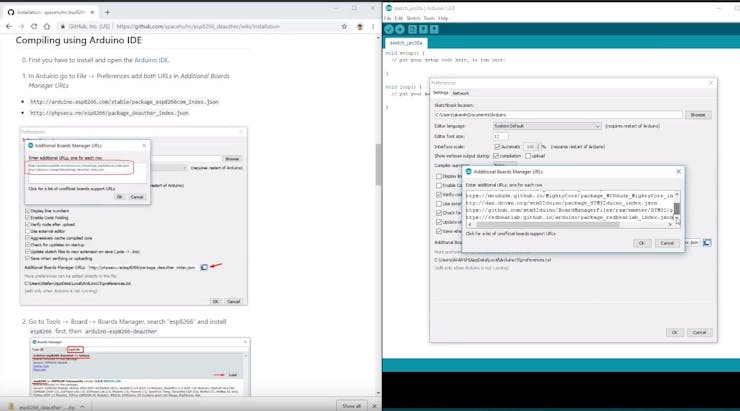
2. Go to File > Preferences
![]()
3. Add http://arduino.esp8266.com/stable/package_esp8266com_index.jsonto the Additional Boards Manager URLs.
4. Go to Tools > Board > Boards Manager
5. Search for ESP8266 and then install the board.
6. Restart the IDE.
-
5Sign-up on the OpenWeatherMap.org
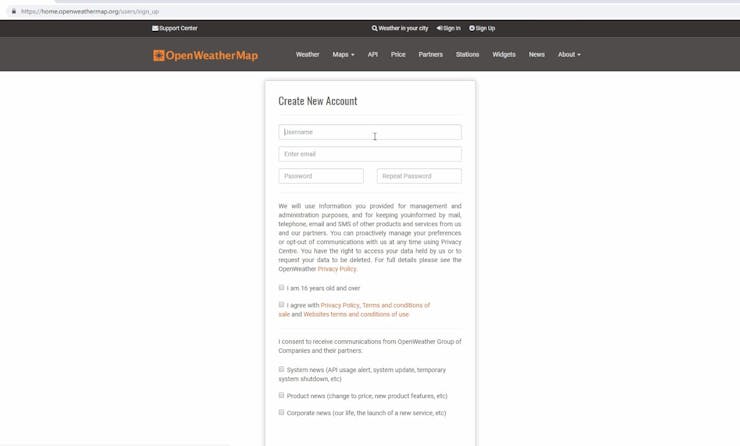
1. Goto the website.
![]()
2. Sign up with your email id and other credentials (FREE).
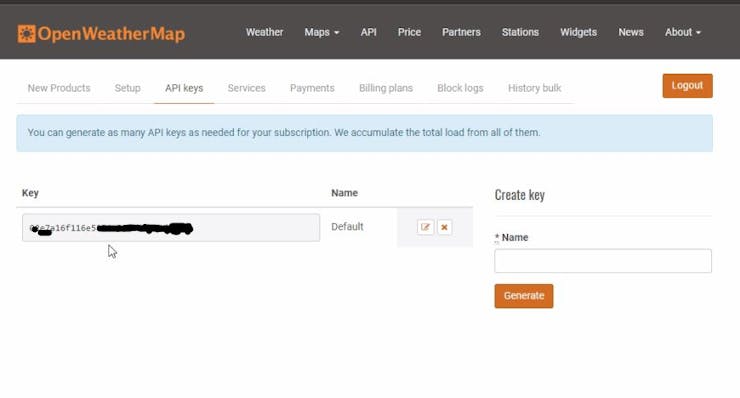
3. Once you are signed in, head over to the API Keys tab and copy your unique API Key which we will need in the next step.
![]()
-
6Coding the module
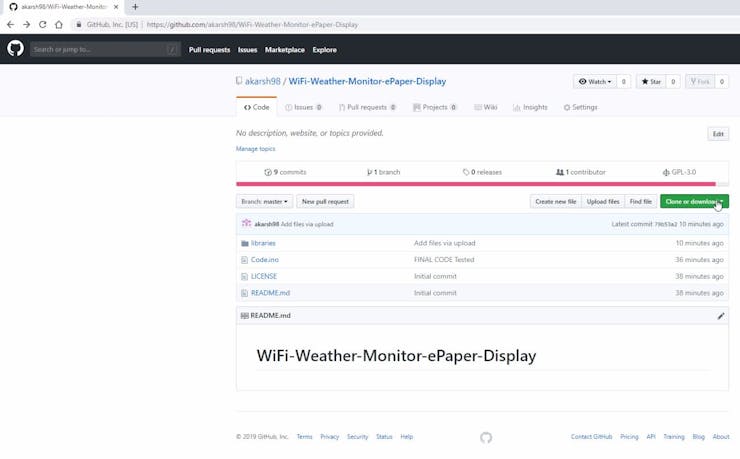
1. Download the github repository: https://github.com/akarsh98/WiFi-Weather-Monitor-ePaper-Display
![]()
2. Extract the downloaded repository.
3. Copy the libraries from the downloaded repository to the Library folder in Arduino sketch folder.
4. Open the Code.ino sketch in the Arduino IDE.
5. Change the Wi-Fi SSID and password in the sketch.
6. Add the API key from Step 4 to line number 44 of the code in place of the hashtags.
7. Navigate to Tools > Board. Select the appropriate board that you are using, Firebeetle ESP8266 in my case.
8. Select the correct comm. port by going to Tools > Port.
9. Hit the upload button.
10. When the tab says Done Uploading you are ready to use the weather monitor.
-
7Playing with the monitor
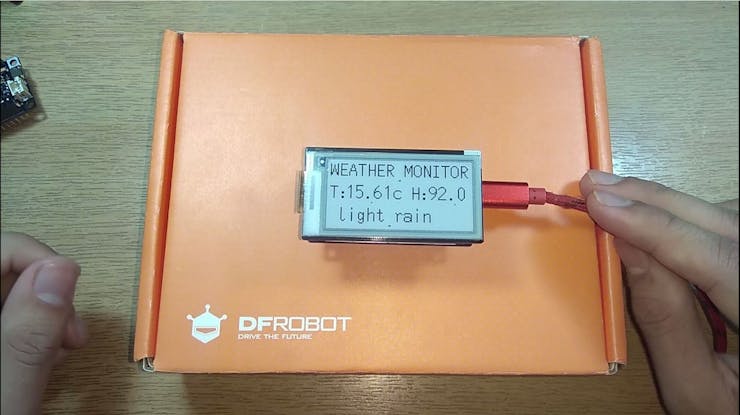
As soon as the module connects itself to the WiFi network the display starts refreshing and you will see the project coming to life.
![]()
IoT Weather Monitor E-Paper Display | ESP8266
The E-Paper display will display the weather info, synced with OpenWeatherMap API (over WiFi). The heart of the project is ESP8266/32.


Discussions
Become a Hackaday.io Member
Create an account to leave a comment. Already have an account? Log In.