 Ultimate Robotics
-
1Unpacking
Welcome, everyone!
This is an instruction on how to use uECG kits that we sell, but it’s also useful if you want to make your own uECG. Or maybe you were just browsing Hackaday and accidentally found our projects. In any case, thank you for being interested in uECG!
We have created a Discord Chat for additional support or feedback, join us!For clarity, we also made this video to show everything described in the instruction:
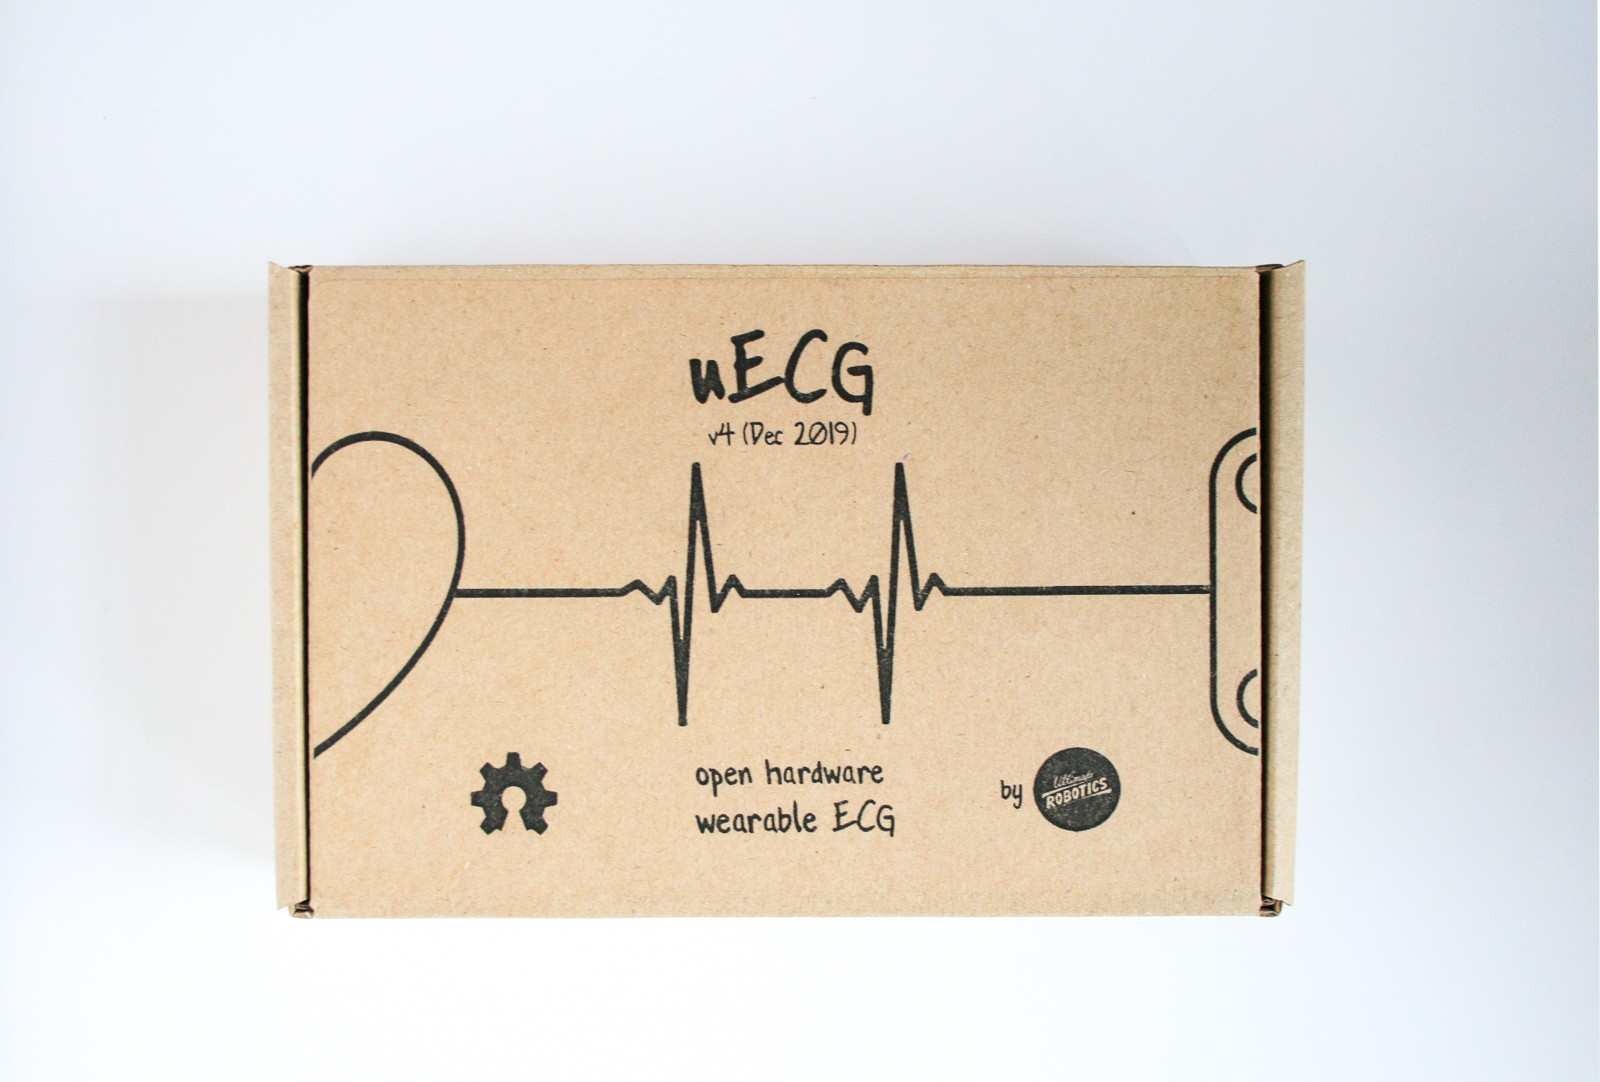
We tried to make the package as simple and environmentally friendly as possible! It doesn’t contain plastic packaging, but is still antistatic and protects well.
![]()
![]()
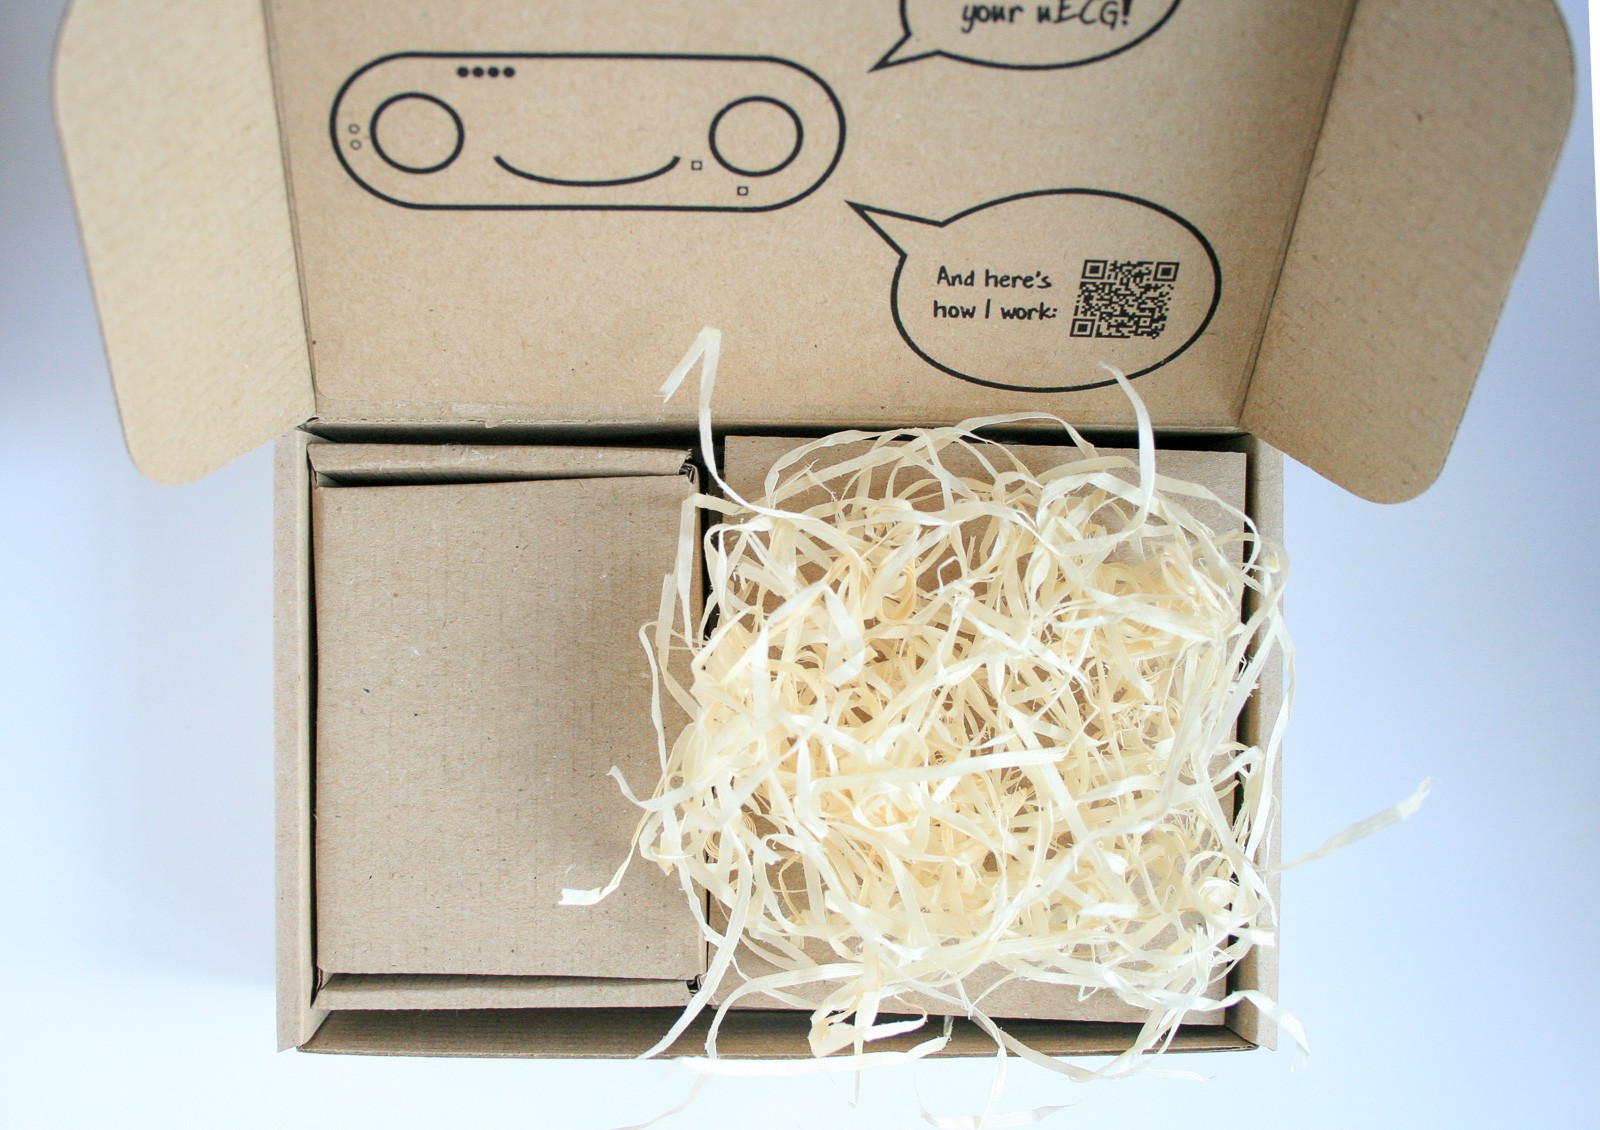
The devices (uECG, base and programmer) are stored in separate cardboard cutouts; the electrodes, wires and pins are in the smaller box.
![]()
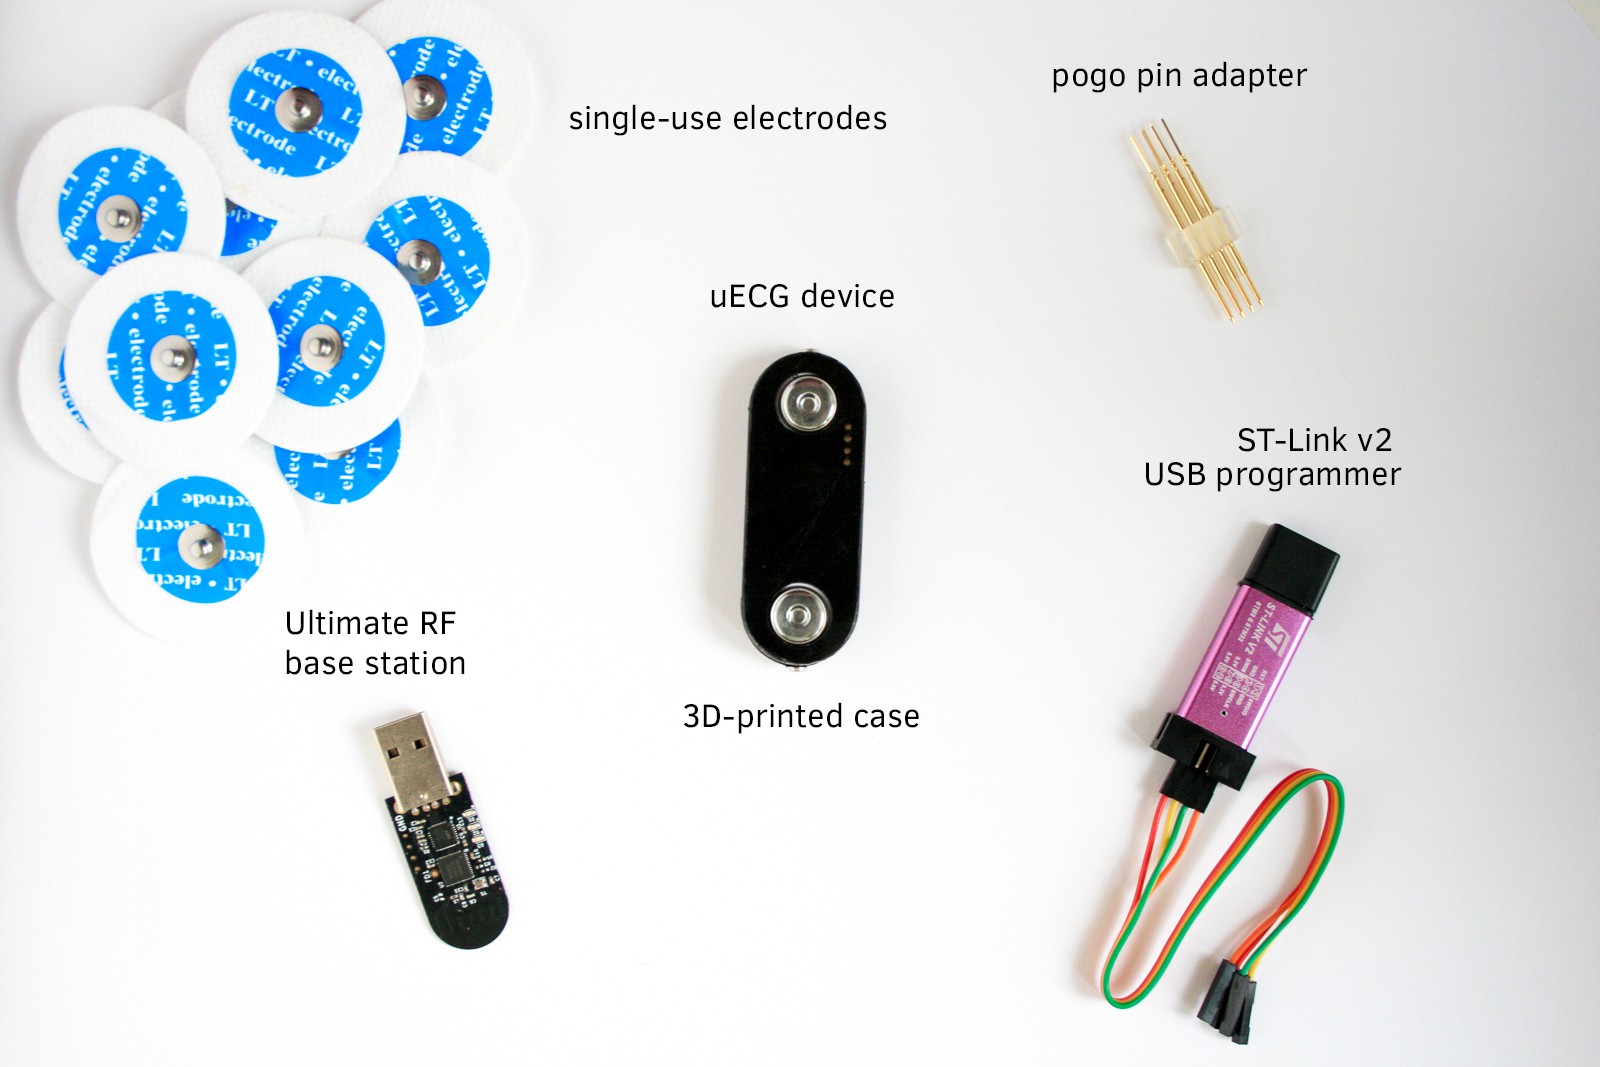
The most popular (Developer’s) uECG kit includes the following:
- uECG device;
- 3D-printed case;
- 10 single-use electrodes;
- base station for connecting to laptop/PC (a simple nRF52832 USB board designed by us);
- USB programmer for firmware upload (ST-Link v2, we use a tested Chinese clone);
- pogo pin adapter (4 pogo pins/2.54 spacing).
![]()
-
2Power on/off
- Turn on the the slider on the side of the device - slider switch is used for shipping and long storage modes, not required for standard use
- Press a button - the device will turn on immediately. You should see a series of blinks on the left side - first red, green, blue; then three green flashes; then pink. The pink LED means the device is on and ready to use;
- The pink LED should periodically flash when device sees R peaks in ECG - i.e. in contact with the skin.
- To power off, press and hold the button for 3 seconds. LED should switch from green to red, then you can release the button
-
3Usage
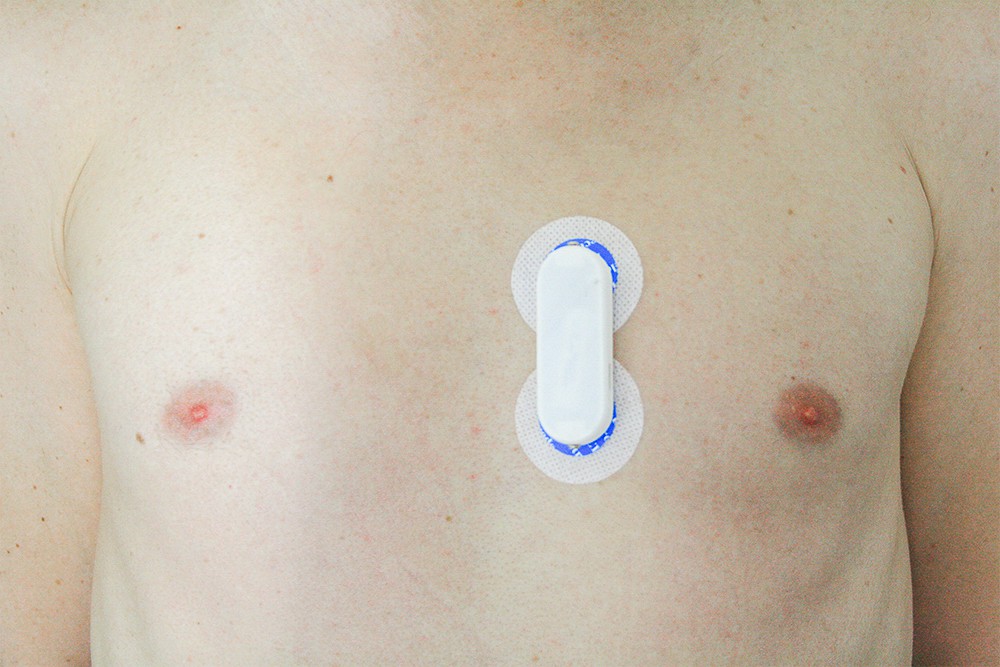
- Attach round gel electrodes to the snap connectors on the bottom of uECG;
- Peel off the protective layer from them and stick them to the chest as shown in picture below;
- Gently press the device onto the skin once to ensure it sticks;
- After use, peel off the device and detach the electrodes (they are single-use);
- It’s good to minimize the amount of hair and wipe the skin with alcohol for better signal. It will also be easier to remove, too :)
Please turn off uECG after use! Current version doesn't automatically turn off when no skin contact is present.
![]()
![]()
-
4Using the app
The app is only for Android currently. Not all Android phones may be supported: please feel free to complain loudly in the comments on Hackaday and we’ll try to fix it! :)
This is steps for Android 7+:
1. Download the free uECG monitor app from Google Play (or enter “uECG” in the search).
2. Go to the settings of the installed application and allow location access (required for Bluetooth) and saving files.
3. Turn on the bluetooth.
4. Turn on the device.
5. Launch the app and bring the phone close to the device. Wait up to 30 seconds. The data should appear, and within a minute signal should become stable.
6. If you don't see any signal within 1 minute, then:
a) click on the cross (in the upper left corner) to exit the app, then remove it from the history of open tabs - both steps are necessary.
b) turn off bluetooth for ~5 seconds, then turn it on again
c) then start the app.7. To switch between the tabs, click on the upper right button "HRV":
- the default tab displays RR variation, ECG, detected BPM, SDNN, and steps.
- the second tab shows Poincare plot: length of previous beat vs length of the next beat. If the pulse is perfectly stable, all points are on the central line. This chart is important for spotting certain types of arrhythmia, and also gives some insight about stress level.
- on the third tab there are 5 charts which can be turned on and off by activating the boxes with their names - steps, etc. HRV parameter indicates average deviation in length of consequent beats. GSR indicates skin resistance (auto-scaled to fit current range).
- the third tab has buttons for displaying data in different time scales - by clicking on the desired interval accordingly - 1 minute, 5 minutes, etc.8. For Android up to 9th version, files are saved in "phone storage / documents / uECG"
9. For Android version 10, files are saved in "phone storage / android / data / com.ultimaterobotics.uecgmonitor4_2 / files / documents / uECG"Android 6 and less has something in BLE we can't figure out, so you will need additional app to get it running: BLE scanner app should be active in the background in order to get data into uECG monitor. It properly configures some parts of BLE scanner which our app doesn't :)
1. Find BLE scanner in google play and install it (it has some non-free functions which we don't need, so a basic version is enough).
2. Run BLE scanner. It should be able to see uECG non-connectable device when it's on.When BLE scanner is running, everything else is the same as for Android 7+.
And all of that you can see in our video! -
5Charge (optional)
- uECG uses a micro USB port for charging. You can charge it from a usual phone 5V USB adapter (or laptop/PC USB port). Insert the micro USB cable into the port and the device will begin charging;
- Remove the cable to stop charging;
- The device does not have to be turned on to charge.
We hope you will enjoy using uECG! Please write us if something doesn’t work - if everything works, write too :)
-
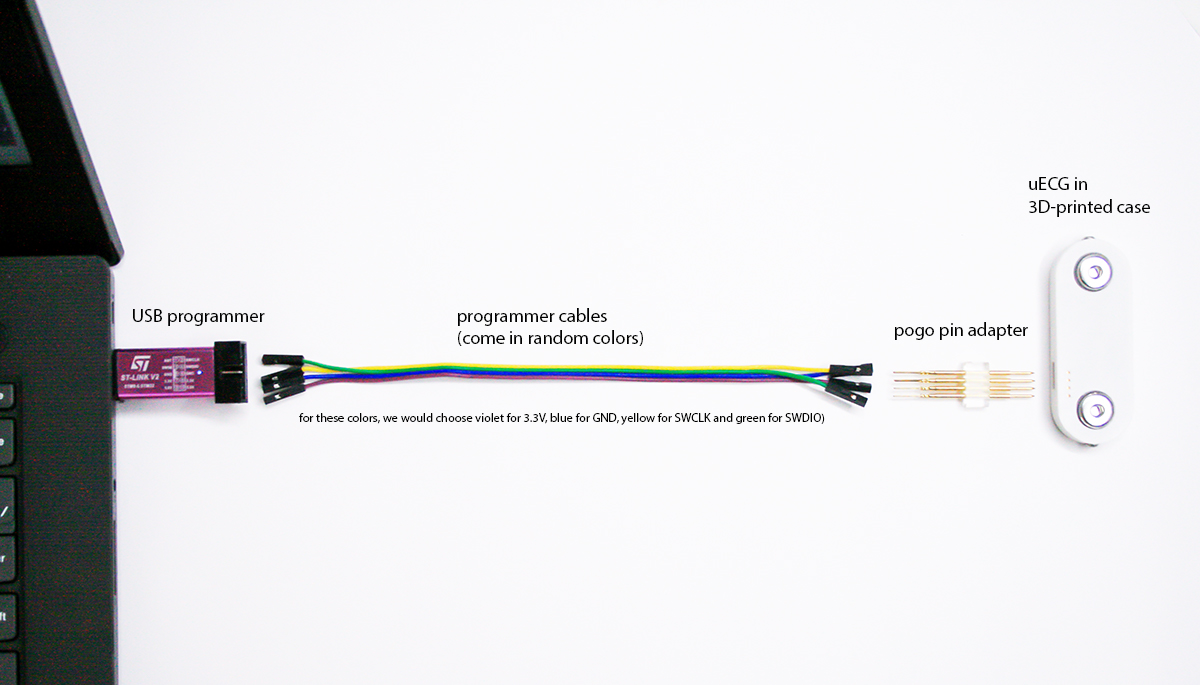
6Wired firmware update part 1 (connecting hardware)
Once in a while, we'll update firmware for the device. You can upload it using a USB programmer and a pogo pin adapter. Software part of this guide is in part 2 (step 8).
1. Connect the 4 colored wires to the programmer. The wires come in random colors; to remember which is what, we usually choose the most neutral/dark color for GND, most warm/closest to red for 3.3V, lightest/closest to white for SWCLK and what’s left is usually ok for SWIO.
Please connect all wires on the same ("lower" if you look at it the standard way) row of the st-link programmer. We have reports that even though GND, 3.3V lines are present in both rows, they actually might not work.2. Then connect the wires to the pogo pin adapter.
3. Press the pogo pins into the pogo pads (holes in the plastic case next to electrode connectors).
4. Hold the pins in place during firmware upload. Remove the pins after upload is completed.
-
7Wired firmware update part 2 (uploading pre-built fimware)
This instruction covers upload process on Linux (tested with Ubuntu 18.04 but should work with other distributions too), and on Windows (tested on Win7 but also should work on other versions).
You can upload pre-compiled .hex files which are available on our github, or build firmware from sources (instruction for this process is provided at step 9).
The latest firmware is located here: https://github.com/ultimaterobotics/uECG/tree/main/uECG_v5/buildFirmware upload on Linux
Install openocd with:
sudo apt install openocd
Connect the device to the programmer. Pins on uECG have text labels, check pinout of your particular STLink programmer for proper connections.
Go to the folder with .hex file and execute openocd command:
cd ~/< hex-file-folder >
sudo openocd -f interface/stlink.cfg -f target/nrf52.cfg -c init -c "reset halt" -c "flash write_image erase uECG5.hex" -c "reset" -c exit
If everything’s ok, command will output some information ending with "wrote xxxxx bytes from file uECG5.hex". In case of errors the most common reason is that pogo pins were not pressed reliably enough.
Firmware upload on Windows
Download openocd here: https://gnutoolchains.com/arm-eabi/openocd/ (use the latest version). Unpack it into some folder. Plug in st-link programmer.
Inside the folder run drivers\UsbDriverTool.exe - and there activate driver for st-link (it should appear in the list). From multiple options select Libusb - Winusb.
After that copy .hex file into \bin subfolder of the openocd (in this case path to the .hex file won't be required, only its name).
At this point everything is ready, connect all wires, run cmd and move there into \bin subfolder of the openocd, then connect the device to st-link, and, while connected, run
openocd -f interface/stlink.cfg -f target/nrf52.cfg -c init -c "reset halt" -c "flash write_image erase uECG5.hex" -c "reset" -c exit
If everything’s ok, command will output some information ending with "wrote xxxxx bytes from file uECG5.hex". In case of errors the most common reason is that pogo pins were not pressed reliably enough.
-
8For compiling firmware: installing SDK/compiler and building
You will need
Other than that, you will need urf_lib to build any of uECG projects (uECG main firmware, base firmware, bootloader) which should be located in the same folder (so you can see folders uECG_v5 and urf_lib next to each other), and you need to set ARM compiler path in its configuration file urf_lib/nrf_usdk52/gcc/Makefile.posix (or Makefile.windows, depending on your OS).
That’s it for build config. Now you need to run
makein project folder and it should produce compiled .hex file. -
9Application installation process for PC
1. Install Node JS (with npm). The process is quite intuitive and there are plenty of tutorials on how to make it
2. Download the app here: https://github.com/ultimaterobotics/uECG_nodejs3. Go to the app folder via command line. For this:
- on Linux and macOS: start the terminal, run series of "cd <folder_name>" commands to get to the folder with downloaded app (where "server.js" file is located)
- on Windows: start cmd app for accessing command line, if the app folder is not on disk C - run "D:" if it's on D, "E:" if it's on E etc, then run series of "cd <folder_name>" commands to get to the folder with downloaded app (where "server.js" file is located)
4. Install two required packages by running commands:
npm install express
npm install serialport
5. On Windows and macOS, install drivers for cp2102 chips from here: https://www.silabs.com/products/development-tools/software/usb-to-uart-bridge-vcp-drivers (not needed on Linux)
6. Start the server via command line interface: while in the app folder, run "node server.js"
7. In browser, enter address 127.0.0.1:8080 to access the UI. Note: if you already have some web development environment running on the port 8080, node server won't override it - in this case you can change the port number in the last line of server.js to any other value (and use it in browser correspondingly)
8. On uECG device, after it's turned on and finished blinking startup sequence, press button once to switch it into direct stream mode - after that, you should immediately see data in the browser interface. (pressing the button 2nd time would switch it in arduino-compatible streaming mode, also recognized by the base station, and pressing it for the 3rd time returns to BLE mode, the base won't receive this signal) -
10Wireless firmware update via BLE
Since summer 2021, uECG devices got bootloader capable of both BLE and direct radio firmware updates. BLE update is slow (takes ~5 minutes) but requires nothing but an Android phone.
For that, you need to go into "firmware update" section of the app (bottom right button on 2nd screen, with Poincare plot), select compile firmware .bin file, and start device scan on the phone.
At the same time, you need to put uECG device into BLE bootloader mode. For that simply turn it off, and after that - press button for 6+ seconds. As soon as blue LED starts blinking, you can release the button - device moved into bootloader mode.
Within some seconds after that, Android app should detect it and start upload.
If something went wrong - no problem, uECG device won't work but its bootloader can't be damaged. Just repeat the procedure and it will be fine
uECG - small open source wireless ECG sensor
It's cheap, doesn't use a specialized heart rate AFE and can blink LEDs with your pulse :)


Discussions
Become a Hackaday.io Member
Create an account to leave a comment. Already have an account? Log In.
uECG arrived - nicely packed :) ready to use. Great job !
sotware instalation very easy (both android and PC version with usb stick) ...uECG is working out of the box ! time for testing and developement.
Are you sure? yes | no
Also i tried the BLe Scanner with the same results
Are you sure? yes | no
I finally got your Uecg but the application not regnize the IOT I have huawei honor 7 .Coul you hel me ?
Are you sure? yes | no
Sorry, noticed your comment only now. Hope the app update which we made several days after you wrote fixed that - if not, please write us at hi@ultimaterobotics.com.ua, we won't miss it there!
Are you sure? yes | no