I don't mean to disappoint anyone, but I still have not managed to blind myself. Sorry.
As a bit of a refresher: to date I have taken two different approaches to trying to make this badass glowing eyeball. Both of which have had their pros and cons
- The custom made flexible PCB from Oshpark
- Professionally made and looks pretty
- Tough enough to handle the heat of a soldering iron
- Not flexible enough
- Hurts my eyeball
- The "circuit sculpture" of wires and LEDs
- Very flexible
- Much thinner
- Incredibly Fragile
- Quickly bends into a potato-shaped mess.
What I really needed was a happy medium between the two. Something that was much thinner and more flexible than the PCB, but also something that wouldn't take me hours to hand solder, and then be ruined at the slightest of man handling. Even more so, a process that was repeatable and easy enough for the home gamer would be ideal. I thought about various approaches for quite a while (nearly a month according to HaD), and I think I finally found the secret ingredient - copper tape! It's flexible, super duper thin, and can be applied to pretty much any substrate of your choosing.
What I find interesting is that copper tape doesn't exactly seem entirely commonplace, at least to me. I first encountered it in an arts-and-crafts-and-circuits type kit that my little brother got for Christmas. When I asked the nice man at the hardware store if they had any, he gave me a funny look. Apparently it can be used as some magic barrier against slugs and snails? The adhesive is also conductive, so maybe consider adding it as another tool in the toolbox.
With a little be of trial and error, and my secret ingredient, I think I have finally found a process for making super thin circuits, that hopefully some of you may also find useful.
Anyway. Let me show you how to turn some paper and copper taper into a circuit board that sits on your eyeball.
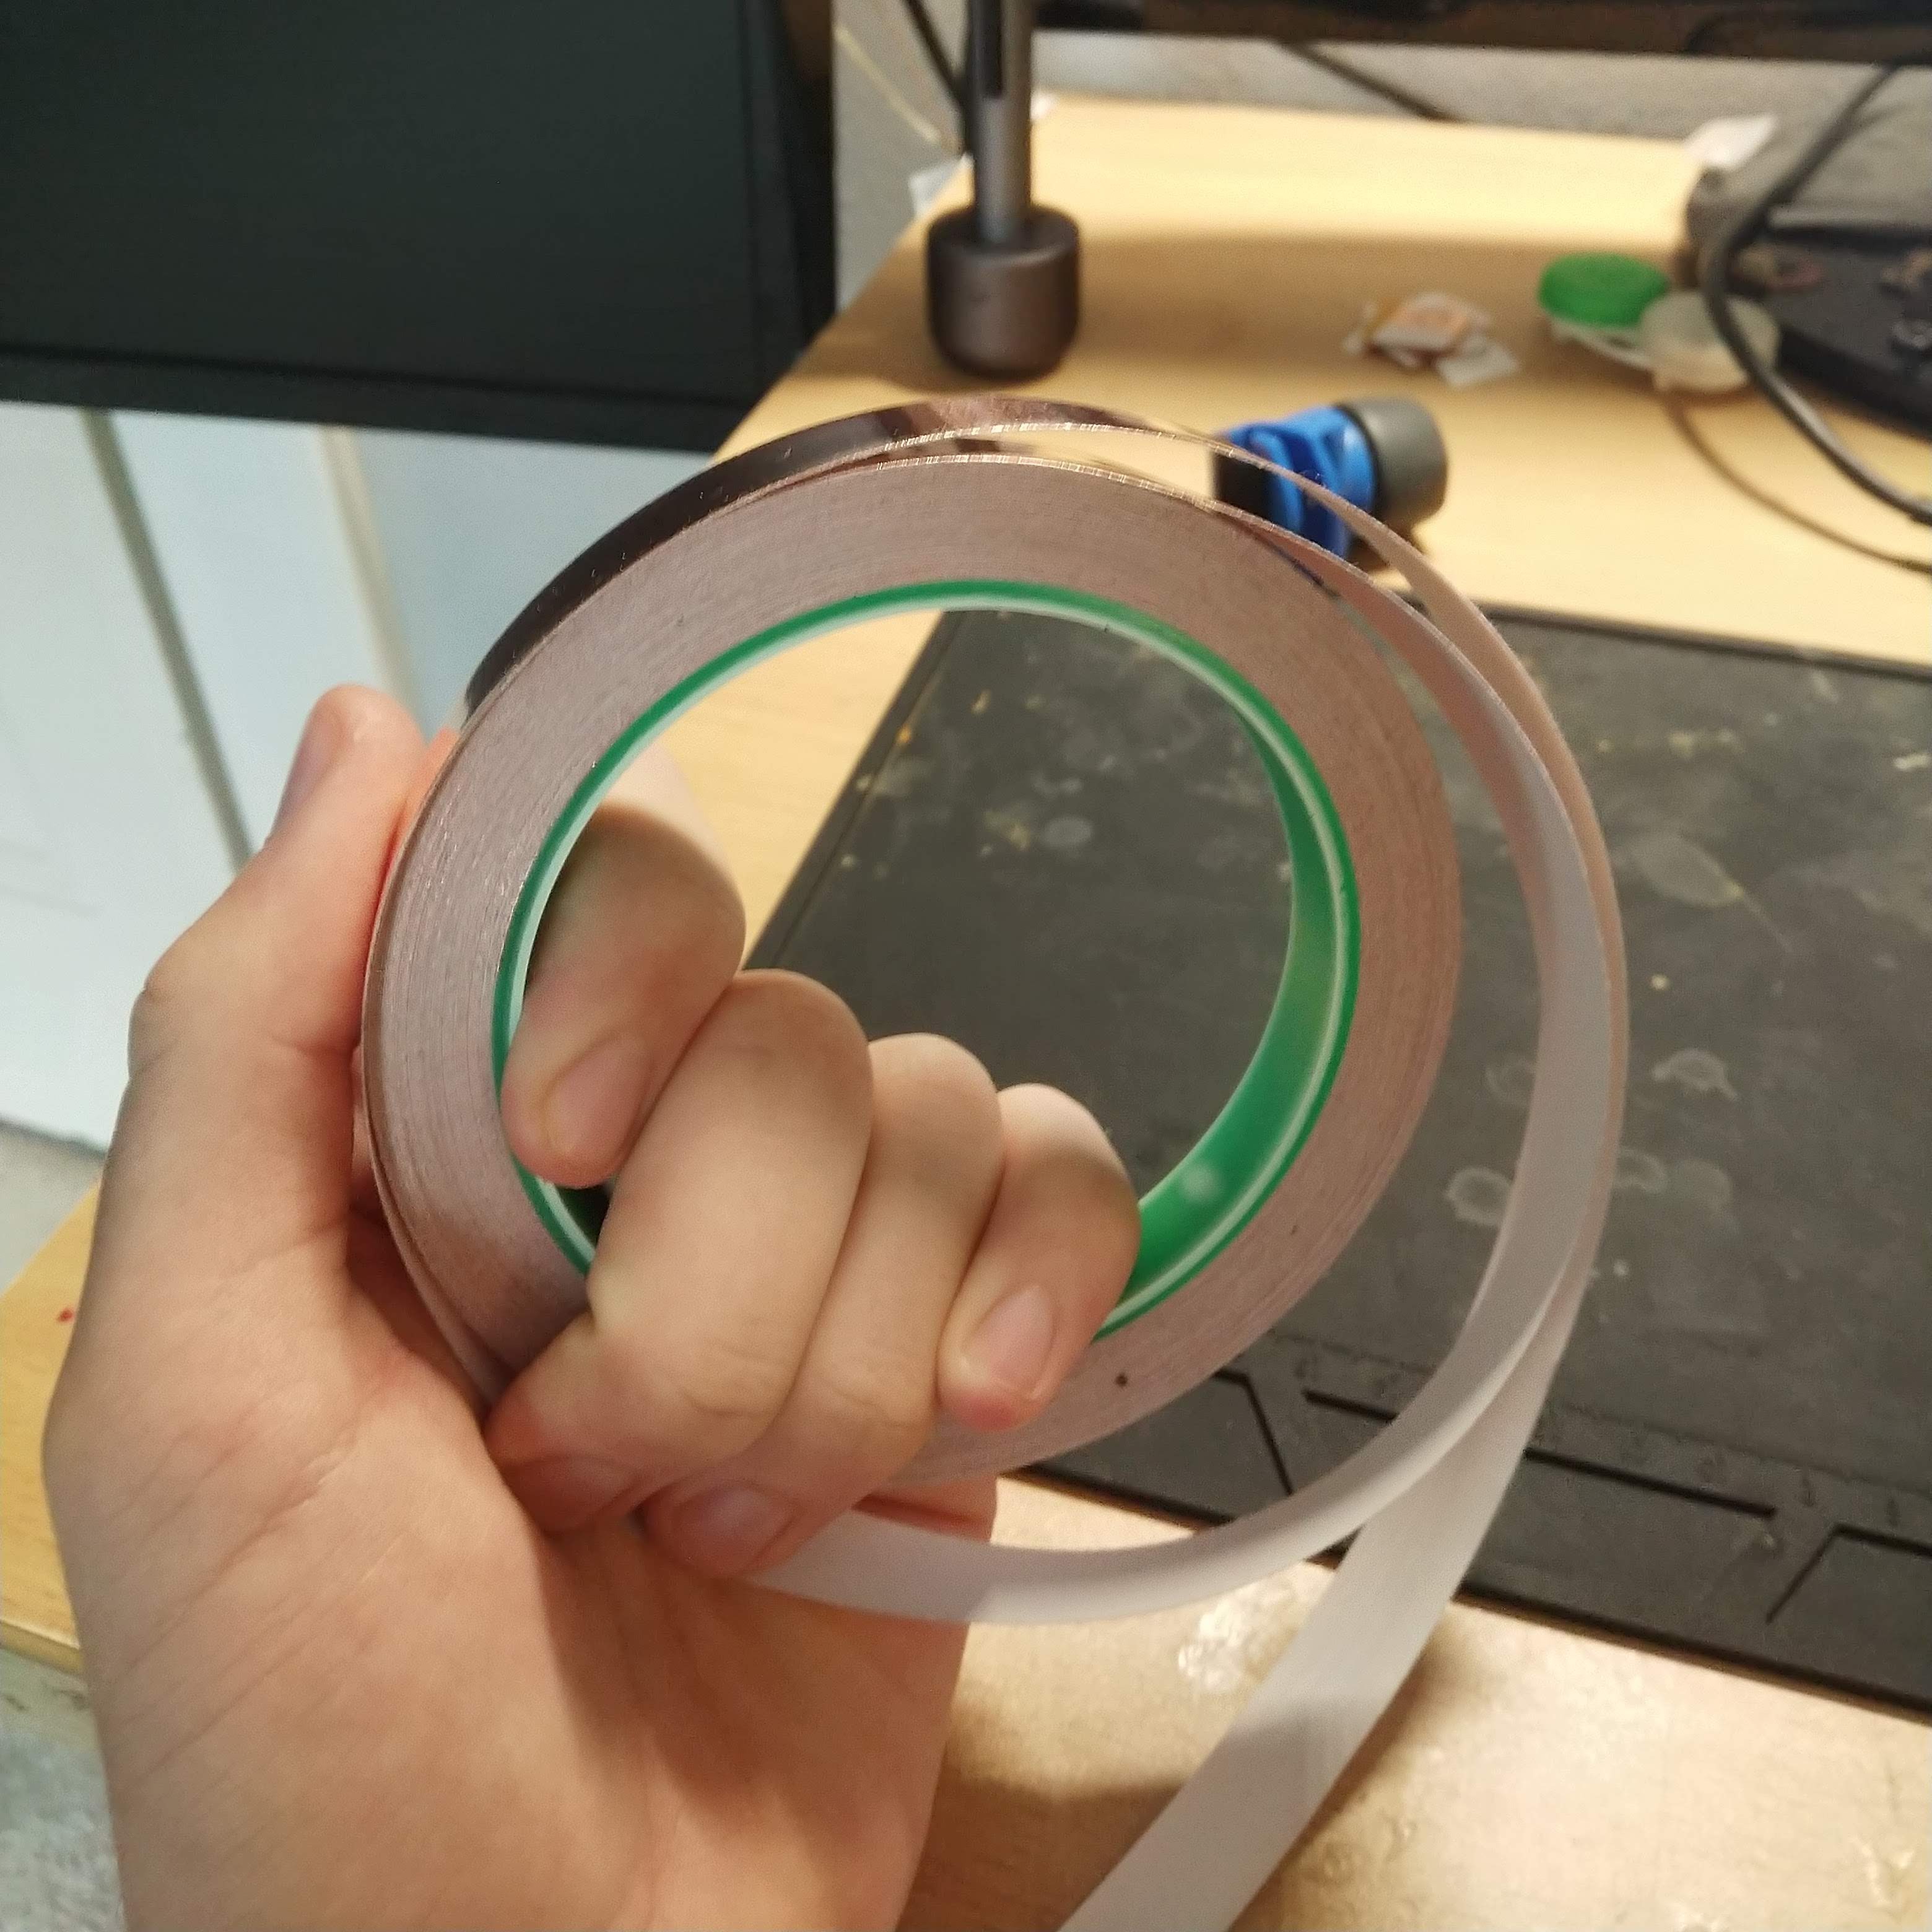
Obviously, the first thing that to do is get yourself some copper tape. It seems to be most commonly available in 1/4" and 1/2" flavors. I used 1/2".
After that I needed to actually design the circuit board. For my very first prototype (the board made by OSHPark), I used plain 'ol Eagle. However, as some of you may know, Eagle tends to be a little less than user friendly when it comes to curved shapes. So this time around I opted to use Inkscape. The program is commonly used by hackers to generate vector files for laser cutting and the like. I whipped up the board in a fraction of the time it would have taken me to do it in Eagle. It looks like this:
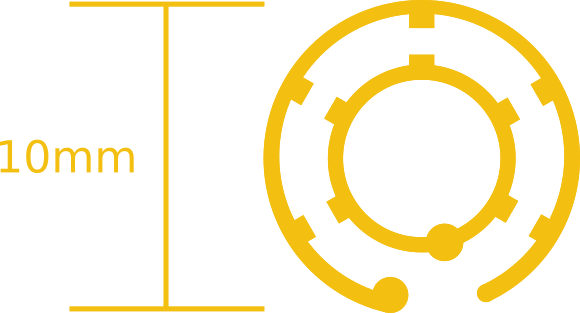
The whole thing was about 10mm^2. The little round bits nubs towards the bottom are where I soldered the leads wires, and each of the radial tabs are size 0603(1608) SMD pads. The plan here is that the soldered LEDs connect the inner ring to the outer ring, that way I don't have to worry about getting rid of any extra support connections later.
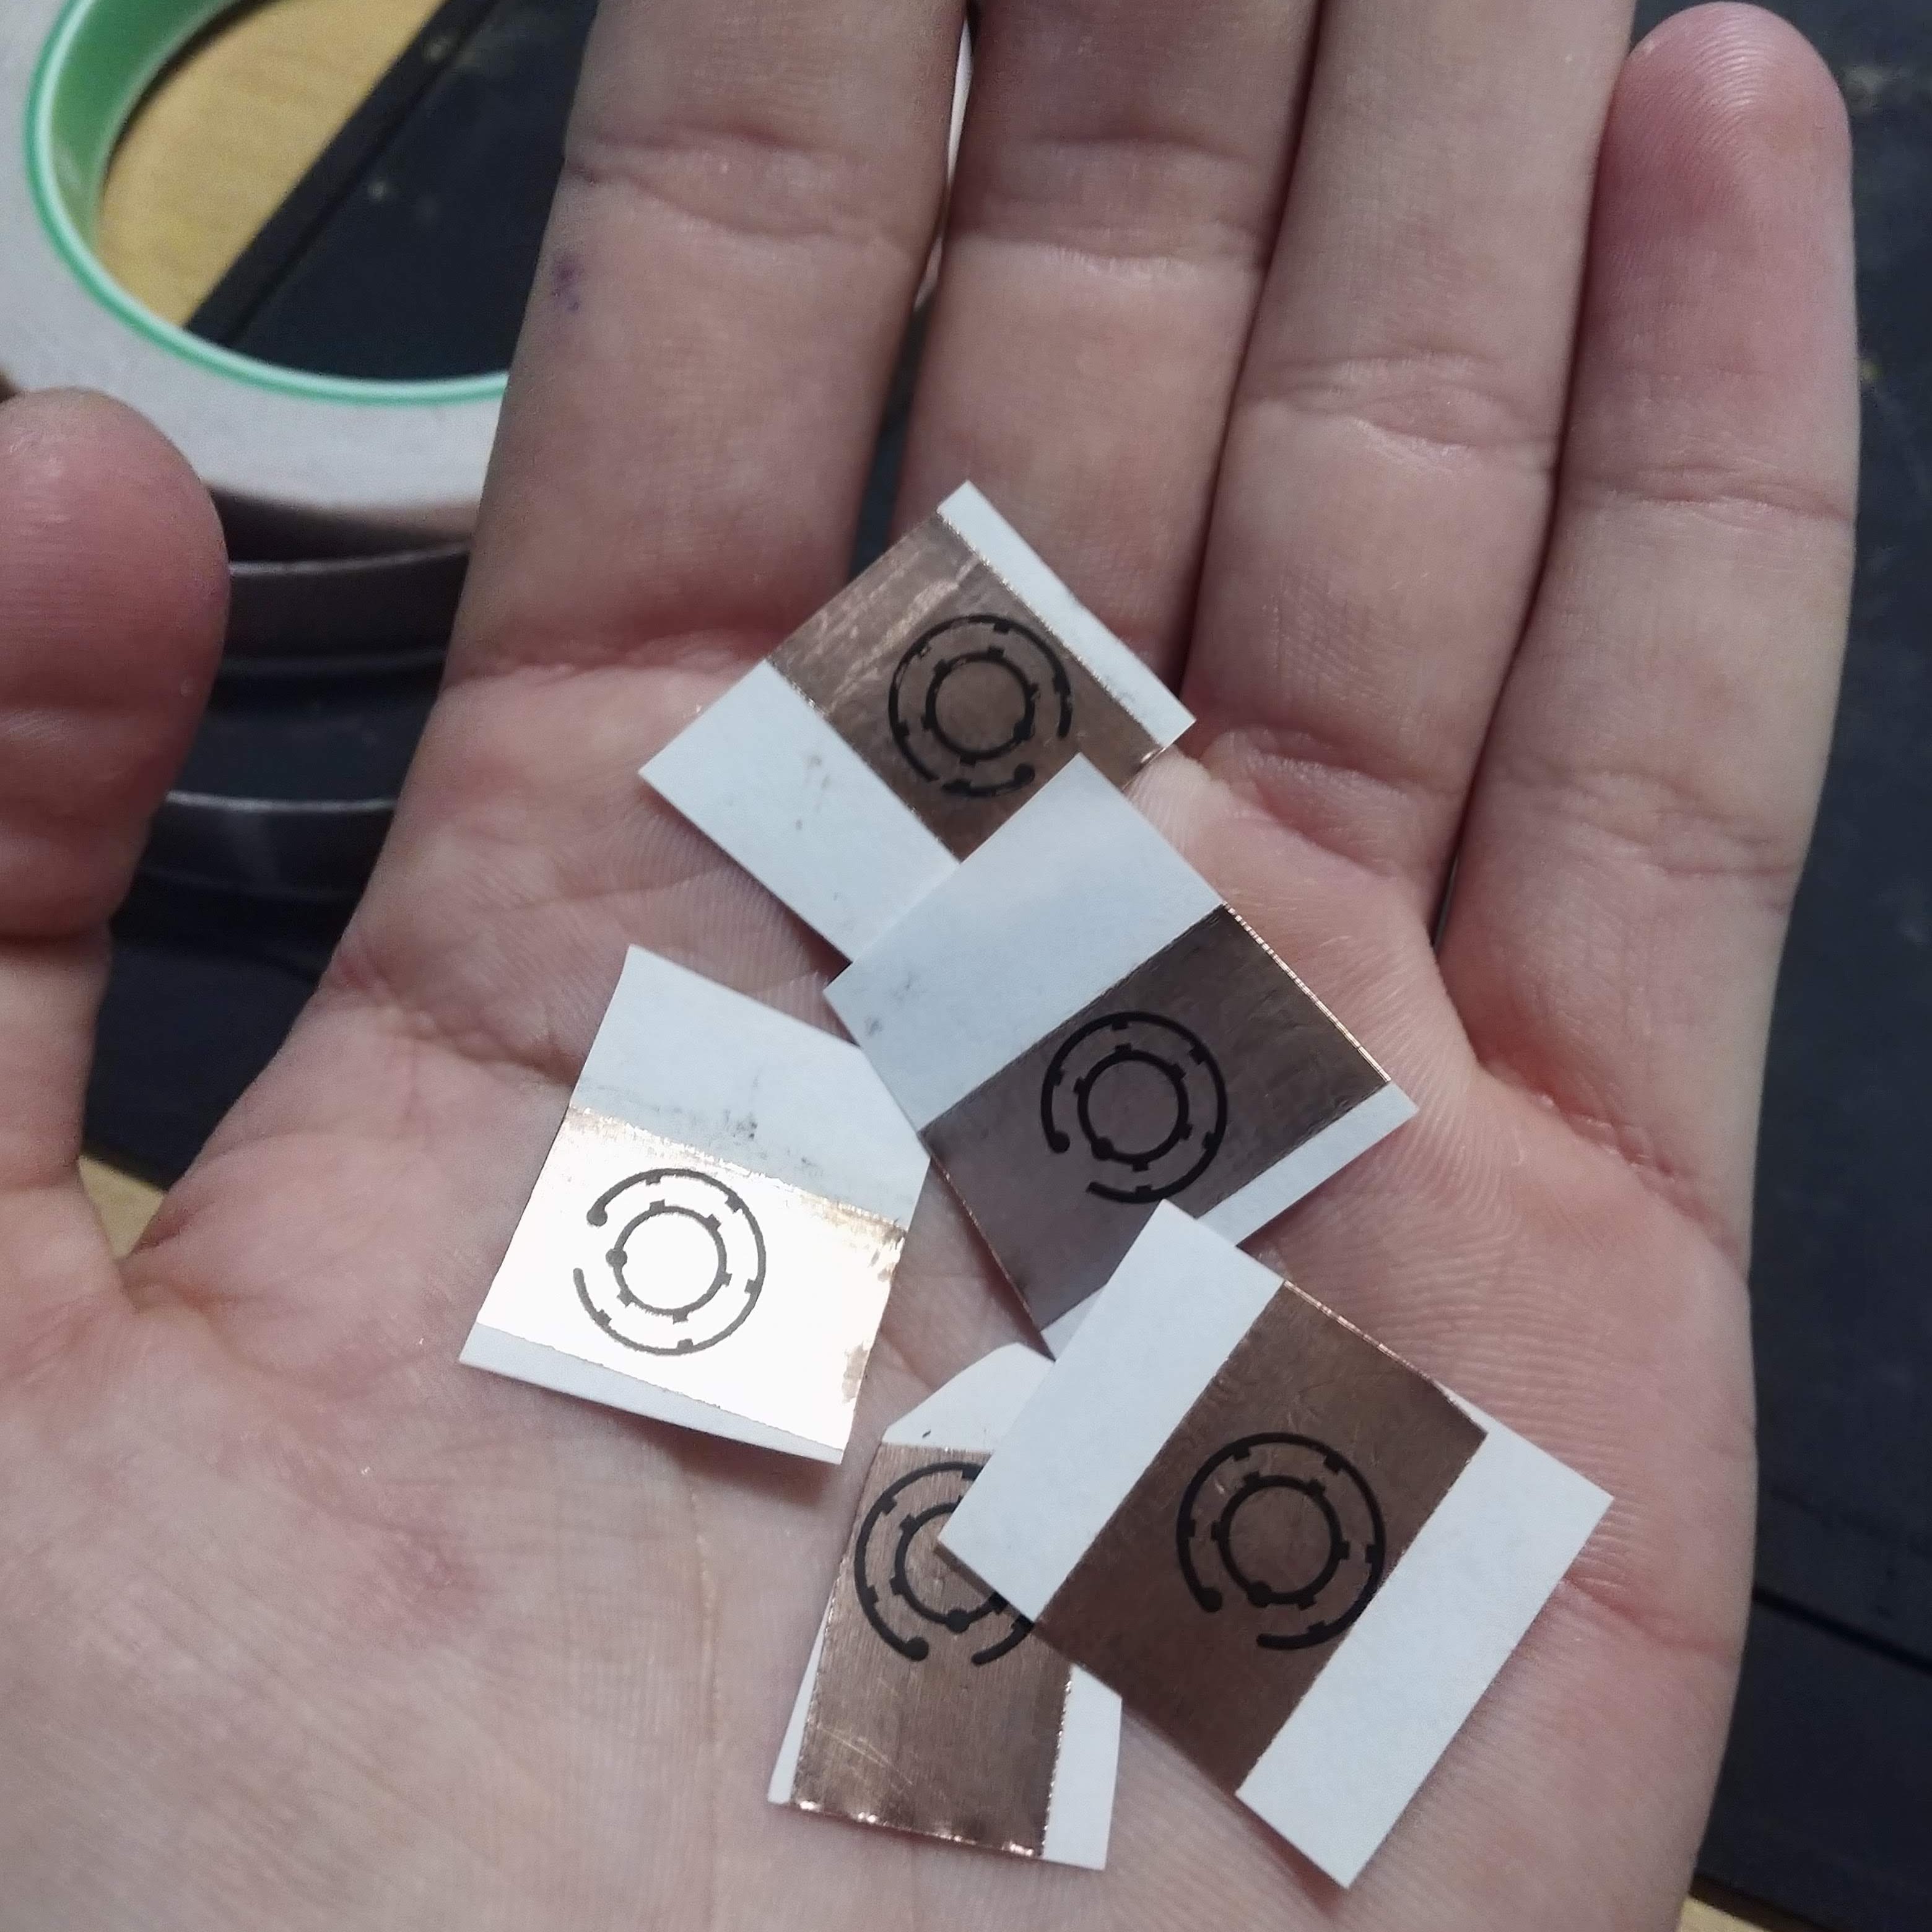
From there I then copy and pasted my design a whole bunch of times and printed out a test page to give myself a template as to where to put the copper tape on the paper.

After putting down the copper tape in the right place, it's just a matter of running the paper through the printer again!
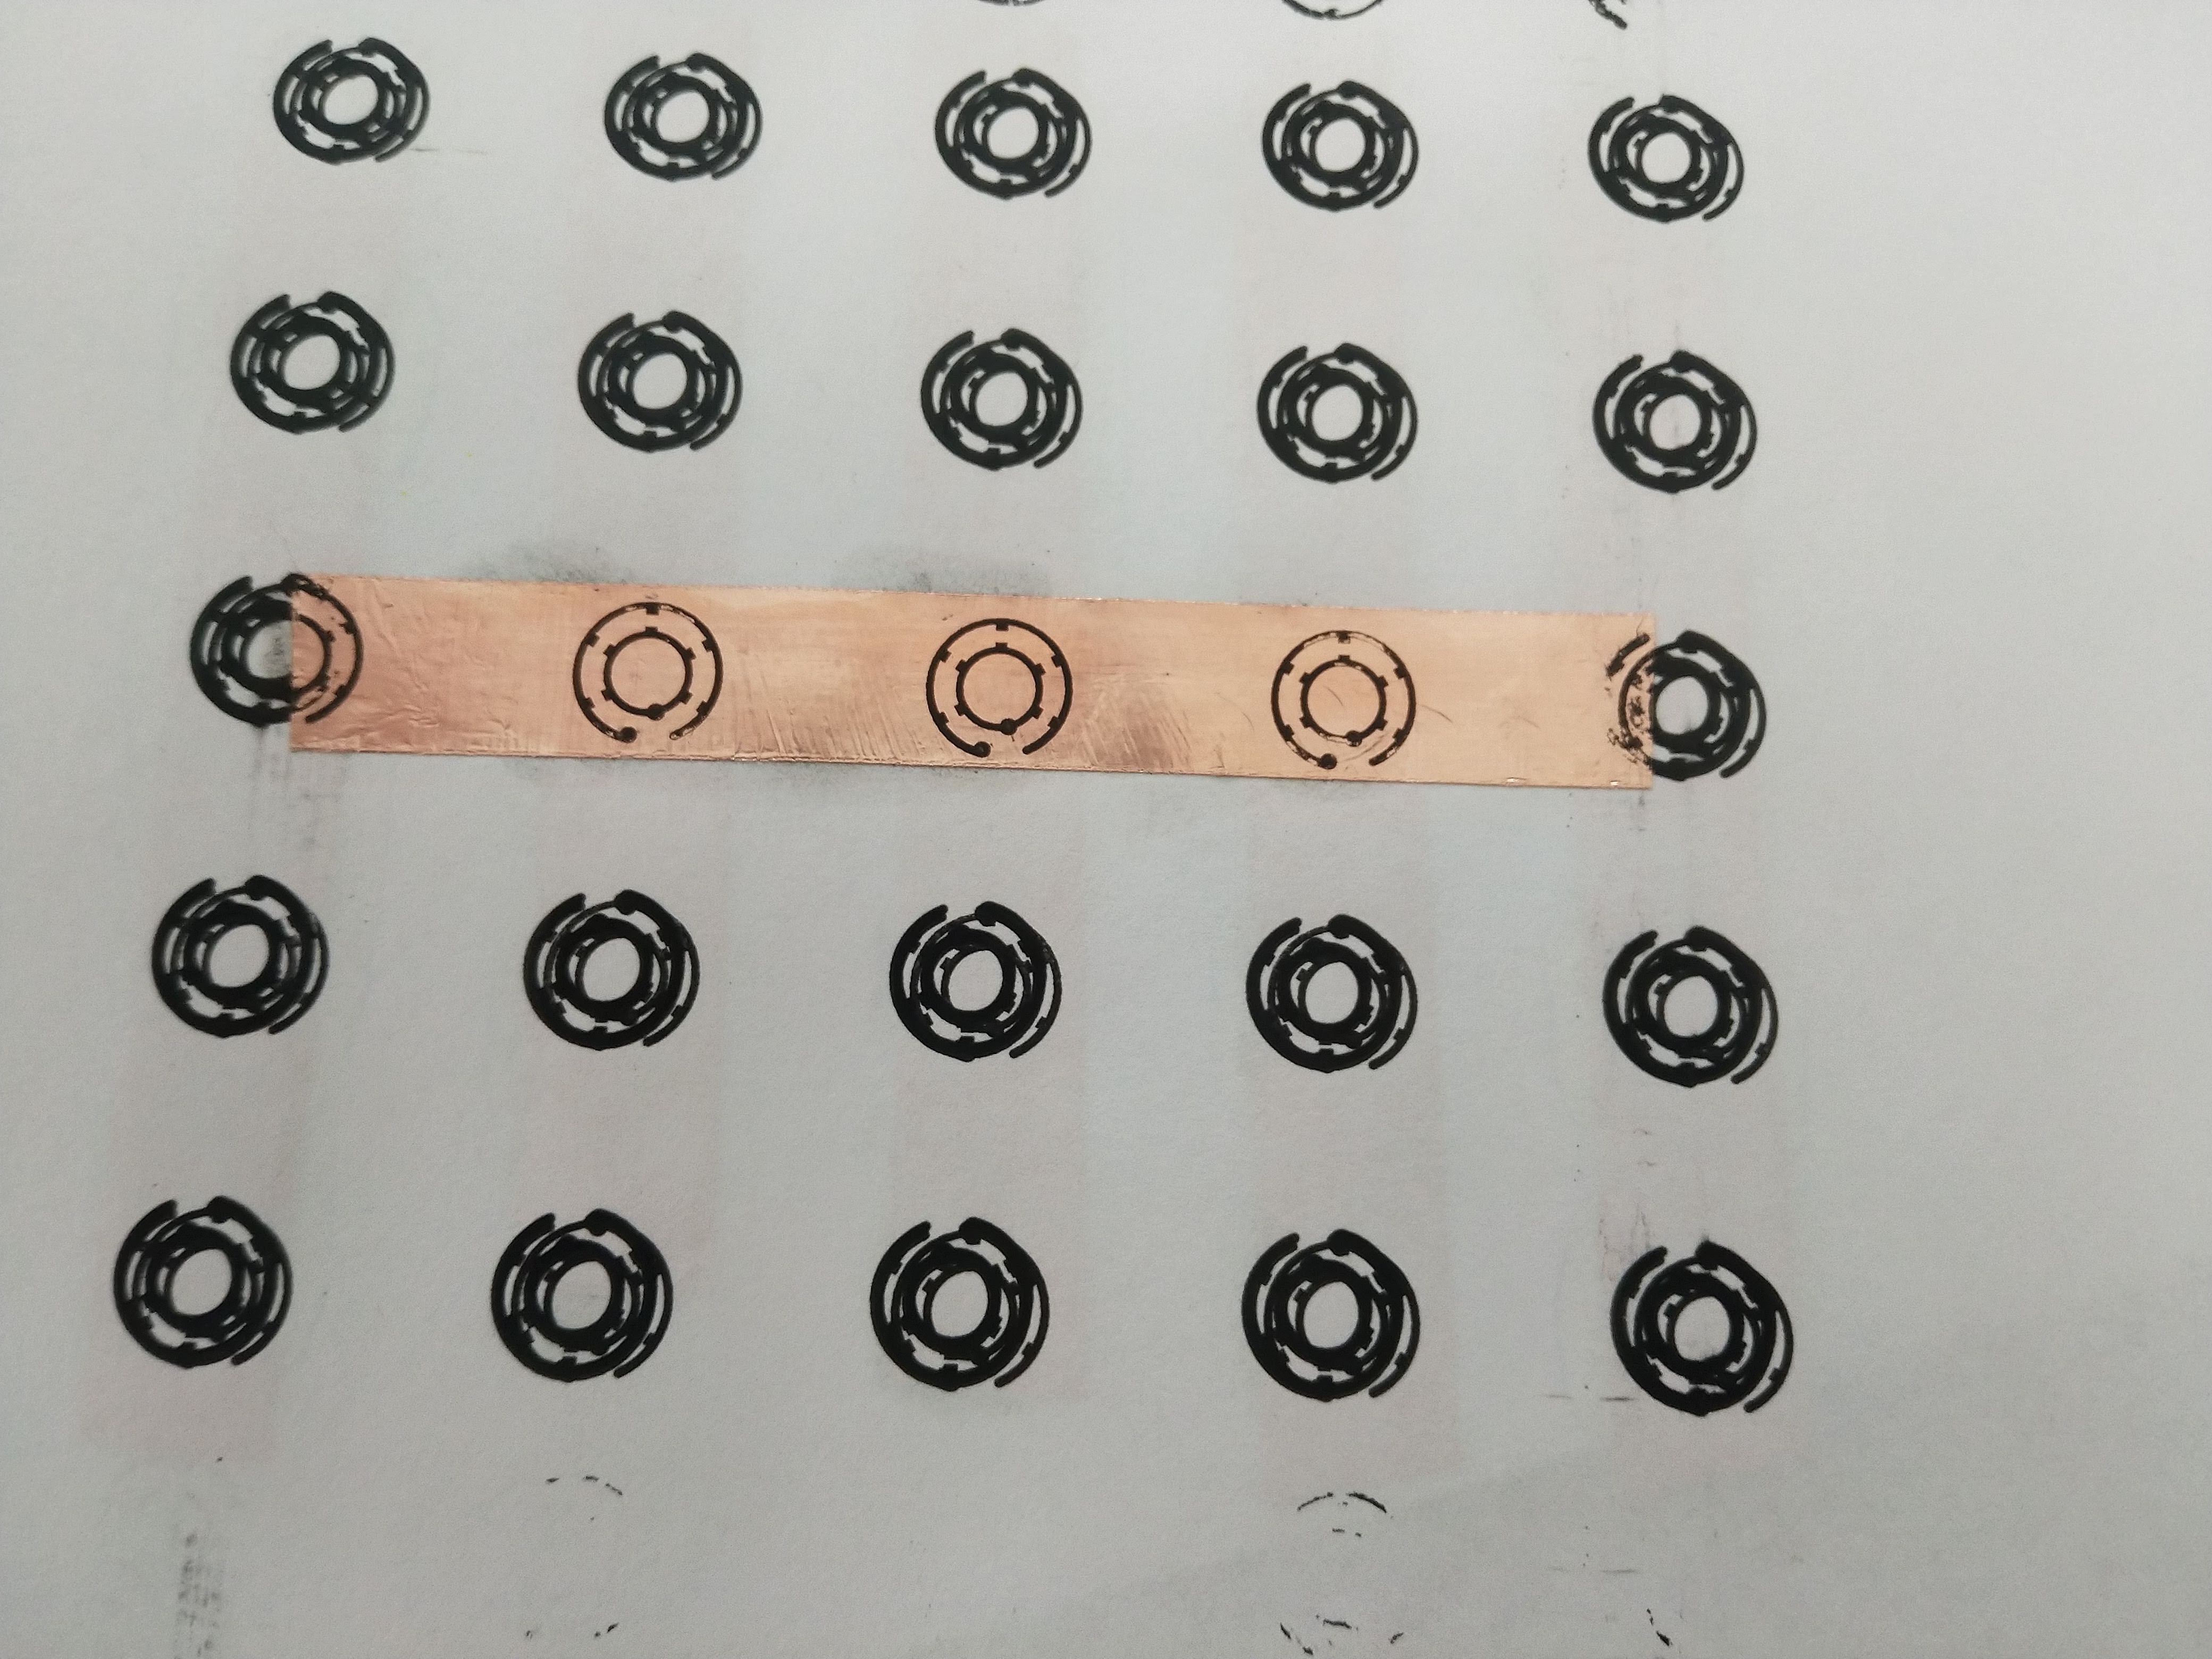
As you can see below, the designs on the left and the right didn't print very well. By laying down strips of copper tape and printing a whole bunch of designs at once , there is a much higher chance that I will get some userable designs.

Fortunately, if you don't feel like cutting and laying down a whole bunch more copper tape a little bit of acetone wipes the ink right off and you can reuse the same paper!
I cut them into bite size little pieces!
Then a quick bath in some Ferric Chloride
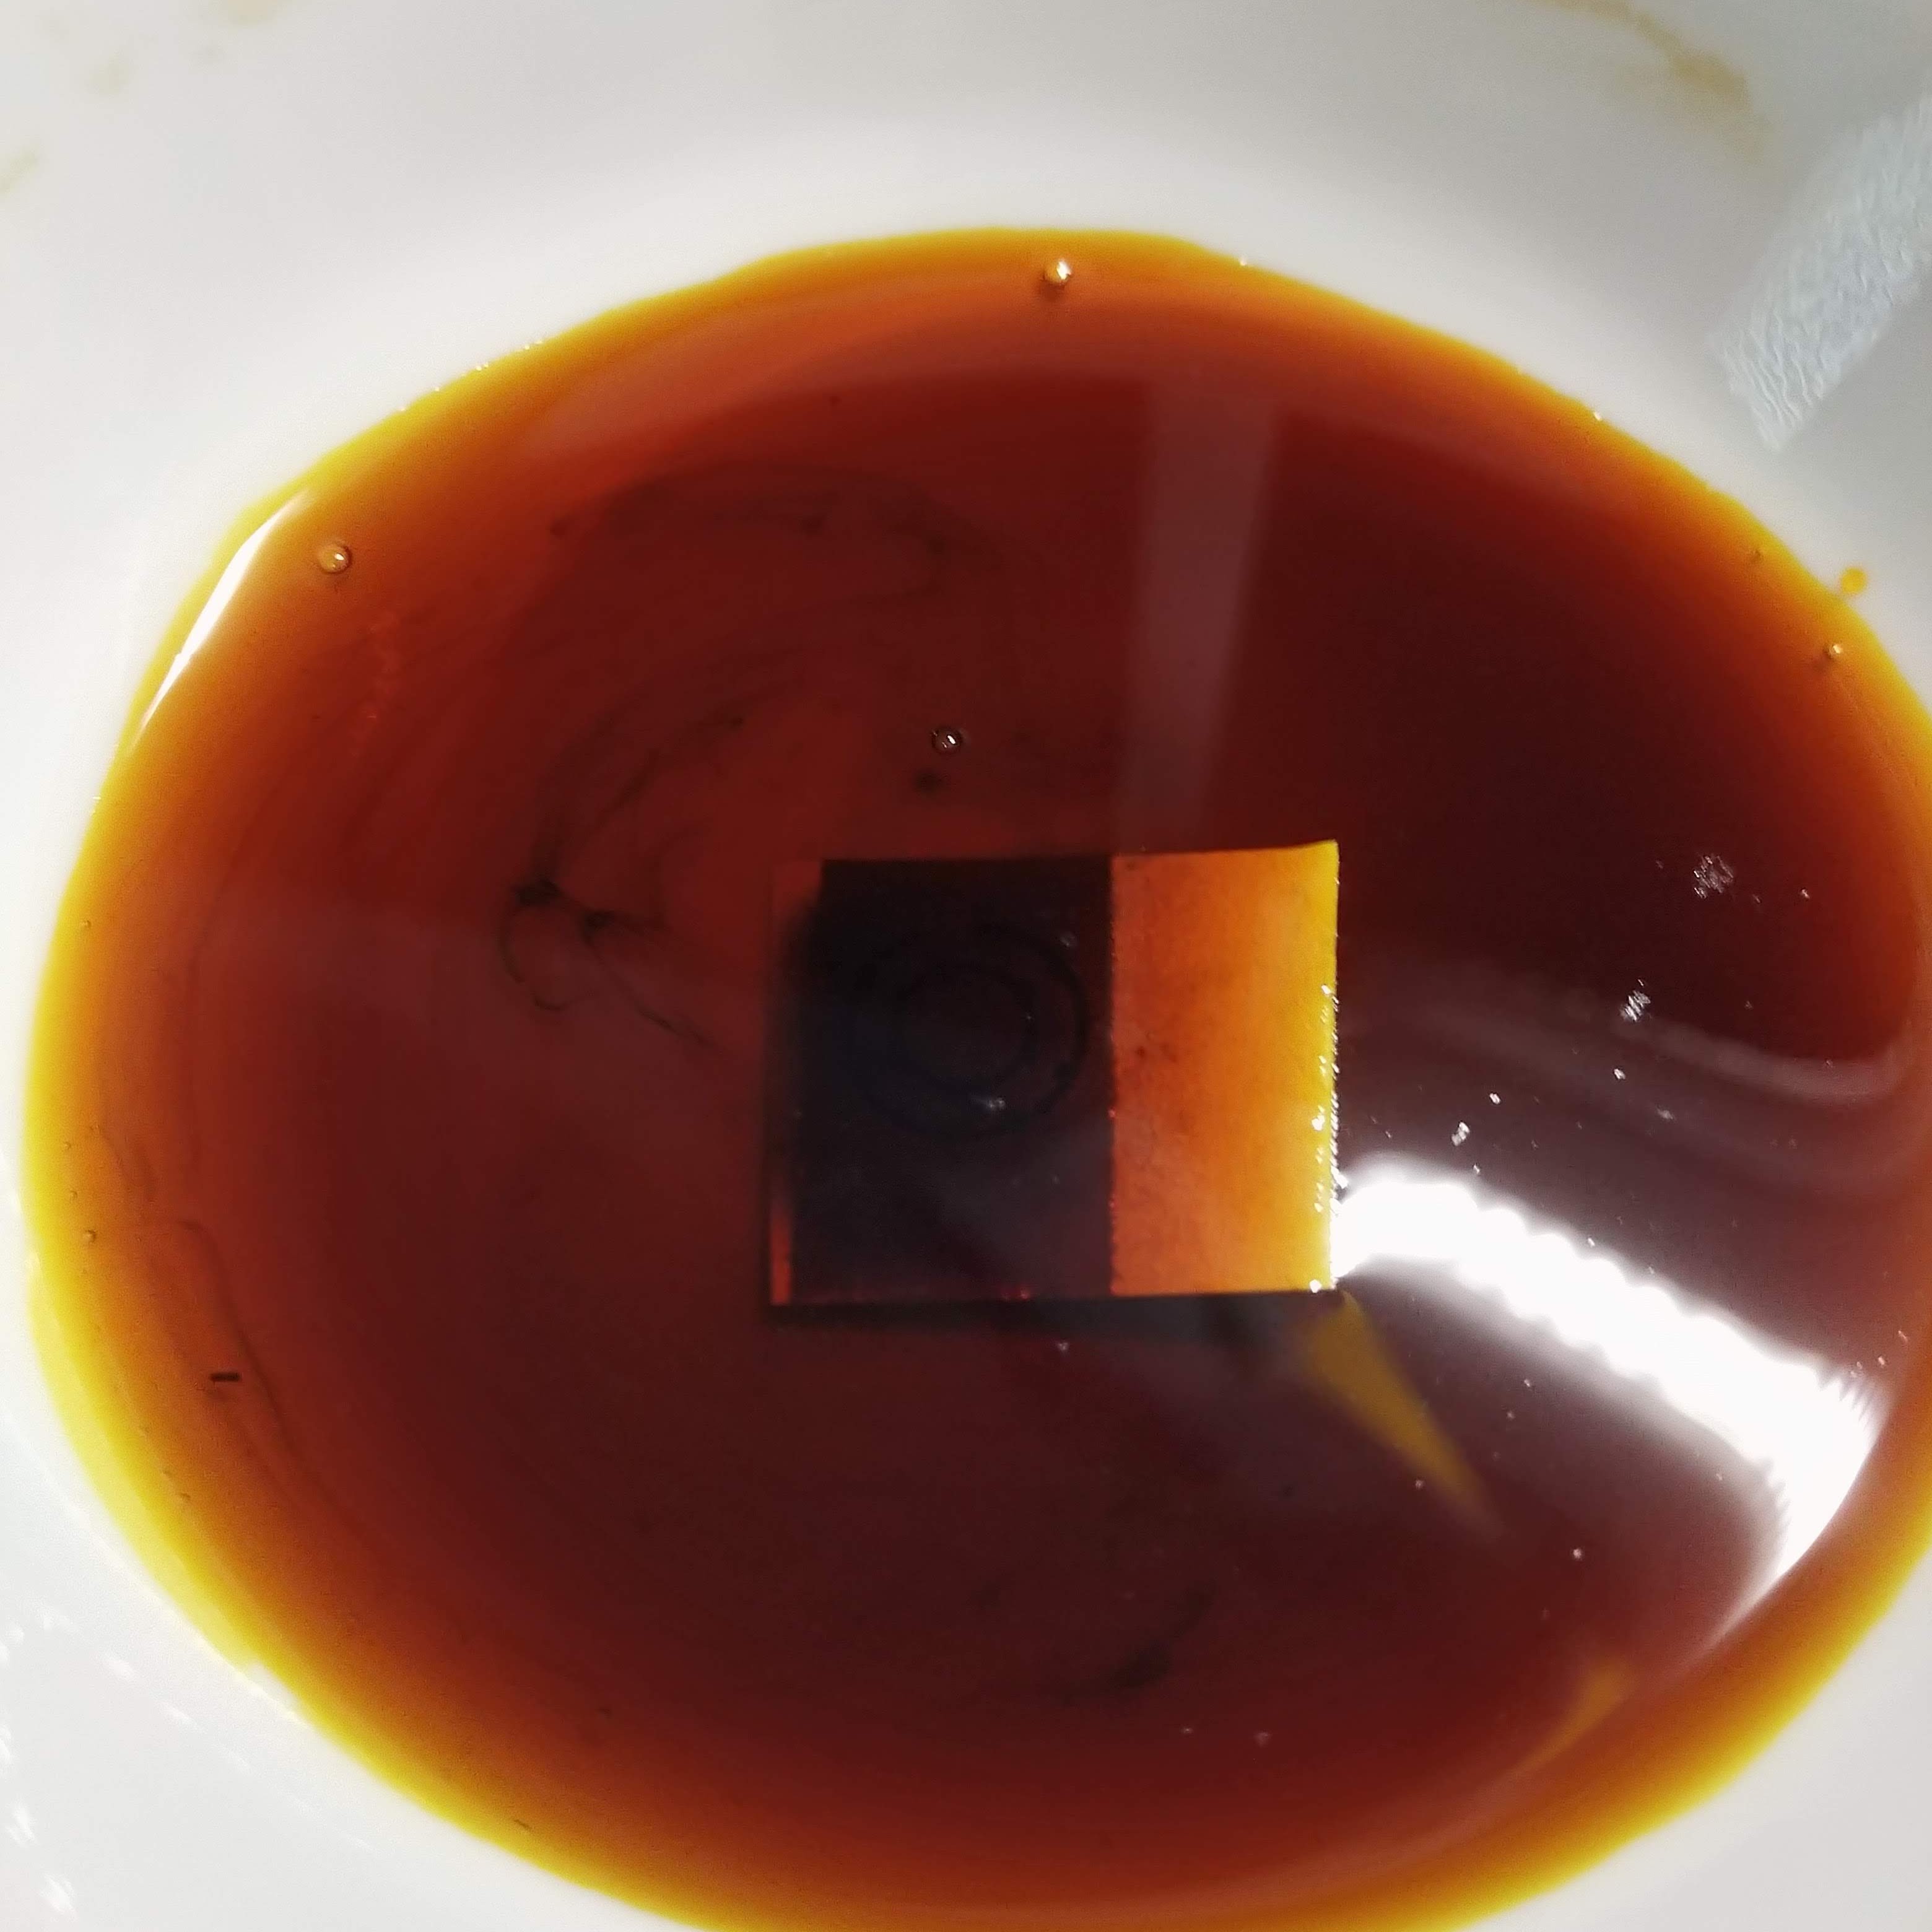
Now we are left with just the toner, tape adhesive, and the paper. The tape adhesive being the reason why there is still a white rectangle around the design.

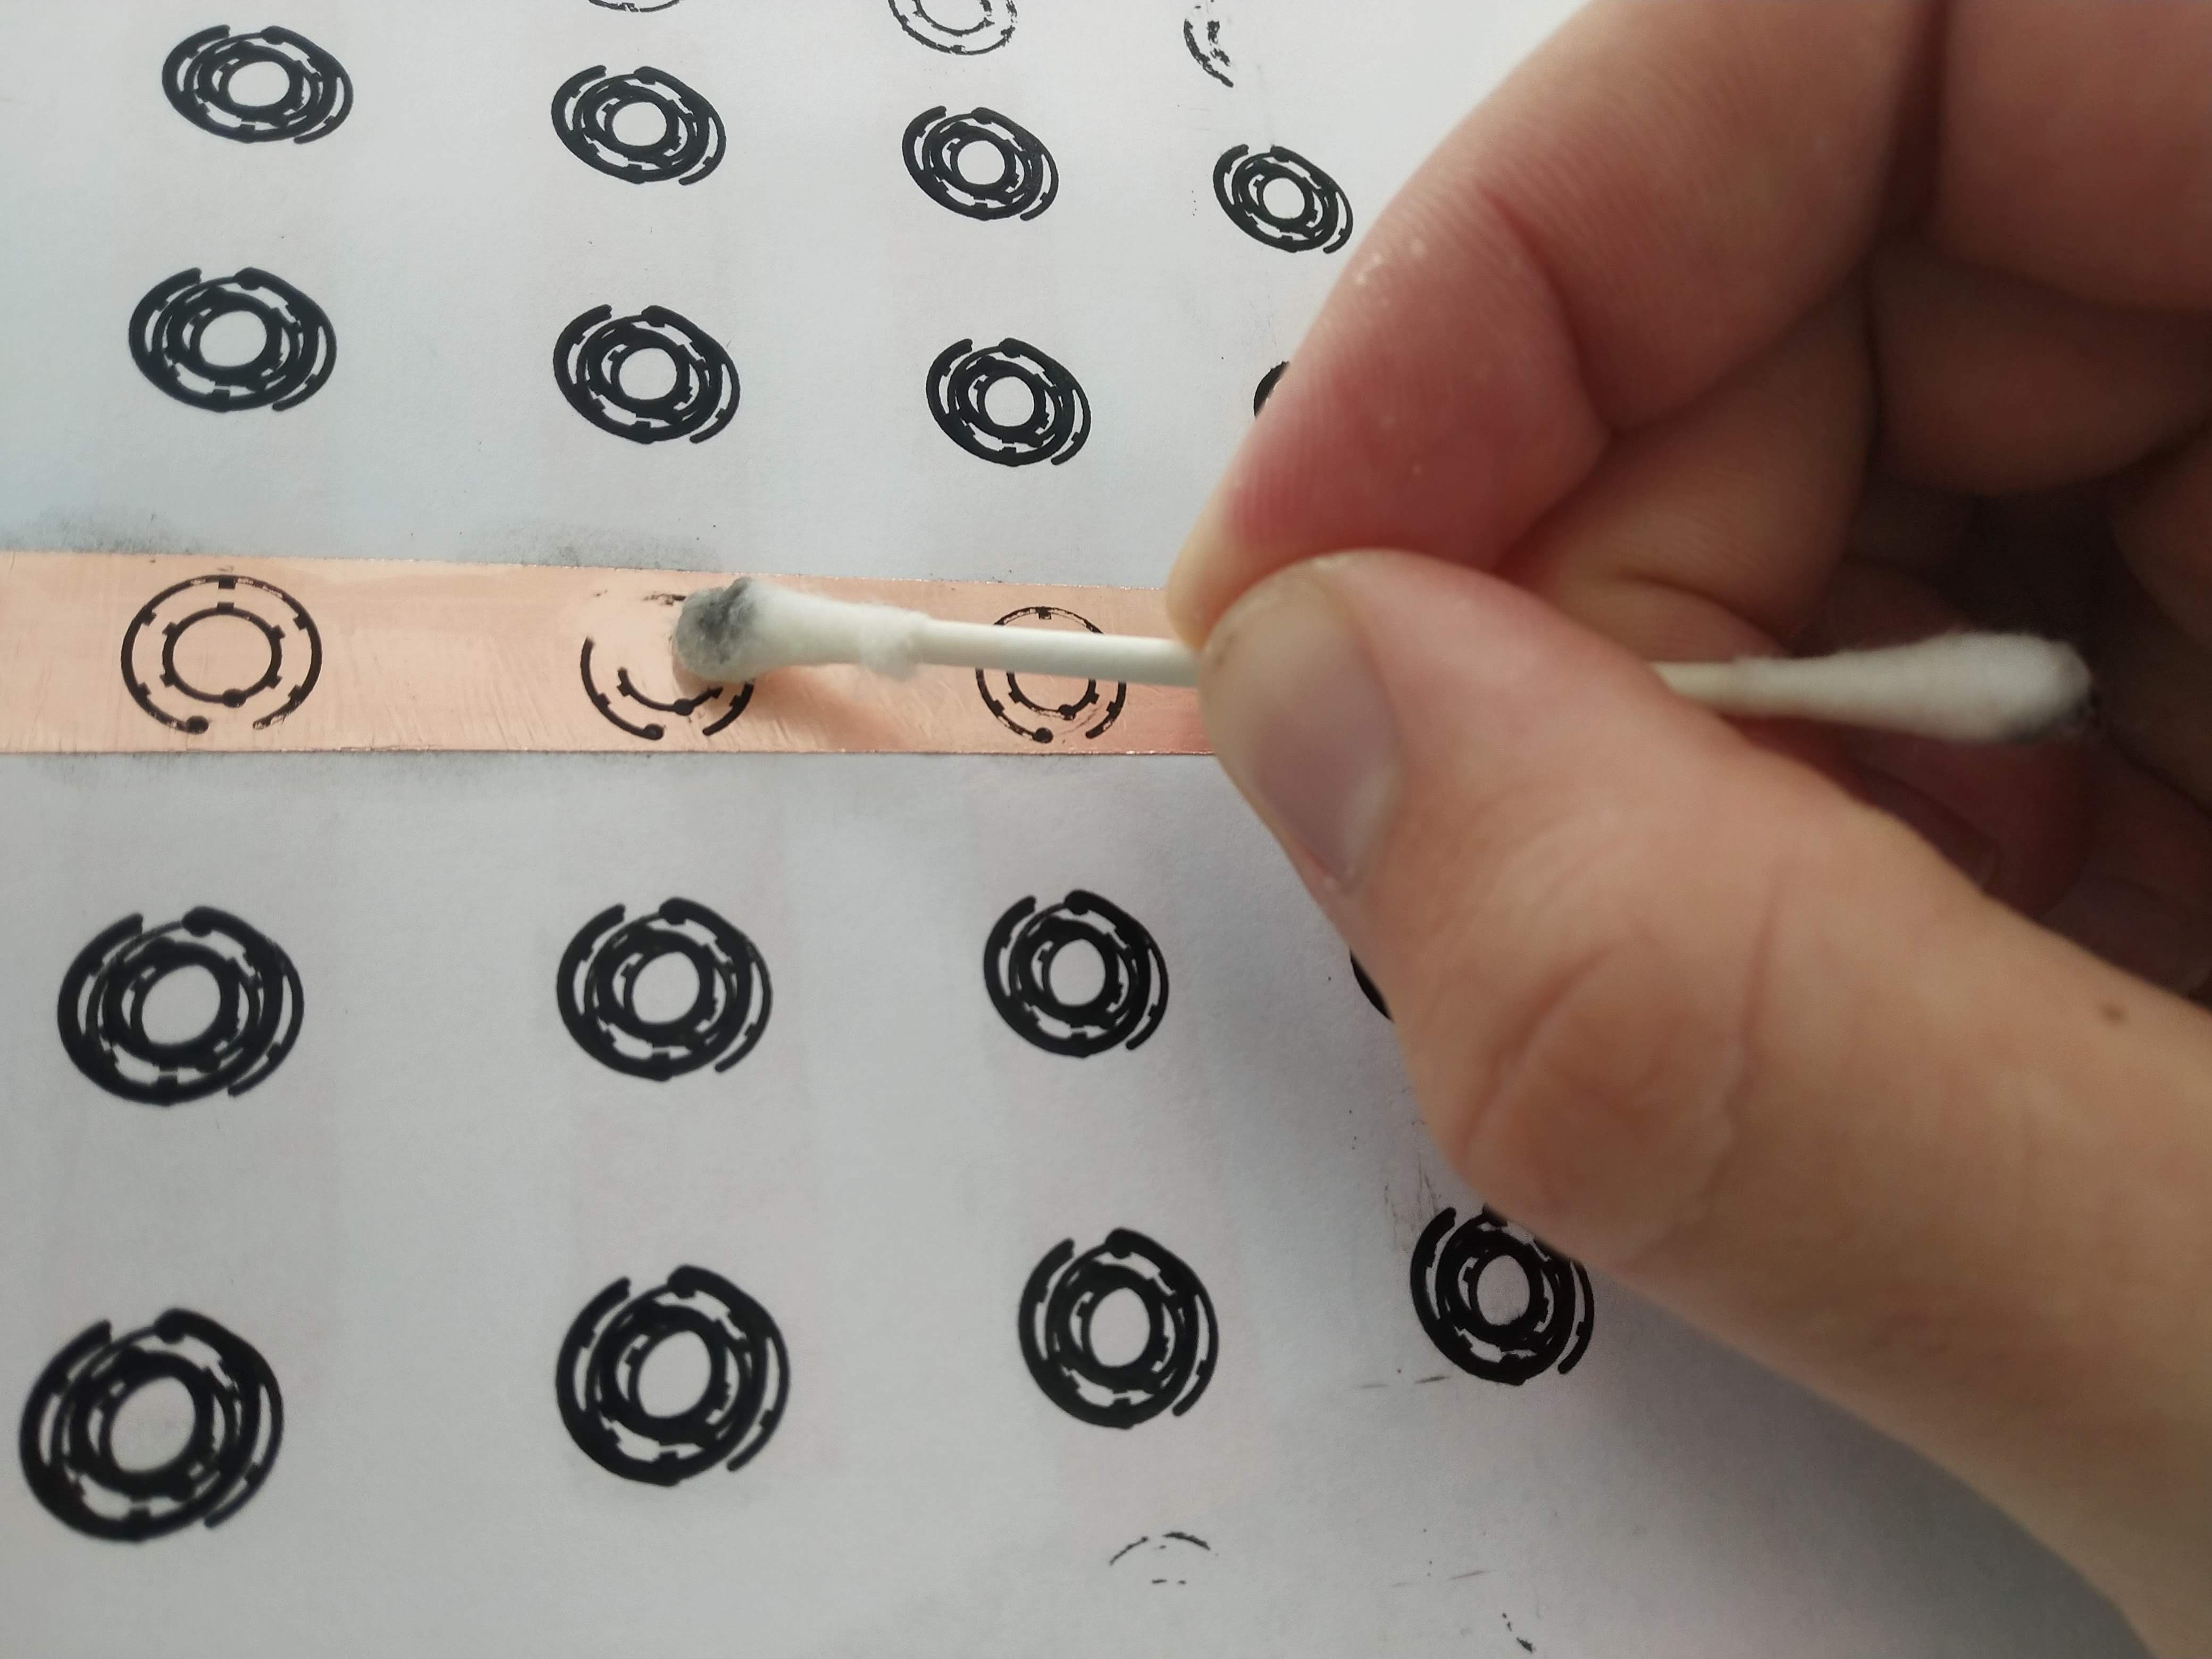
The surprisingly tricky part of this process was getting the toner off the copper without ruining the board. Normally when etching your own circuit boards you can just go scrub them and the toner falls right off. Obviously that wasn't really an option here.
So I took to the acetone and cotton swabs again. Trying to swipe and rub the toner off resulted in the copper becoming unstuck from the paper. I found that gently dabbing all along the toner, rather than rubbing, would provide just enough force to slightly dissolve, and shift away the toner. This part of the process required the most trial and error and was very frustrating. If you caught the copper in just the wrong way, it may fold or lift off the adhesive still holding it in place. The acetone was also quite good at dissolving the adhesive holding everything in place, so I couldn't just soak the hold thing at risk of ruining the board.
I honed my dabbing technique and eventually could reproduce this paper thin layer of bare copper every time.
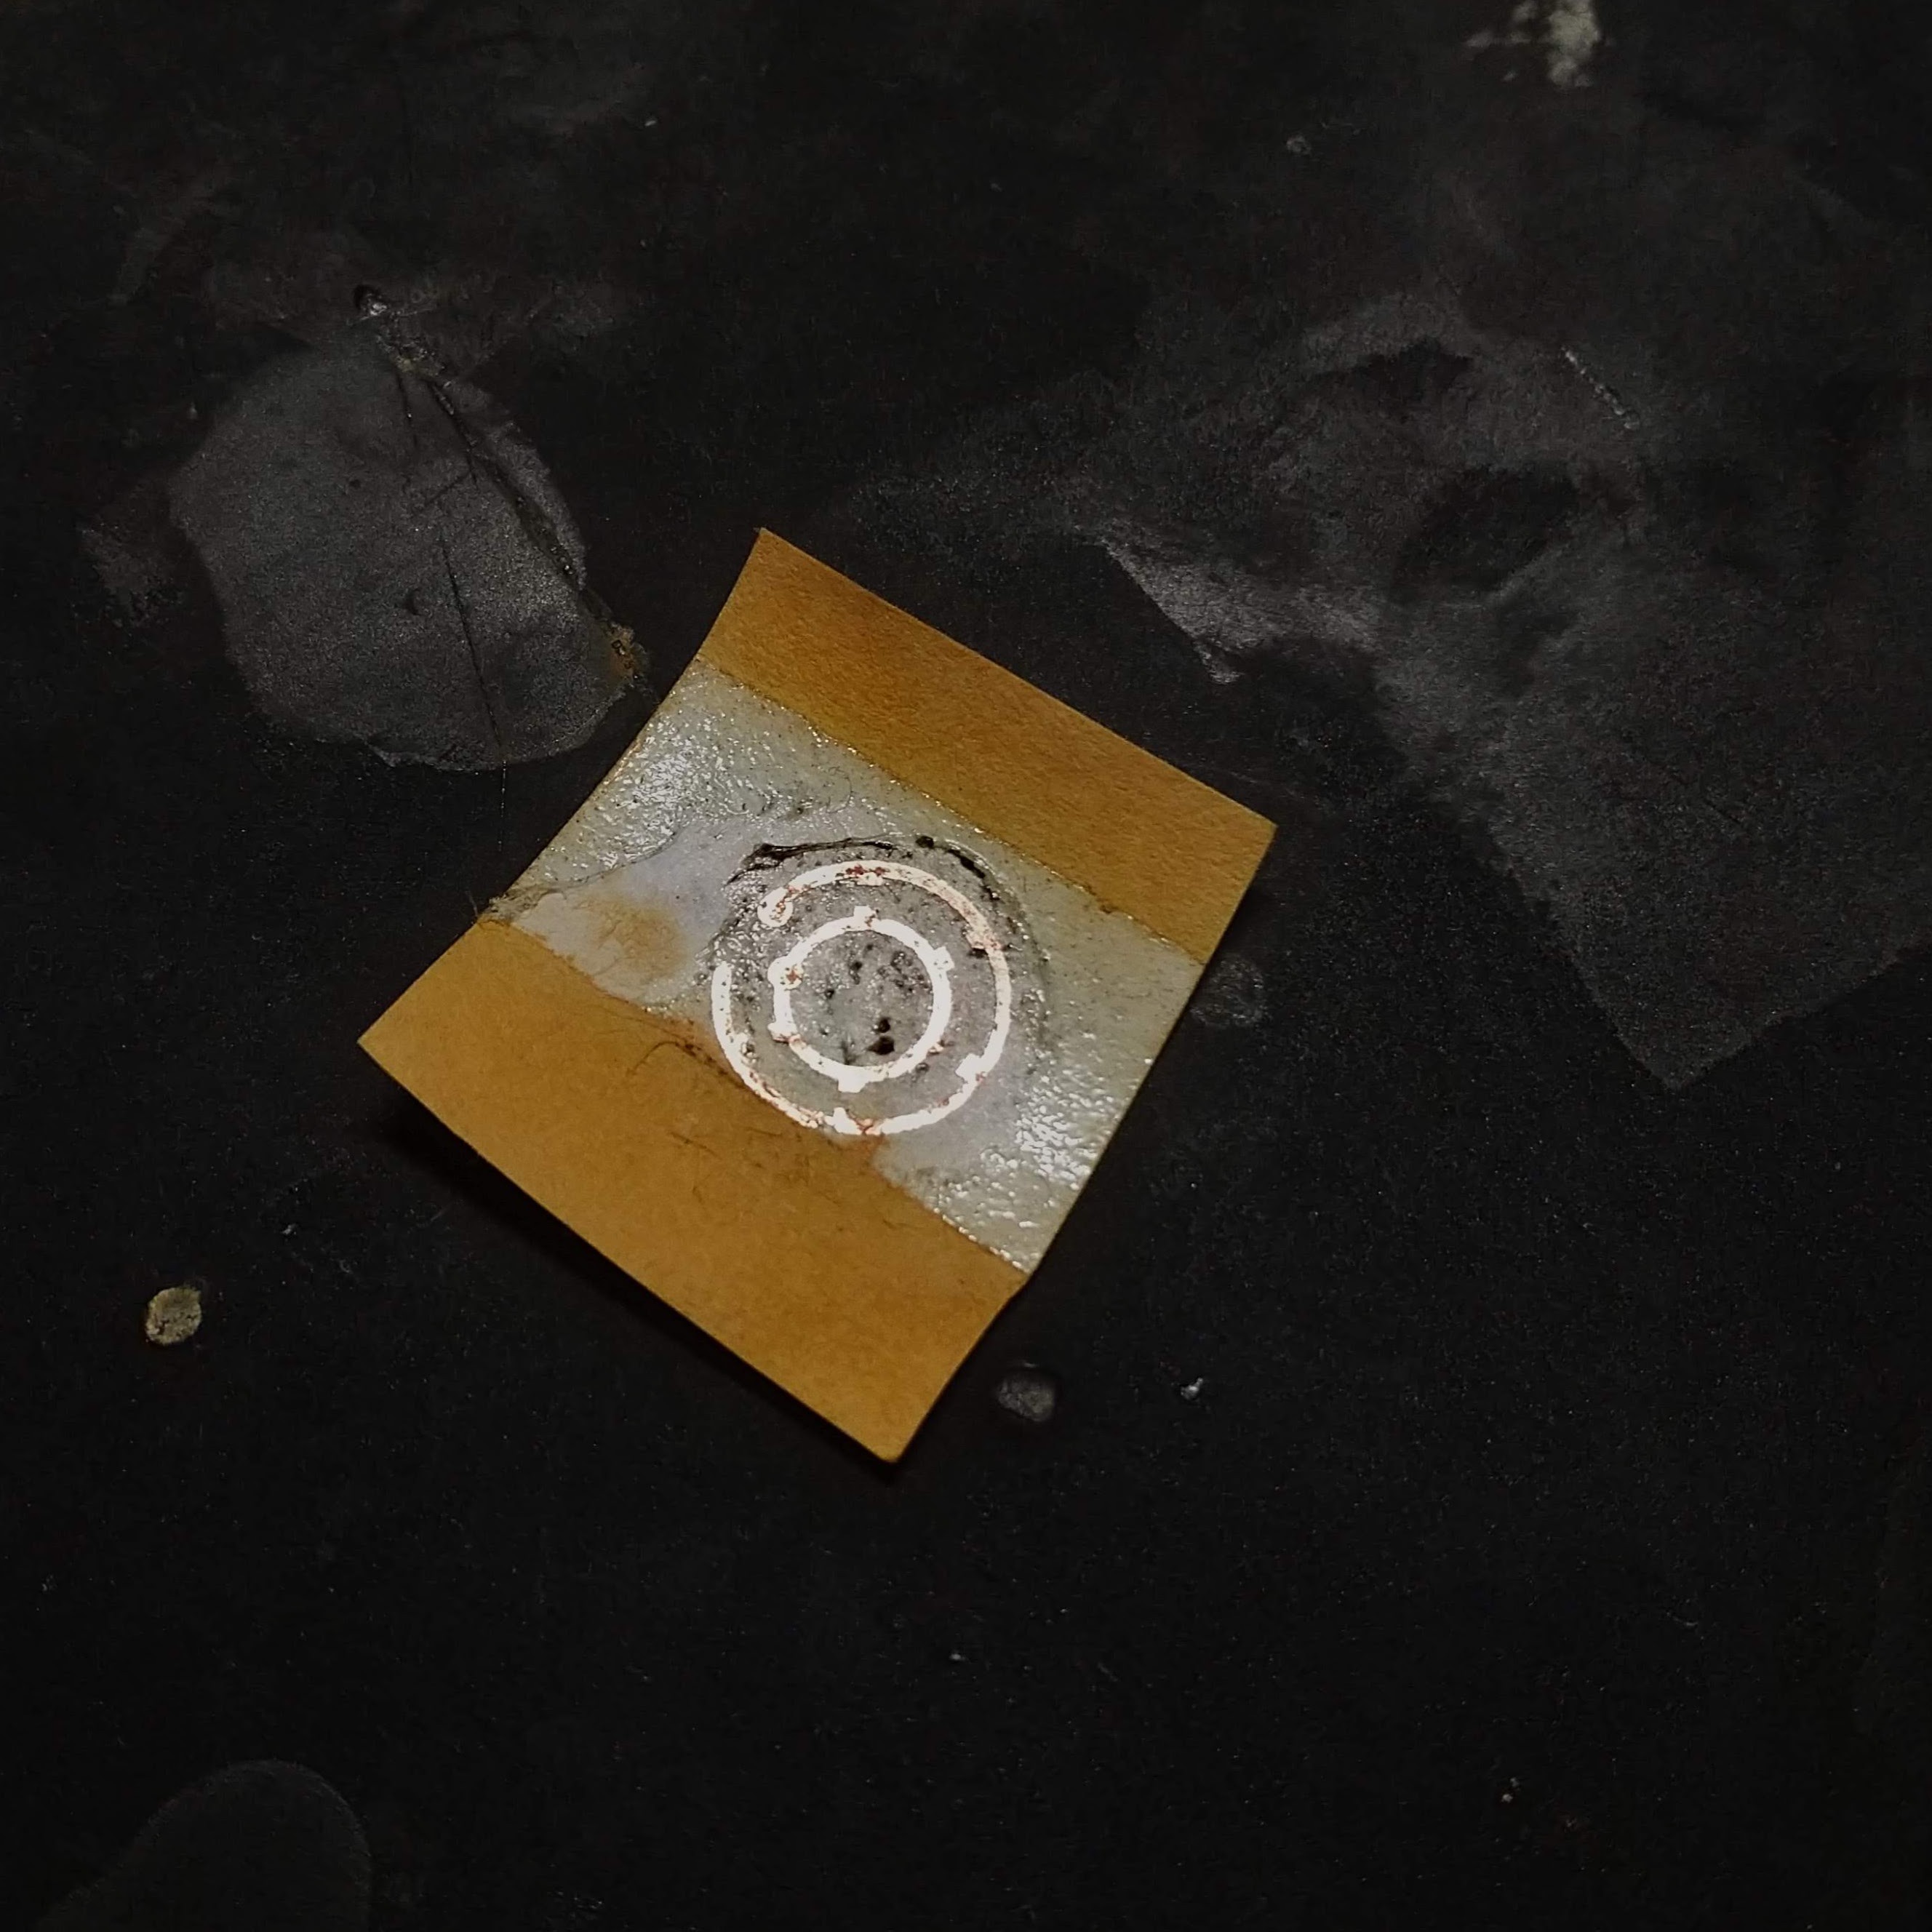
While everything was still anchored in place by the adhesive, it was now time to solder on the LEDs and wires. Unlike last time, I wised up and bought myself some solder paste. Some of which I squeezed into an insulin needle. This allowed me to deposit only the tiniest amount of paste that I needed to hold everything together, hopefully allowing me to avoid any extra material that I didn't need.
Because the paper was so thin and the parts so small, I was then able to melt the solder paste just by holding the piece of paper directly over my soldering, solidifying everything together. This whole assembly was then bathed in some more acetone to dissolve the rest of the adhesive, and the circuit was very gently, separated from the paper, leaving the final result below.

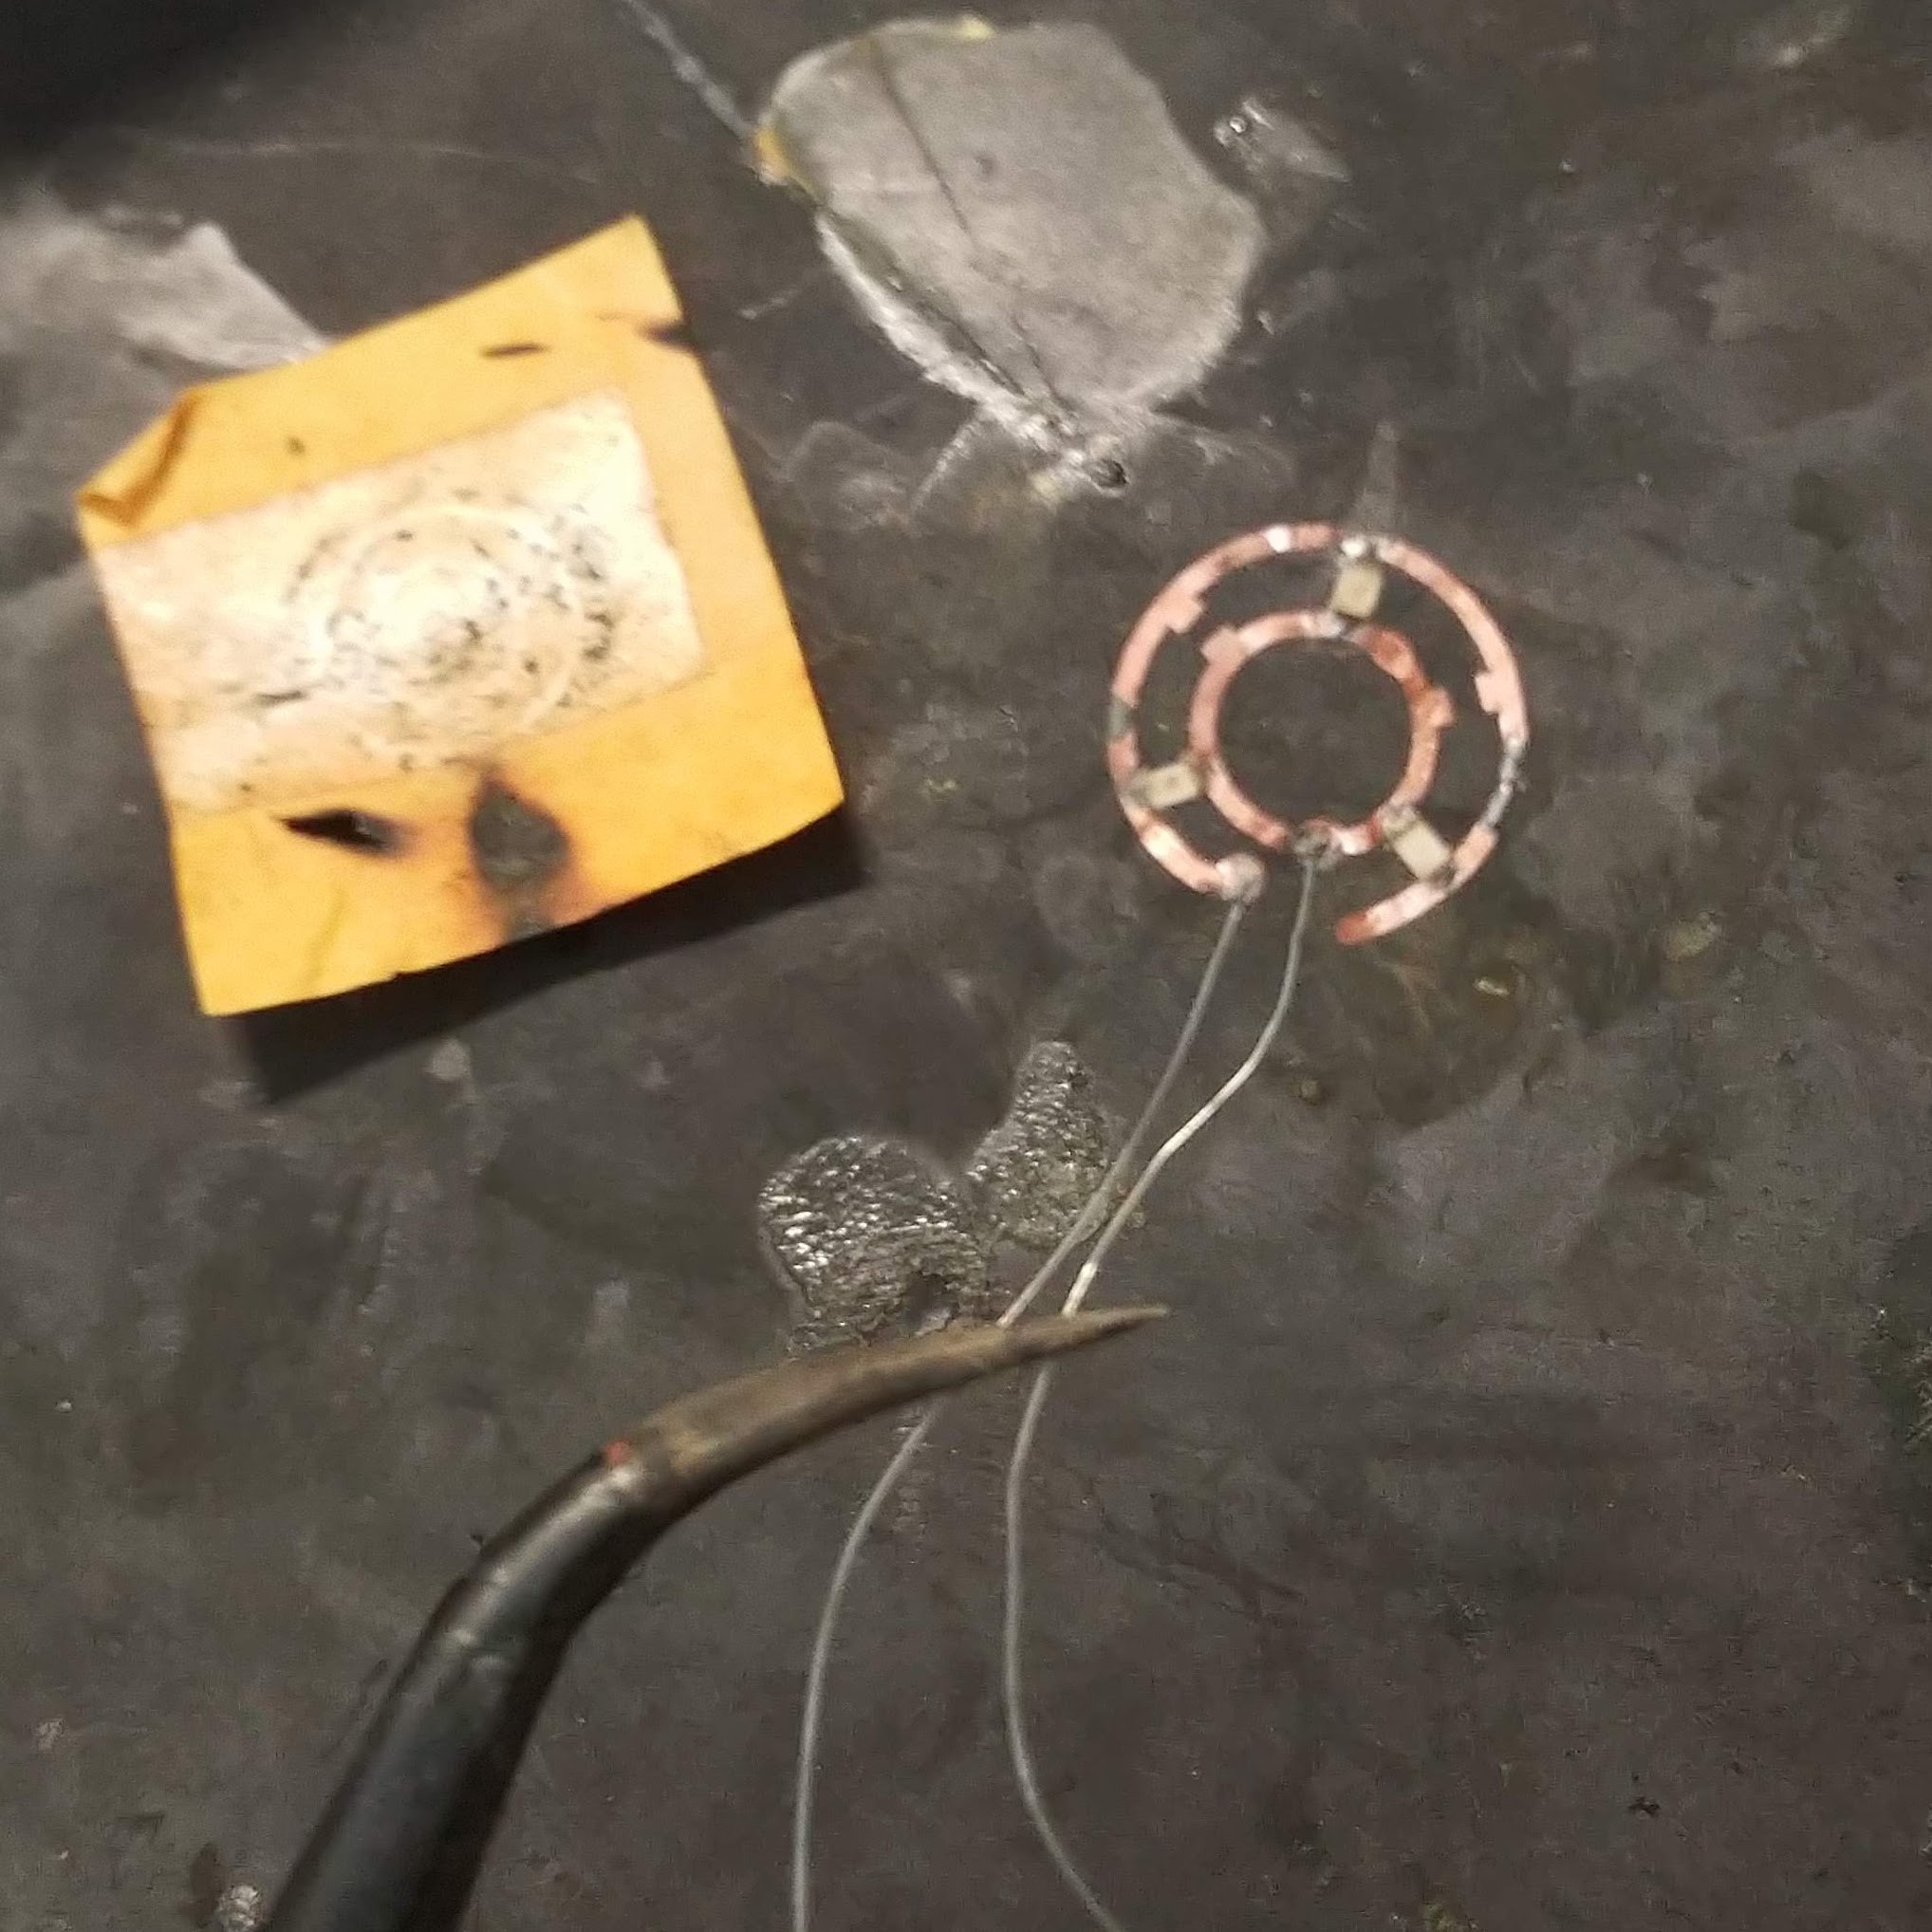
I think it kind of looks like a mini arc-reactor
Finally all that was left to do is embed the whole thing in between two contact lenses, which is actually the easiest part of this whole process. It just kind of squired the two lenses and circuit boards in between my them and forefinger and waited until the lenses dried out a bit. This would then glue them together quite adequately.

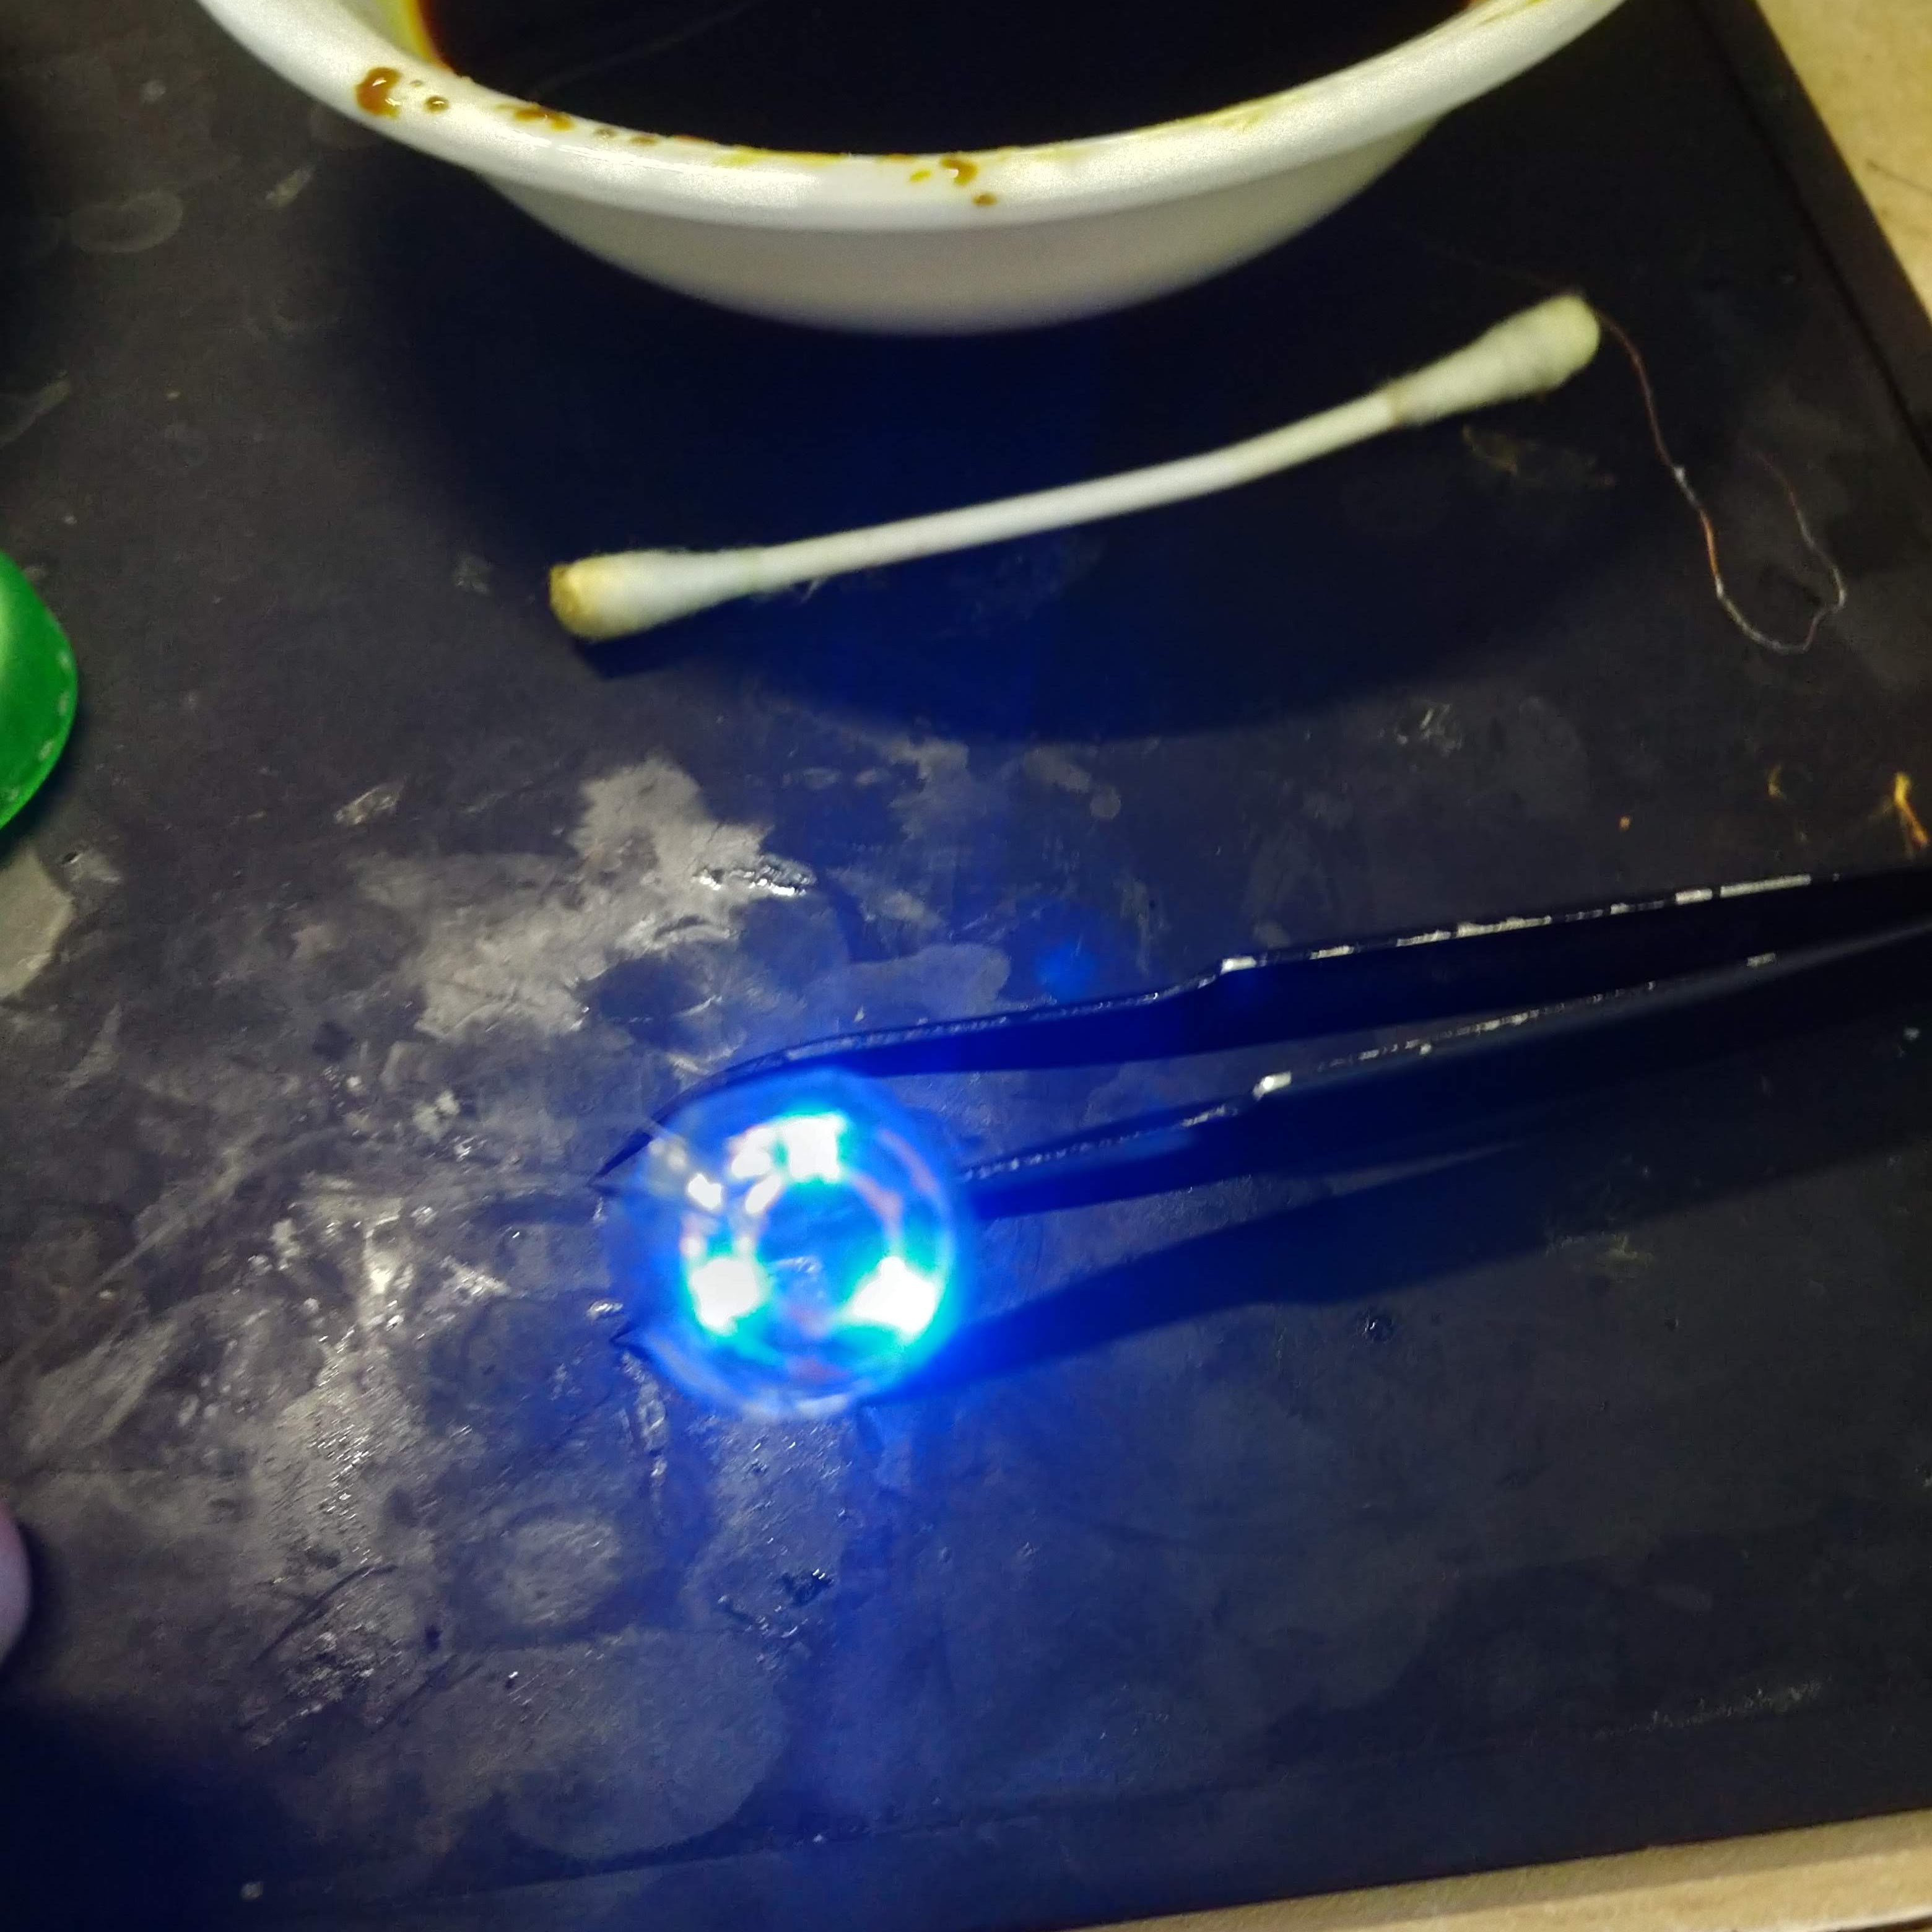
And Viola! We have a nice glowing contact lense ready for eyeball insertion. I apologize for all the crappy pictures, but my phone really does not like taking pictures of these tiny things. It always seems to want to focus on jusssst the exactly wrong thing.
And of course we need the obligatory, eyeball pictures. After all, what would be the point of this project unless I actually risked scratching my corneas?

Pretty badass, right?
So there you go. I would consider this process a success! Once I got everything down it was relatively simple. However, as some of you noticed, I have not actually posted any pictures of my eyeball glowing....so this project is still uncompleted.
I am still running into a few issues:
- Bulk
- The entire assembly is still too thick for my top eyelid to slide over it without assistance. Whenever I blink, the entire lense gets pushed partially under my lower eyelid.
- I believe that if I switch to lower profile LED this issue can be mitigated
- Wires
- I have determined that it is indeed possible for wires to come out between you eyelids and not die. So that is good.
- The wires exert too much torque on contact lense when blinking and being handled
The wires are really the reason why I have not been able to take a picture with the LEDs turned on. It is quite the hassle to get the lense into my eye, and then try to finagle the two wires onto either side of a watch battery. They are just to bulky and any force on them causes the contact to either come out of my eye, or slowly separate the contact lenses holding everything together.
In terms of next steps, things are pretty straight forward. Get some more LEDs and the thinnest wires possible, and keep screwing up my eyeball!
 Chris
Chris
Discussions
Become a Hackaday.io Member
Create an account to leave a comment. Already have an account? Log In.
read the logs :)
Are you sure? yes | no
why not put this on contact lens, that would make it safer on the eye plus easier to put in and take out.
Are you sure? yes | no