 Paweł Skórka
Check out the GitHub page for more details.
0%
0%
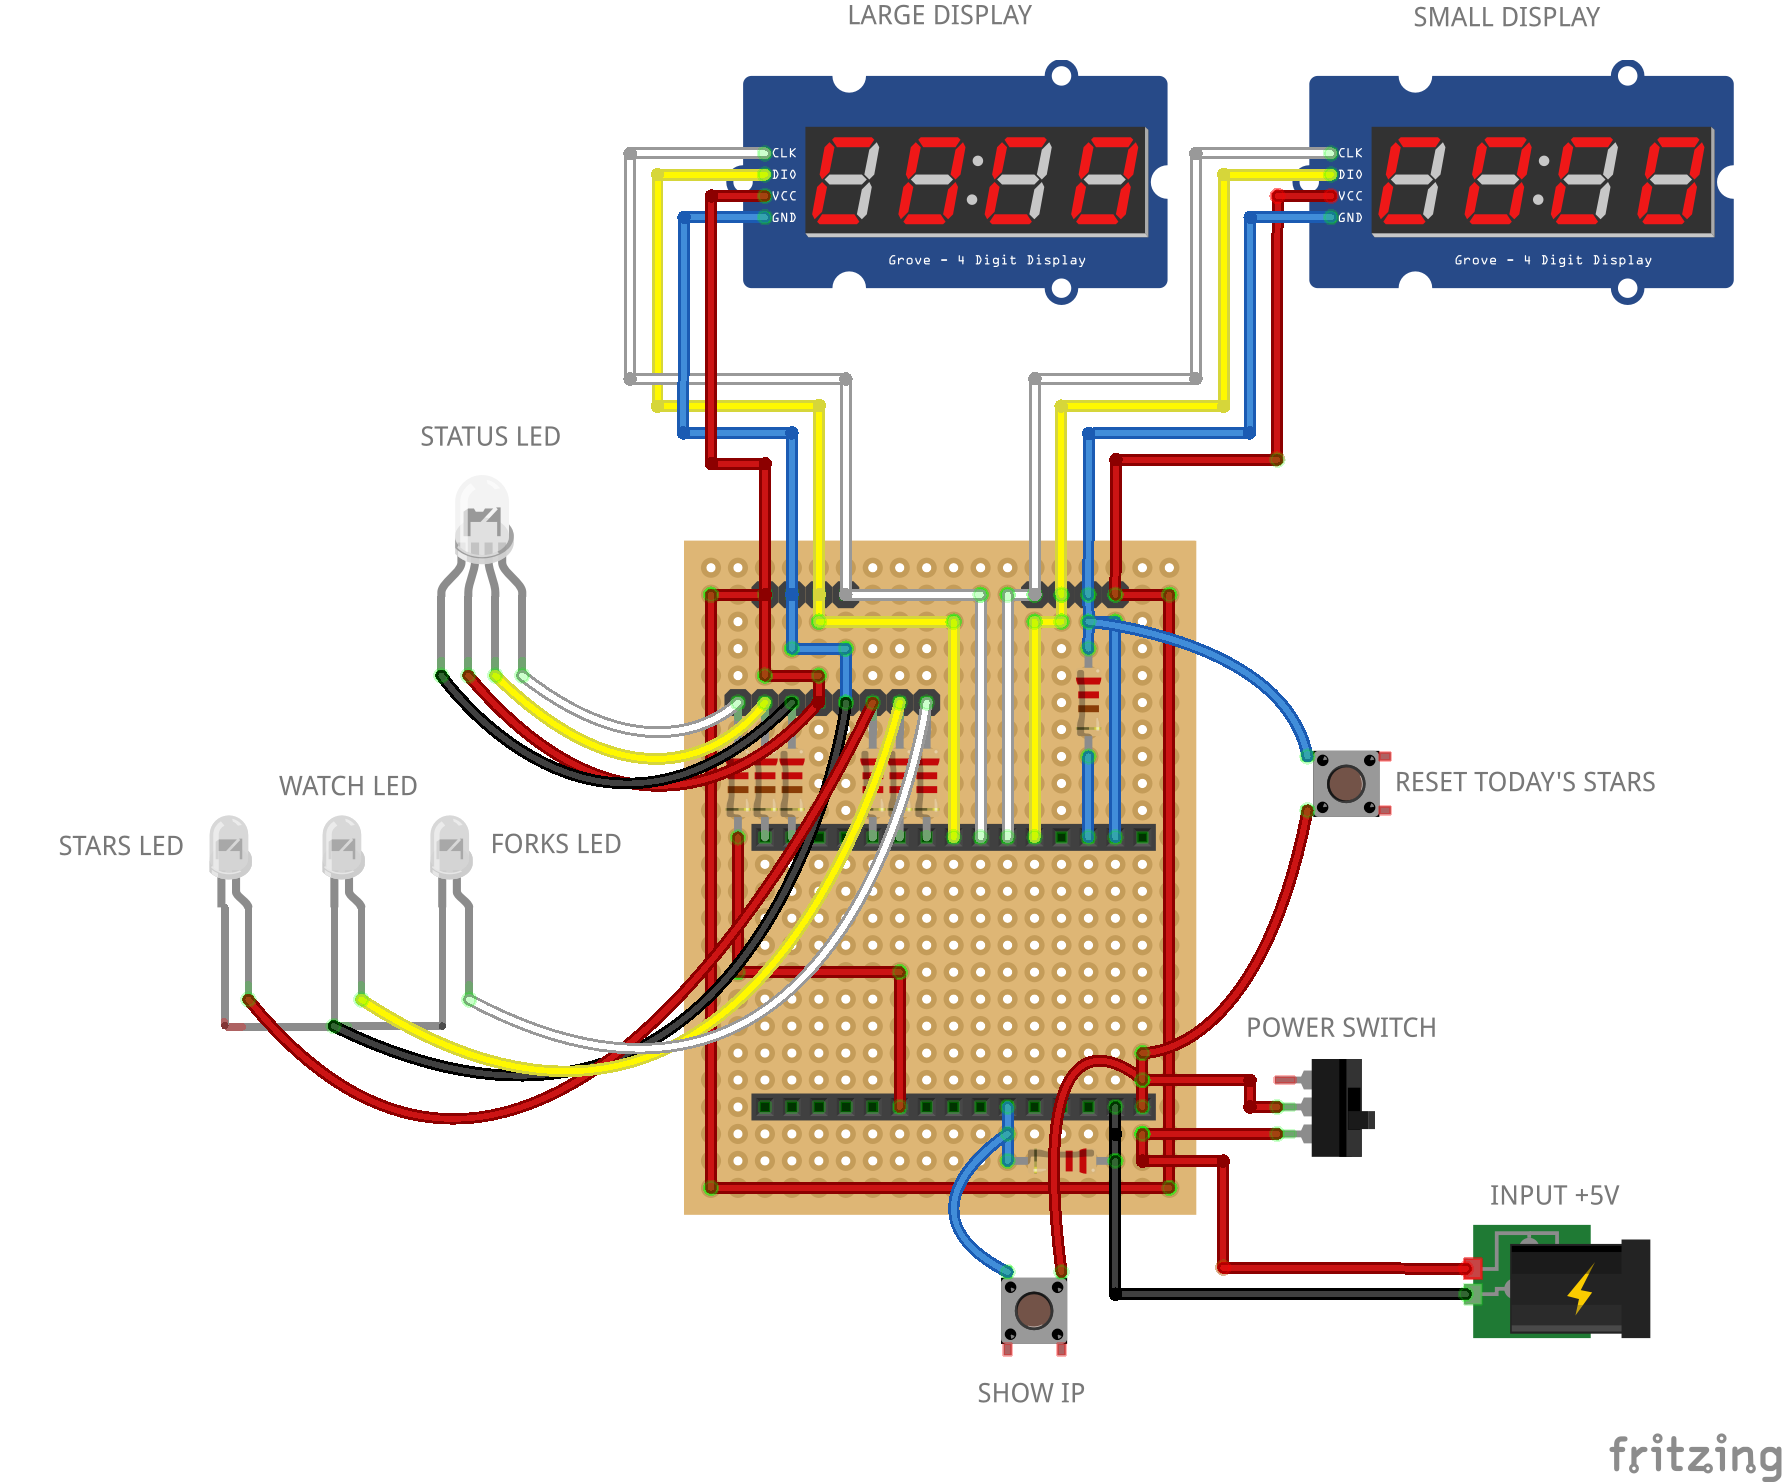
IoT GitHub Frame
This project will help you track the popularity of the selected github repository live
Become a Hackaday.io member
Already have an account? Log in.
Just one more thing
To make the experience fit your profile, pick a username and tell us what interests you.
Pick an awesome username
hackaday.io/
Your profile's URL: hackaday.io/username. Max 25 alphanumeric characters.
Pick a few interests
Projects that share your interests
People that share your interests


 NicLamrlr
 TCYRUS
 Prakhar Gurunani
 Uncle Toby and Aquaman
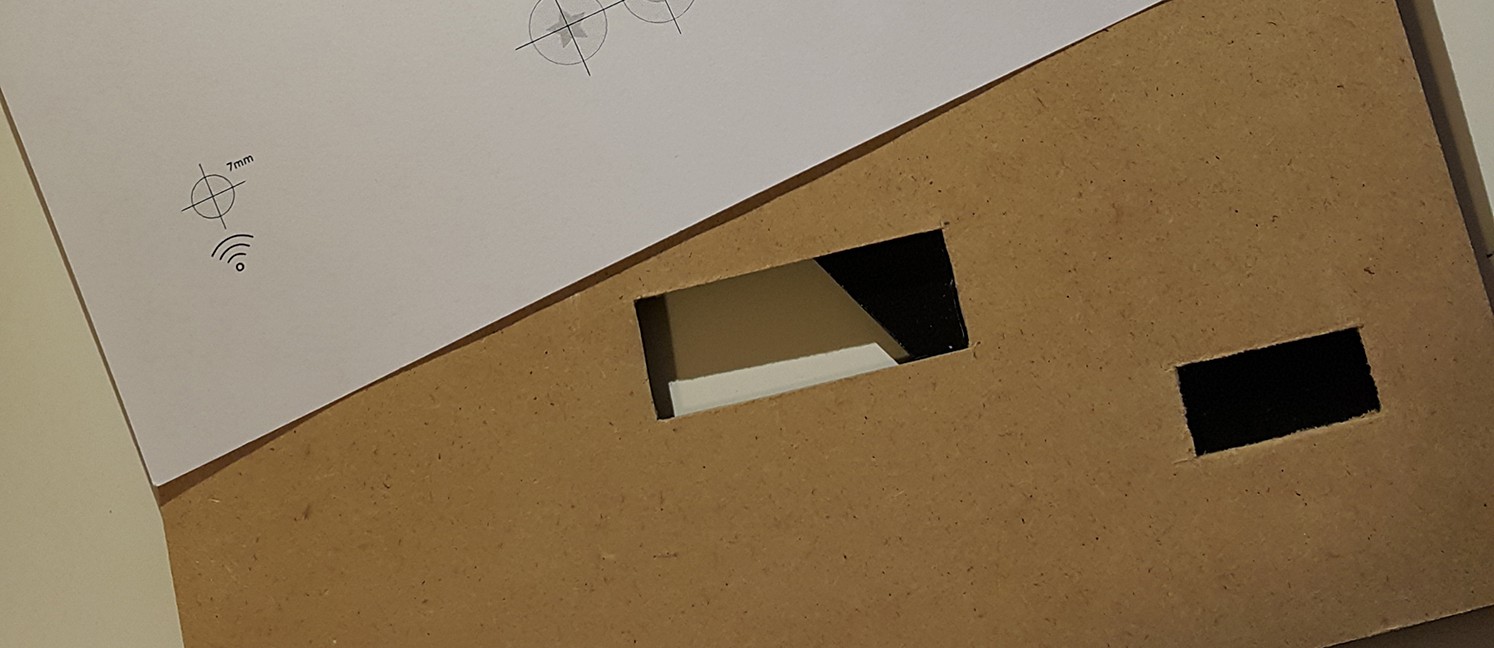
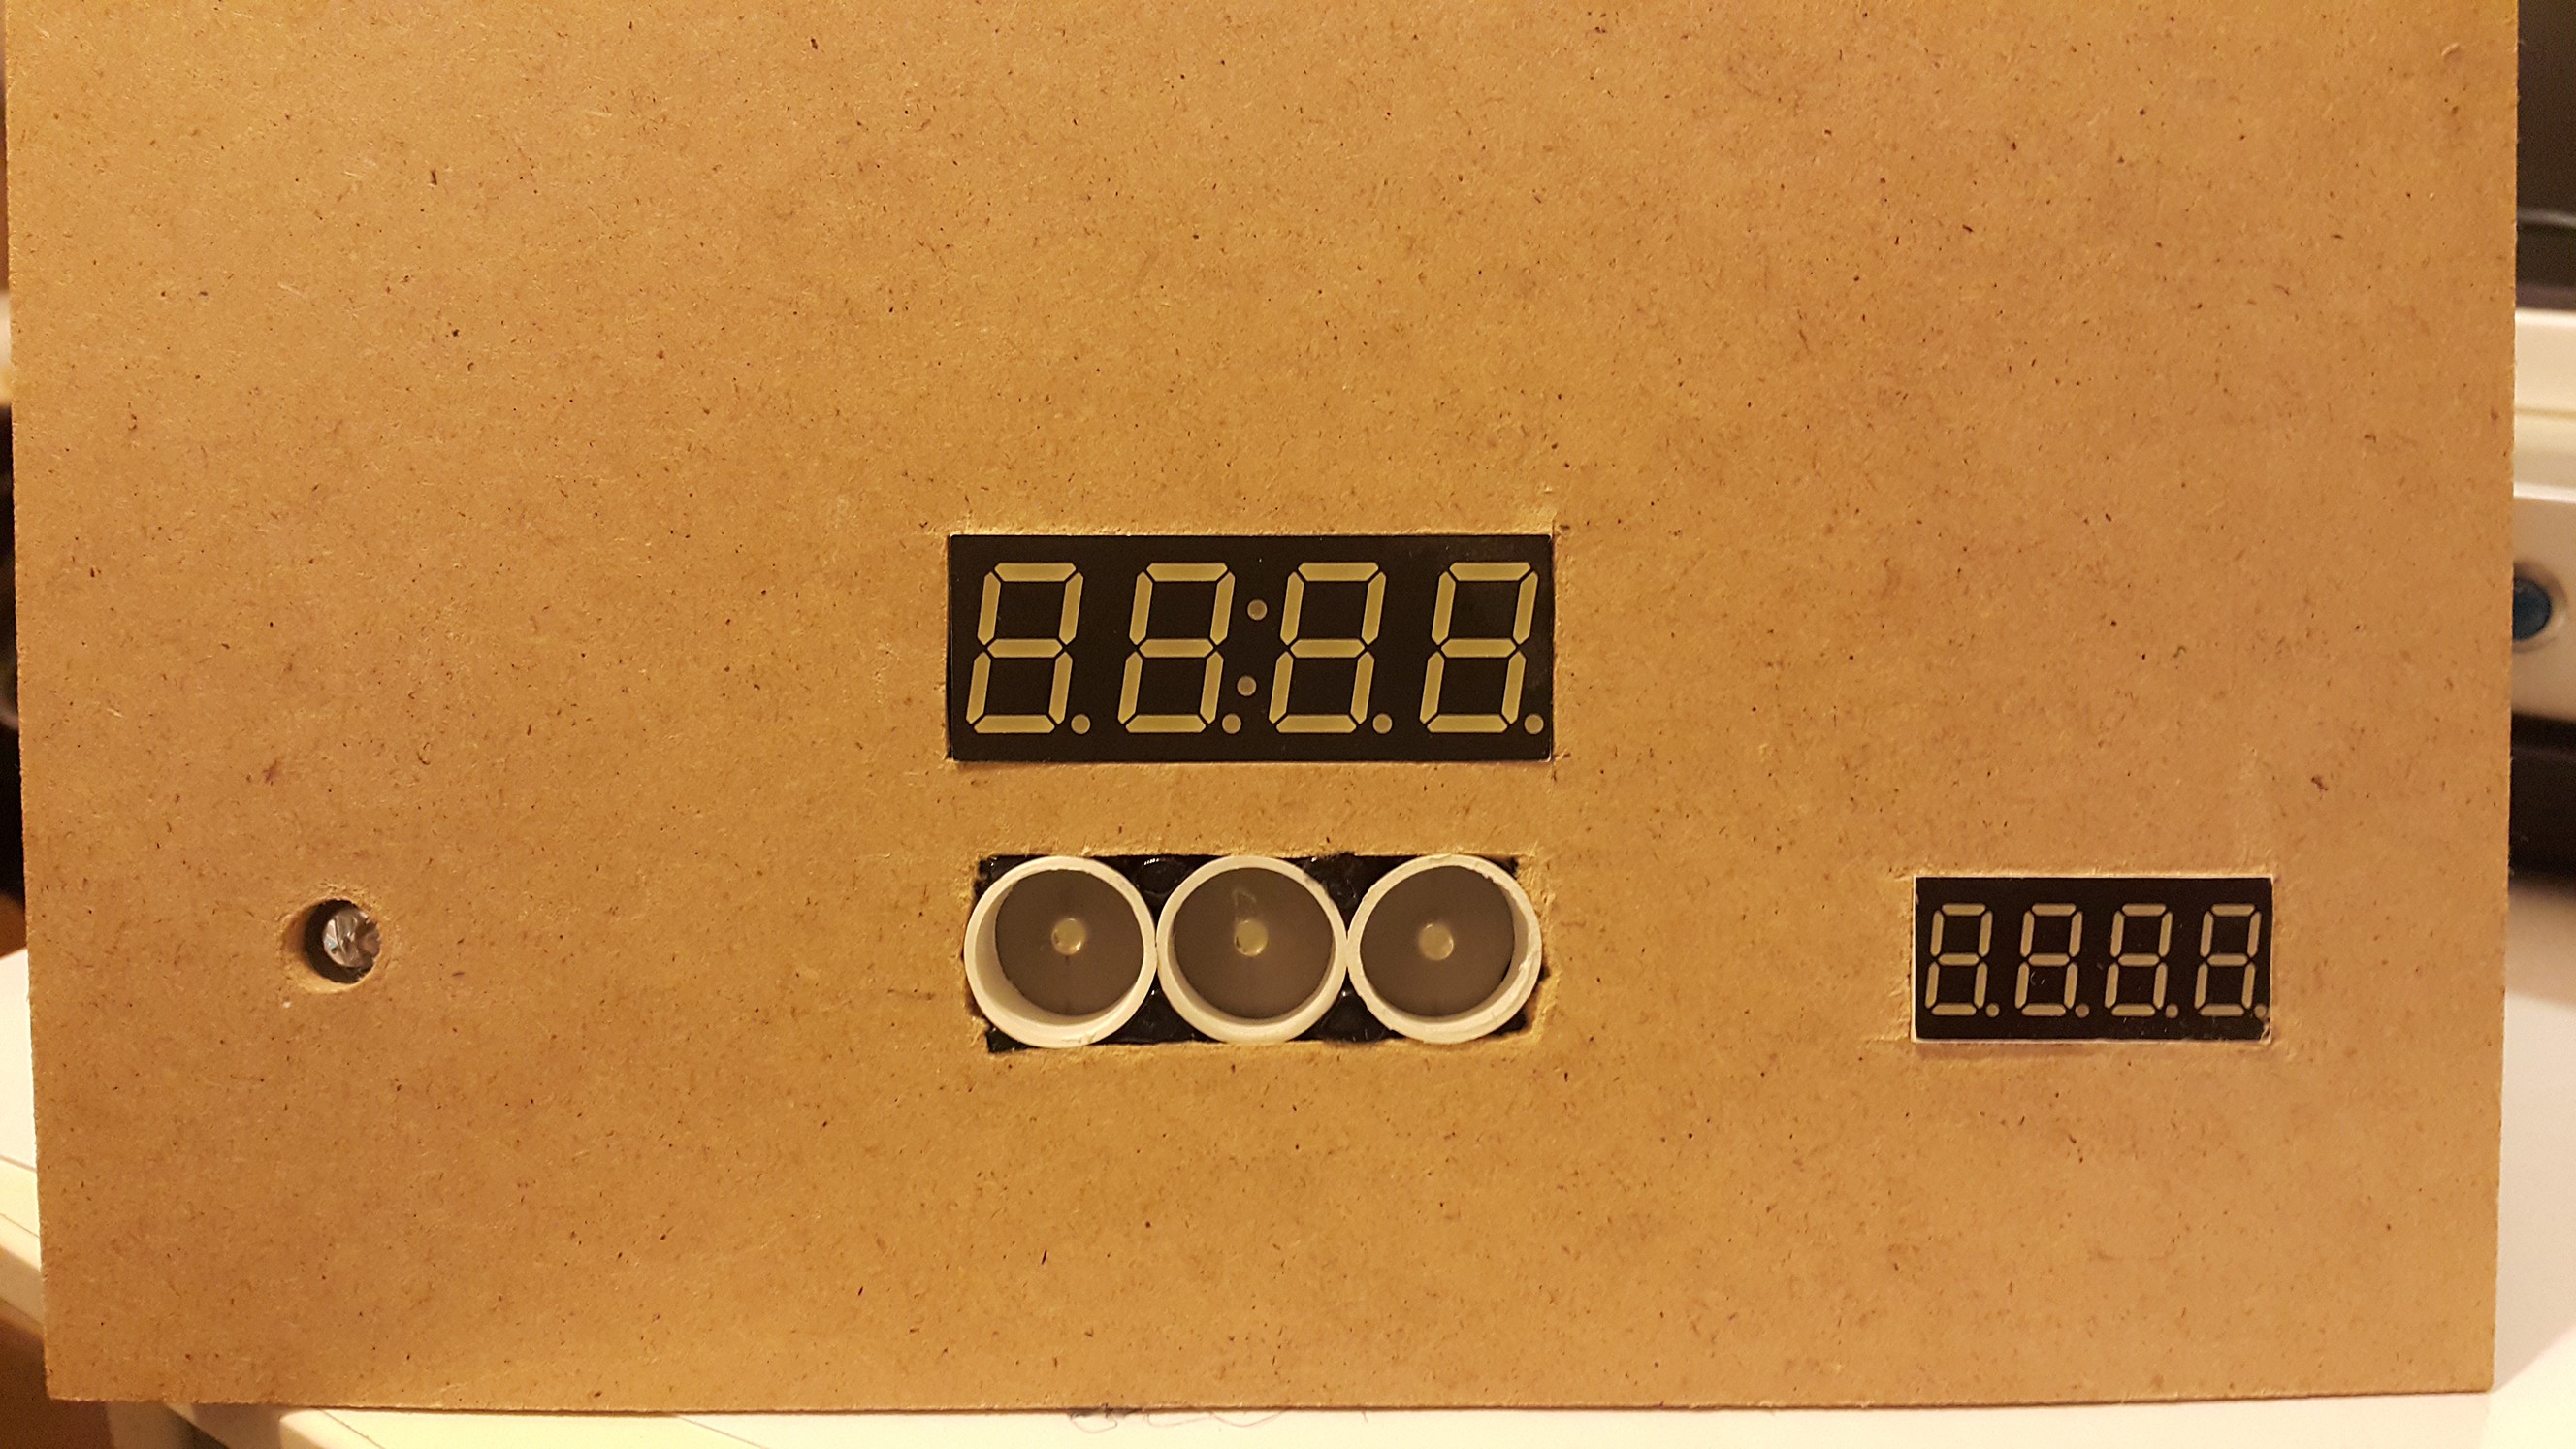
Thank you. At the beginning I used plain paper. But I got a better effect by covering the display with photo paper.