AccidentalRebel
-
2020-11-11
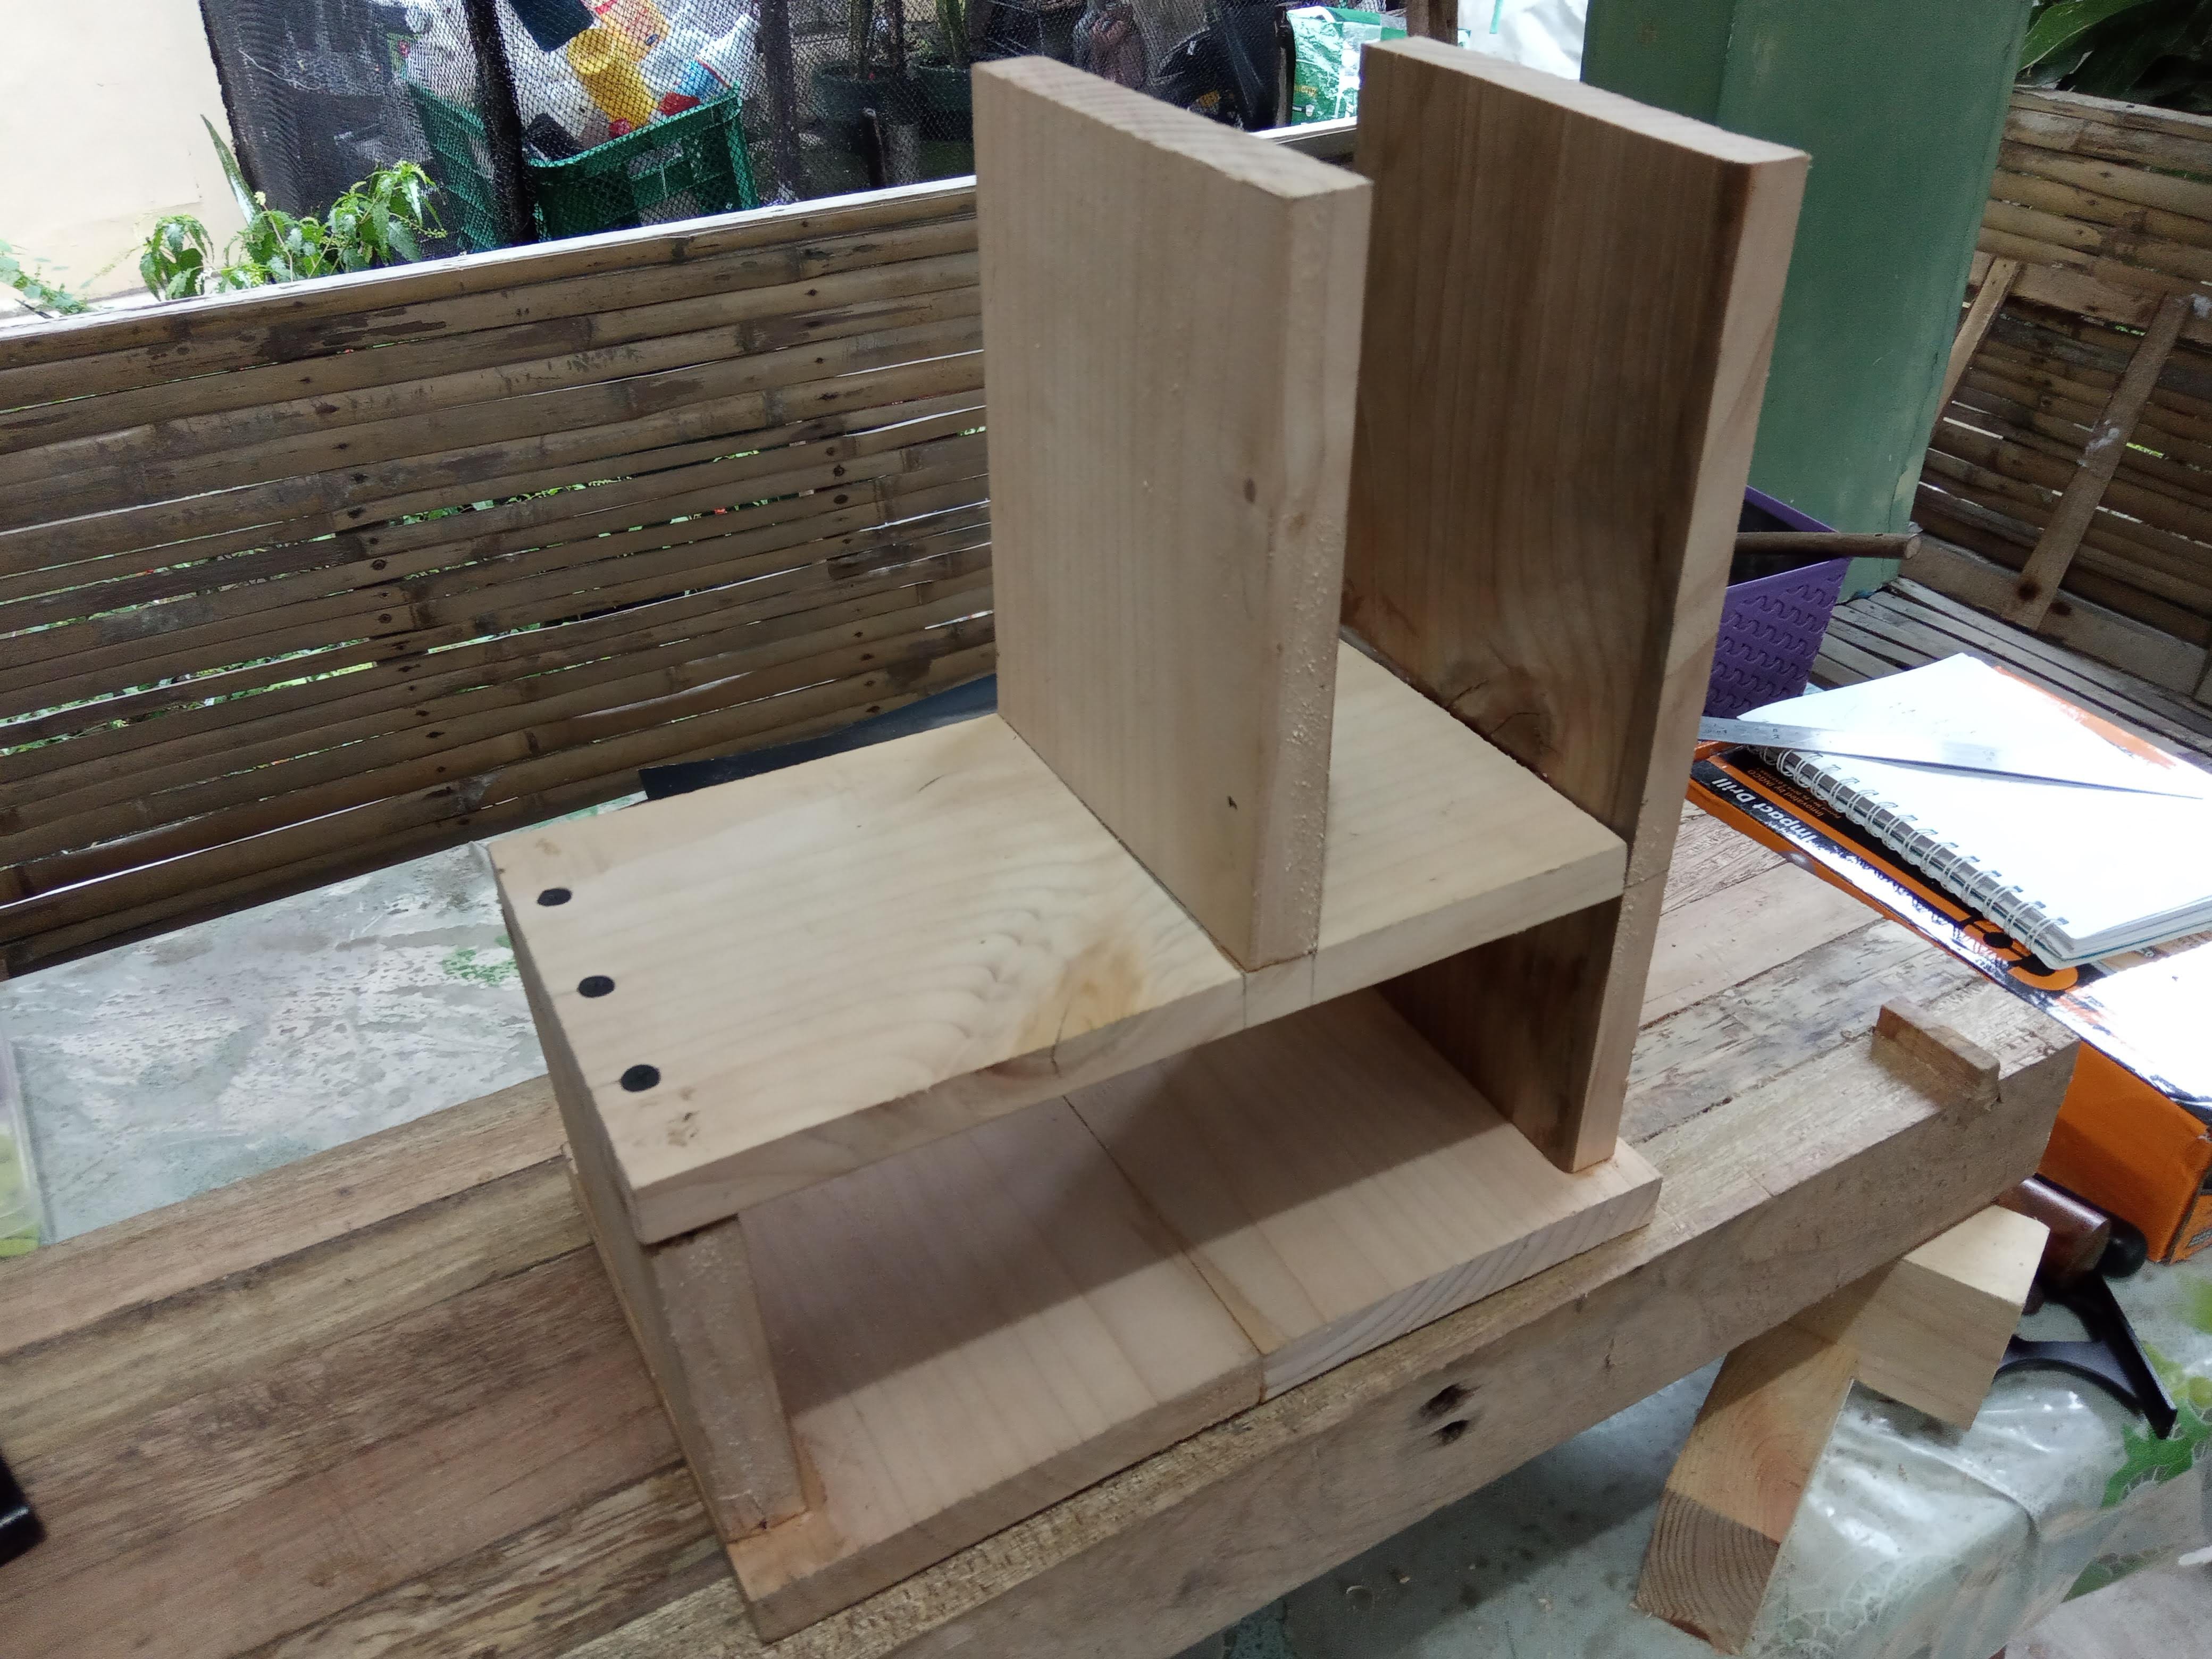
11/11/2020 at 09:25 • 0 commentsAs I mentioned before, the base of the printer this time around would be made out of wood.
I usually prefer to take my time when I do woodworking but for this one I just wanted to get it done as quickly as possible. This meant foregoing with some best practices in favor of shortcuts. For example, not using joinery but only using screws instead. Thanks to this I was done in just a couple of hours.
![]()
I cringe looking at the mistakes I've made with this because as was in such a hurry to finish. I might redo this whole thing if I find the time, but for now let's consider this as our prototype base.
There are still some stuff to be done with this. For example, I still need to drill the holes for the mounts, make a holder for the spool, and also finishing.
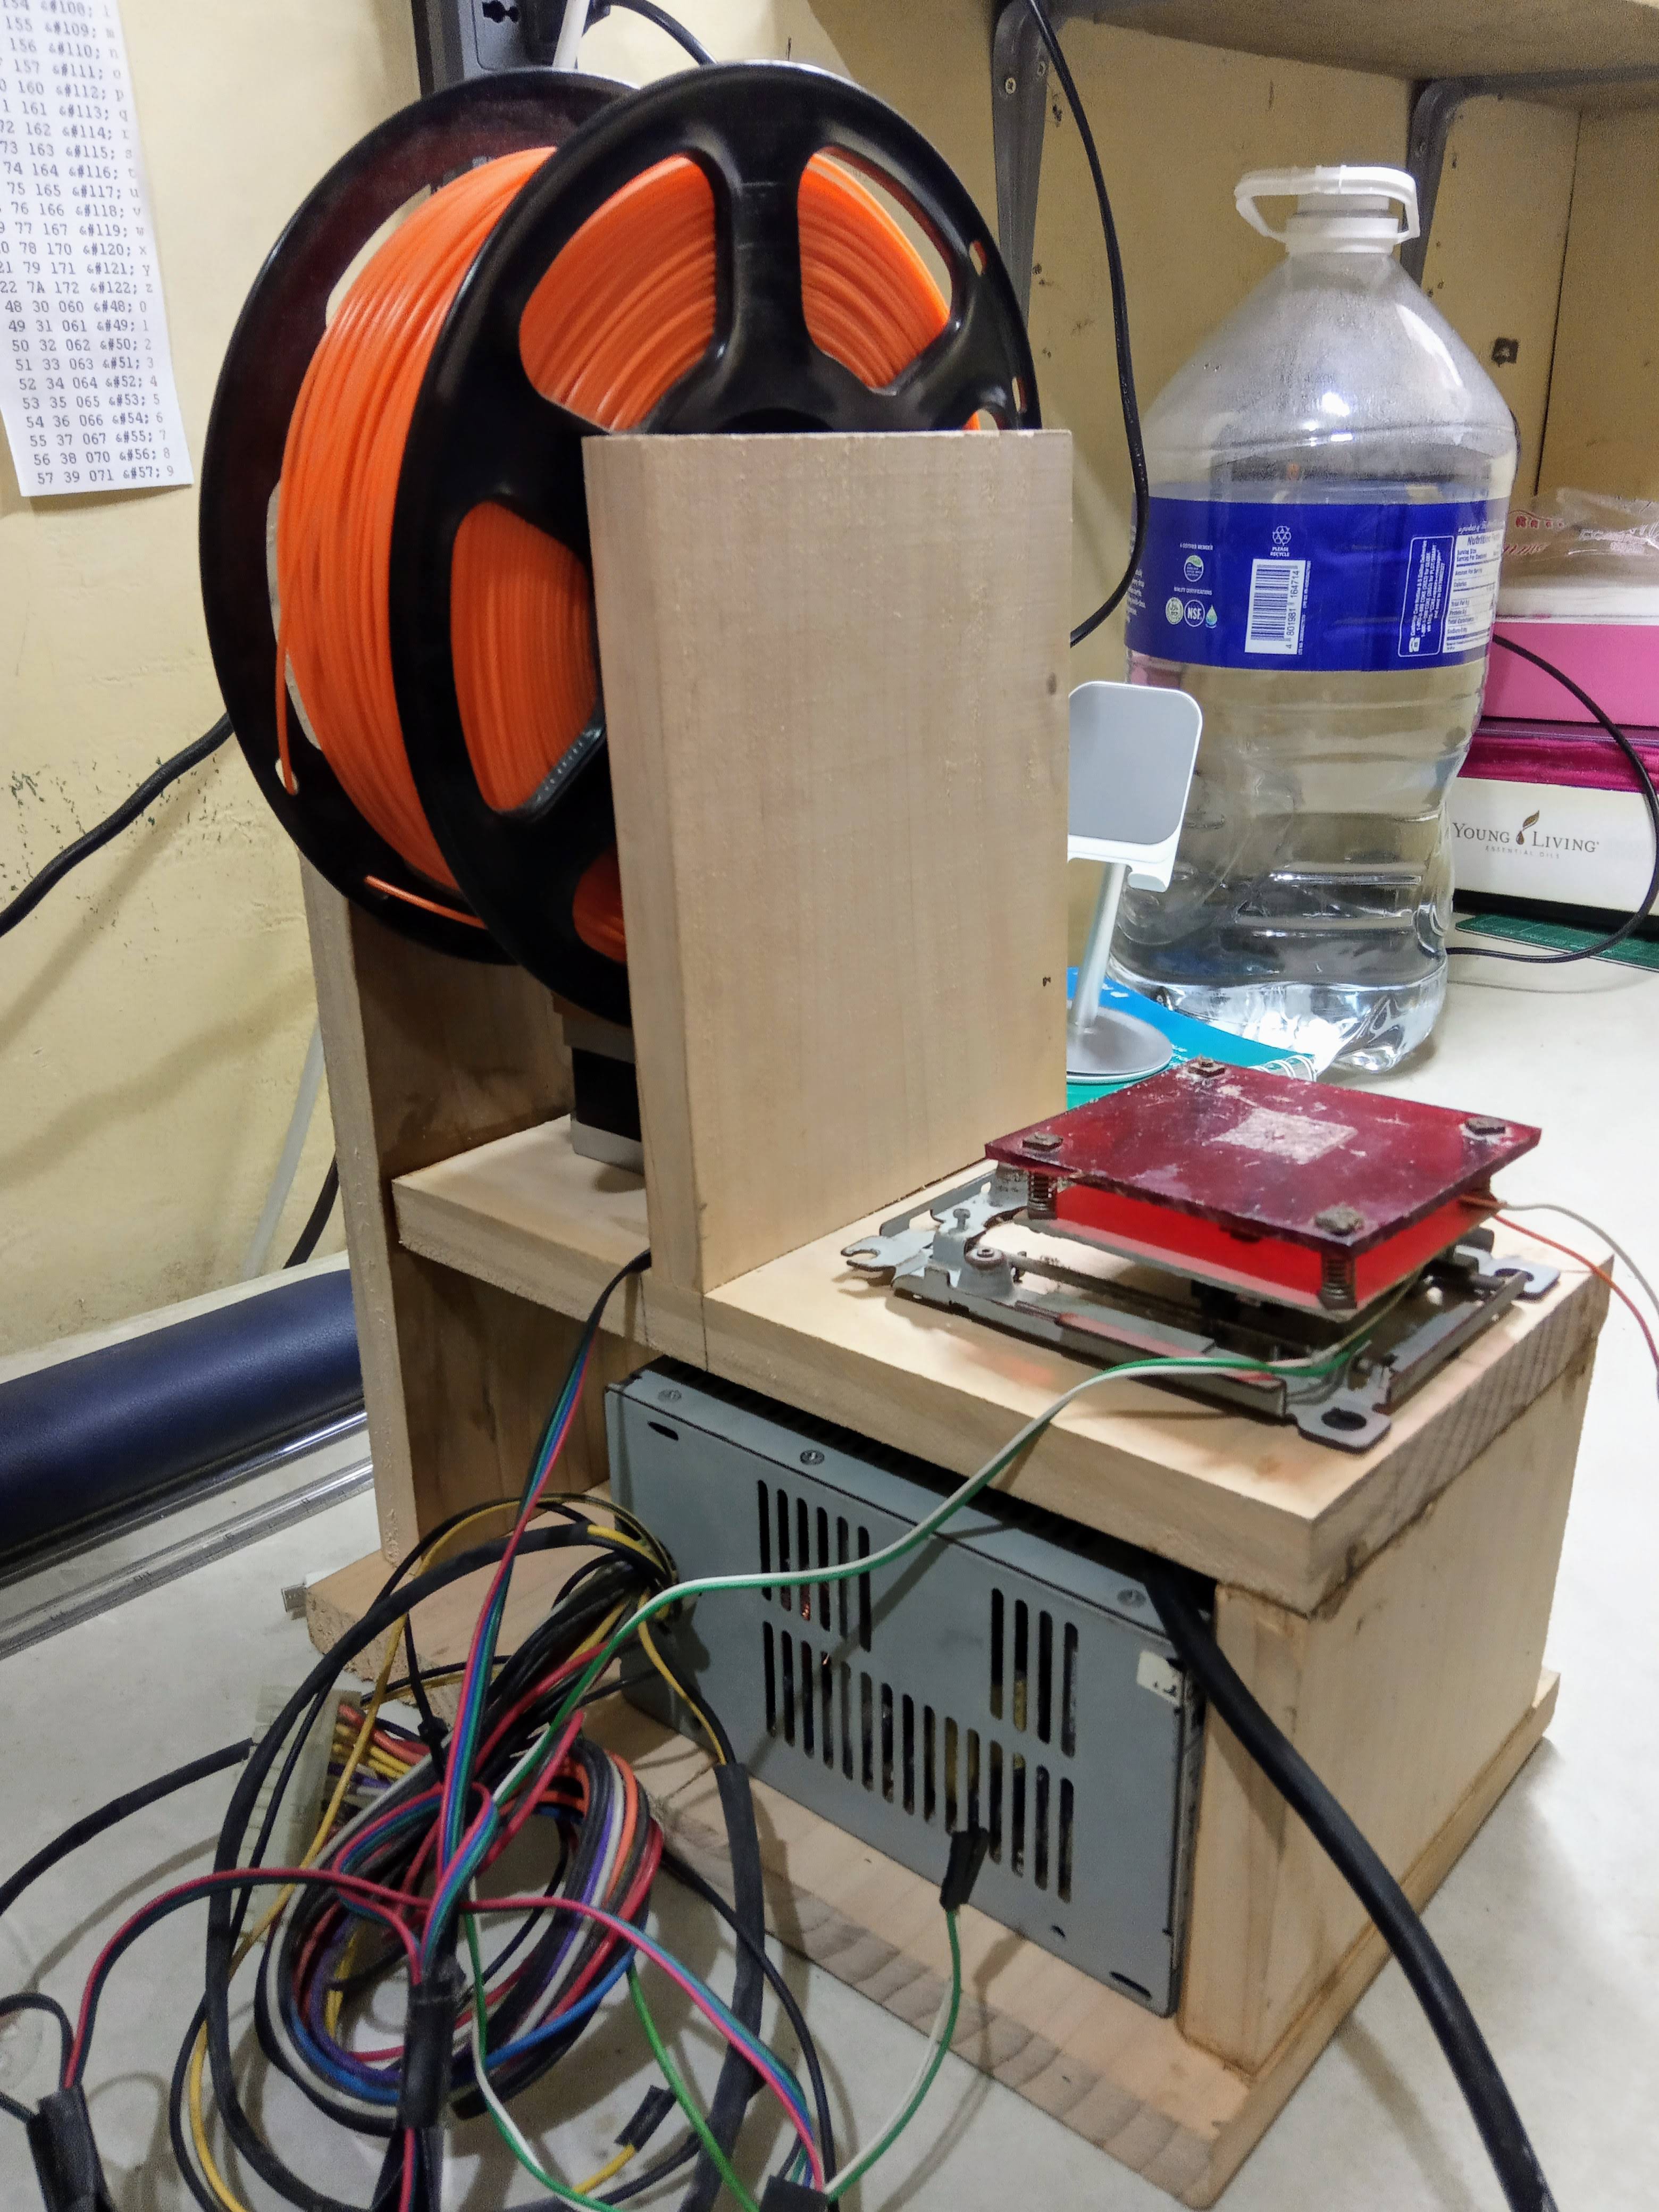
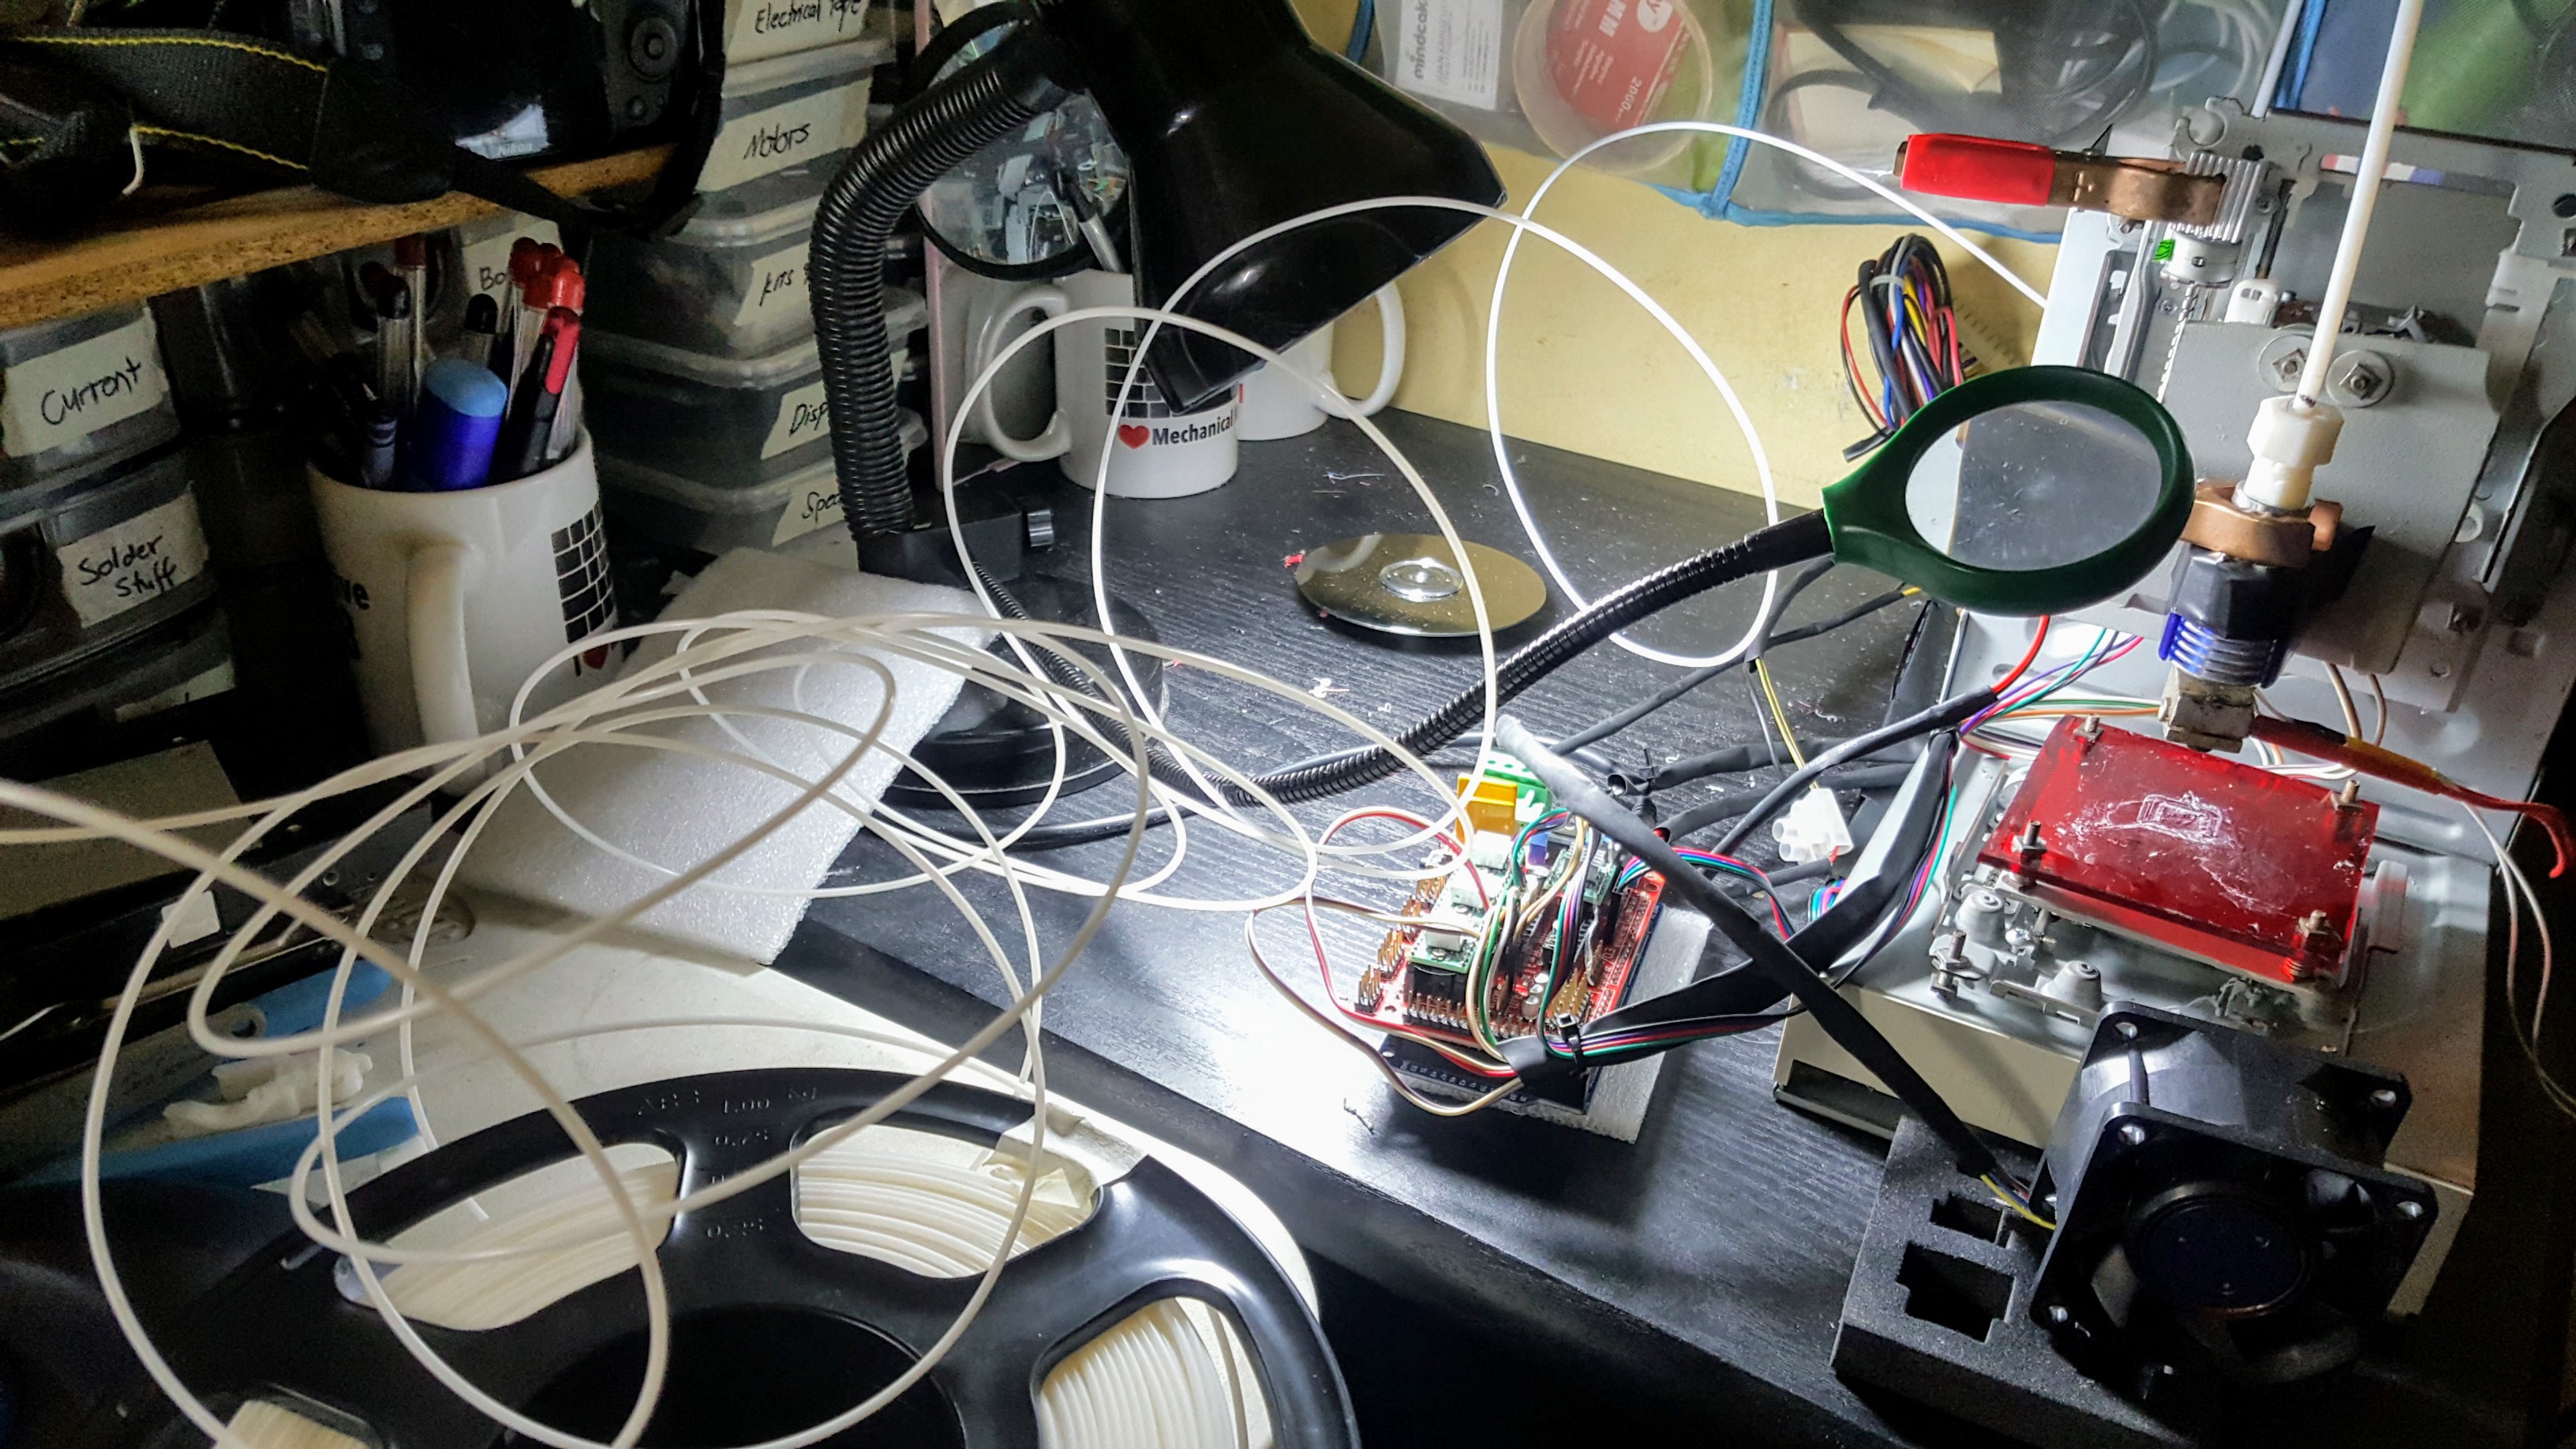
Here is a glimpse of how it would look like with some of the parts positioned at their intended places.
![]()
Not bad, right? I bet it would look better once I put everything in place and cleaned up the messy wires.
Up next: Mounting the drives
-
Preparations and plans for the case
11/07/2020 at 12:02 • 0 commentsI was able to test and confirm that my RAMPS board and CD-ROM stepper motors were still working. This is a good sign because it means that I don't need to buy any more. This also means that I could be able to re-build the project without any new parts aside from the case which I plan to build using wood.
I've been doing a lot of woodworking over the past year. Funnily enough, I started woodworking because I wanted to make my own case for this project. I remember asking around on how much it would cost to lasercut a wood base just like what Curiousity had. The price was way over my budget at that time that I decided to just learn woodworking so I could do it myself. I've spent more getting the tools that I needed for woodworking, but at least I've learned a valuable skill.
So, yes, the structure would be made of wood. And it would look like this.
![]()
Notice how I tried my best to place everything within the case. Last time the RAMPS board, spool, and power supply were separated and it was a pain to move the project around. This should fix that problem.
I also designed it so that the parts are still exposed and visible. I like the whole DIY look and I try to incorporate this into all my projects. This also has the added benefit of using less wooden planks and making it easy to build.
Is it really a good idea to use wood for this? I've asked myself this question too. Wood tends to warp and move and this might affect the position calibrations. This may seem like a problem but I'm not too worried because from my experience I do my calibrations before I do a print run, anyway. If it does become a big enough problem, then at least we know. :P
Up next: Working on the actual case!
-
Reviving the Poor Man's Mini 3D Printer
11/03/2020 at 07:03 • 0 commentsI have switched to working on different projects immediately after showcasing this project at last year's Maker Faire Manila. This meant that the 3d printer gathered dust in storage for a long time. At the back of my mind, knew that I'll be coming back to this project one day. 1 year and 5 months later, that day has arrived.
This started when I was cleaning up my storage and came across the RAMPS board that I used. It was covered in dust and there were bent pins from improper storage. I felt bad about it so I dusted it off along with the other parts.
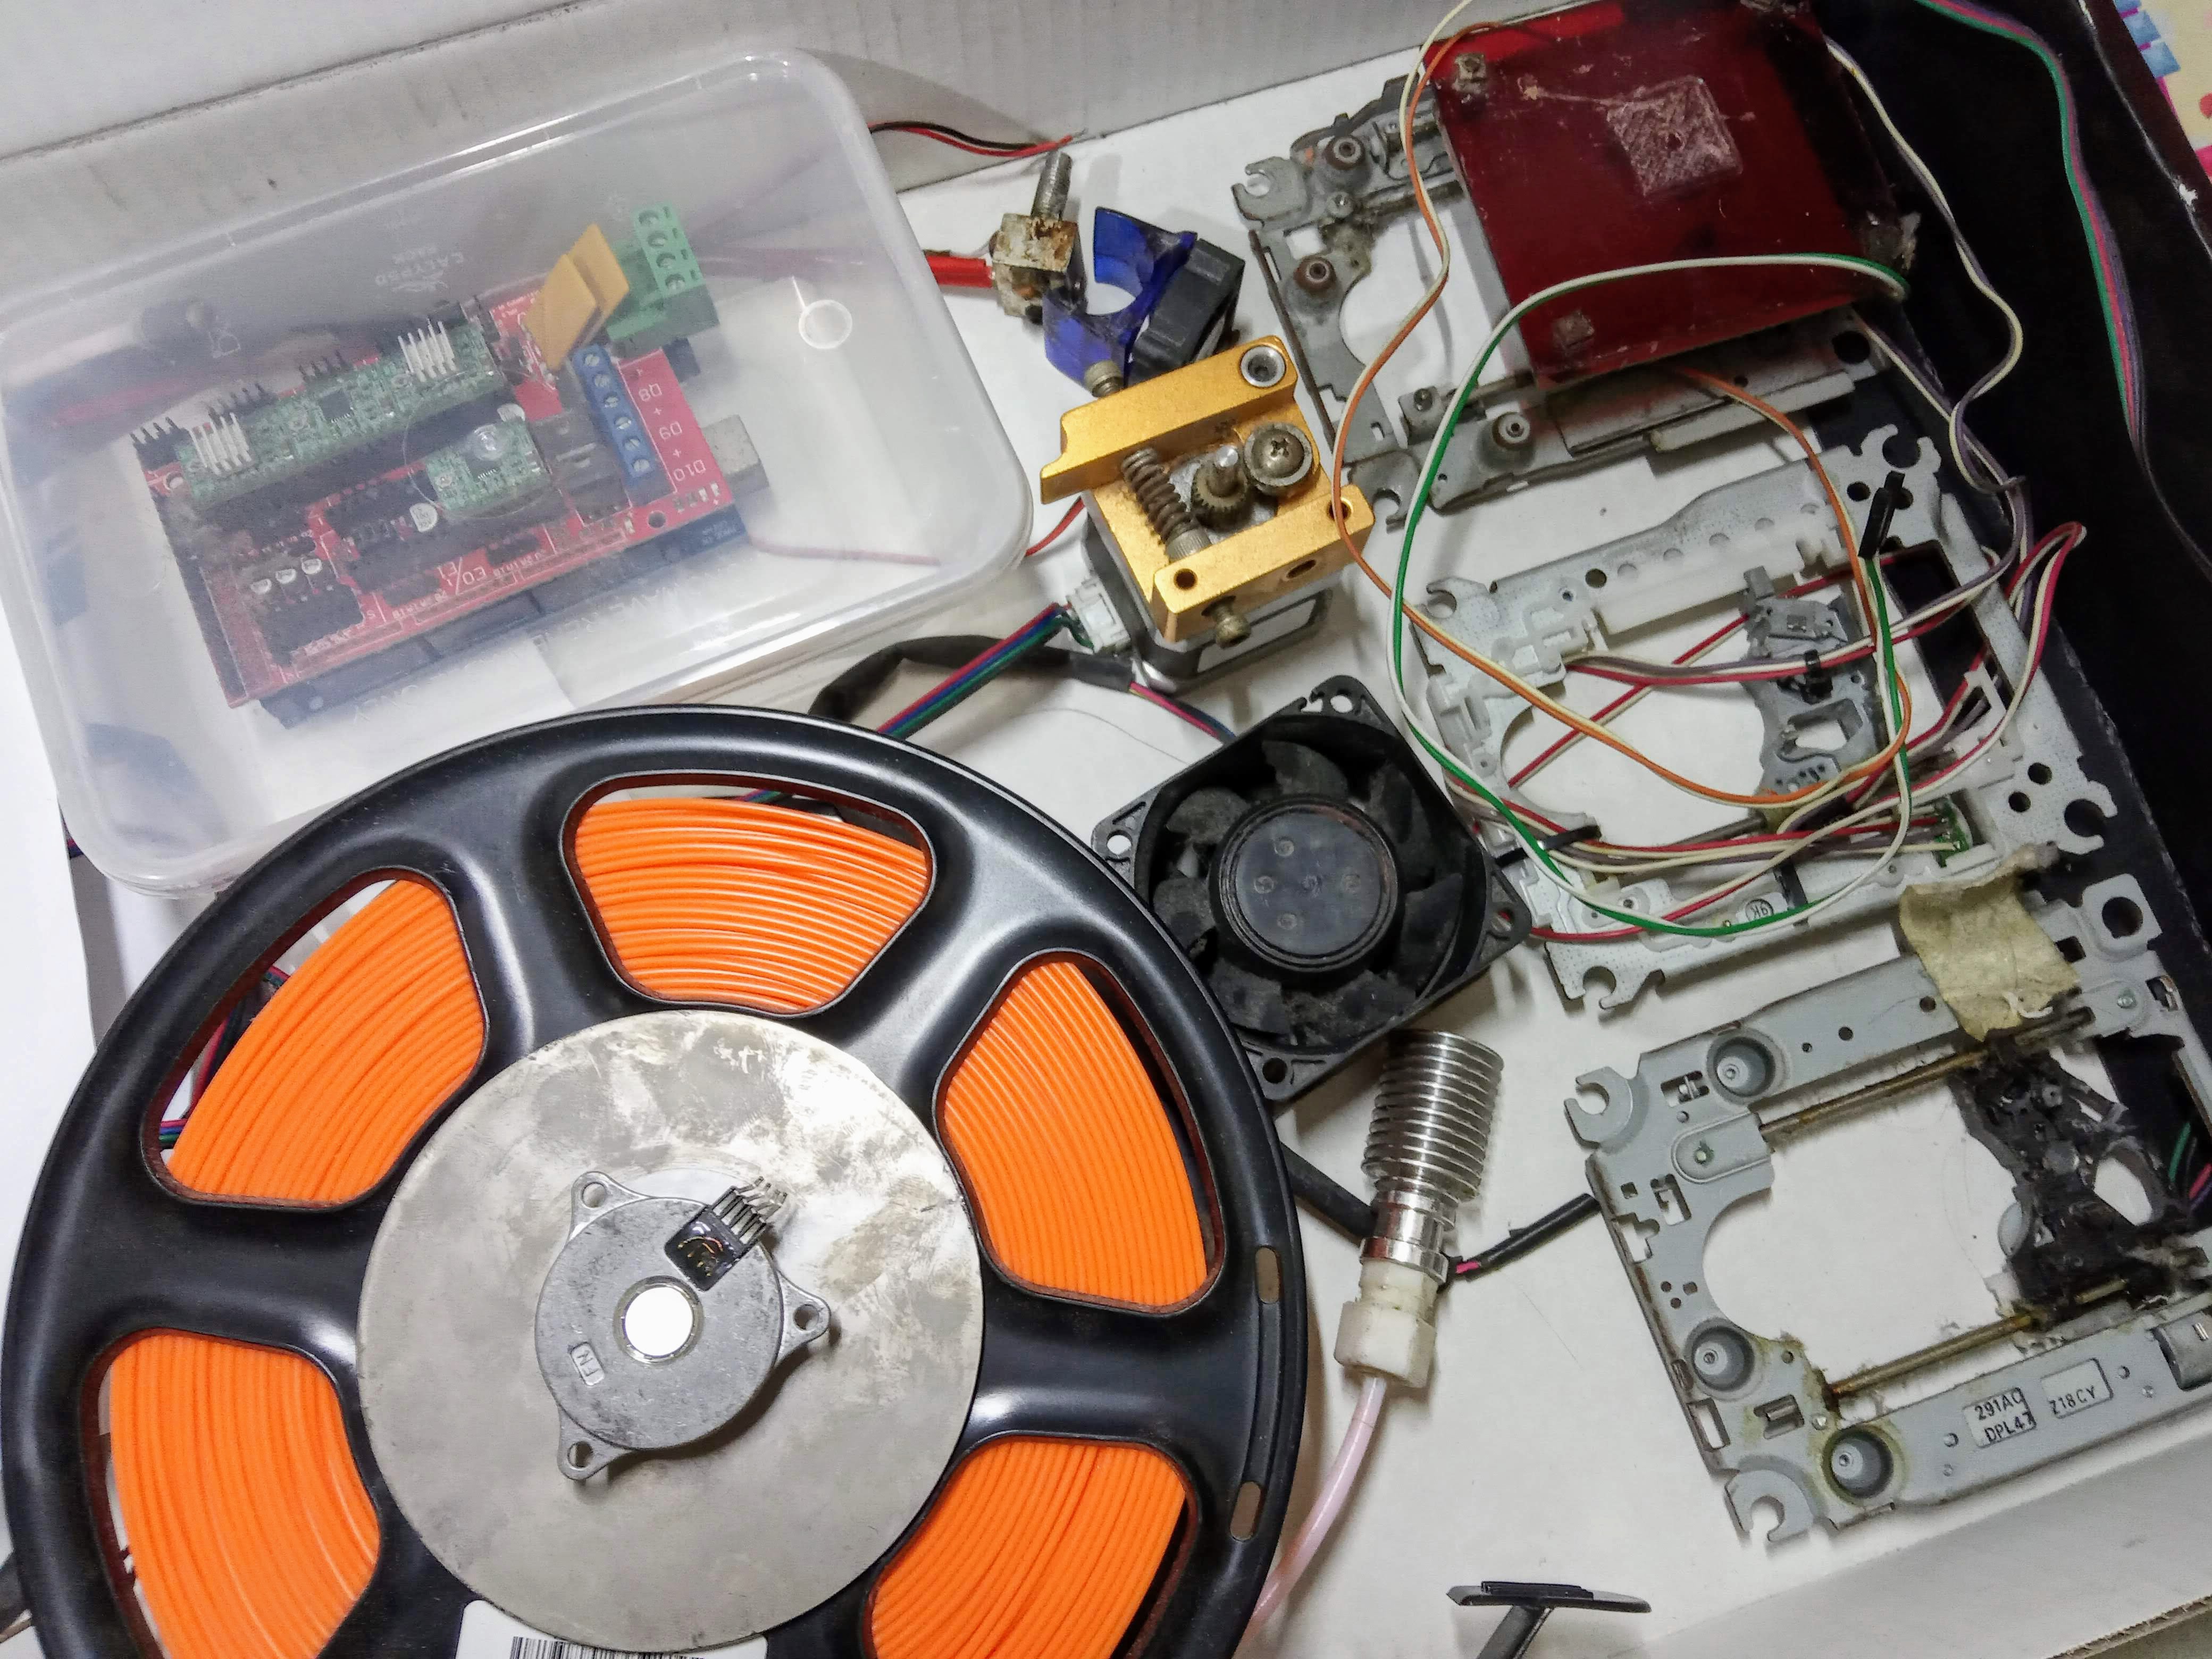
The metal casing of the CD-drives which served as the housing were already starting to rust, especially the nuts and bolts. I had to disassemble everything and kept only the important parts.
Which leaves us with these:
![]()
Looking at these parts made me remember all the hardships I had to go through before just to make it work. And for some odd reason, a part of me is somehow yearning to go through it again.
Since my workload is lighter in the next 3 weeks, I think this is the perfect time to revive this project.
I don't think it would be too painful this time around though. I now have the benefit of hindsight to help me avoid the pitfalls. And I am also now more experienced in electronics and in making stuff that I think I can make it look prettier.
I also plan on making step-by-step videos on how to make this project to help other makers who want to make something similar.
Expect more updates soon!
-
Showcase at Manila Mini Maker Faire 2019
06/19/2019 at 13:10 • 0 comments![]()
I'll be showcasing the 3D printer at the Manila Mini Maker Faire 2019 to be held this weekend at Bonifacio Global City.
I'll also be building another 3D printer onsite which I'll be streaming online via Twitch.
If you are attending the event or joining me on the stream feel free to say hi!
-
2019-05-06 to 2019-05-13
05/13/2019 at 08:33 • 1 commentI'm at the point where I am satisfied with the state of my project. Sure, there are still a couple more improvements that can be made, but as long as it prints then I'm happy.
I still had to deal with a couple of problems that seem to have appeared suddenly out of the blue.
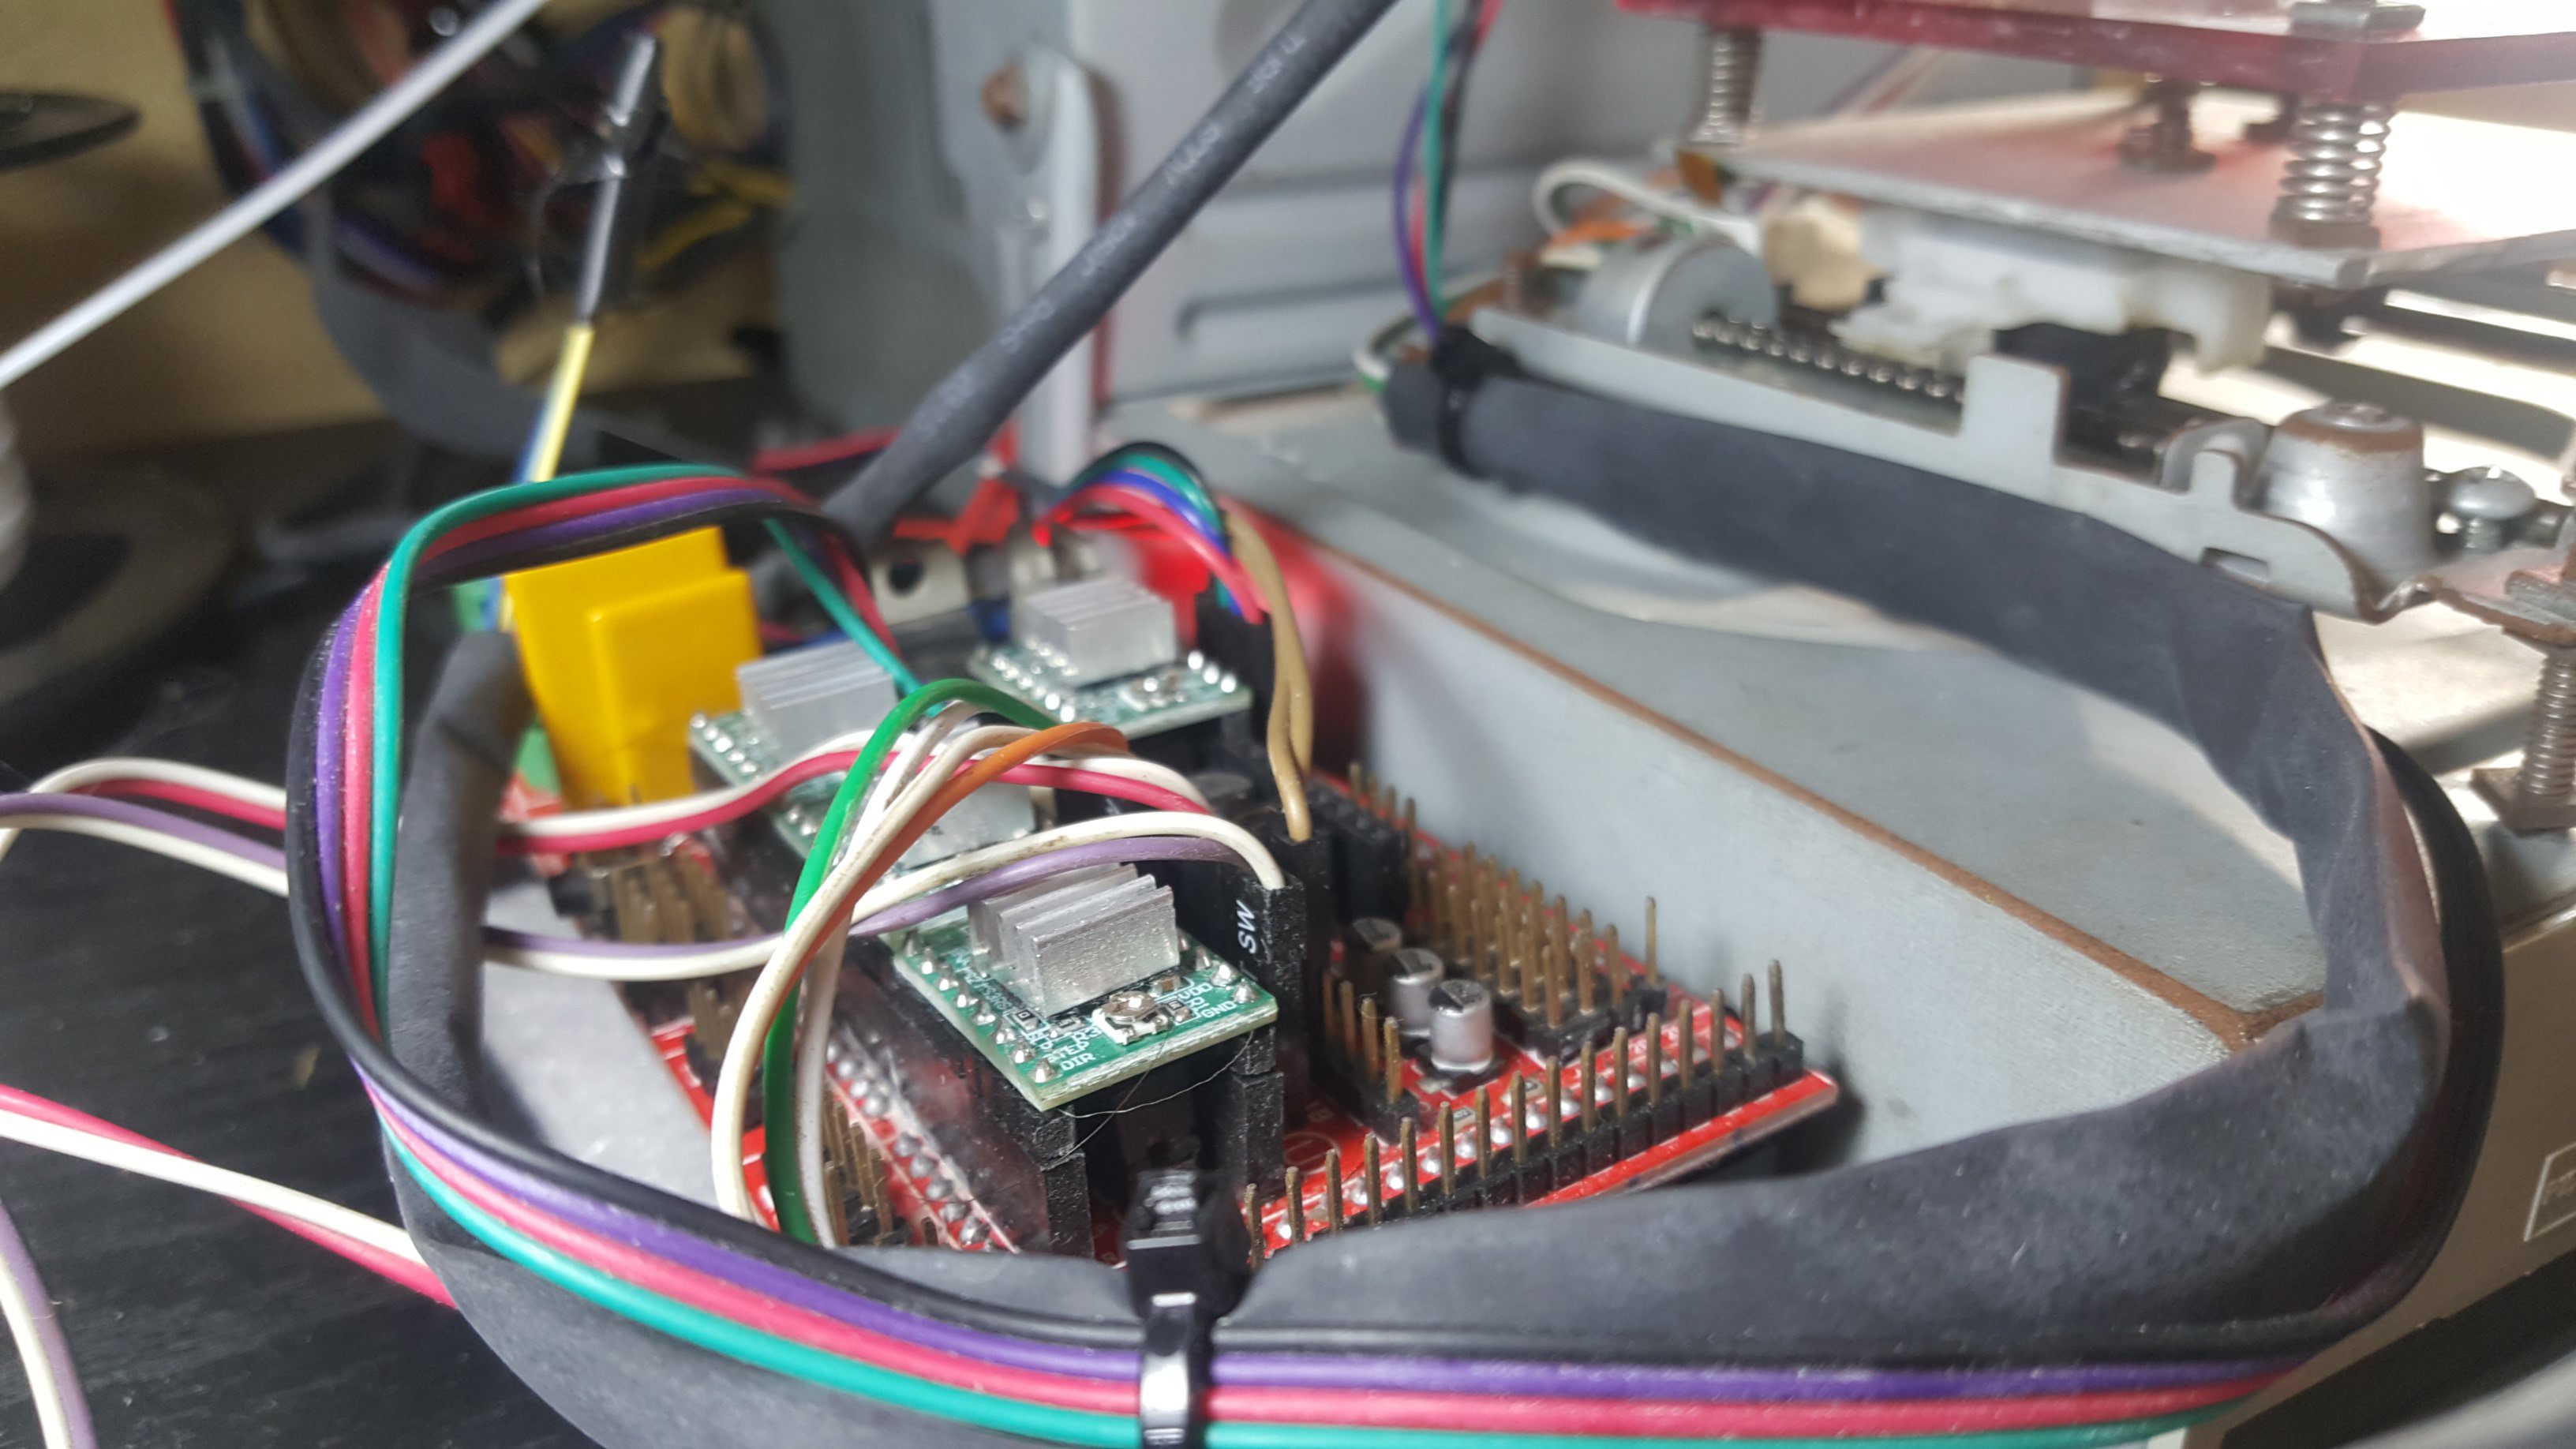
One problem I encountered was the motors suddenly started skipping. After weeks of using it, this only just happened now and it kept on happening. I looked into a lot of possible reasons but it ultimately pointed to the actual cause: the motors were turning too fast
![]()
Now this boggled my mind at first. I never changed the speeds and it worked perfectly. My hunch is that my motors may have deteriorated slighlty due to constant use that it cannot handle fast speeds anymore. I am not a hundred percent sure with this but things slowly break over time and this is no exception.
To fix this I have updated my firmware and set the maximum feedrates to an amount where there are no more skipping. I've also made sure that the current towards the motors are at a safe amount, around 200mA for axes with no heavy load (like the y axis), and 300-400mA for those that do (like the x and z axis).
---------- more ----------Another mind boggling problem was prints stopping mid print without any indication as to why. This happened multiple times at different points on the same print.
The head just stops at a certain position and does not move at all. If I try to move it from pronsole or pronterface the axes does not move. Turns out the print was still ongoing so pausing will let it move freely.
After lots of debugging I found that when the bug happens the last command that the pronsole sends is never acknowledged. Because there is no acknowledgement, pronsole just continues to wait.
![]()
My research says that this may be caused by a bad USB or electromagnetic interference. i think that the second one may be the culprit as my USB cable is all over the place. So i fixed the placement of my cable and the problem went away. Now this may also mean that it may also be a bad USB problem, moving it may have made the USB work better for some reason. So I am not discounting this.
![]()
Another problem i dealt with was that my prints were getting slanted as the z axis goes up. This was way more straightforward. My z axis itself was slanted and I fixed it by making sure that it isn't.
With all of the above getting fixed. I'm ready to call to call this project as done. At least, for now. I'll head on to a different project until I decide to come back and do an upgrade or improvement to this project.
Thank you to those who followed along!
-
2019-05-03 to 2019-05-05
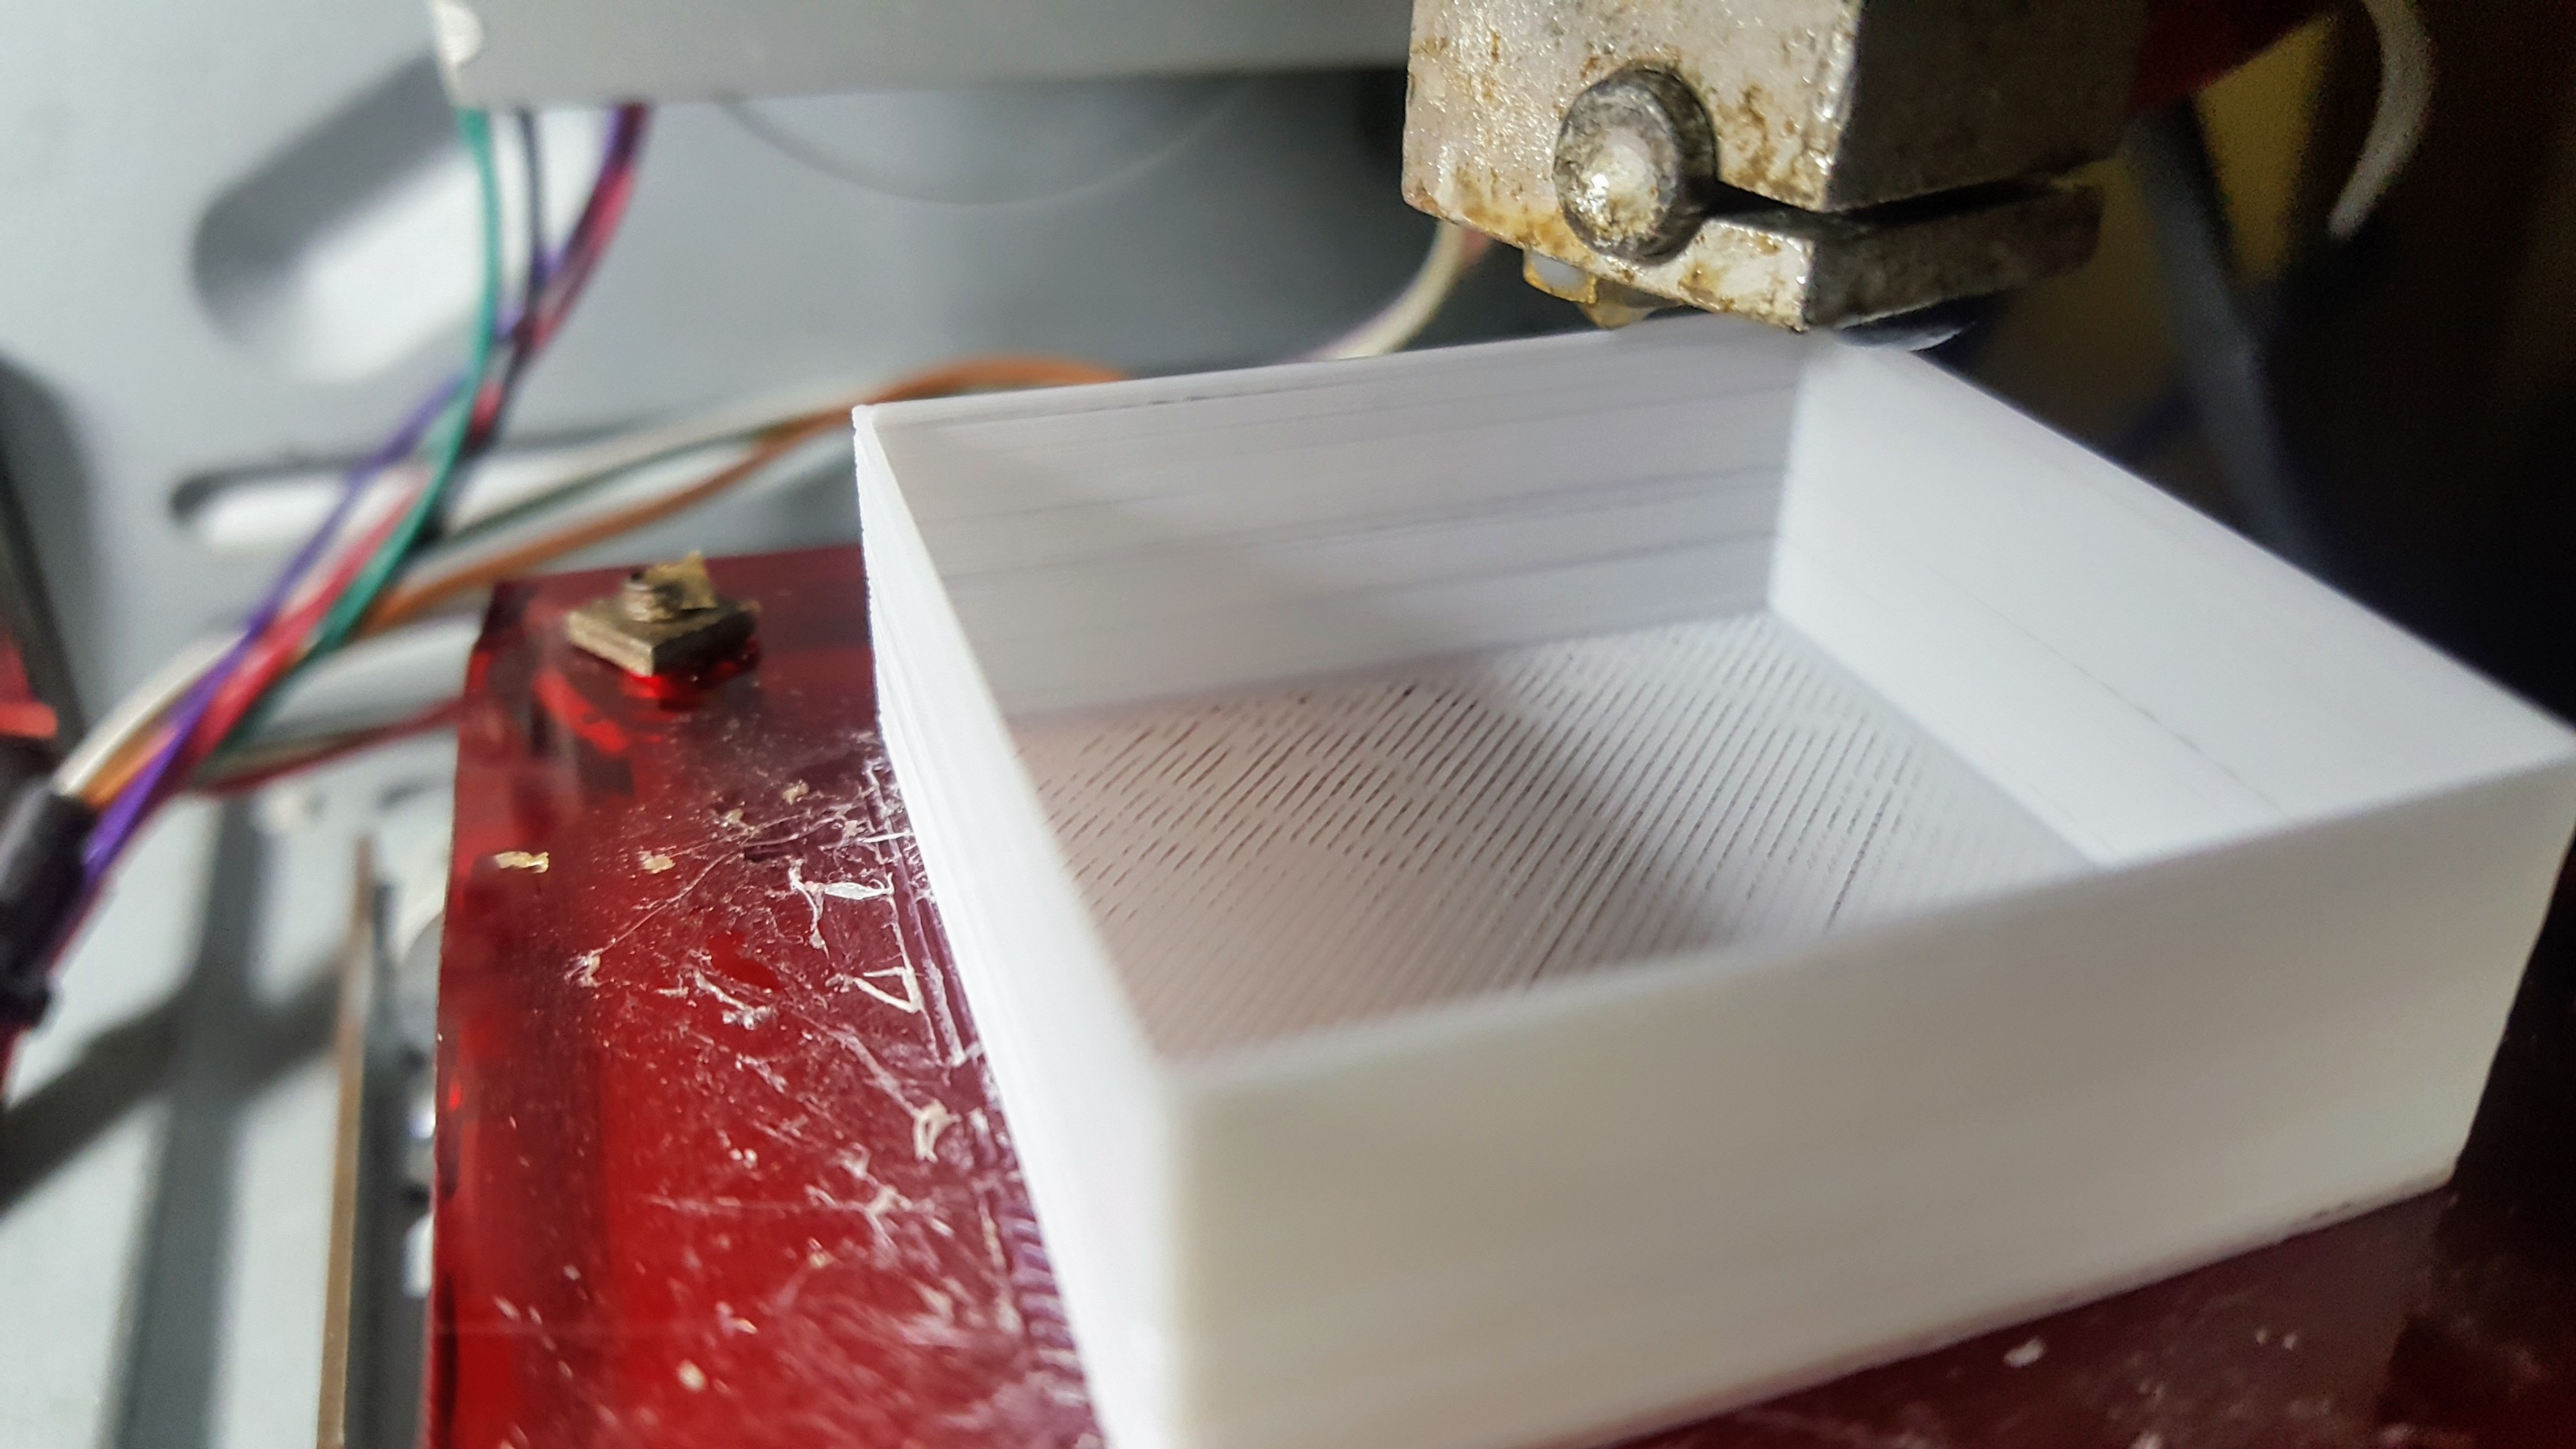
05/04/2019 at 15:26 • 3 commentsI managed to increase my machine's bed size from 35x35x35mm to 40x40x40mm. It may seem small but the 10mm increase in dimension is huge for me. Every millimeter helps!
![]()
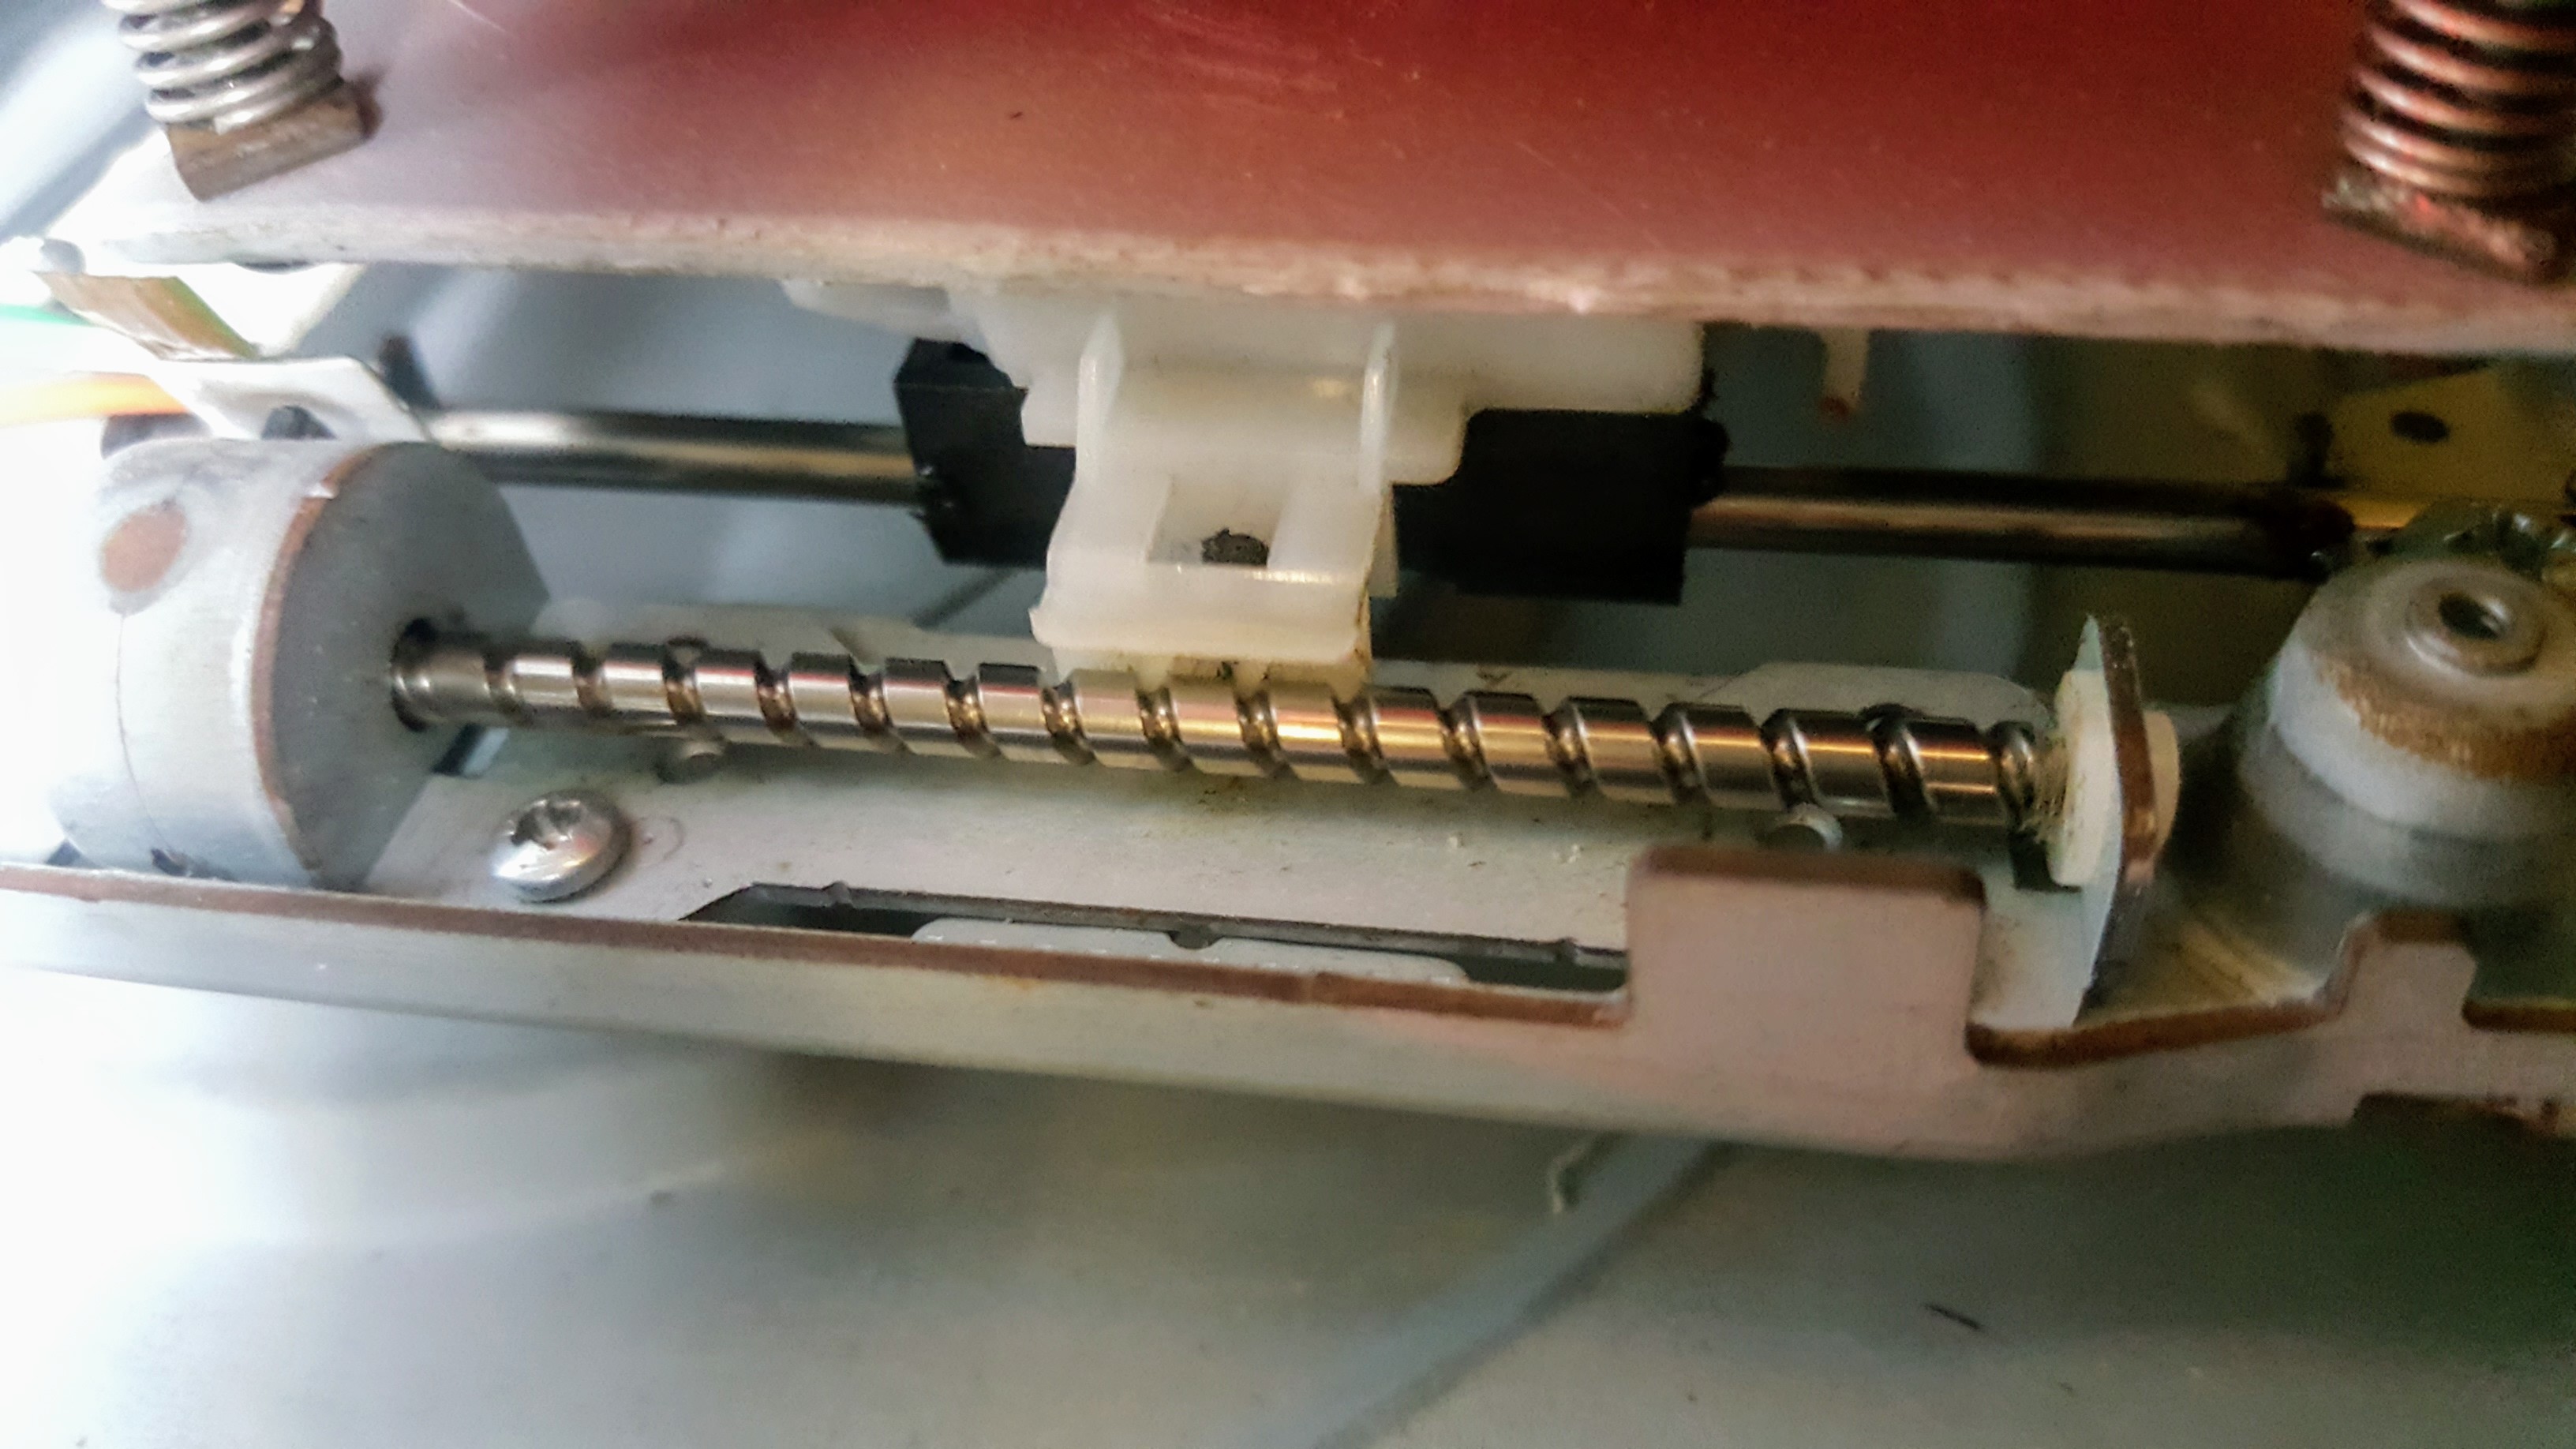
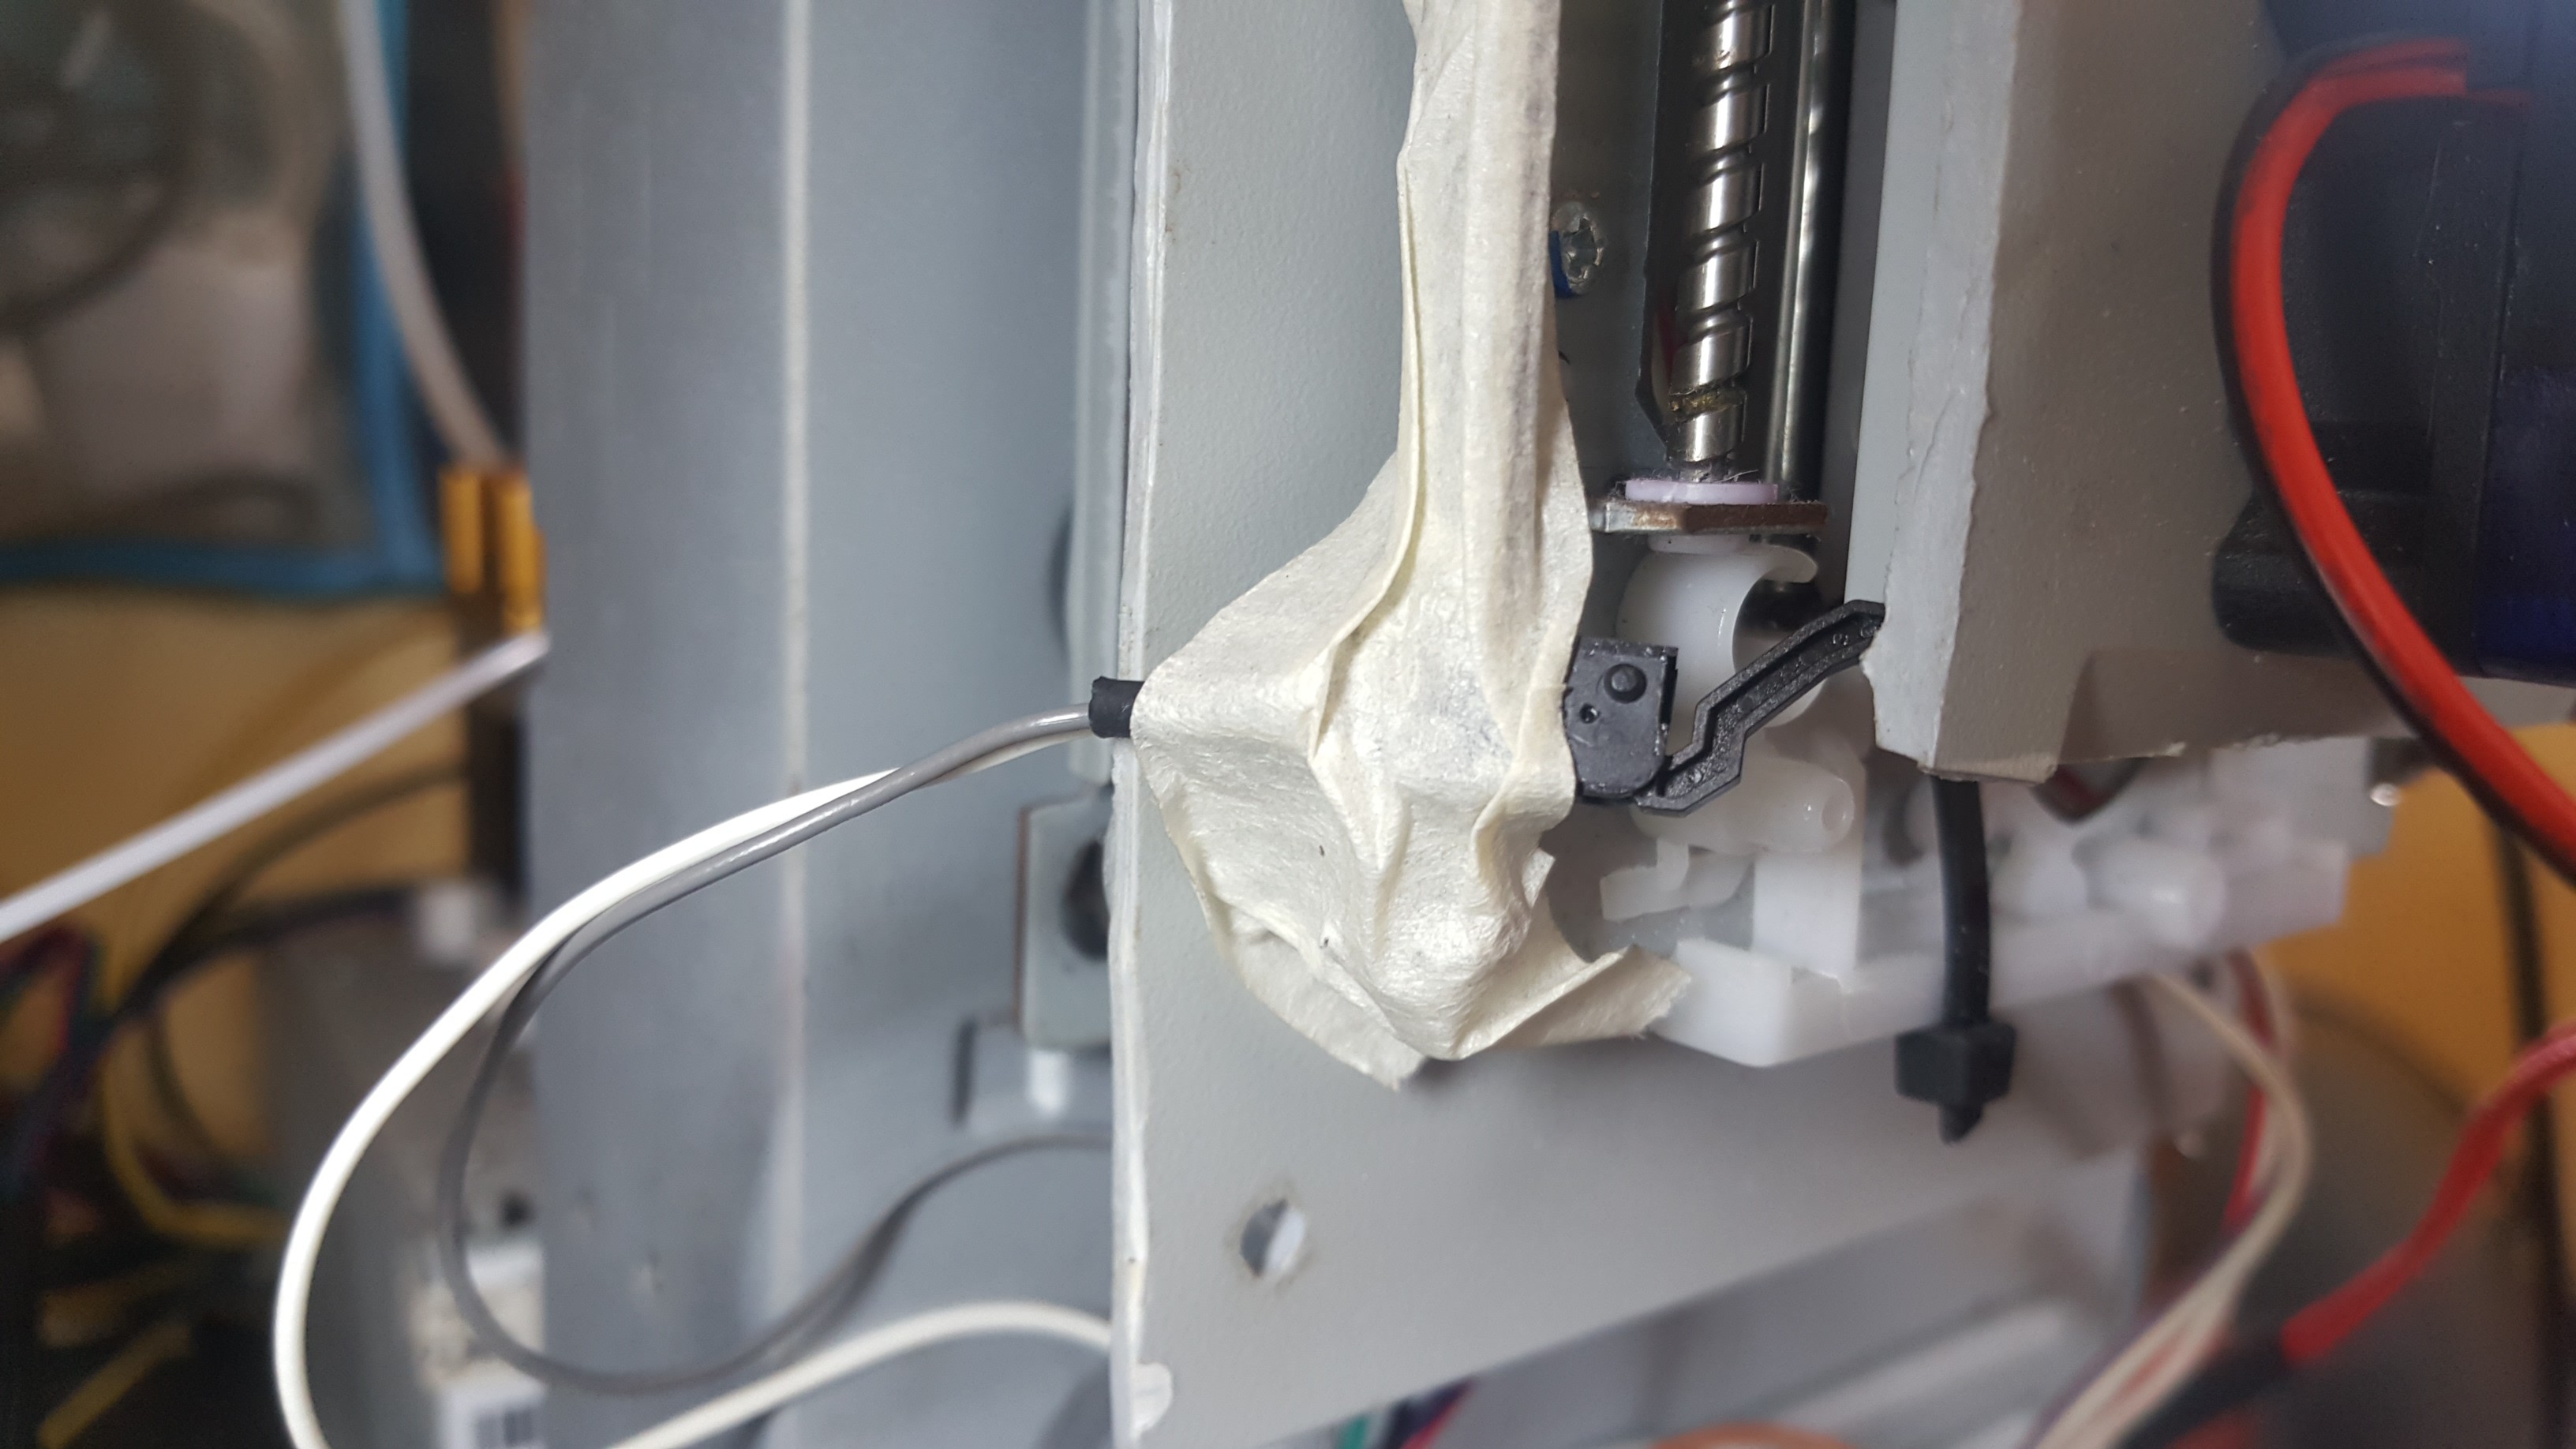
It all started when I learned that there are stepper motor sliders similar to the ones found on CD-Rom drives but are longer. The screw length of the one below is 90mm, while the ones I found for my printer are only 50mm long.
![]()
This is when I realized that if the screw length of my sliders are supposed to be 50mm, why am I only able to print at 35mm?
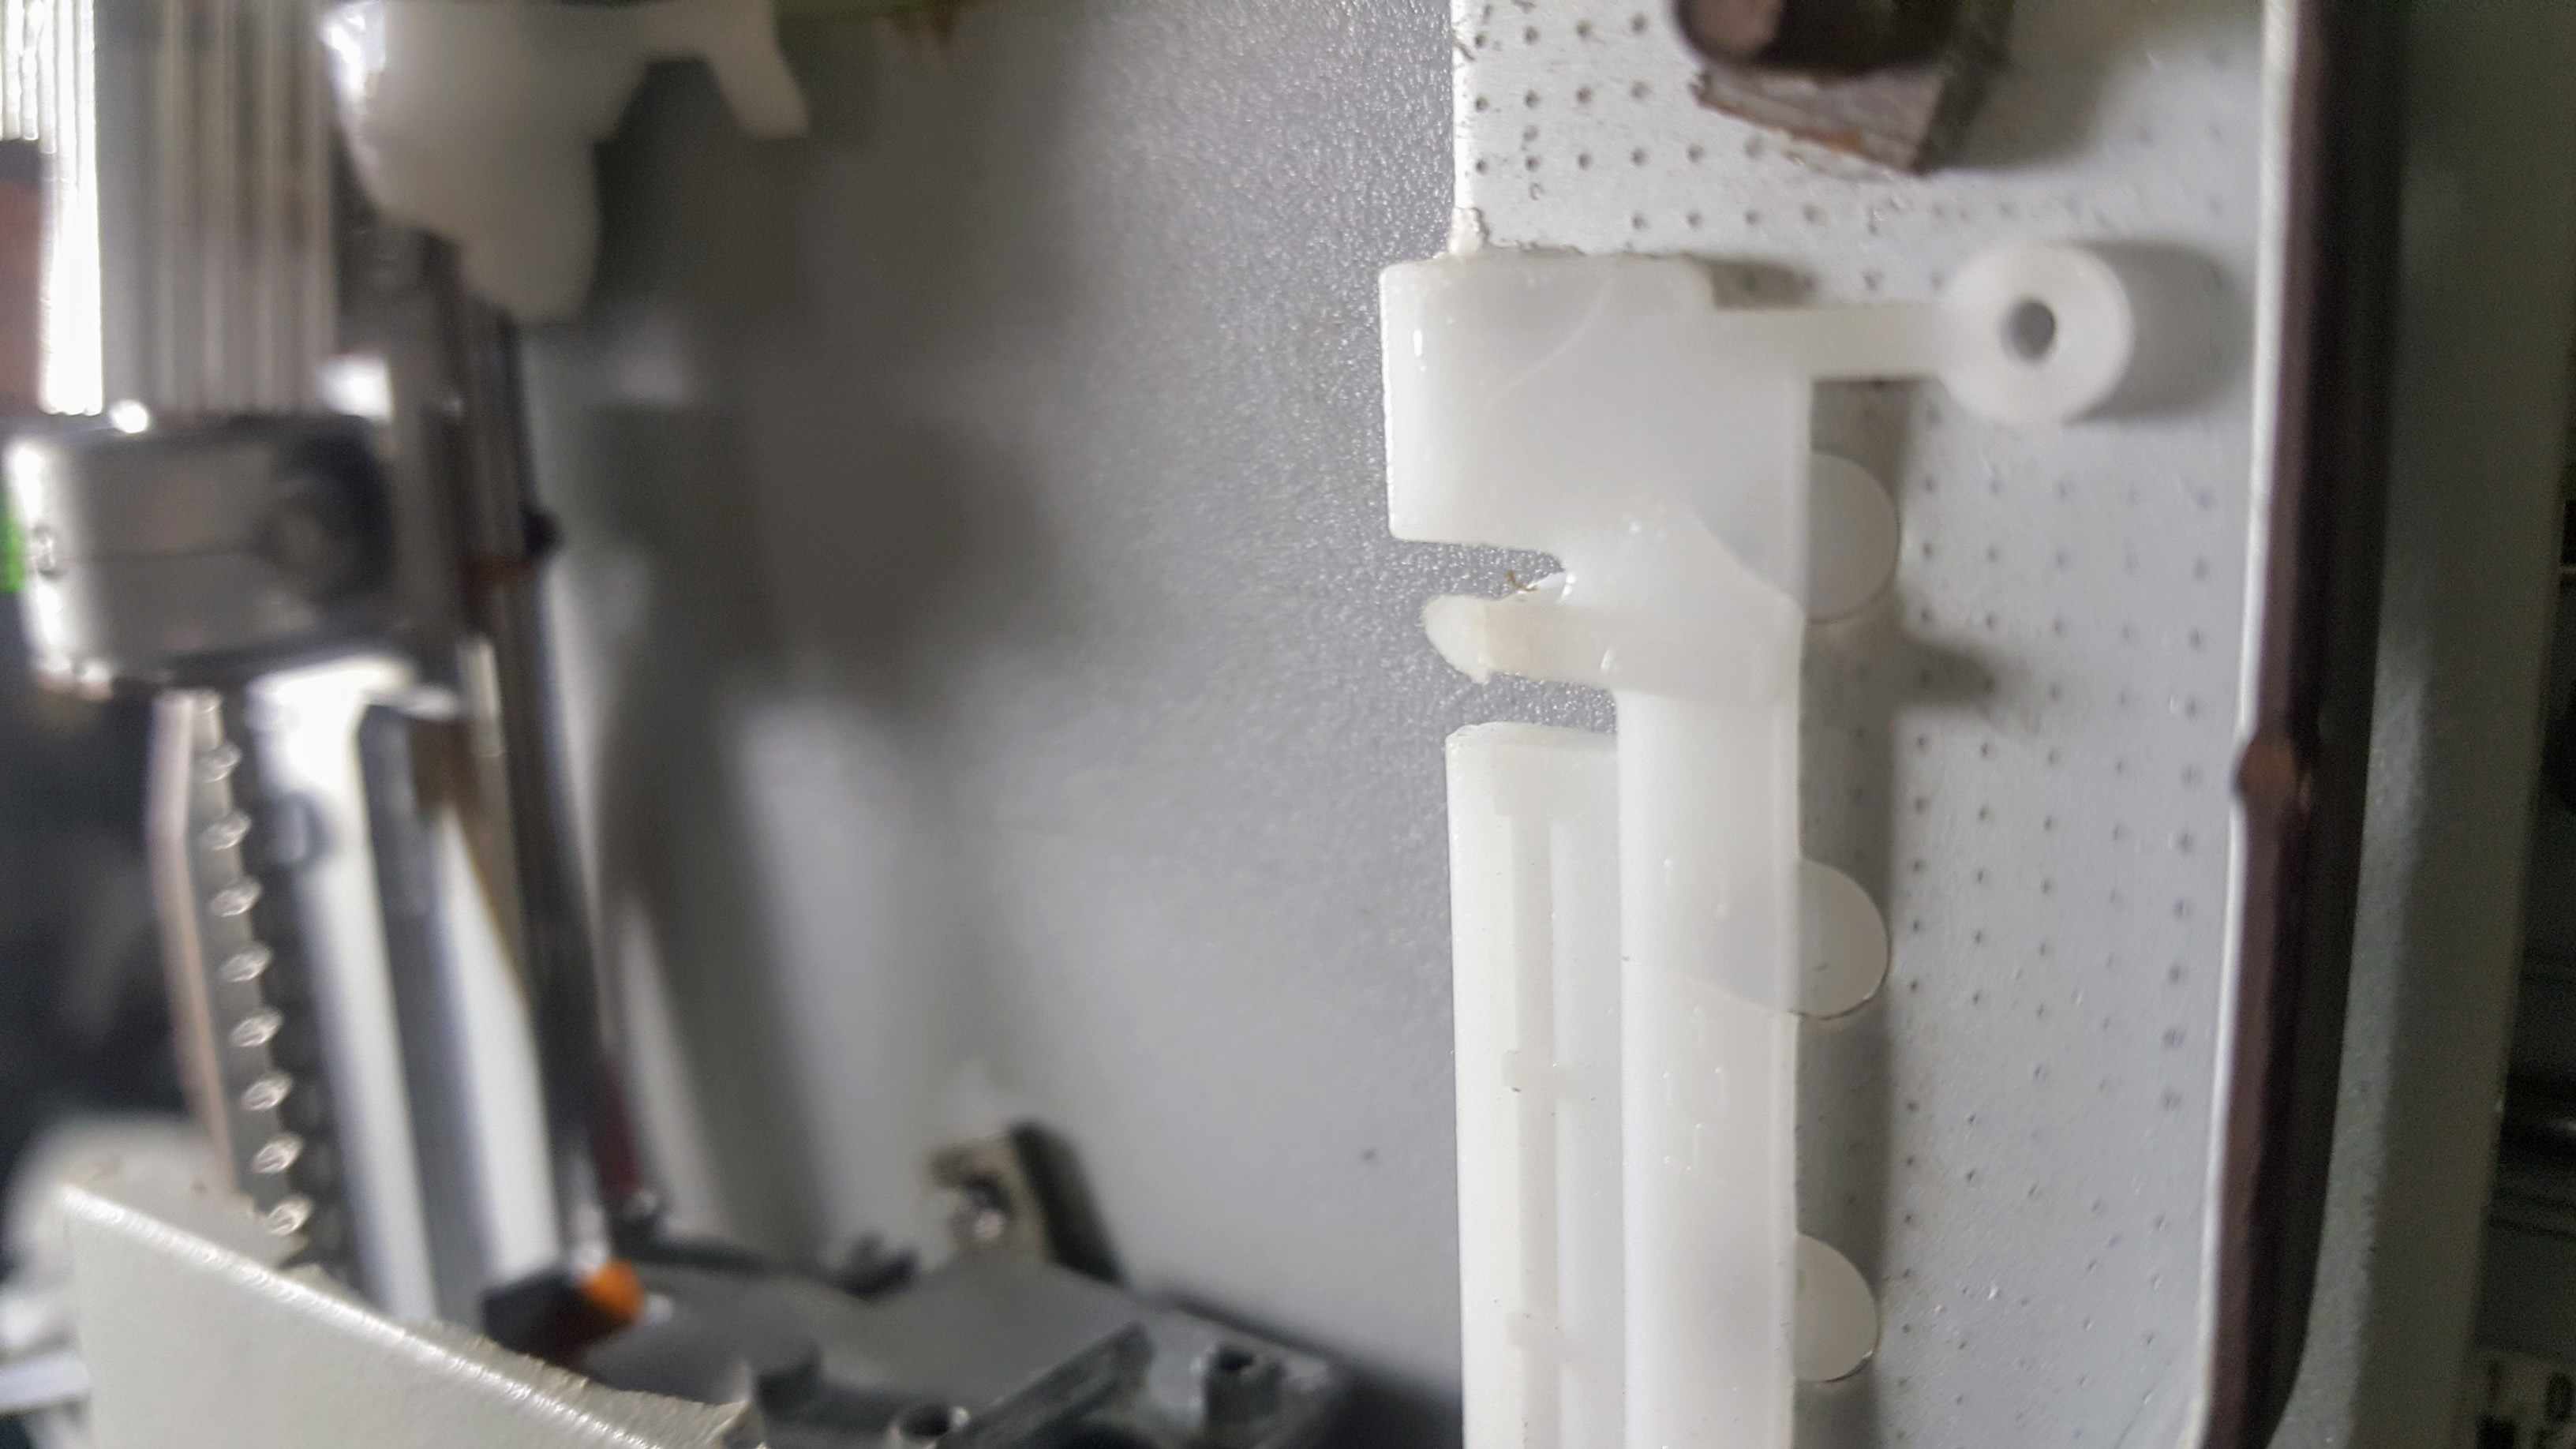
I investigated my setup and learned that CD drives were designed to have physical endstops to limit the movement of the slider. I'm actually unsure as to the reason for this, my guess is so that the teeth of the slider that comes into contact with the screw would rest at a proper position that would not allow it to misalign. If this were the case, I don't think it would be an issue for me as I don't seem to get any problems even if I move the sliders past their limits.
![]()
So I cut off these endstops and the slider can now go way farther effectively making the range of movement up to 40mm.
---------- more ----------As to why just 40mm instead of the full screw length of 50mm, that is because the holder for the slider teeth itself is 10mm (The white part in the picture below). There's no way to get extra length out of this aside from making a slimmer holder, which I'm not so keen on doing at the moment. Even if I do that, the most I might be able to get might be an extra 1 or 2 mm. Which does not seem worth it for the amount of work.
![]()
If I want more space I might buy the sliders with the 90mm screw length. I'd have to gut and remove the CD-Rom sliders that I currently have now and replace it with that. It's tempting but it's not going to be easy as I also need to extend the base from where the sliders will be mounted on.
For now I'll be sticking to 40mm until the next time that I yearn for more.
Up next: Not sure yet, but maybe finally get around to improving the spool holder?
-
2019-04-30 to 2019-05-02
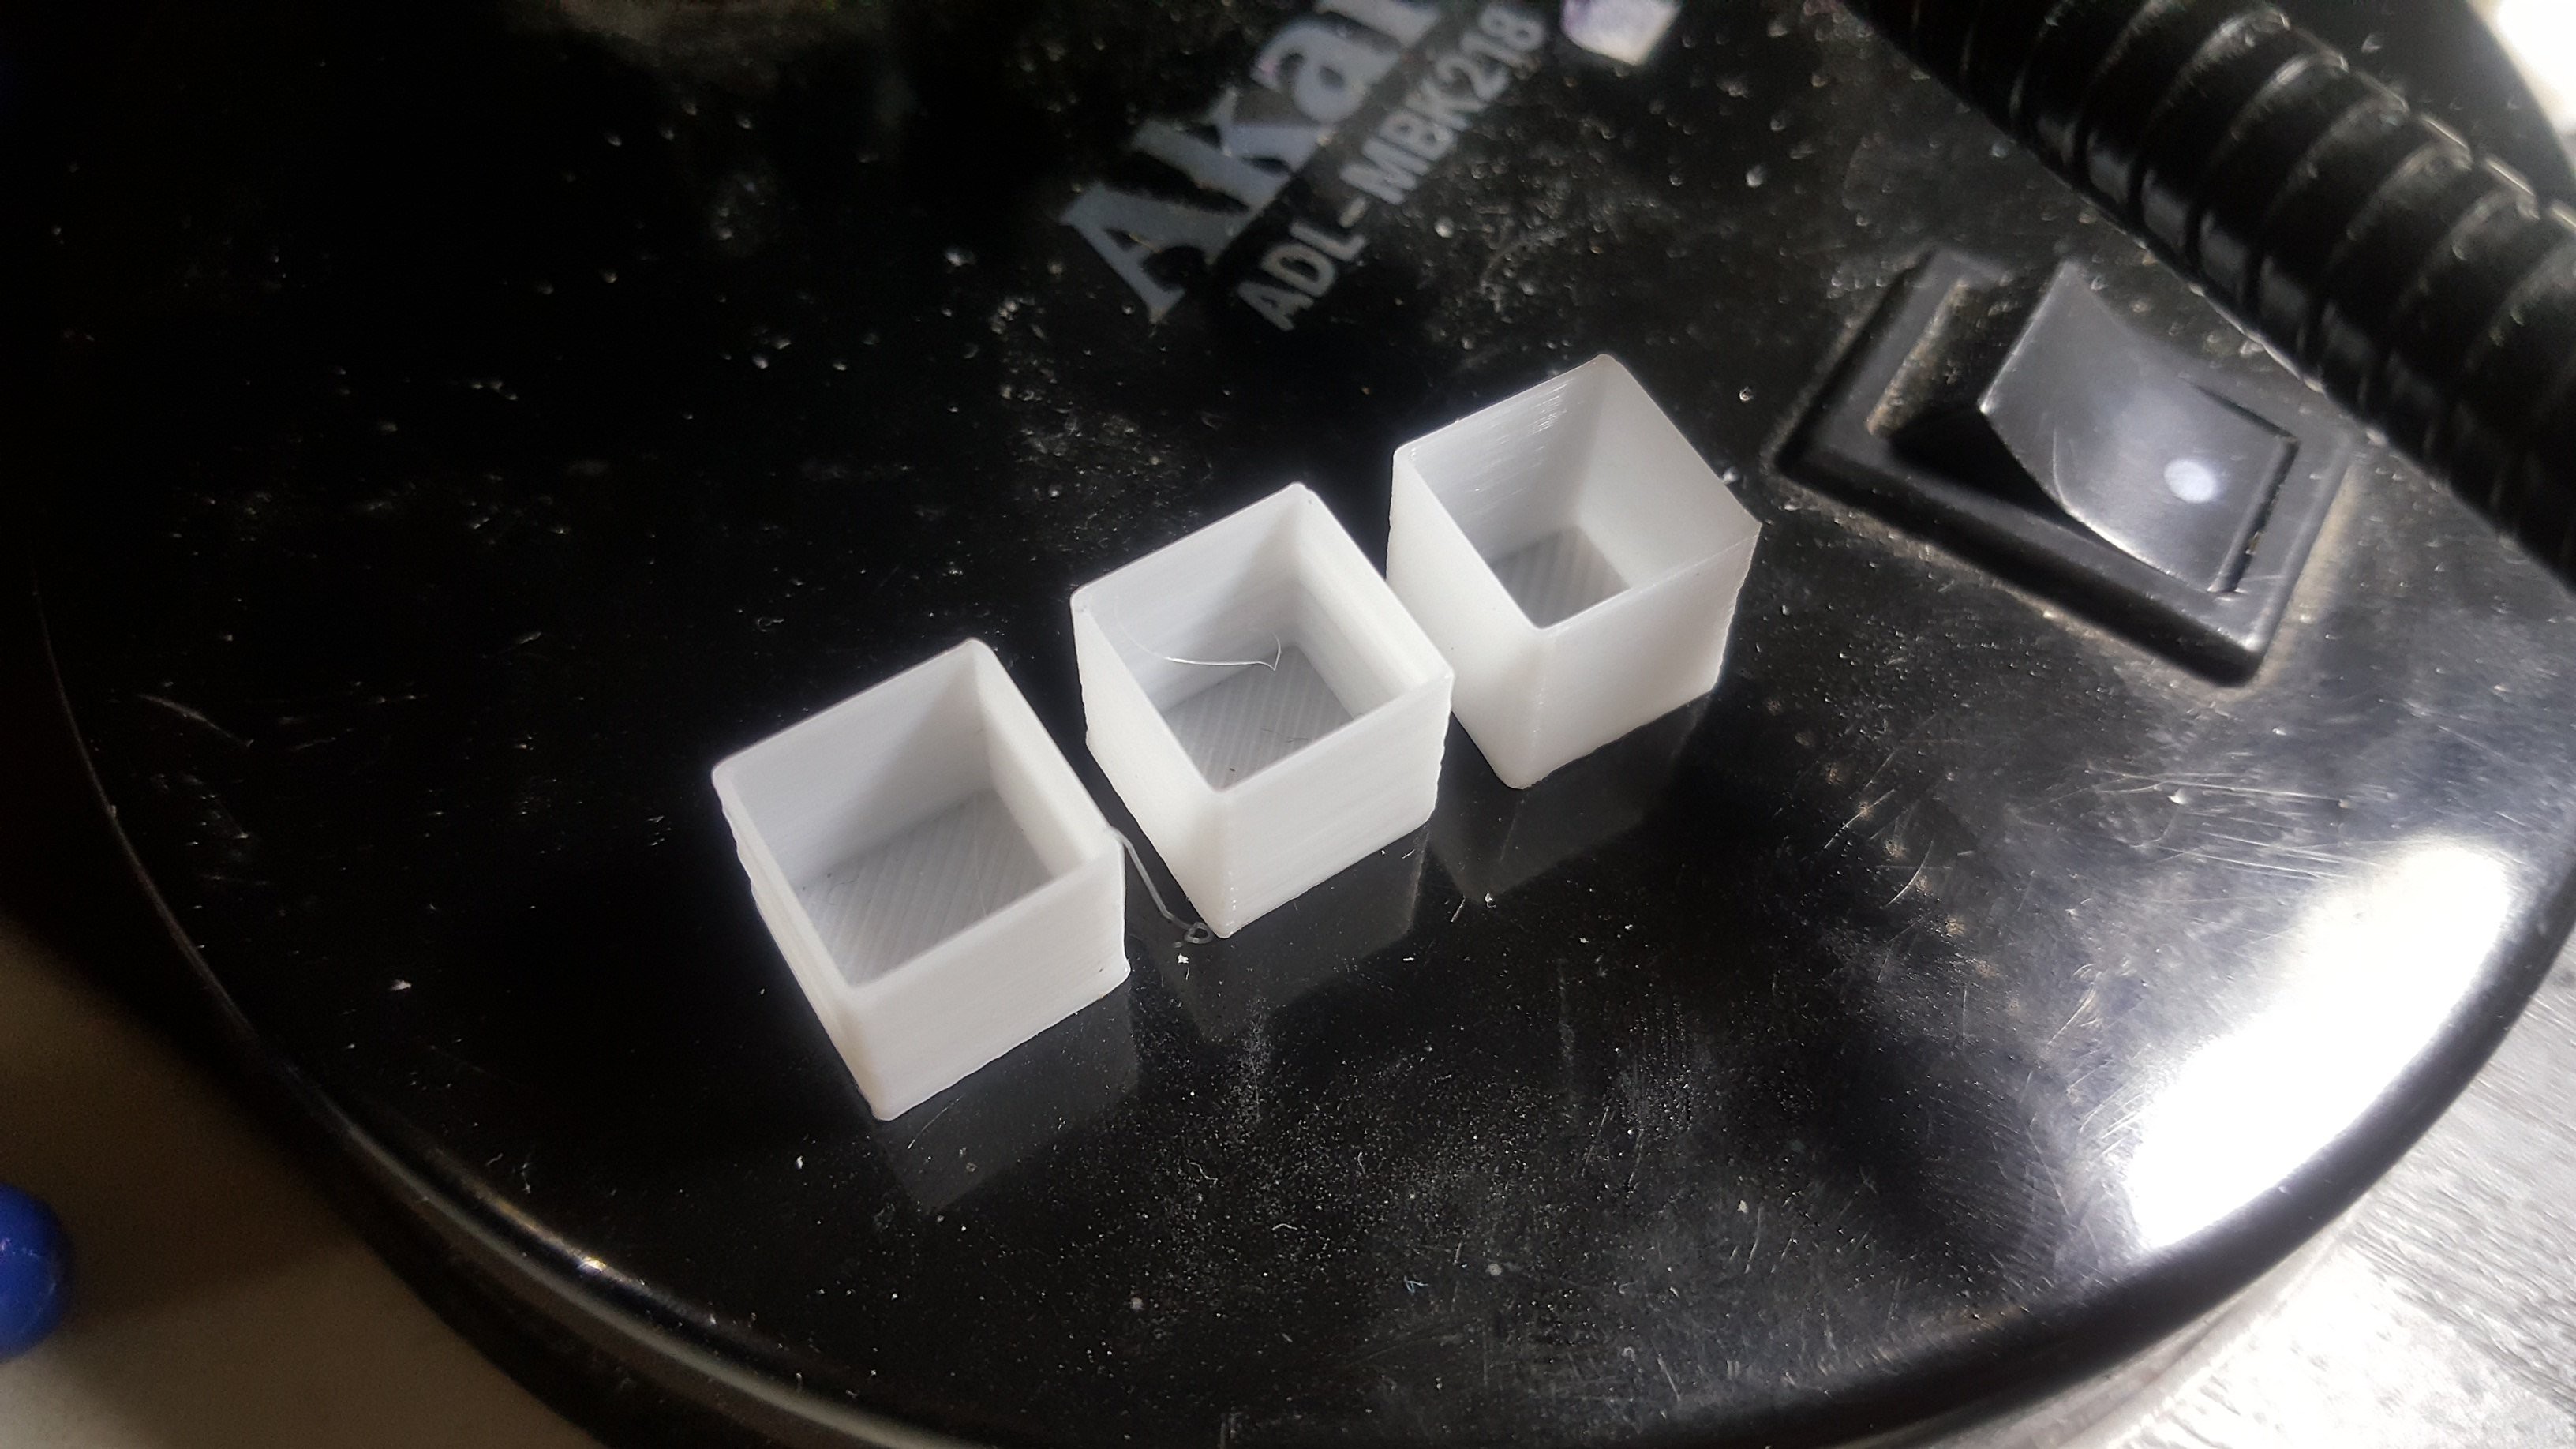
05/01/2019 at 11:24 • 0 commentsI've been printing at a layer height of 0.2mm and it has been giving me good and consistent results. I wanted to find out how high a resolution my machine can reach so I've done some tests to find out.
![]()
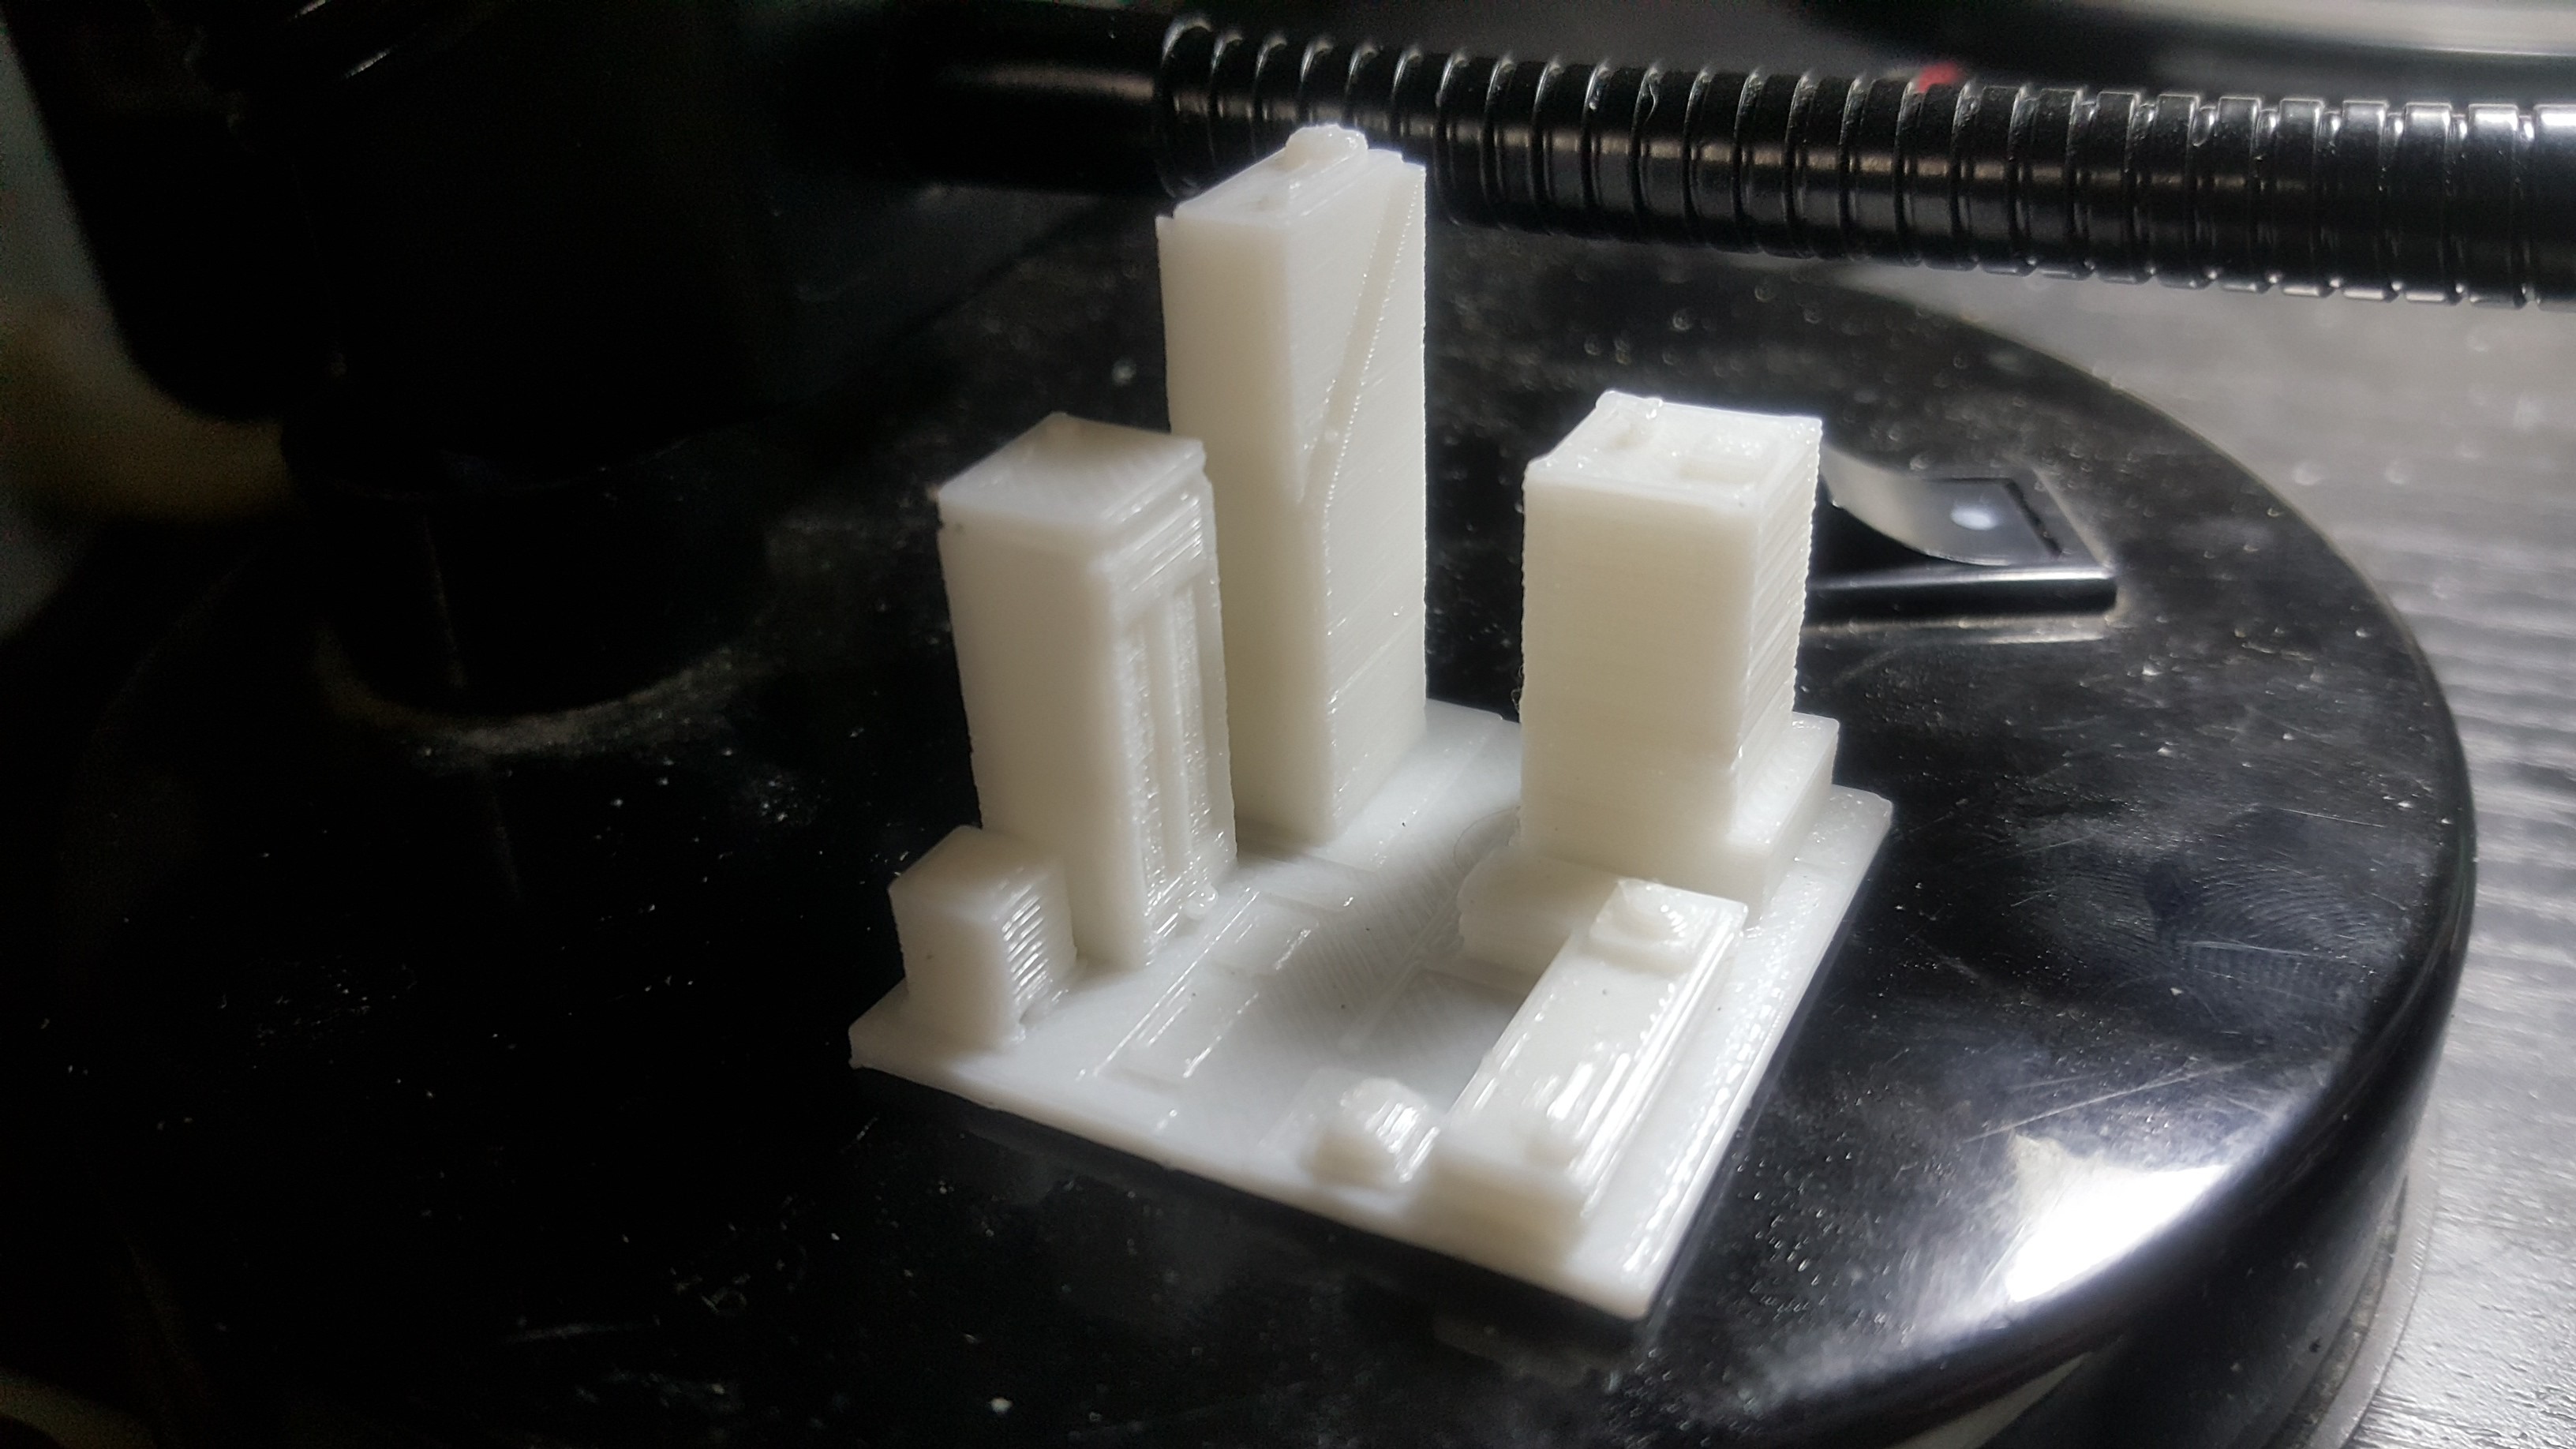
The picture above shows three test prints. From left to right 0.2mm, 0.175mm and 0.15mm. You would need to look at the object closely to see the differences between the prints. 0.15mm is definitely finer which makes it perfect for small scale objects like the one I designed below:
![]()
I tried lowering the layer height to 0.125 but the extruder was not extruding anymore. I reckon that the finer movement required to extrude such a small amount could not be achieved anymore by my cheap knockoff stepper motor. It may also be possible that the retraction distance and strength might be sucking the pressure too much that the extruder could not get the pressure back. I'd definitely be looking into this again in the future. Right now I'm actually quite happy with a 0.15mm layer height.
---------- more ----------Thanks to the improvements that I made before (details in the last project log), my machine can now run reliably with minimal monitoring on my part. Prints form before were failing quite a lot because of various factors. I constantly had to deal with filament getting tangled in the spool, warping, and sliding layers. These problems don't happen anymore and I could now leave the printer alone and come back after it has finished.
![]()
The print in the picture above, took three and a half hours. The longest print time that I've attempted.so far in this machine. It's a nice feeling to not have to worry too much.
I also salvaged two limit switches from an old inkjet printer. One was an optical switch, the other mechanical. I tried hooking up the optical switch but I could not get it to work. It's possible that it only works with the inkjet's motherboard. I think I broke it though as it caused a spark in my Ramps board. The board is still fine, thankfully.
![]()
This leaves me with the mechanical switch above, which works accurate enough from what I could tell. I was not sure how to mount it yet so I just taped it up so I could easily move it to different positions. Will definitely make a better mount for this as soon as I find the best place to put it.
Up next: Improving the current spool.
-
2019-04-28 to 2019-04-29
04/29/2019 at 15:36 • 0 commentsWhoops!
![]()
I was afraid of getting tangles because my filament spool was getting loose, so I decided to fix it by untangling the filament and carefully wrapping around the spool again. Sadly, I wasn't careful enough that I ended up with the mess above. Took me a whole hour (and an aching back) to get the mess sorted out.
I decided to 3D print myself a filament filter to filter out dust and body oils that I have introduced while wrapping the spool. Not sure if it would work but the idea is sound and I needed another thing to print.
I also finally got around to changing the printbed as the old one, seen below, was already a bit worn out.
![]()
The new one is cut from thick acrylic which is stronger and is more resistant to burns. It's also red and transparent which makes it stand out from the dull gray and metal motif that I had before. I found out early on that filament is harder to remove because of it's smooth surface so I bought a couple of glue sticks to put on the bed so they can be easier to remove.
---------- more ----------I also cleaned up the wirings as things were getting tangled everywhere especially when I try to move stuff around. I've wrapped wires in heatshrink which I have a lot of. I'm glad that I'm finding more and more use for heatshrinks as I make more projects.
![]()
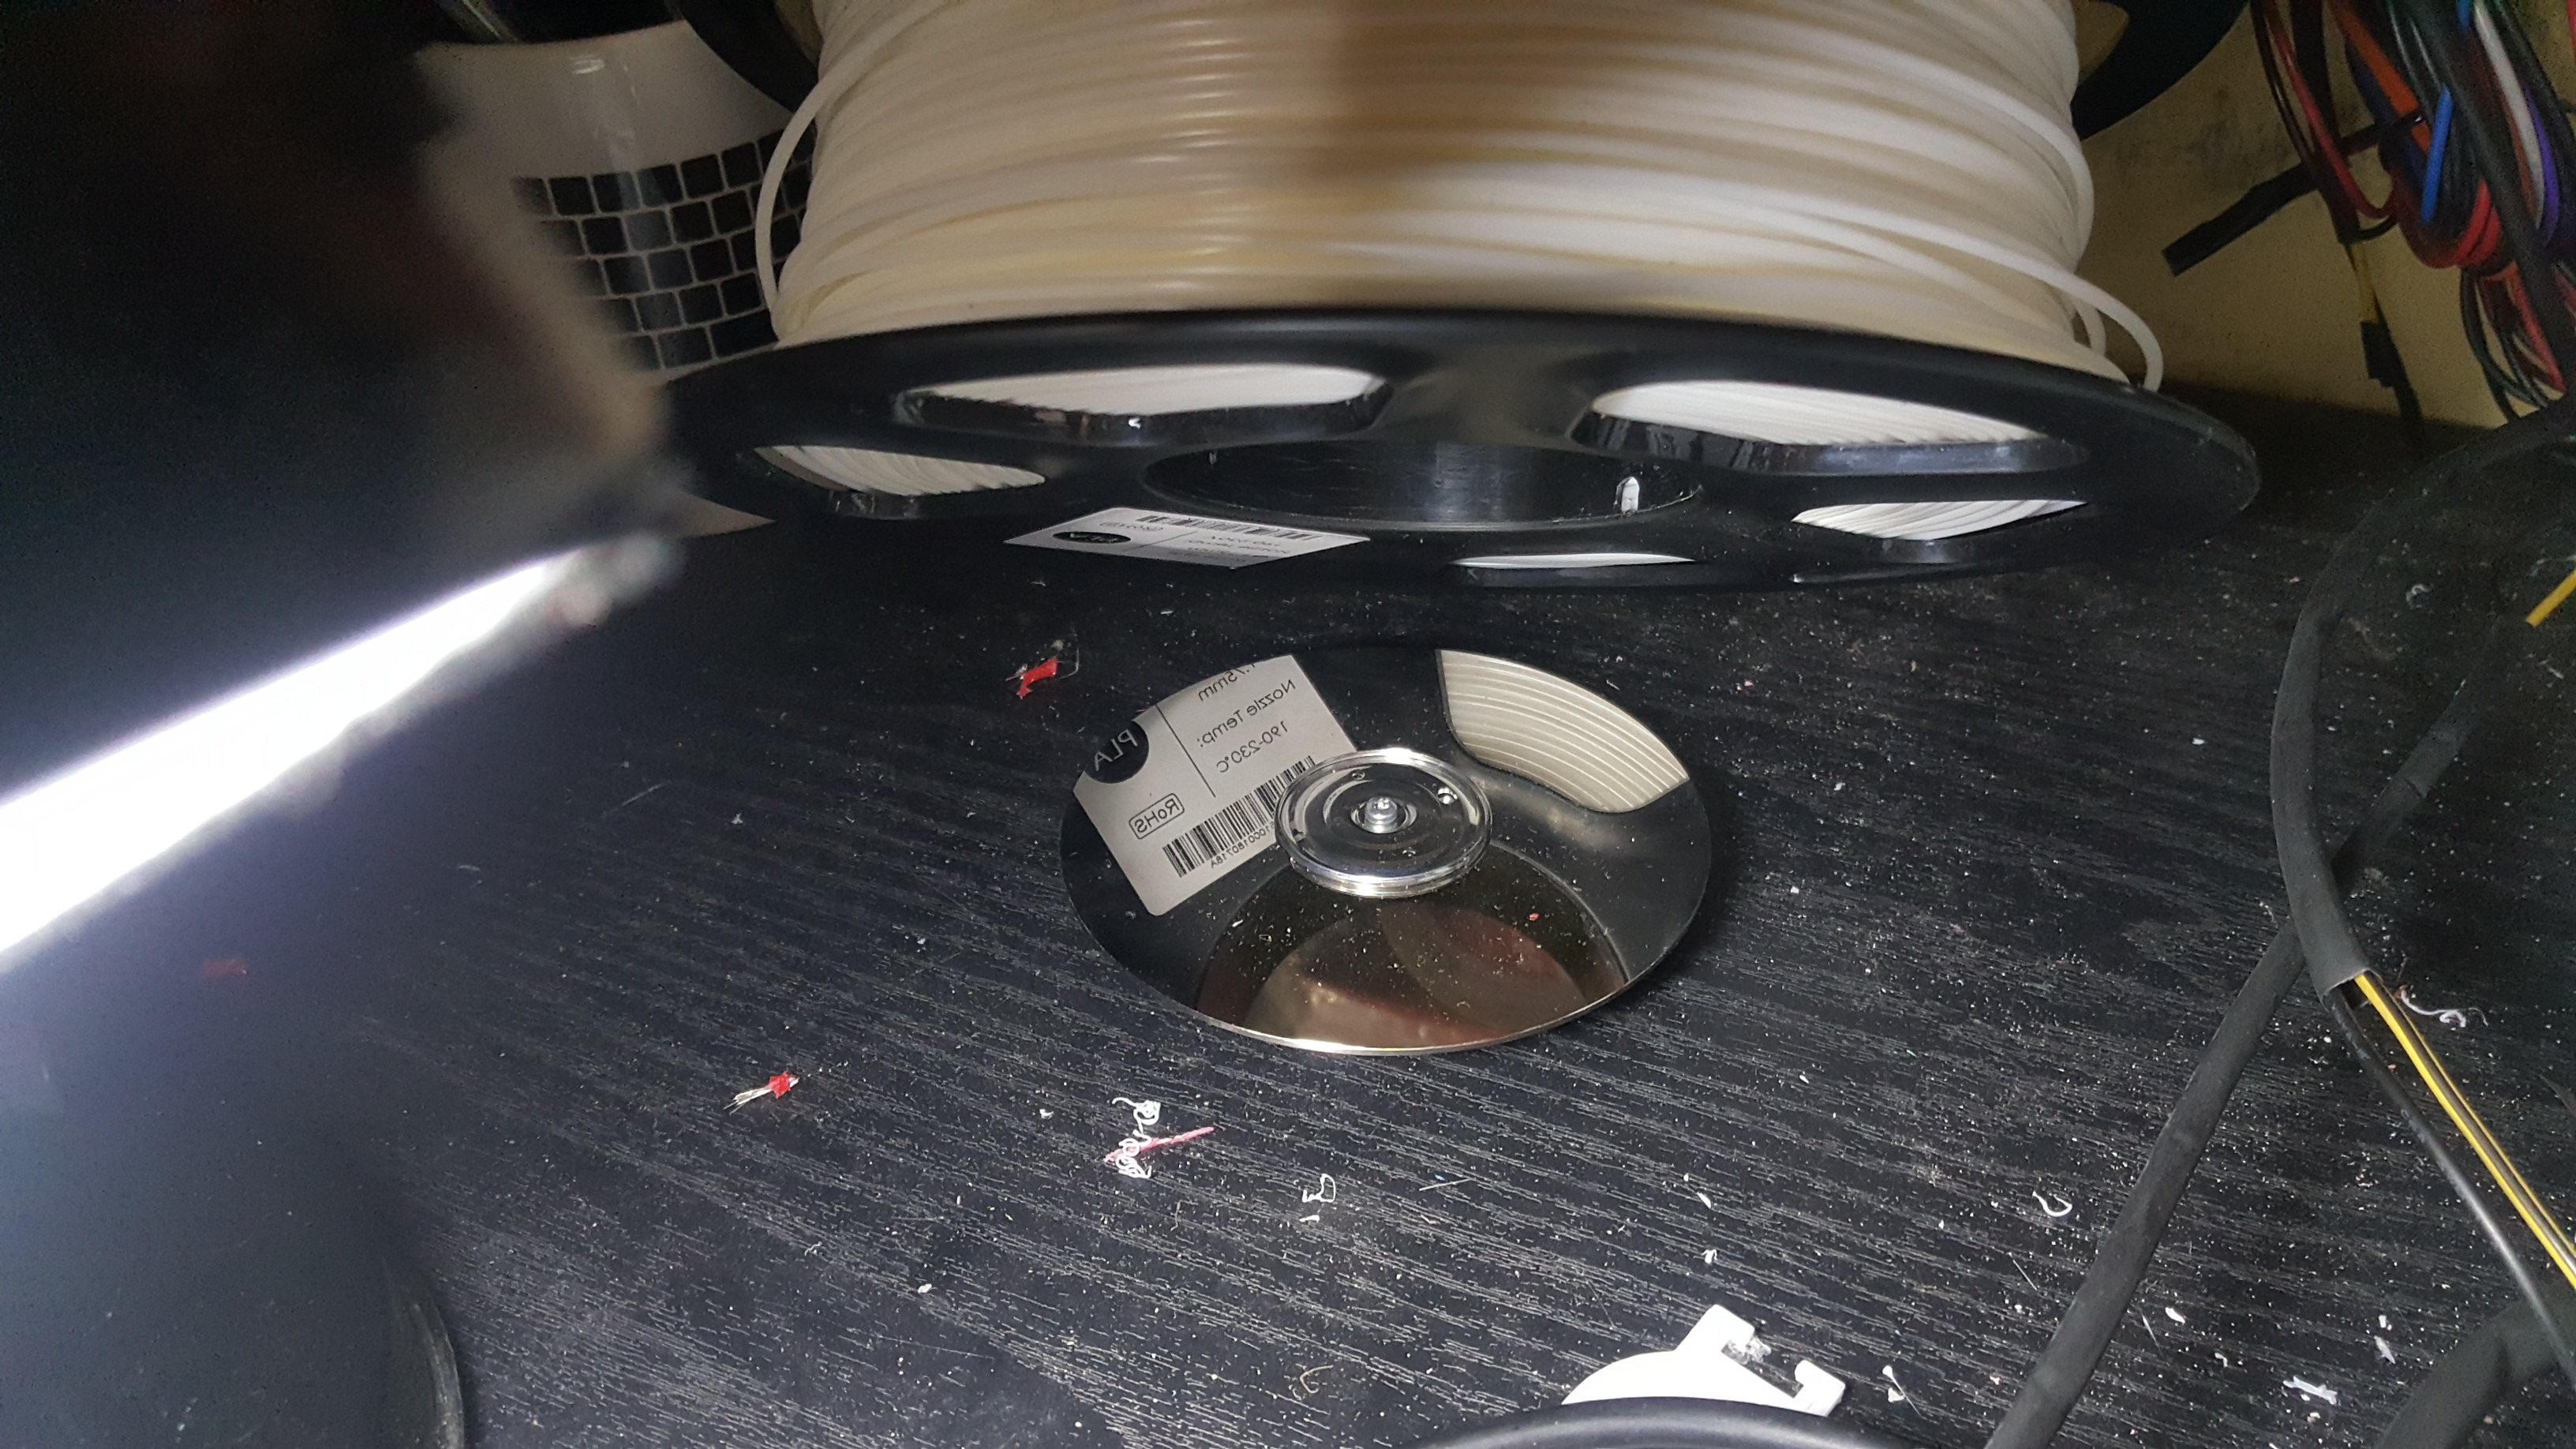
Finally, probably the best improvement that I have done so far was that I ditched the old spool holder that I had in favor of a hard drive bearing. There's nothing much to it aside from the spool resting on top of the plate but it works great. Now my extruder does not have to exert too much effort just to spin the thing.
![]()
I'll definitely make something to keep the spool in place. But right now it works so I'll leave it like this for now.
I've done a lot of improvements to the project over the past few days and I'm really happy how things are improving. I have more ideas that I plan to implement but that'll be for next time.
Up next: Pushing for a finer resolution
-
2019-04-25 to 2019-04-27
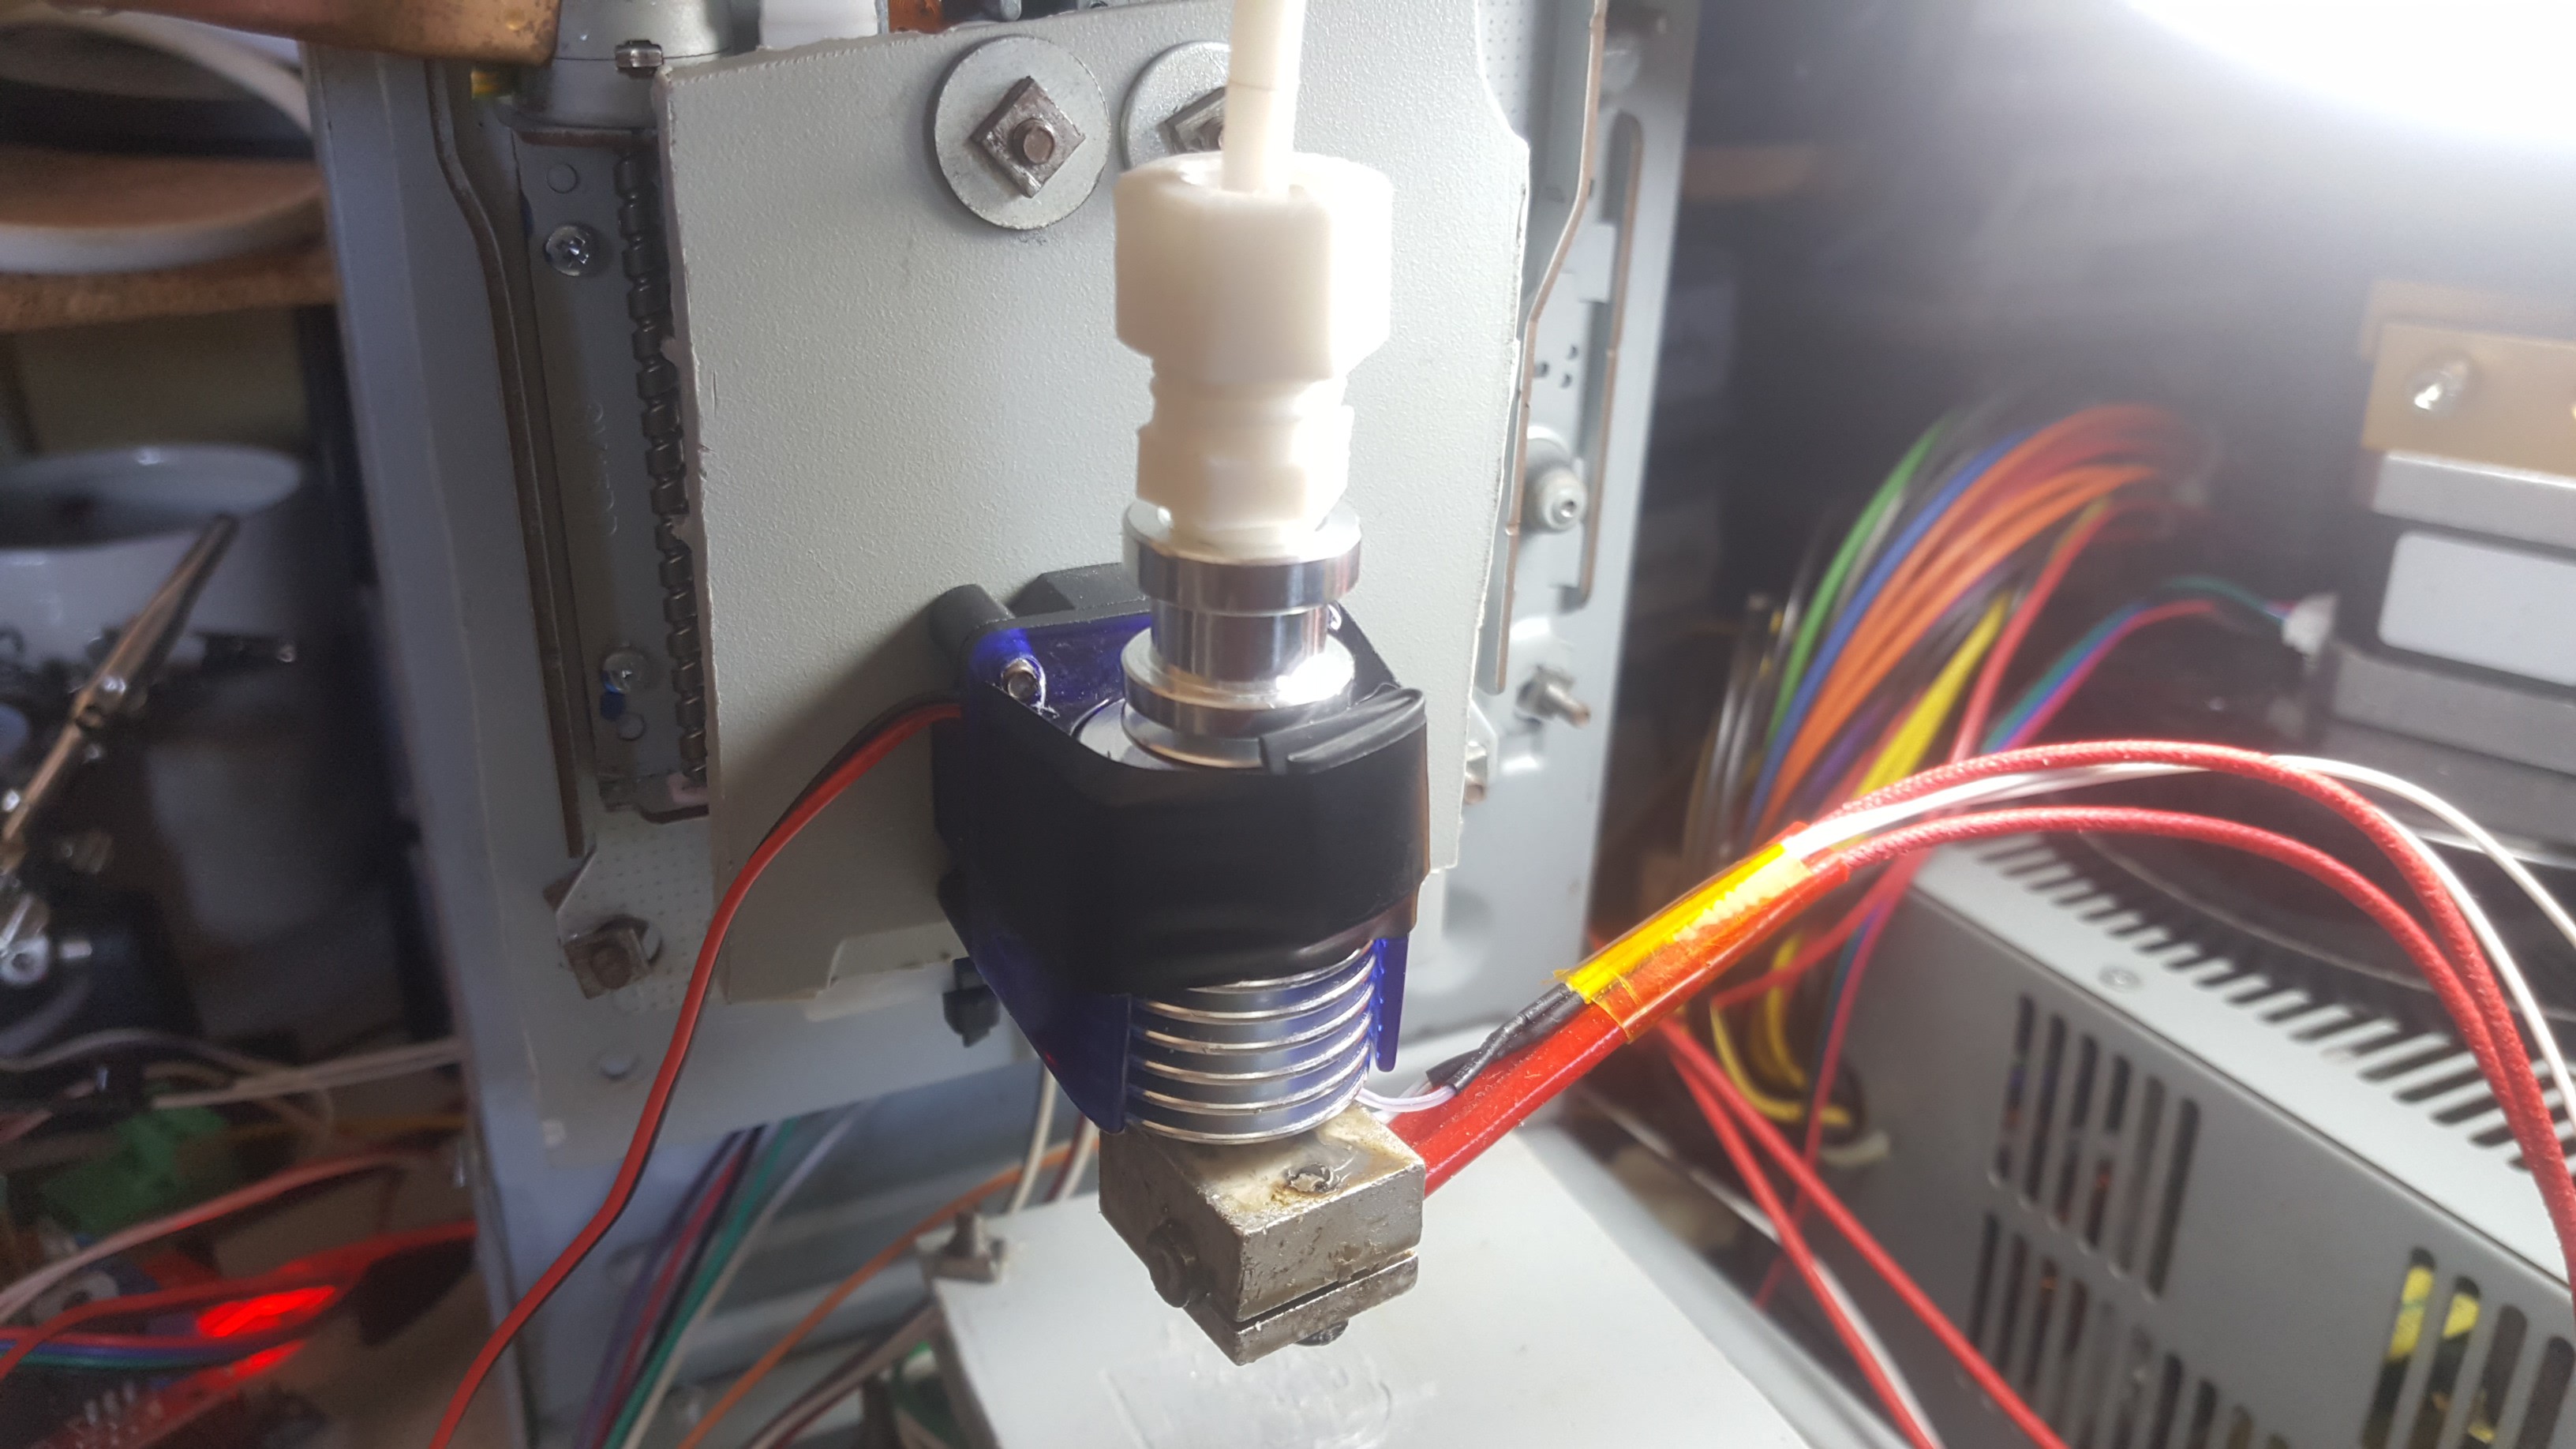
04/27/2019 at 16:12 • 4 commentsI have narrowed down the cause of the constant hotend clogging to a loose bowden tube coupling. Because of this the tube eventually gets tugged out of place leaving a gap inside the hotend throat, which then causes a clog.
Thankfully, there's a fully printable replacement which has a better design and fits perfectly to my hotend.
![]() Thanks to this, I've never had a clog ever again. I do need to double check if it's tight from time to time. Also, I'm a bit worried if the heat from the heatsink would affect the coupling since I printed it with PLA. We"ll see if it gives.
Thanks to this, I've never had a clog ever again. I do need to double check if it's tight from time to time. Also, I'm a bit worried if the heat from the heatsink would affect the coupling since I printed it with PLA. We"ll see if it gives.
Another improvement that I made is I added springs to the screws that I use to level the bed. The spring is always pushing on the bed which makes leveling easier as I only need to adjust the top screws.![]()
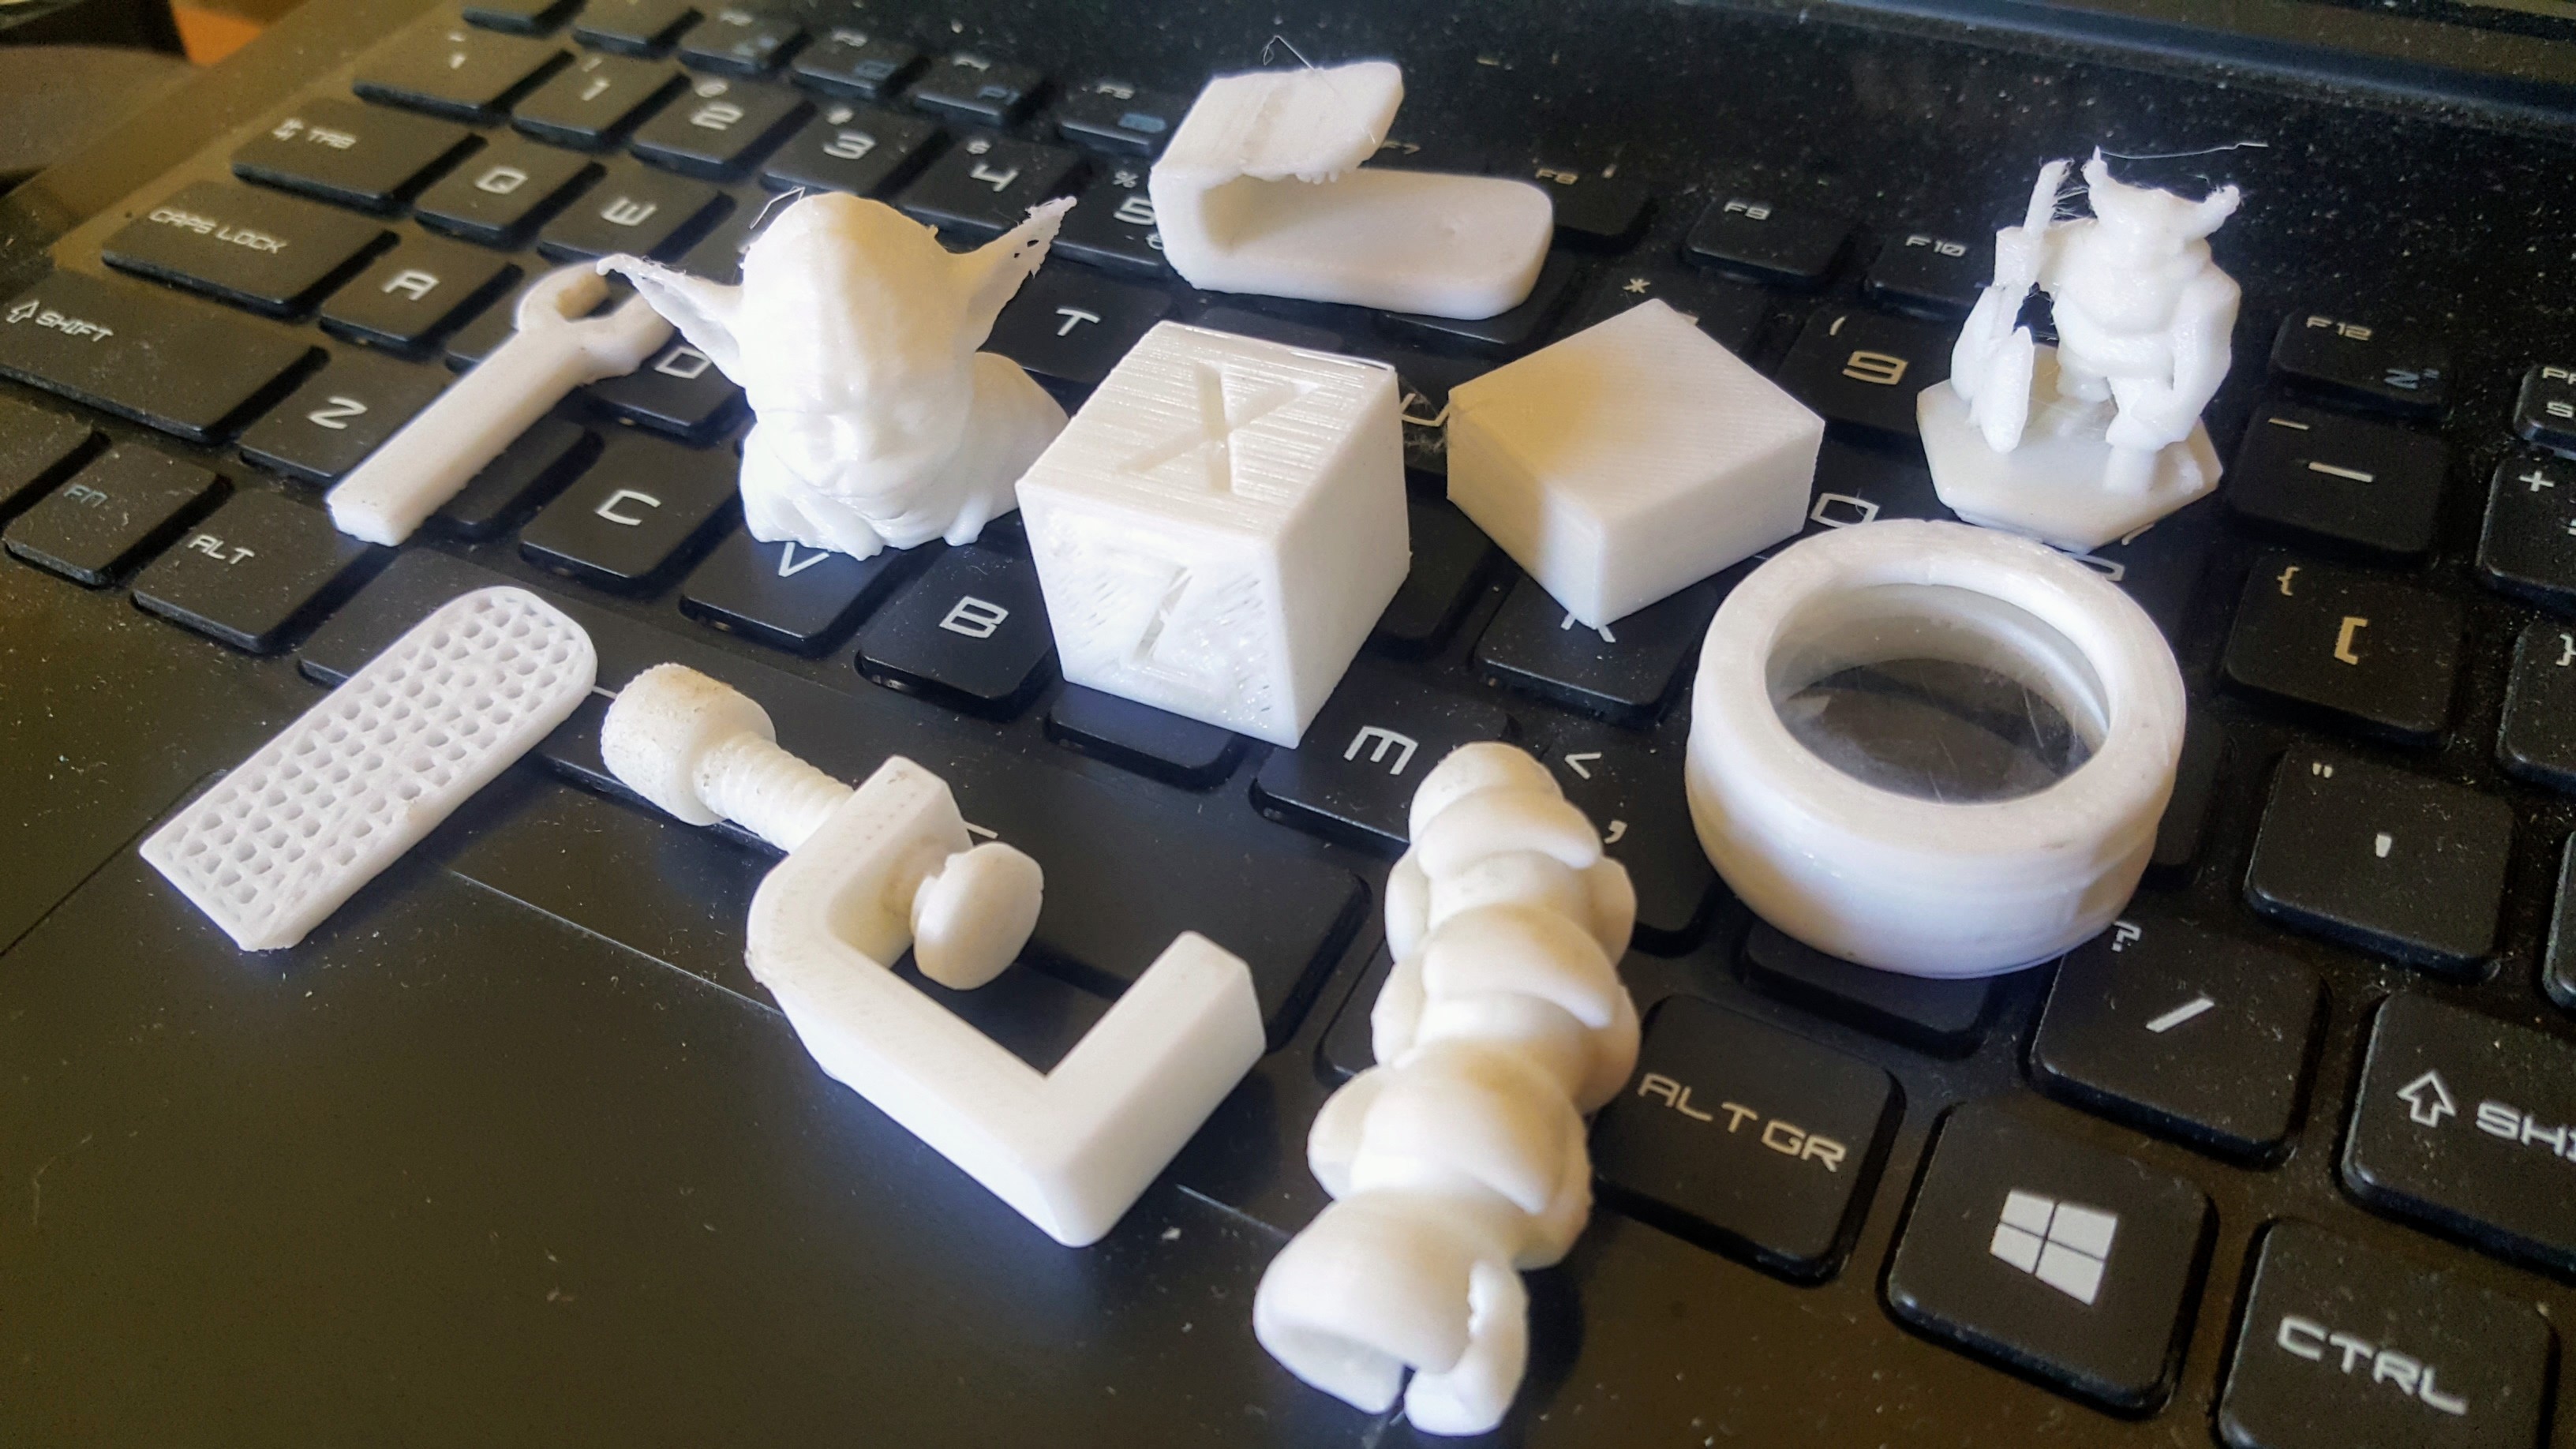
With the setup before I had a top screw and a bottom screw, which I both need to adjust when leveling. It's now easier to do last minute micro adjustments thanks to this.---------- more ----------After this I went nuts with printing.
![]() However, I have limited options of what to print from Thingiverse because of my small printbed. I can scale down most of them but not everything can be.
However, I have limited options of what to print from Thingiverse because of my small printbed. I can scale down most of them but not everything can be.
I've played around with Tinkercad too to make my own designs and sometimes to modify existing ones to fit my needs. It's not as powerful as other 3d apps I've tried before but it works fine for my needs.
Up next: More printing, printer improvements, and fine tuning! -
2019-04-24
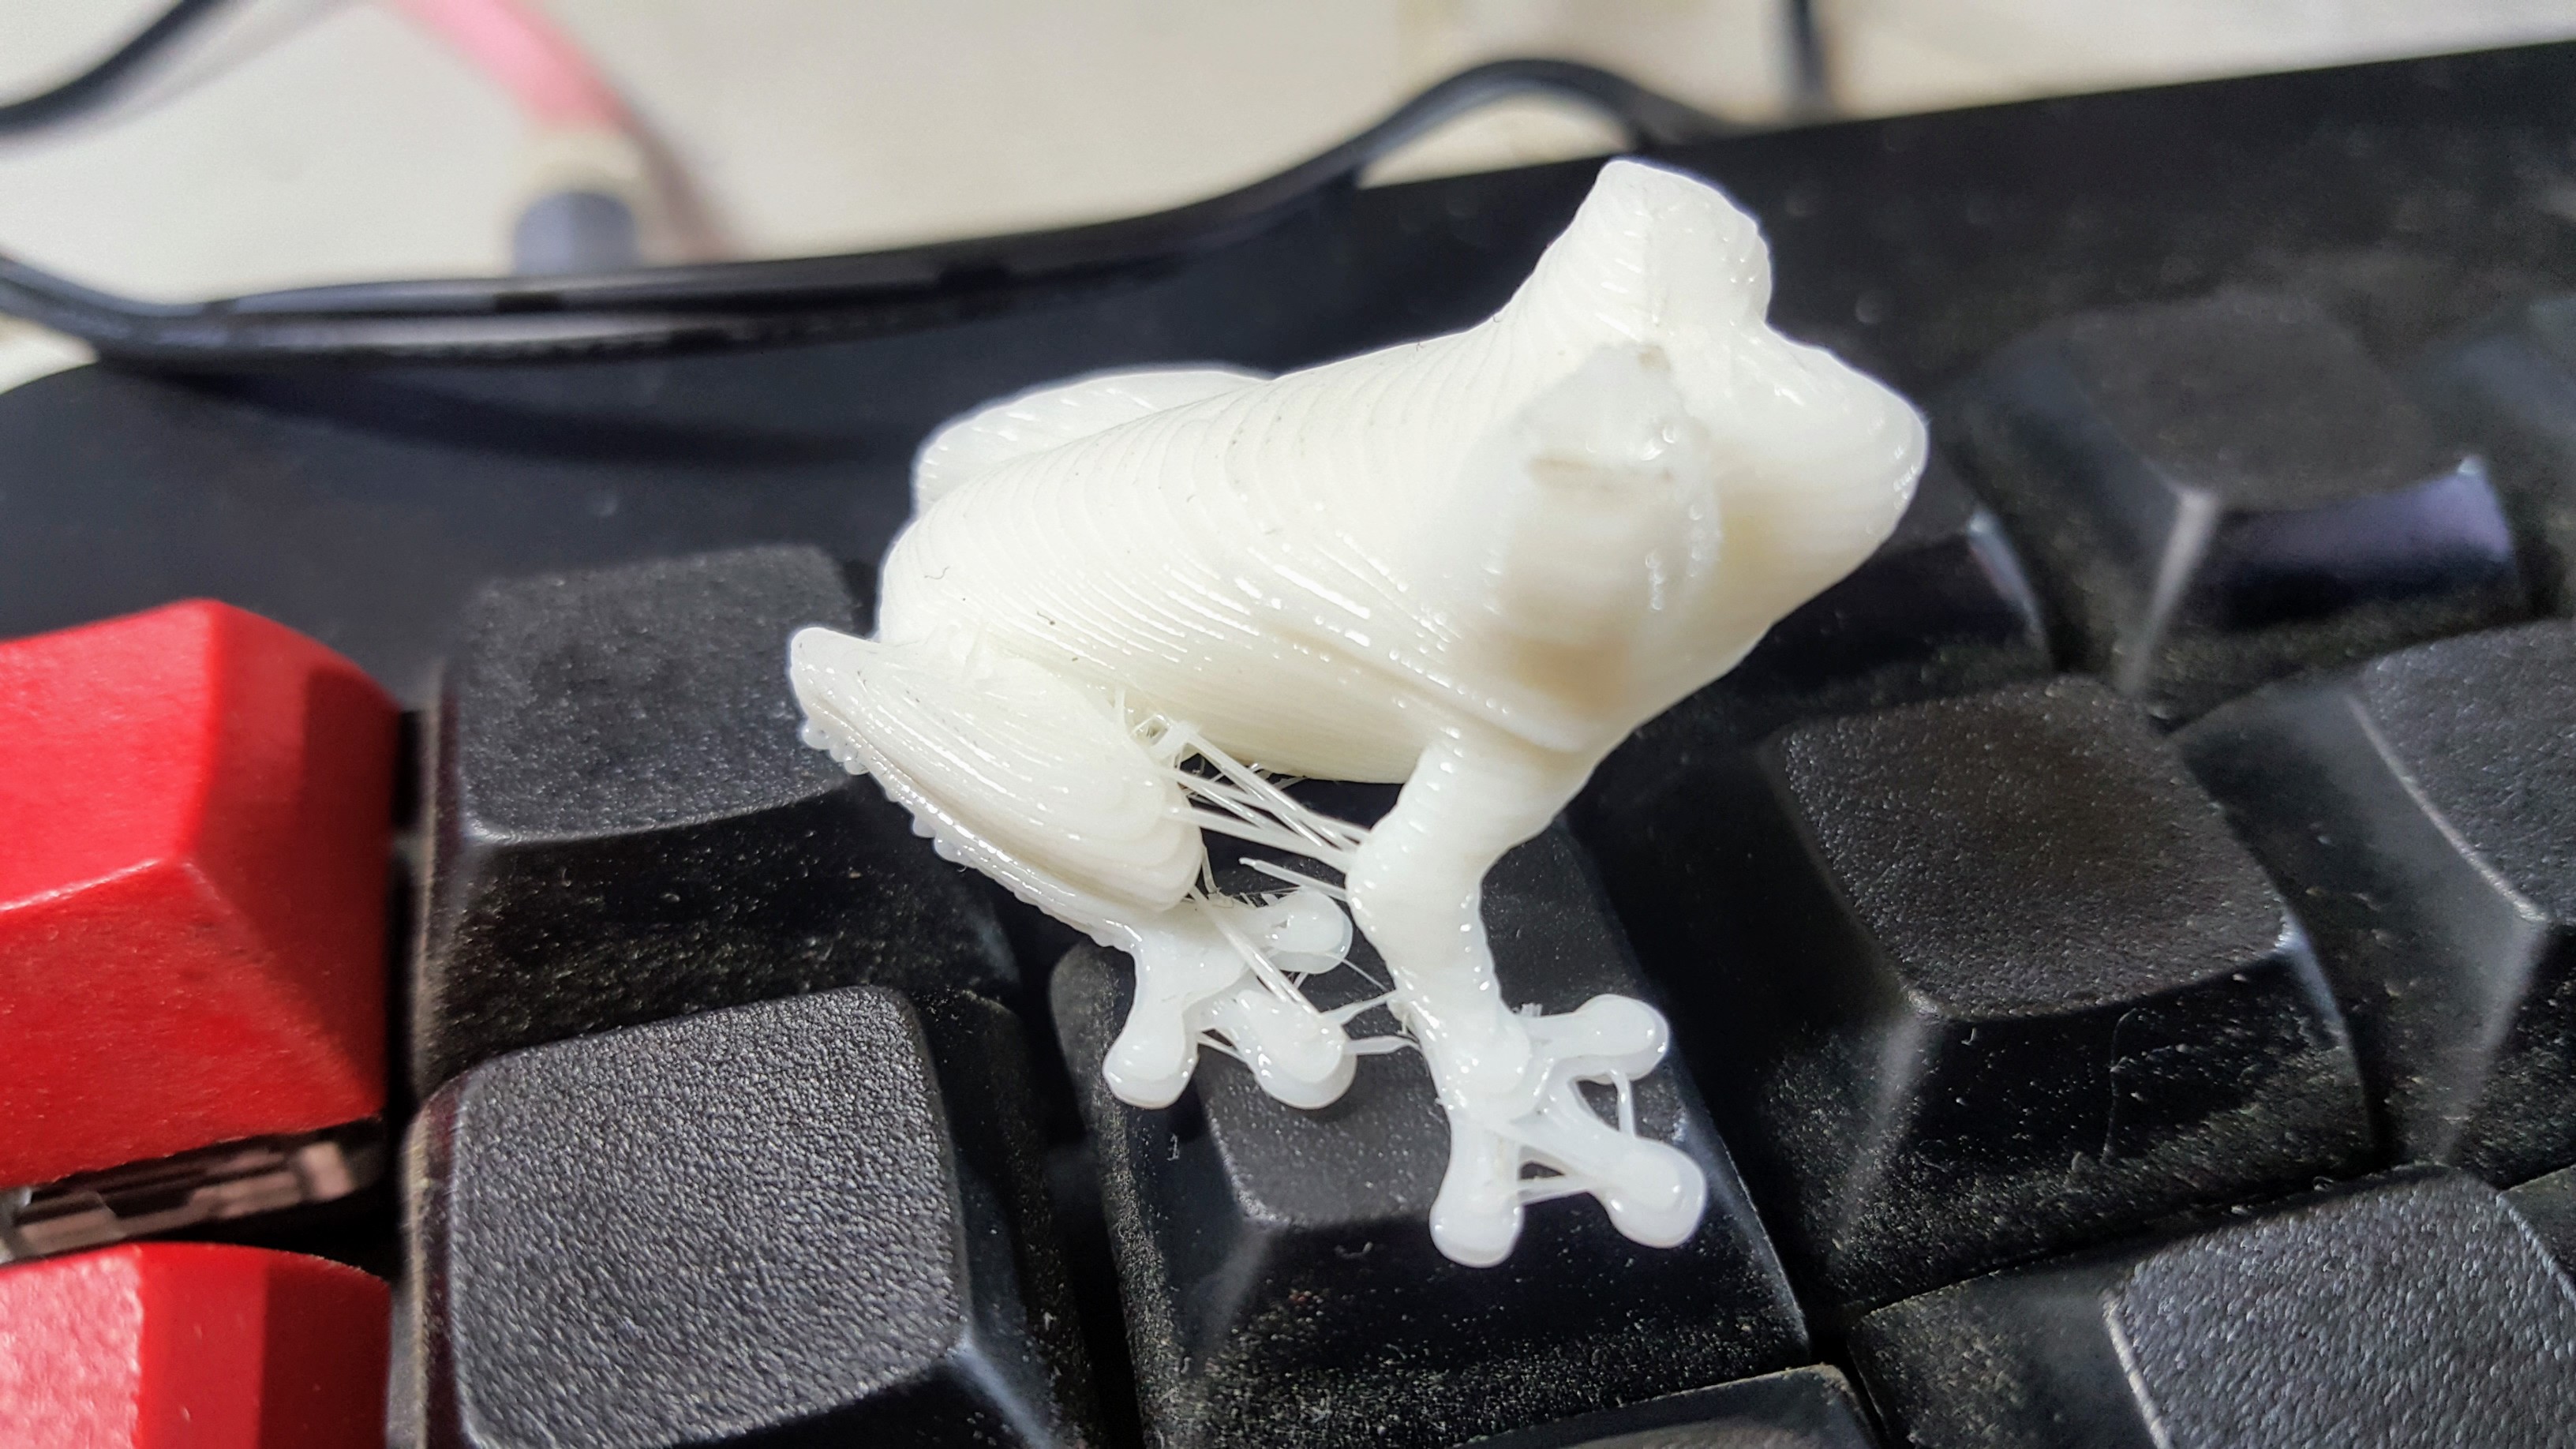
04/25/2019 at 02:17 • 1 commentOne problem that became glaringly obvious as soon as I printed a torture test object on my printer is the abundance of strings similar to the one found on my previously printed frog:
![]()
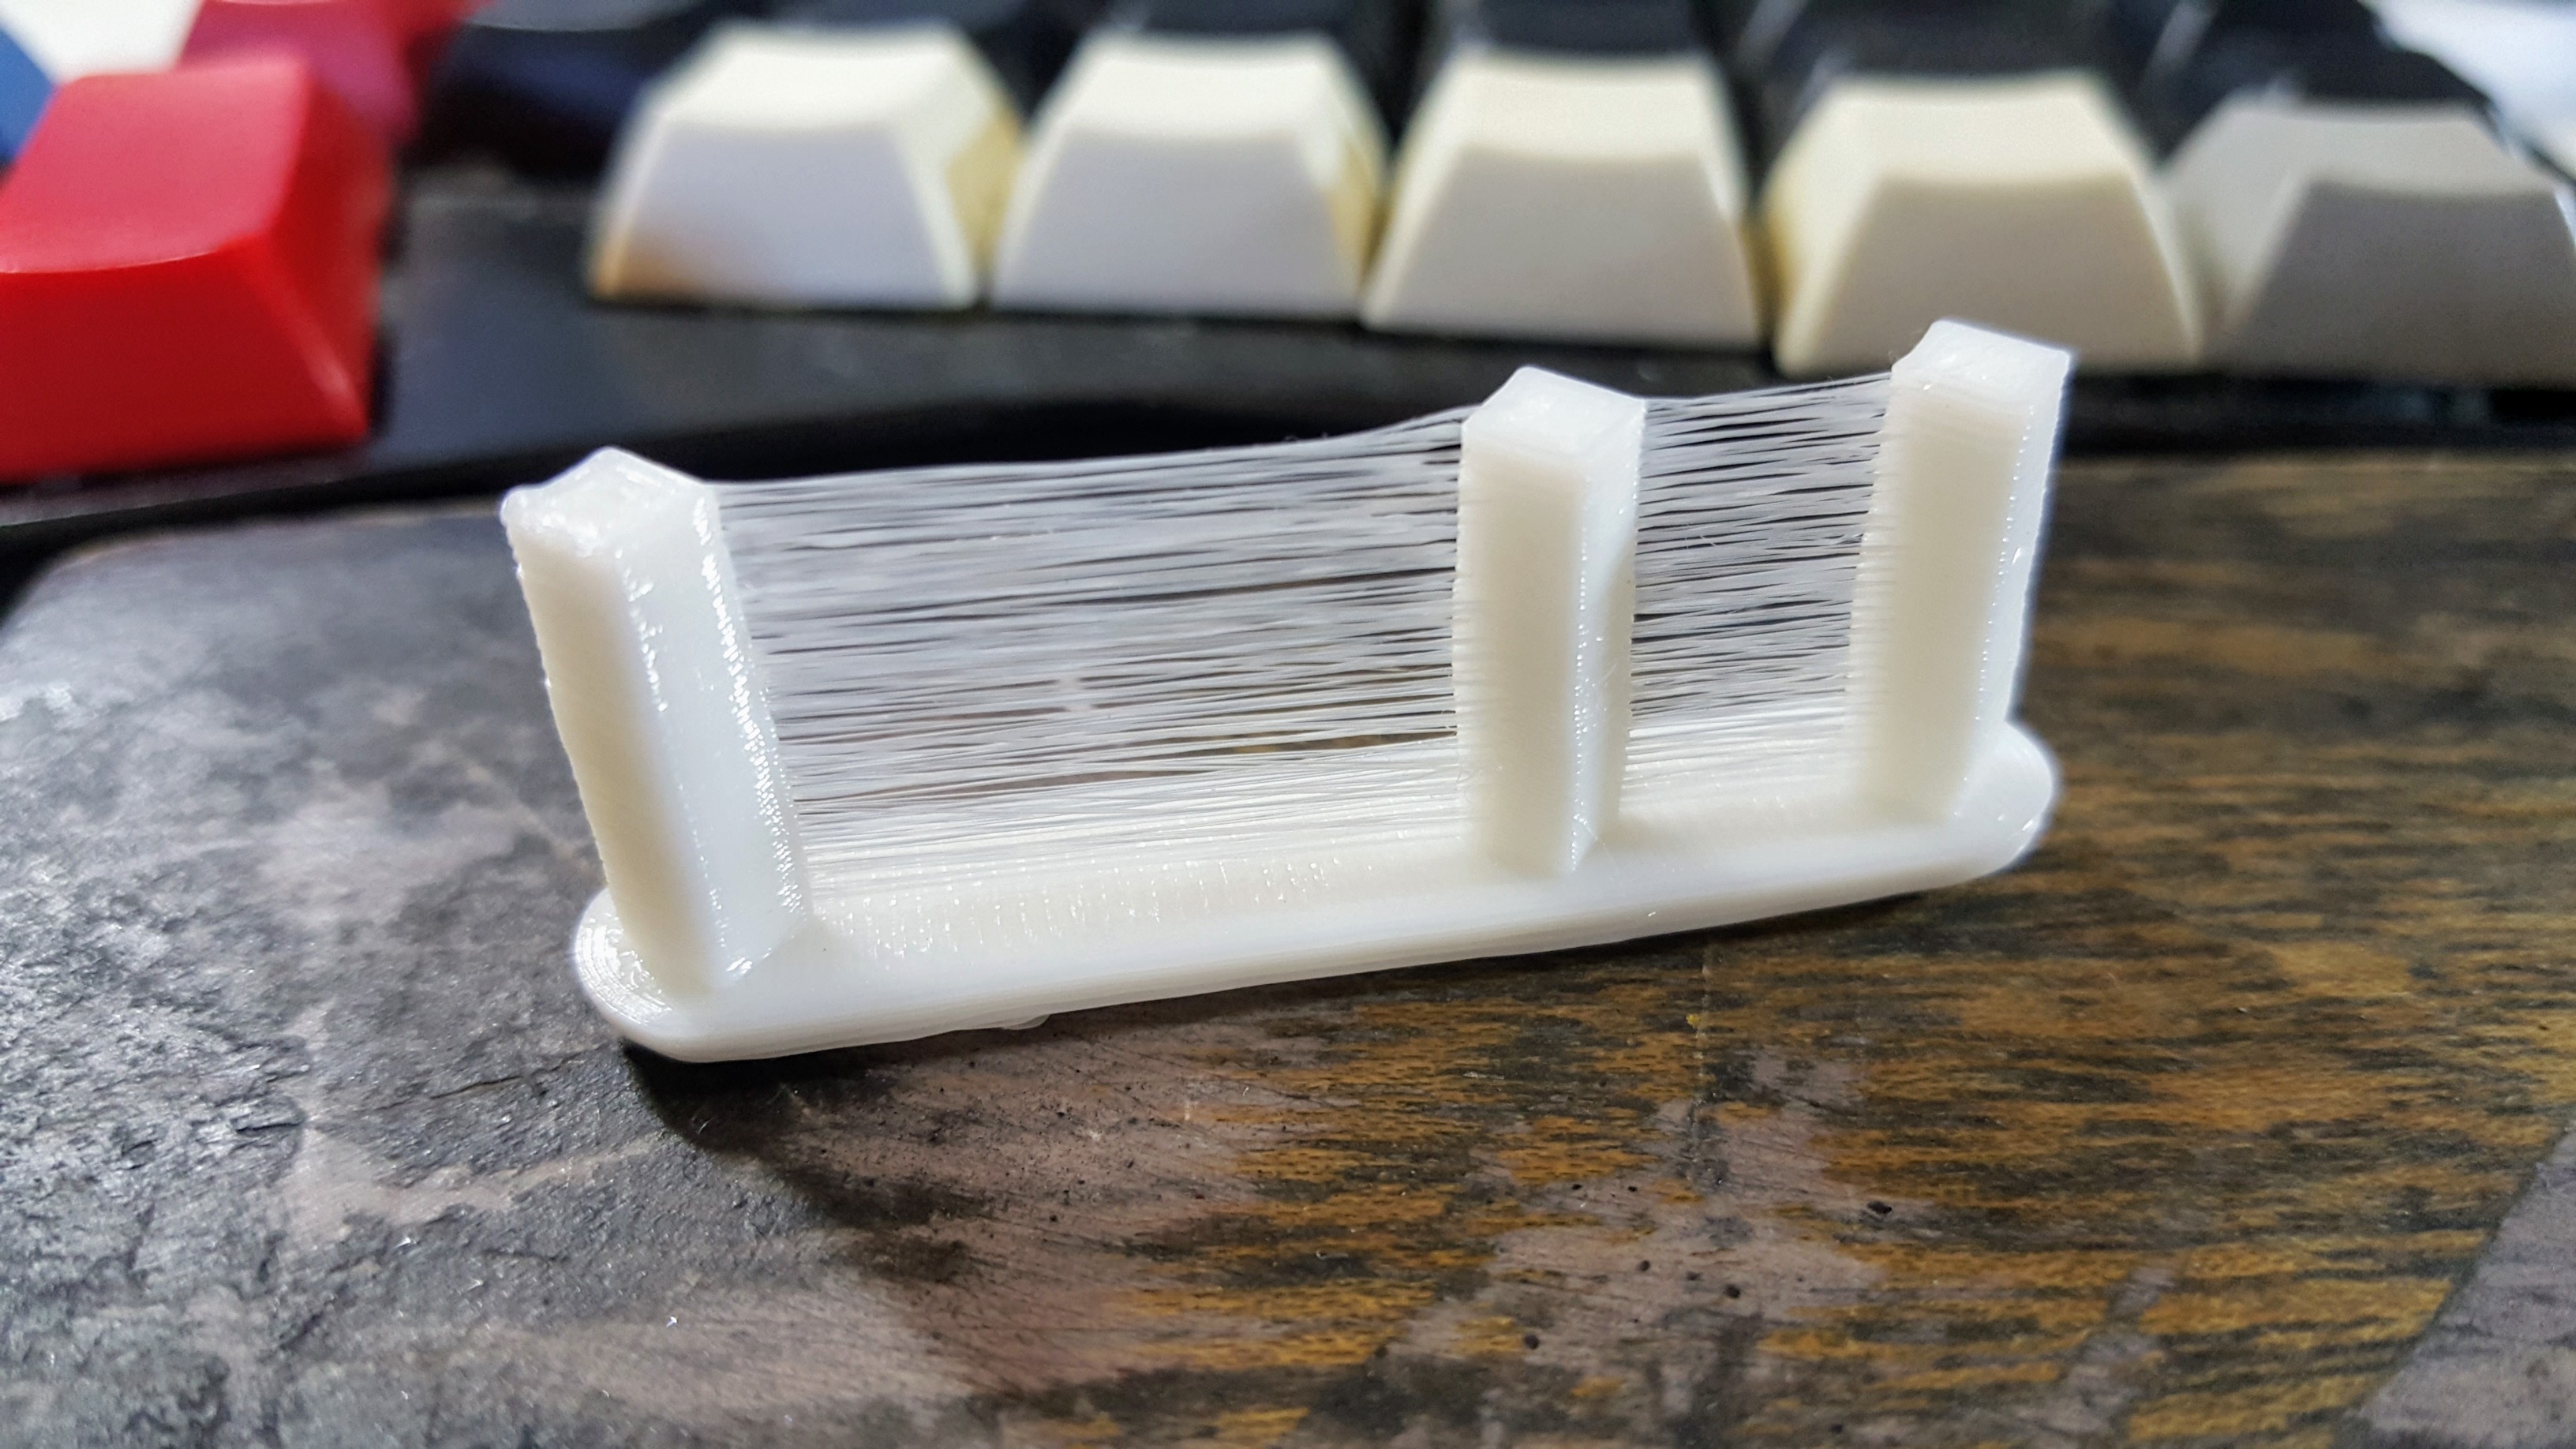
I printed a pillar test and found out just how bad it was.
![]()
Initially I thought strings are not a big deal as they can easily be cut off. But turns out they can be a huge headache if left unchecked.
---------- more ----------Stringing is caused by filament oozing out while the printer is doing a non-print move. Fixing this should have been as easy as increasing the retraction distance but I'm using a chinese knockoff of a bowden style hotend where too much retraction could lead to a jam.
Jams did happen a lot which forced me to keep the retraction distance at a low number (Not exceeding 5mm) and finding a fix elsewhere.
The retraction speed was the next logical place to check. I slowly increased the speed by small increments starting at 20 mm/s to 100 mm/s. The theory was that the fast retraction would quickly release the pressure in the nozzle causing it to not leak. This did not have a noticeable improvement, but I had the suspicion that it'll work well with other settings so I kept it as is.
I tried lowering the temperature to prevent oozing while idle. This helped reduce the ooze a bit and it also made me realize that I've been printing at a very high temperature before. I've since then reduced my operating temperature from 220 to 190/195. It still not enough though.
I've read somewhere that increasing the non-print speed to an insanely fast number would make it so that the ooze won't have time to spill out. This makes sense but my printer could not handle very high speeds without sacrificing quality.
I tried lowering the extrusion multiplier as I thought it would mean a lower filament flow but this just affected the overall quality of my prints. I left this to my previous setting of 1.
I also tried lifting the nozzle while retracting which was good for fixing blobs that forms on the sides but still did not prevent the oozing.
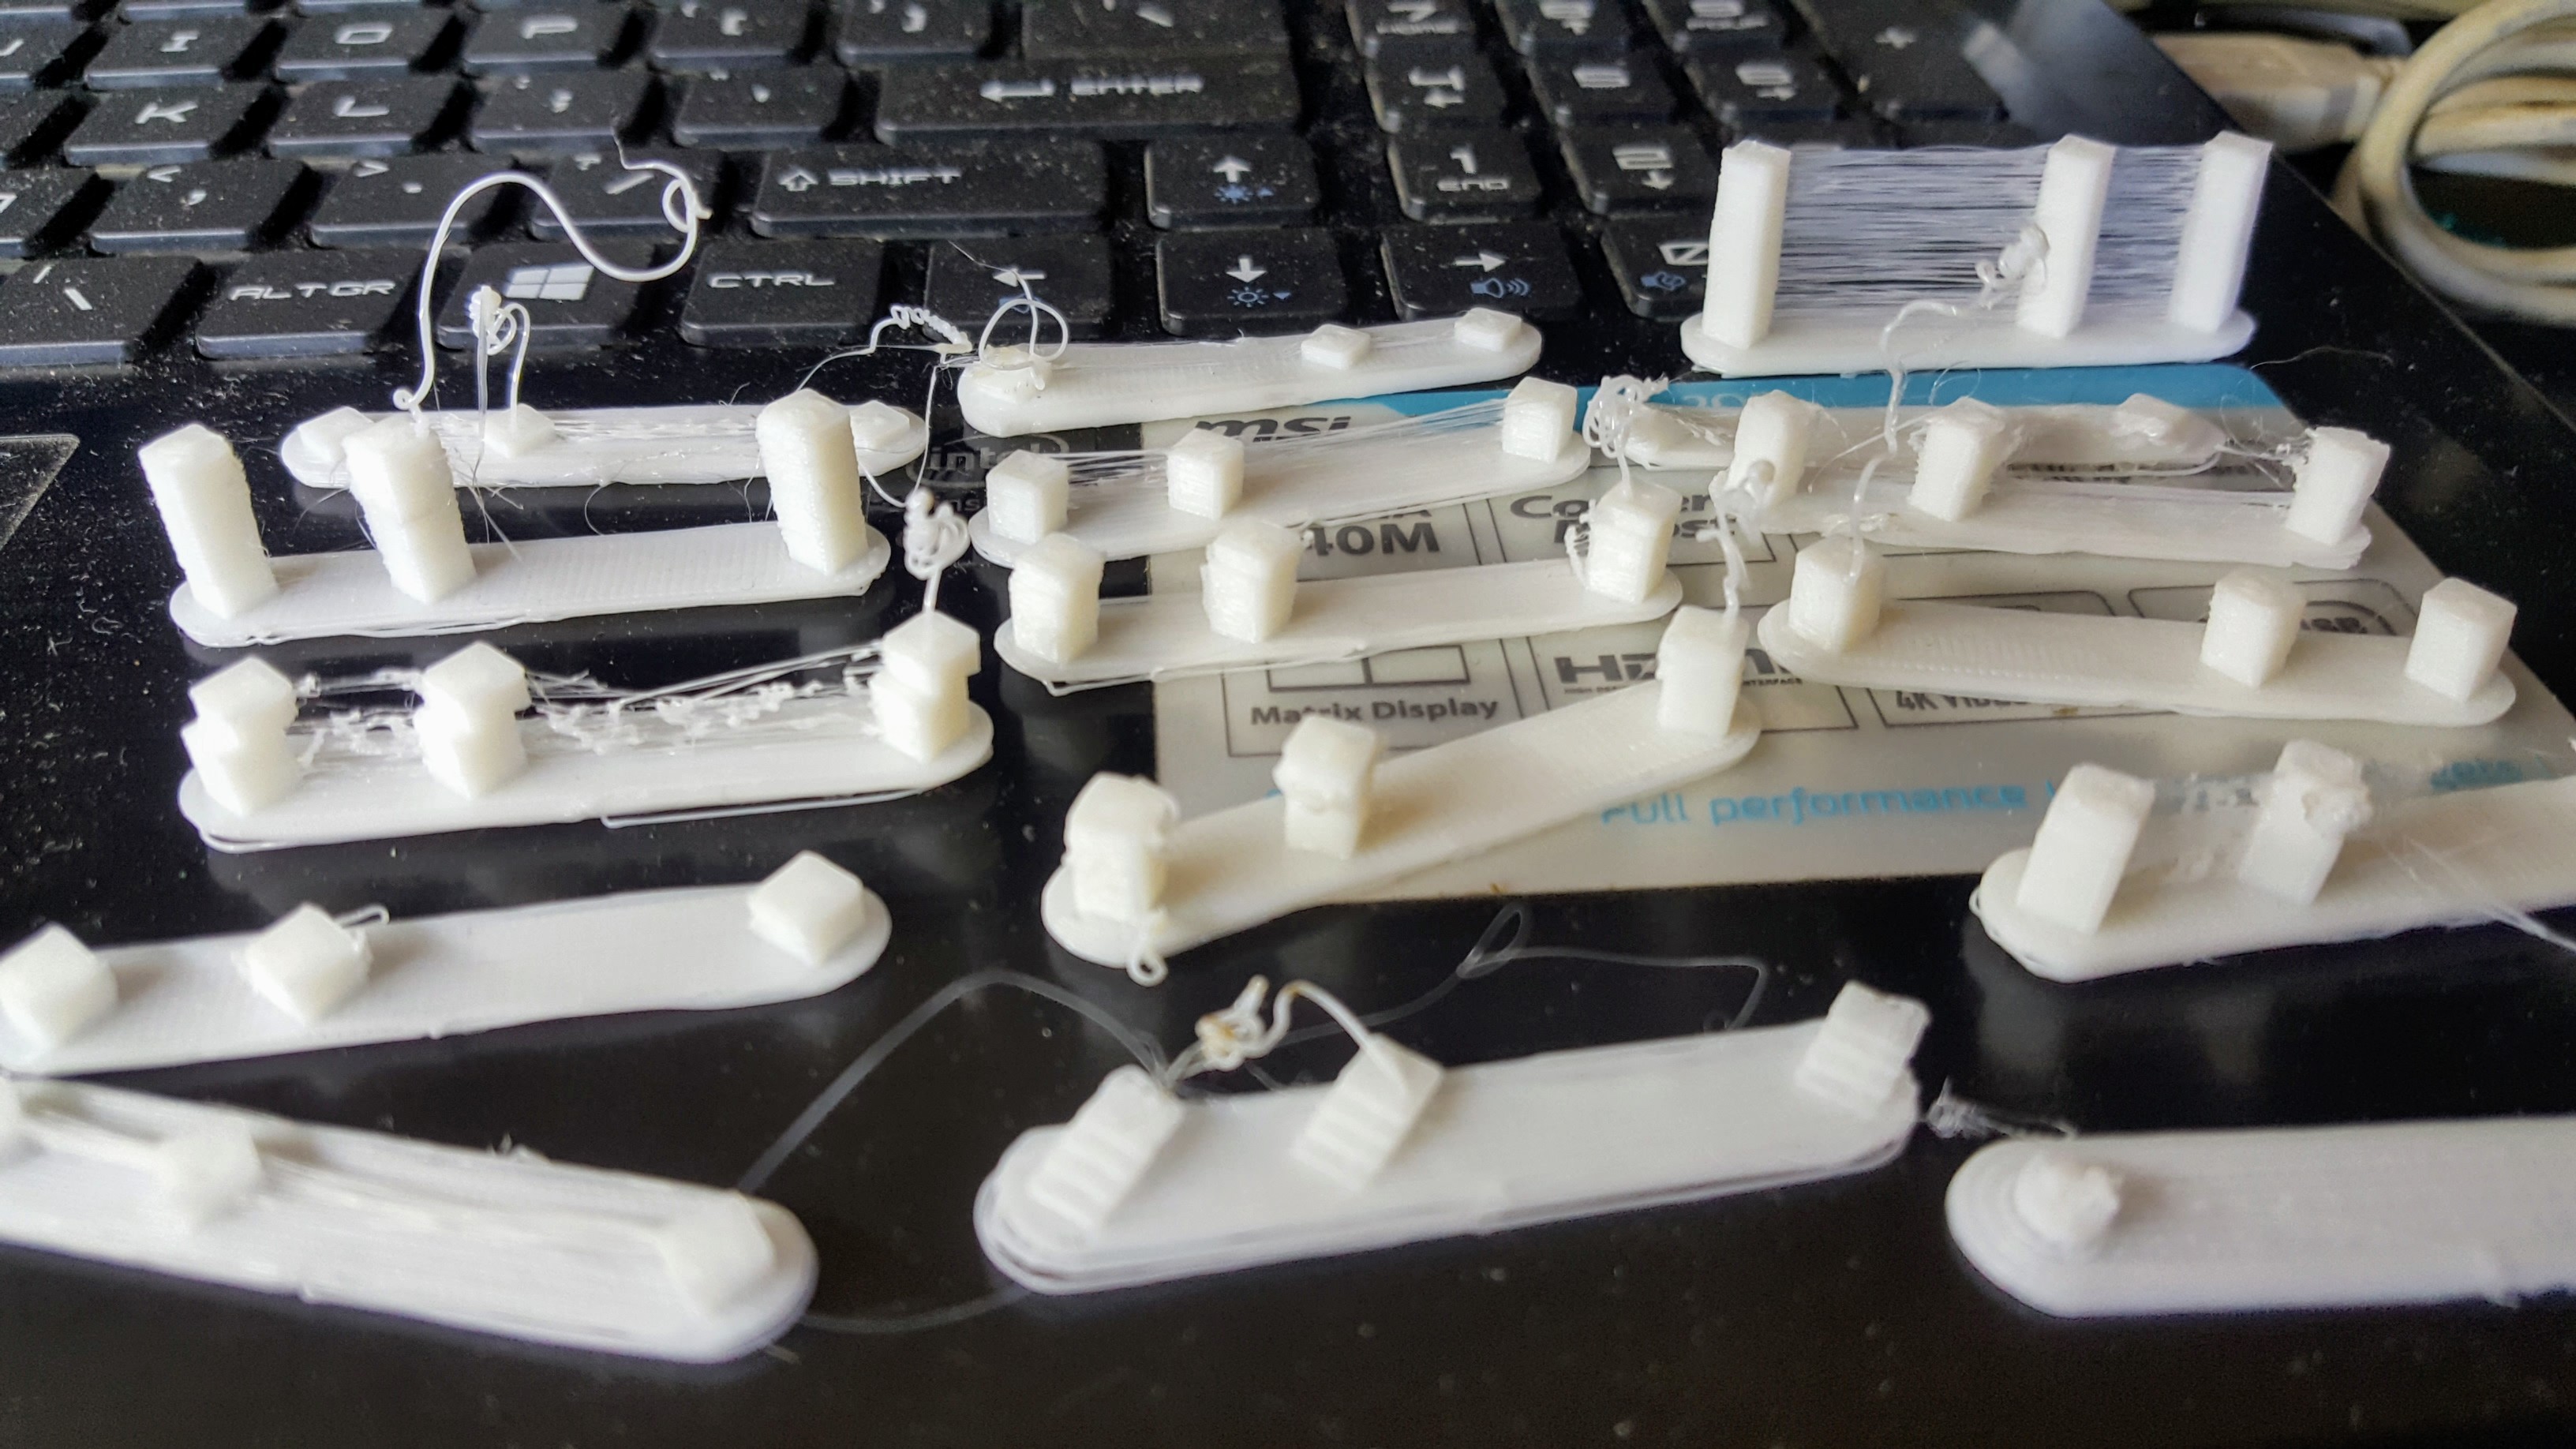
![]()
Fixing this problem took a lot of time and filament. I was ready to throw in the towel but thought of increasing the retraction distance just a tad bit just as a last resort. At this point I was willing to risk another jam, I was all out of options anyway.
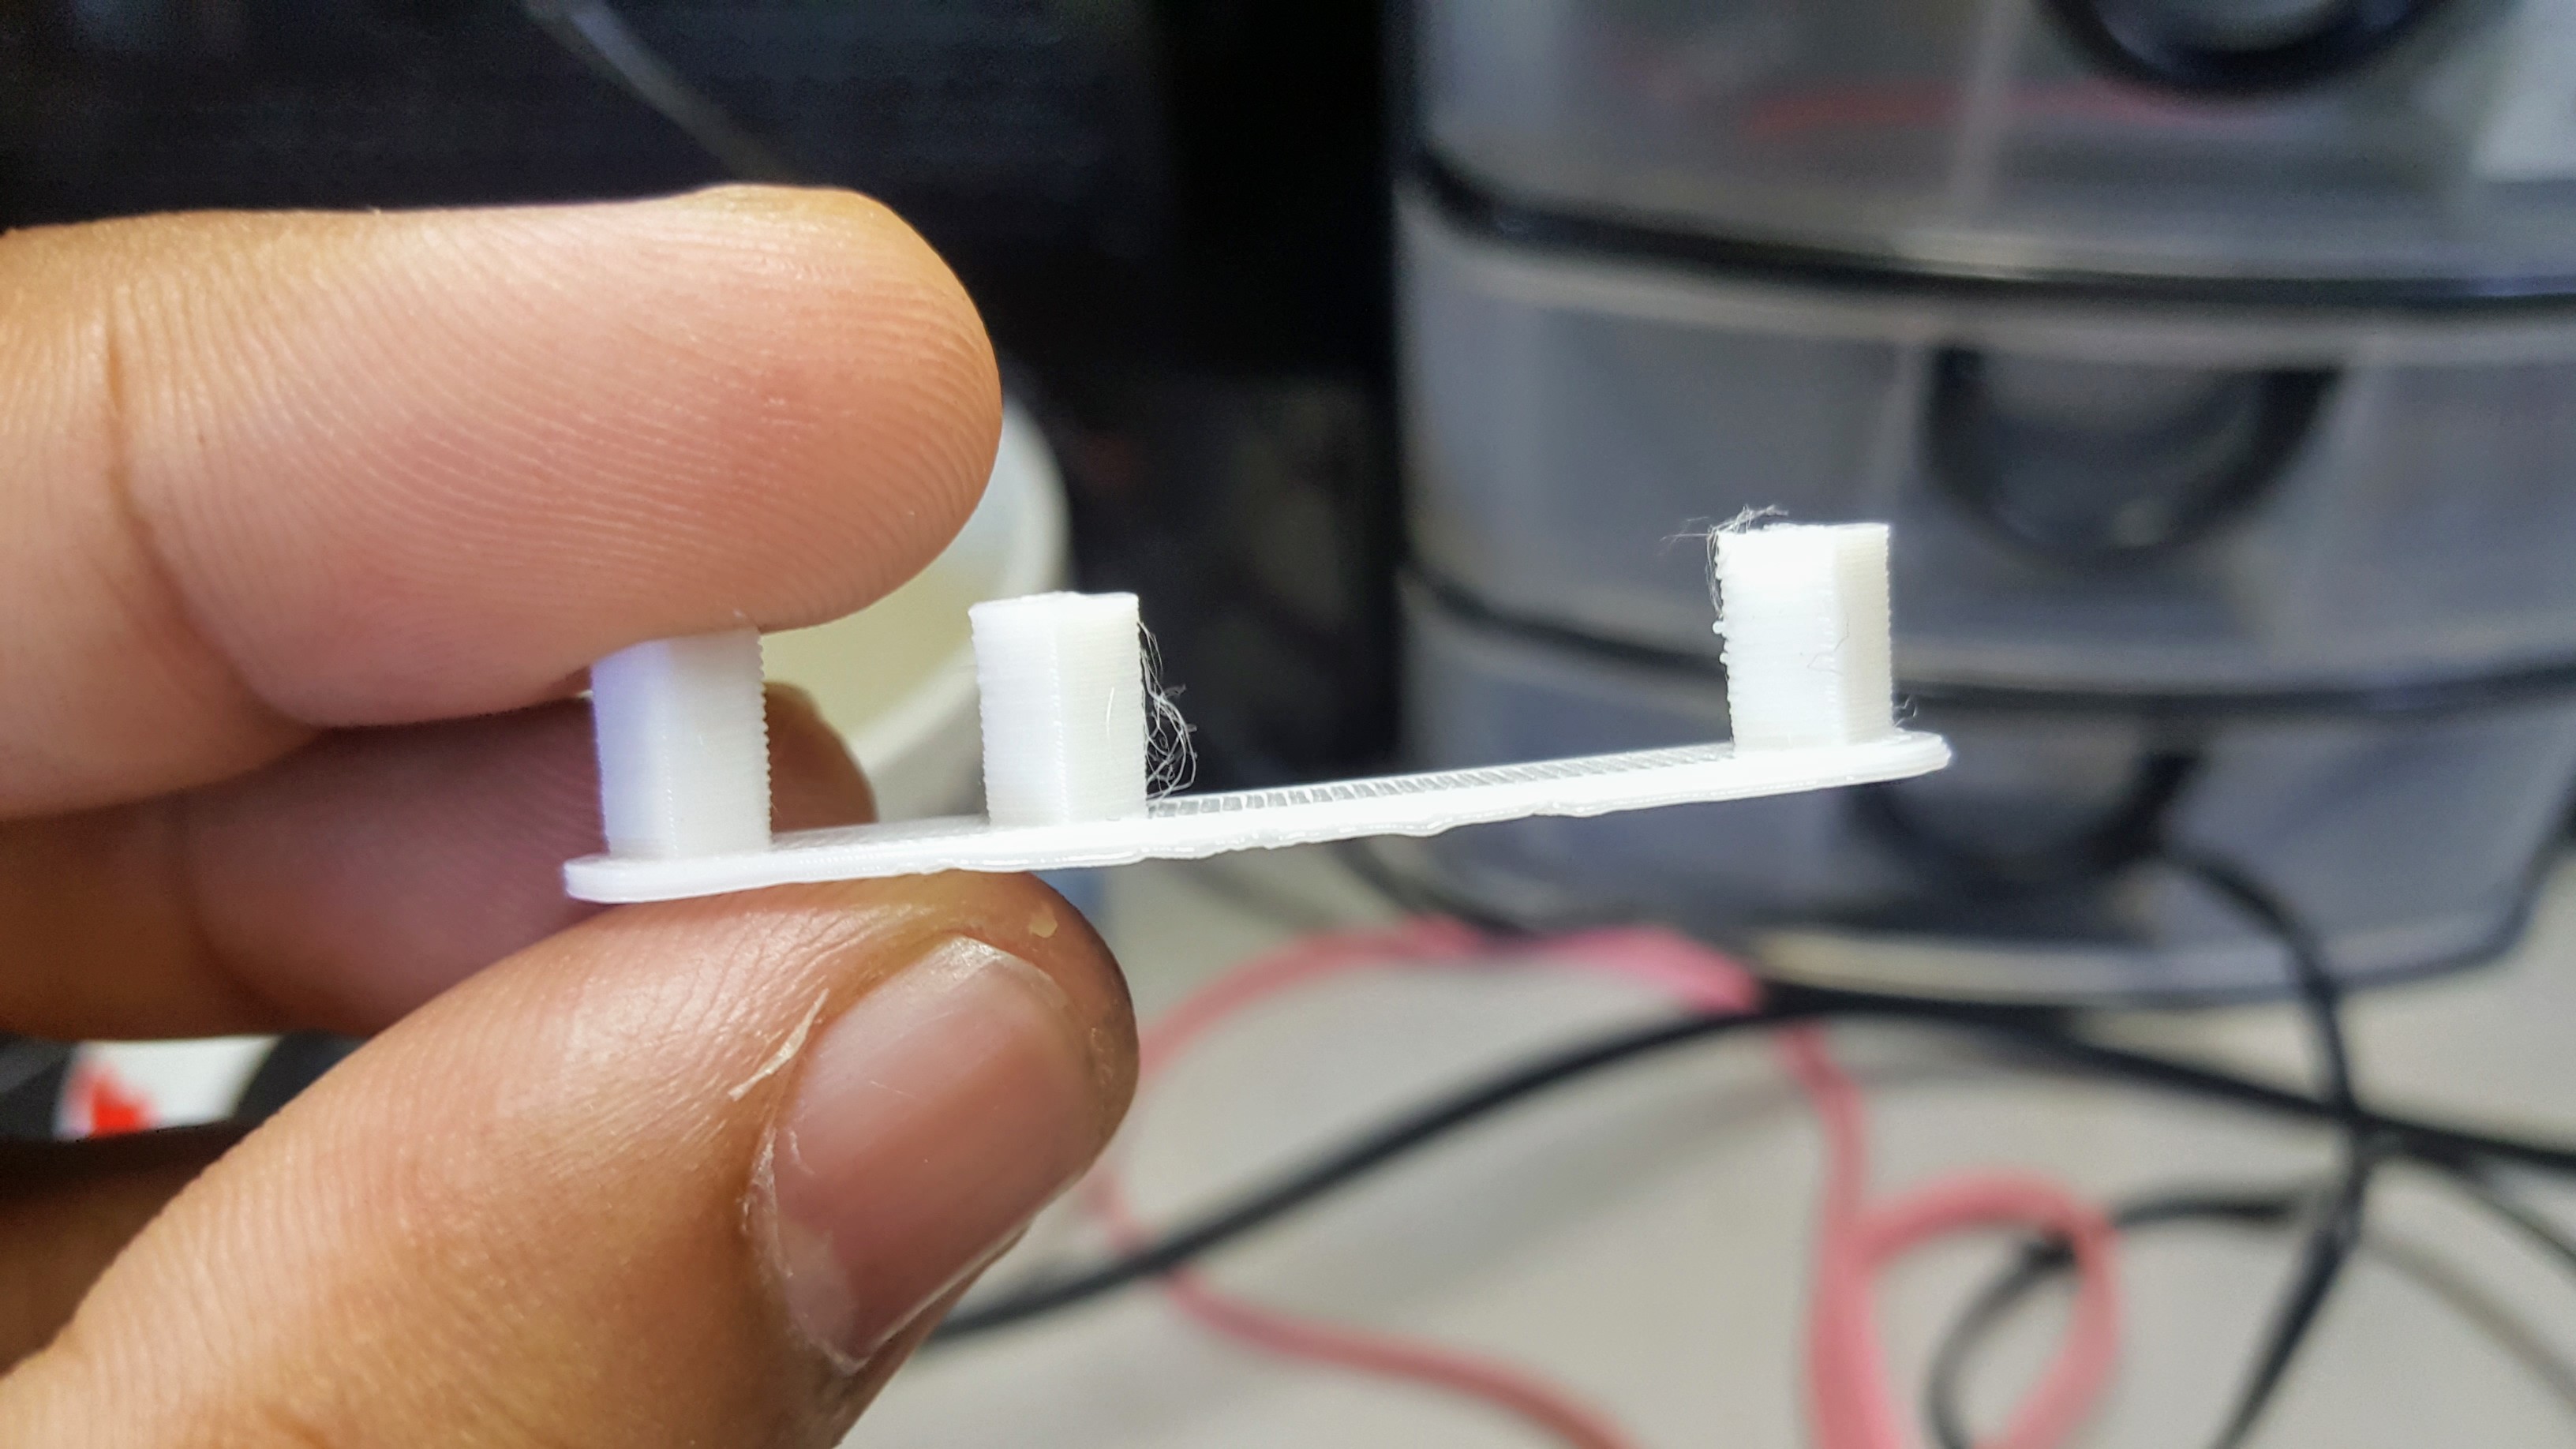
And of course, it worked!
![]()
There are some strings but they are very thin and barely visible that they can be easily be fixed with a heatgun. I'd consider this a big success!
Up next: Fixing the jamming once and for all.
Poor Man's Mini 3D Printer
3D Printer using upcycled CD drives, hard drives, and an ATX power supply.


 Thanks to this, I've never had a clog ever again. I do need to double check if it's tight from time to time. Also, I'm a bit worried if the heat from the heatsink would affect the coupling since I printed it with PLA. We"ll see if it gives.
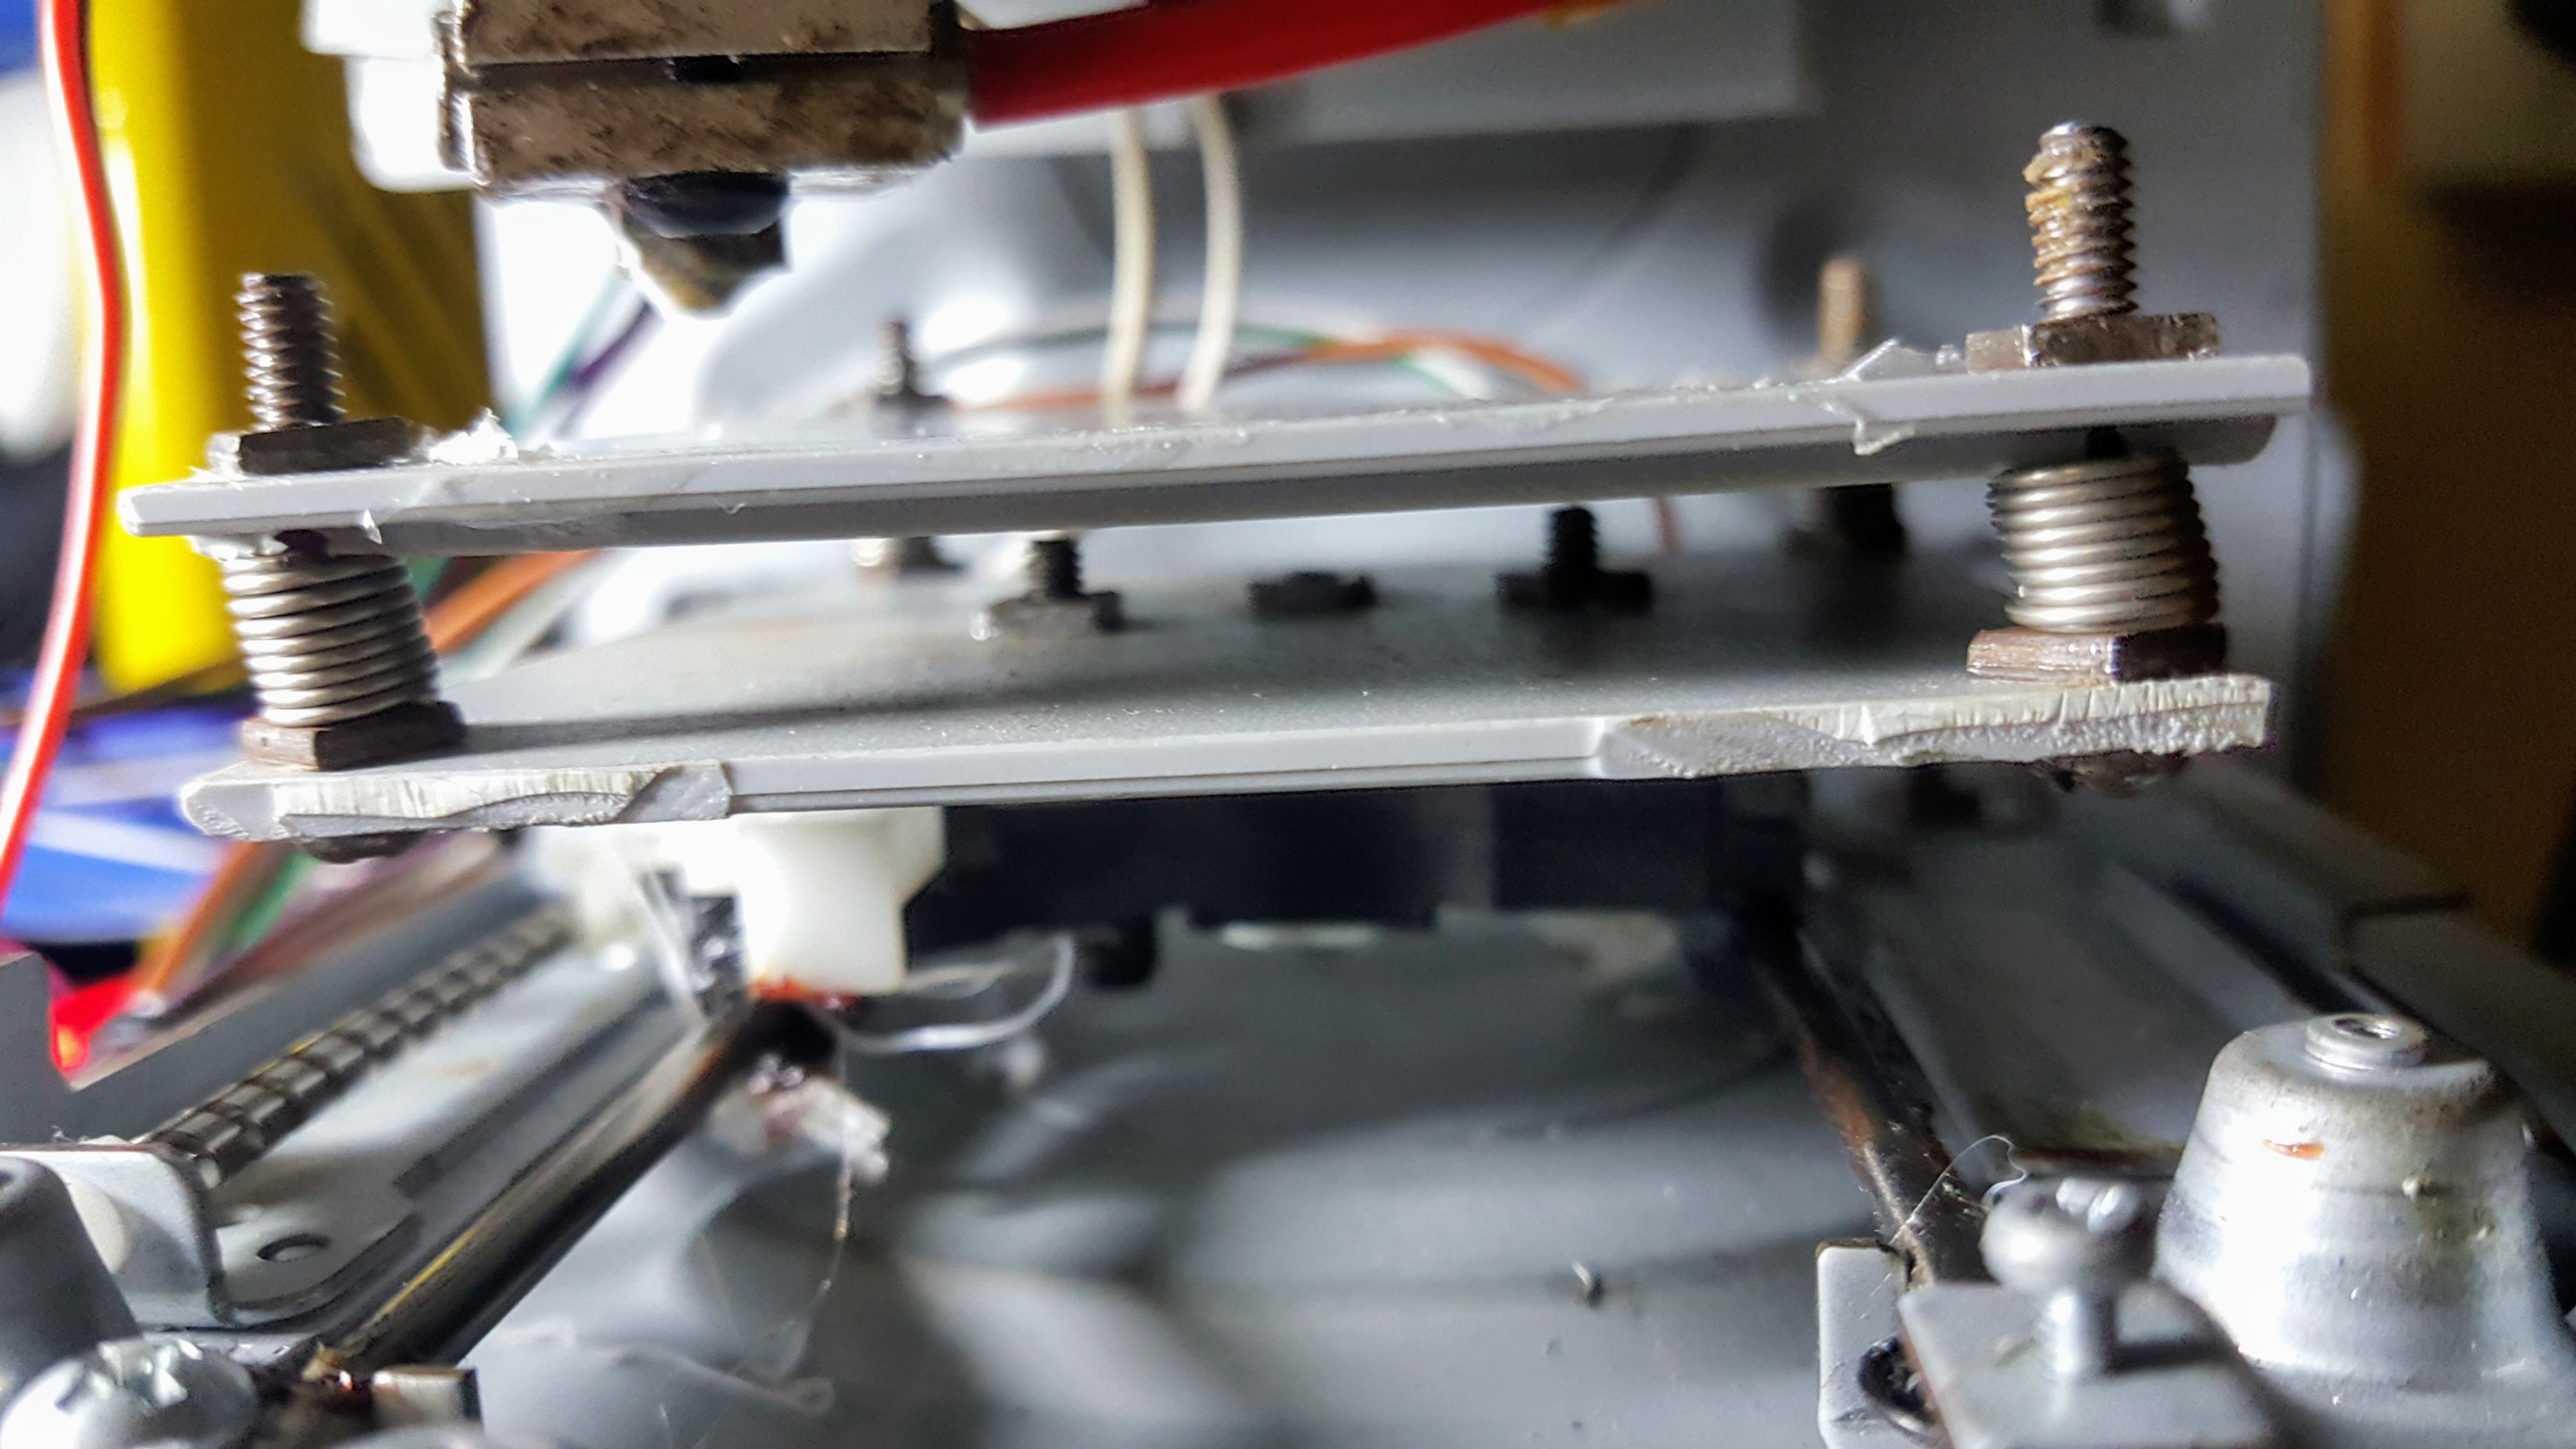
 However, I have limited options of what to print from Thingiverse because of my small printbed. I can scale down most of them but not everything can be.