 IOTMCU
-
1Step 1
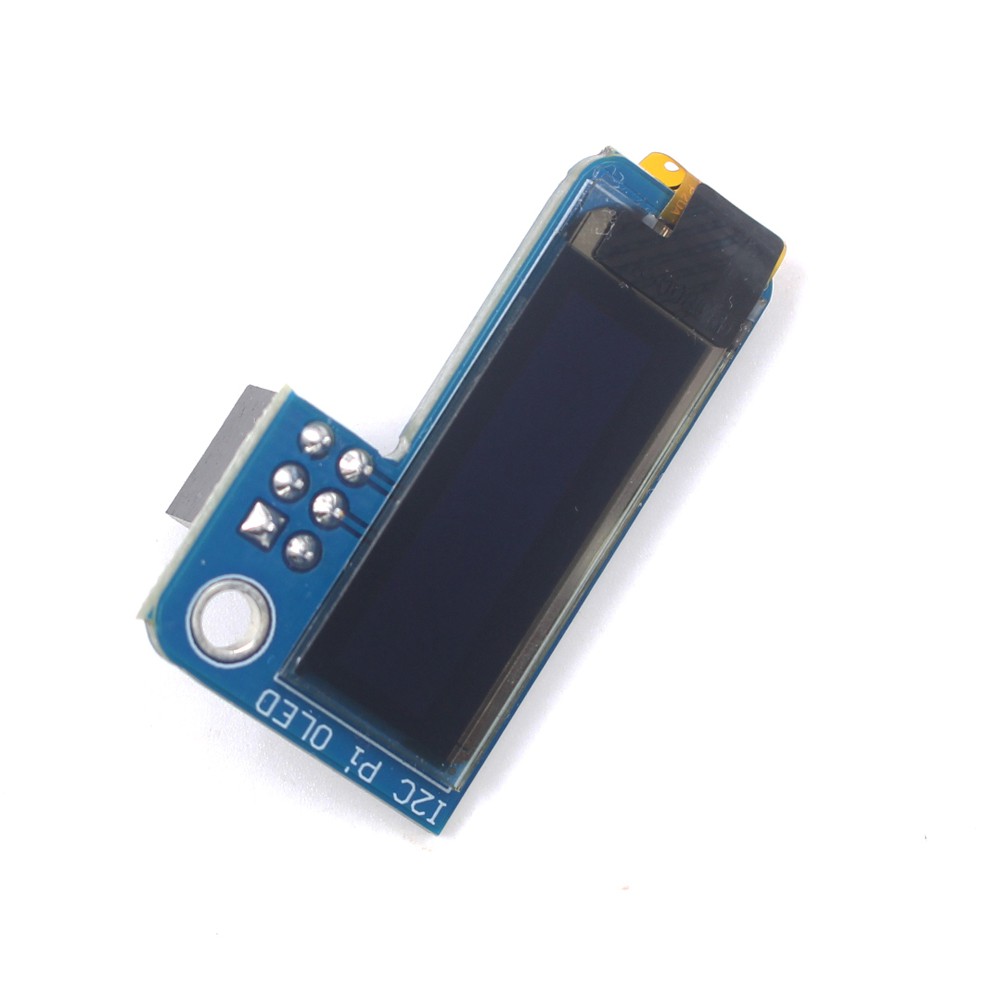
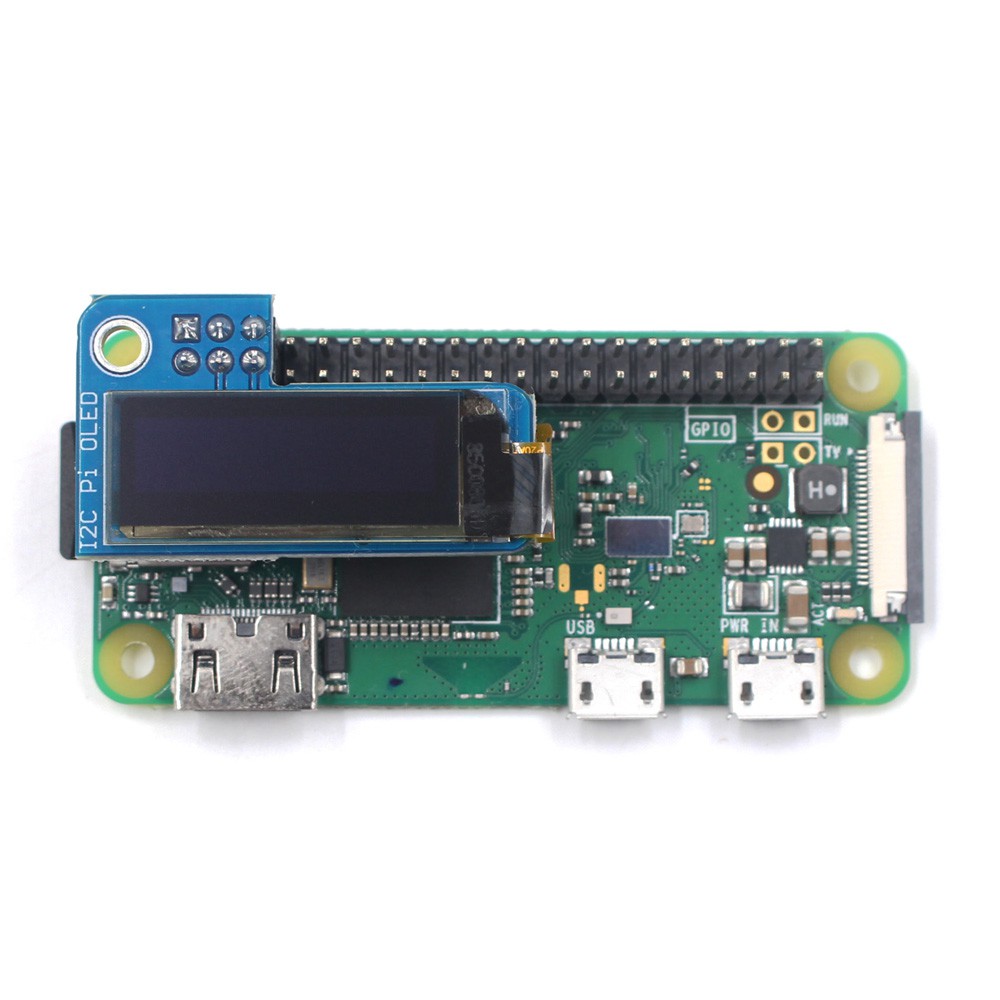
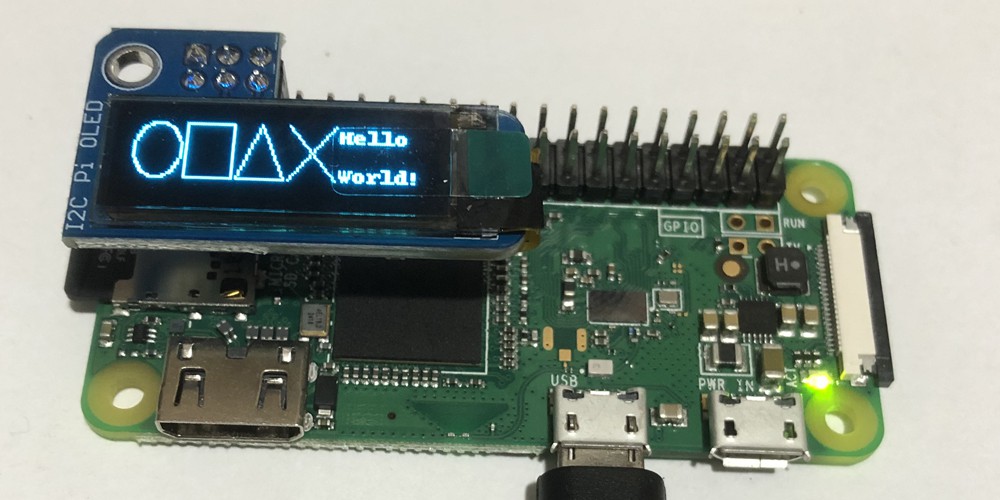
PI OLED Module
the pi oled is 0.91 inch iic oled.
![]()
It is very easy to use. Just plug to your pi will ok.
![]()
Update the pi system and Python
Before use the pioled, please install the Raspbian or Raspbian Lite to your computer.
Run the standard updates:
sudo apt-get update
sudo apt-get upgrade
and
sudo pip3 install --upgrade setuptools
If above doesn't work try
sudo apt-get install python3-pip
Install the library for the Pi OLED
enter the following into the terminal:
sudo pip3 install adafruit-circuitpython-ssd1306
If that complains about pip3 not being installed, then run this first to install it:
sudo apt-get install python3-pip
Enable I2C
The I2C interface is disabled by default so you need to enable it. You can do this within the raspi-config tool on the command line by running :
sudo raspi-config
For additional details on this step please see here.
After you've enabled I2C you will need to shutdown with:
sudo shutdown -h now
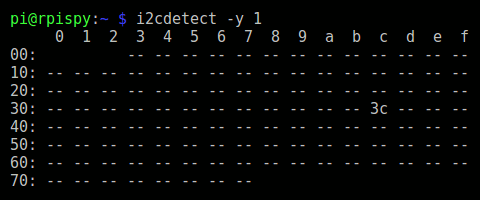
With the I2C libraries installed I used the i2cdetect command to find the module on the I2C bus.
i2cdetect -y 1
and I got the following result :
![]()
cd Adafruit_Python_SSD1306
sudo python3 setup.py install
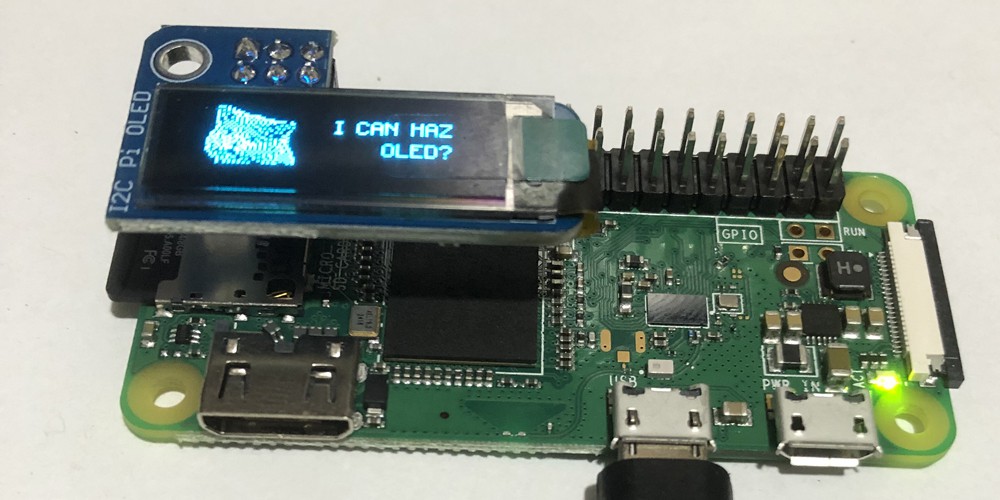
Example Python Scripts
Now we are ready to test some examples scripts. Navigate into the “examples” directory :
cd examples
In there you should find a number of example scripts such as :
animate.py buttons.py image.py shapes.py stats.py
These examples can be run using :
python3 shapes.py
The examples should give you screens that appear in the examples below :
By modifying these scripts you can create your own graphics with shapes, images and text depending on your project.
![]()
![]()
I2C Pi OLED Usage
Miniature OLED display modules are a great way to add a small screen to your Raspberry Pi projects.
Discussions
Become a Hackaday.io Member
Create an account to leave a comment. Already have an account? Log In.