MasterOfNull
-
A new timeline
09/15/2019 at 15:36 • 0 commentsAll involved with this project have been unable to dedicate the time required to move this forward.
As such, we have adjusted our expectations to complete this... sometime.
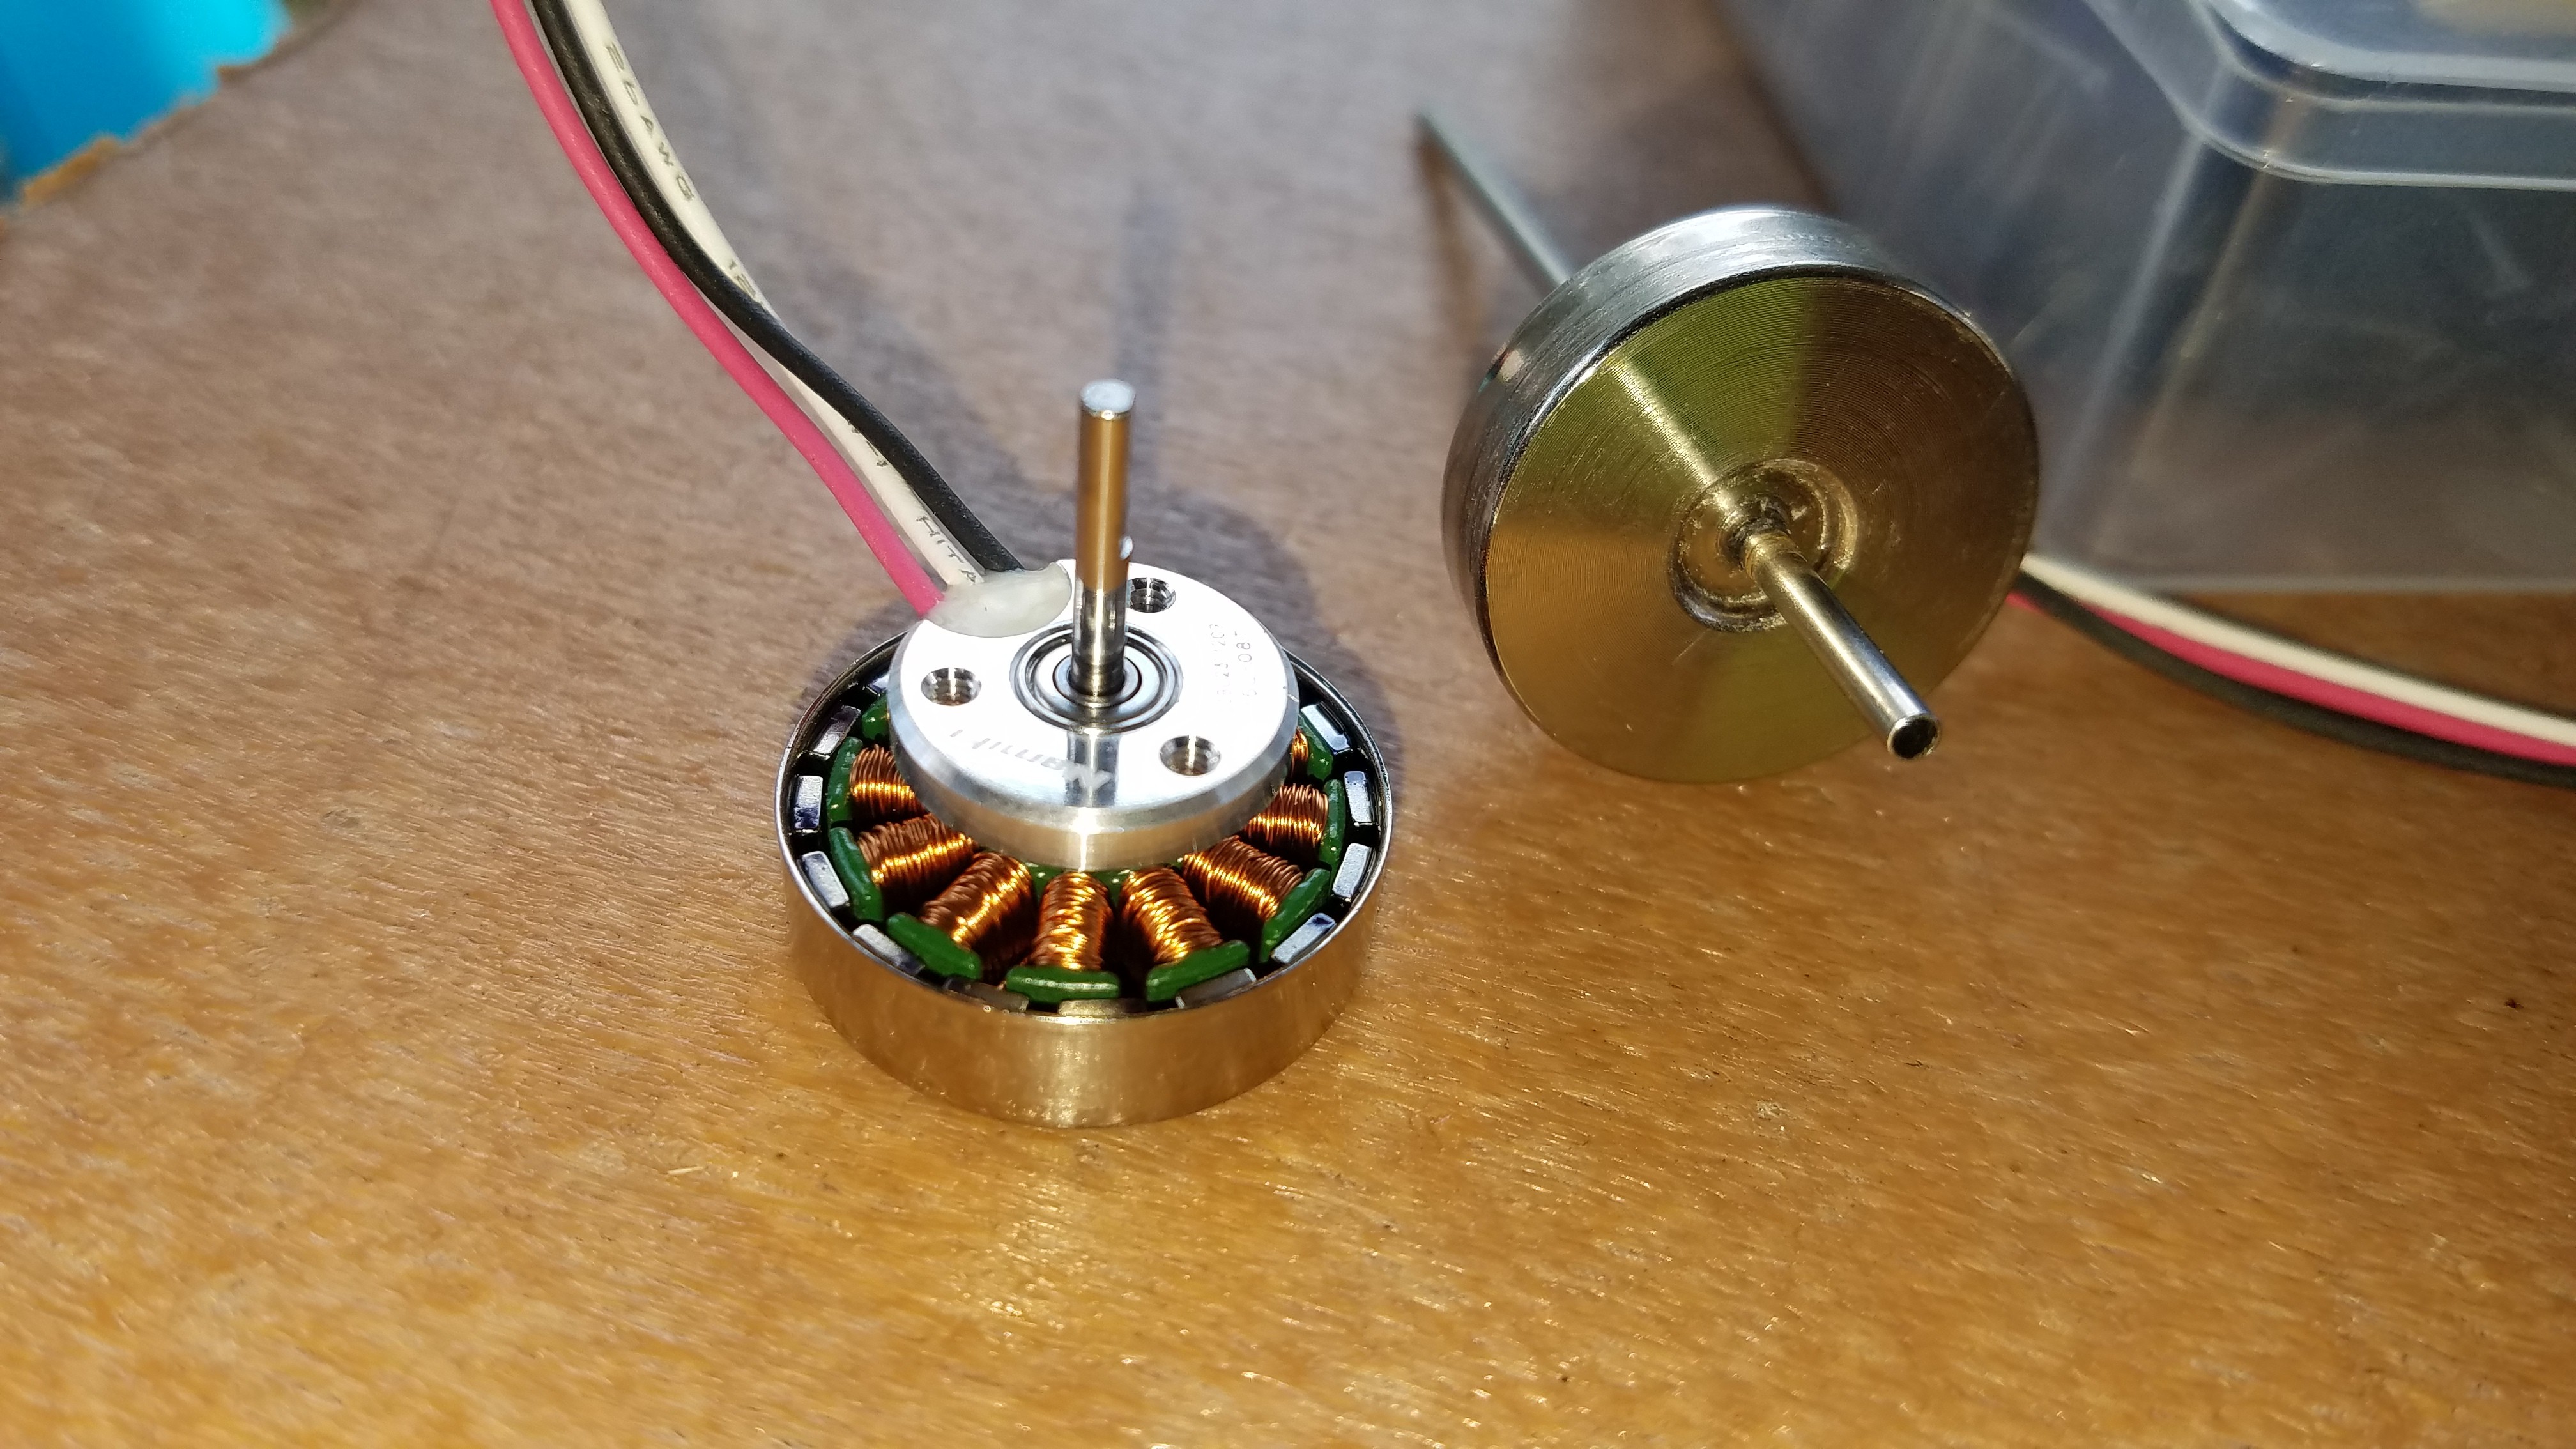
A mass of different BLDC and micro stepper motors were ordered on the slow boat from China, arrived, and one was modified with good results. 11.9g with a hollow 2mm shaft.
![]()
The chips required for our preliminary design are in hand and are waiting on boards and firmware to be authored.
A new 3D printed base/mirror mount still needs to be designed.
This will get done, but it will get done when we all have enough time to do it. I don't know when that will be right now.
-
The real world
06/14/2019 at 05:52 • 0 commentsI've been cursed with a series of automotive issues which has consumed most of my free time for a couple weeks now.
Vehicle one is up on jack stands with the transmission out, and will be getting a new clutch tomorrow as it suddenly disintegrated. Prior to that the radiator and a ball joint failed. 70k miles...
Vehicle two needs a new transmission and has the annoying tendency to randomly engage the reverse gear while in first. Prior to that, the fuel pump and the clutch slave hydraulic cylinder went out.
With any luck, I should have the remaining issues sorted this weekend.
There has been some progress made with our two new project members taking the reigns. A proper introduction and the current state of the project will get posted Monday. There is news...
-
Jetson Nano unboxing.
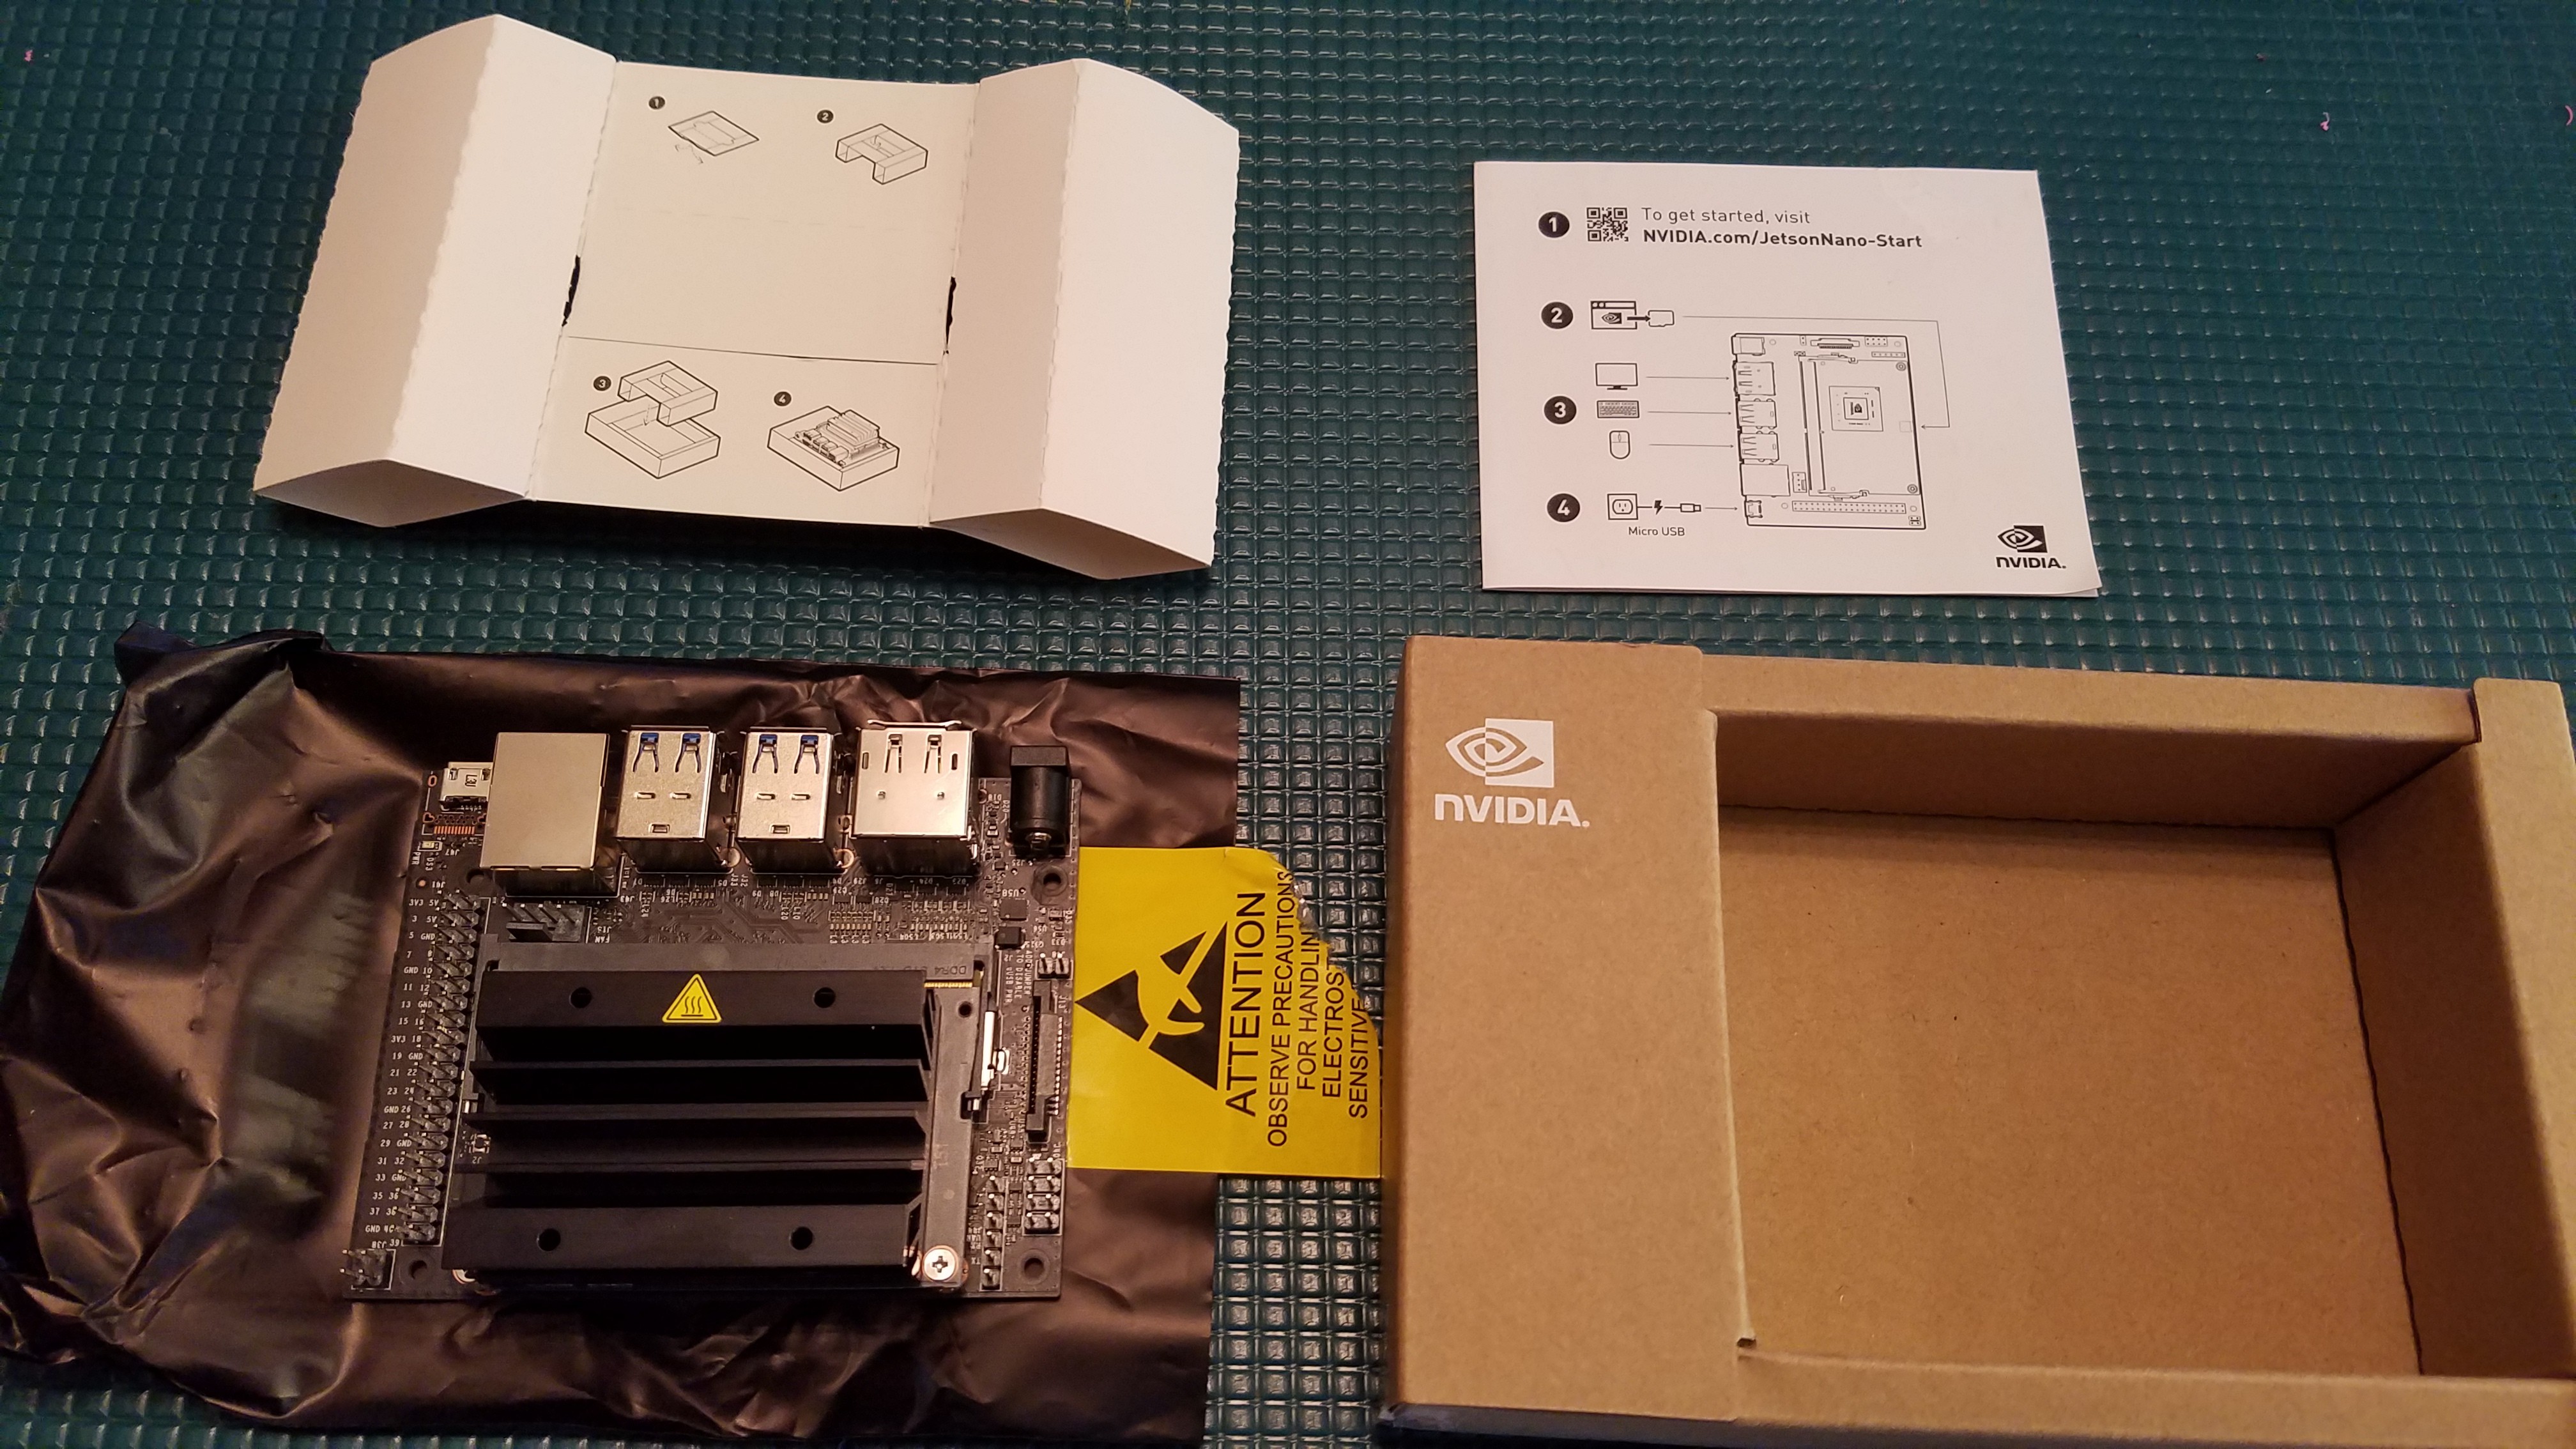
05/23/2019 at 21:08 • 1 commentIt's finally here...
![]()
First off, I see 11 of the 40 pin GPIO pins have been immediately consumed by ground and power lines. I also don't know if it is suitable to apply power to the ones labeled 5v. I hope so.
I'm eyeing that CSI camera connector with excitement though. :)
Downloading the 5.3 GB zipped disk image now and we'll see what happens next...
-
Jetson Nano on the way!
05/17/2019 at 22:43 • 0 commentsYay. My target vision board for this that I ordered a month back, just shipped today. Almost time to get busy..
-
Part placement springy thingy
05/01/2019 at 05:20 • 0 commentsWhen the nozzle puts the SMD parts down, the part height actually has some tolerance associated with it. This looks to be between 0.1mm and 0.5mm of deviation I will need to account for. I do have fine control over the Z axis with my chosen motion platform here, so that helps though.
For commercial nozzles, the springy-ness of the nozzle is built into the nozzle itself. I won't have that.
The P1 handled this by having a spring loaded rotator shaft. I think I might have a better solution here using the BLDC part rotator.
The rotor and stator tend to stay aligned naturally in a BLDC motor, as the magnets pull on the iron stator and keep it centered. I think I can use this to provide the required spring-ness to my static/cheap choice of nozzles.
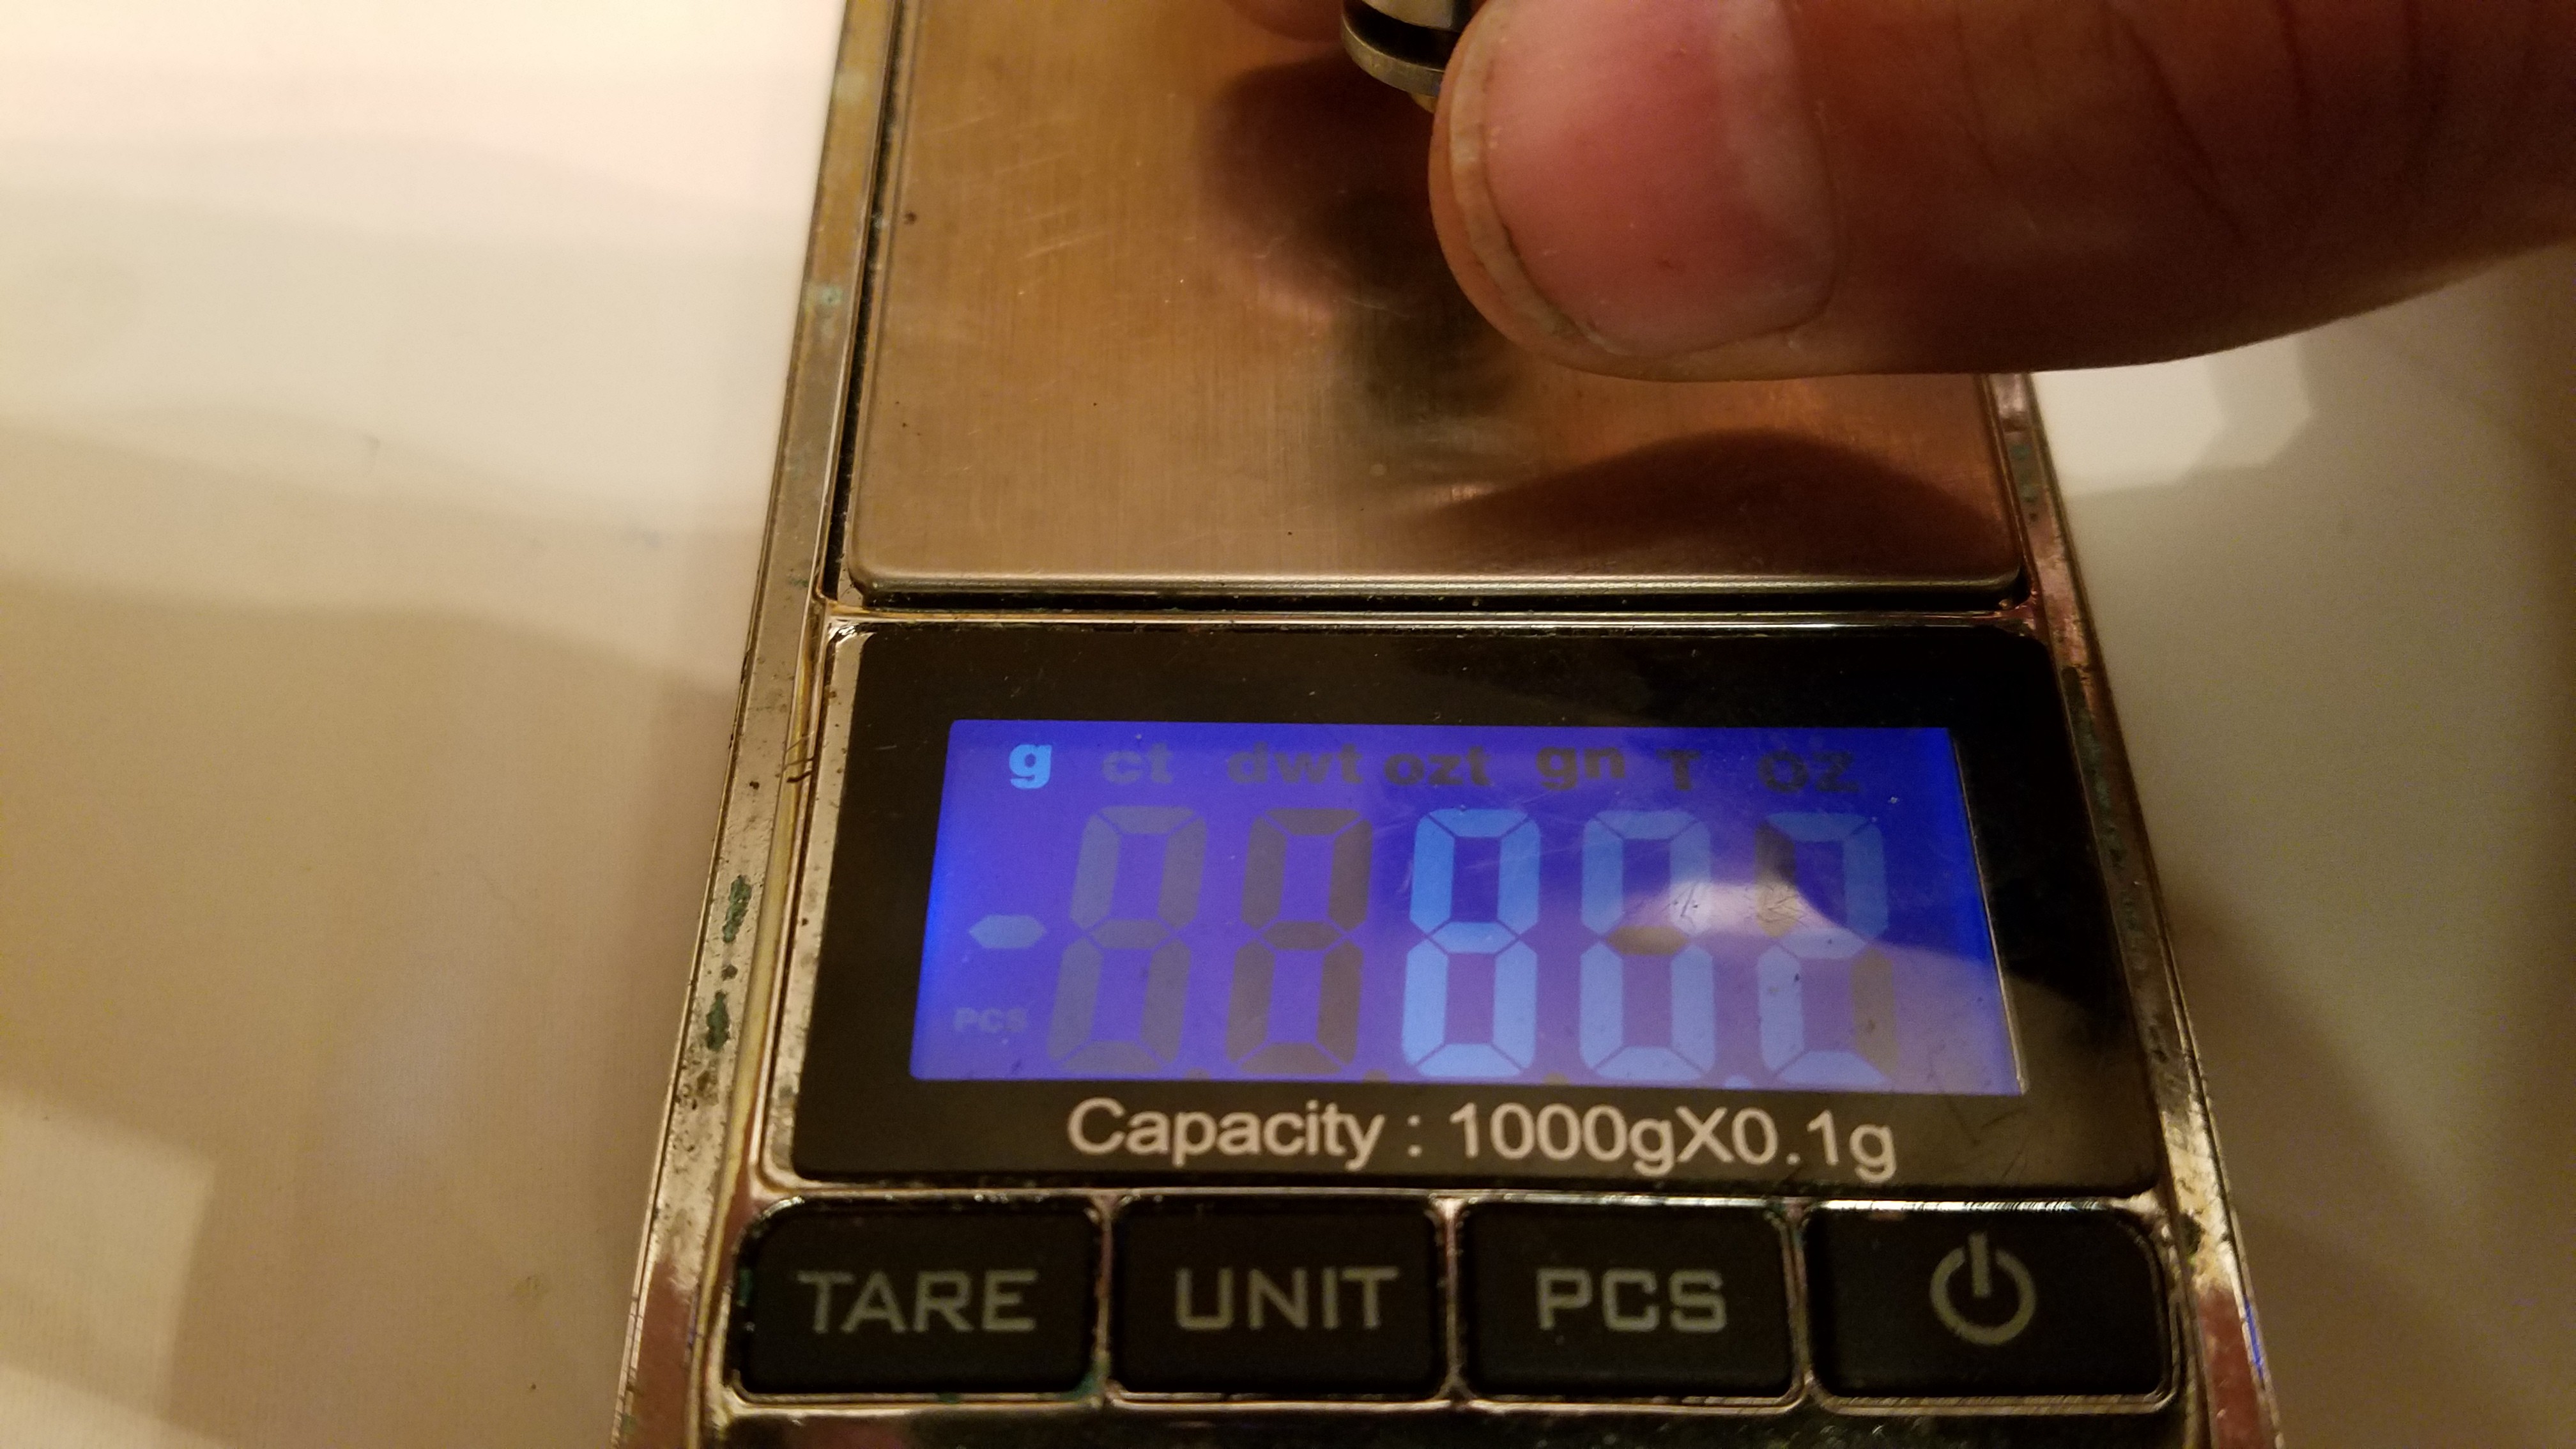
I got out the scale and measured 80g of force at 1mm of travel as I pushed on the shaft of the motor, which in turn pushed the stator out of alignment with the rotor. Beyond that, I had an additional ~3mm of travel where it pretty much stayed at 80g of force. Further still, the force required started to drop off and I'm pretty far out of alignment at that point. 1mm should be enough anyway.
![]()
80g of force is a little low from what the OpenPNP community is saying, but it certainly feels like a lot to me. I'm going to give it a try.
I'm also wondering if I could modulate the current going to the stator (for all 3 phase so I don't affect the rotational positioning) and control the placement force provided. My gut says no as I'm both pulling and pushing on the magnets in the rotor with the energized stator and so having a stronger stator field strength would probably just cancel out. I'll just have to measure it and find out... :) That would be really cool if that does work.
I will have to flip my part rotator over and use the other end of the shaft to make this happen as I don't have enough travel with the rotor on the bottom side. This will complicate the mounting a little, and also means fabricating something fairly accurately for my retaining nut to attach to the shaft with.
-
Rotator runout
04/29/2019 at 17:06 • 0 commentsRunout is not perfect, but not bad.
Sadly I may have permanently damaged this cute little motor as I pressed the shaft in slightly crooked.
-
Cheap, plentiful, accurate part nozzles.
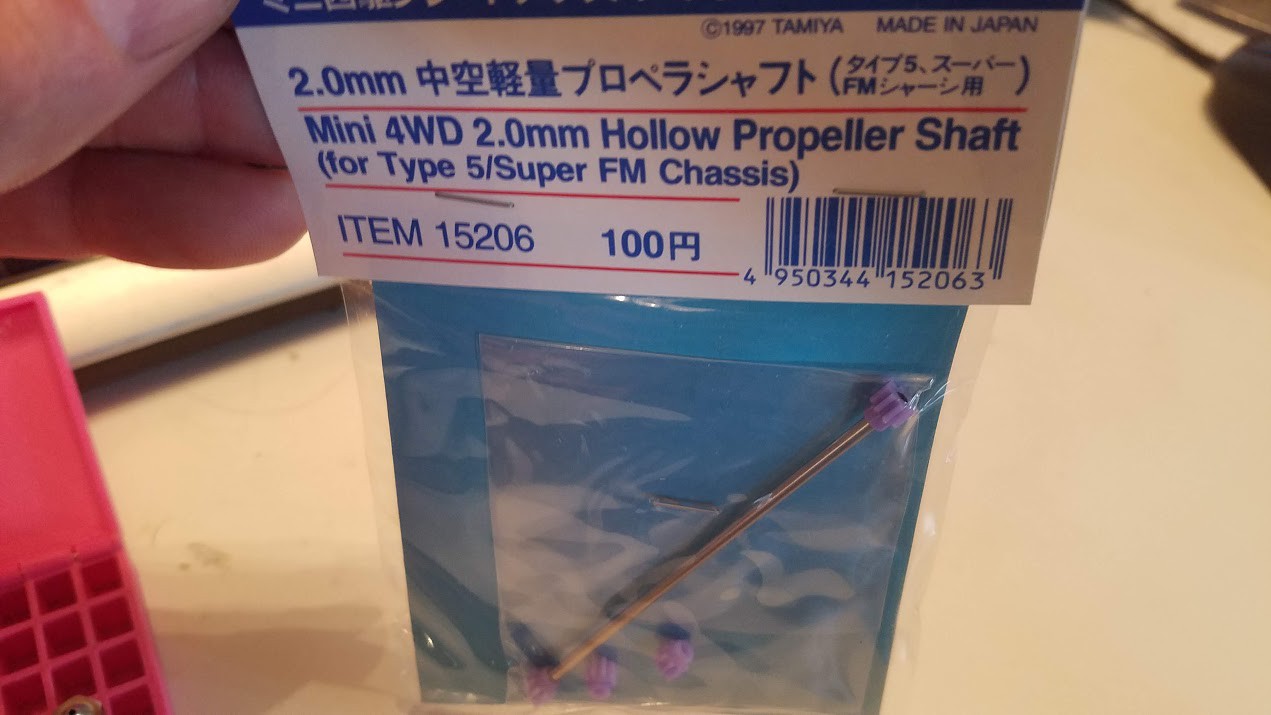
04/26/2019 at 22:27 • 0 commentsThe stainless steel 2.0mm hollow shafts for part rotator idea number one showed up today.
![]()
I set to work rebuilding the BLDC motor with it. It was relatively painless. Pressed out the old shaft, pressed in the new one. Centering was good. Done.
Now on to how to mount my nozzles....
For the P1, I used Luer lock syringe needles and a bit of machined brass for the male part they went onto.
This worked ok, but there was basically no such thing as a syringe needle with no runout. They all needed correction to be usable, and then crashing into the bed tended to destroy them.
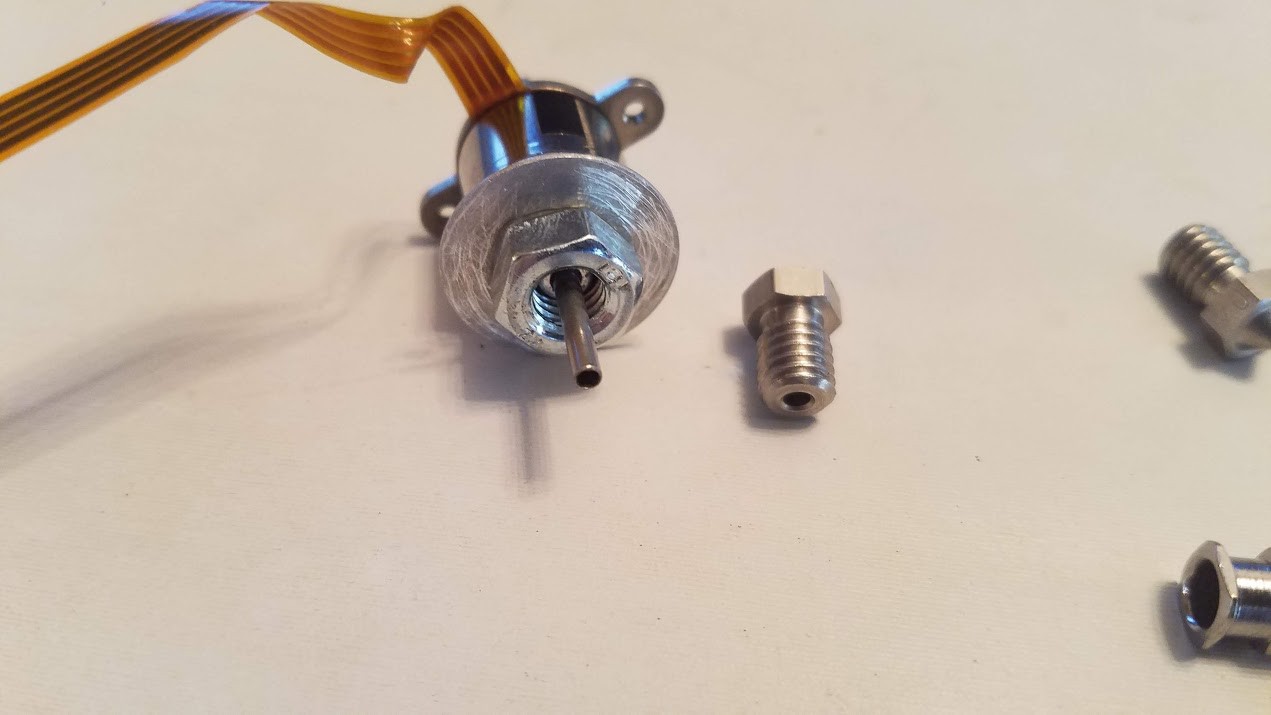
I had a little brainstorm today. Use 3D printer nozzles.
![]()
The thread doesn't provide any centering. It just holds the nozzle and allows me to do automated switching by putting them in a rack and threading them on/off by rotating the part rotator.
The centering comes from the 2.0mm hollow shaft I replaced in my BLDC motor.
![]()
The nozzles also happen to be 2.0mm ID, so this is a nice close fit with a little drag all the way on. Basically perfect.
I believe they would nicely handle a head crash as well.
Still waiting on some small value caps to start building my BLDC sinusoidal motor driver..
-
BLDC rotator plan
04/24/2019 at 15:16 • 0 commentsI'm going to use an STM32 as my microprocessor, and have that driving an L6234 as my 3 phase motor driver.
I'm going to build it on velo-board first, but I'll be using the same SMT components I would for the finished product.
I can do current control, but I actually don't have access to all three phases of current with that chip. Two of the three phases have combined current sensing. :( That probably eliminates implementing Field Oriented Control later as I was hoping.
There is another chip I was looking at though, the MP6536, which does break out current sensing for all three phases... If Field Oriented Control becomes a sticking point for me, I can switch to using that one. The overall schematic wouldn't change much, but of course the pinouts are radically different.
I'm using a driver chip instead of just building this with mosfets because:
- Ultimately it's a little cheaper
- I don't have to worry about shoot-through,
- No high side drivers, or most of the support components.
I do have to be careful to only provide logic signals after that chip is powered up though or 'bad things happen'.
I'm still missing a few caps before I can get started.
-
Here we go again.
04/21/2019 at 21:24 • 2 commentsWhile I'm waiting for my Jetson to show up, I'm starting with the other stuff.
I've been doing a lot of research into accurate open-loop positioning of BLDC motors. If there ever was a perfect application for this, part rotation is it. Basically zero load, and comparatively low speed requirements.
As a first step here, I intend to program a microcontroller to drive a 3 phase motor driver IC like it was a stepper. Step/dir interface, hard-coded microstepping, sinusoidal drive.
I'm missing a few small value caps right now, but that's about it.
Working on it.
P2 - Pick and Place for 3D Printers
Pick and place head providing part rotation and top/bottom machine vision in a package lighter than an E3D V6.