David Troetschel
-
Second Prototype Assembly
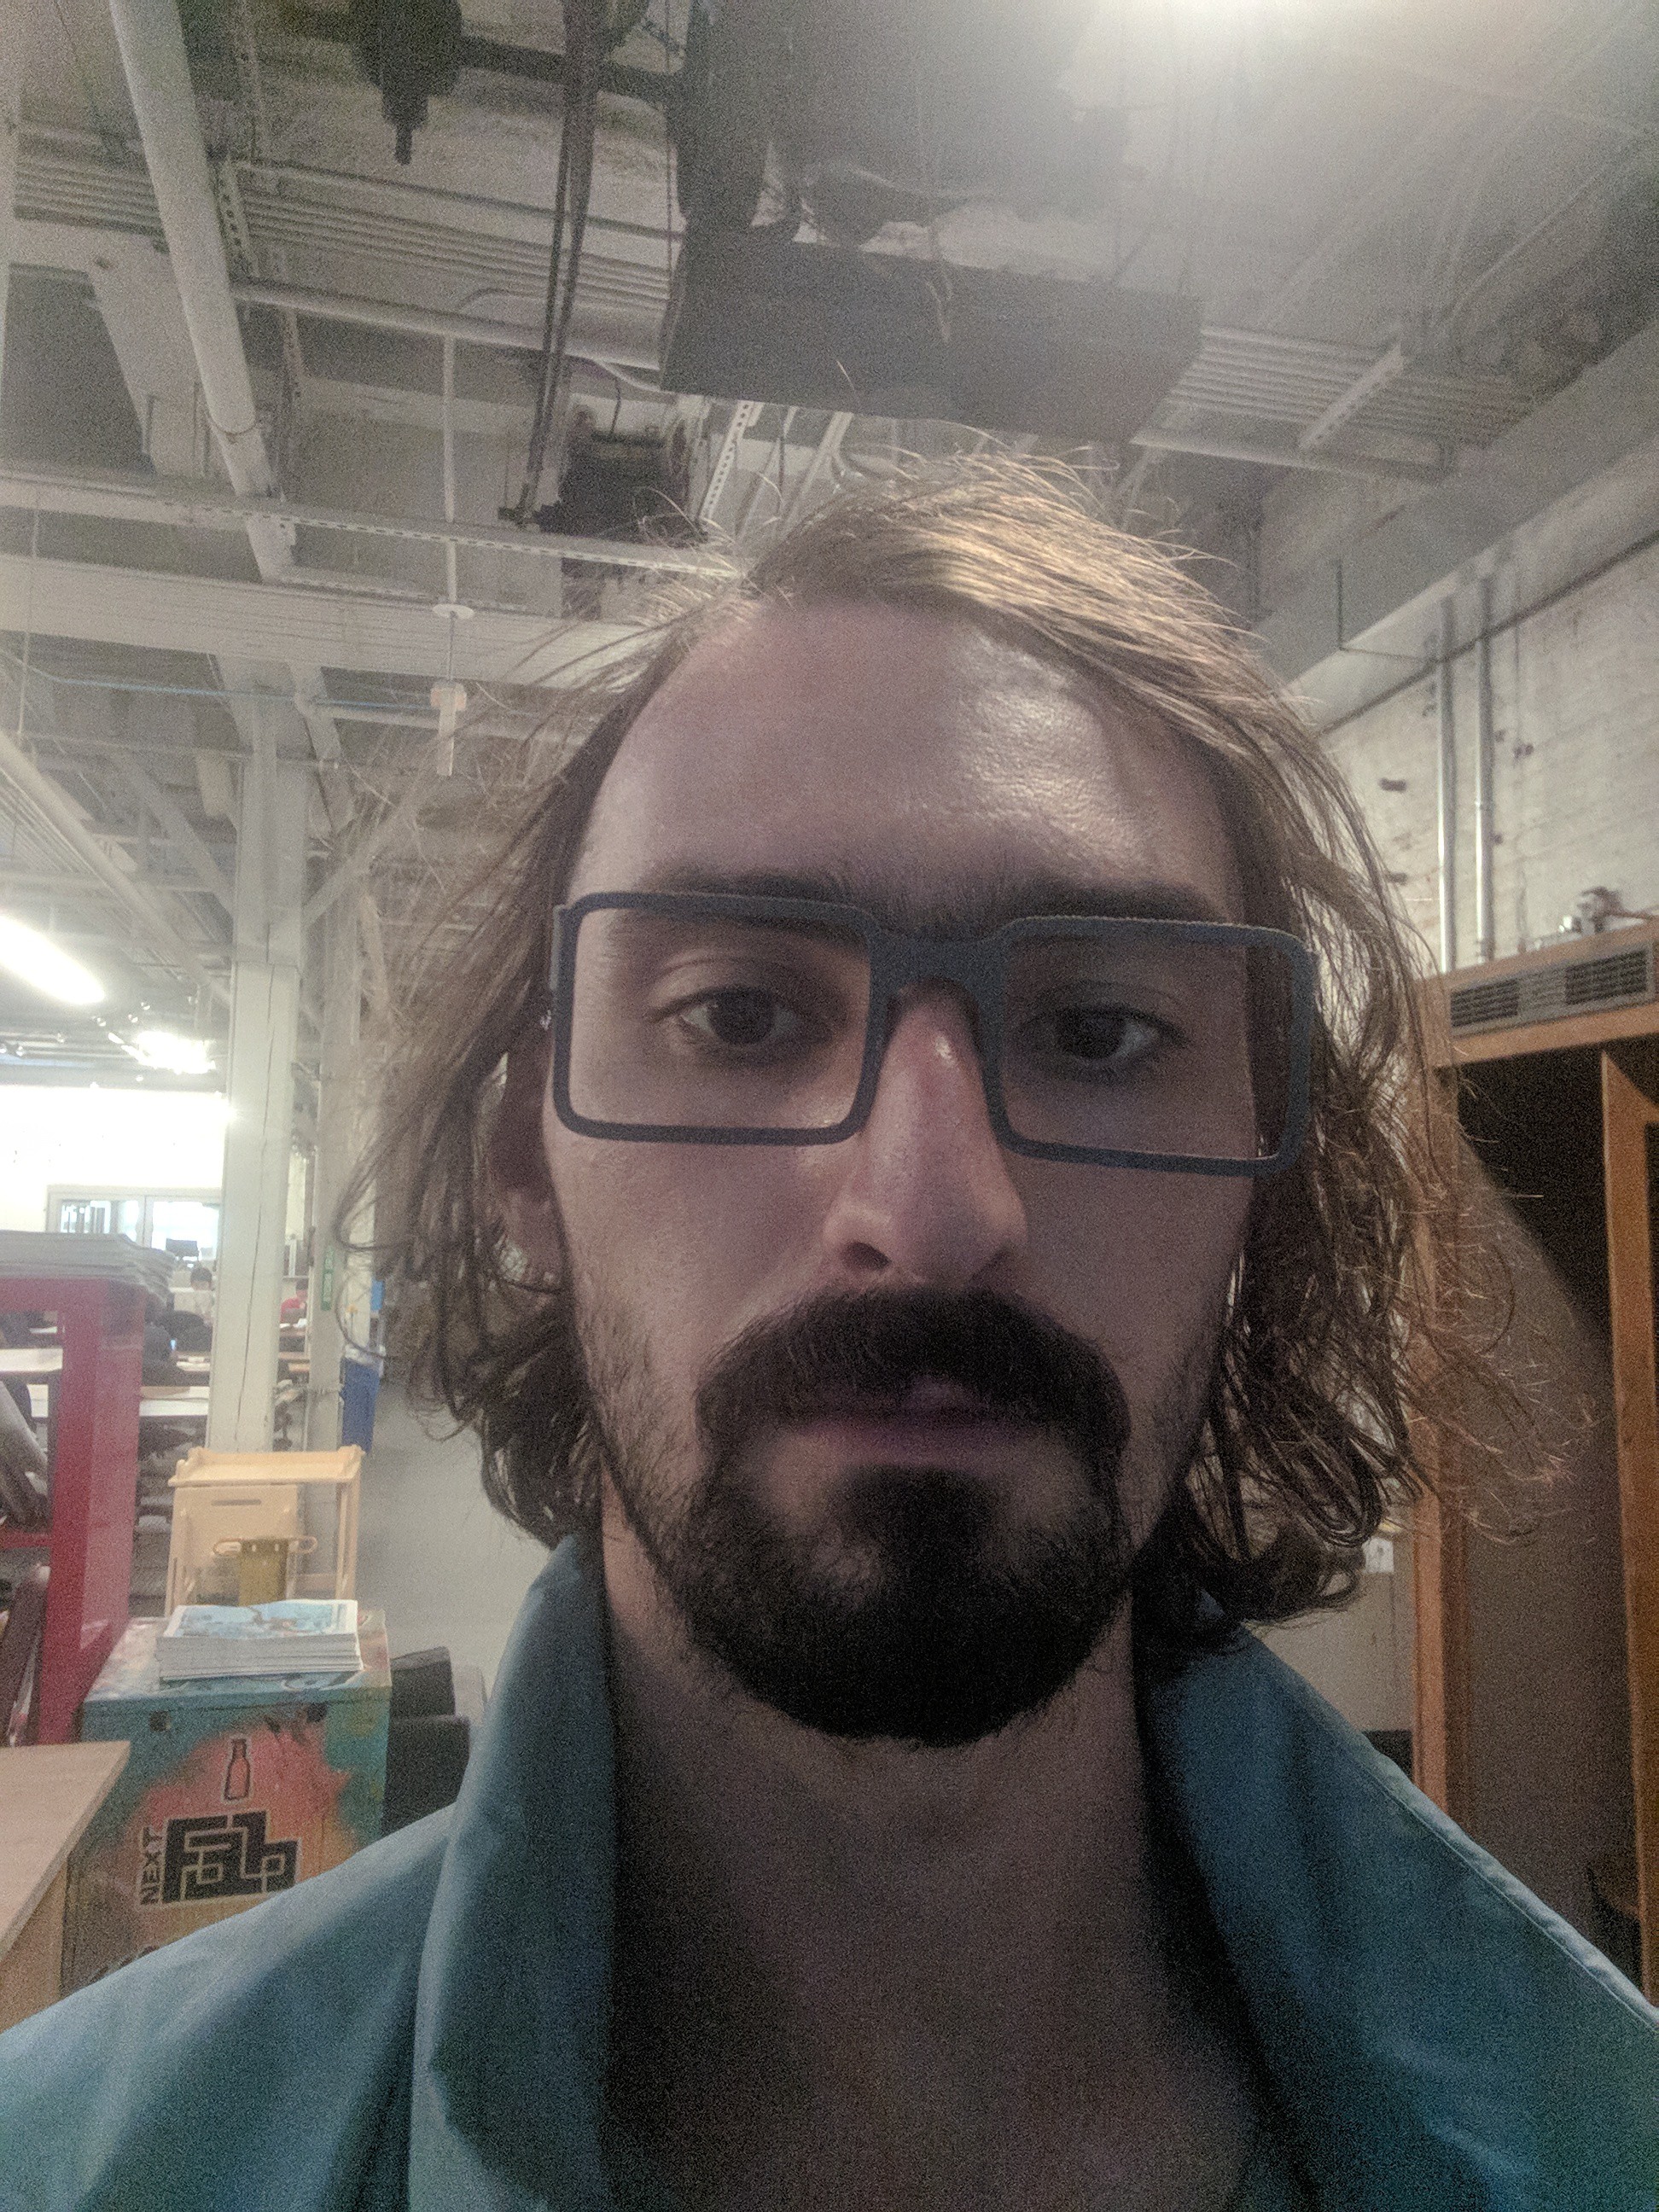
07/09/2019 at 23:01 • 0 commentsFirst; a video of the end result.
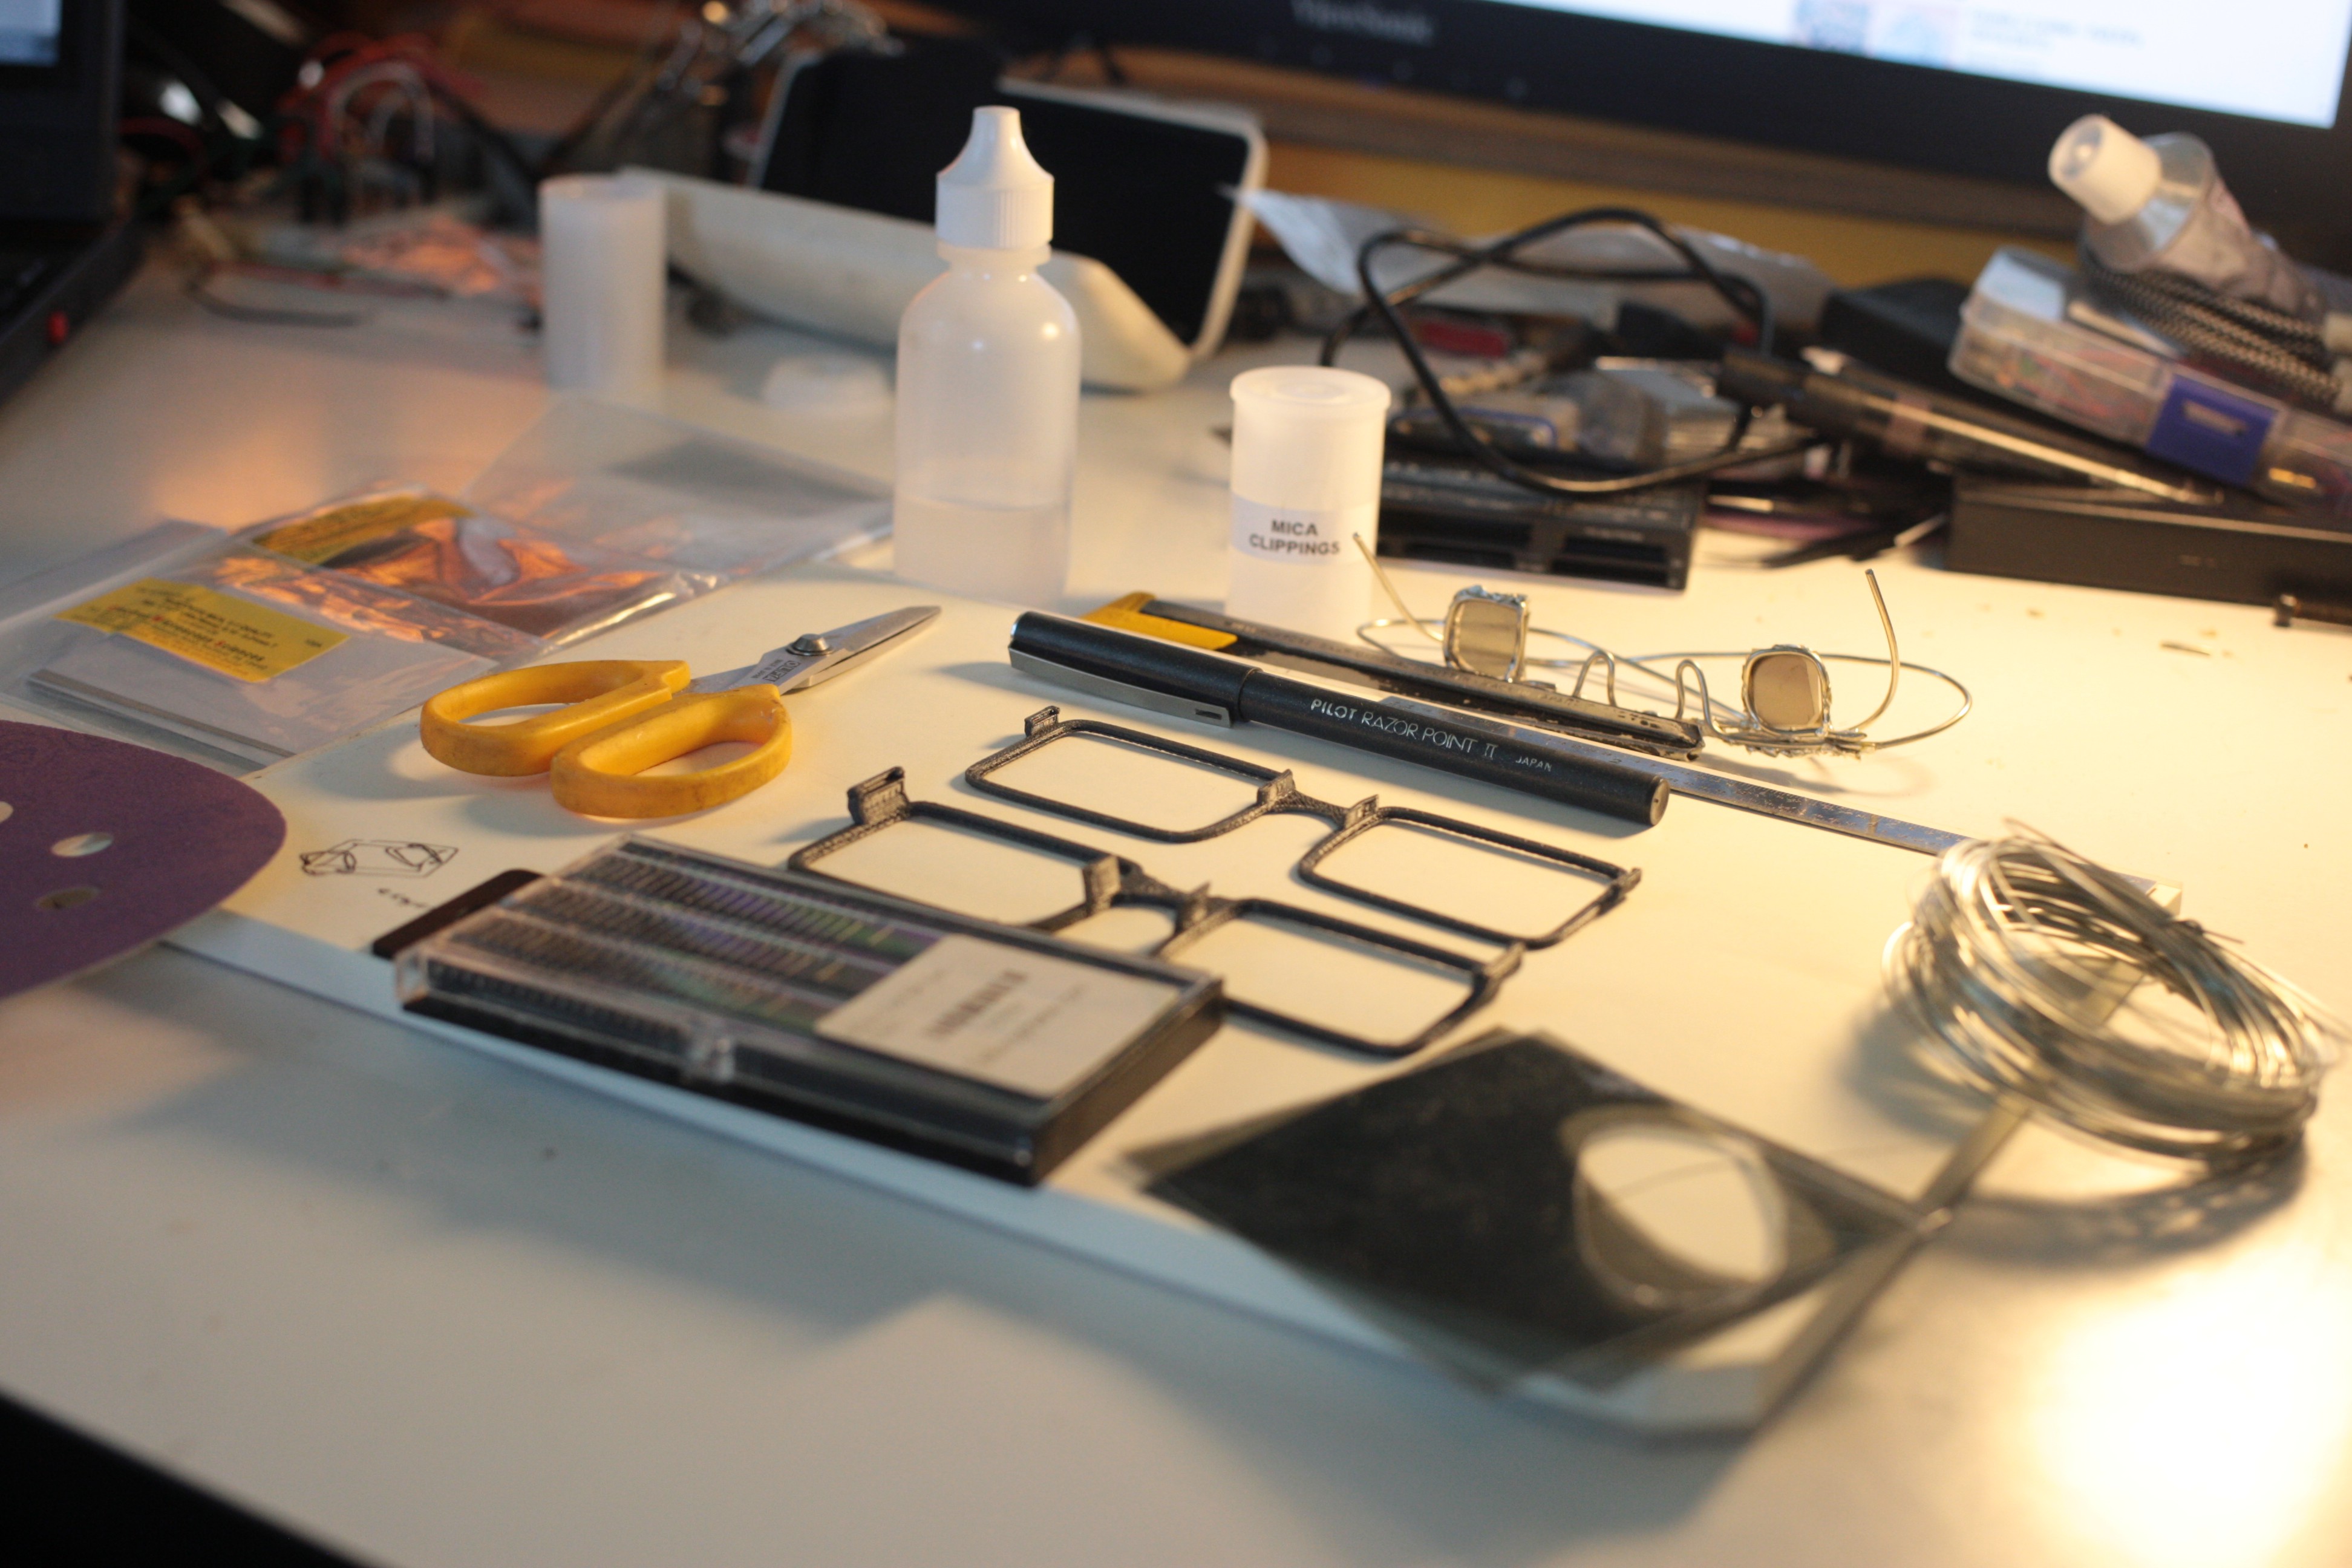
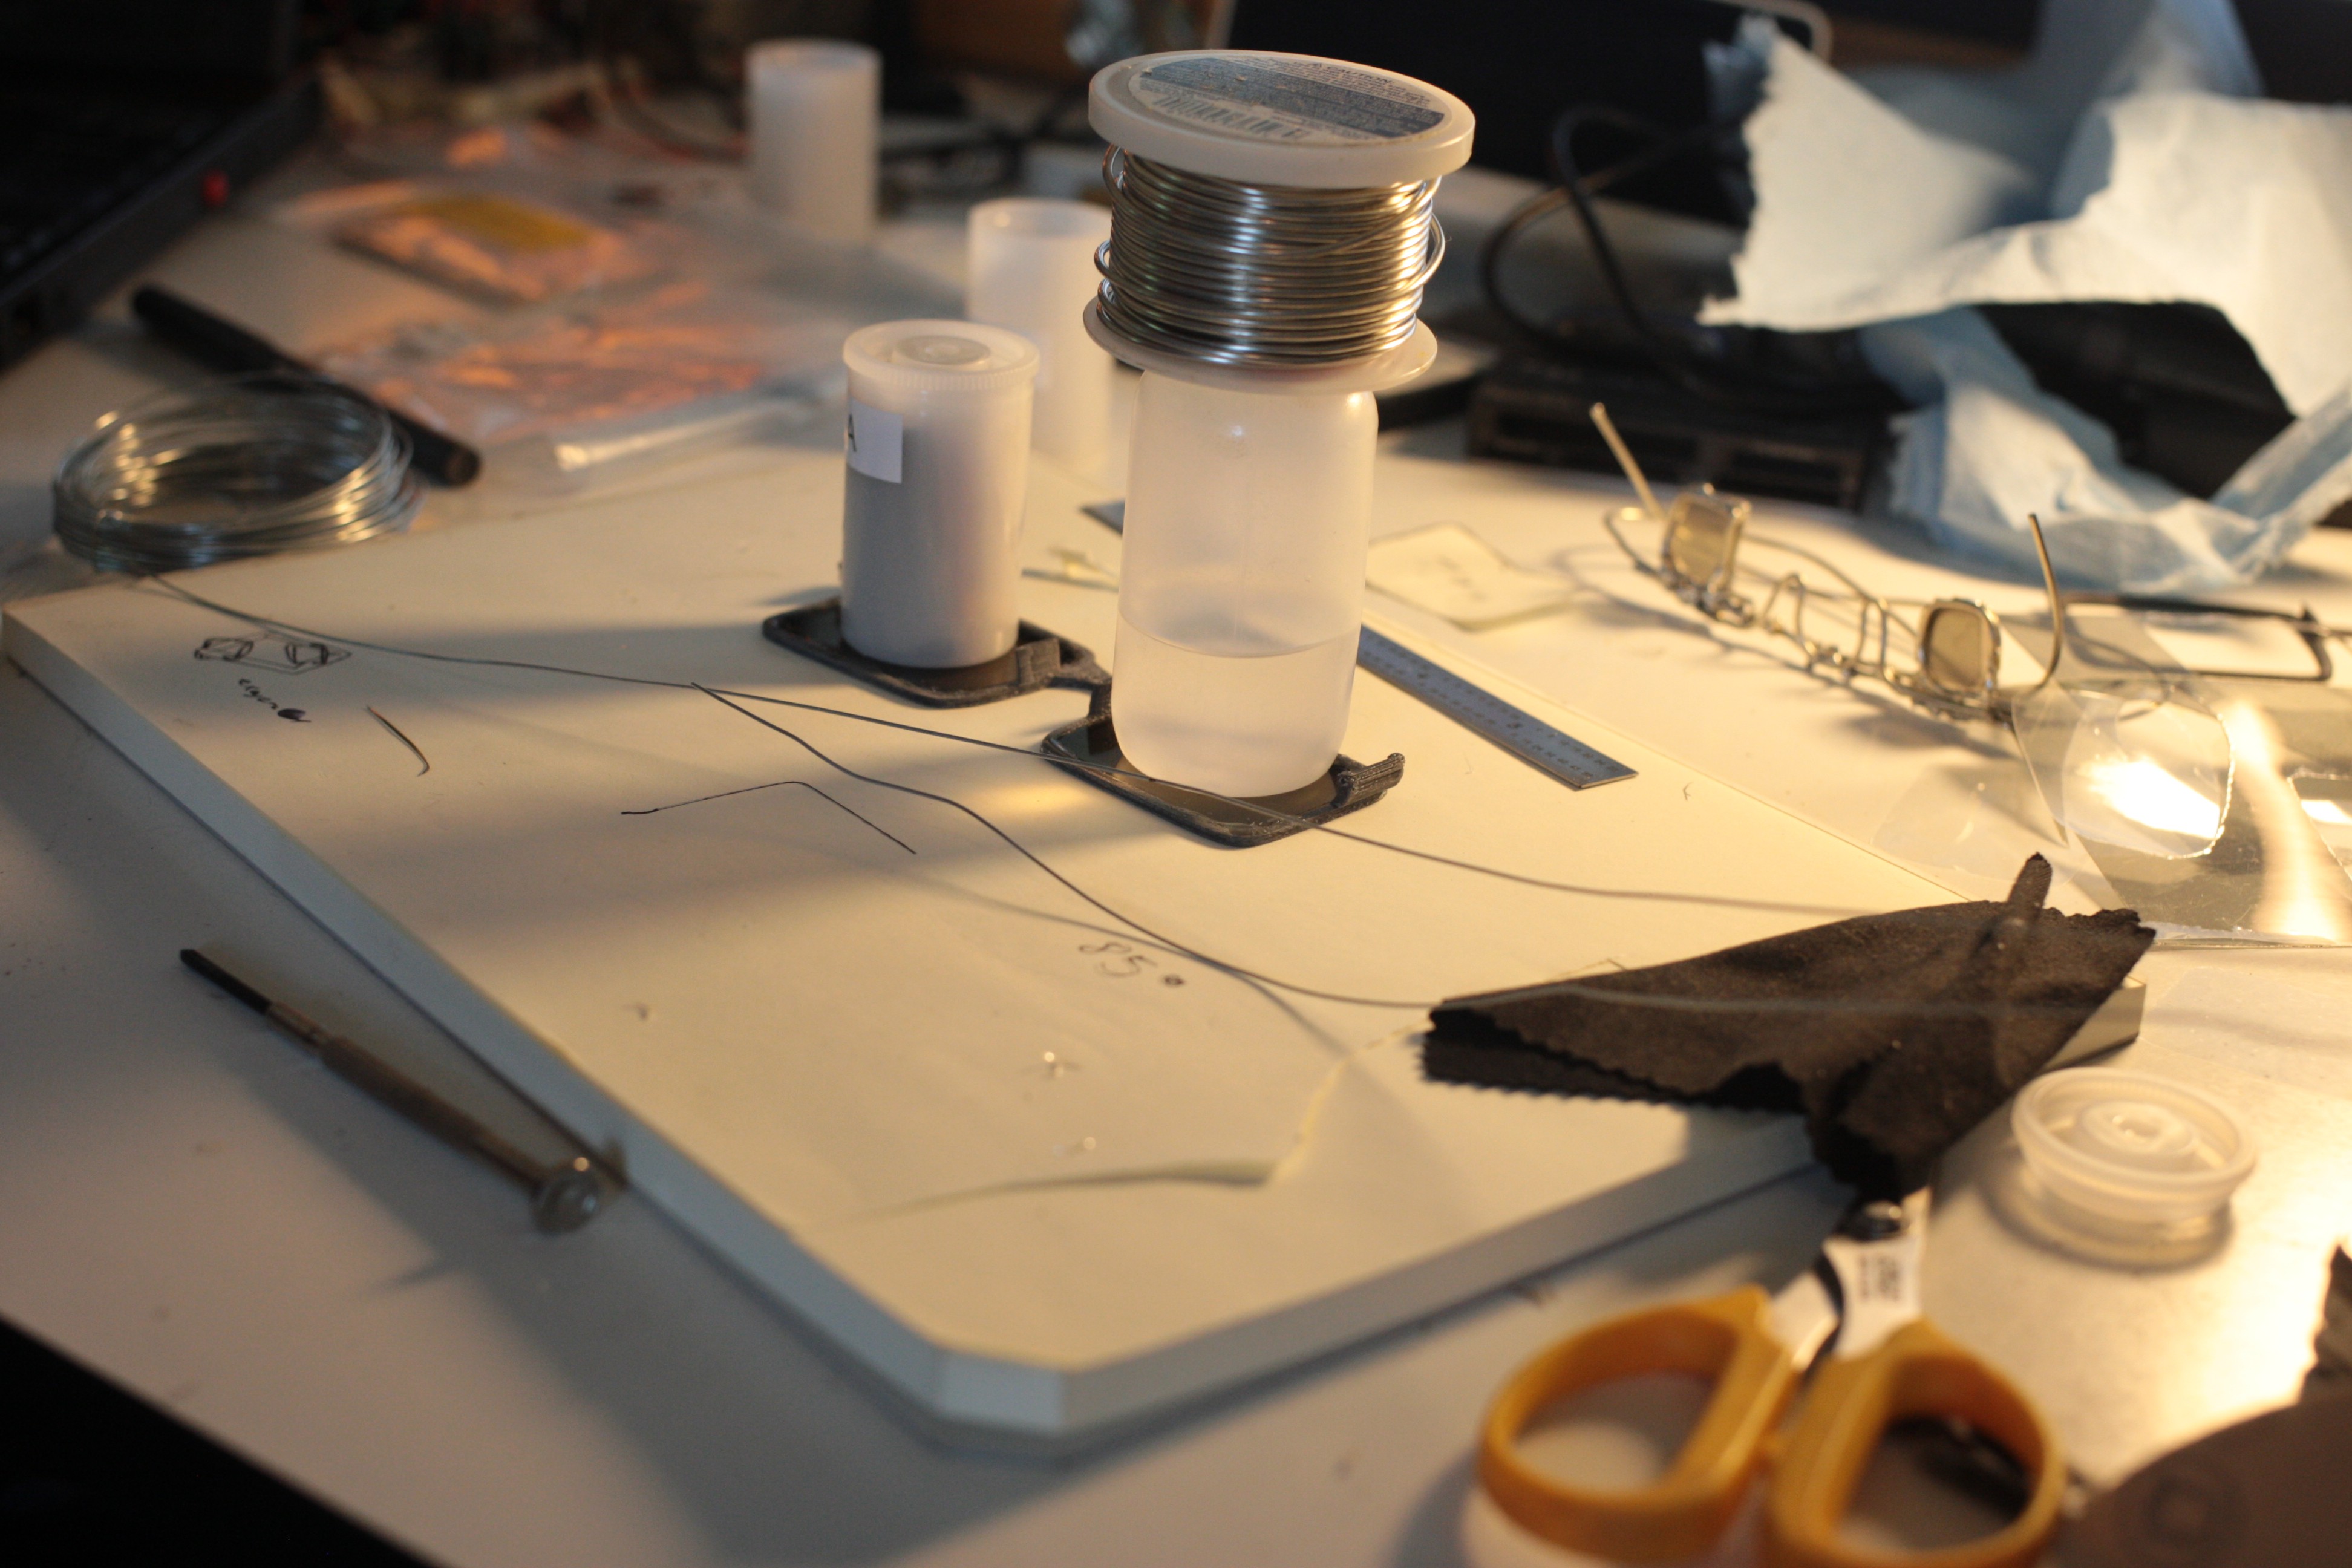
I gathered supplies:
![]()
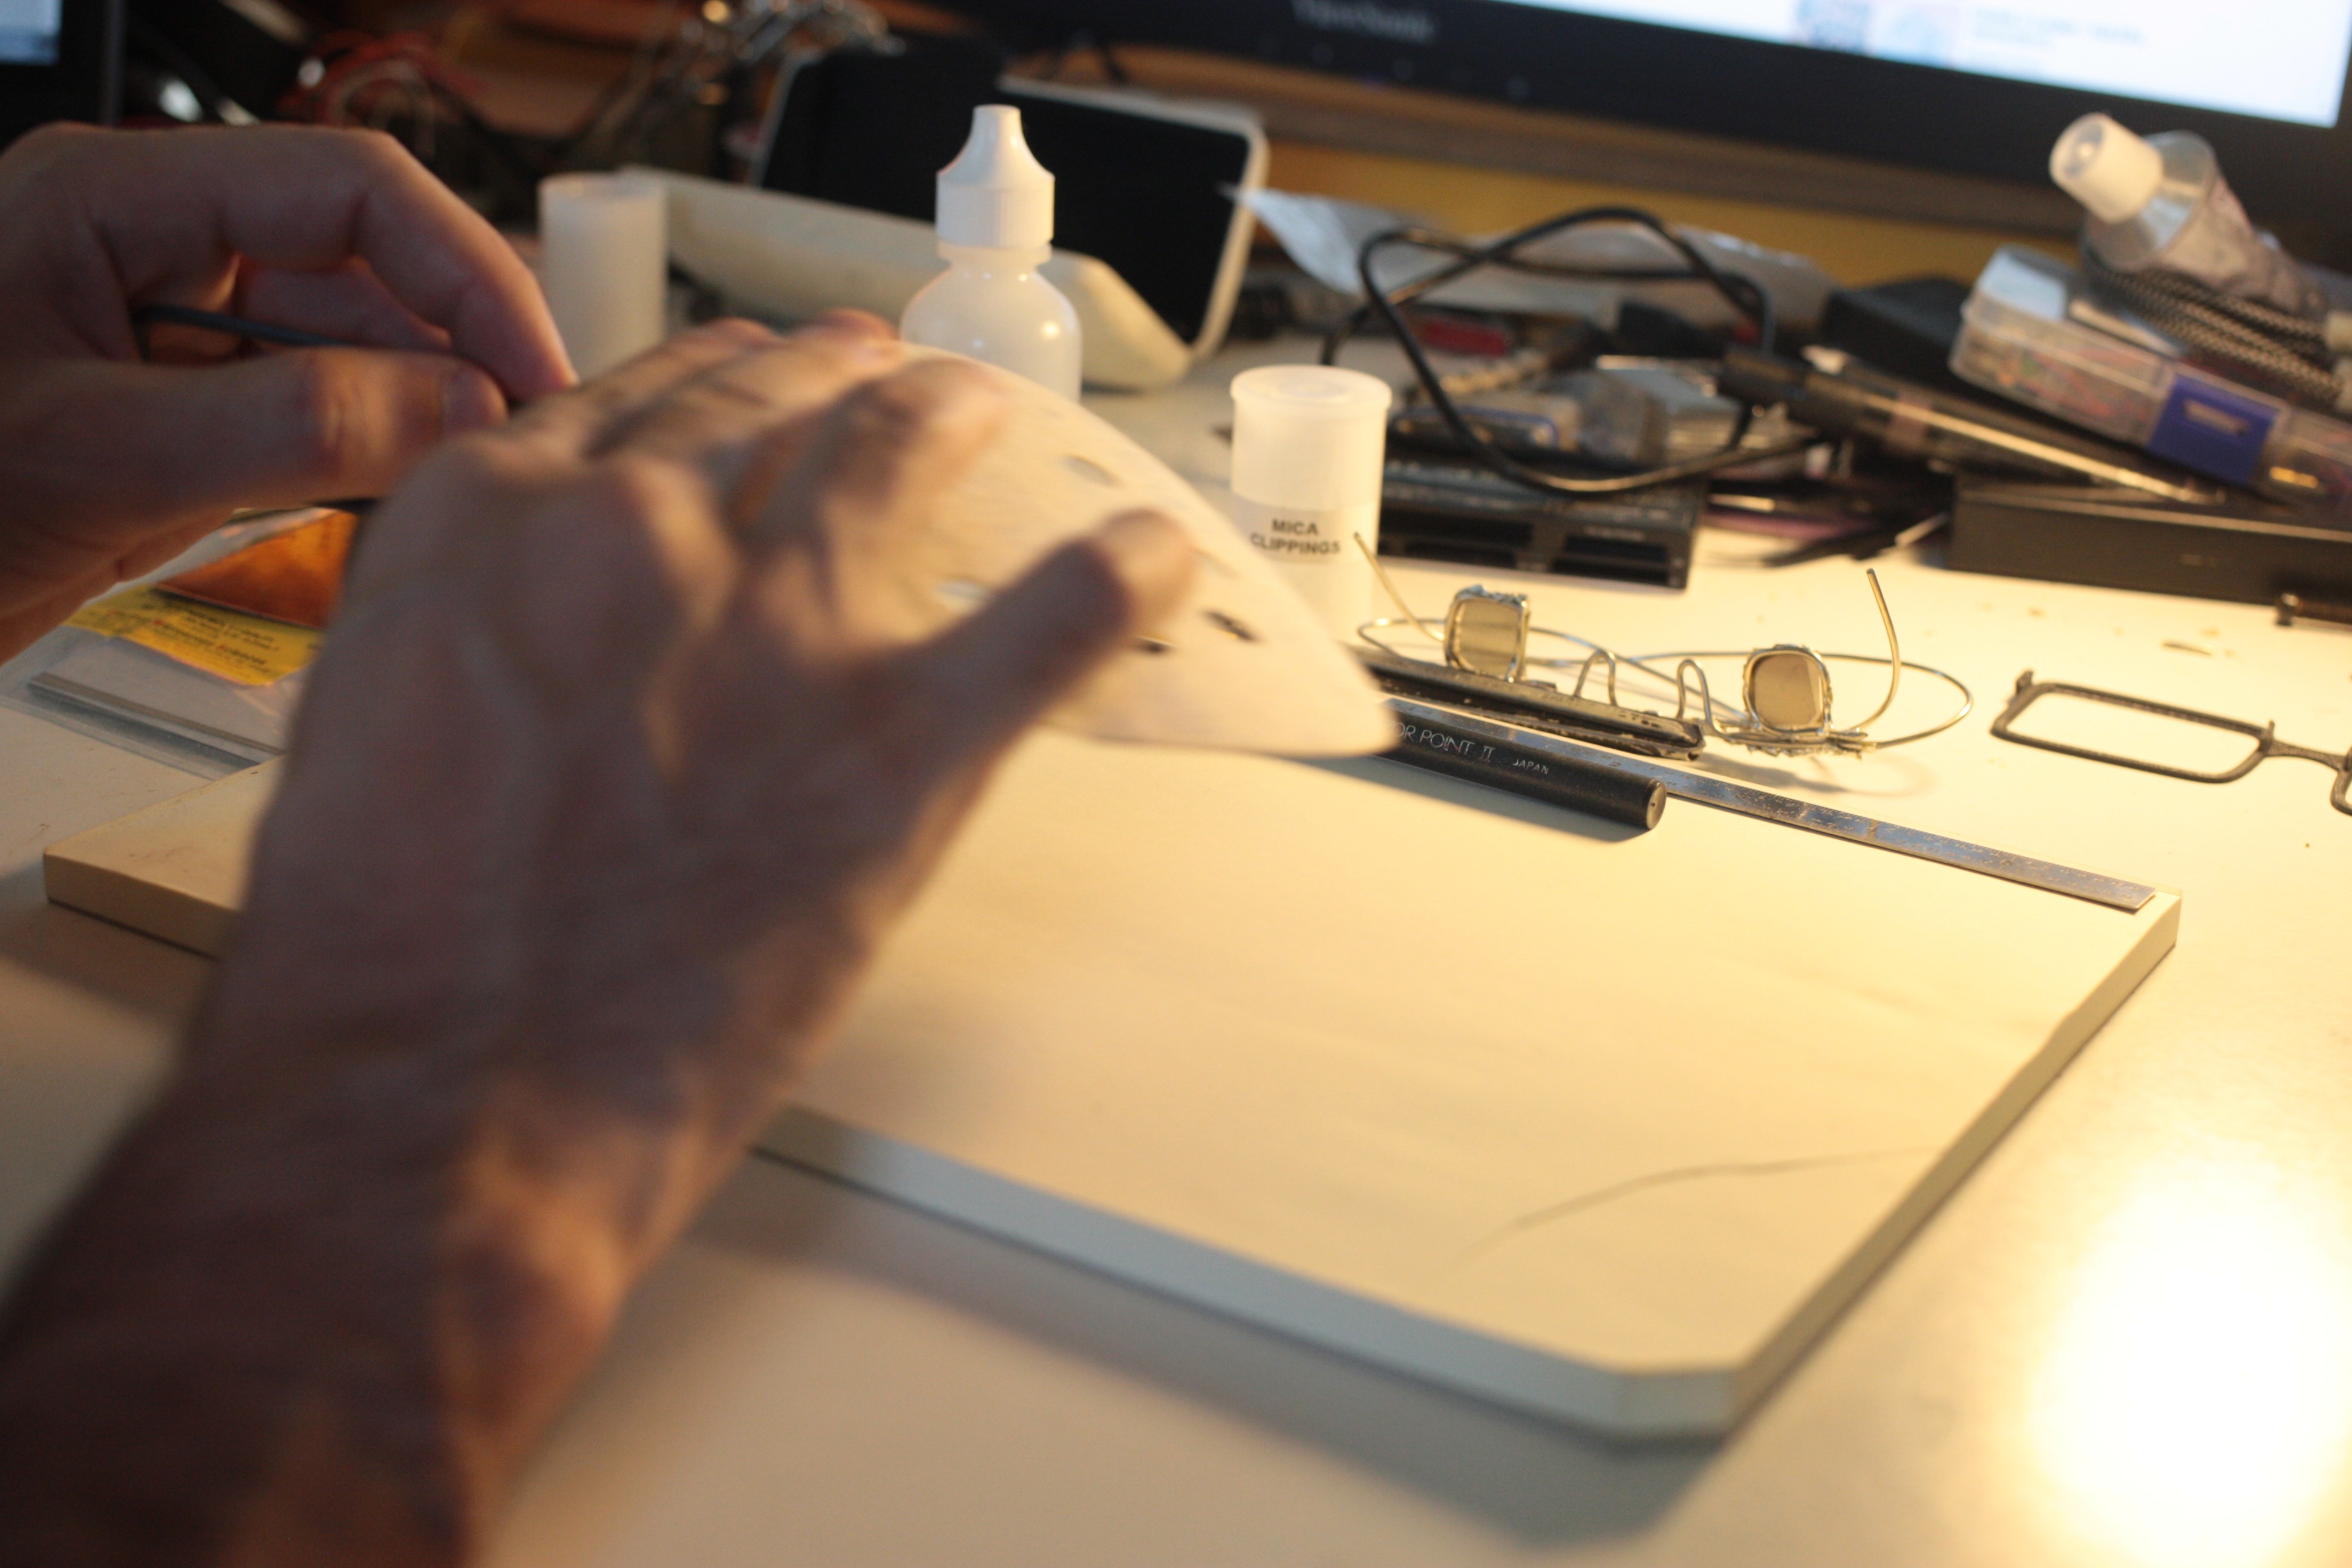
Then sanded the frame.
![]()
![]()
![]()
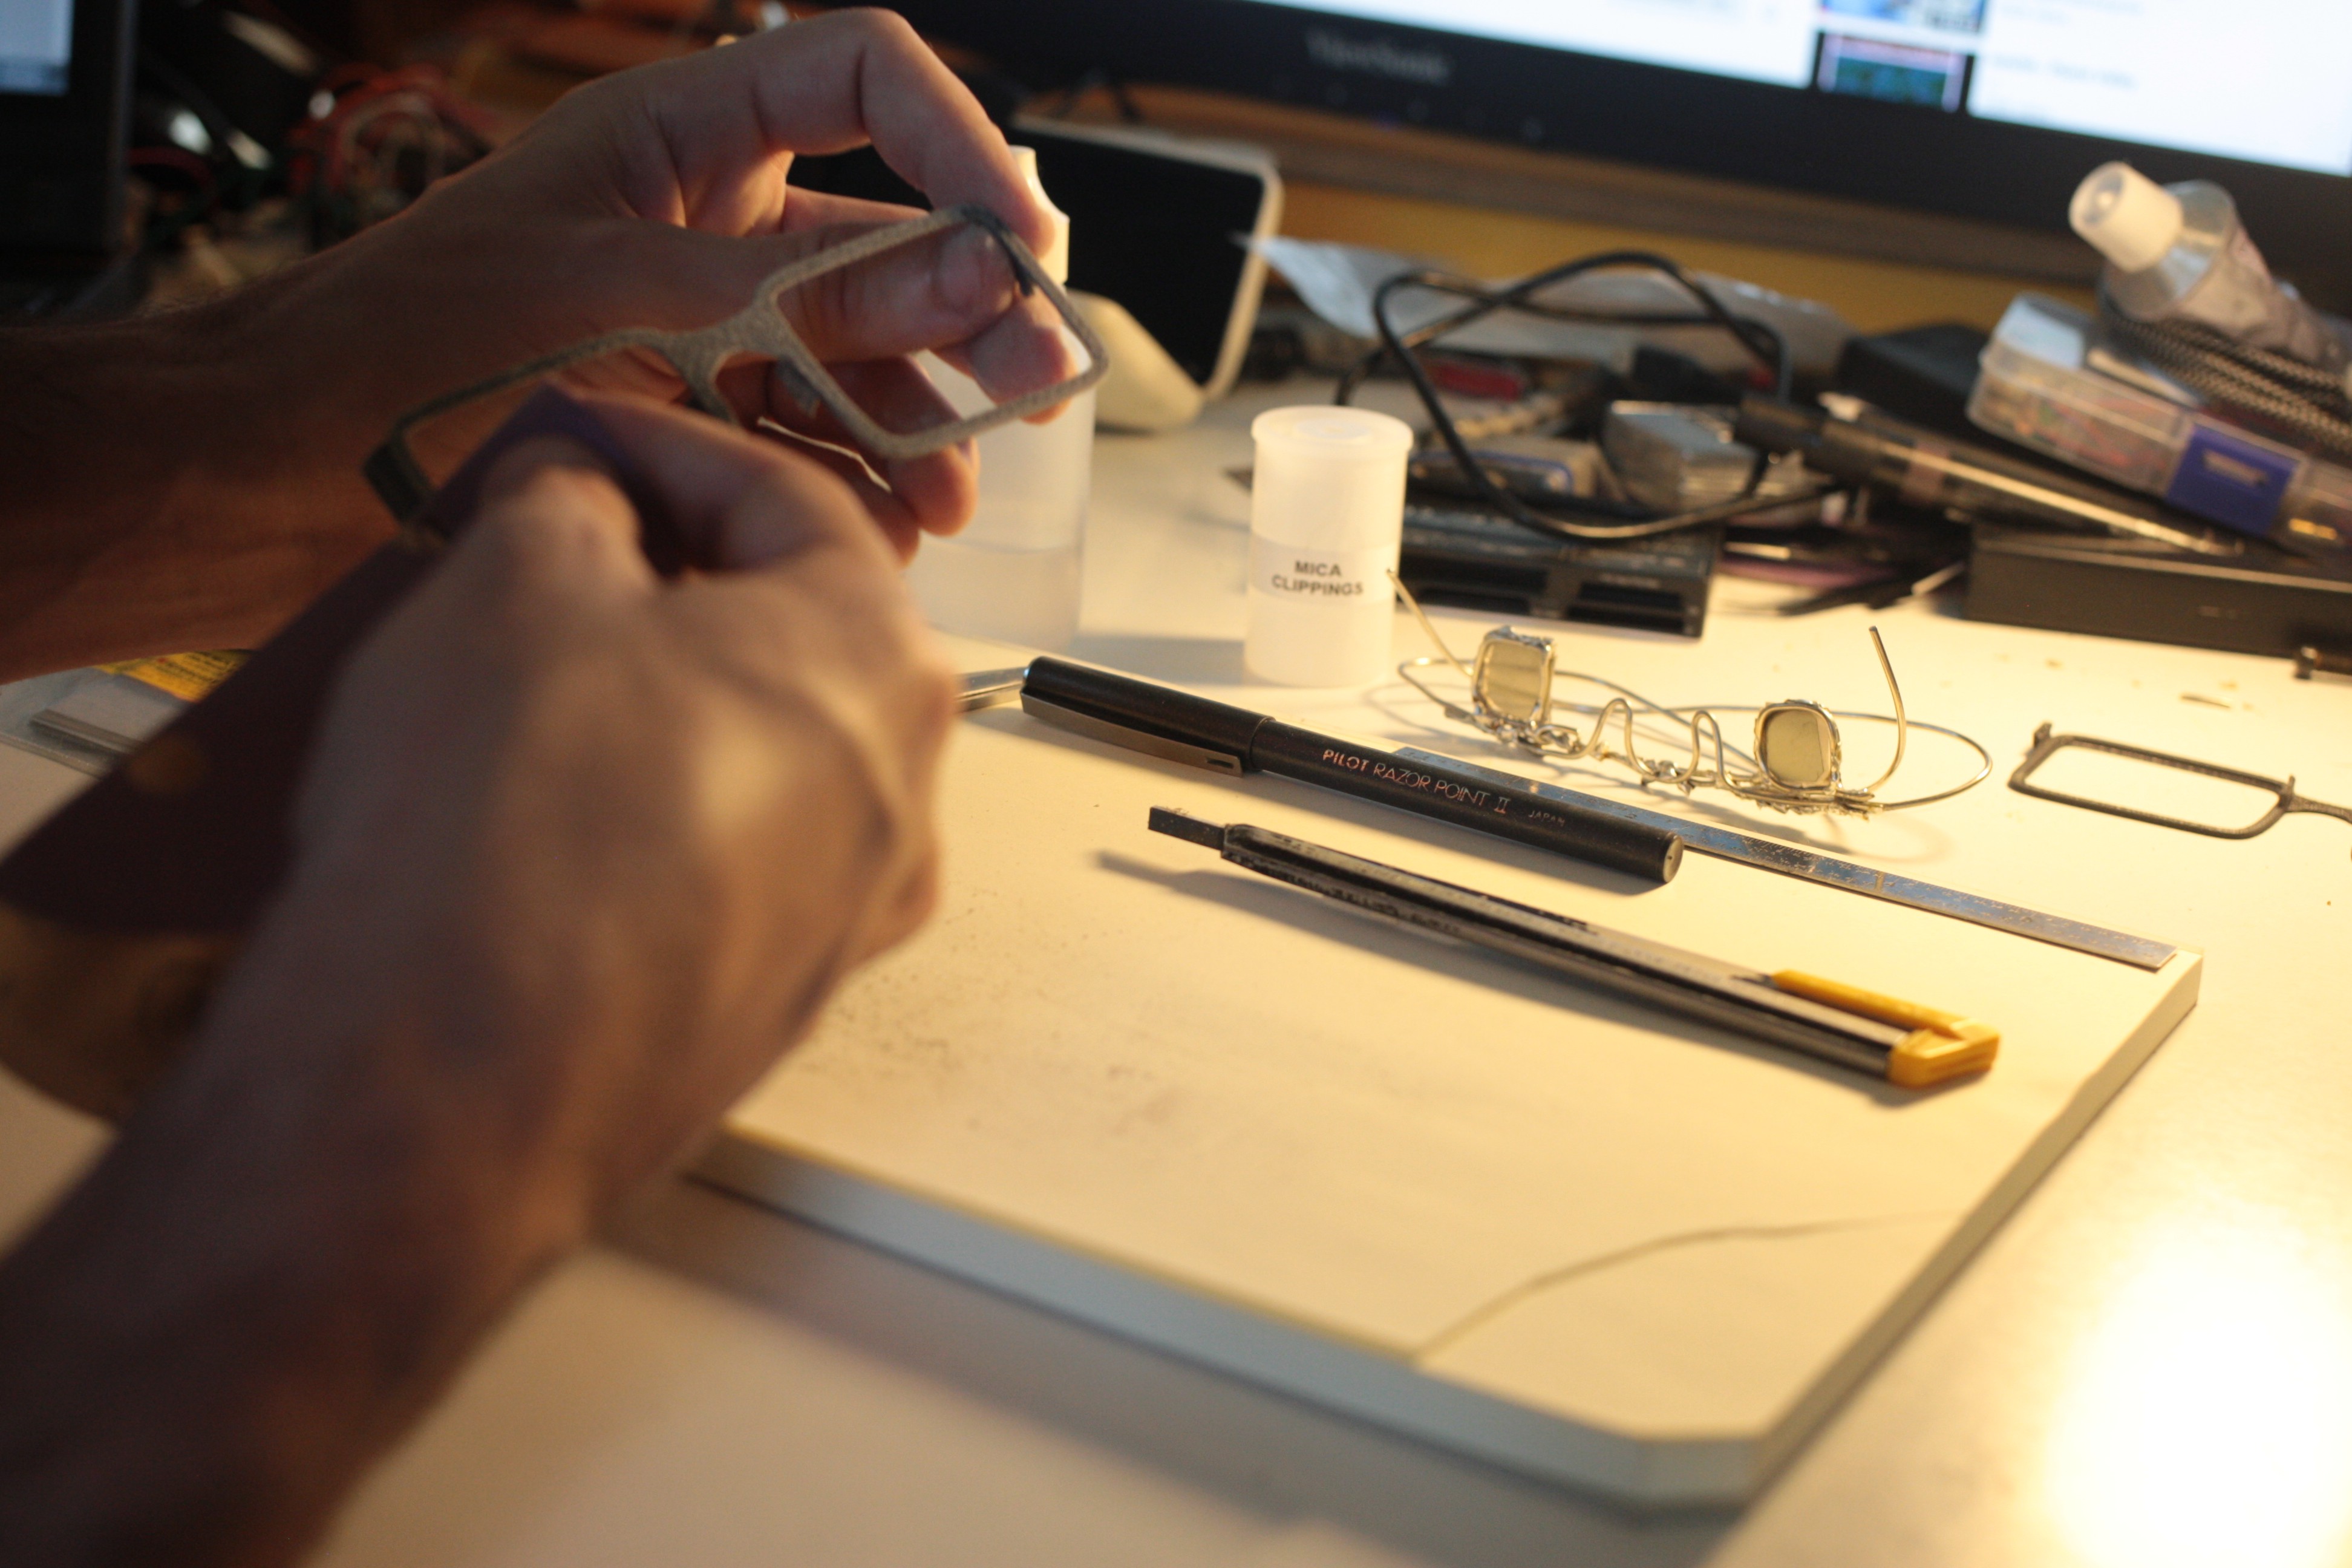
Then drilled out the holes for the arms:
![]()
![]()
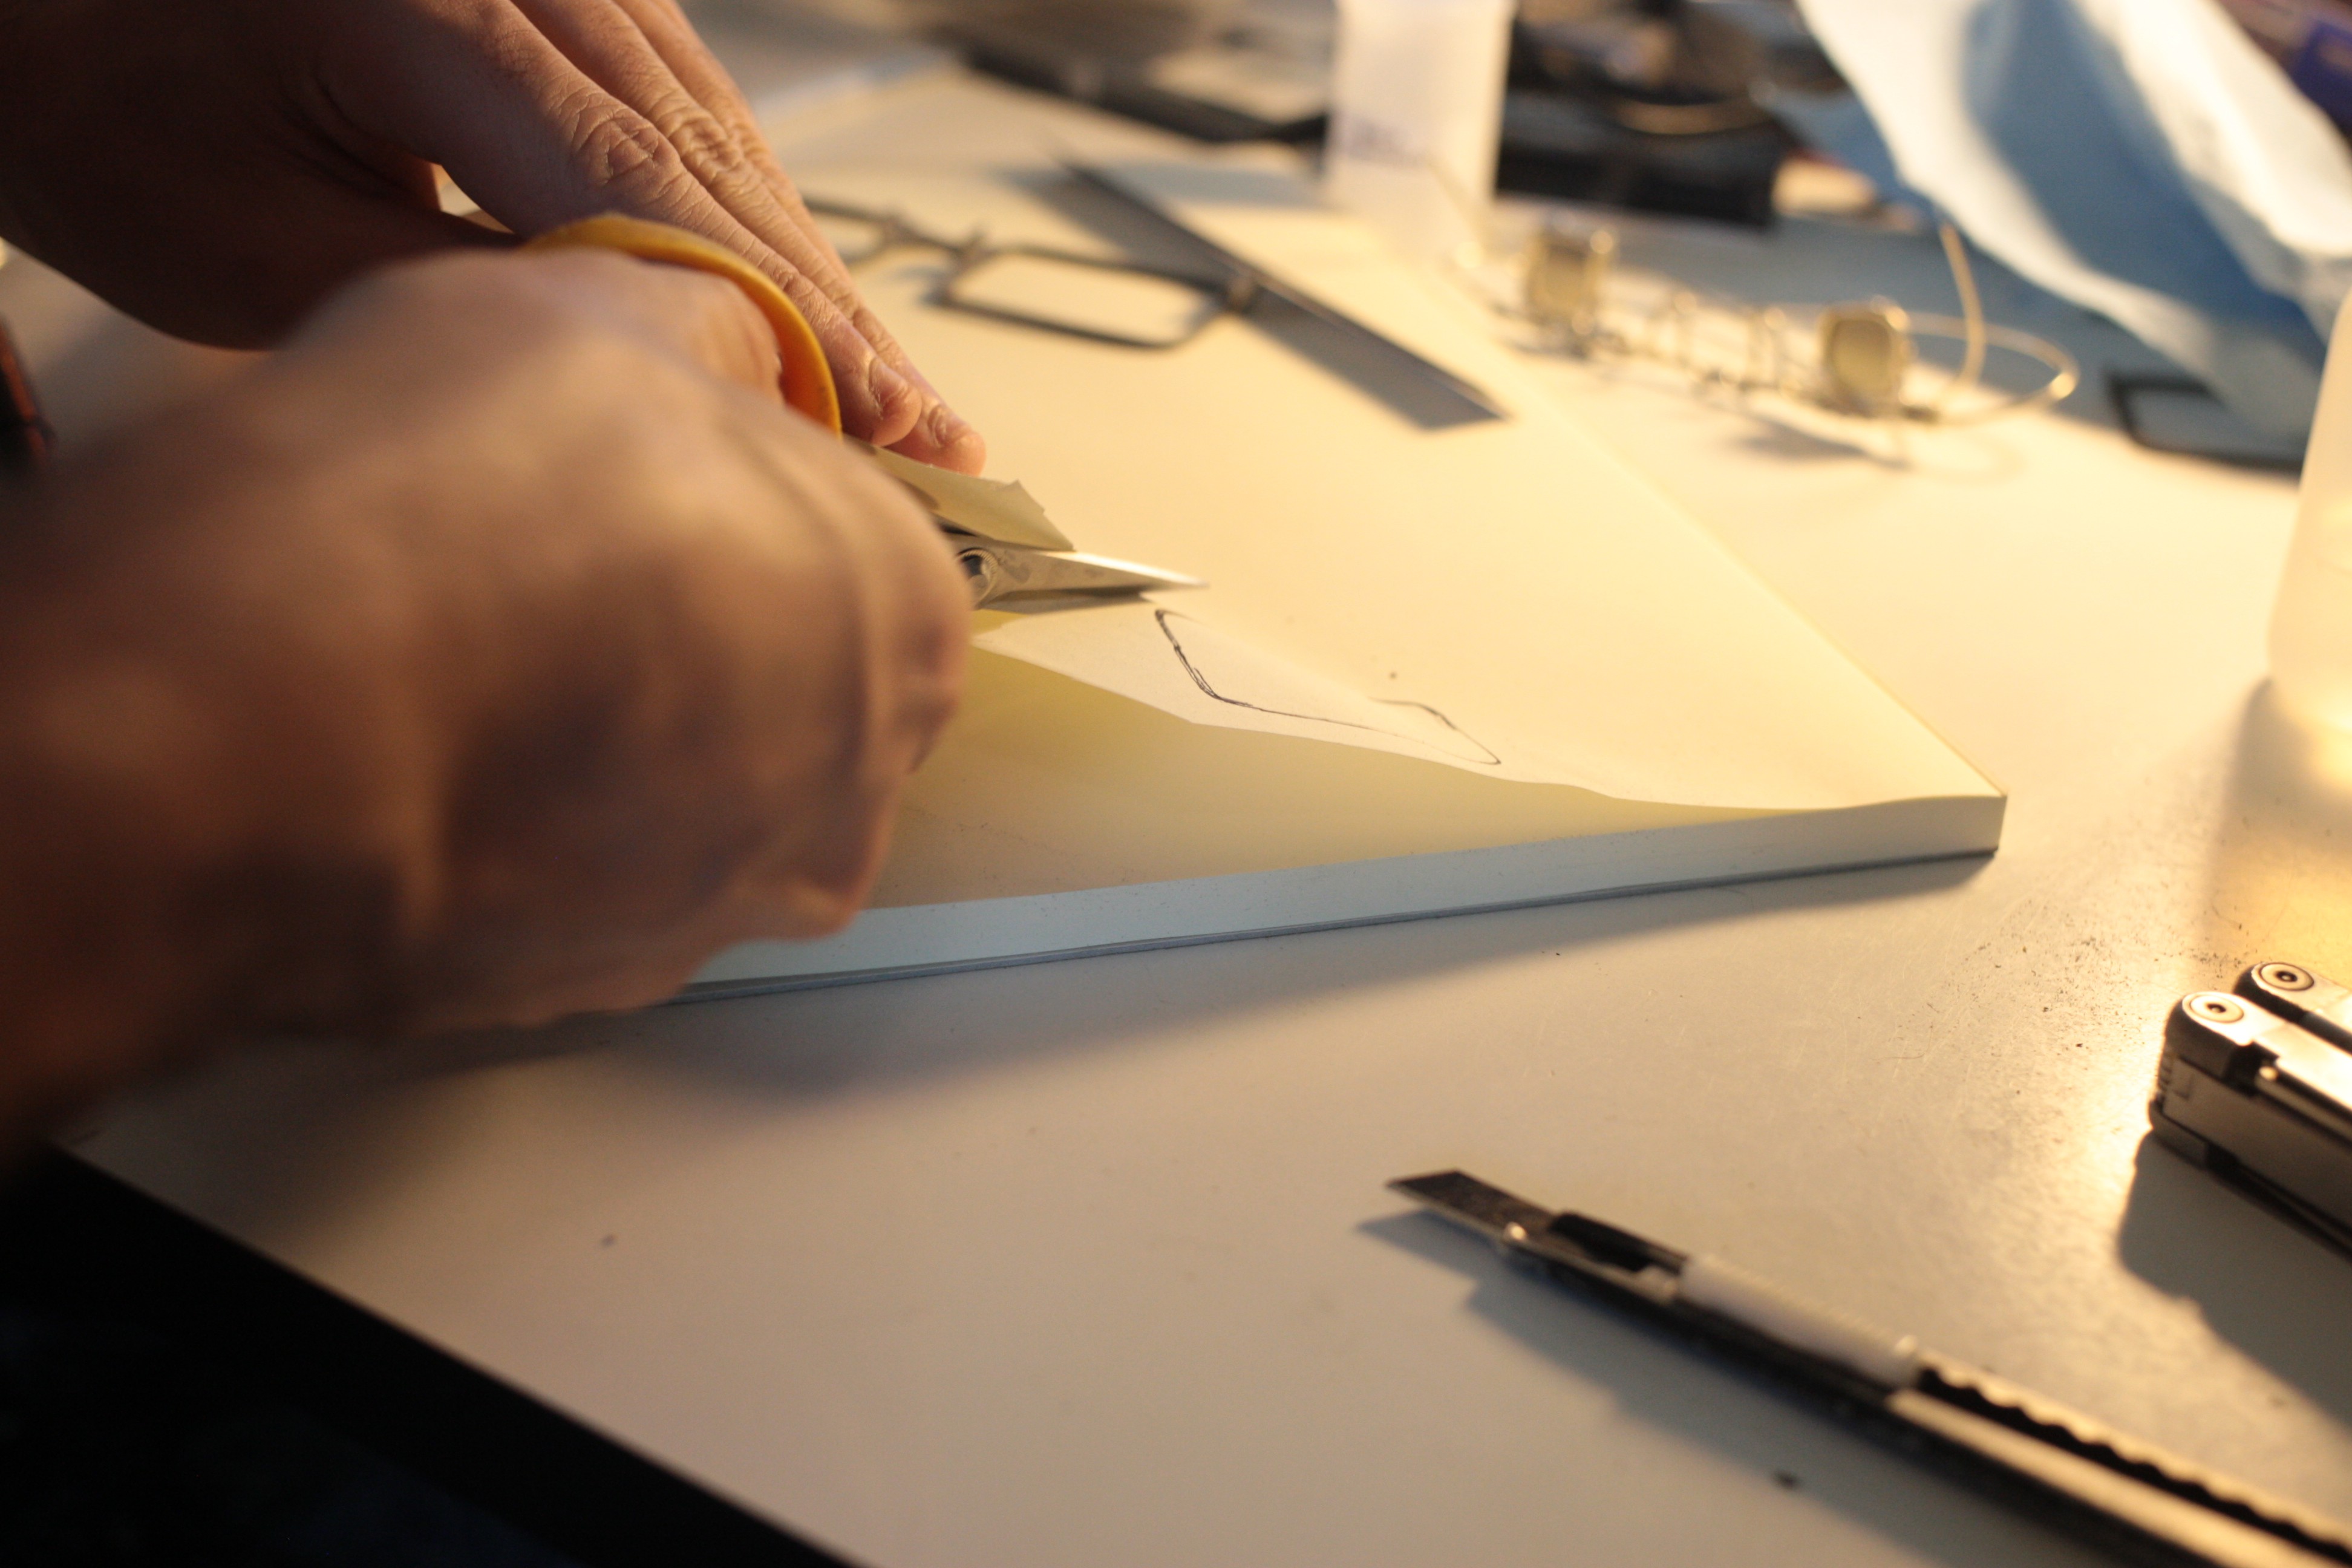
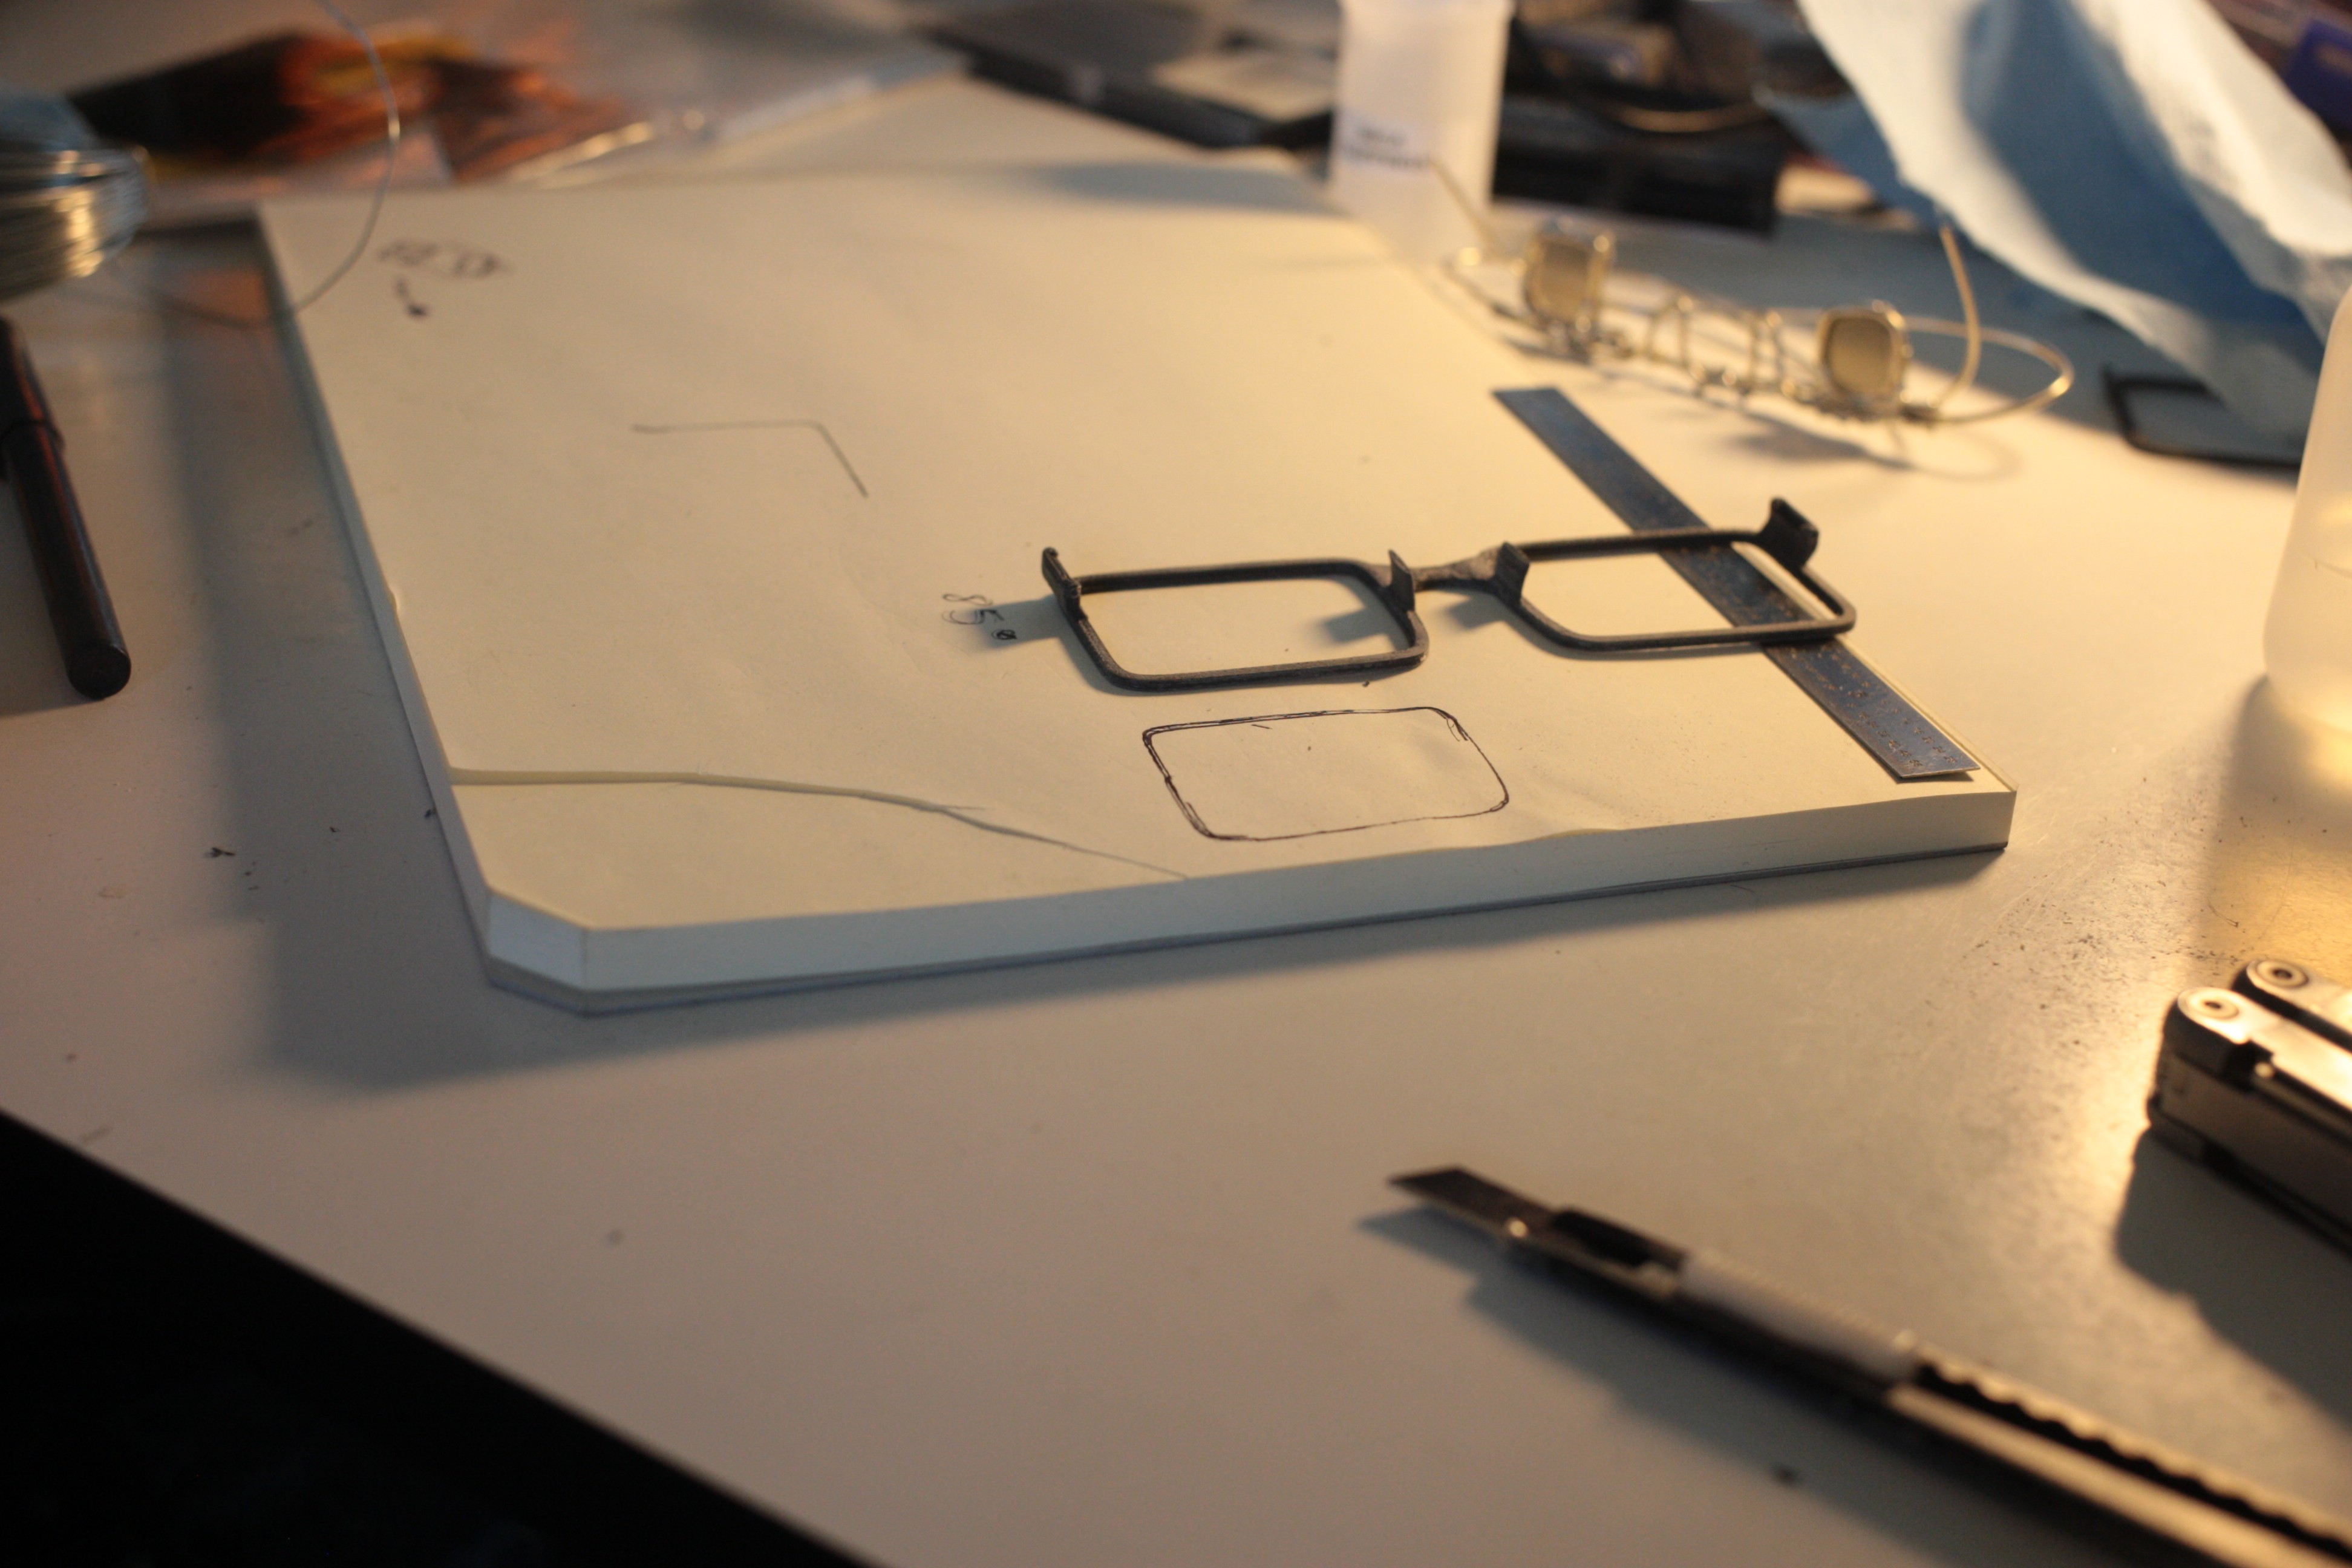
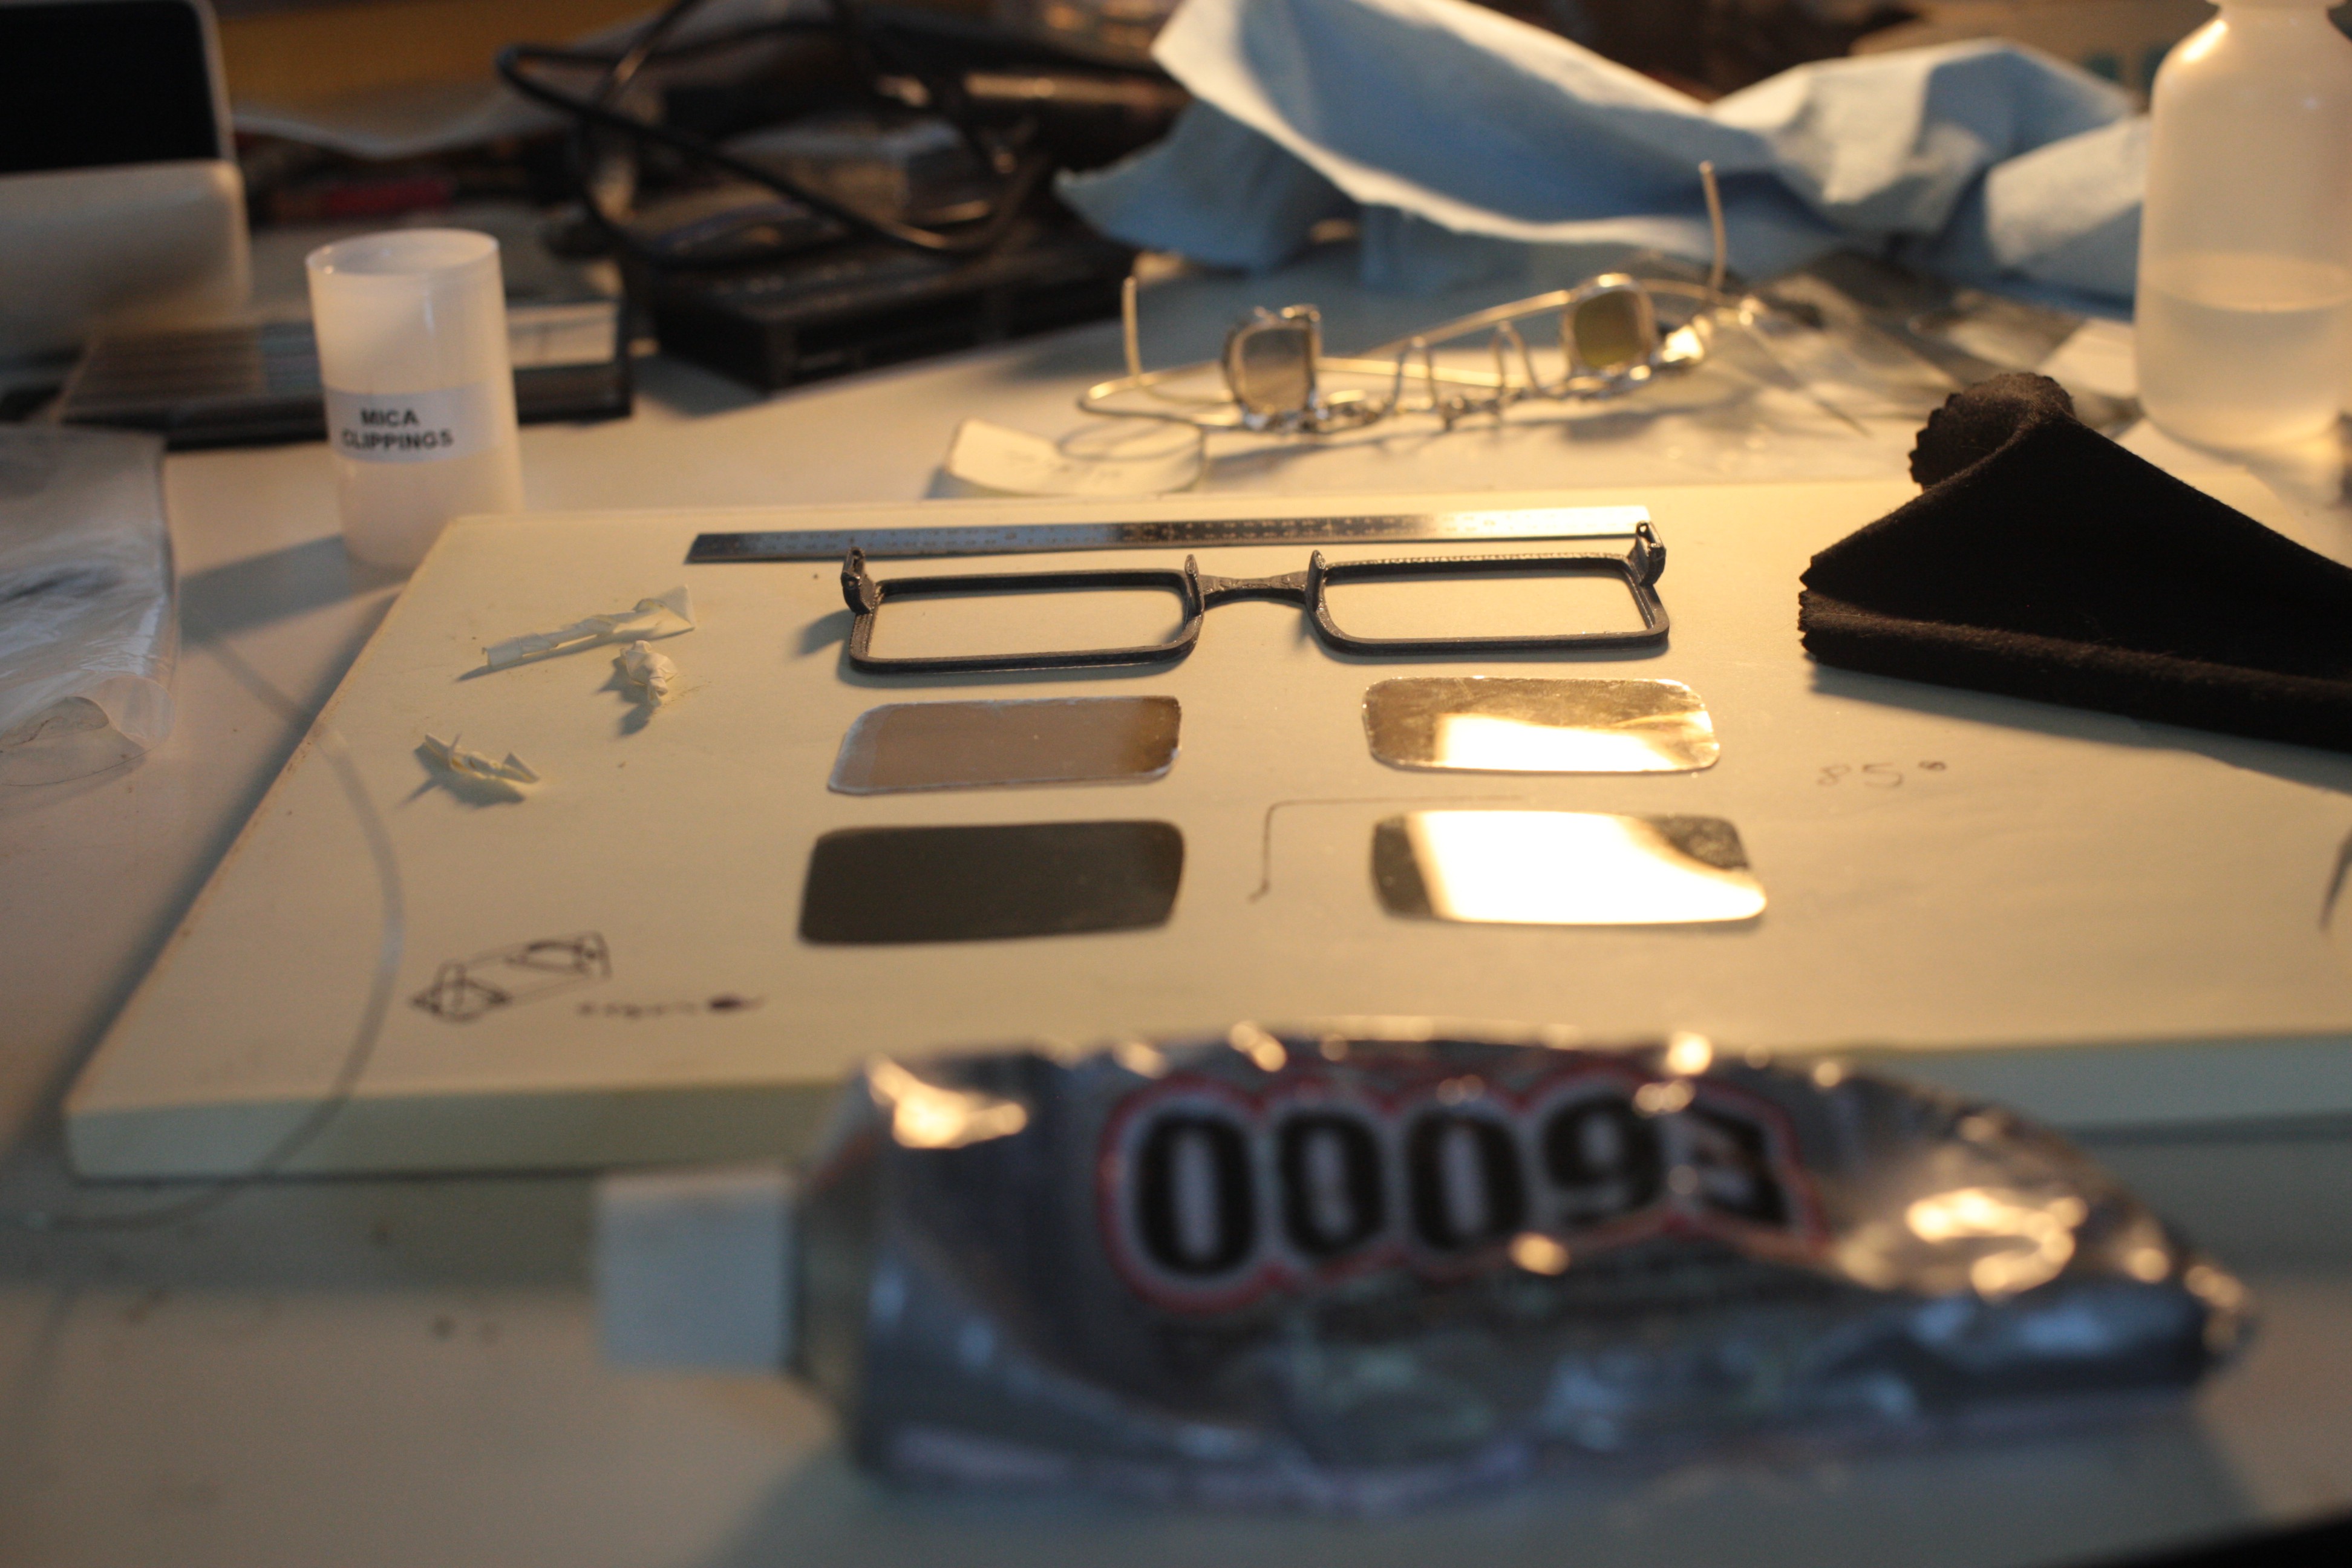
Then traced out the lenses:
![]()
![]()
![]()
I determined the correct interaction angles. (Secret sauce)
![]()
![]()
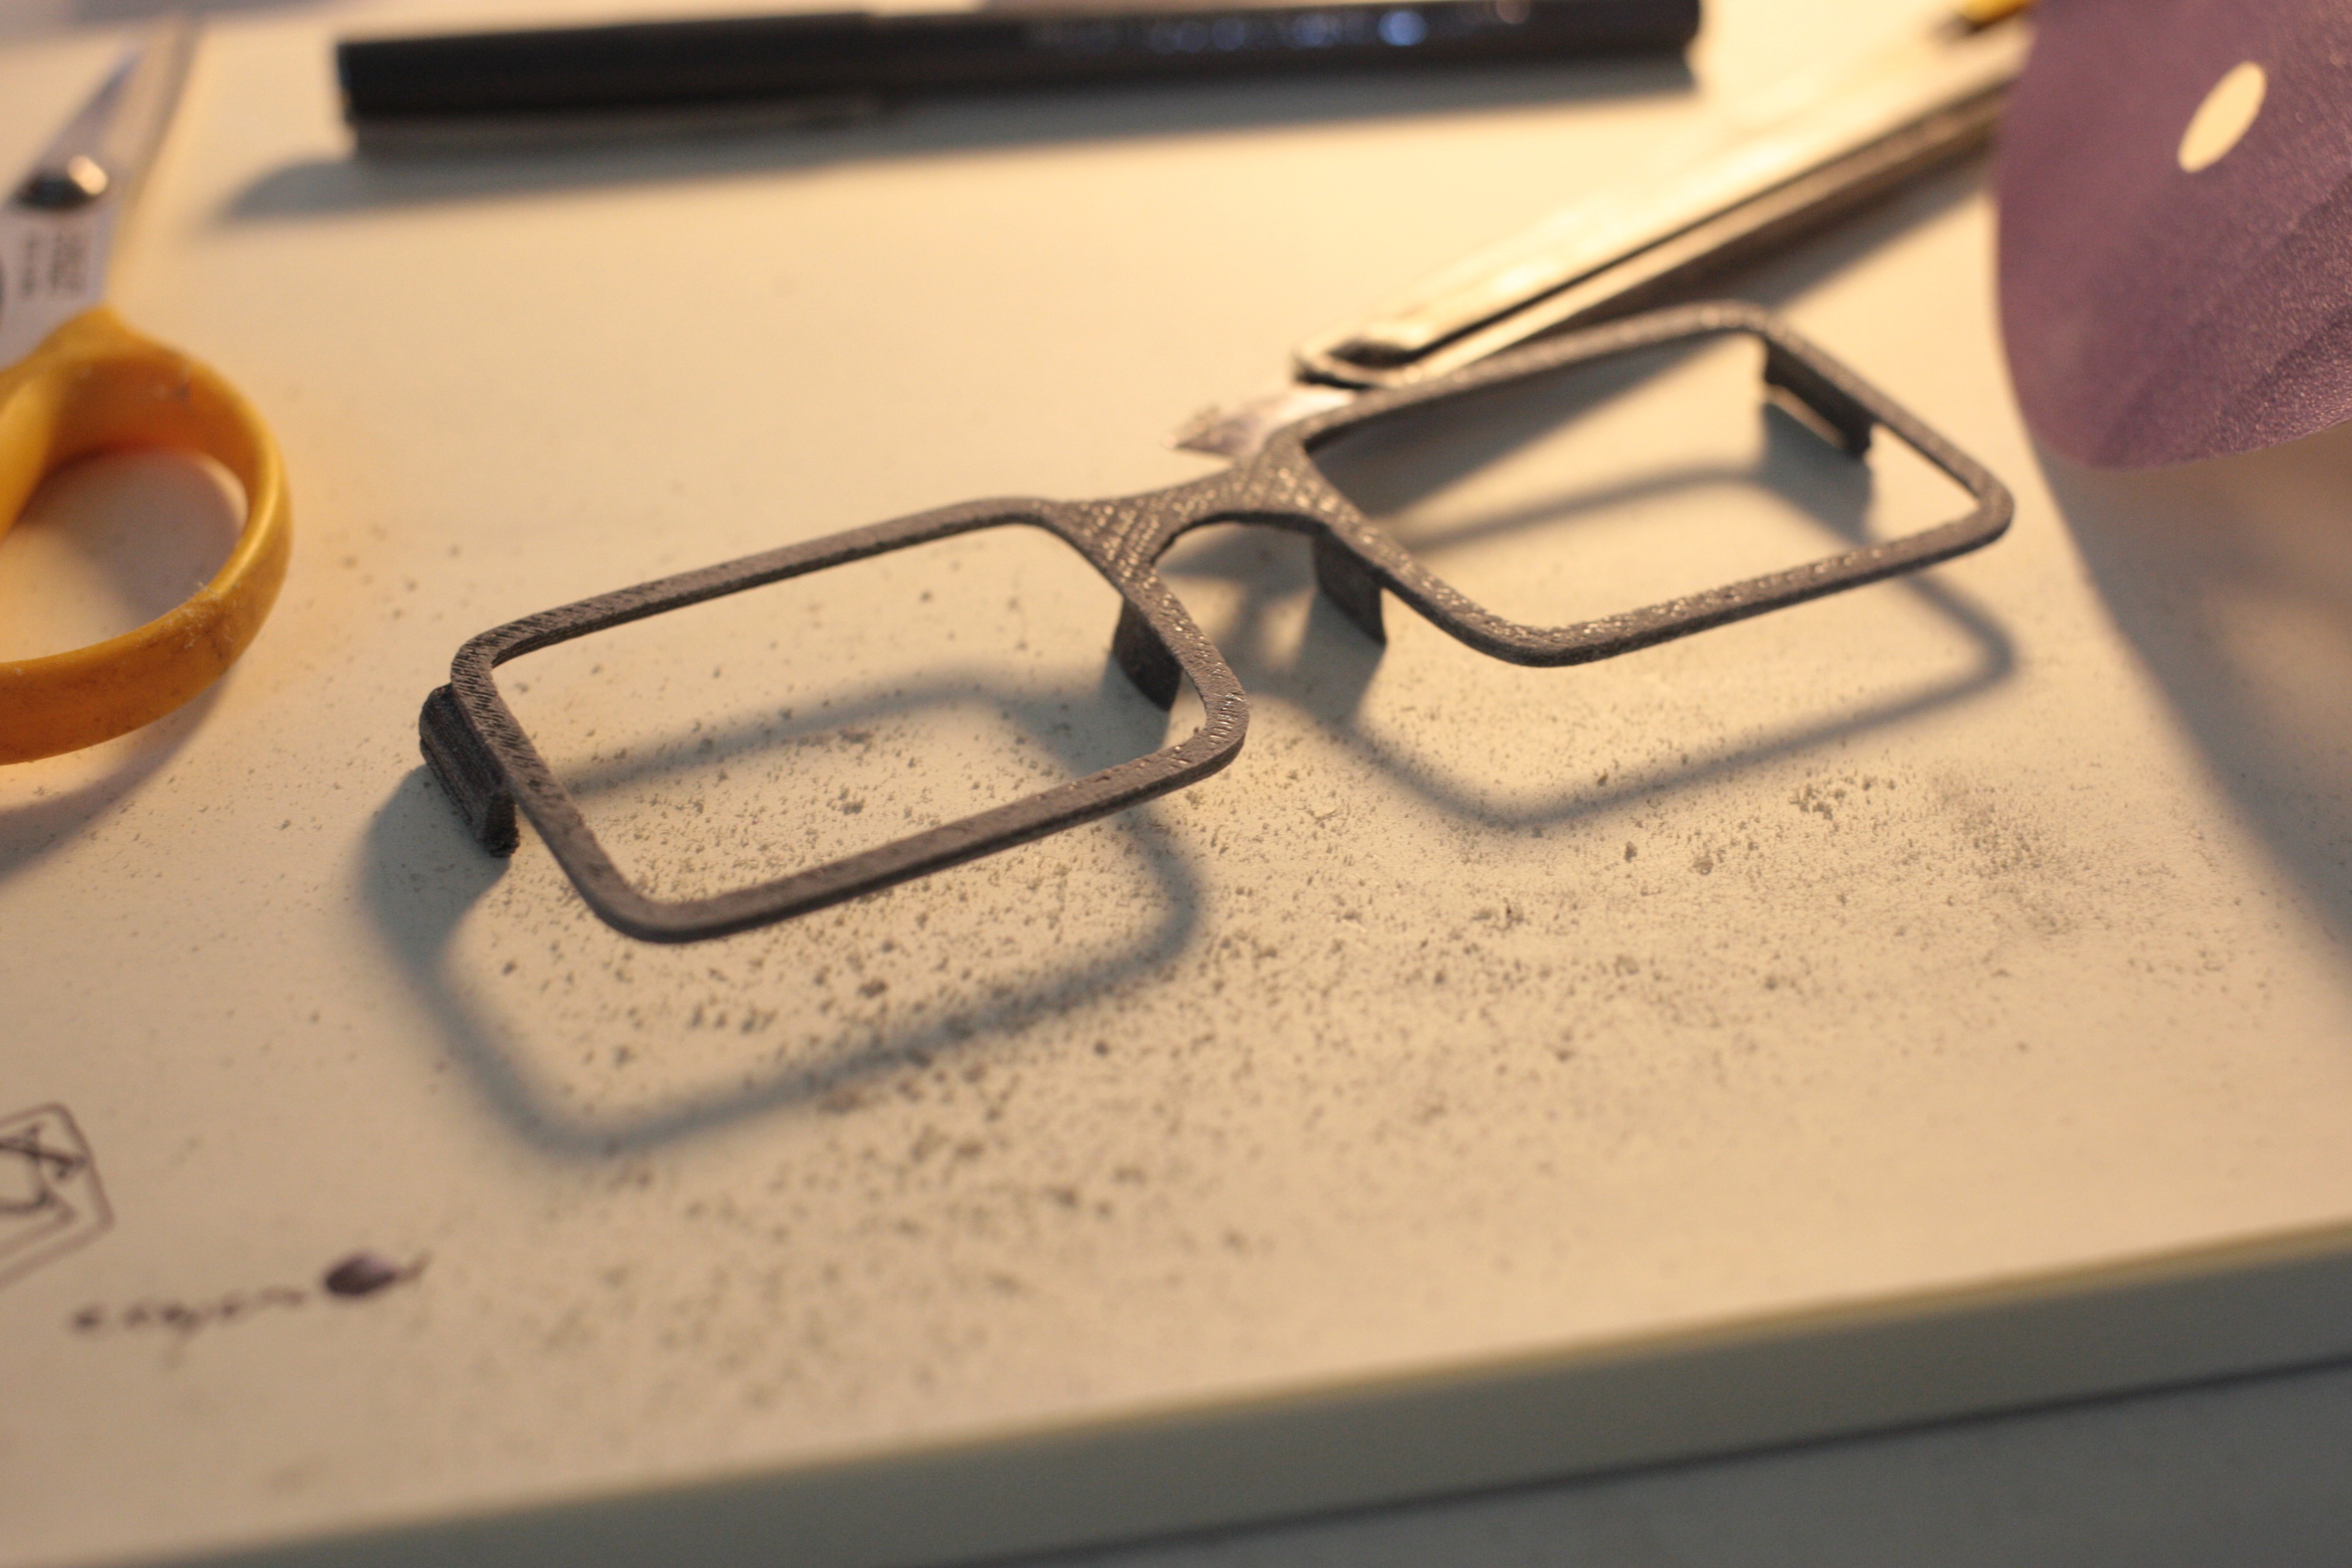
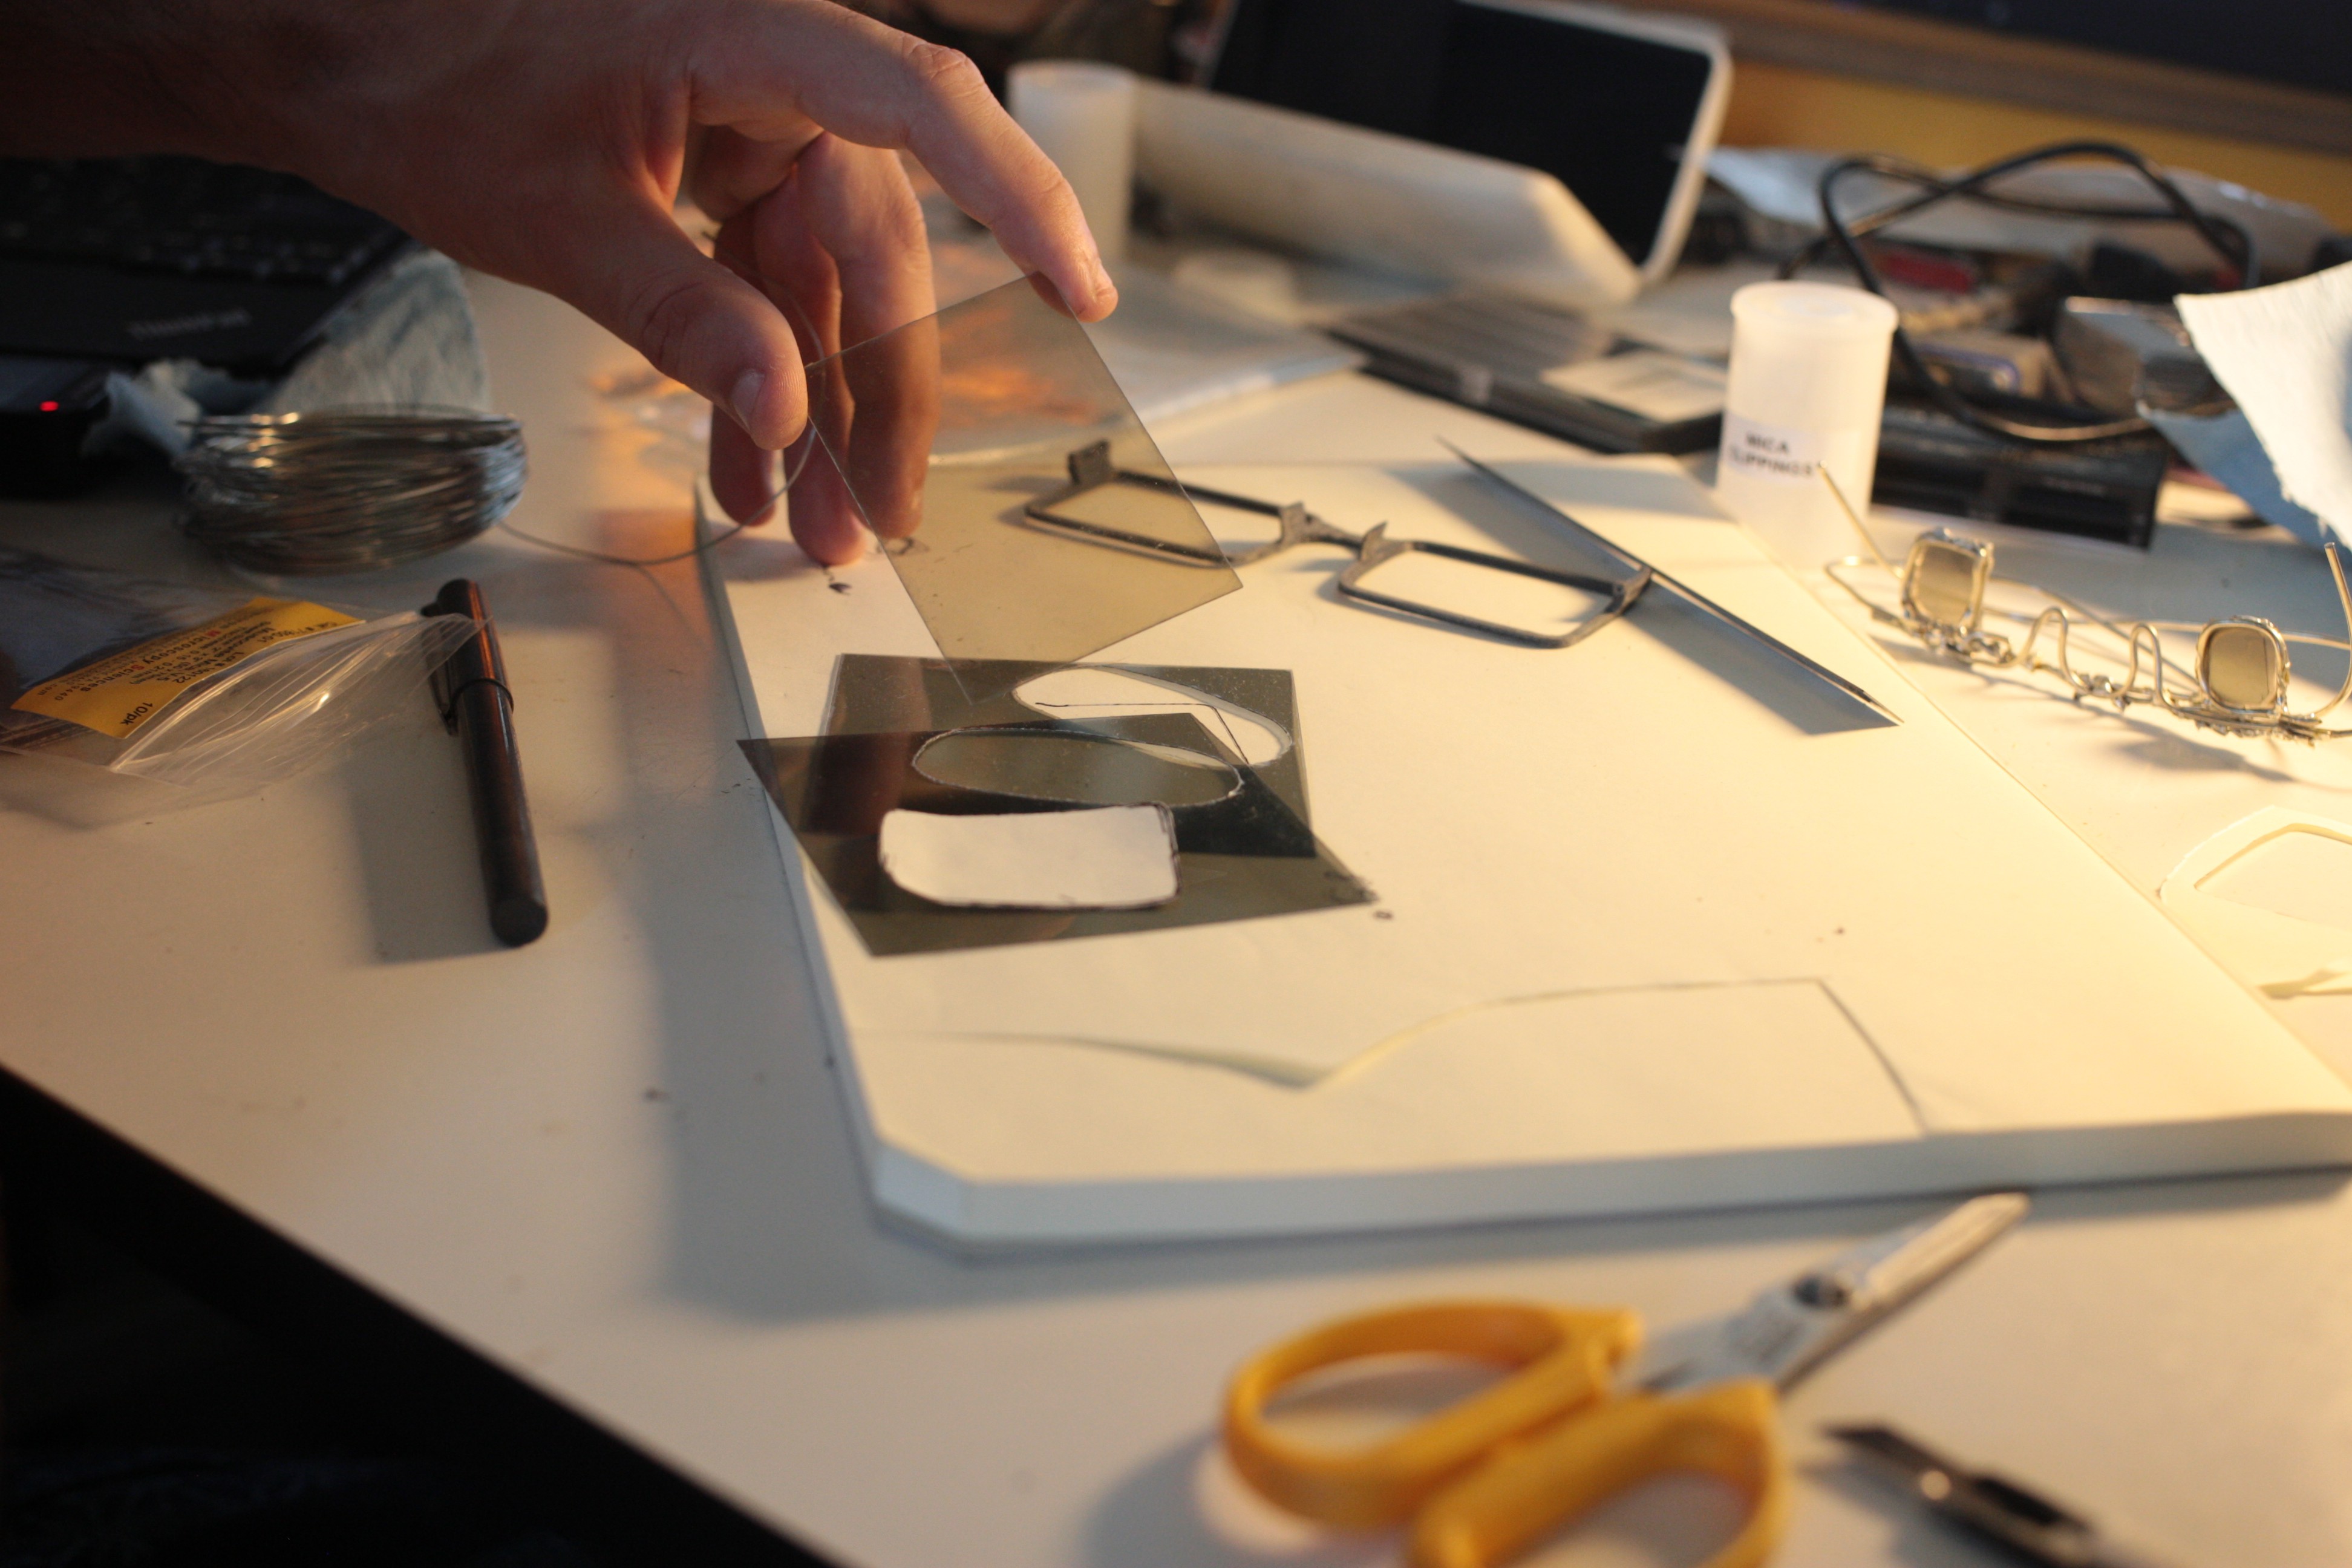
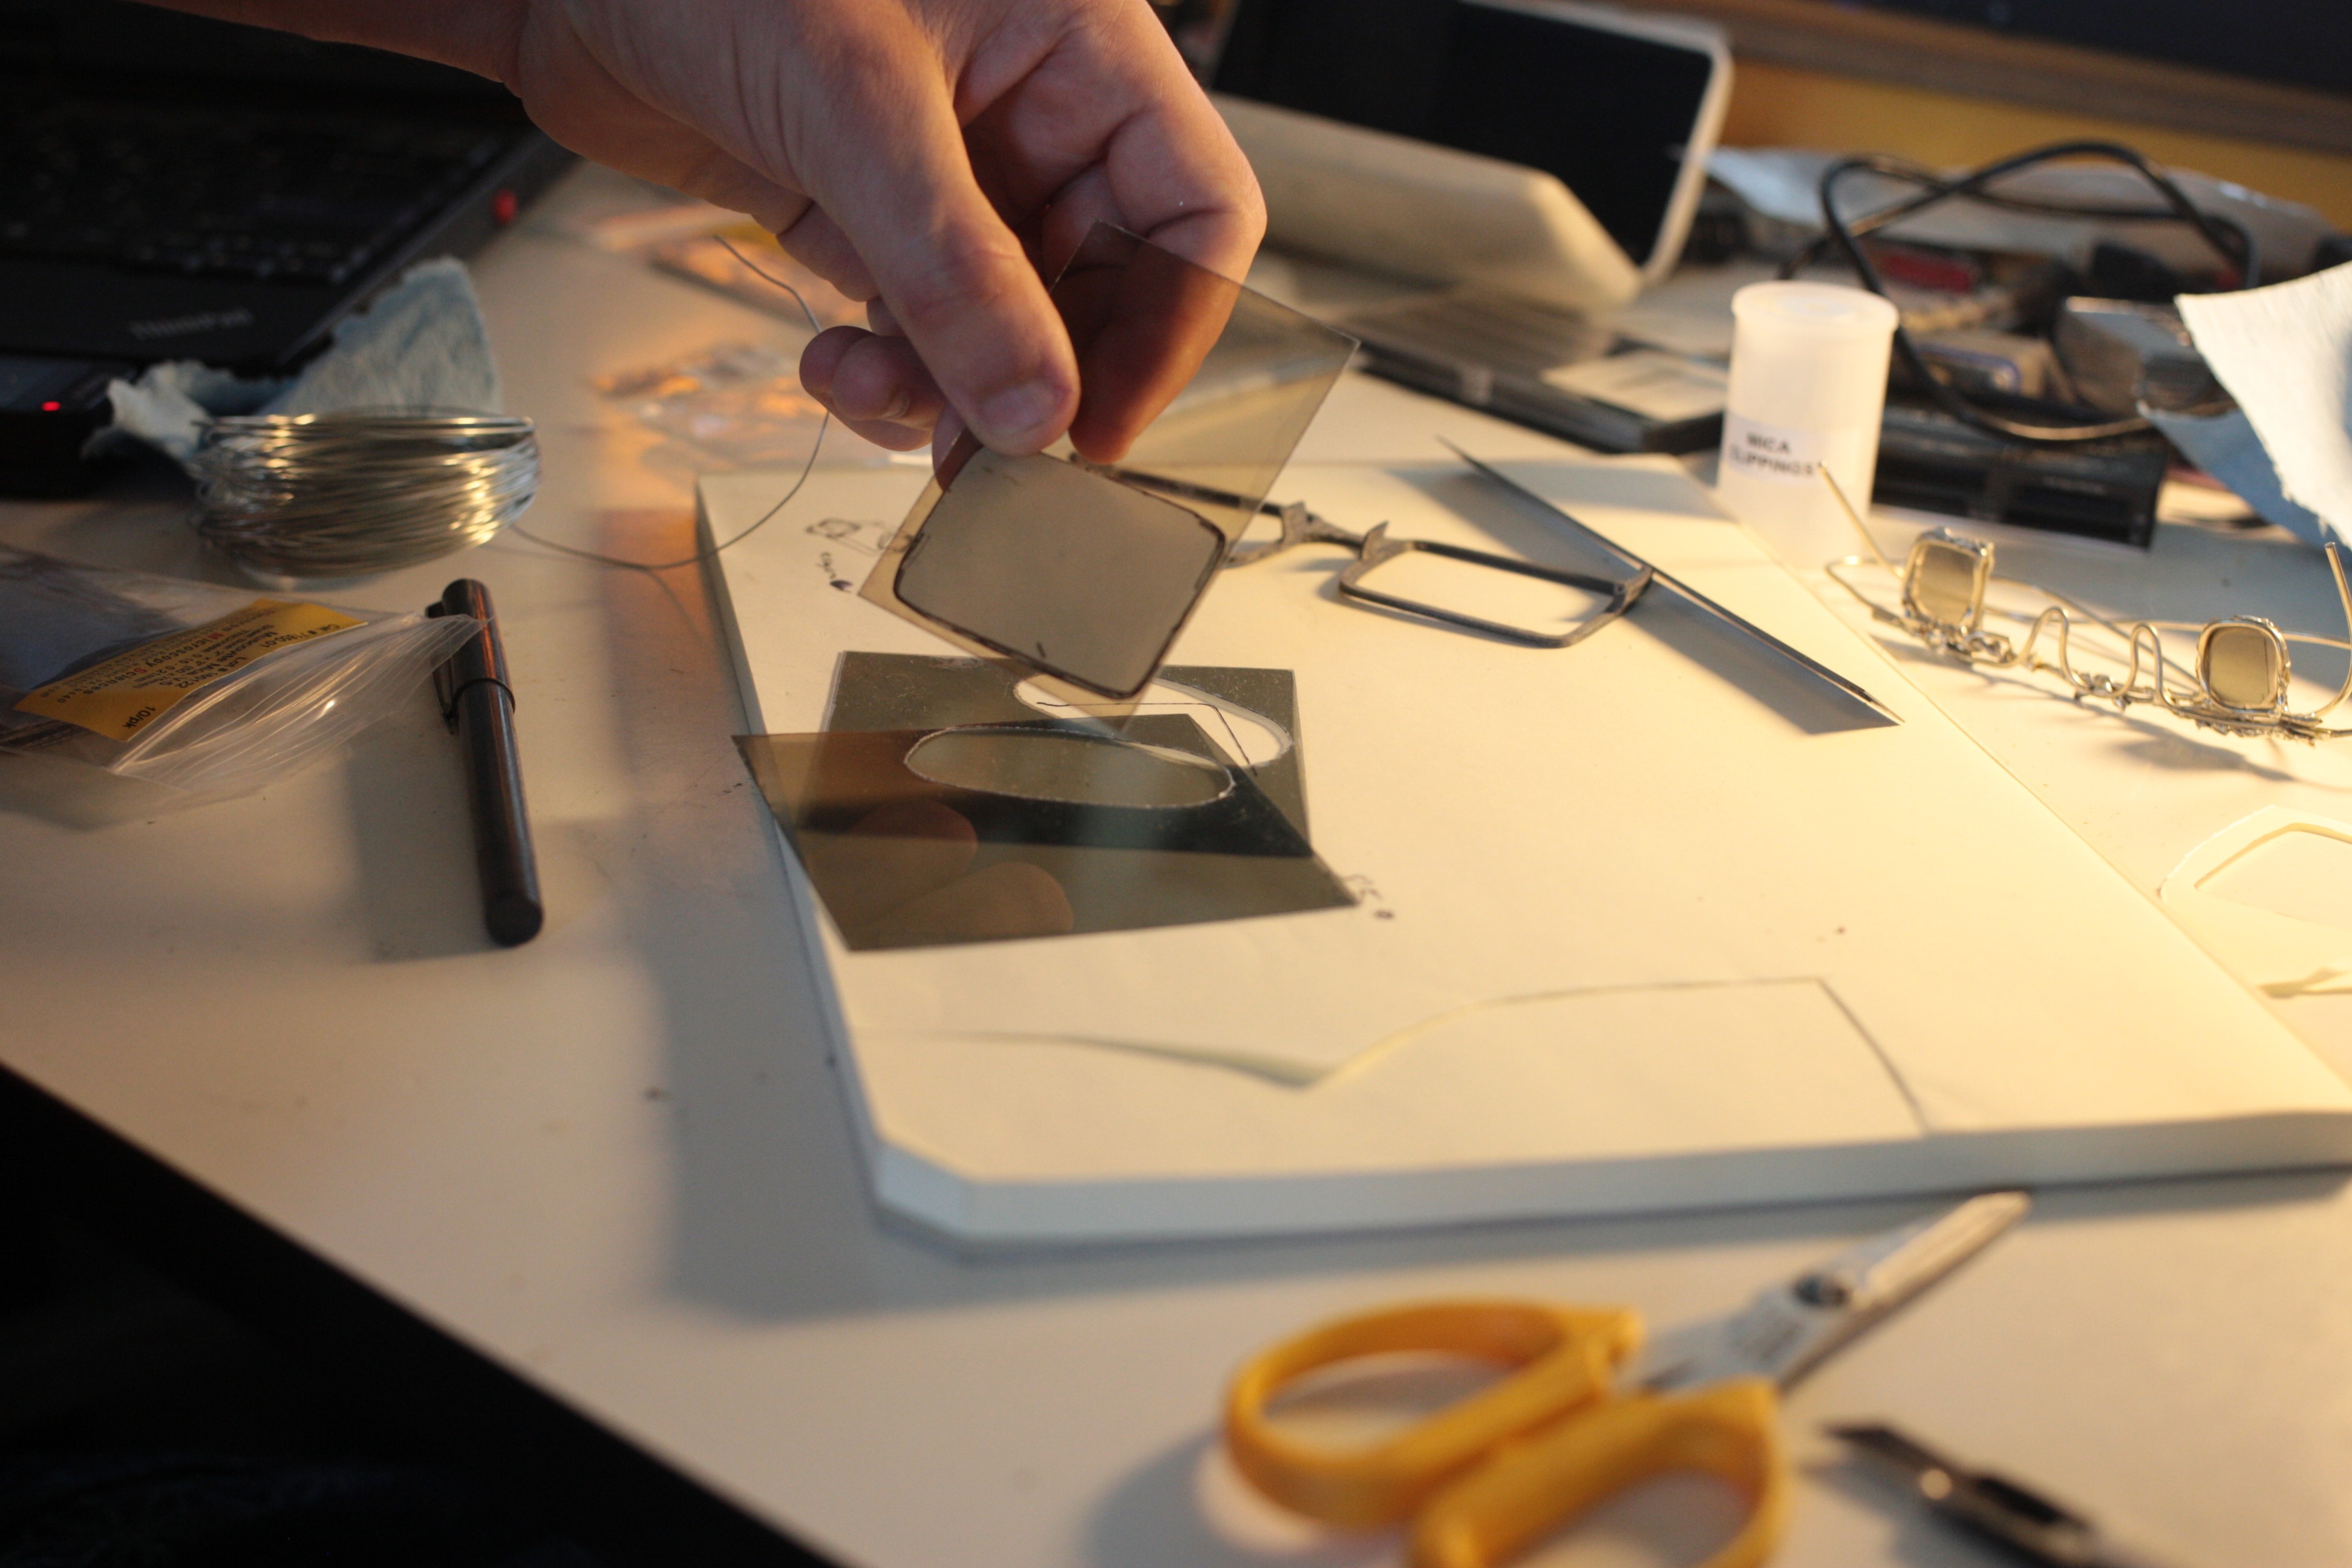
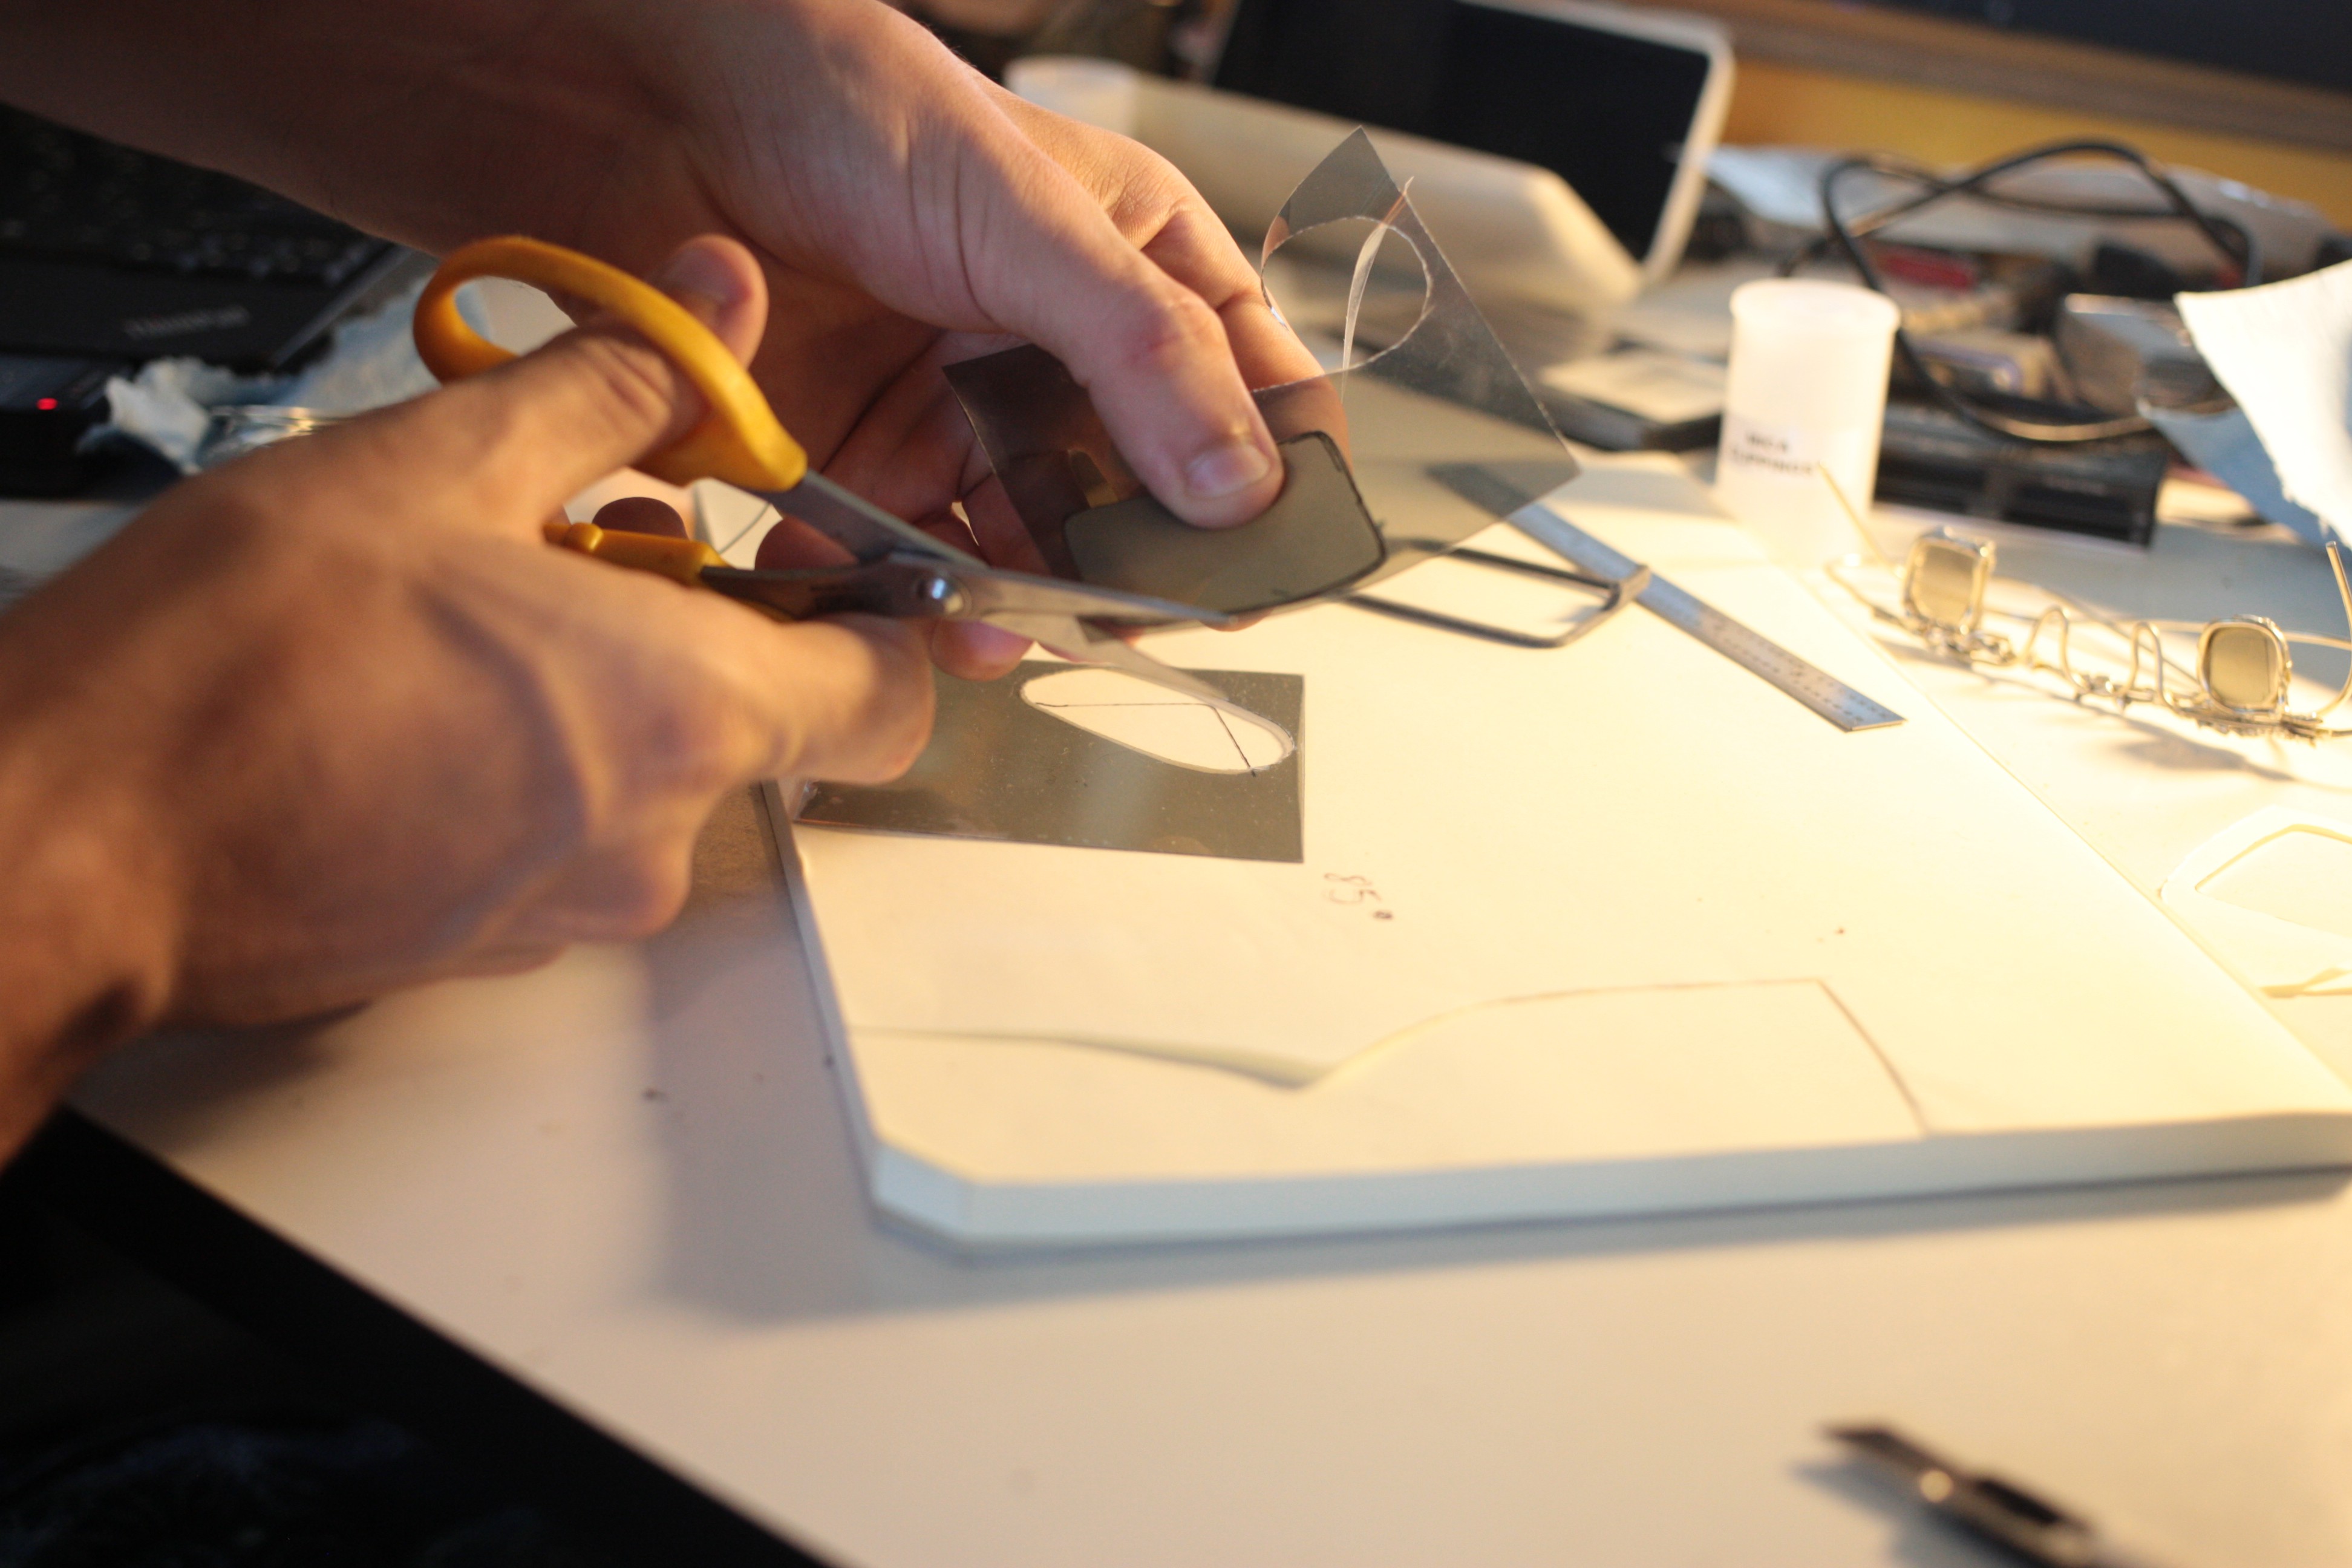
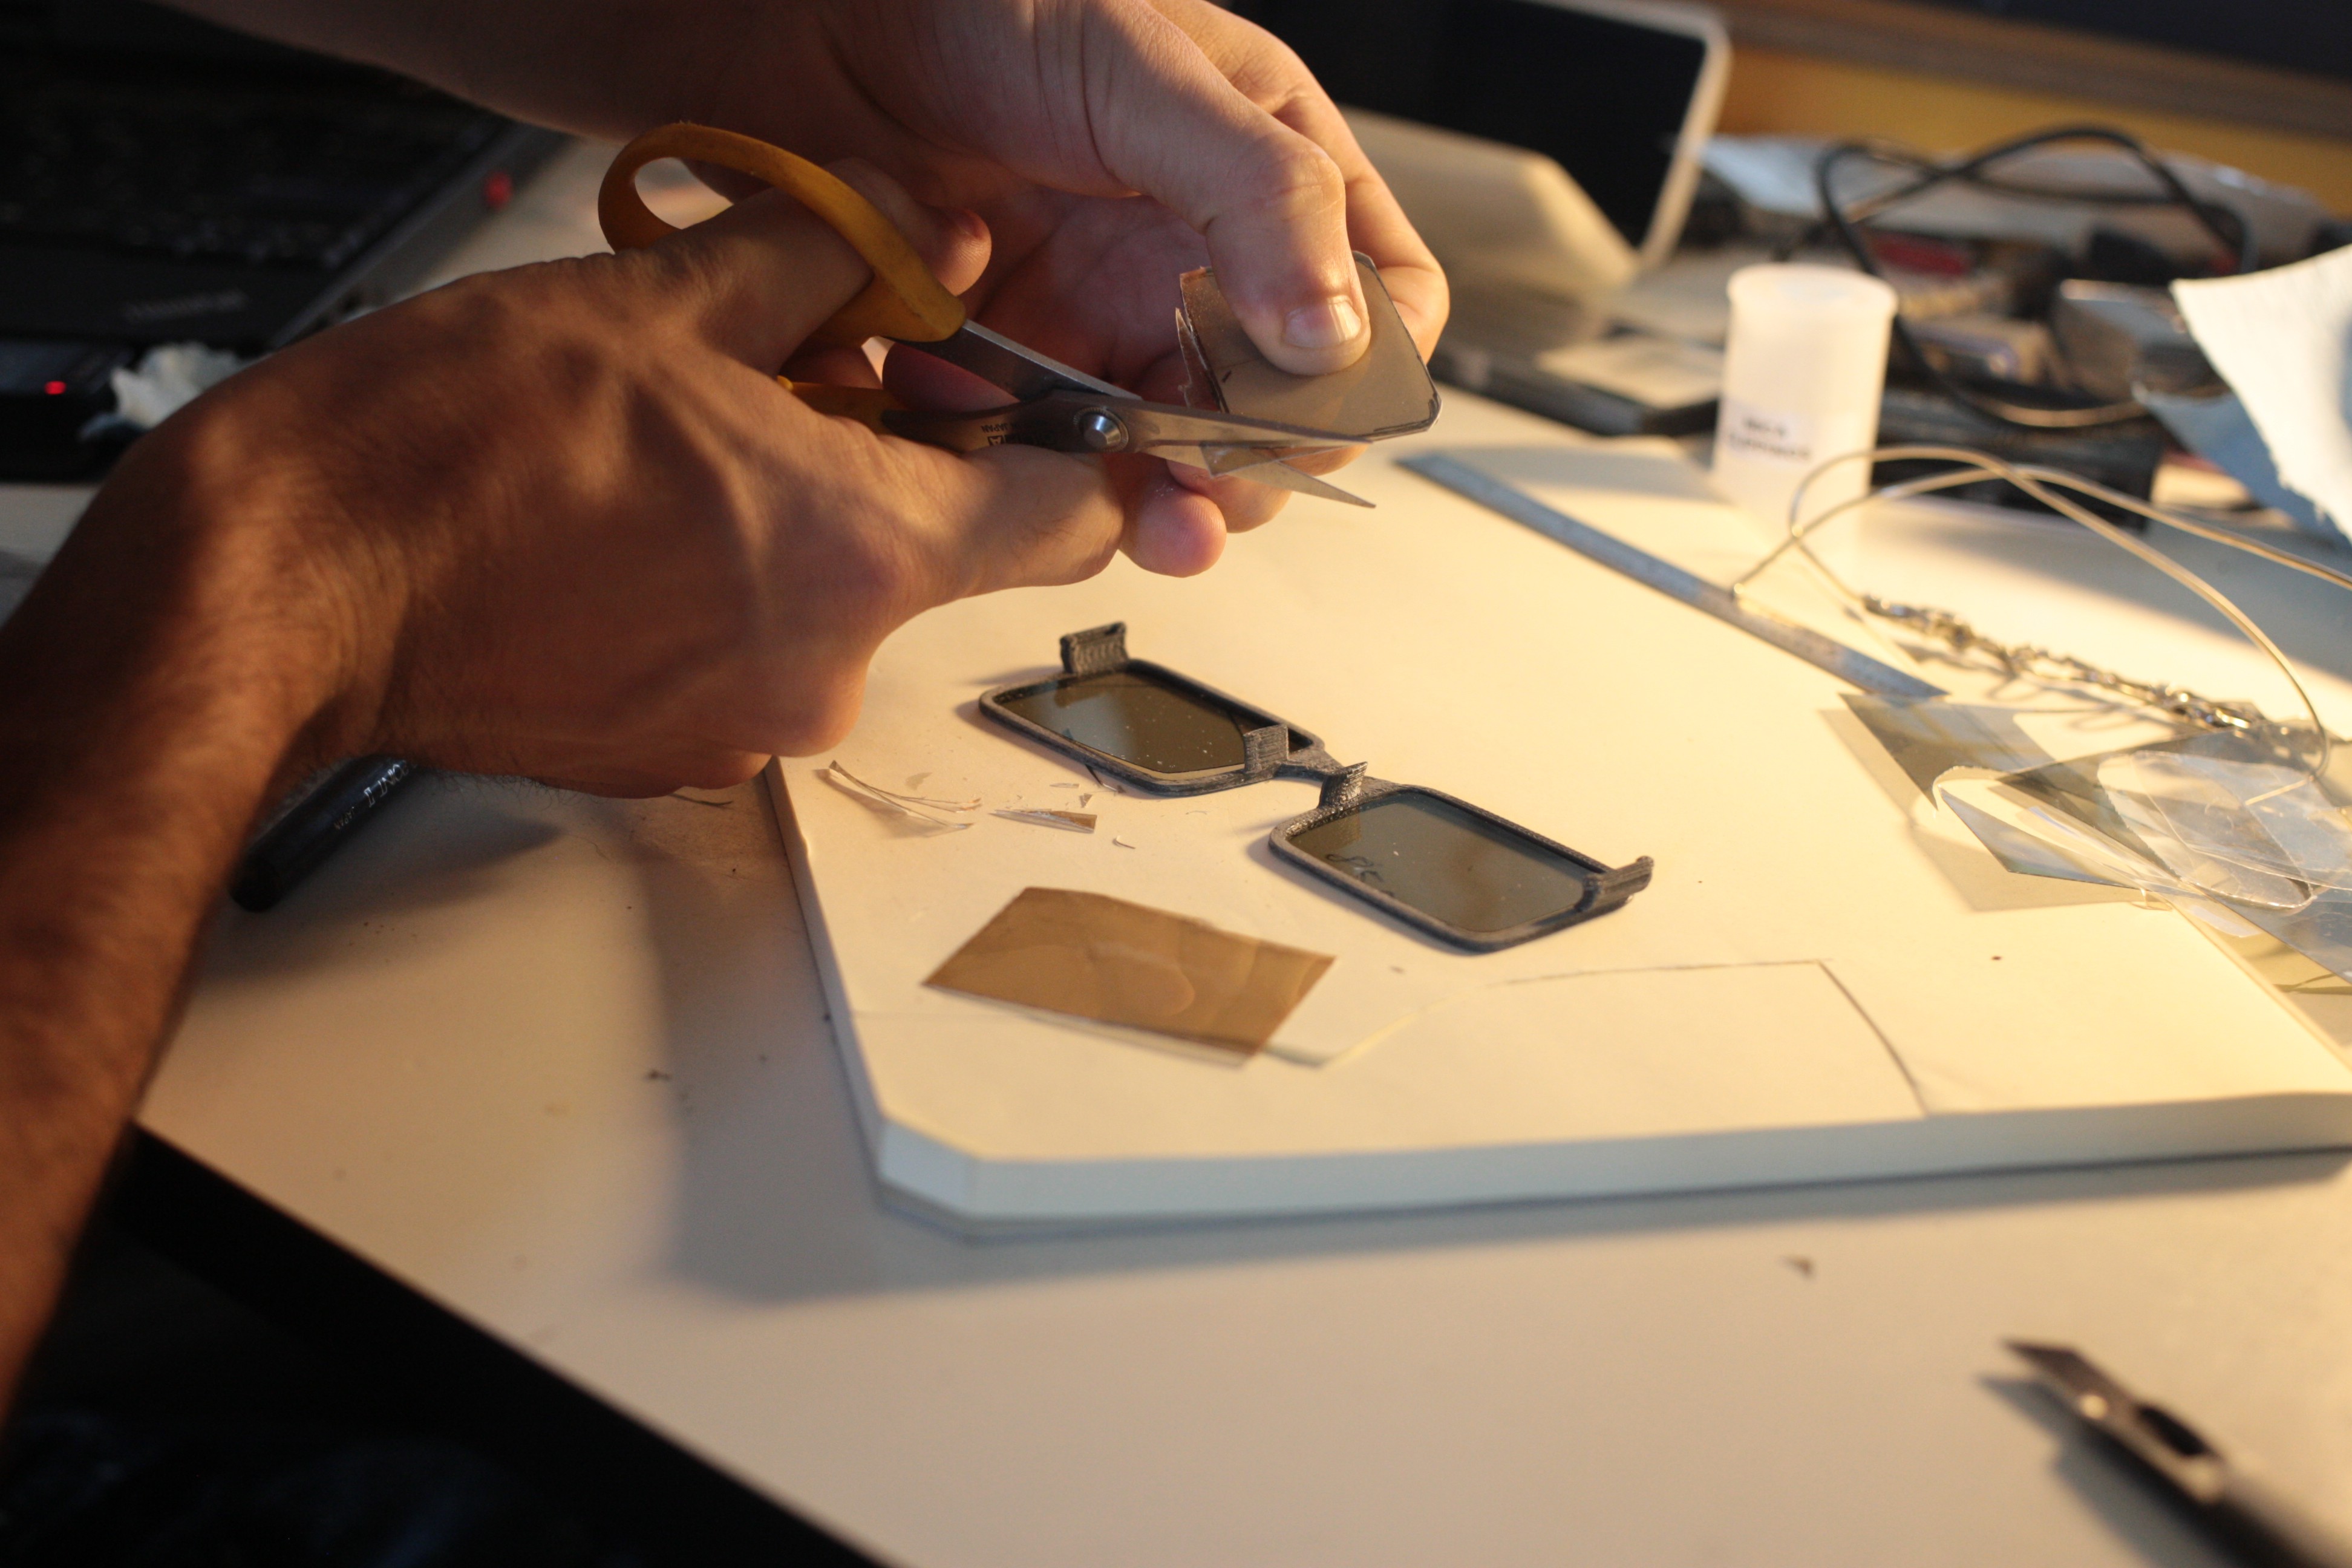
And then cut out the polarizing film first, in the future this should really get either stamped or lasercut out. At the very least I should print out the lens guide.
![]()
![]()
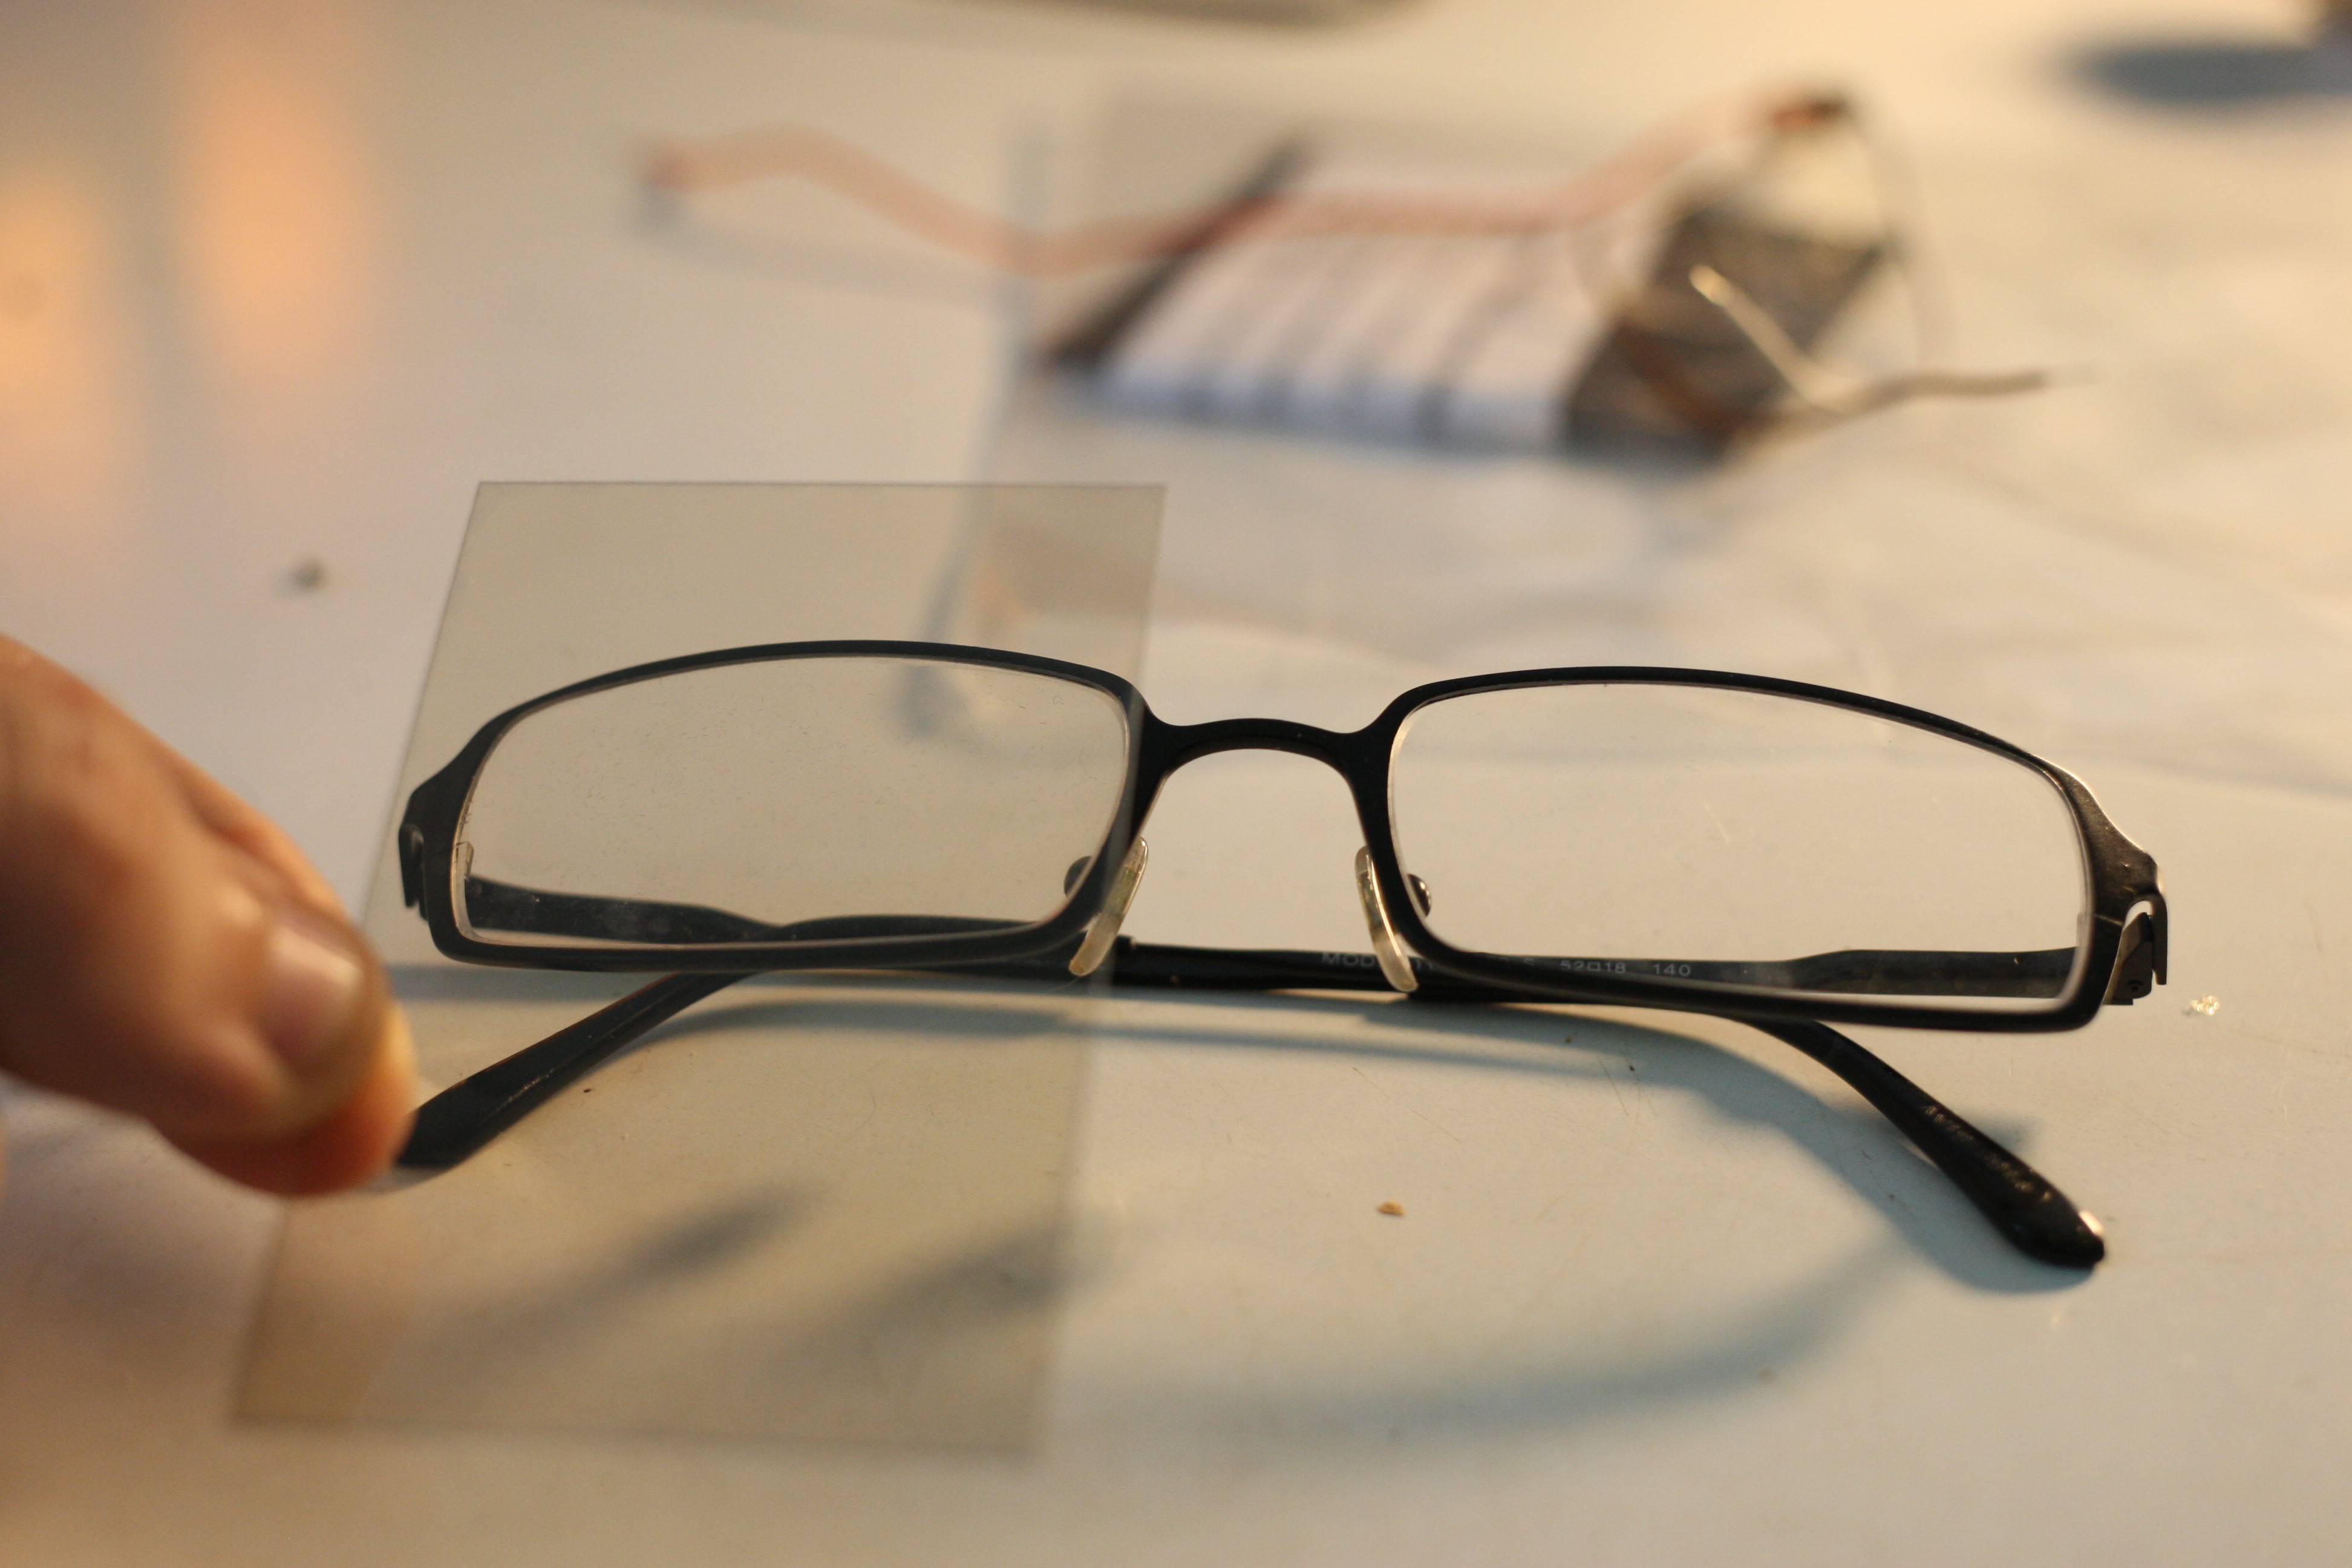
I checked the fit of the polarized film.
![]()
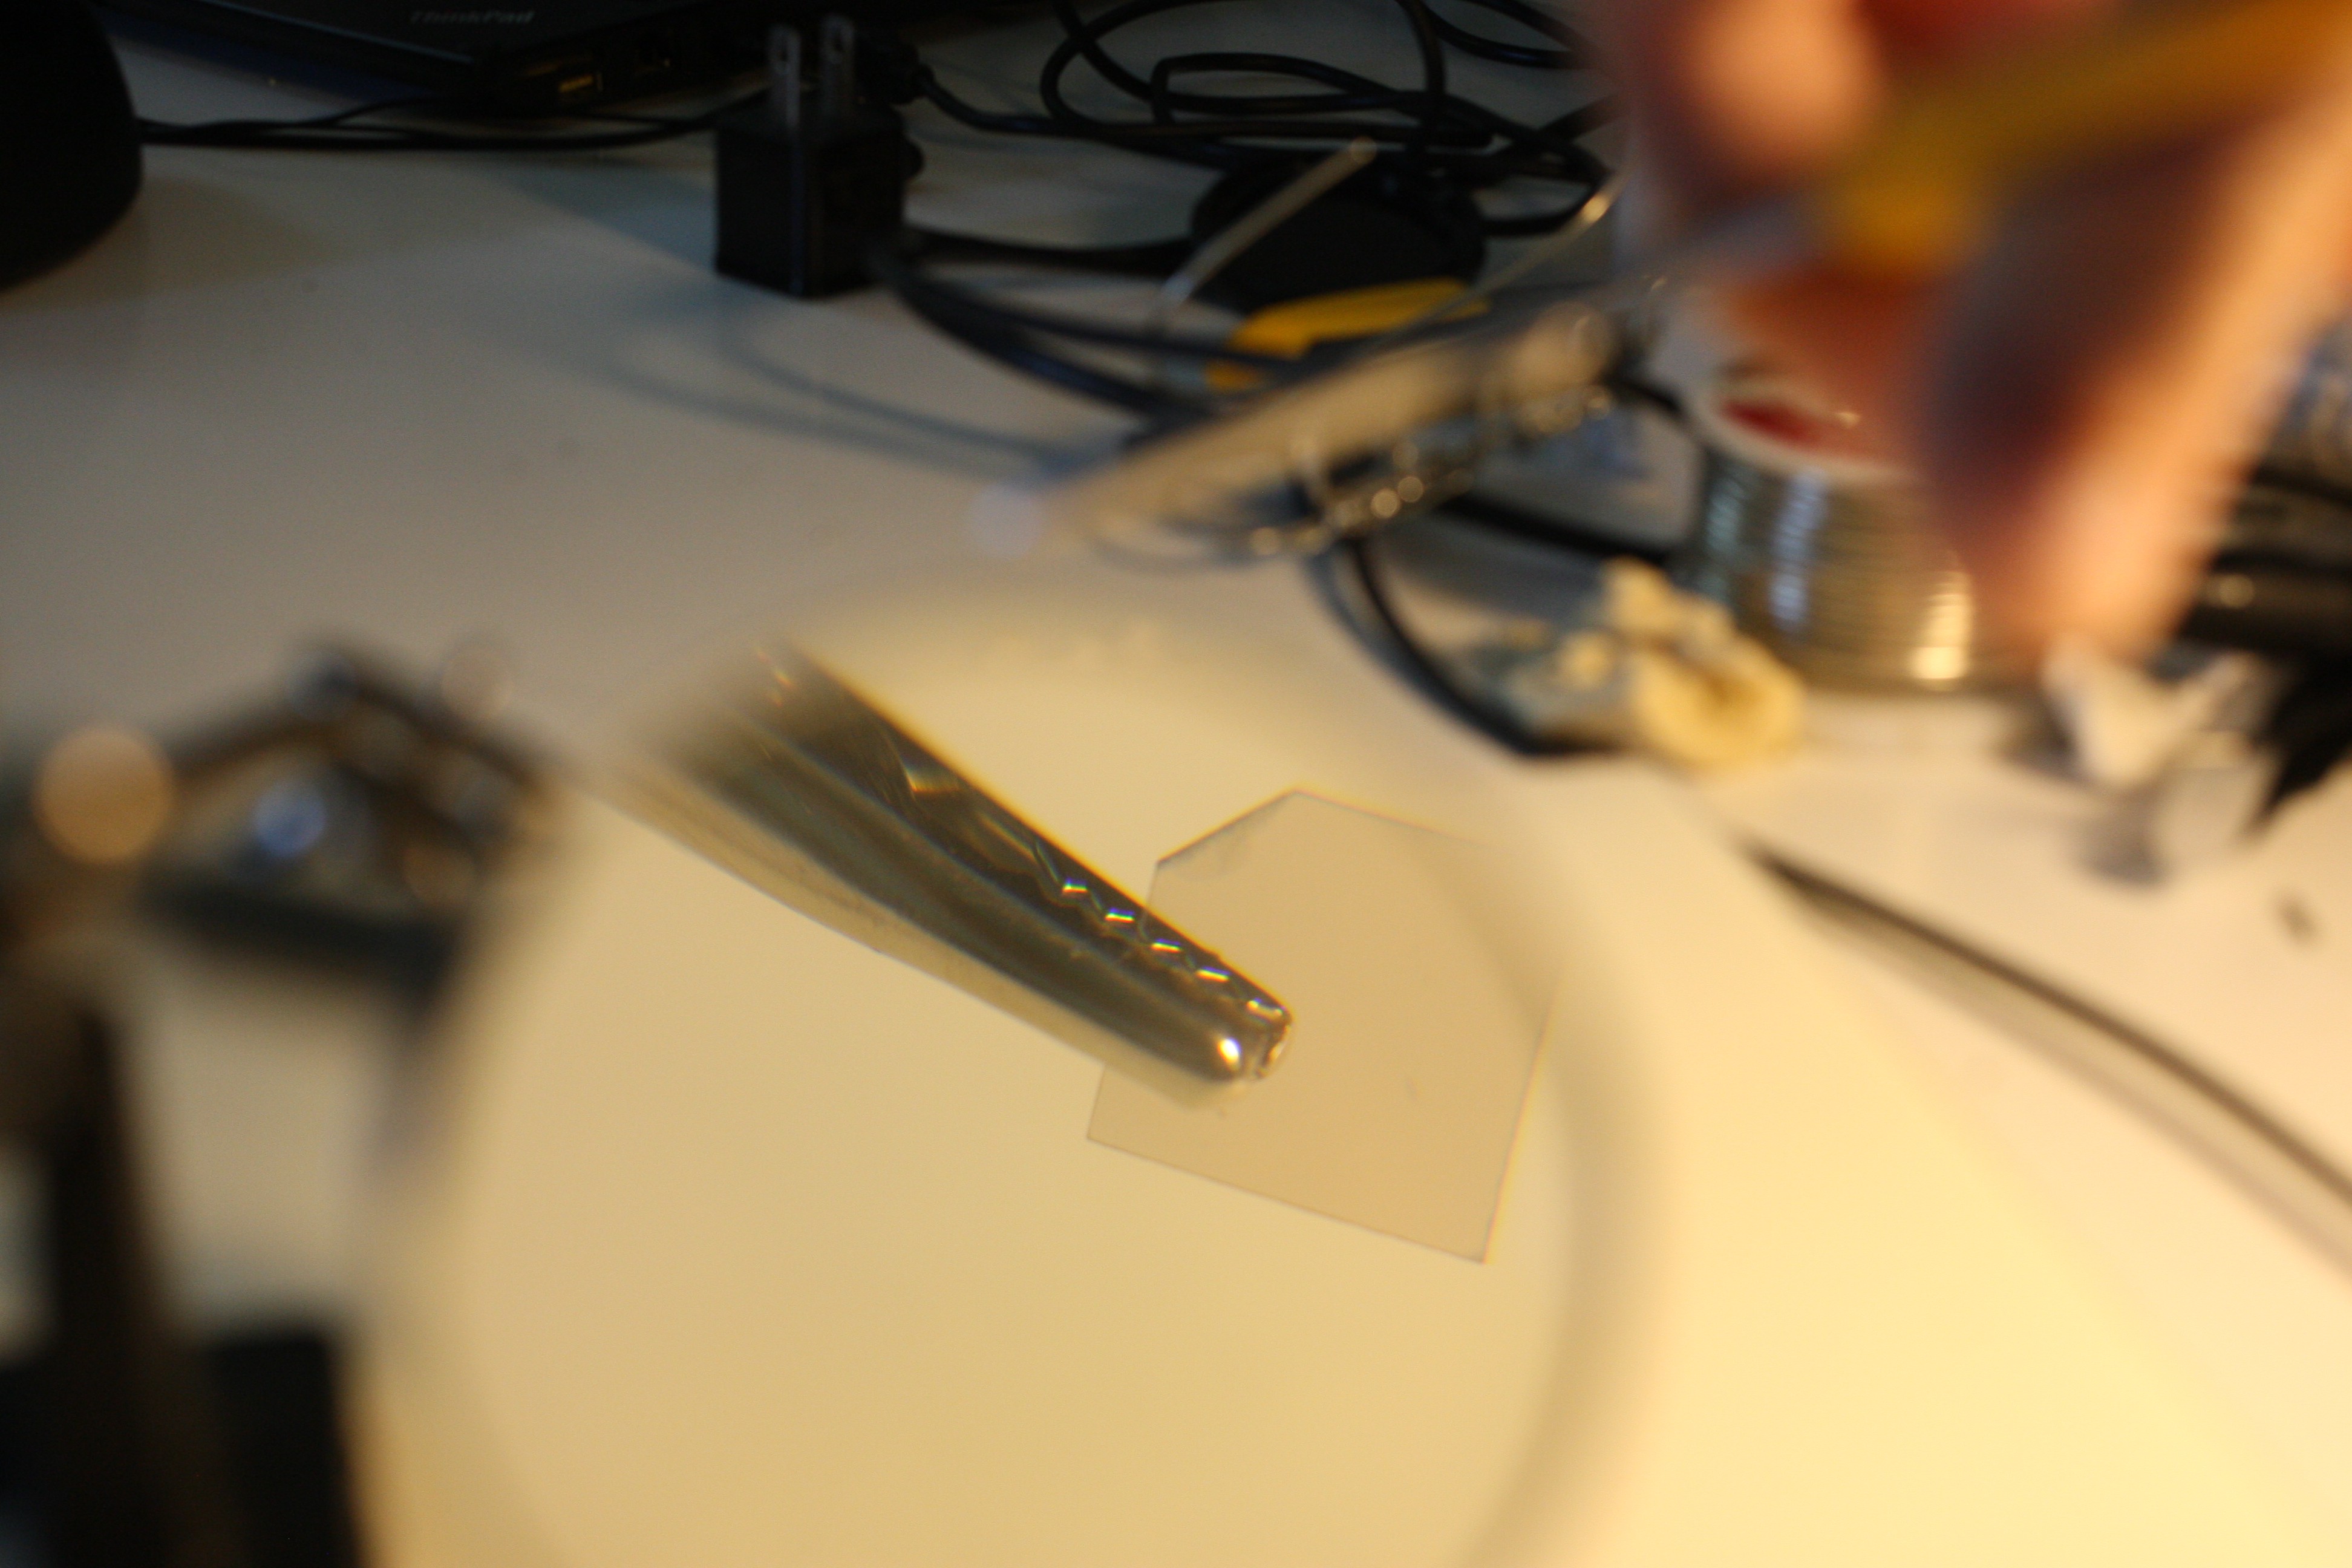
Then I cut out the mica using the same template. The particular sample I was using was rather thick so I had to make relief cuts and there was some delamination.
![]()
![]()
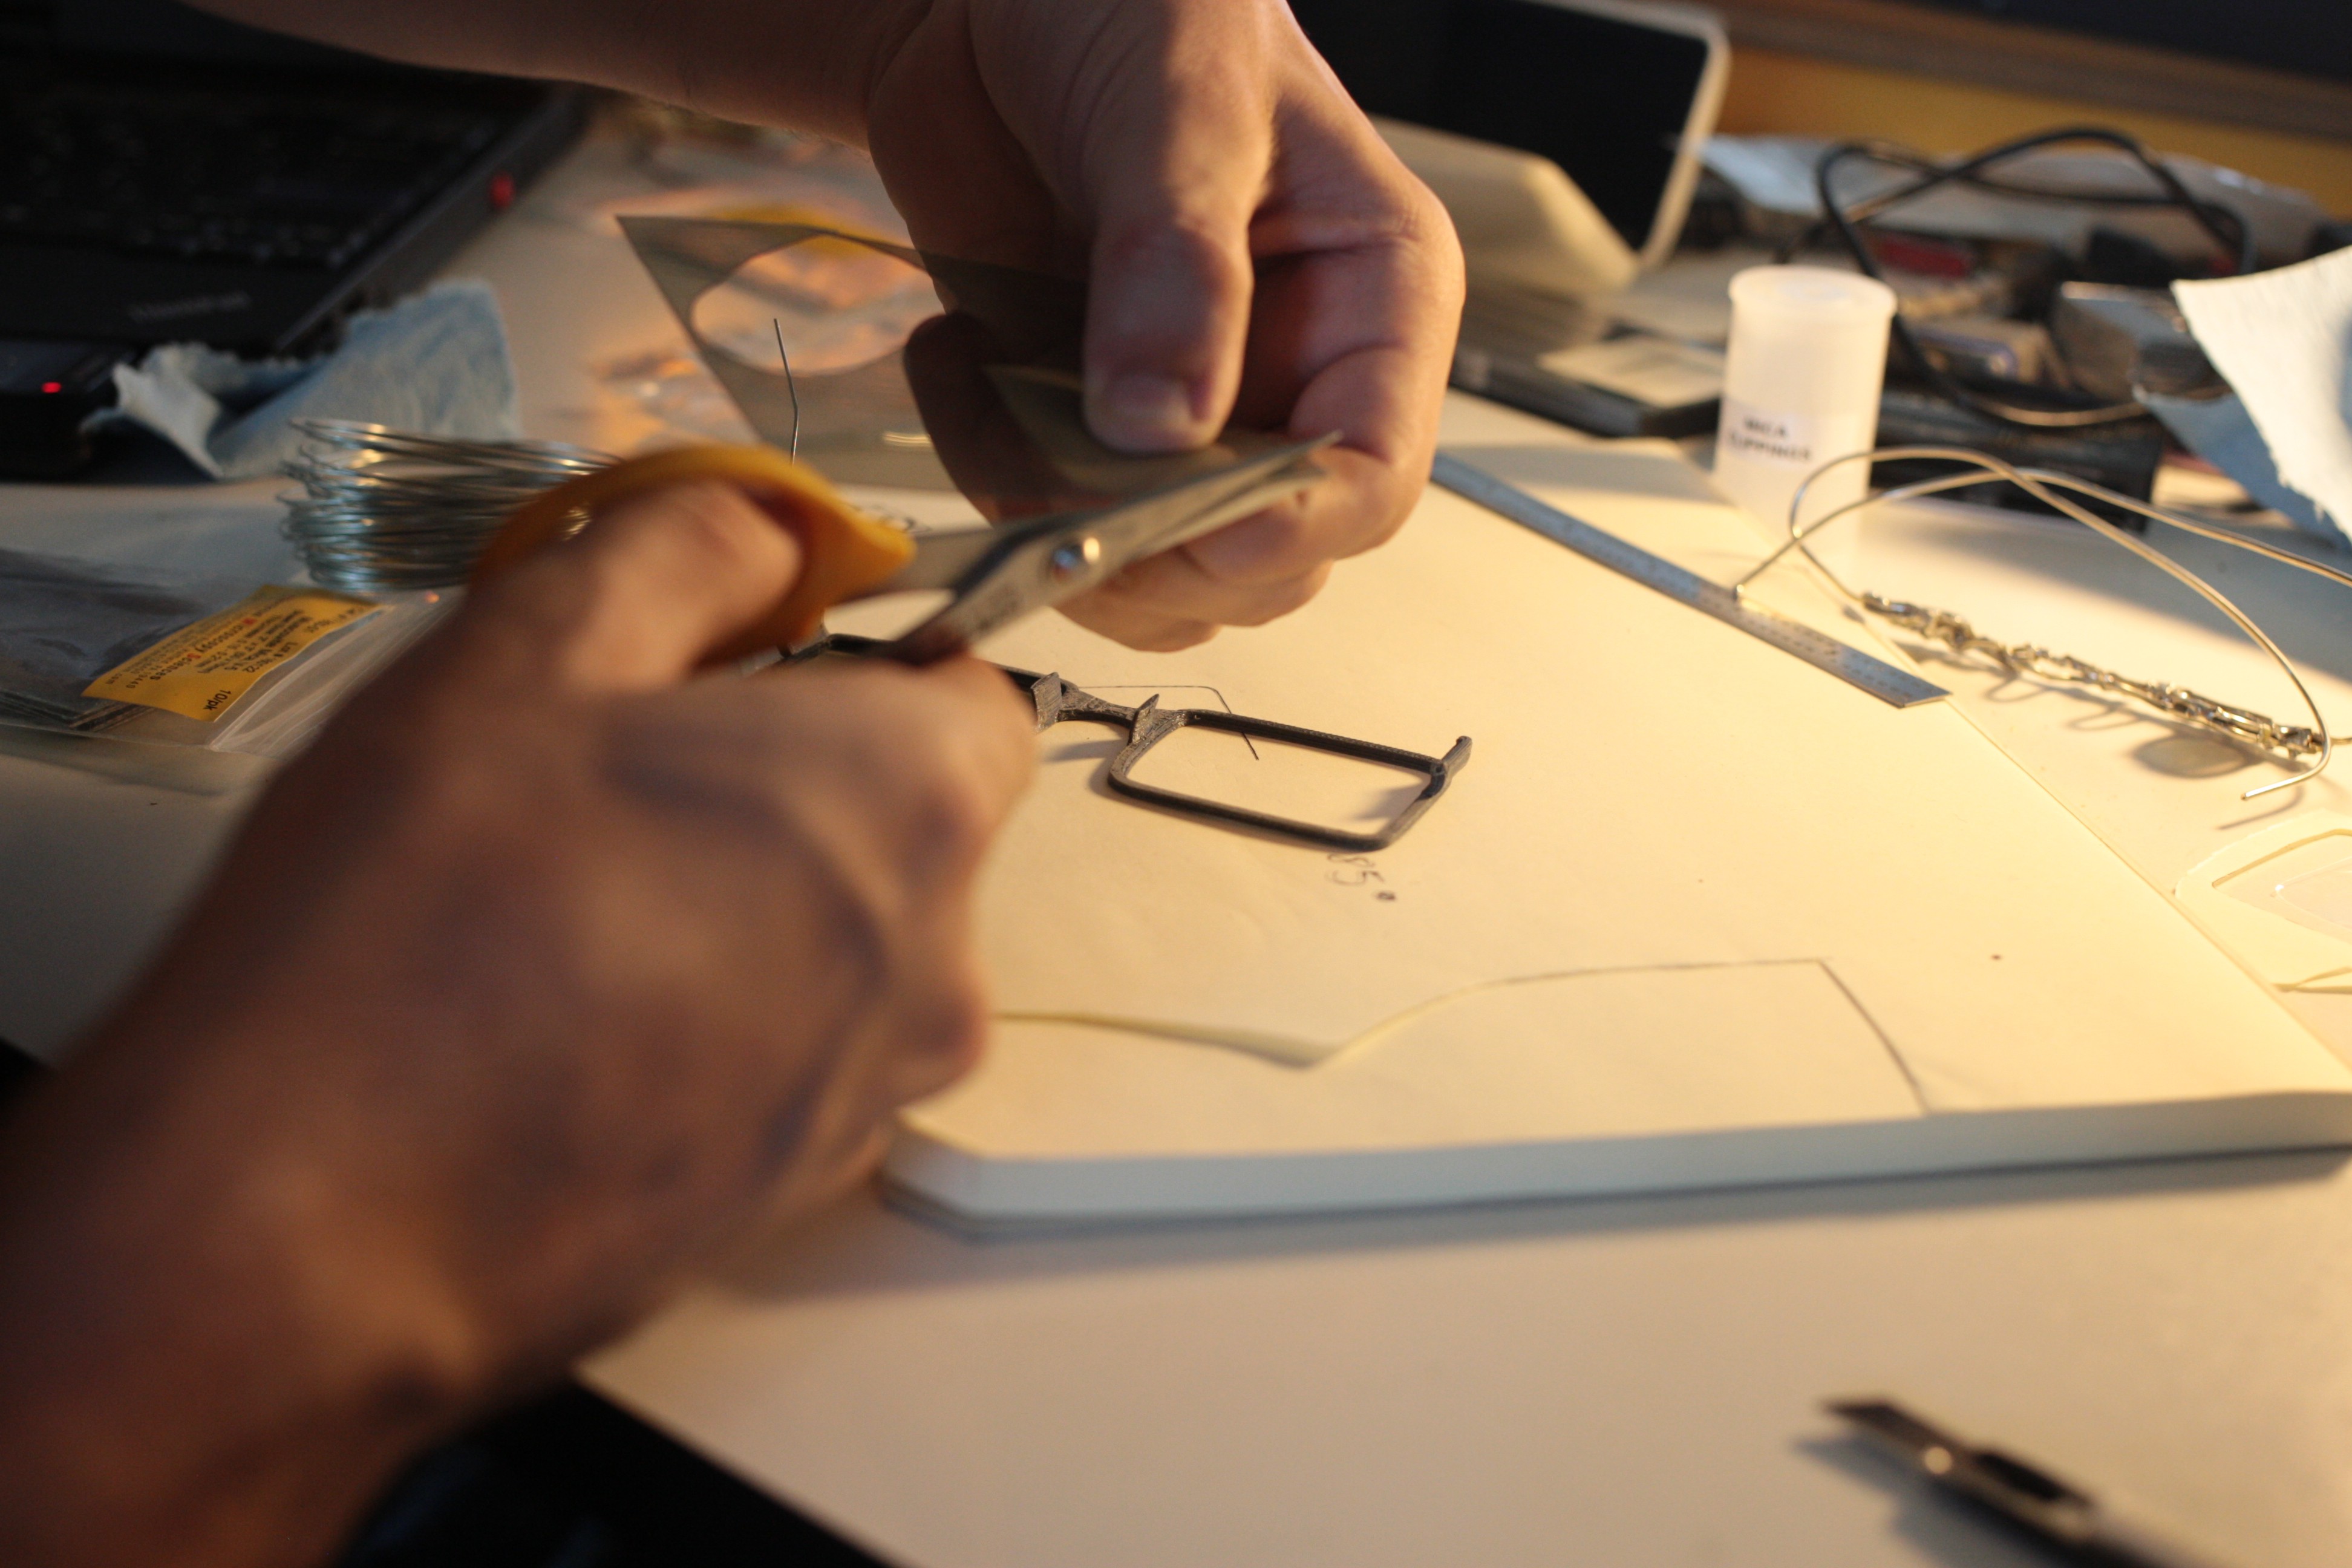
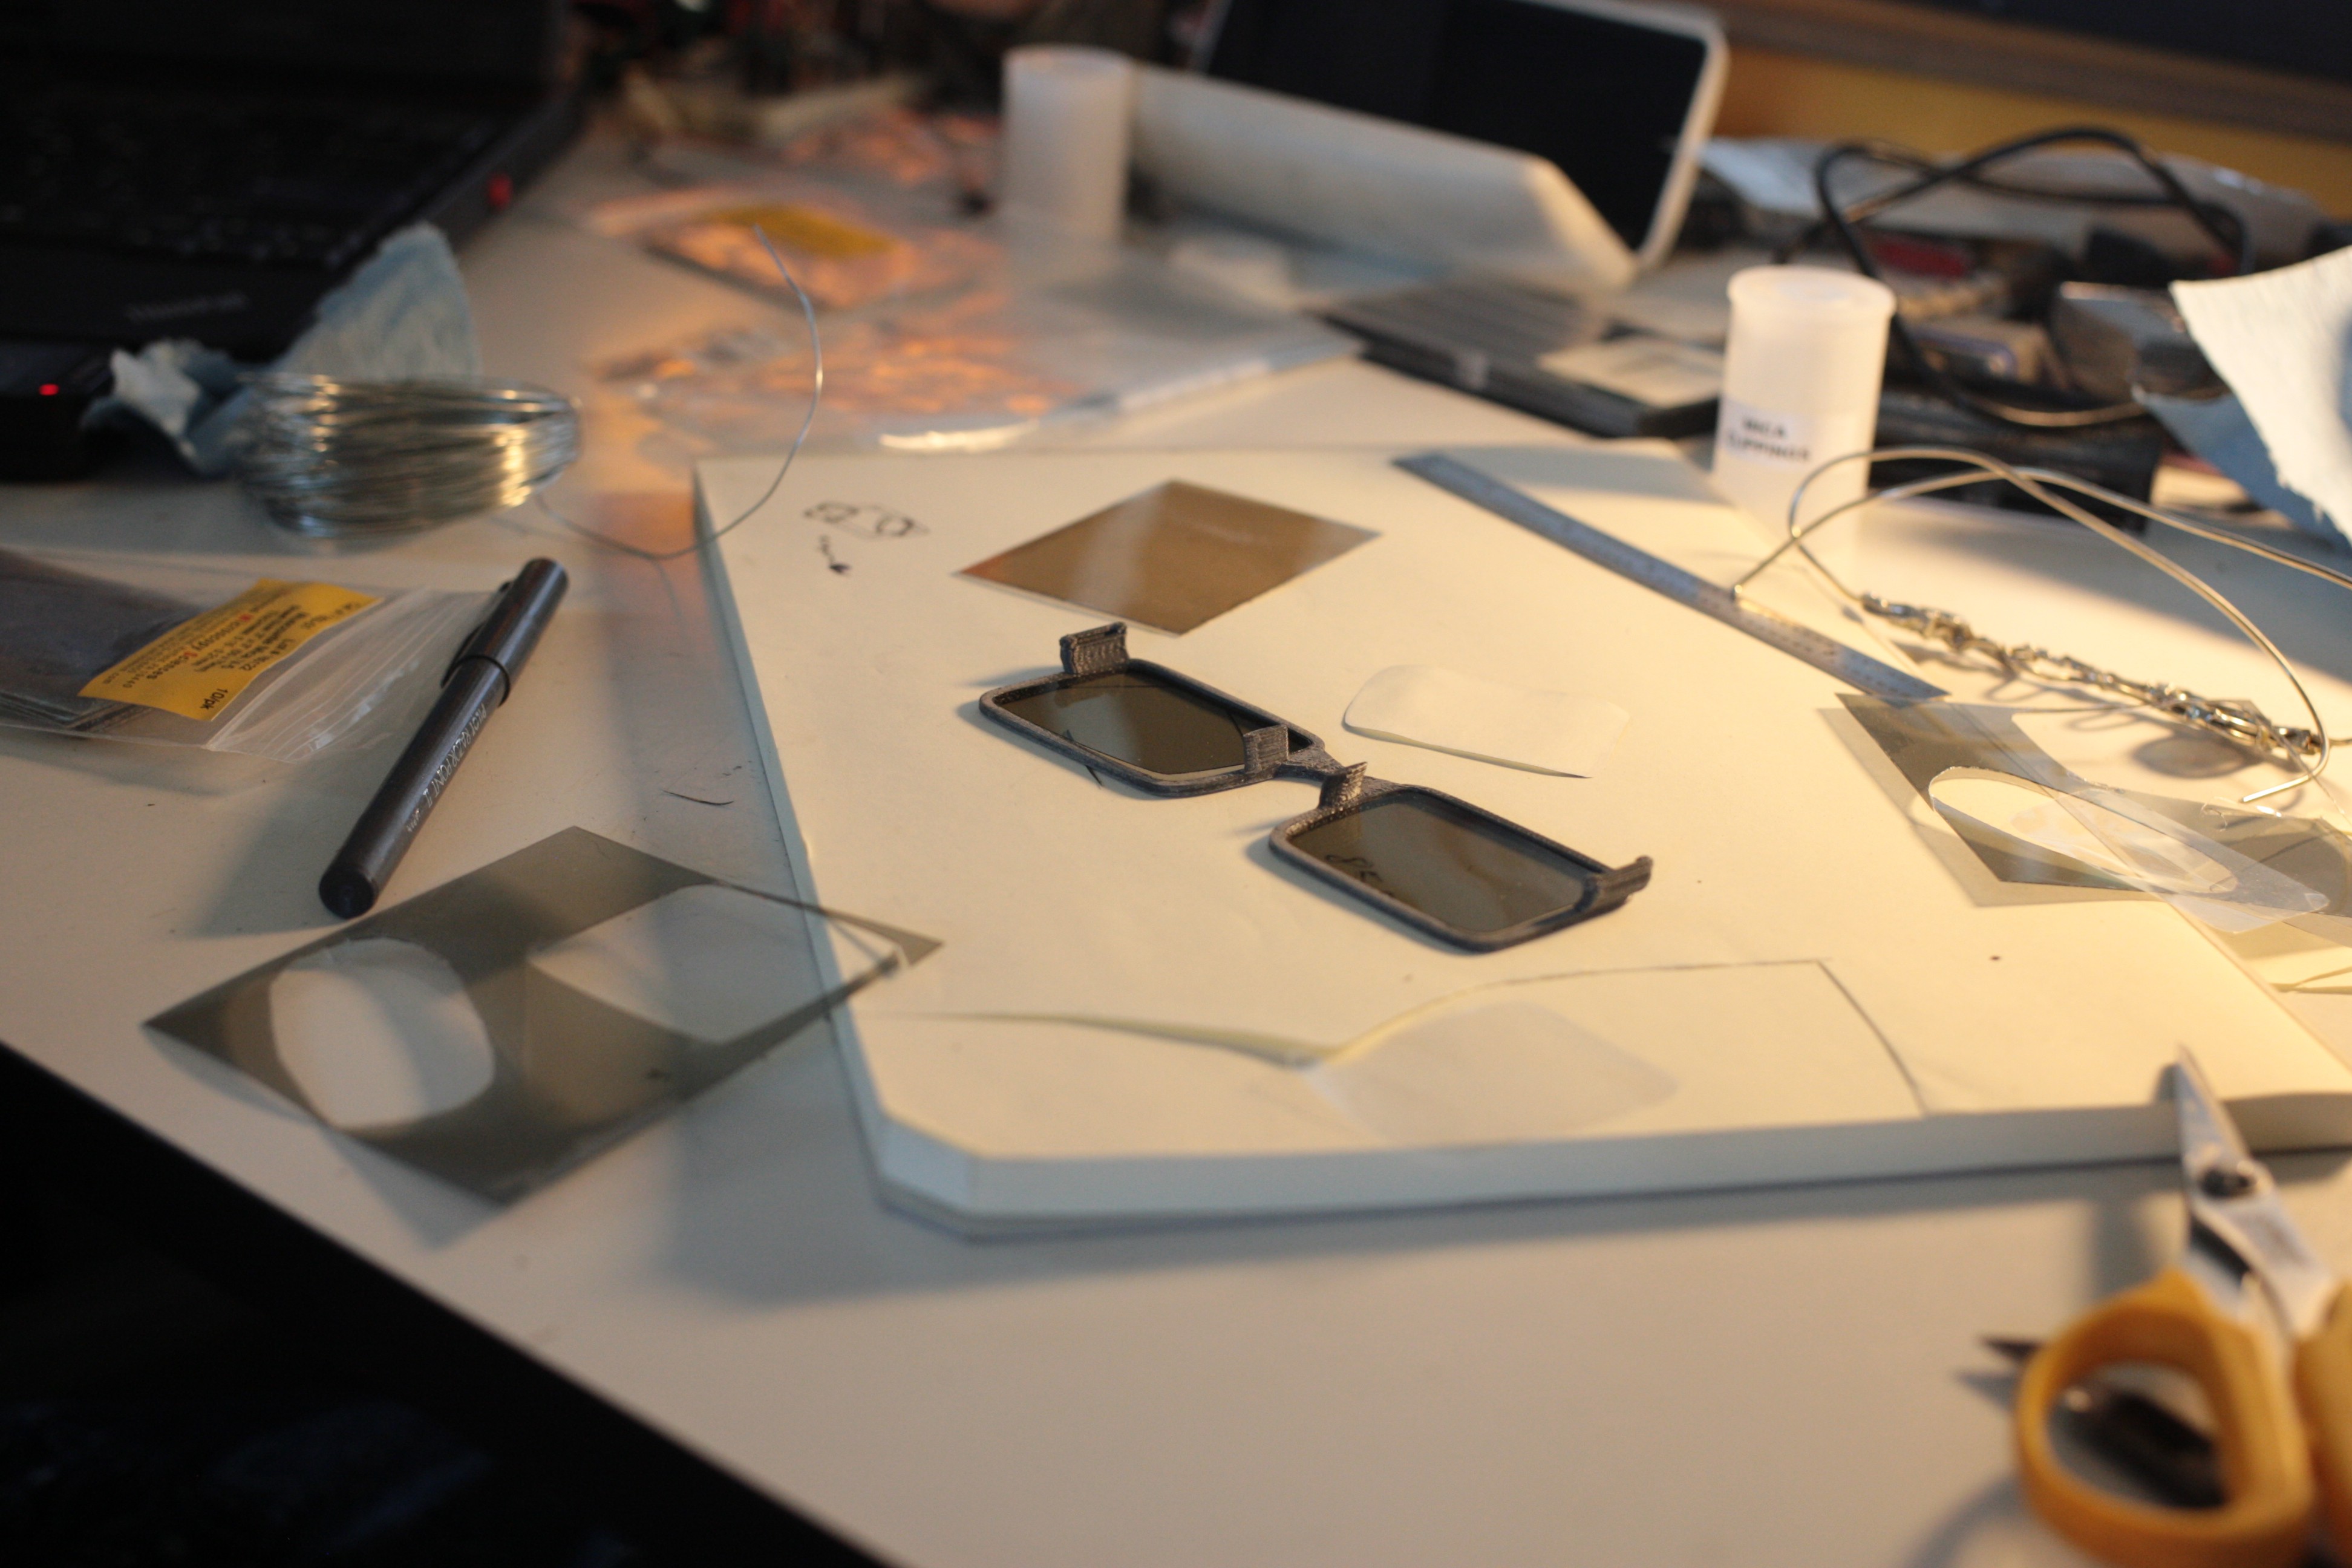
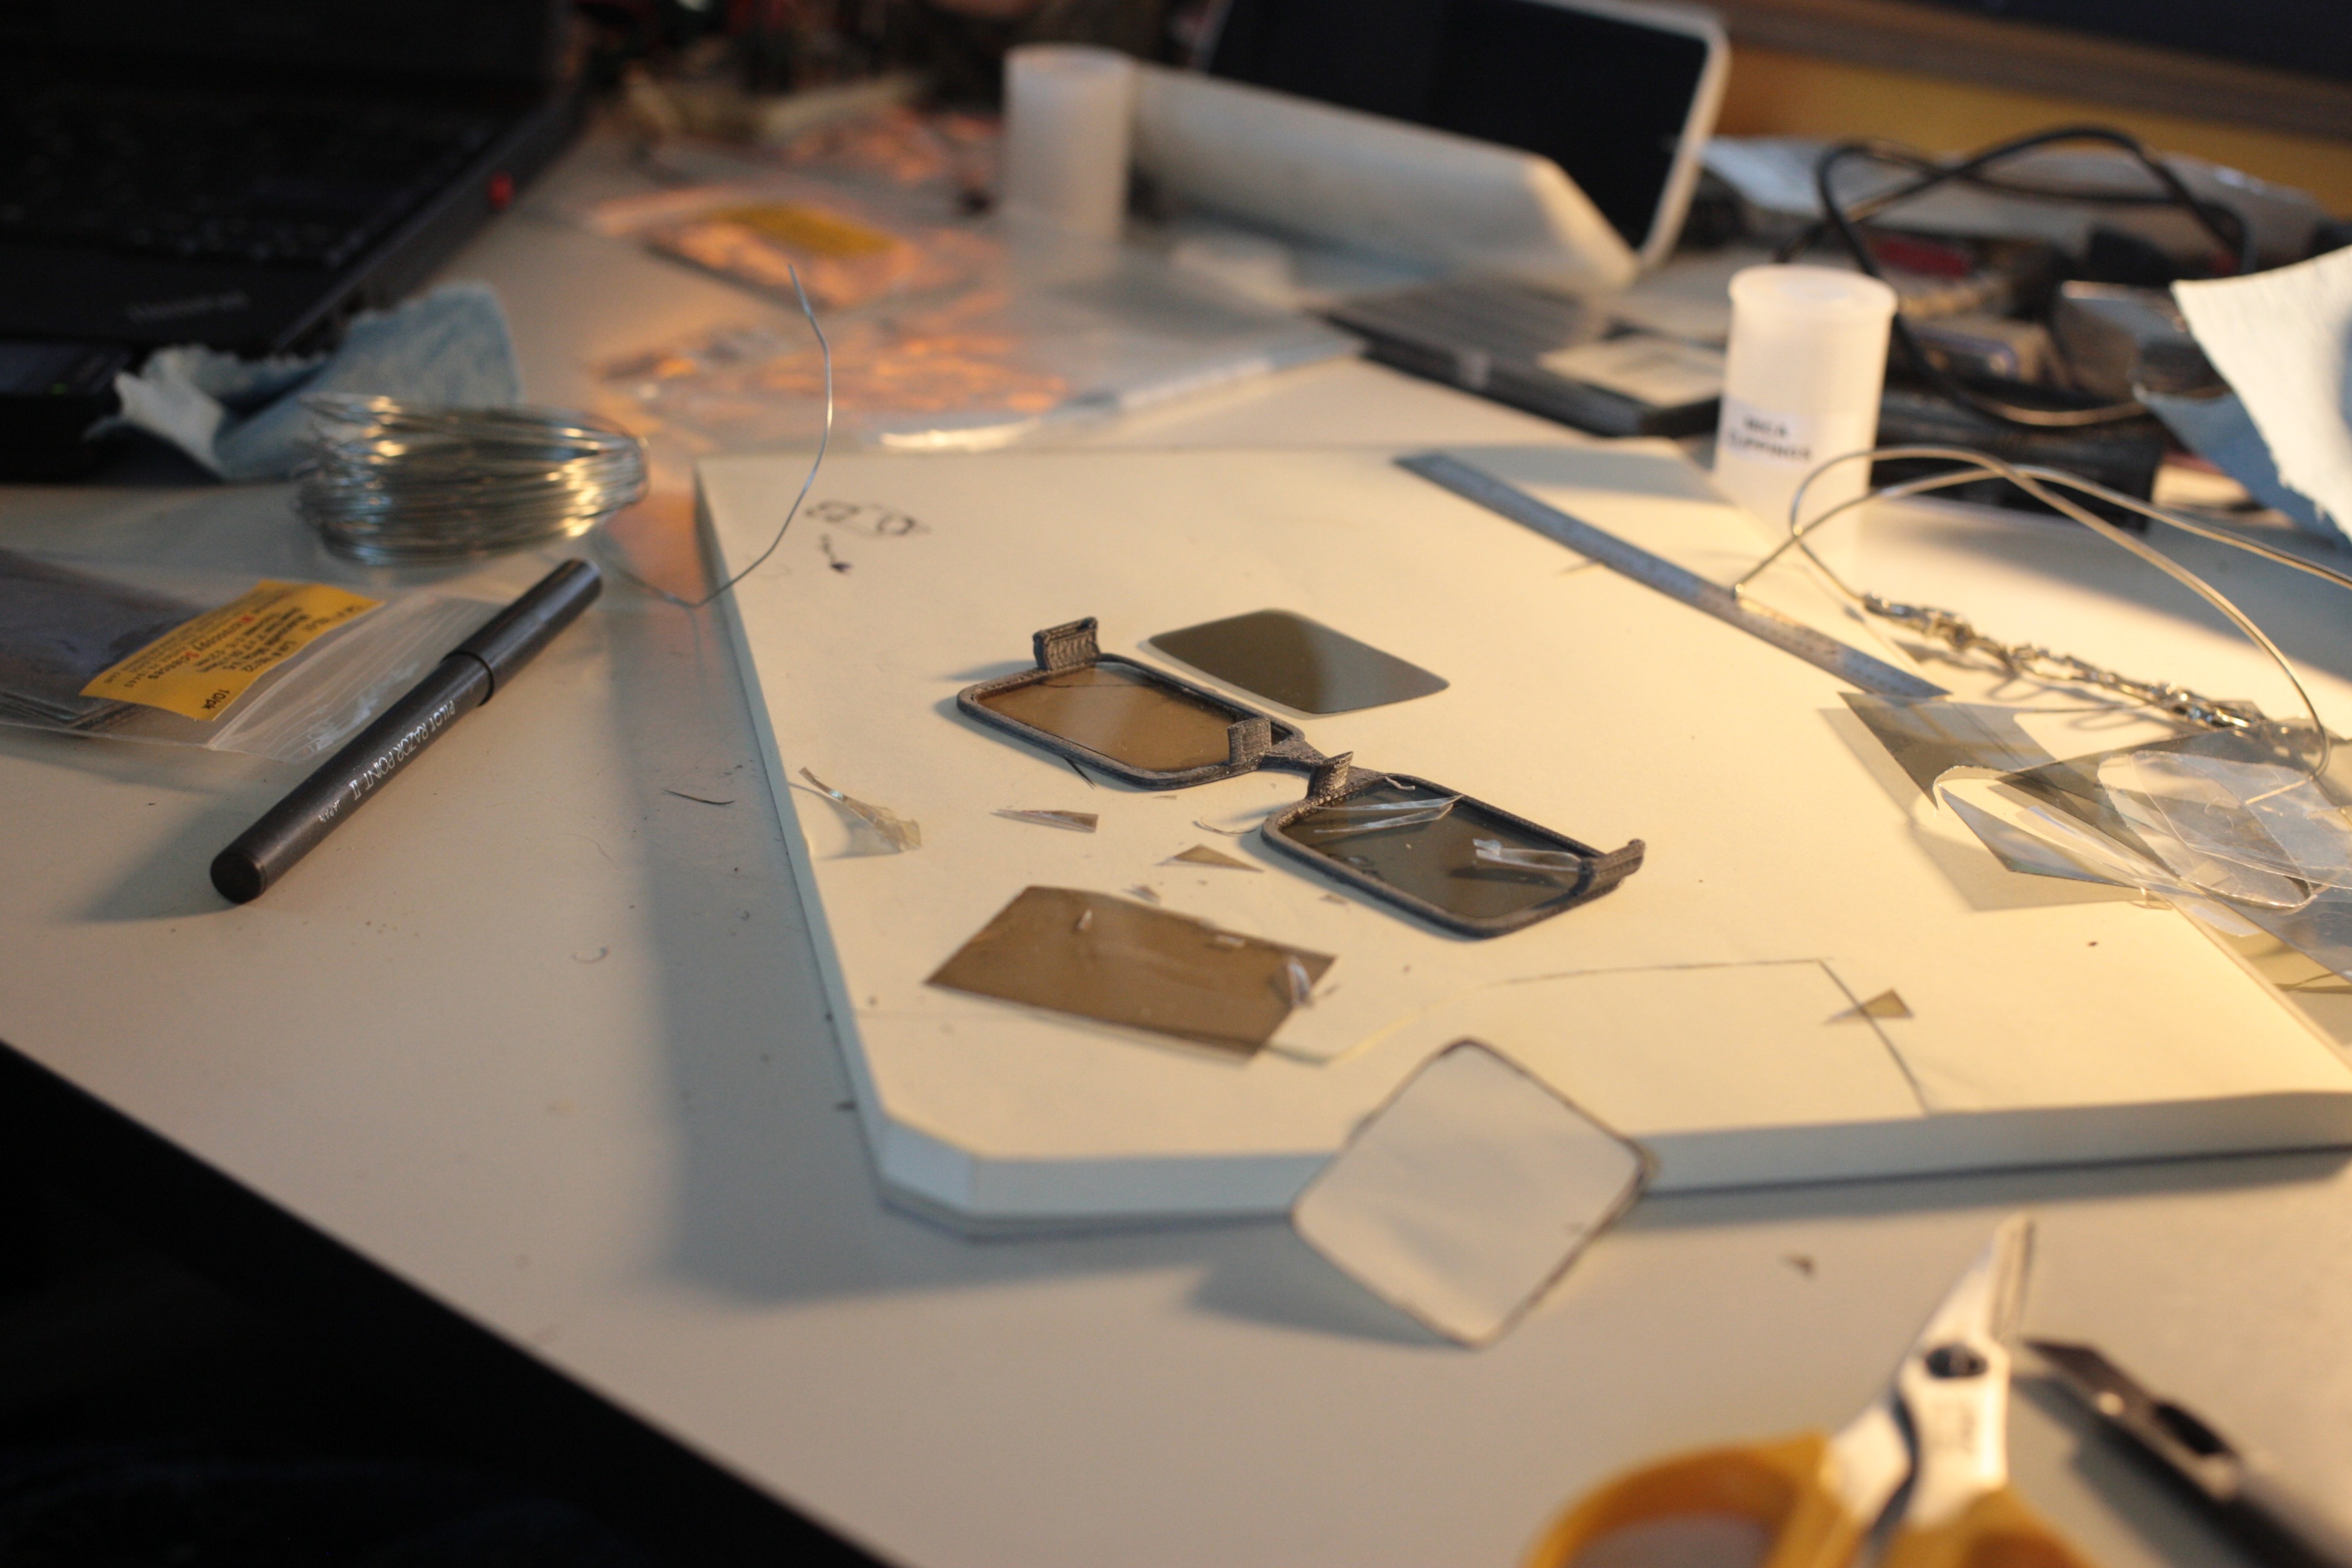
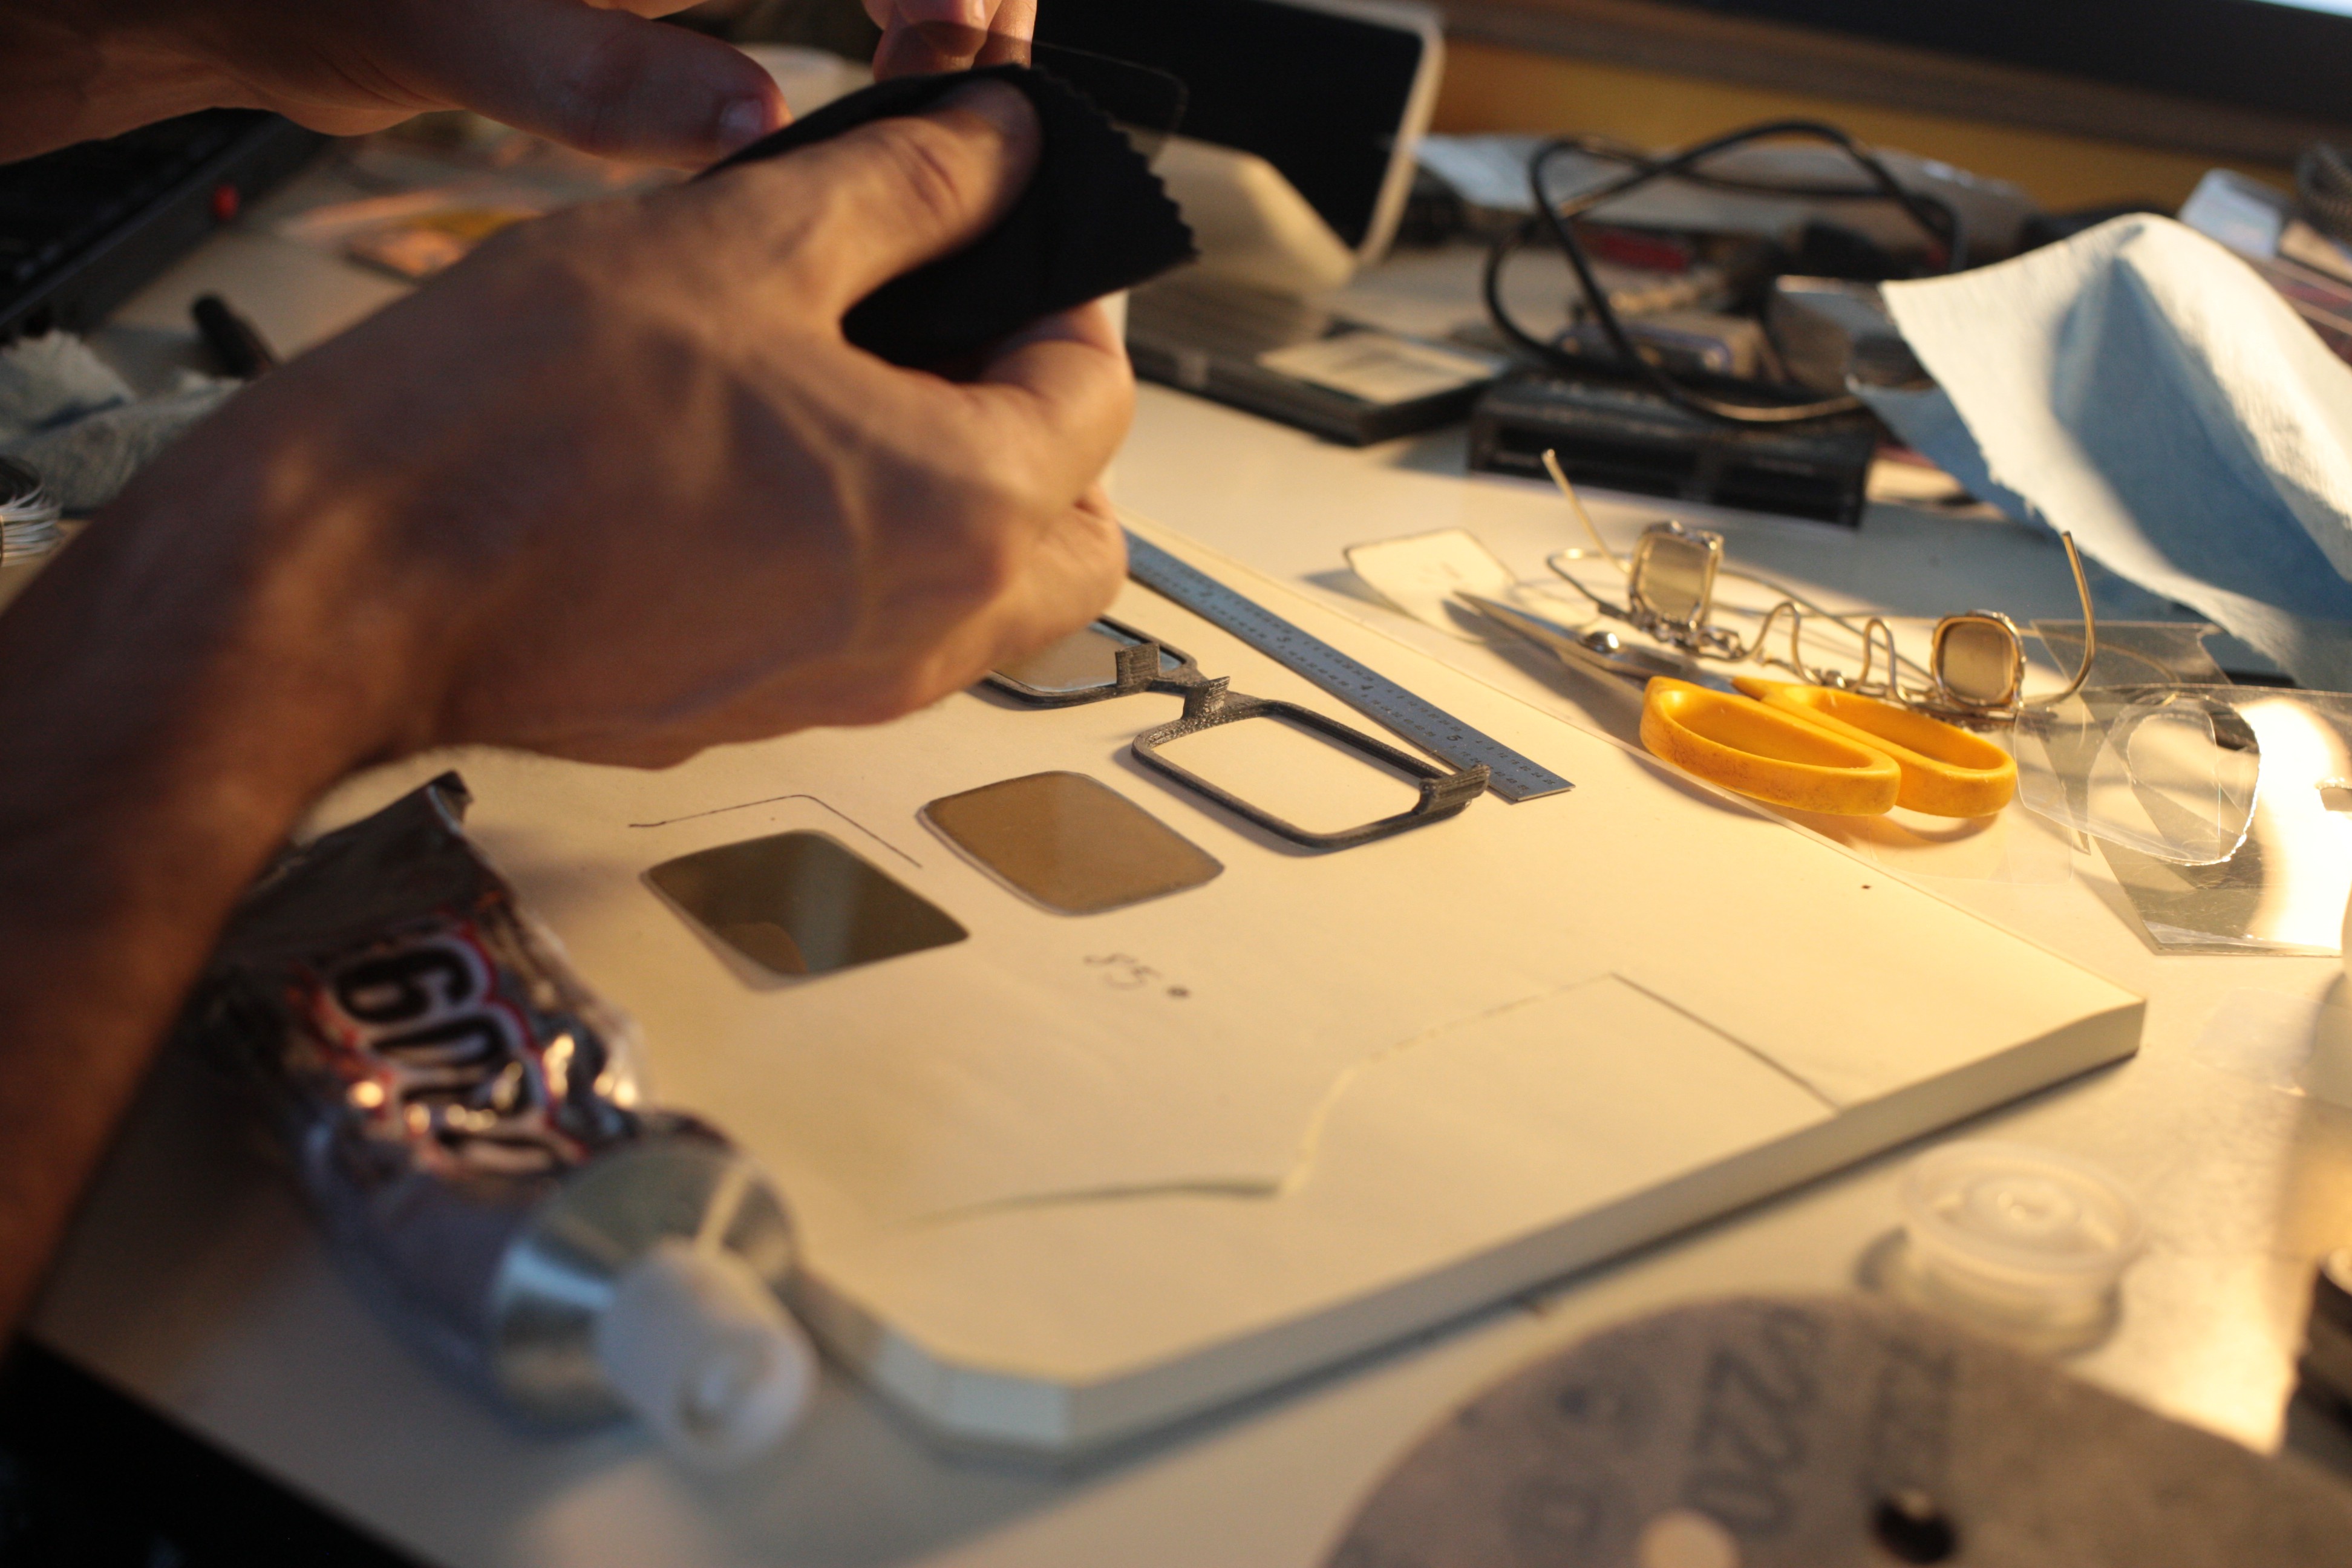
Then check combined fitment; the frame was a little springy so I had to relieve pressure before laminating. Note that the lens pockets are half blind and not deep enough at the time of this design, works for now though.
![]()
Lined up.
![]()
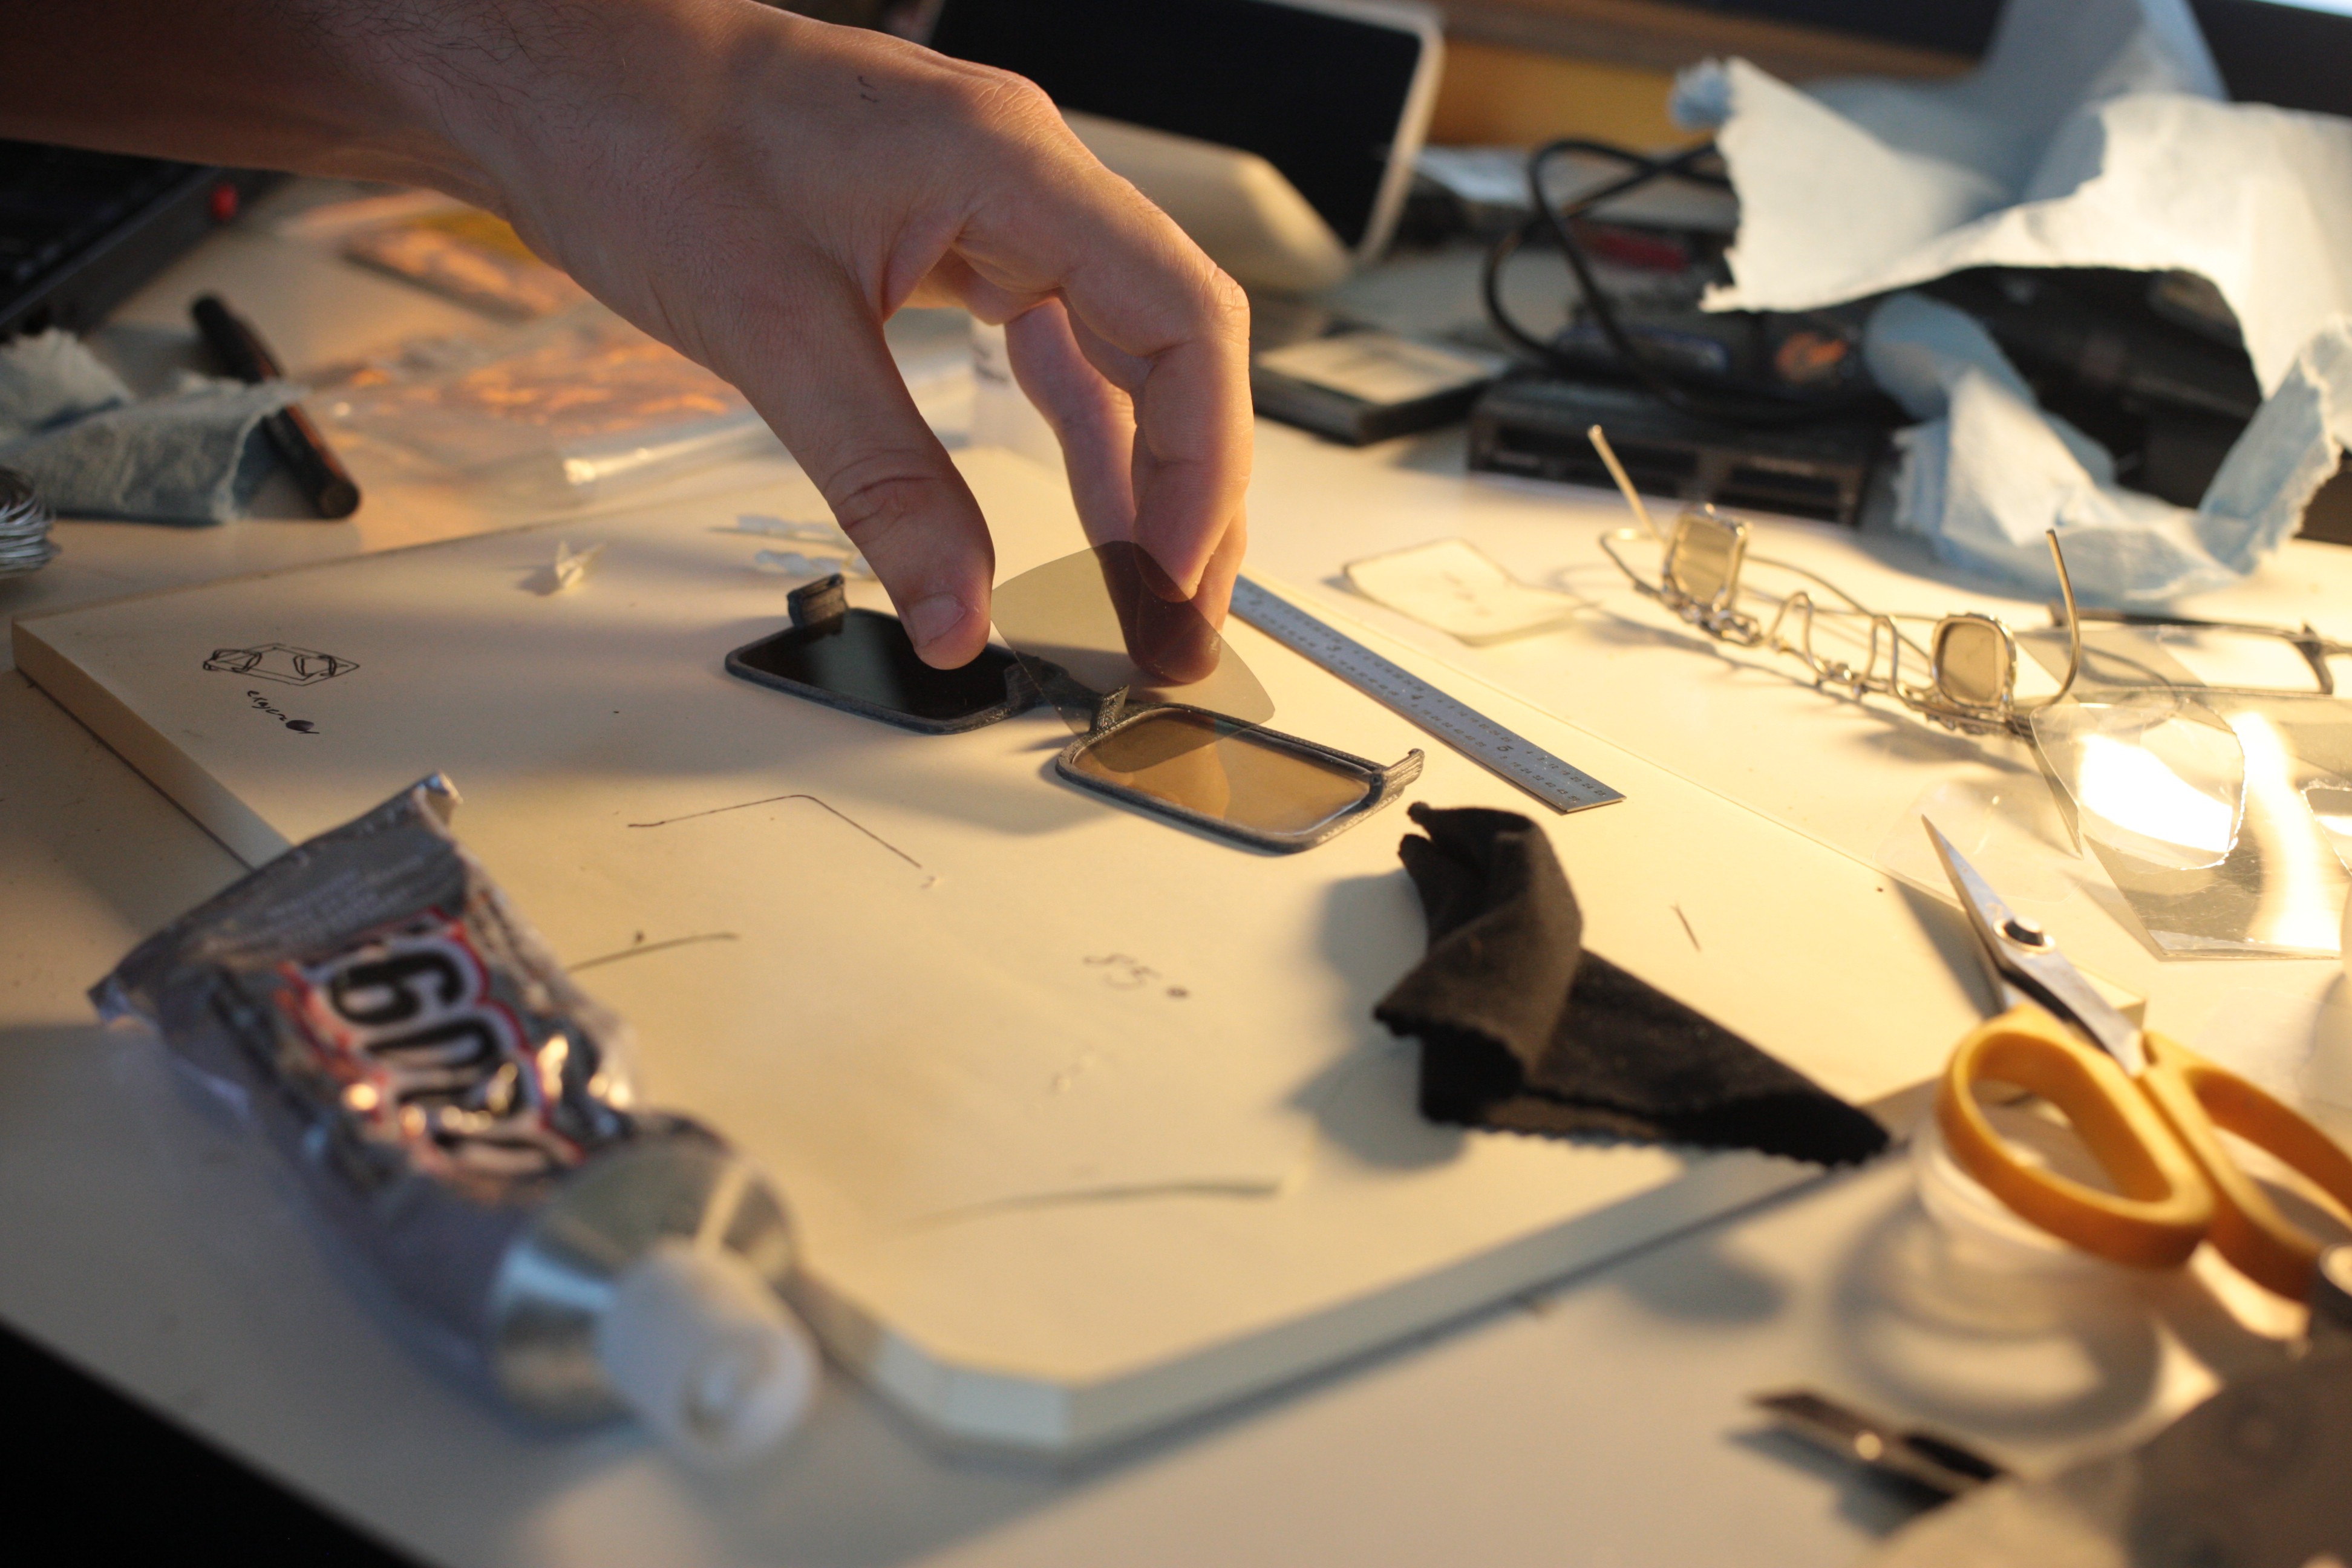
Clean and assemble.
![]()
![]()
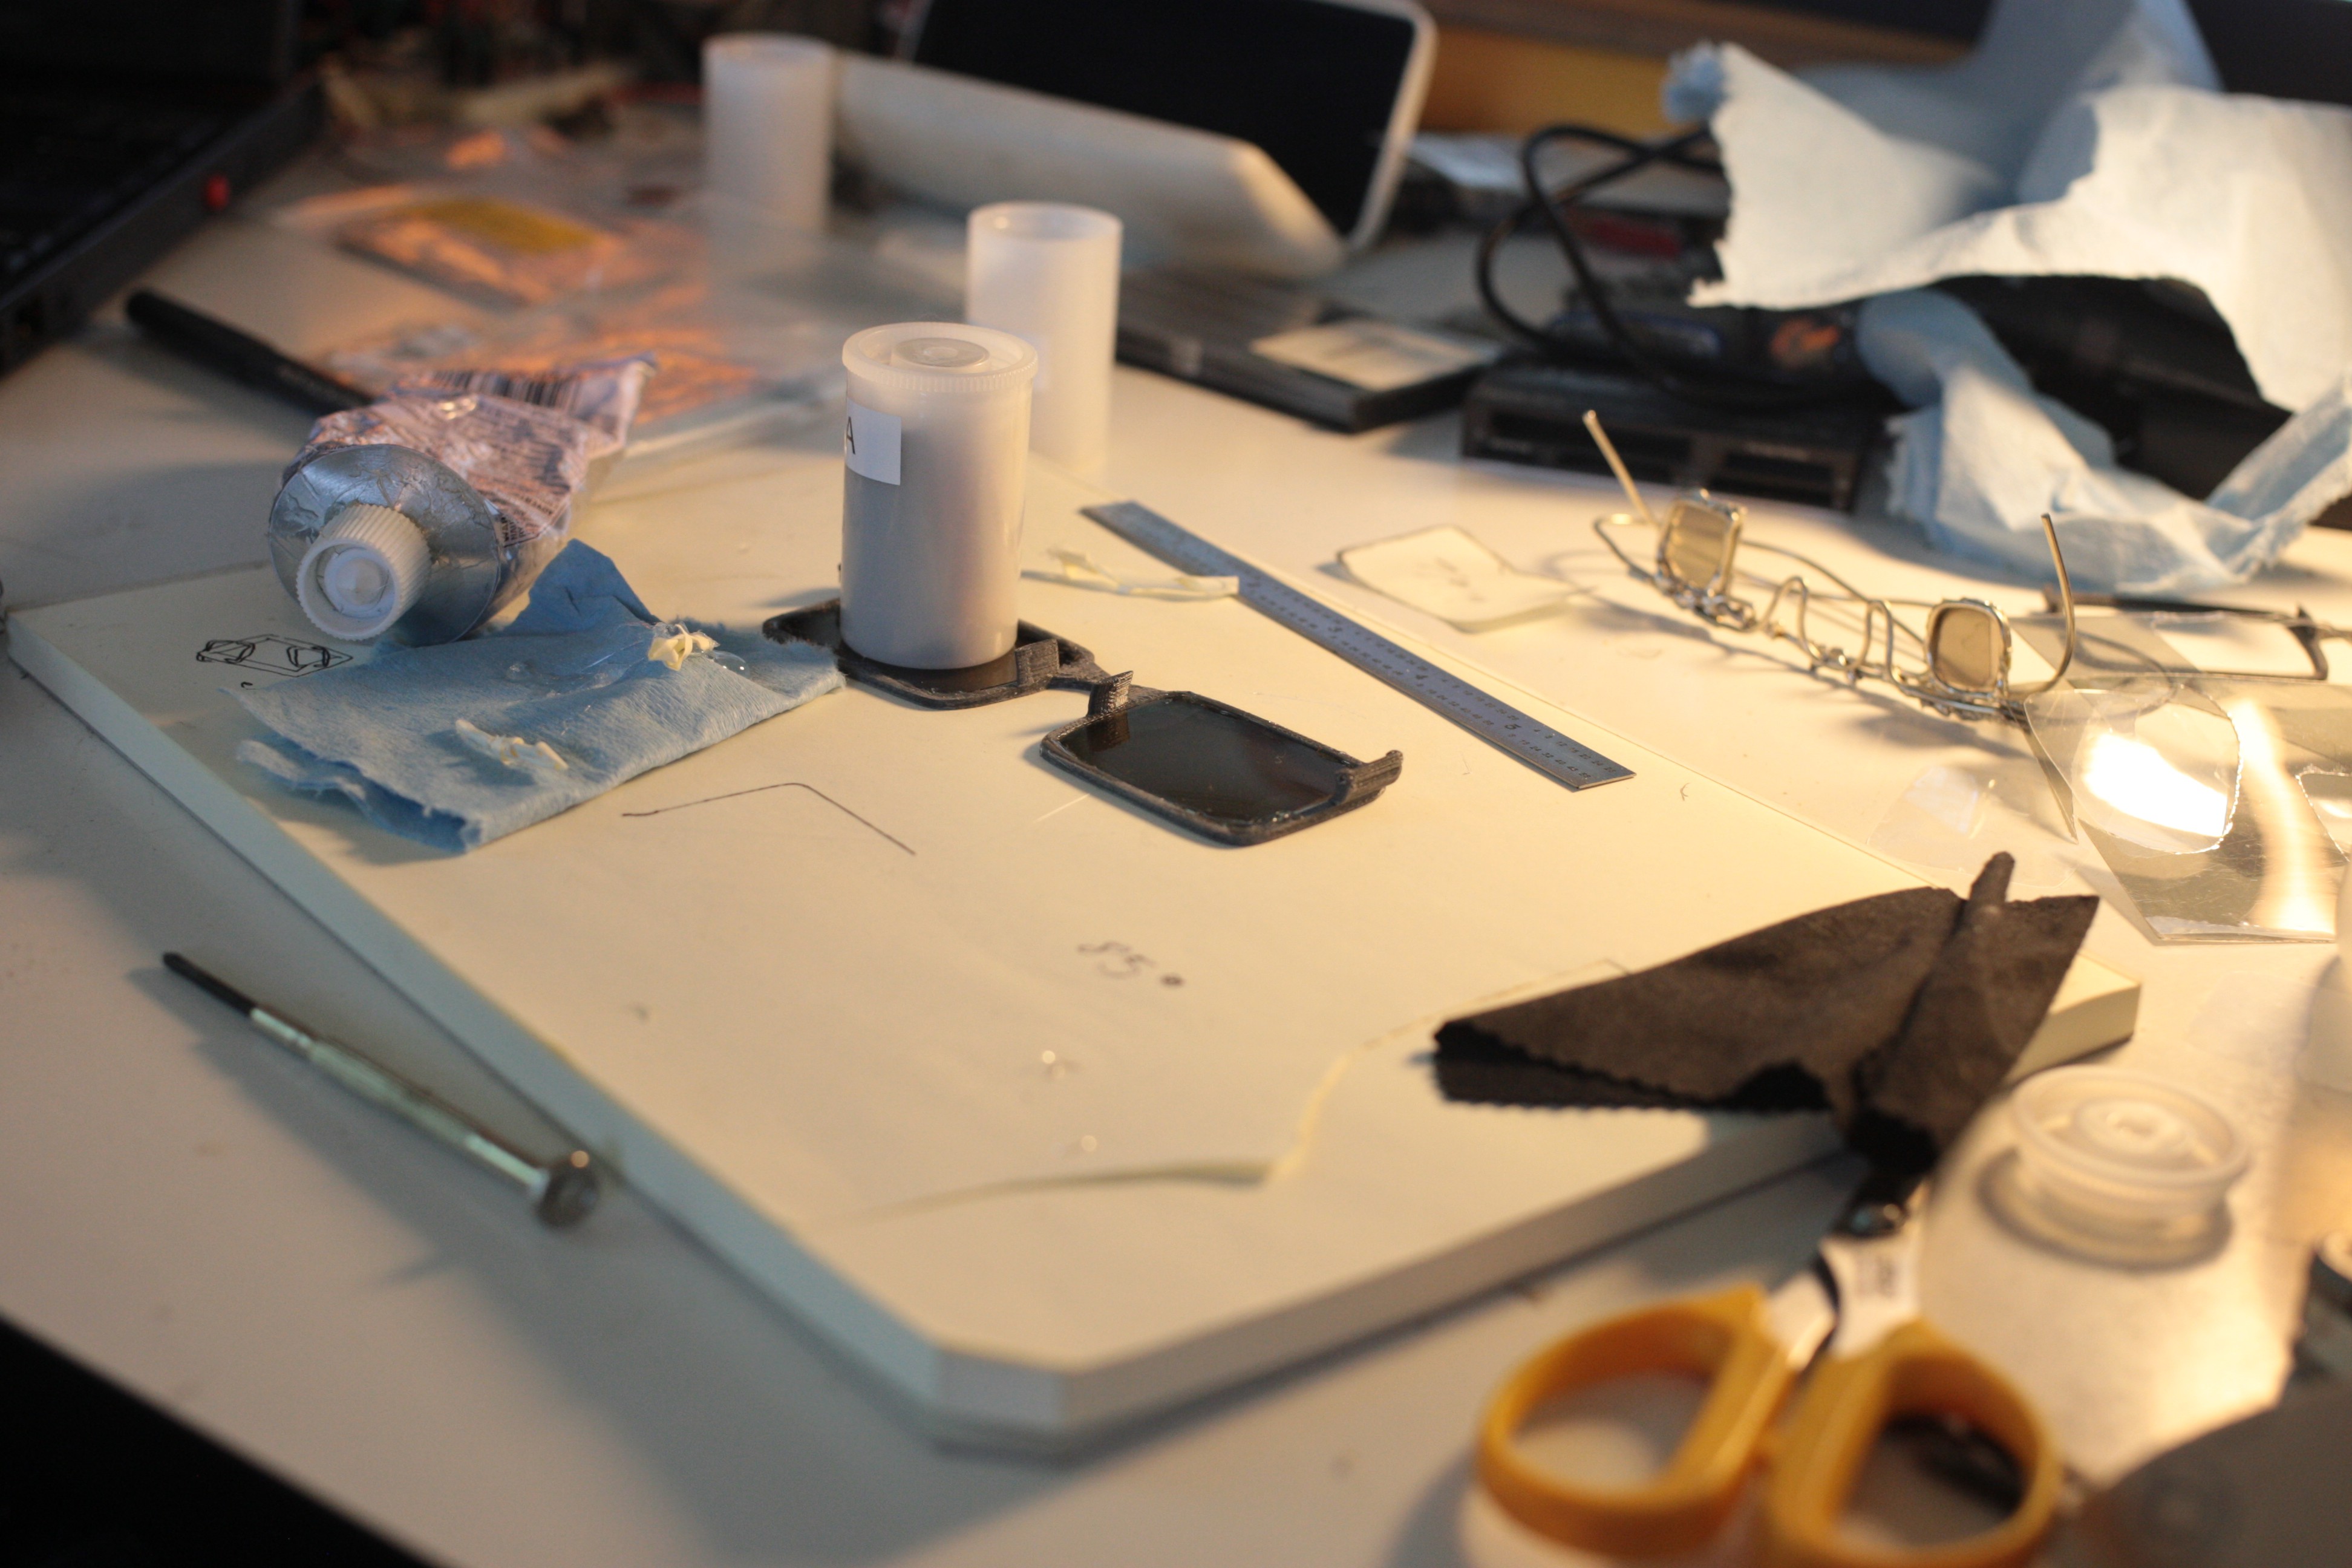
Applying glue and weighting into place.
![]()
![]()
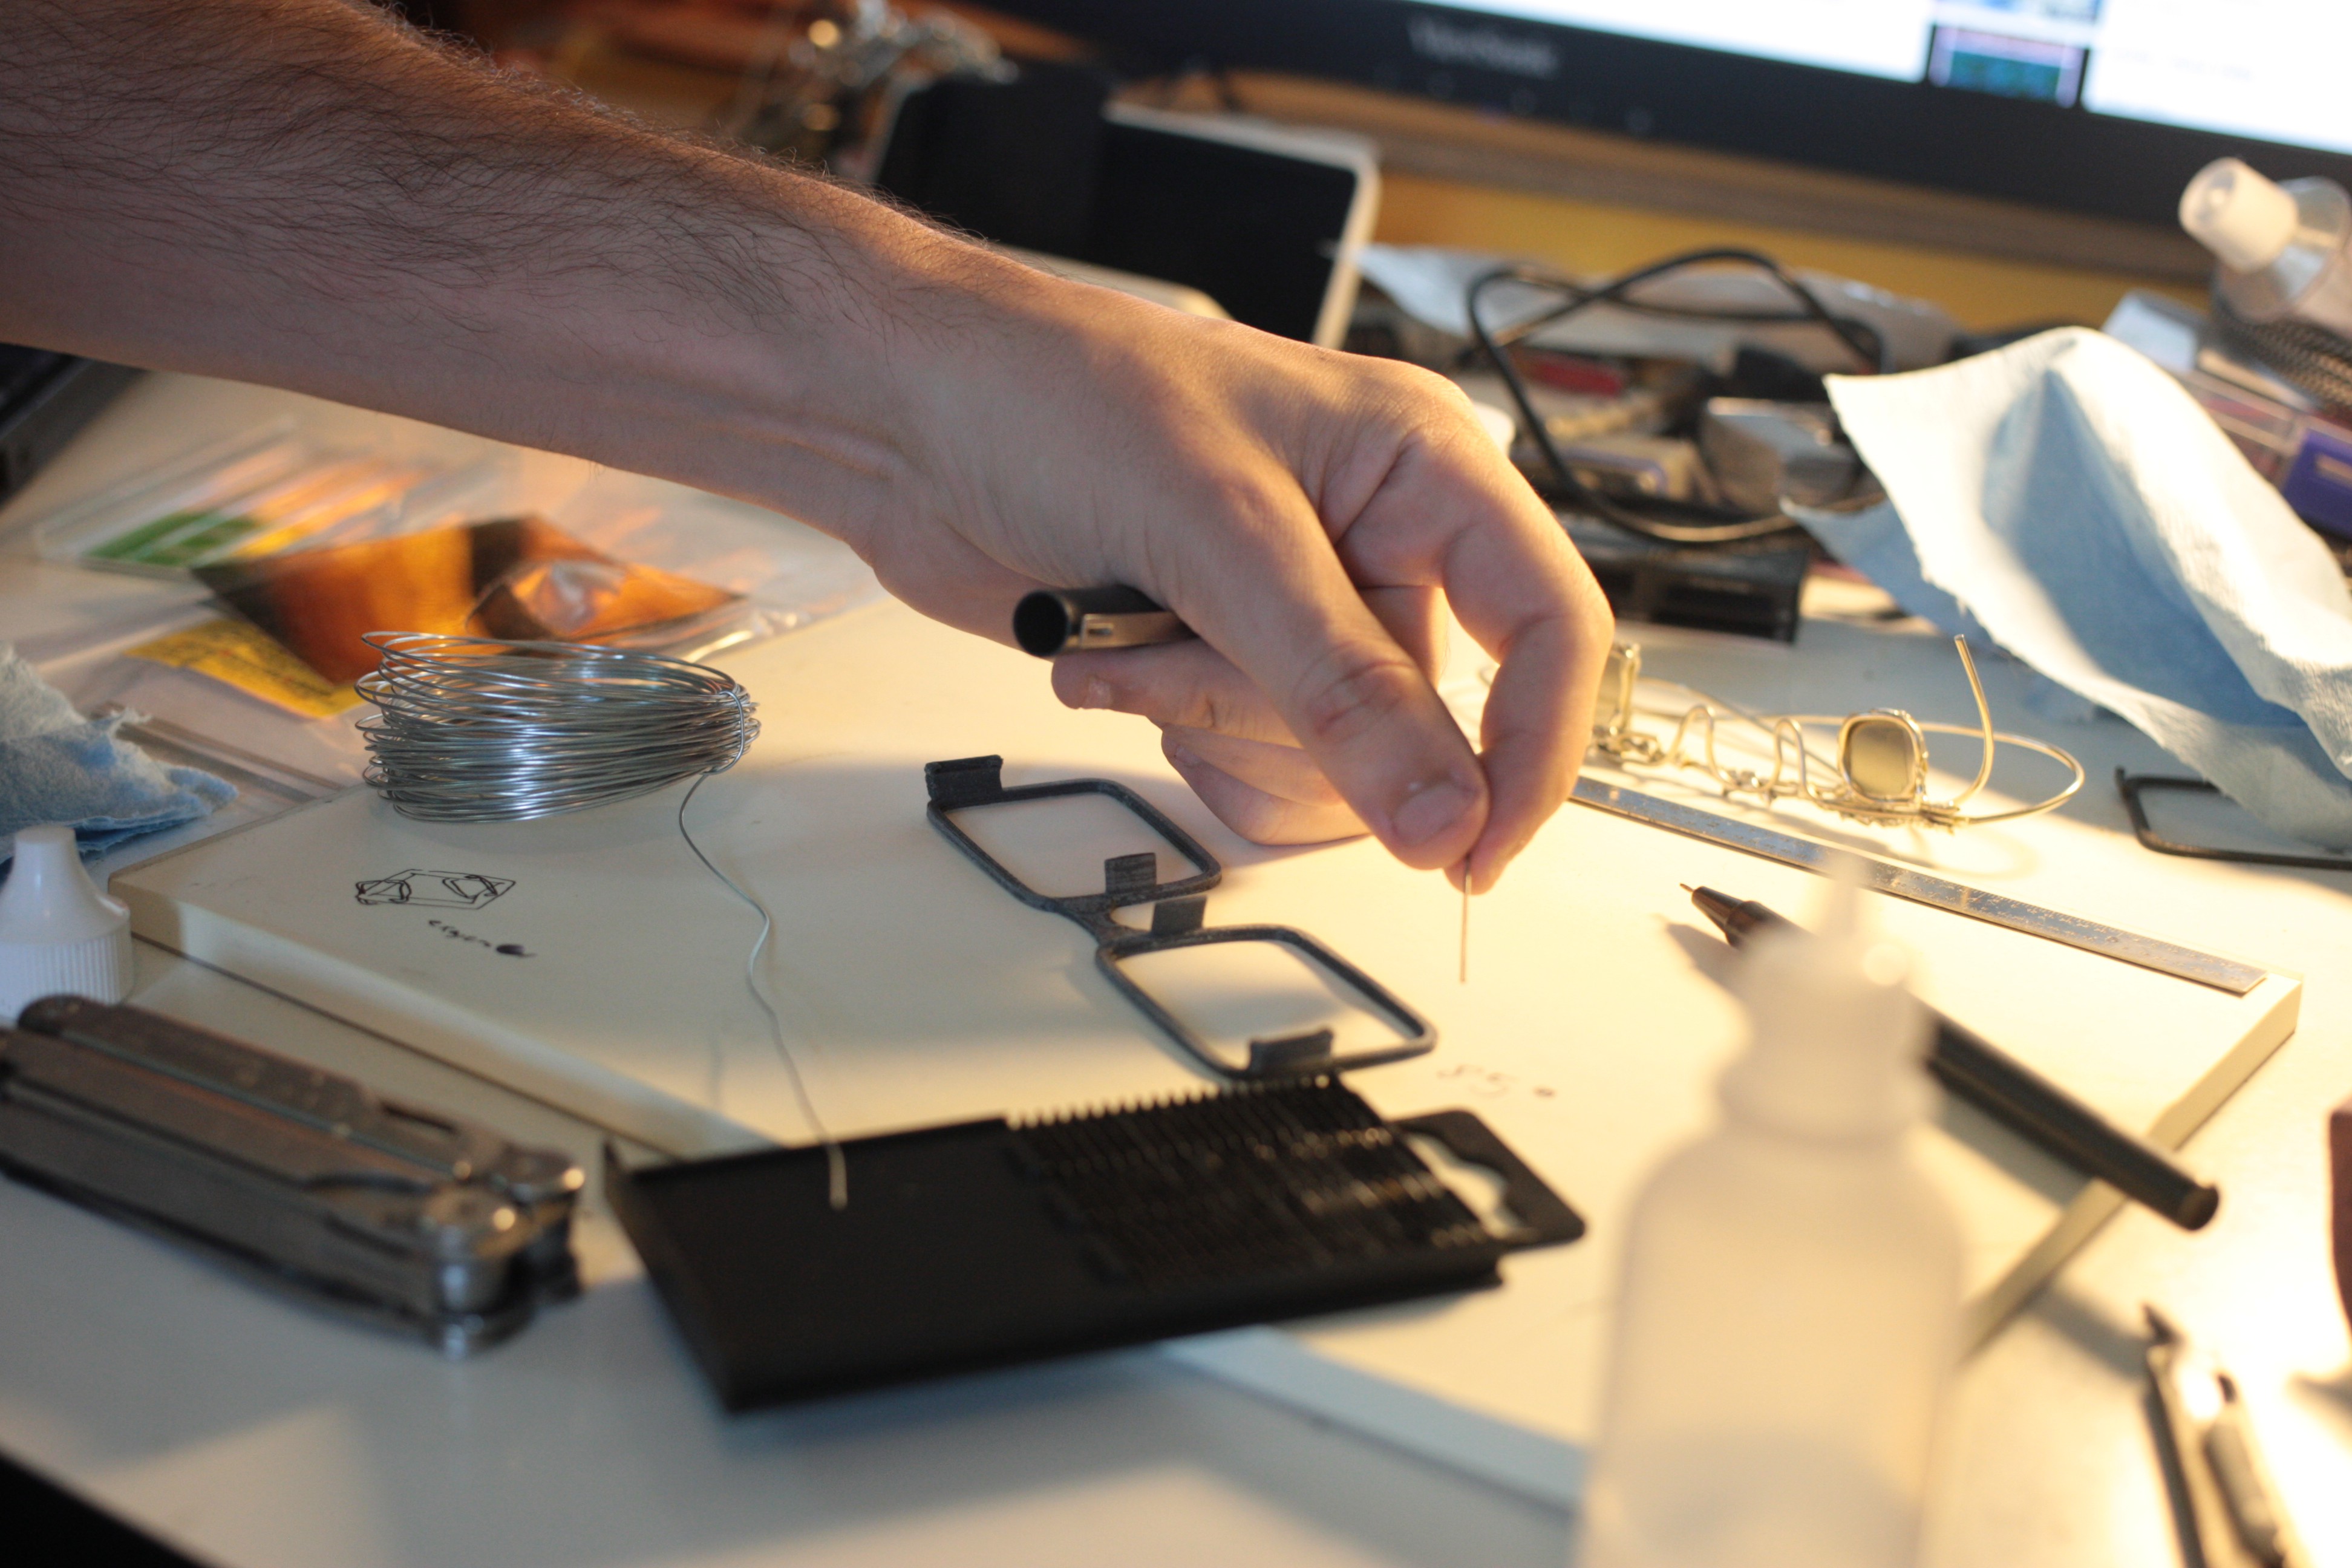
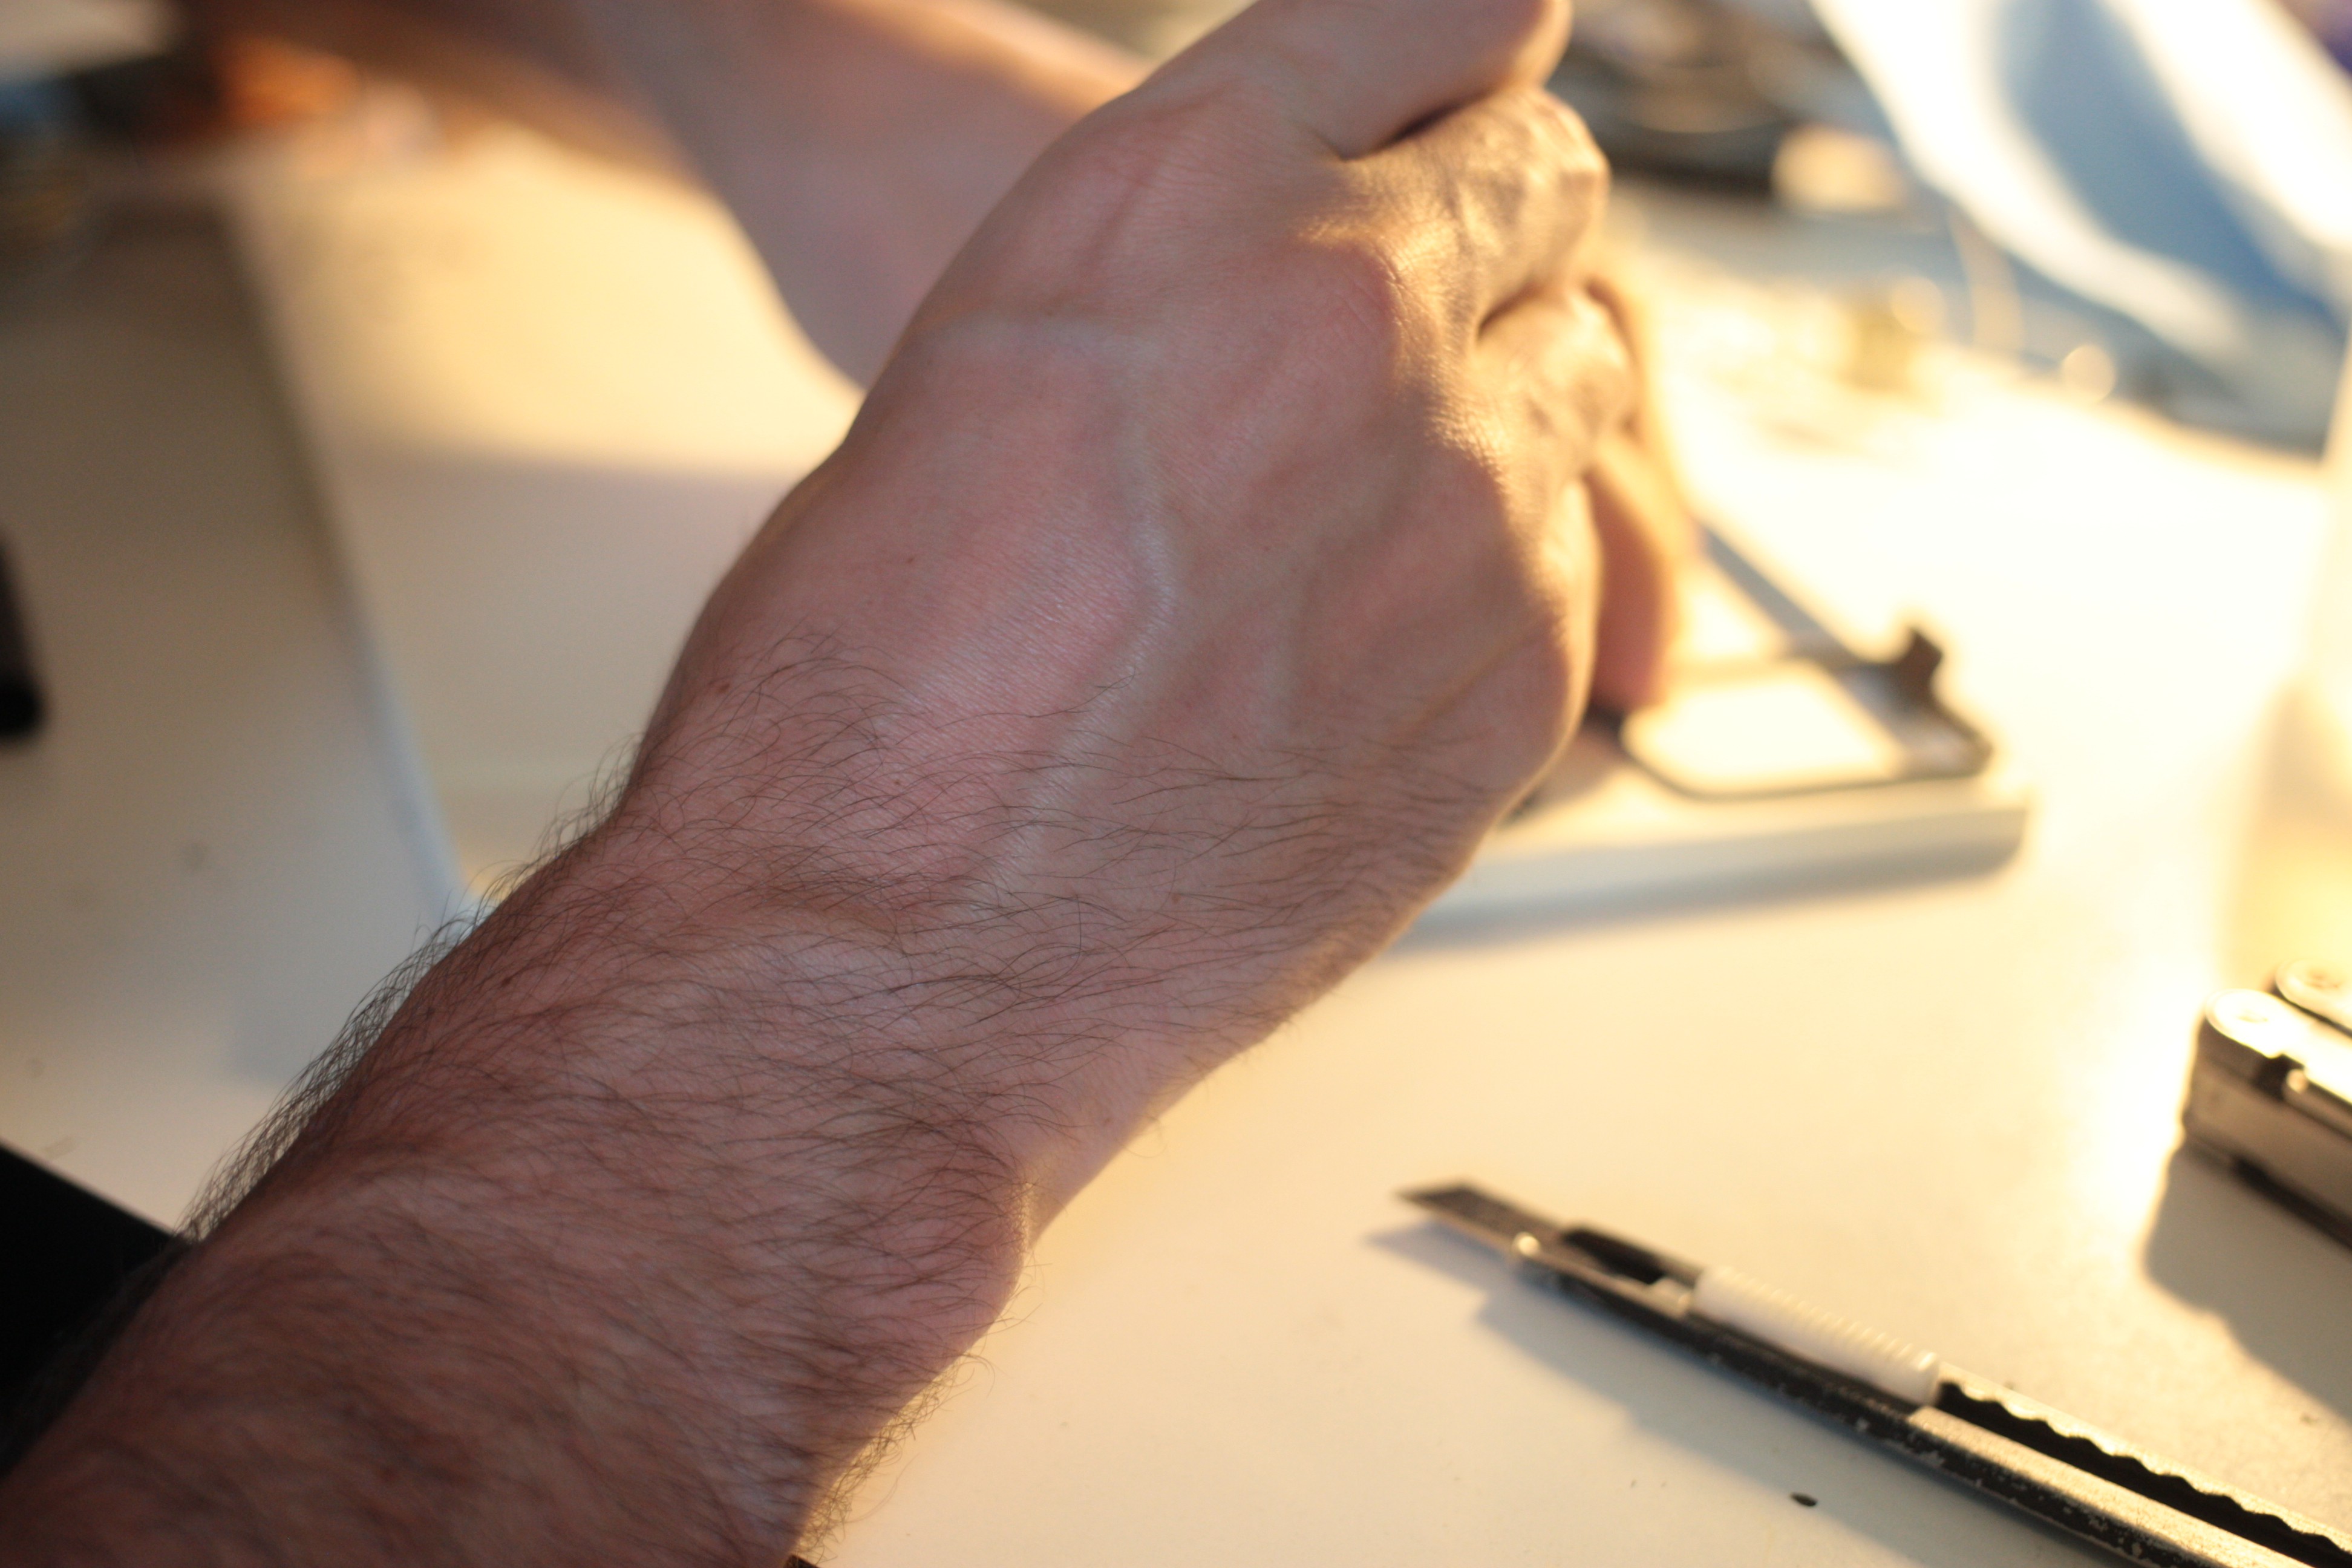
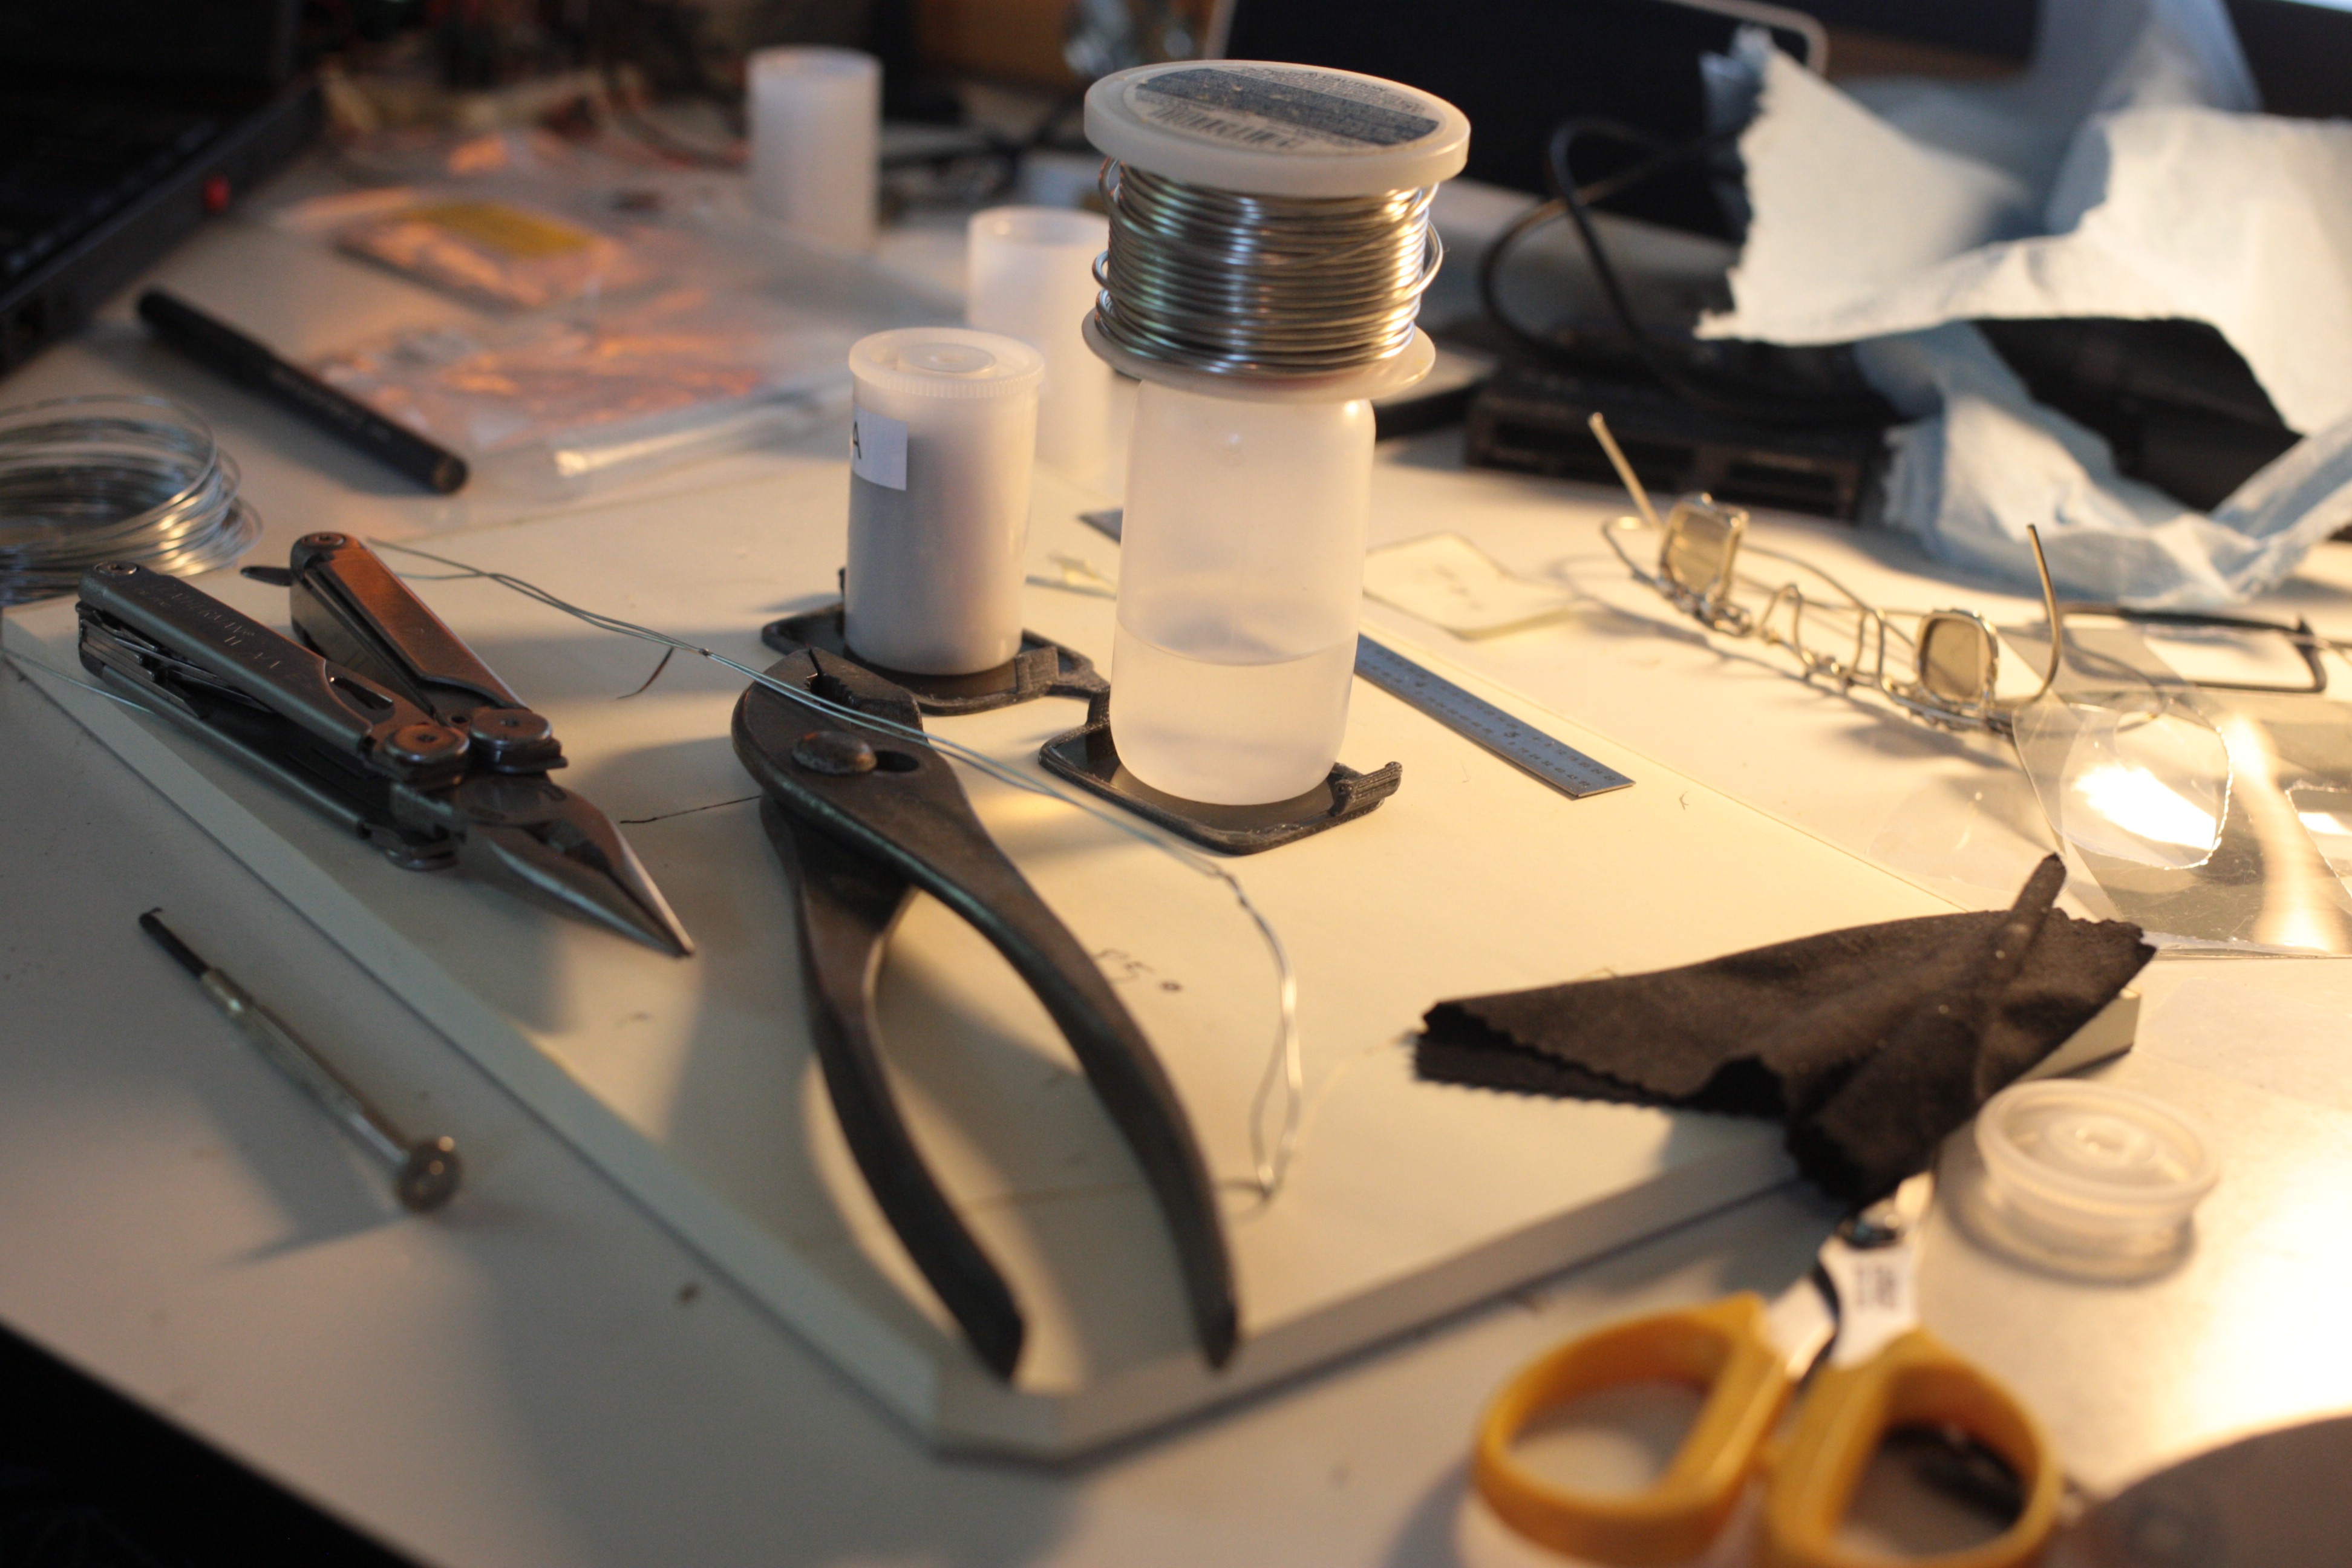
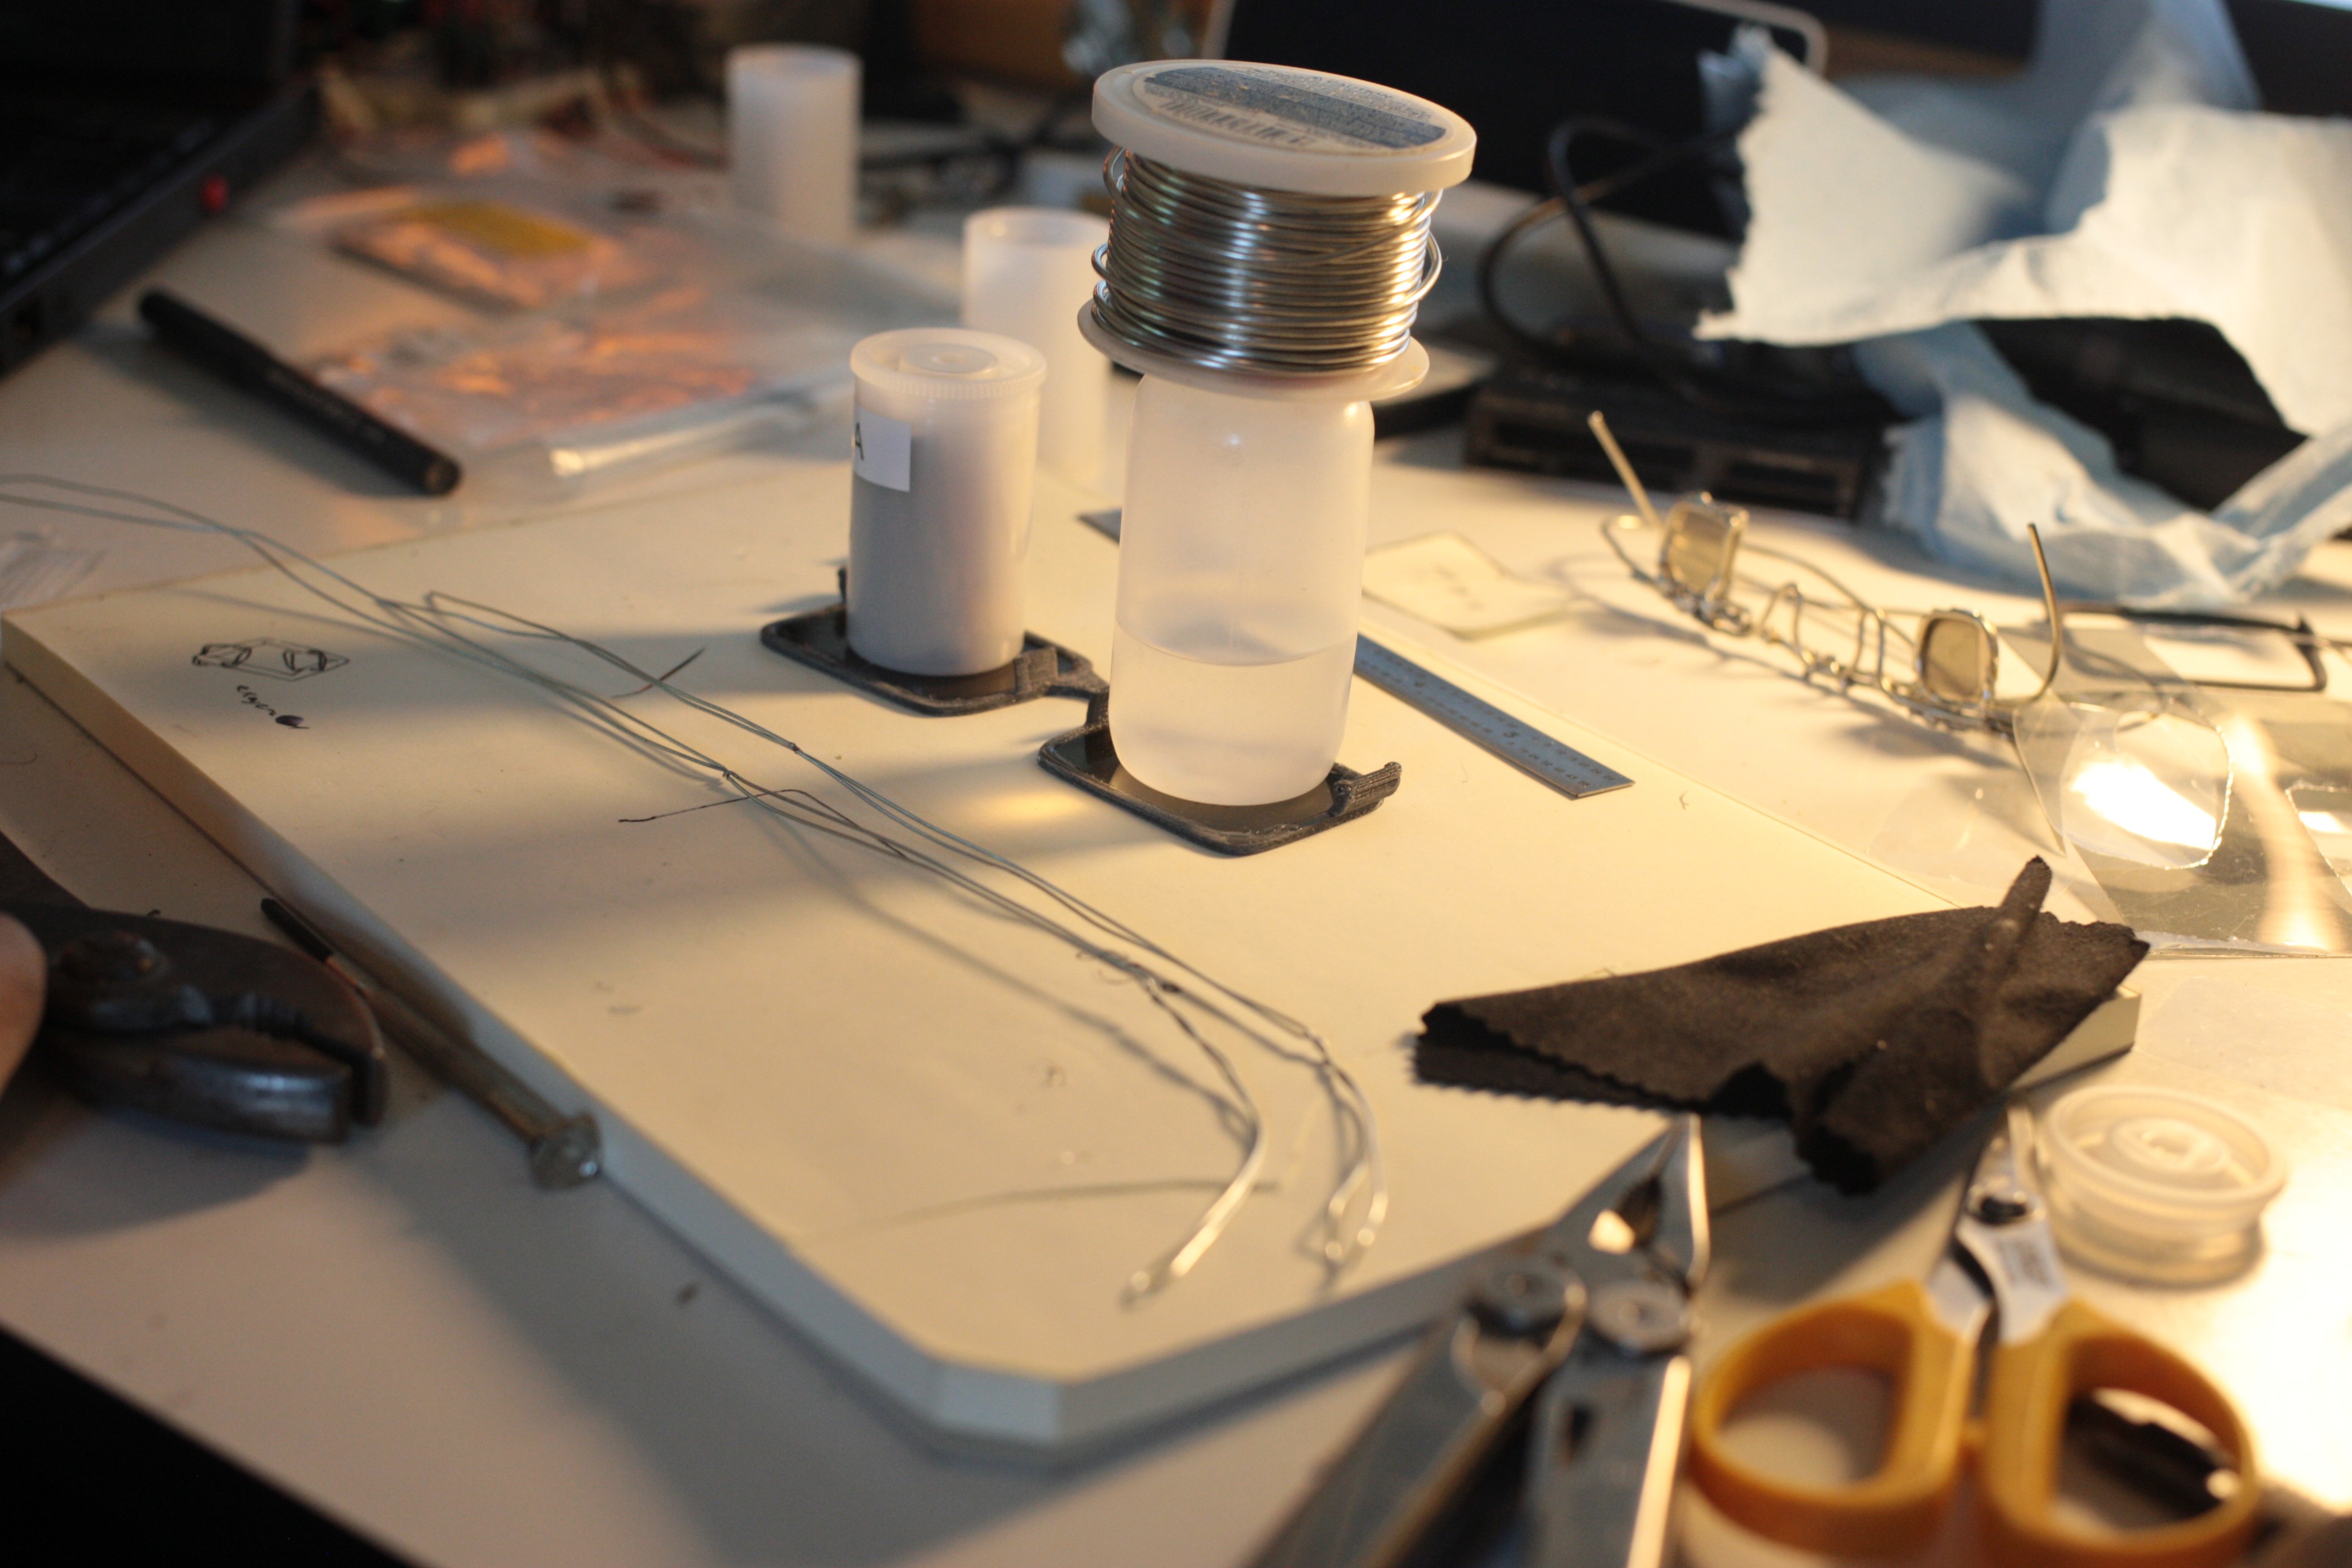
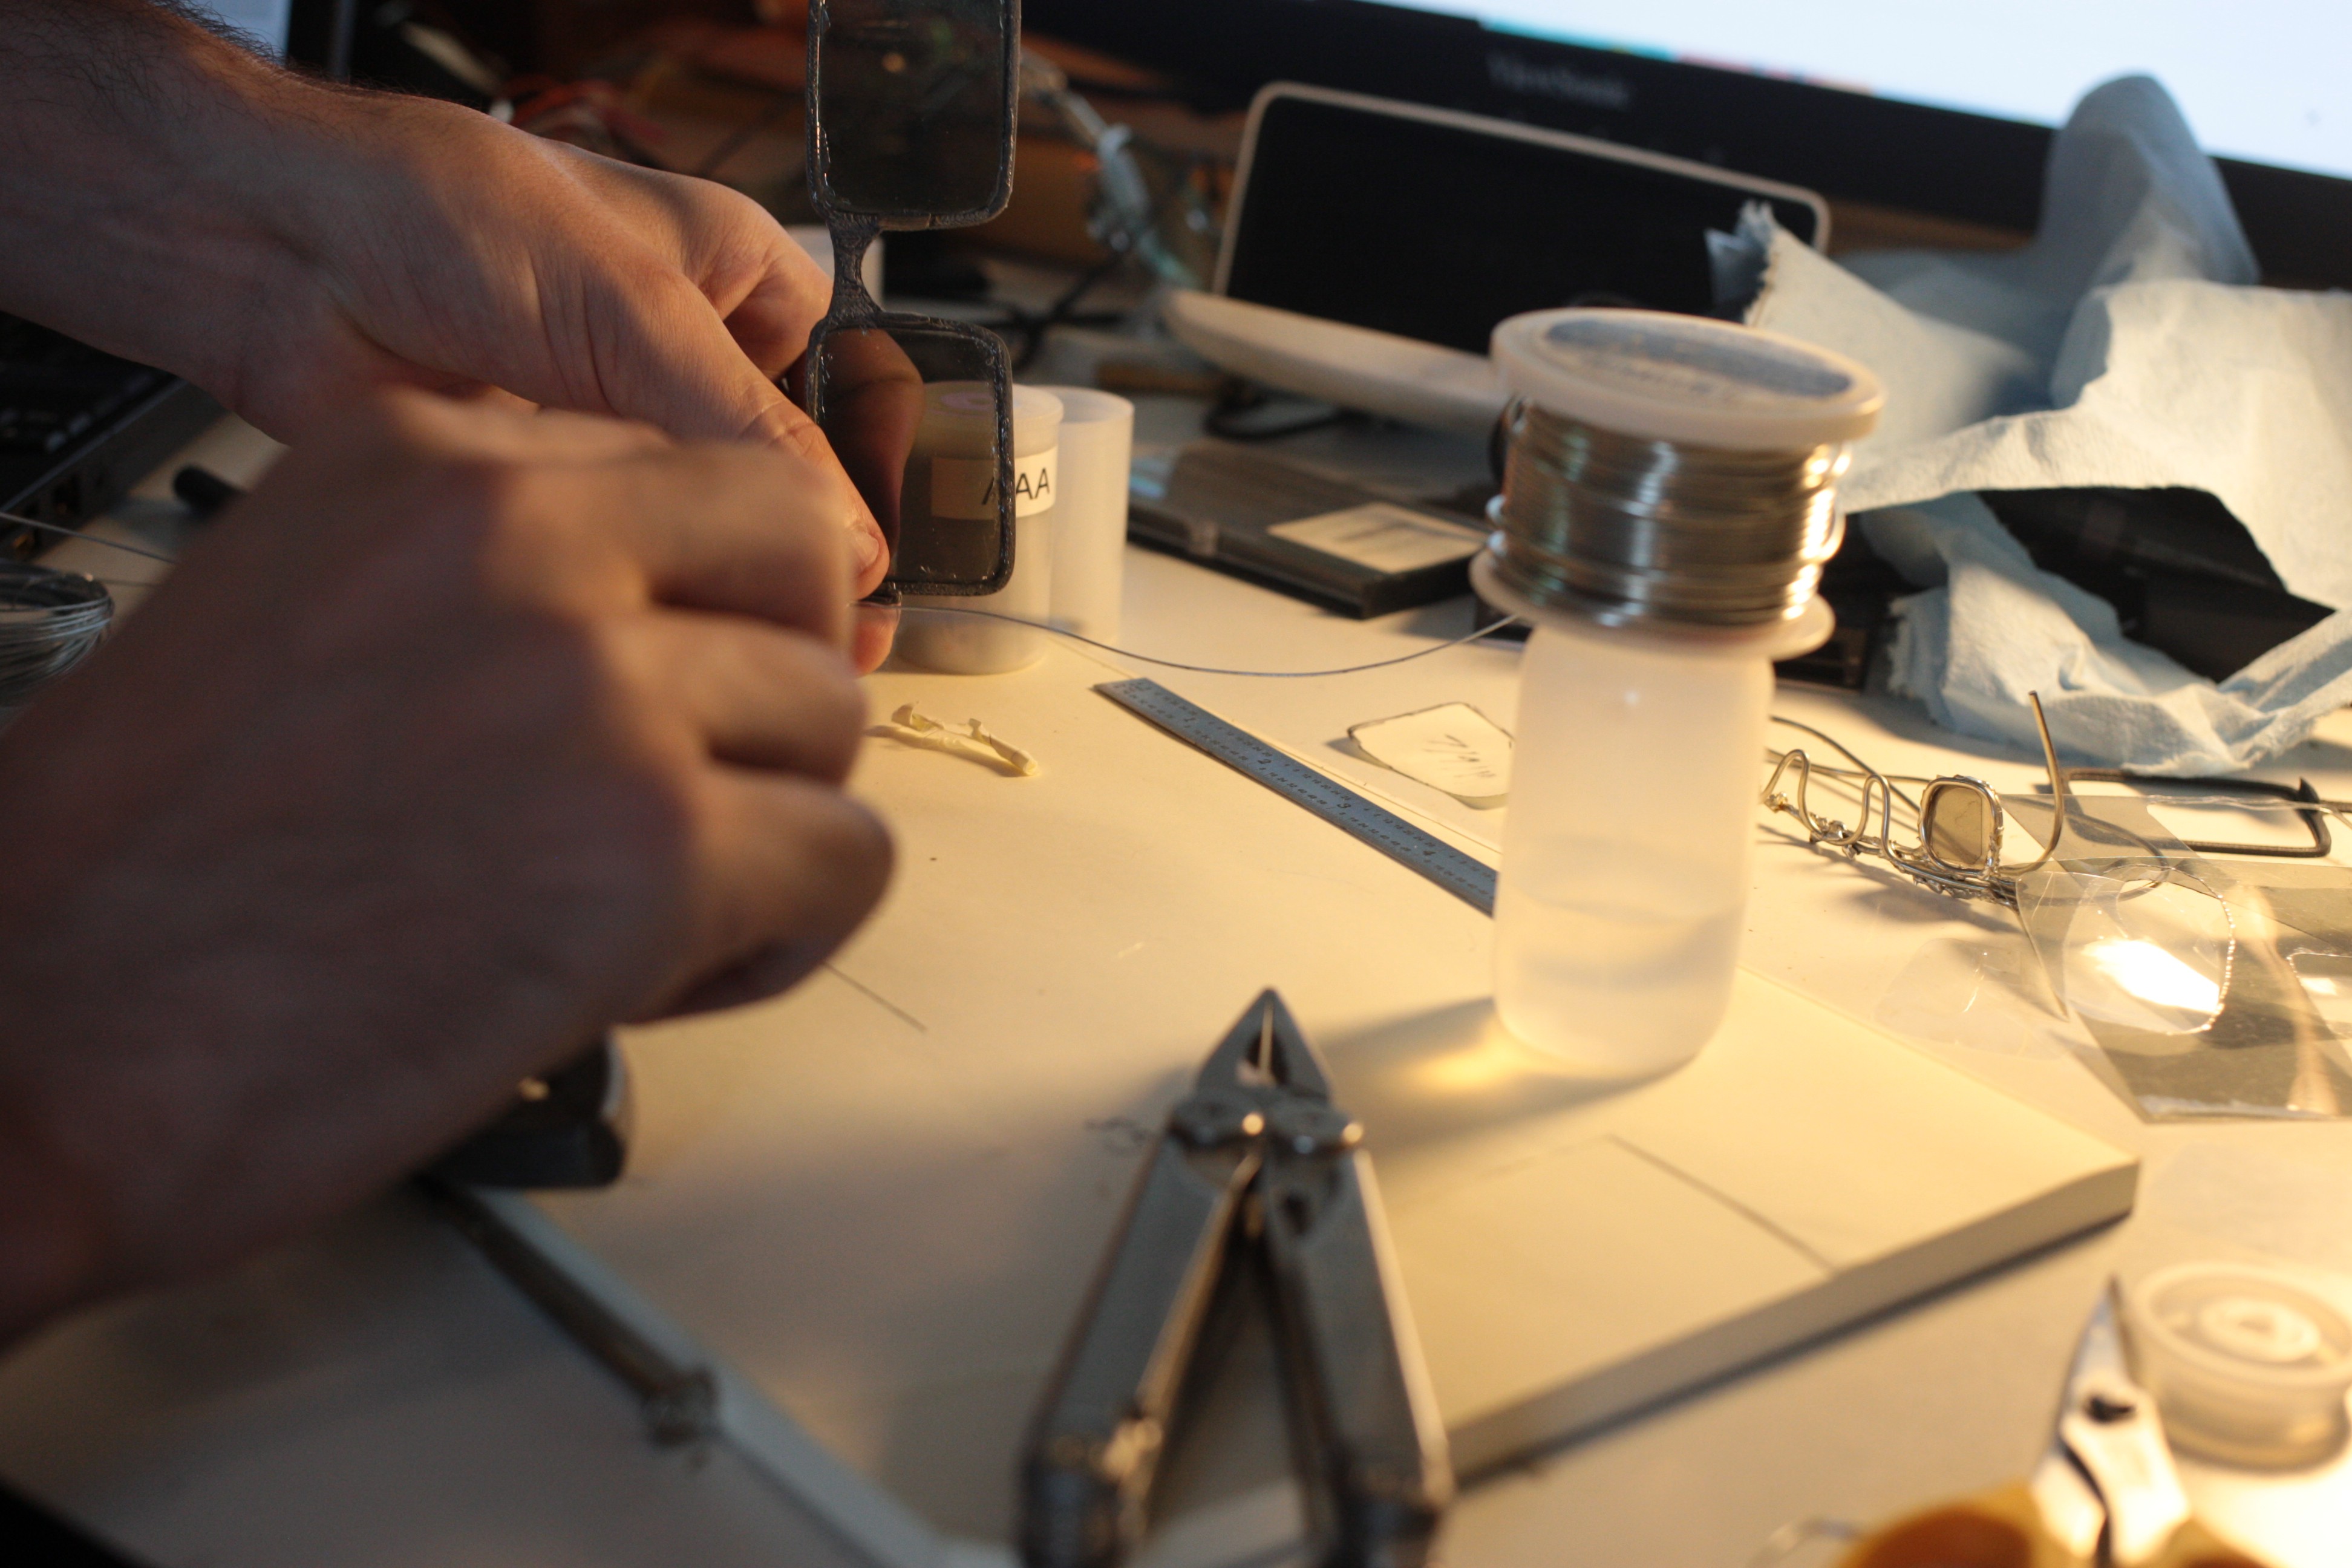
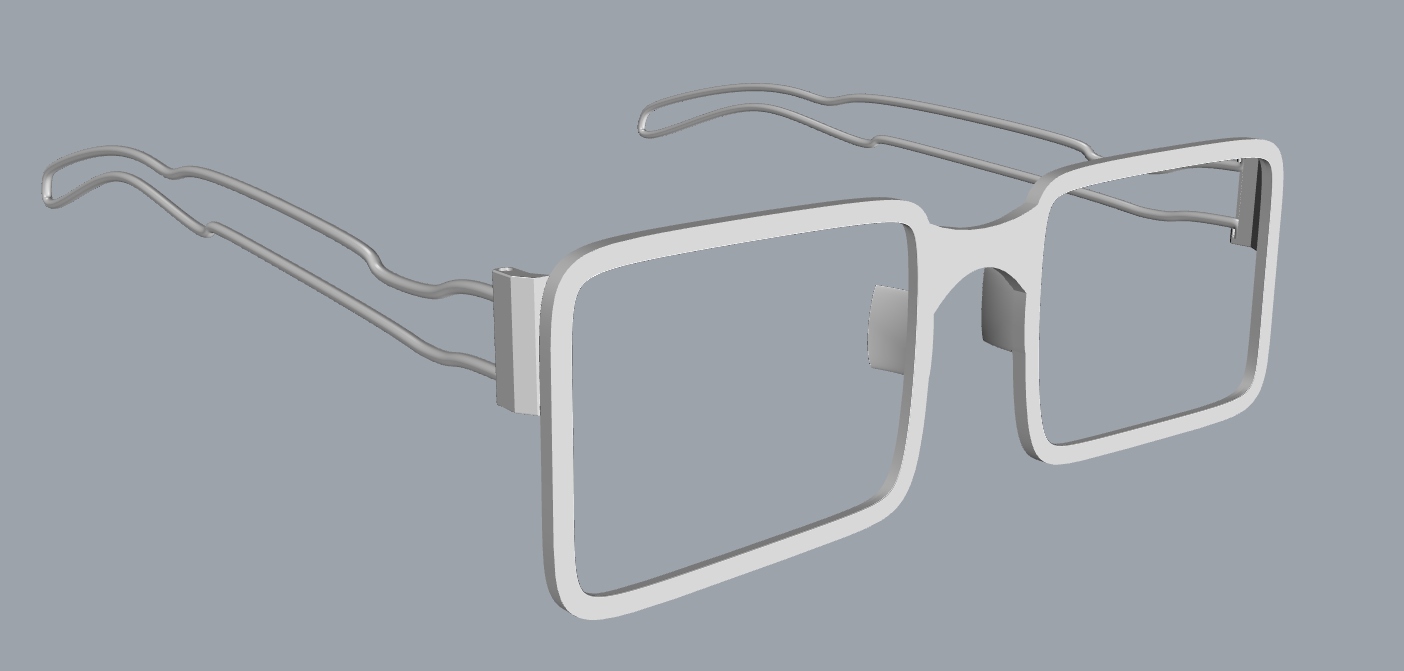
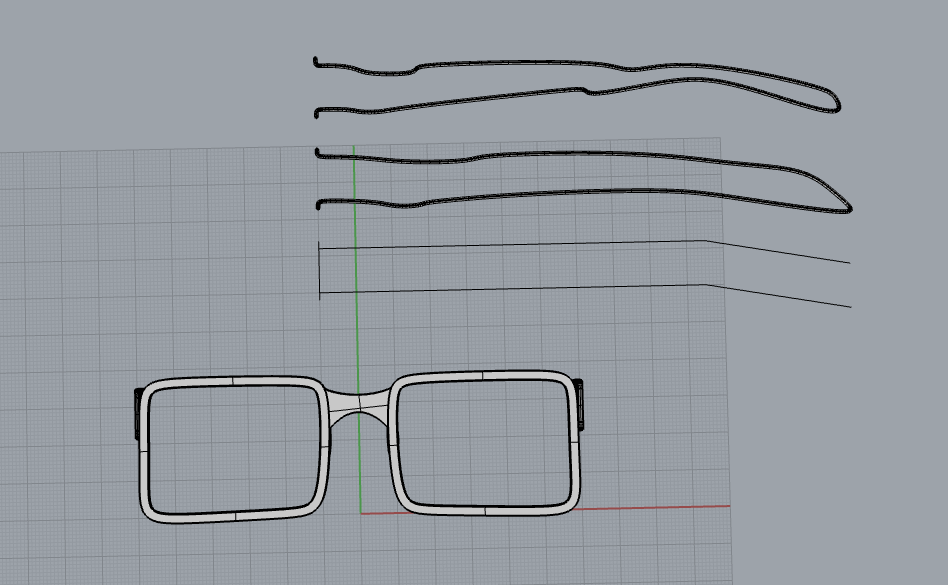
I measured and then starting bending the wire to shape of the arms.
![]()
![]()
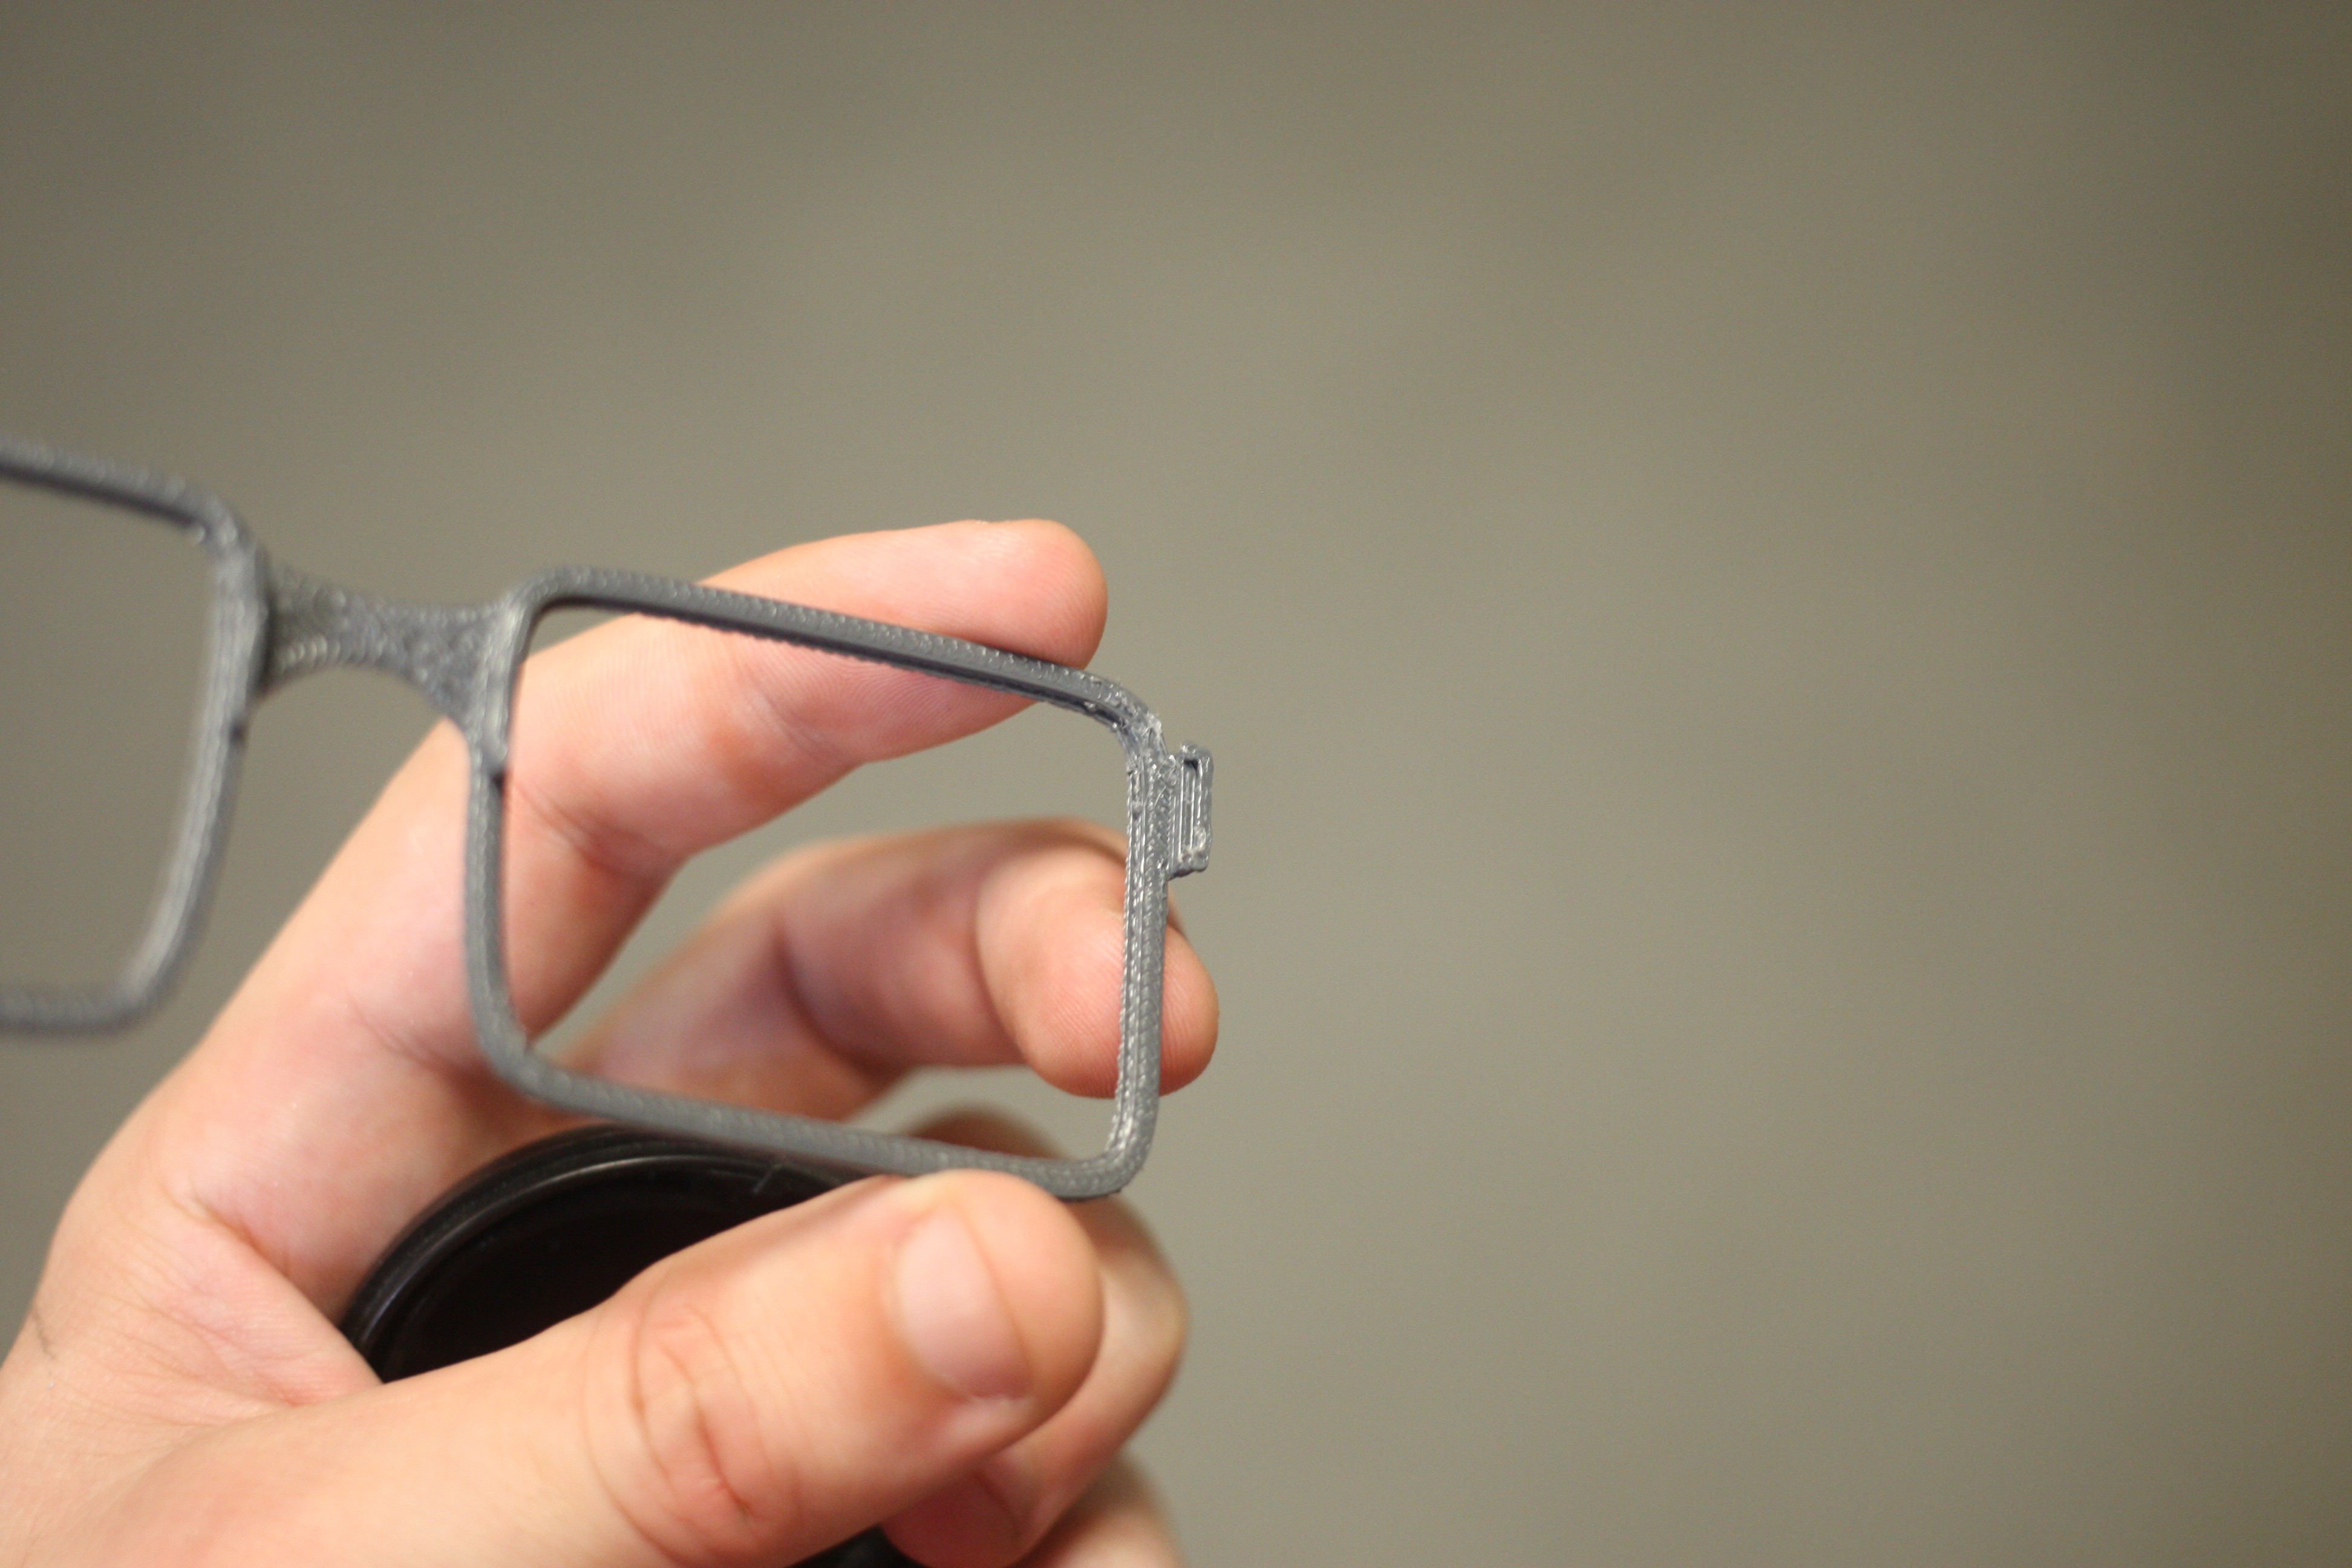
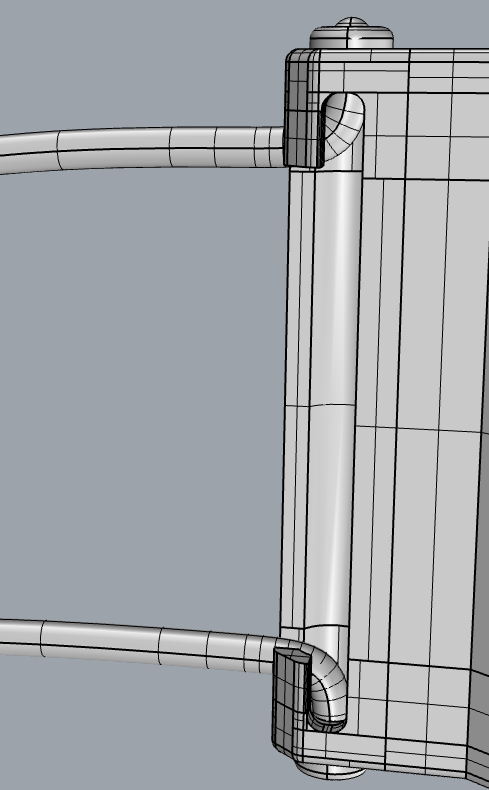
While I was trying to fit the arms I ended up tearing out the pivots, so I just ended up wrapping the wire and doubling back to make a joint. It doesn't really flex so no folding.
![]()
![]()
![]()
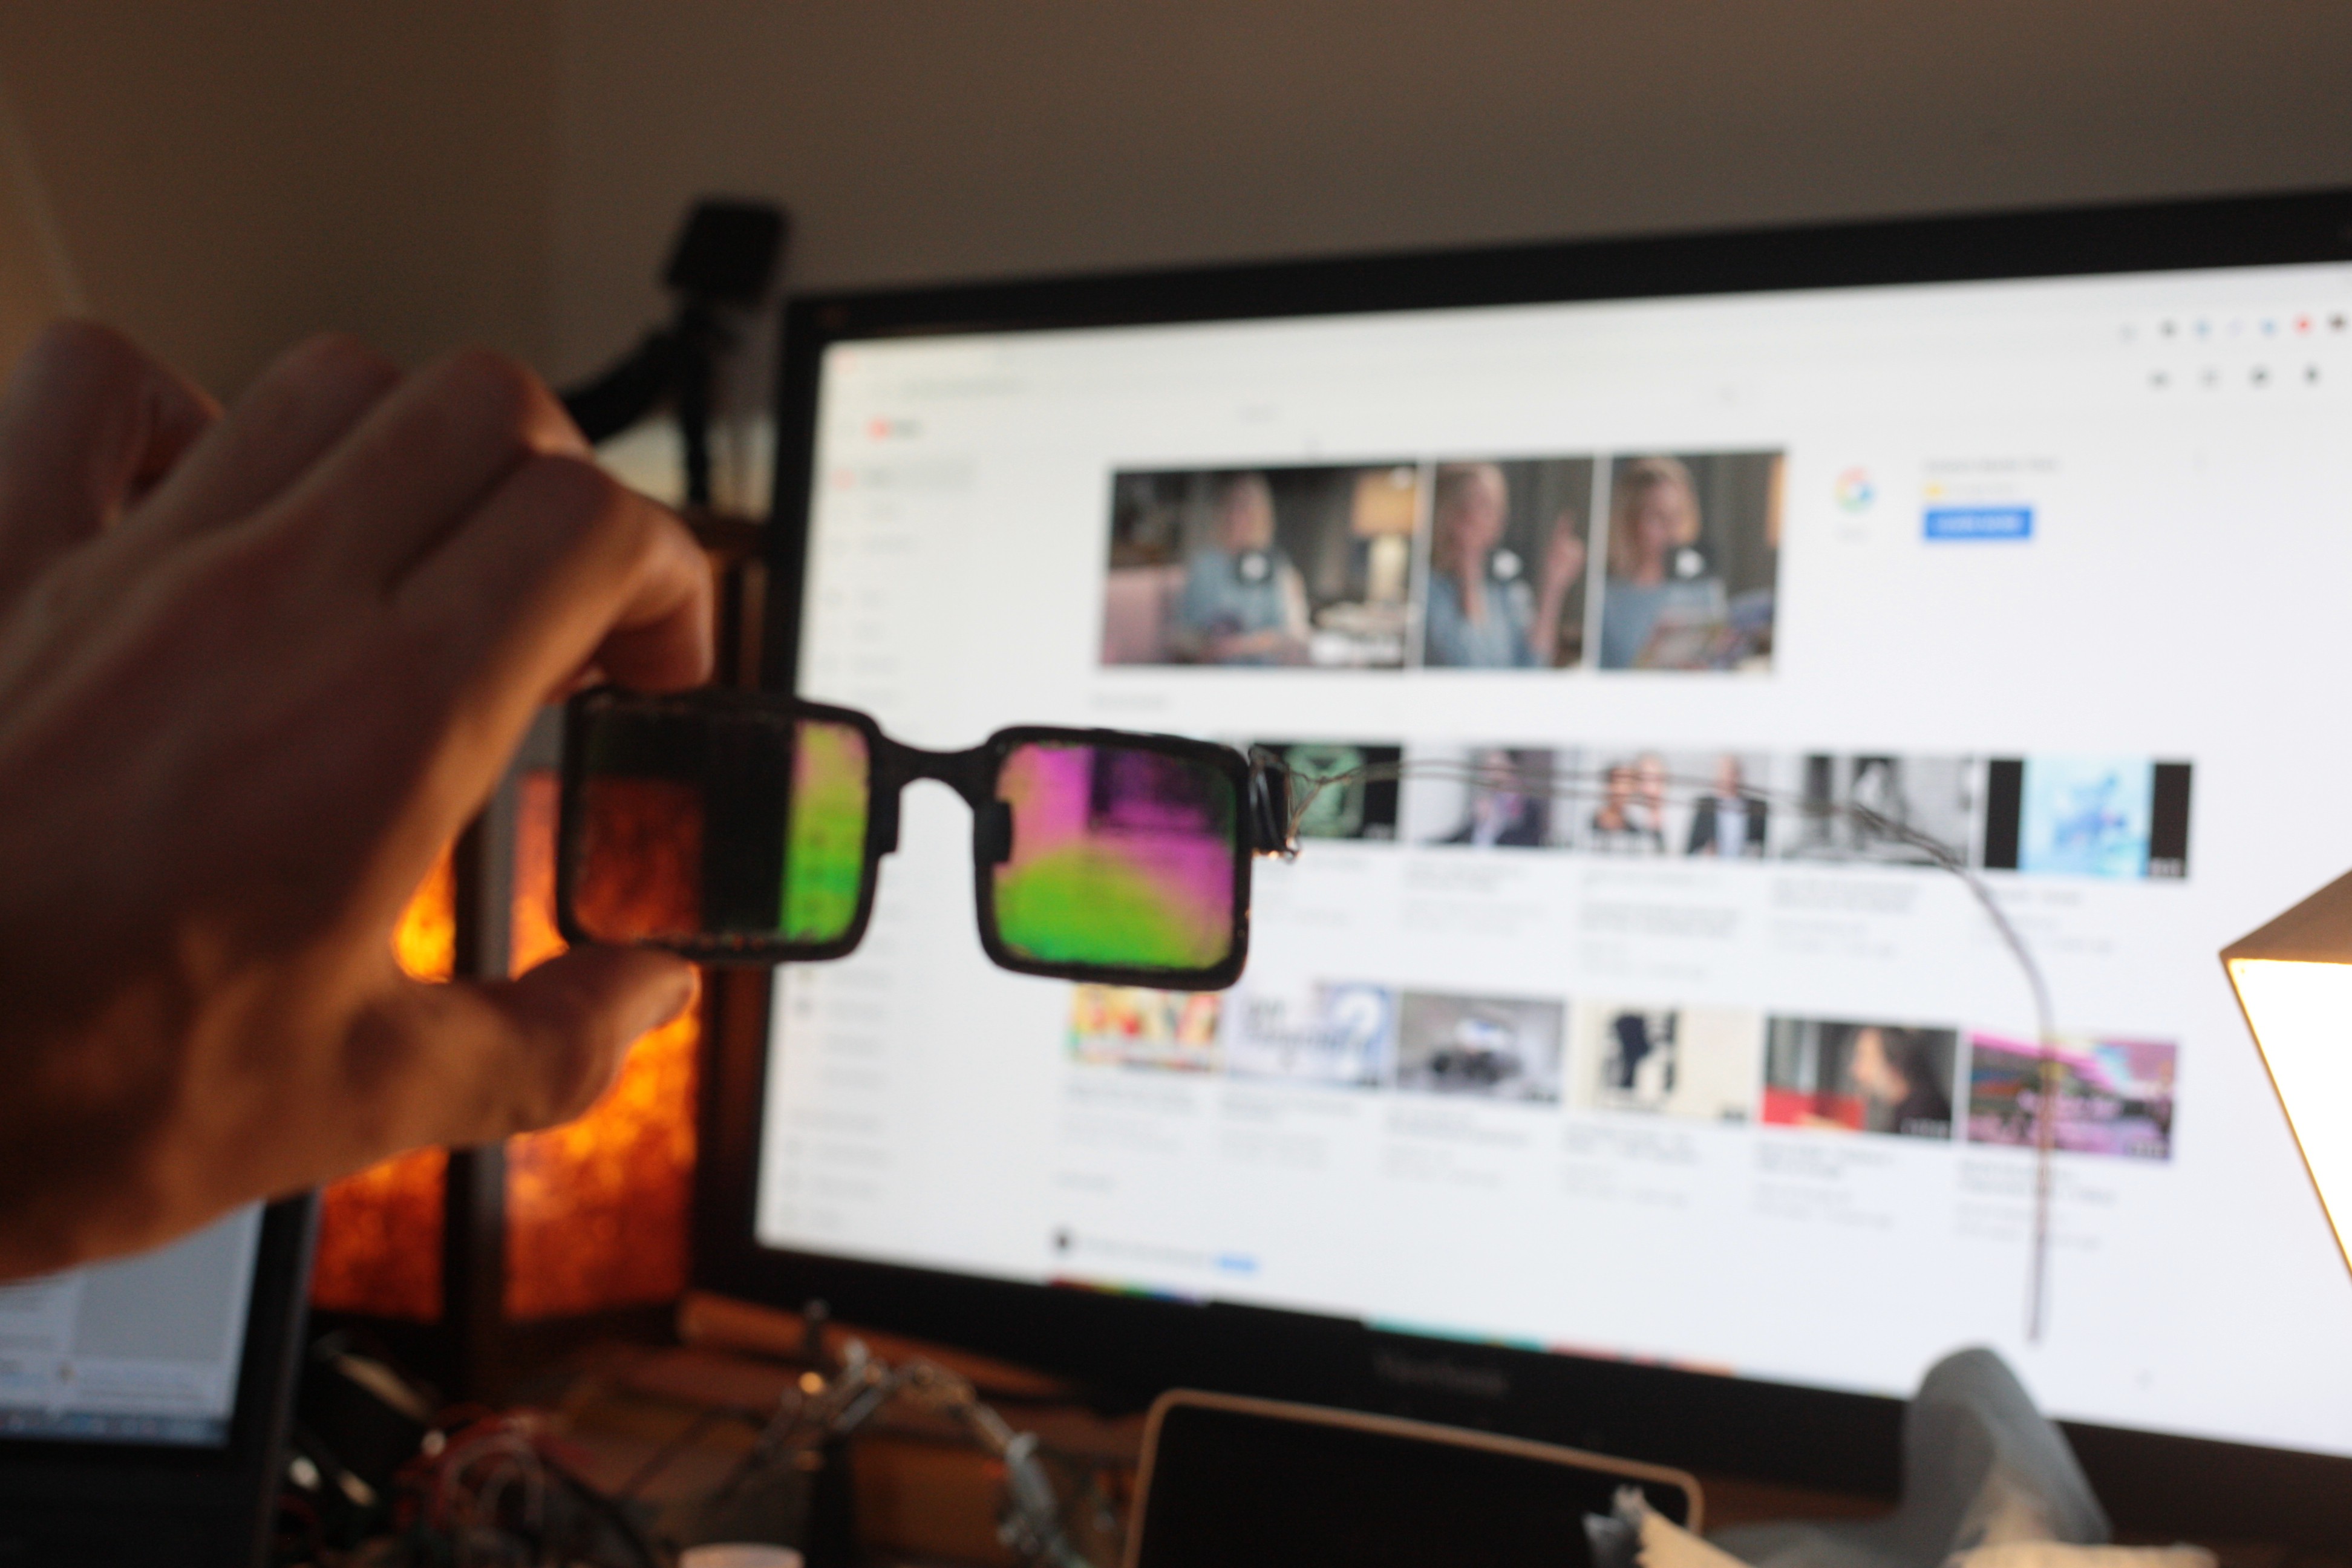
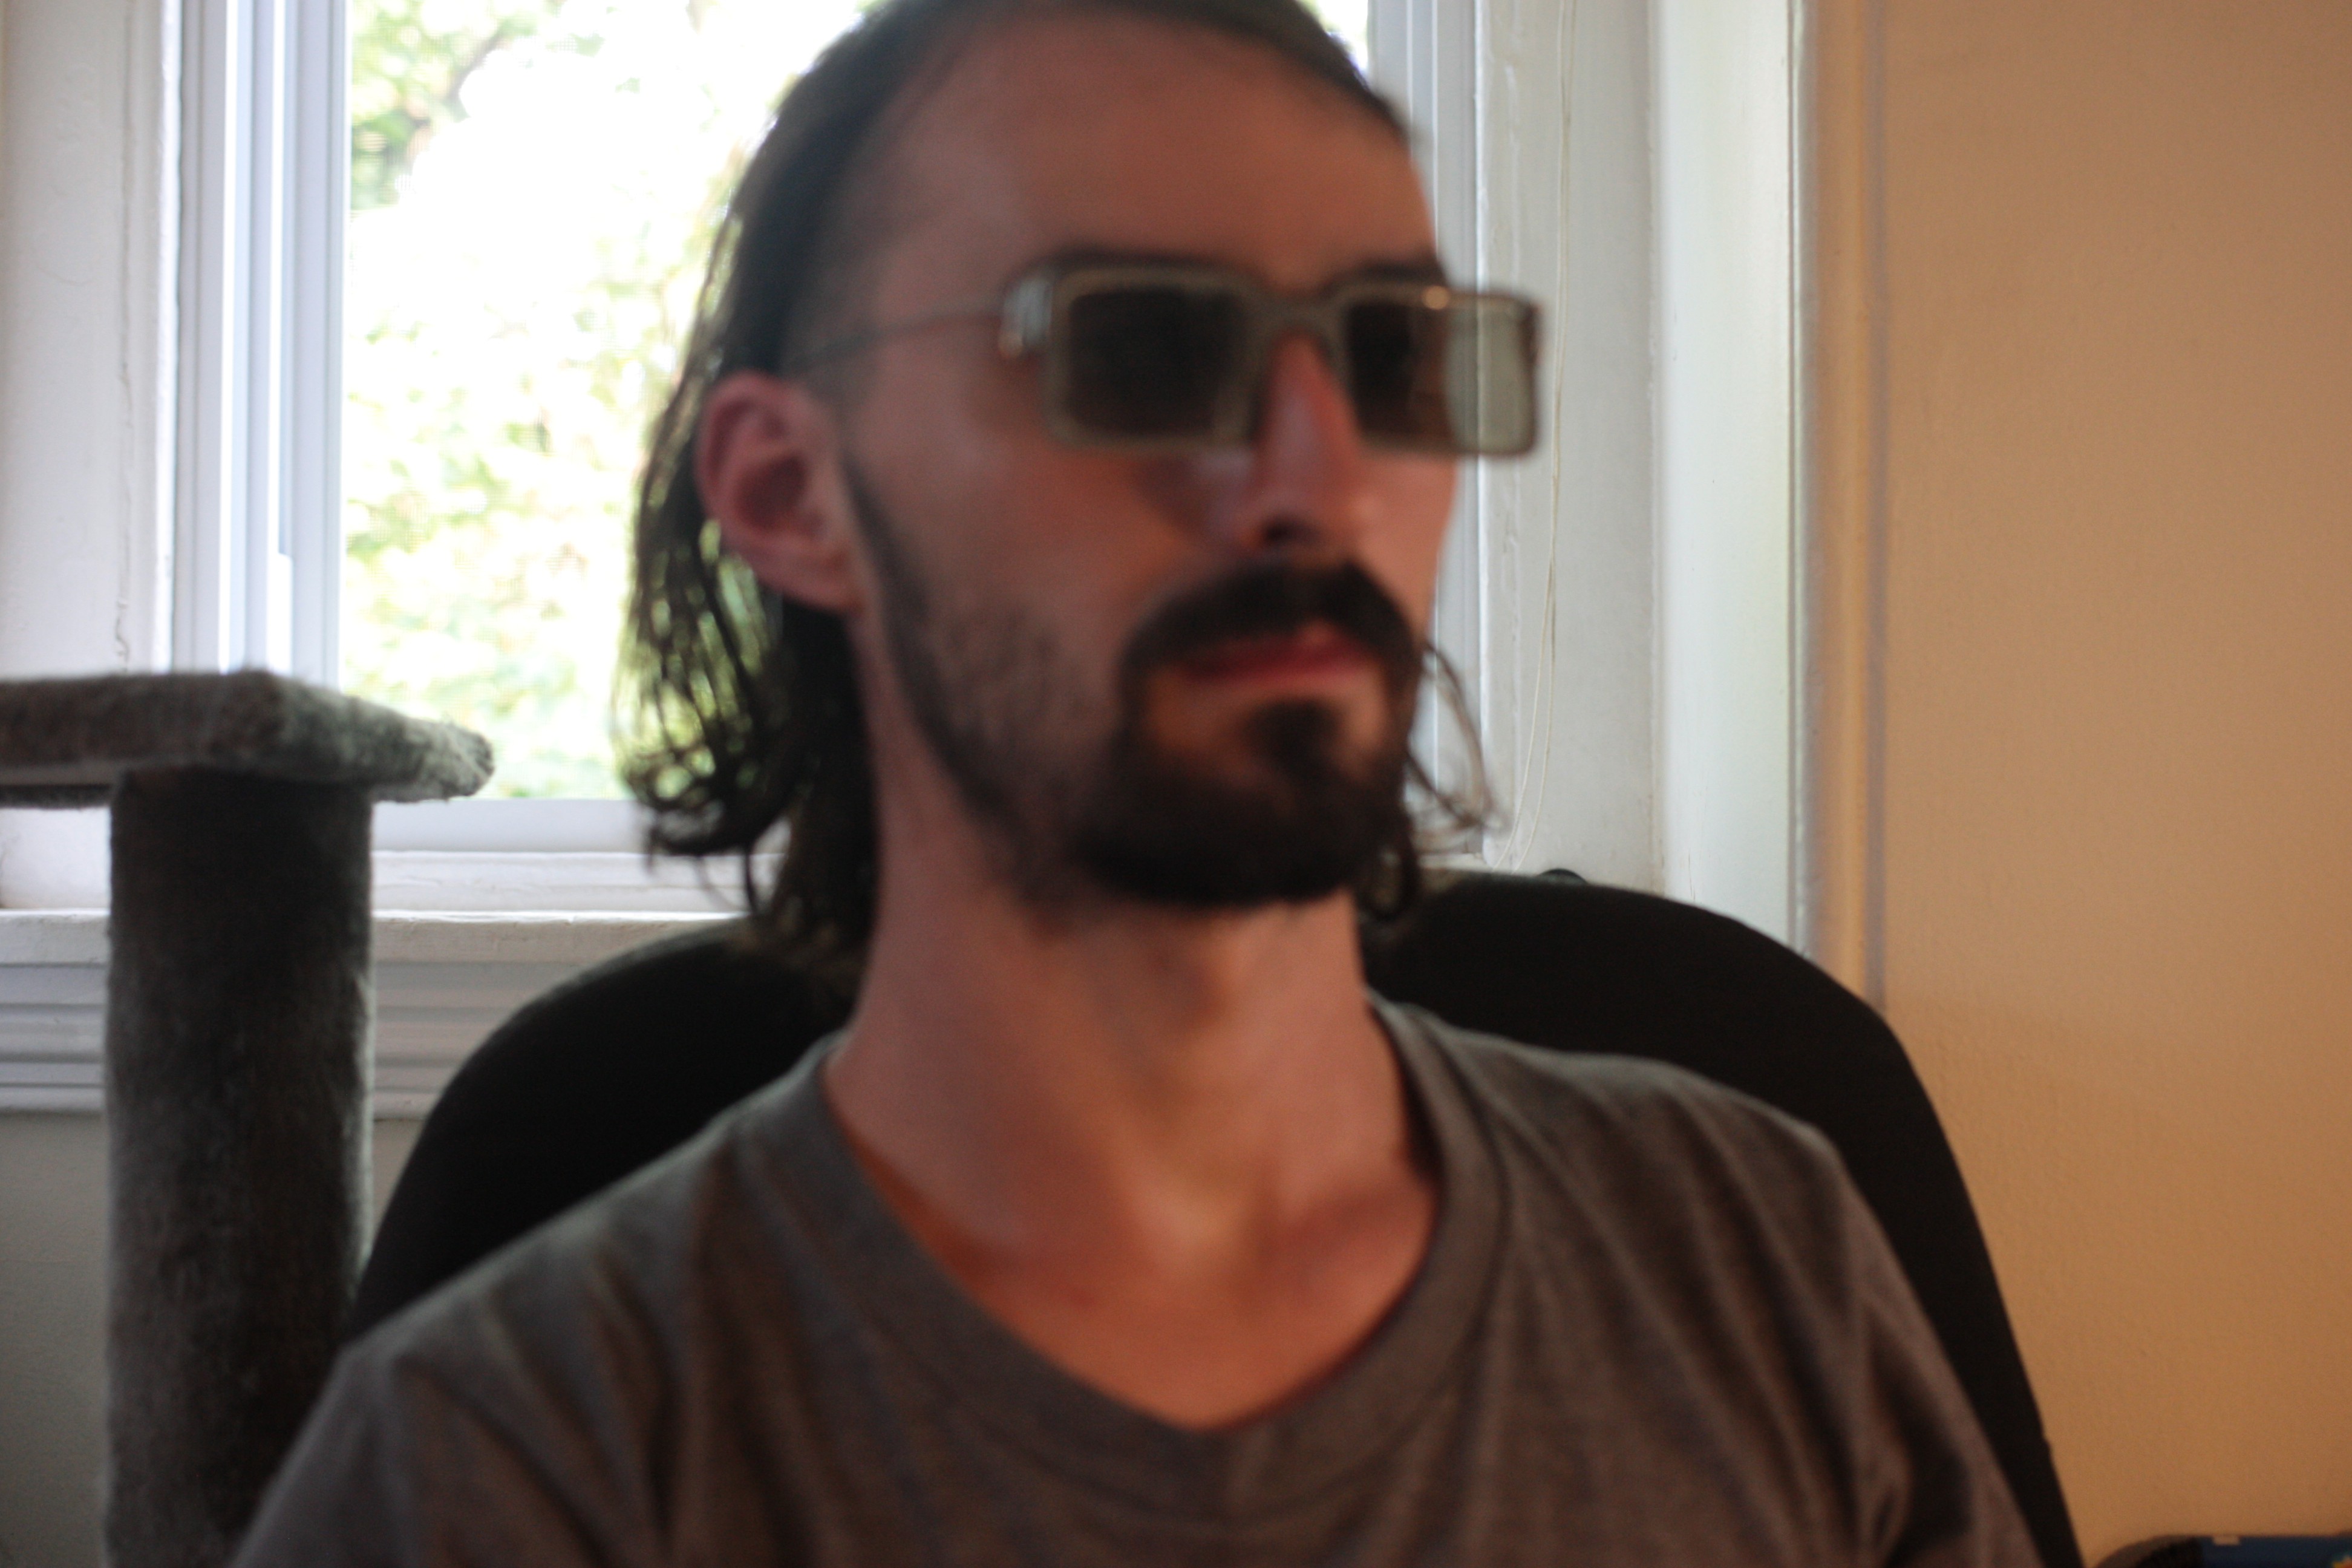
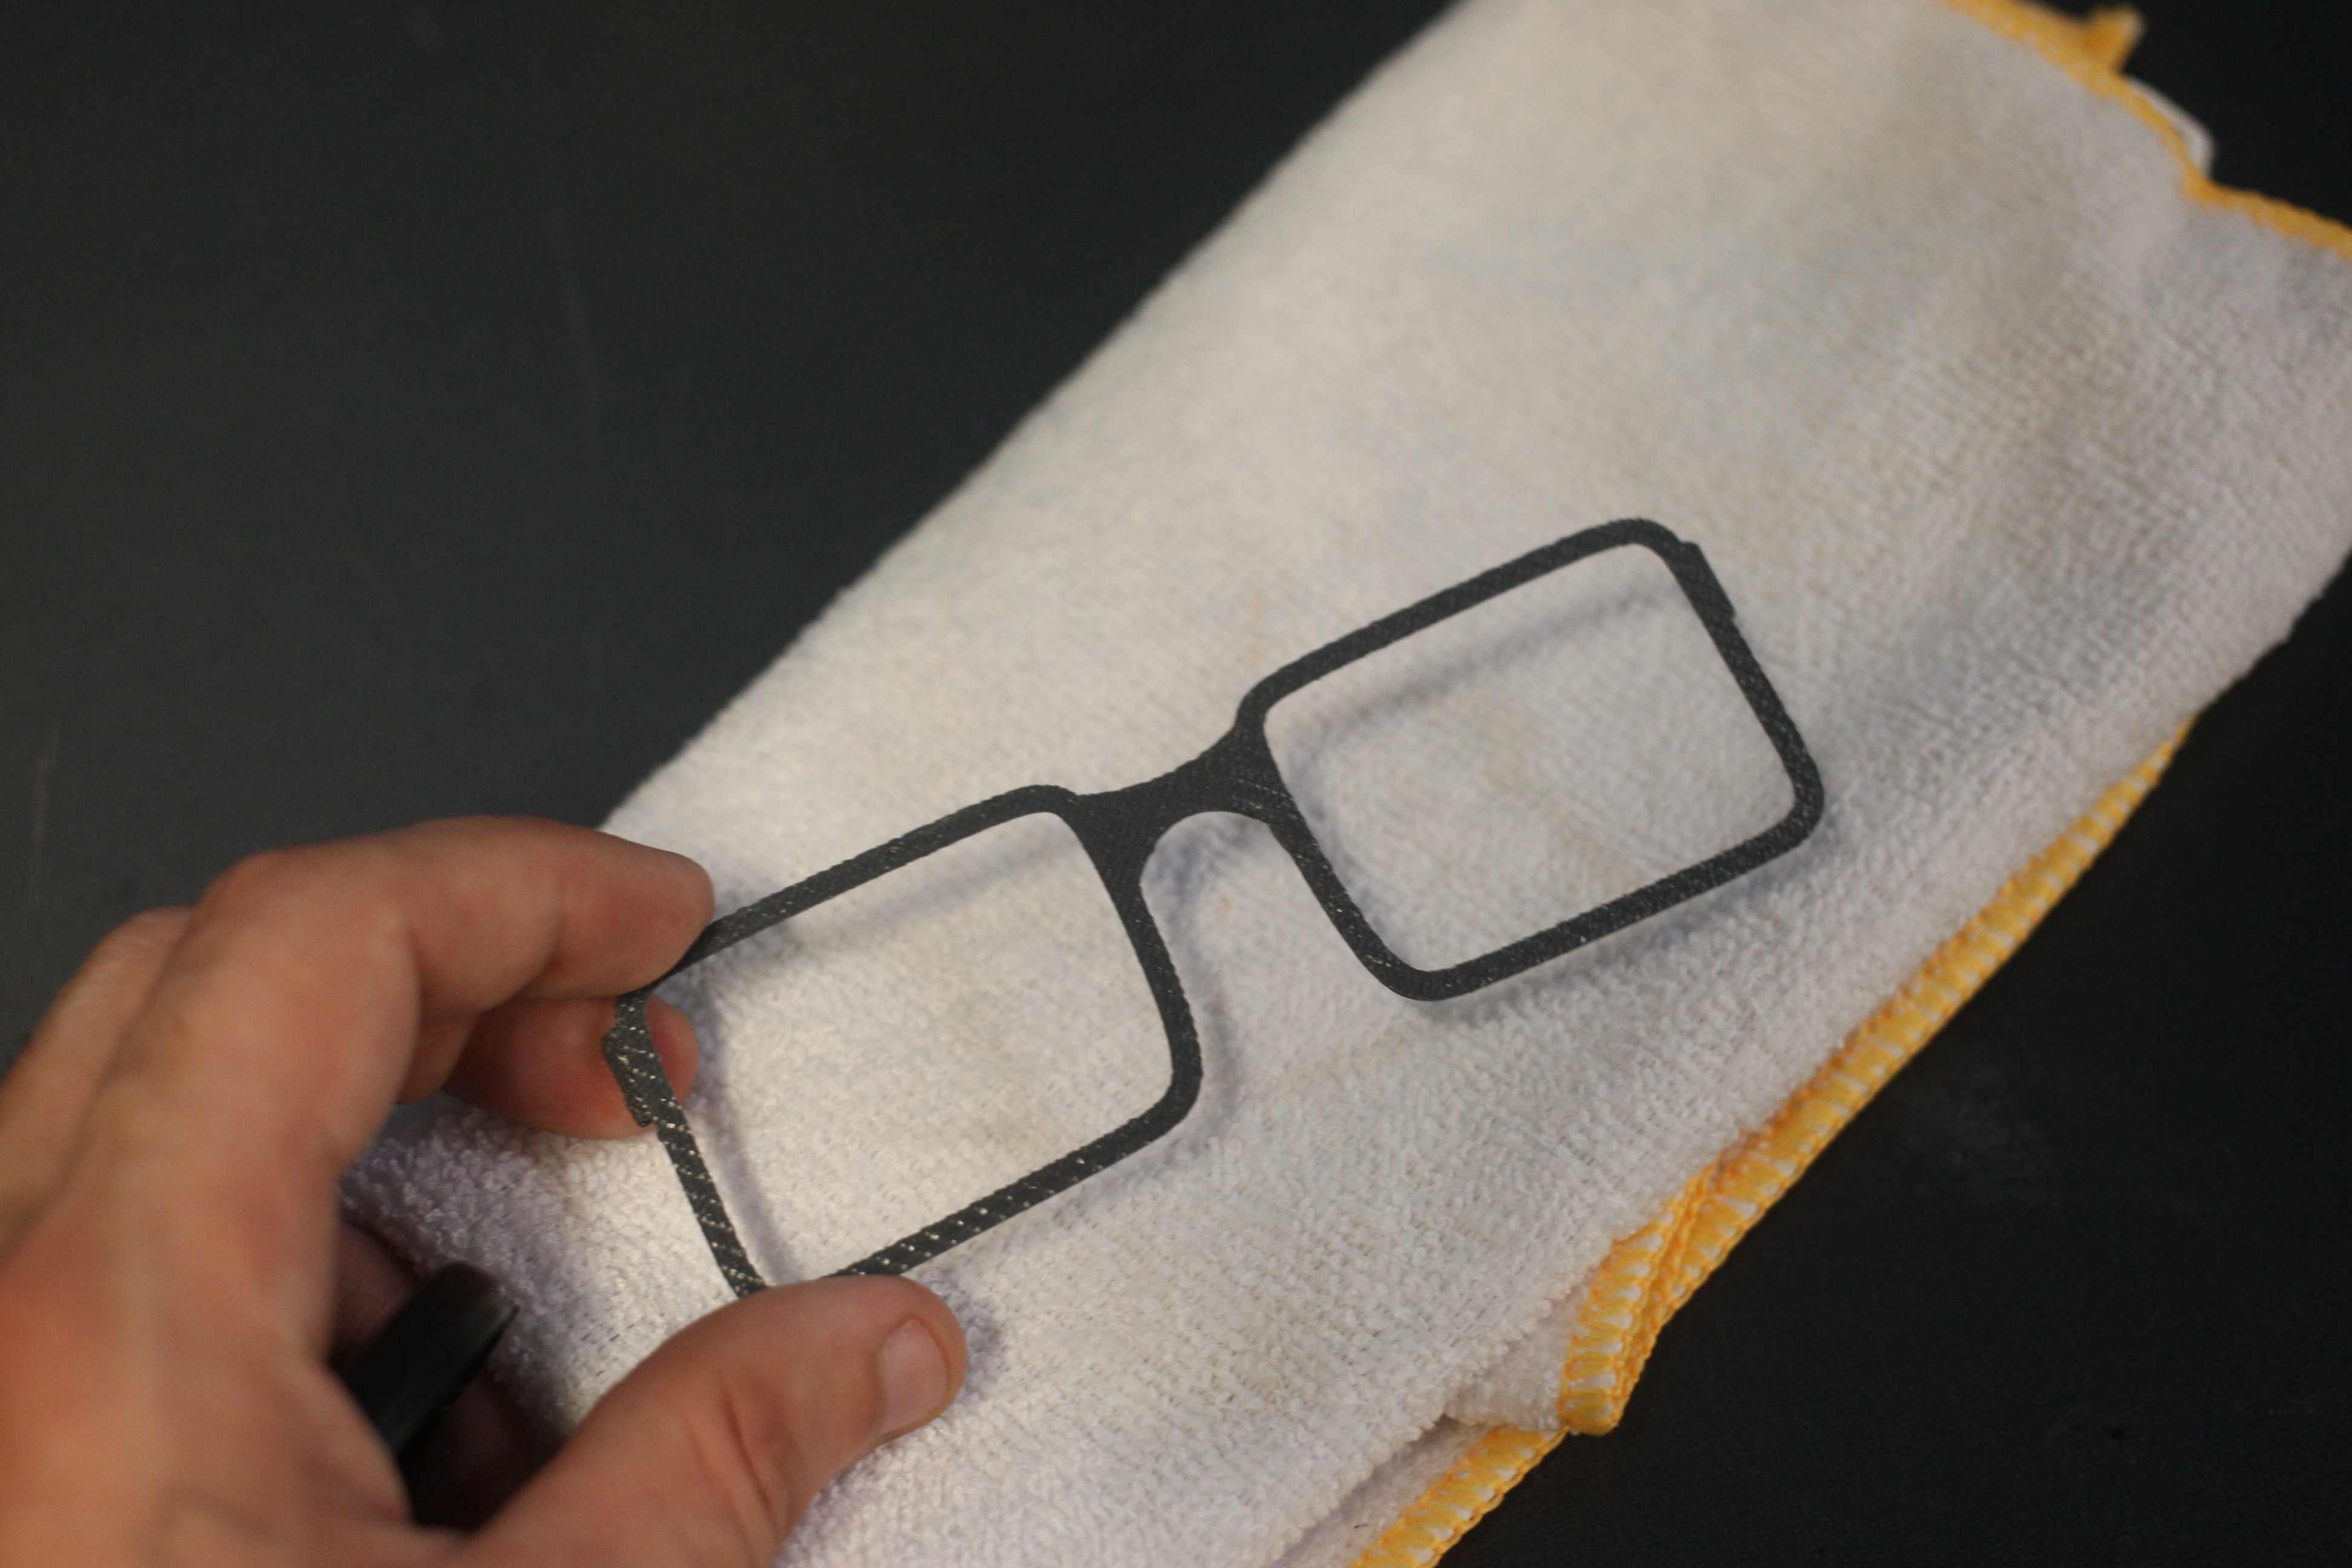
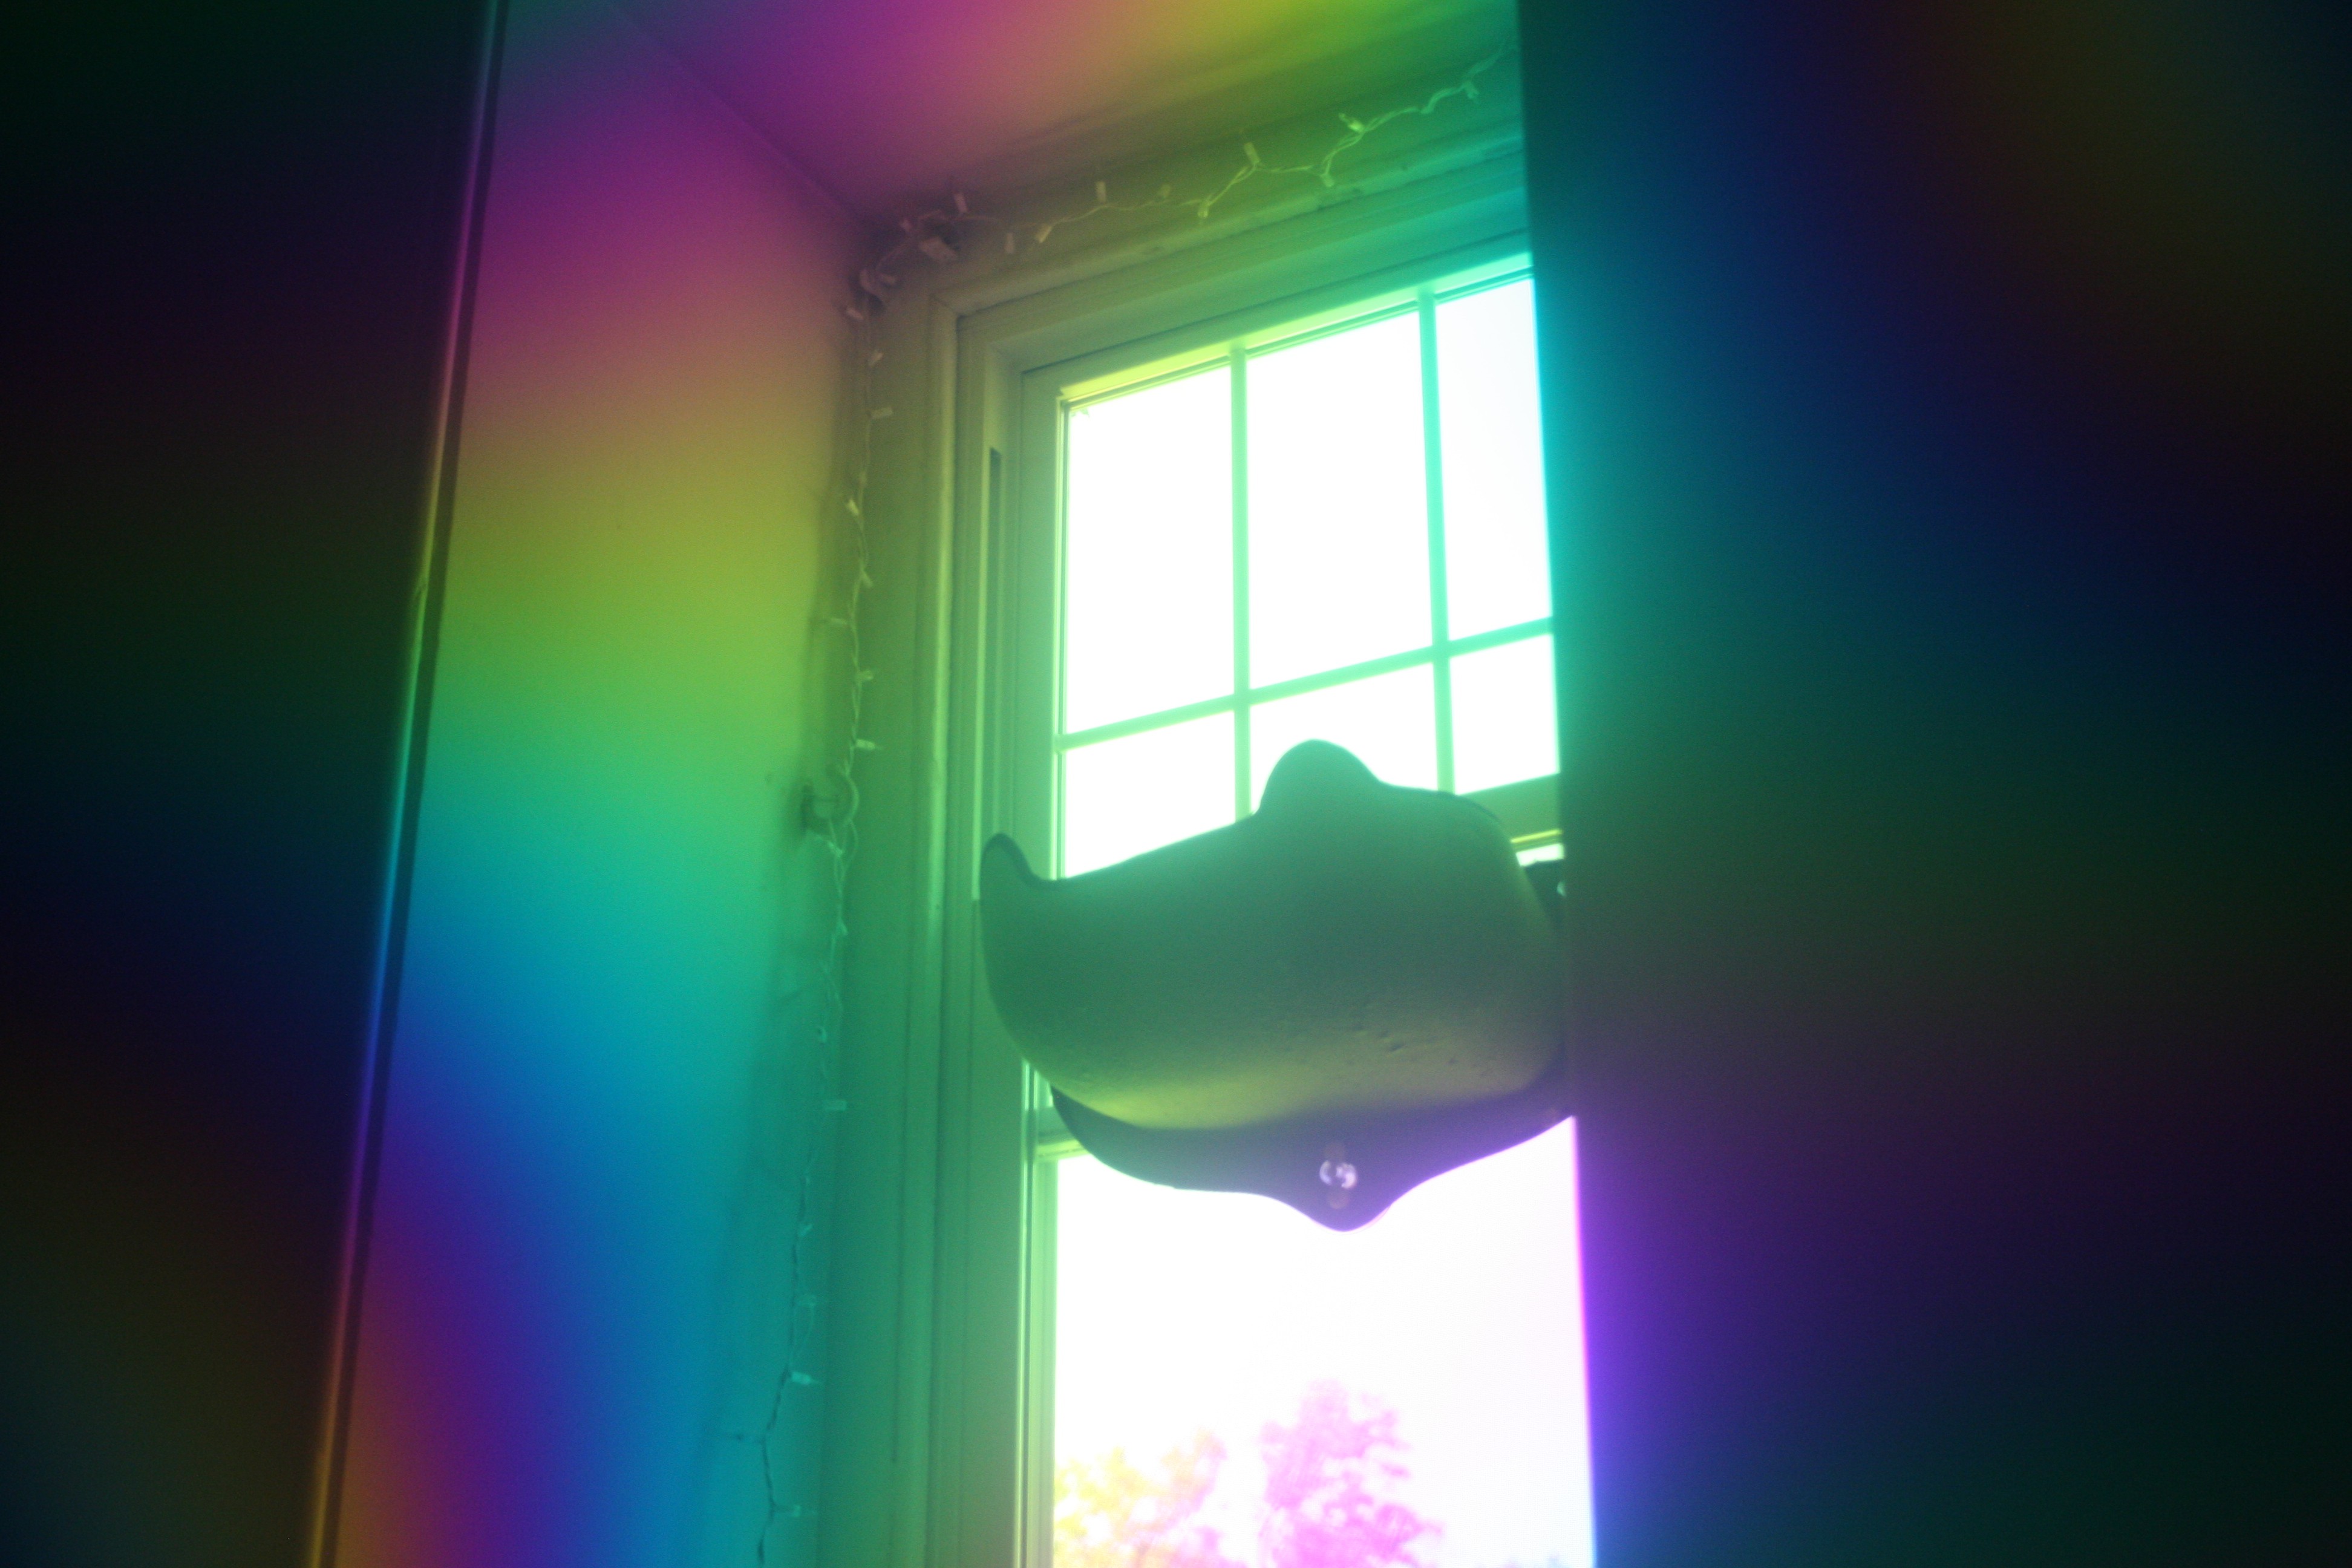
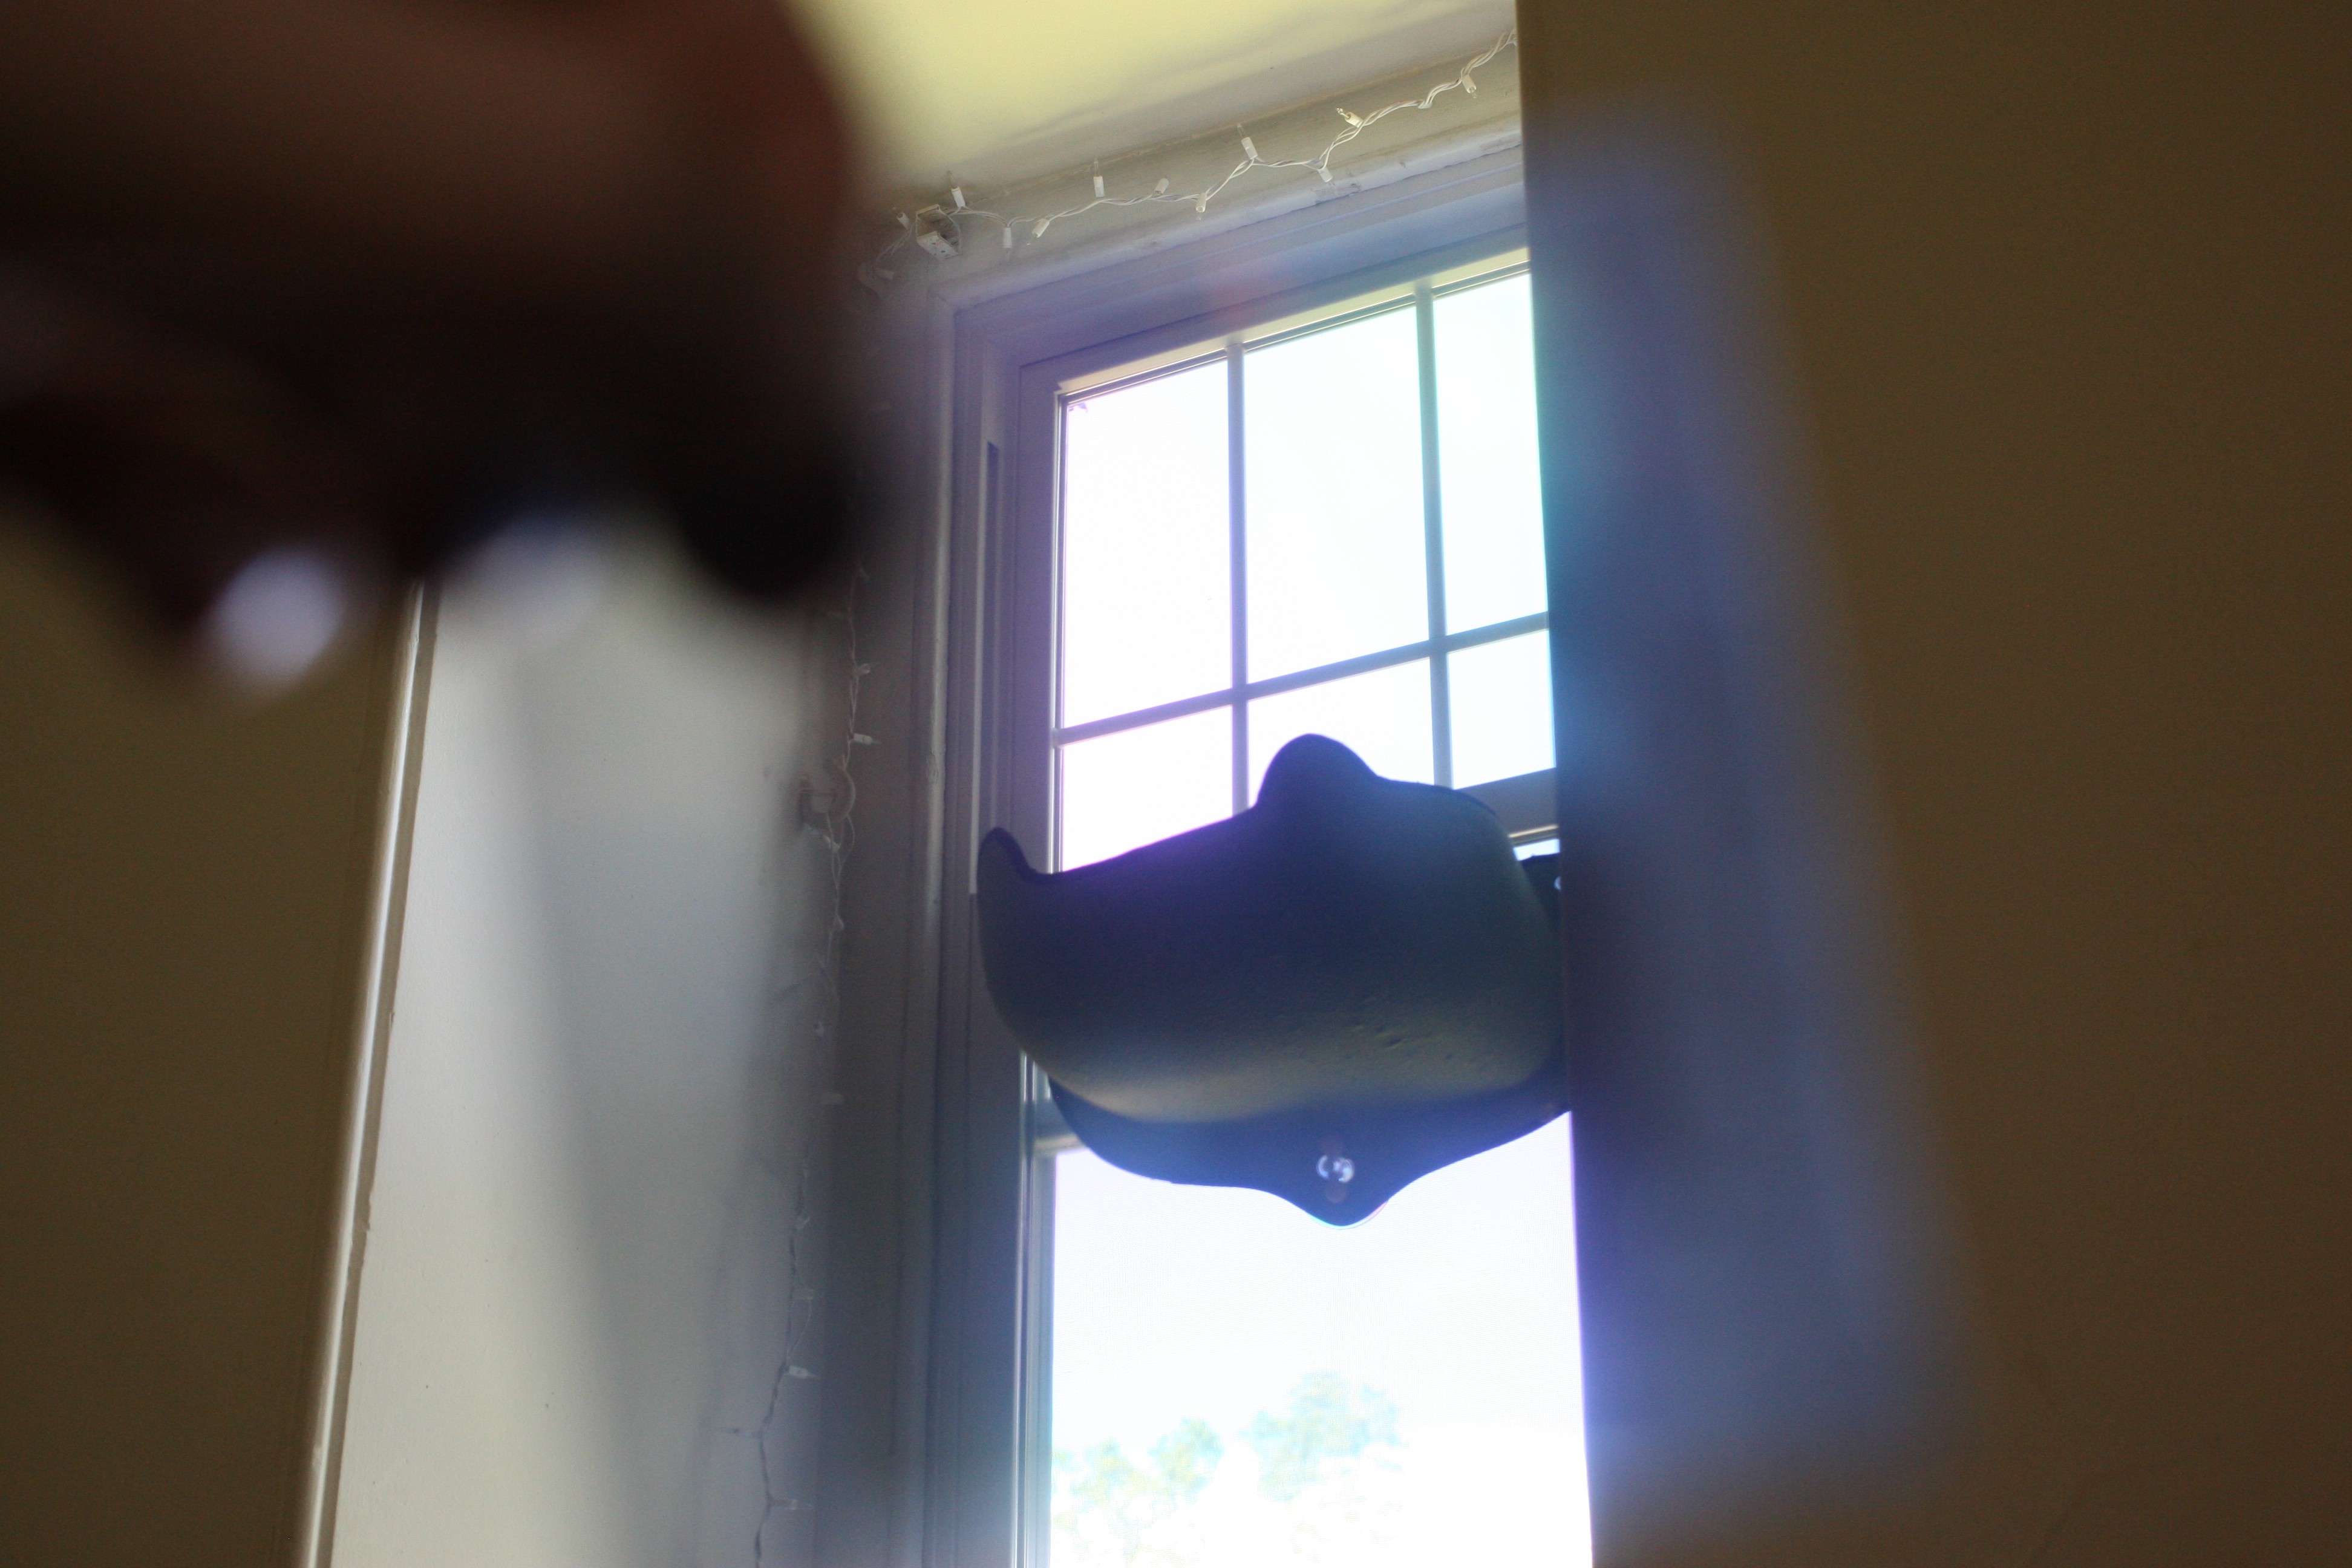
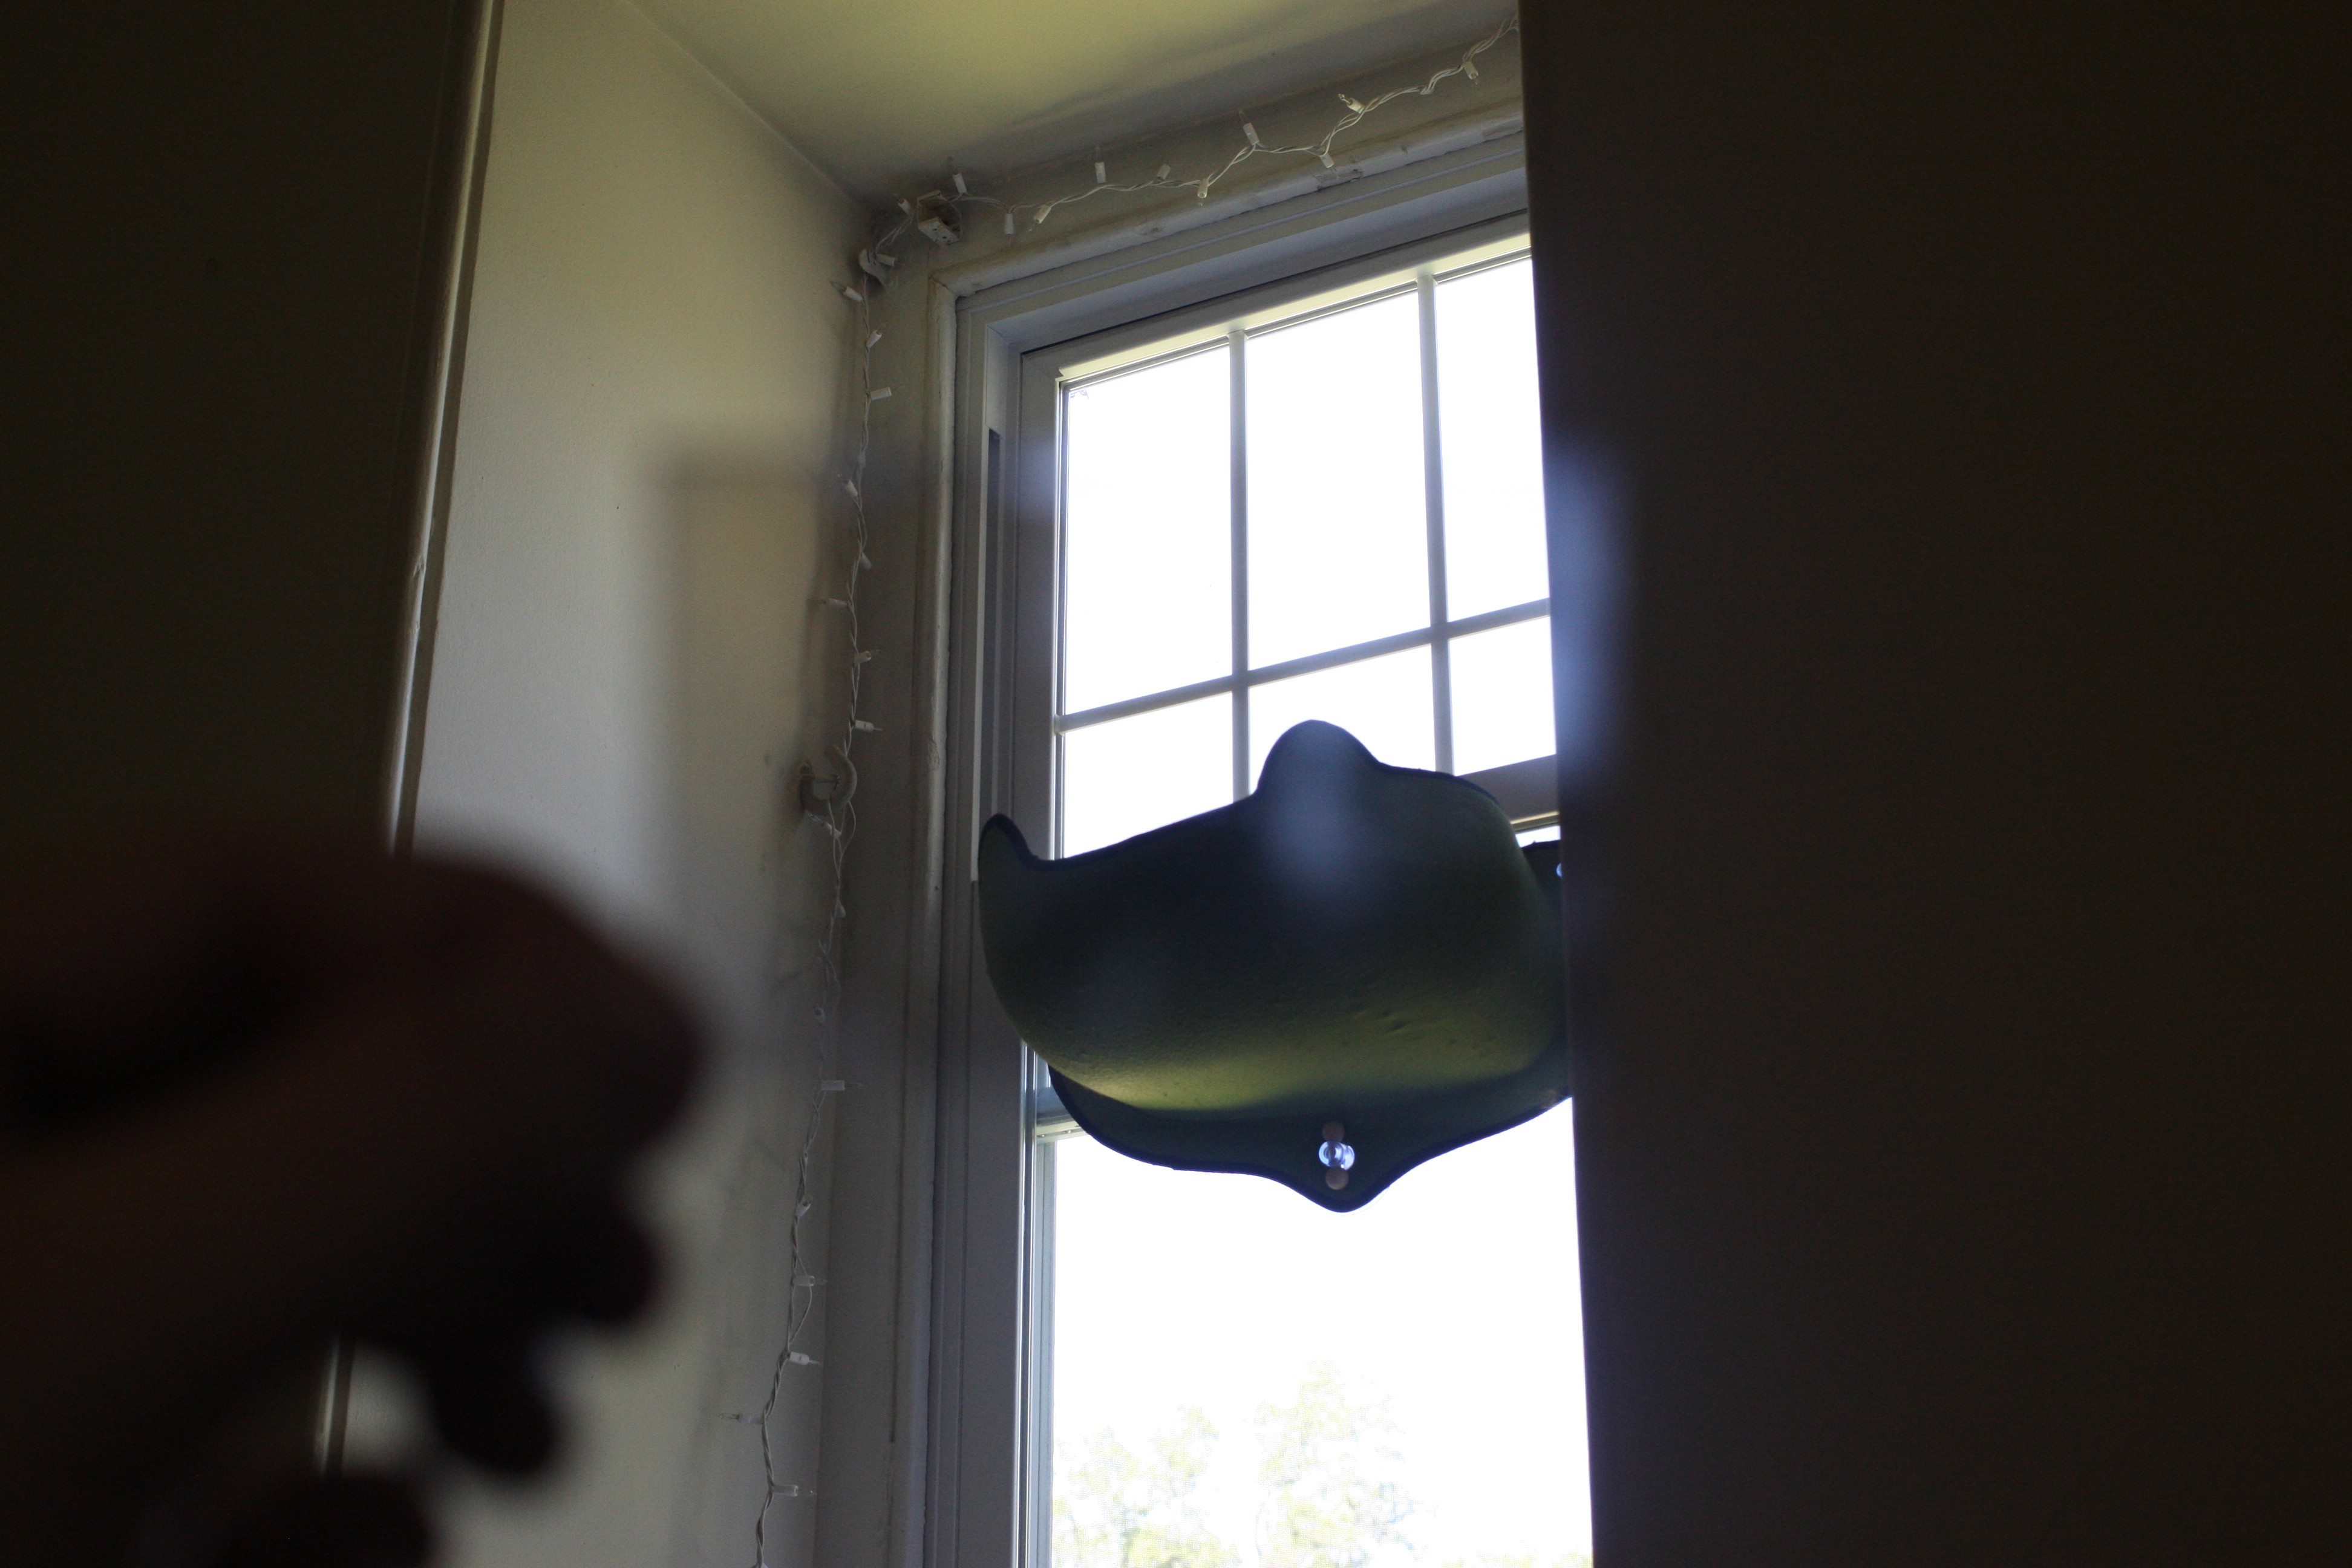
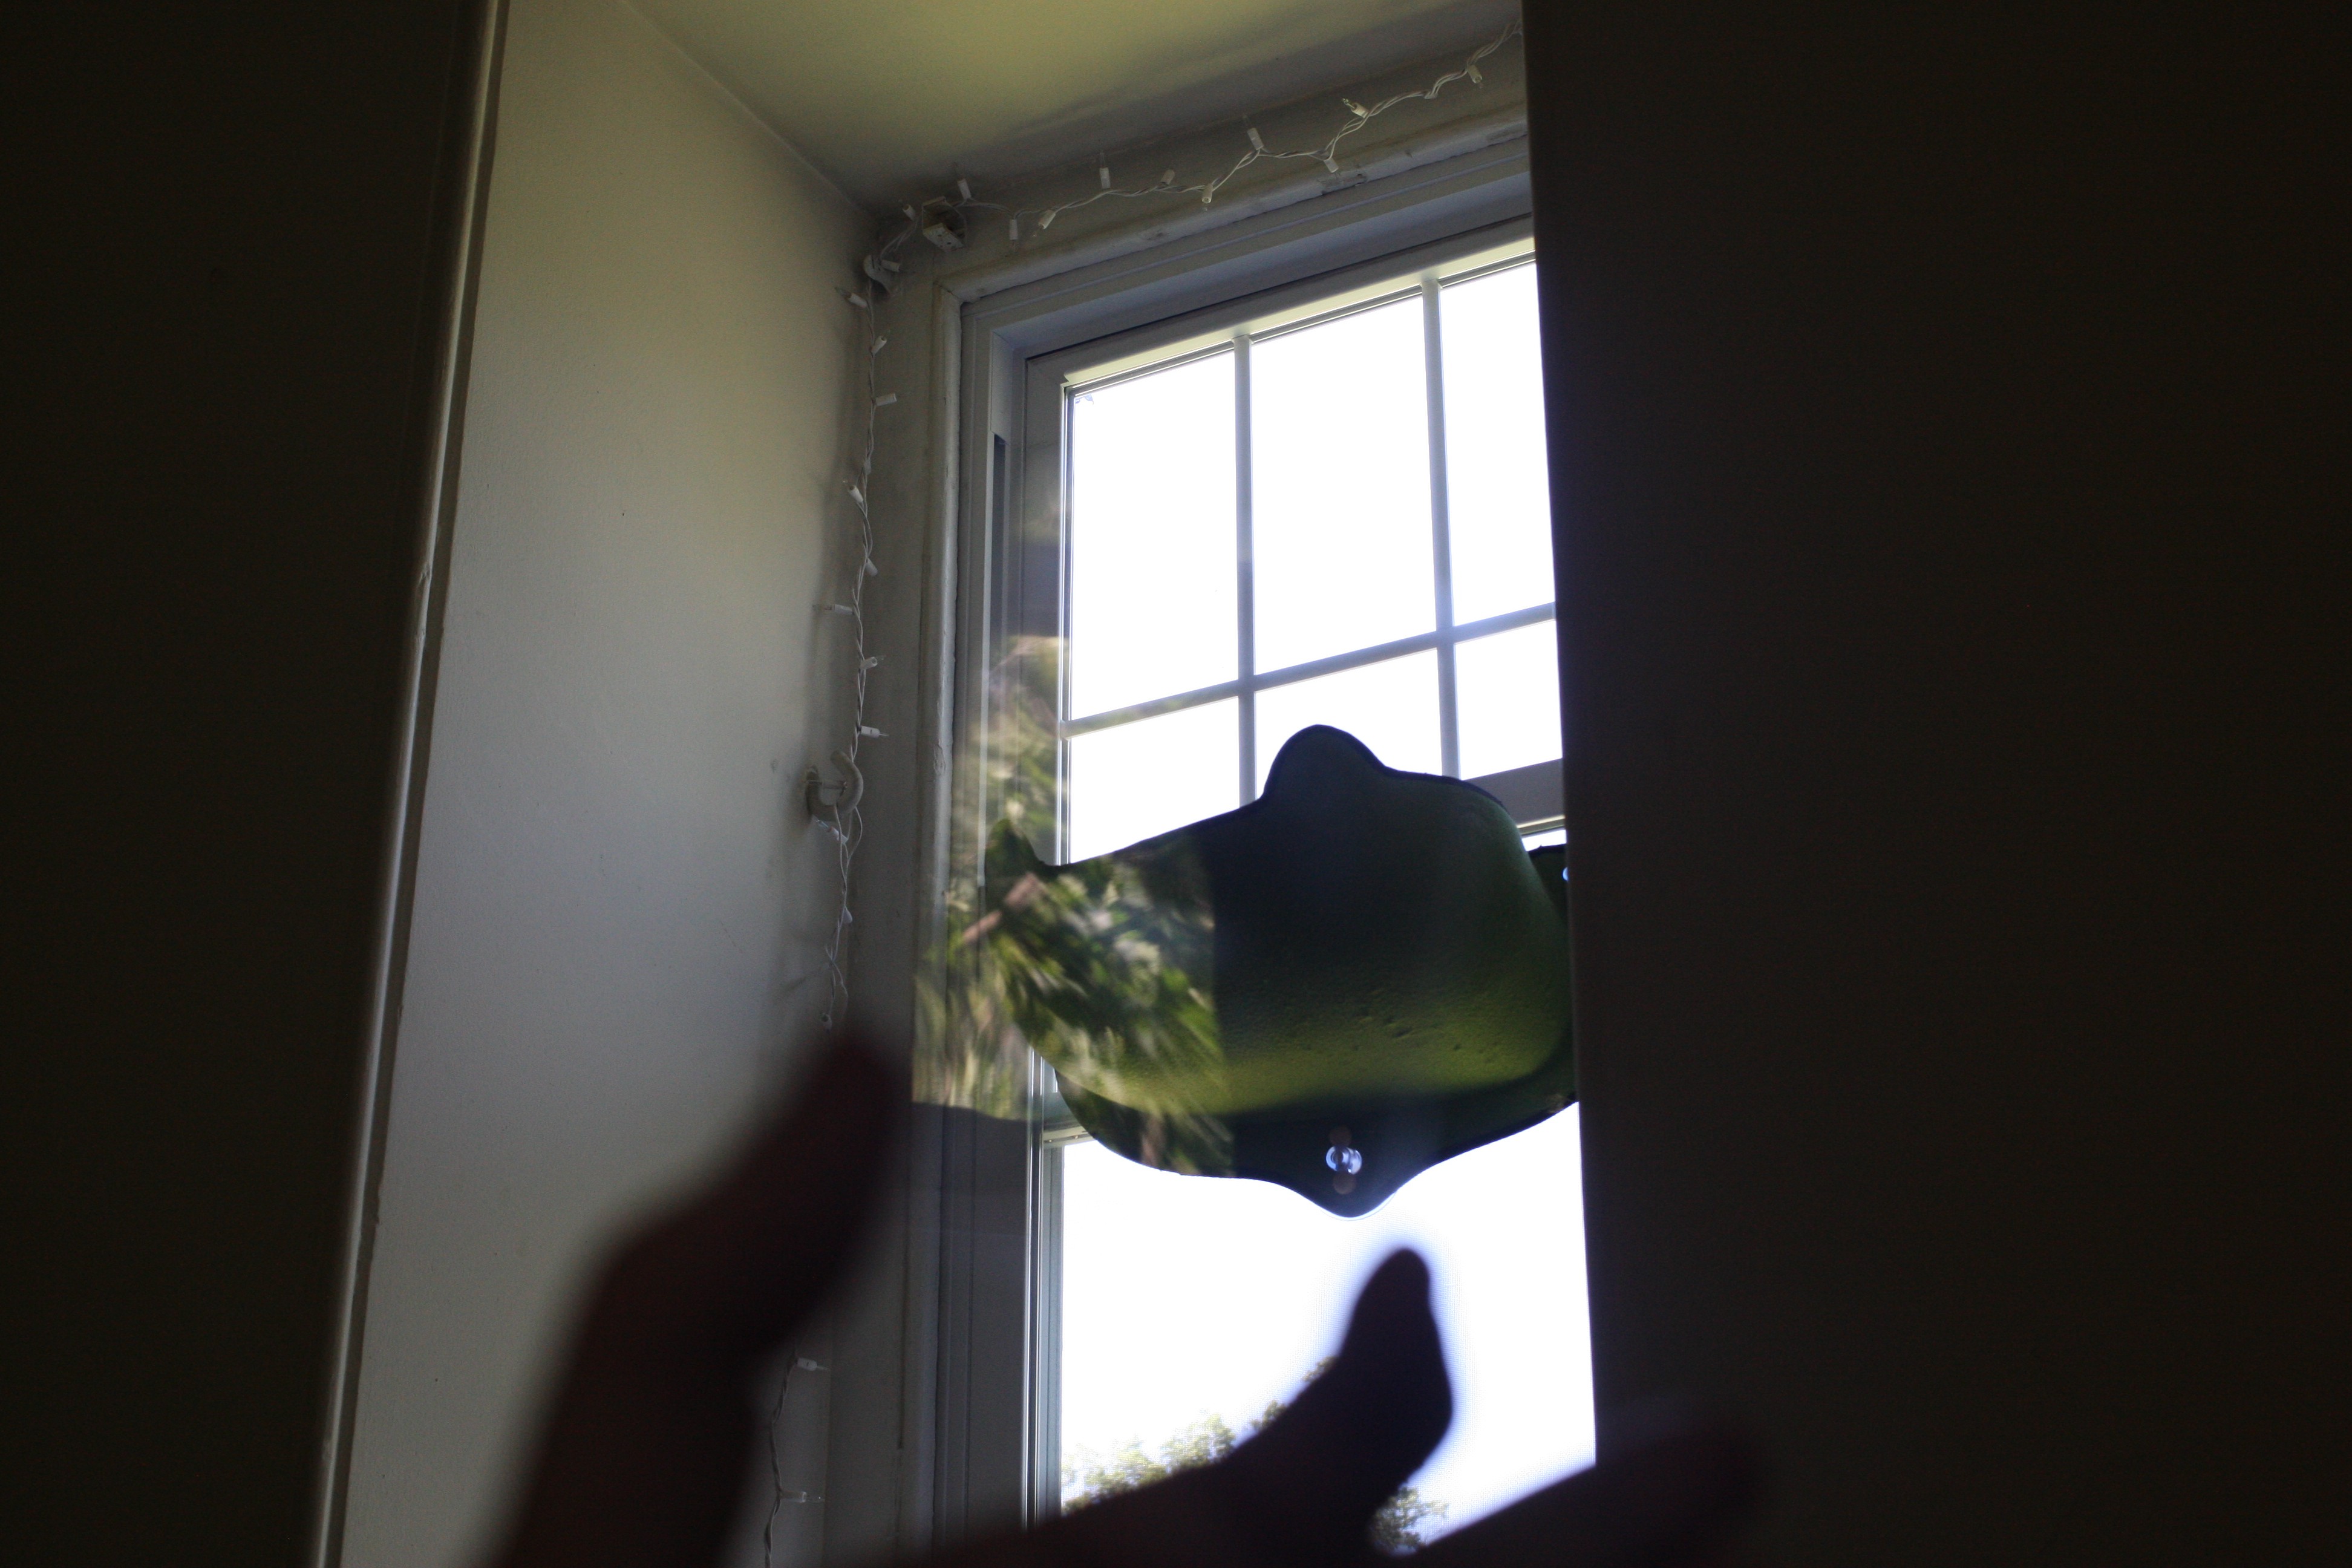
And for some not so great selfies: (my remote was acting weird, probably low battery)
![]()
![]()
![]()
I'll get additional photos later.
-
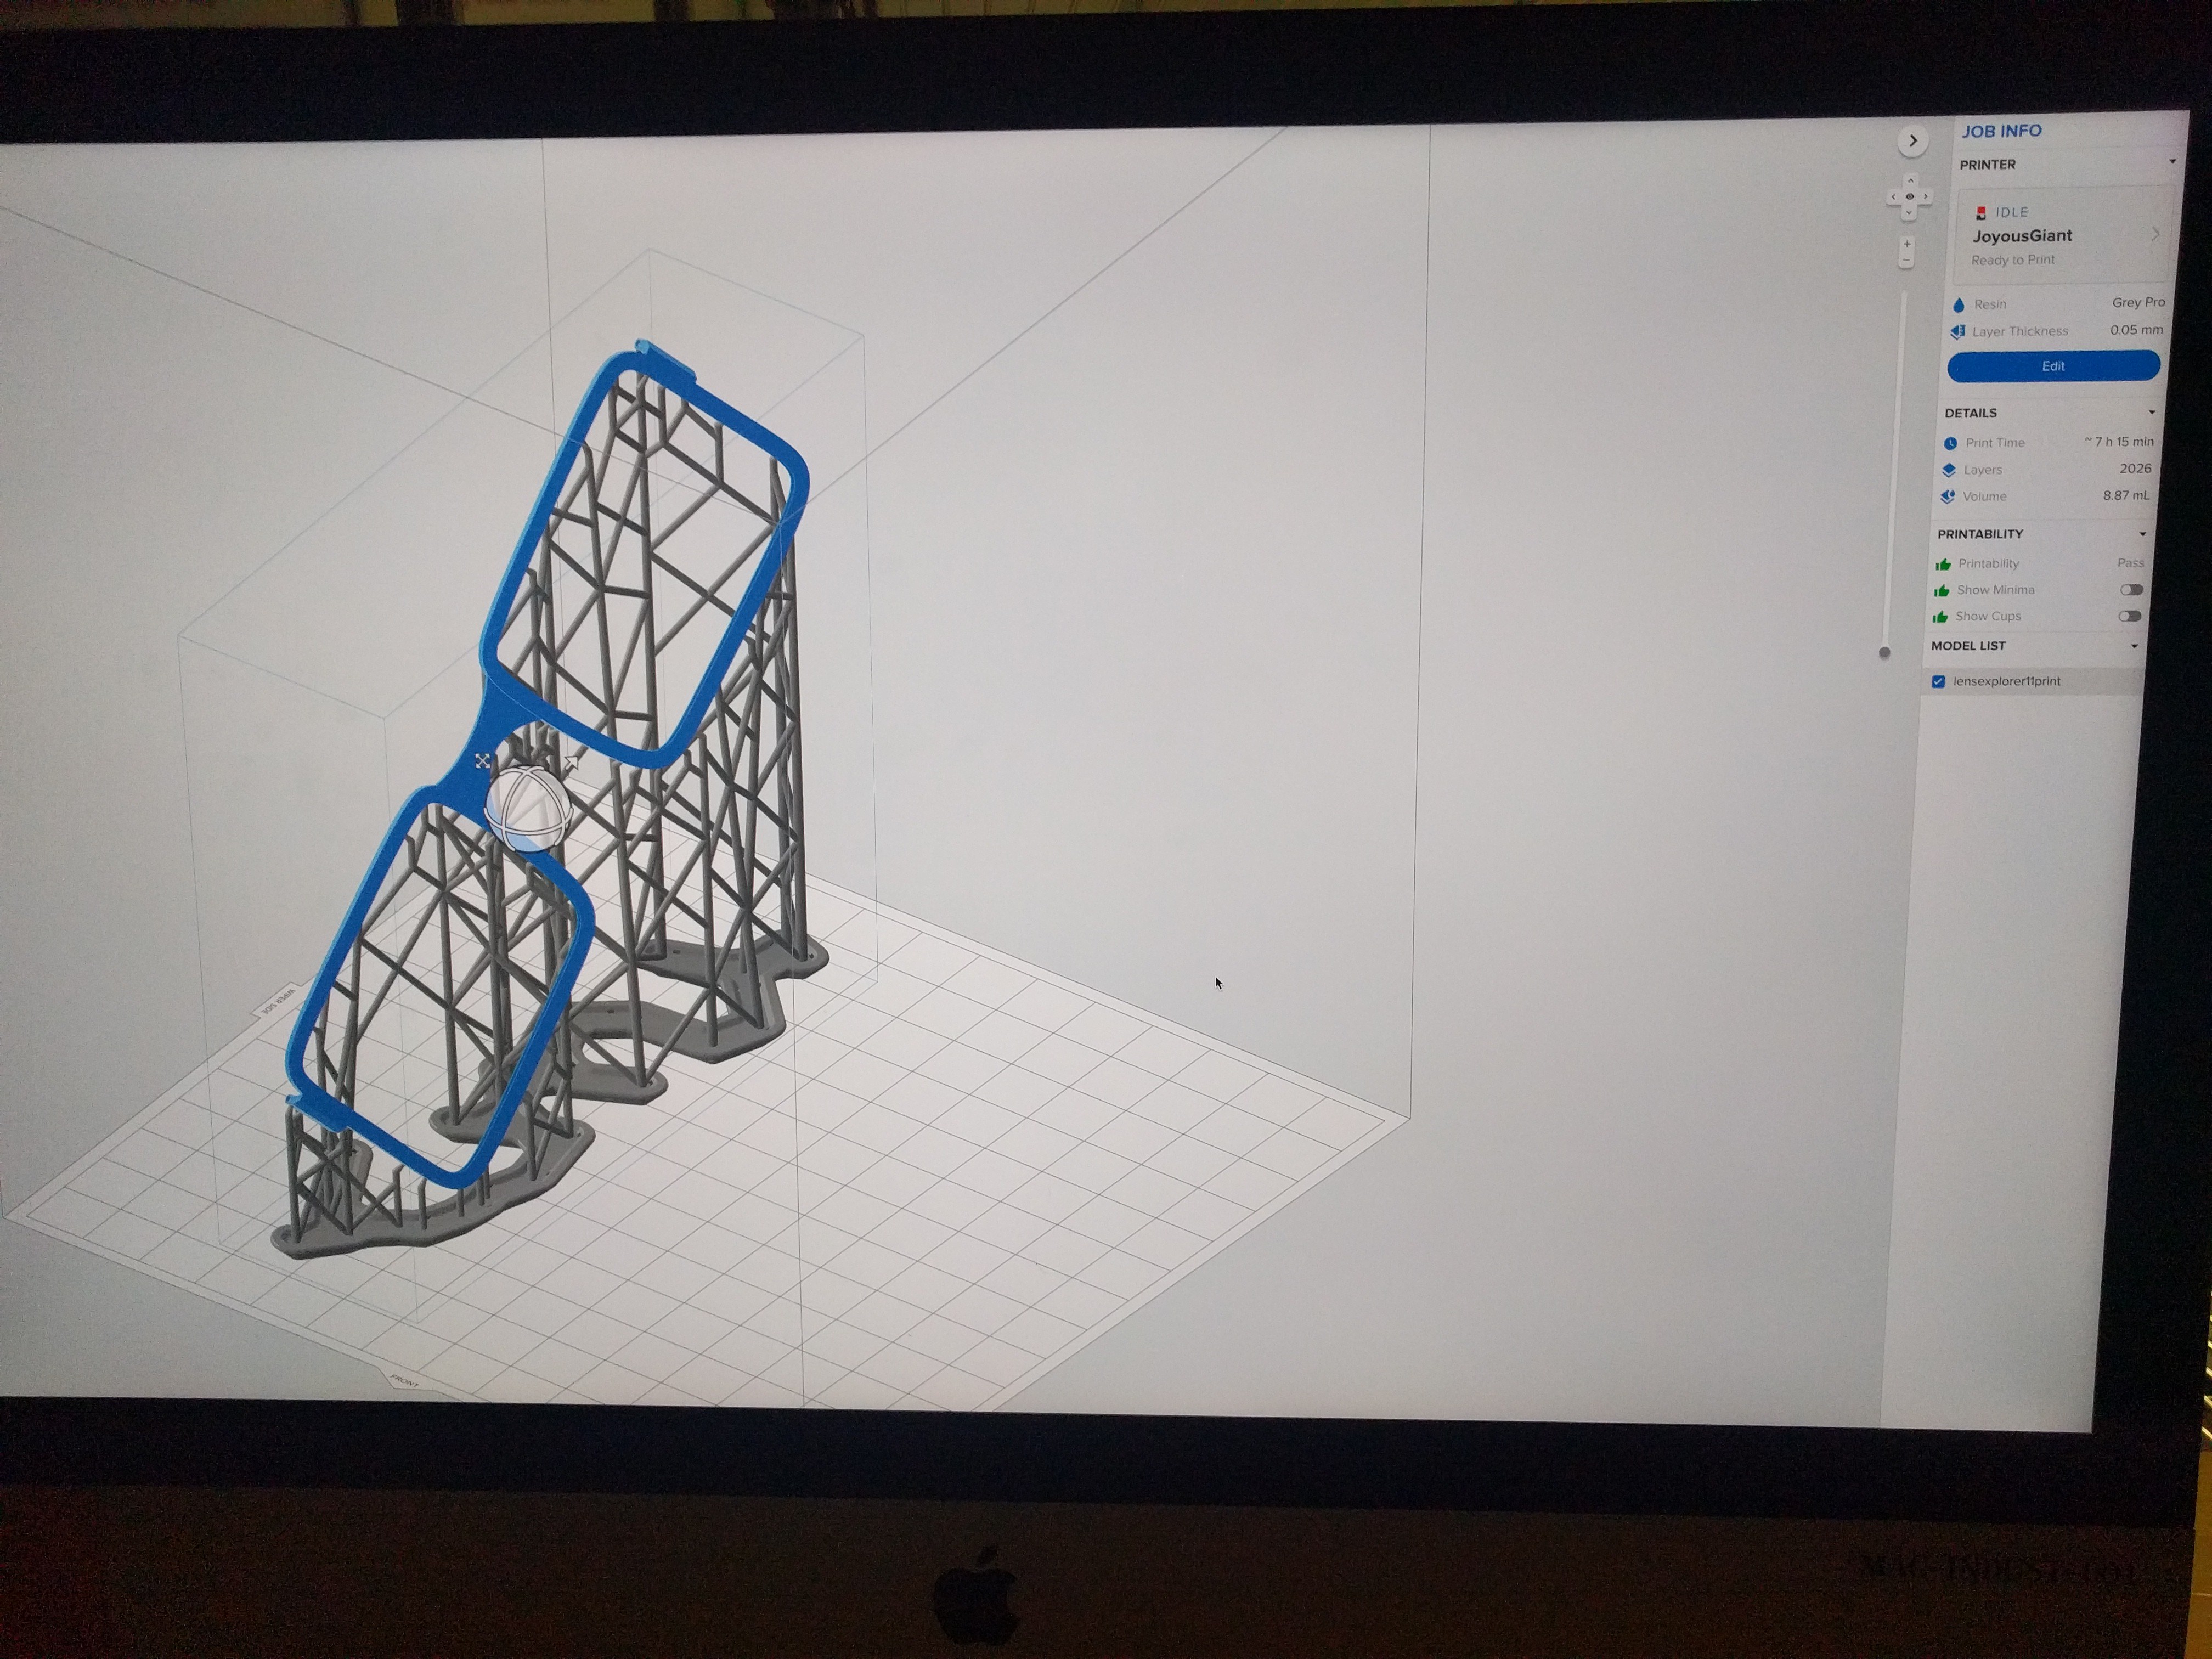
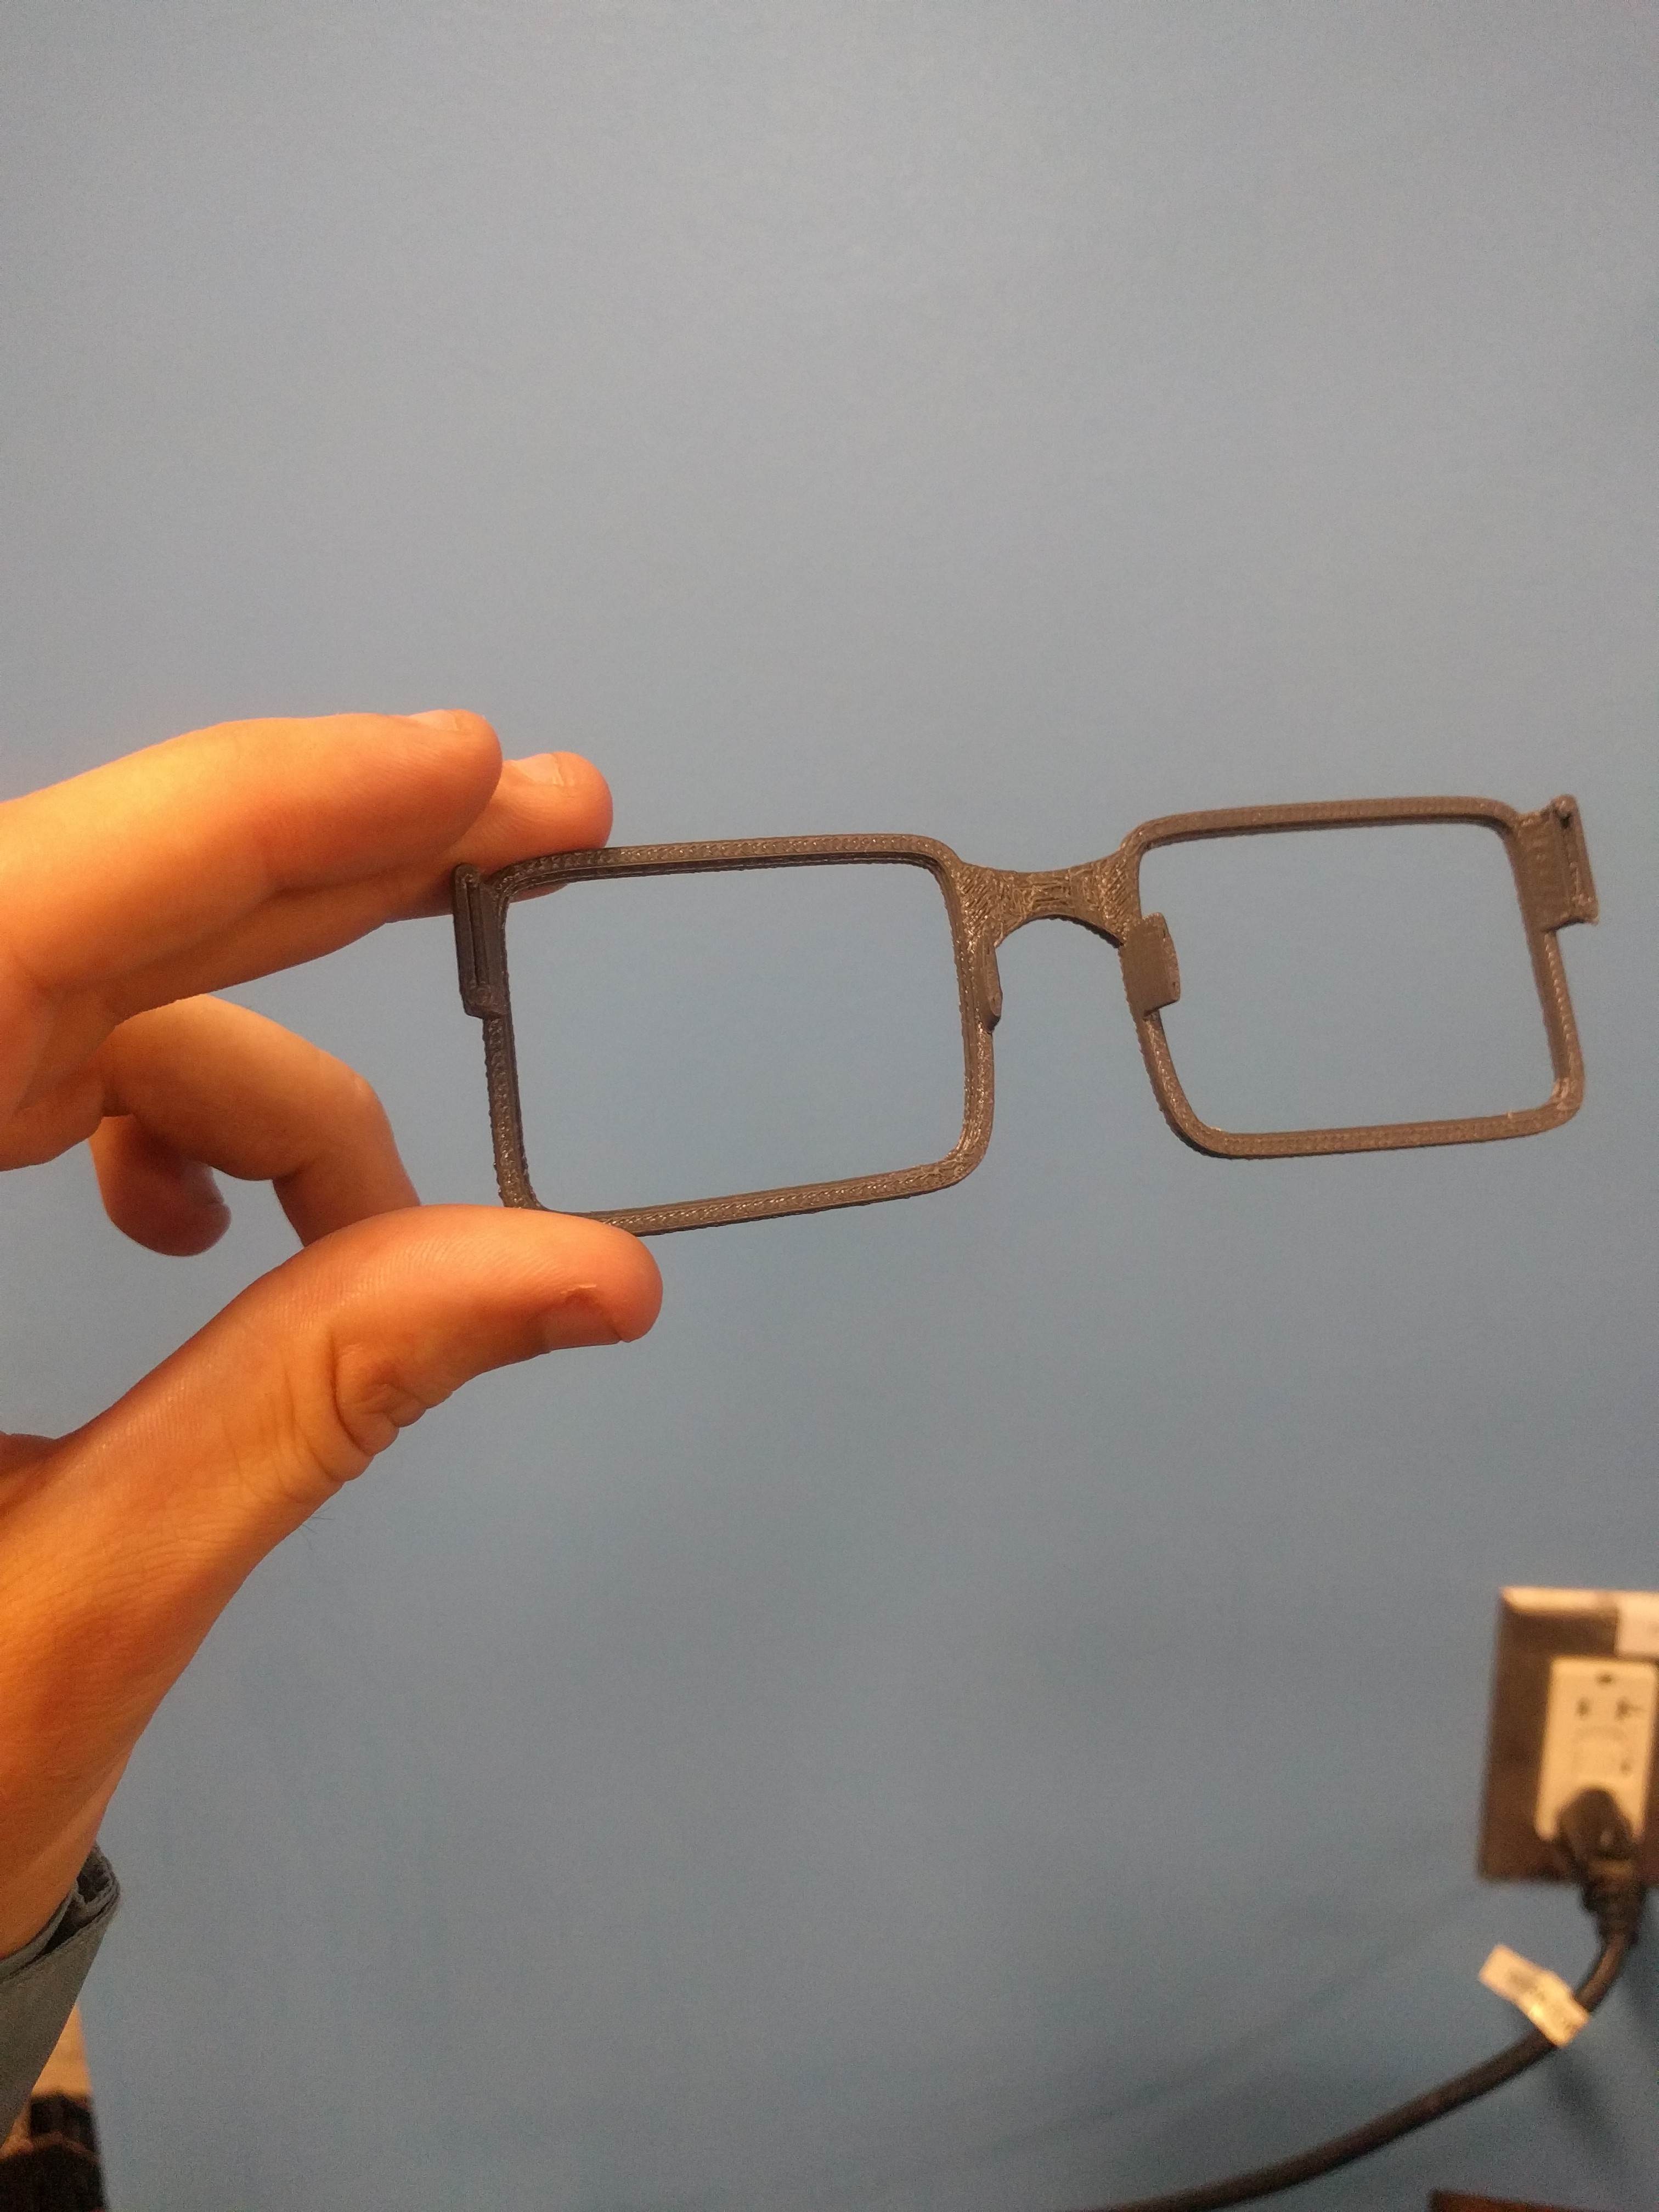
Second prototype
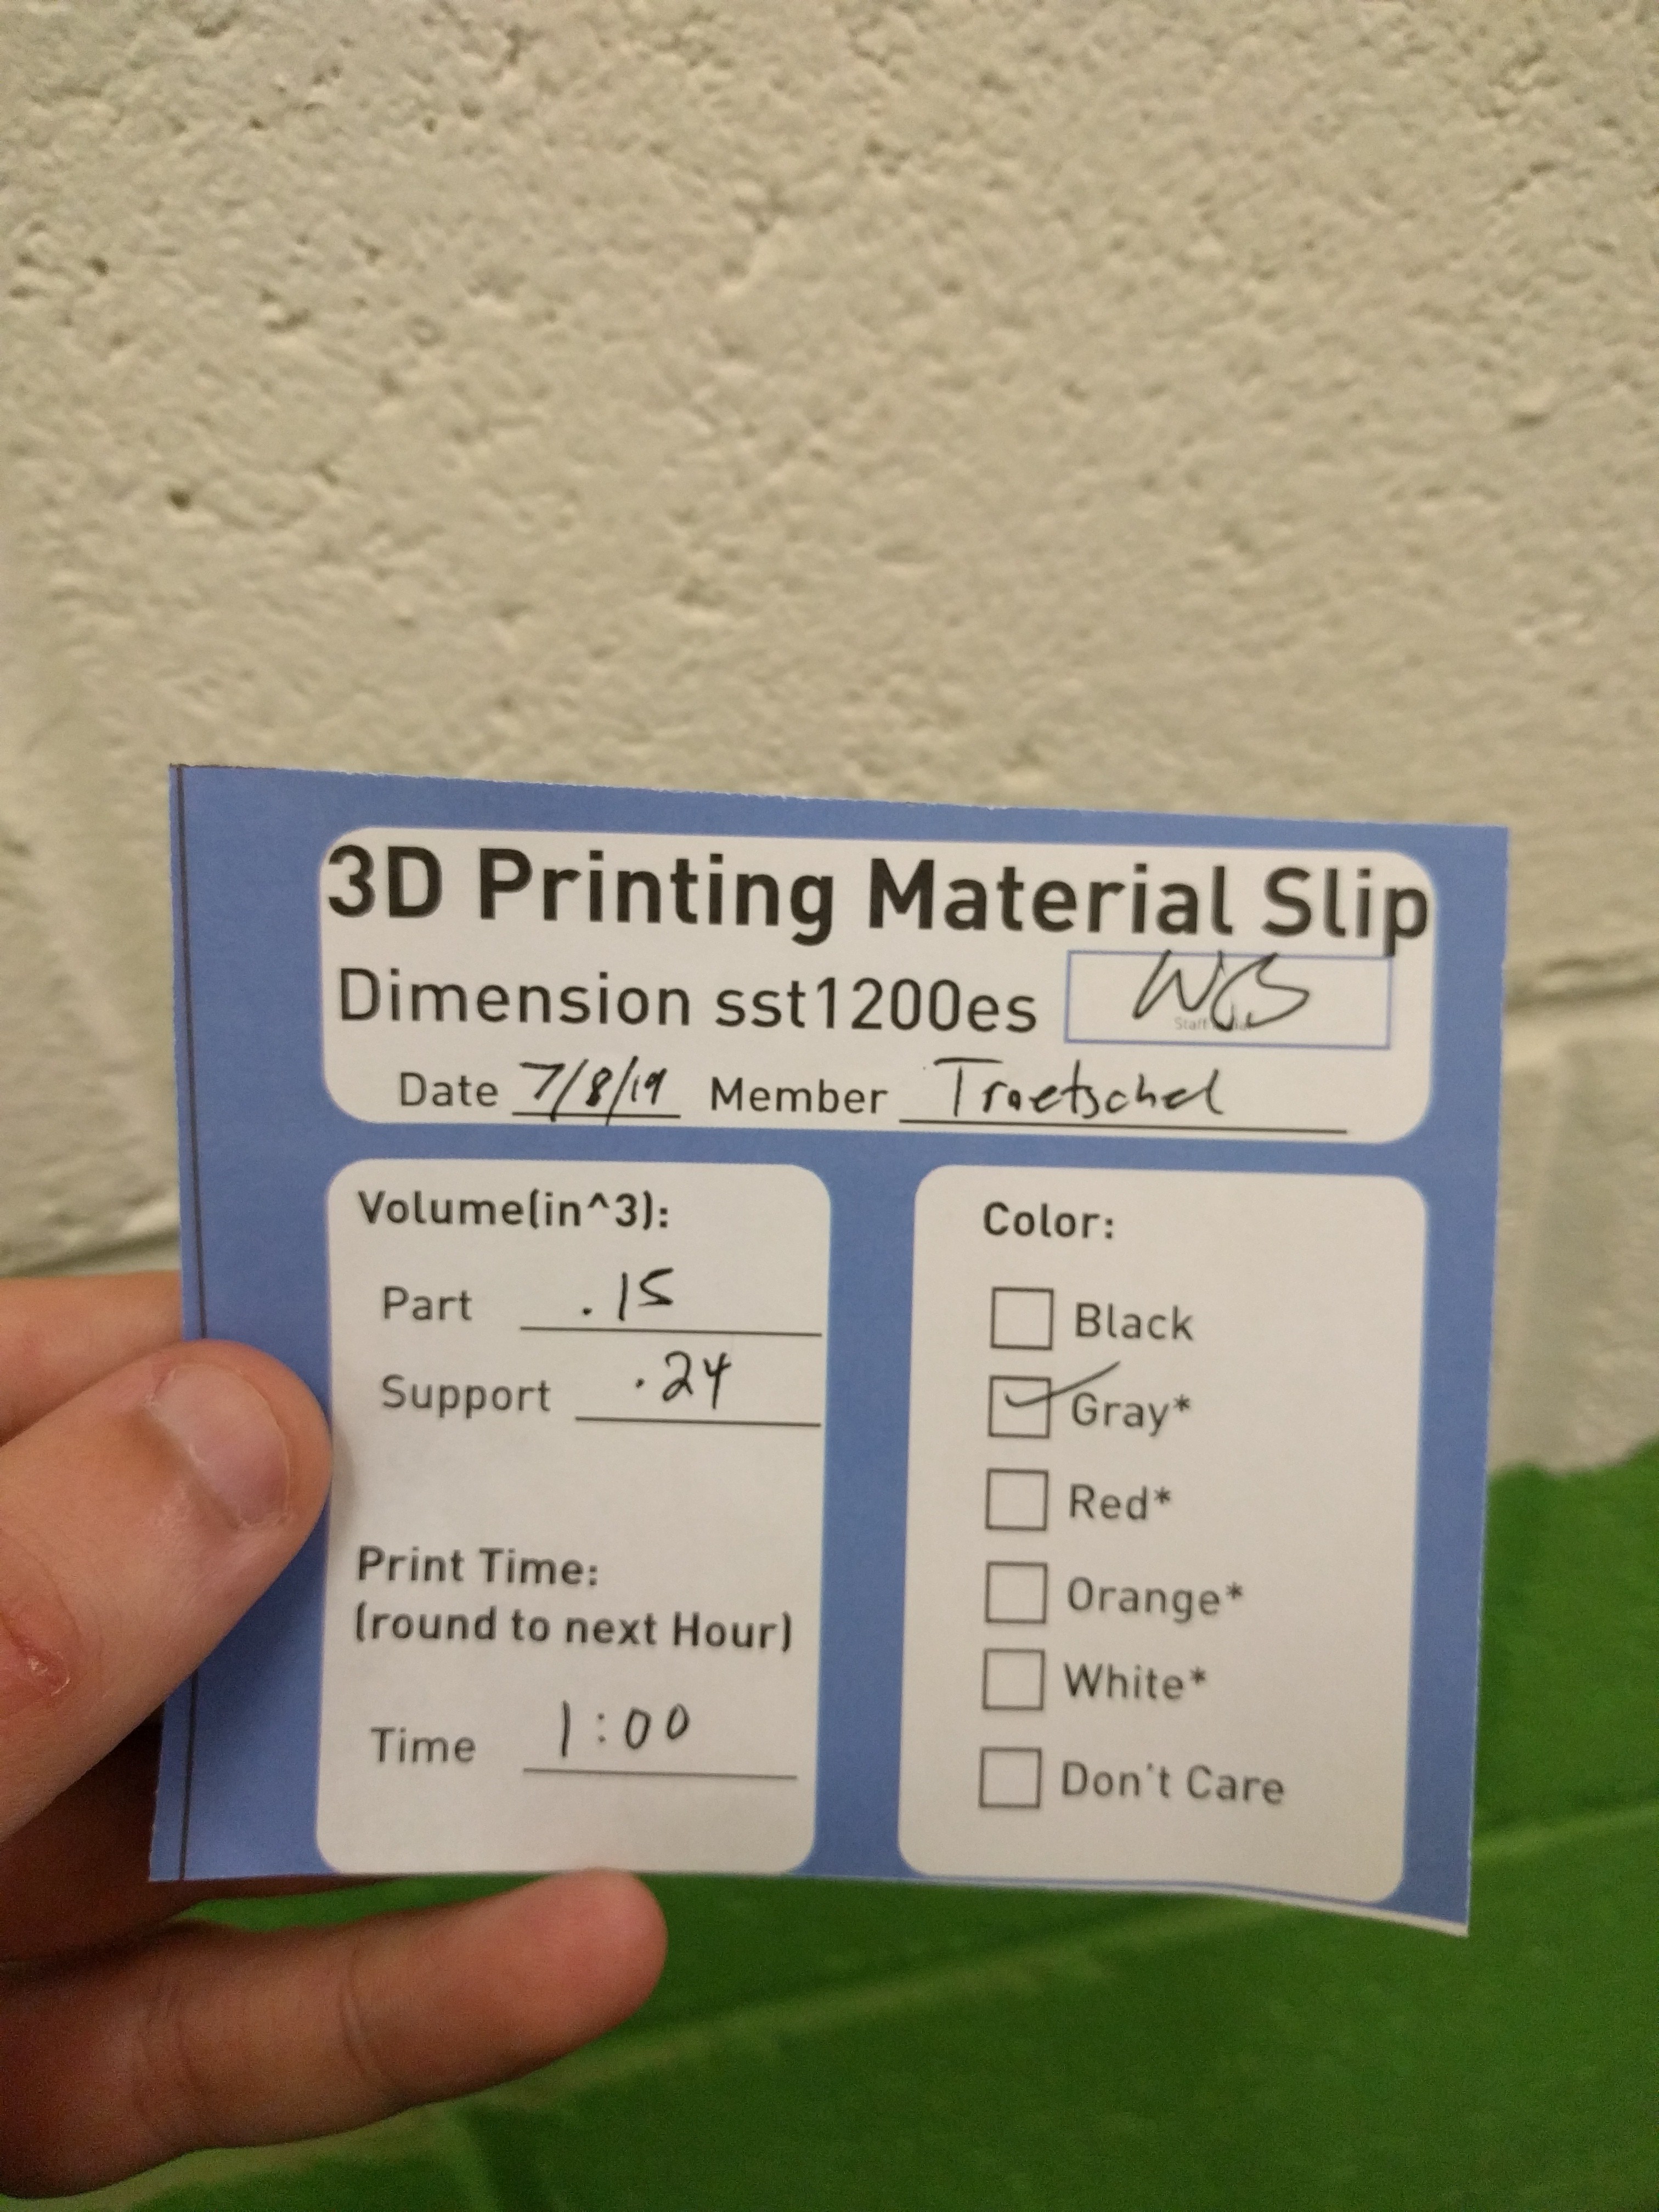
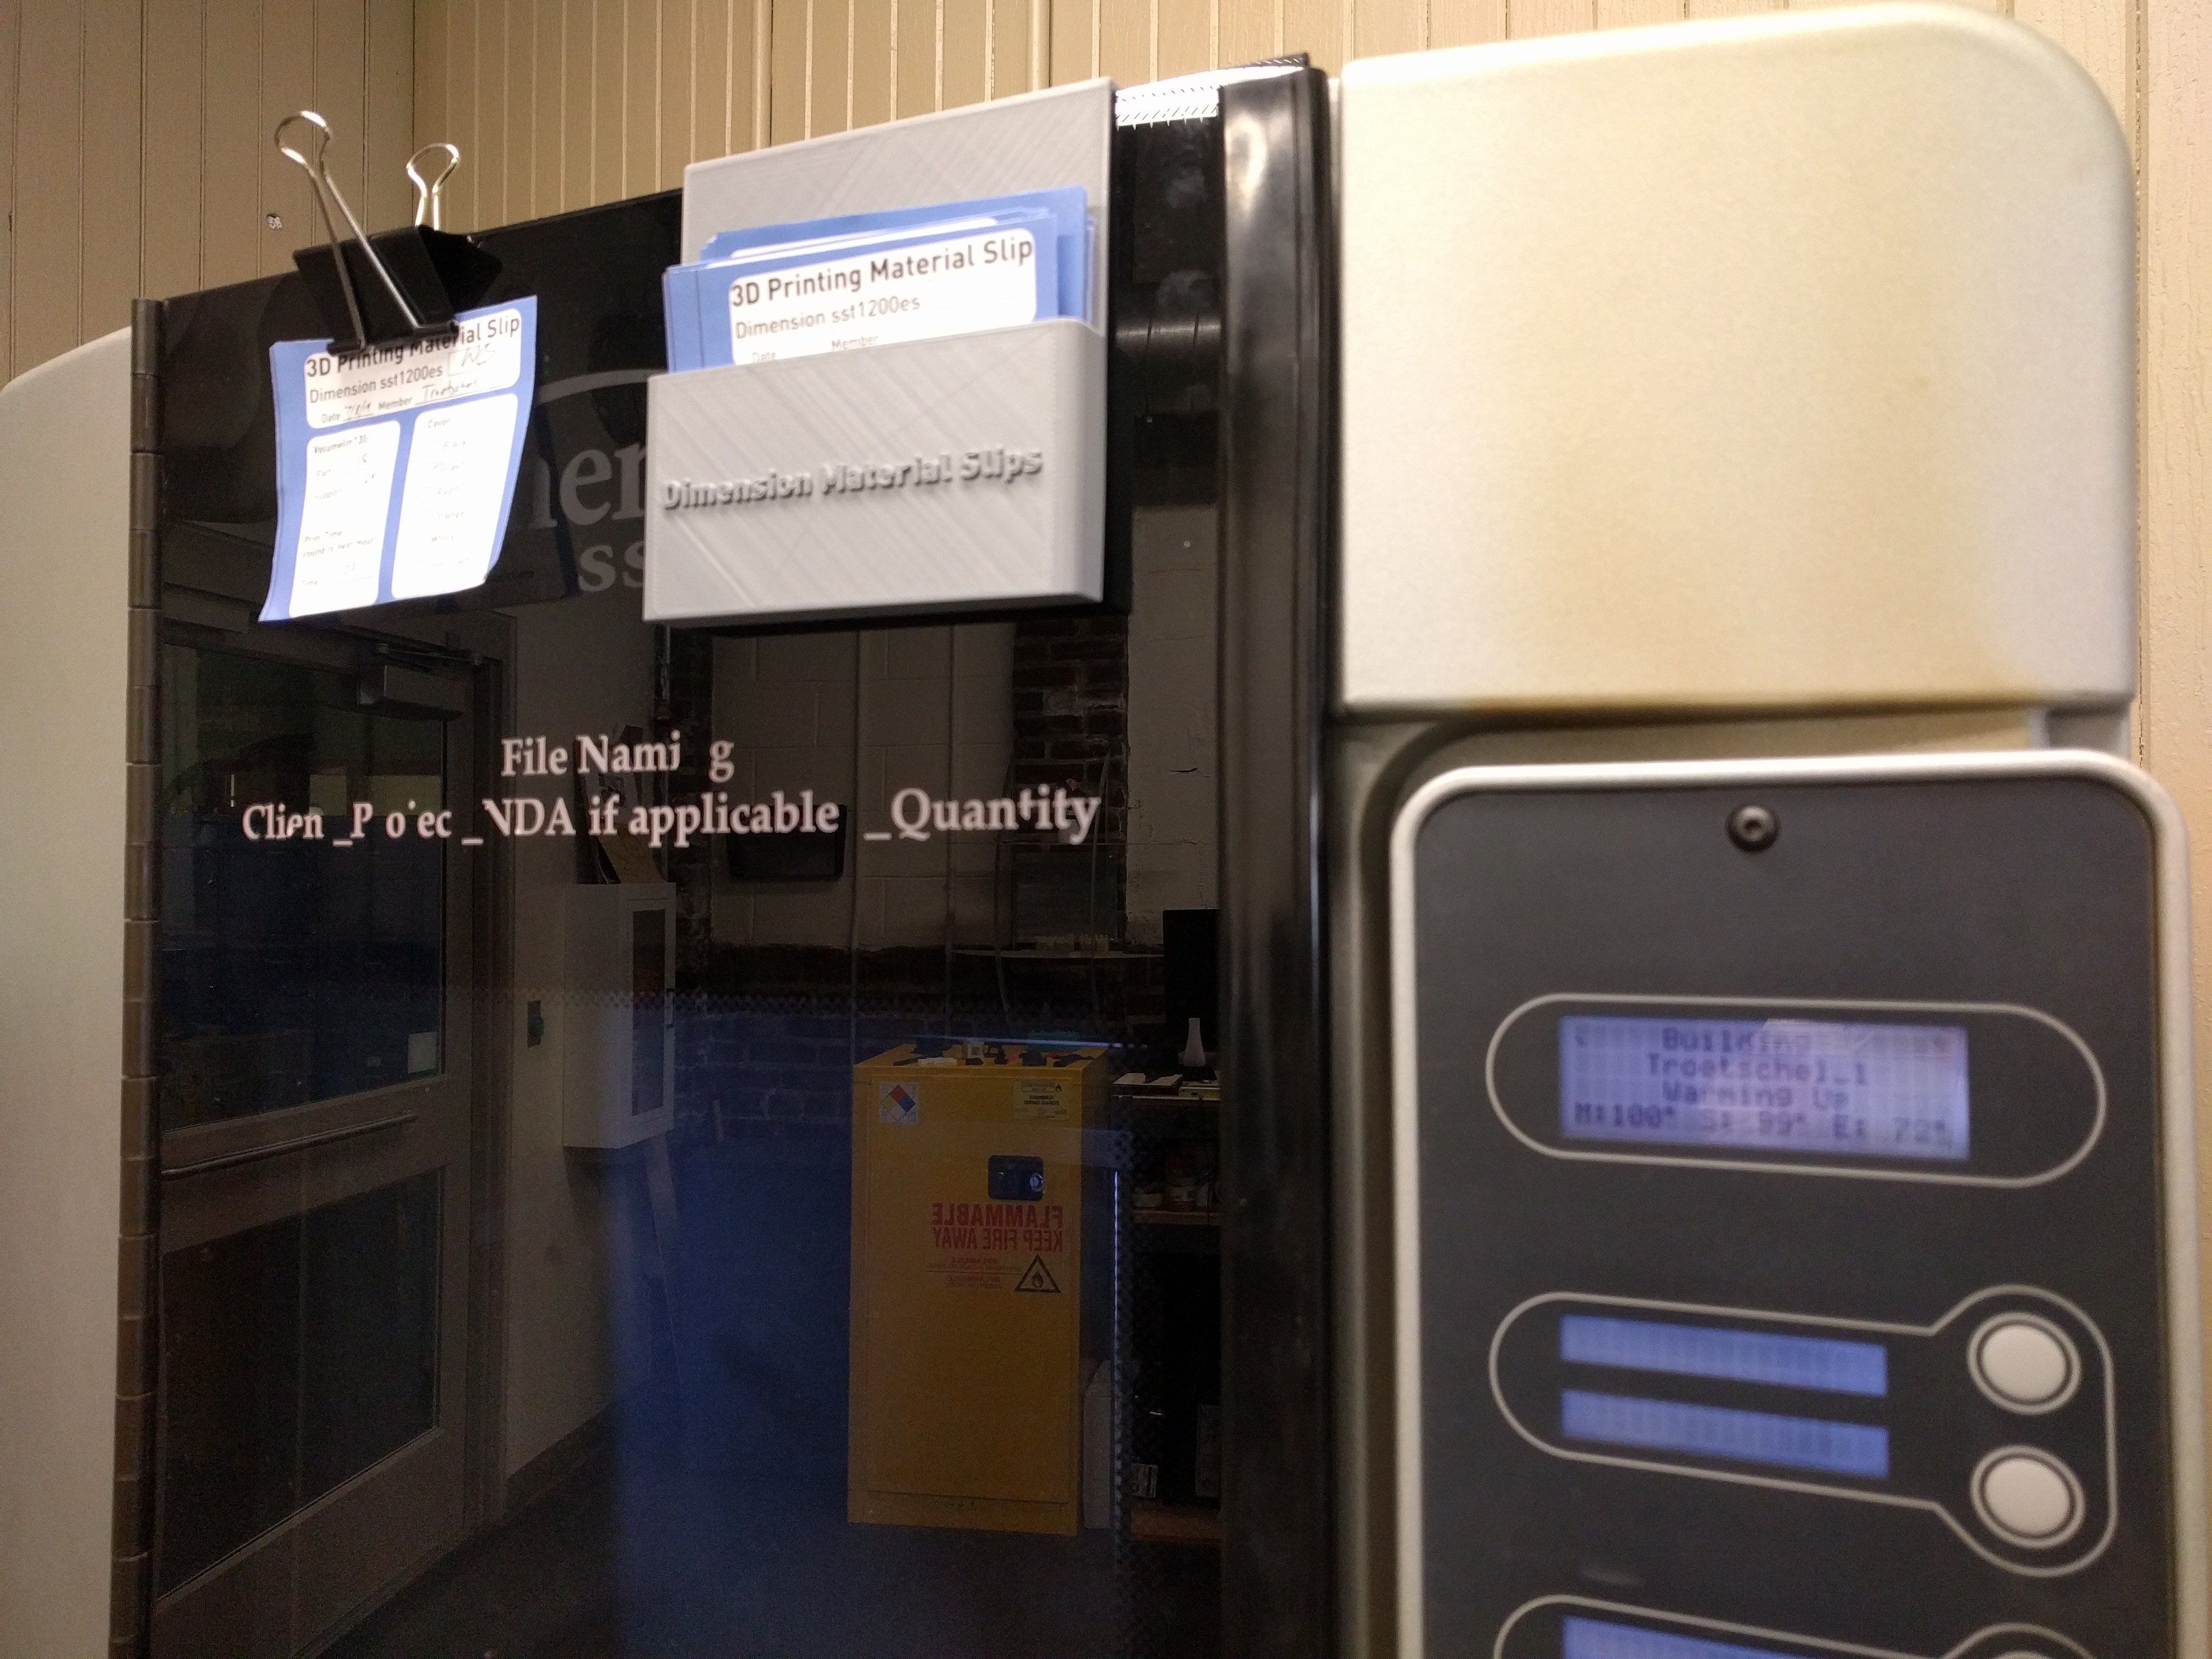
07/09/2019 at 15:26 • 0 commentsPrint took about half an hour, but we rounded up. Price came out to $5.90 on a Stratsys Dimension in Gray ABS.
![]()
![]()
![]()
I really don't like the quality of this printer and material. Looking forward to getting it done on a form 2 or 3.
The nose bridge is still a little too narrow for me, but is a little too big for my partner.... so I need to figure that out. I'm going to fit lenses and arms later today.
![]()
-
Prototype and Design Update
07/05/2019 at 18:55 • 0 commentsI printed a prototype of the frames.
A couple of immediate problems:
-I was too conservative with the frame thickness, but not width.
-Lens inset was too shallow.
-Arm pivots were too small.
-After scaling the arm pivots, I choked the arm size to .75D
-Extended the arm stops.
-Extended the interior of the contact rotation point for arms.
<Note: Hinges are donated from model 10, scaled up.
![]()
![]()
So; the new design:
![]()
![]()
![]()
Error in scale up, fixed.
![]()
![]()
![]()
![]()
There is a small error in the pivot support still, but its not worth fixing at this time. Arms are still the spring type, not sure if it'll actually work.
-
Retrofit Attempt and Next Steps
06/25/2019 at 21:41 • 0 commentsThis post will meander quite a bit; I got back from my trip safely and have started working on this project again. I also started a new job at a local maker space, one of my job perks is the usage of their space.
The access to a shop again is rather good timing since I need to start producing prototypes, hopefully good looking prototypes.
My attention has been diverted by thinking about sales channels and the like too early as well, for now I plan to sell through boutiques, Tindie and.... that's it.
I'm working on a website for Wallfacer Design and likely the main page will just be a huge teaser for this project. Don't expect a typical website.
On the trip I brought along the mica and polarizers and offered them to several people. The reception was interesting, people are definitely interested in them as a novelty at the least but can see greater potential. One of the most difficult aspects I can see is that people want options. Right now there are essentially three lens configurations; mica, mica single polarized, mica double polarized. There are a couple ways to deal with this, but first lets consider finances. Right now I am only going to produce one design (in multiples.) After that batch has sold the money will be used to produce another design, in addition to the previous, and so on.
Now going back to the variety problem; since I have three configurations (for now) So when it comes to design there are multiple possible routes:
-Go with the most original or risky design, only one of them. (this would be casting metal around the mica, no polarized filters.)
-Make one design for factory setting, snap in lenses.
-Make one modular design, allow user swap of lenses and stacks. (this will have a more... utilitarian look likely. Although I am still a fan of the leaf spring design, just not near the eyes!)
From there I would probably make option specific designs with an option for custom orders as available.
![]()
To add to the fun, both polarization options have VLT visible light transmission as an option too. This value will have to be hand tuned for quite some time before equipment can be bought to verify production quality. (see previous post on $600 investment)
Either way, at this moment things are fairly conservative while I make some decisions.
My current thinking is that I make a 3D Print of a design with no holes drilled and the lenses filled in with dummy material at the desired thickness. From there I will make a urethane mold, I will have to be careful around the lenses since they will likely be swept and I need the parting line to match up. I'll probably just have to make a three part mold where I suspend the model, then tilt to the lens angle and pour, then inverse tilt to cast the other lens support then top off. From there I can pour in wax and then metal cast or I can just use resin to test. Extra note: the casting sprues should be located in the spring arm recess for current design as of this posting.
As an aside, I've noticed that nearly all lenses are swept AND curved. Mica... is flat FLAT!!!! Sooooo flat.
So I wonder what that will mean down the line.
-
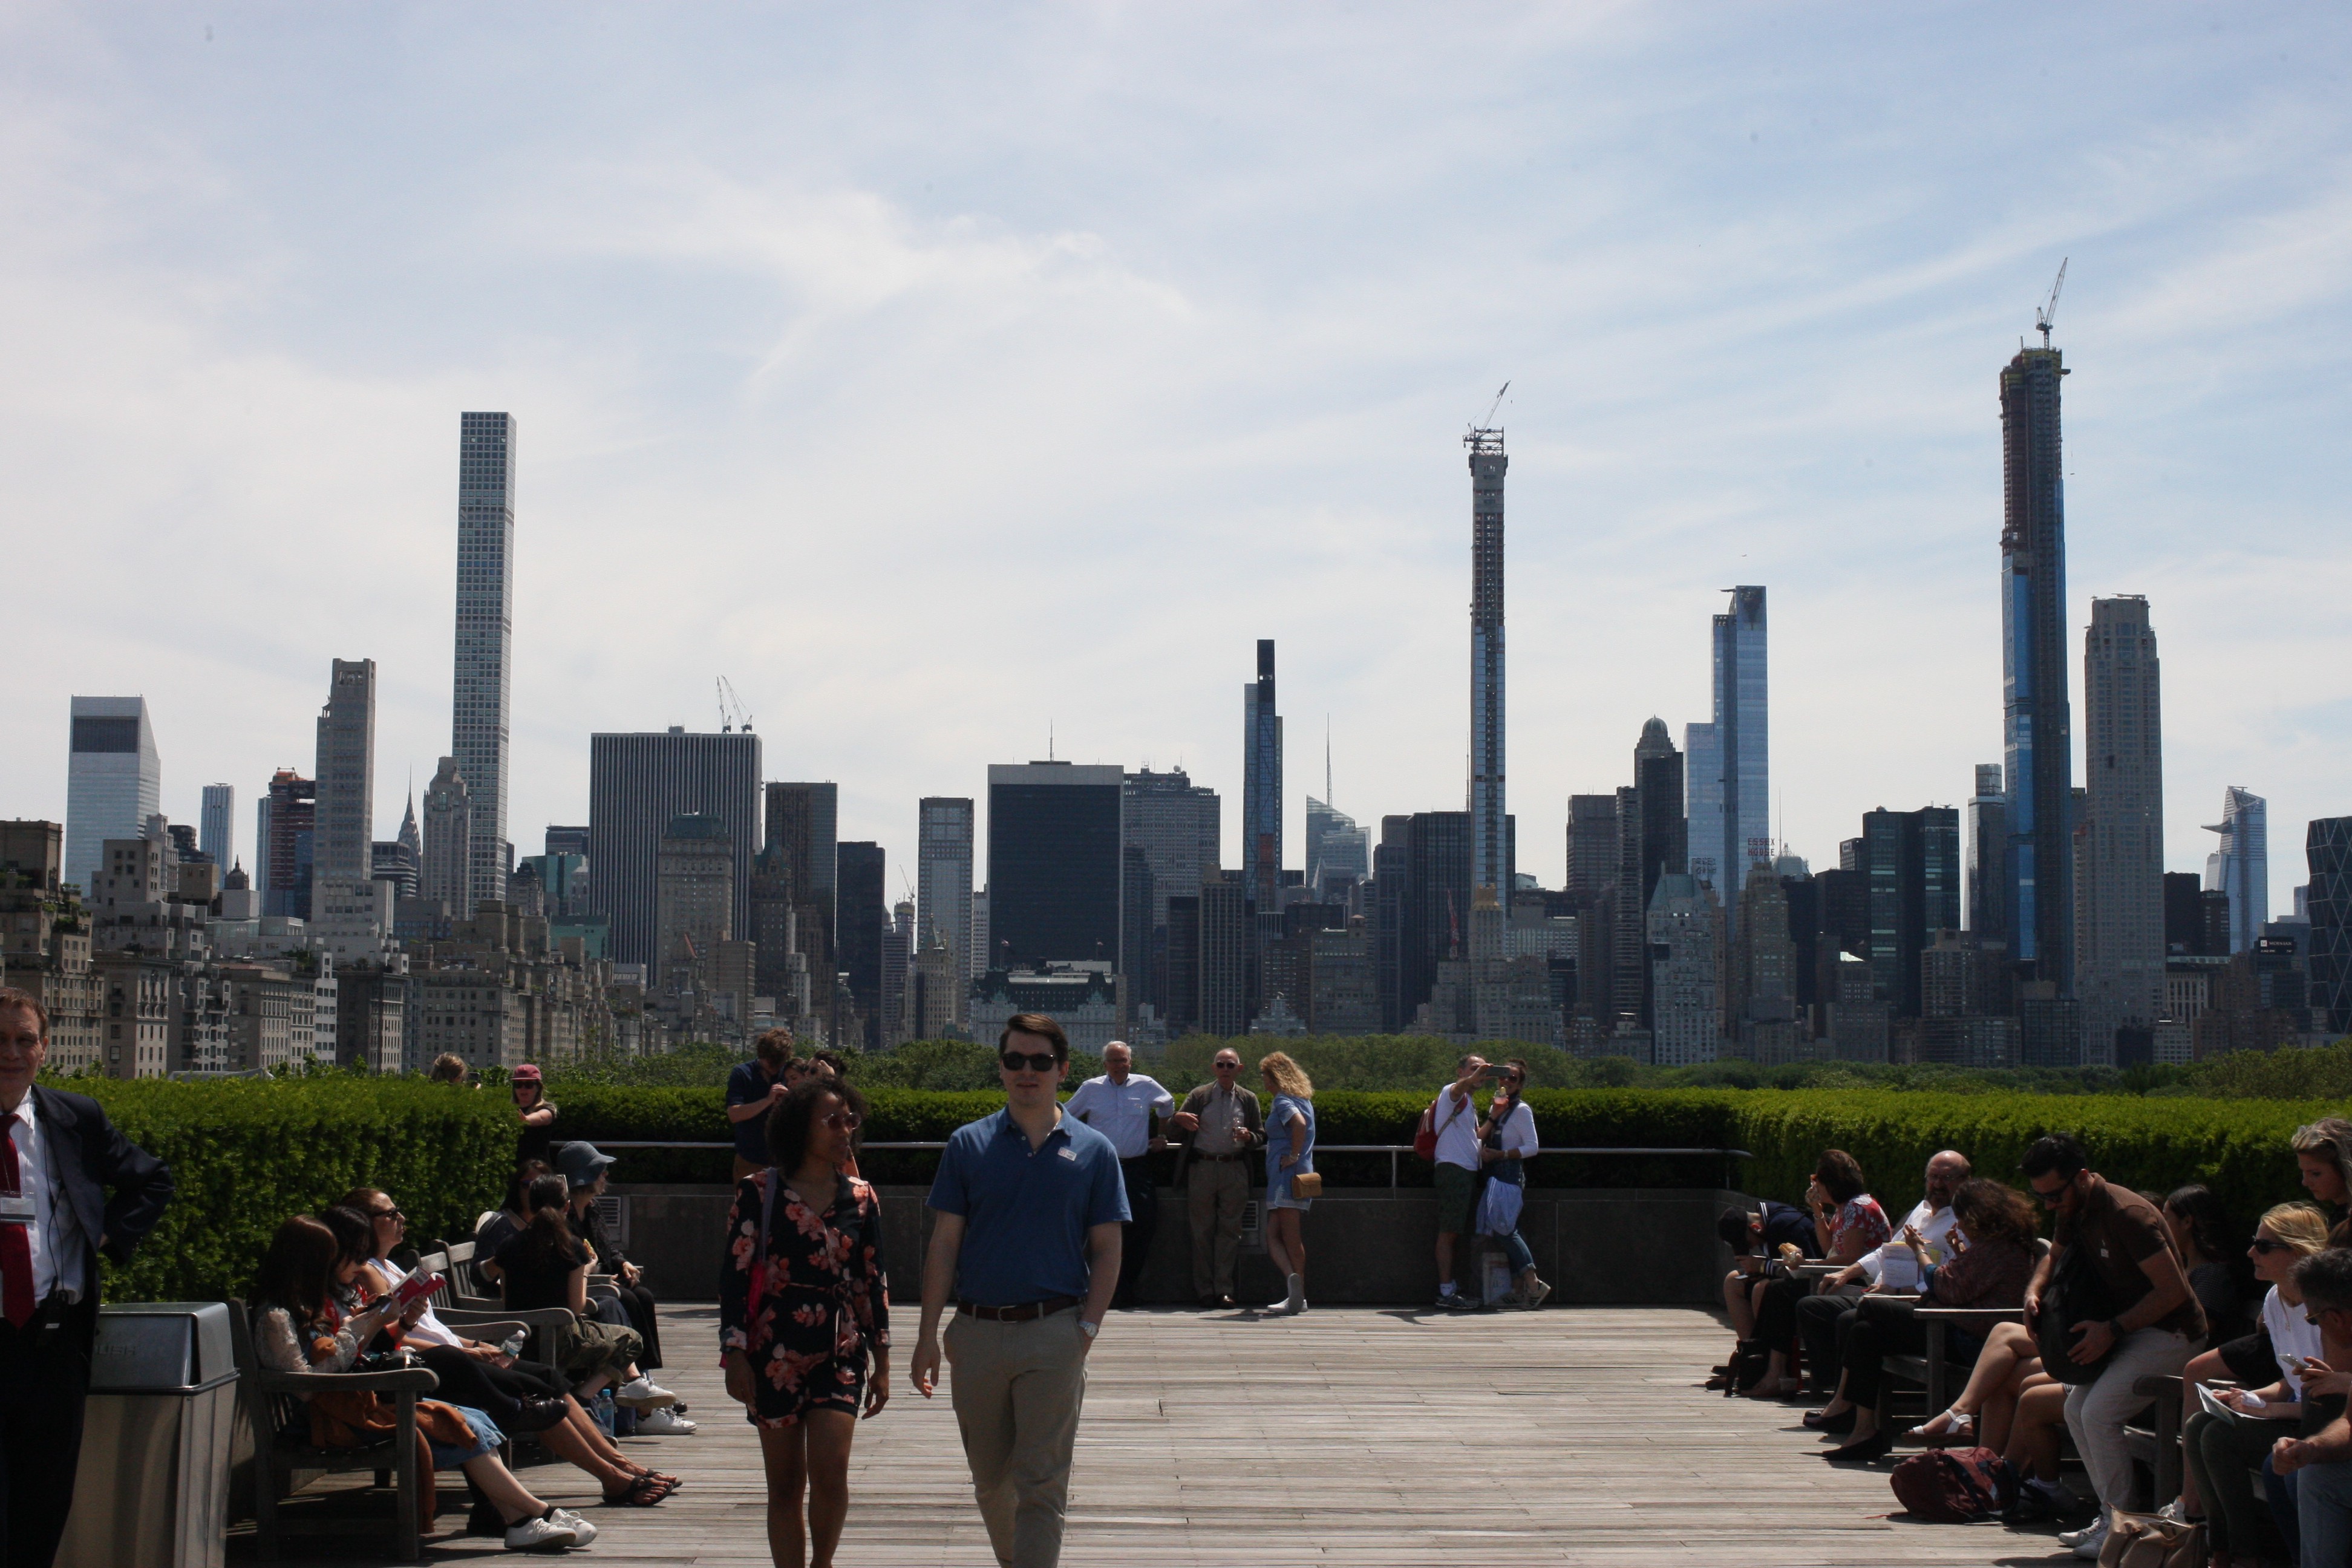
I went to NYC with my partner to see Neal Stephenson a couple weeks ago, I looked for interesting forms for this project while there.
![]()
![]()
![]()
![]()
![]()
I somewhat impulsively chopped up part of a V5 sample to try and fit in an existing frame, turns out the recesses are very precise so... doesn't fit just right. I'm going to have to take rubbings of the existing lenses and try again. This should also highlight a future note to self, always print a copy of the lens outlines true to scale for self made designs. Sorry, no photos of the process so far.
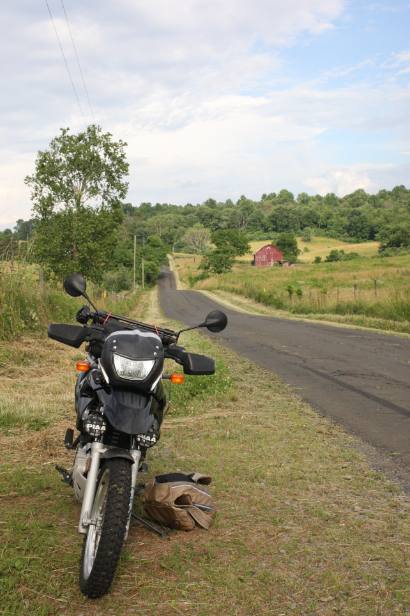
And one from the motorcycle trip...
![]()
And as an attempt:
Downloadold version.
-
Vacation
06/21/2019 at 14:44 • 0 commentsI went on a last minute vacation to ride the MABDR before I start a job at my local maker space, hence the lack of project updates.
-
Larger Mica and Polarization
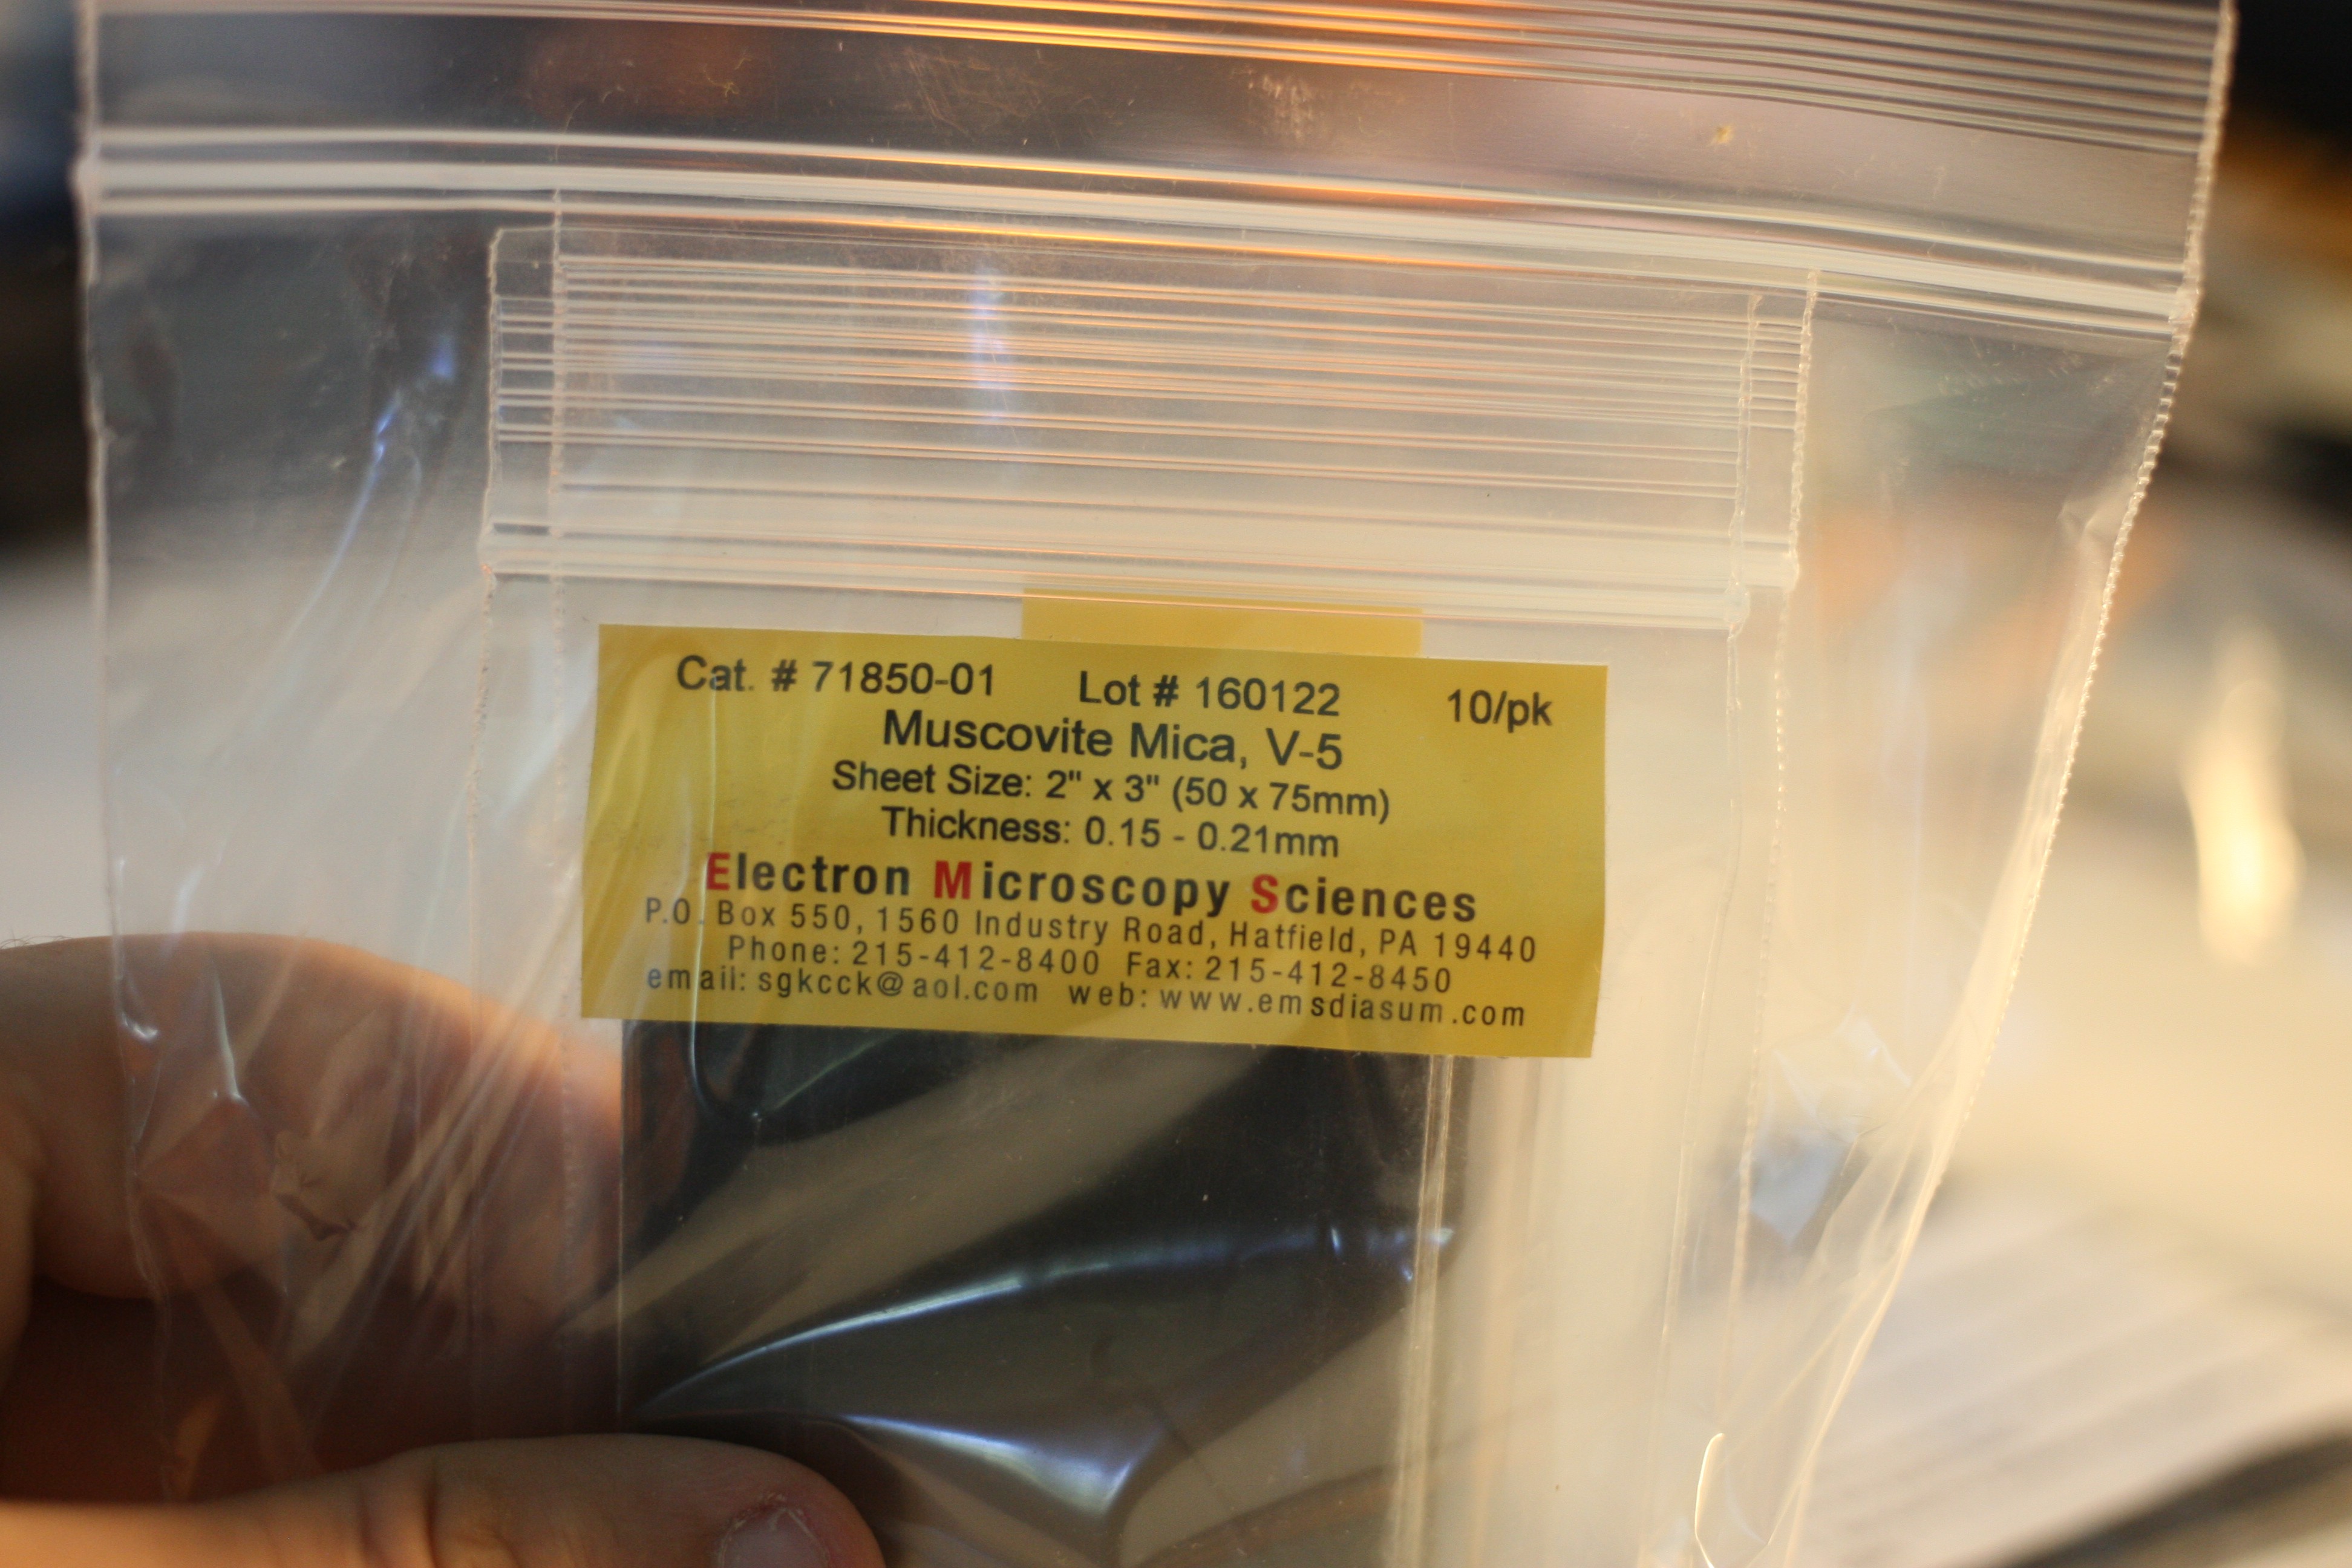
06/12/2019 at 01:12 • 0 commentsThe large mica samples came in, and they are beautiful.
![]()
Keep in mind that 10 of the V-1 mica costs $60 where the same size and number of V-5 Quality costs only $15. I'll compare the two.
![]()
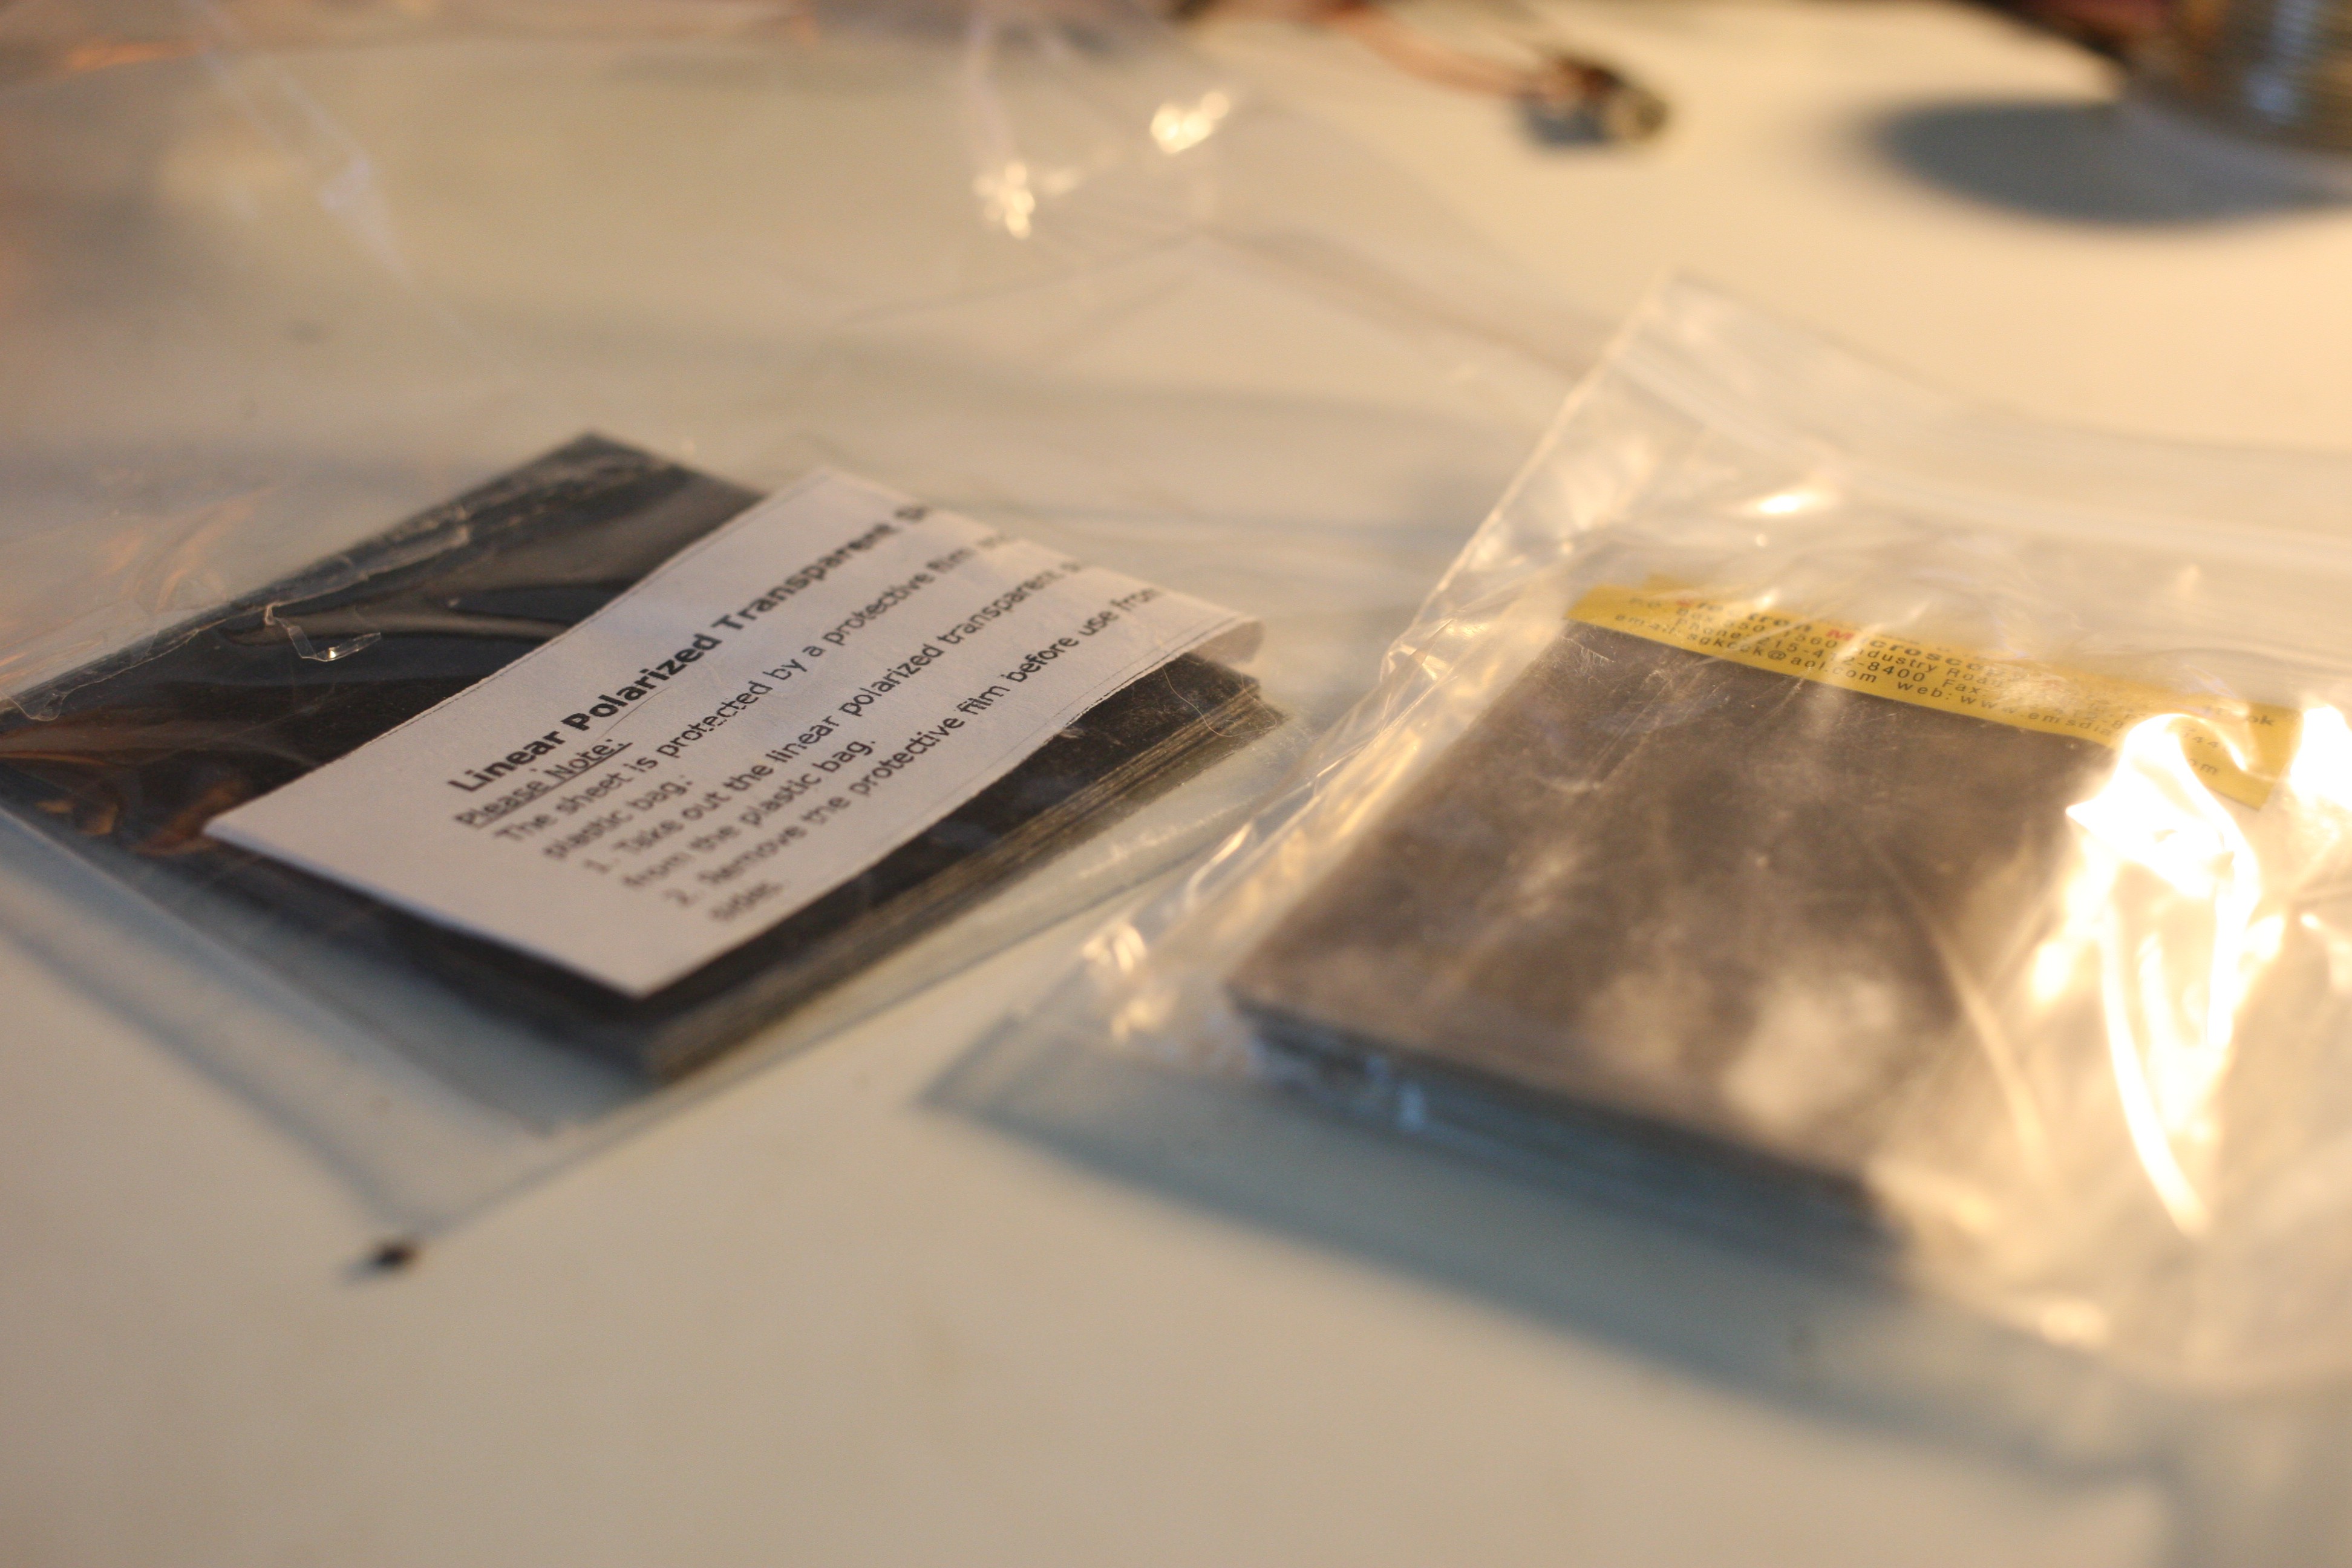
And linear polarization film.
![]()
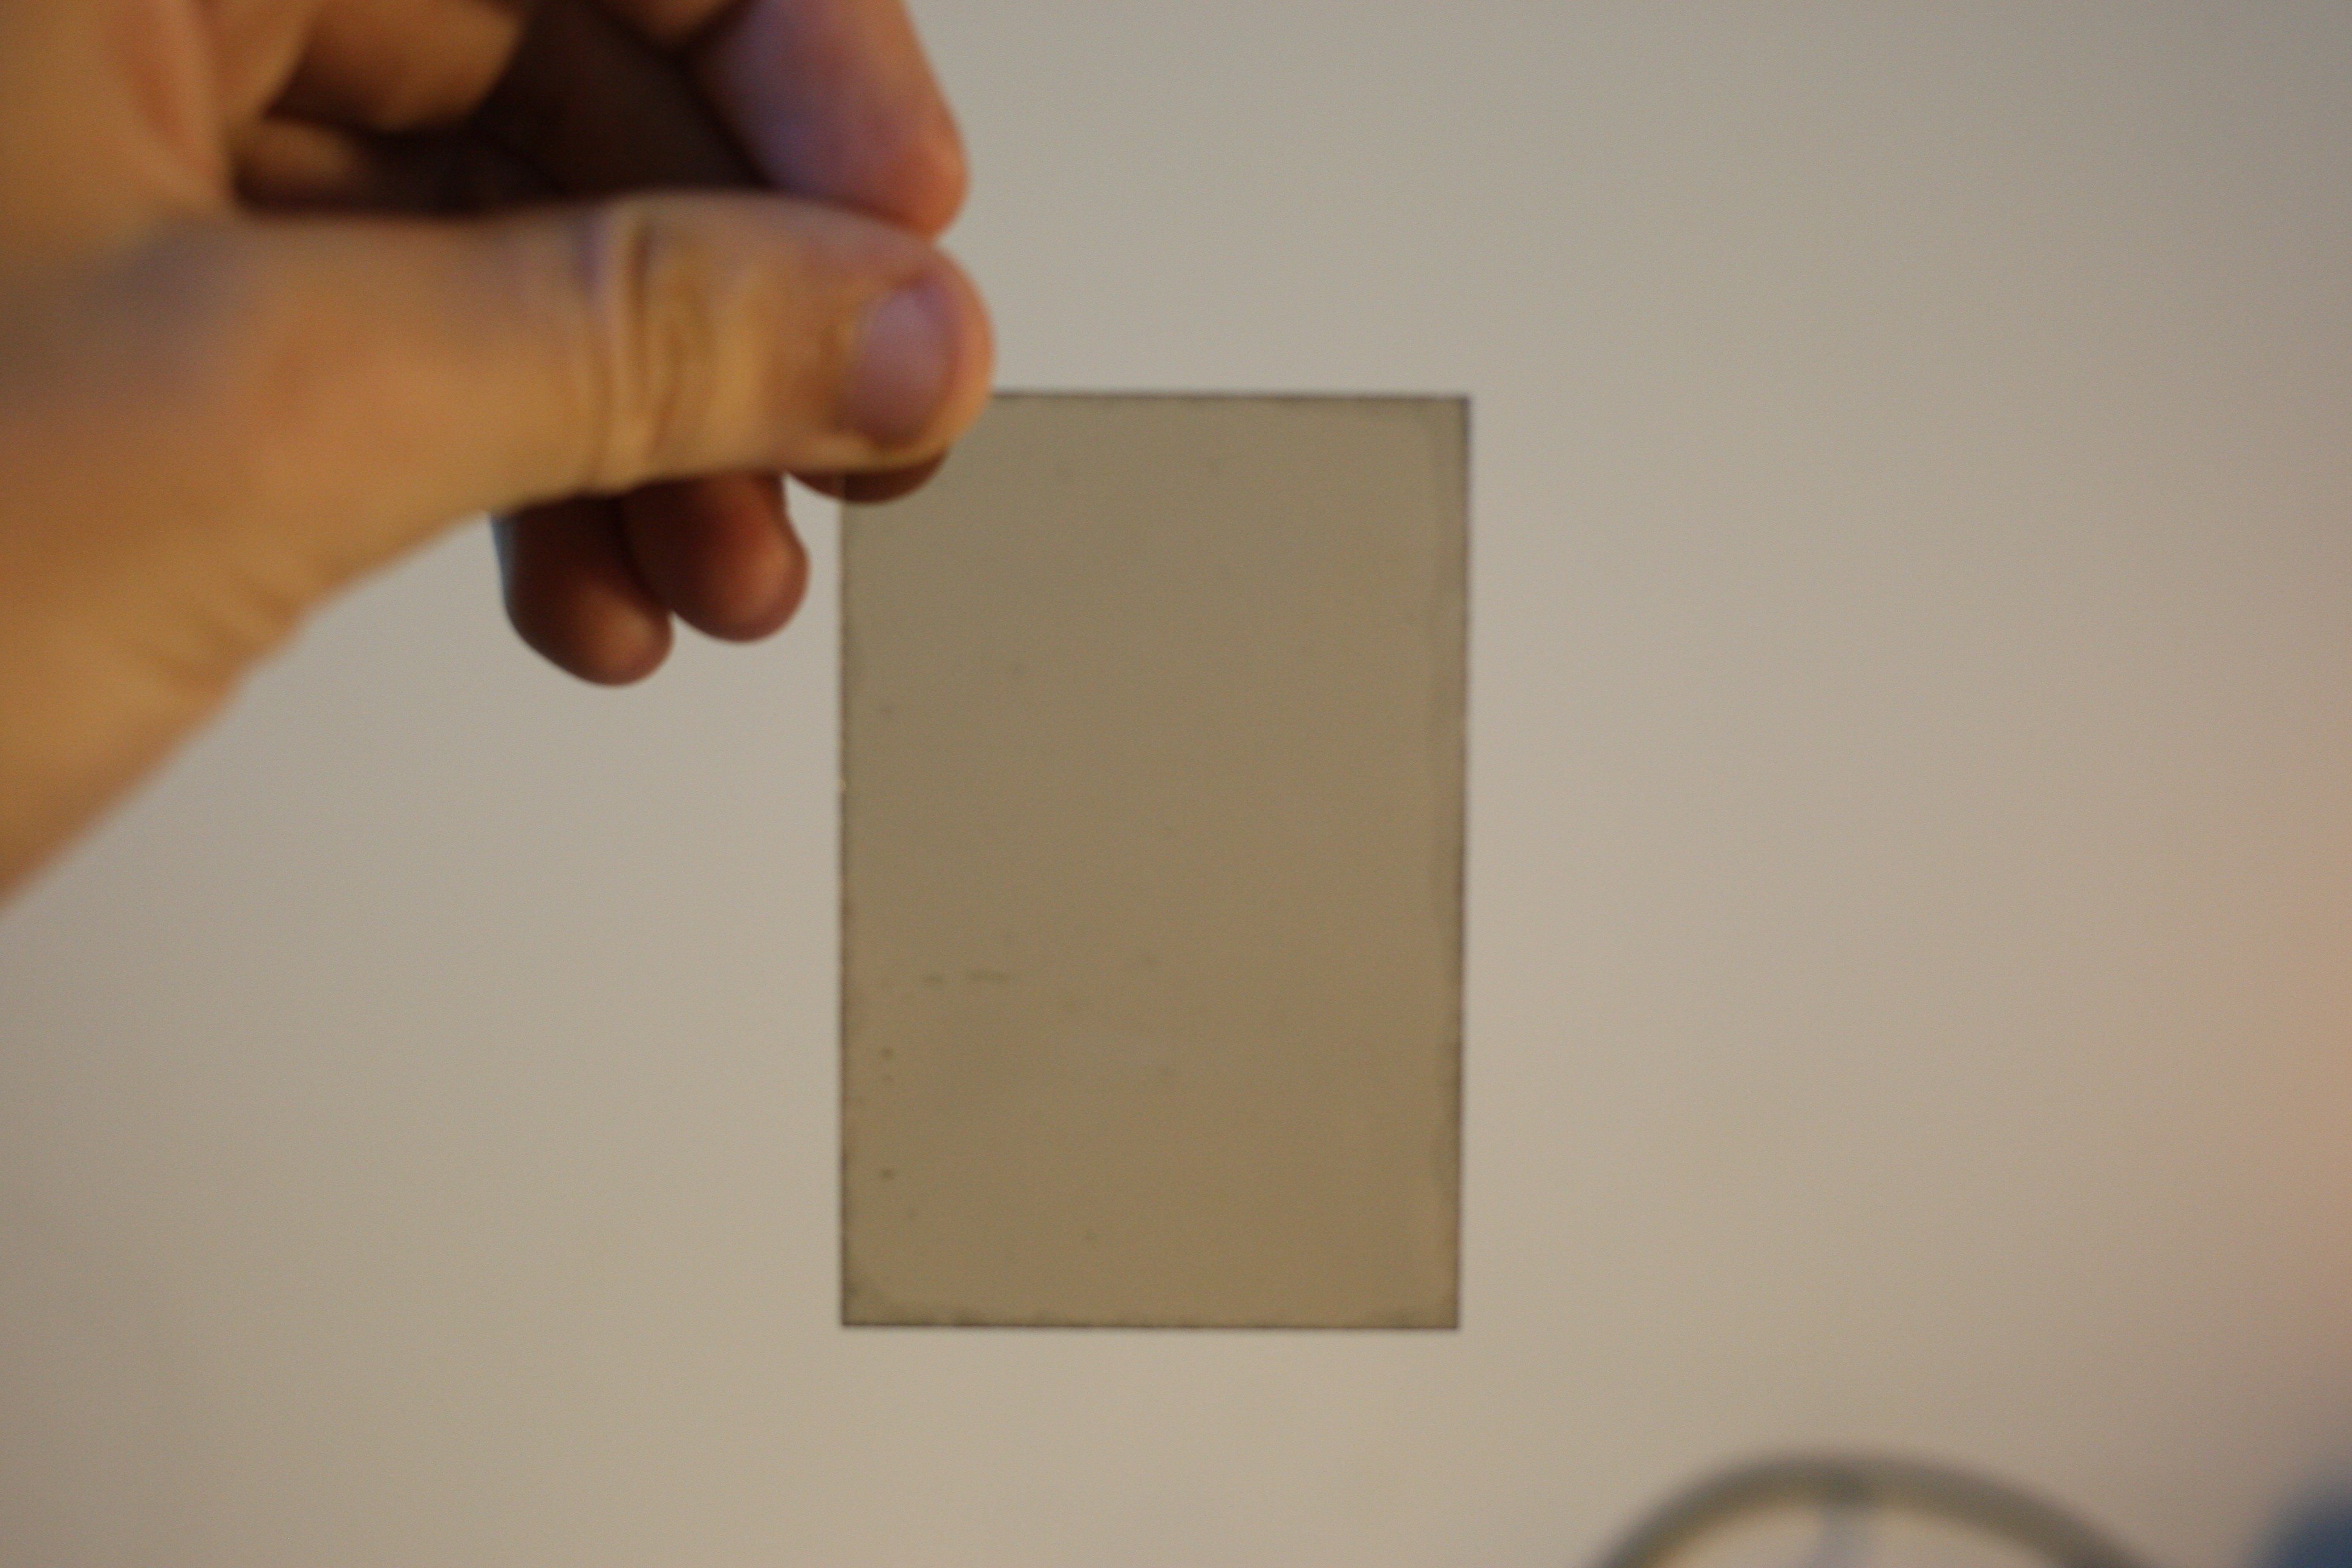
Here is the V5 mica, it is very clear actually although a little darker than the V1 and it feels... heavier and thicker. But samples vary, so that might not be universally true.
![]()
Make a sandwich and....
![]()
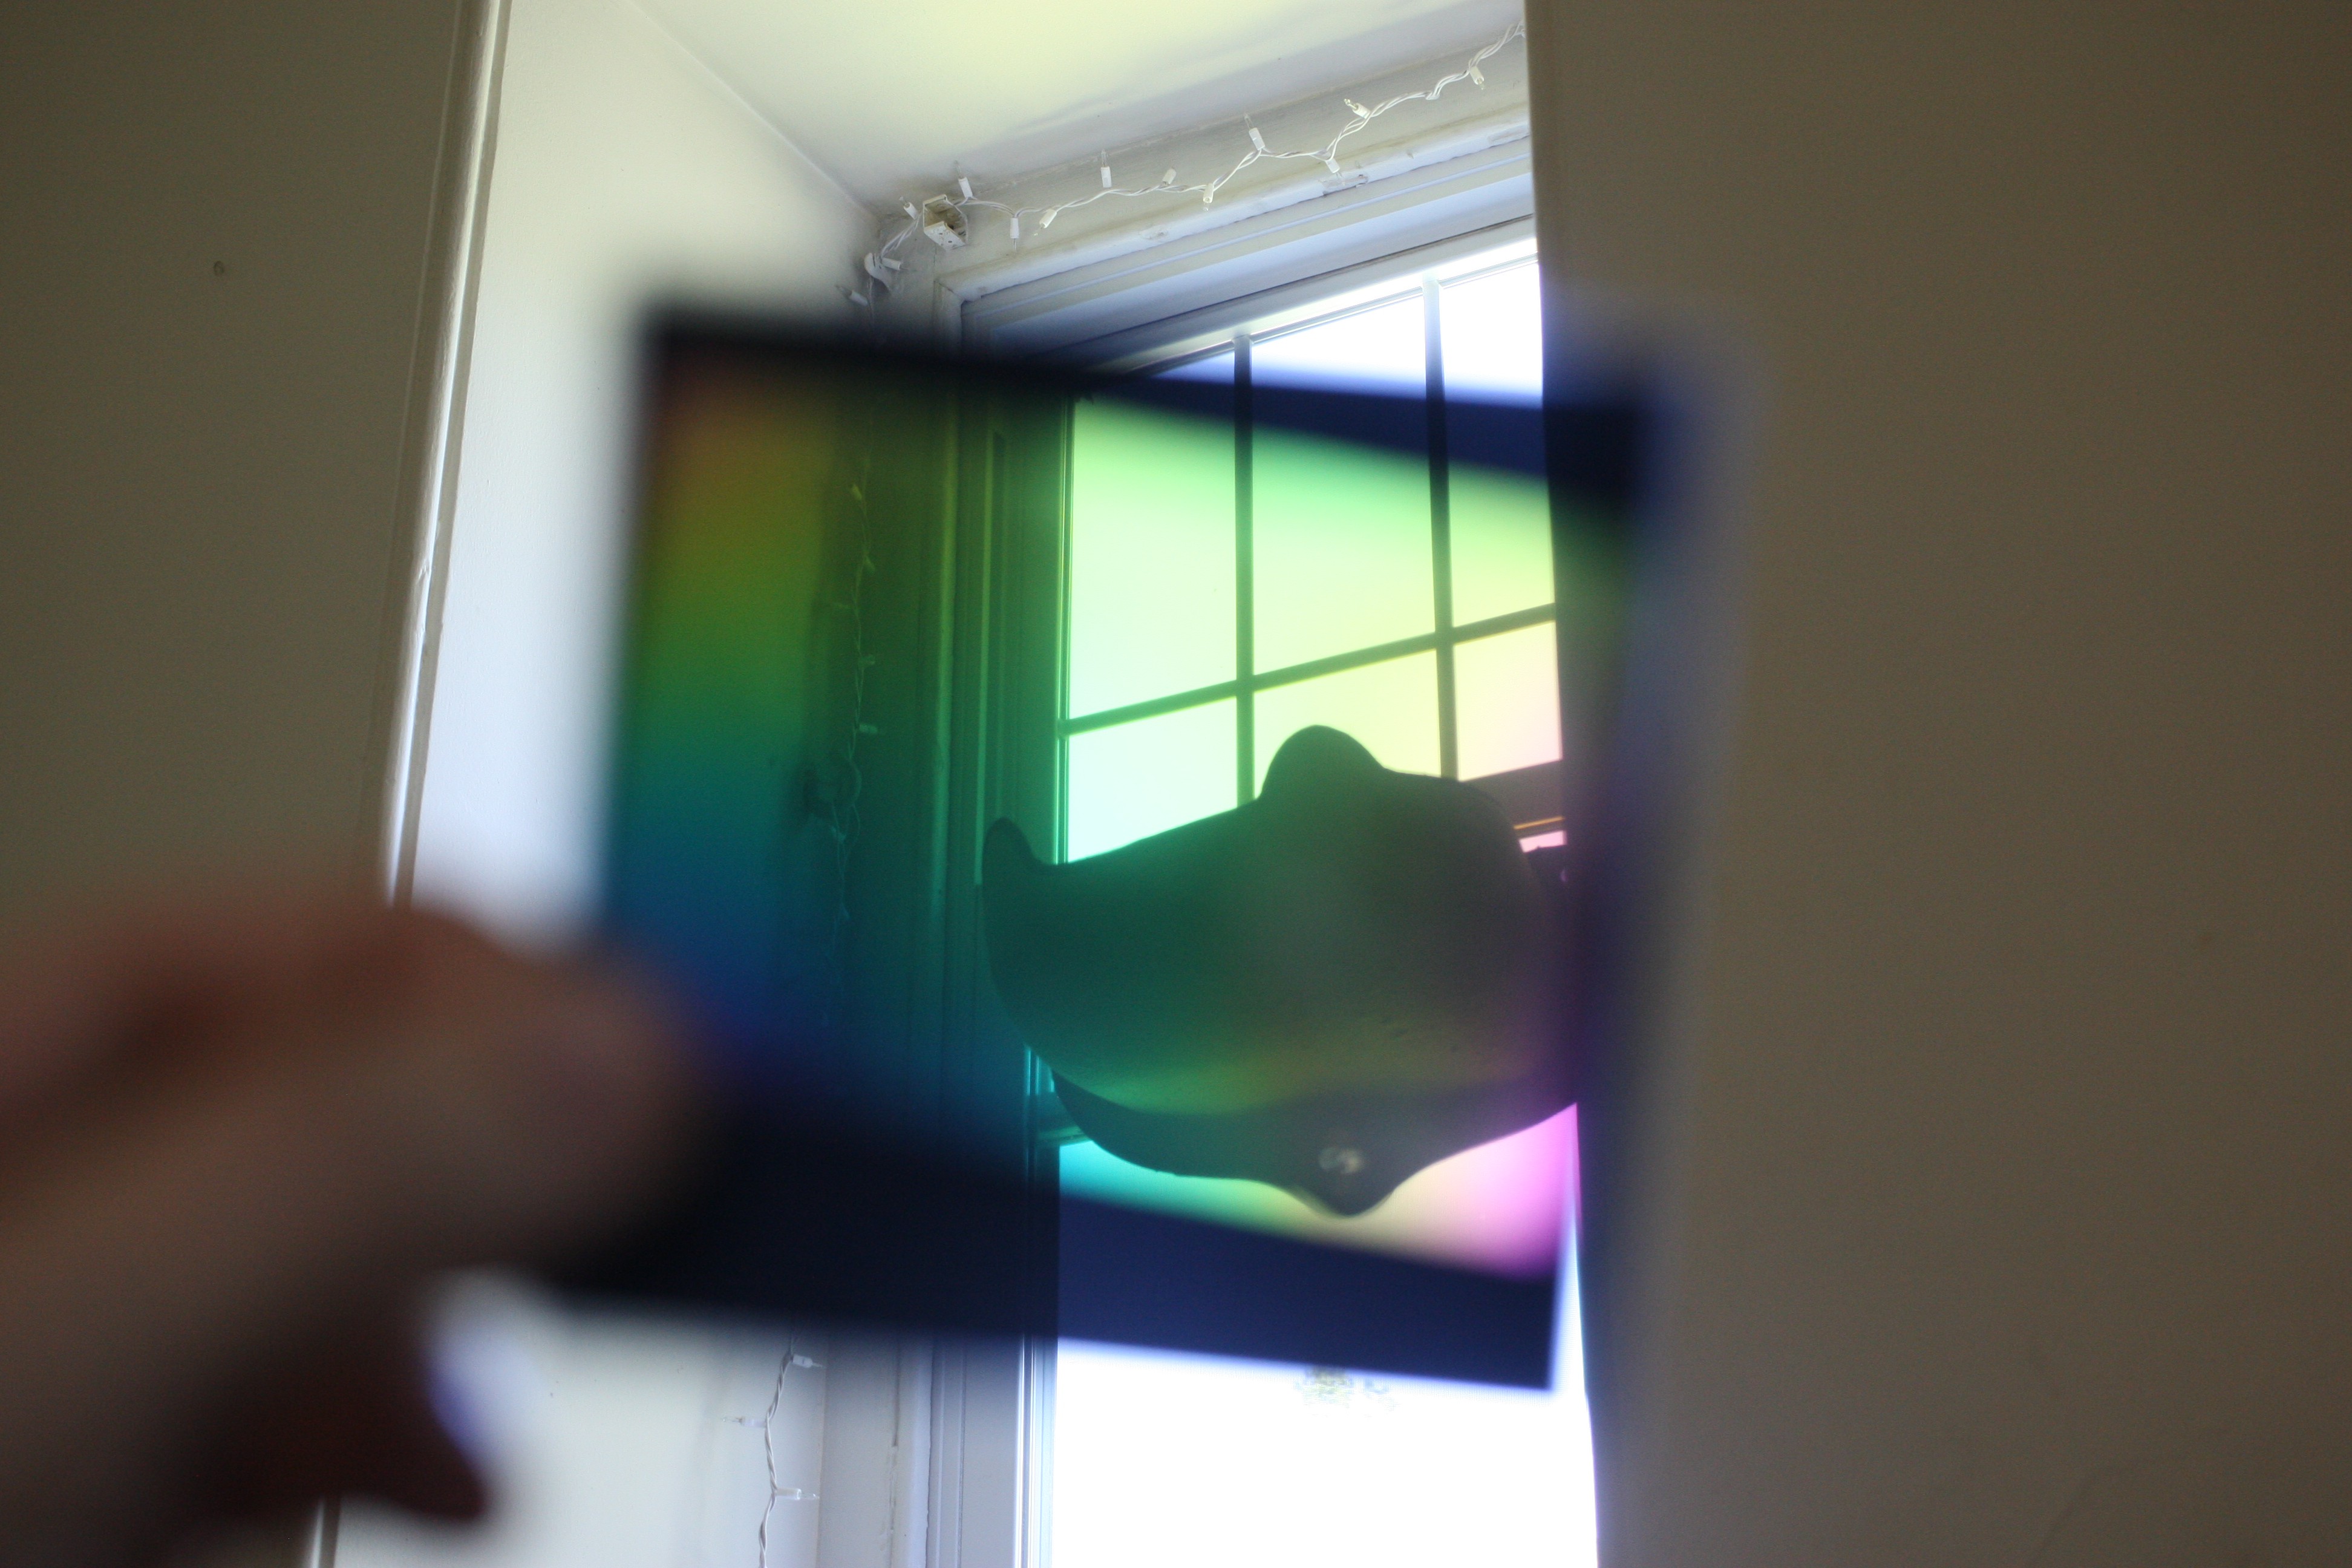
Ooooh, double polarized.
![]()
Single polarized sheet and V5 mica. Not as impressive but enhances curious things, the sky and highlights.... More restrained but beautiful all the same.
![]()
The V5 has spots or something, definitely darker. It seems to work just the same and does fine overall and is much cheaper, I don't feel bad bending this stuff and whatnot.
![]()
The V1 is stunning, so clear yet it reflects light like a mirror too, you can see the window behind me! Incredible stuff. But at $60 for ten..... You make the call.
![]()
Size of sheet next to some glasses.
![]()
Single V5.
![]()
Polarizer then V5 single.
![]()
Polarized sandwich, V5 mica in the center.
![]()
The first frame test print is coming along....
![]()
And a video to top off the experience:
-
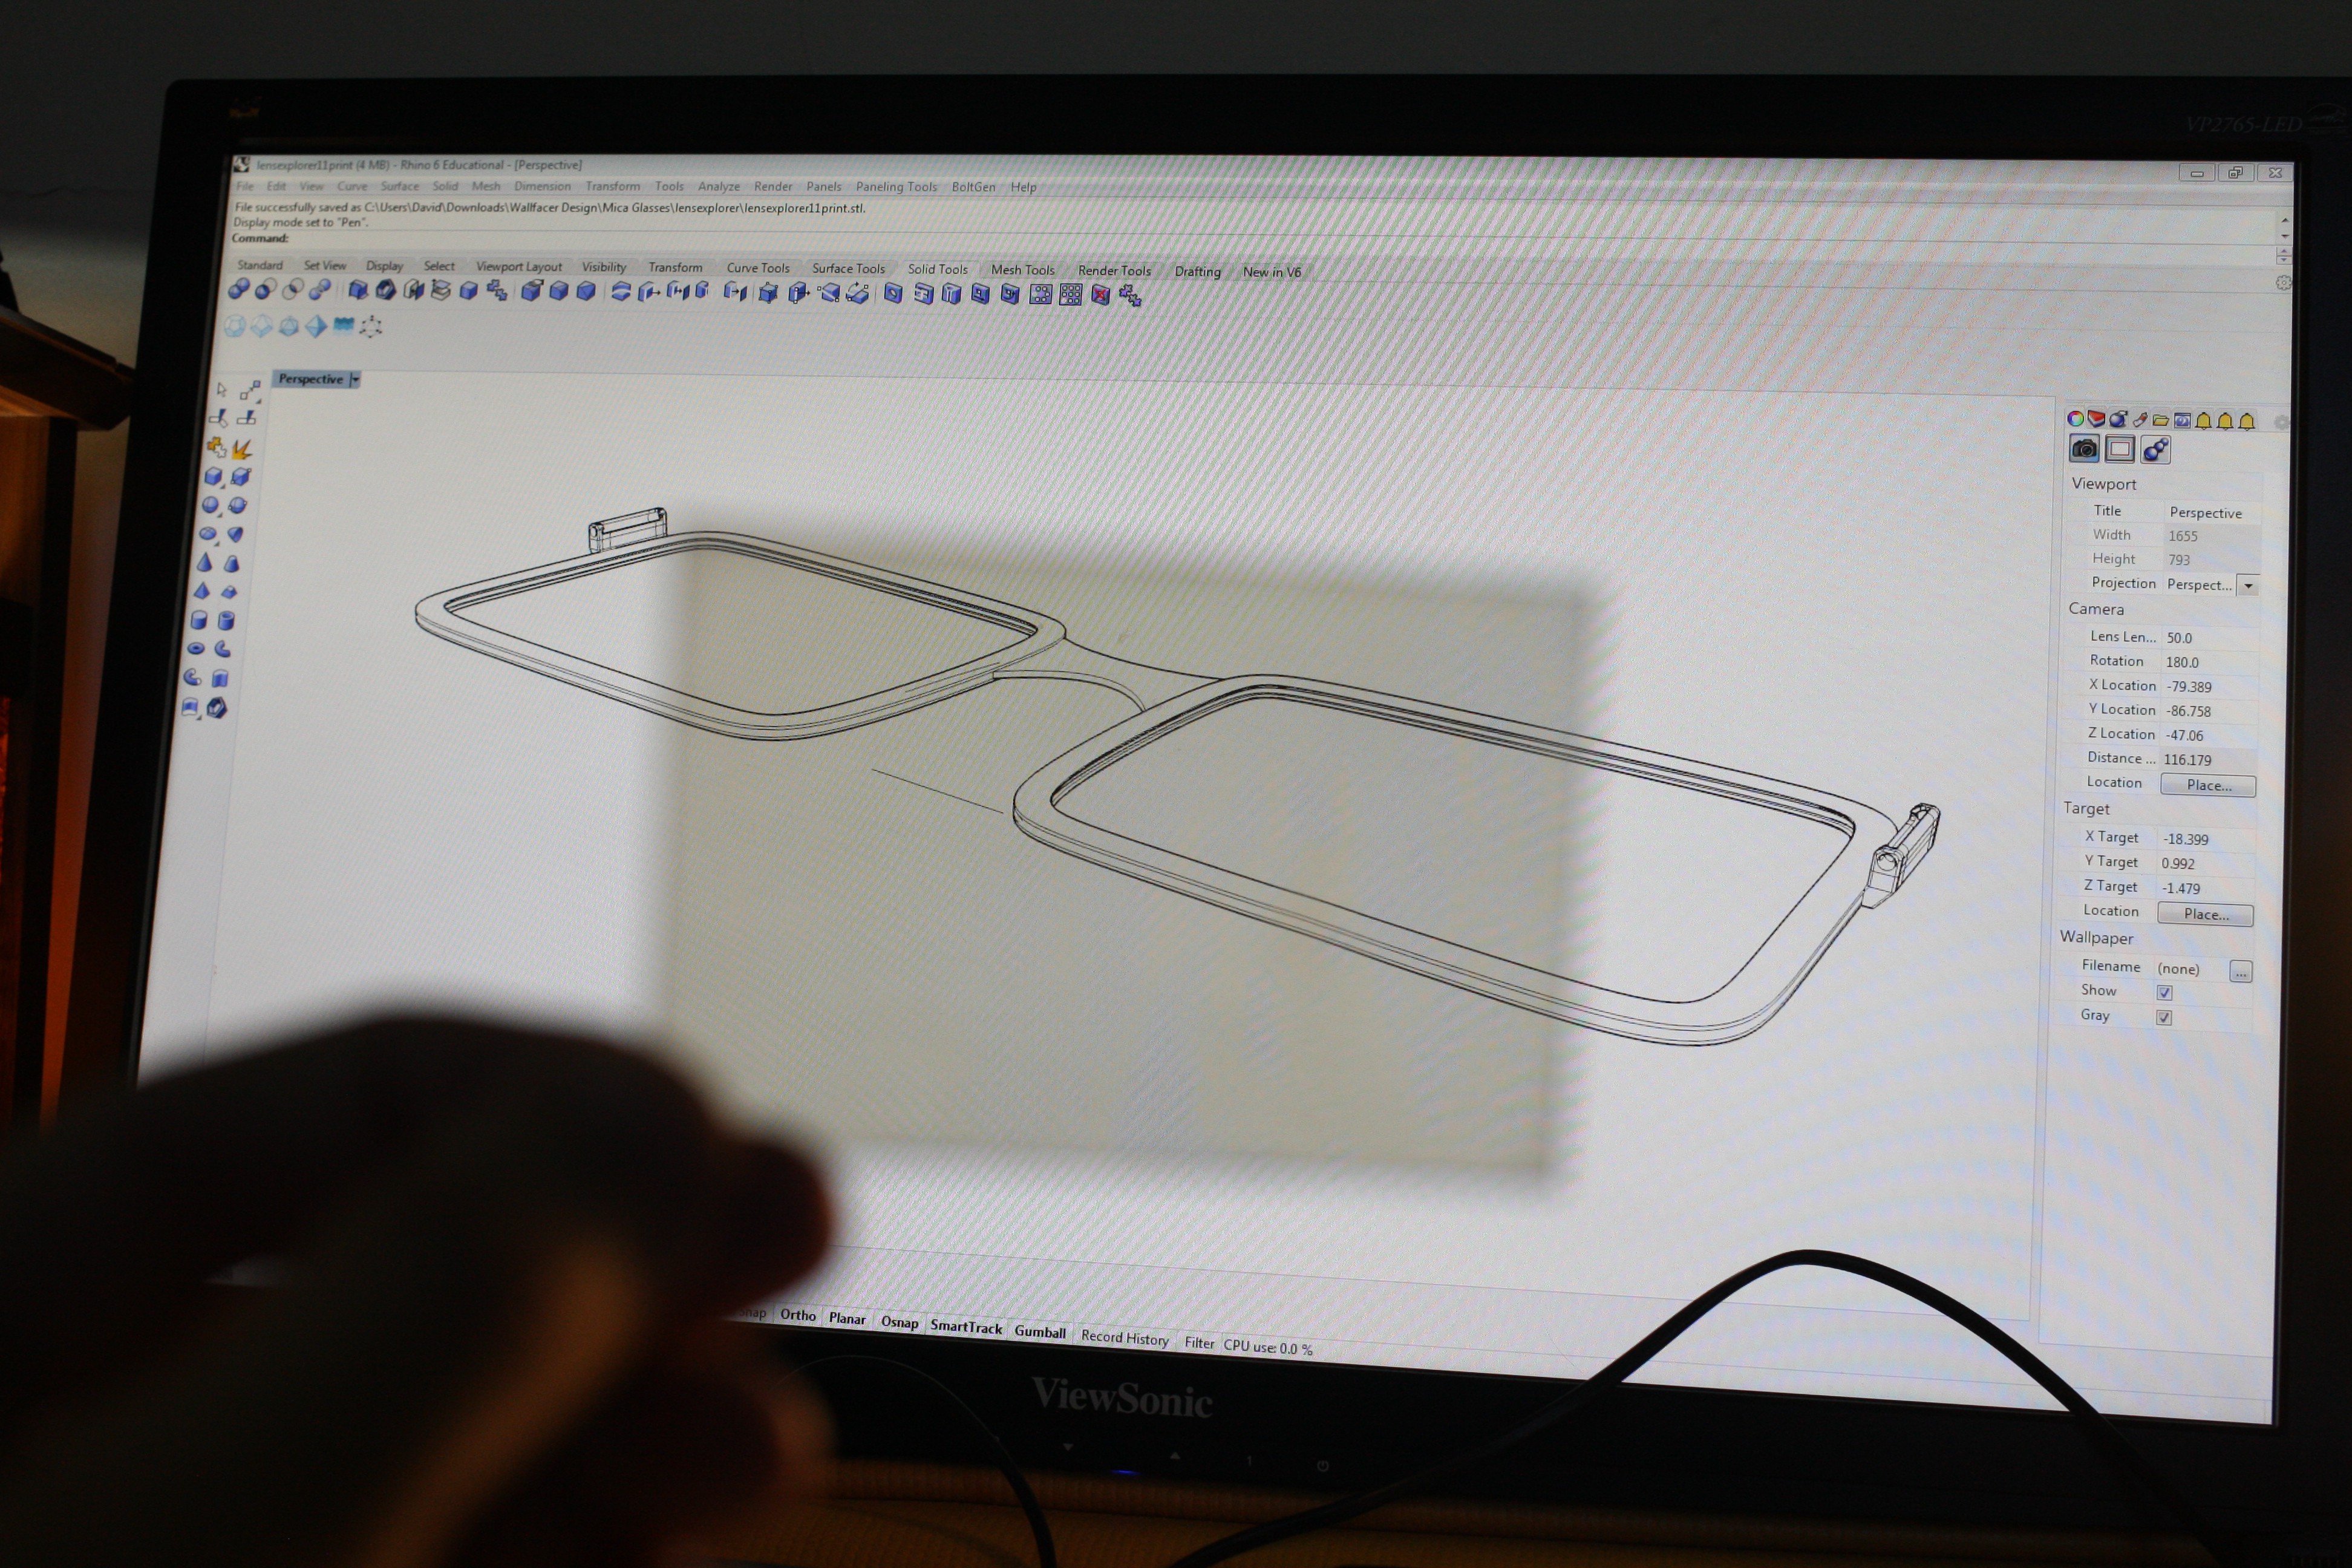
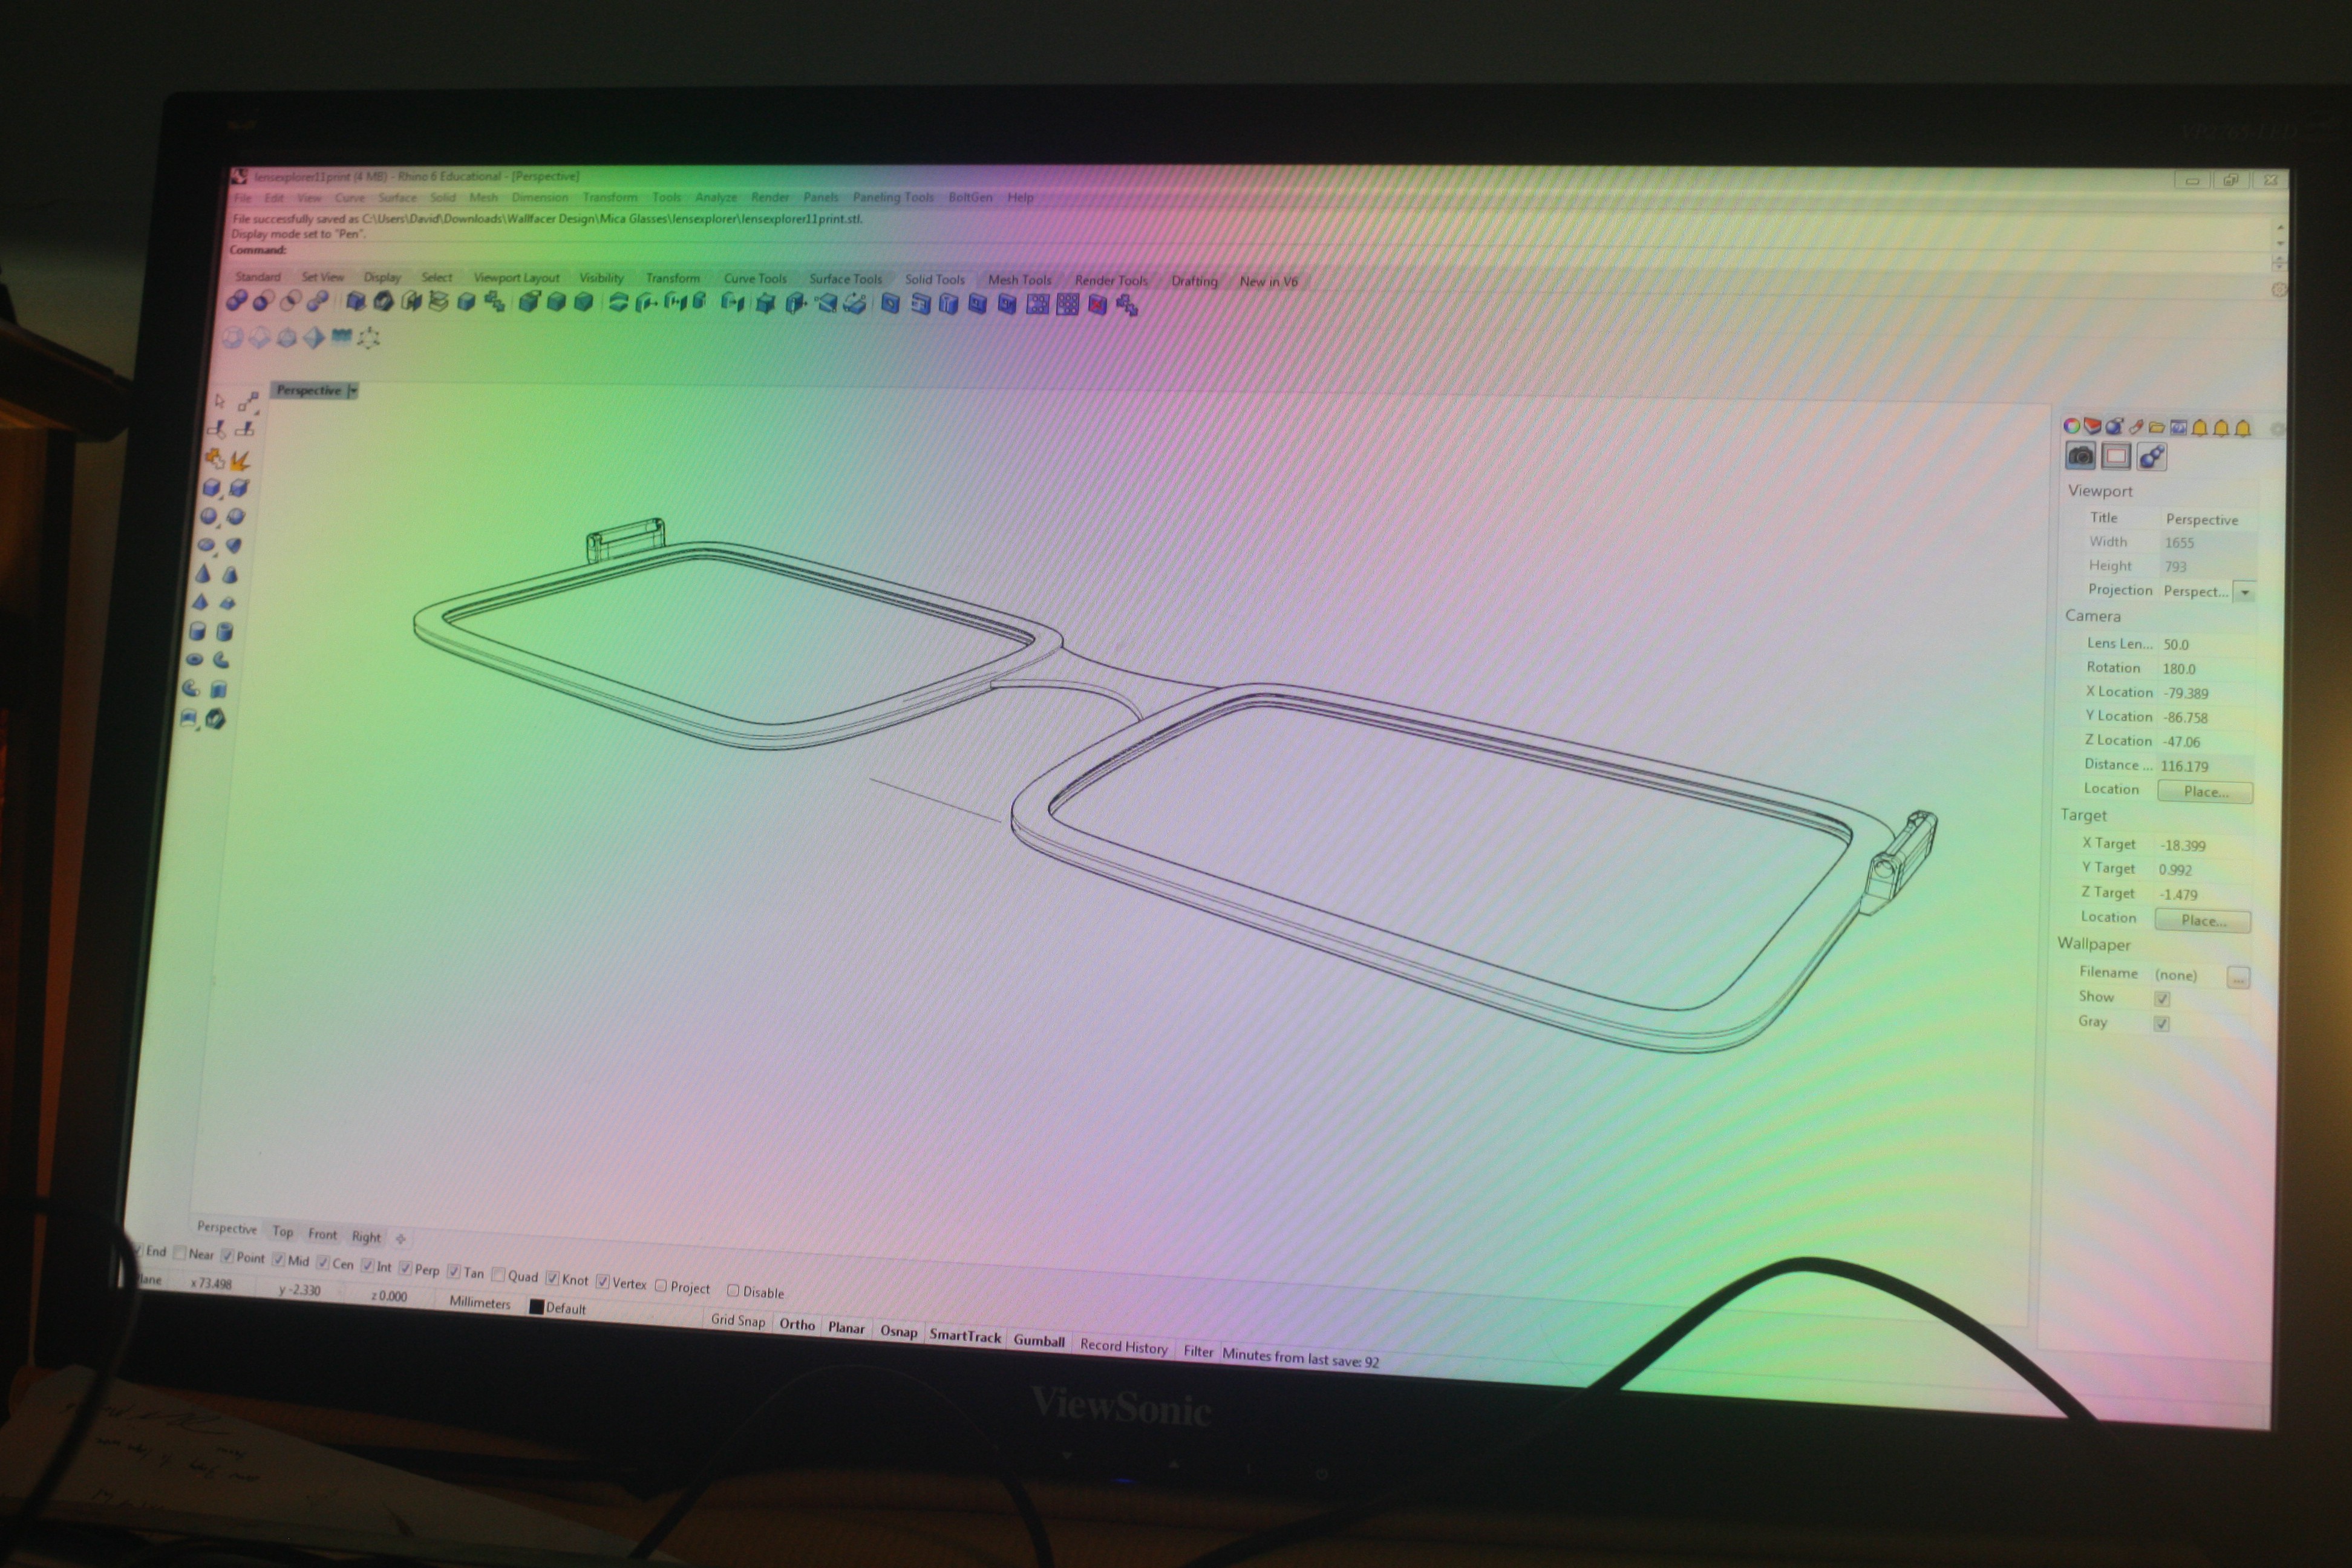
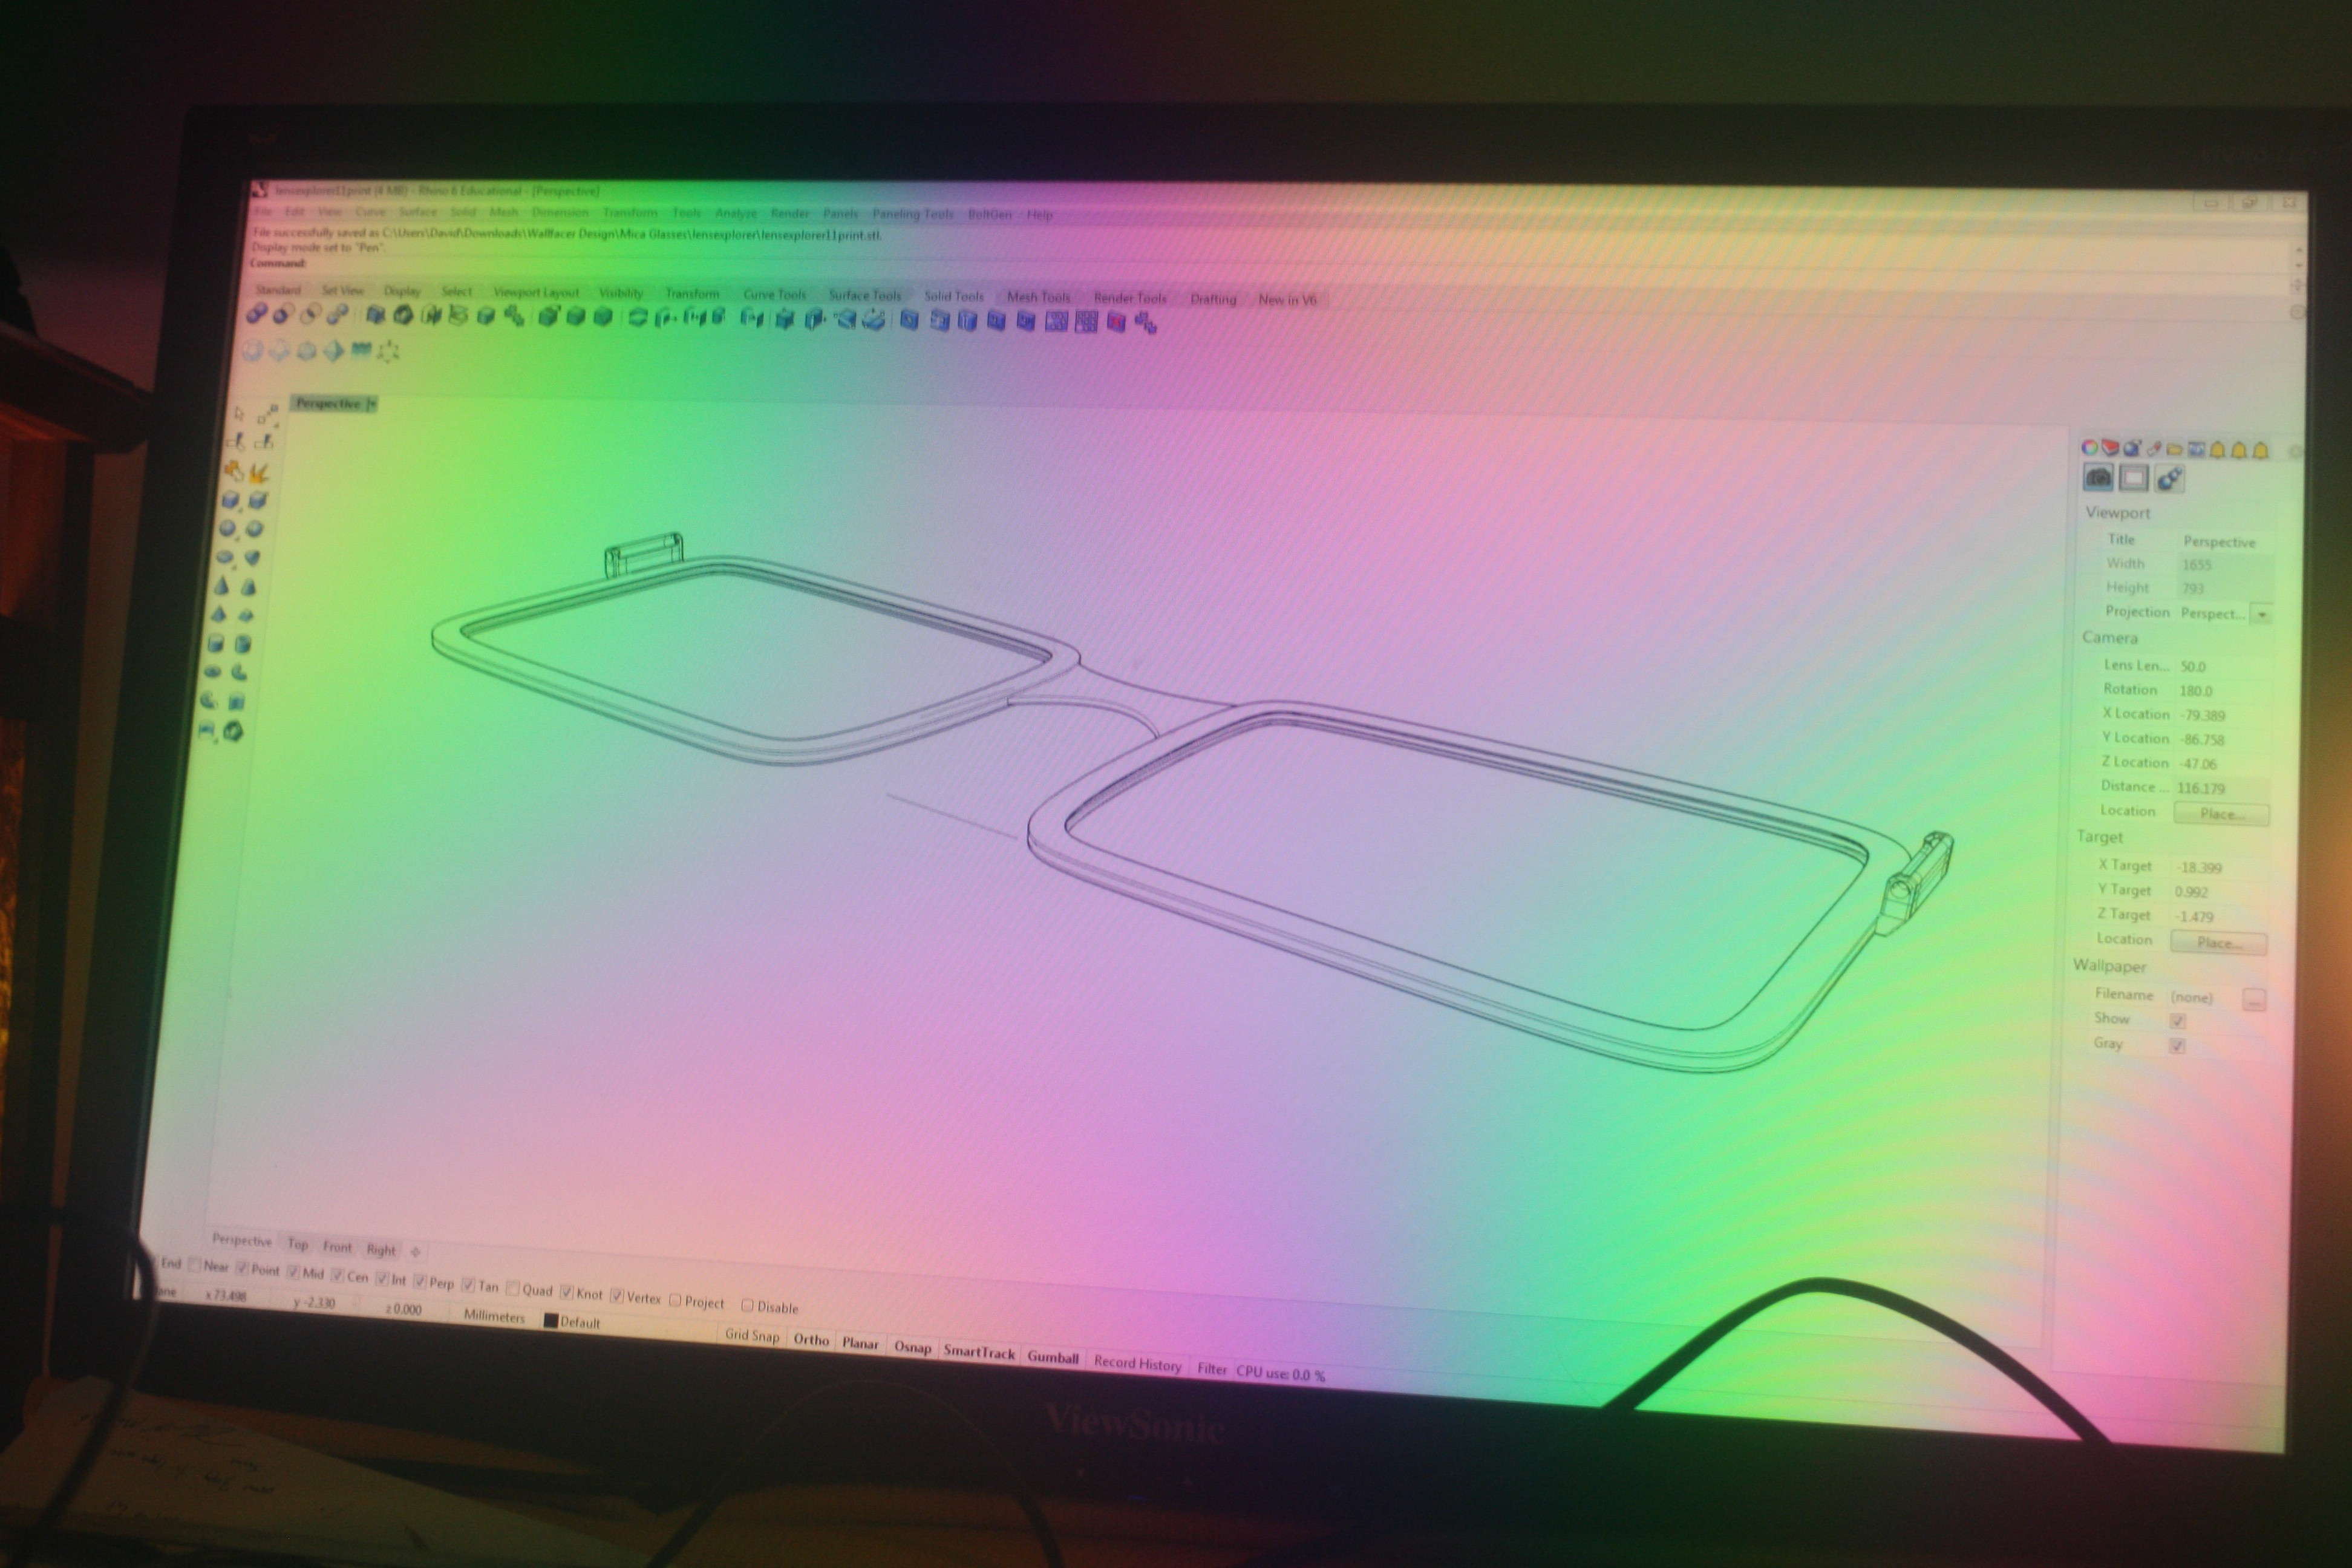
Frame Prototype
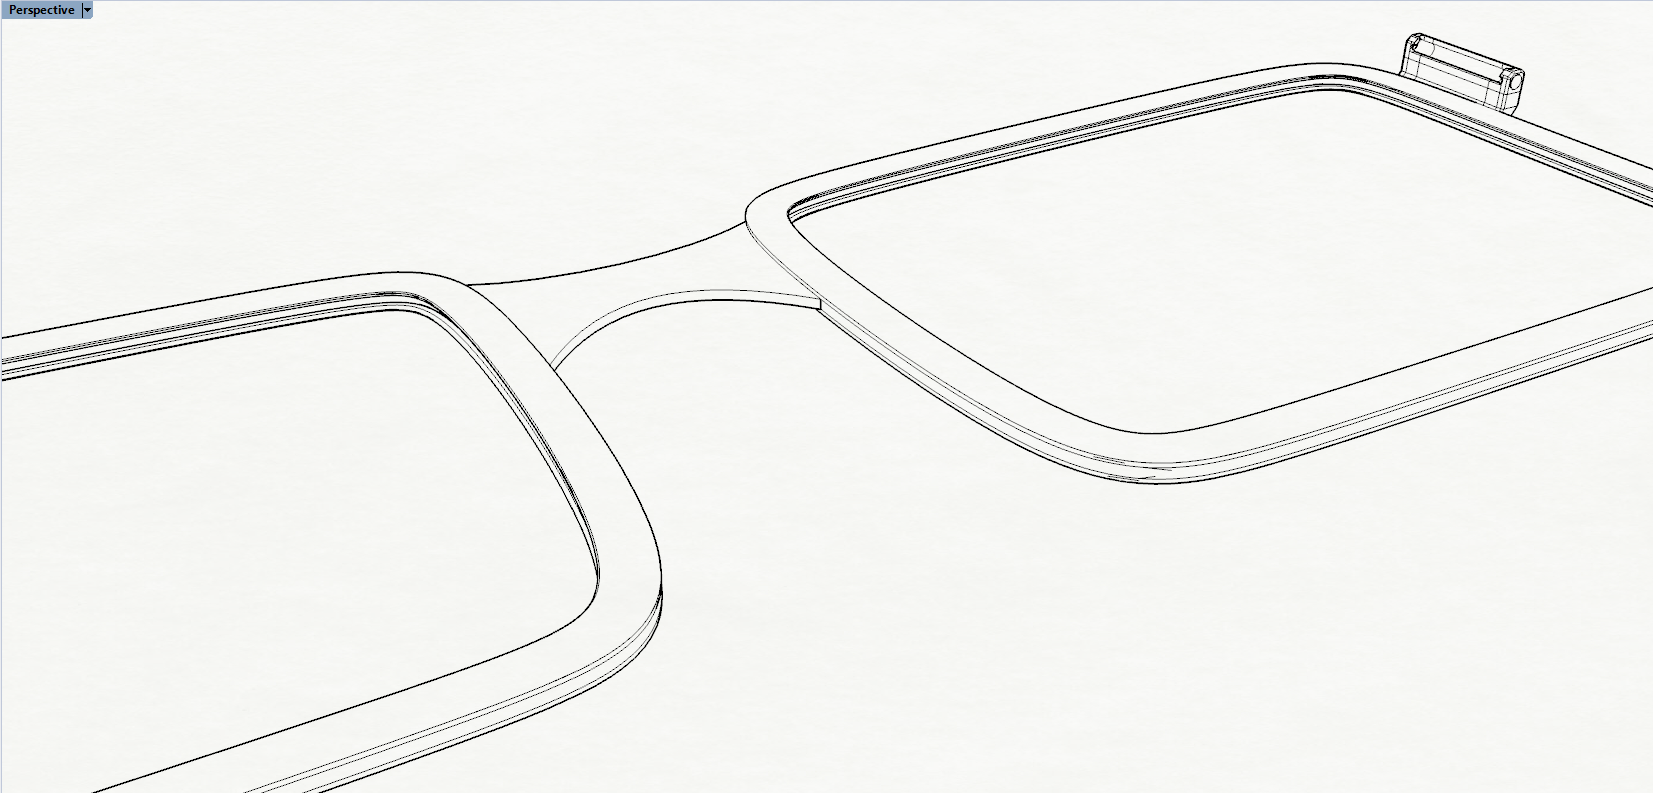
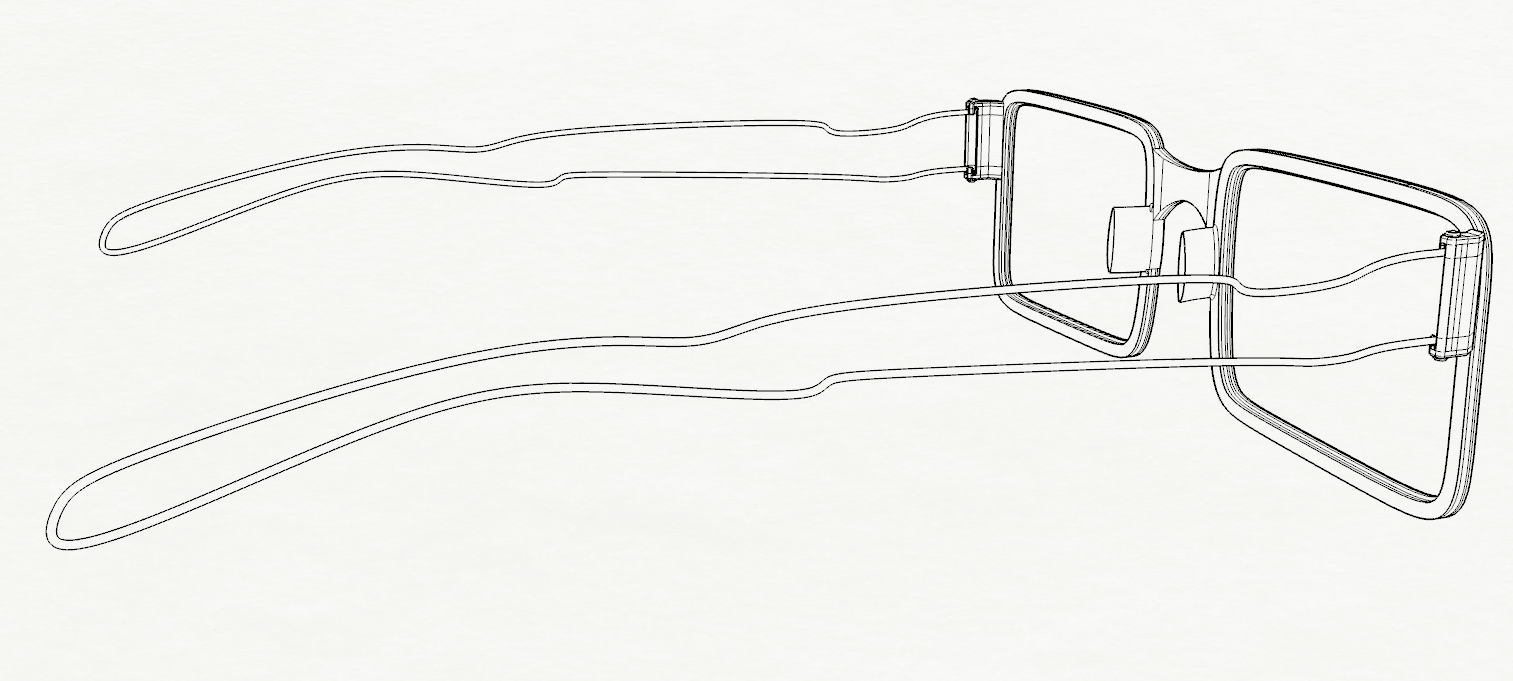
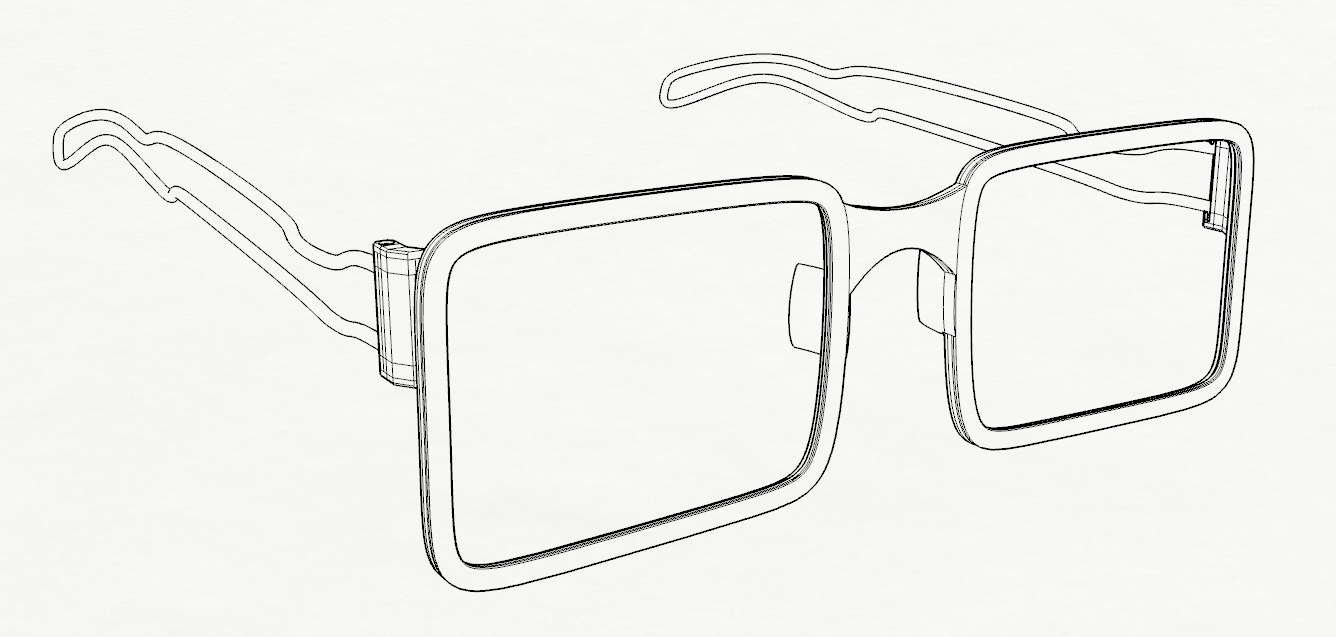
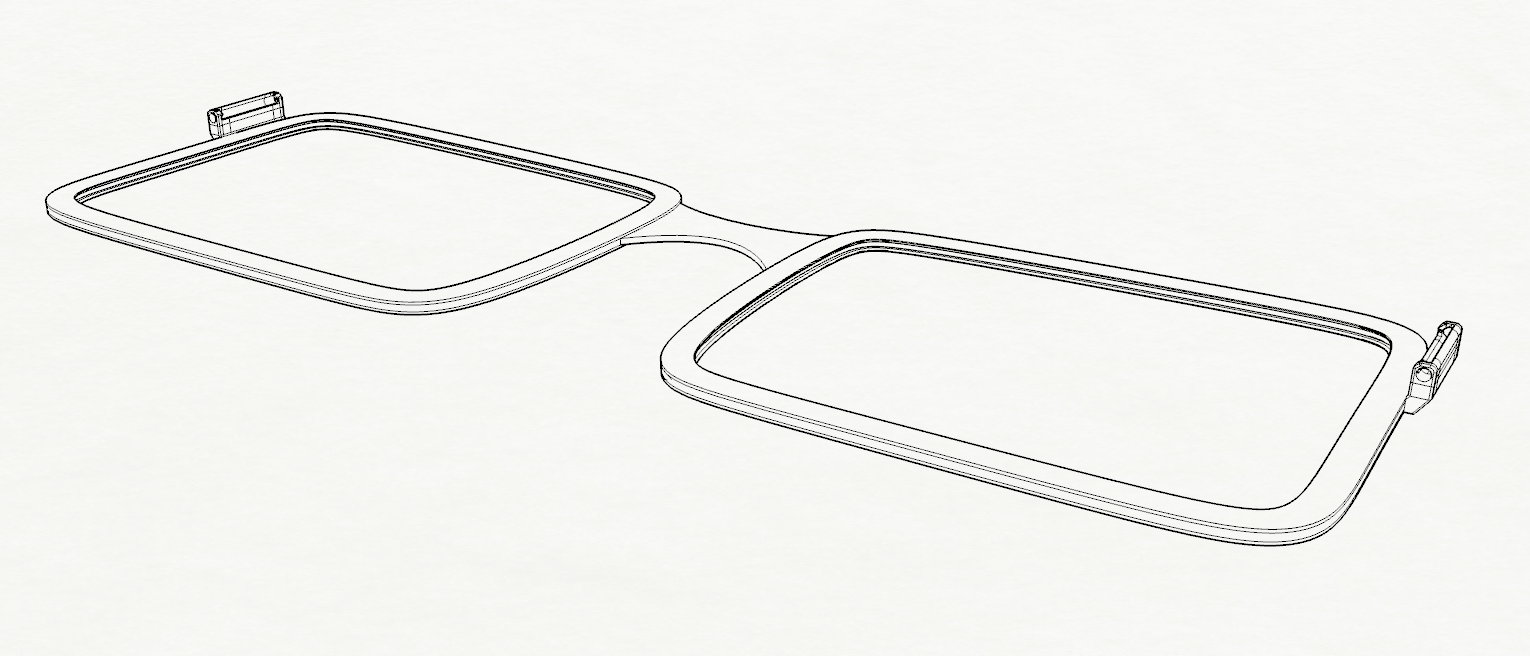
06/12/2019 at 00:26 • 0 commentsUsing the lens explorer I made a frame which has integrated hinges, snap in lens tolerances, one degree sweep suitable for casting or rapid prototyping.
![]()
Since the lenses are flat I went for a straight sweep.
![]()
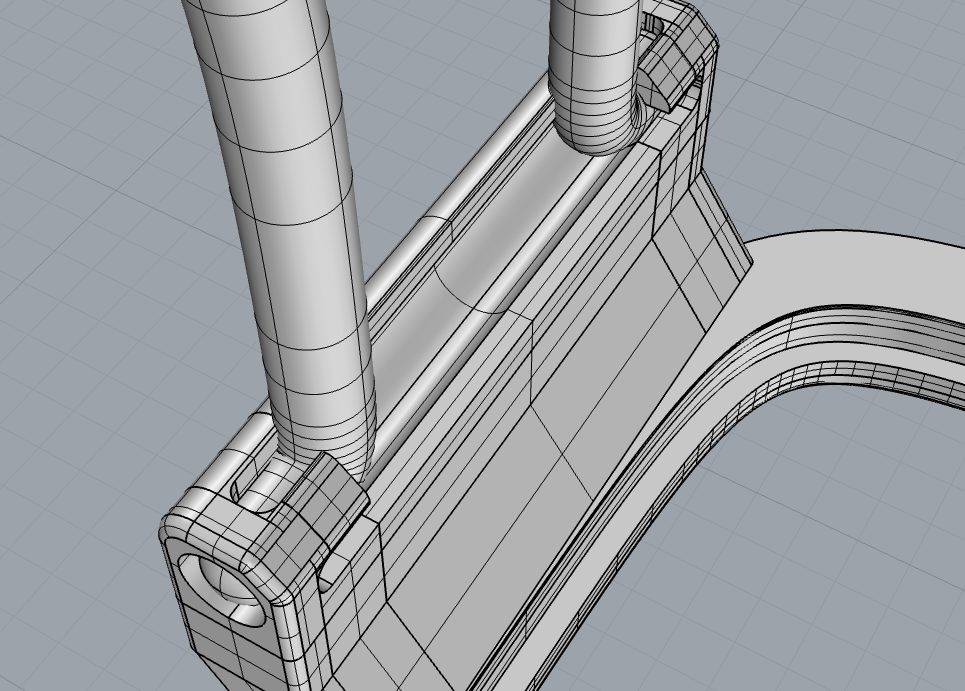
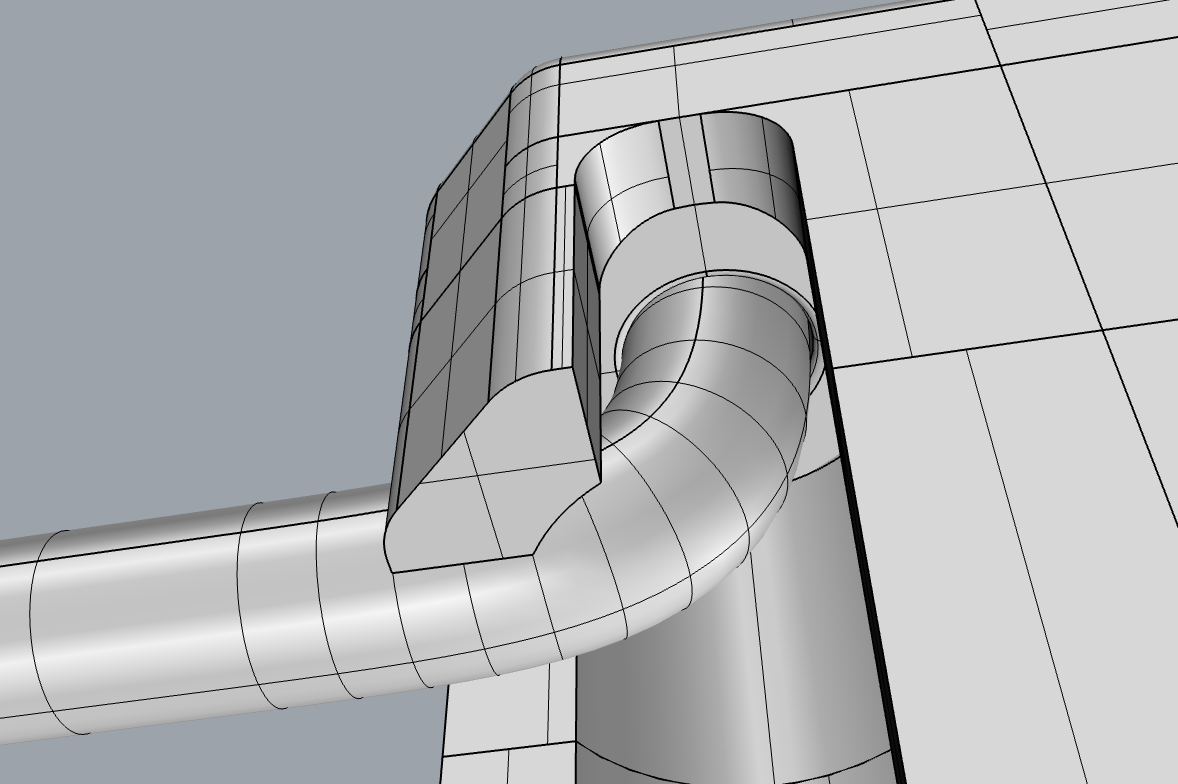
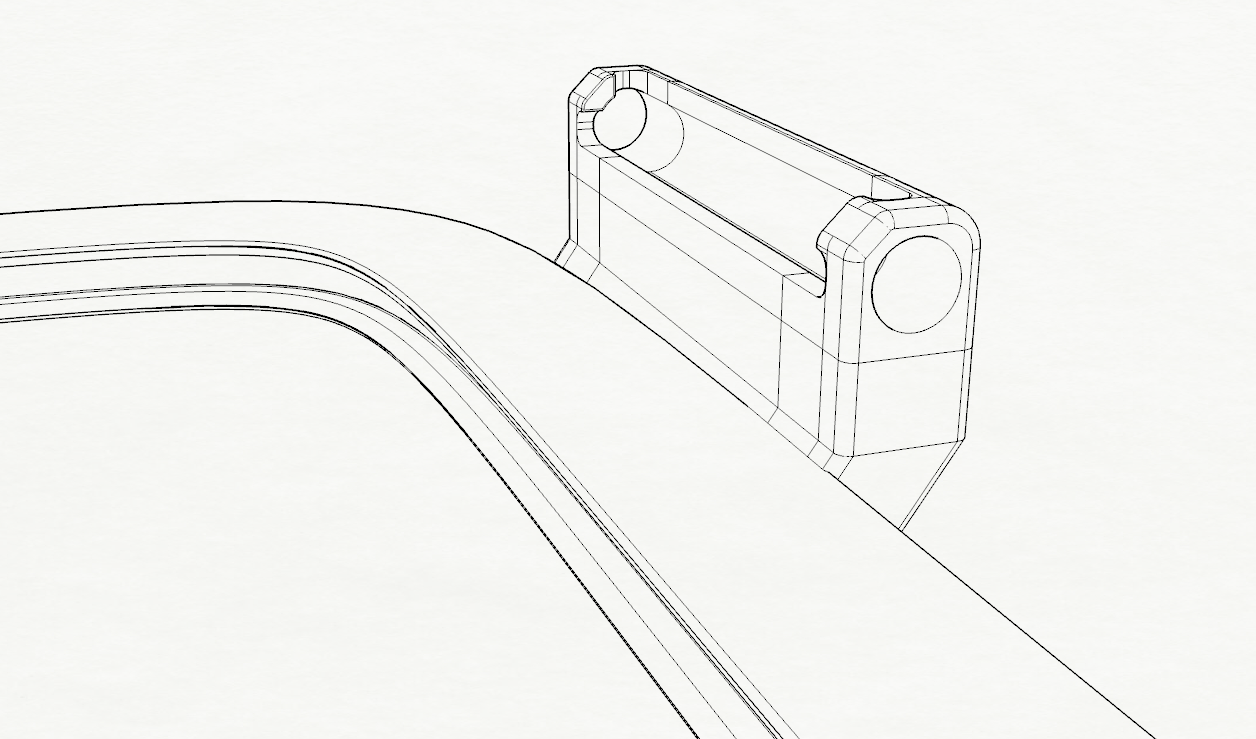
The lens templates and original hinge can be seen here. The hinge seemed much too small, I figure with a one millimeter wire the spring moment arm should be larger.
![]()
Connecting the pivots to the frame was tricky, and its still not quite right. Surfaces could use to be blended differently. There is no nose bridge right now since I haven't decided how I want to move forward with that. On one end I could just buy wire and gummy ones, or adhesive pads which go on the fin types... But then I have very little control, and I can't reliably get them local. I can't just say "screw nose support" because.... metal is cold usually and it would just be lazy. So I gotta figure that out. Hopefully this model helps make that decision.
![]() Overall, looks pretty decent to me. Nice and simple, for now.
Overall, looks pretty decent to me. Nice and simple, for now.![]()
Using an old stash of my Grey Pro 2 for the Form 2 printer... Ahem anyways i'm hopefully going to have a plastic frame on Thursday, going out of town tomorrow.
![]()
-
Lens Explorer and Mica Order
06/09/2019 at 20:48 • 0 commentsI went ahead and ordered the large samples of mica.
![]()
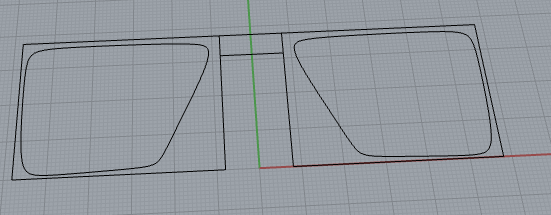
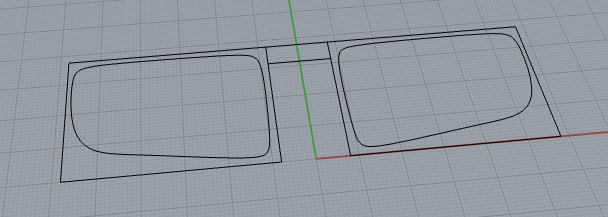
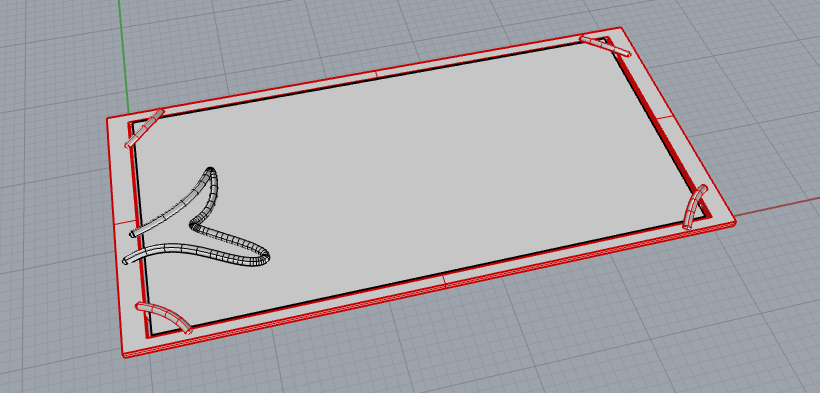
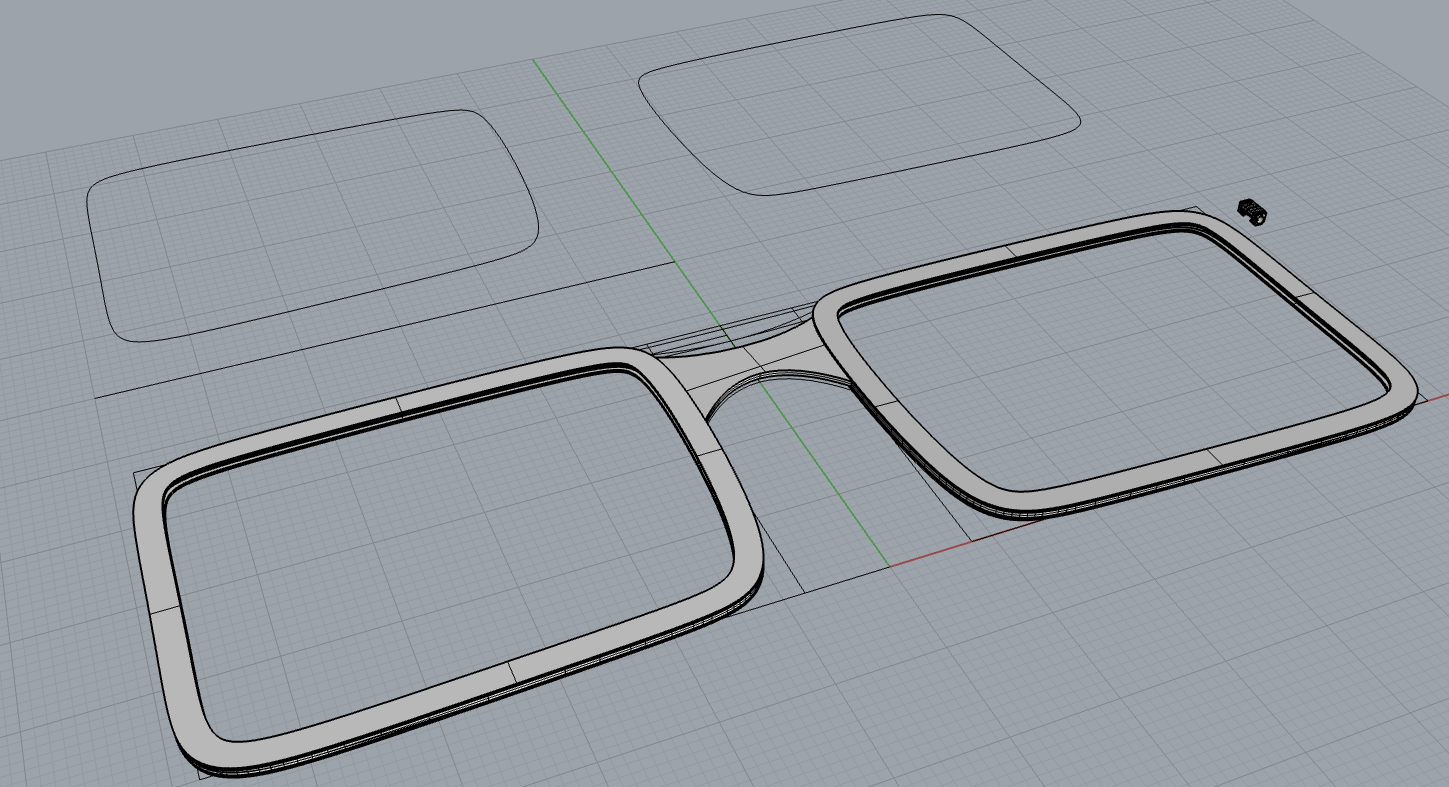
This ties me into a set upper lens size for this batch and created a simple parametric file for exploring lens shapes. Keep inside the lens rectangles.
![]()
![]()
Limited control points will make the lens easier to cut/stamp out.
I will make a post on my experiments with polarization soon. Since the polarization film is not heat resistant it will have to be added as a snap in feature or mechanical means.
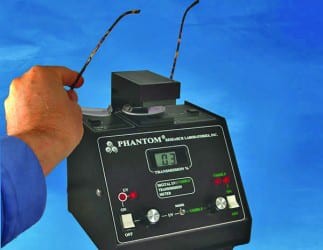
For future note: the machine which measures visible light transmission costs around $500-600.
![]()
![]()
A little expensive for now, and it looks... lacking in data.
-
Customizing and Frame Alternate
06/07/2019 at 13:54 • 0 commentsOh man.... this will be interesting.
Similar to how nervous system does their custom? Check it out.
Thinking about placing lenses within a 3d print sounds annoying and is expected to be a manual step. But thinking about it, many types of ornament could be used and applied by hand with wax.
![]()
This is just a very basic illustration; personally I think this could be fun but doesn't have the professional repeat-ability I am interested in.
![]()
-
Cutting Mica
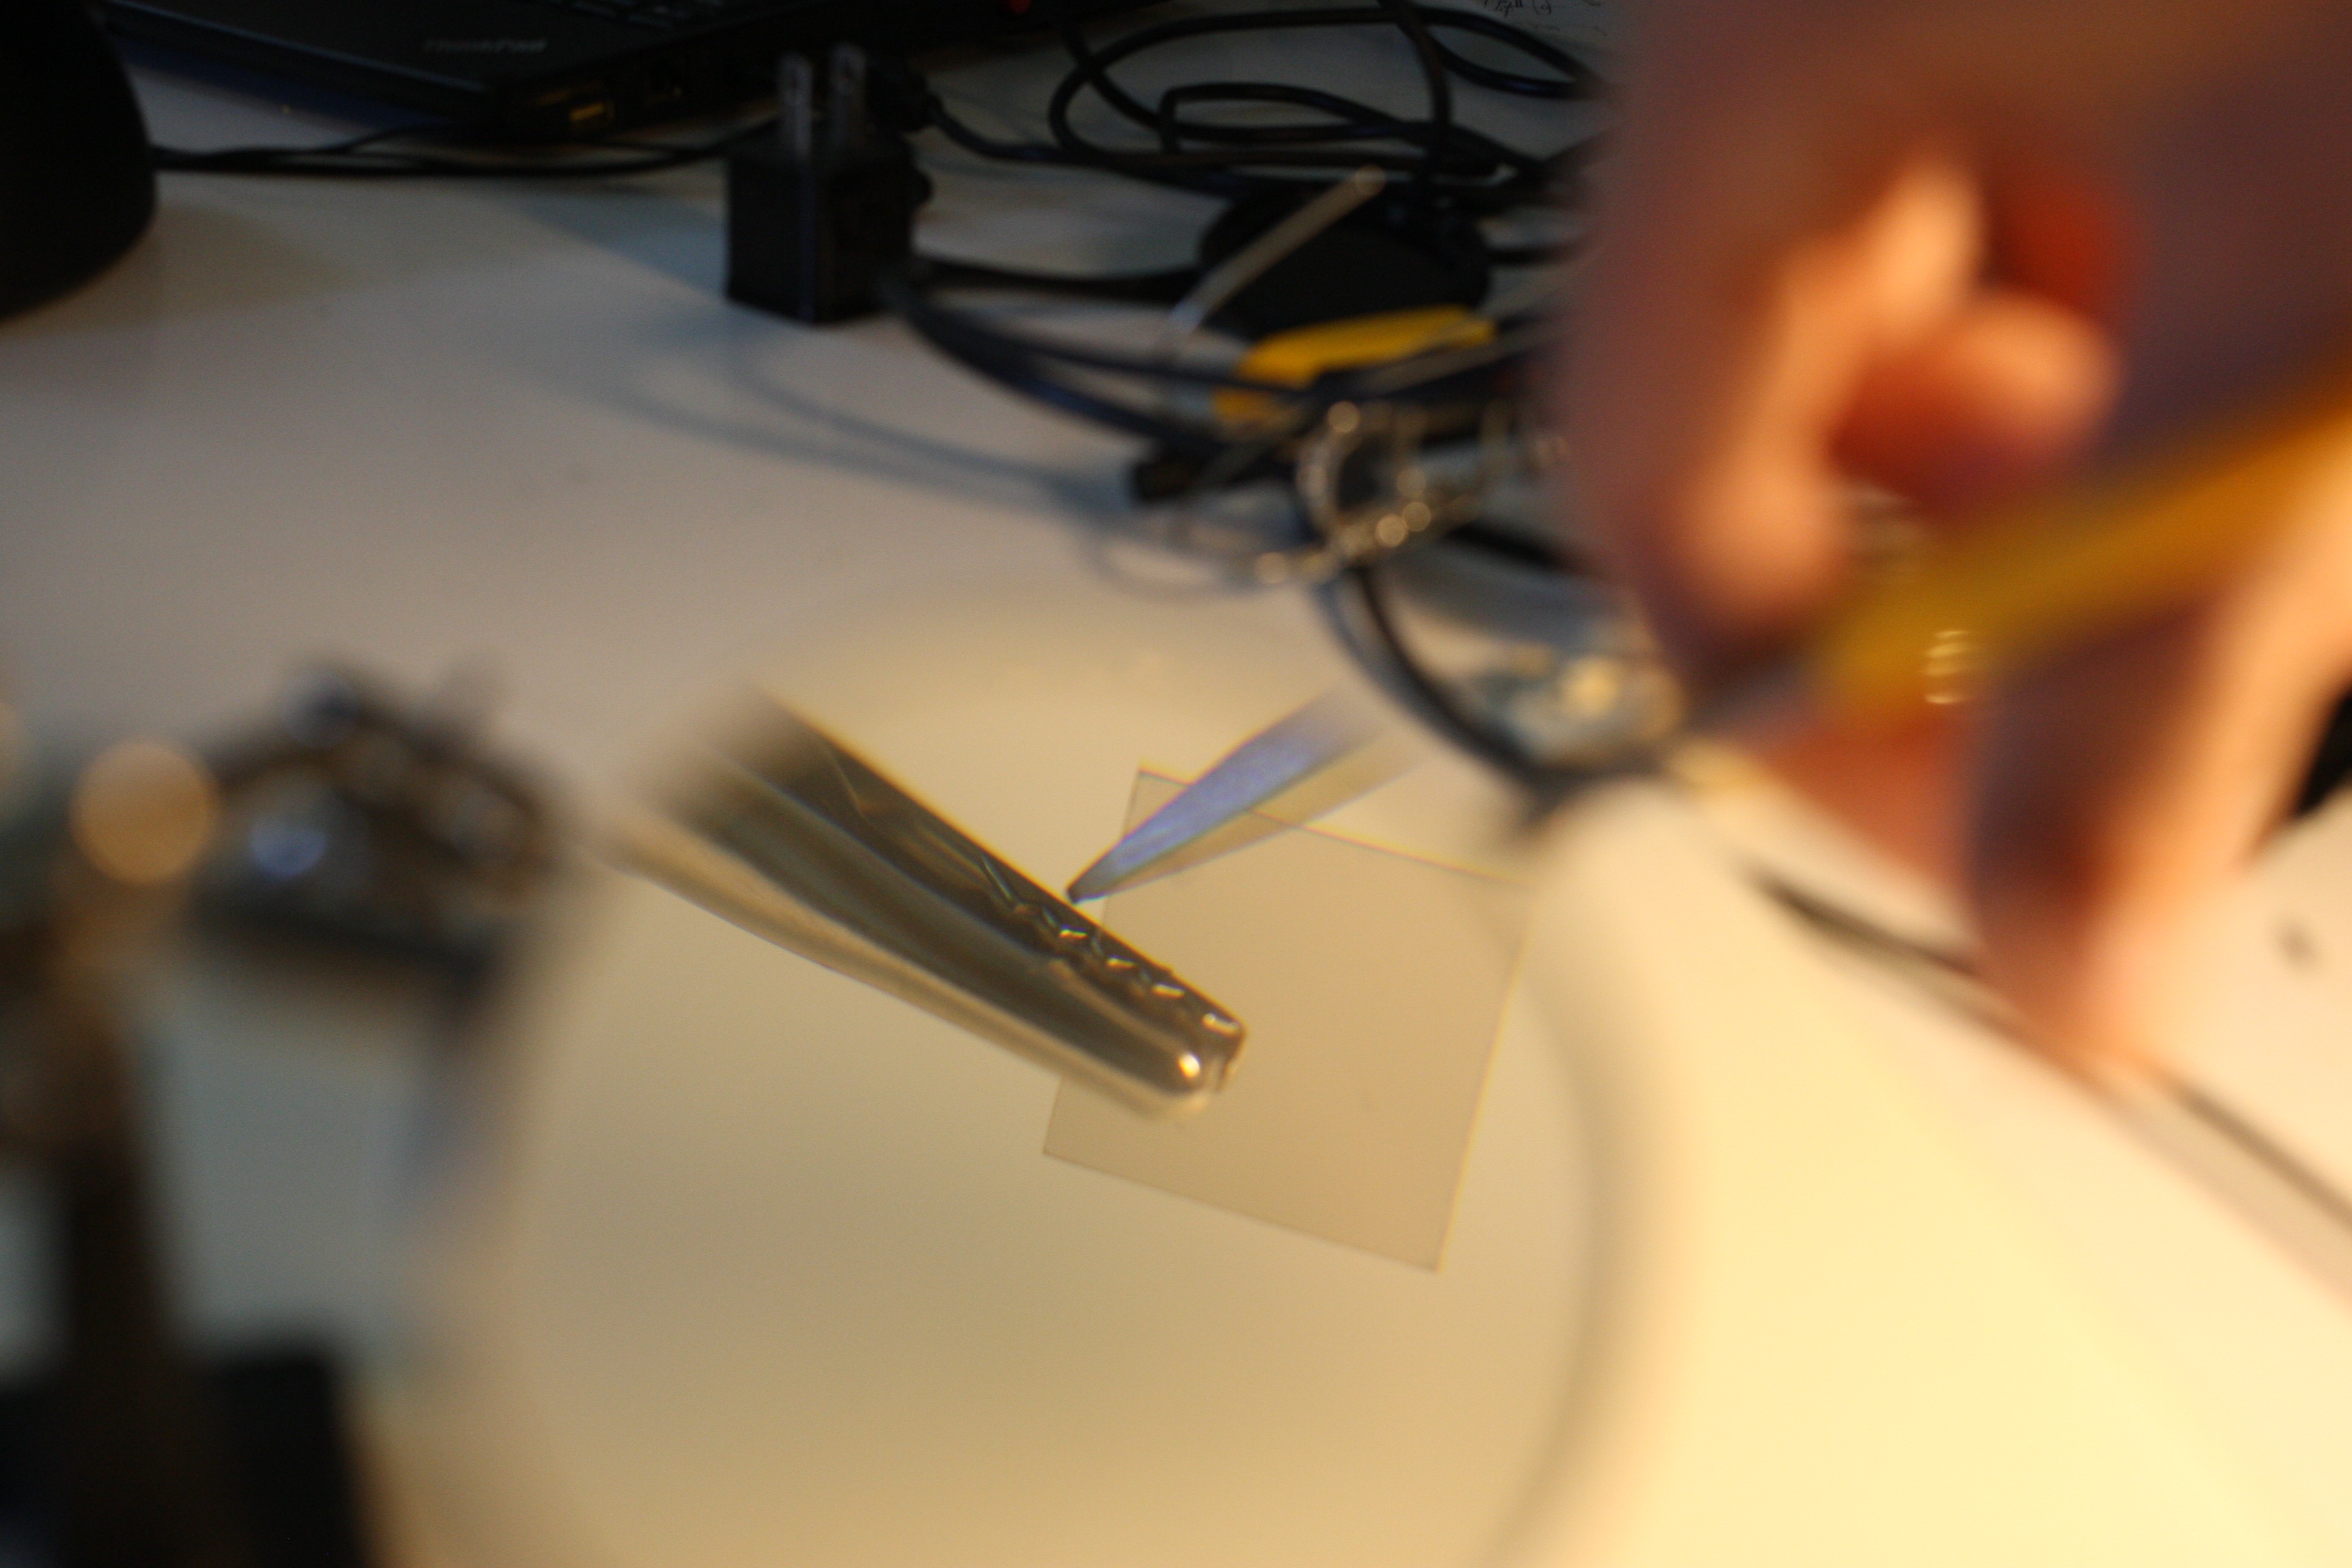
06/06/2019 at 23:16 • 0 commentsI used an old, very dull set of Olfa scissors (smooth type) to cut a sample.
![]()
I used the V2 again.
![]()
There was very little resistance, a slight squeak, felt similar to paper. This is only one leaf thick though, around .20mm
![]()
The scissors clearly cause some delamination from shear, seen as the darker crystalline corner.
![]()
I've seen that stamping has better results, maybe if I scale production that will make sense. There is a local company which seems ideal. This would be more important depending on the actual lens shape.


 Overall, looks pretty decent to me. Nice and simple, for now.