 Alessandro Sottocornola
-
1User interface
P1 (down button): used to scroll the menu down;
P2 (okay button): use to confirm options;
P3 (decrease button): use to decrease number of meals;
P4 (decrease button) use to increase number of meals;
P5 (dispense button); can be used only in the initial screen, this key is used to manually distribute kibble whenever we want to add food beyond the preset dose, or to supply food anytime.
![]()
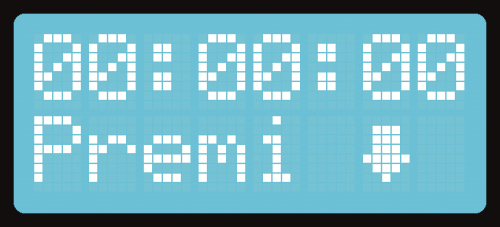
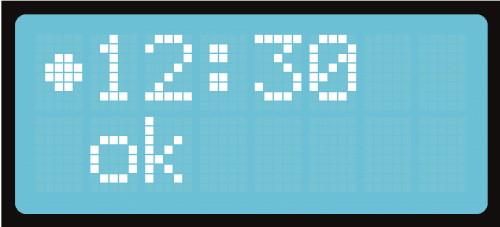
After starting the system, you will see the main screen, with current time displayed on the first line (if it shows 00:00:00, time must be configured; we will see how to do it below); on the second line you will see the word Push with an arrow facing downward: it means we will proceed to configure the dispenser in its functional characteristics. When we see this screen, we can press P5 to manually distribute kibble, and decide the dose.
![]()
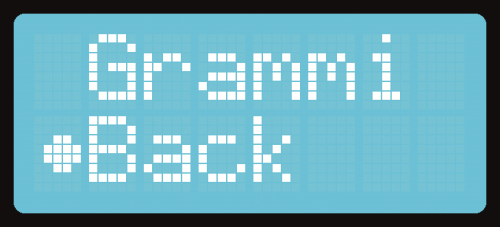
If you push the key two times, the Back command will take you back to the main screen
![]()
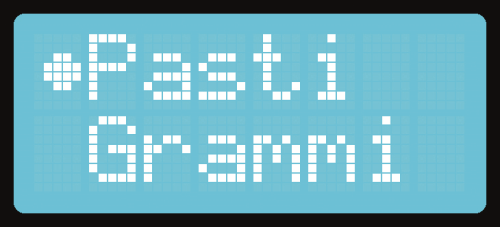
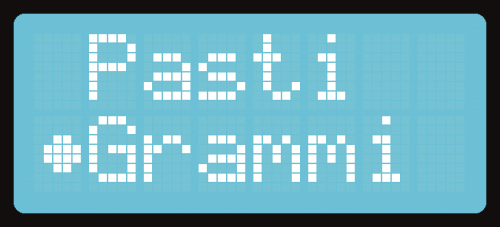
Use the keys to select the option Meals and a menu will open up where you can choose the number of meals you want to supply to your cat up to a maximum of 9 a day
![]()
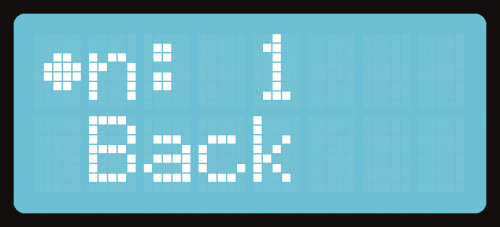
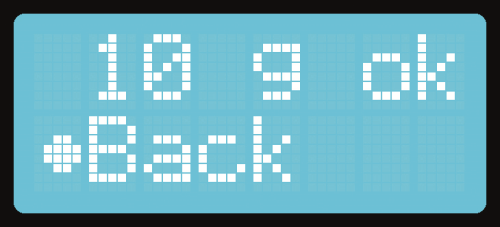
In order to select the number of meals, stay on the first line with the pointer and push the decrease key (P3) to decrease the number of meals. You can instead press the increase key (before) which will increase the number of meals a day. Press OK to confirm (P2). To go back to the main screen, click on Back to keep previous settings. Once you press OK (P2) you will go back in the last submenu; this is used to set mealtimes. After selecting the number of meals, we can proceed and indicate hours and minutes to distribute kibble. For instance, if we select three meals a day, will be shown three times, one for each meal set; for each screen we will have to indicate the desired time to distribute the food
![]()
In conclusion, as mentioned above, in order to set the display clock on the dispenser, placed over the keys, you have to place the pointer on the first line, then you can press the “increase or decrease” key to increase or decrease the number corresponding to the time up until the hour you desire. In order to modify minutes, press ok and then once again push decrease or increase to select minutes using the same procedure. After selecting hour and minutes, move the pointer on the second line by pressing down, then confirm and save the exact time by pressing OK. After you are done setting the times, you can go back to the main screen. In order to set the number of grams per meal, press the down key; this way you will access the main menu. Press down one more time and move the pointer on the second line on grams
![]()
then press OK. Once you open the submenu to set the number of grams per meal, you can press increase or decrease to adjust the weight
![]()
Once you decide the weight (i.e. the grams) of the food to provide your pet with at each meal, move the pointer on the second line, press OK to save settings. In case you don’t want to confirm new settings, scroll down with the pointer until you get to Back and press OK to go back to the previous menu
![]()
Cat Dispenser
It automatically supplies meals to your pet at preset times, by providing the daily dose of cat kibble

Discussions
Become a Hackaday.io Member
Create an account to leave a comment. Already have an account? Log In.