 W. Jason Altice
-
11Radio tuning simulator
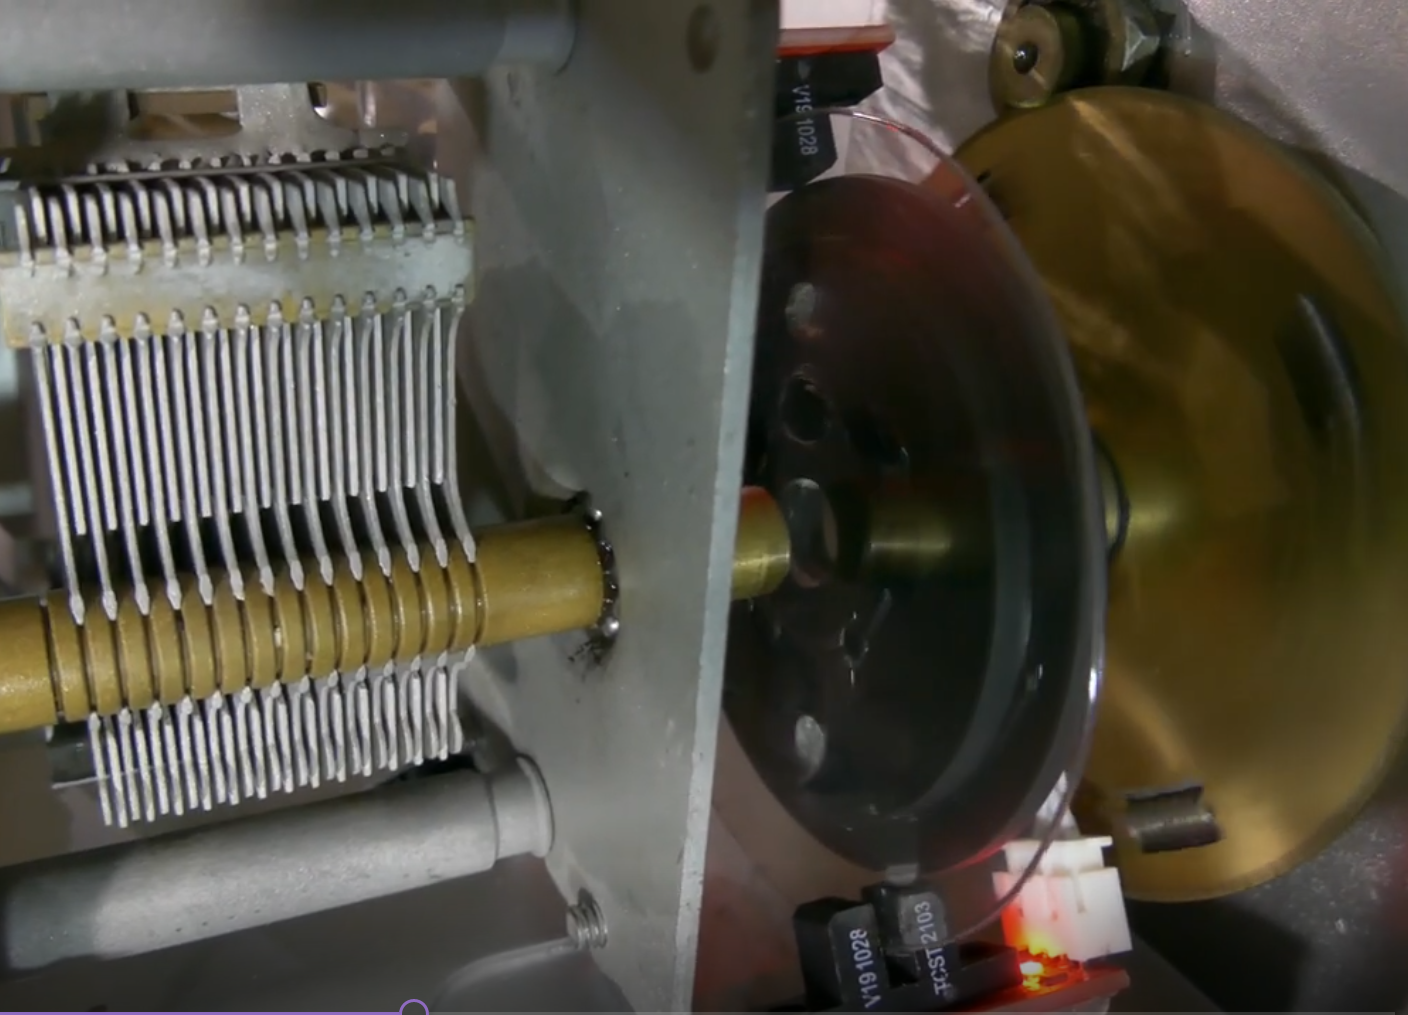
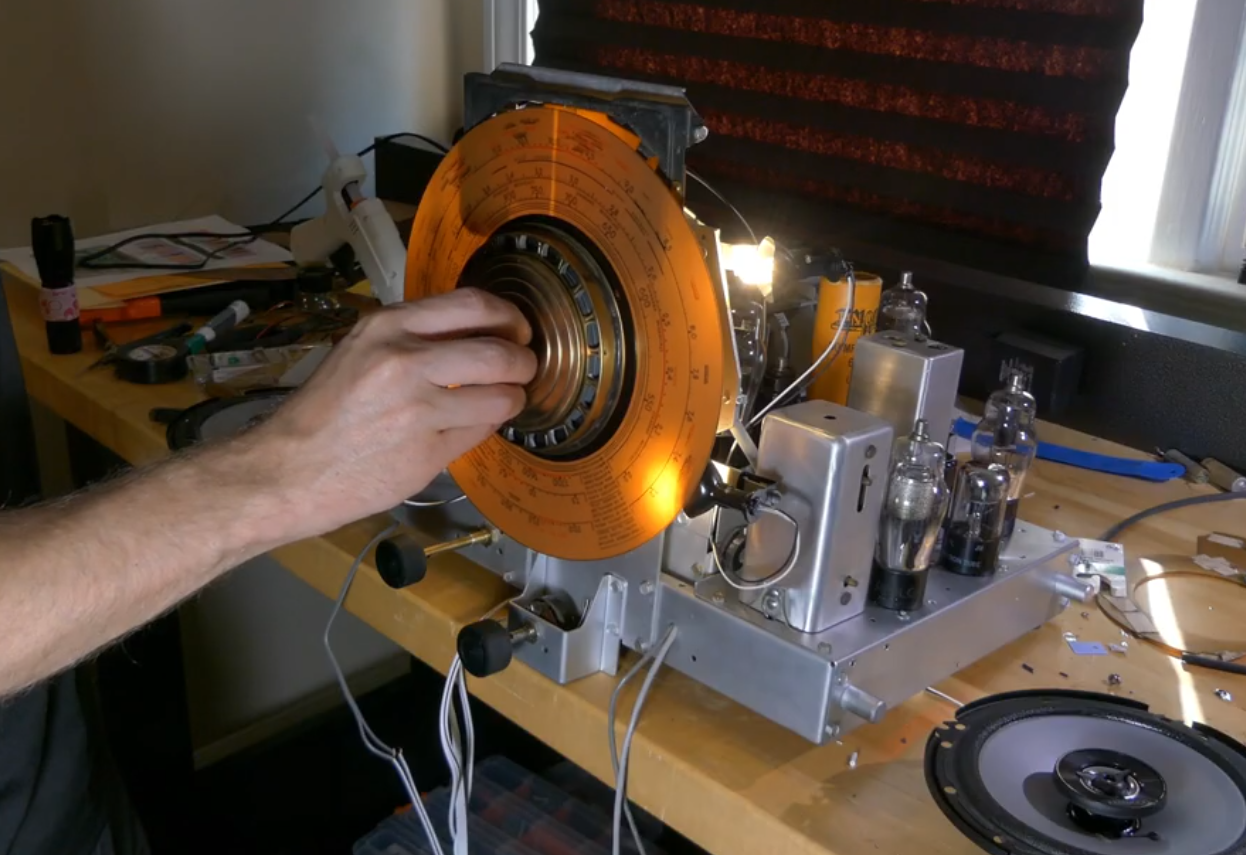
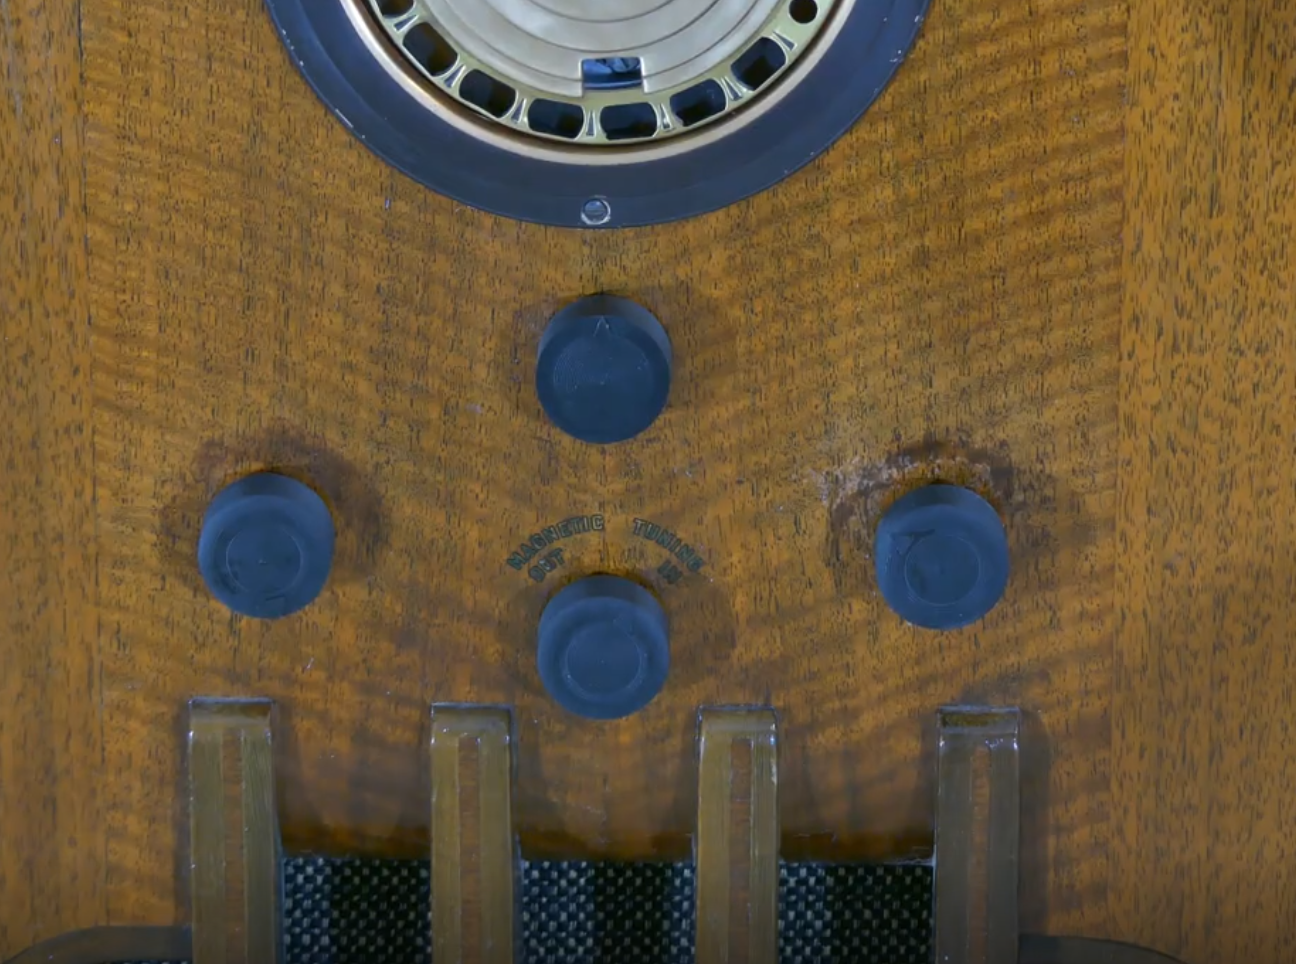
The next thing we want to do if try to mimic the tuning of radio stations. You don't need to do this step but I think it adds a lot to the project and people love the effect it makes. We need to add another dial or wheel so that 2 optical sensors can detect if we are spinning the tuning dial. I chose to mount them on the dial shaft, but depending on your type of radio, you might have to get inventive on this step.
You can see the original shaft is no longer attached to the tuning capacitors.
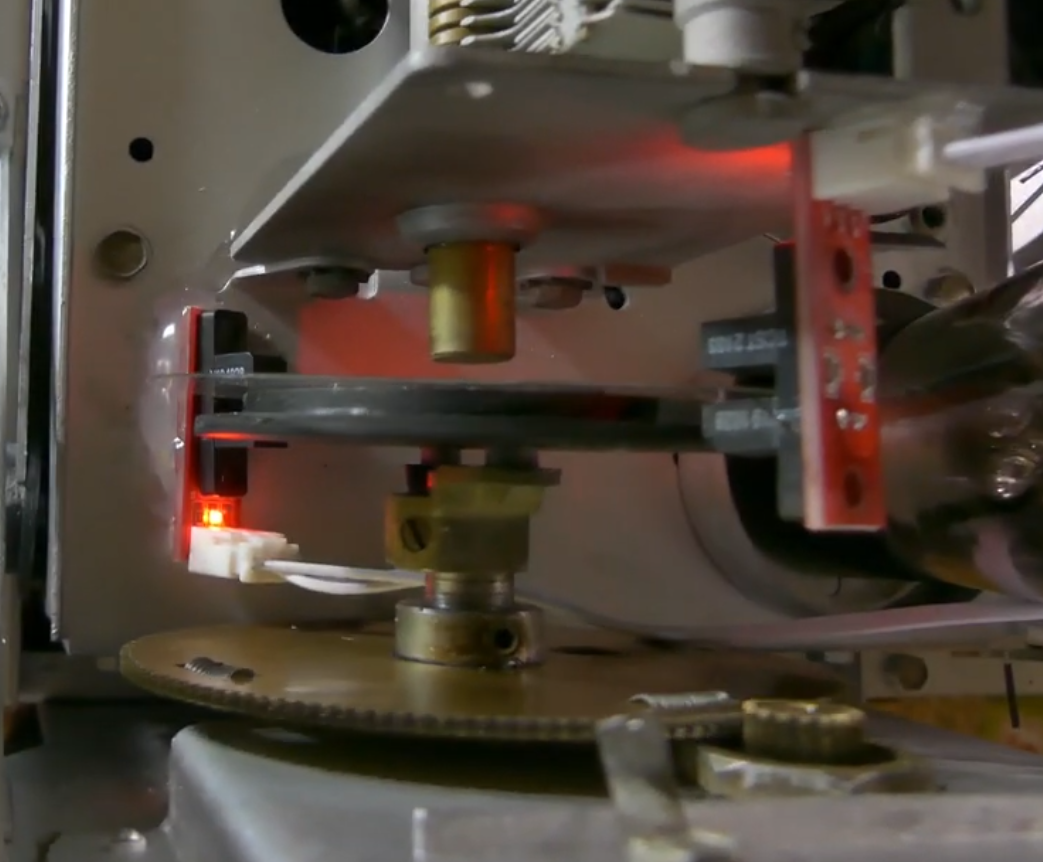
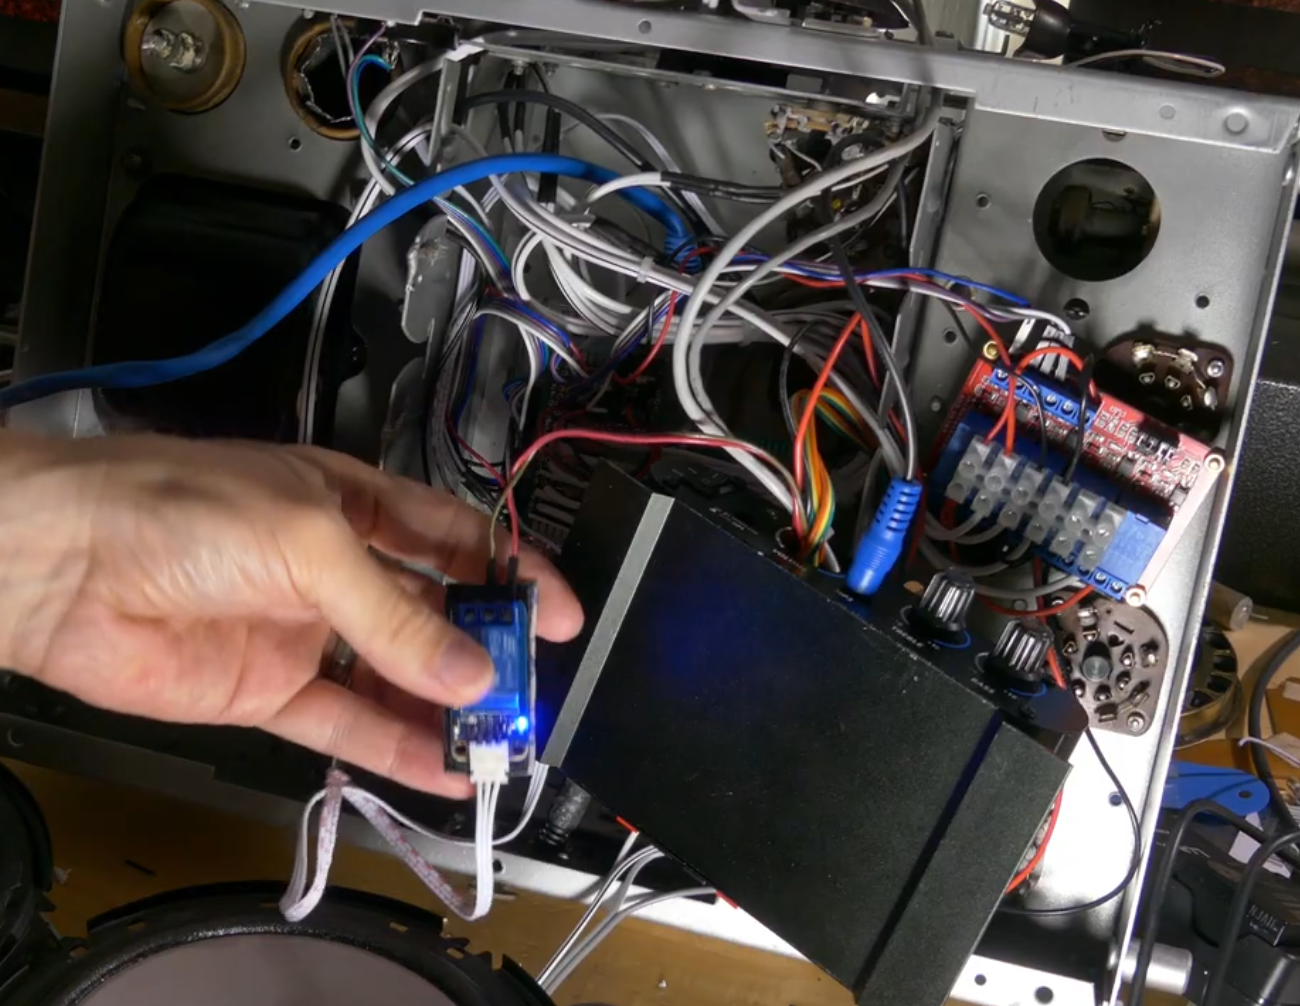
Mount the 2 optical sensors to achieve the tuning effect. I glued one the the base of the platform and the other on the opposite side. These optical sensors will be connected to the raspberry pi as indicated in the wire diagram in a previous step.
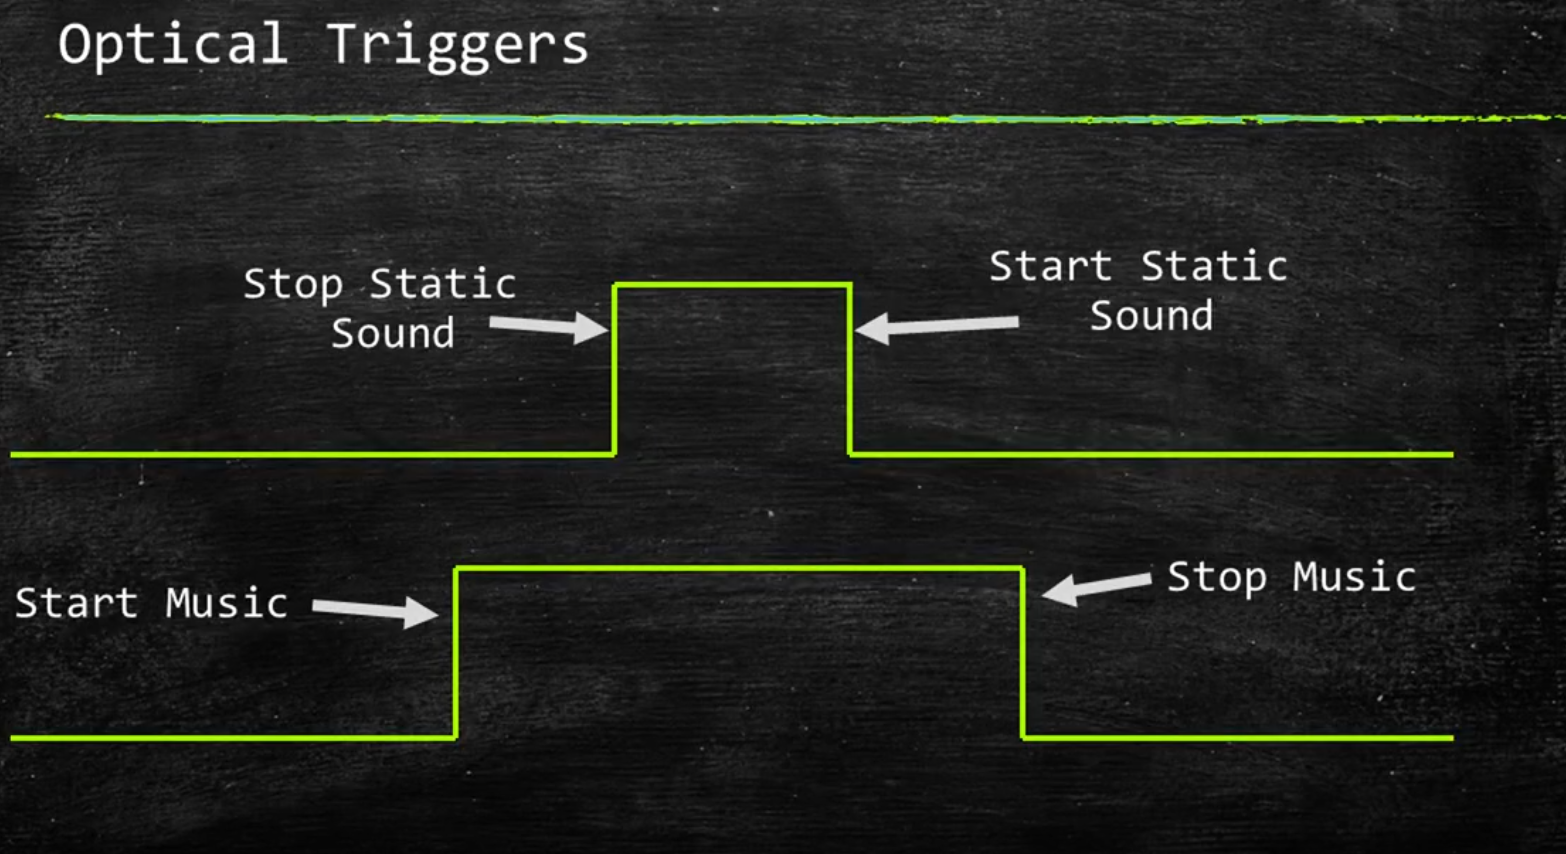
You need 2 optical sensors so that you can start static sounds when out of tune from the fake station. This is an explanation of how it is working.
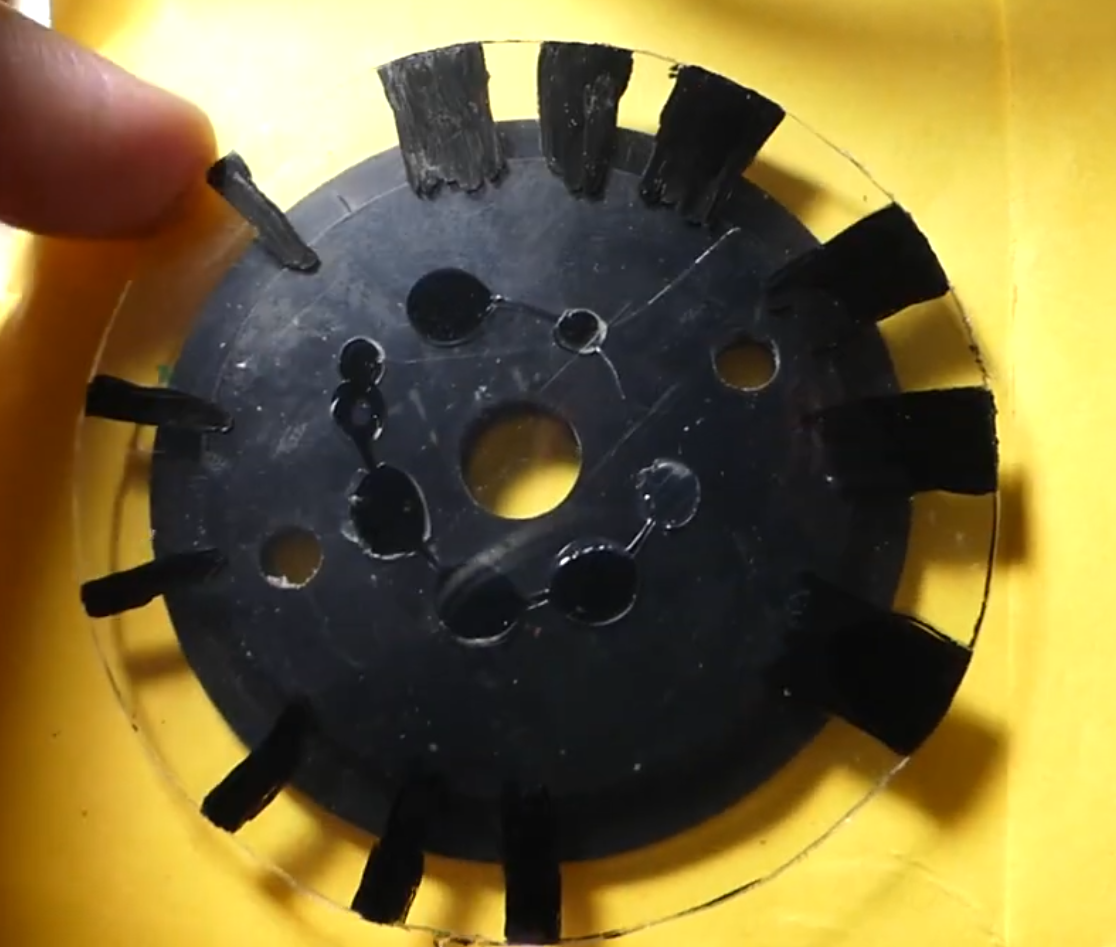
I cut out a circle from clear plastic container. Then marked where I wanted the music to start and the static sound to stop. I thin glued this onto a spindle I printed that fitted onto the original shaft.
-
12Find a new home
I had a lot of room to add the new equipment for this radio. But there are a lot of wires that I usually don't think of until the very end. For your radio, find the best location for everything and find a new home for the added components.
-
13Test
You've probably been testing all along, but ensure everything is working before you stuff it back in the cabinet.
-
14Speakers
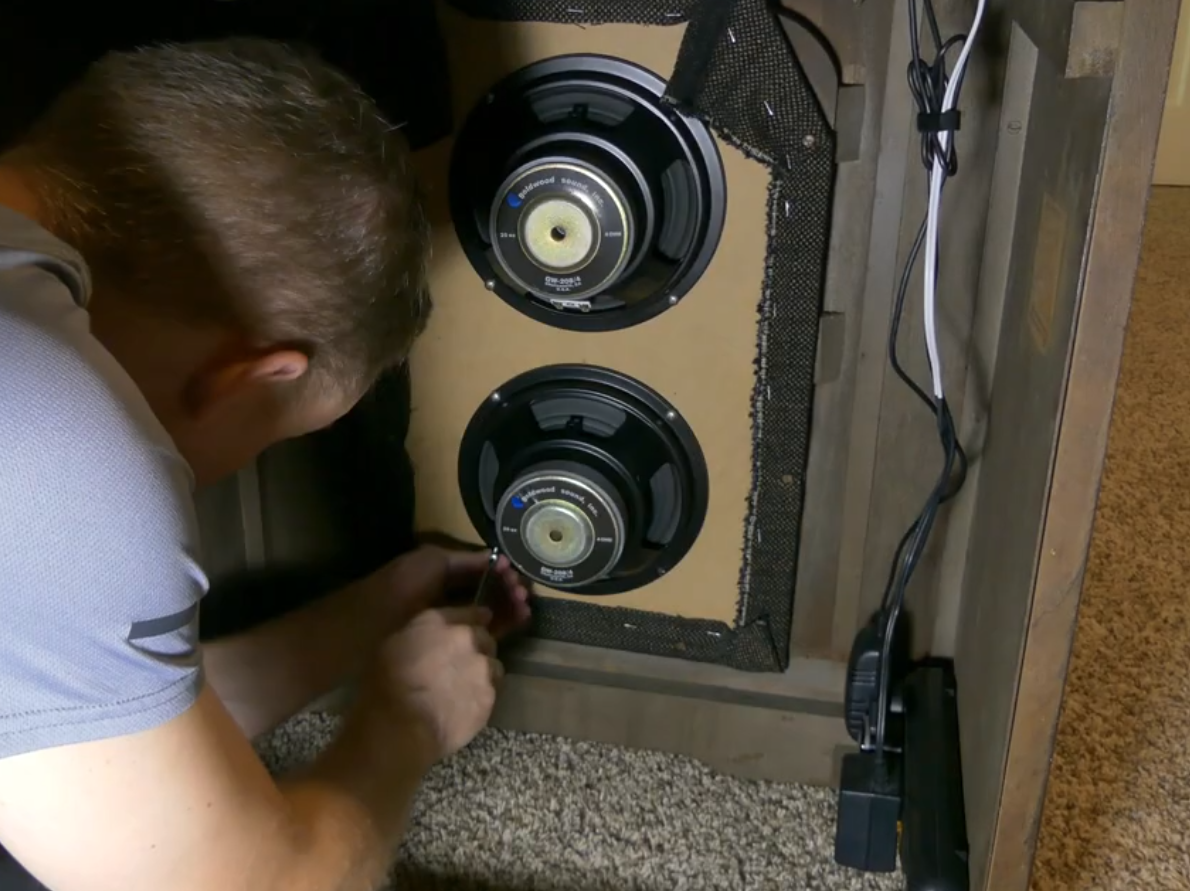
I had to install new speakers because the original was badly deteriorated. Instead of 1 large speaker, I added 2 8" speakers. The new amplifier was a 2 channel anyway, so made sense to me.
-
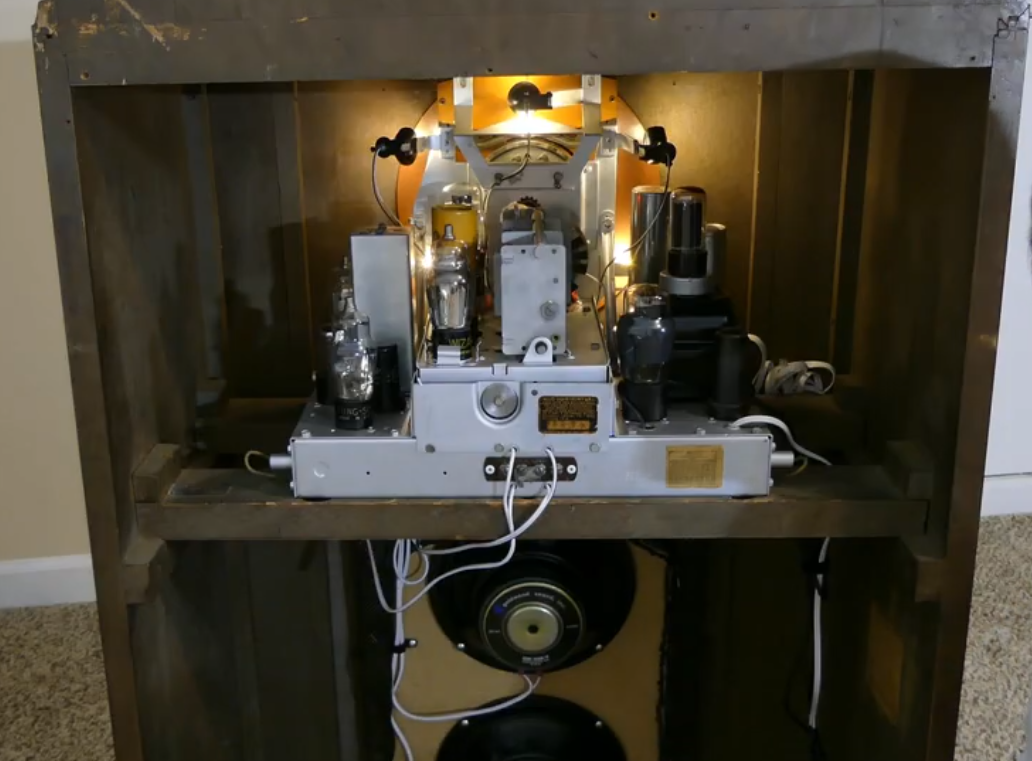
15Install components in cabinet
Final step was putting the components back into the cabinet and installing the knobs. Ensure they are wired to the inputs on the raspberry pi. I also mounted the volume control from the amplifier on the cabinet where the volume knob use to be. The on/off switch just goes to the Raspberry pi as an input. The Raspberry actually stays on all the time. This is because it takes to long for the Raspbian to boot up. But I guess this could also simulate the long time for the tubes to warm up. We are less patient these days I guess.
-
16Enjoy the sounds
If you loaded the raspberry pi with era correct MP3s, then you can now enjoy an old radio, playing old music. Then show your friends how you can tune into a stations. Which is just randomly selecting another MP3 from your list. It might even fool them!
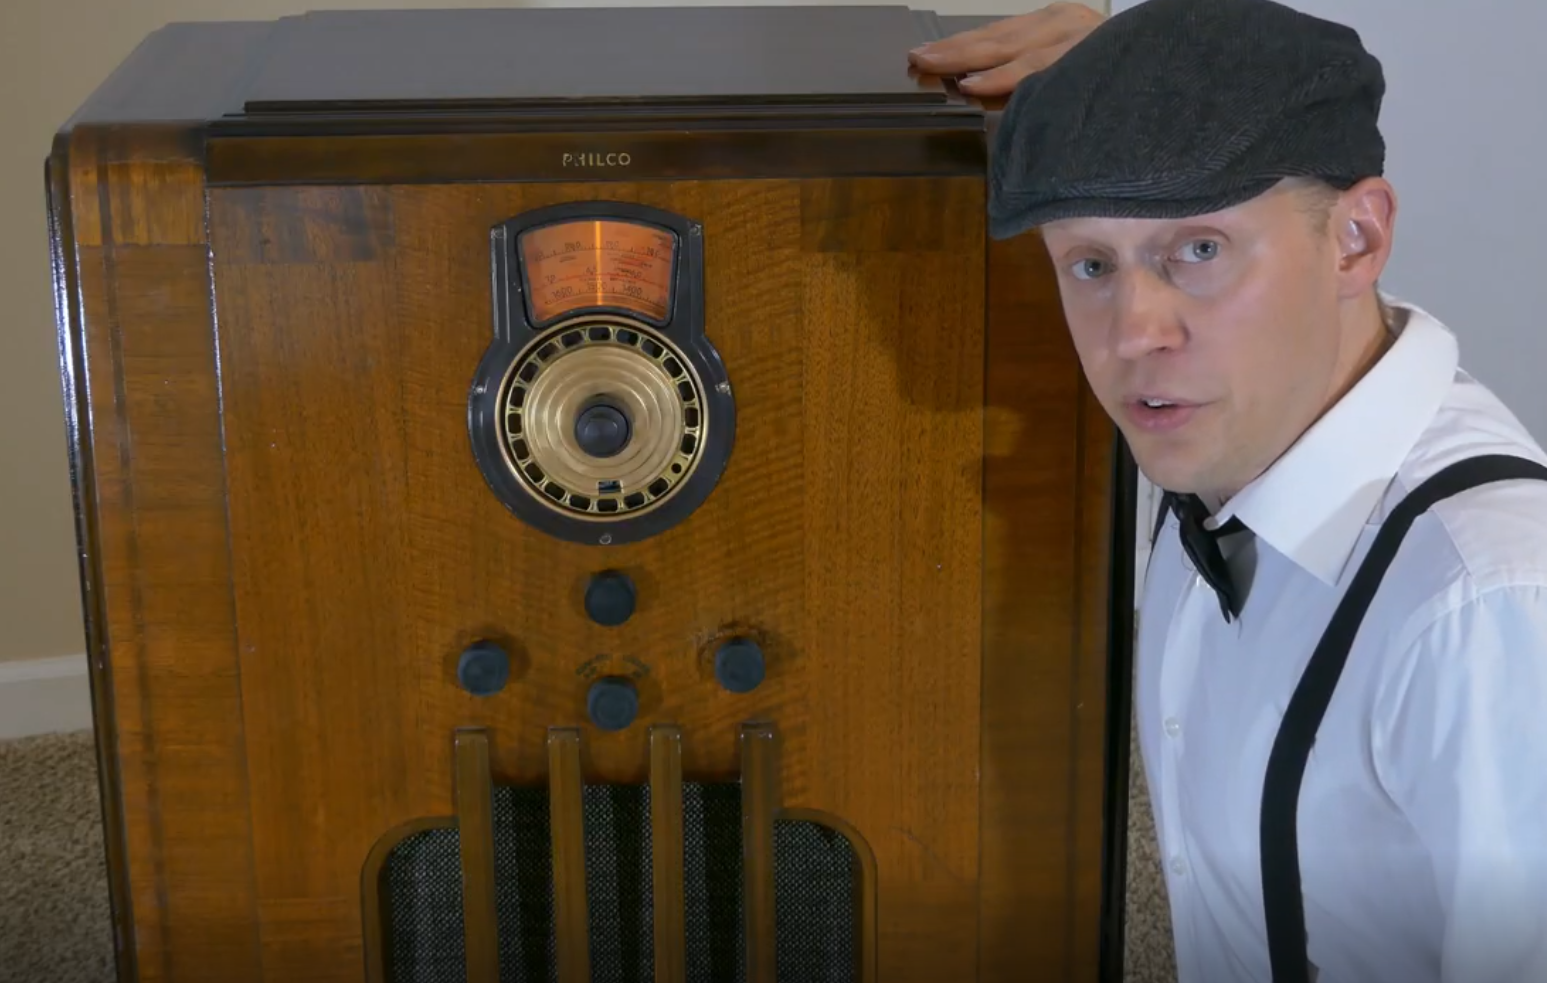
Retro Radio
Updated a 1930's cabinet style radio to play music of its era and simulates tuning radio stations. Oh, and it has Bluetooth.
Discussions
Become a Hackaday.io Member
Create an account to leave a comment. Already have an account? Log In.