 W. Jason Altice
-
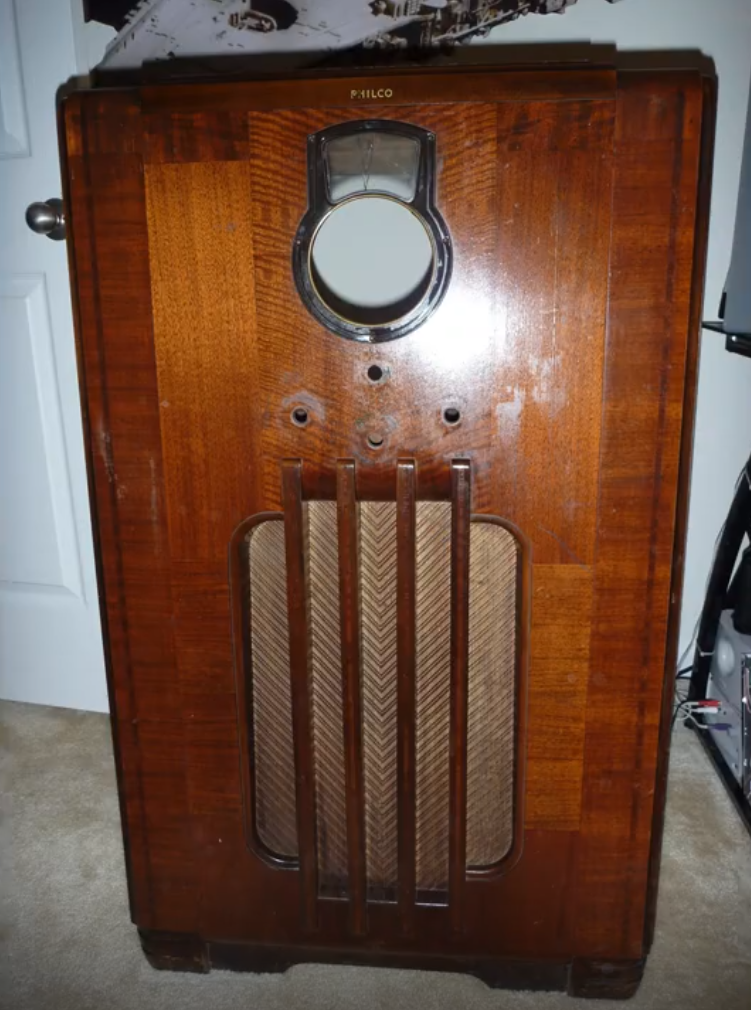
1Get an old radio
First step can be difficult. There are lots of places to get an old radio. But, do you want a cabinet style one? I think they look really cool and can really be a corner piece of your decoration. Especially, if it is functional. A lot of people would rather restore these radios, but they typically only play AM stations if prior to the 1940s. So I did not have much use for a restored radio. In fact, I think I would do this project even if it was working. In any case, grab yourself an old radio.
-
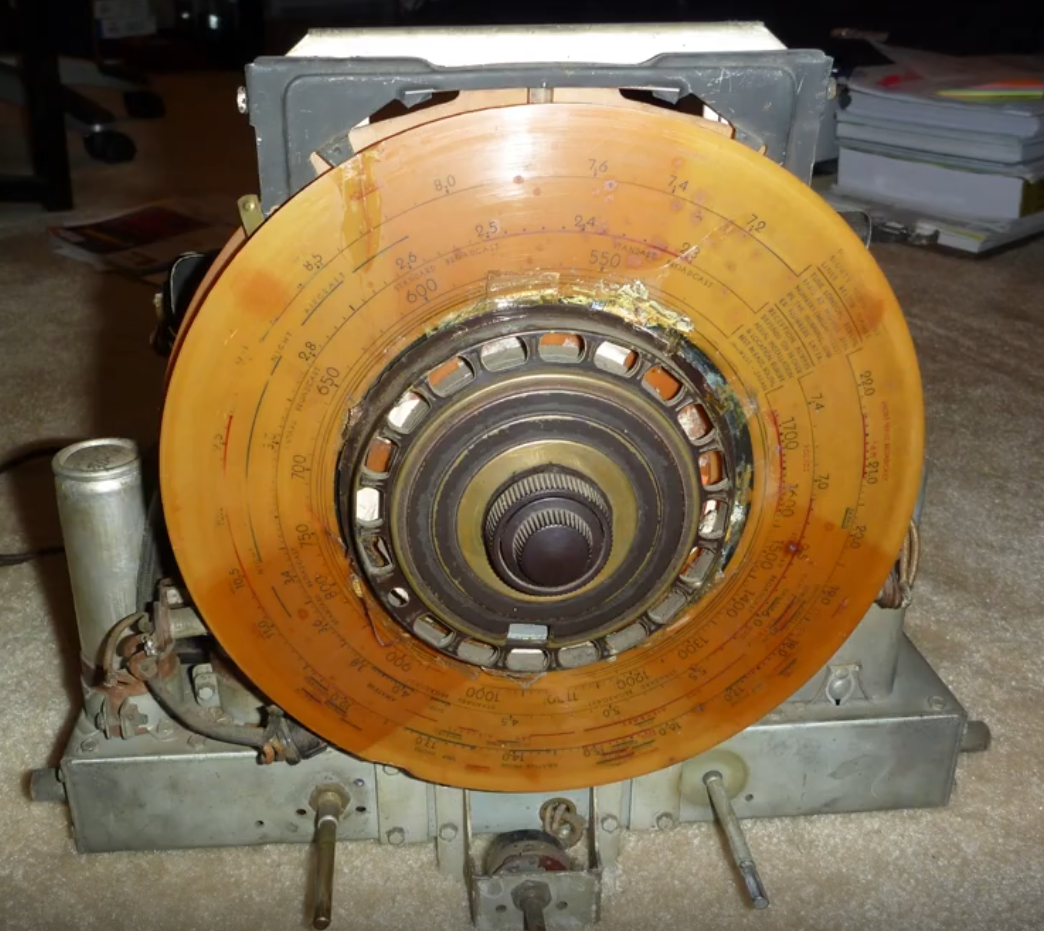
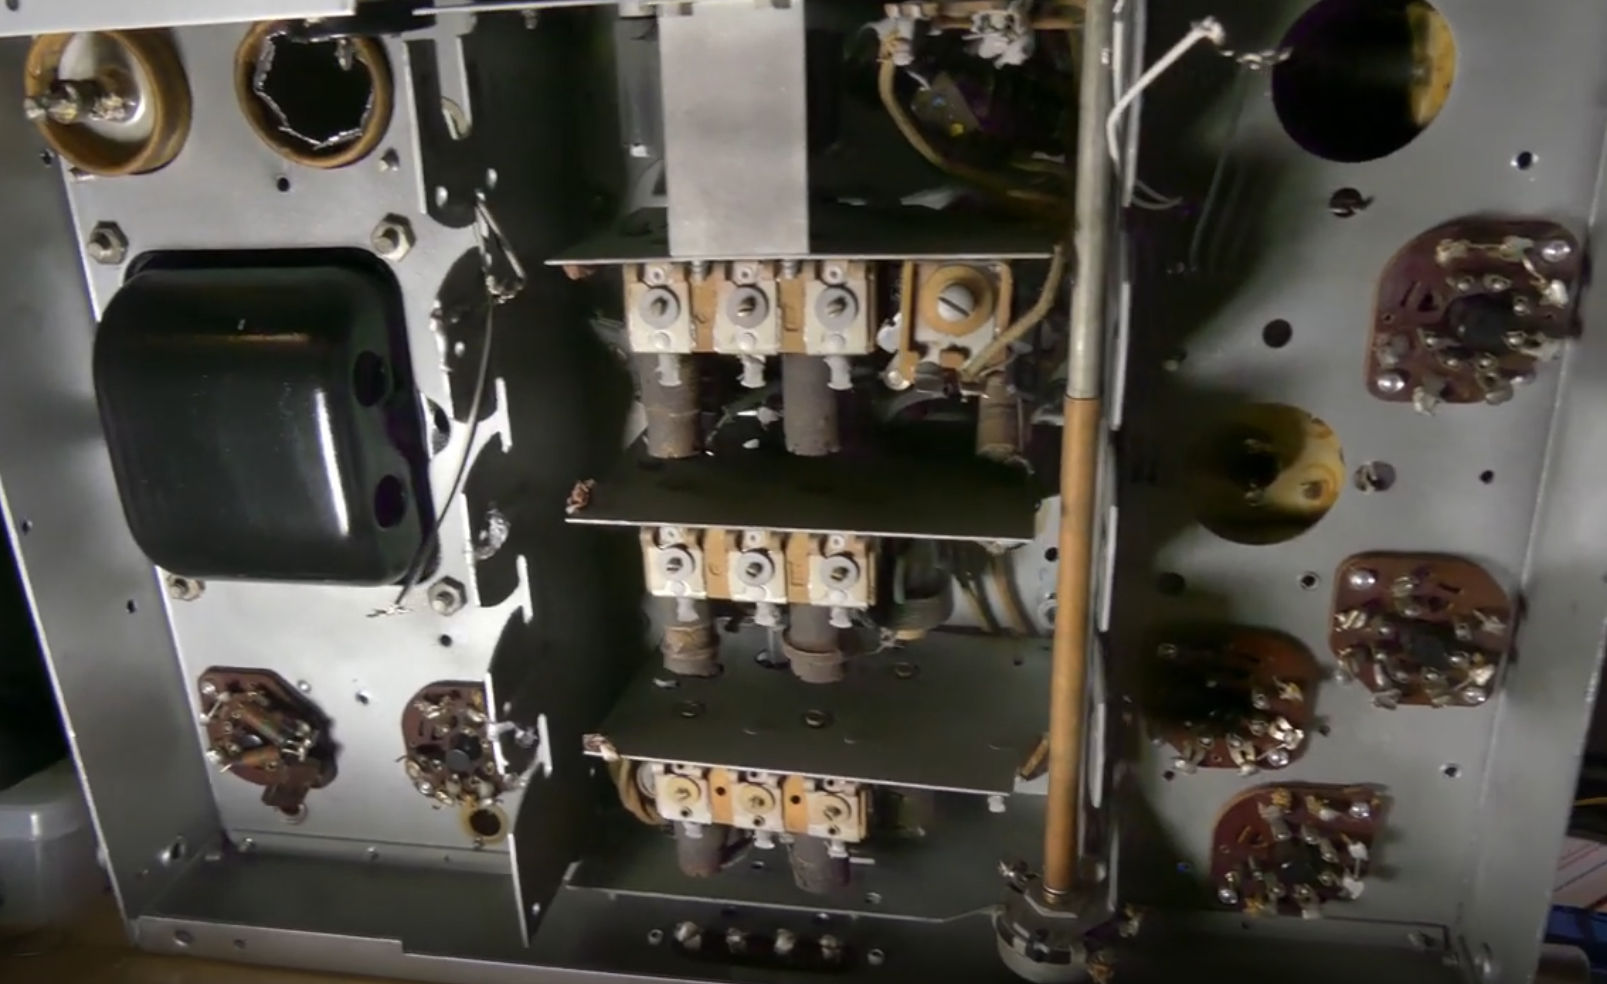
2Clean up radio parts
If the radio has been sitting in the attic for a long time, then there is most likely years of yuck to clean off.
The disassembly and cleaning is one of my favorite parts of the job.
-
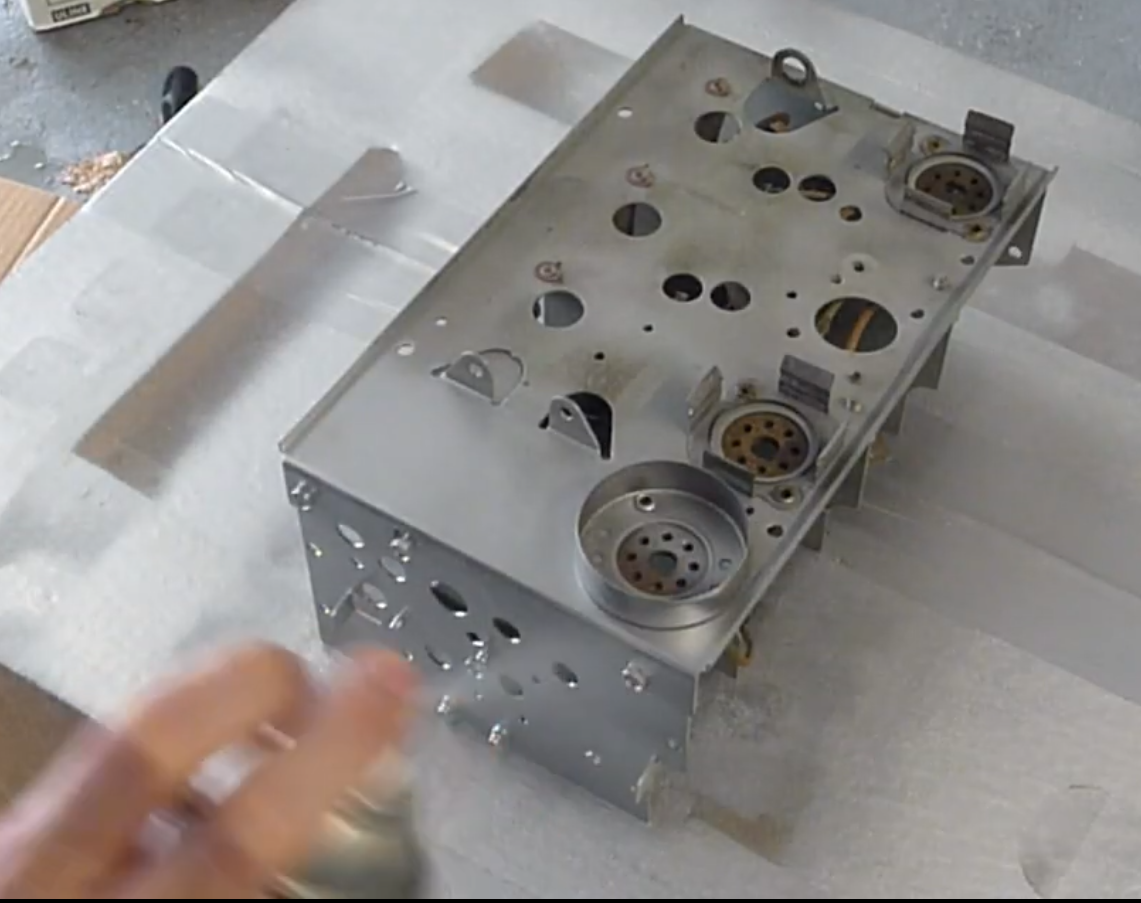
3Fresh paint
In some cases, you may want to paint the platform. Usually these are all bare metal and have a bit of rust on them. I used an aluminum color spray paint to protect the metal.
-
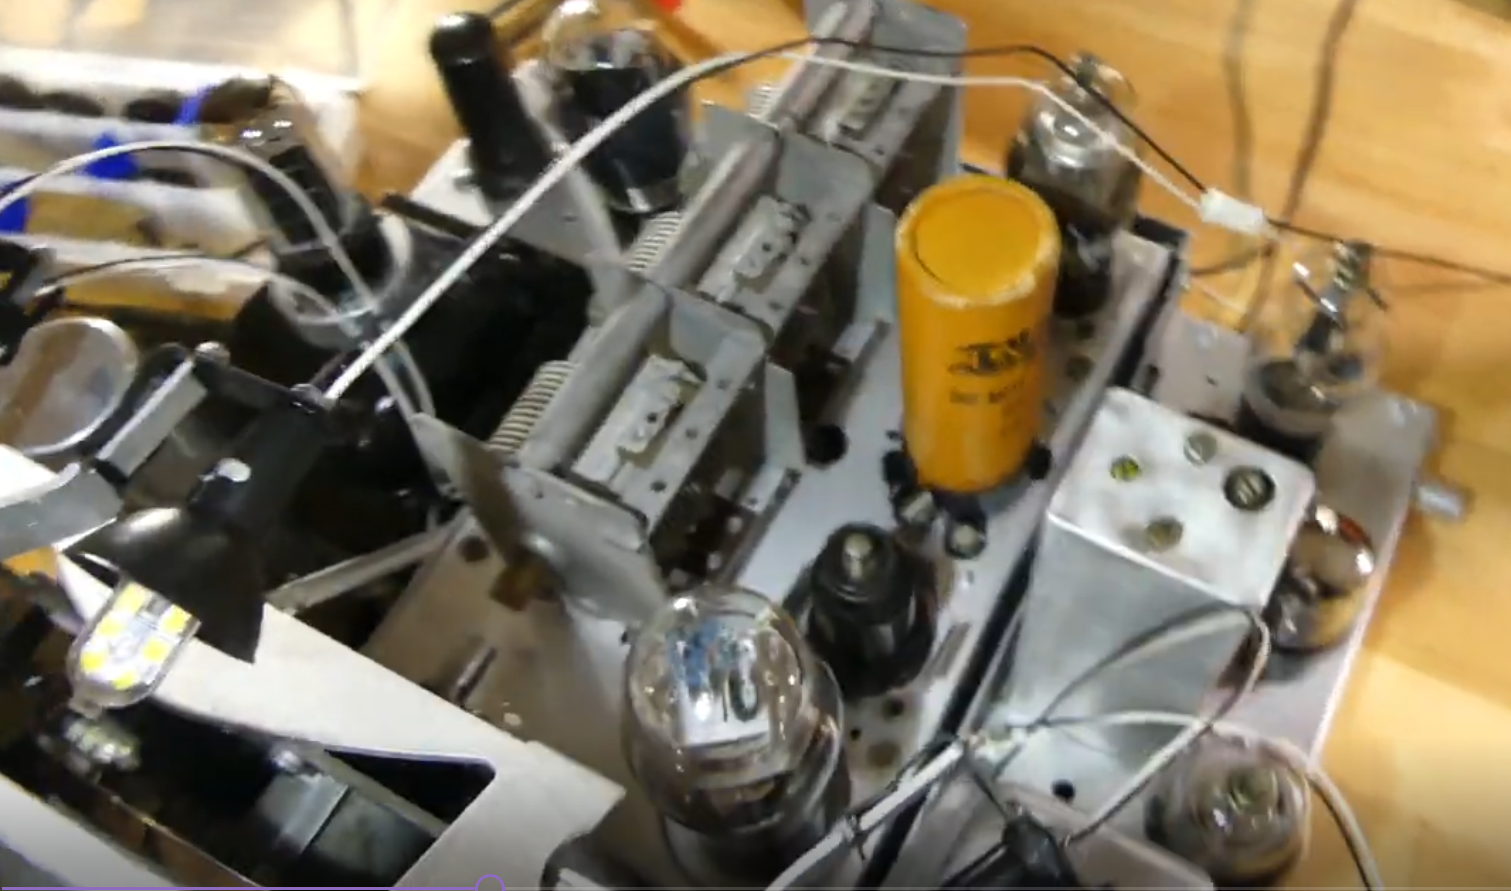
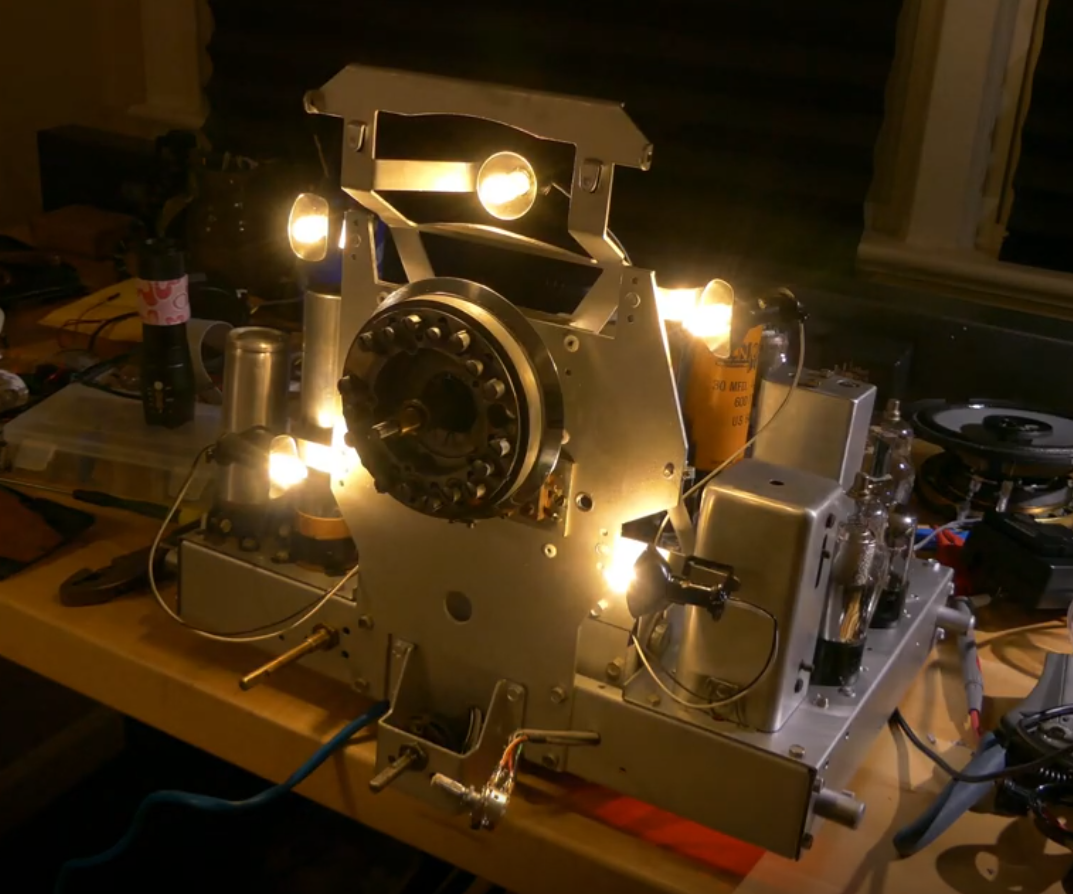
4Clean Assembly
Next thing I did was to assemble the radio hardware without the original circuits to make room for the new equipment. I wanted the radio to look original, so I kept all the external components.
Gutted old circuits.
-
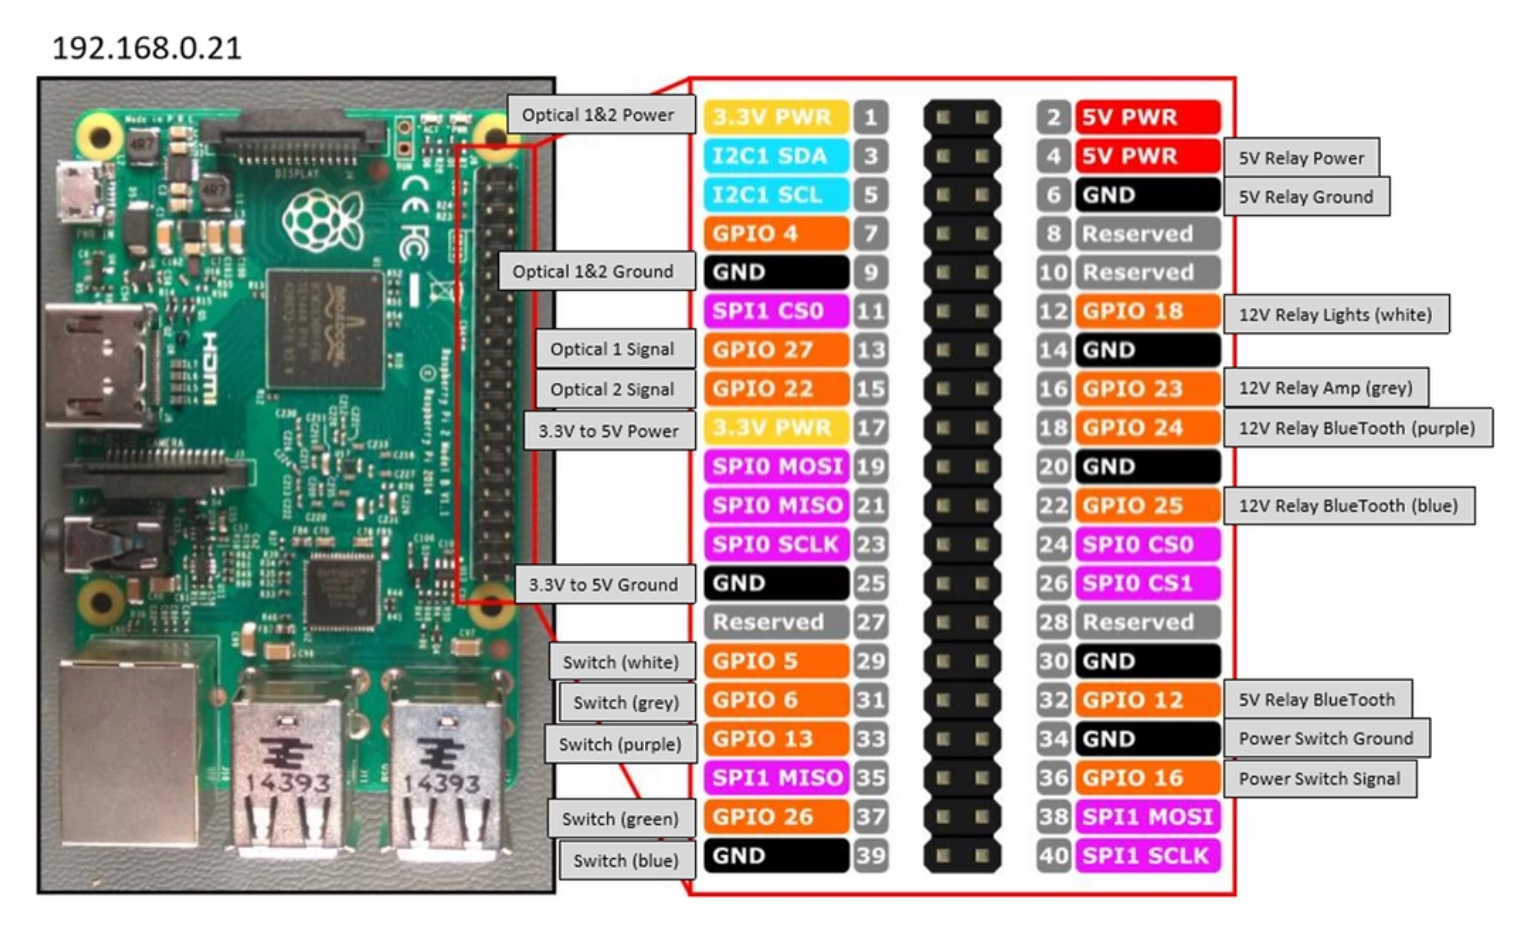
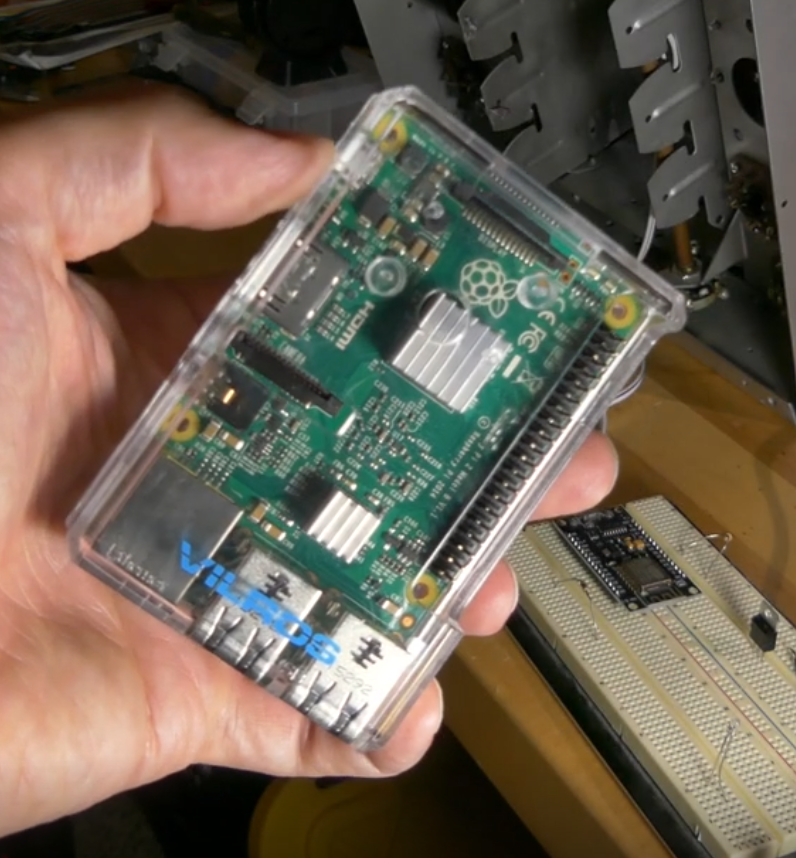
5Raspberry Pi
Next I got a raspberry pi. I used this because it has audio out and a bunch of inputs and outputs I can use to operate the knobs and relays.
-
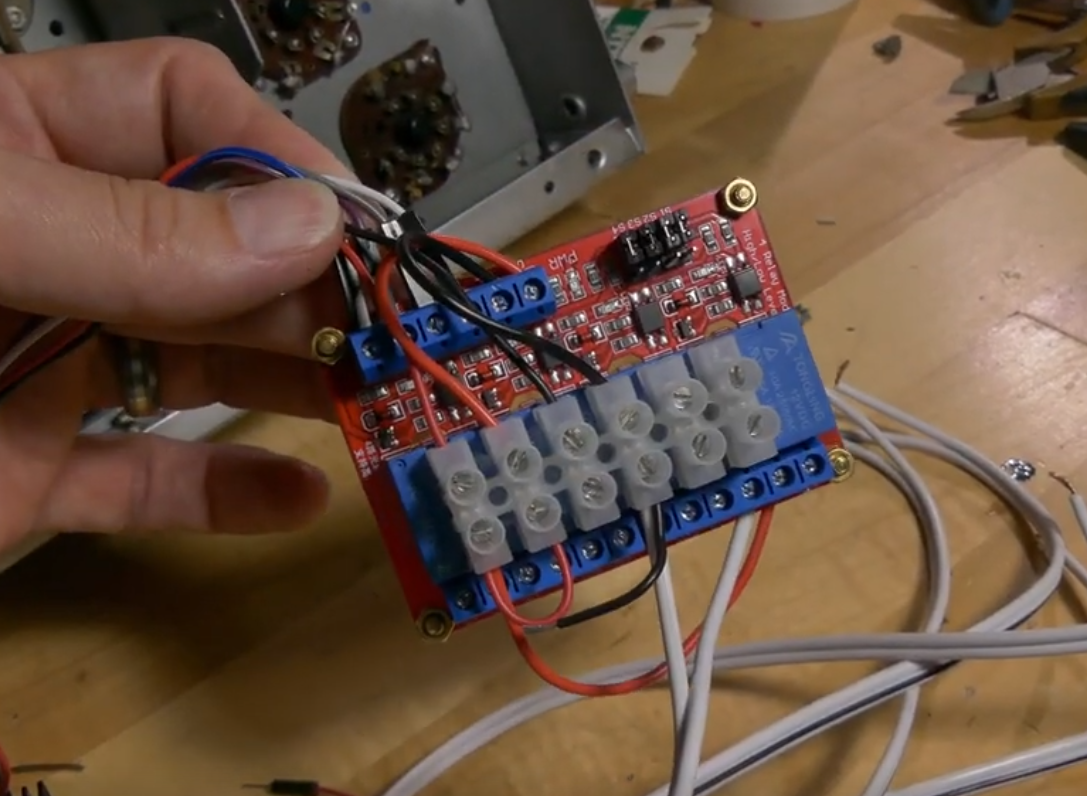
6Relay instal
You will need 5 relays if you follow my exact installation. These are used to turn on the lights, amplifier, and Bluetooth. These connect to the raspberry pi as indicated in the previous step.
-
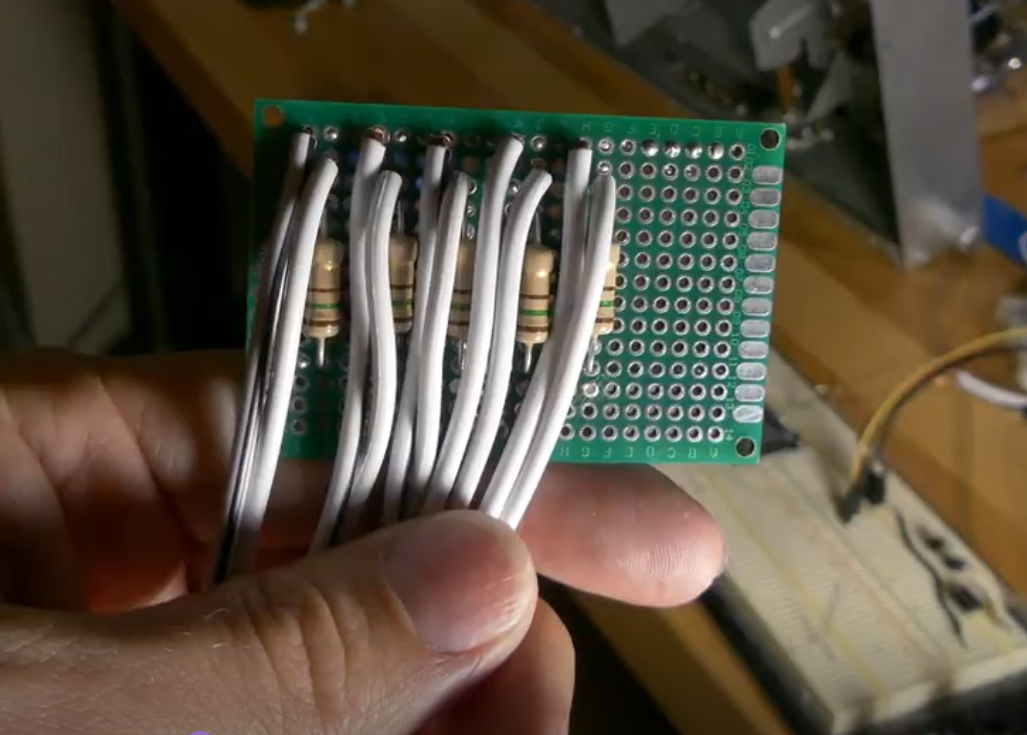
7Resistors for Lights
For this project, I replaced all the lights with soft glow LEDS. But they were still too bright. So I added a resistor pack to lower their brightness. Up to you if you want to do this or not. There were 5 LEDS on the radio to backlight the radio dial.
-
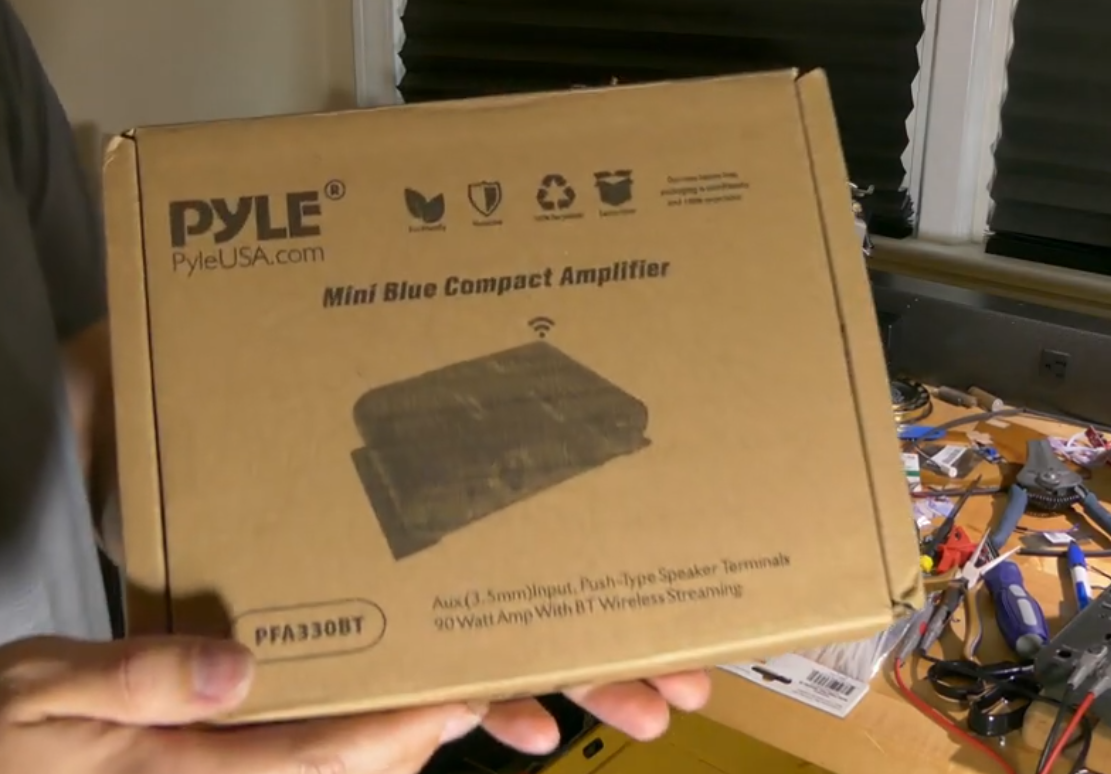
8Source Amplifier
I found this amplifier that had AUX input and bluetooth. This will allow me to play MP3s from the raspberry pi and switch over to streaming music from my phone if needed. It was the PFA330BT.
-
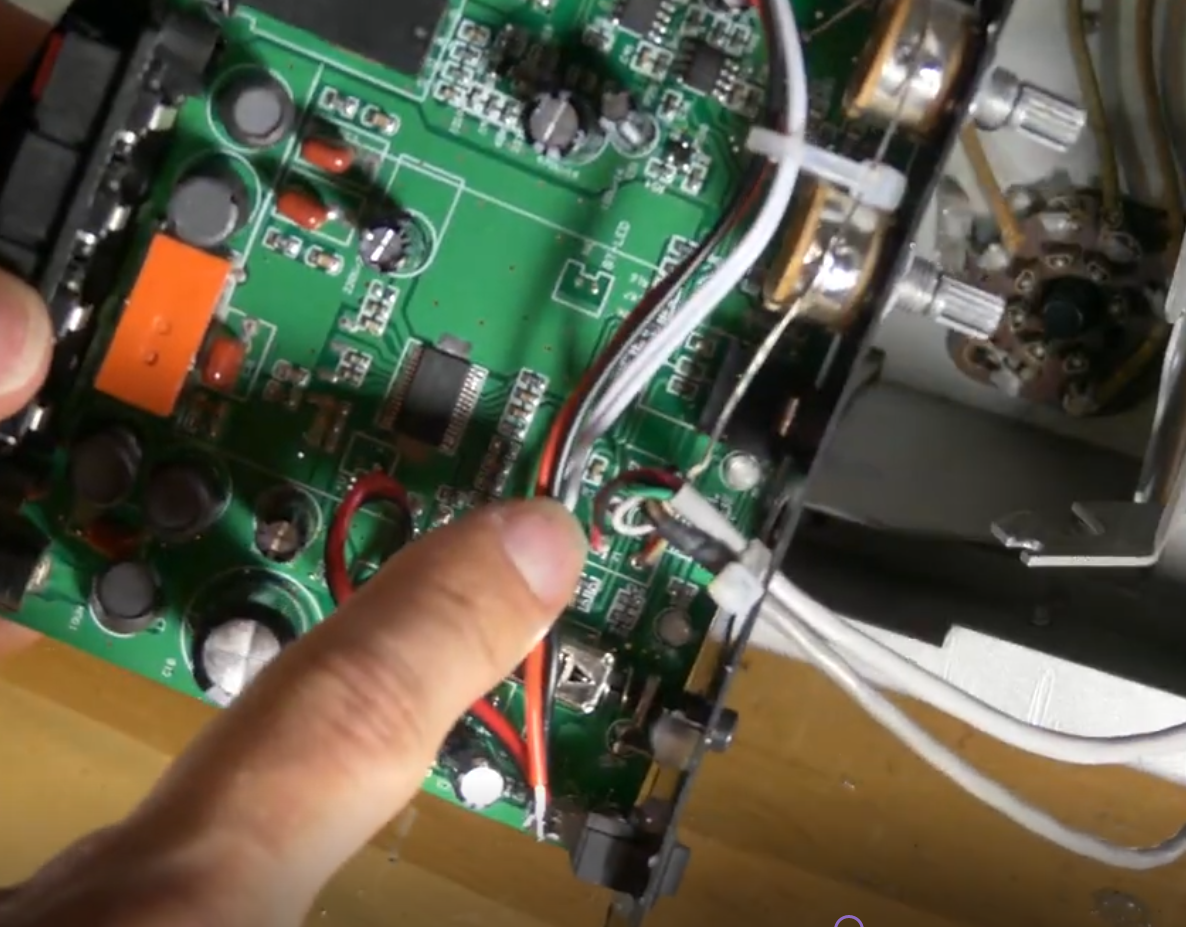
9Take control of amplifier
Here is the most difficult part. You will need to de-solder the volume, power, and aux\Bluetooth switches from the amplifier. The volume knob will just be extended to reach to outside of our cabinet. The power and Aux switch will need to be wired to our relays.
-
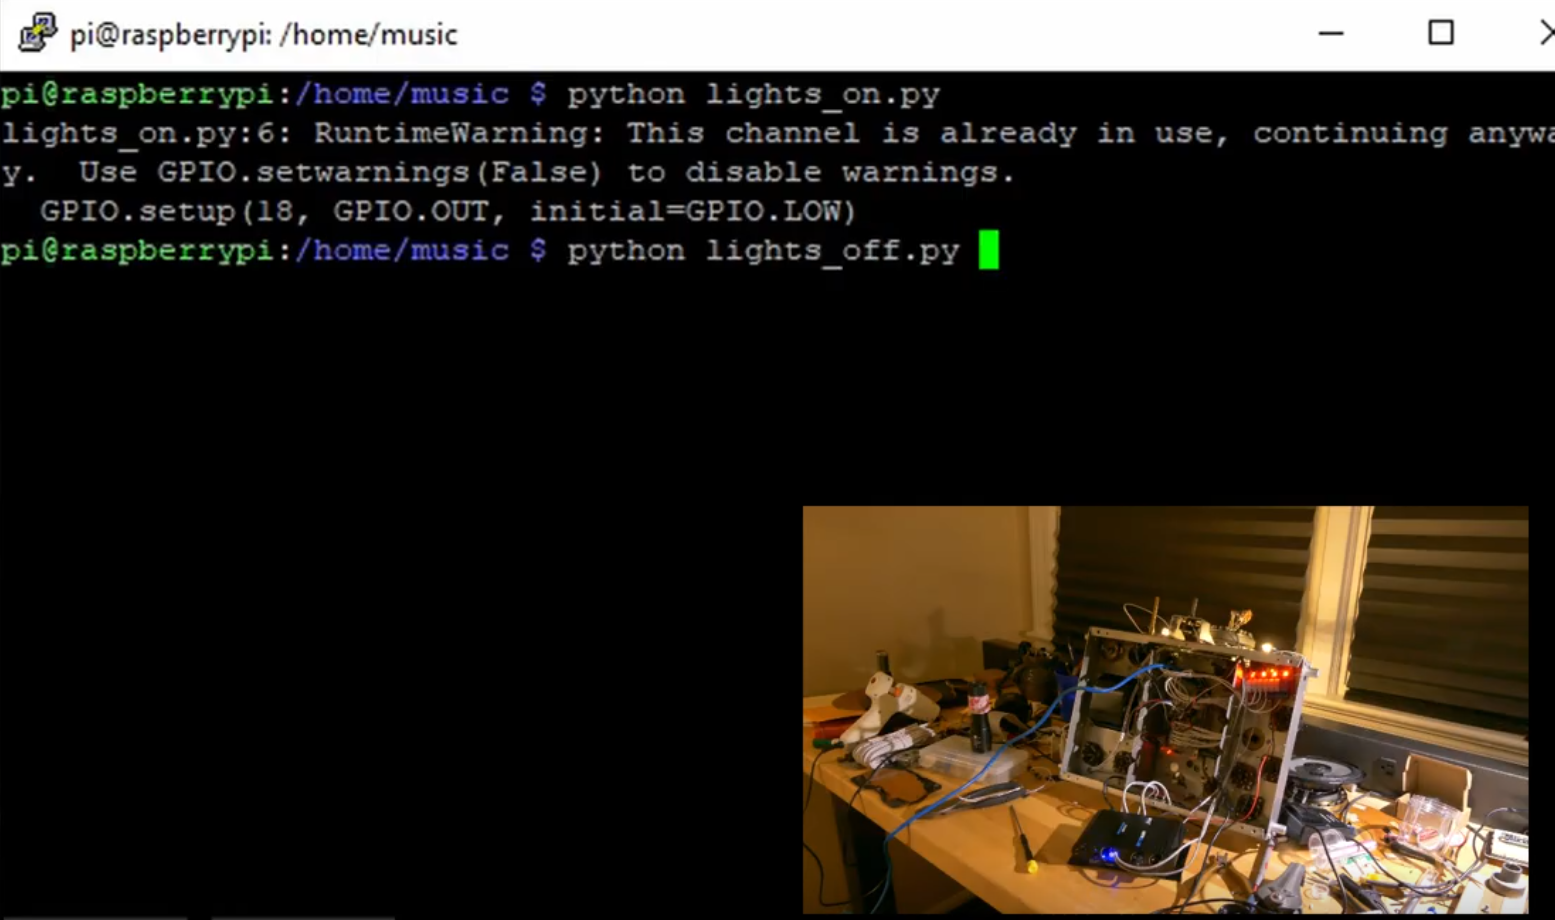
10Testing relays with raspberry
There are some python scripts that you can download from github. They are very simple and used to turn on and off relays. Connect everything and ensure that the raspberry pi can turn on and off the lights and amplifier on command.
Retro Radio
Updated a 1930's cabinet style radio to play music of its era and simulates tuning radio stations. Oh, and it has Bluetooth.
Discussions
Become a Hackaday.io Member
Create an account to leave a comment. Already have an account? Log In.