1. Introduction
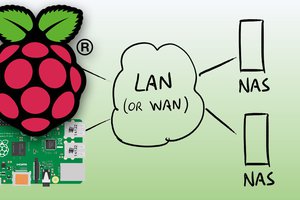
This media server is a device that stores and shares media. It is responsible for hardware as well as software aspects of successful storing and retrieval as well as sharing of media files and data. A media server can be any device having network access and adequate bandwidth for sharing and saving of media. A server, PC, network-attached storage (NAS) or any other device with such storage capability can be used as a media server. Commercial media servers act as aggregators of information: video, audio, photos and books, and other types of media can all be accessed via a network.
Plex indexes all Movies, TV shows and Music, gathers beautiful posters and artwork, cast and crew info, Rotten Tomatoes ratings, and provides a nice clean interface where all media can live and come alive.
2. Methodology
Media is usually streamed from prerecorded files but can also be distributed as part of a live broadcast feed. In a live broadcast, the video signal is converted into a compressed digital signal and transmitted from a Web server as multicast, sending a single file to multiple users at the same time.
Streaming media is transmitted by a server application and received and displayed in real-time by a client application called a media player. A media player can be either an integral part of a browser, a plug-in, a separate program, or a dedicated device. Frequently, video files come with embedded players.
Streaming media technologies have improved significantly since the 1990s, when delivery was typically uneven. However, the quality of streamed content is still dependent upon the user's connection speed.
3. Hardware for Media Server
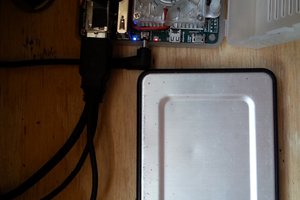
- ELB-REV4 iSCADA
- 16GB (or greater) micro SD Card class 10 (or faster) (and a card reader, duh)
- Power bank (5.0 volt)
- External USB Hard Drive (the bigger the better) with an external power.
4. Software Configuration and Testing
sudo apt-get update
sudo apt-get upgrade
With this done, reboot the pi using;
sudo reboot
Step 2: Static IP Address
sudo hostname -I
This will display the current IP address. Copy and keep safe.
sudo nano /boot/cmdline.txt
Add the below line at the end of the file, replace "IP_ADDRESS" with your IP address"
ip=IP_ADDRESS
Reboot the raspberry pi to effect changes.
sudo reboot.
step 3: Install HTTPS transport package
Install (or confirm that it already installed) the HTTPS transport. This though comes with newer version of the raspbian and its needed to be able to access the https packages via apt-get.
sudo apt-get install apt-transport-https
Step 4: Get the dev2day repository
The next thing need to do is get the dev2day repository (A project documentation on plex) which contains Plex but to do this we need a crypt O key for the dev2day website.
To get the crypt O key;
wget -O – https://dev2day.de/pms/dev2day-pms.gpg.key | sudo apt-key add -
echo “deb https://dev2day.de/pms/ jessie main ” | sudo tee /etc/apt/sources.list.d/pms.list
It will just return a line with the echoed input.
Finally, update the package list using;
sudo apt-get update
Reboot the pi and move on to the next step when it comes back on.
sudo reboot
Step 5: Install Plex Media Server
sudo apt-get install -t jessie plexmediaserver
Step 6: Setup Plex to run on the ‘Pi’ user
Setup Plex to run on the ‘Pi’ user with which we are logged in. To do this edit the plexmediaserver.prev file and change the user from plex to pi. To do this we use
sudo nano /etc/default/plexmediaserver.prev
This will open up a text file.
PLEX_MEDIA_SERVER_USER=plex
Change it so it becomes;
PLEX_MEDIA_SERVER_USER=pi.
Save the text file as usual and exit using CTRL+X and then y.
Restart plex server to effect changes using;
sudo service plexmediaserver restart
with this done, reboot pi once again that effect the final...
Read more » ensafatef
 diddy
diddy
 tlankford01
 Dmitry
 Guy Dupont