Kenneth Marut
-
Some updates...
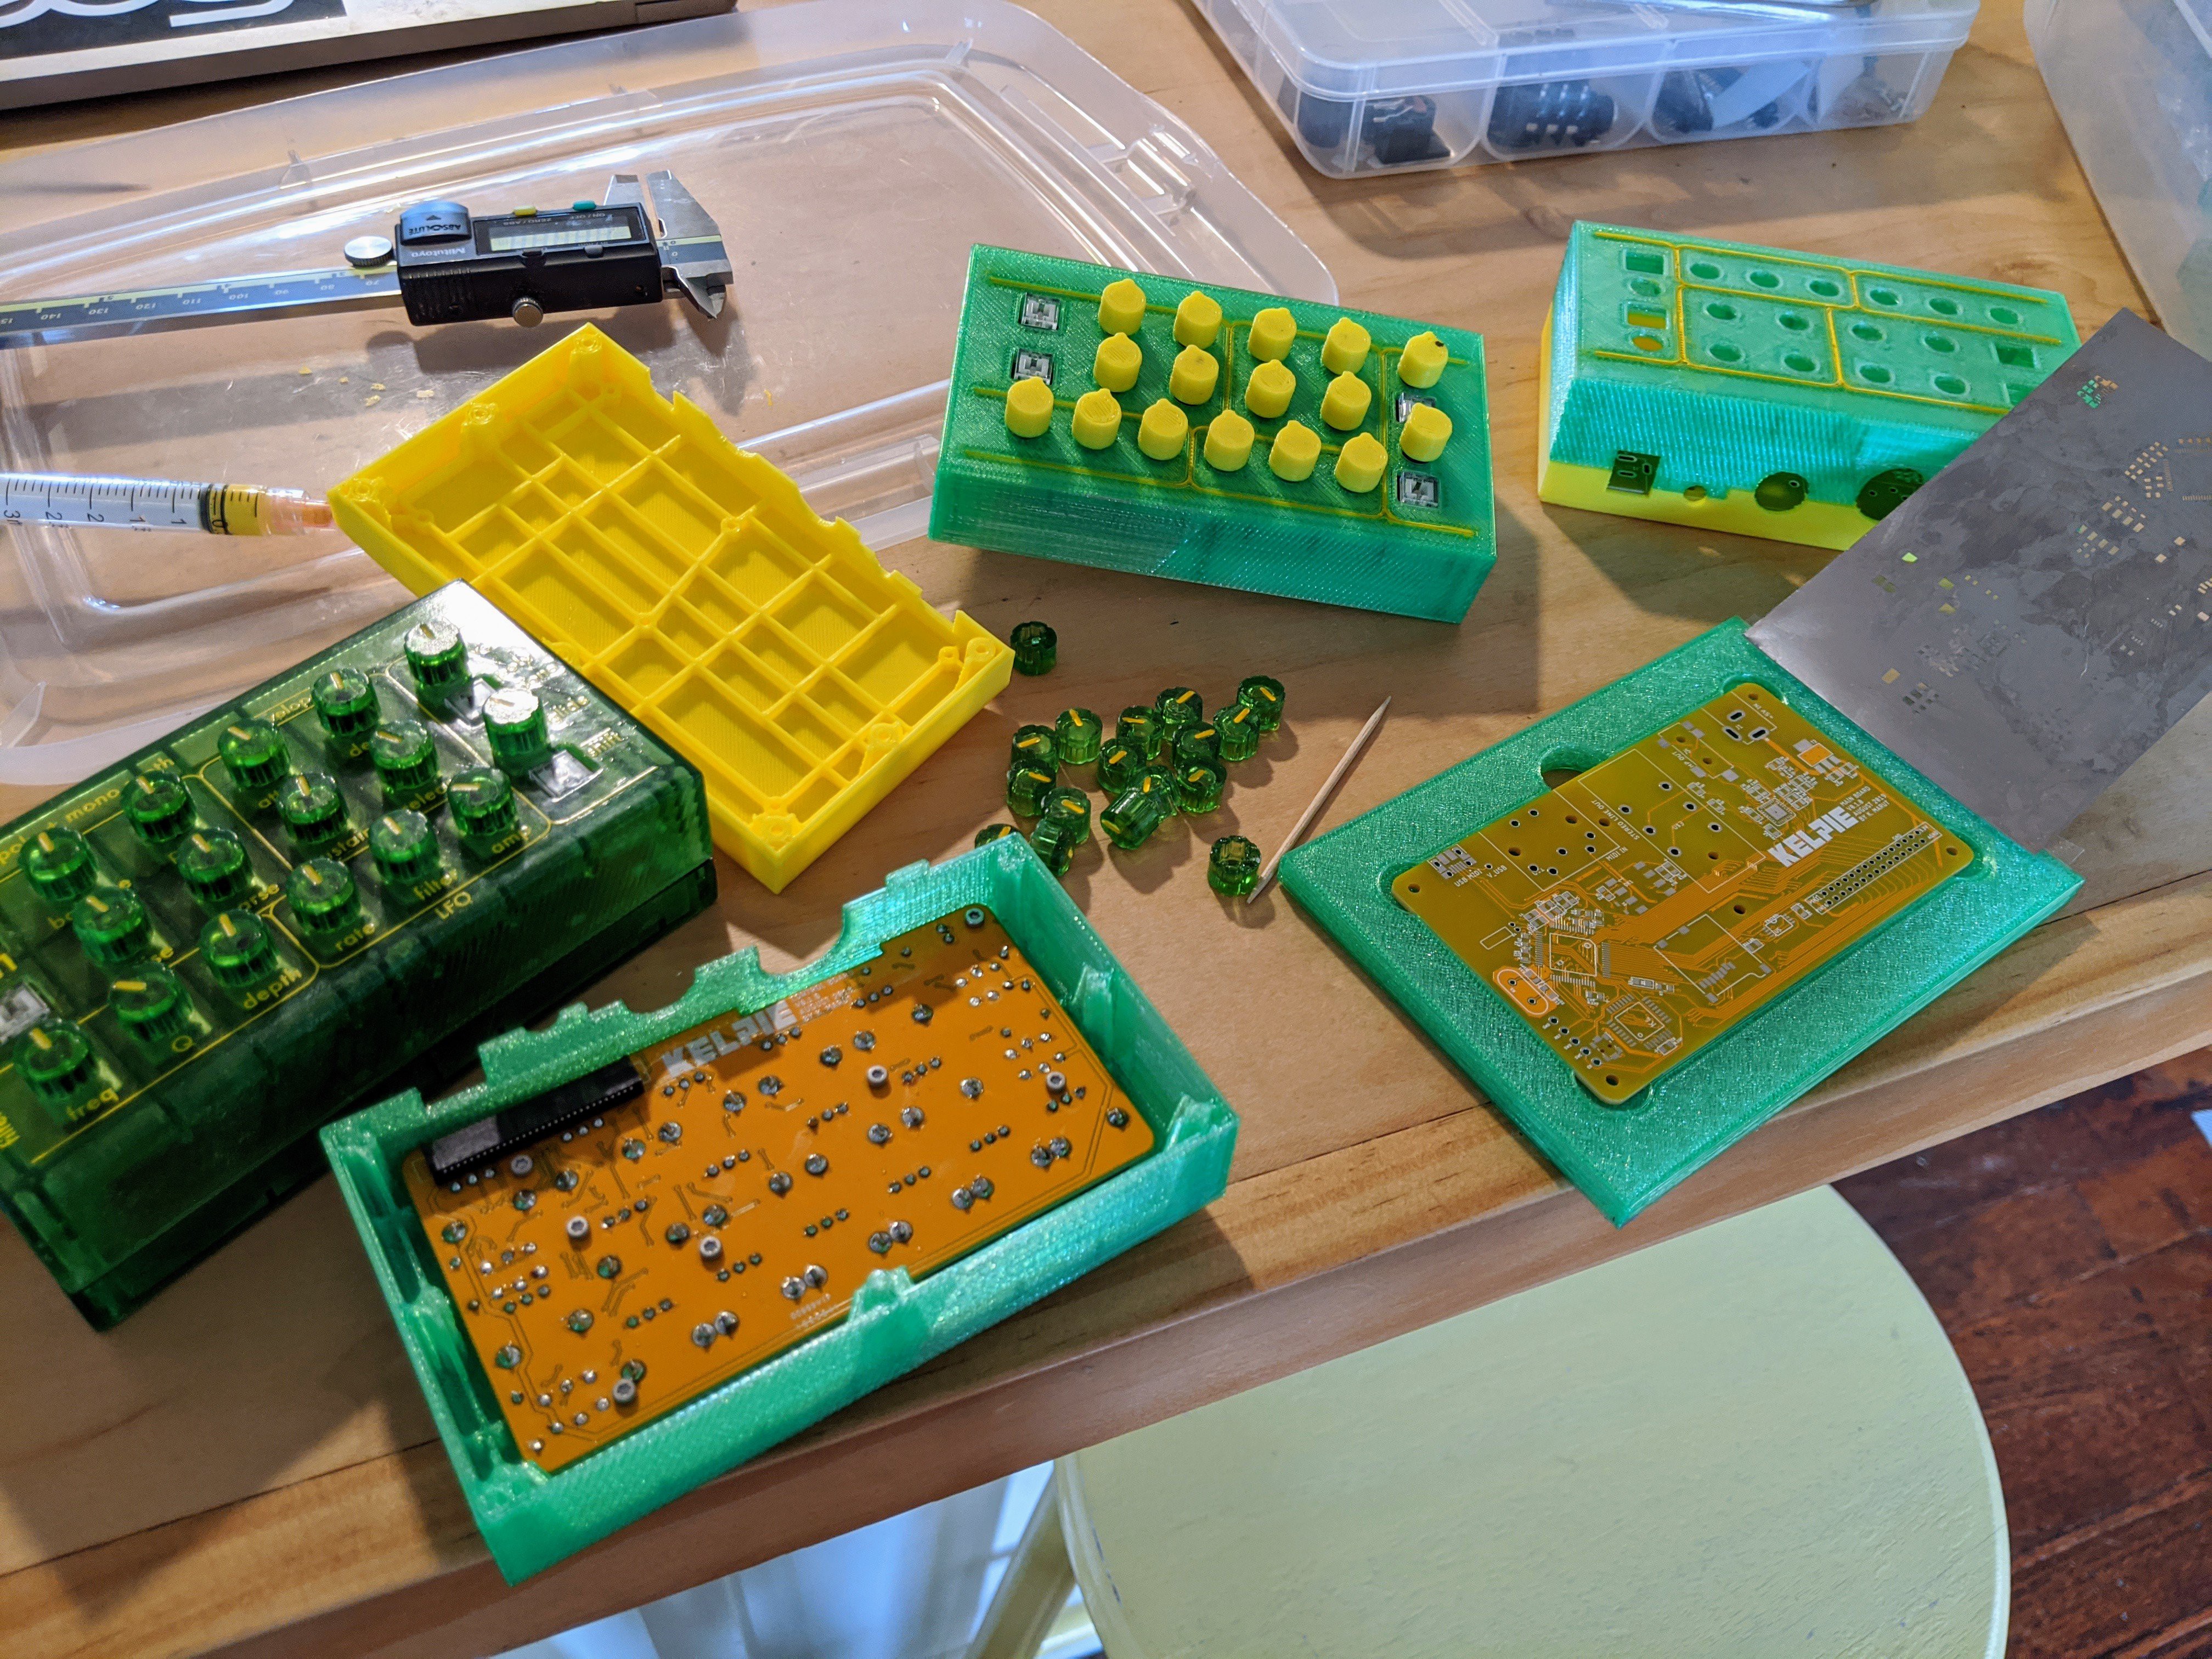
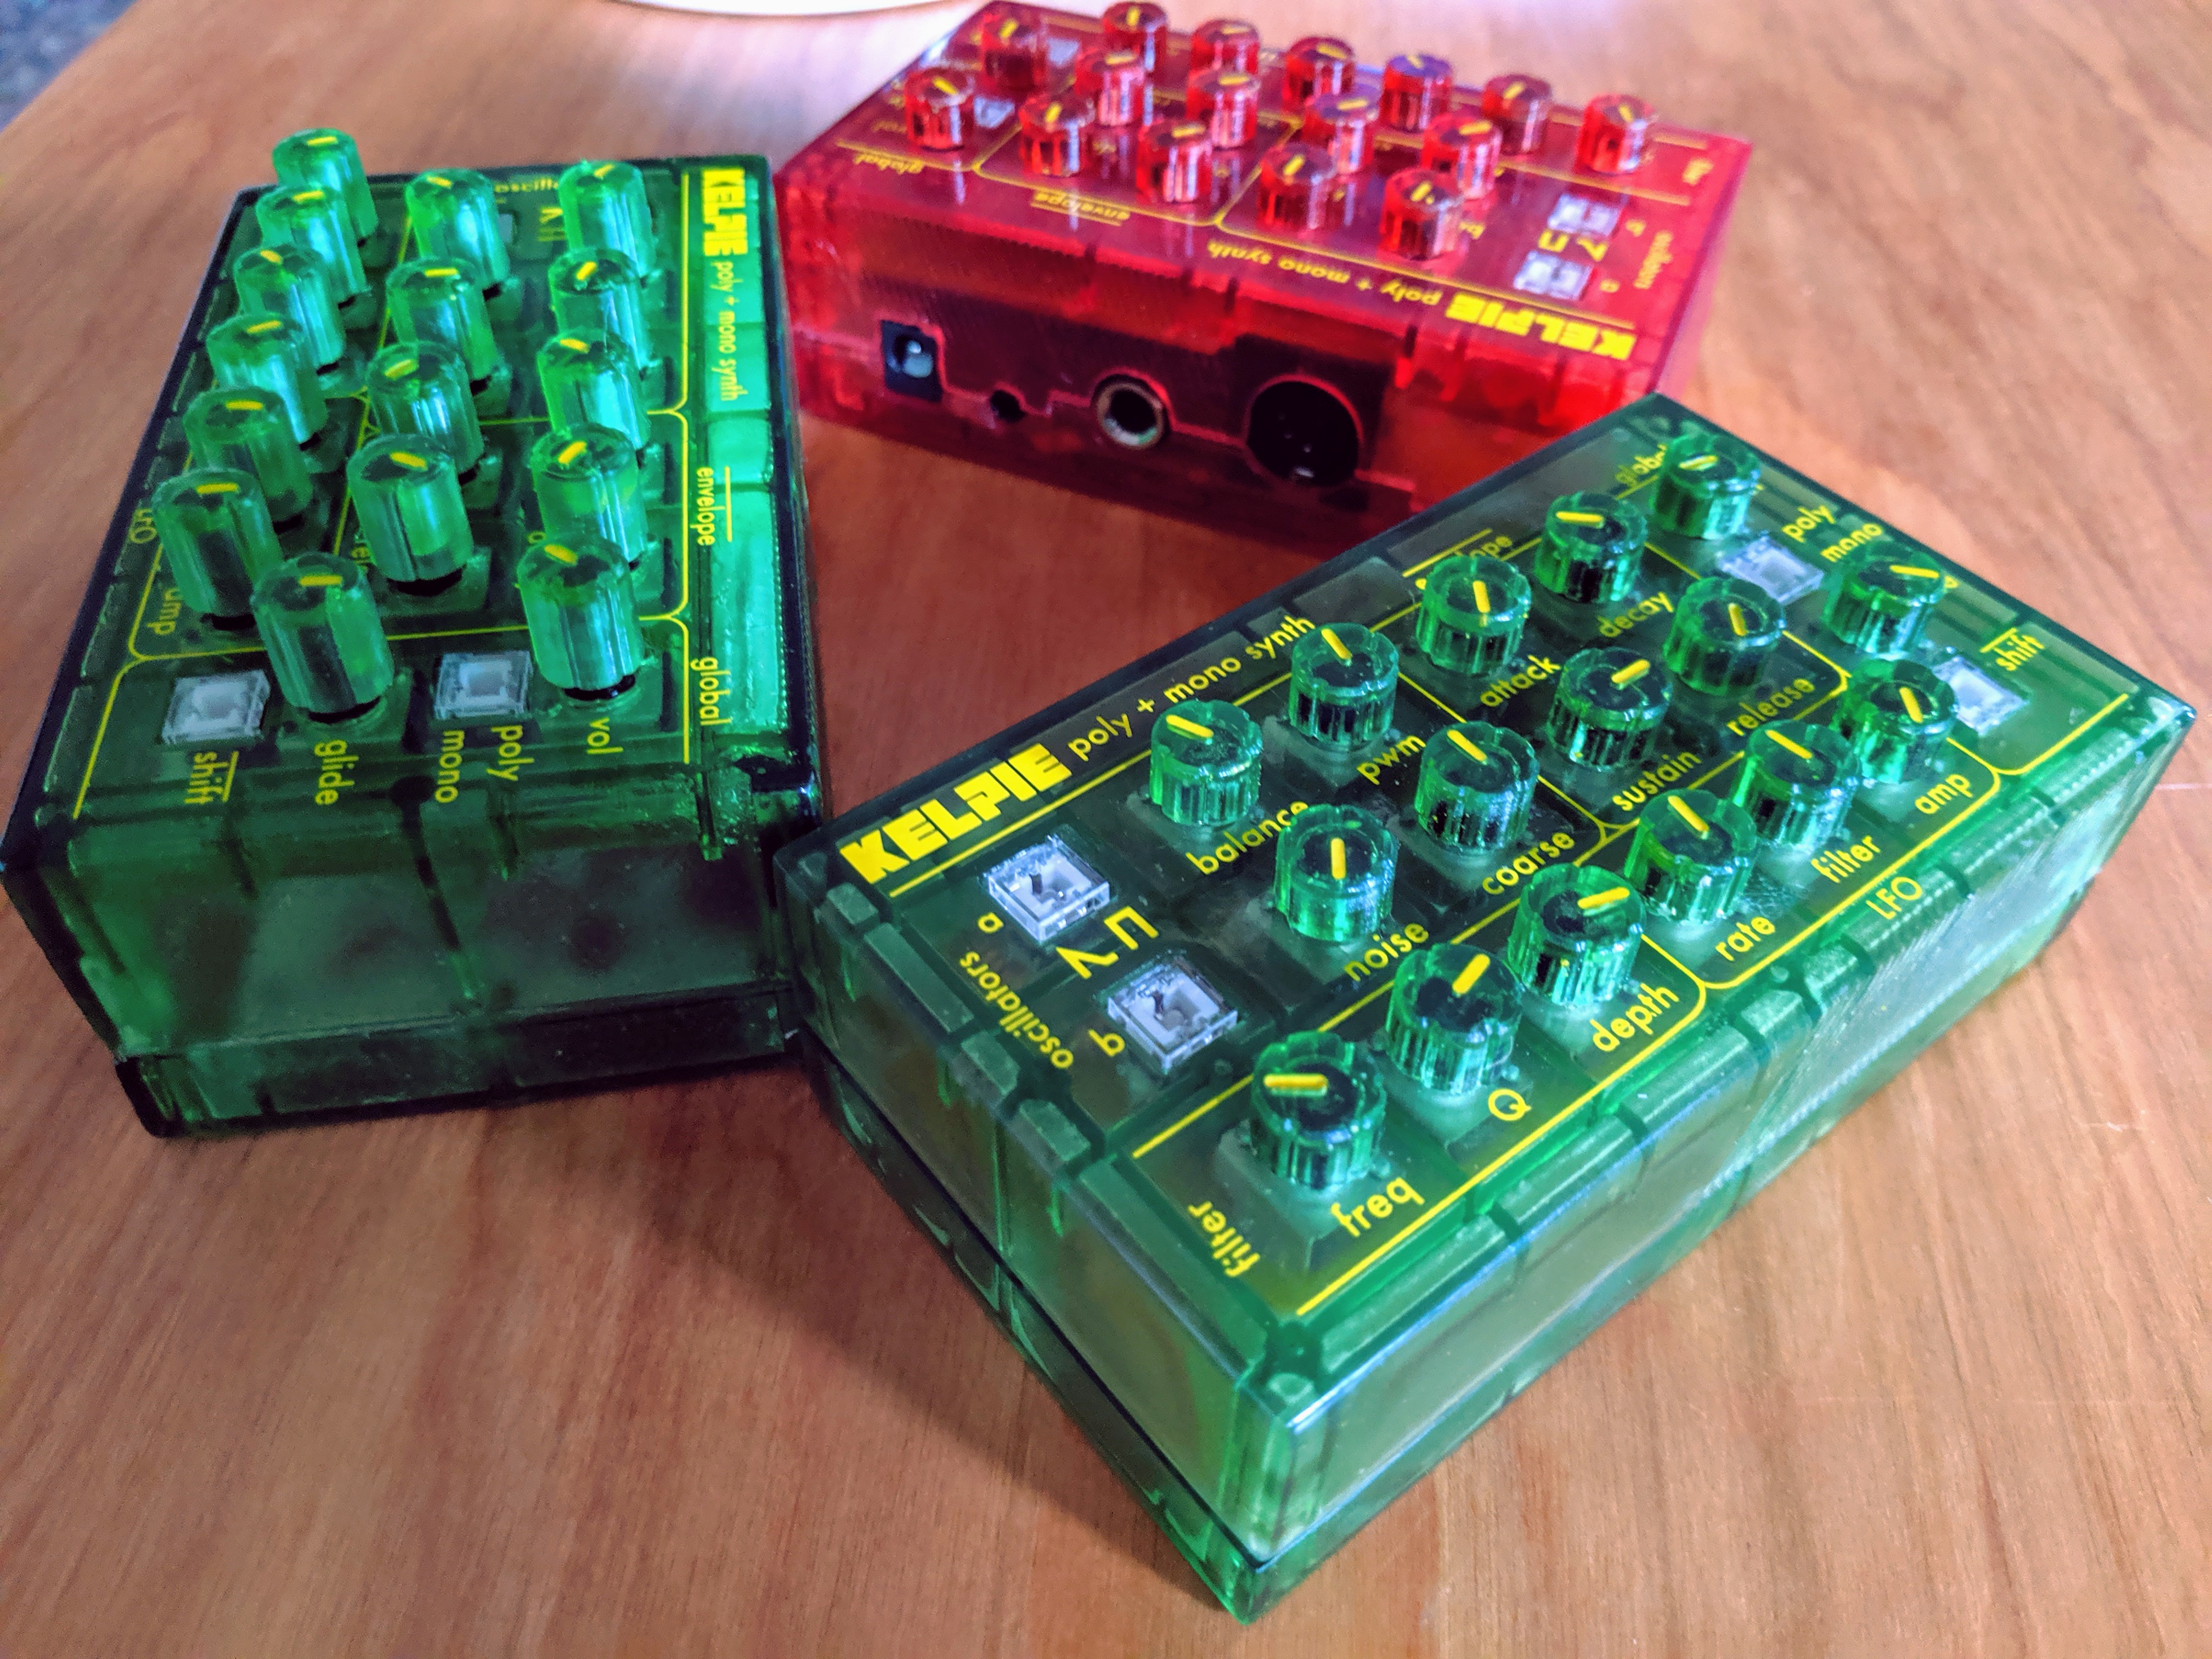
02/25/2020 at 01:07 • 0 commentsI've recently been exploring the idea of kit-ifying this synth and designing an FDM "print-your-own" enclosure. Here's a photo of some recent design iterations that have a lemon-y feel to them. I've also printed out a nice stencil jig for soldering which has really helped with assembly :)
![]()
-
An FDM enclosure
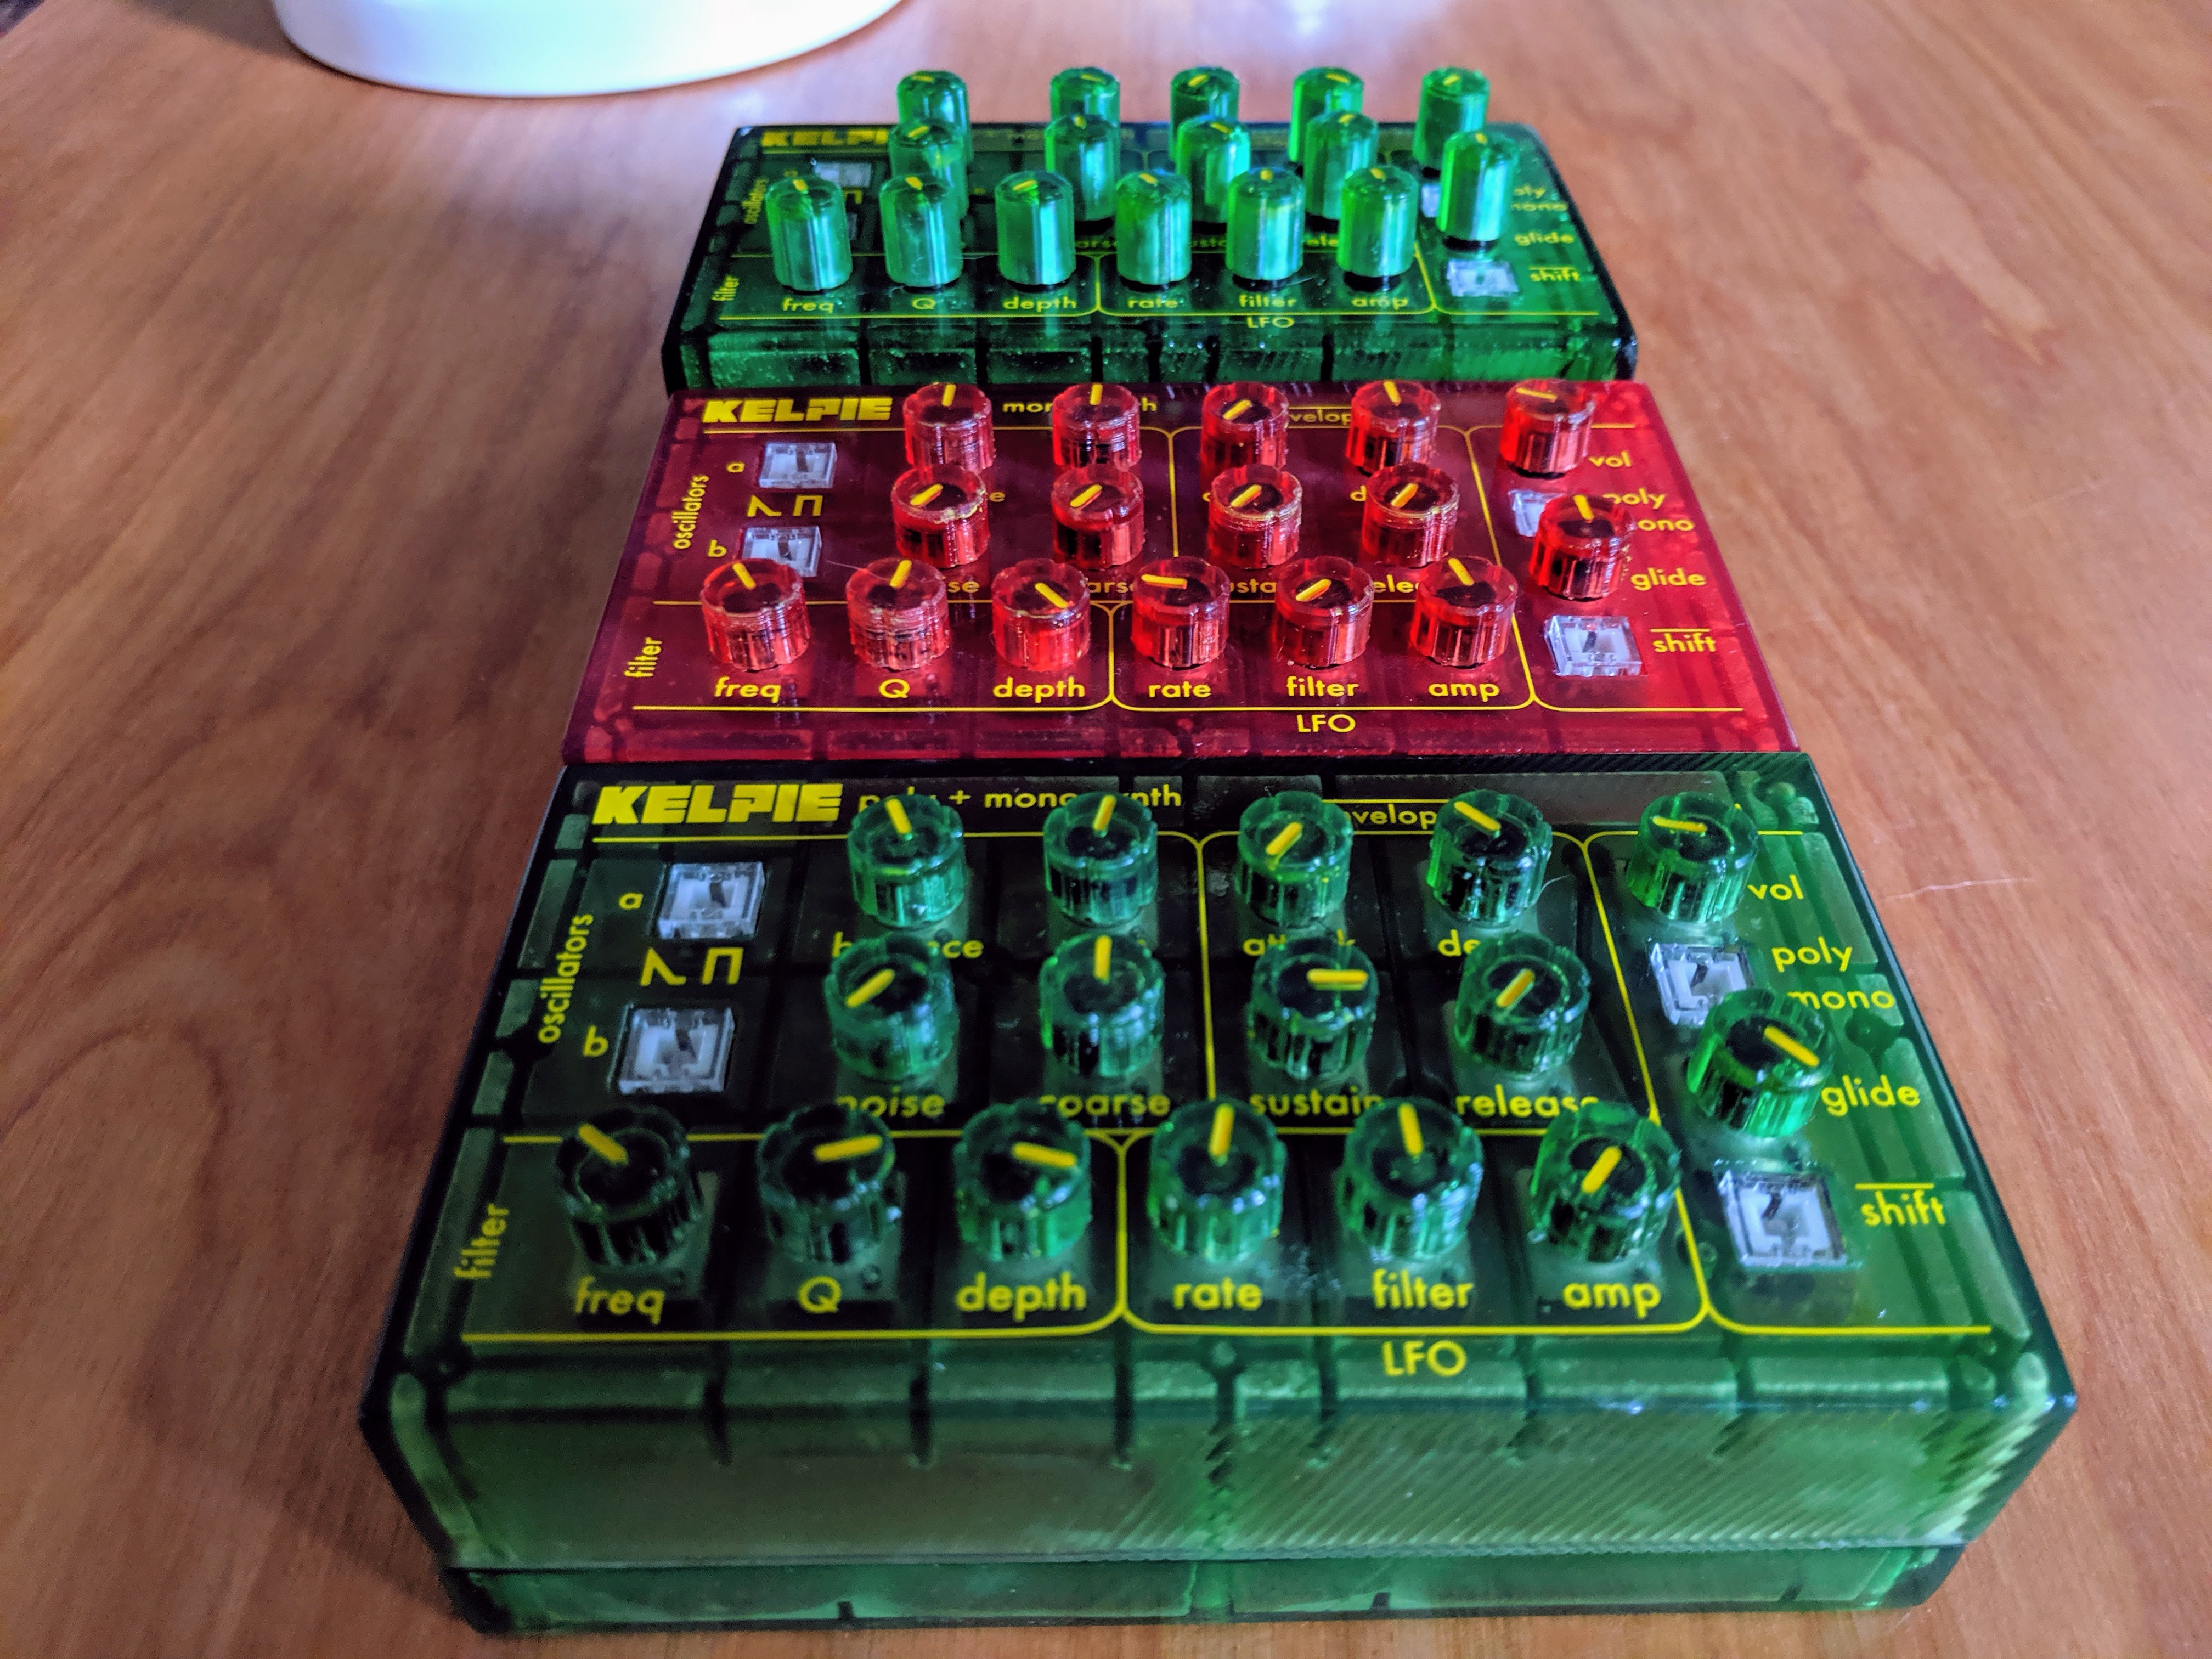
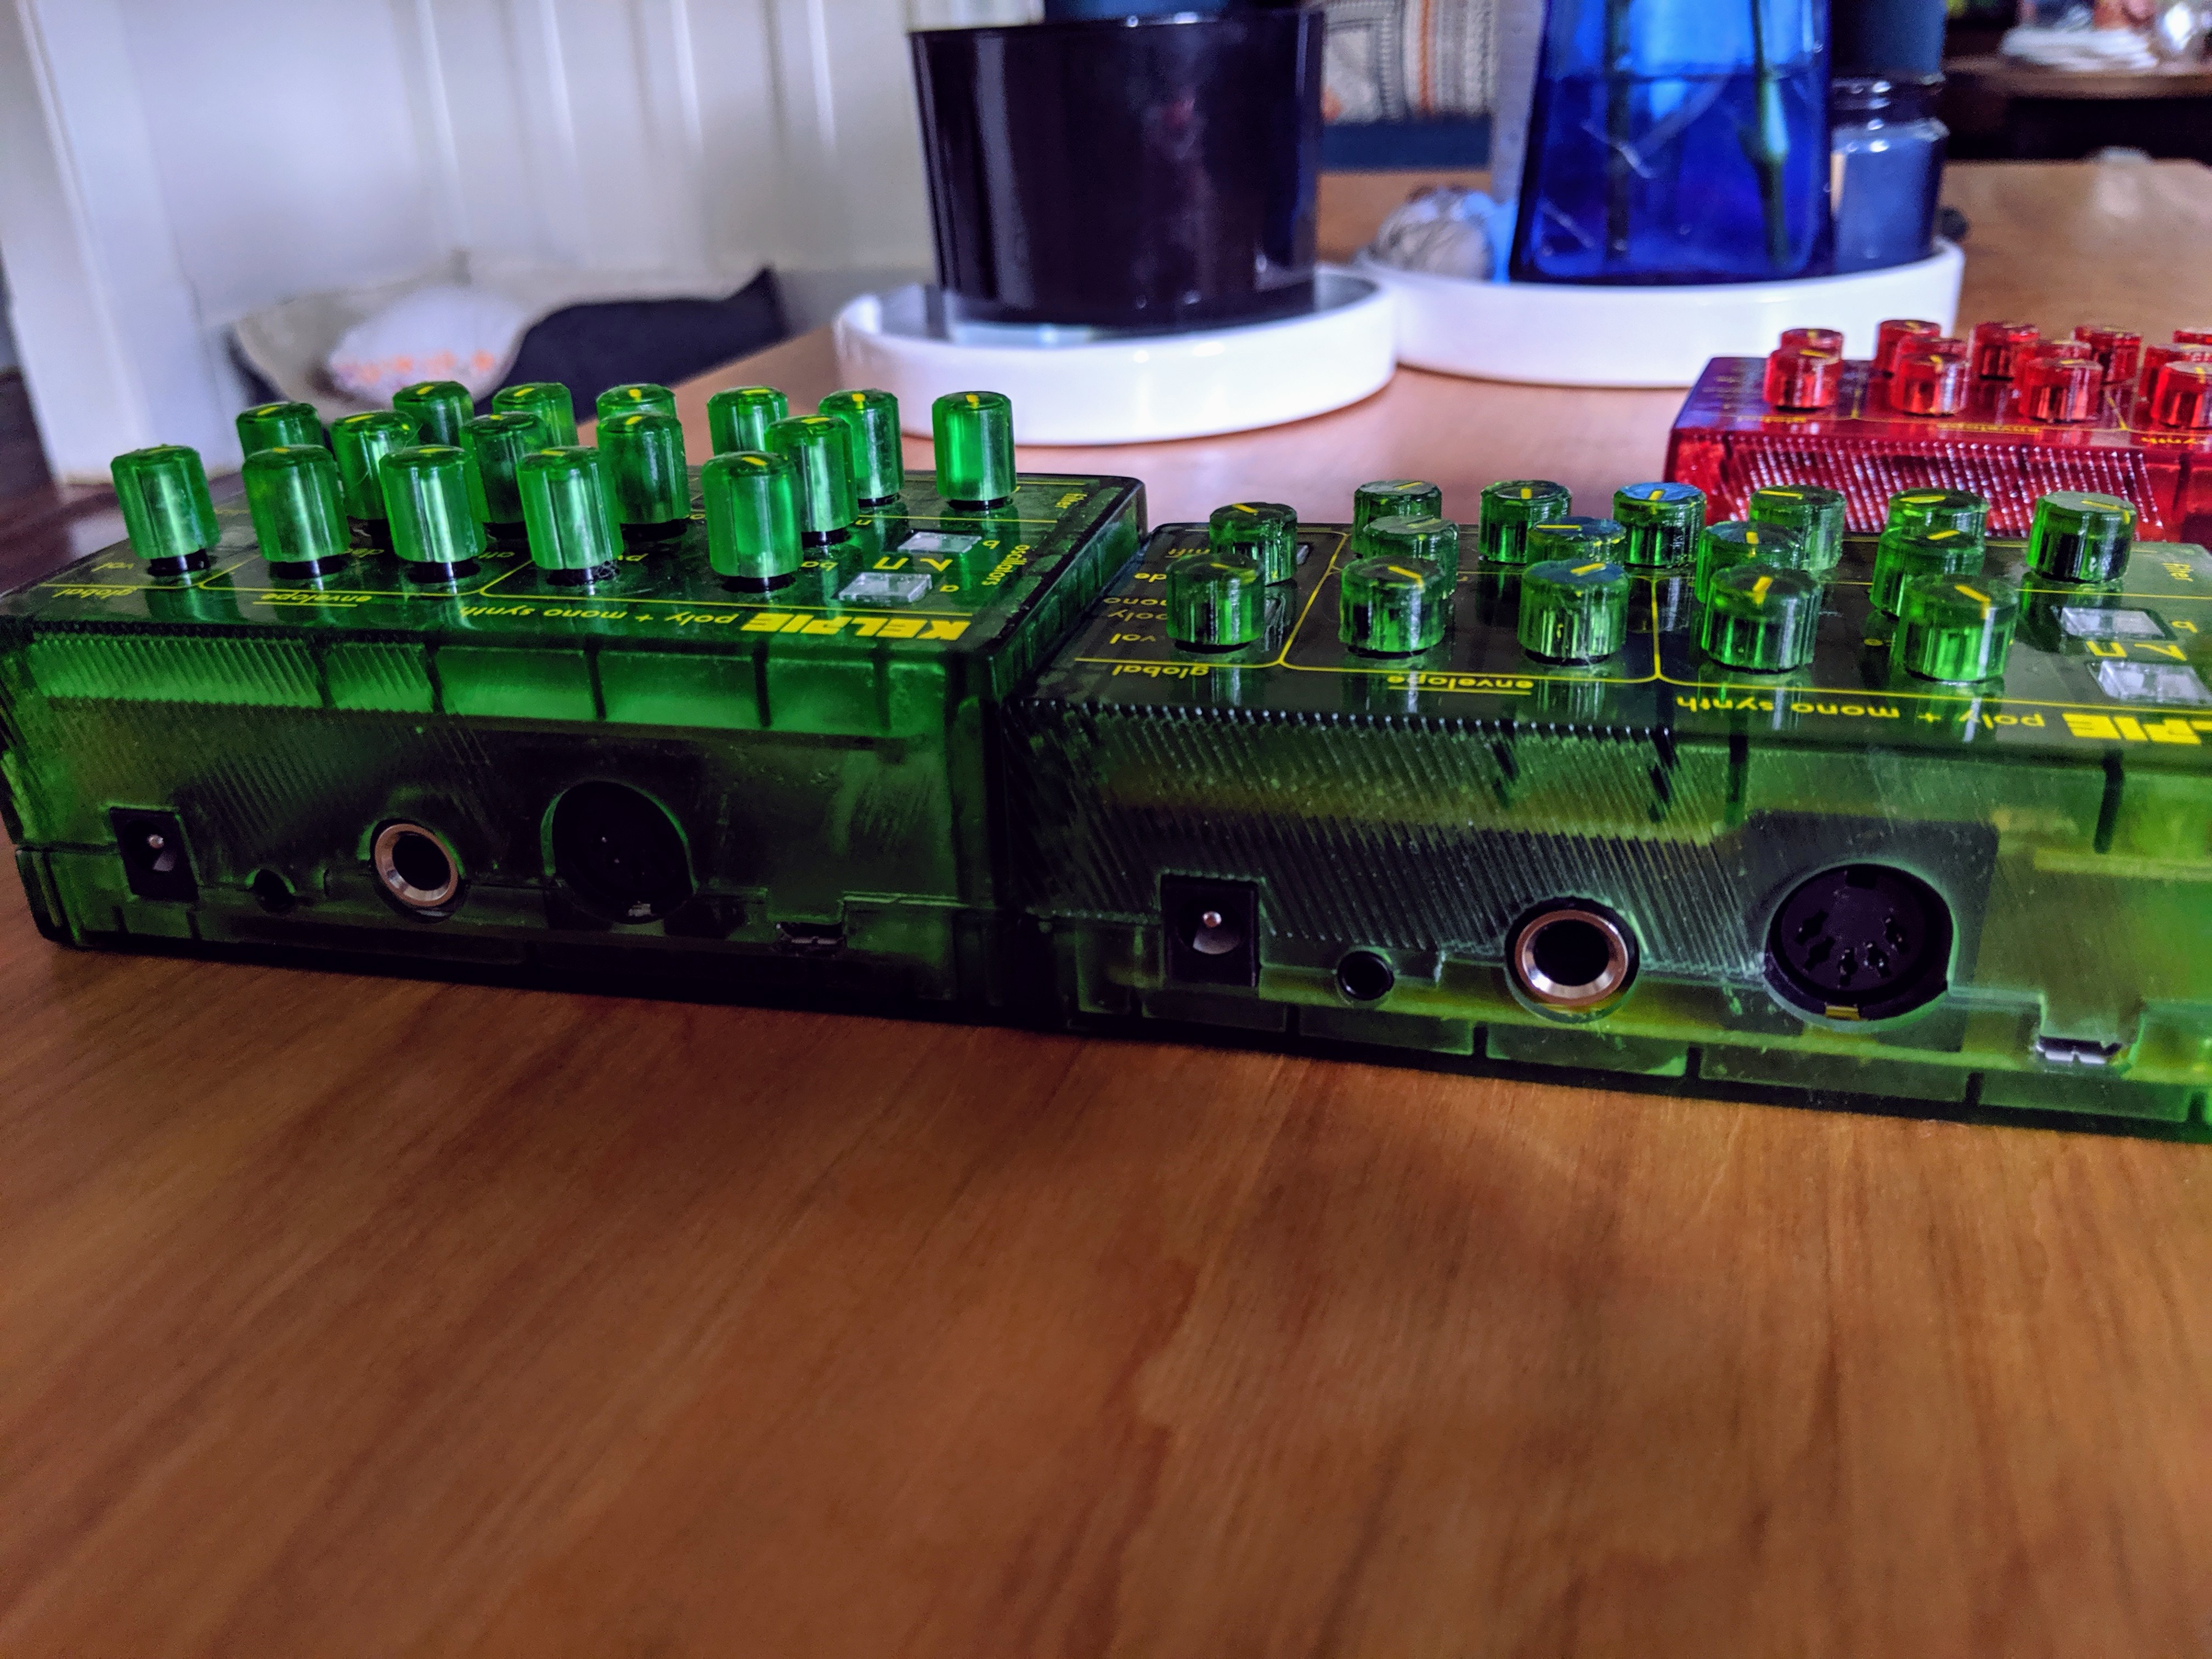
02/08/2020 at 02:36 • 0 commentsJust printed the first "official" FDM version of the enclosure. I think it turned out as well as I could've expected. I had to mess around with SImplify3D's "thin wall" settings quite a bit to make sure the ribs of the enclosure were properly filled in. There's a pretty stark difference in appearance compared to the resin prints, but this is a much less intensive process, and requires zero post processing and no support structures, so it definitely would scale better for small quantities if I'm manufacturing these at home (or if anyone is interested in printing their own enclosure). I may try to experiment with different top/bottom colors to keep things interesting. Either way, I'm pretty satisfied with the overall print, and definitely impressed with the infill.
More updates coming soon!
![]()
![]()
-
Another round of synthassembly
01/26/2020 at 19:23 • 0 commentsGradually getting better (and more organized) at this...
![]()
-
Out in the wild...
11/11/2019 at 23:34 • 2 commentsSending out the first unit for some user feedback! Hope it makes it in one piece :)
![]()
-
Finally had some time...
11/03/2019 at 20:27 • 0 commentsIt's been a while since I've worked on the Kelpie as I've been so busy starting a new job. I finally had some time over the weekend to get things working again and attempting to tackle some bugs. I built a debugging/test fixture and tried to hook up the J-Link debugger with PlatformIO, but couldn't get it to wor.k I haven't found much support online for debugging the Teensy 3.2 platform, so I decided to move on and just stick with good ol' Serial.prints.
I fixed a lot of issues, uncovered some new ones, but I'm happy with the progress and I'm planning to mail one of my units to a friend to get some initial feedback. I added some cool new functionality, including a MIDI LED that flashes whenever a key is pressed, as well as routing the LFO to the master gain, and support for MIDI CC messages, so the knobs can be over written by MIDI messages (which is super cool). I was worried that I'd have issues with the built-in knobs fighting with the MIDI CC messages, but luckily I had written the knob functionality with that in mind (accidentally? I can't remember...)
I've been avoiding doing the glide functionality because I just don't have the mental capacity right now
![]()
-
3 Complete Prototypes Assembled
09/17/2019 at 19:10 • 0 commentsI just wrapped up assembling the third prototype. It was a great experience to build 3 completely separate units, I learned a good amount from each build, and made tweaks along the way. I uploaded my current firmware and so far everything seems to be working as expected.
Some of the major changes I included in the newer prototypes include:
- Using shorter potentiometers and redesigning the indicator knobs
- notching the upper PCB to make clearance for the MIDI connector
- Swapping out any SMD components on the upper board for thru-hole components
- Removing the SD card slot and RAM chip
- Upgrading the 30-pin connector to a flex connector
- Adjusting the bosses and ribs on the enclosure to be more robust
- Adjusting the 2 pots to the right of the left-most buttons (the original design was slightly misaligned)
- Optimizing my resin 3D printing orientation to reduce the number of supports and make post-processing easier
- Discovering a more efficient way of post-processing the 3D prints to get a glossy finish (220 grit -> wet 2000 grit -> clear acrylic does the trick)
Anyway, here are some photos below. You can see the difference between the original design and the updated one, I managed to lose about 0.5" of height, which is great. Next steps are to resolve some firmware bugs and then I plan to send them out to friends to get some feedback!
![]()
![]()
![]()
![]()
![]()
-
Prototype #2 almost finished
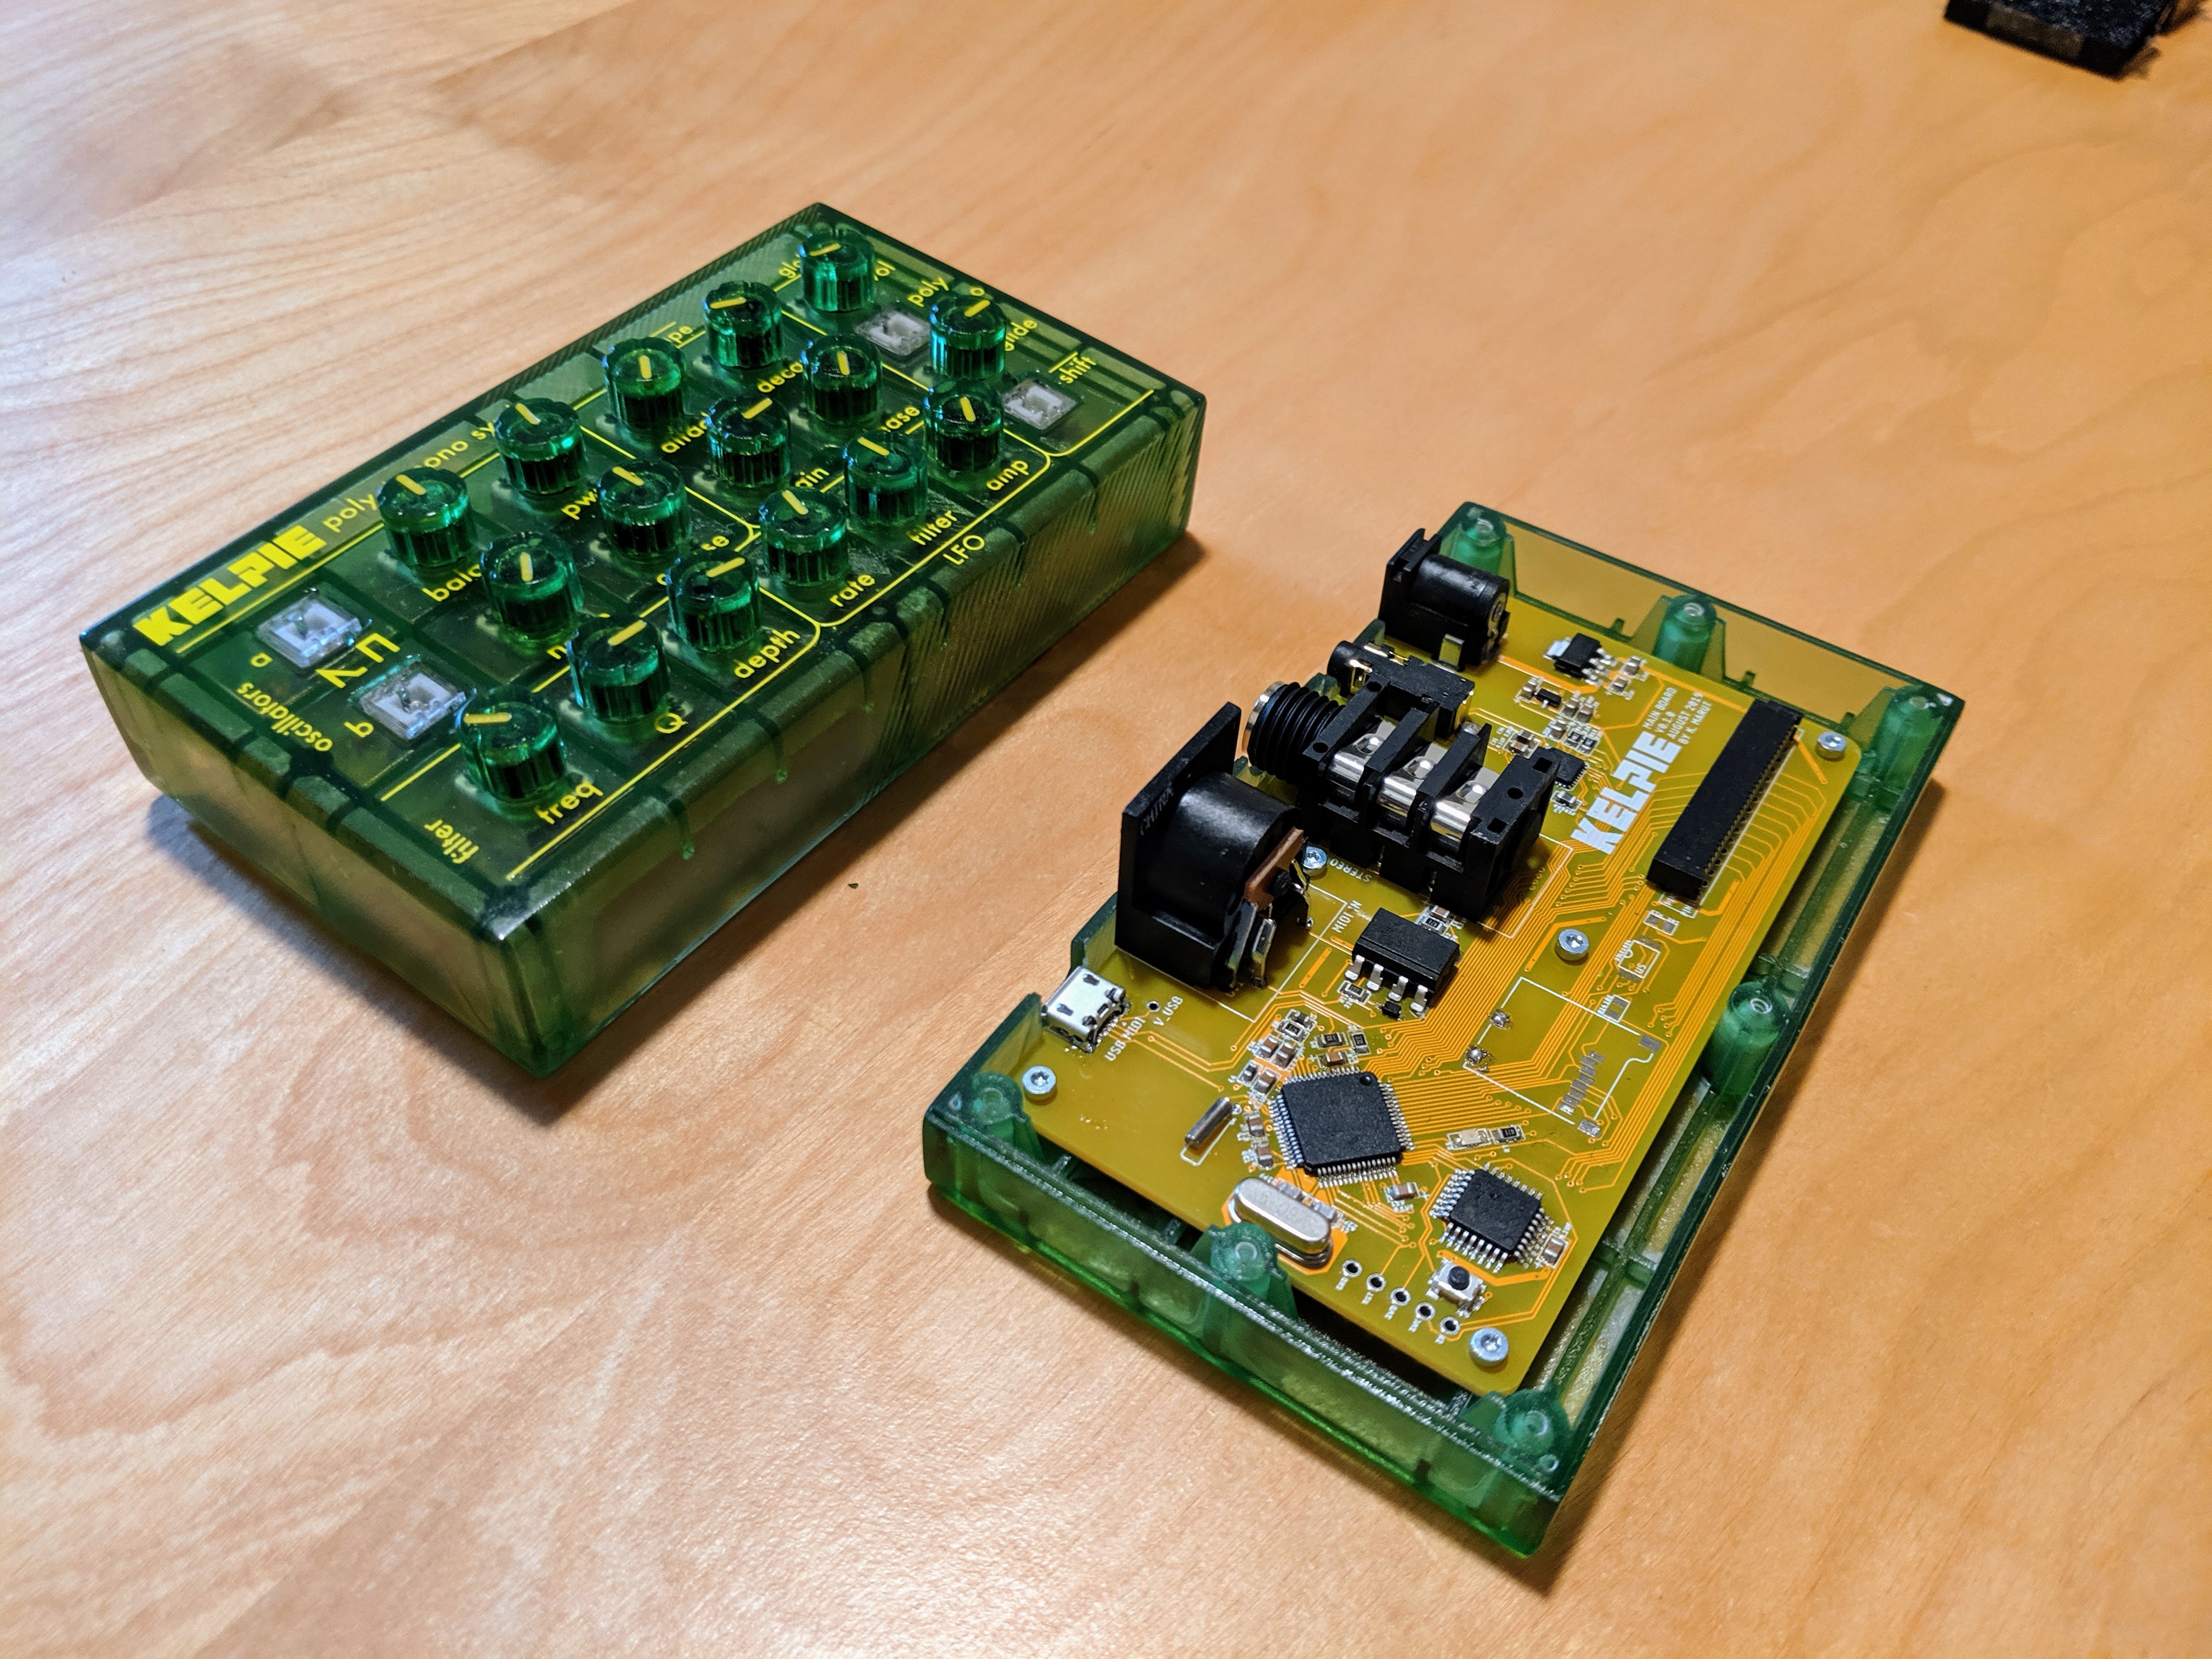
09/12/2019 at 18:34 • 0 commentsFinished assembling all electronics and the enclosure (except for knobs). So far everything's working as expected! I'm working on making another prototype which I should hopefully be able to knock out in the next week and then I'll likely go back to the firmware as there are a good amount of bugs that need to be sorted out. Anyway, here are some photos of the build. I'm really happy with the new 30 pin flex connector.
![]()
![]()
![]()
![]()
-
Some more photos!
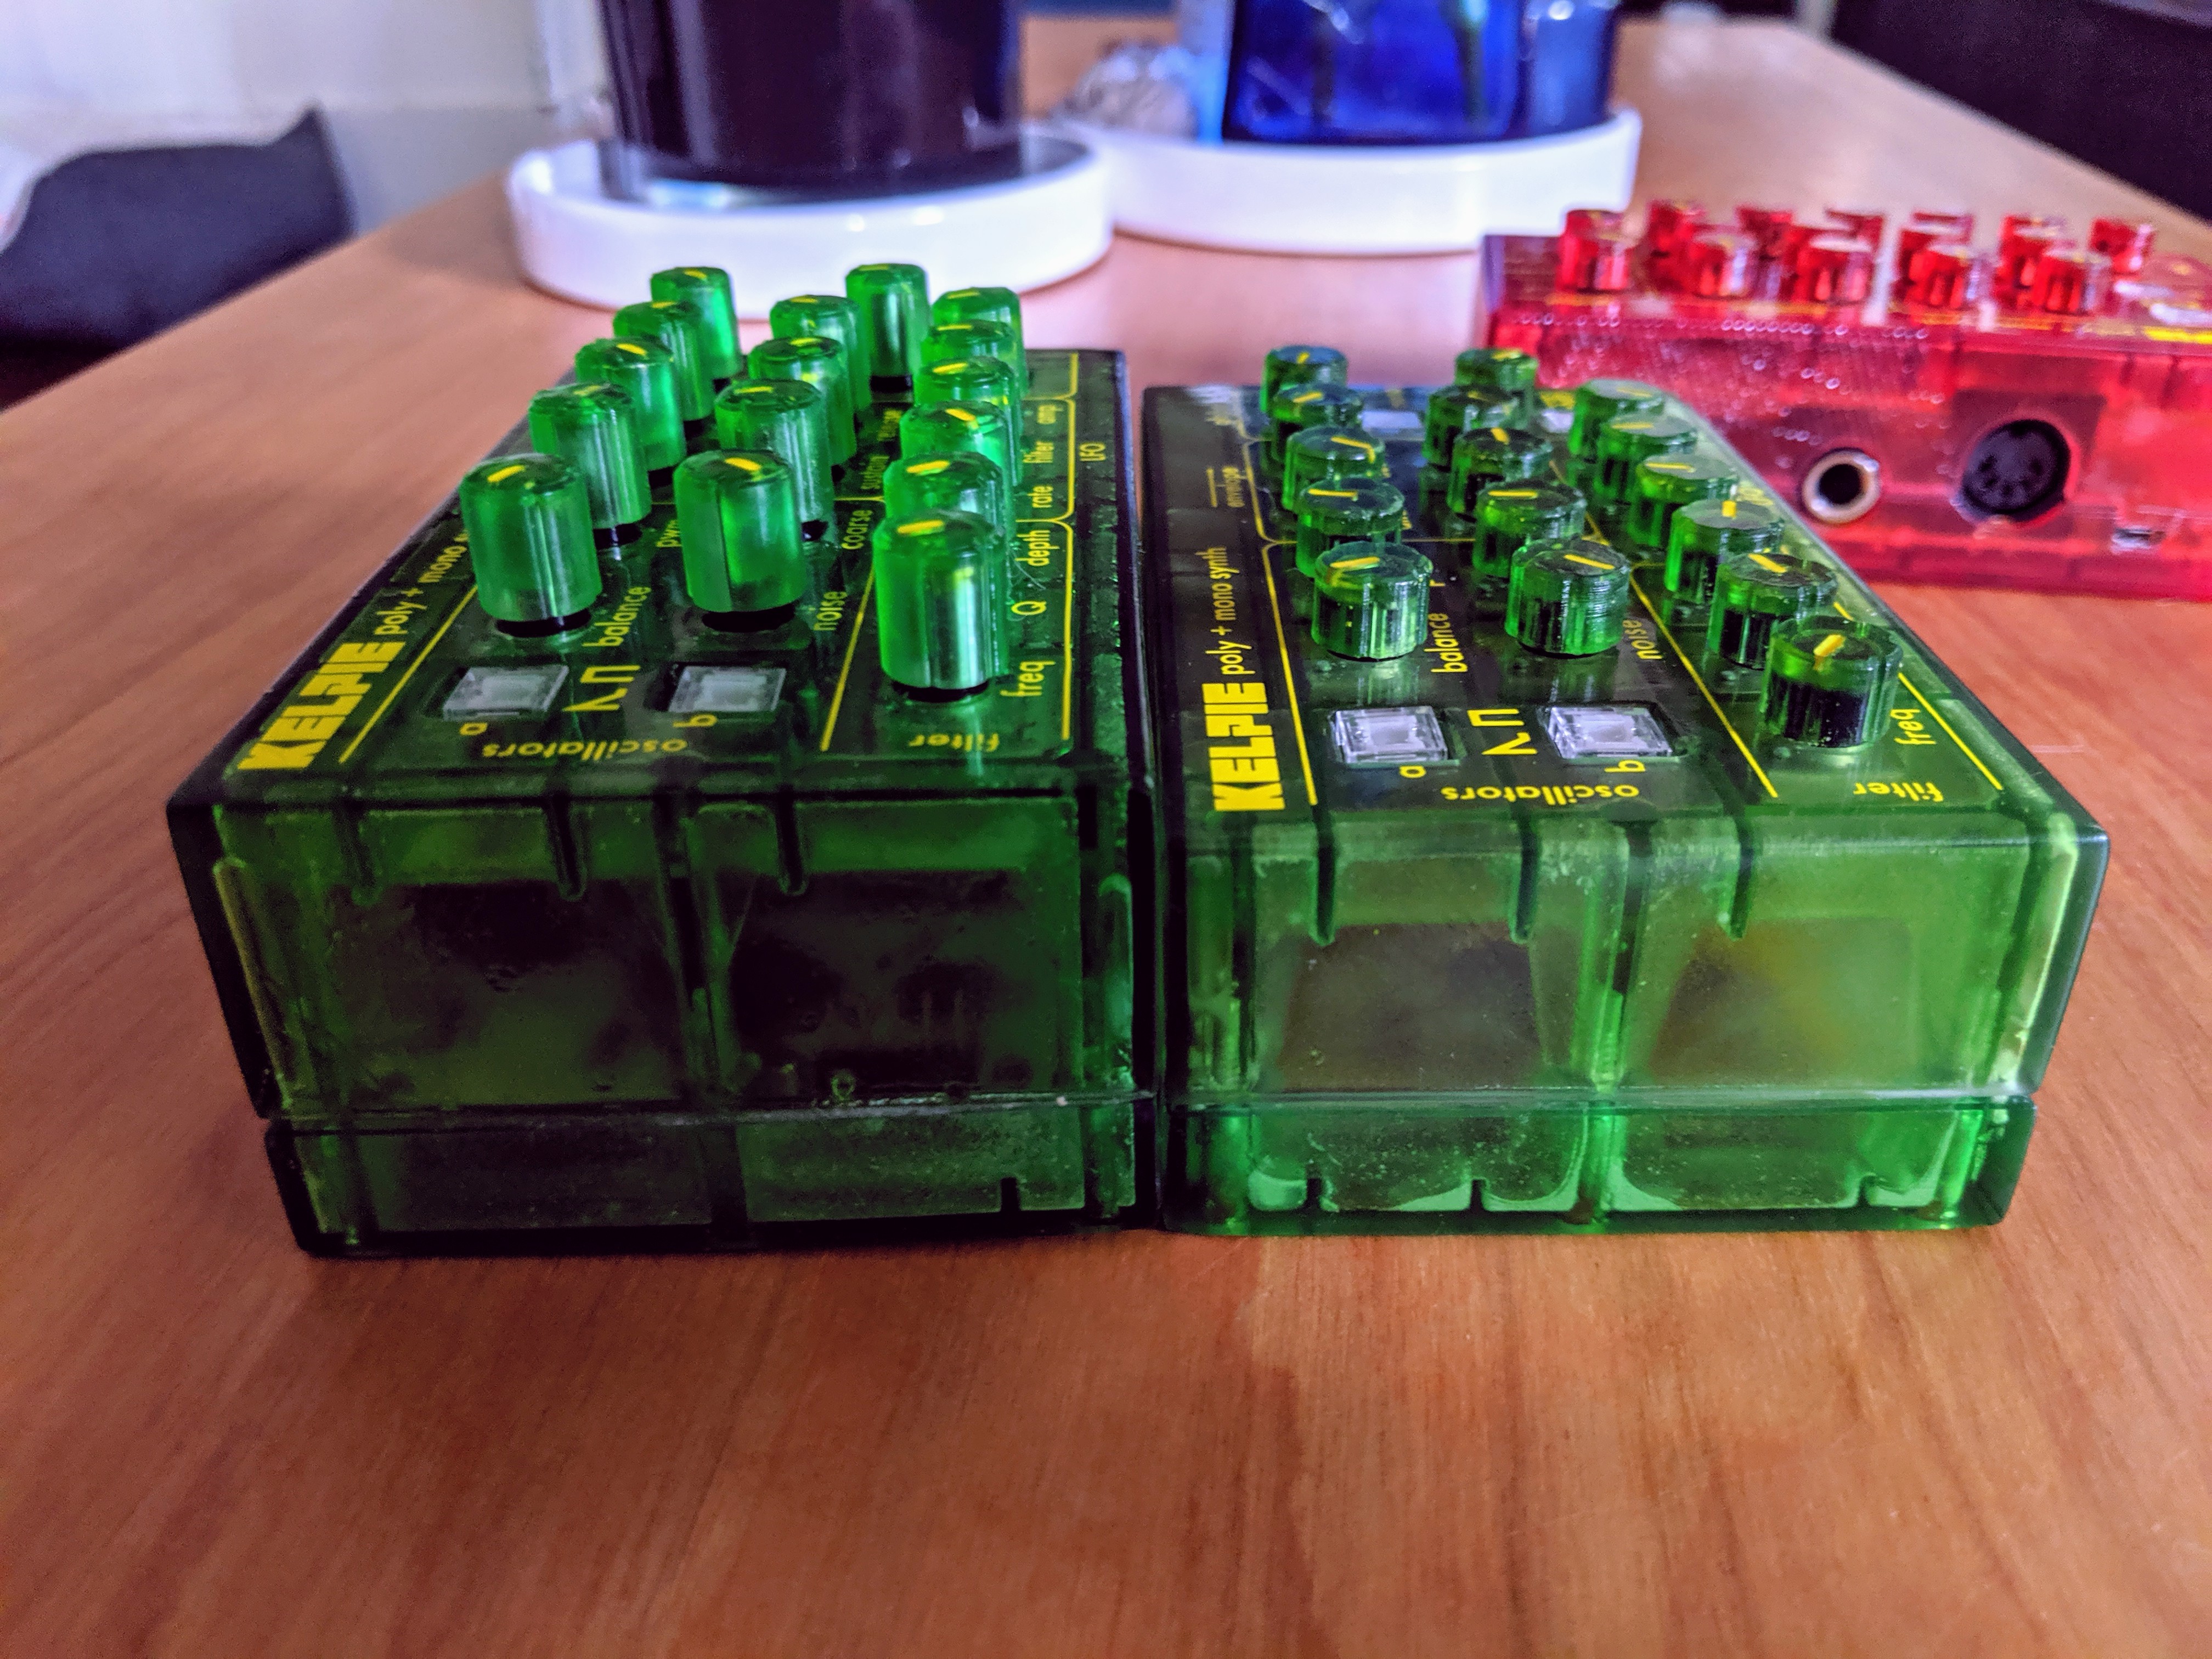
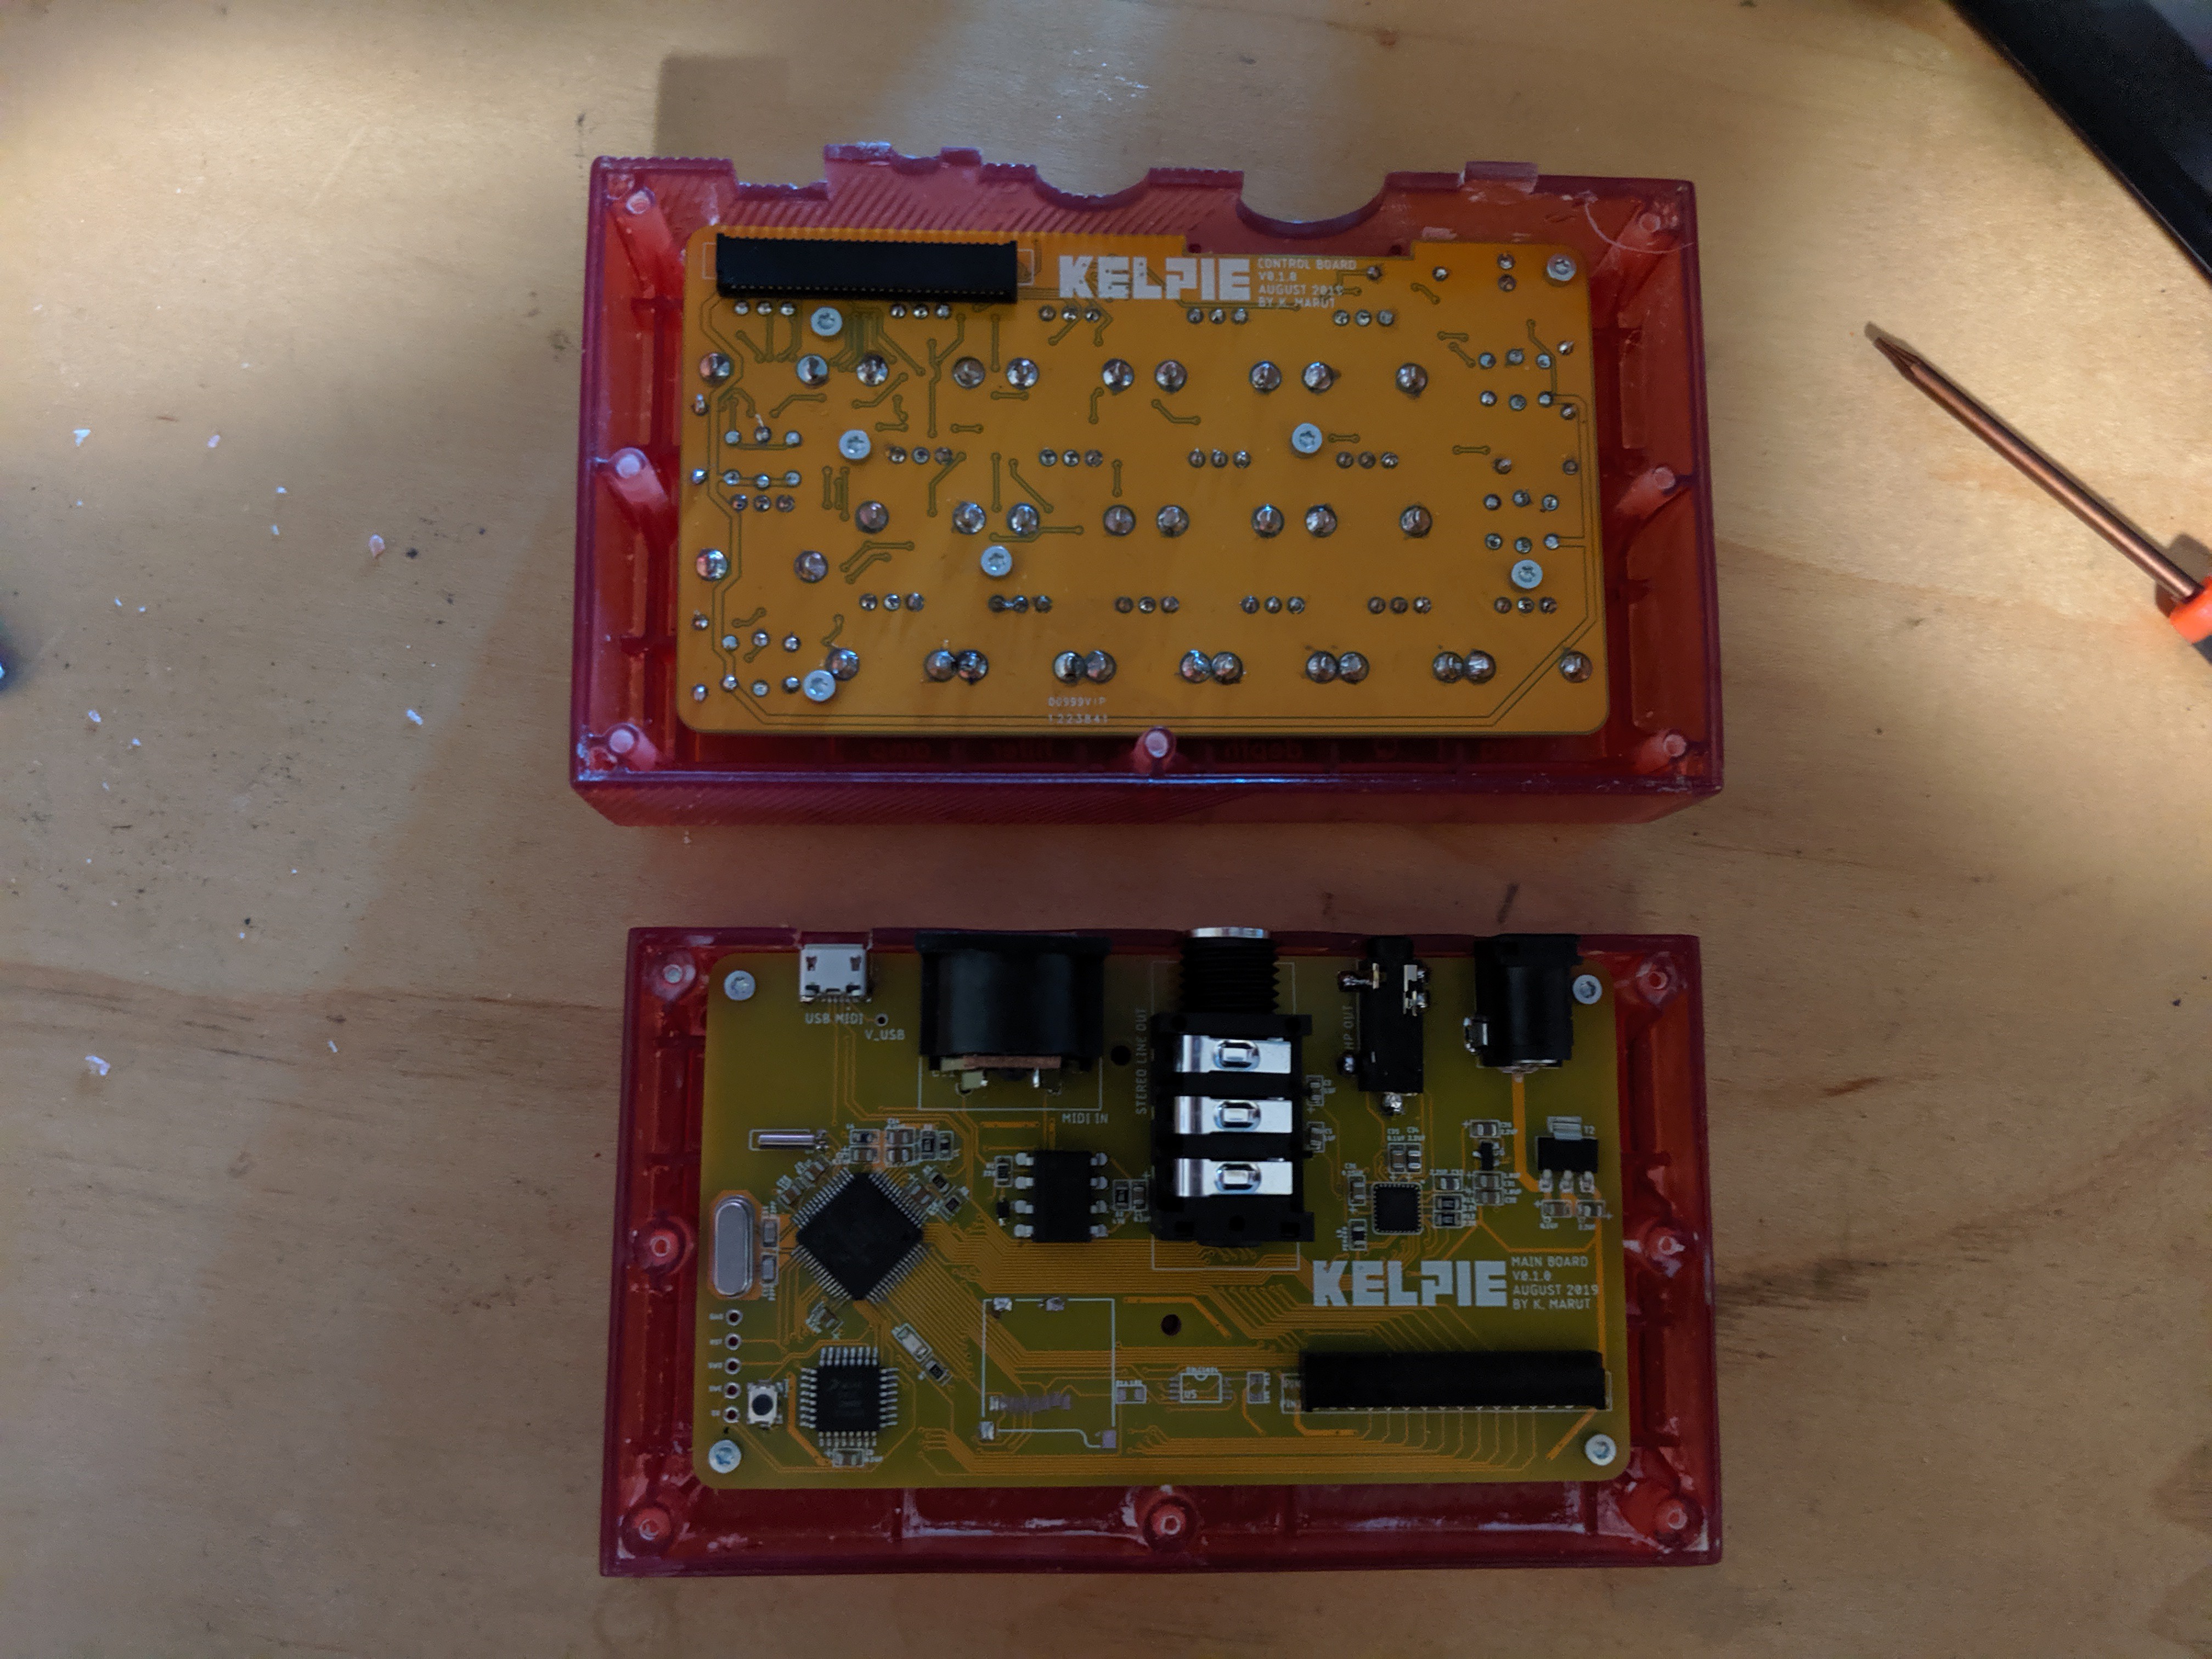
09/09/2019 at 22:04 • 0 commentsI've assembled most of the second revision prototype, including the PCBs, but unfortunately made a tiny mistake on the BOM so I'm missing a bunch of 2.2 uF capacitors (just ordered some more). I decided to leave off the SD card and additional RAM chip since I don't think I'll end up needing them, and they're definitely some of the more expensive components. Here are some photos, as well as a side-by-side with the original prototype.
![]()
![]()
![]()
-
New PCBs (and second prototype progress)
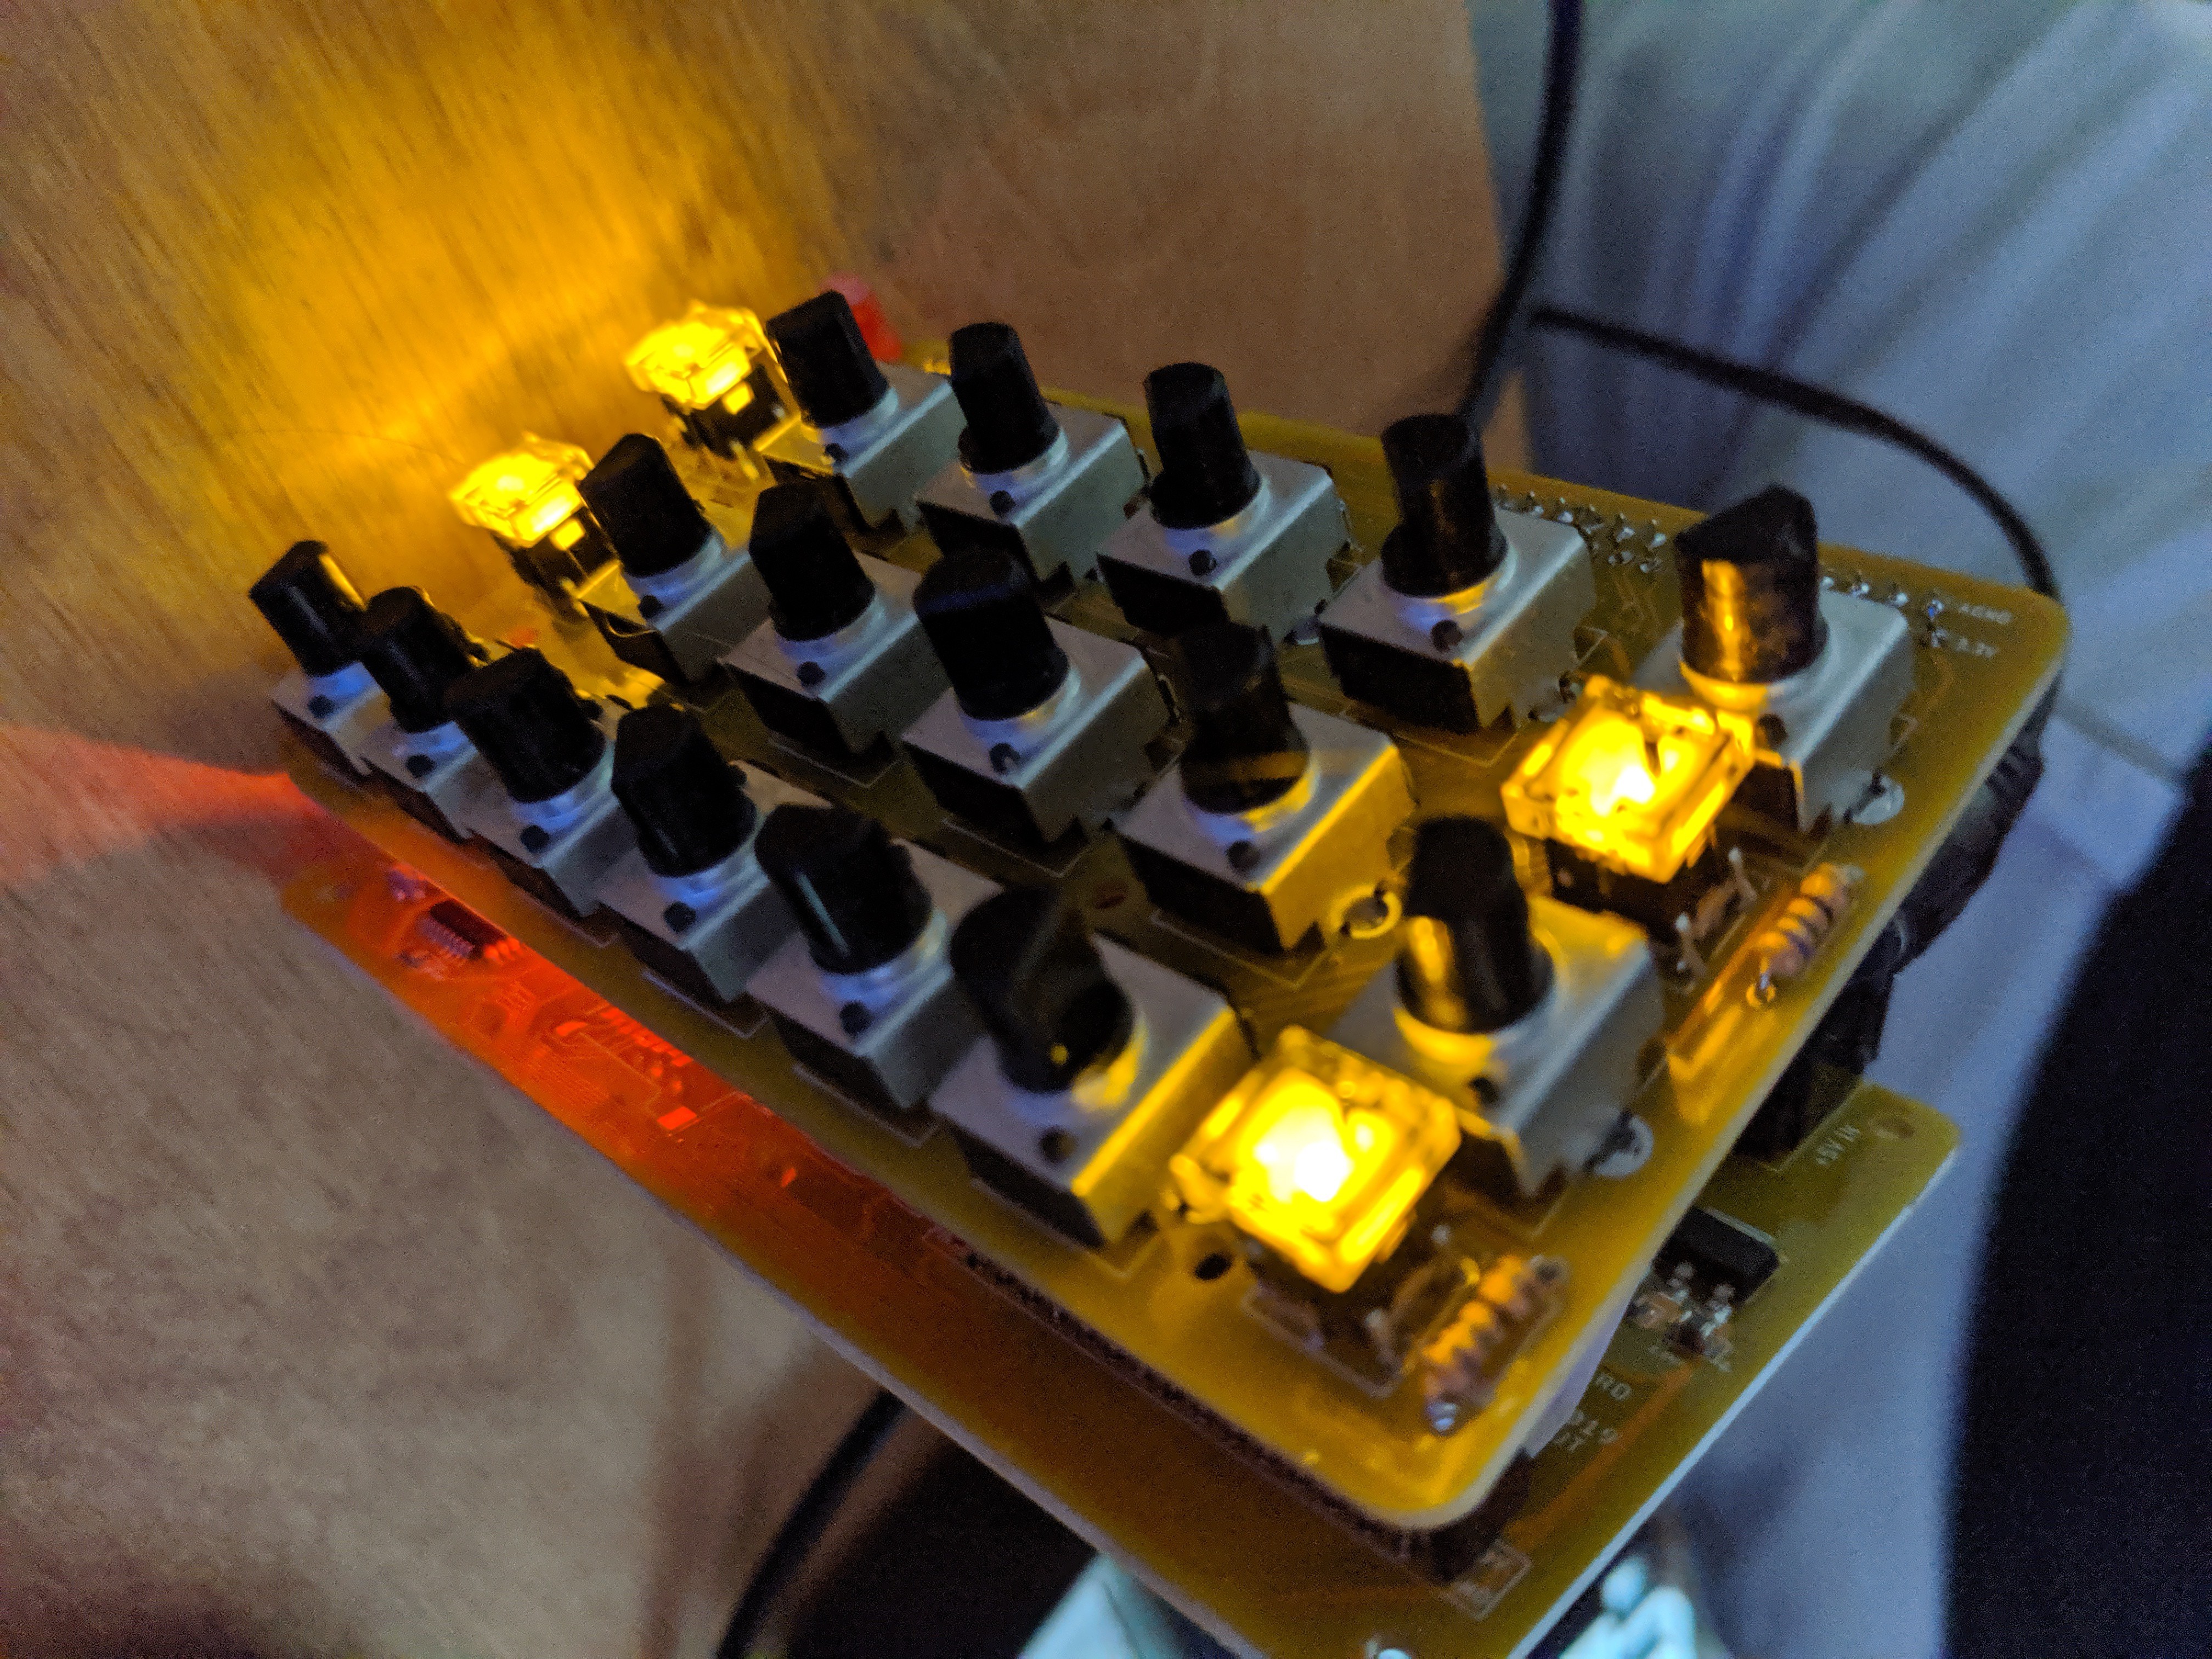
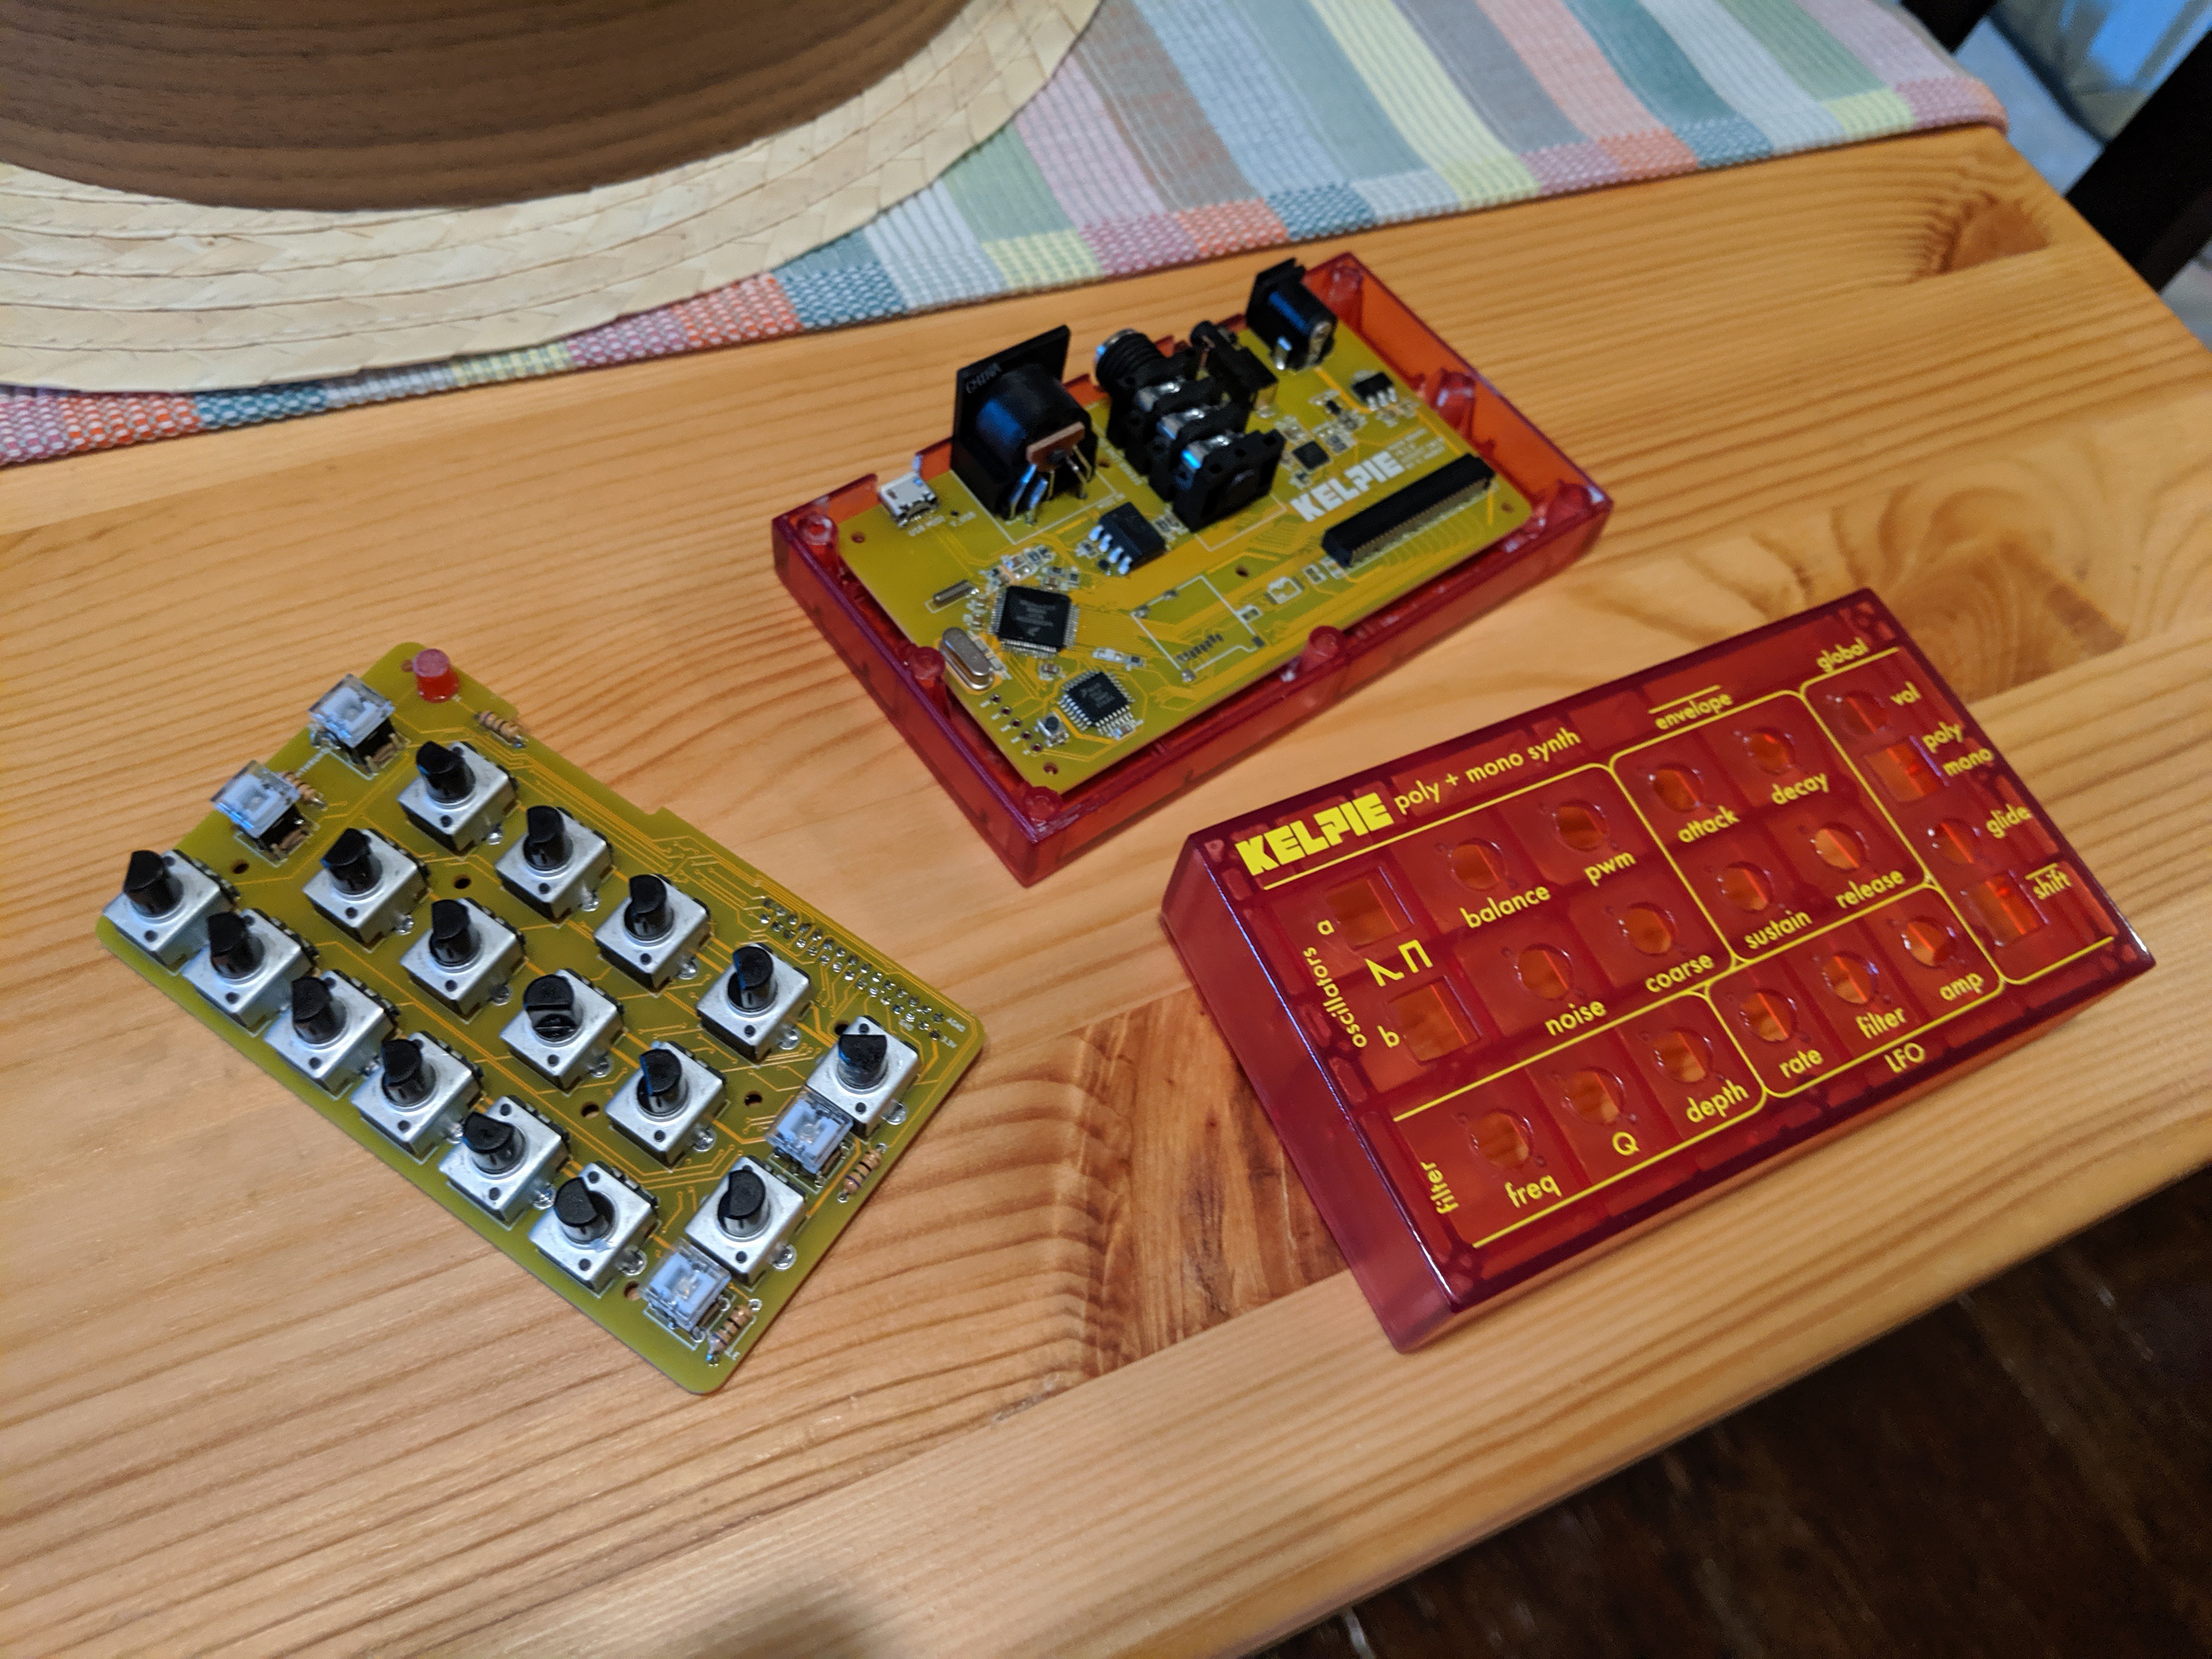
09/06/2019 at 23:43 • 0 commentsNew PCBs just arrived today, went with Seeed's 'yellow' option, which actually turned out way cooler than I expected. Almost looks like there's no silkscreen, which I really like. Snagged a photo during golden hour :)
Currently post processing the enclosure bottom and printing out another in green
![]()
-
some more prototyping, and new colors!
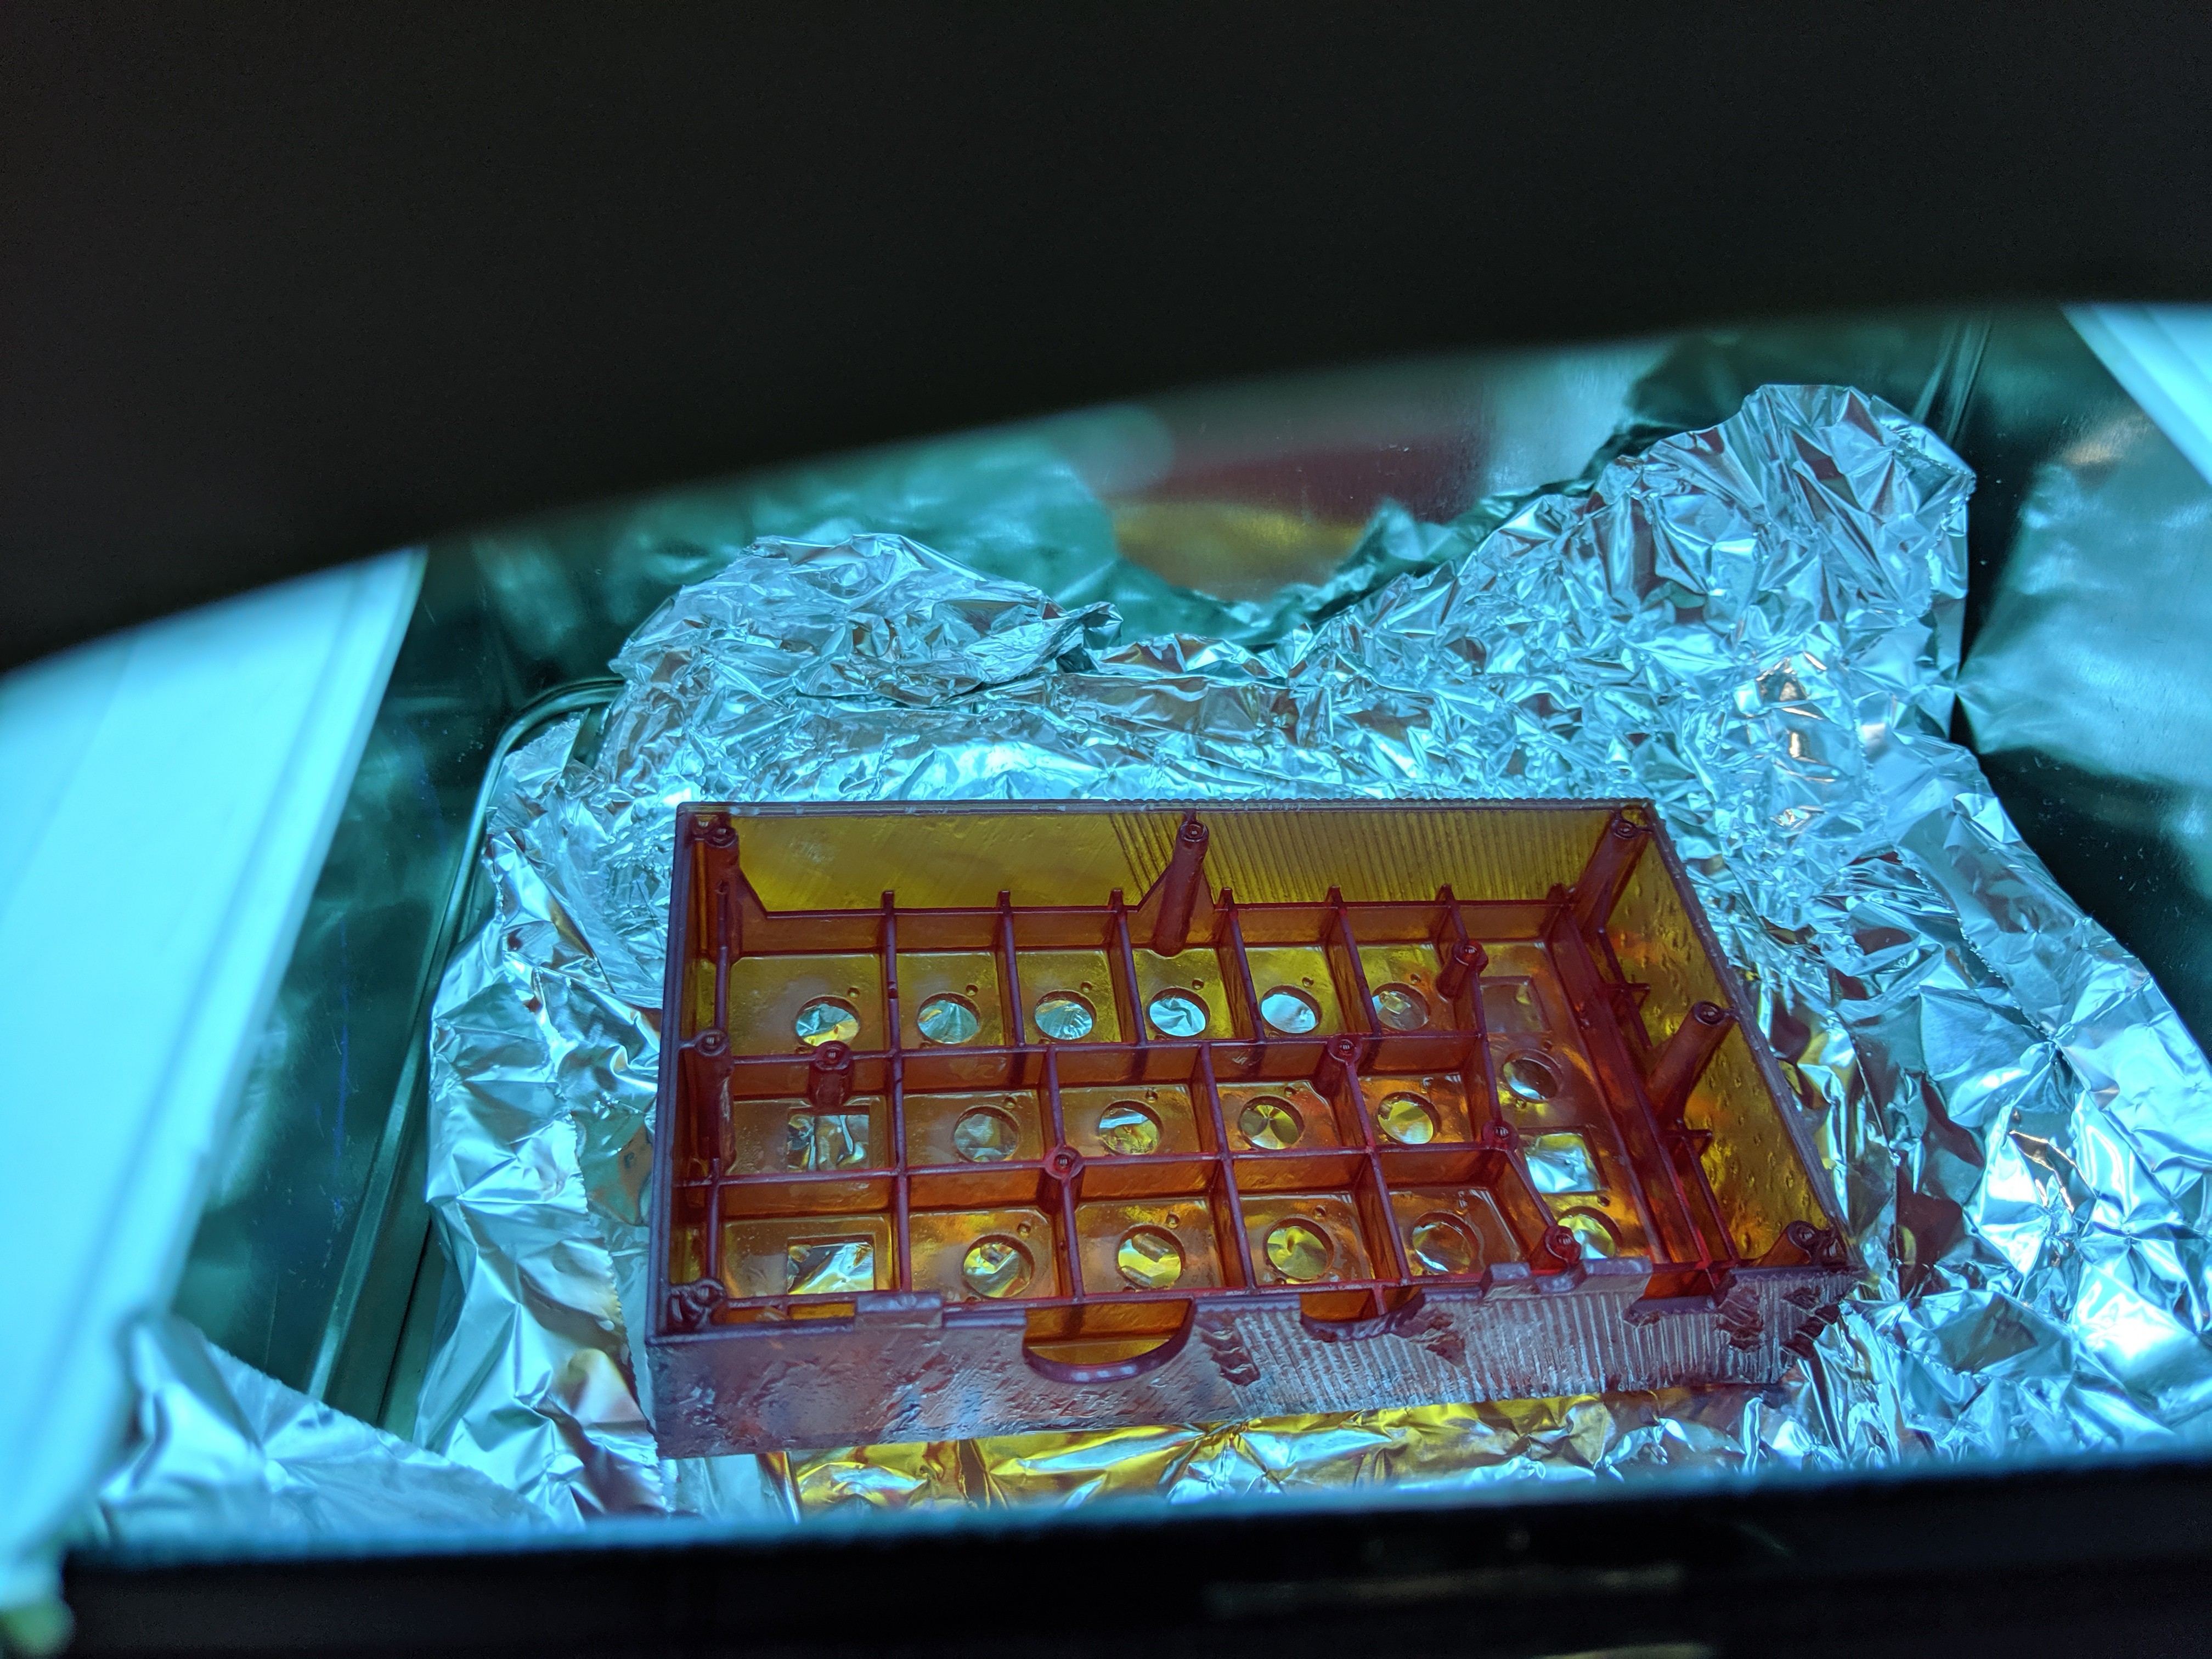
09/04/2019 at 18:32 • 0 commentsBeen pretty busy, but have been making some progress here and there on a second revision of the hardware/enclosure. I just printed a new top-half for the enclosure which is about 1/4" thinner than the previous version. Decided to go with some transparent red resin this time for fun! I've also been trying out some new approaches to post processing that will hopefully save me some time, including more intentional support structures, and less tedious alcohol cleanup.
![]()
![]()
![]()
KELPIE: Subtractive Synth for Keyboard Controllers
A portable, cheap, and easy to use, monophonic + polyphonic digital synthesizer for use with a MIDI controller