 krzysztof krzeslak
Hello I published contest entry video for this project and in this log I wanted to share some lessons learned and challenges which I faced during creating it:
Idea:
This was the easiest part as I already had an idea for such clip from quite long time ago and actually first attempt was done when I started this project entry and now idea remains same, but this time main objective was to make it best as I could. Mentioned attempt gave me some clues what challenges I can expect this time and I prepared better but still there was some challenges to be faced.
Here you can see this mentioned first attempt which was published with project entry: https://www.youtube.com/watch?v=cK5UgD781-4
Technique:
Same as previously photos needed to be taken not in high speed-photography method as this requires dark-room to be used and due to that I wanted to create video at same time it was not an option, so rather I needed to go opposite way and use high shutter speed and constant high power illumination. This approach has some downsides such as limited motion-freezing properties and shutter lag(explained further later in this log).
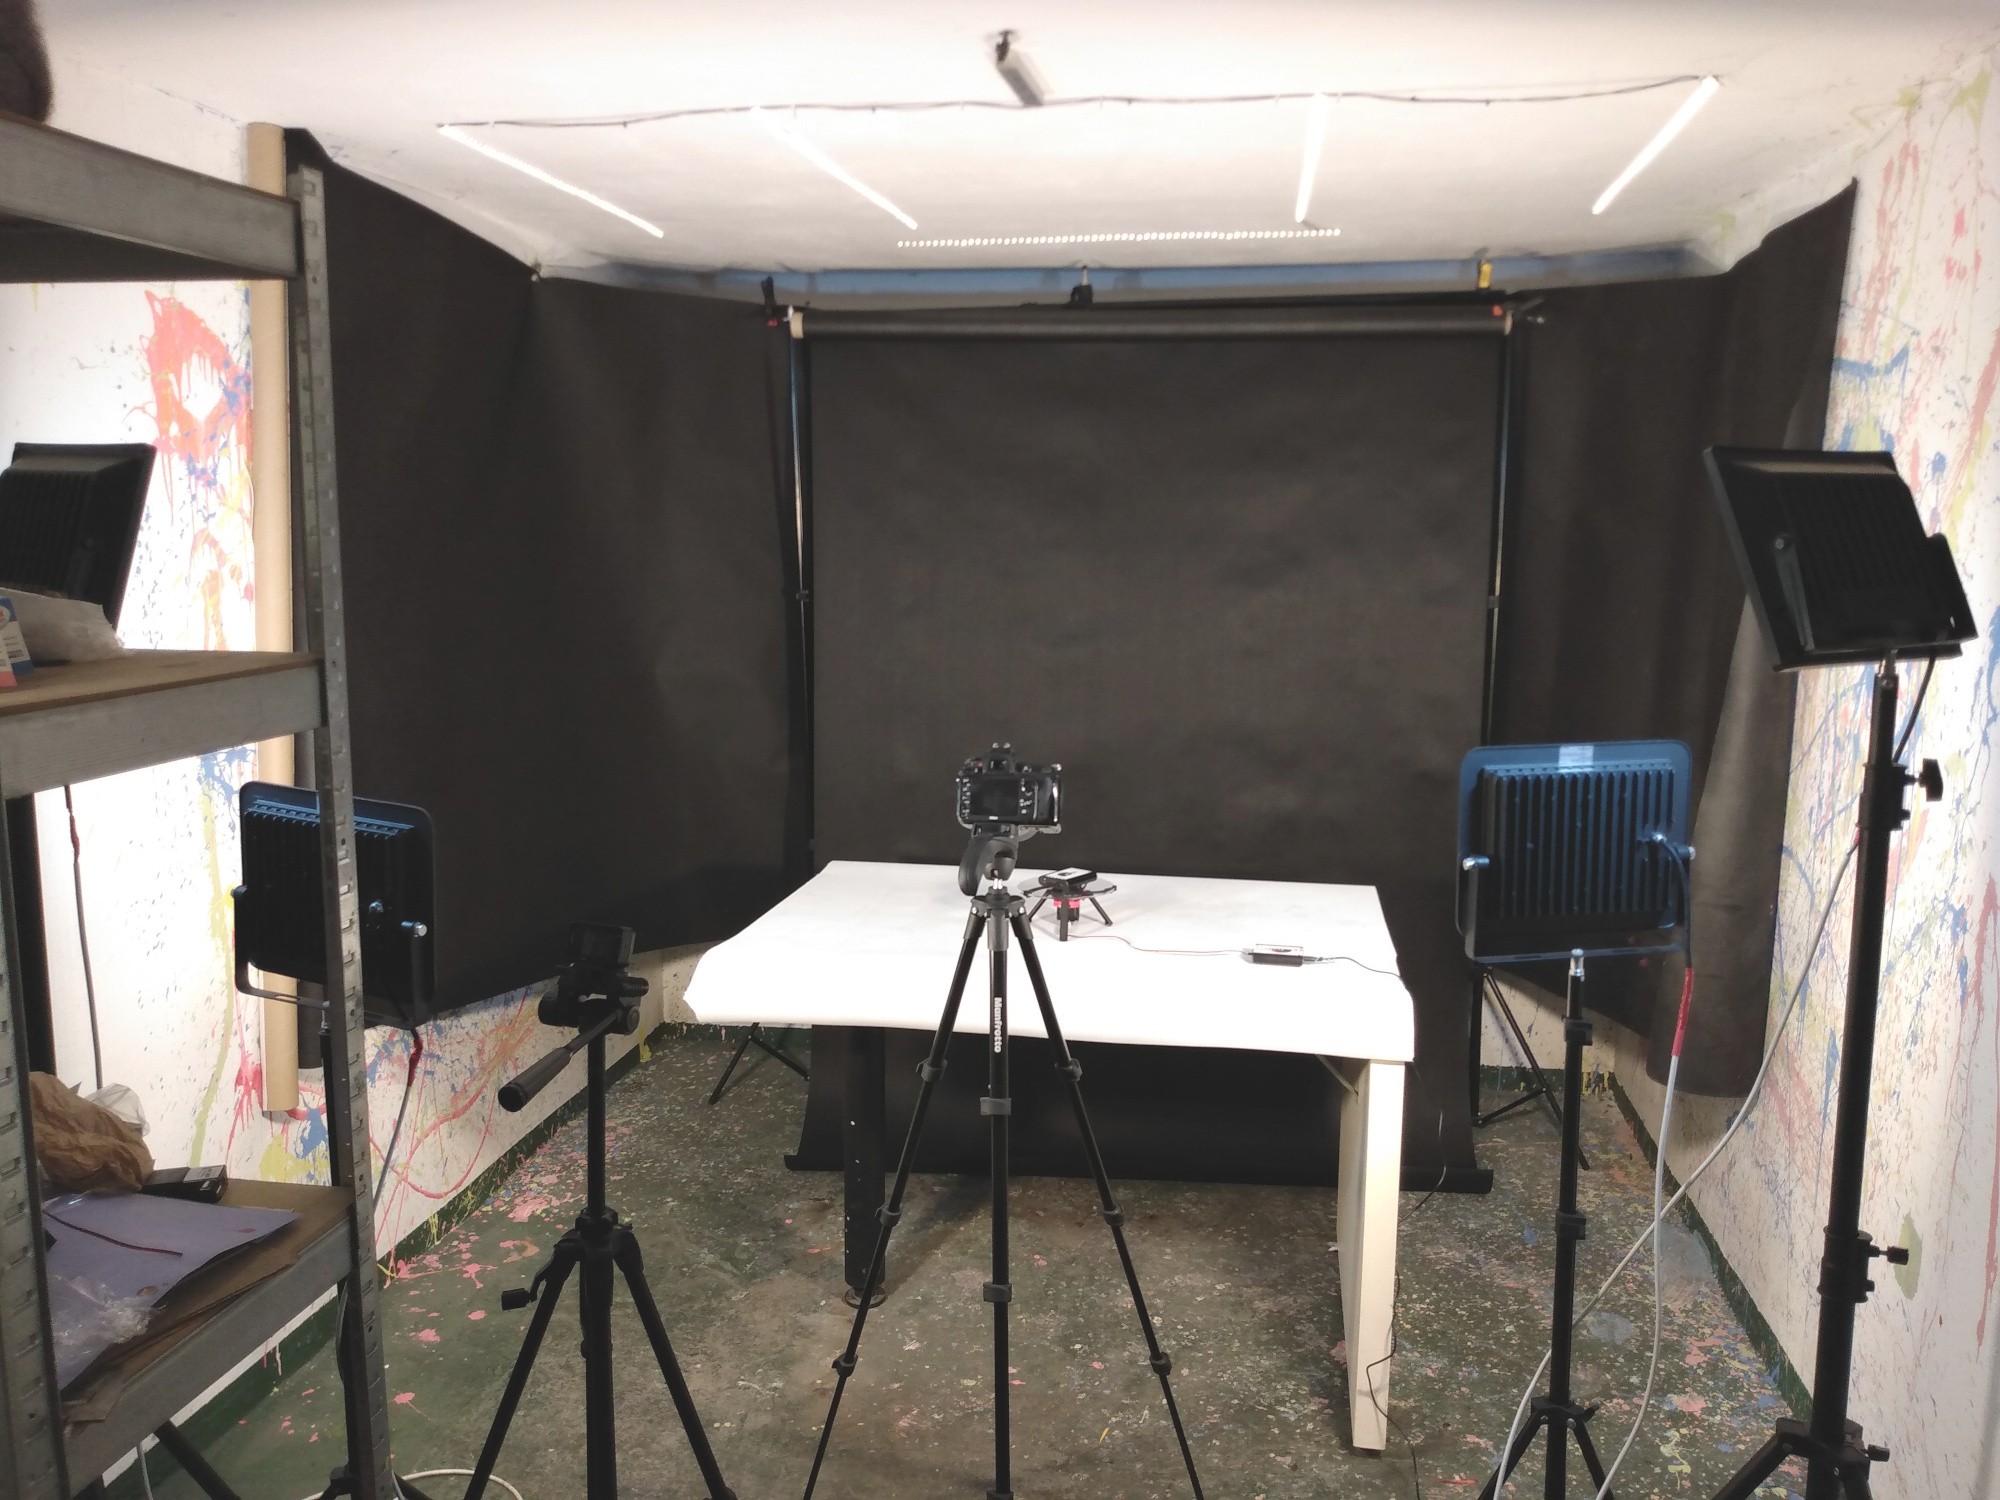
Equipment:
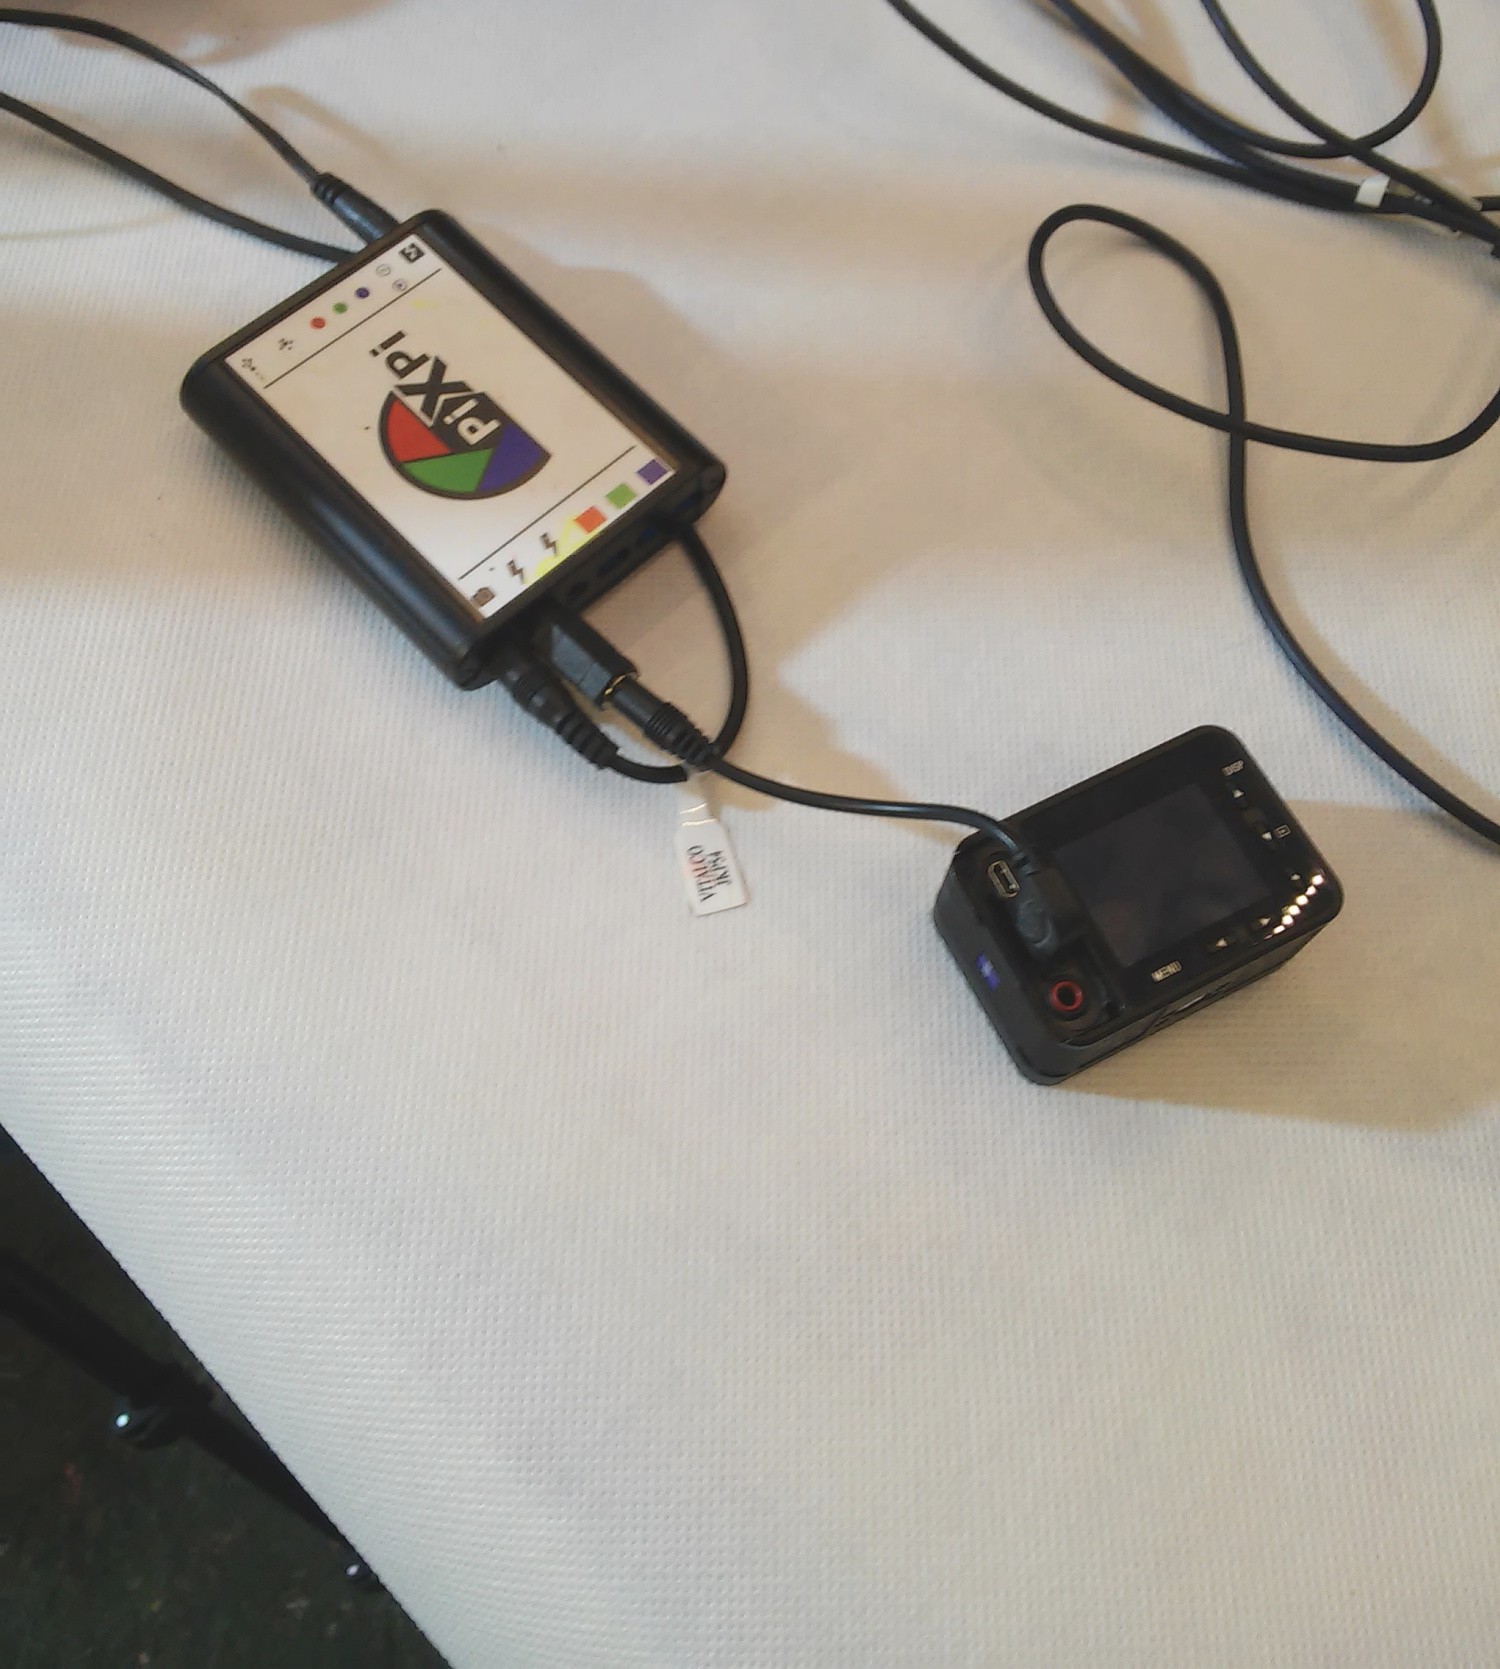
Most of parts was filmed with Sony RX0 camera, as this is only camera(at least from what I know) in affordable price range on market which can shoot at such high frame rate which I needed to create this slow motion shoots. This camera is capable to catch up to 1000 frames per second(for very limited duration). As can be expected at such frame rate's quality need to be sacrificed and I already knew that at 1000fps(40x slow-motion) quality drop is very significant, so for first attempt I used 500fps(20x ), but this time I still wanted to get better quality so this time I used 250fps and i find it good decision as it gave me quite decent quality and satisfying slow-motion(10x) shoots. Additionally at such high frame rates shoot duration is very limited and for 1000fps it's just about 1 second, 500fps ~2second and for 250fps ~4-5 seconds, so I thought it will be handy to have possibility to trigger recording in right time... aand hmm this sound like something that I can do and I came with quite nice solution to use on of PiXPi's flash ports(as one is occupied by DSLR) as trigger for recording and i was quite supprised to found that it's working very well :)
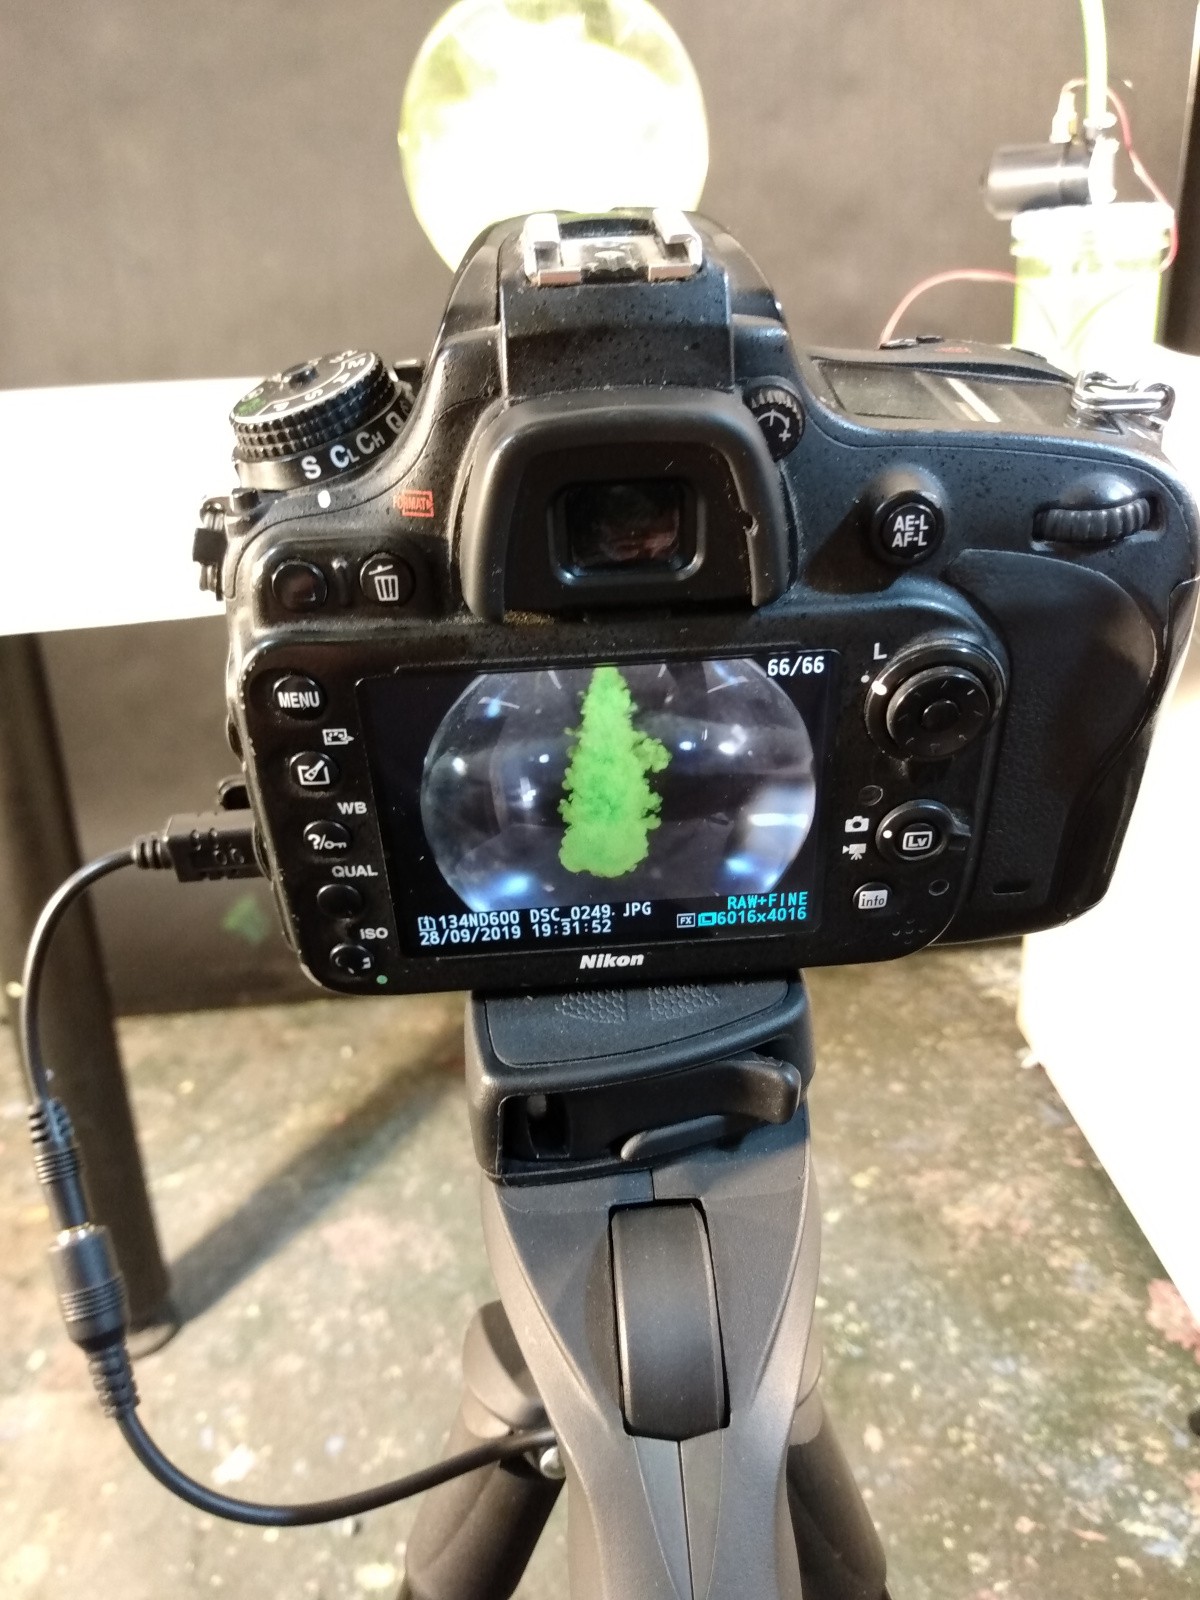
Photos and some parts of video was taken with Nikon D600 coupled with 90mm Tamron lens, as this is only which I own. Shutter speed in camera was set to 1/4000-th which is maximum for this model, it could be better, but it was significant. 90mm lens forced me to push camera quite far from scene, so you will not see much of camera in video frame, but at least it is safe from hitting with some paint splash.
Illumination:
From previous attempt I already knew that CFL bulbs commonly used as constant light sources in photography filmed at high frame rate give some significant flickering, due to mains AC supply voltage.
This time I don't wanted to see this flickering effect so I decided to give a try with led illumination, exactly budget Chinese spotlights, so in total I bought four of them, 2x quite cheap 200W with cold white light and 2x still quite cheap, but bit better quality 150W with warm white light...
But this is what I saw when I filmed them at 500fps:
At this point I was really upset, but as you can see on gif above I already decided to disassemble them and see if I can help something on this, at this point i regret buying those more expensive ones as they was glued with silicon and those cheaper was assembled with screws, but anyway this is what I saw after disassembling this 200W one's:
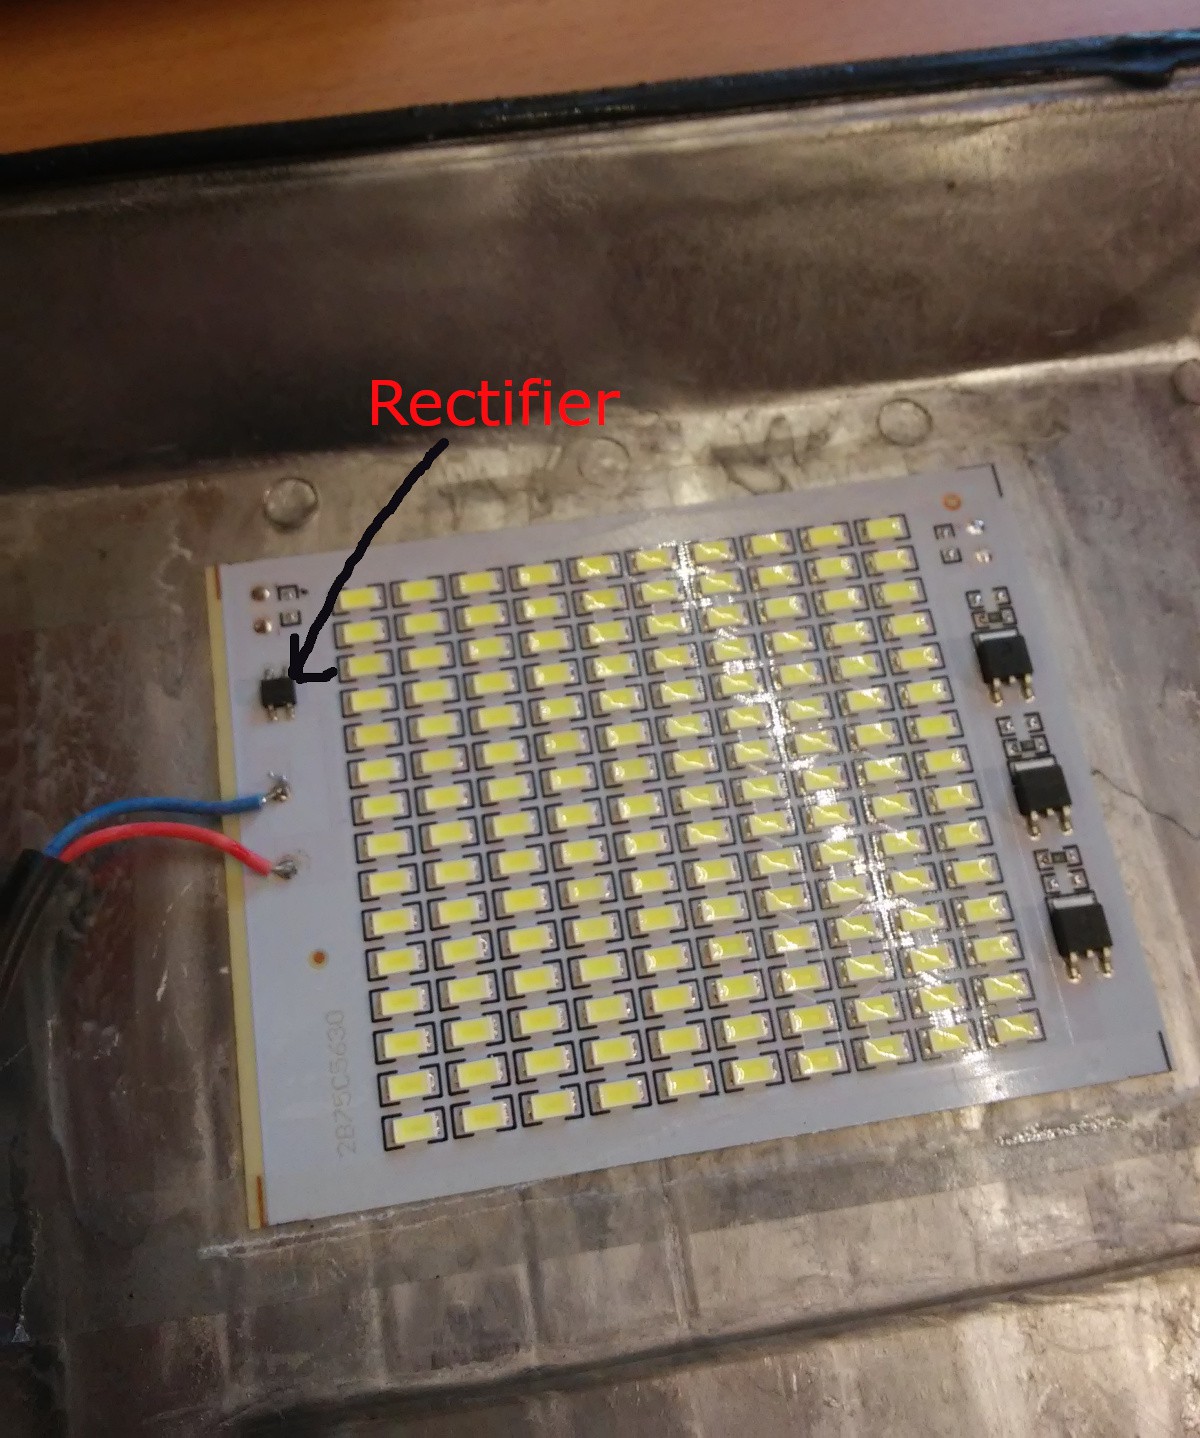
I realized that AC is fed to bridge rectifier chip and on output of this there was no any smoothing capacitor, so I decided to mount some and see if this make some change, I expected some, but I was not sure how much it will reduce flickering effect:
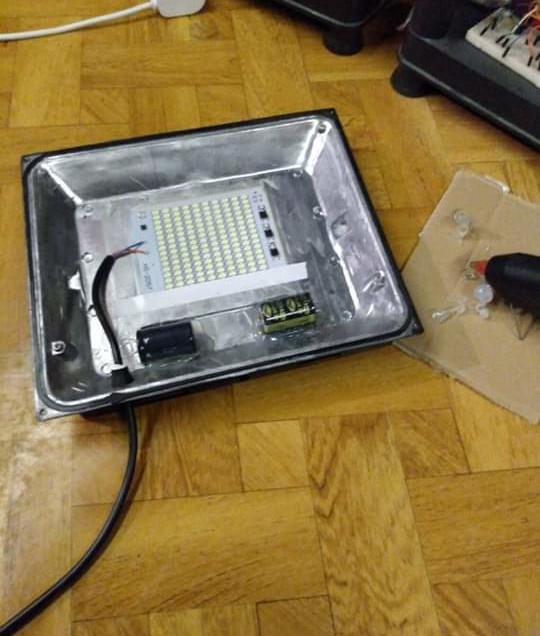
And again I took video at 500fps and this is what i saw:
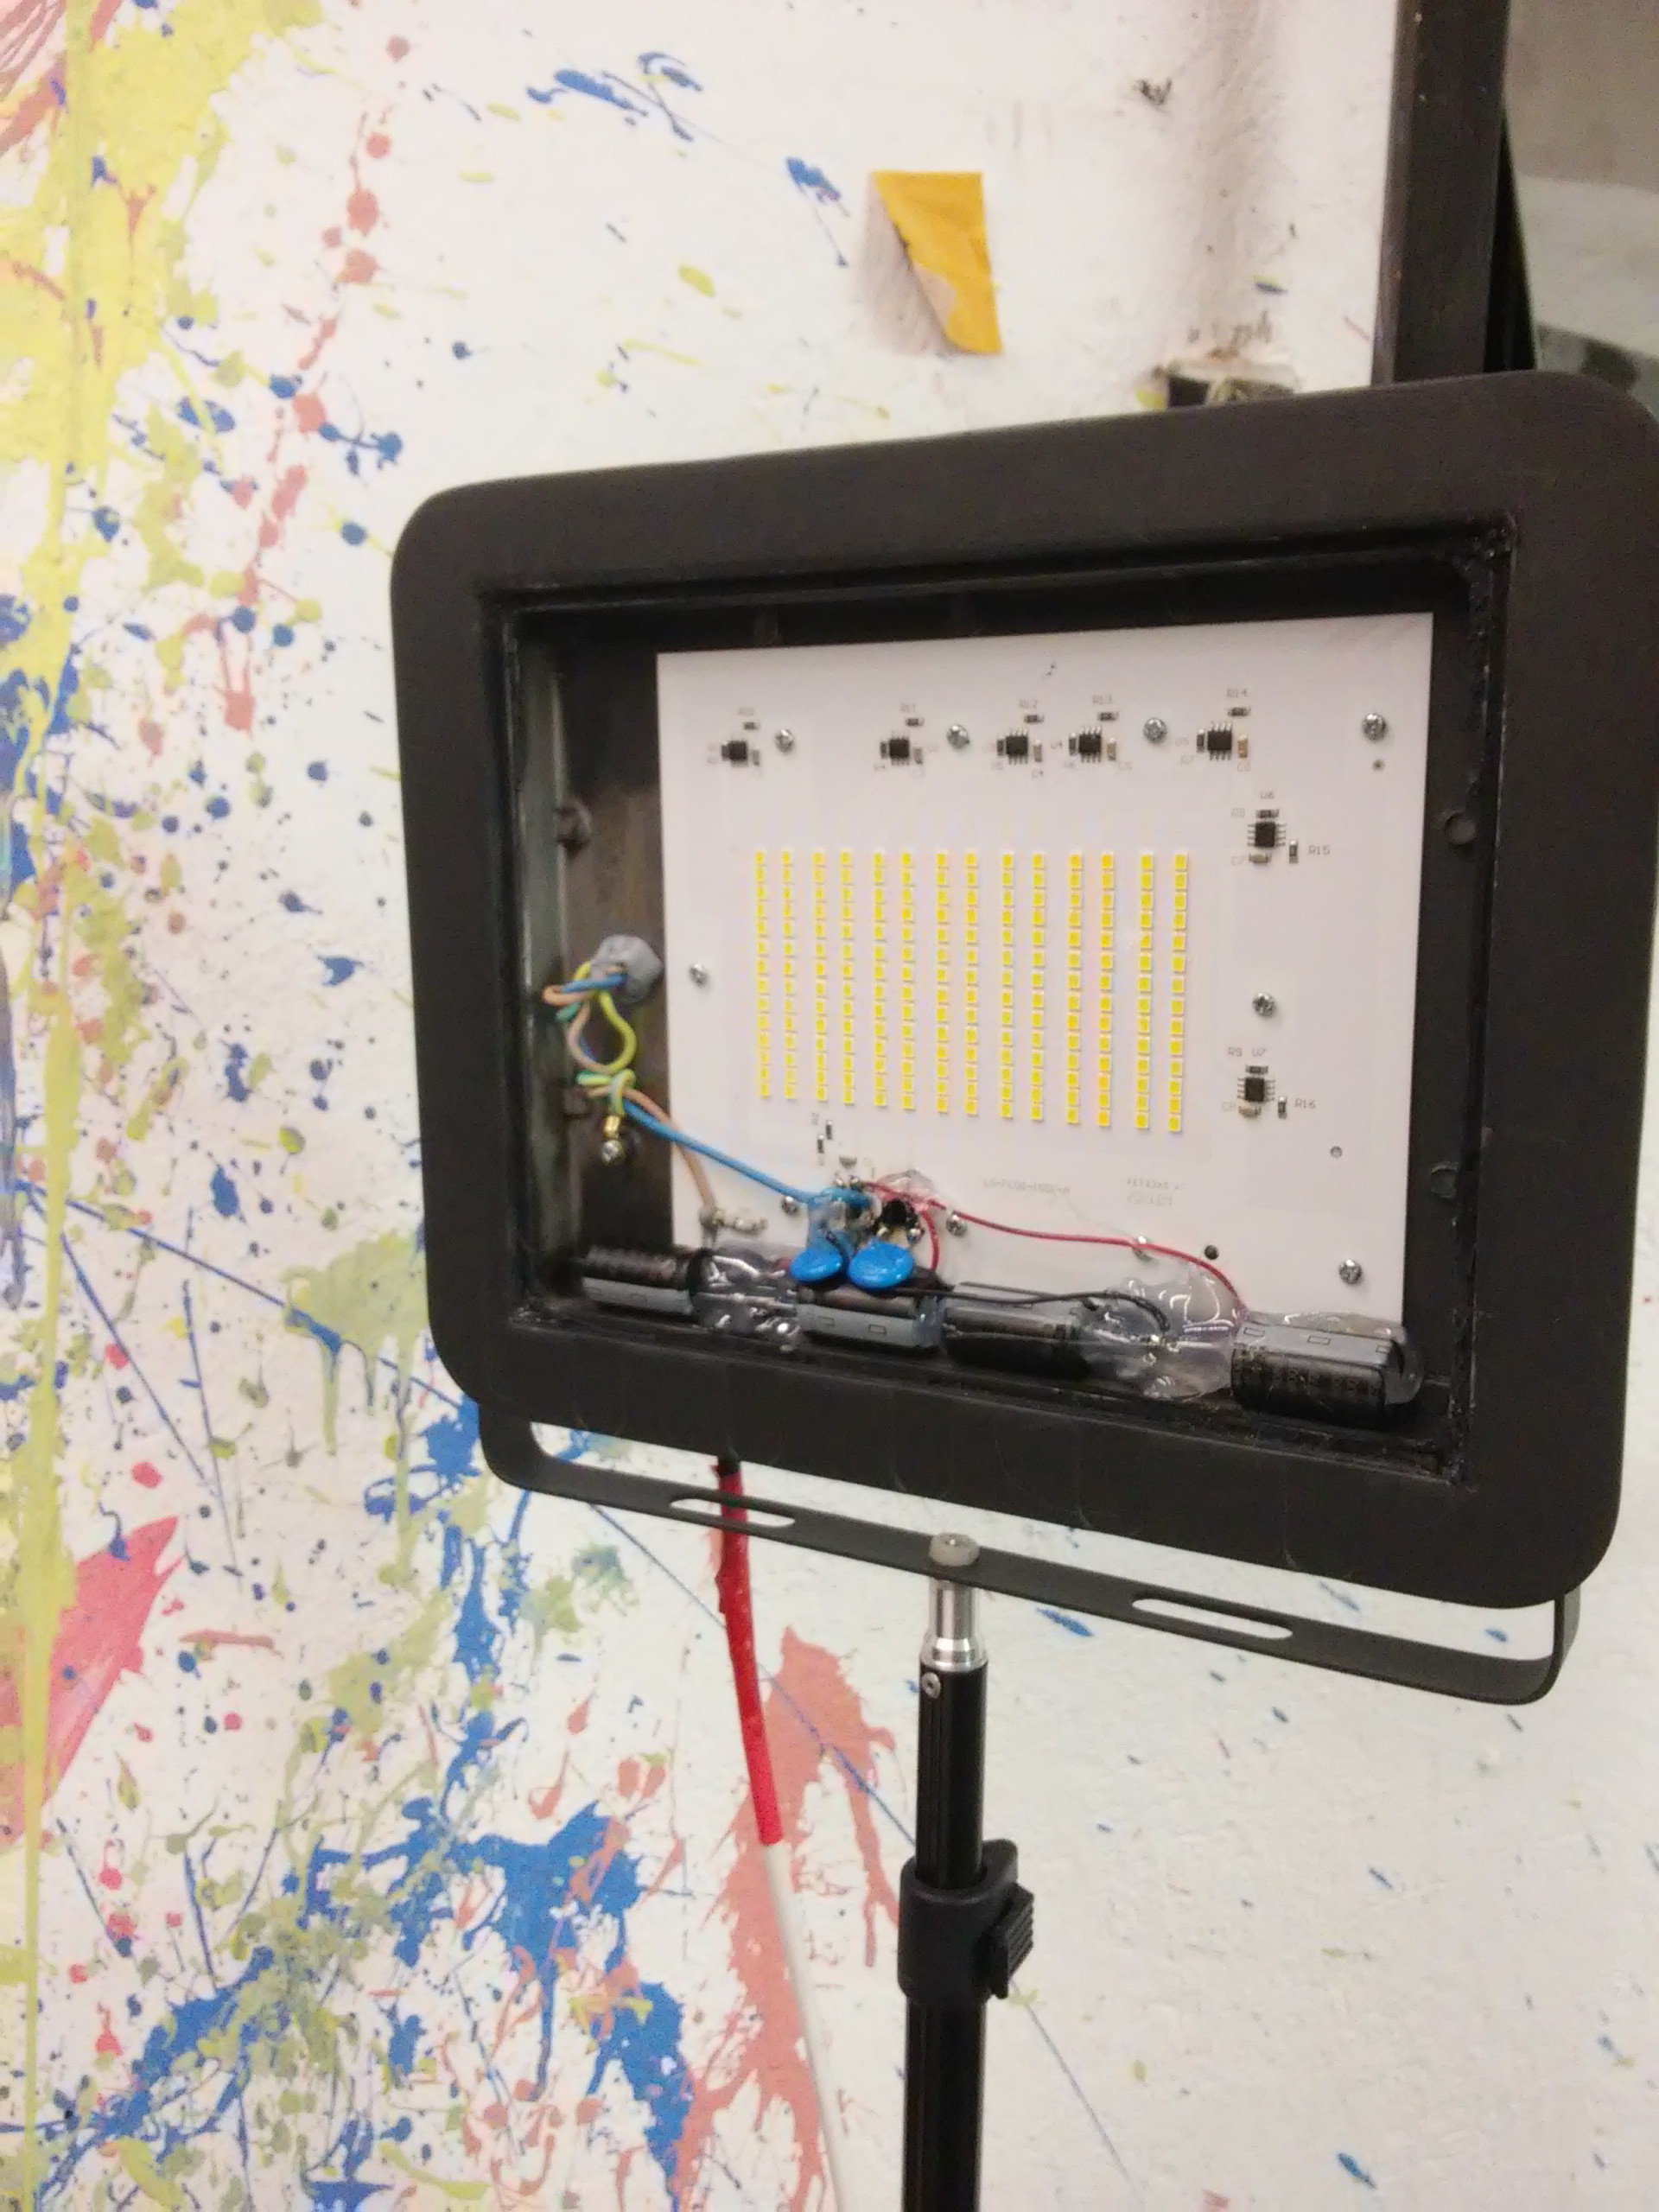
I couldn't believe my eyes but flickering was totally gone I expected rather to reduce it but it was perfectly still now! So i quickly did this modification to other 3 spotlights, it was bit more challenging for this 150W one's which was glued with silicon and in result I ended with breaking covering glass, but i don't care much:
Shutter lag:
Last difficulty which I got was shutter lag, as I needed to freeze motion with shutter instead of flash, due to that I created video at same time. There was problem that shutter reaction time, so time between sending trigger signal and actually taking photo is about 50ms, this time is called shutter lag.
Because of this I got quite big difficulty when trying to create two shoots in presented clip, this with popping balloon and this with crashing bulb with hammer, if you look carefully you will not see flash firing there.
Problem comes from that with this method minimal gap between detecting signal and taking photo is ~50ms which comes from this shutter lag and after 50ms this was much too late for this particular shoots to catch something interesting, so I needed to cheat a bit there and actually this photos which was shown on movie was taken with same setup but in darkroom with high speed method which gives almost no delay between detecting signal and actual shoot(as then flash is triggered instead of shutter).
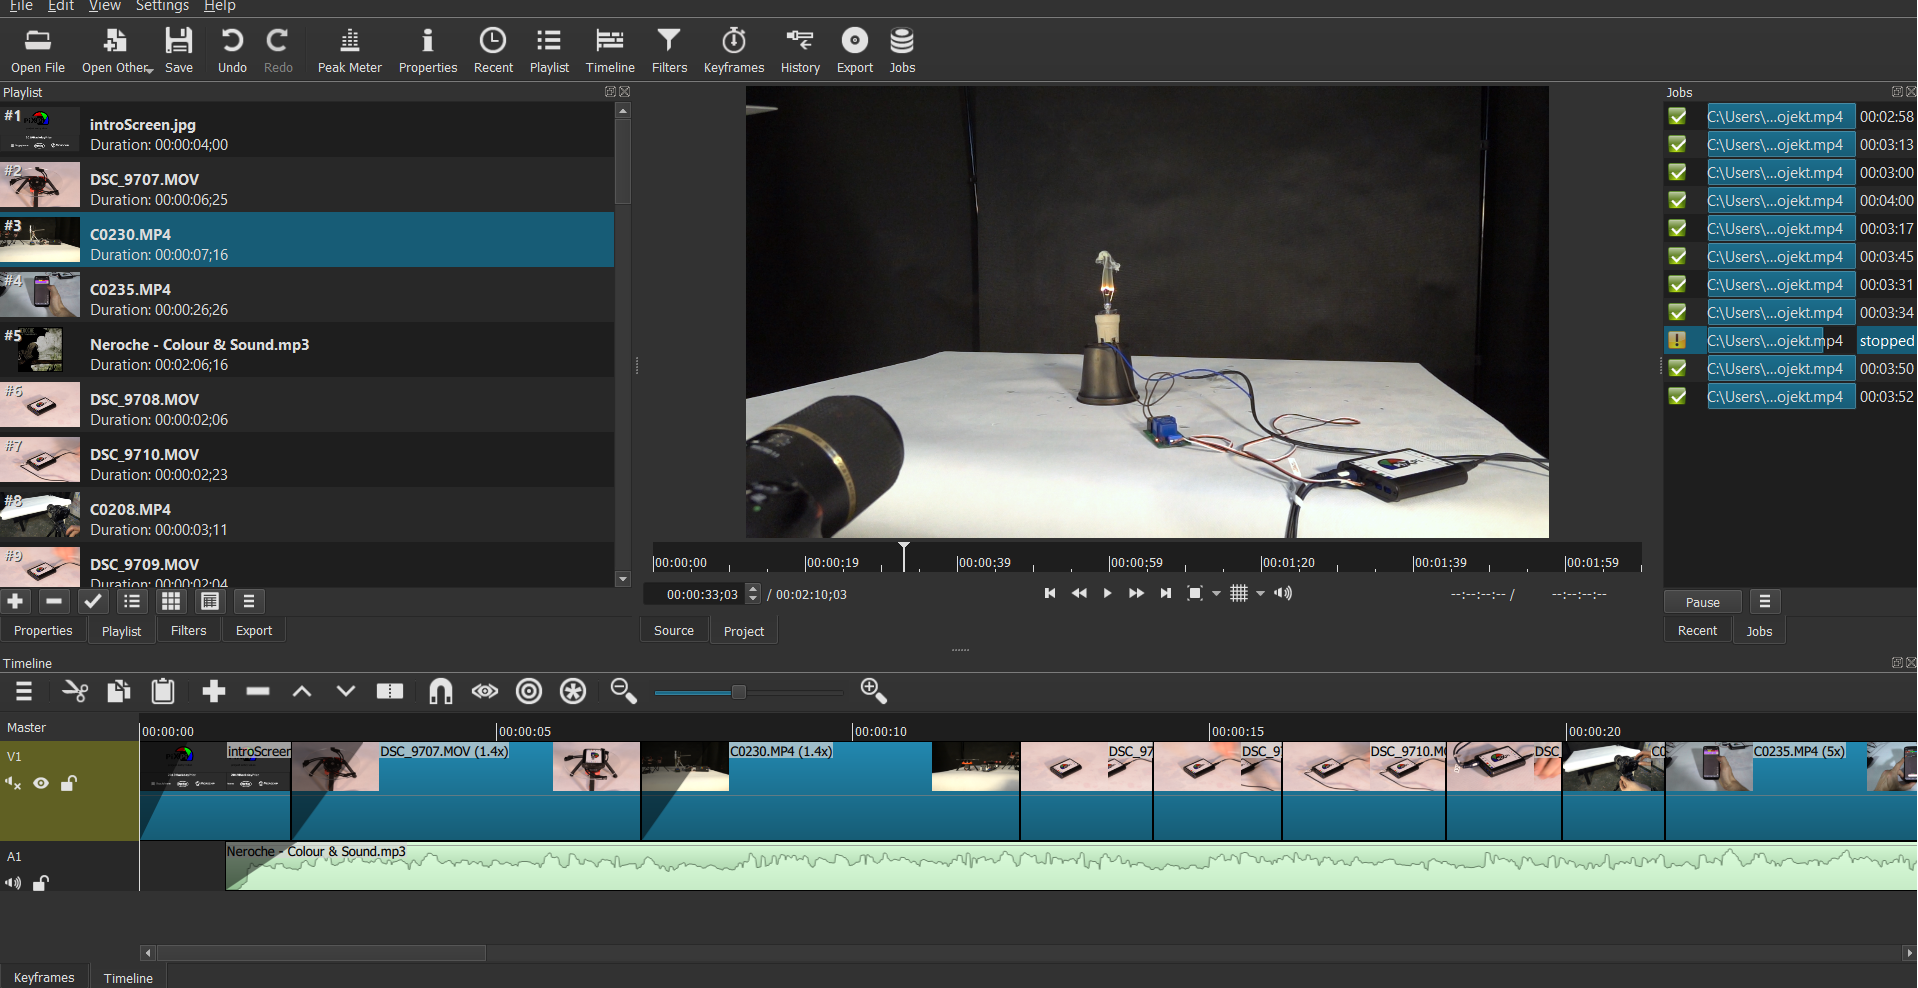
Post-production/creating clip:
Montage video was done using Shotcut i'm not really experienced in video area as this was actually my second attempt ever, but this Software is really nice and i really enjoyed working with it.
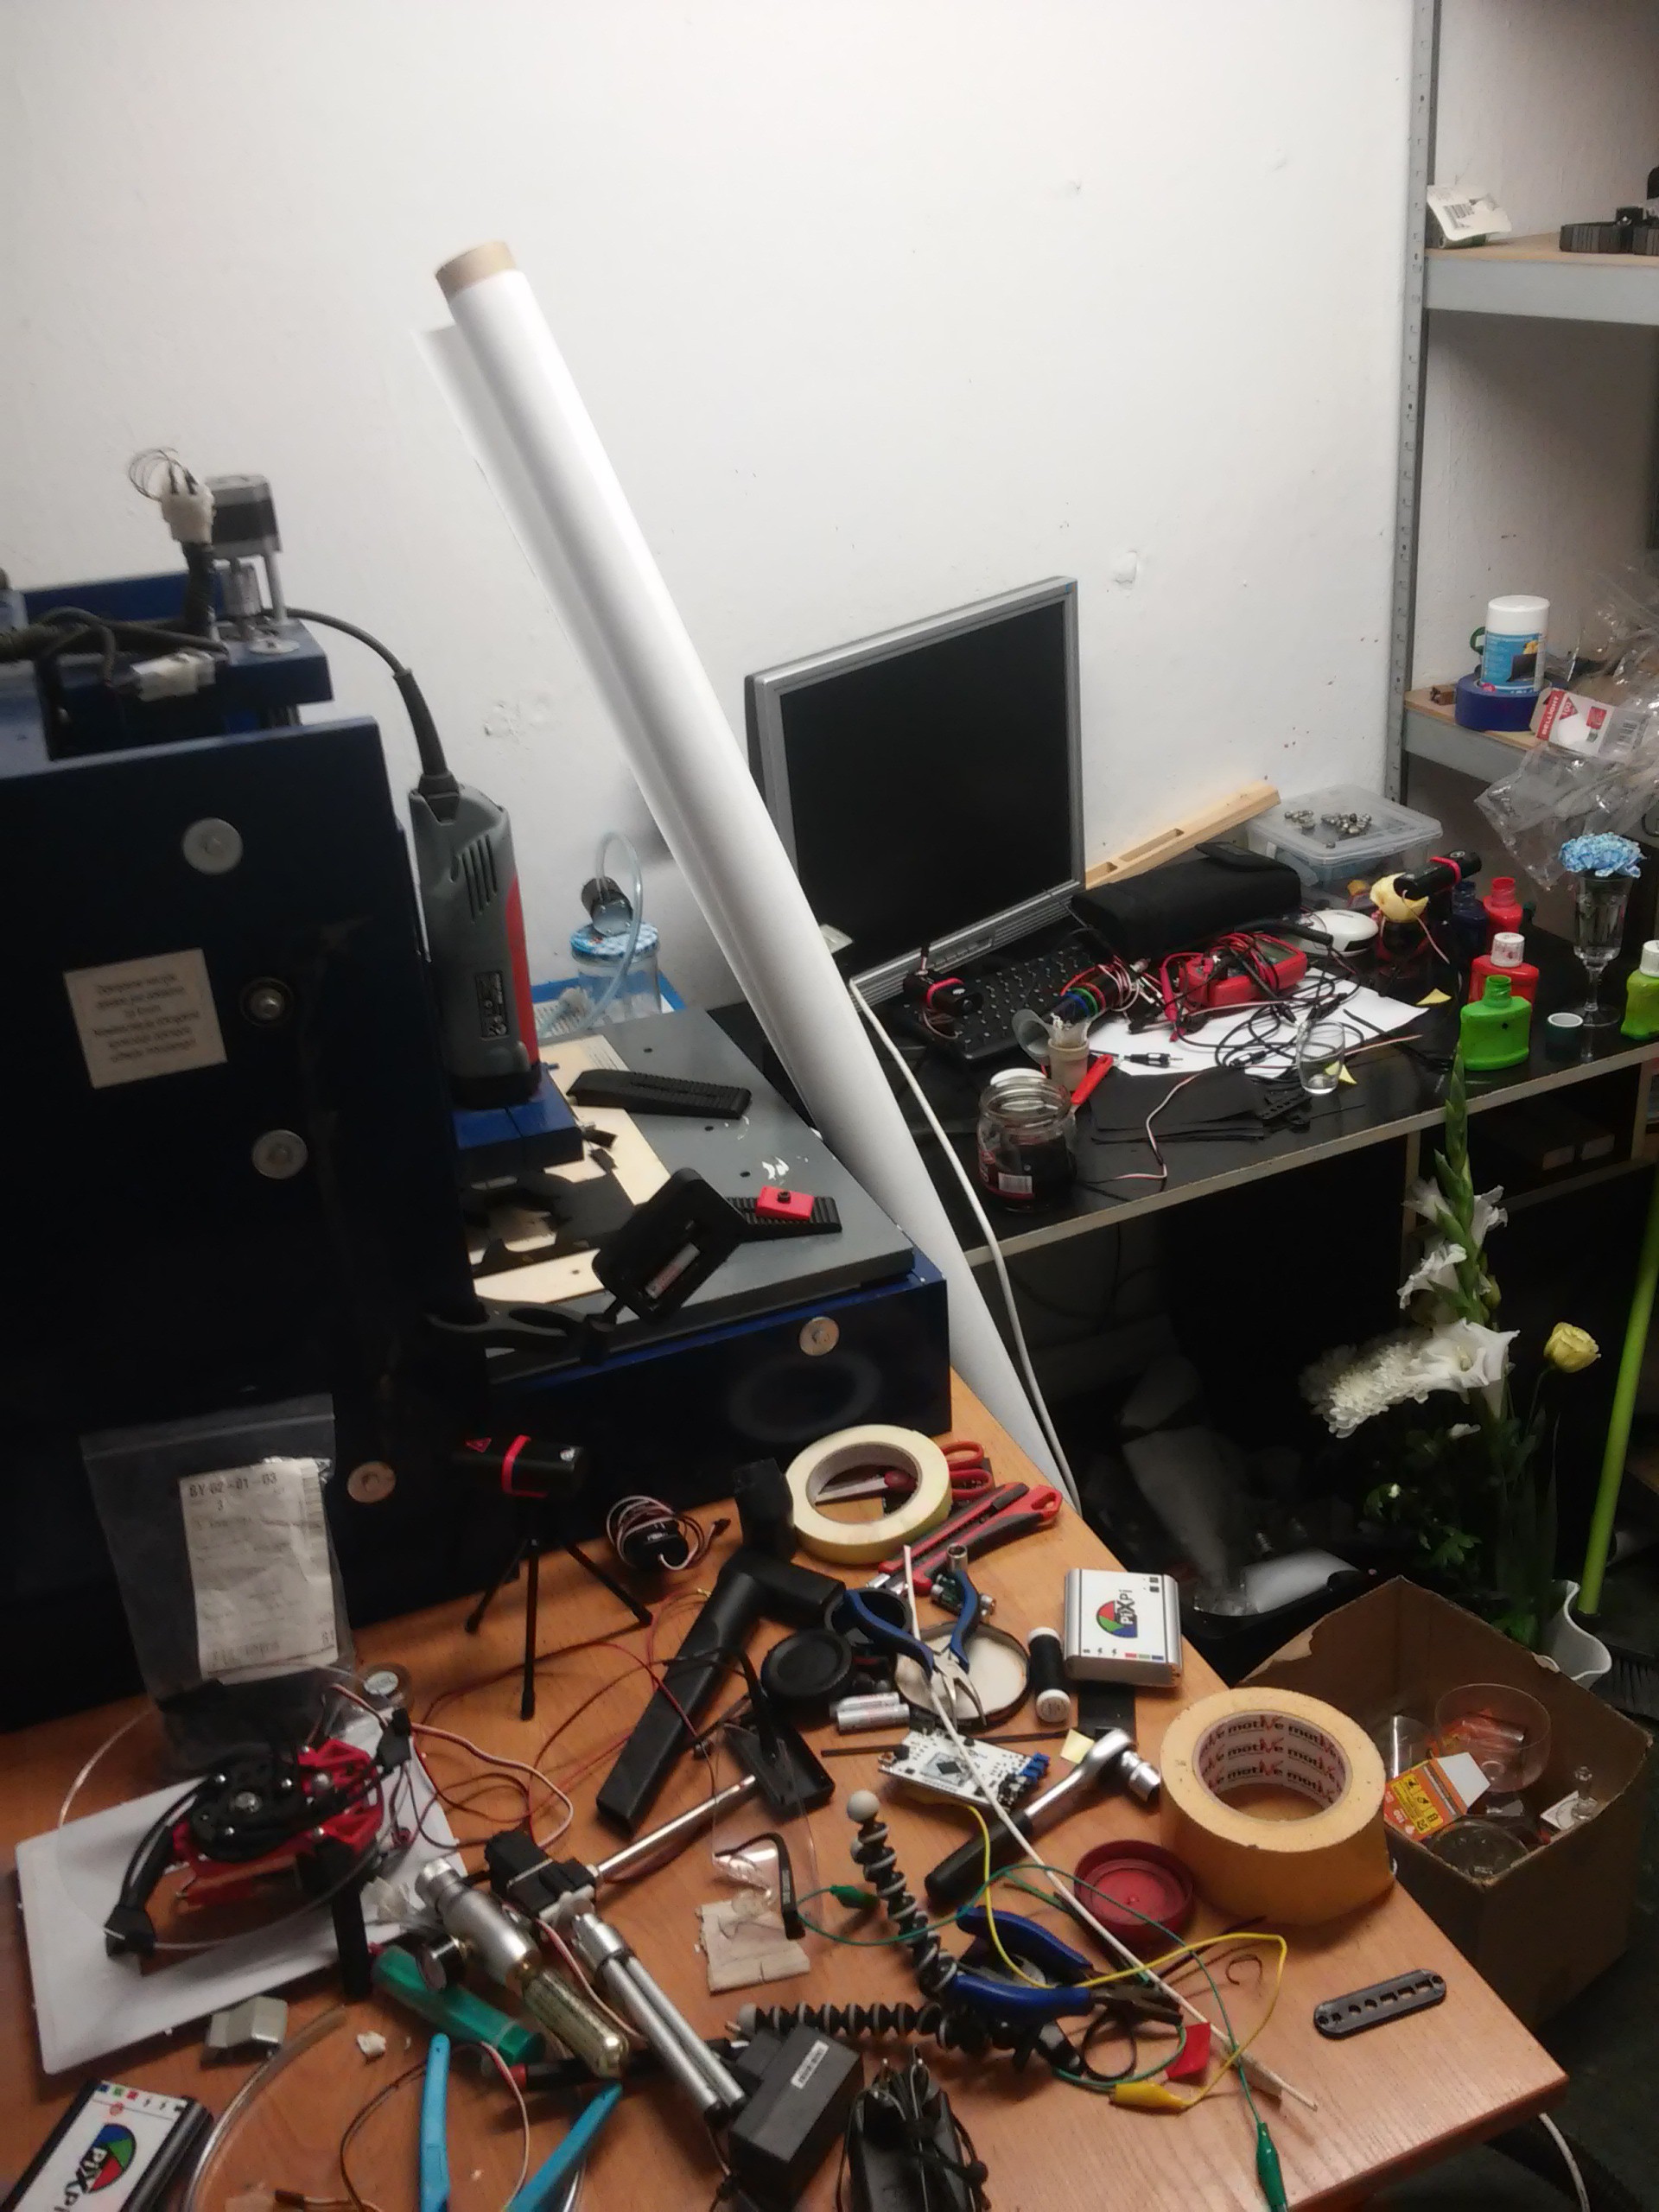
So now next challenge is to clean this mess which I created during this... ;O
Thanks for reading, feedback is welcome :)
Discussions
Become a Hackaday.io Member
Create an account to leave a comment. Already have an account? Log In.