Hello,
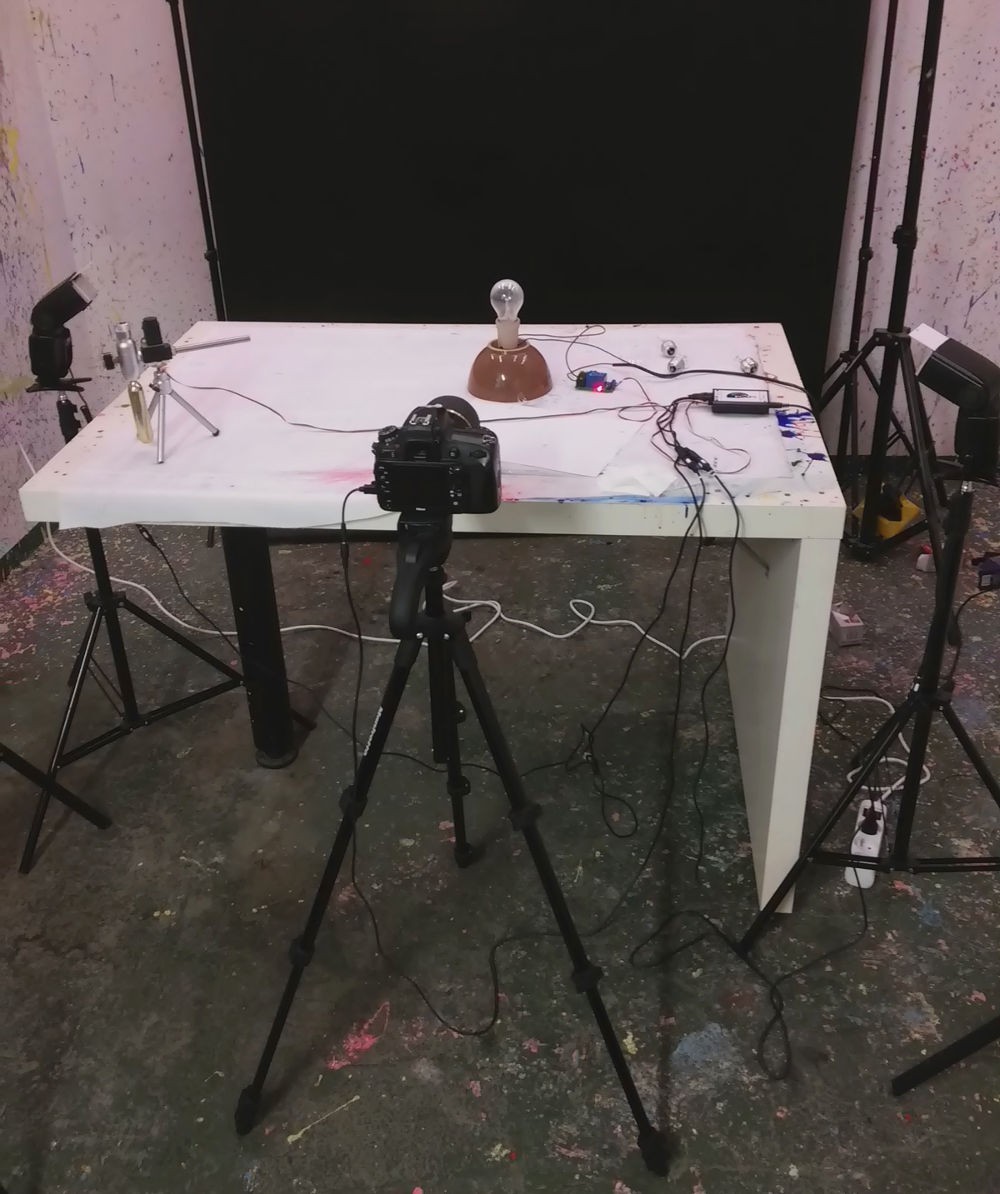
This time I wanted to share some photos which I took lately, within this I also want to show how setup and program look like for each shoot and also you will see example how modules can be combined.
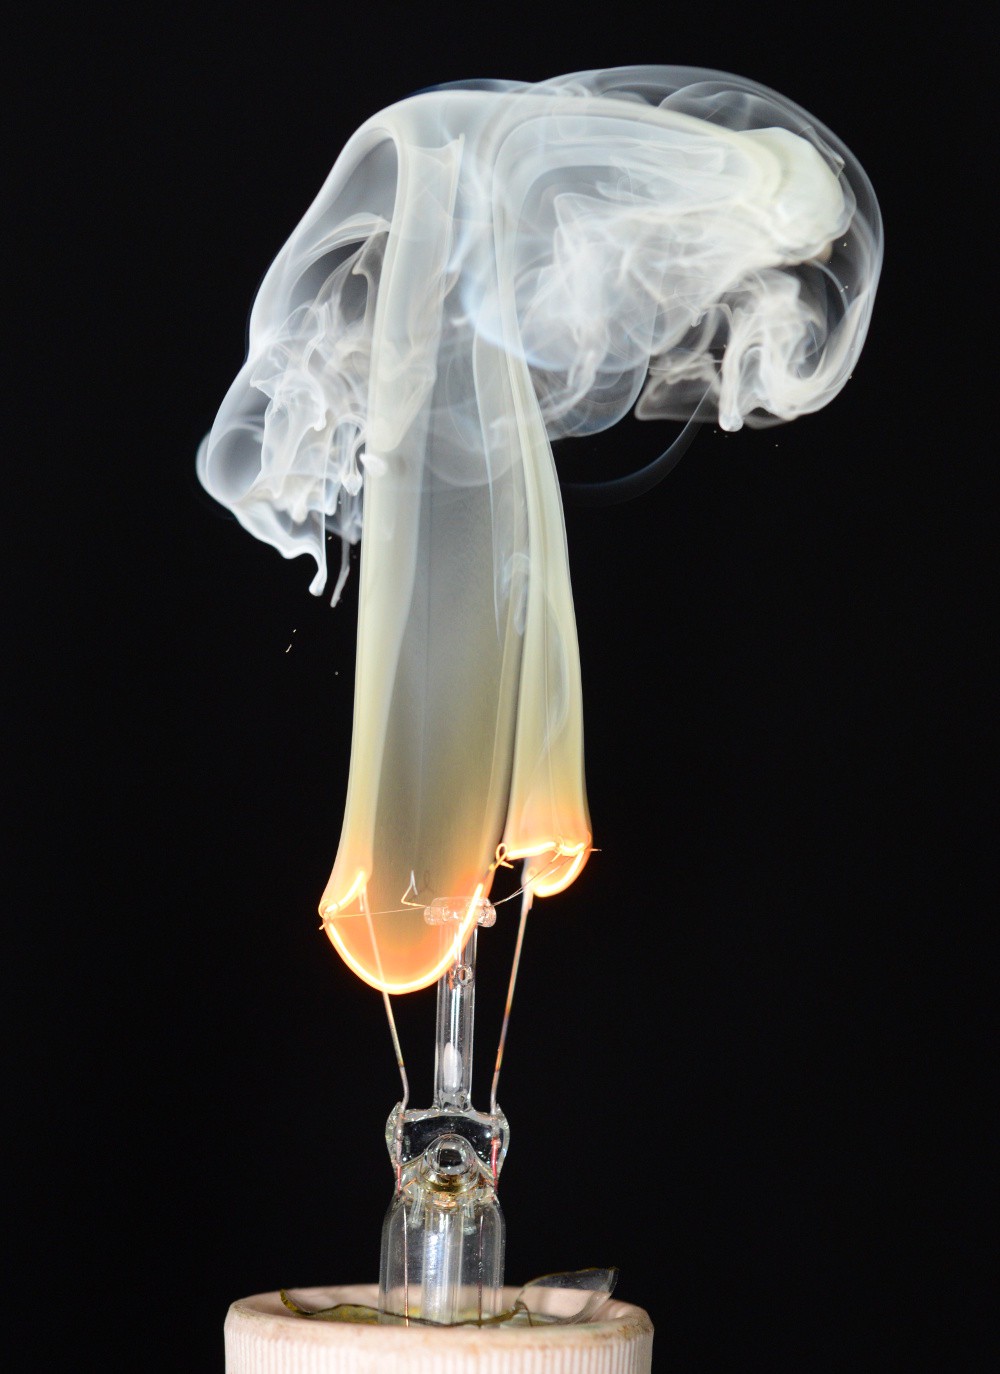
Doing photos like below was really simple using relay module
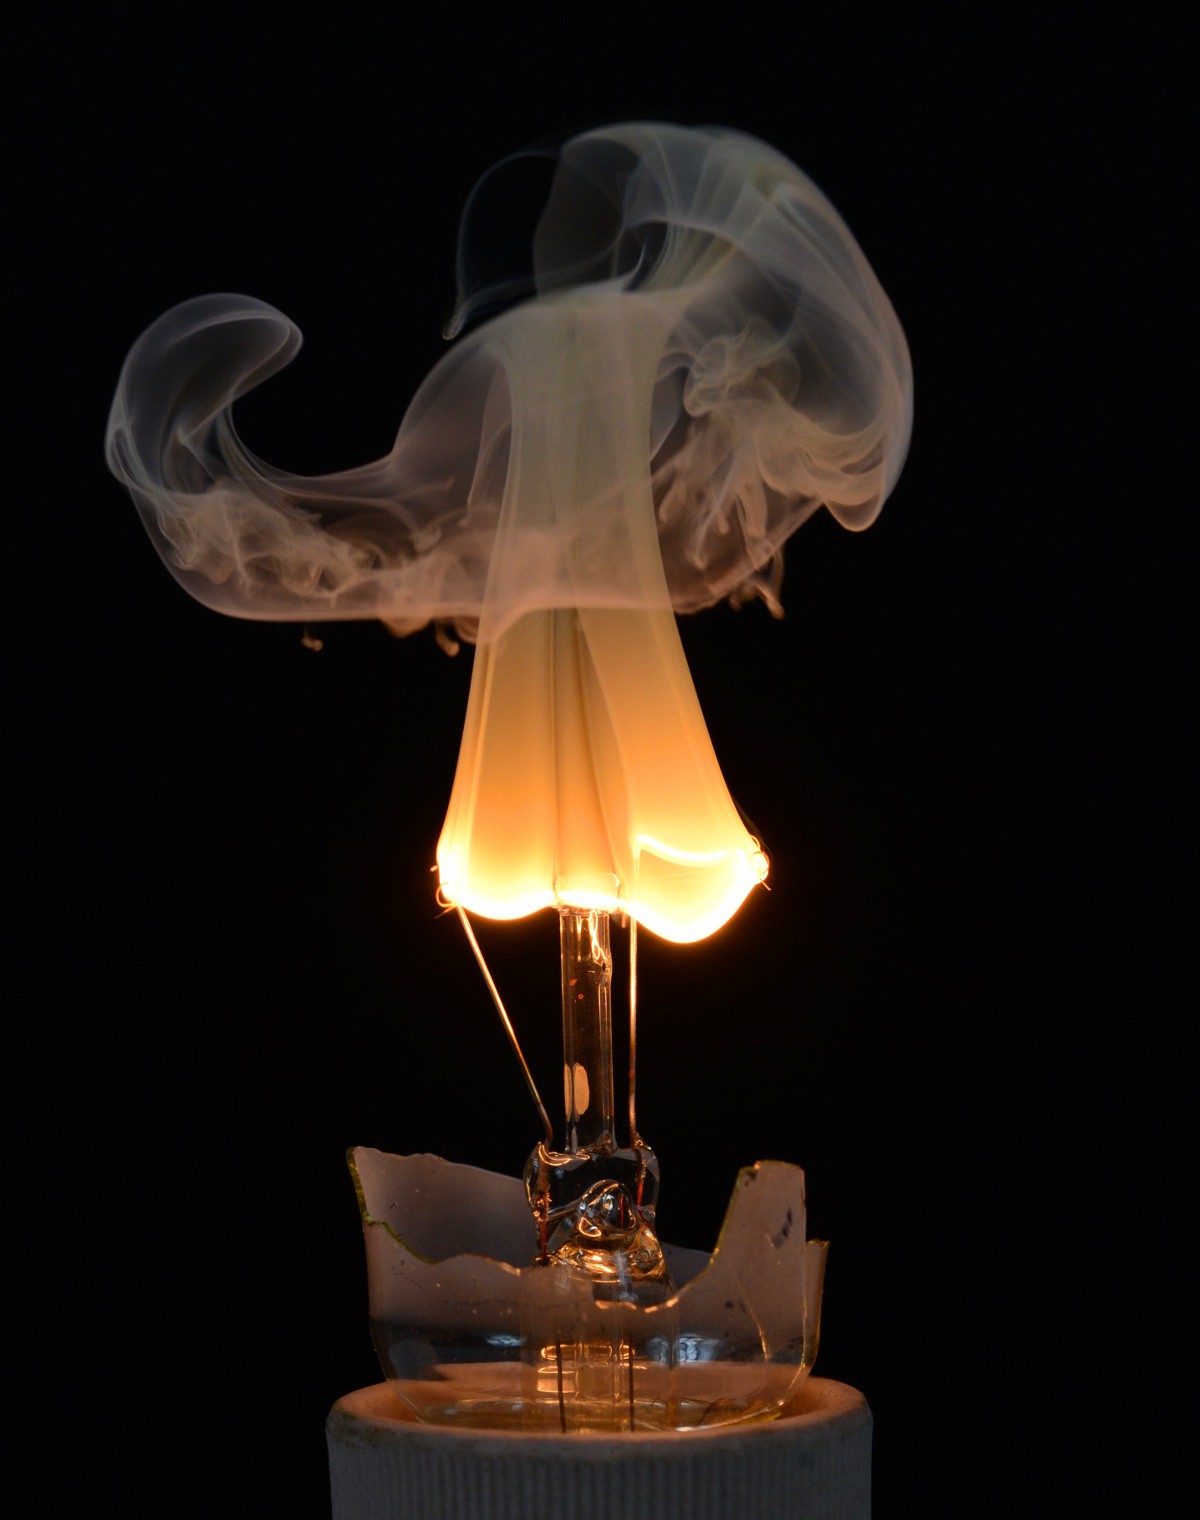
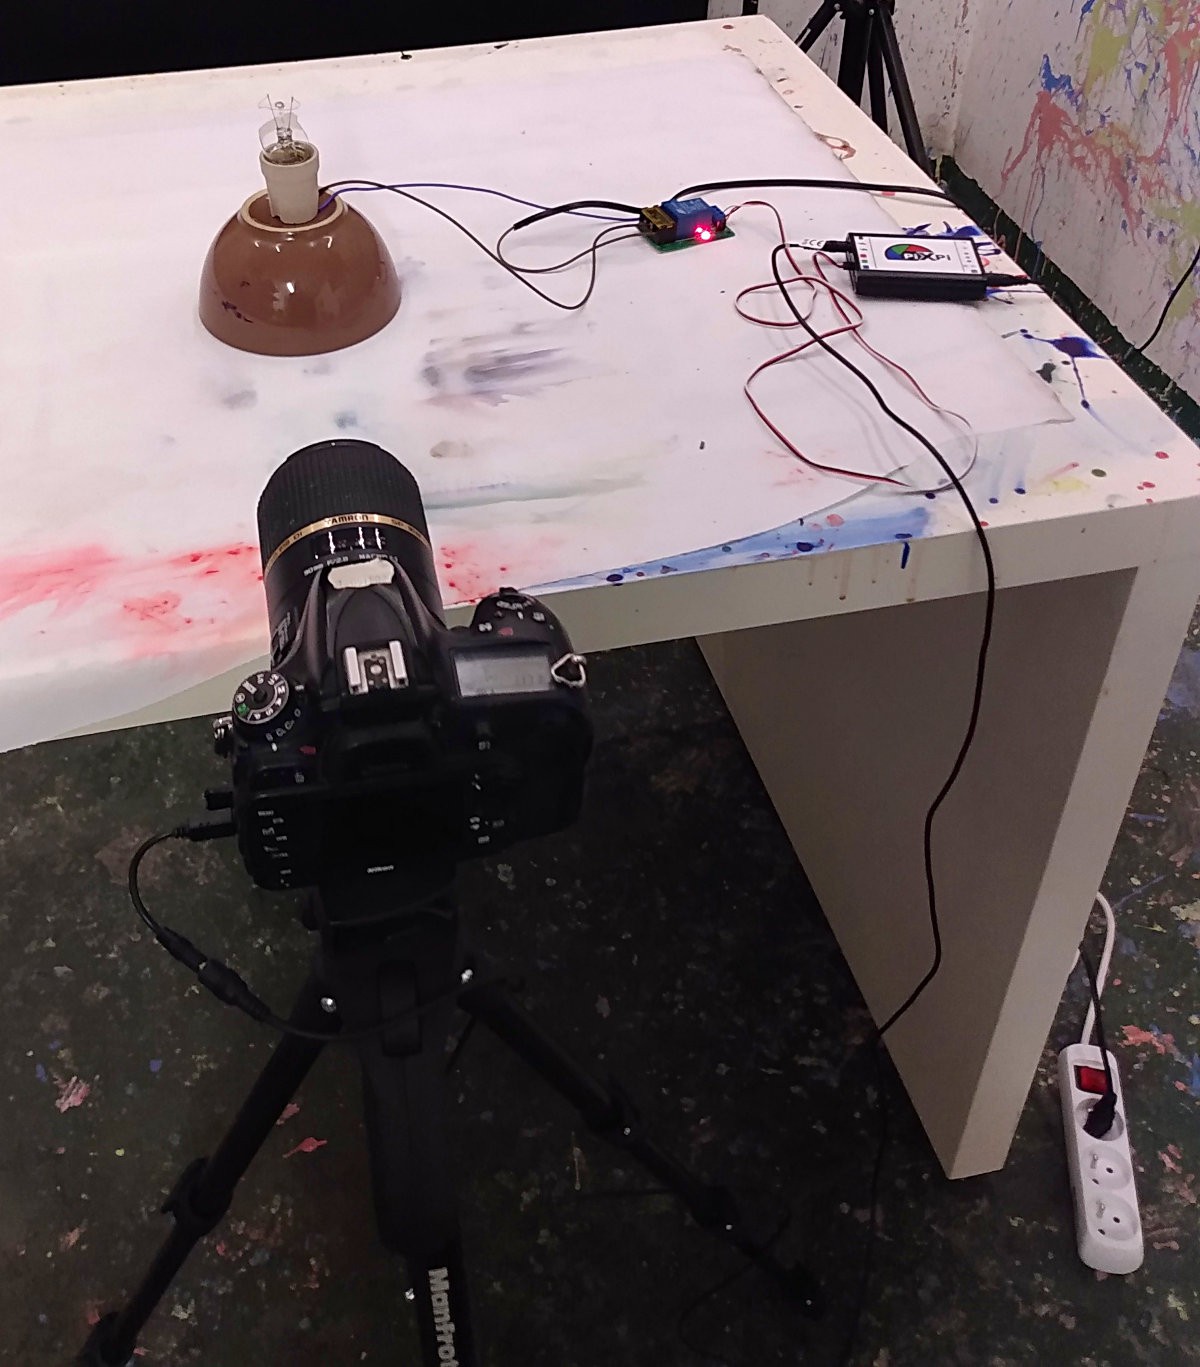
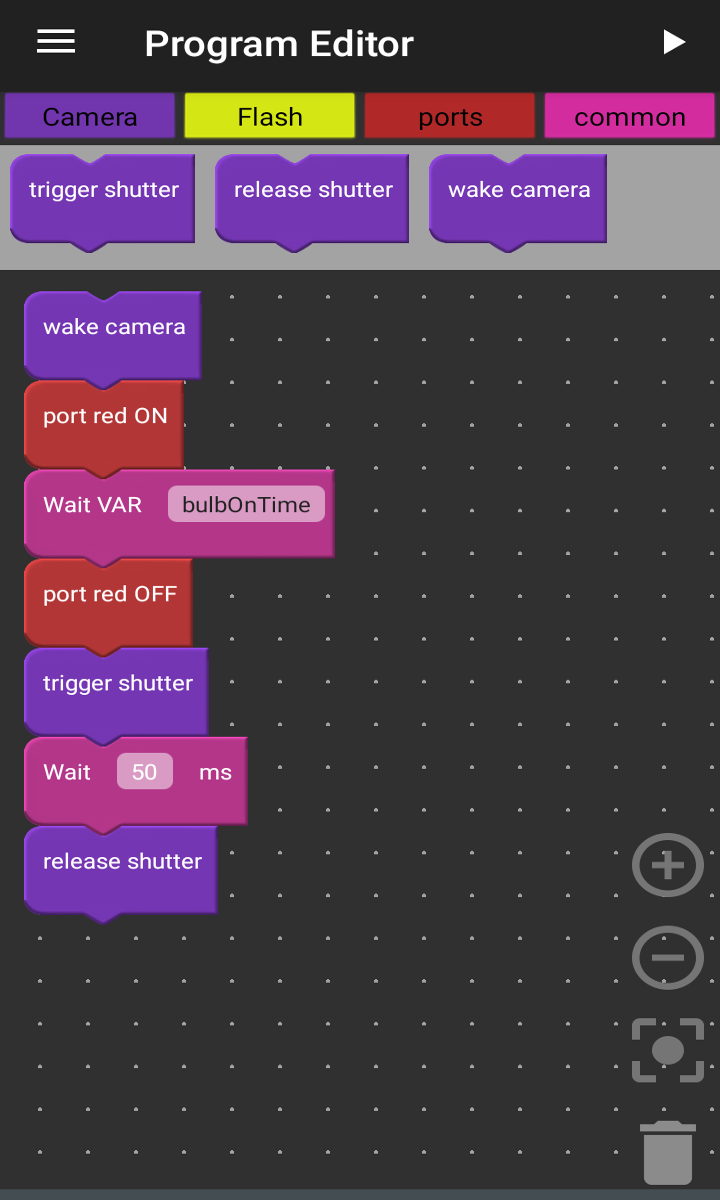
Crashed bulb was hooked to mains AC, so needed to be extra careful here I used power strip with a switch, so every time I was getting close to it i just switched it off. So safety was biggest challenge here, other thing was easy, program was done in that way that it just turned on relay for short time and then camera was triggered, usually bulb was turned on for 100-200ms,but I used block which enabled me to change delay from control panel, so for each shoot I could change it.
Some more from this session:
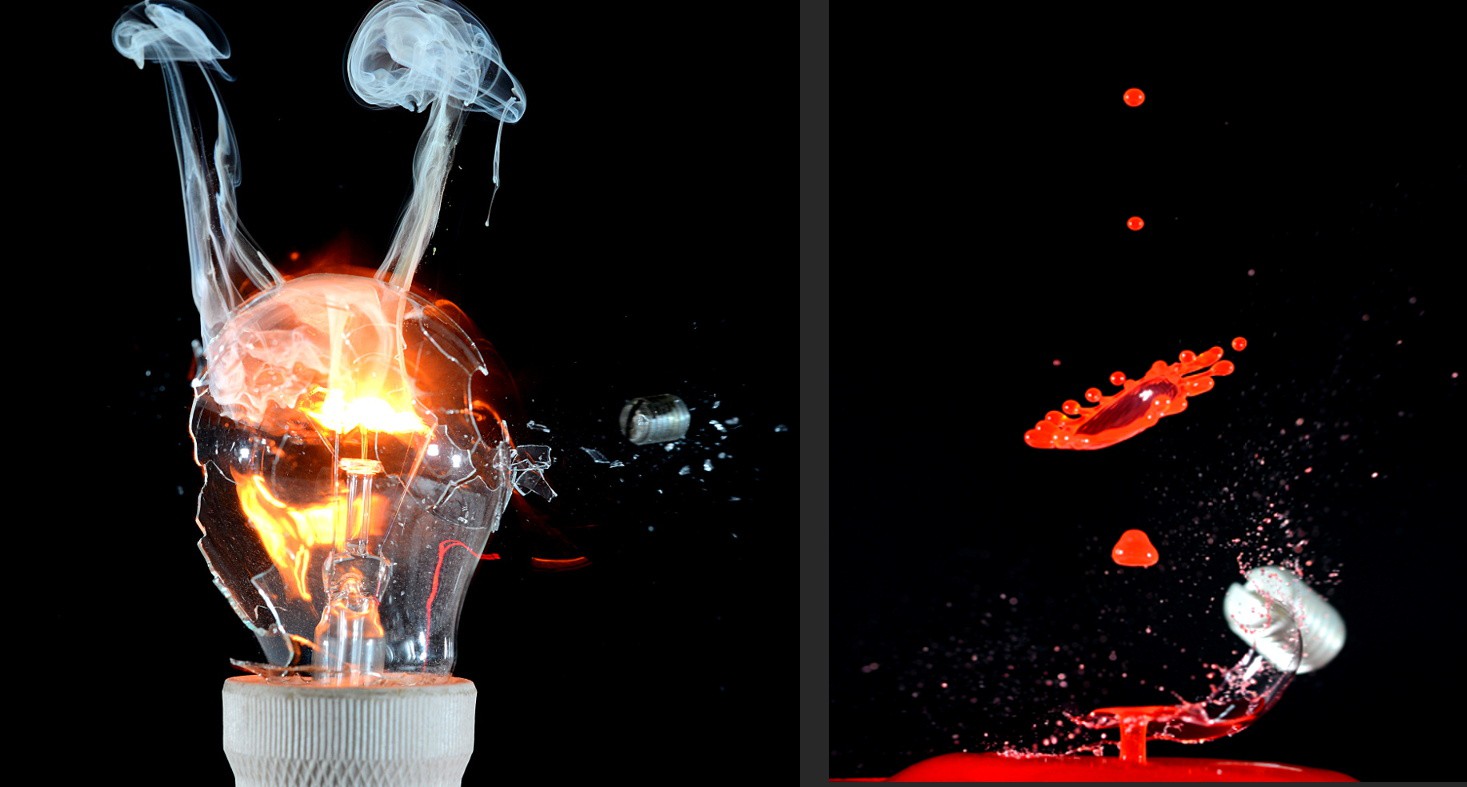
Hmm so maybe let's try to shoot with bullet to it?
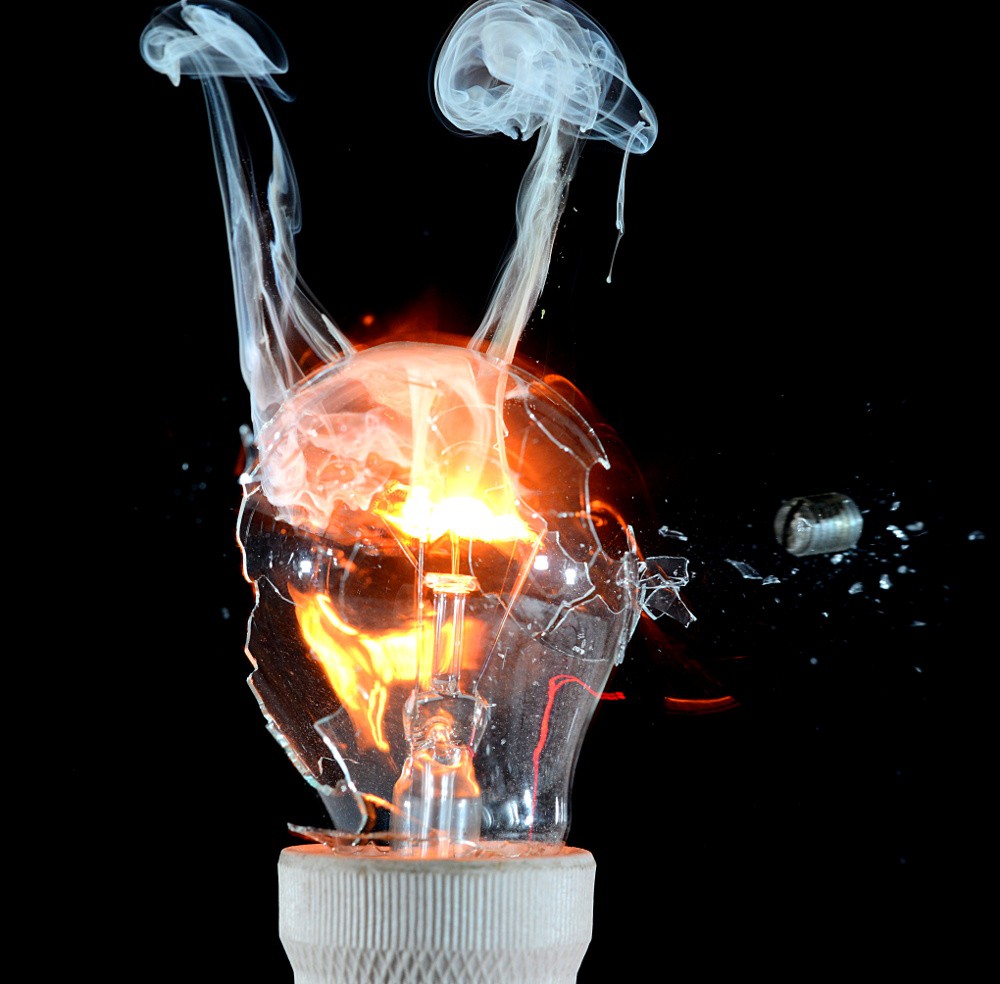
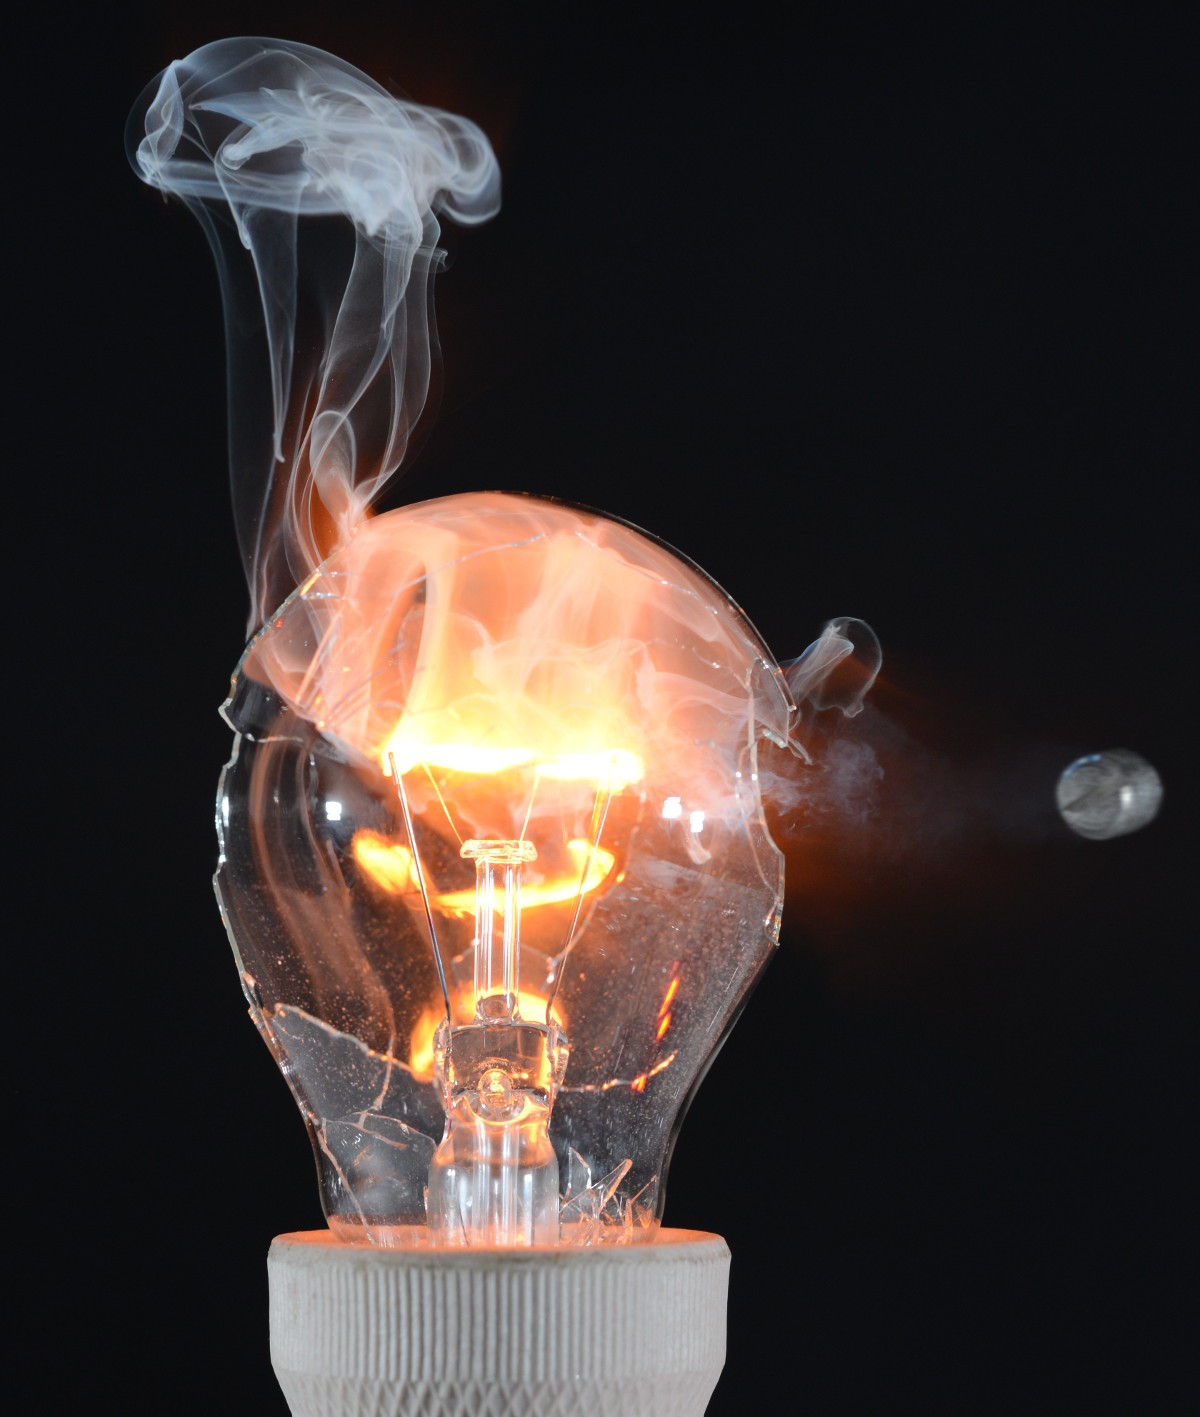
I also got some partially crashed bulbs with non broken filaments, so I thought maybe It will be good idea to, try to combine this and shoot with projectile to it while it filament was burning and this idea was not so good, as light from bulb was causing some motion blur, but I got one quite decent photo, which you can see above.

Some more from this session:
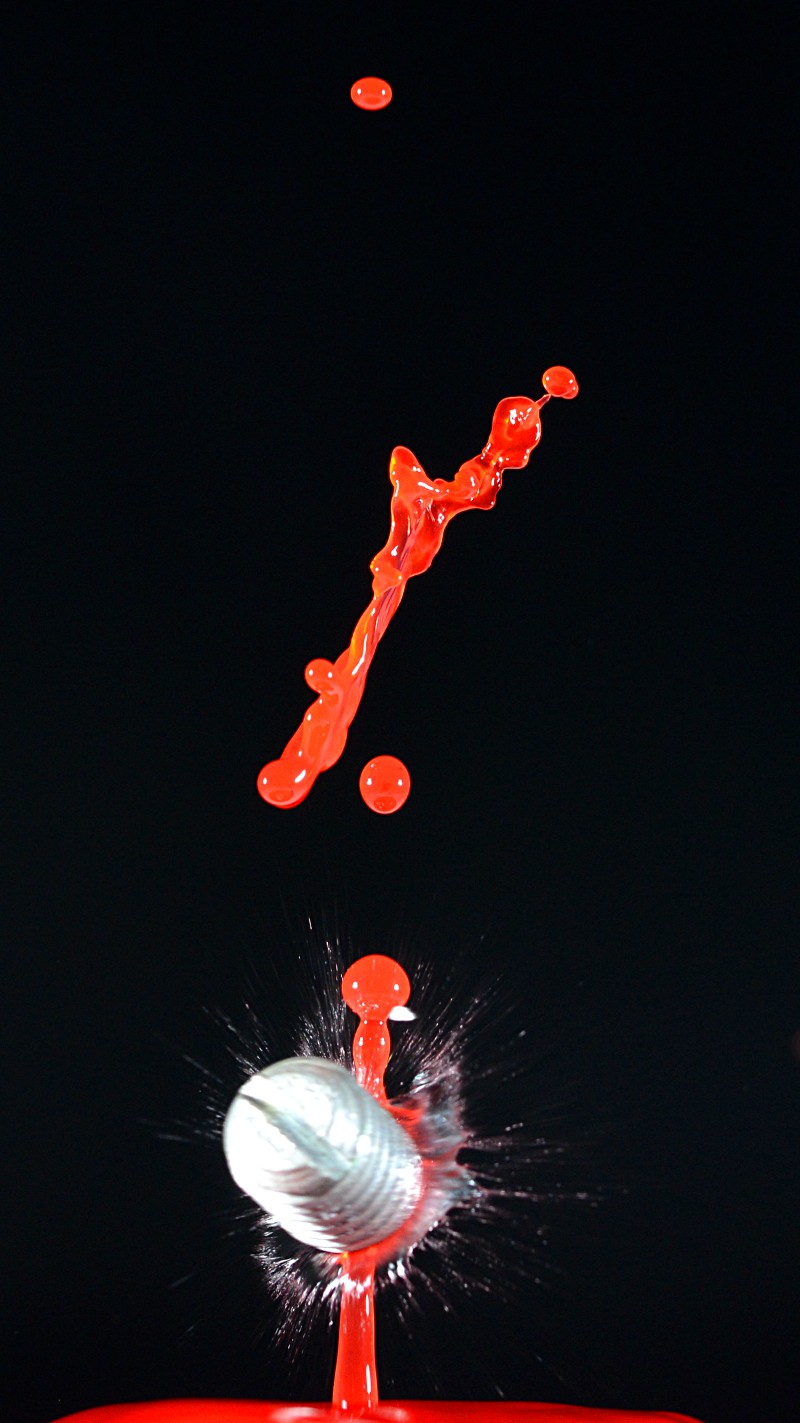
Shooting to colliding droplets with projectile
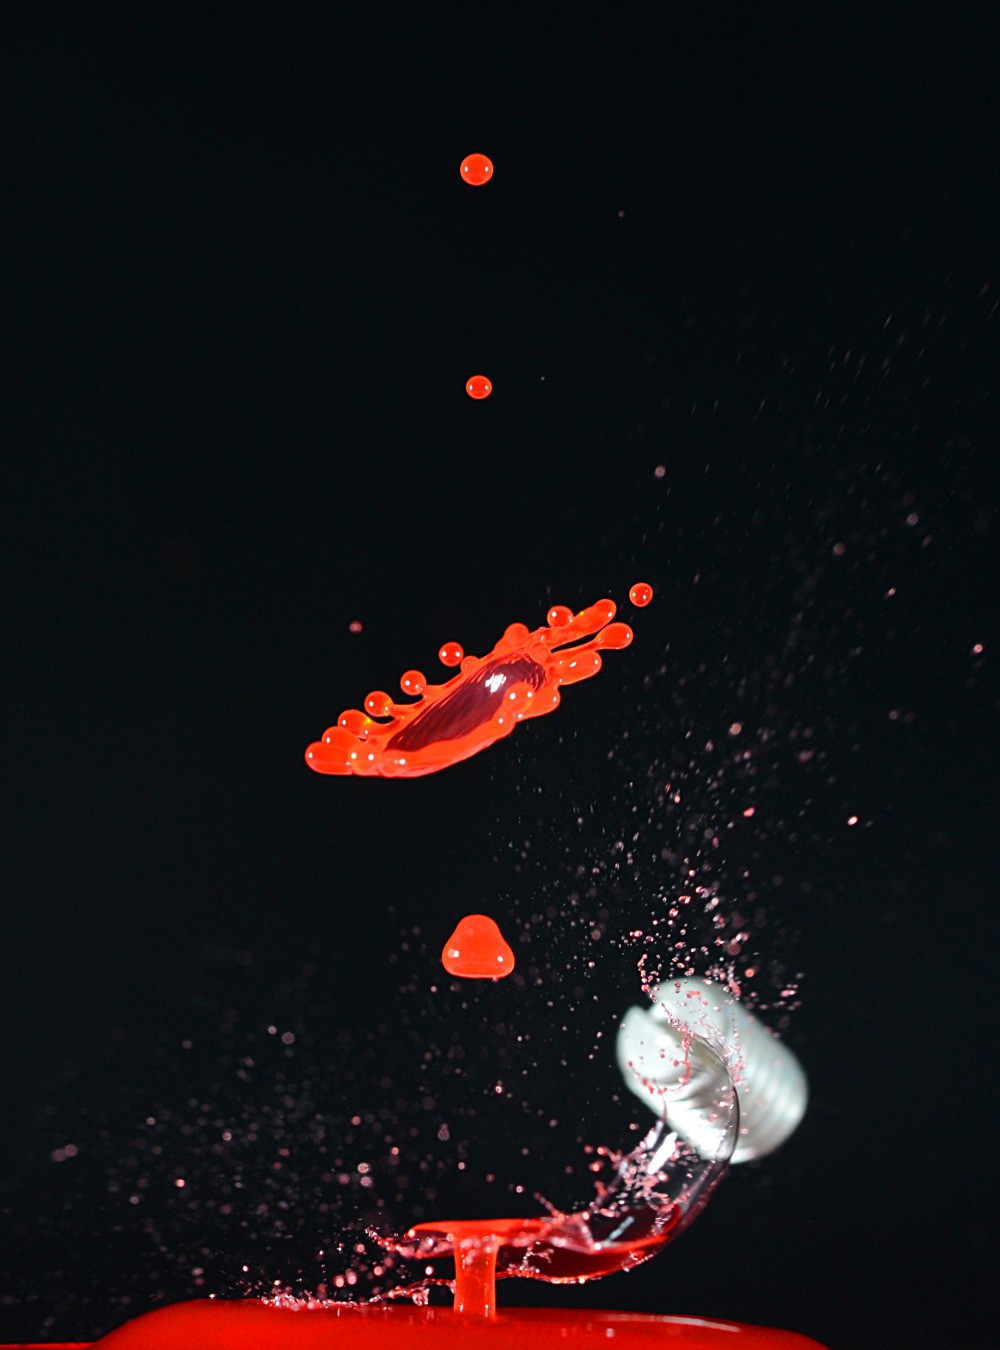
I was also done some photos of colliding droplets hit with projectile from pneumatic gun and generally it was not so hard as I thought, surprisingly what made the most difficulty this day was to make droplets colliding nicely, possibly this was due liquids properties which i used or shape dish or something, hard to say, but droplets was not so tall and nice, but anyway i was able to catch some photo which can be shown as example.
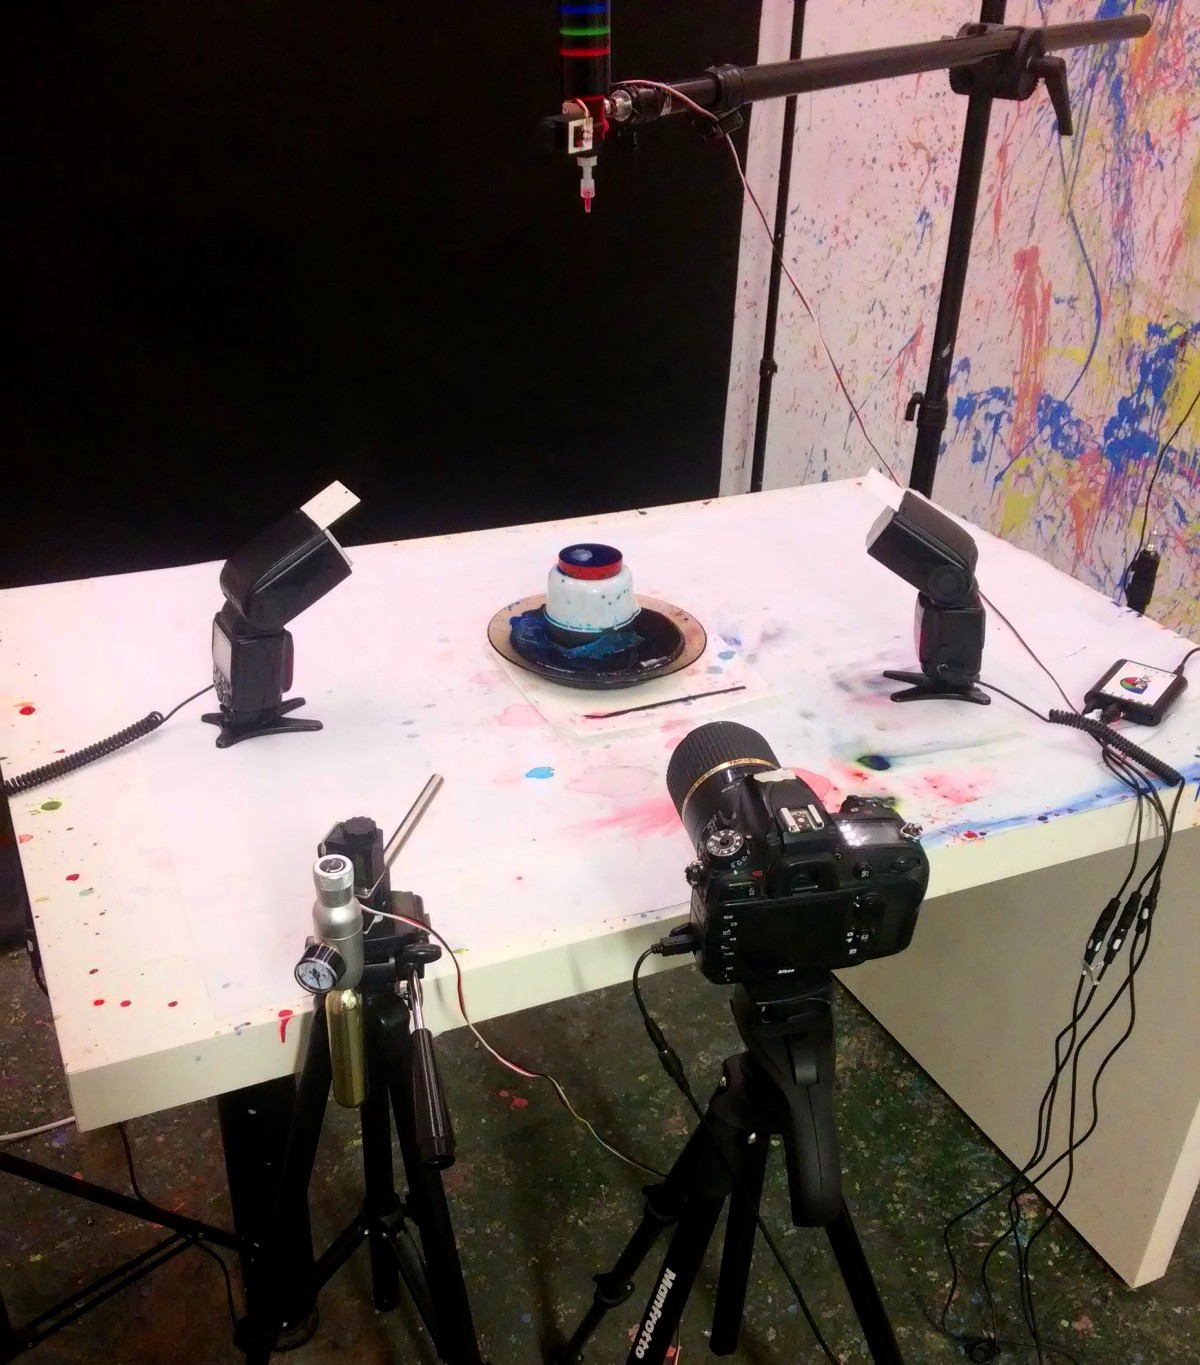
2 flashes connected to one port(through dividing cable), droplet module(port red) and pneumatic gun(port green)
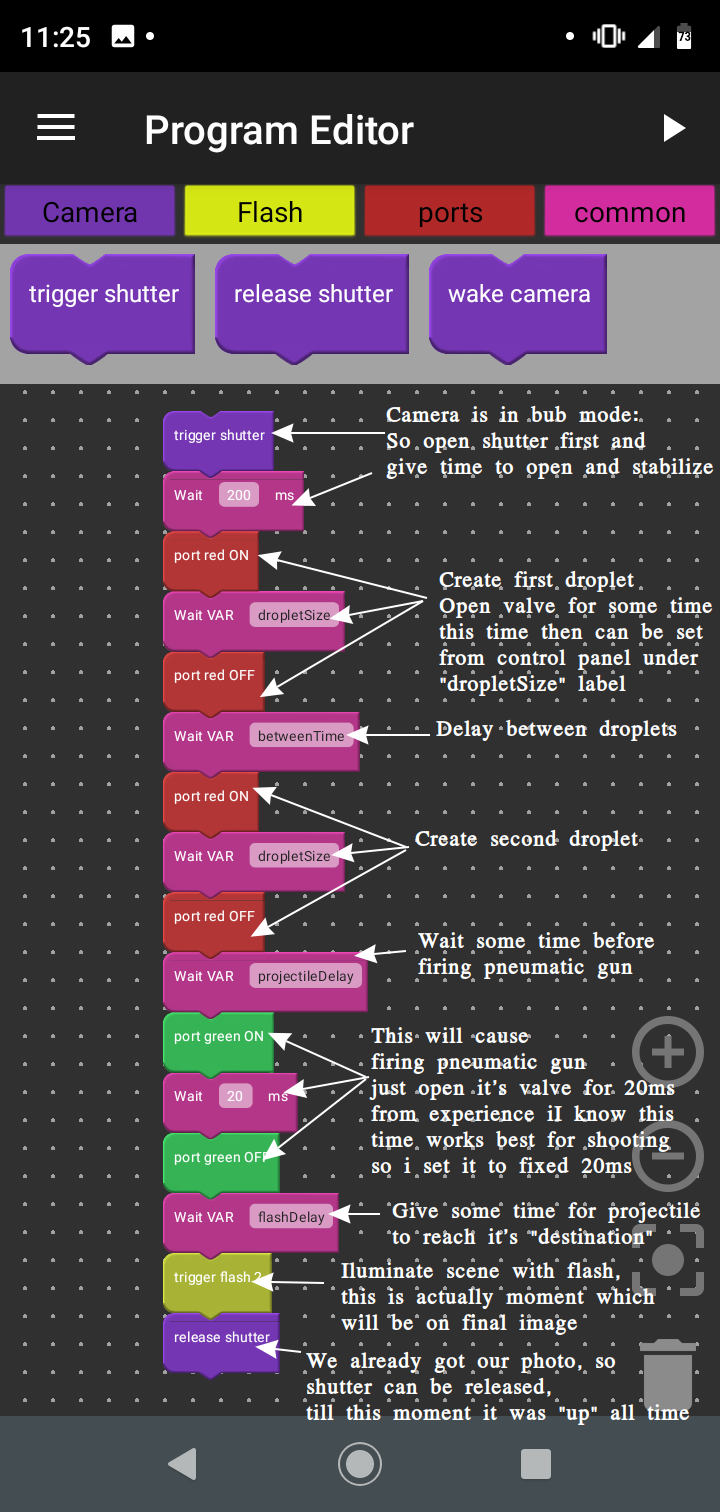
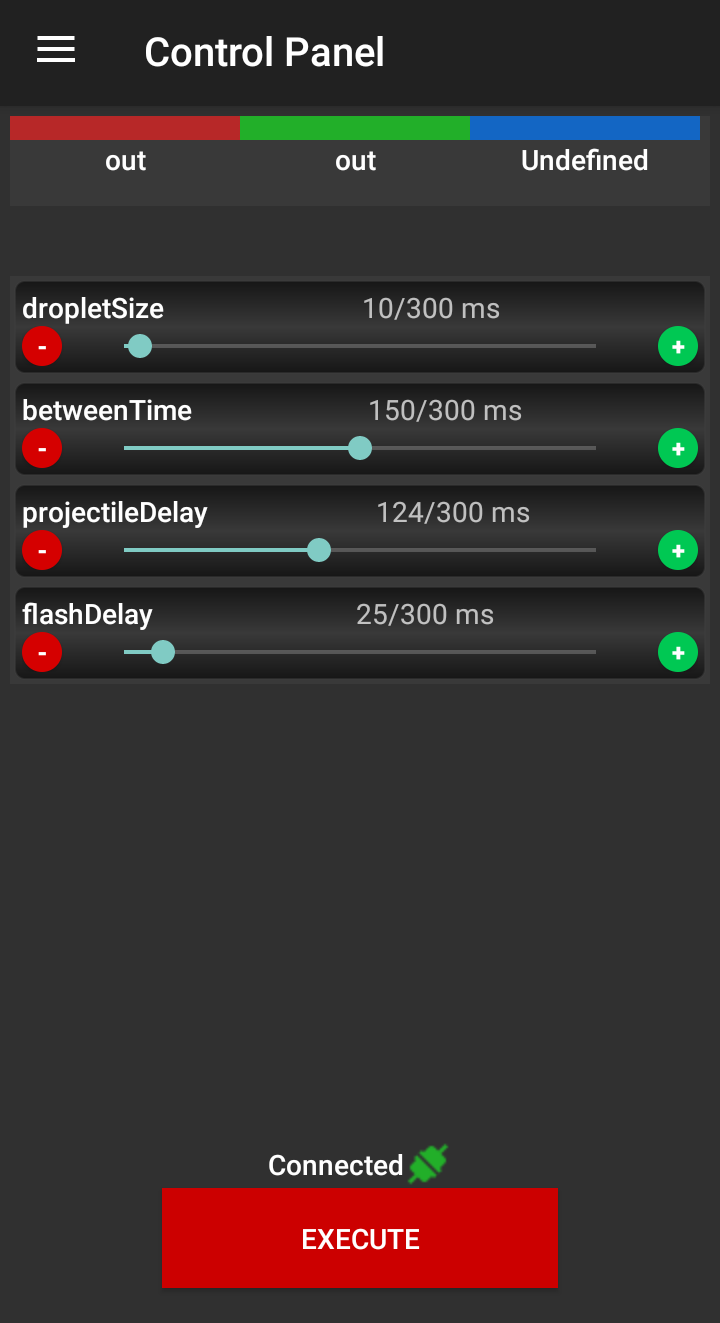
And one more from session:
Update 8.09.2019:
I made some few more tries with catching photo of colliding droplets which are hit by projectile, setup was almost same as above(only container which hold liquid where drop is hitting was different, as I observed that it can make significant difference in first droplet "jump" height):

 krzysztof krzeslak
Discussions
Become a Hackaday.io Member
Create an account to leave a comment. Already have an account? Log In.
Very cool and modern
Are you sure? yes | no
Thank you! Nice to know that after 4 years someone somehow come across effects of this project, unfortunately 2019 hackaday prize and a lack of community interest killed my motivation to work further on this project, all just collecting dust on the shelf unfortunately till now , so quite appreciate at least some nice words :)
Are you sure? yes | no