 Kevin Arne
New Board
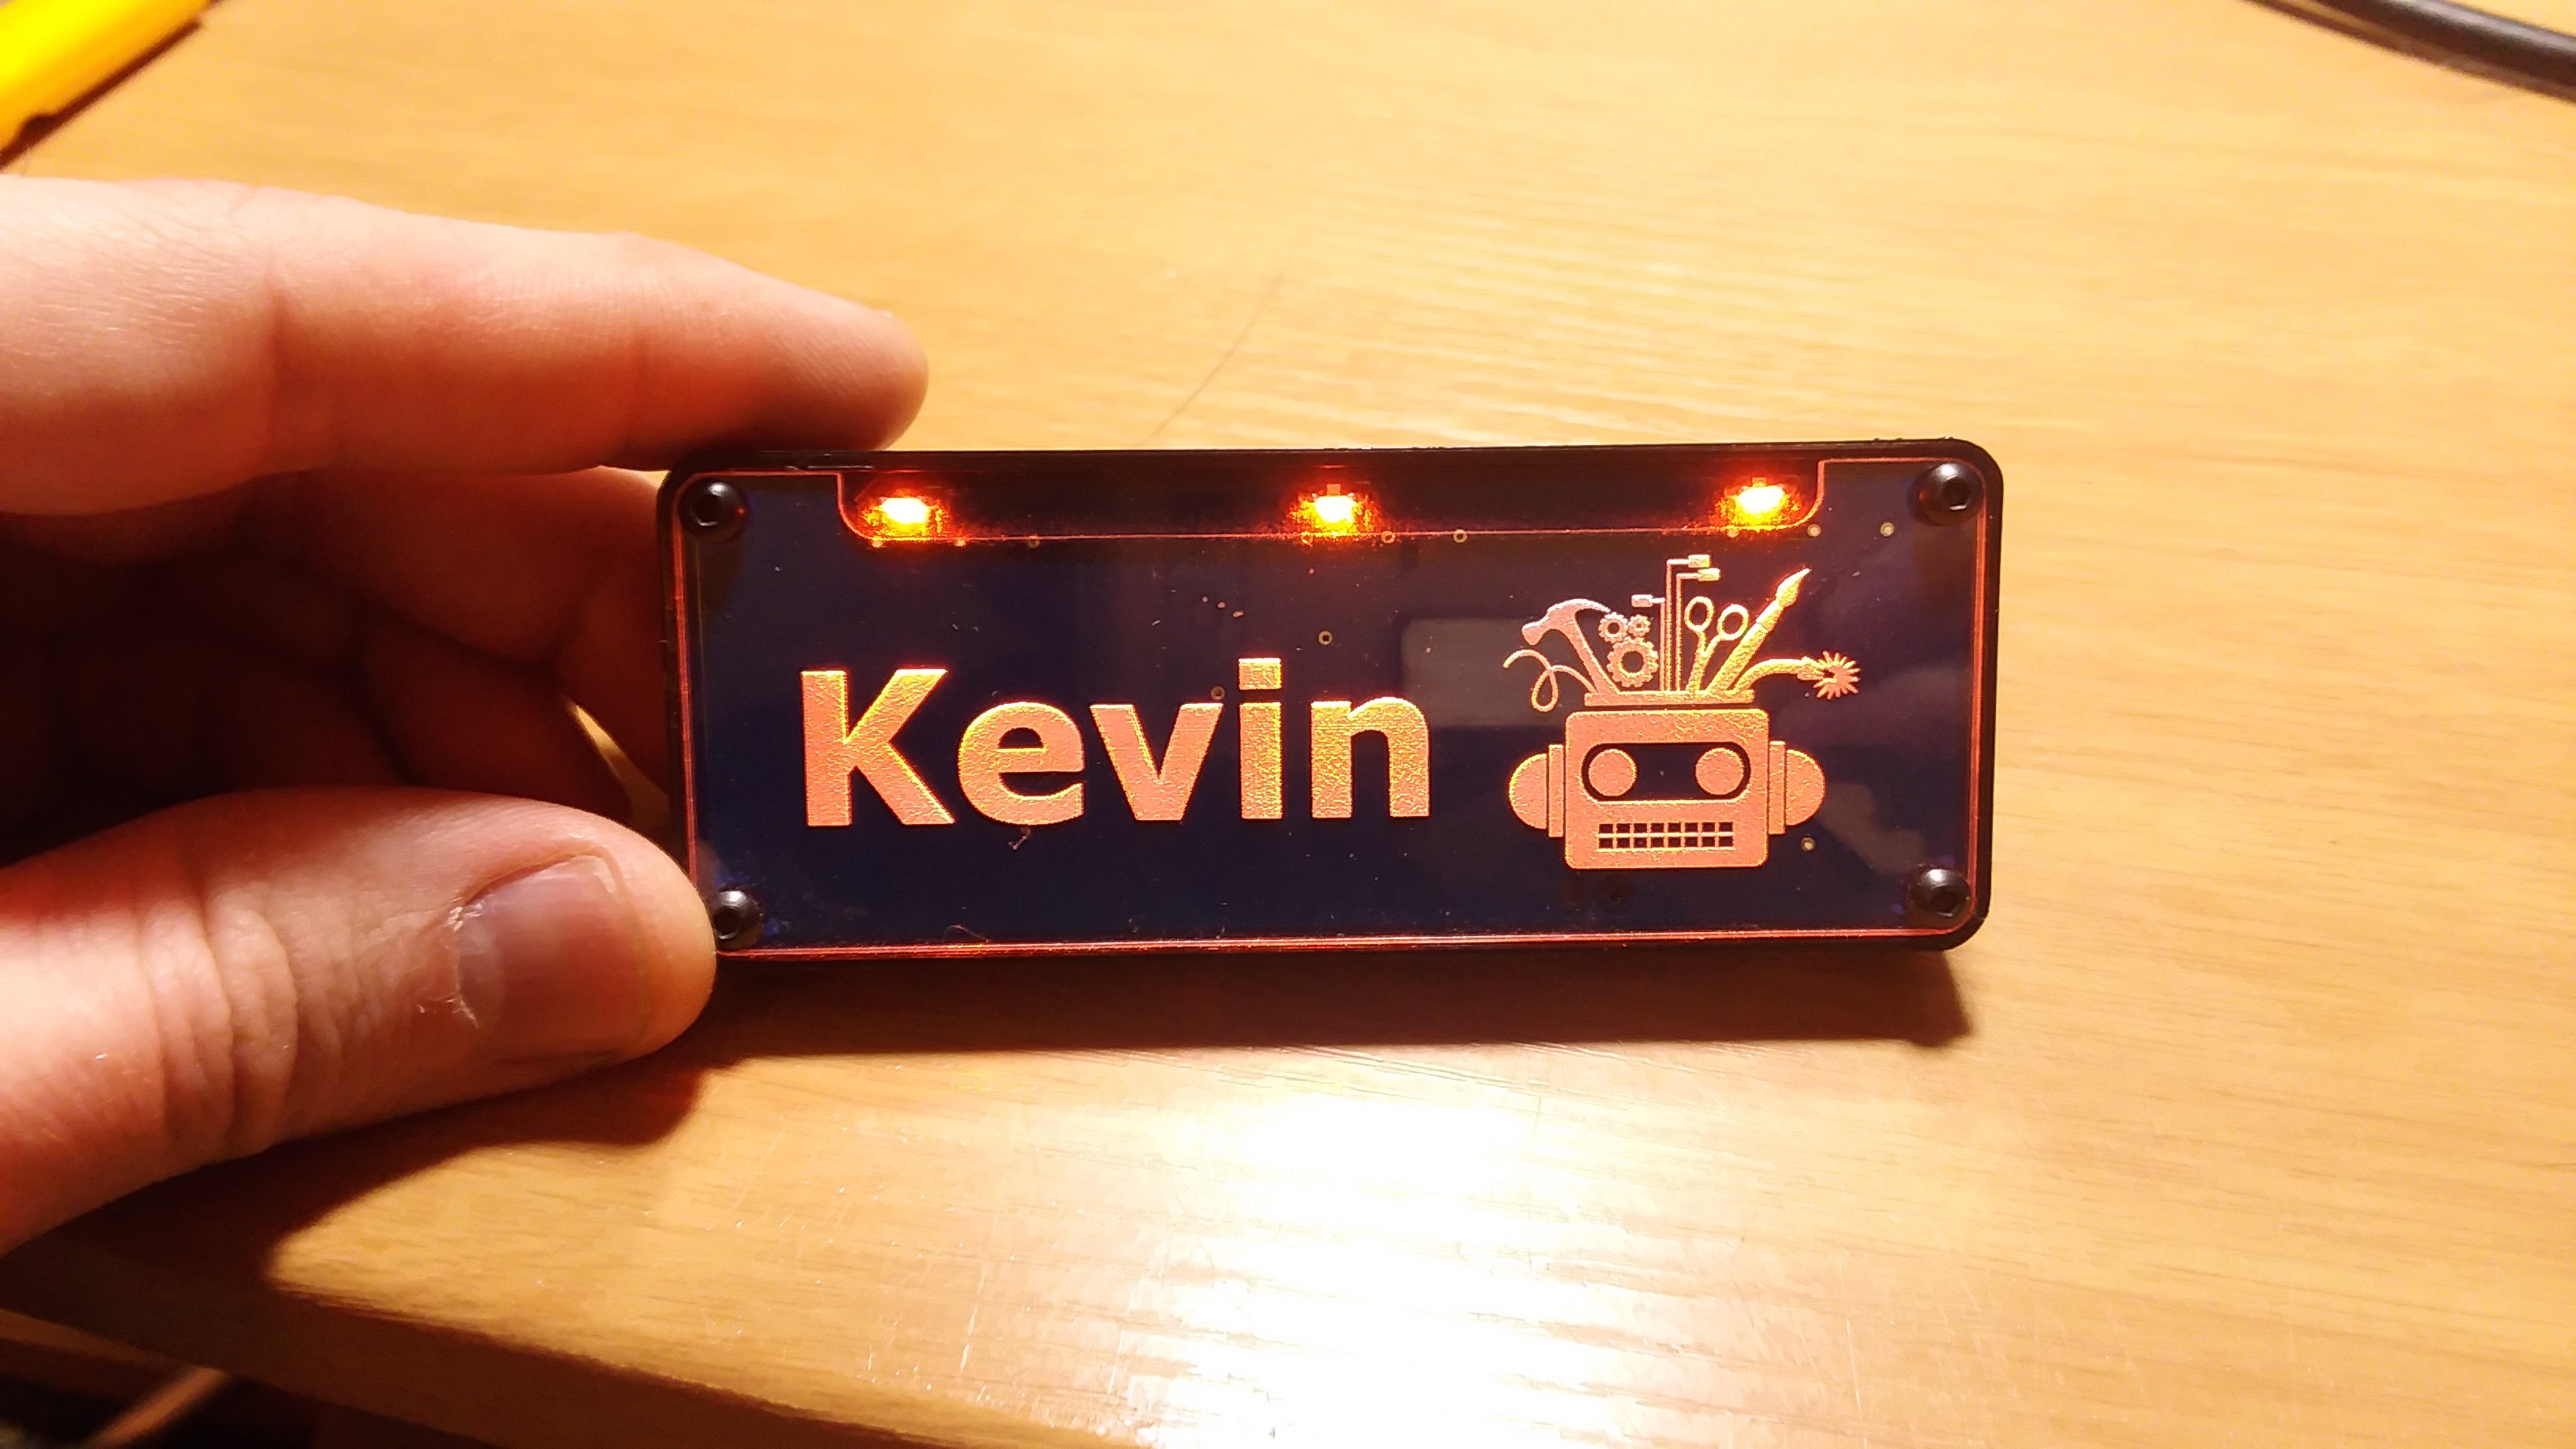
First LiPo version of my name tag was great, but it didn't really offer me the opportunity to customize for different events. With a small tweak to the layout, I made a new board with a generic rounded rectangle layout. Now I can attach different acrylic panels with relative ease.
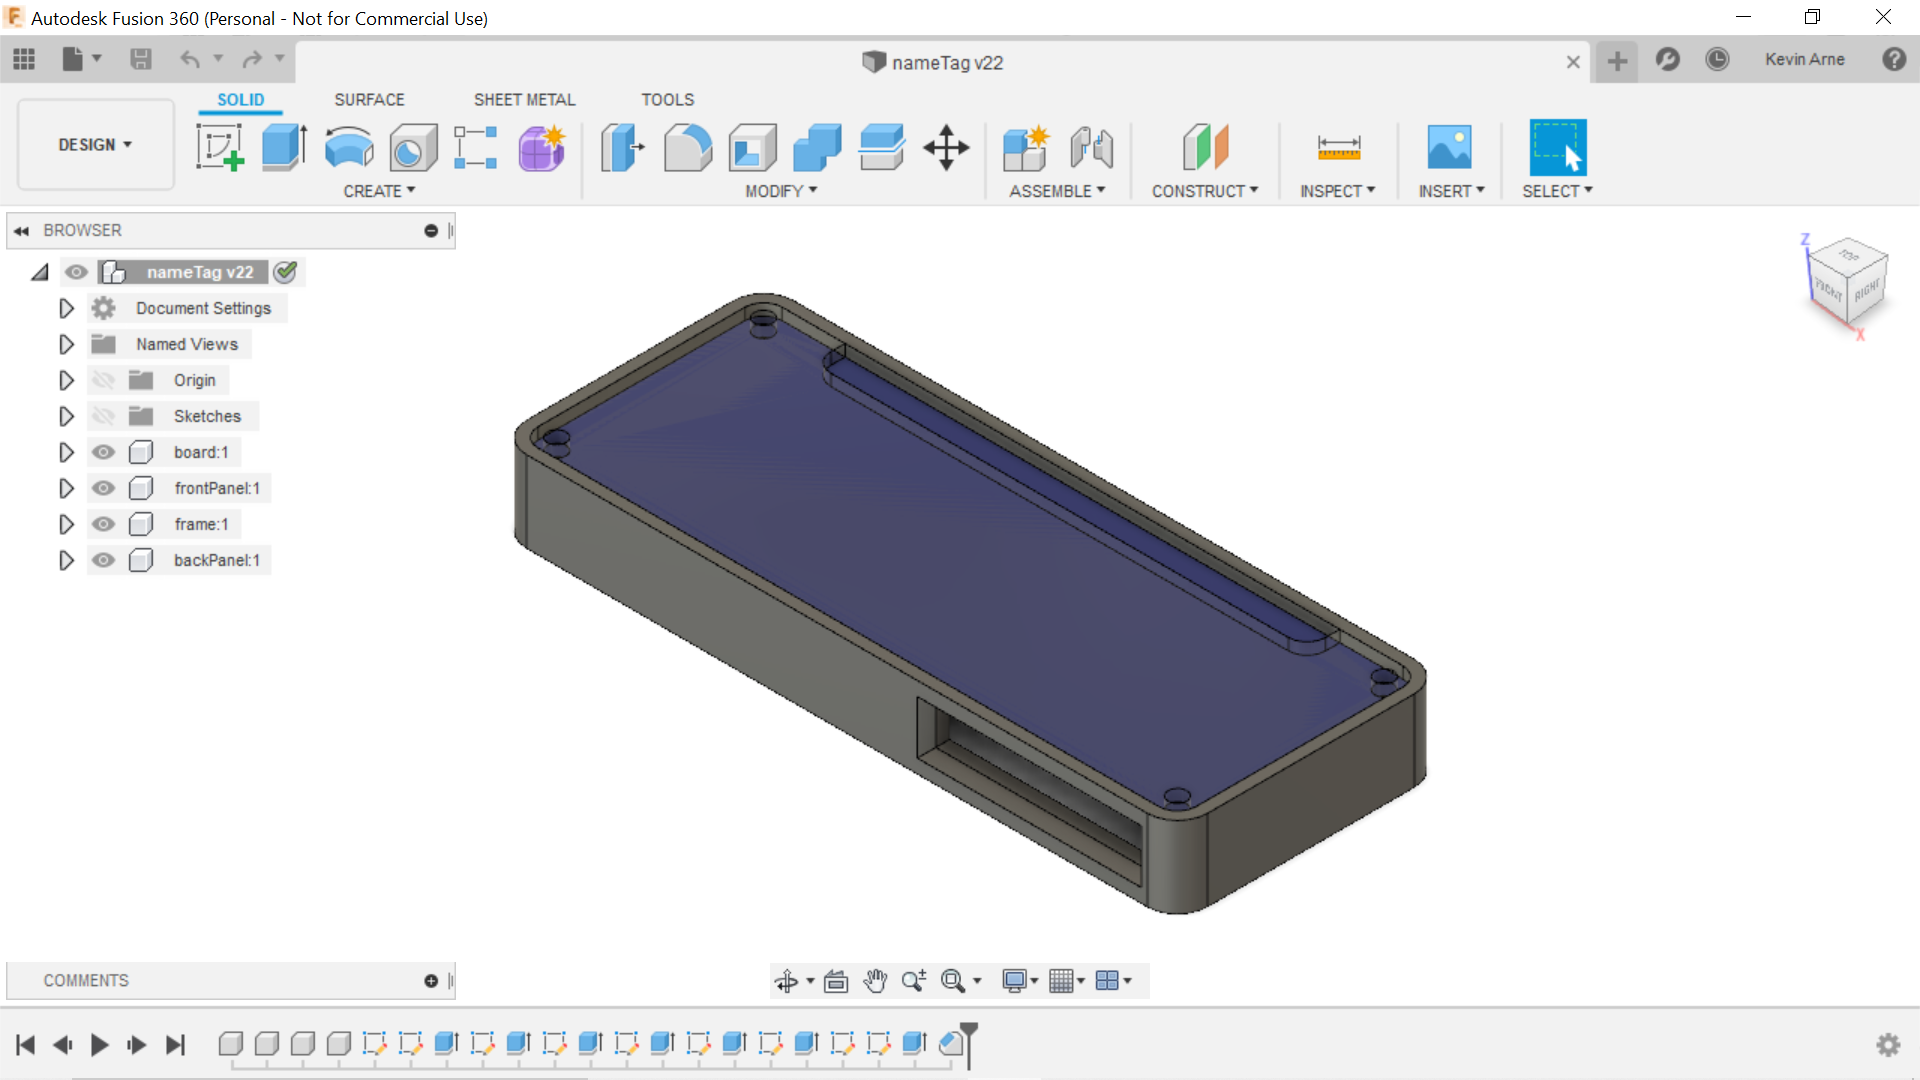
3D Printed Frame
The acrylic sandwich layers were tricky to cut last time with a laser, so this time I opted for a 3D printed sandwich layer to tie all of the parts together. Took some fiddling with printer settings (horizontal expansion) to get the pieces to fit together nicely right off the printer.
Up Next
Obviously the next step is making this name tag fully programmable with RGB LEDs. I've seen some that are essentially just 3 LEDs packaged together and others, like the WS2812s that have a little more smarts. I'm concerned about battery life, so I'll have to look into which is more efficient. I also need to learn about programming smaller microcontrollers. I'm thinking I'll start with an ATTiny85.
Discussions
Become a Hackaday.io Member
Create an account to leave a comment. Already have an account? Log In.