 Gary Peng
-
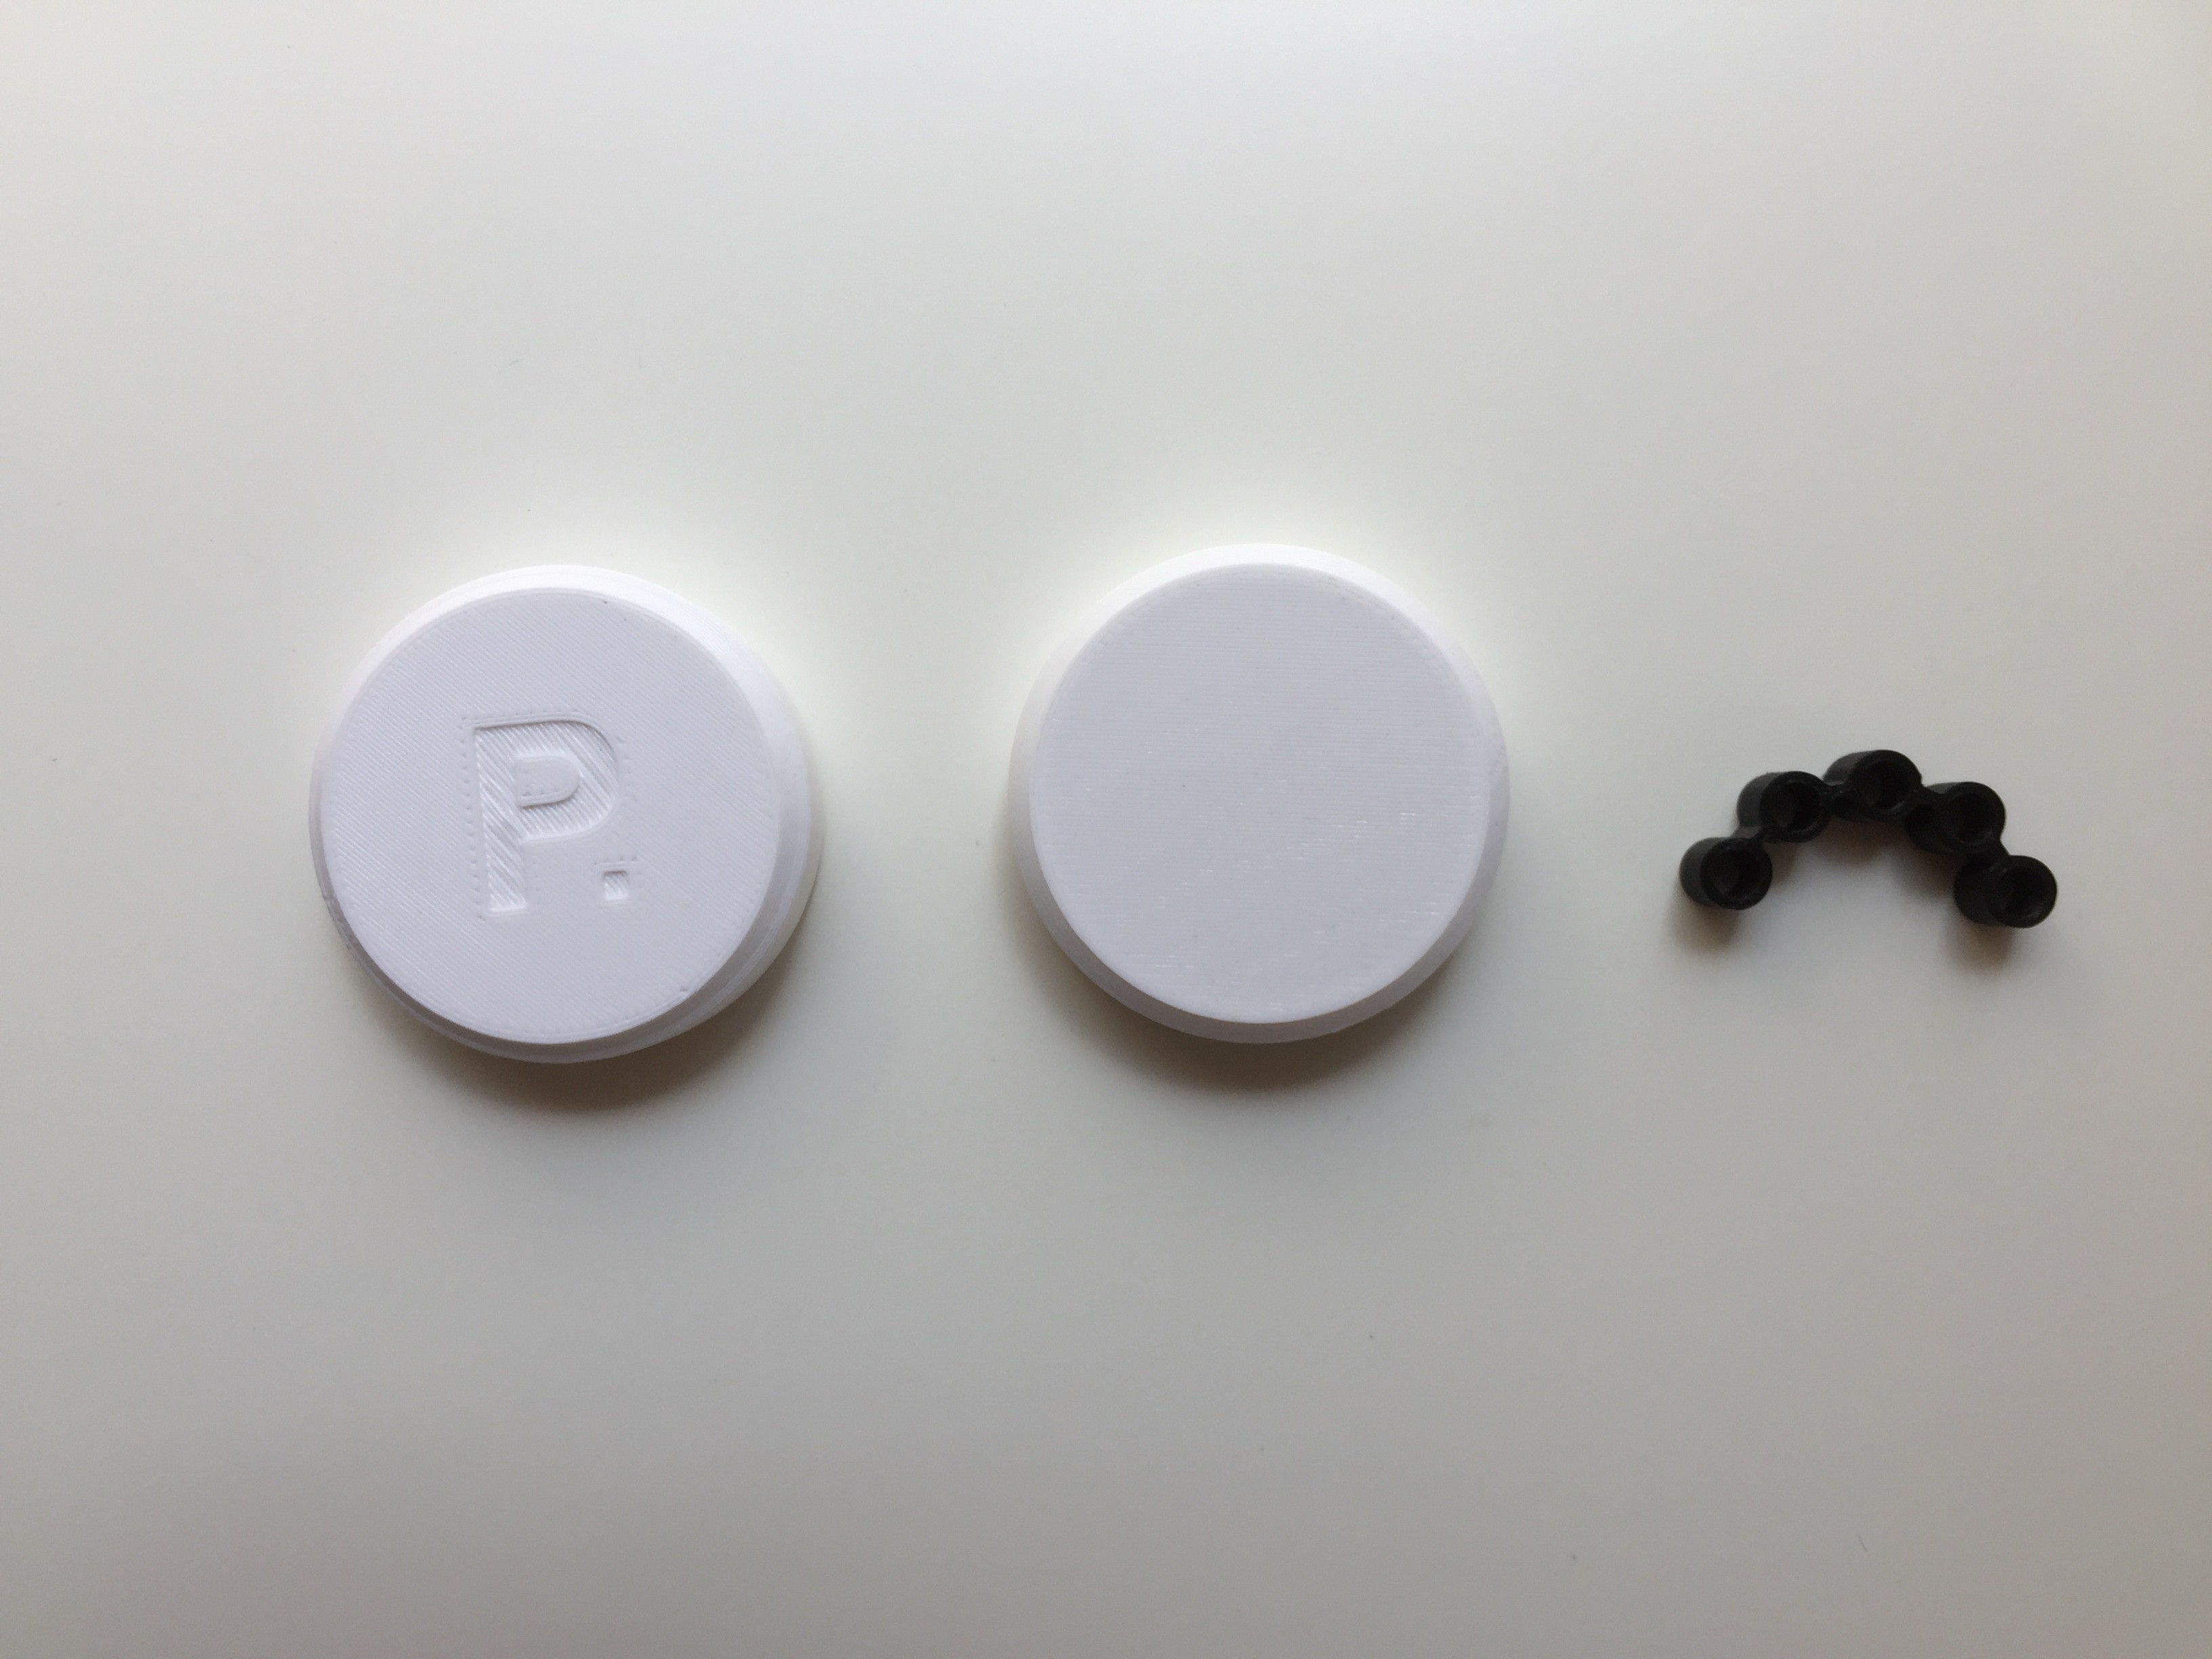
13D Print
3D Print the parts with the specified settings from my github.
![]()
-
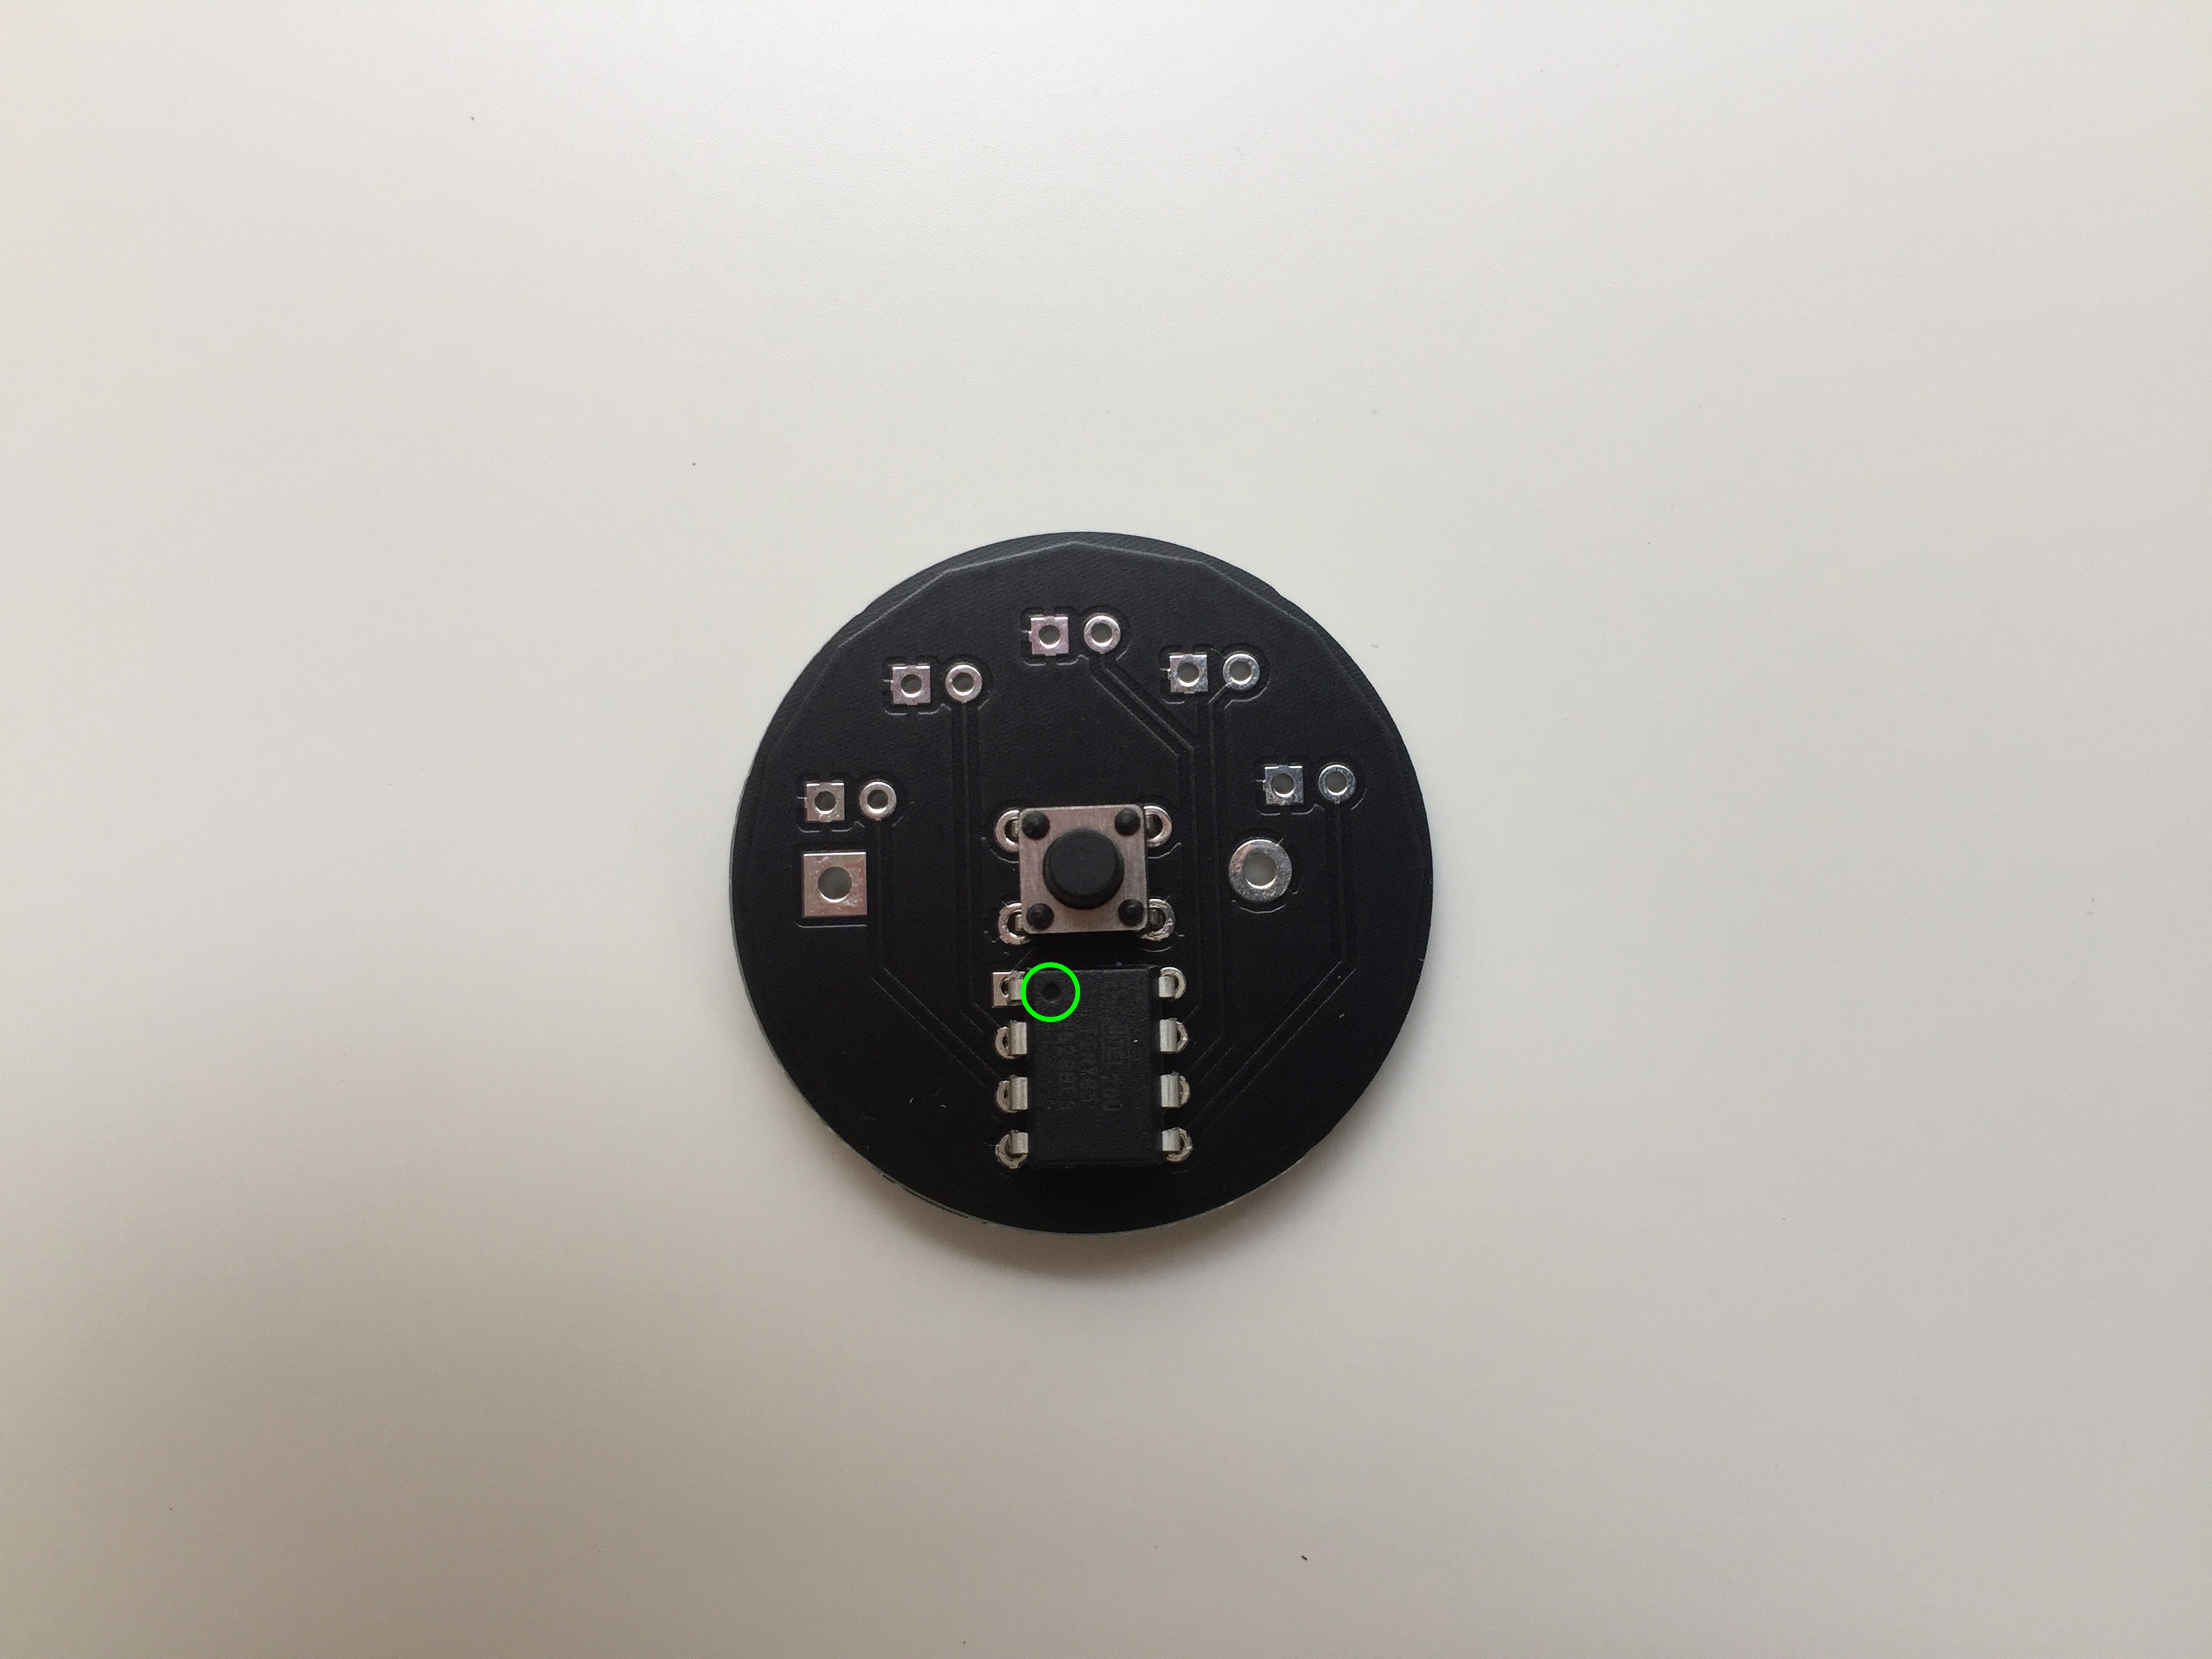
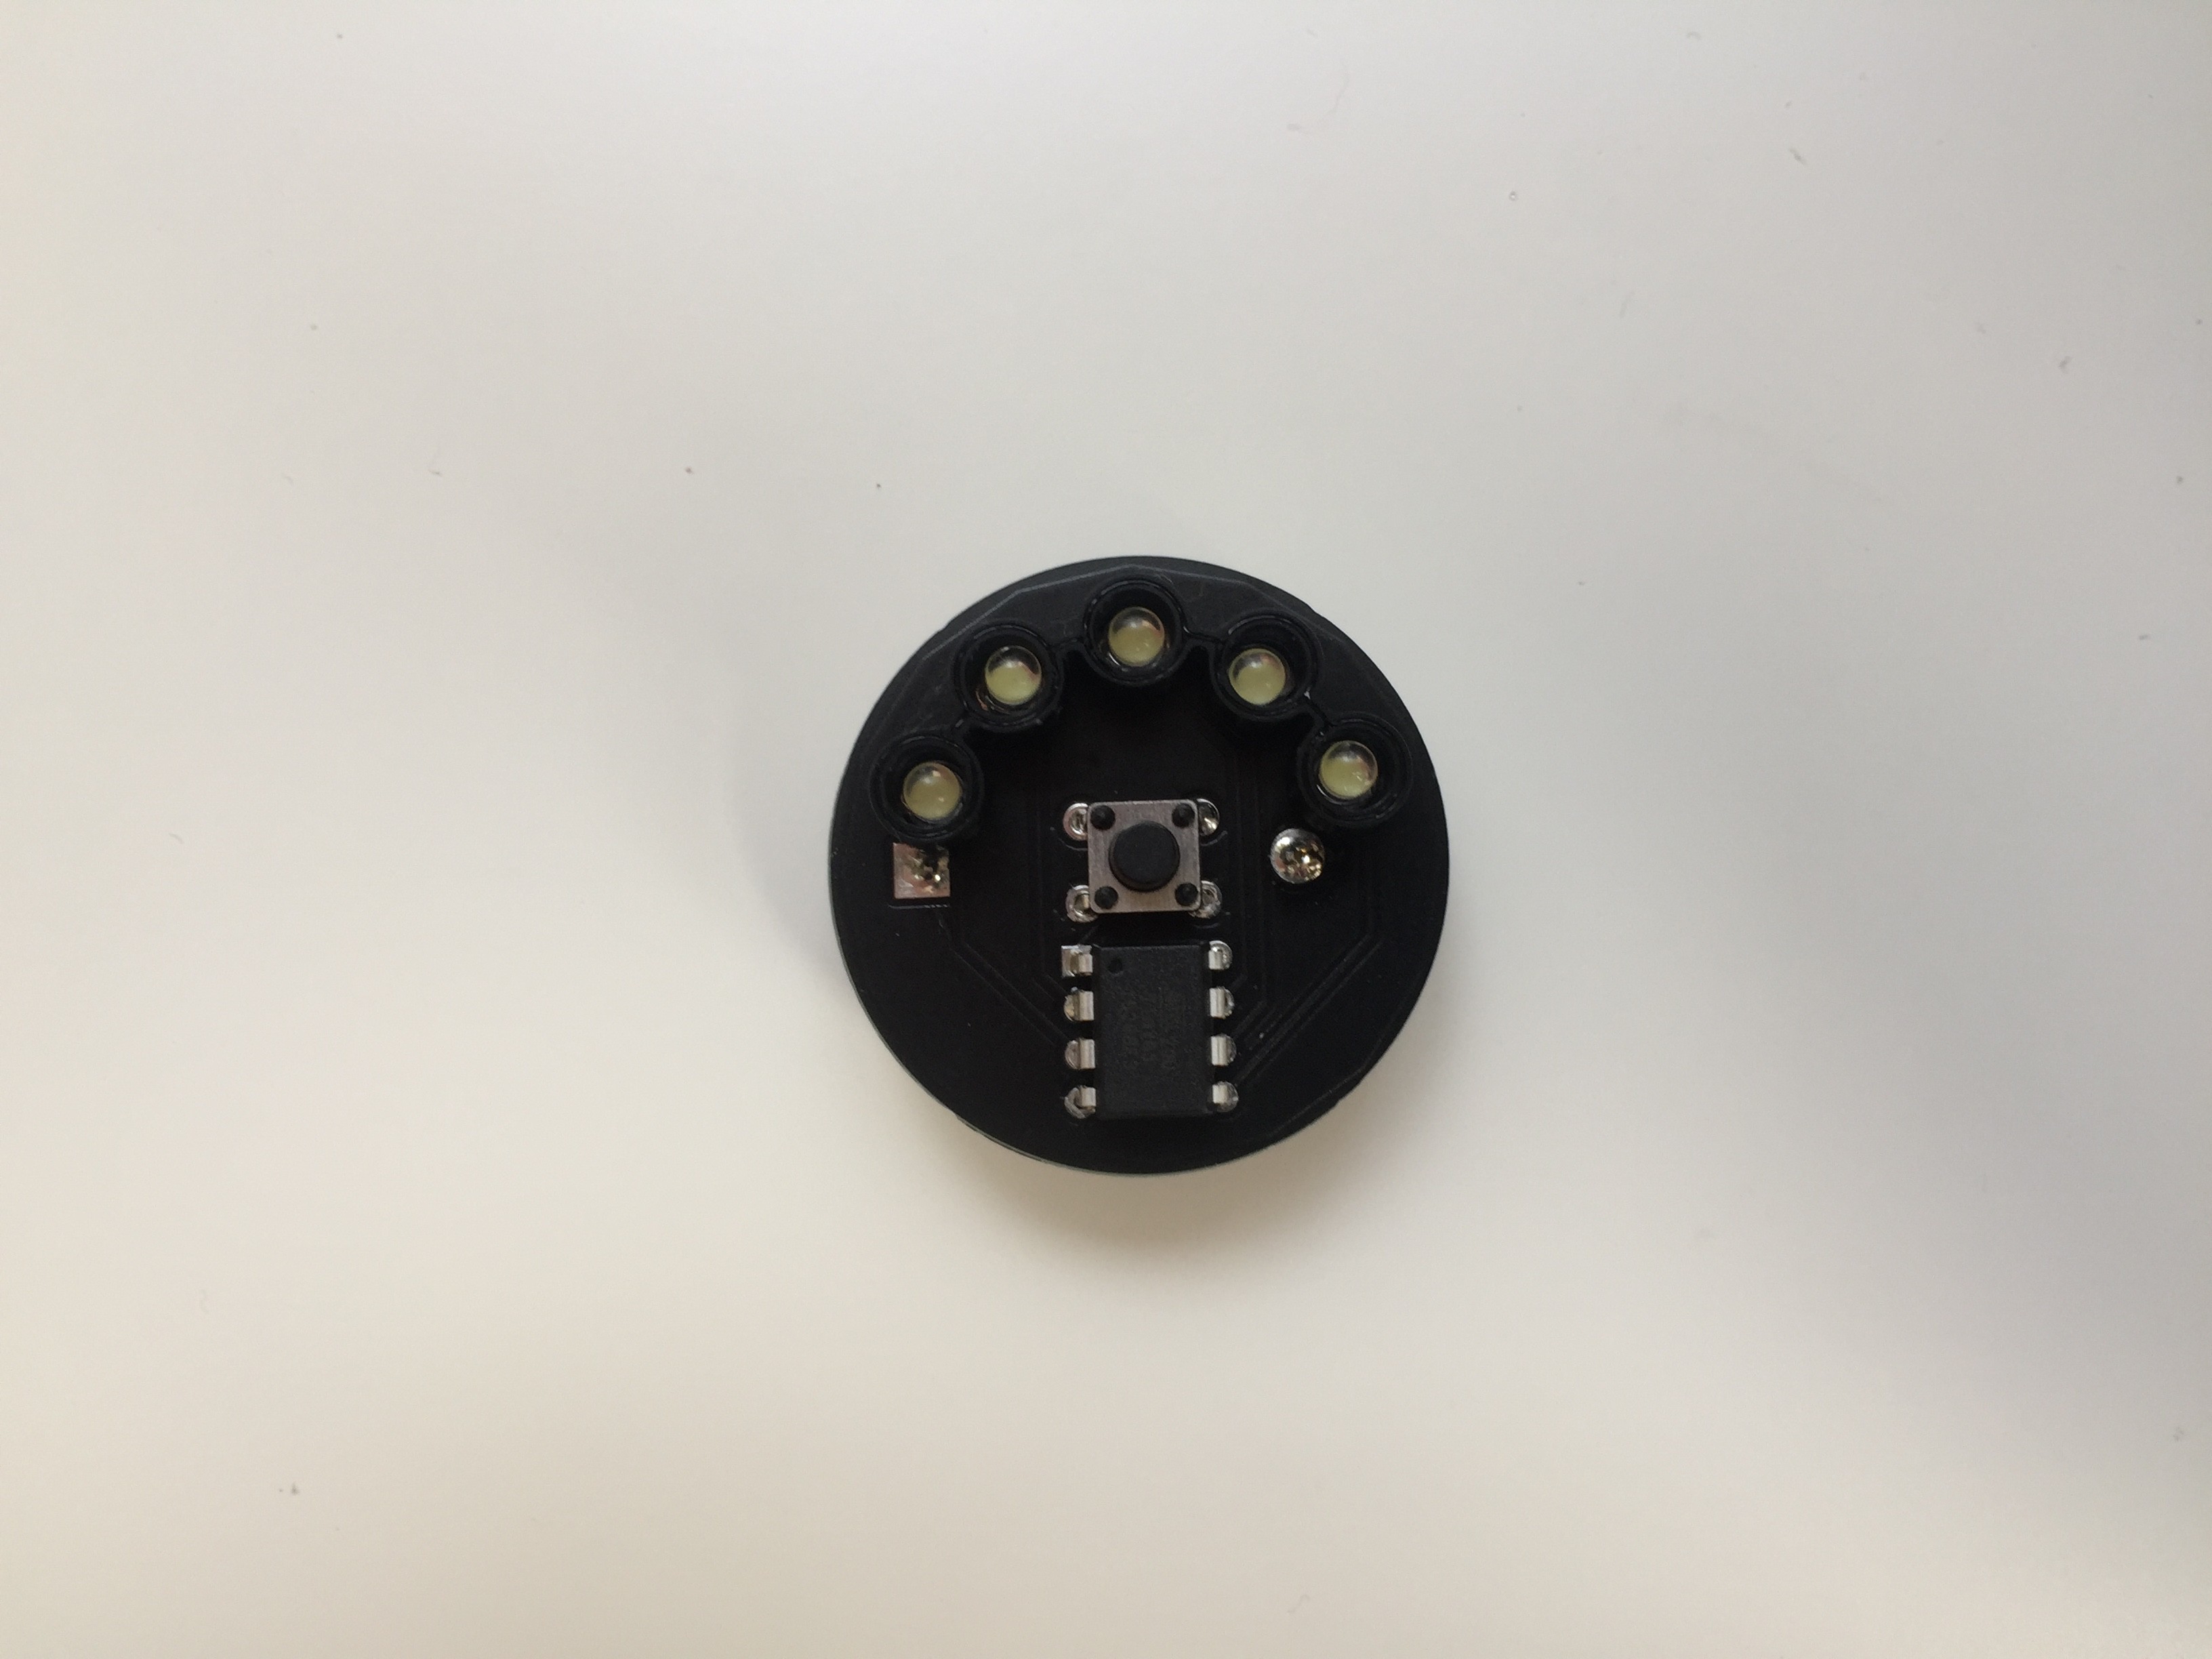
2Insert the Attiny85 and the button
Flips the PCB to the side that is completely blank, insert the button and the Attiny85 IC, the dot on the Attiny85 should be close to the button.
![]()
-
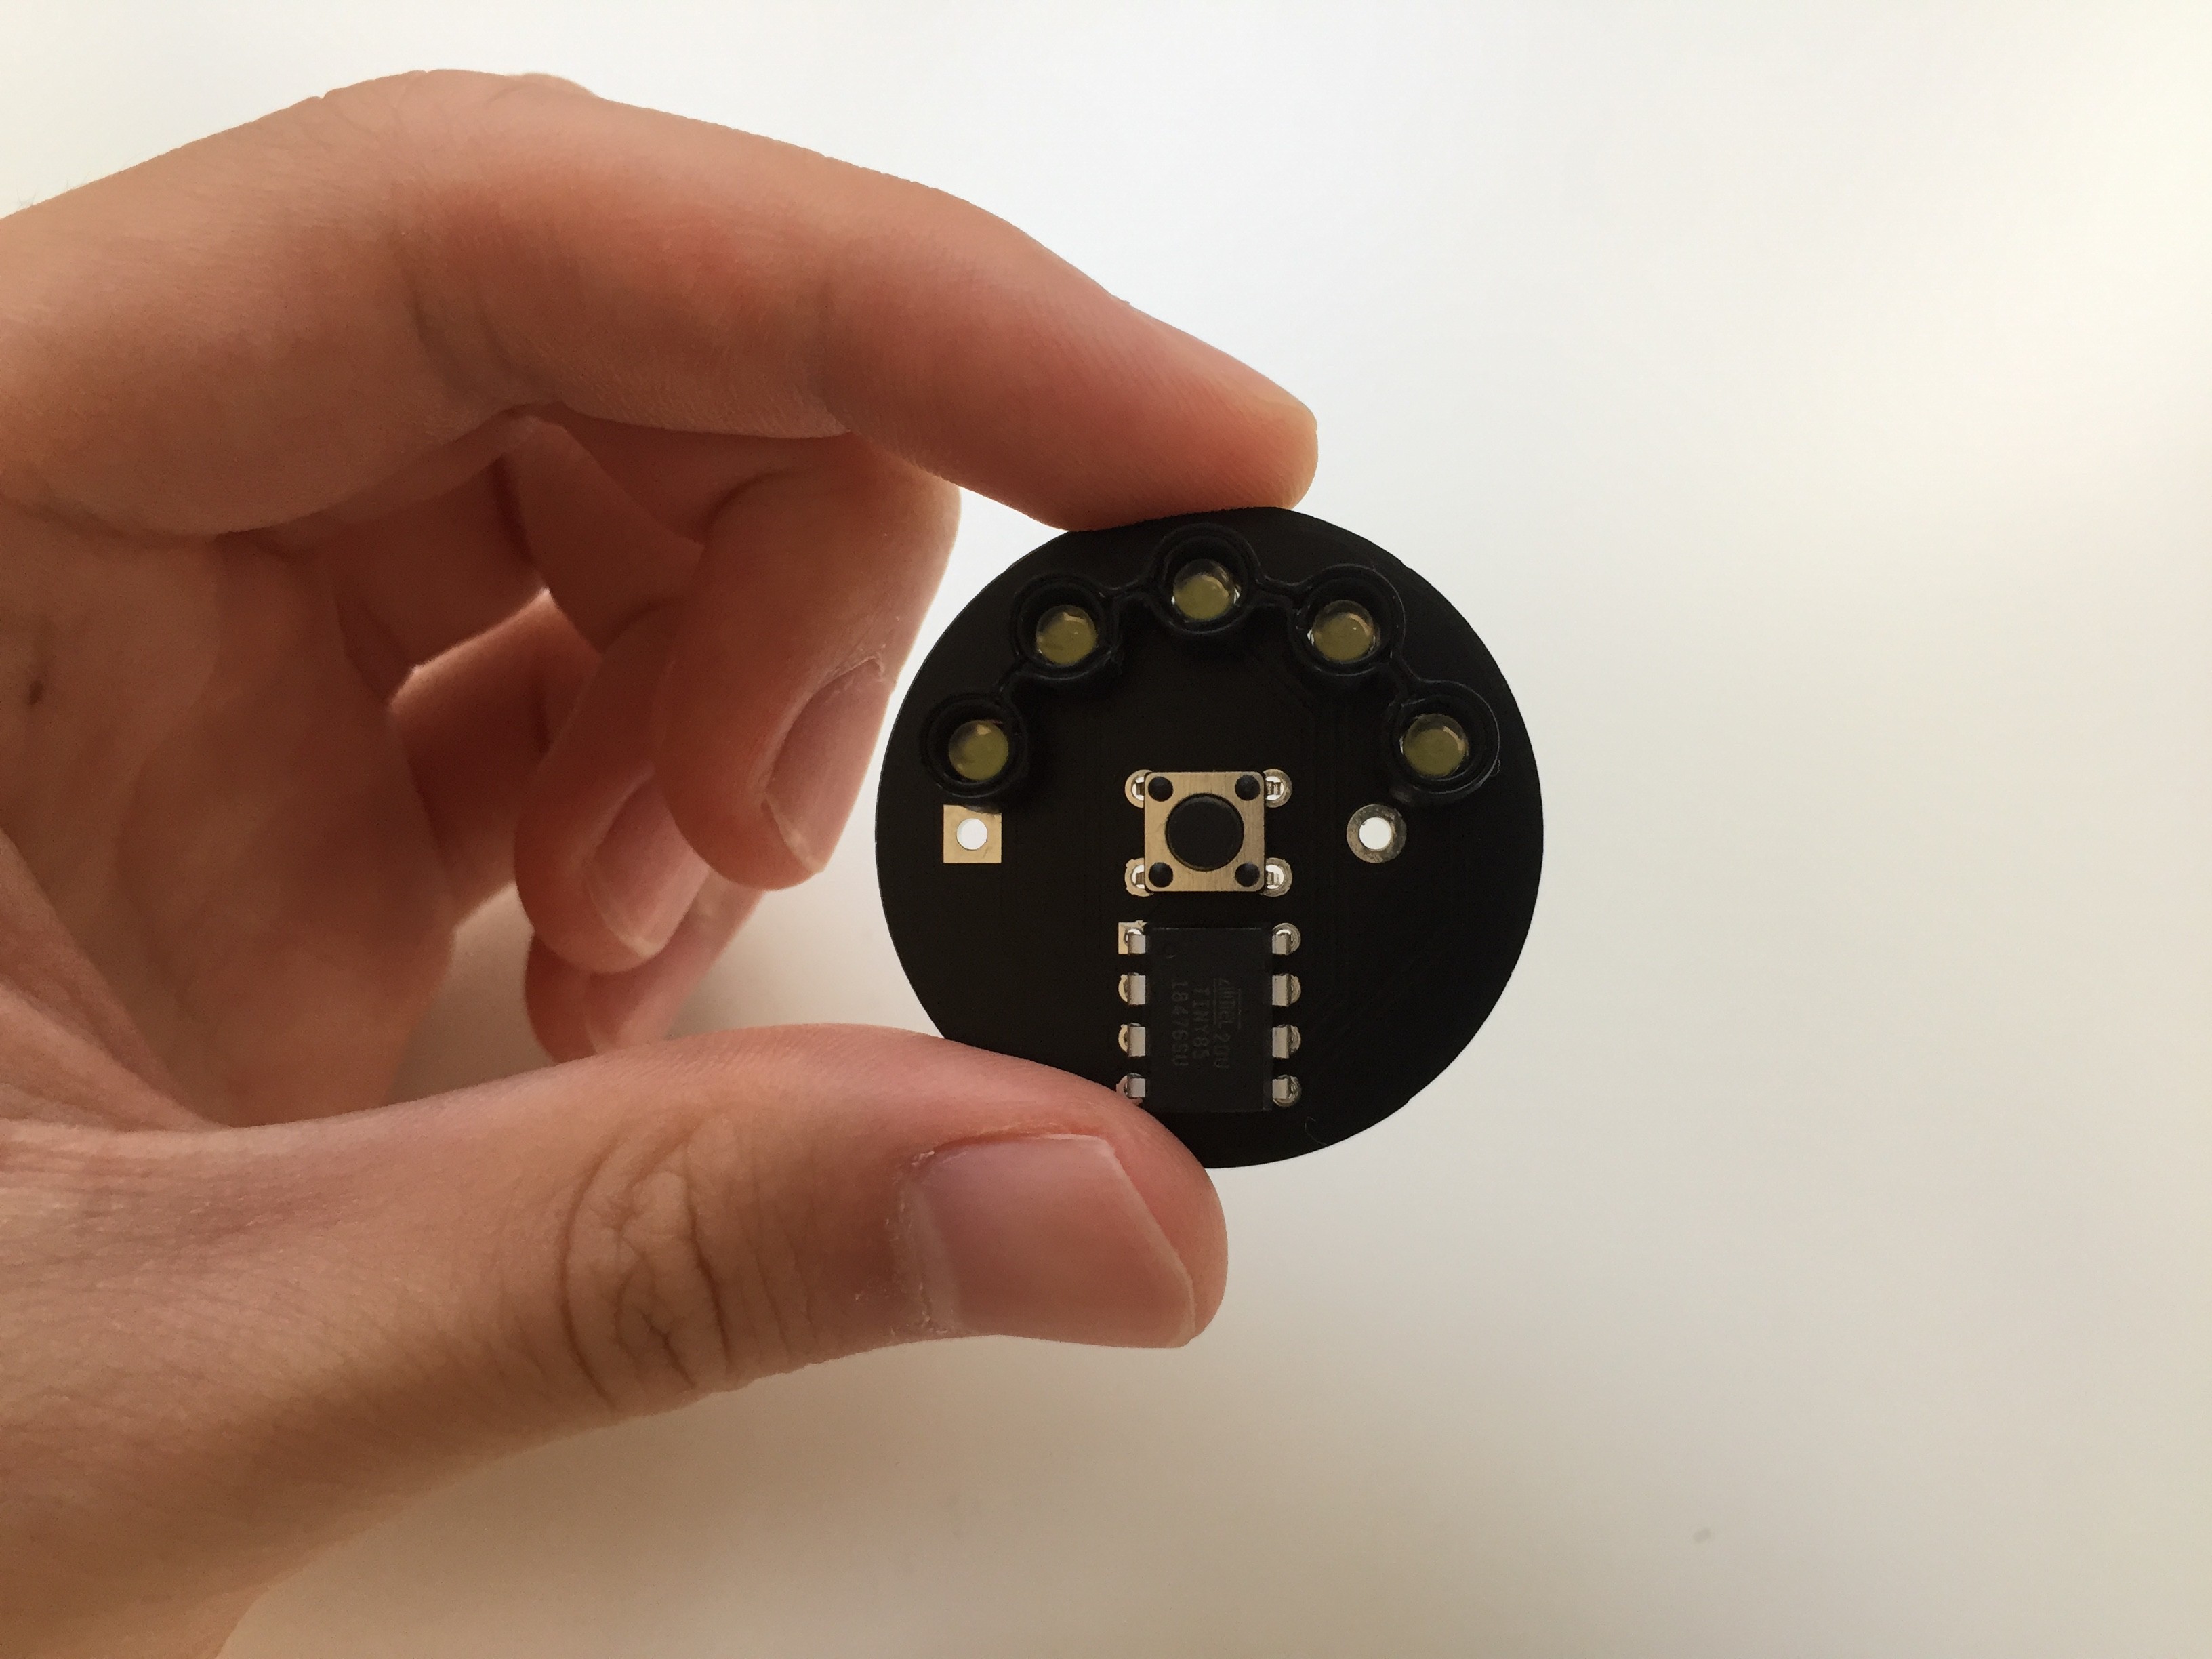
3Insert the LEDs
Insert each LED. The shorter lead goes in the hole with the square padding, take extra caution with this step as the LEDs will not light up if you flip the polarity.
-
4Place the divider
Insert the divider. Depending on your 3D printer, on side of the divider might not fit the LEDs due to first layer squishing. The divider should be touching the PCB, if you are having trouble pushing it all the way down, flip and try the other side of the divider.
![]()
![]()
-
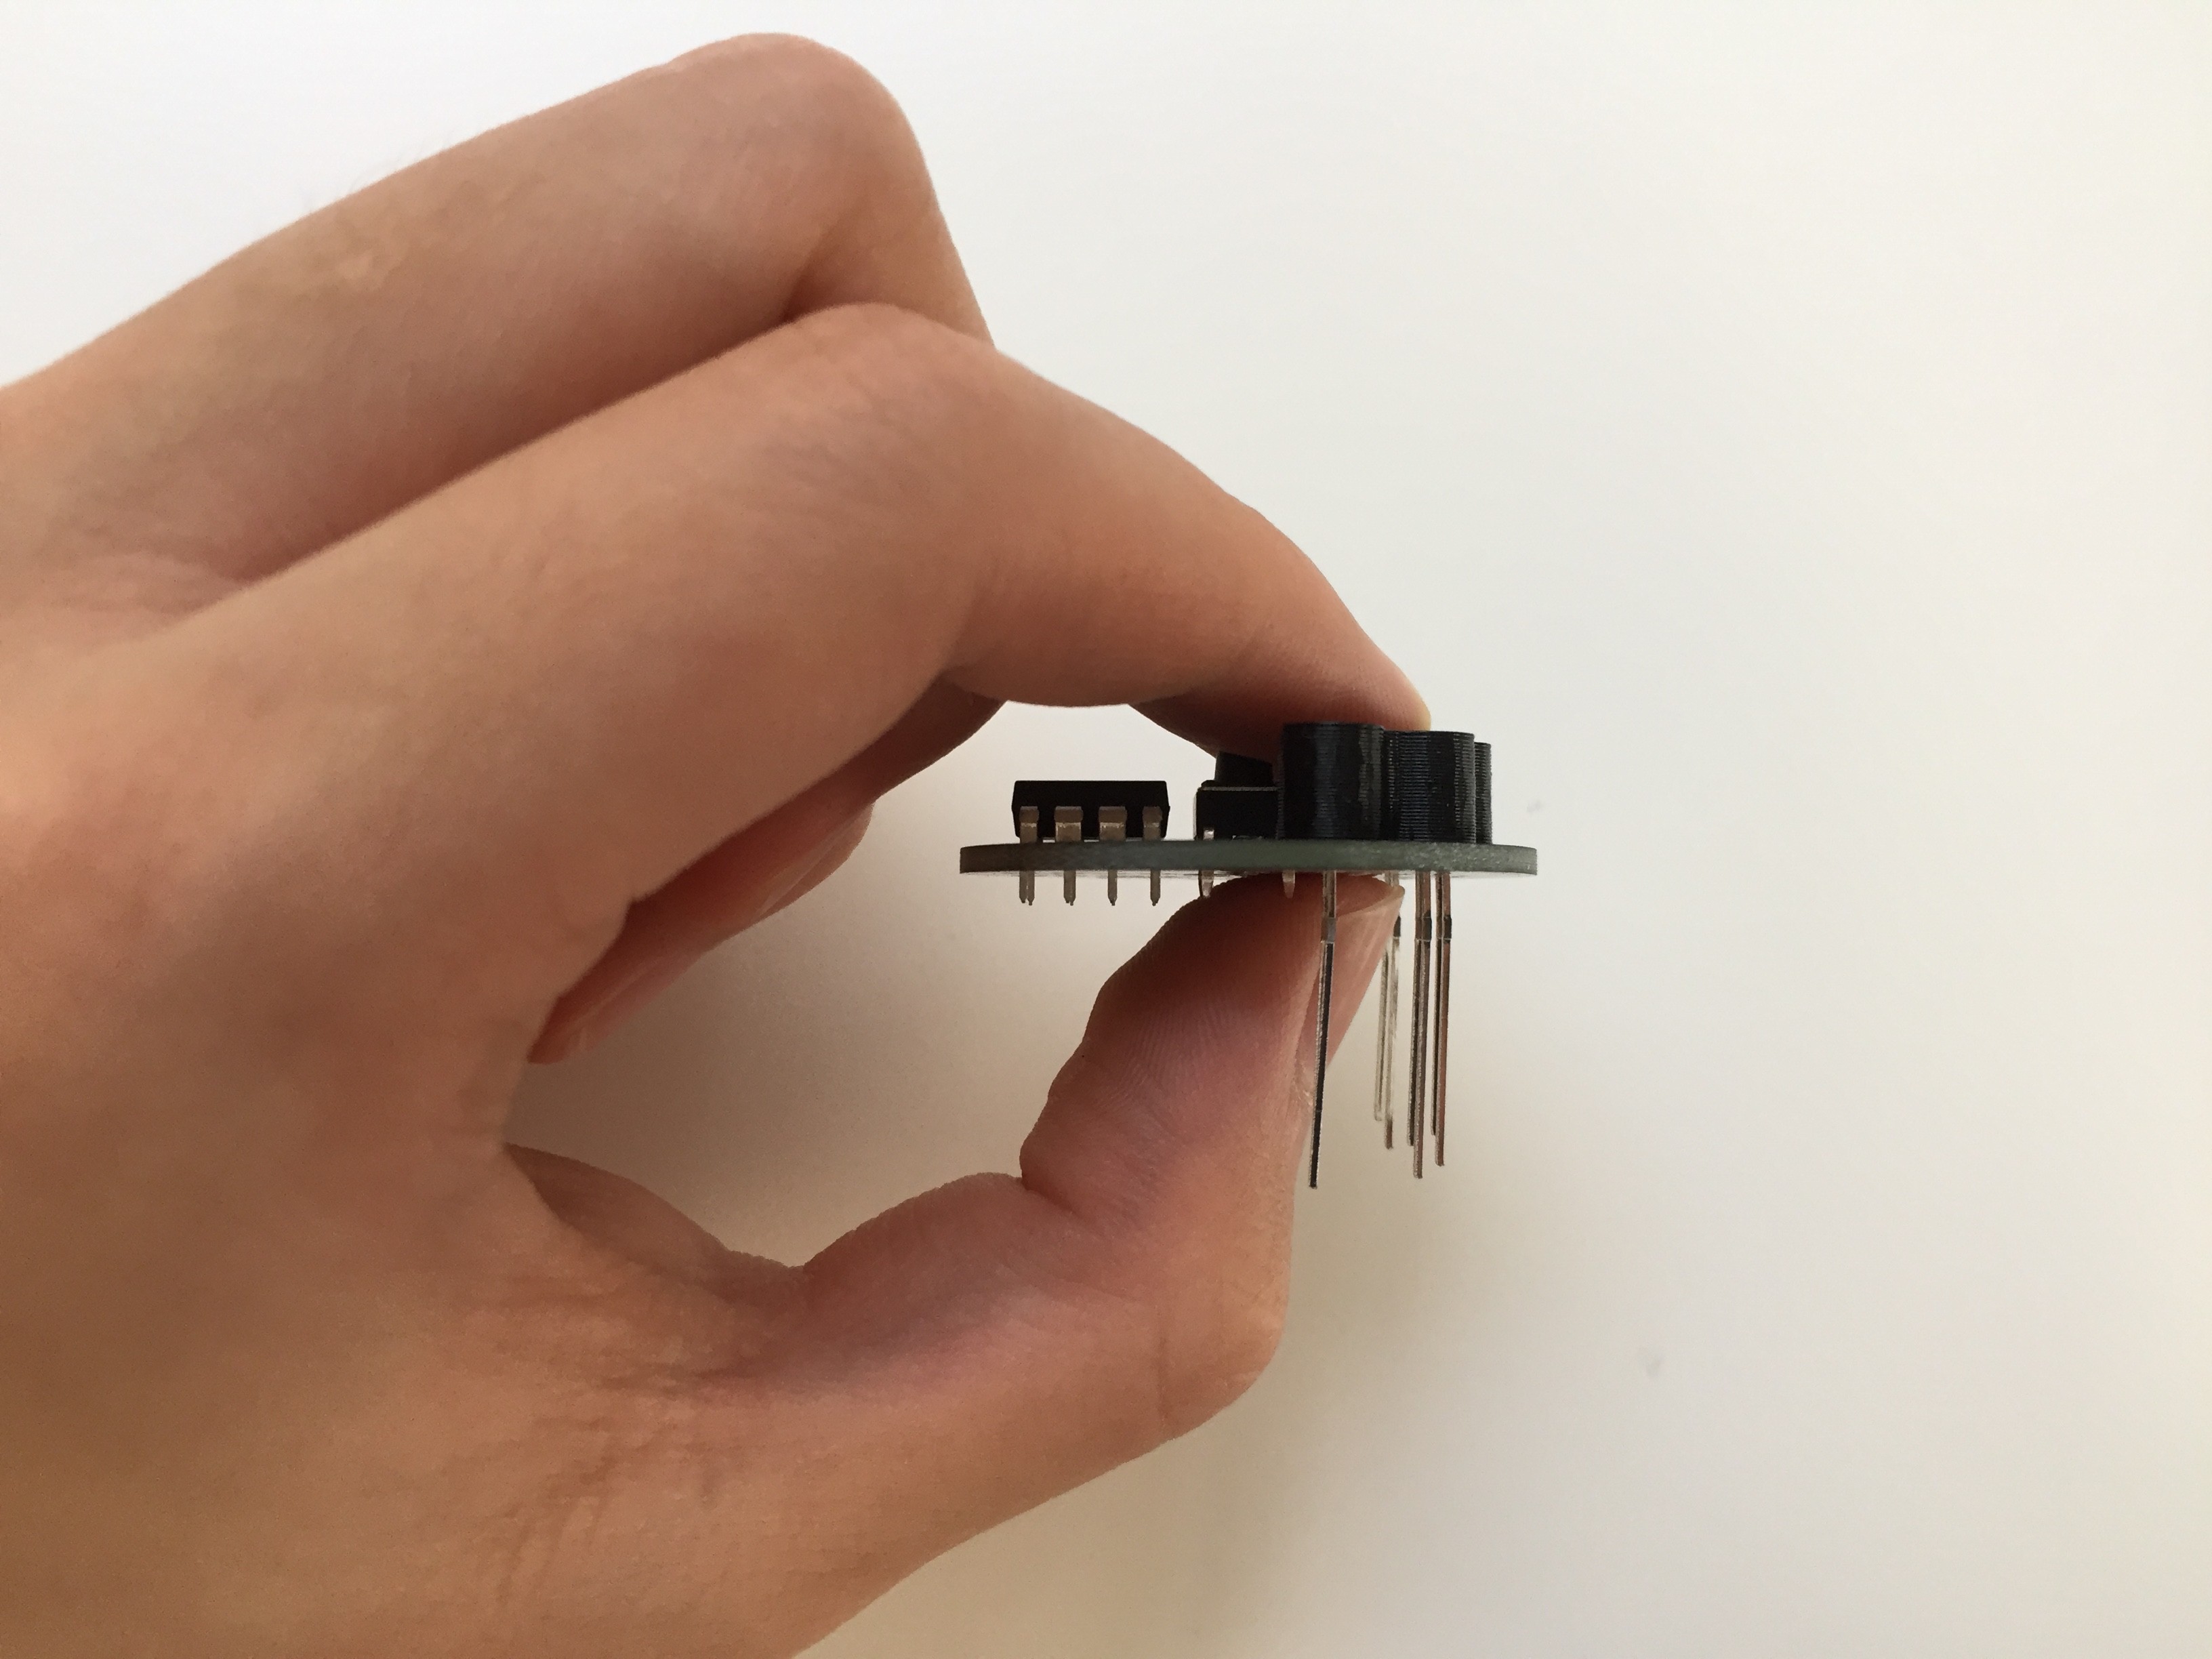
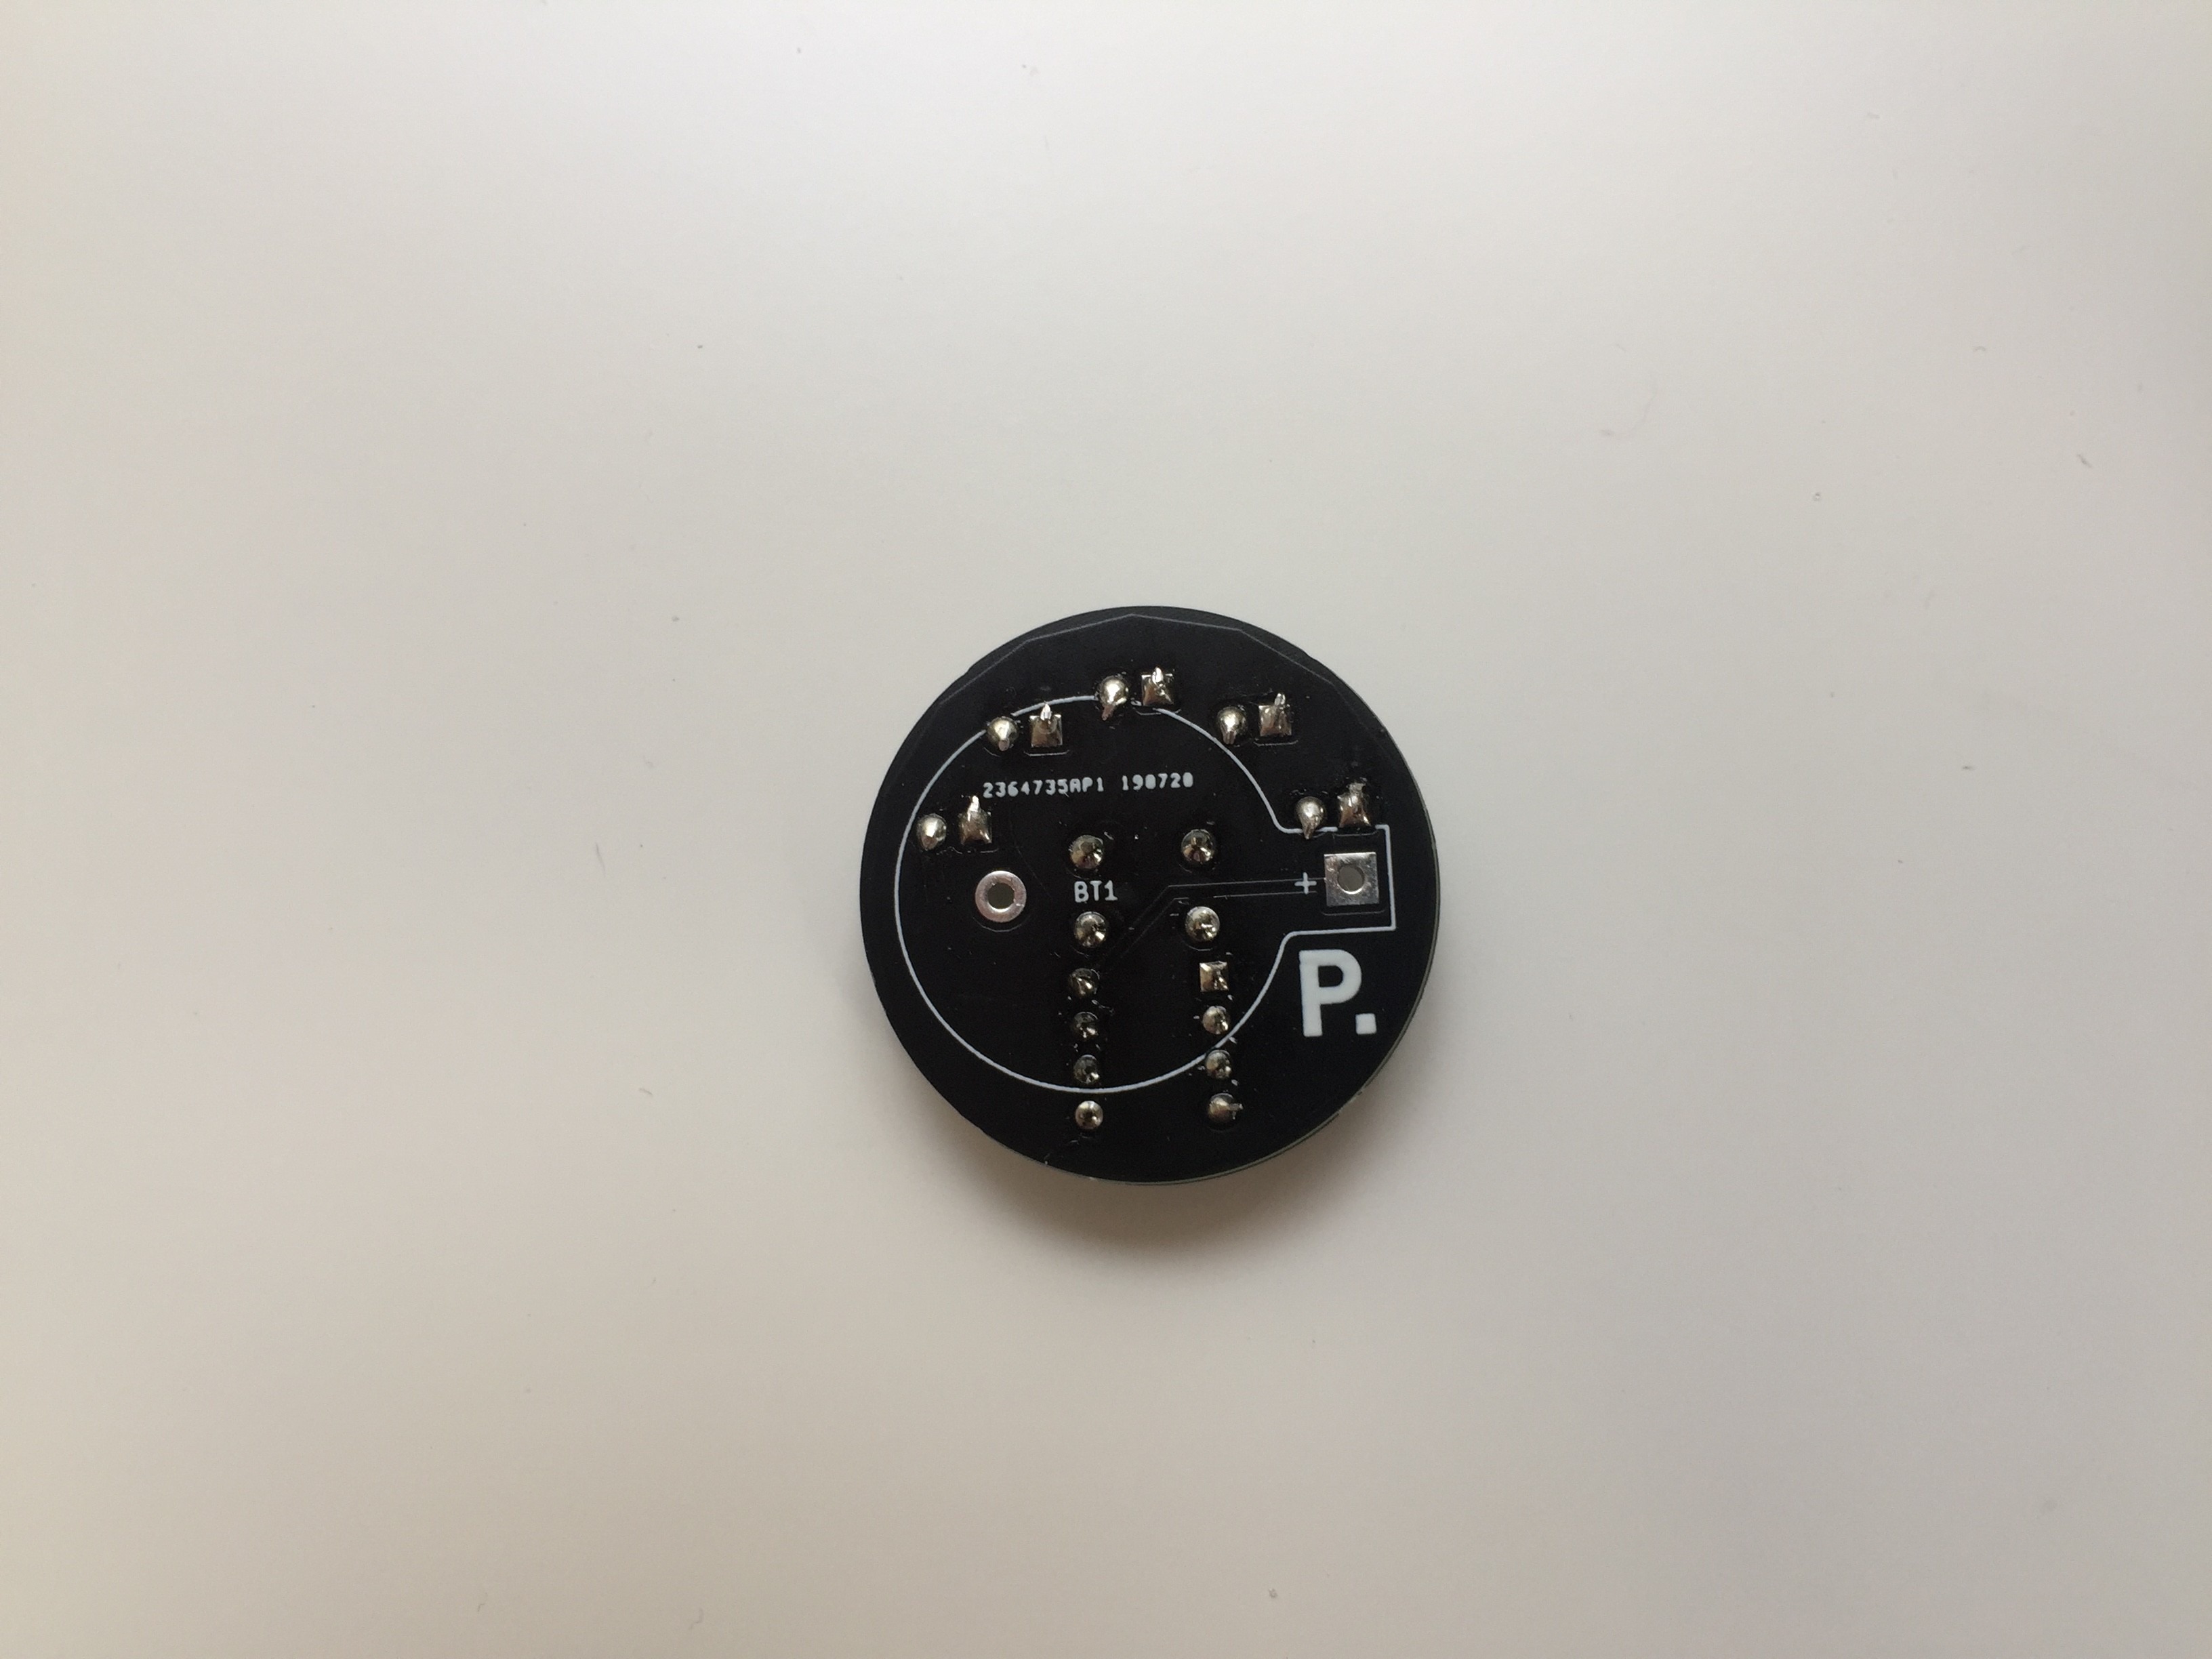
5Solder!
Filp the board over and bend the leads exactly as shown in the picture. If you don't, the excess LED leads might cause the battery holder to not fit later.
![]()
Solder the components and trim off the excess LED leads. Please make sure that you are wearing safety glasses and working in a well ventilated area.
![]()
-
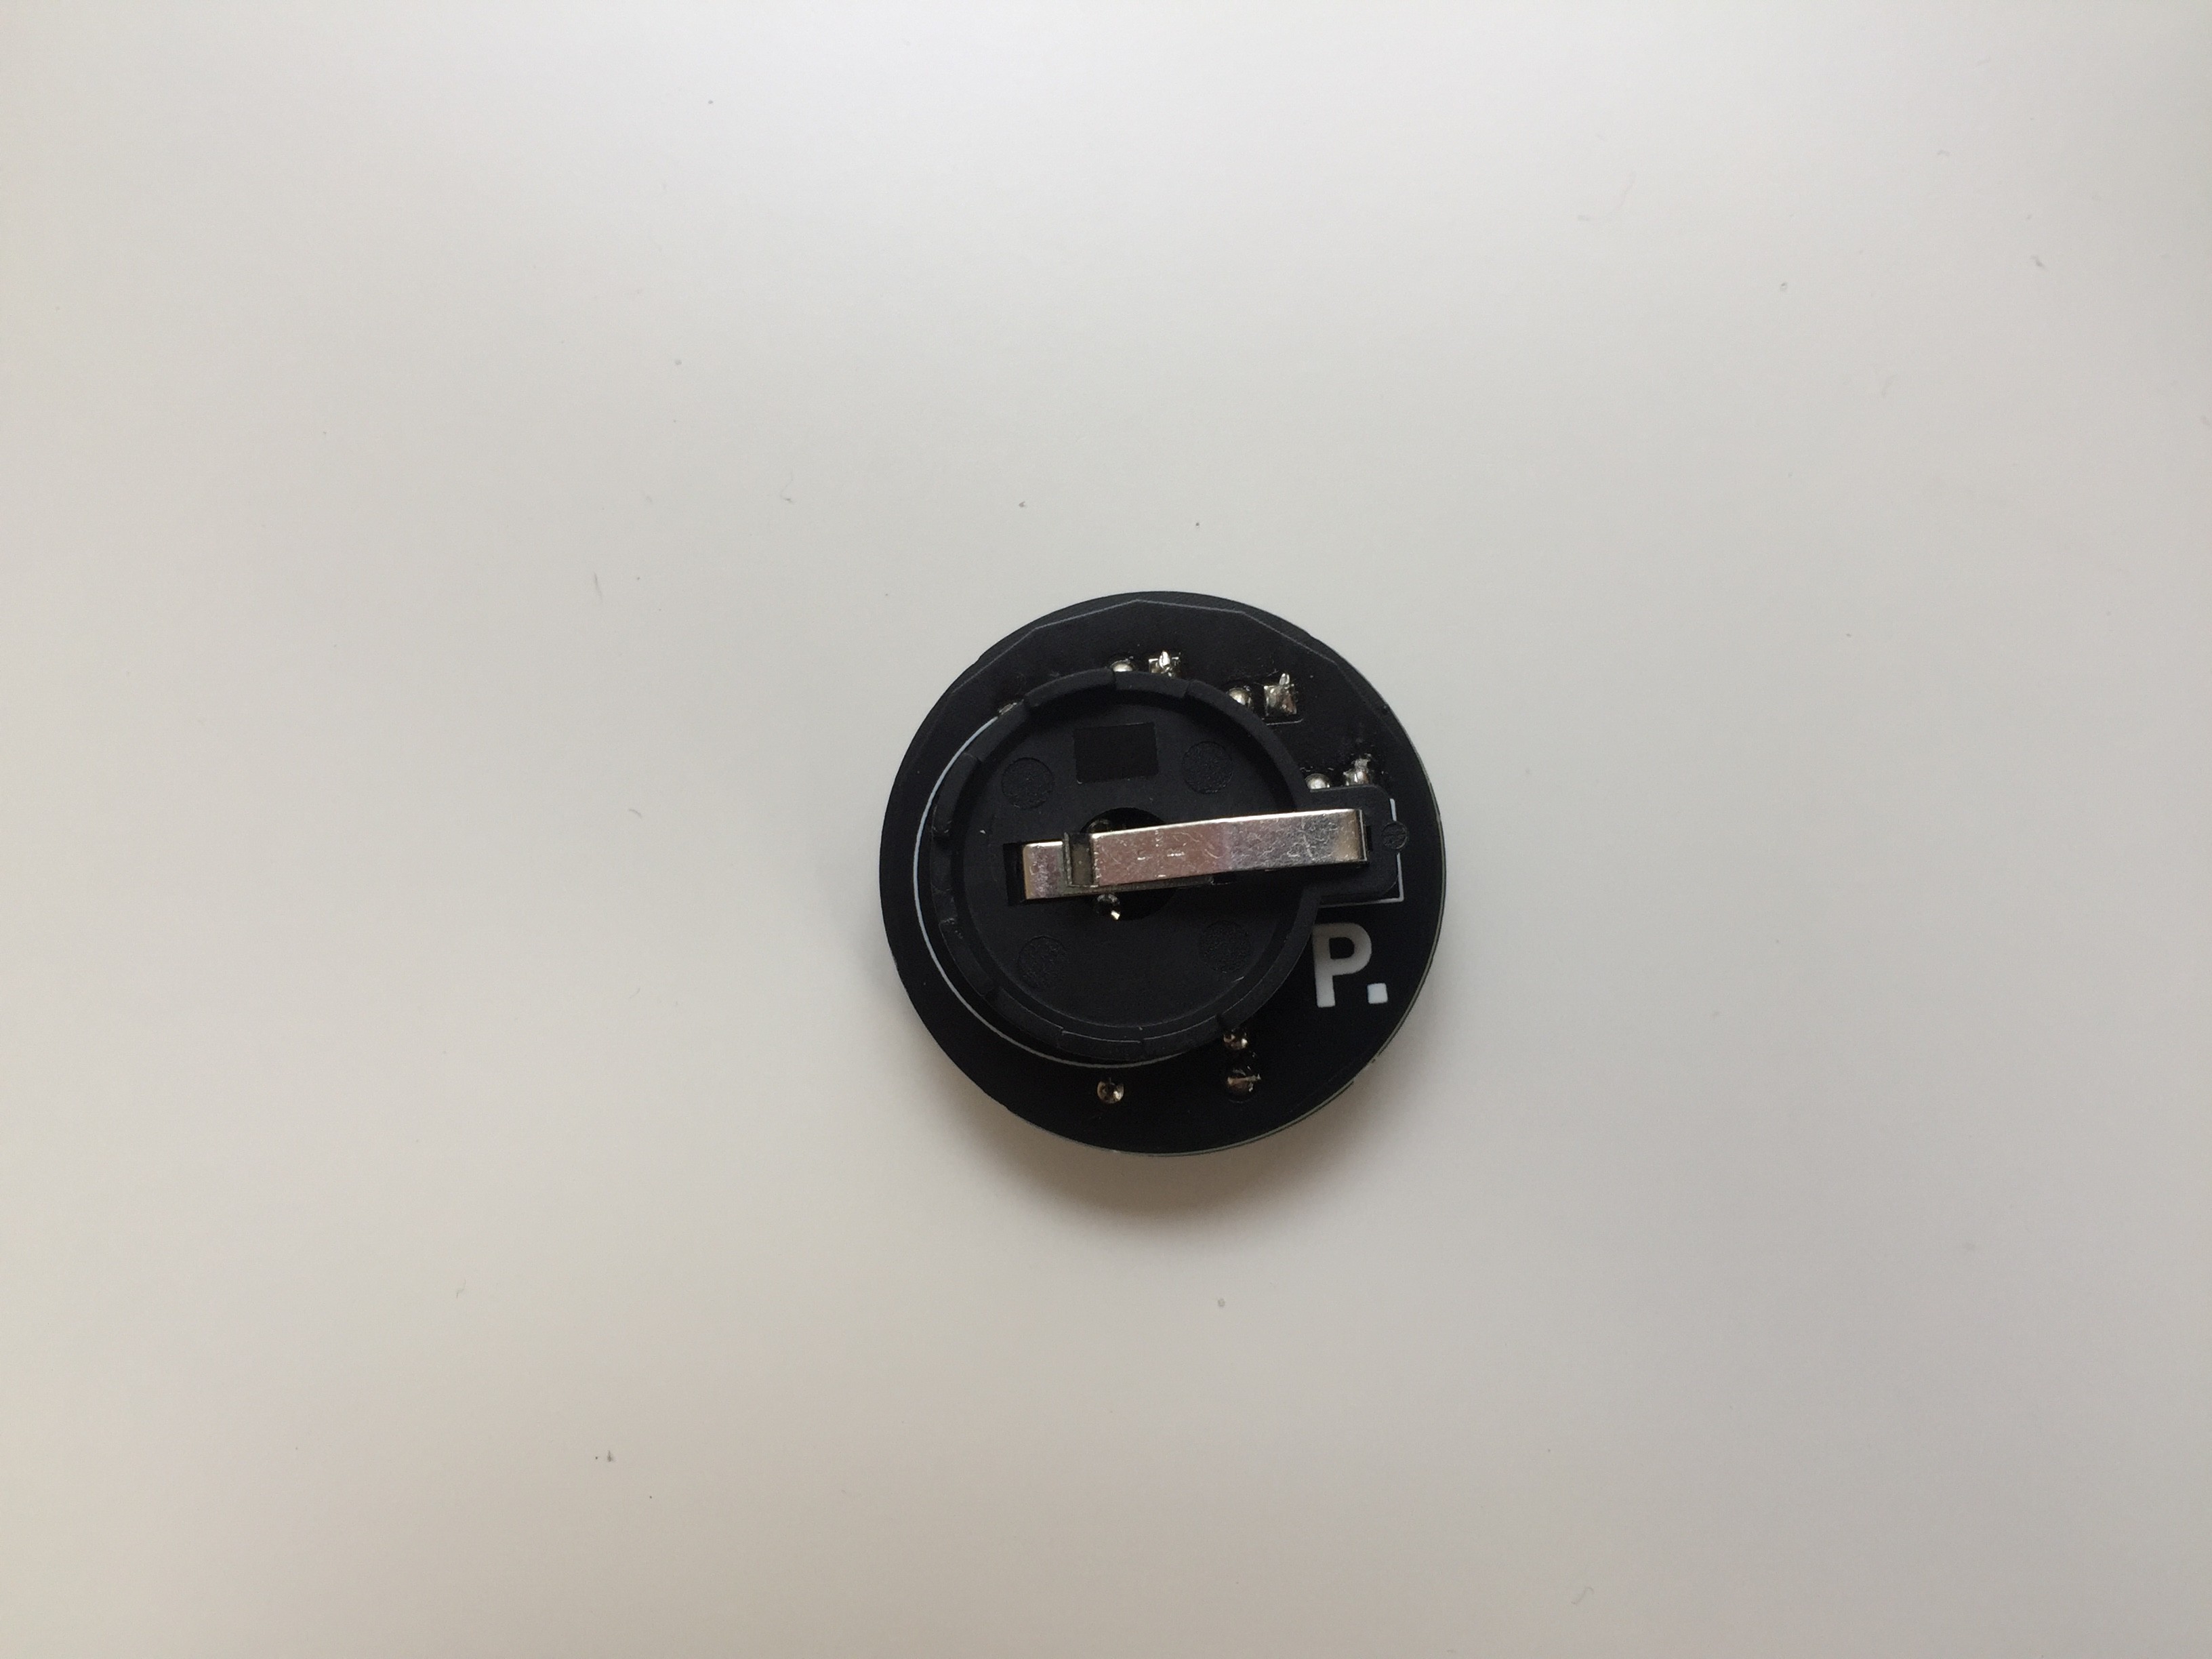
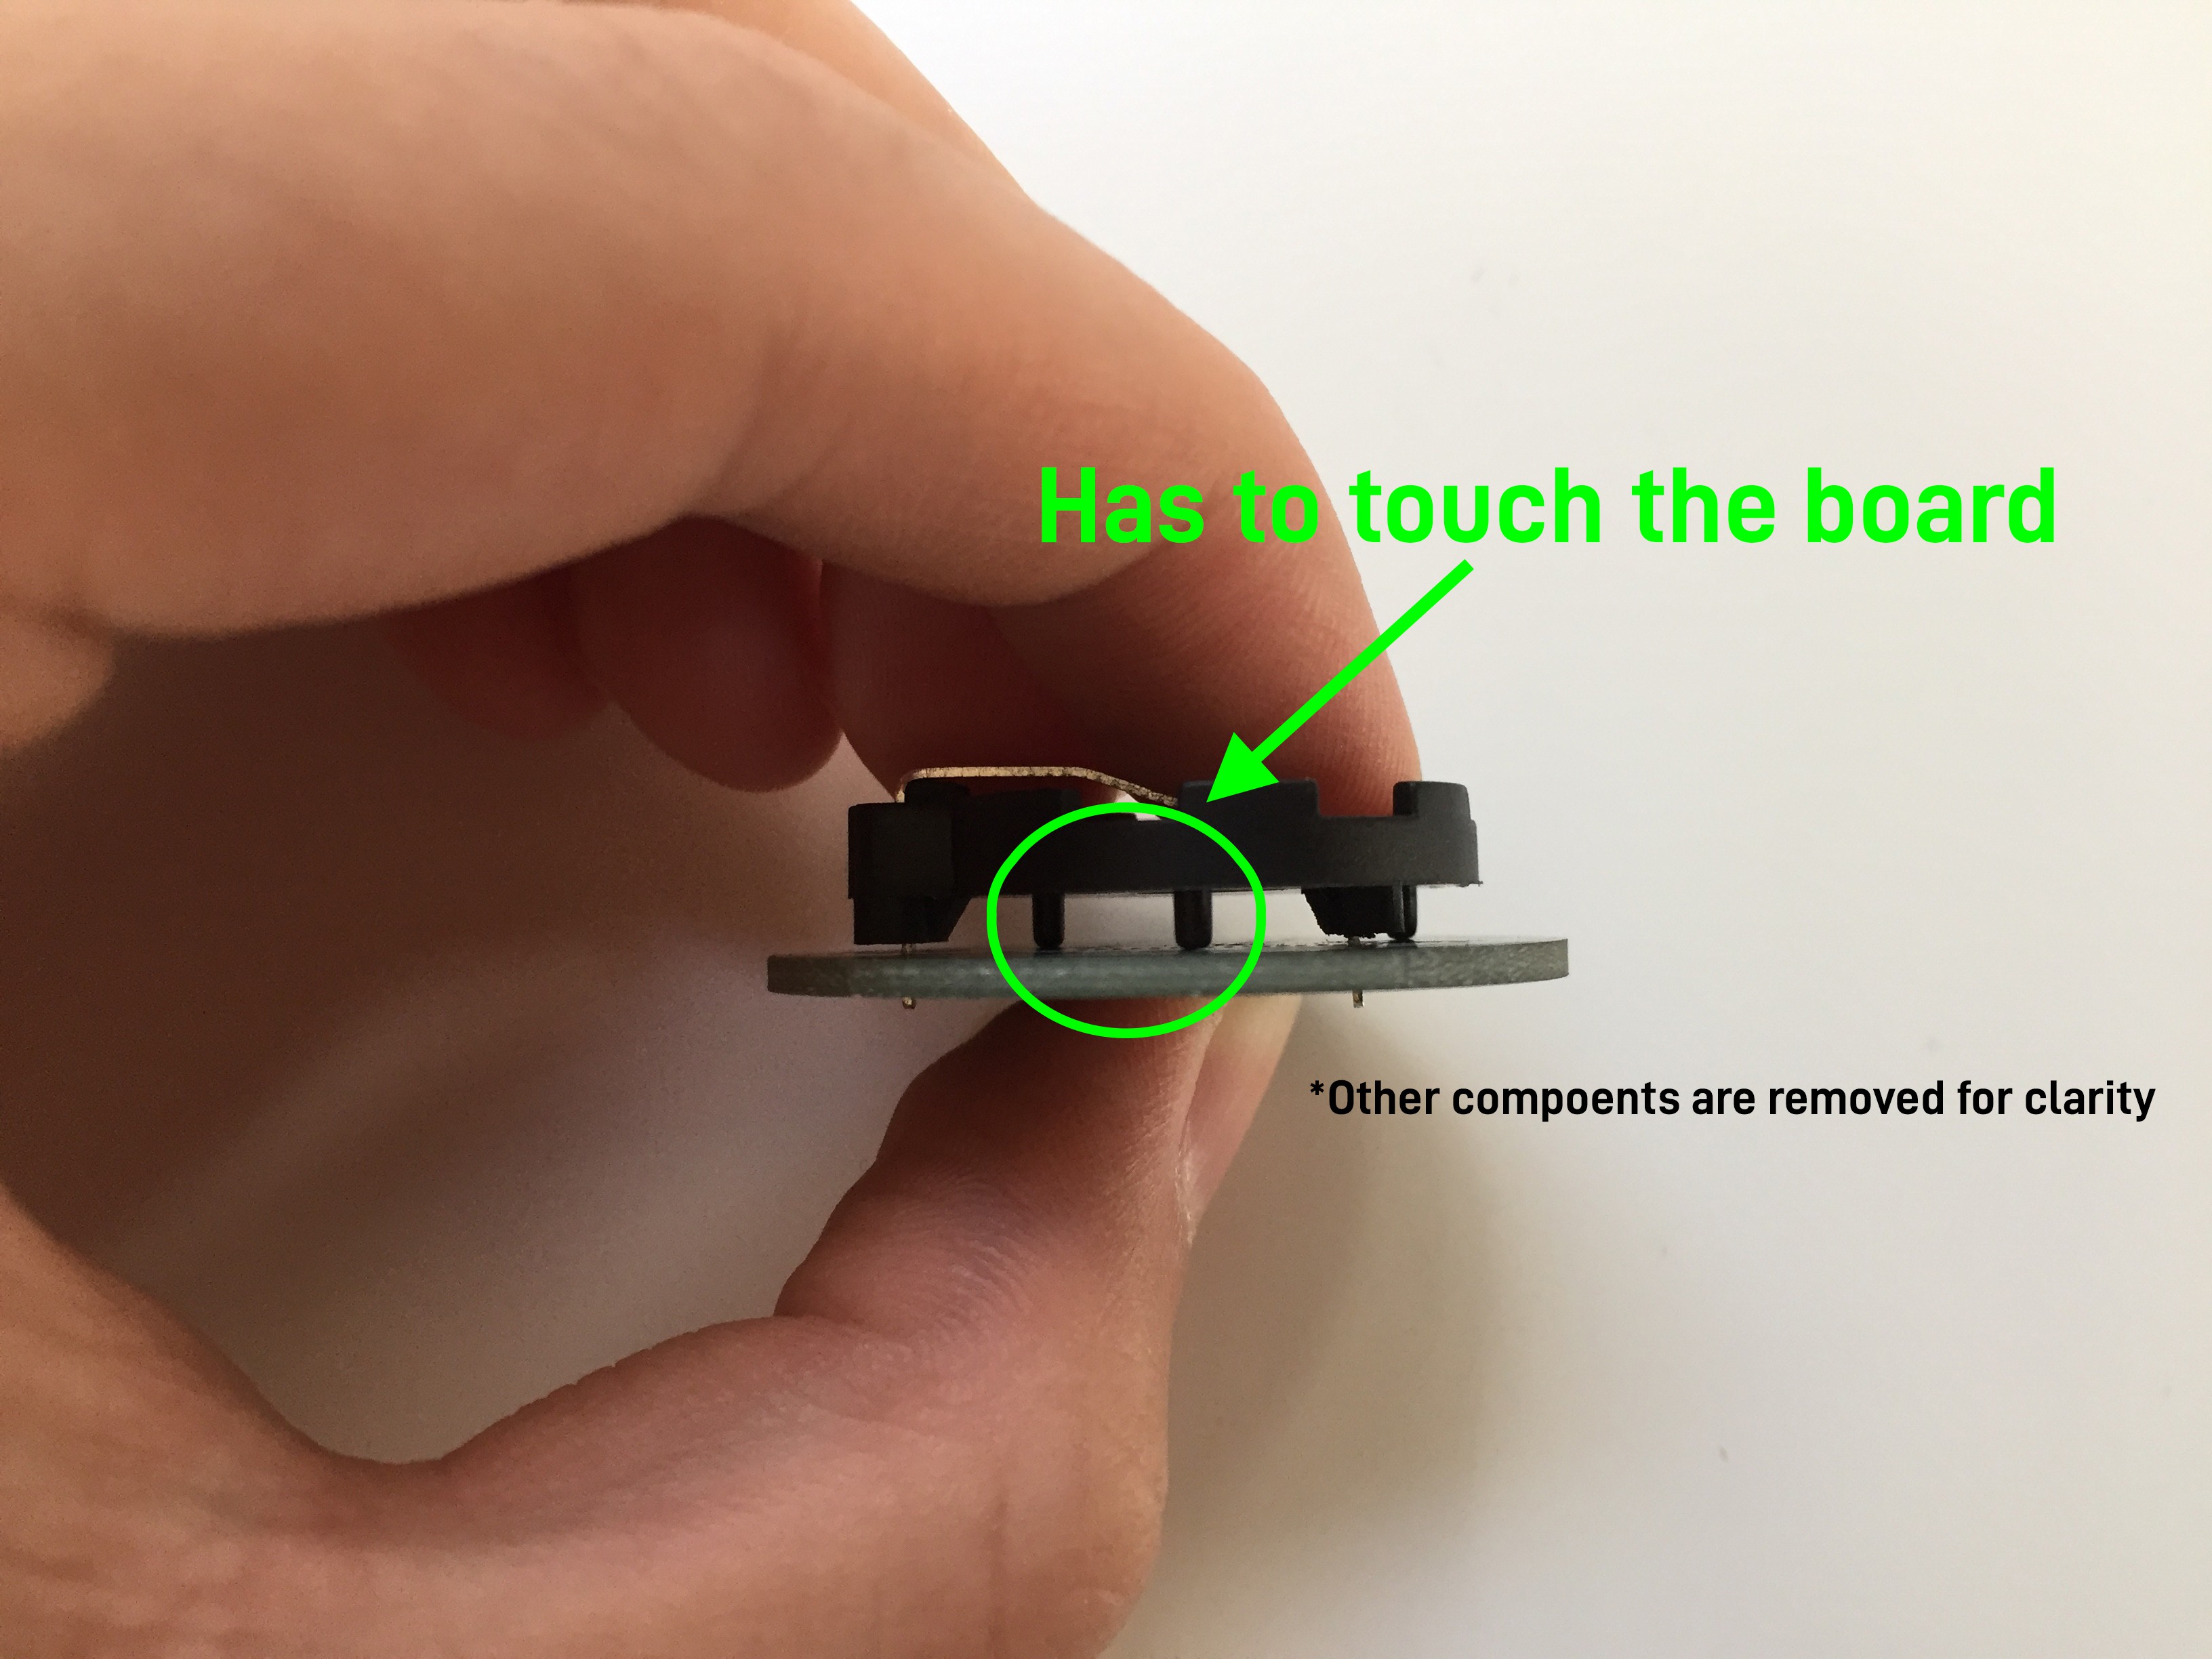
6Battery Holder + More soldering
Place the battery holder (Match the white outline). It's a tight fit so take your time, carefully bend the leads slightly with a plier if needed.
![]()
Make sure that you pushed the battery holder all the way down, the legs of the battery holder is touching the board. (The plastic casing on the metal battery lead won't touch the board).
![]()
Flip the board over and solder the the battery holder
![]()
-
7Finally Assembly
Place the battery (positive side up) and screw on the enclosure. The LEDs will turn off once it complete through the 30 minute Pomodoro .
POD
A focus tool for the digital age. Increase focus, boost productivity, and beat procrastination.

Discussions
Become a Hackaday.io Member
Create an account to leave a comment. Already have an account? Log In.
Thank you for this project! I found it on Kickstarter. I assembled the two device kits I bought this afternoon. The 3D print files worked like a charm on my Prusa i3 - although I took Artem’s advice on scaling the X&Y by 5% on the dividers - and the electronics assembly was very straightforward. Here’s a picture of the finished items: https://imgur.com/a/PGR9AZE
Are you sure? yes | no
Hi Gary,
I've received the kit, flashed the chip, printed the body and assembled!
The only thing is that I made a few changes to the code. I changed pomodoro intervals to 45m work + 15m break. Plus added a quick blink if it was reset. Here is the code if anyone wants to do the same:
https://github.com/SAGV/POD/
(Make sure you're familiar with Arduino IDE and have a spare arduino + ~10uF capacitor to use it as the intermediate between your laptop and the ATTiny85)
Also I was not able to fit LEDs into the divider whatever I tried. So I increased divider's X&Y dimensions by 5% and kept Z dimension at the same 6mm in Cura. After this little change everything fitted just nicely! (Printed on ender 3)
Works awesome! Thanks!
Are you sure? yes | no
Here are a few pics of the process and a short final video:
https://www.dropbox.com/sh/uekpxp3g1yfuh5o/AAB_DYyoxiTzVfsEclmyxvKqa?dl=0
Are you sure? yes | no