 sjm4306
Thanks to UTSOURCE for sponsoring this project video
Buy electronic components and tools: https://www.utsource.net
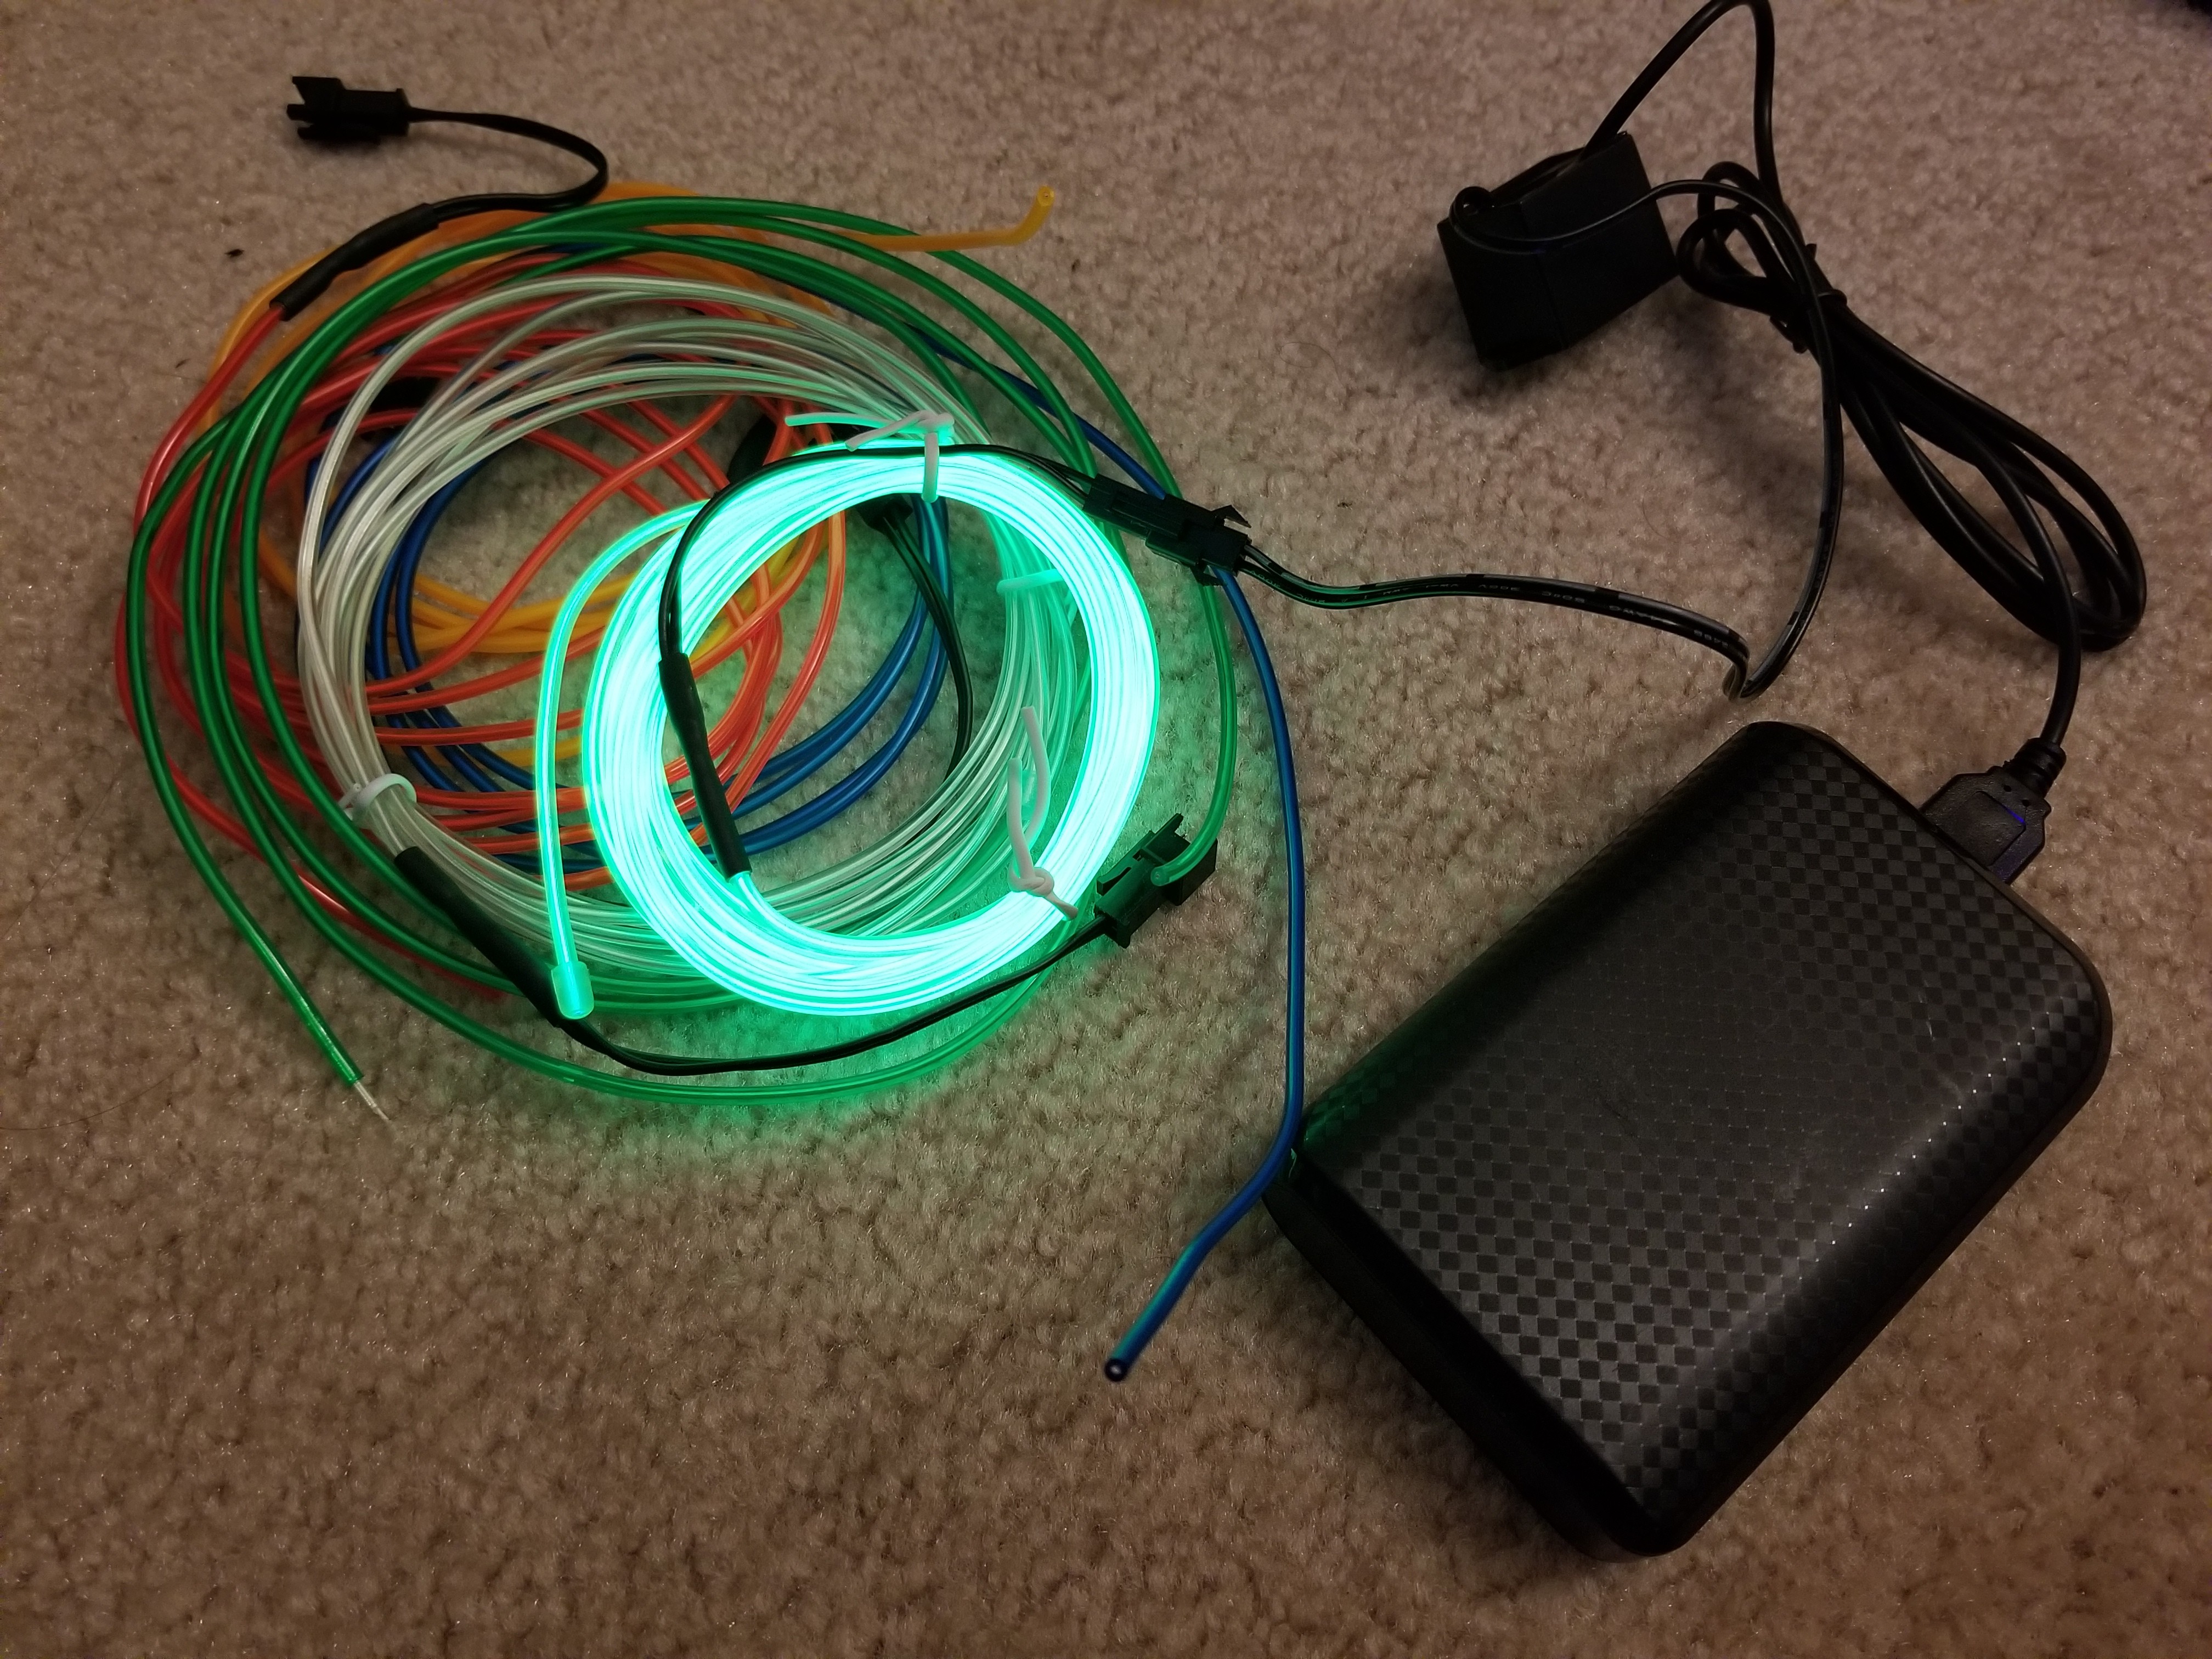
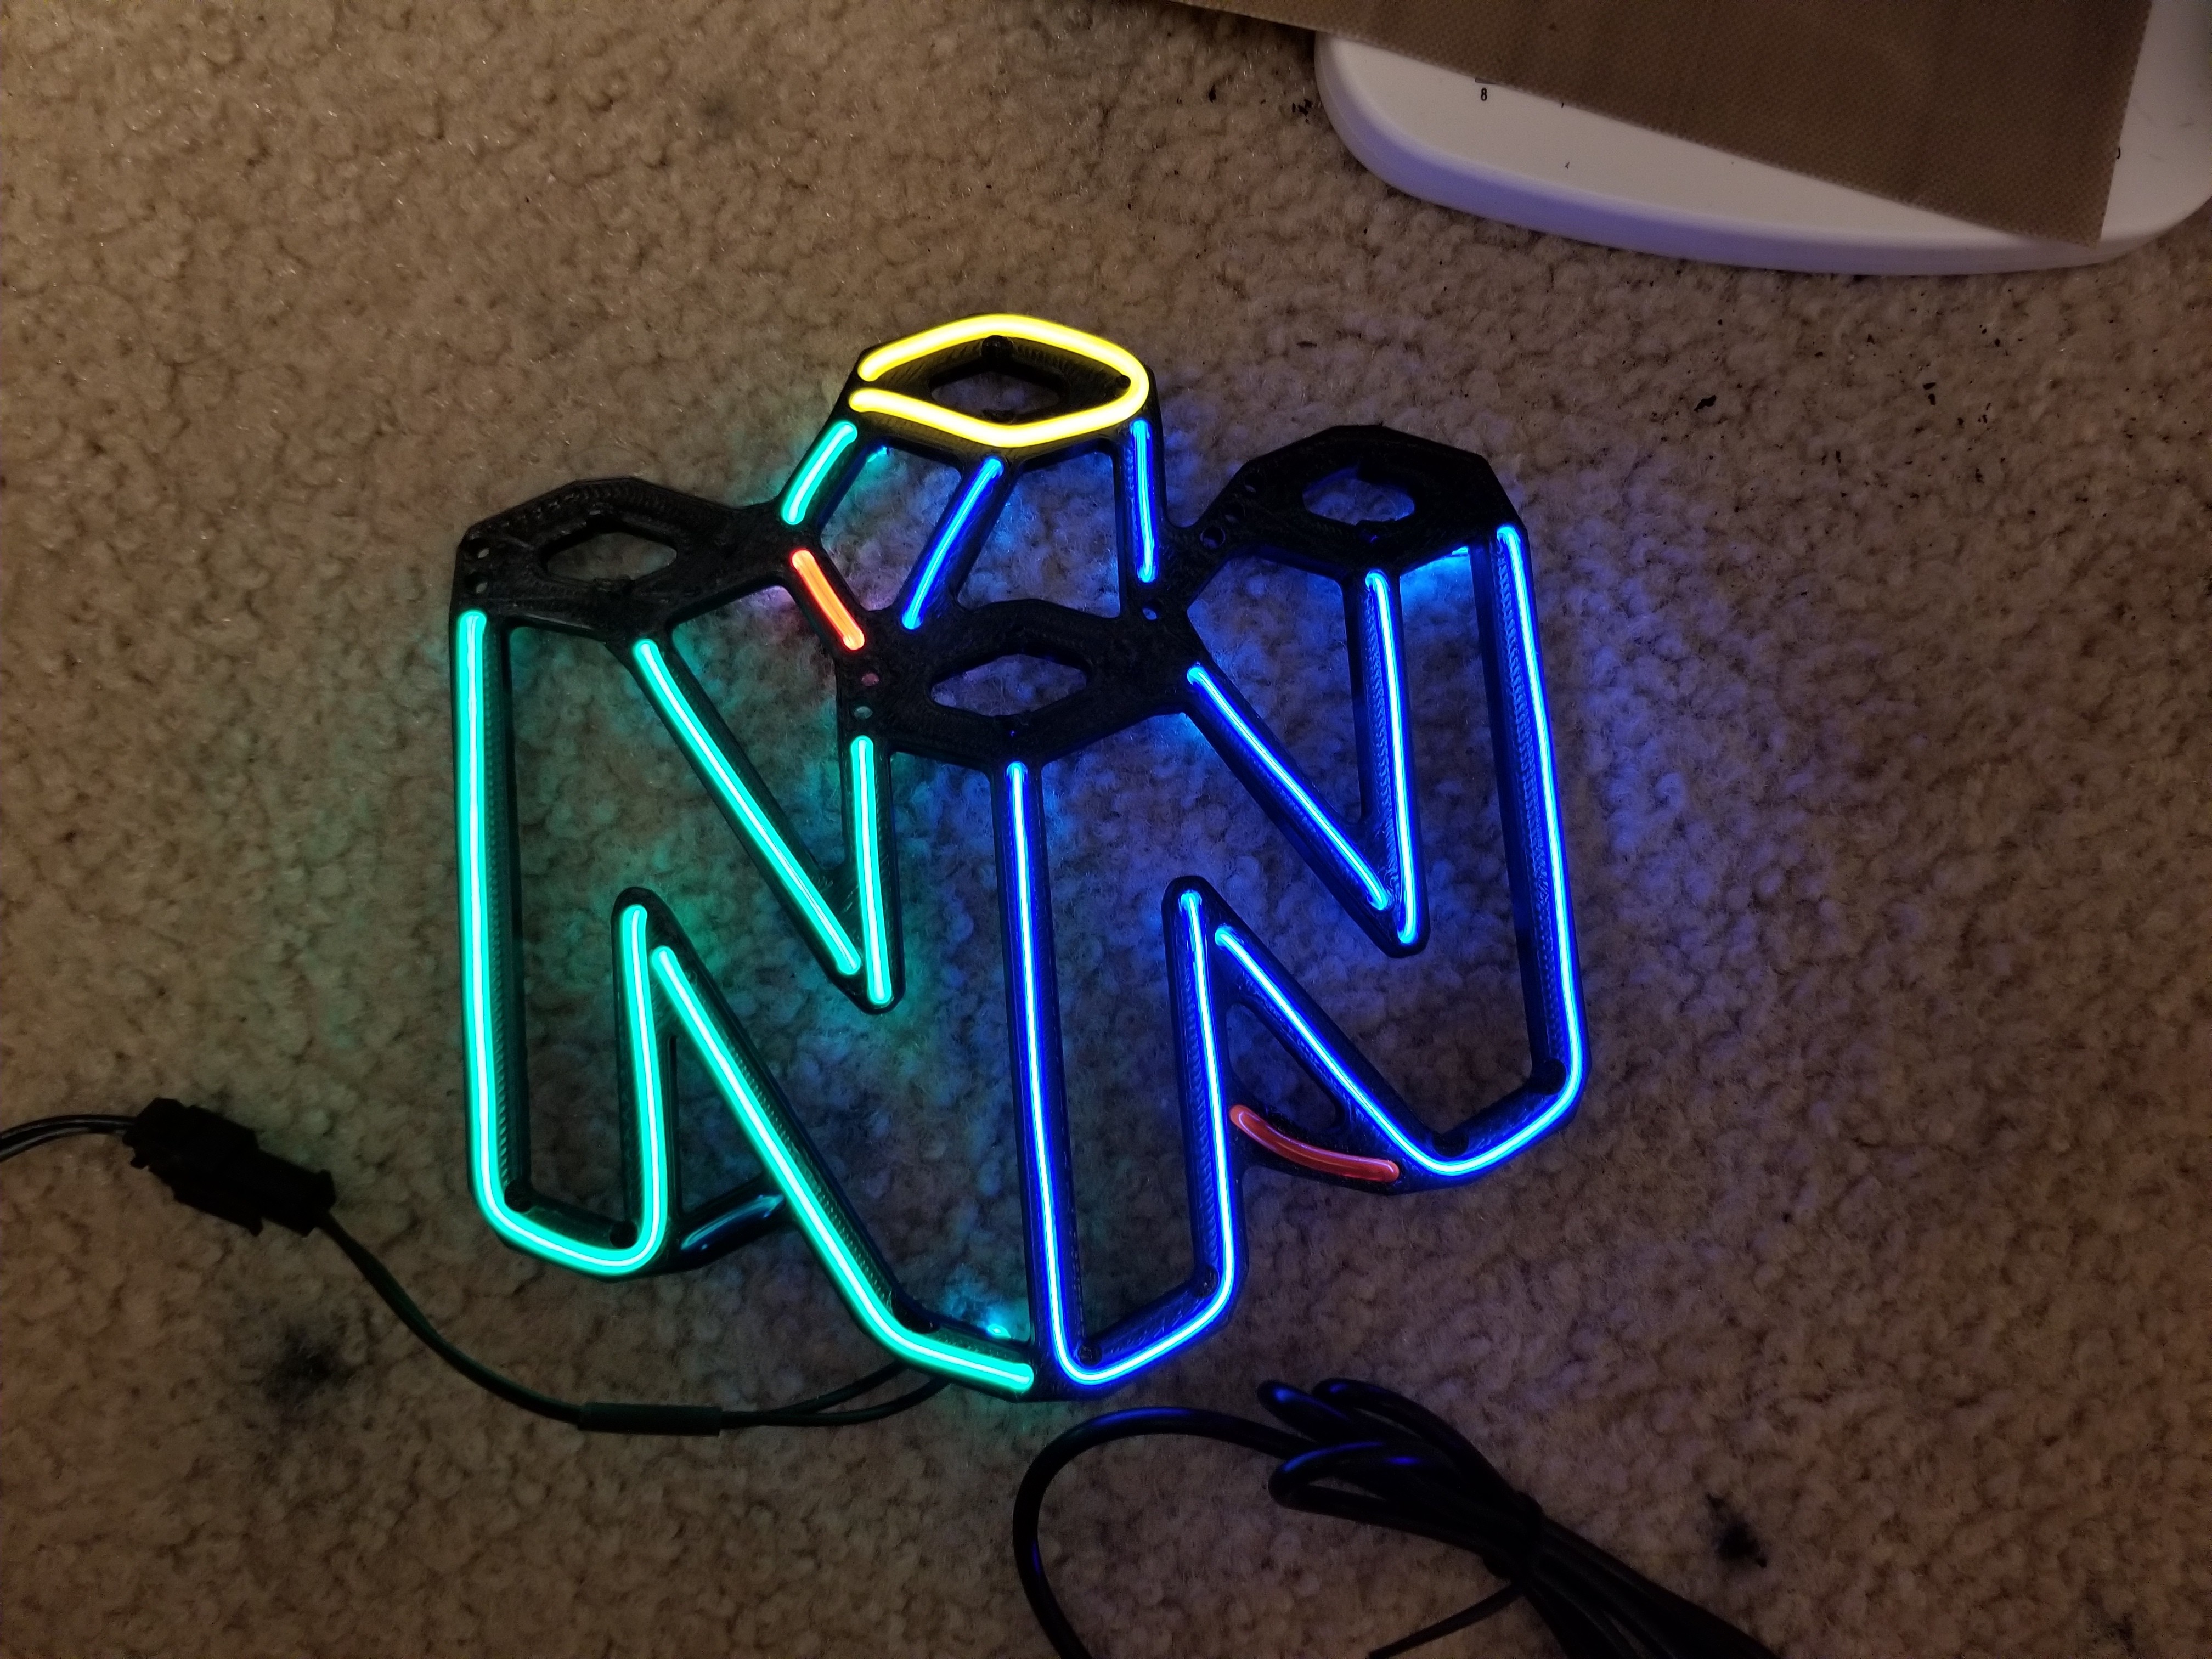
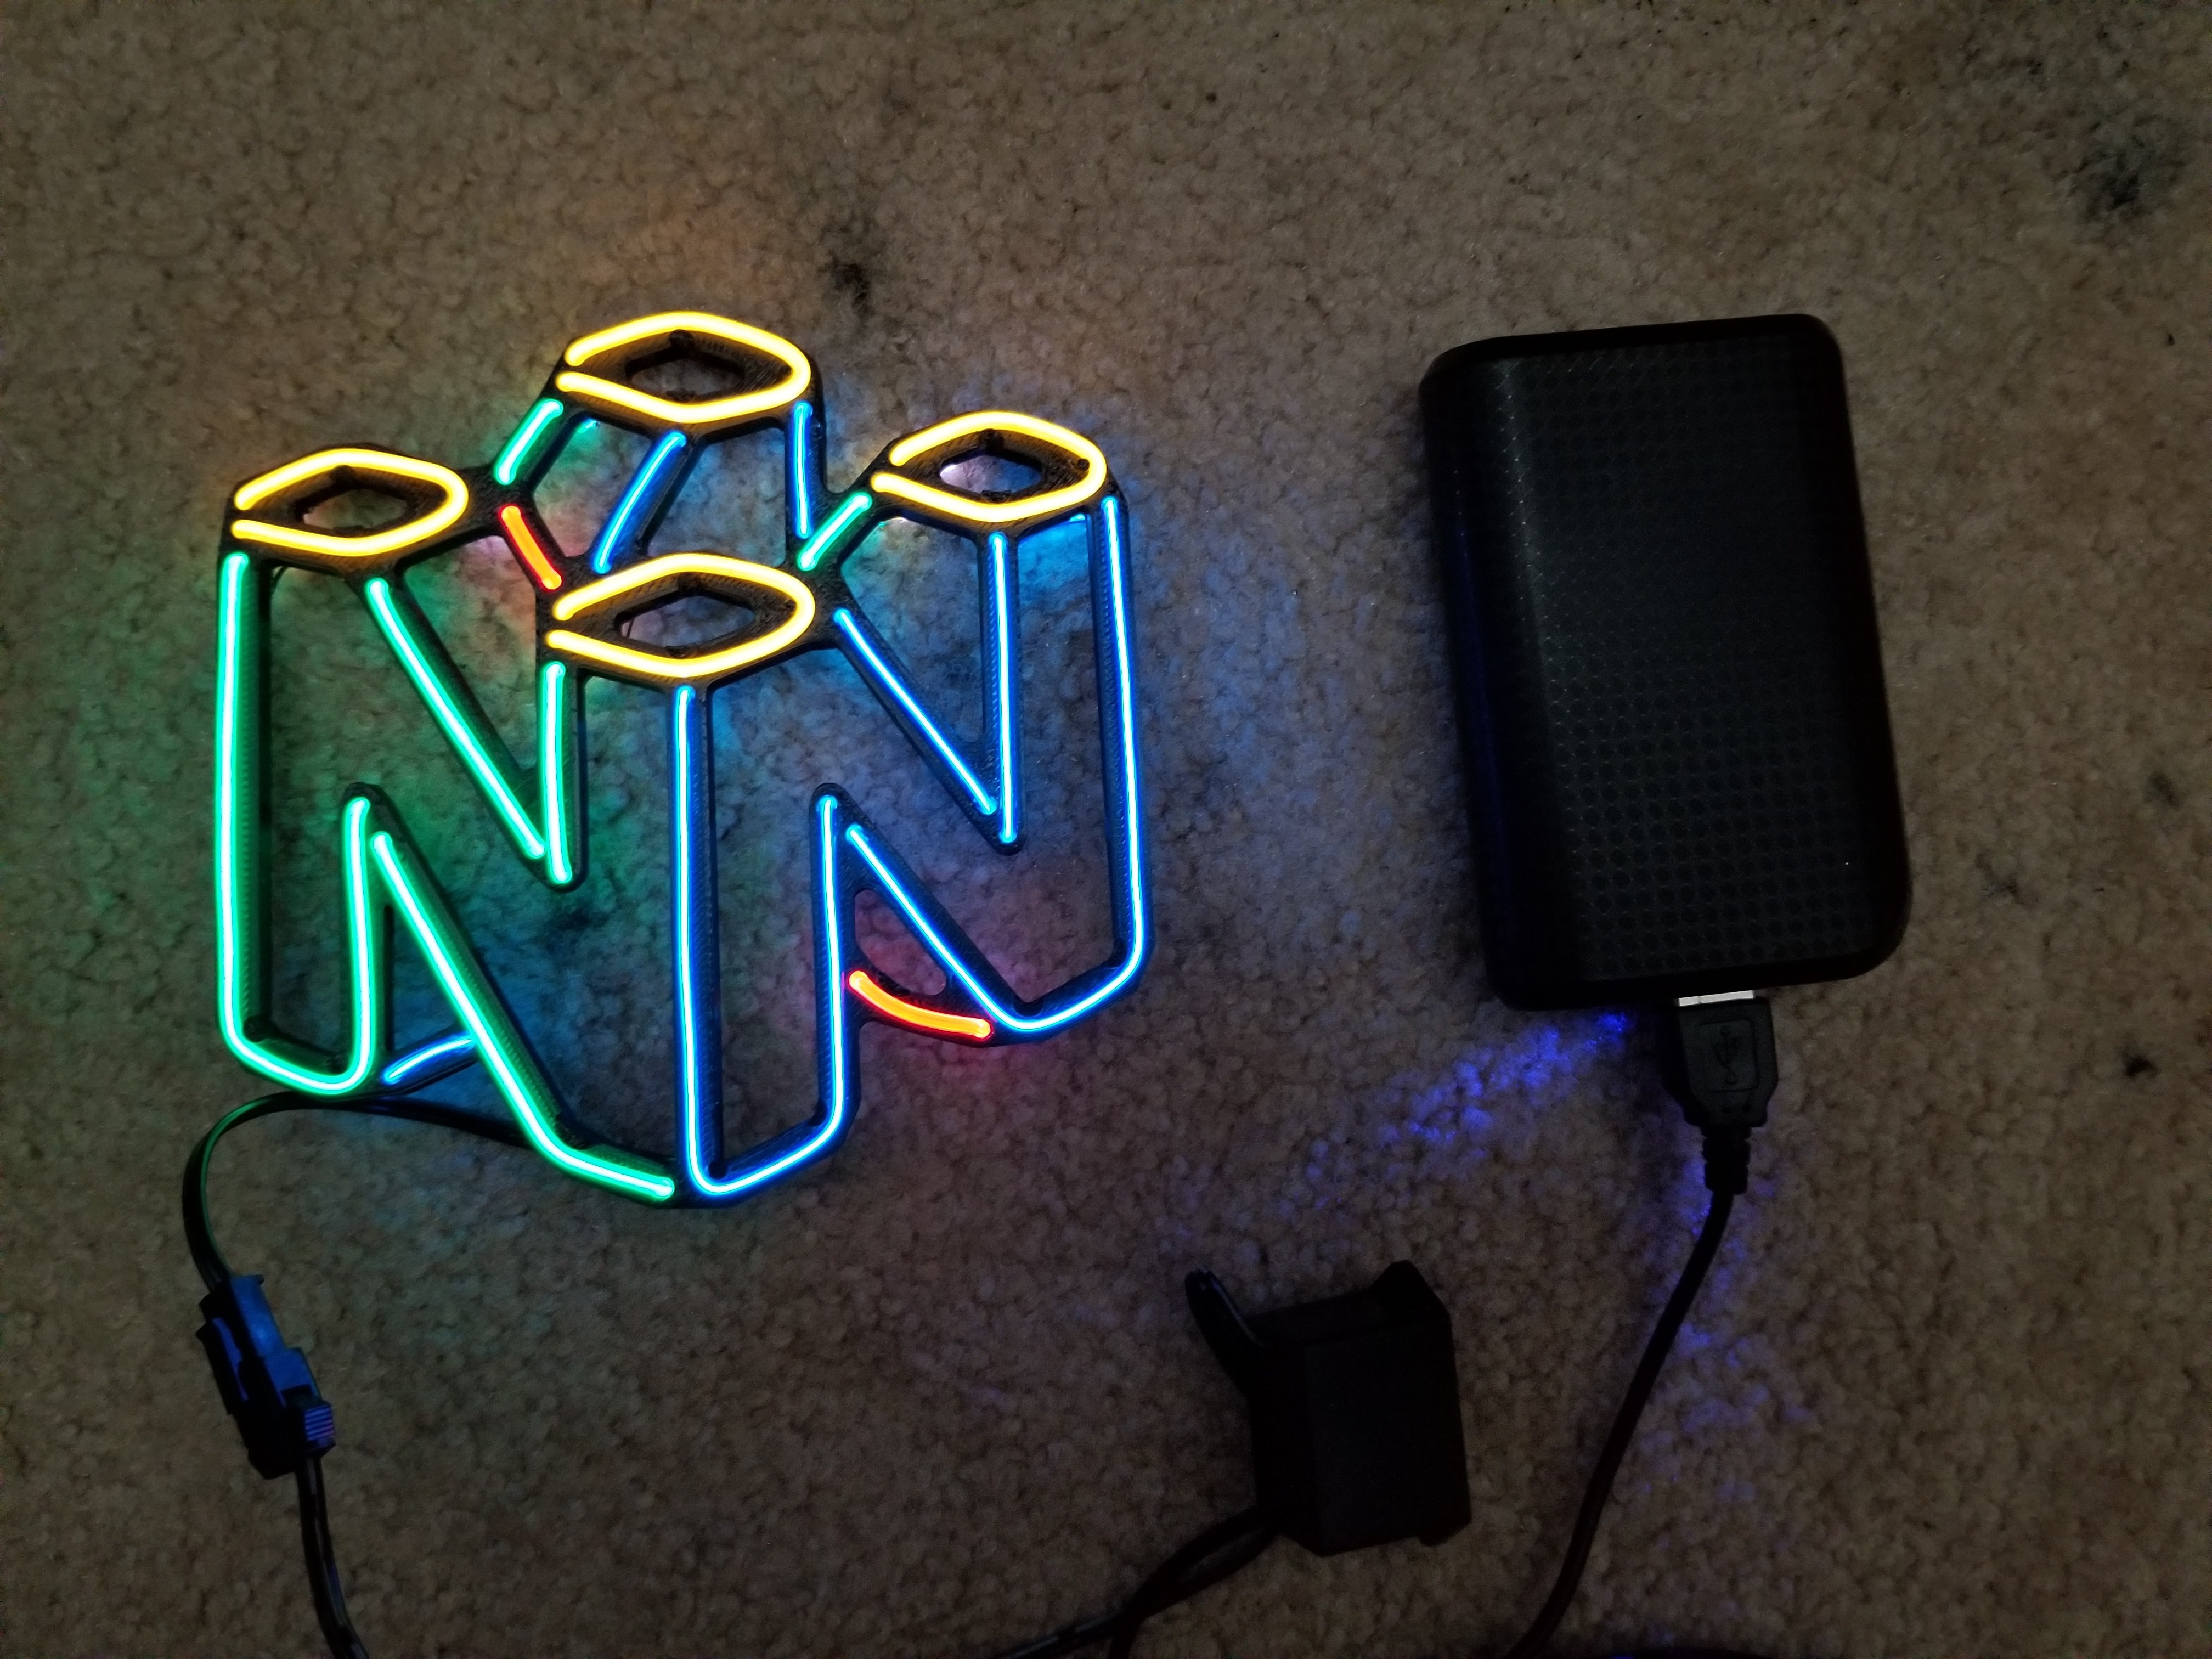
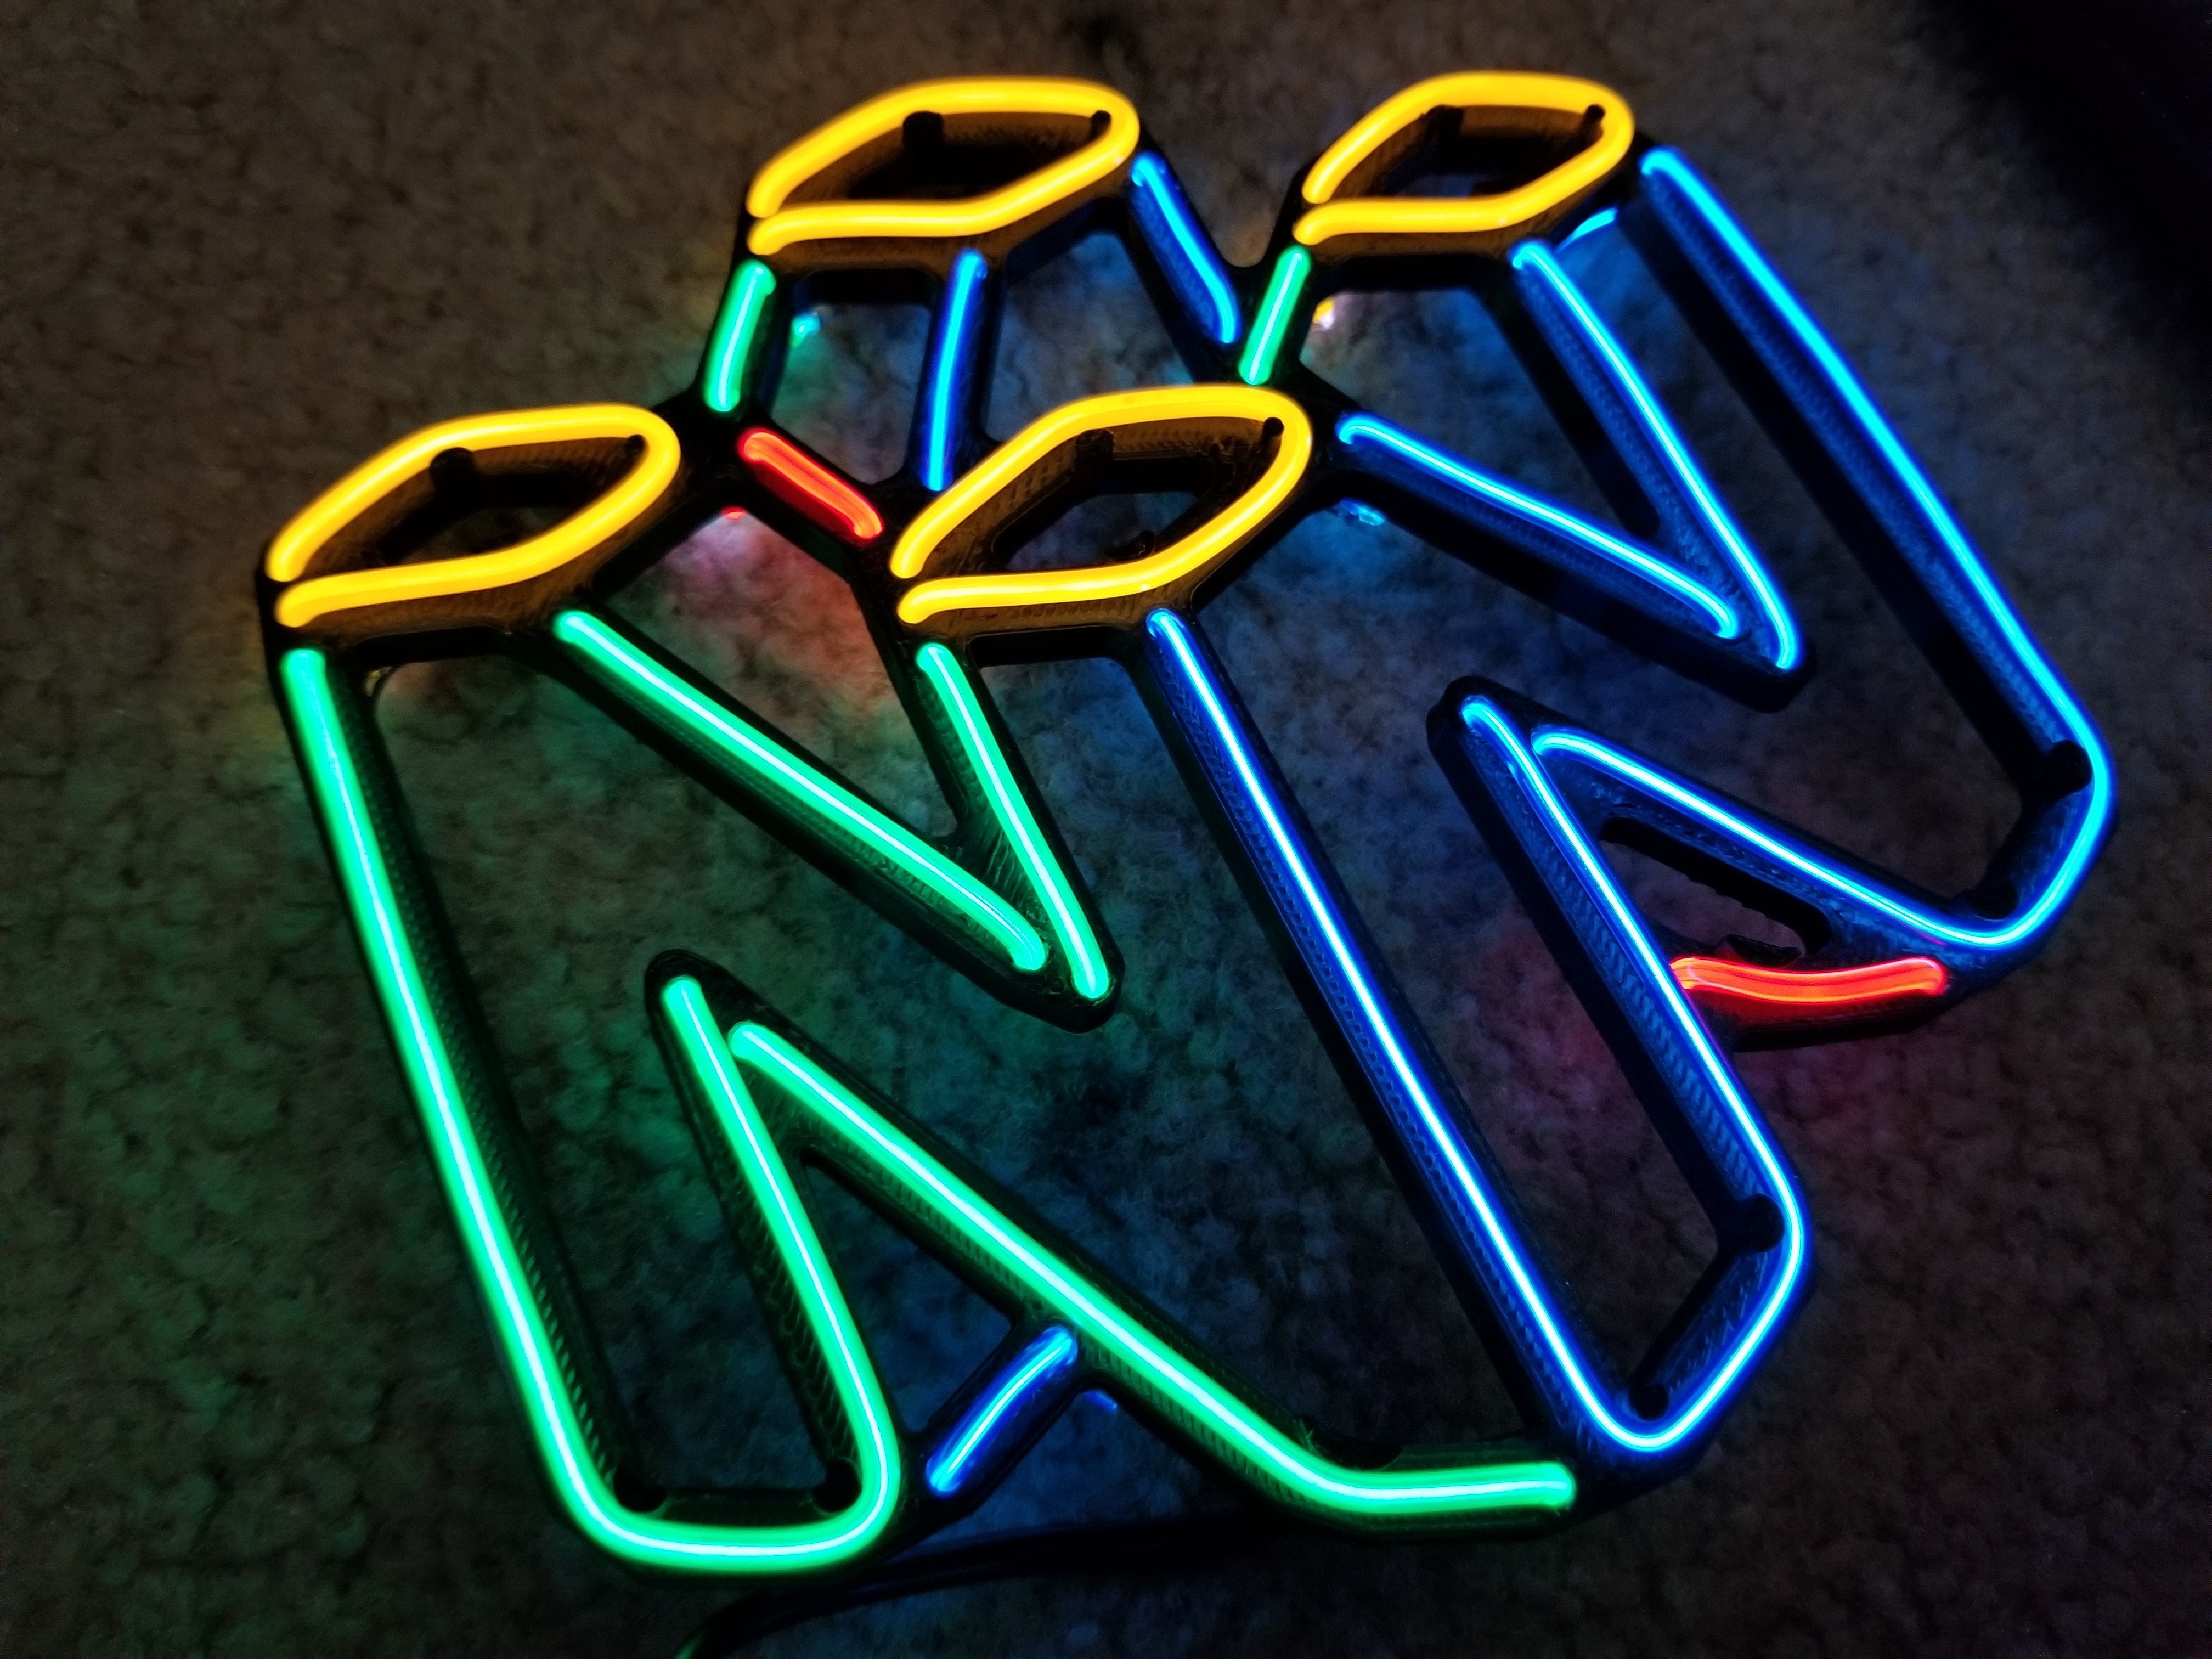
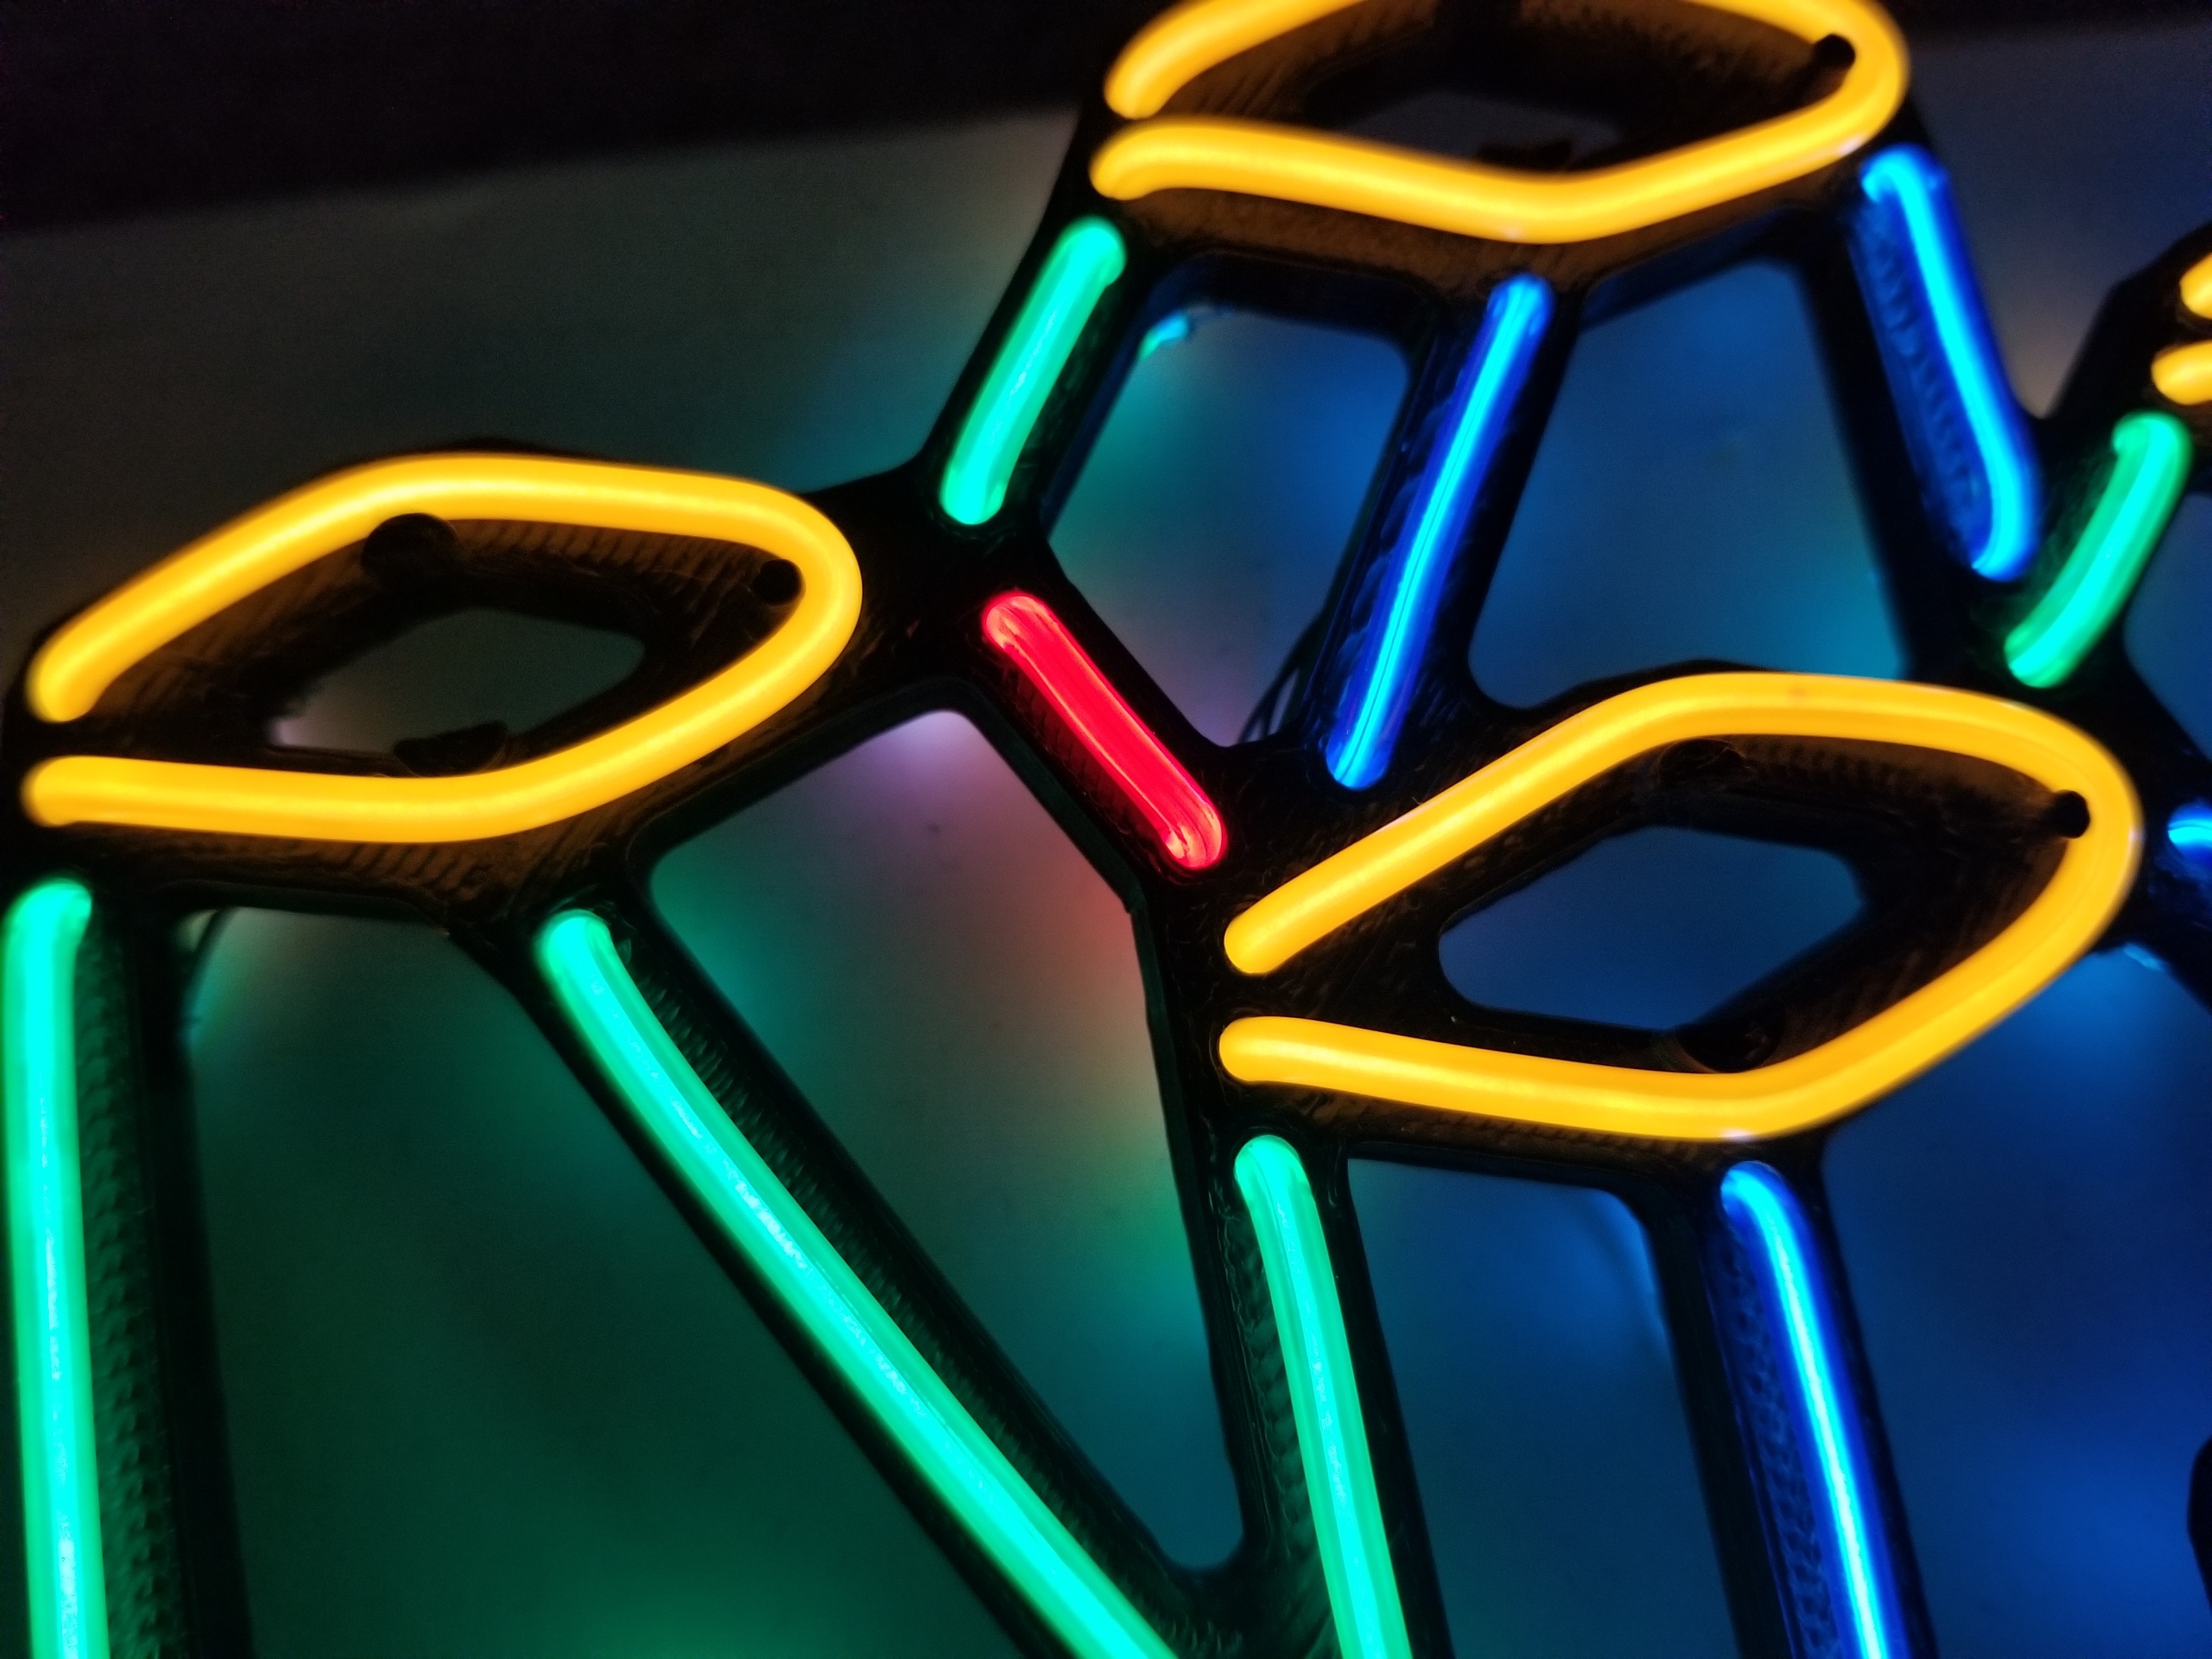
So now that we have the 3D printed frame in our hands we can put everything together and see how it looks. I made a short video reviewing the CAD process from last time as well as showing the general assembly process and finally some footage of the final sign lit up. Not a bad outcome for around only $10 in parts and a few hours of work.
Here are some glamour shots I took of the sign in action as well. If you guys have any suggestions for future signs or methods I should try comment below.


Discussions
Become a Hackaday.io Member
Create an account to leave a comment. Already have an account? Log In.