DIY EL Wire + 3D Printed "Neon" Sign!
I love the look of neon signs but they aren't particularly easy to DIY without glassblowing skills and equipment, so EL Wire to the rescue!
I love the look of neon signs but they aren't particularly easy to DIY without glassblowing skills and equipment, so EL Wire to the rescue!
To make the experience fit your profile, pick a username and tell us what interests you.
We found and based on your interests.
Thanks to UTSOURCE for sponsoring this project video
Buy electronic components and tools: https://www.utsource.net
So now that we have the 3D printed frame in our hands we can put everything together and see how it looks. I made a short video reviewing the CAD process from last time as well as showing the general assembly process and finally some footage of the final sign lit up. Not a bad outcome for around only $10 in parts and a few hours of work.
Here are some glamour shots I took of the sign in action as well. If you guys have any suggestions for future signs or methods I should try comment below.
- It is colorful with nice vibrant primary colors
- There are already commercially available neon lights which I could borrow the design from (and not have to come up with it myself)
- Finally, it is just a plain cool logo
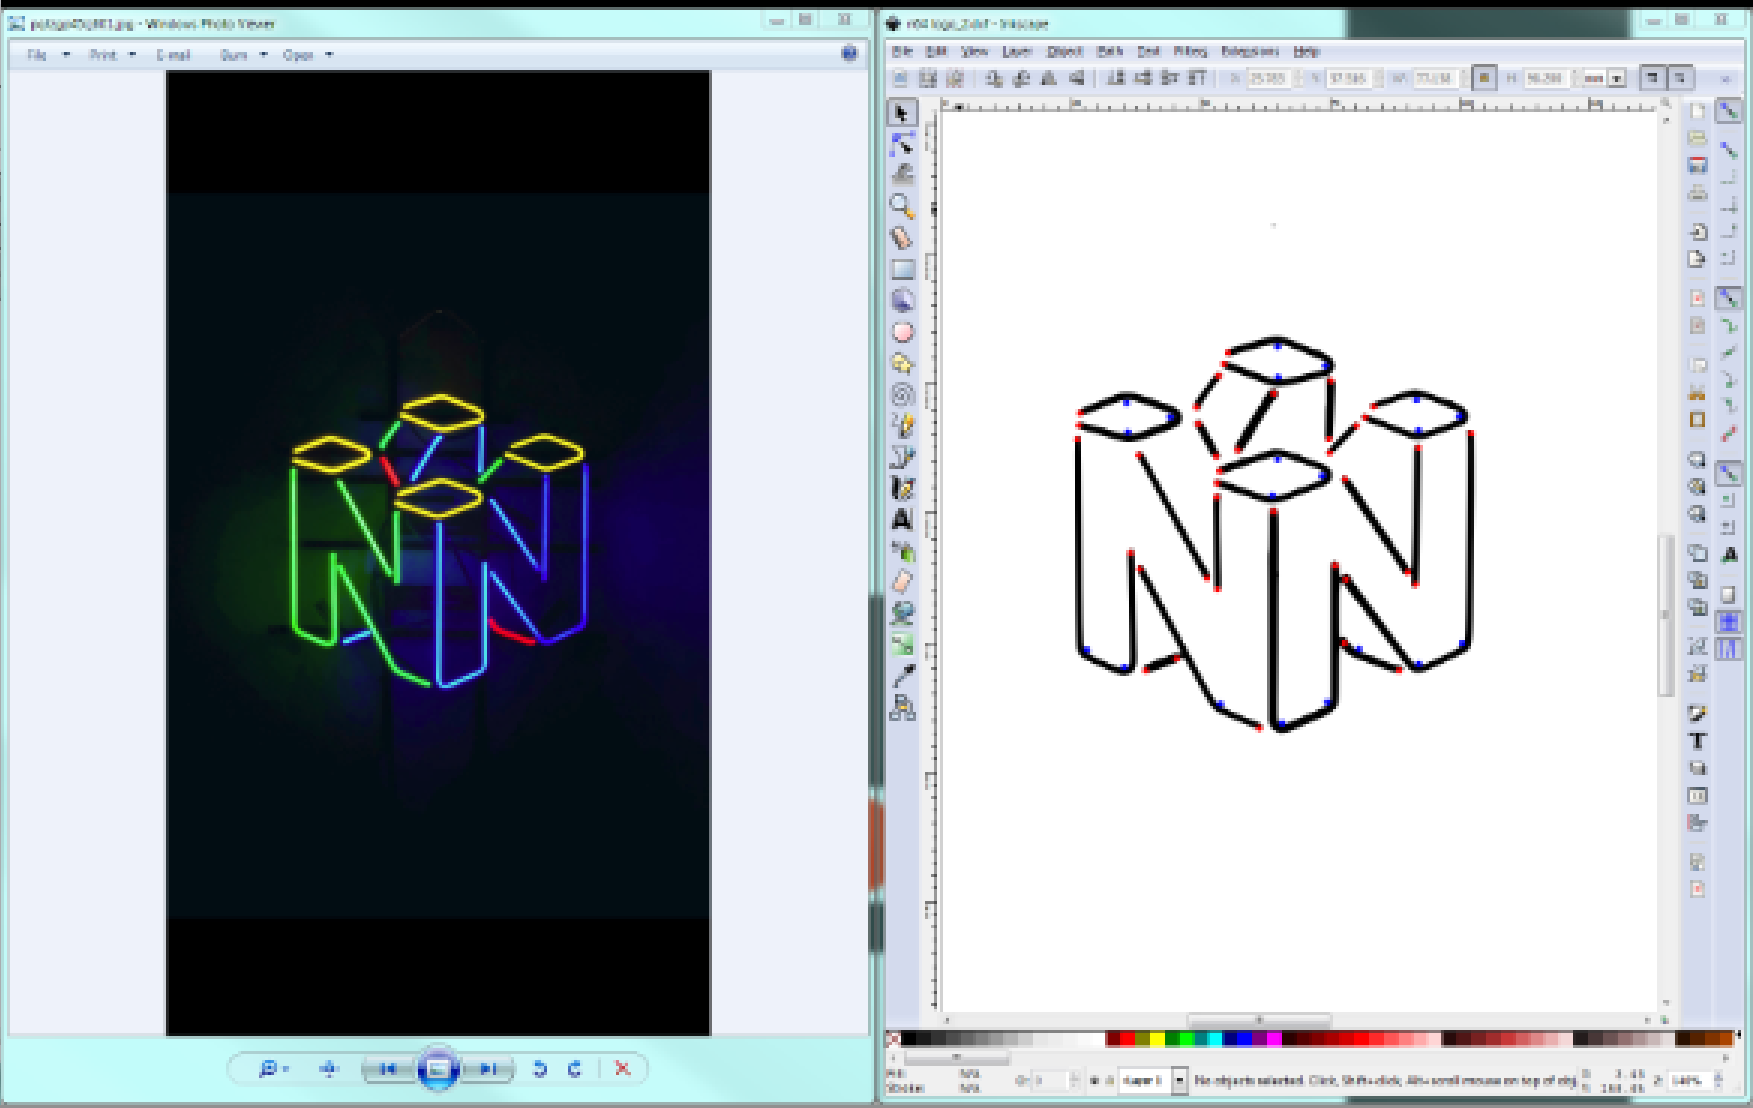
After a quick google search I found a nice image of the original neon sign which I saved and imported into inkscape for editing.
In solidworks, with the dxf imported as a series of dots (image above) I set it as a construction sketch (yellow inner lines) and began drawing offset lines around the desired shape to form the footprint of the frame (blue lines). I connected all these lines to make a shape with holes where there would be no EL wire to save filament and shorten printing time. From this base shape I extruded upwards to form the 3D shape.
Create an account to leave a comment. Already have an account? Log In.
Become a member to follow this project and never miss any updates