-
1Procrastinate.
![]()
Wait until a week before the extended deadline before planning a project.
-
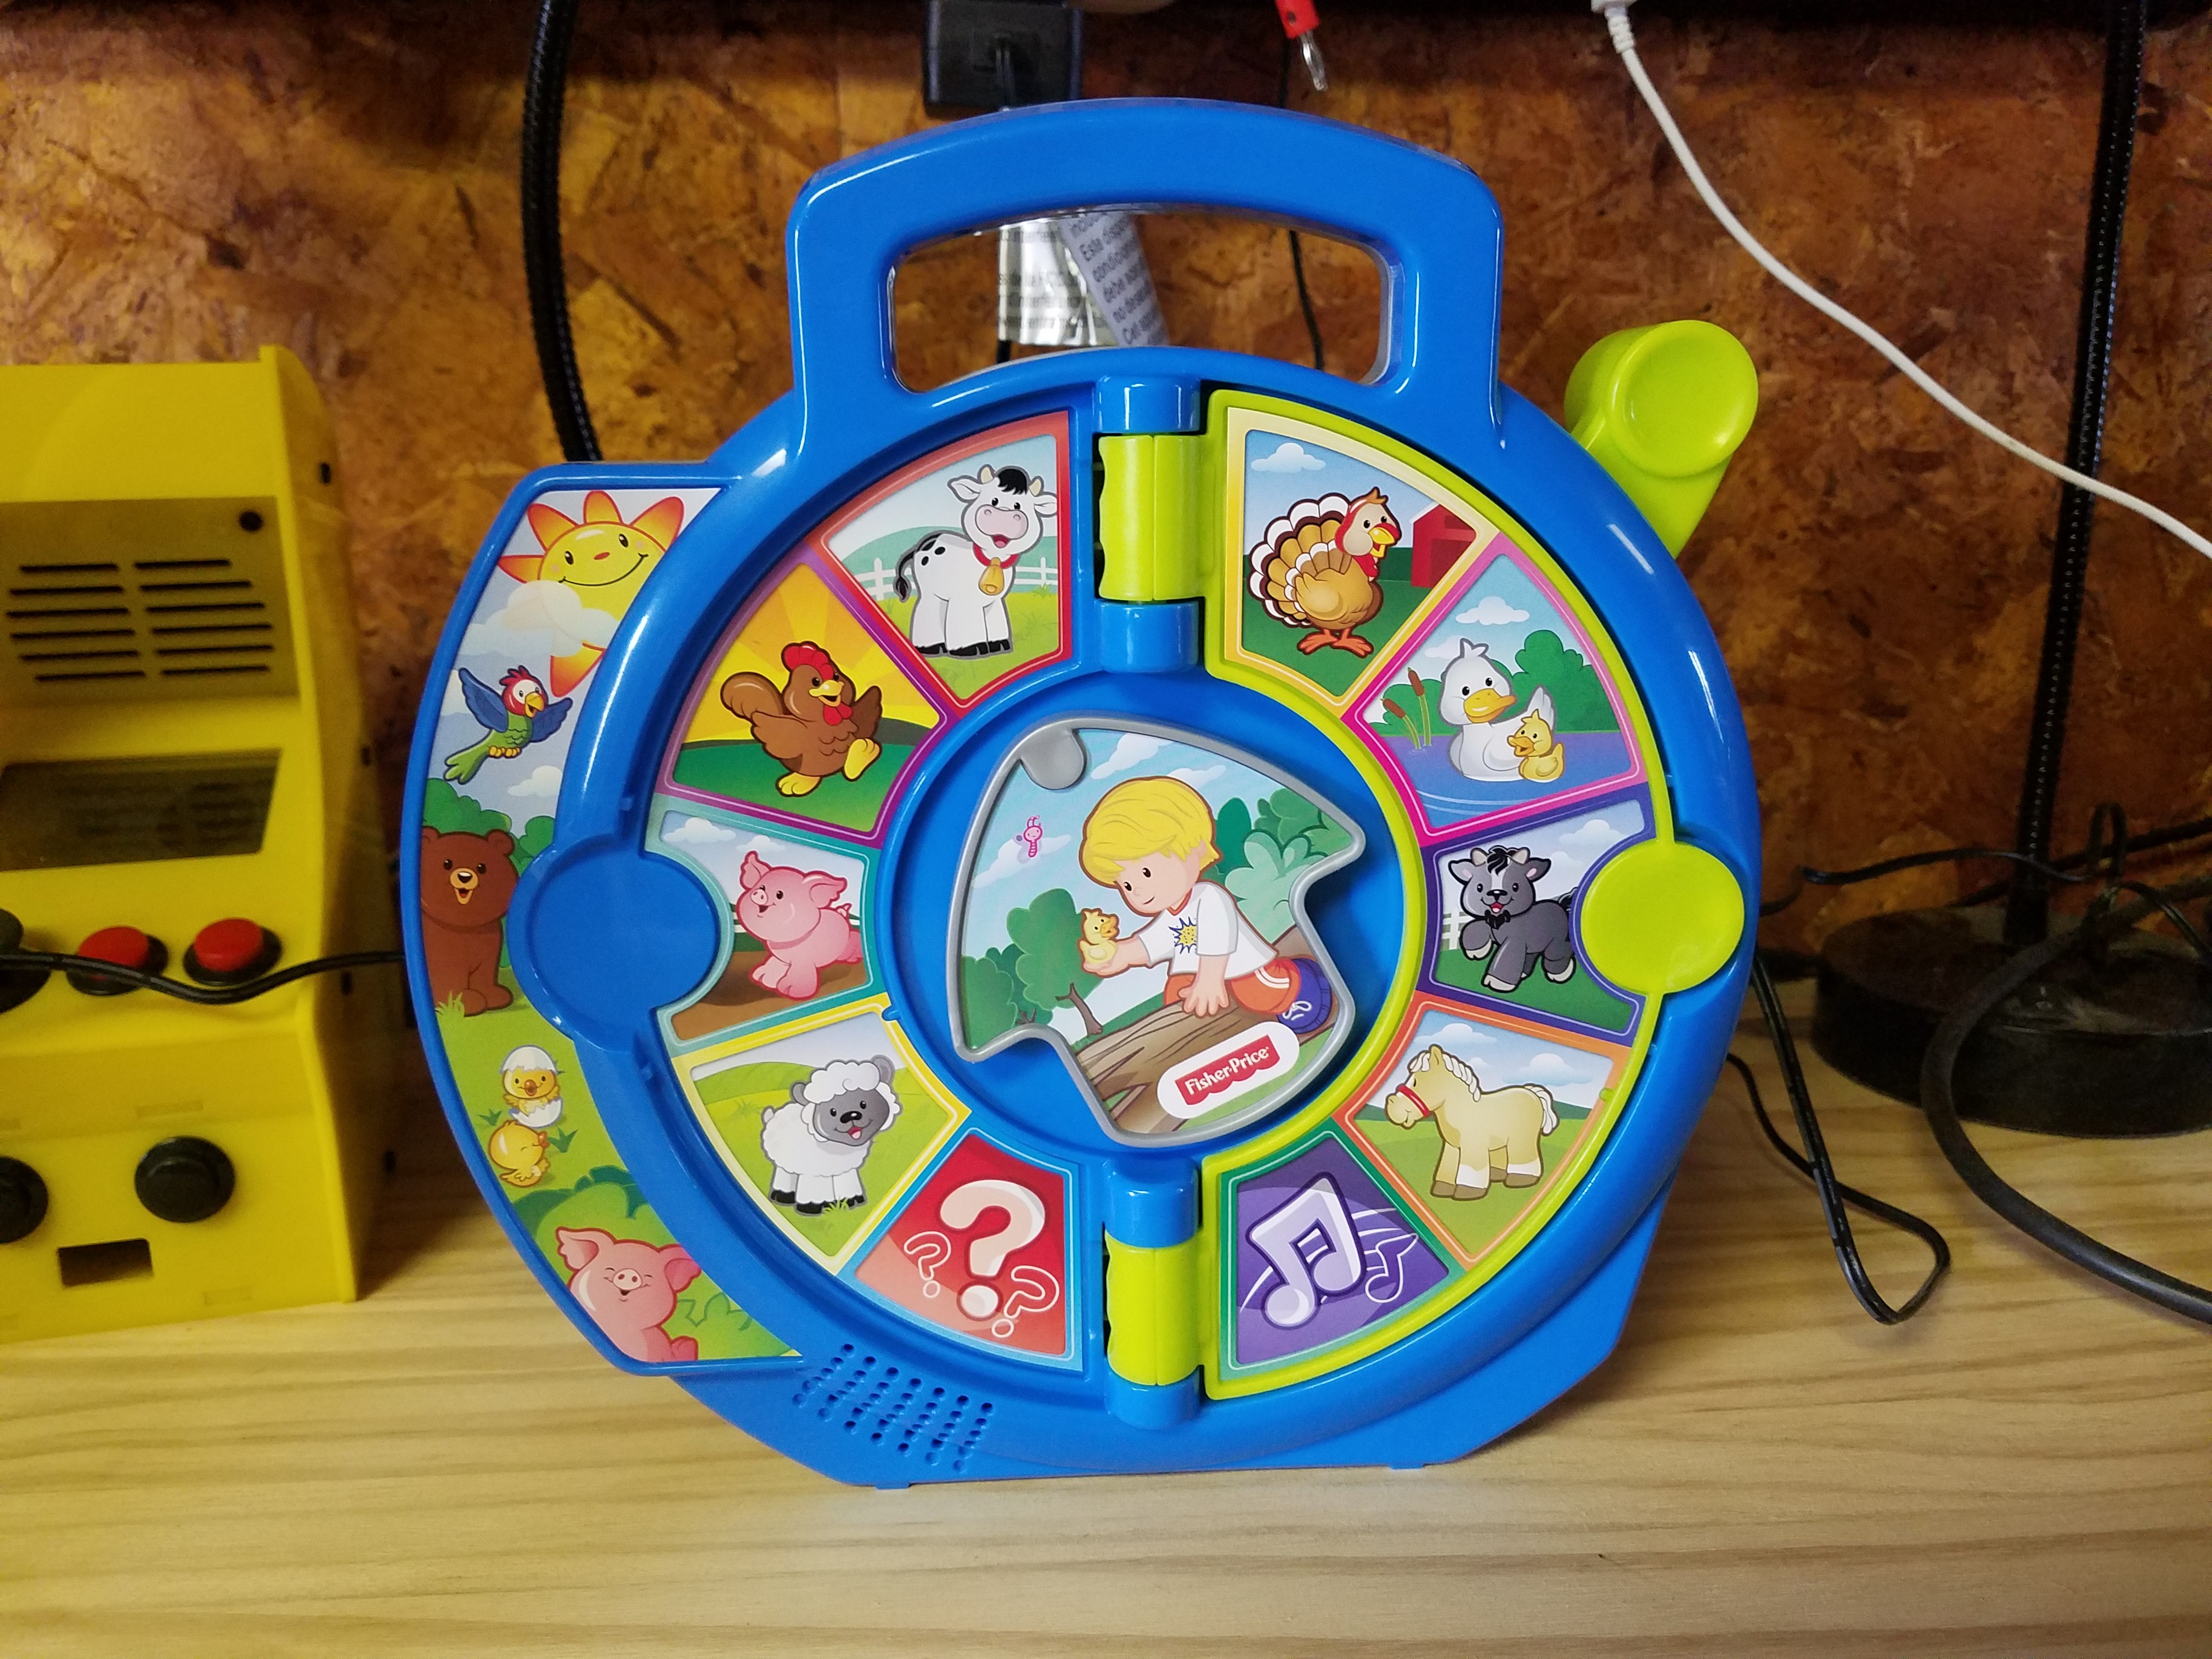
2Prepare the See N' Say.
Use a Dremel to remove the battery box and stand offs in the case. I removed more than I needed with plans to use the entire bluetooth speaker and a battery. I ran out of room and time. So, I opted to wire the speaker directly to the shield and power with a usb cable.
![]()
-
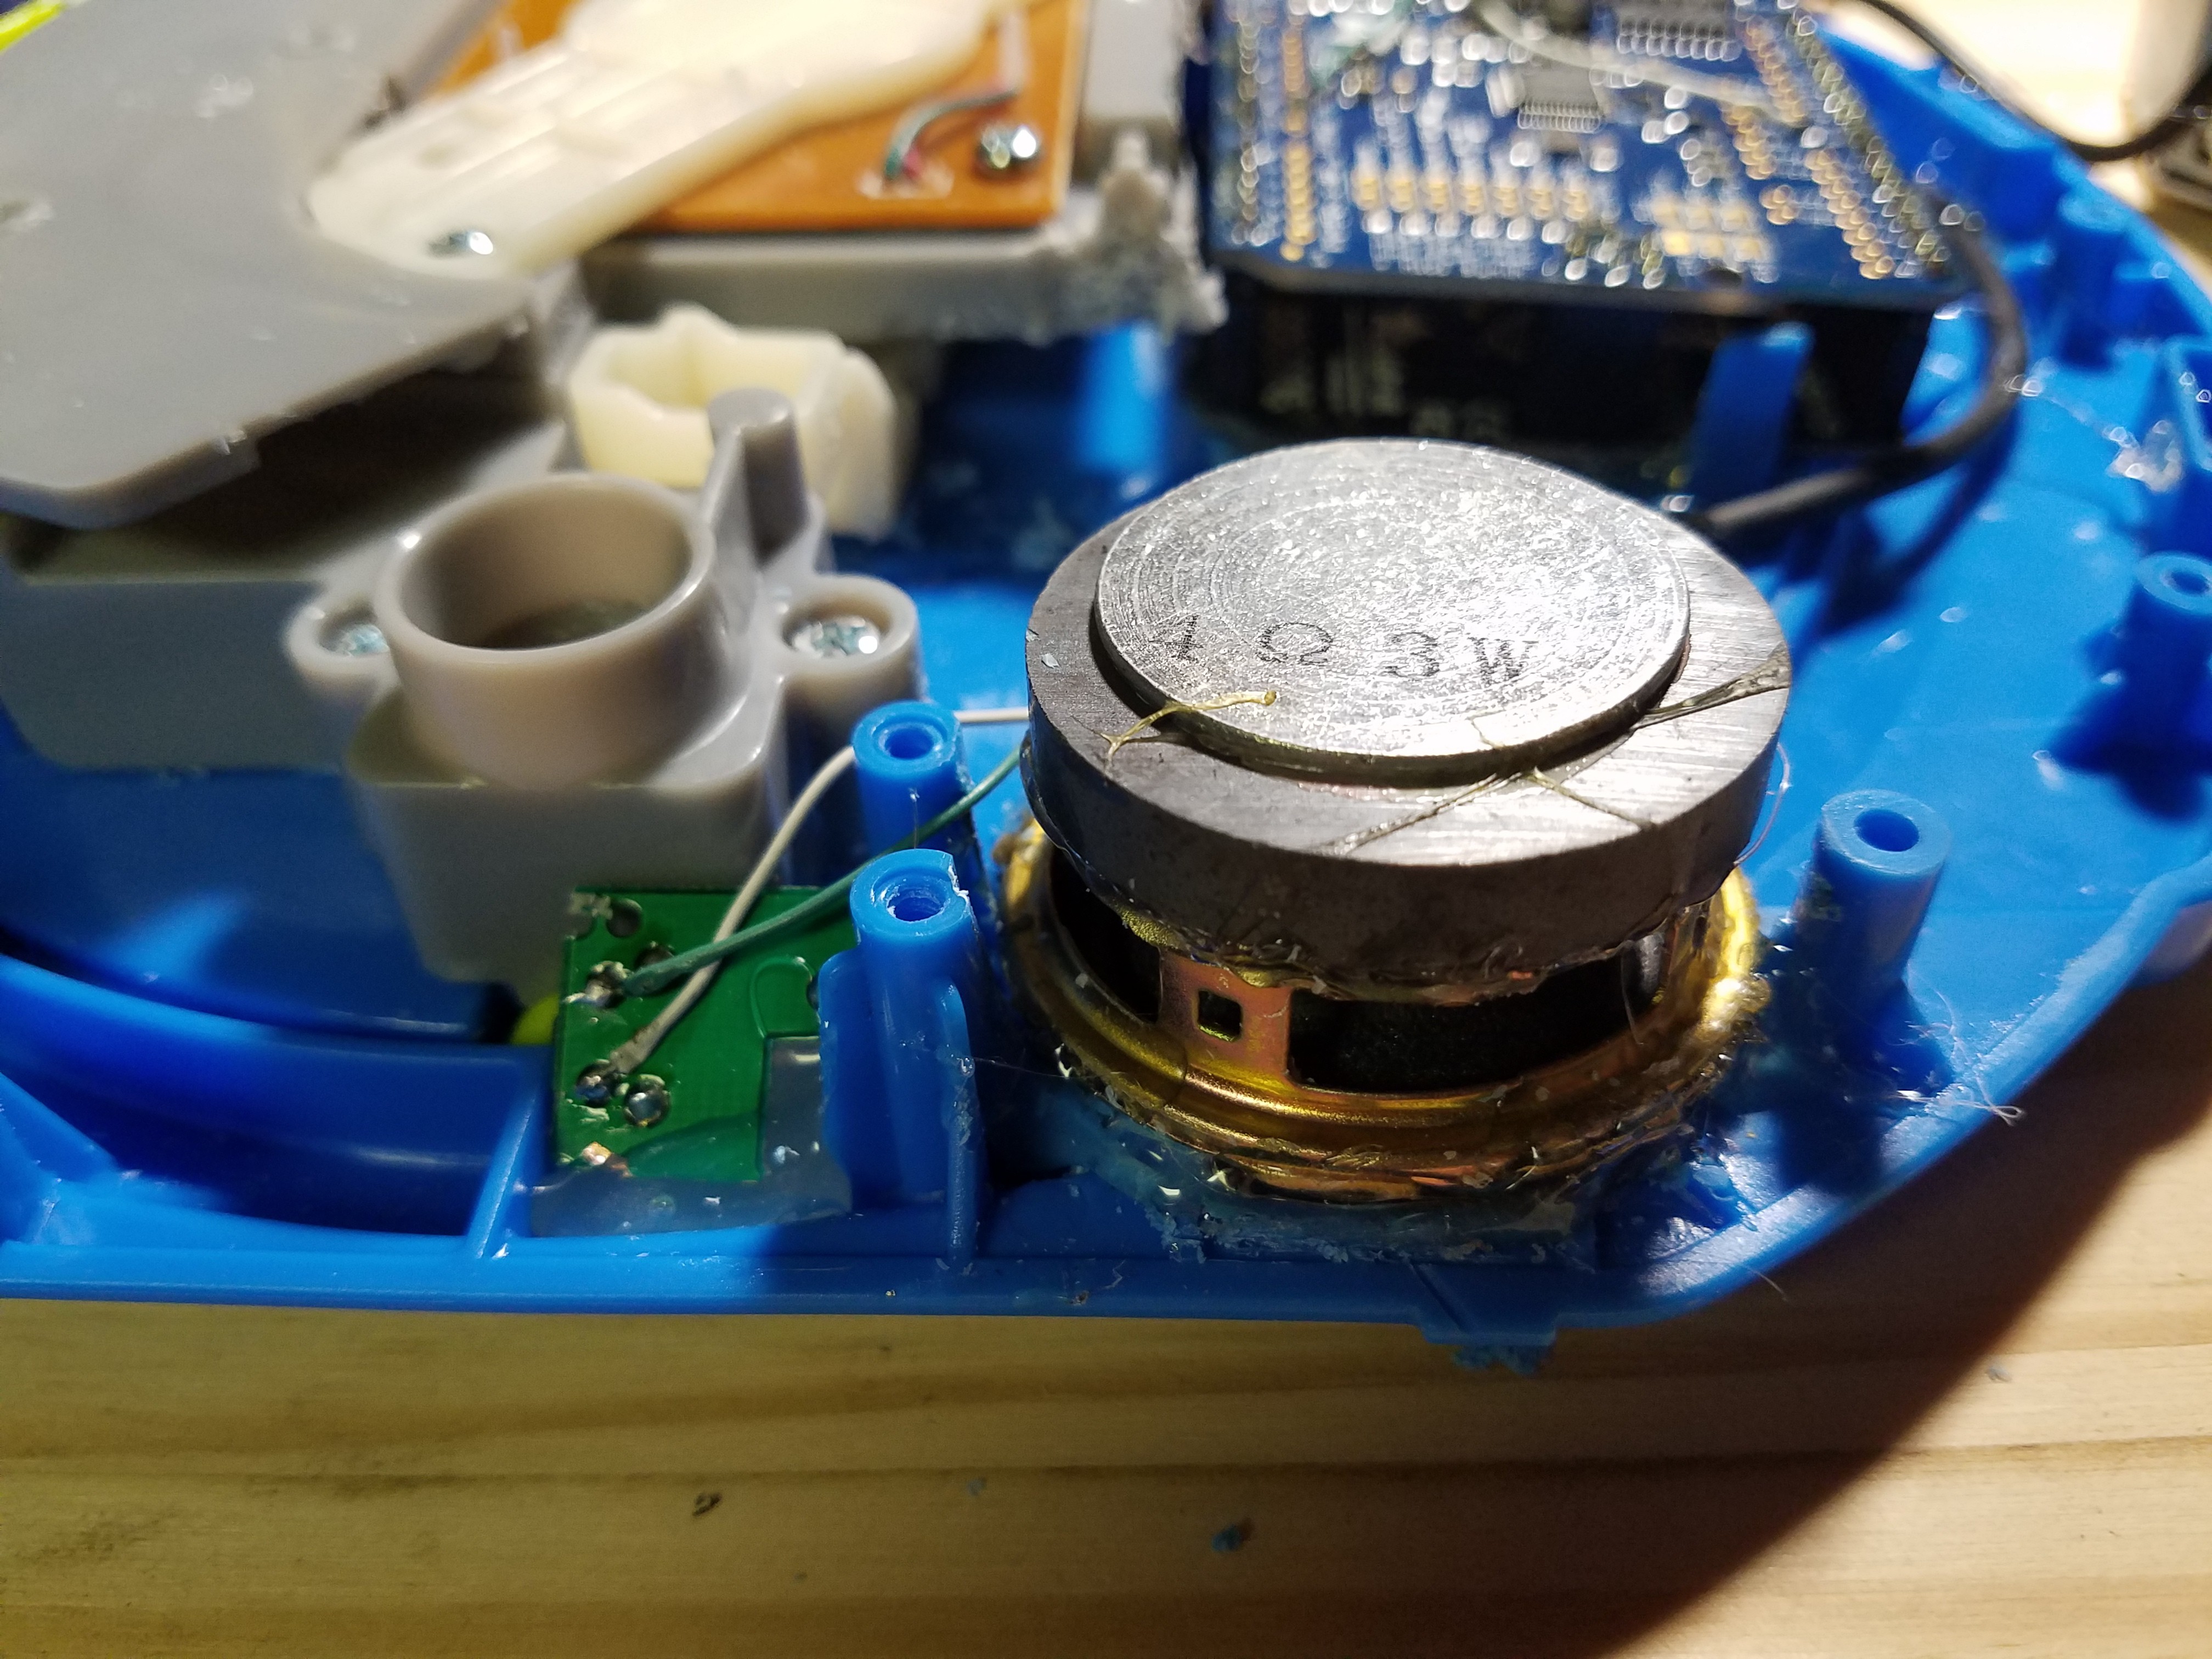
3Step 3
Hot glue a button into the case where the handle will strike it at full travel. Also hot glue the new speaker in place of the old one.
![]()
-
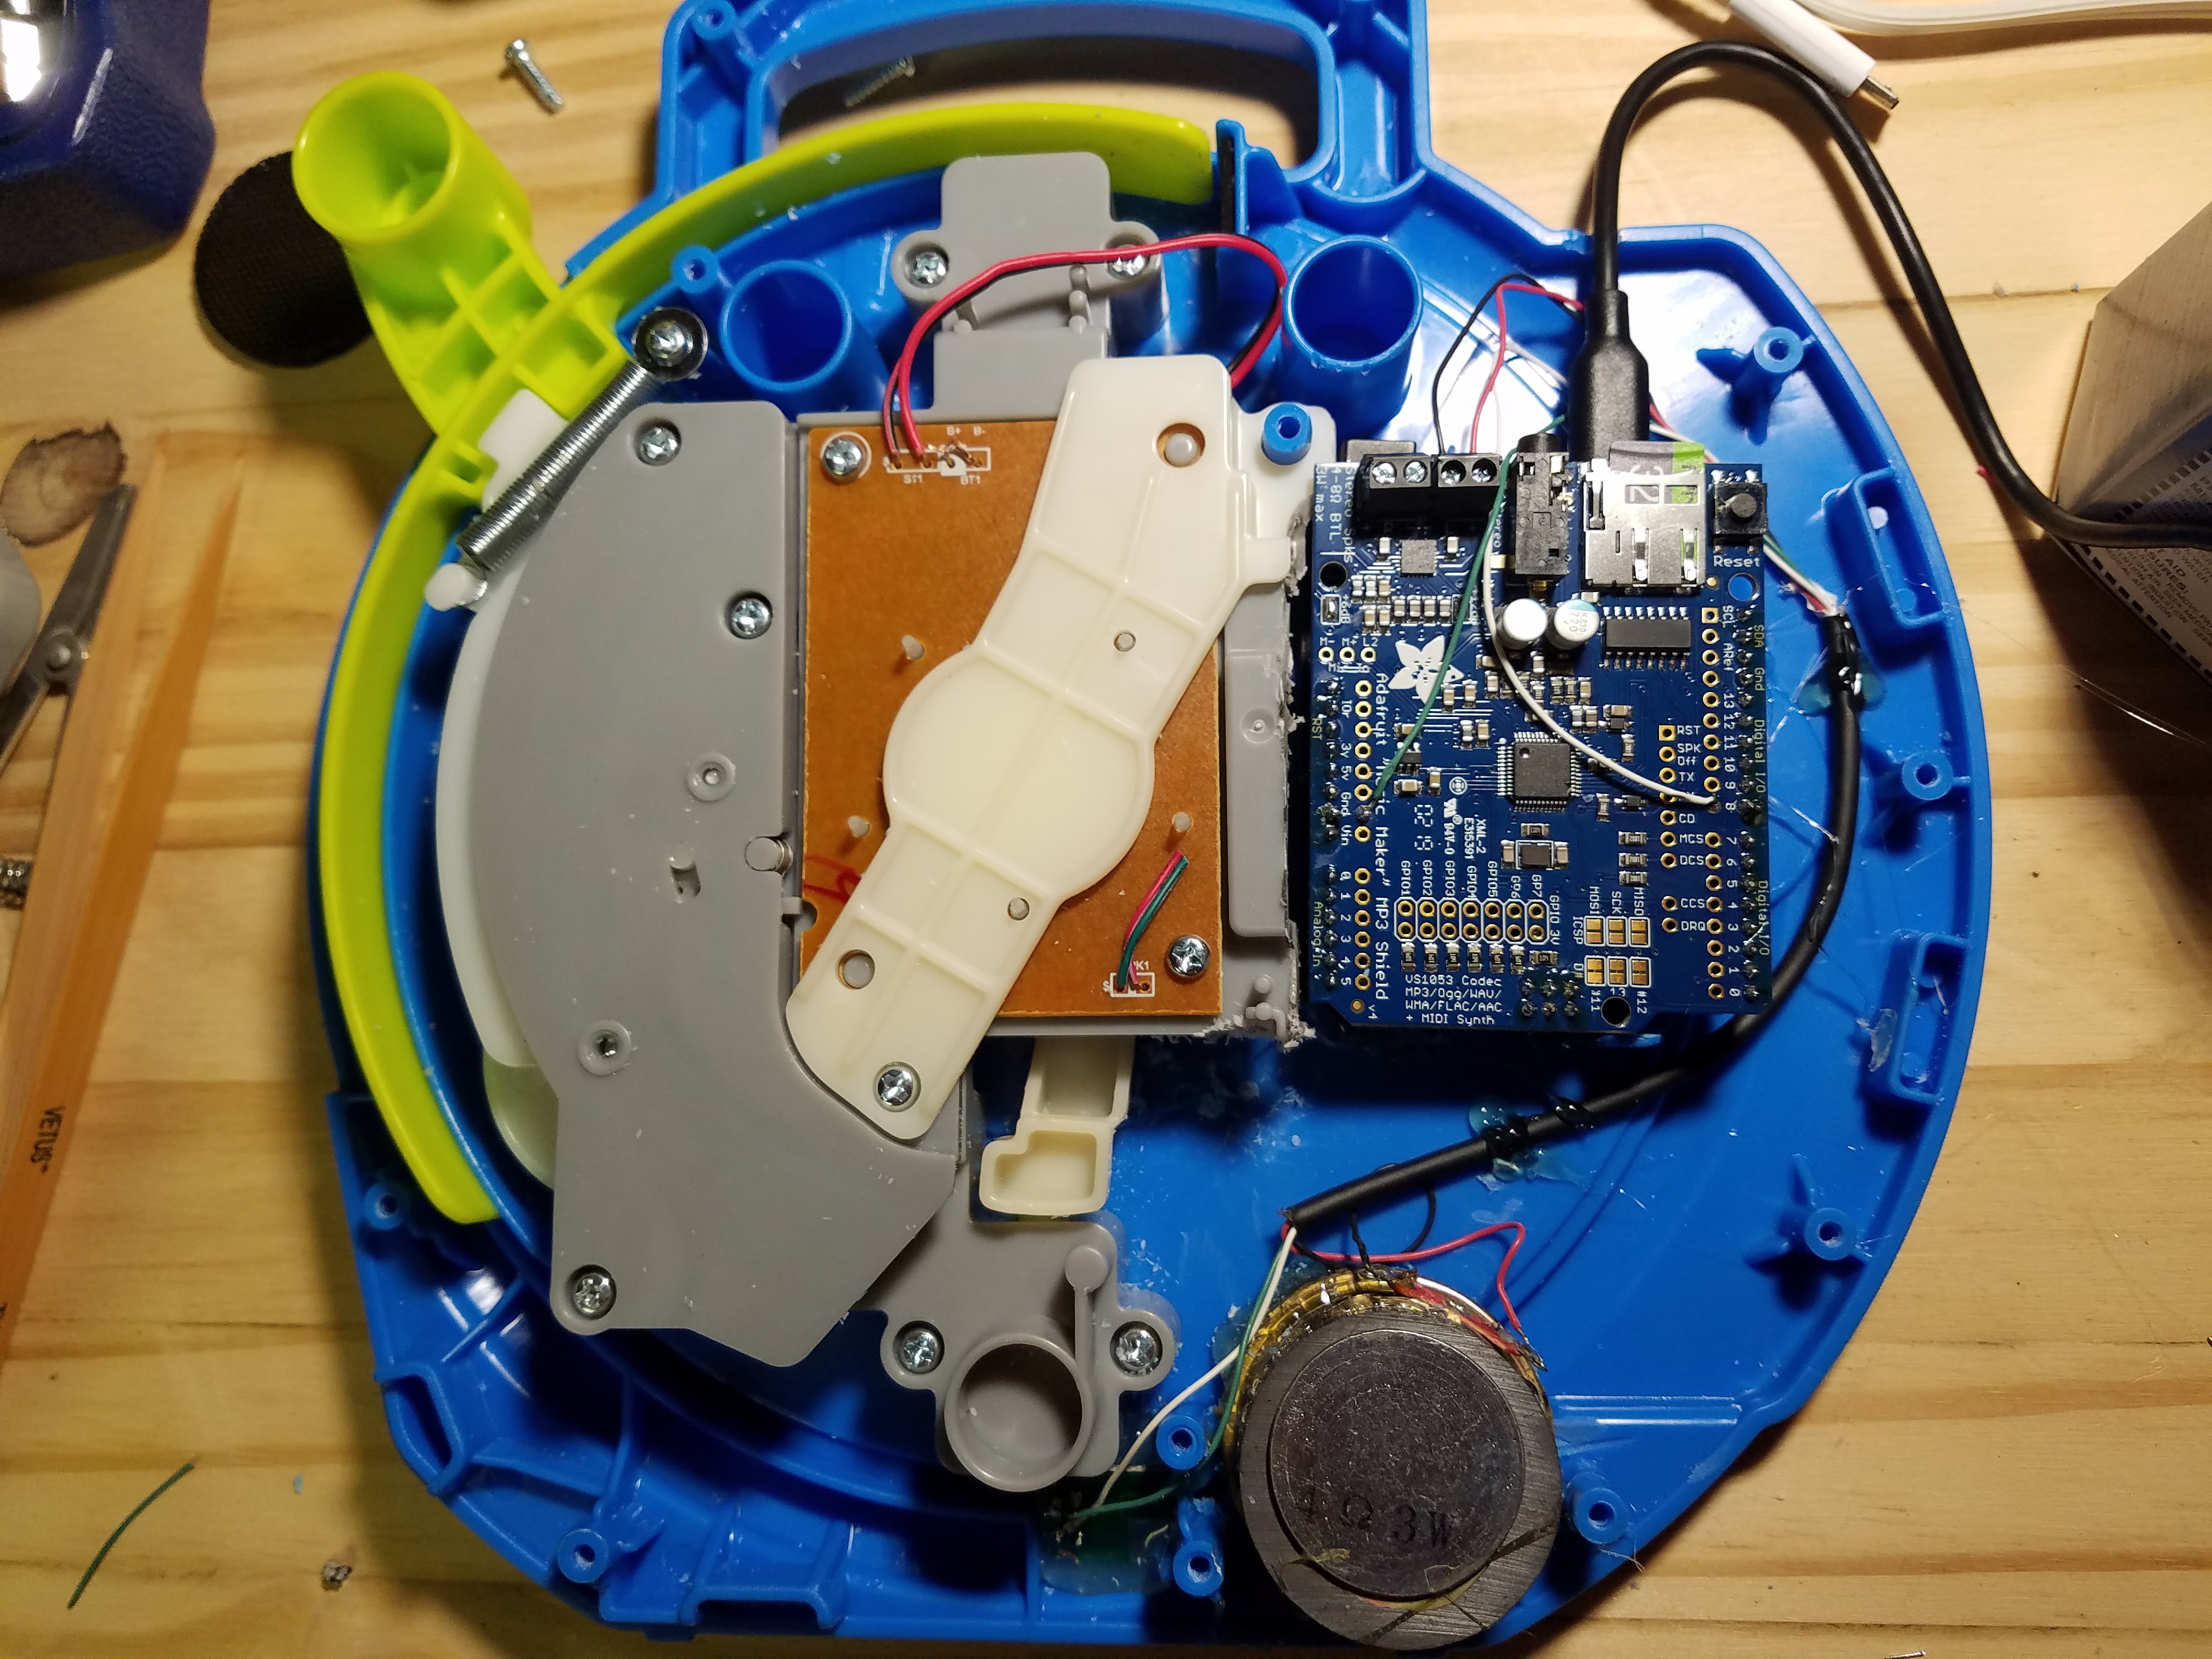
4Wiring.
Solder the switch contacts to I/O 8 and gnd. Solder wire to the speaker and attach the other end to the amplified output of the shield. Also solder the jumper spots on the shield to increase the amplifier gain to maximum. This will cause the audio to clip and sound just like a cheap electronic toy.
-
5Code.
Copy the MP3 clips to an SD card and insert in shield. Flash the provided Arduino sketch to the controller.
-
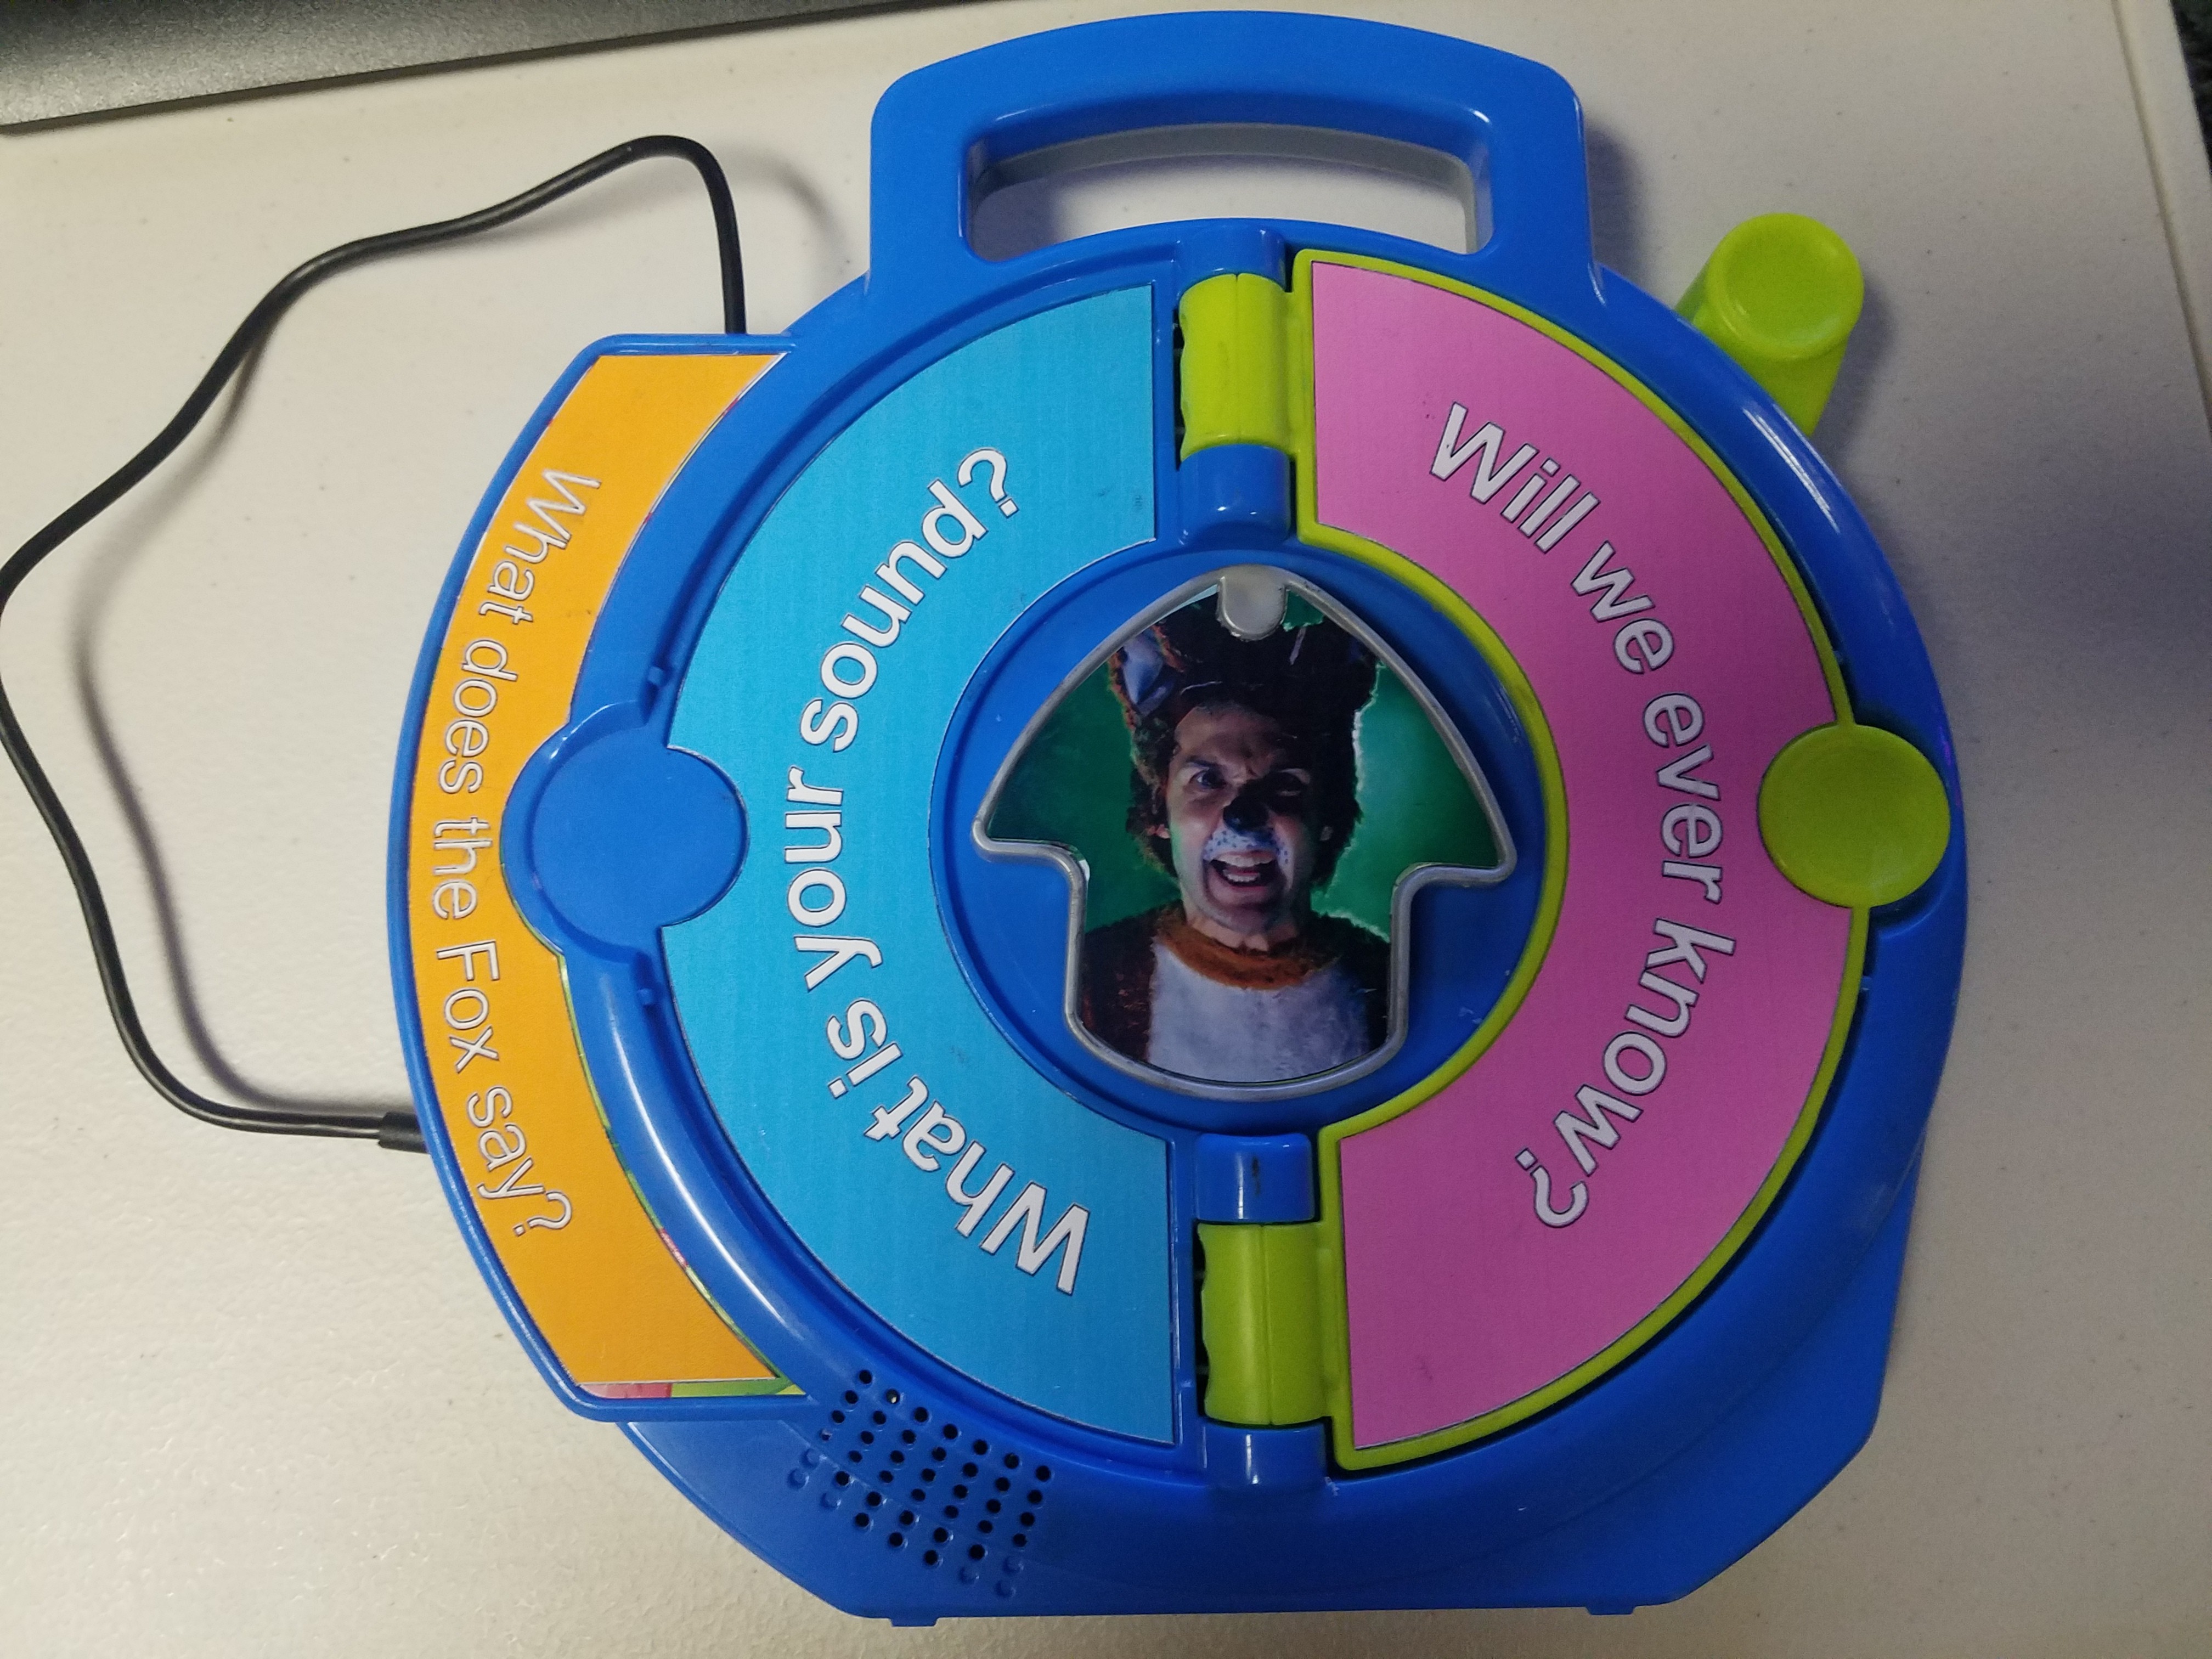
6Assemble.
![]()
Put the case back together. The Arduino and shield should just fit in the hold for the battery cover. Use a little hot glue to hold the Arduino in place. Print out the pdf files and cut out the new stickers. Glue over the original stickers.
-
7Don't learn.
What a useless project. None of these sound clips are what a real fox would say. I think. What does a fox really say?
What does the Fox say? See n' say
This see n' say incorrectly teaches what a fox says.
Discussions
Become a Hackaday.io Member
Create an account to leave a comment. Already have an account? Log In.